Hello! Today I’ll be bringing you through the story beats for my story for Visual Storytelling.
Premise: A girl realised that her phone was running out of battery, so she rushed back home, only for her plan to be completely ruined.
Week 4: Initial story beats
Back in week 4, my original story beats went like this.
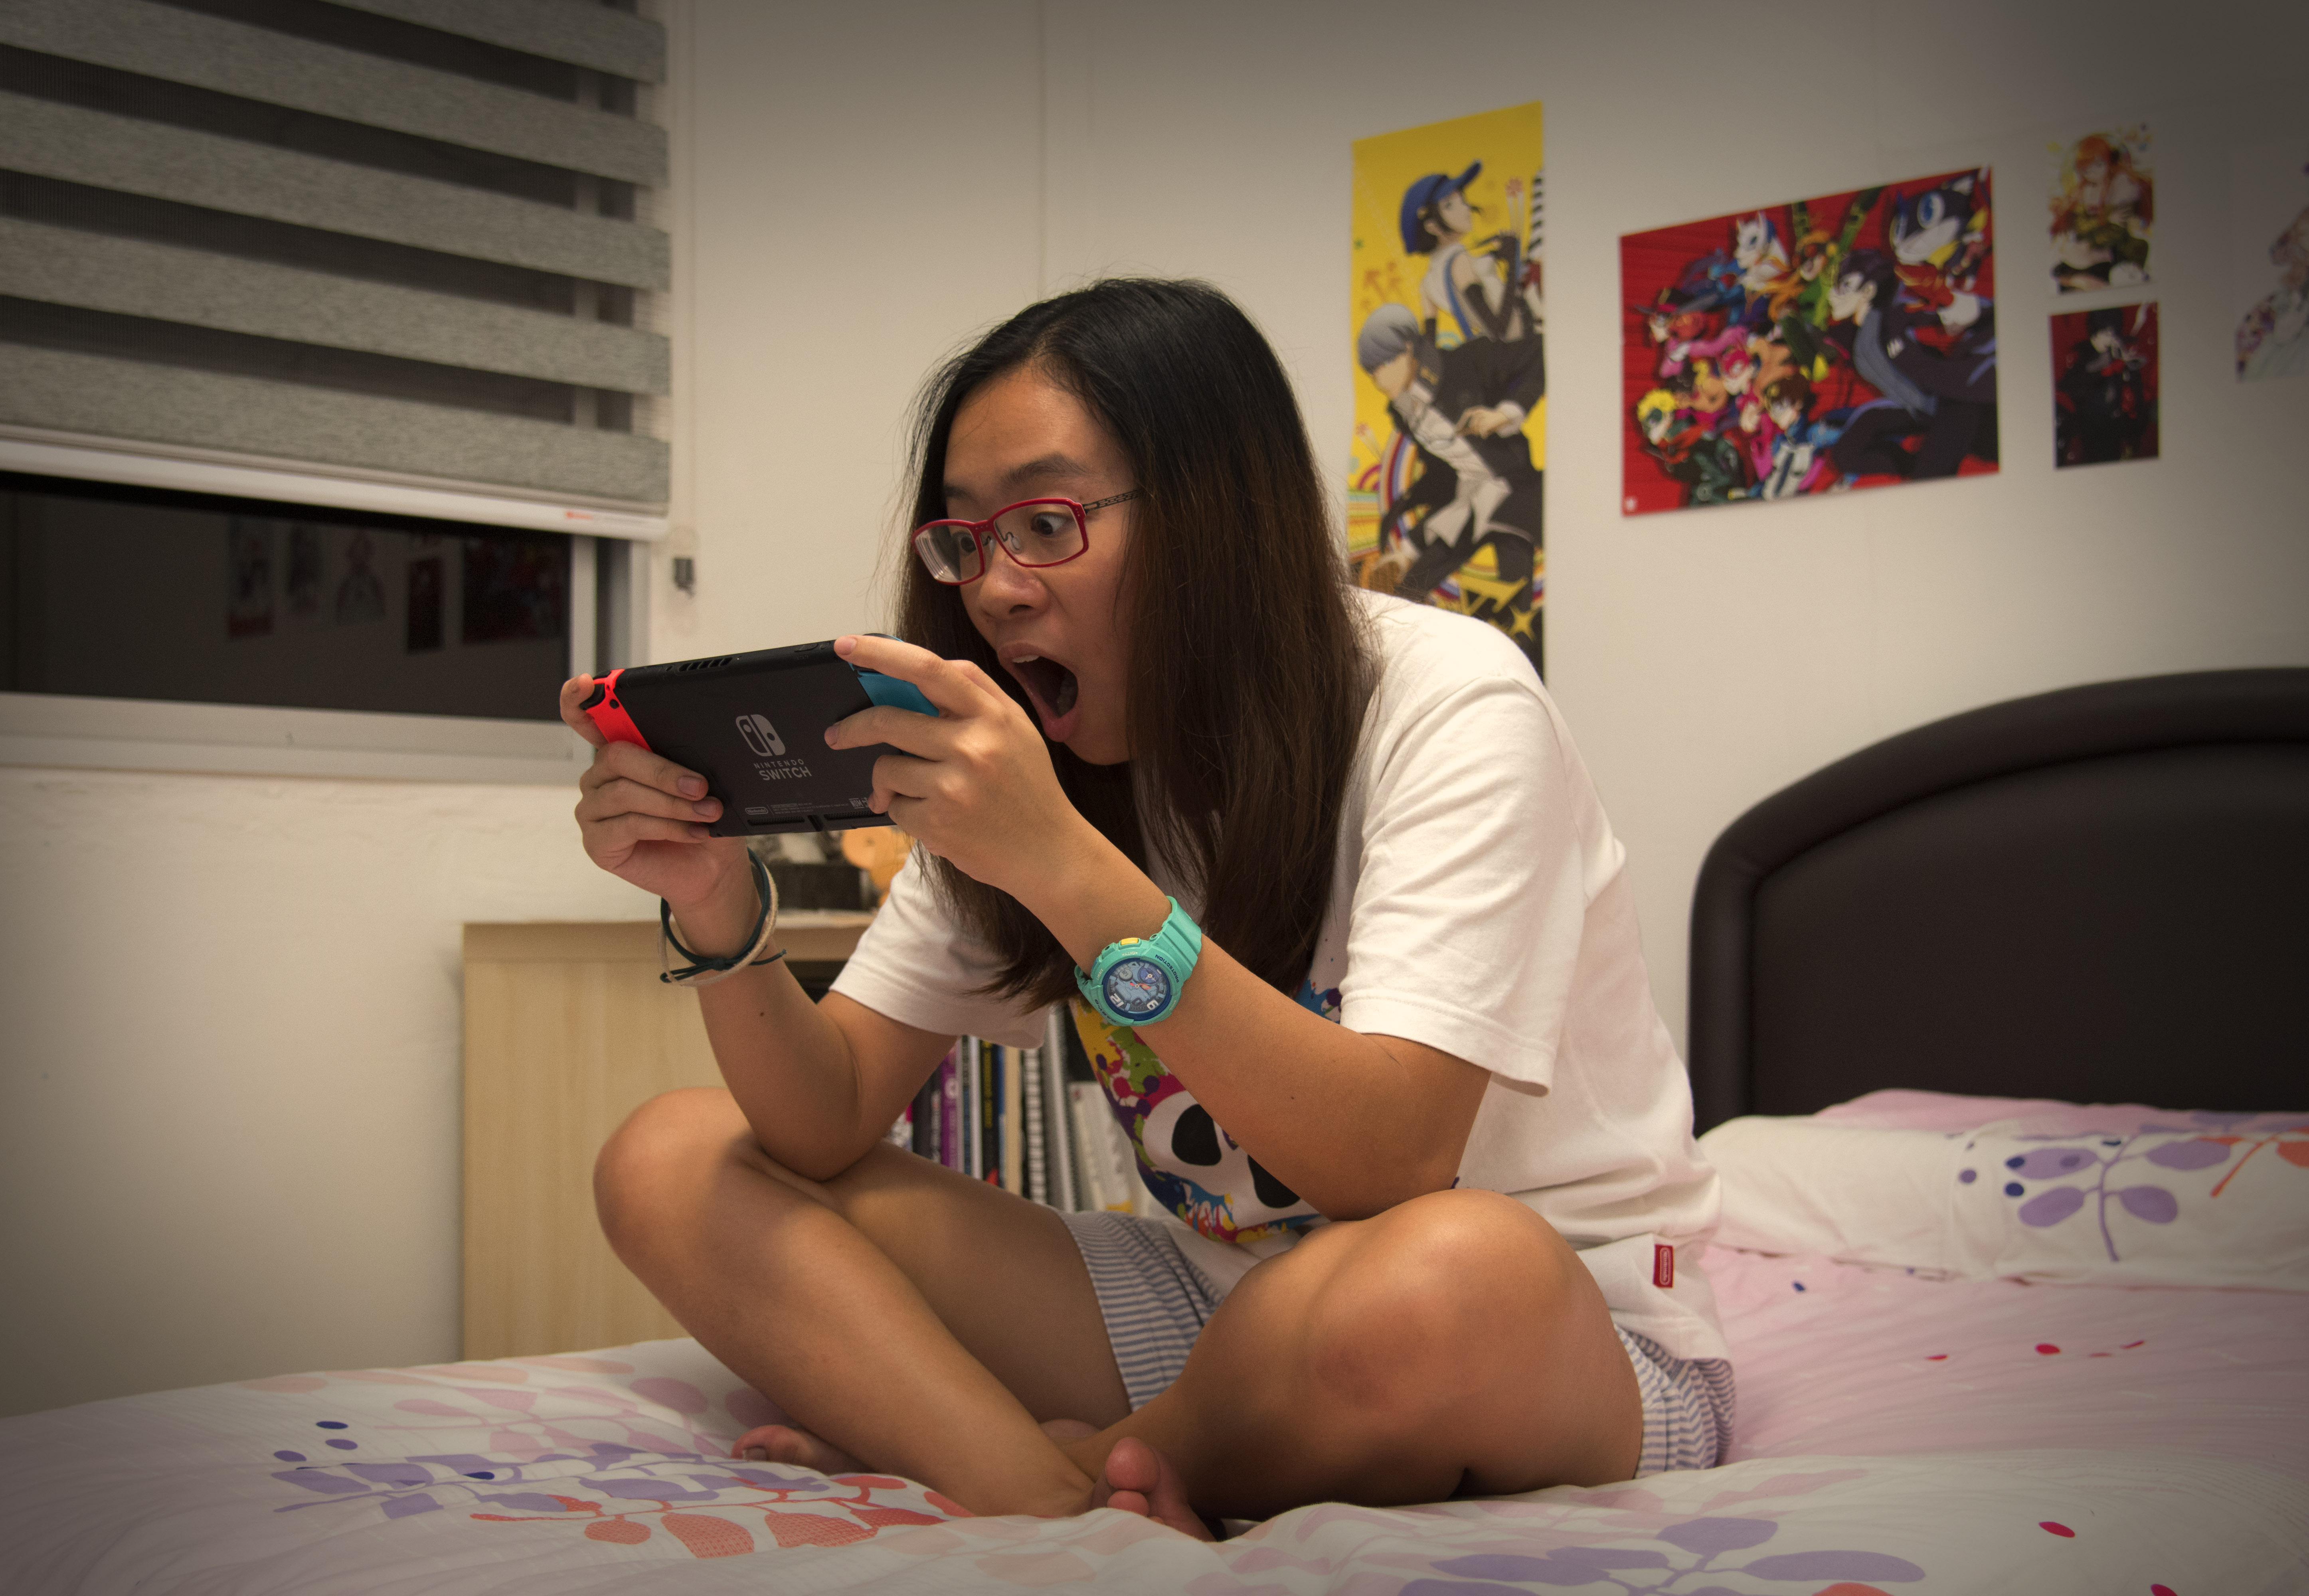
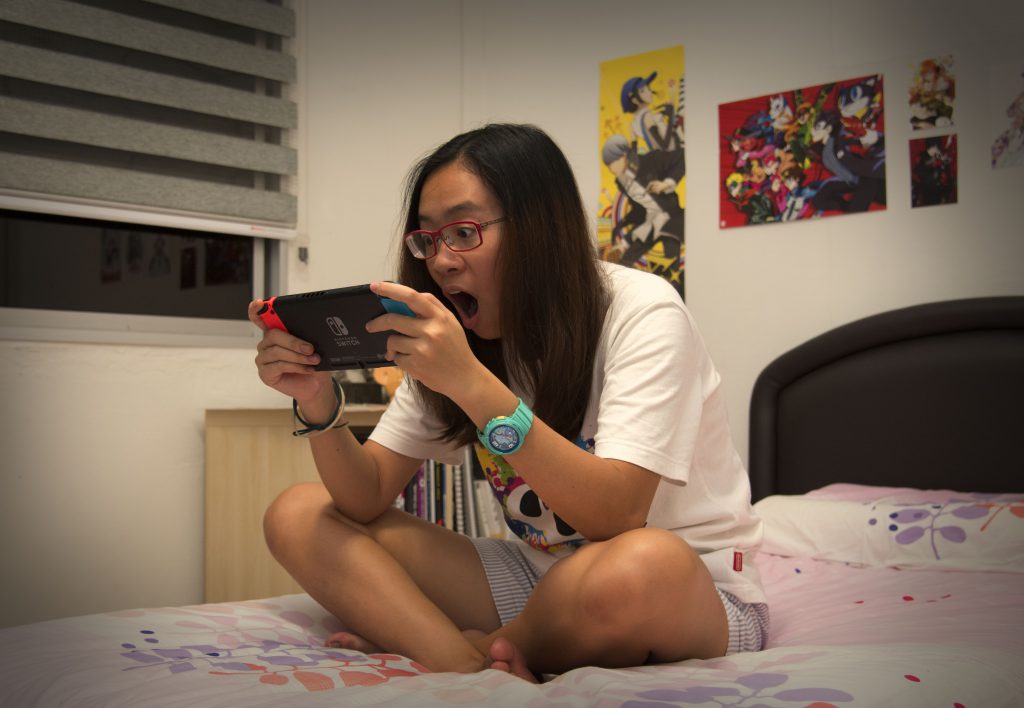
- Girl was mindlessly using phone
- She suddenly gets surprised looking at her phone
- She starts to run home really fast
- Intense run scene intensifies
- She reaches home
- Manages to plug in her phone into the socket with 1% battery left
- Goes to rest while waiting for her phone to charge
- Wakes up and realises that her phone was not charging the whole time… whoops
And here was my first draft:

When I showed the idea to Don, he thought that the resting part of the story (point 7) was very anti climatic between the run scene and the big reveal where her phone was charging, so the impact wasn’t too strong and asked that I modify the story. After some discussion, I altered the Story Beats slightly.
- Girl was mindlessly using phone
- She suddenly gets surprised looking at her phone
- She starts to run home really fast
- She reaches home
- Manages to plug in her phone into the socket with 1% battery left
- Heaves a sigh of relief, but did not place her phone properly on the stand
- Phone drops to the floor and shatters (much like her heart)
- She gives a look of defeat at her phone
This story worked out much better since there was just one “punch” moment at the end rather than the previous one.
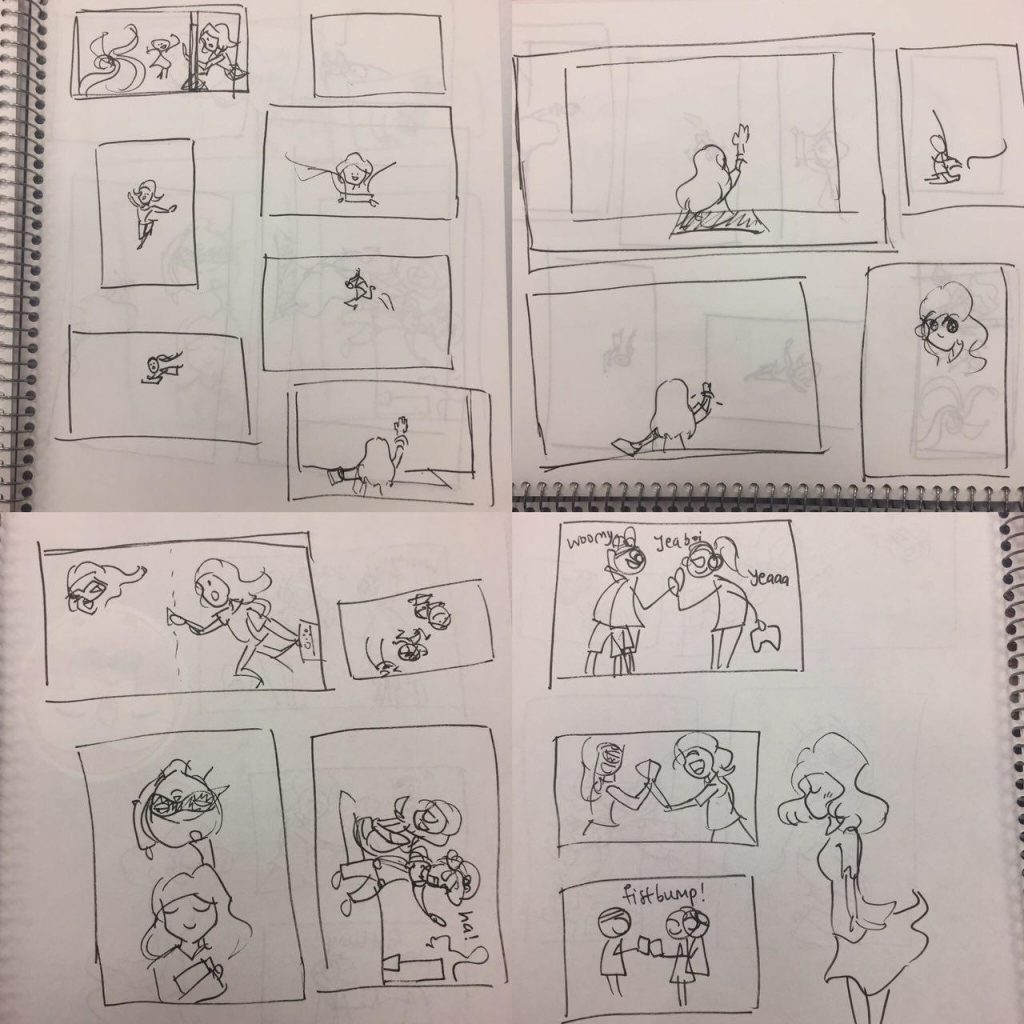
With that, I drew my story beats of my altered story in class:

Week 5: Refining the Story Beats
I tried to draw some frames with different angles and compositions, as seen below:

Some differences:
- Running angle changed in beat 3
- Screeching to a halt angle at doorstep changed in beat 4
- Refined the girl in beats 6 and 7
- Changed angle of girl and phone in beat 8 to better see the cracked phone while still being able to see the girl’s defeated expression
Week 6: Beautifying the Story Beats
After getting the gist of how my storyboards will look like, I drew them out once again, except this time, the story beats are neatly lined, scanned, and digitally coloured. There were also some (minor) changes made to the composition of the beats.
These are my beats:


Changes made:
- Small background added in Beat 3
- Angle of face made to look more realistic in Beat 5
- And uhhh I guess changing the table in Beats 6 and 7 lol
I could have given the beats a bit more shading, but I was too tired at that point, so I just left it as it is.
After critiquing session:
Don said the story was okay, however there are some parts that could be improved.
- Add suspense during the running scene (eg. lock won’t open) to further heighten the tension of the situation, make the reader more curious
- The character needs a purpose to run home and charge her battery because charging the battery at 1% is not necessarily a very pressing issue. Possible motive could be that she has to send an important message to someone.
- Not to have too many “horizontal shots” (I forgot the term he want us to use) but I felt it gave continuity to the beats so maybe I’ll consider. 😛
To be continued! 🙂