
Hey guys! Today I’m gonna show you a bunch of mono-prints I did in class! I did not take any photos of the process but I do have some cool prints to show you. I scanned all of them and some eventually make the cut for my 18 lines!
I brought some materials to class, hoping it would help to create some really cool prints, but it turns out that those materials i brought to class are too thick! it created some weird white patches instead. Therefore, i have to utilise the tools in the studio to draw rather lines on the mono prints, and also use some plastic sheets and strings to create prints.
Mono Print 1:

Mono Print 2:
For this mono print, I actually picked out small parts of it to create a very minimal line:
The results:

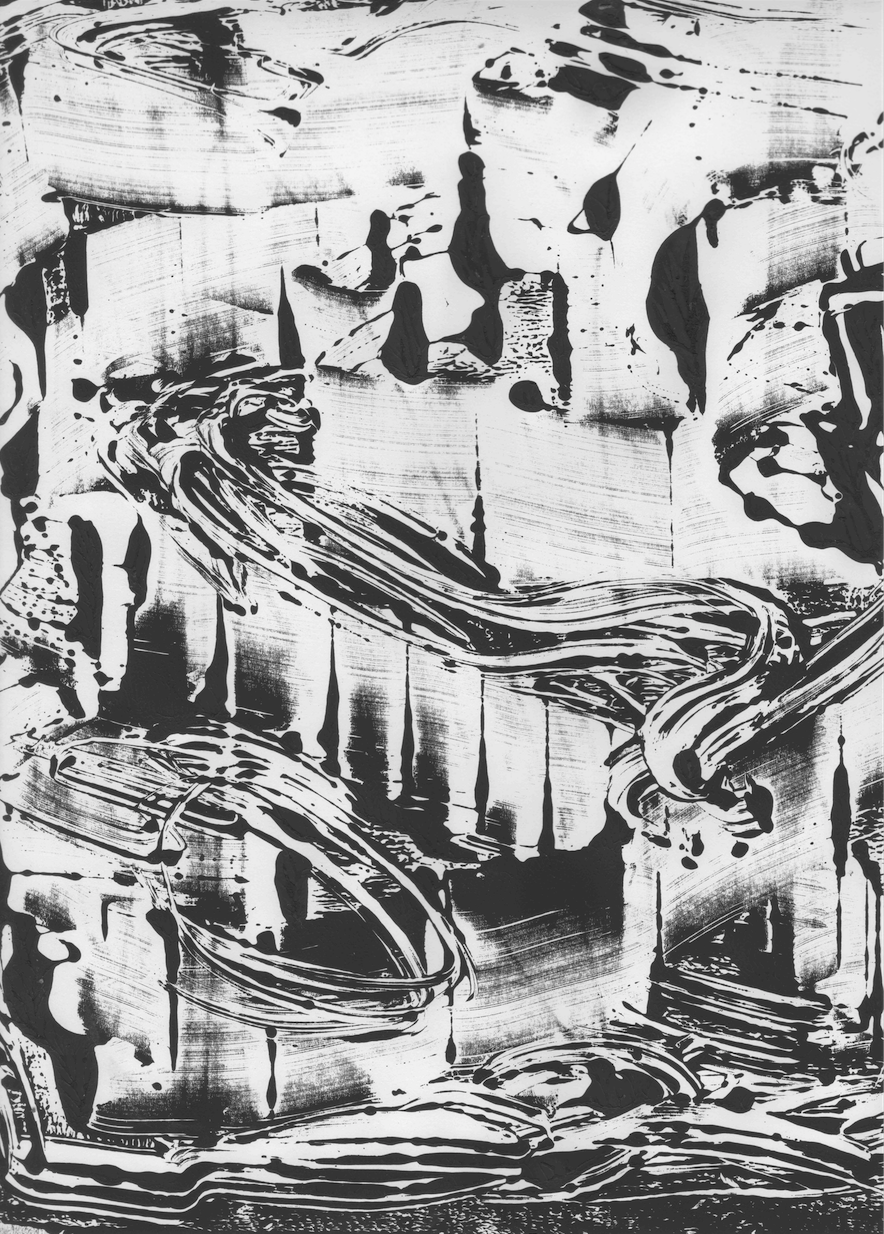
Mono Print 3:

Mono Print 4:
I also combine mono prints with some mark-making marks to create my lines. For this mono print, I picked out the bottom left hand part, where it looks very marble/crystal kind of texture:

The result:

Mono Print 5:
The “crystal ball” on the top left corner of this mono-print also make the cut for my lines! I think I have an obsession with crystals:

The result:

Mono Print 6:

Mono Print 7:

Mono Print 8:

Mono Print 9:

Mono Print 10:
This is the mono print I thought was quite unsuccessful. But the white patches kind of look like flower to me somehow, and I eventually thought the negative spaces looks really pretty. So I did some editing to this print by removing the extra marks within the negative space.

Mono Print 11:
 Mono Print 12:

I hope they inspire you in certain ways! Ciaos!
#inspired
..if your self-made tools were “bones” of the project- these monoprints are definitely “flesh” to your emotion evoking concepts. Love the large optimum resolution of the monoprint for the OSS. Always check and avoid “thumbnail” size – as we have the unique opportunity to “see” all the details (“nerves and bloodstreams”) that would have remained invisible in the hard copy monoprint.