Lesson 3: Perspective Homework

For this week’s homework. We were asked to draw two-point perspective of boxes.

thumb_img_5618_1024

I really like this homework as it is pretty satisfying to see the boxes that I draw looks like it is popping out of the paper (sort of).

For the second drawing, I attempted to draw my bedroom.

thumb_img_4623_1024

This is my wonderful bedroom. And here’s my drawing of it.

thumb_img_5619_1024

You can tell that the lines will converge somewhere on the left in the long run and that is the vanishing point.

Lesson 3: Perspective

This is one thing that really got me interested in drawing. I like how drawings are so realistic at a certain angle. All my life when I think about drawing it is only a front-faced drawing of an object or something like that. Today’s lesson really opened my eyes.

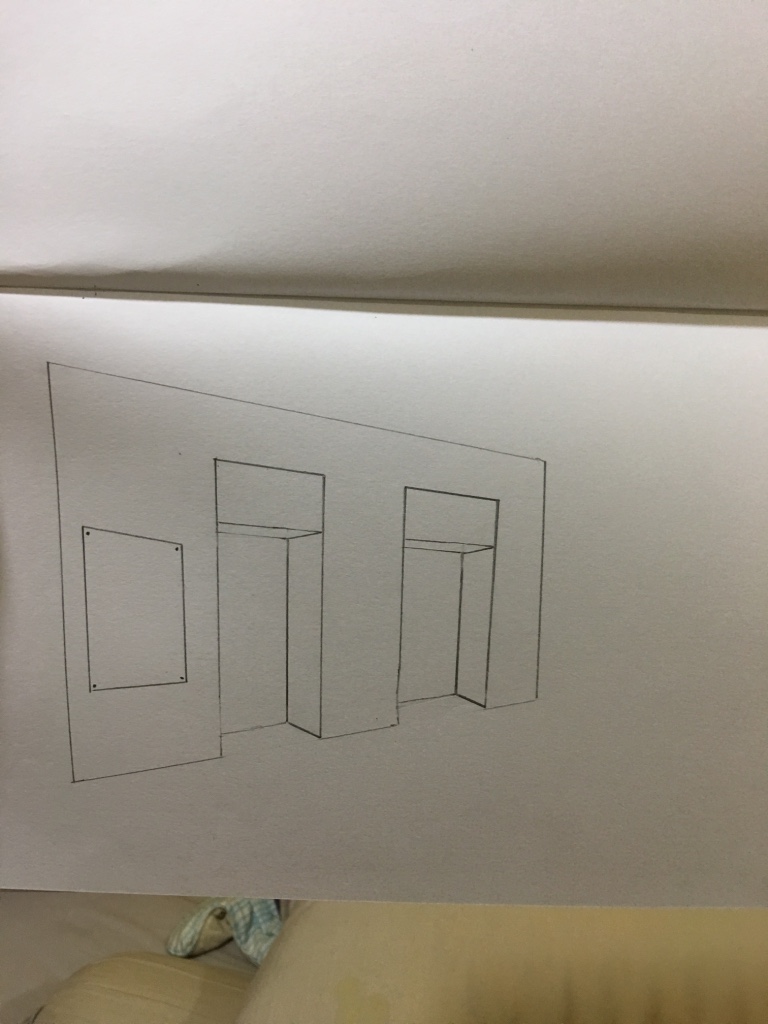
In the first exercise we were told to go out of the class and draw anything the has a perspective. 1-point perspective to be exact. A new term that I learnt today was called the vanishing point. It is an invisible point that all the lines end at. I found a spot outside of class and drew it.

thumb_img_5617_1024

It is really interesting as I was drawing this I was like,”This is so damn cool!”. You can tell that the vanishing point is somewhere to the right of the picture. I didn’t take a photo of the place I was drawing so just to let you know it is the lift lobby of the adm building. I used the technique learnt in lesson 2 (sight sizing) to get the angles and the ratio correct and I think I captured the angles pretty okay.

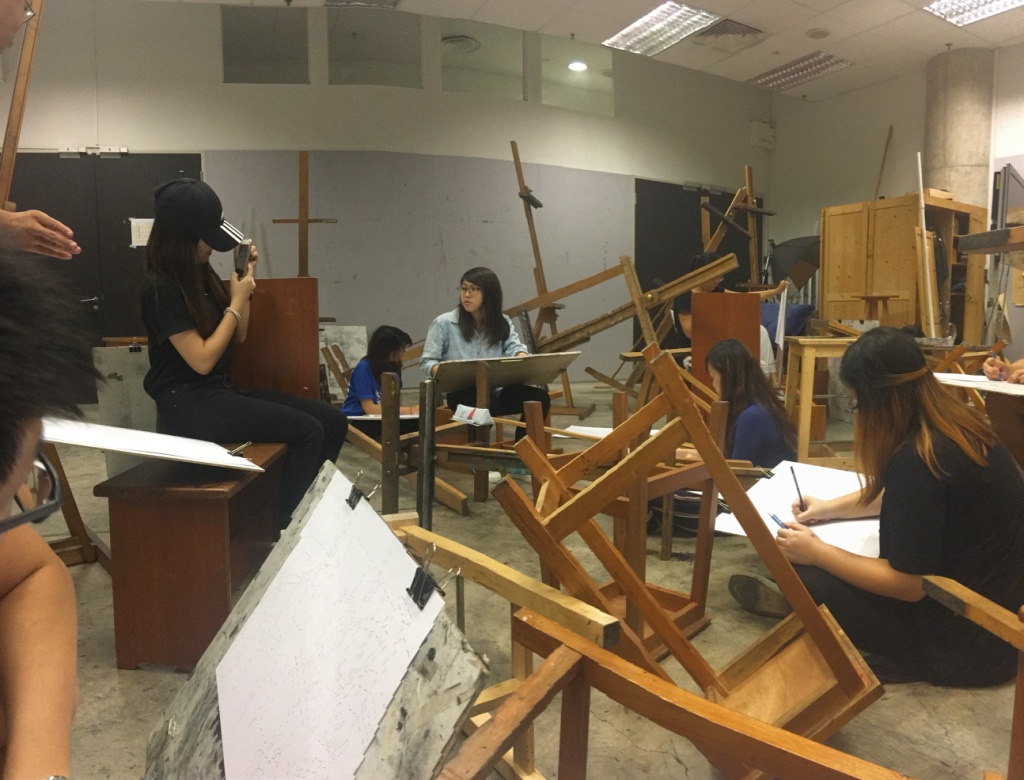
After that we were called back to class to find it all messed up! There were easels and chairs everywhere, stacked on top of each other. Well let me just show you a picture of it.

thumb_img_4529_1024

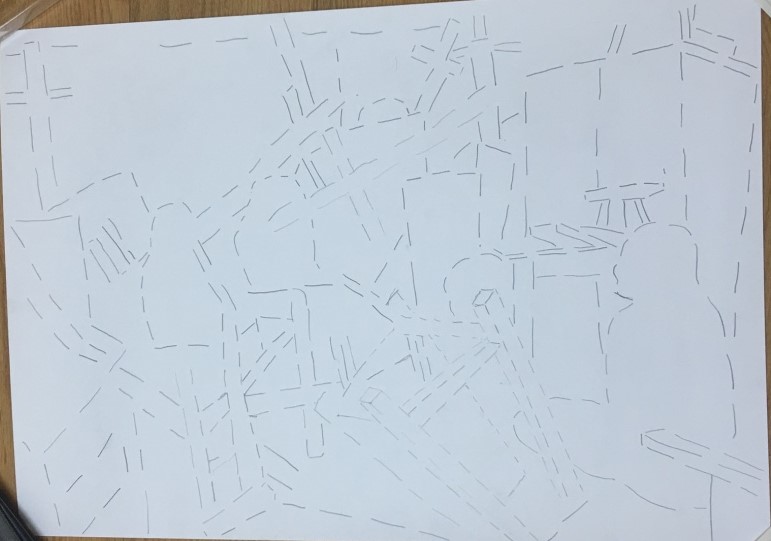
Yes, this was my point of view. Which is also what I am going to draw in the next exercise. We were told to do a quick drawing of lines of the objects in the room at the spot that you chose to sit at.


thumb_img_4531_1024

Another interesting exercise. It is kind of vague but you can tell where the people in my picture is at. At the front most is a chair toppled over.

This ended the lesson.

Lesson 2: Sight Sizing Homework

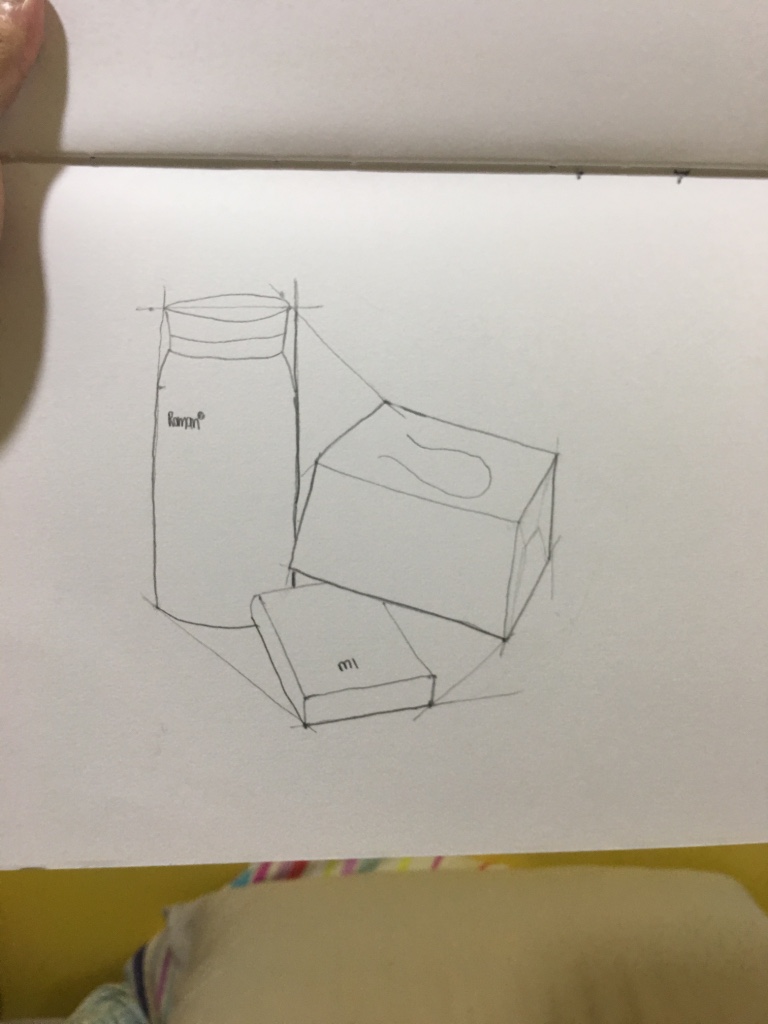
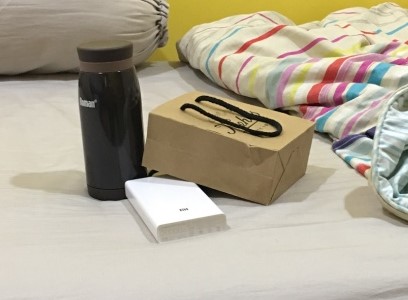
We were asked to put a composition of 3 objects in a frame and draw out the objects using the technique that were taught to us in the lesson this week.

This is my first composition.

thumb_img_4513_1024

thumb_img_5615_1024

I started out drawing the outsides of the objects. As well as the angles of the edges of the objects to get the outline in place before starting on the insides. I think the outcome of the first drawing was pretty good! The angles were mostly correct and you can tell in the picture that which object is on top or at the back and so forth.

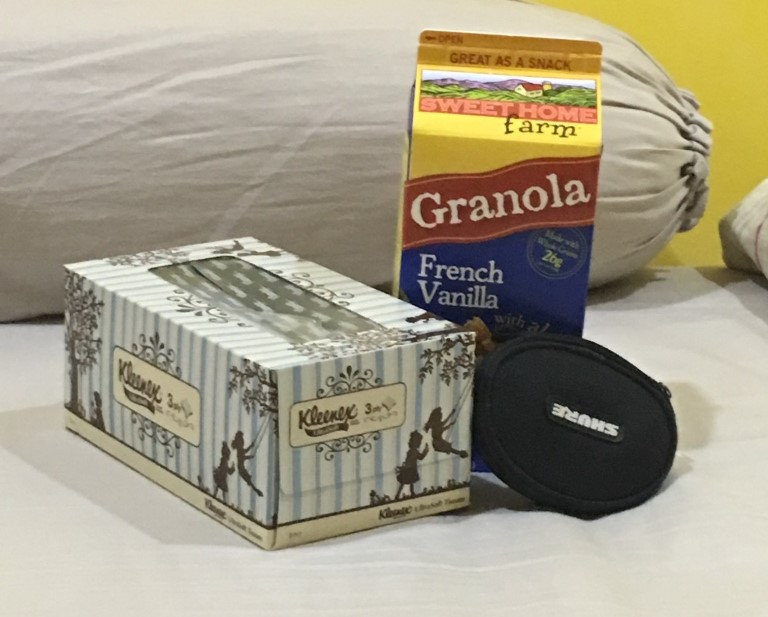
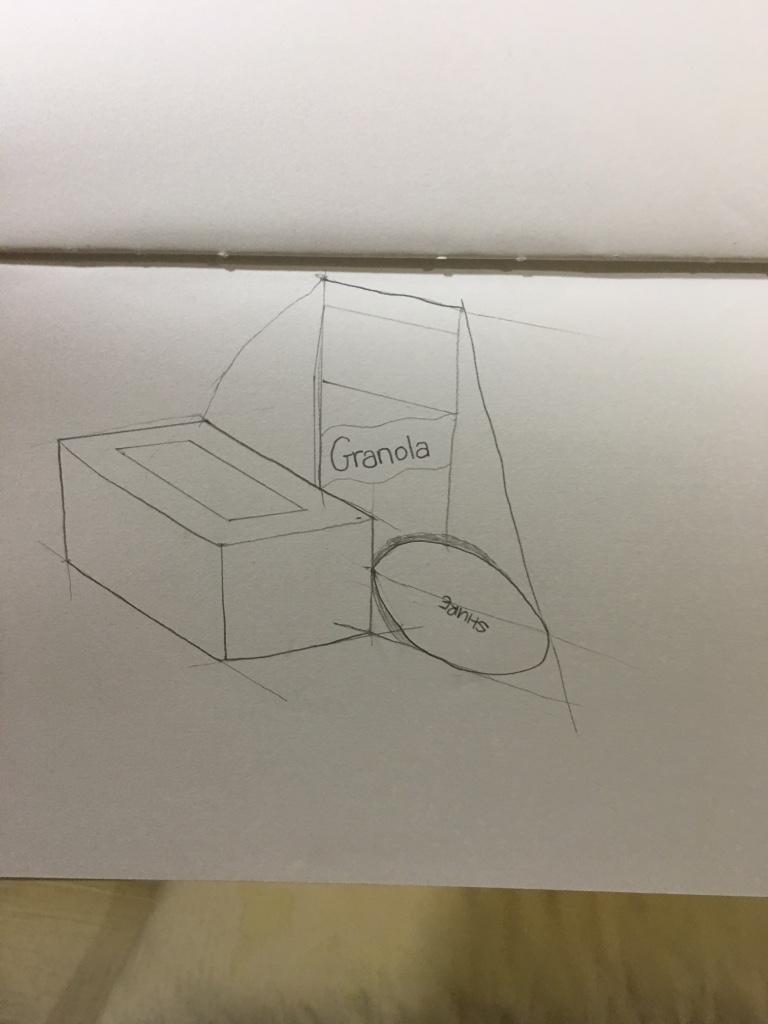
The second one:

thumb_img_4514_1024

thumb_img_5616_1024

For this, I am not too sure if I was successful in the technique that I used. The challenge for me in this composition was the SHURE earpiece pouch. It is circular and I am not that good in drawing circles or curves for that matter. It looks out of shape.

Lesson 2: Sight Sizing

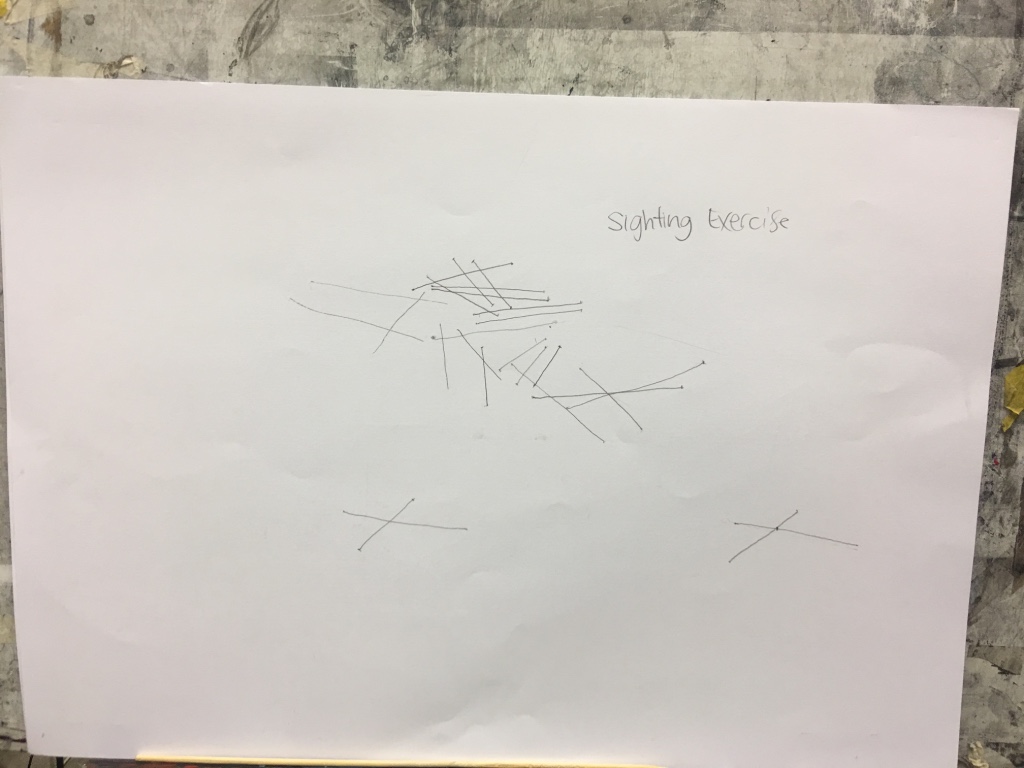
Start of week 2 and things are started to heat up! We started out the lesson by thinking about this thing call marks. The different kind of mark one makes can convey different kinds of emotion to the person that is looking at it. We were all asked to make a mark on a paper as a class and we were asked to say which marks do we think is unique or whatsoever. It is pretty interesting to see the different kind of marks everyone made. We were all pretty hesitant to make a mark thinking that it will be ‘wrong’ when the actual fact is that there isn’t a wrong in a mark. It is up to you and it is your own.

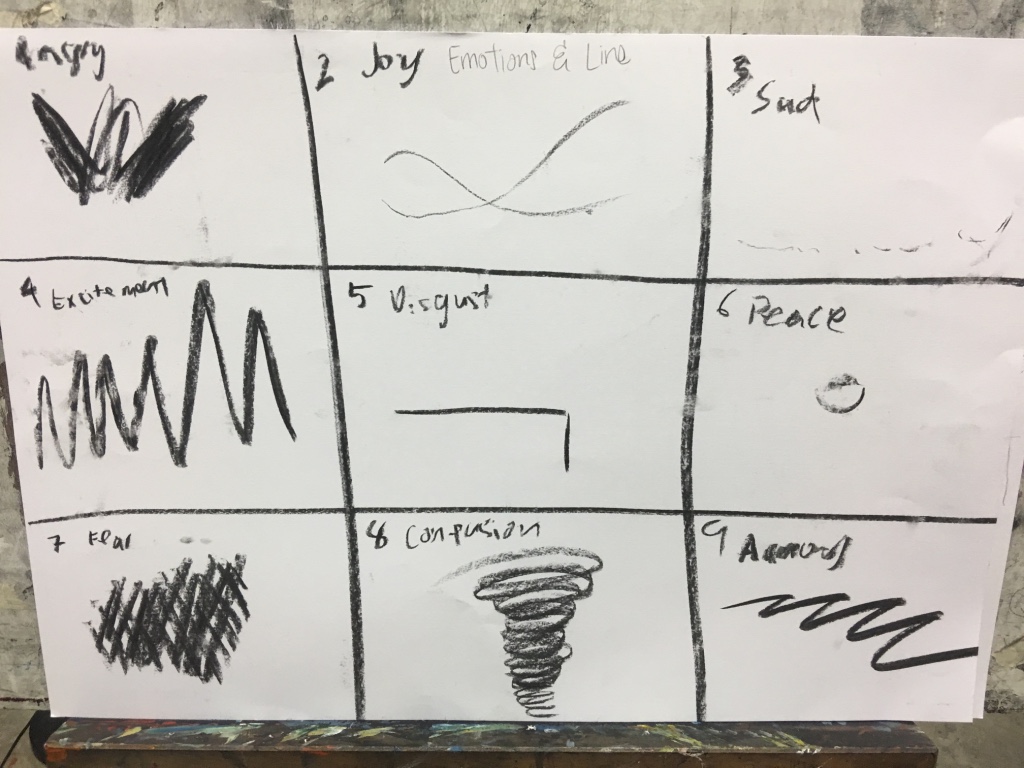
We then start this exercise of conveying the given emotion by making some type of marks that doesn’t already exist. Here is what I came up with in the different emotions given:
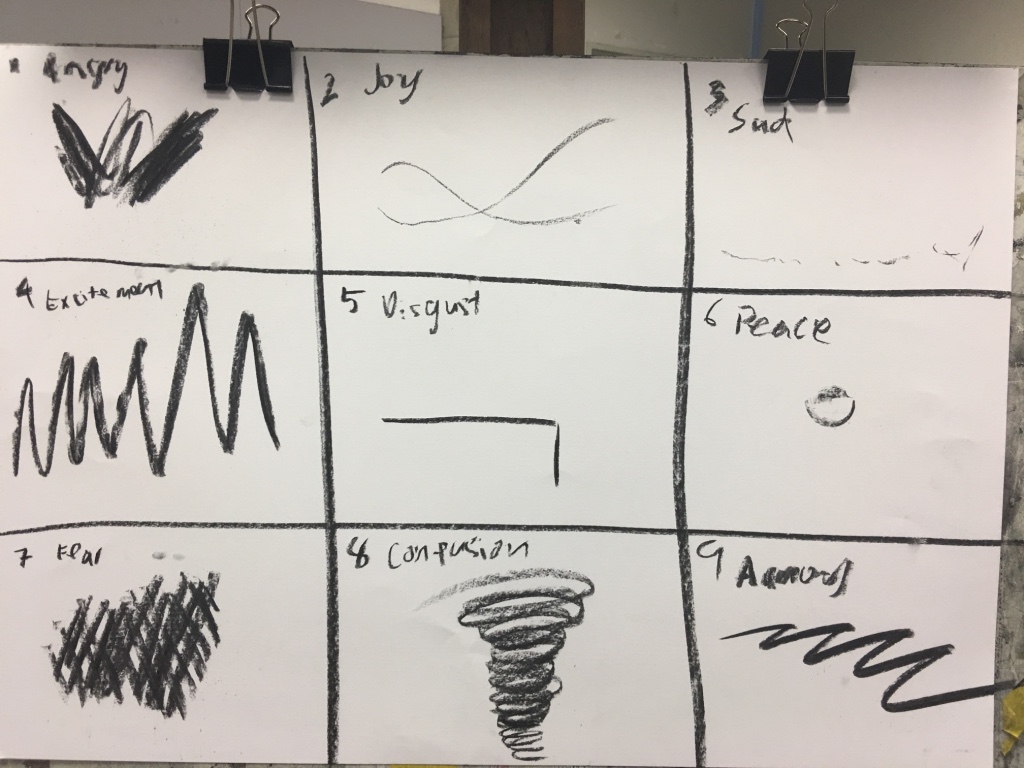
thumb_img_4458_1024

It was just a simple exercise to get us warmed up for the day of work.

We then moved on to a really really tiring and draining exercise (to me). Sticks were thrown on the stage and placed in the middle of the class and everyone have to draw it out using the sight sizing method. Basically if you are accurate in your sight sizing, the picture that you draw will look realistic and have a depth in it.

This is the stage with all the sticks.
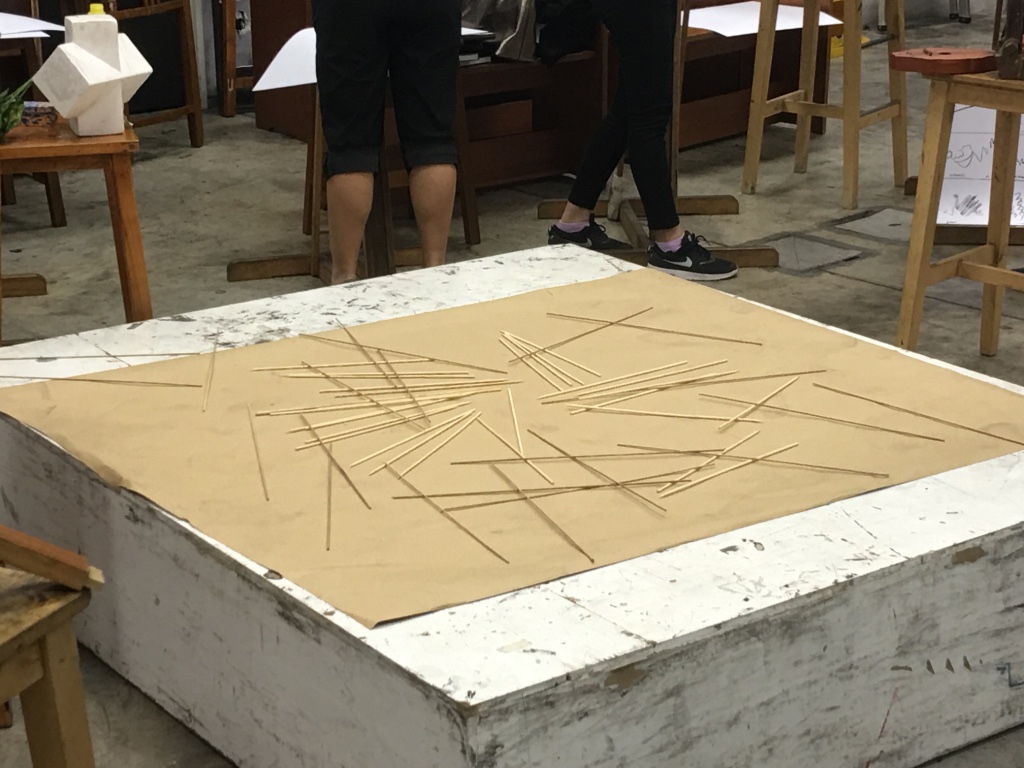
thumb_img_4465_1024

And this is my drawing of it.

thumb_img_4461_1024

It is pretty bad I know. I was focusing so much on the sight sizing of every single stick that it just drained the energy out of me and I lost my focus and it was really tiring for me. I tried my best at getting the angle as well as the length of it correct but I don’t think I was successful at getting it right in this case.

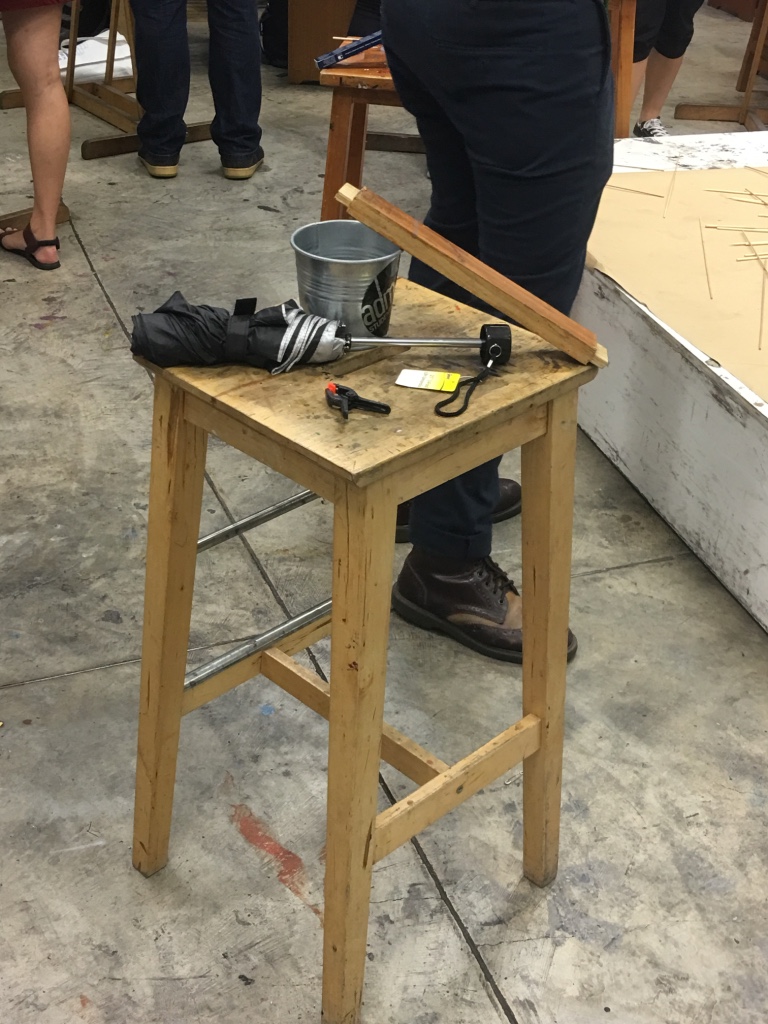
Lastly, we were asked to placed random objects on a chair and do the same sight sizing exercise. My brain was kind of dead at this point of time.
thumb_img_4463_1024

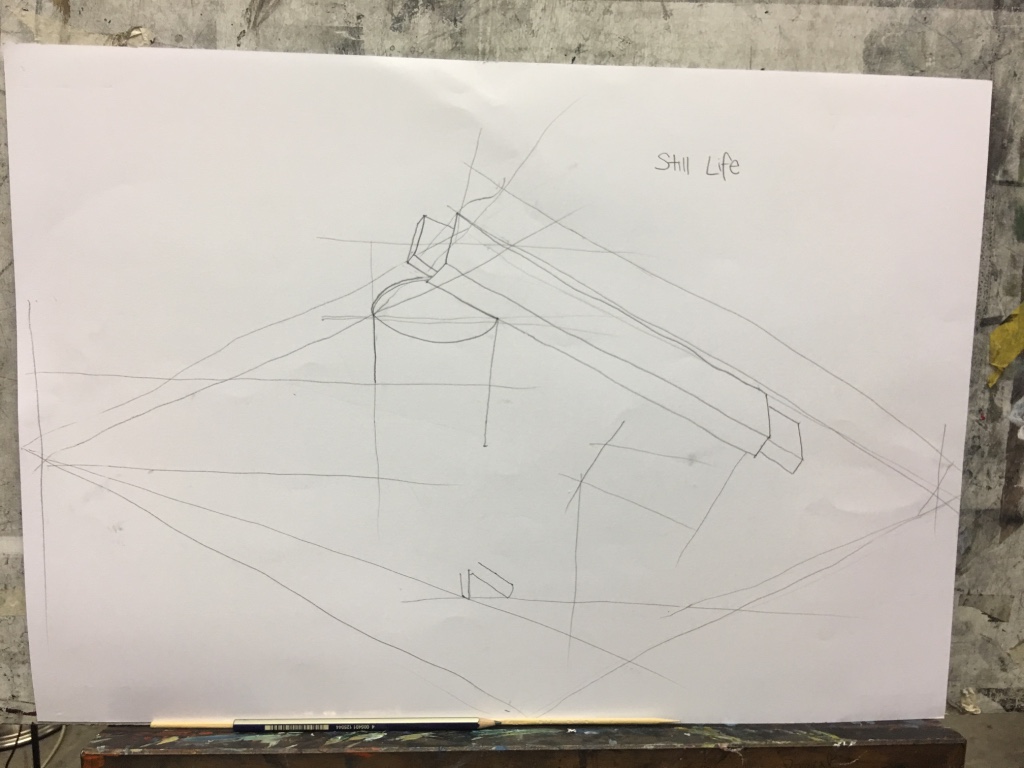
And this is what I came up with from the various objects.
thumb_img_4460_1024

It is not complete but I tried to capture all the angles of the different objects placed on the chair. In order to make it look ‘correct’, the angles between the objects must be right as well as the angle of the individual objects itself. I am not too sure if I got the sizing correct as you can scale up or down your drawing to your needs.

In conclusion, I believe the  technique thought to us is really useful at getting the angle right and also the size of the object because you don’t want to make something look bigger or smaller than expected.
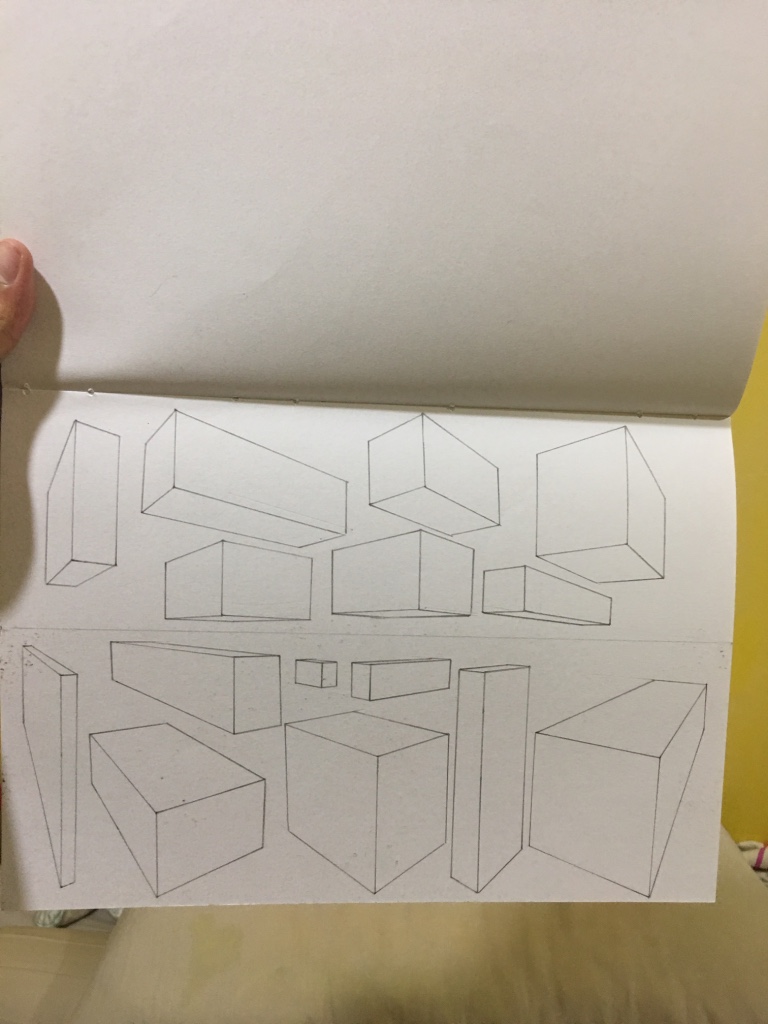
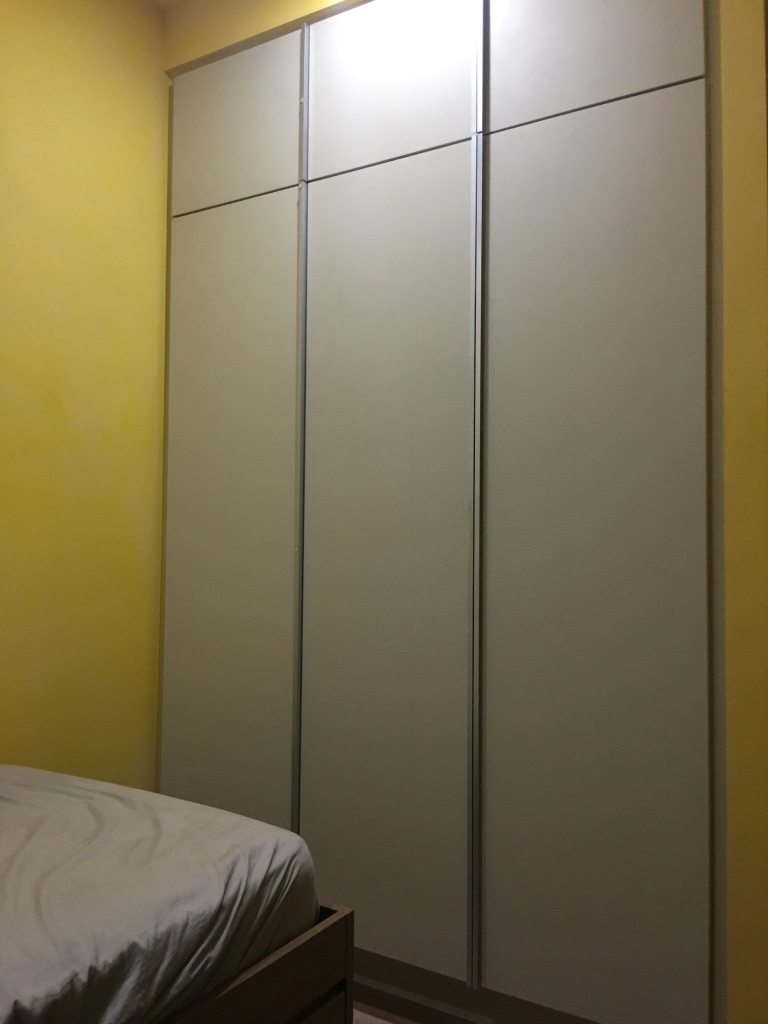
Lesson 1: Blind Portraits Homework

Our very first homework! We were given the task of doing three blind portraits and it can be anyone. We must be honest in our drawings and not cheat because what is the point of cheating when you won’t learn anything?

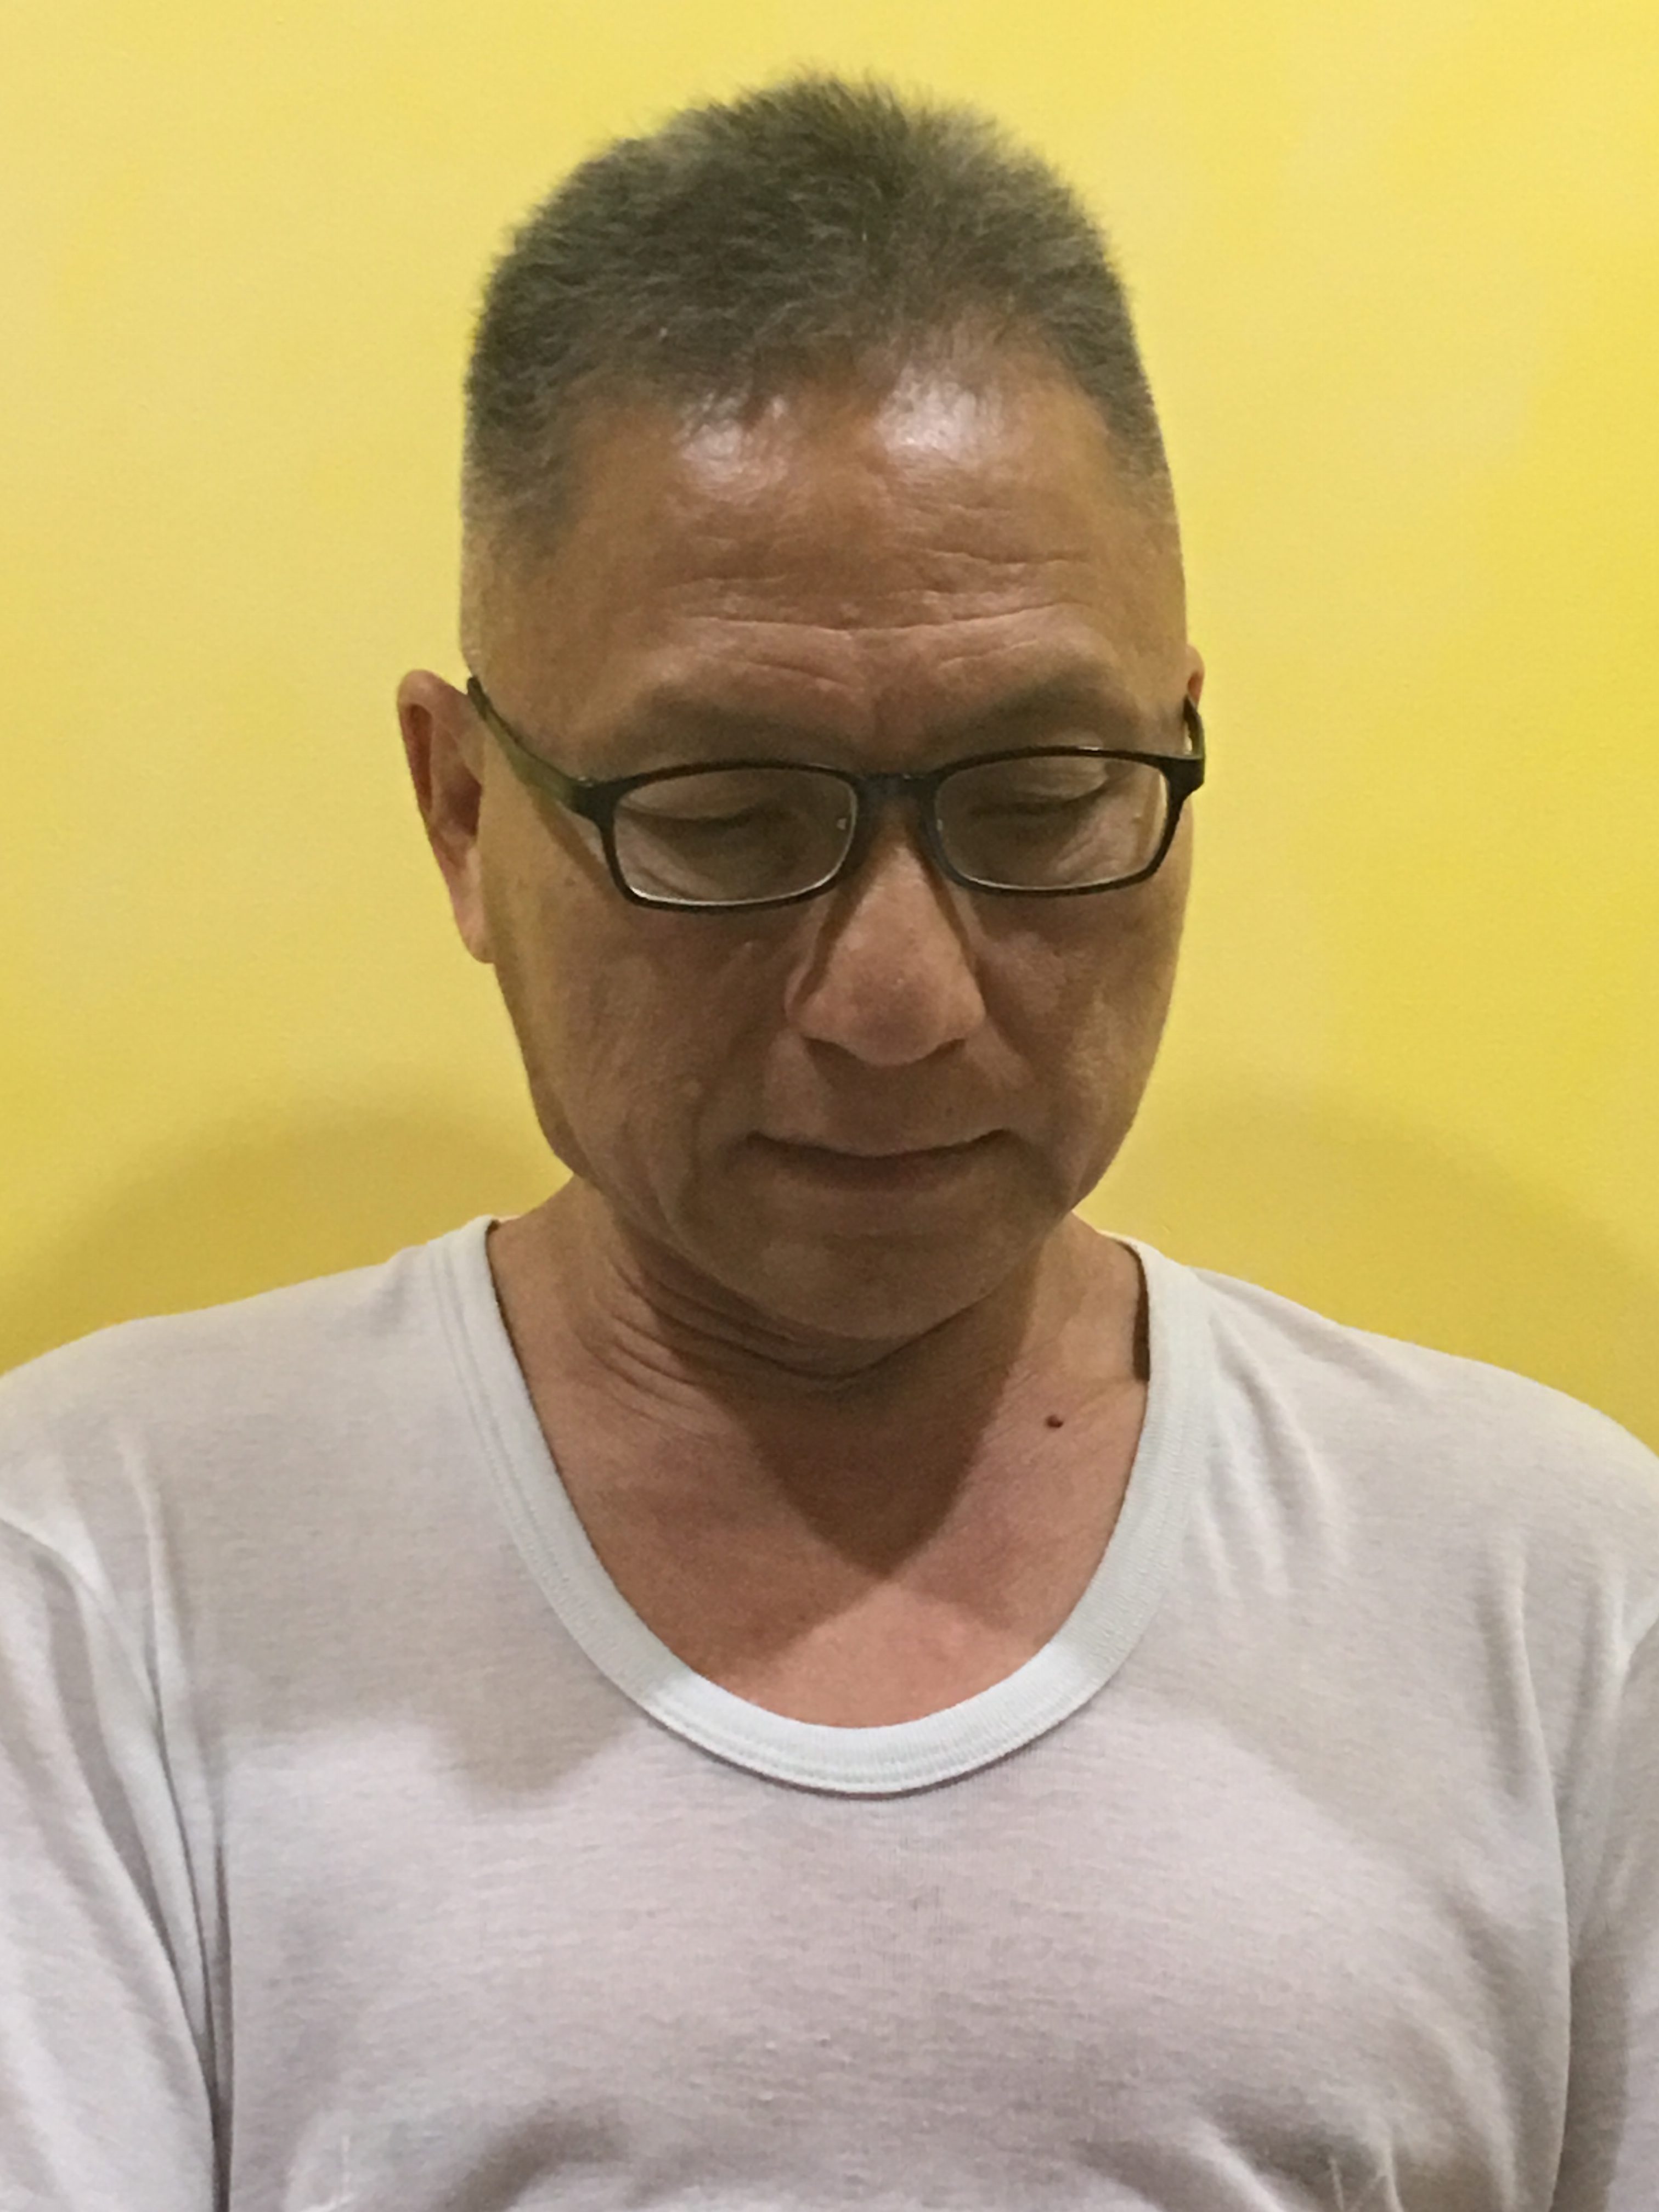
It’s time to put what we’ve learnt in class into practice so I decided to draw my dad first. This is how it turned out.
thumb_img_5612_1024img_4431


Don’t mind the dirty picture. Got some charcoal on it for some reason. The most challenging part of the drawing have to be the spectacles. I have no idea where I am drawing at the point of time but I do my best to focus and move my hand at the same speed I am moving my eyes. If it is at the same speed, the drawing will more or less be accurate.

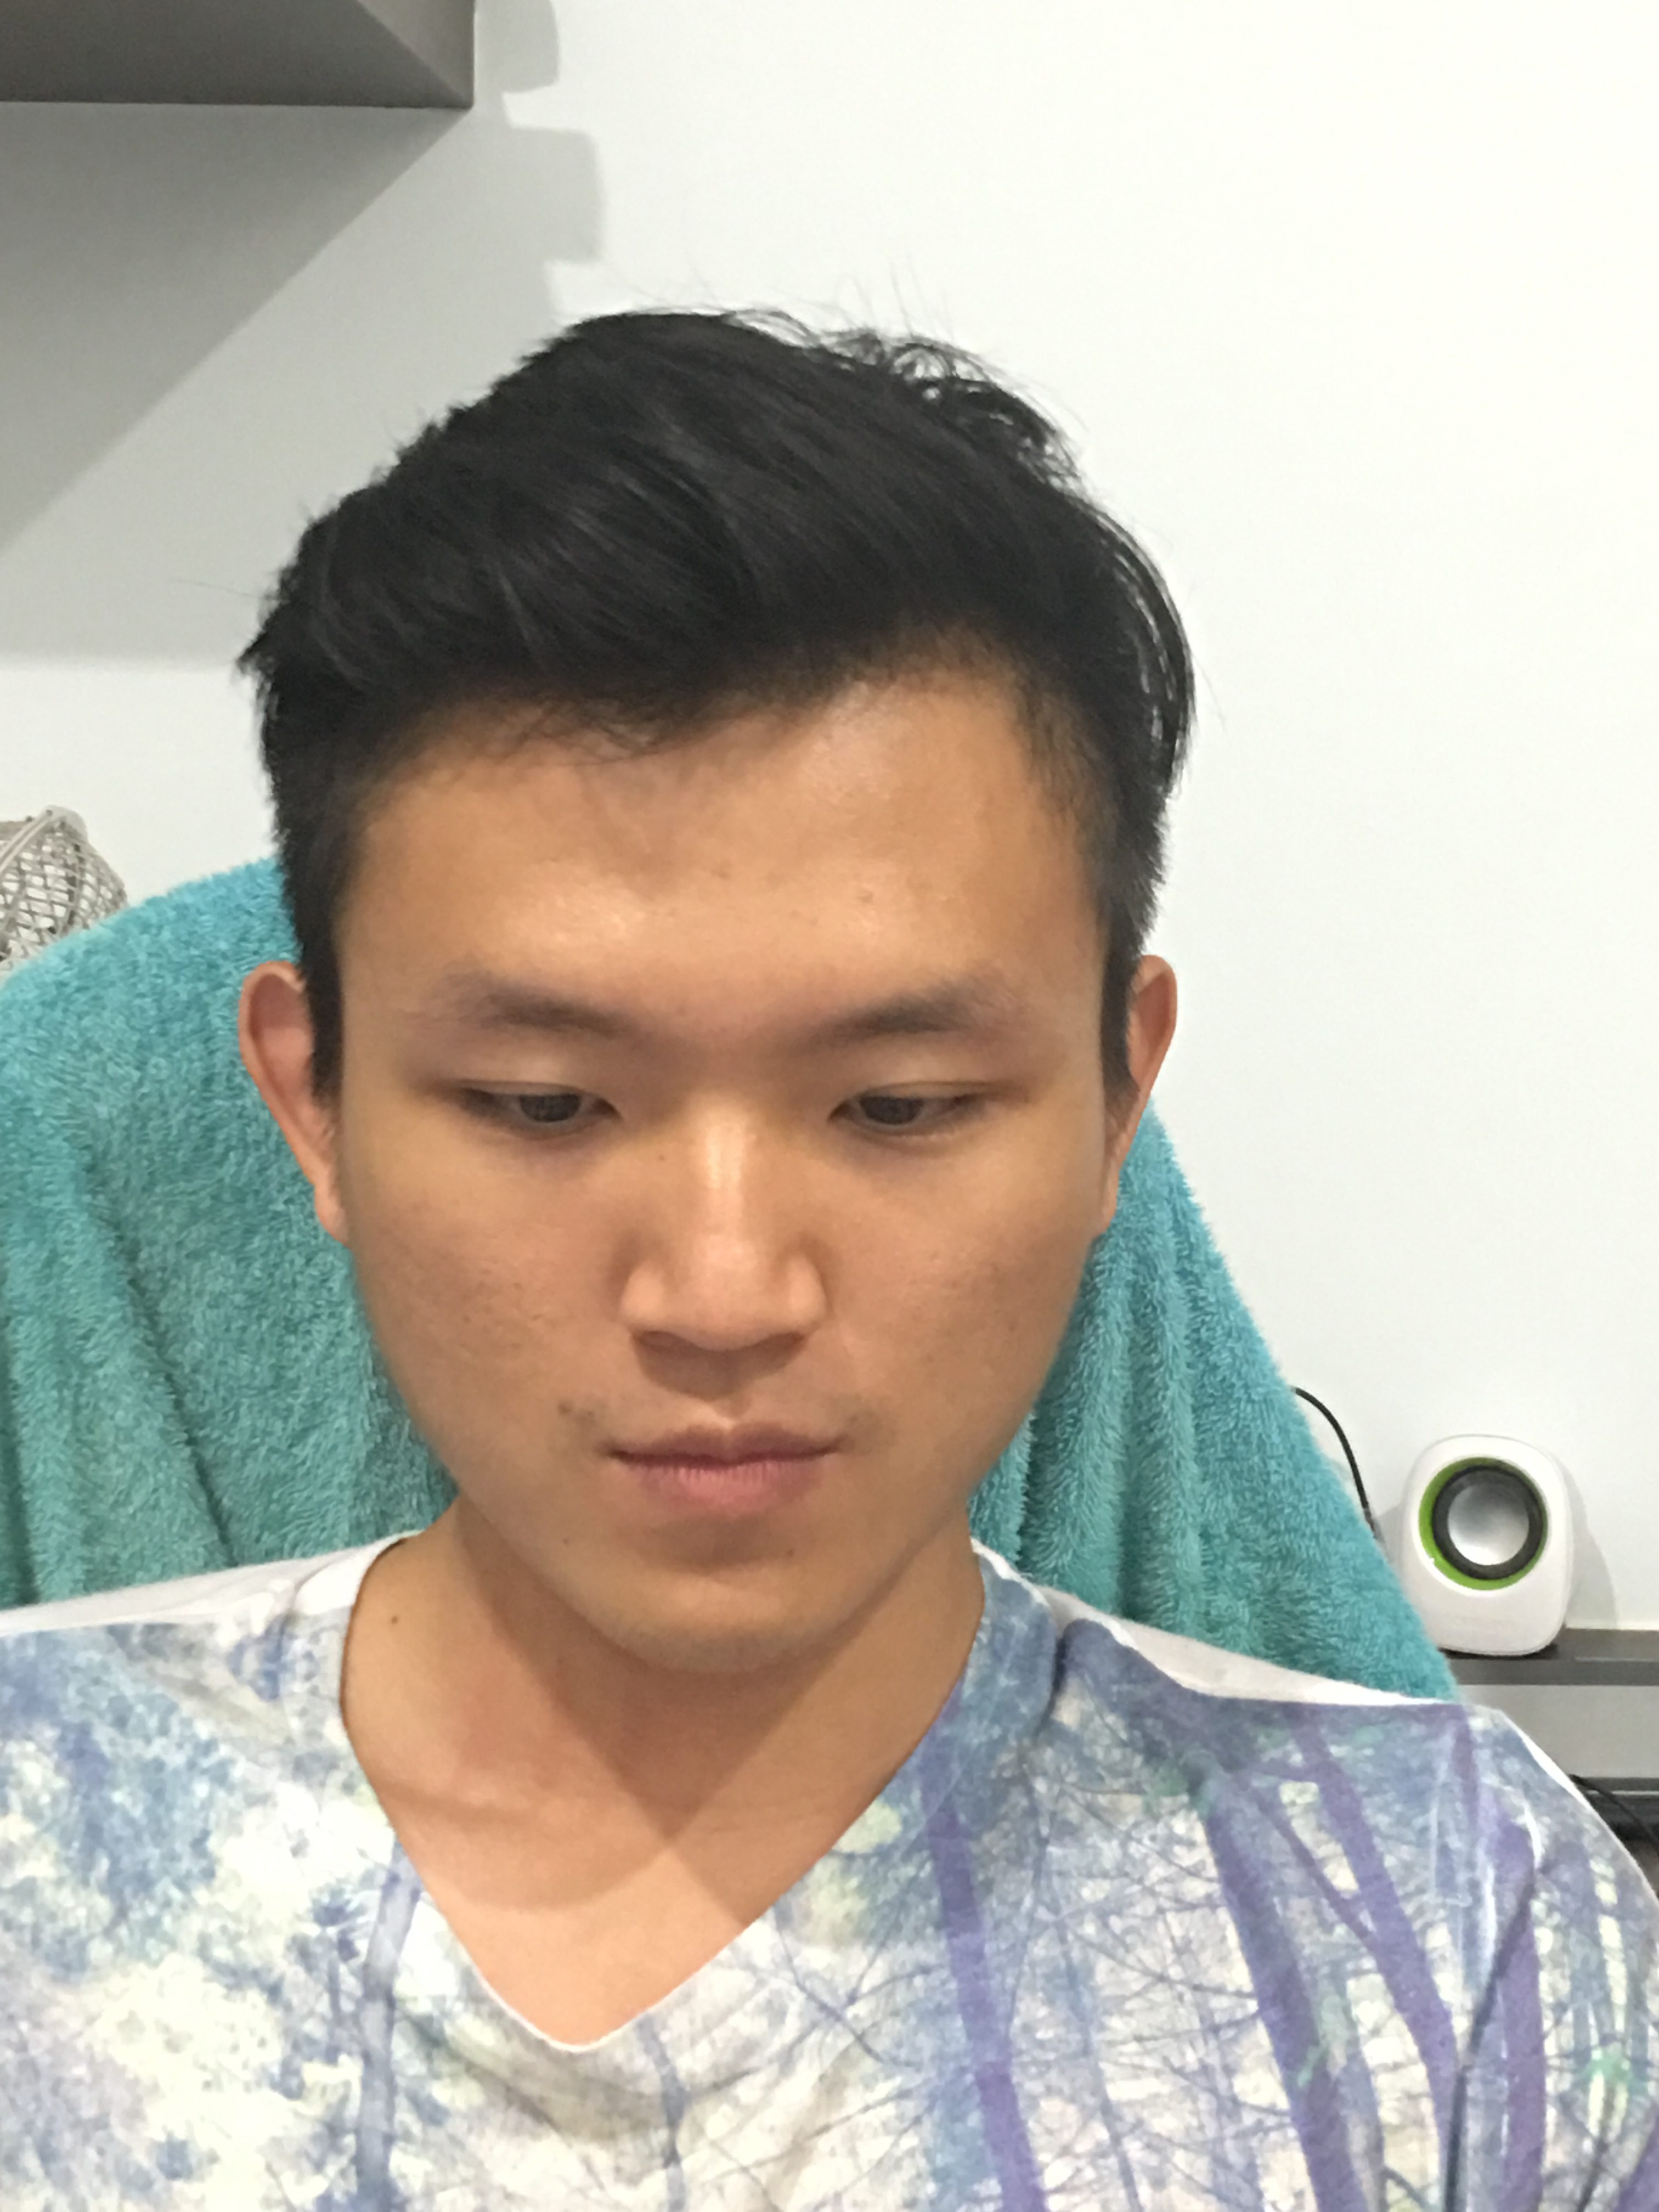
Next, I drew my brother.
img_4432thumb_img_5613_1024


I realised that the hair was an issue to me. I didn’t know how to draw the hair as I wasn’t looking at the drawing. For this drawing, I drew his eyes too big from the original and also the lips were too thick.

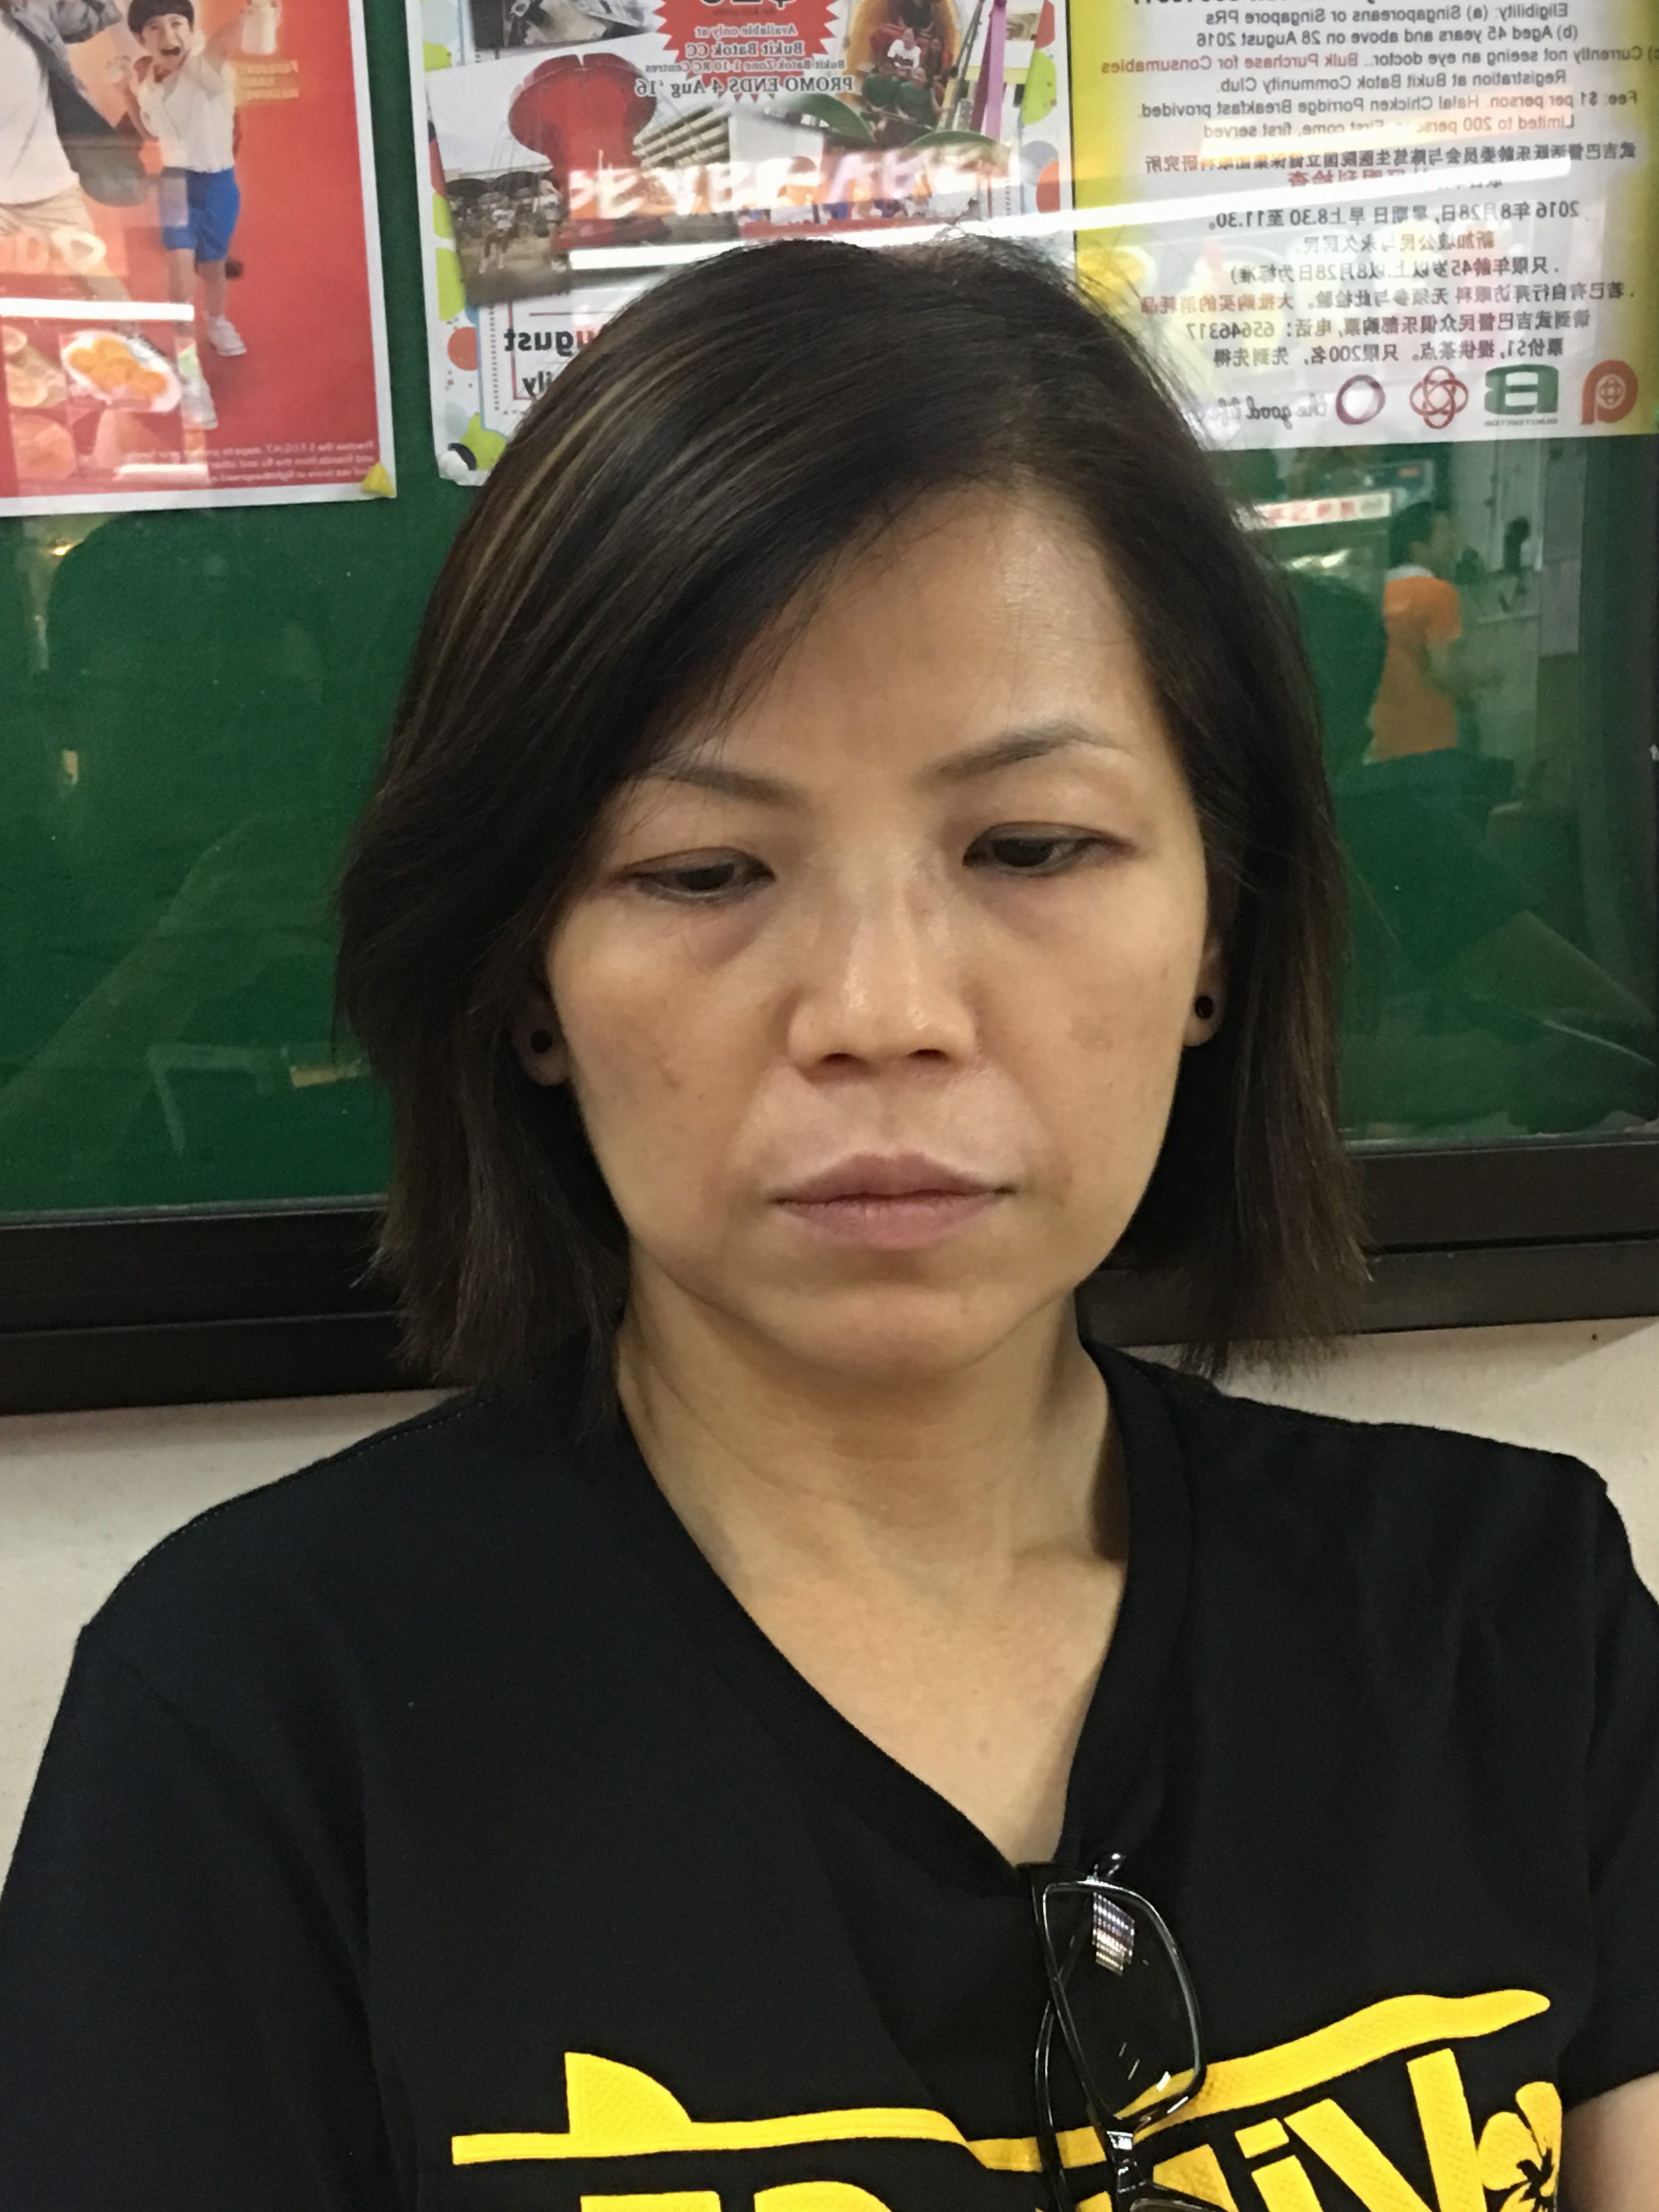
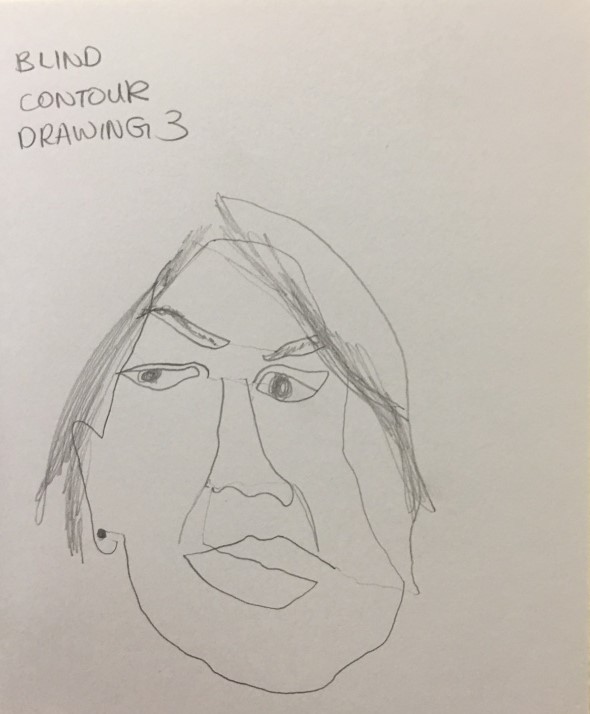
Lastly, since I’ve drew two males I decided to try to draw a female as I heard that it is more difficult to draw a woman so why not?

Presenting my mom:
img_4437thumb_img_5614_1024

As you can see, my drawing isn’t really getting any better. Maybe it’s because I wasn’t focused enough? The hair really is a difficult thing to draw. I tried to draw the outline first before filling it up but apparently it doesn’t work out. I tried to get every detail of her face including the earrings and the lines on her face.

All in all, I find this homework exercise really interesting as blind drawing was not in my mind at all when I think about drawing a subject or an object. It really teaches me to focus on the subject really closely if not you will just be lost halfway and the drawing will be screwed up.

Lesson 1: Blind Drawing Exercise

Our very first art lesson of the semester! It was a little nerve0wrecking as I have the mindset that I have no talent in drawing at all and that I will do pretty badly in this module but I try my best in all the drawings that I do.

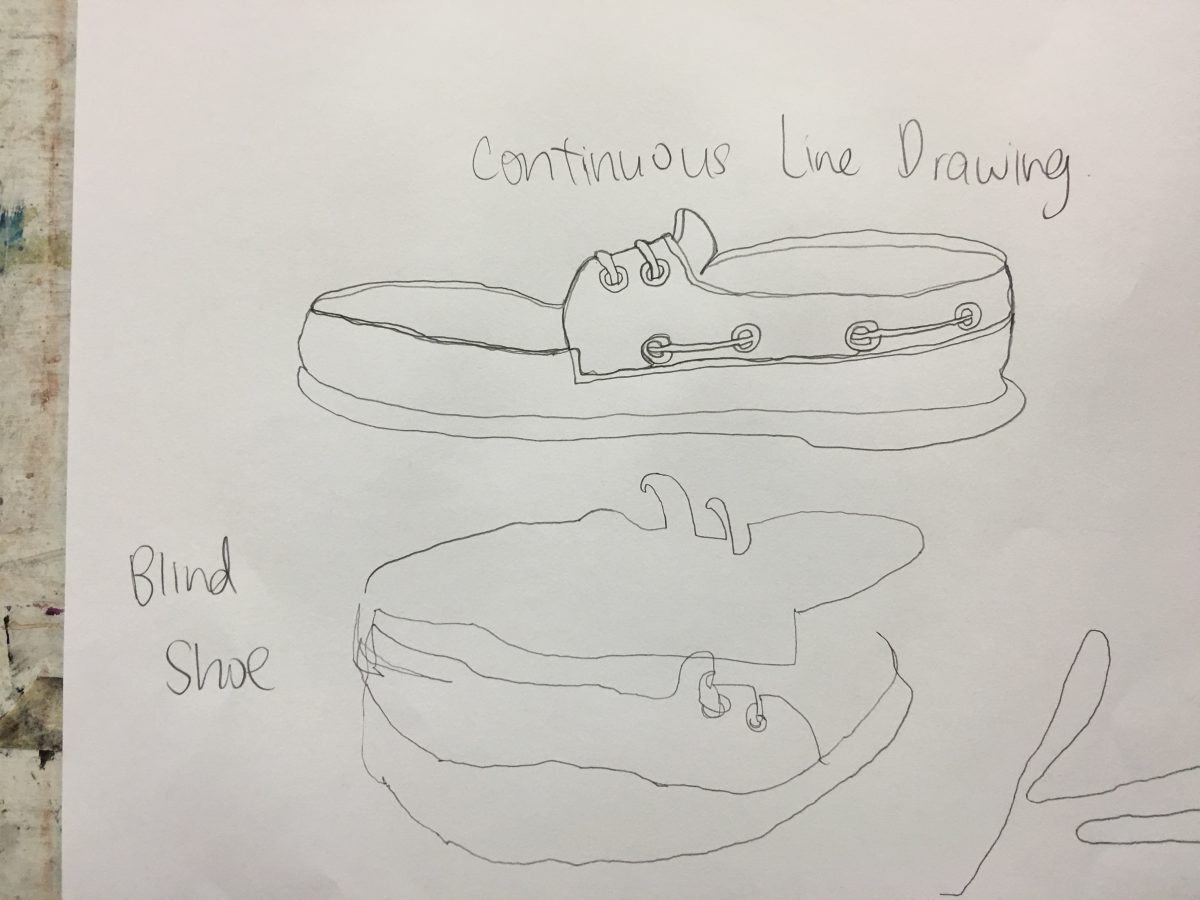
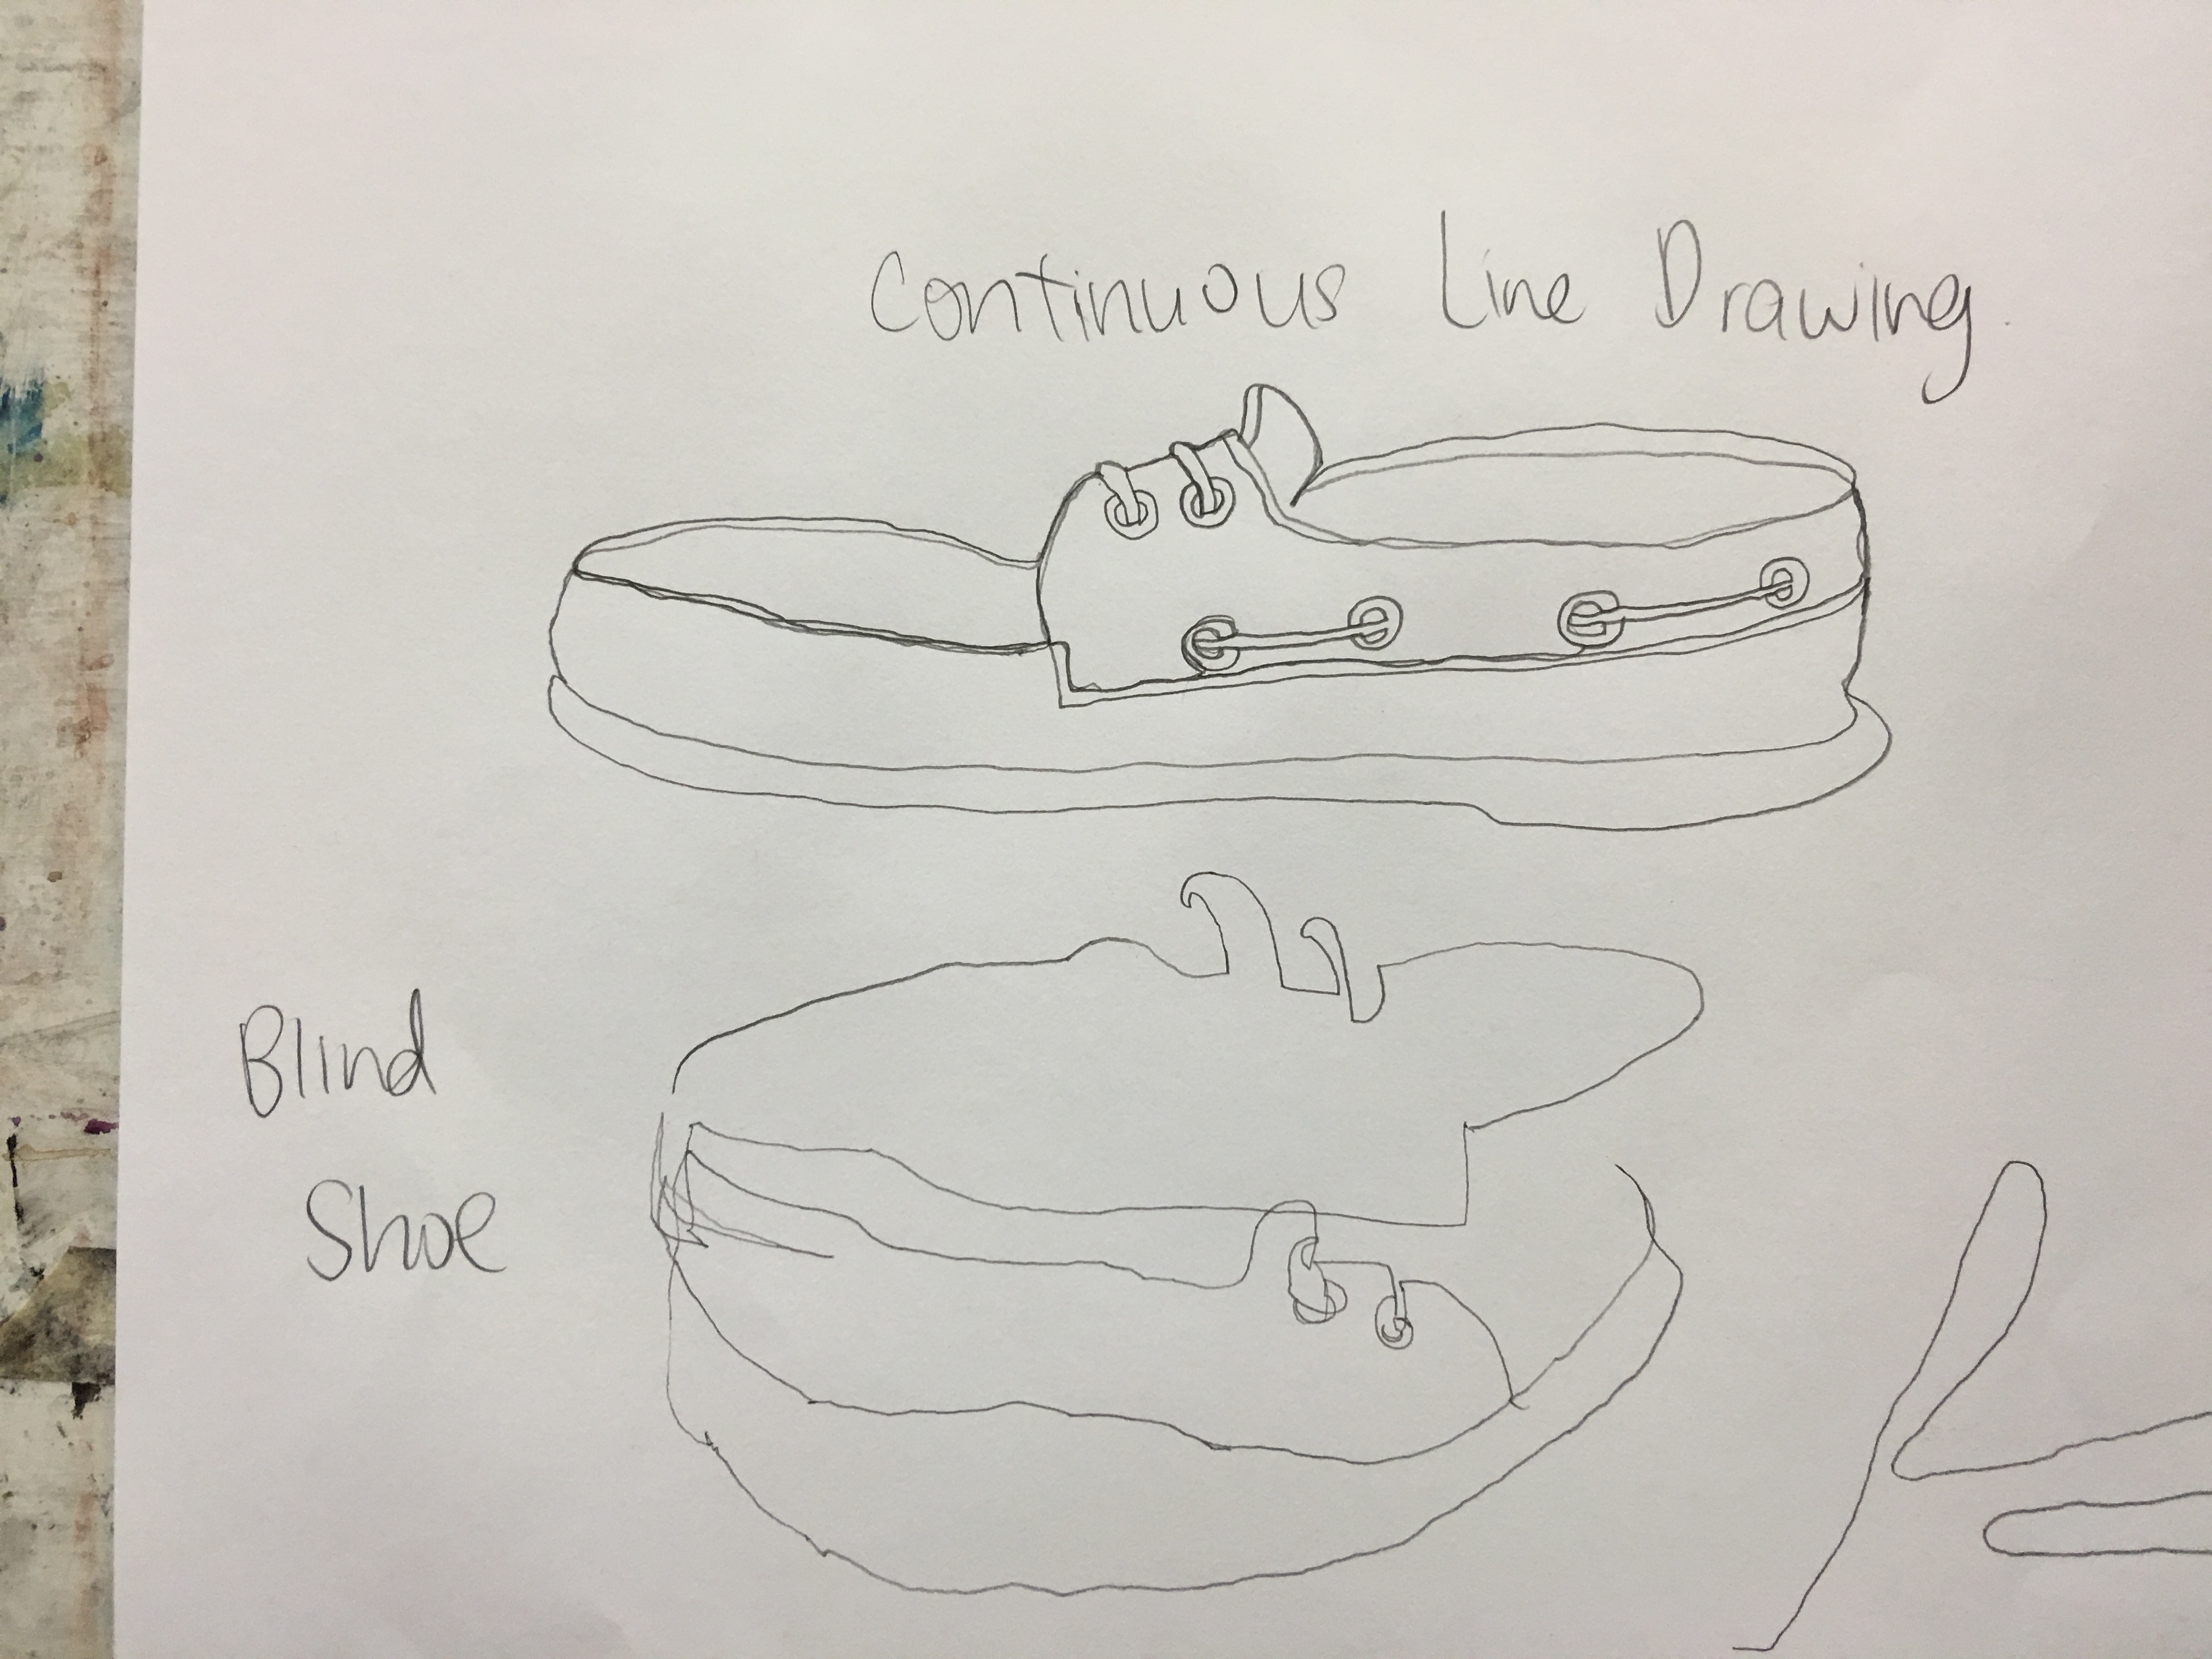
The first exercise we were asked to do in class was to draw our shoes using a continuous line. This is what I drew and it looks pretty okay I guess but you can tell that I wasn’t confident as I keep going back to the same line again and again.IMG_3559 2Right after that, we were told to not look at our drawing at attempt to draw our shoe. I was surprised at the exercise but did it anyway. The bottom of the top picture was the result of my ‘blind’ drawing of the shoe. I can roughly tell that it is a shoe at some parts.

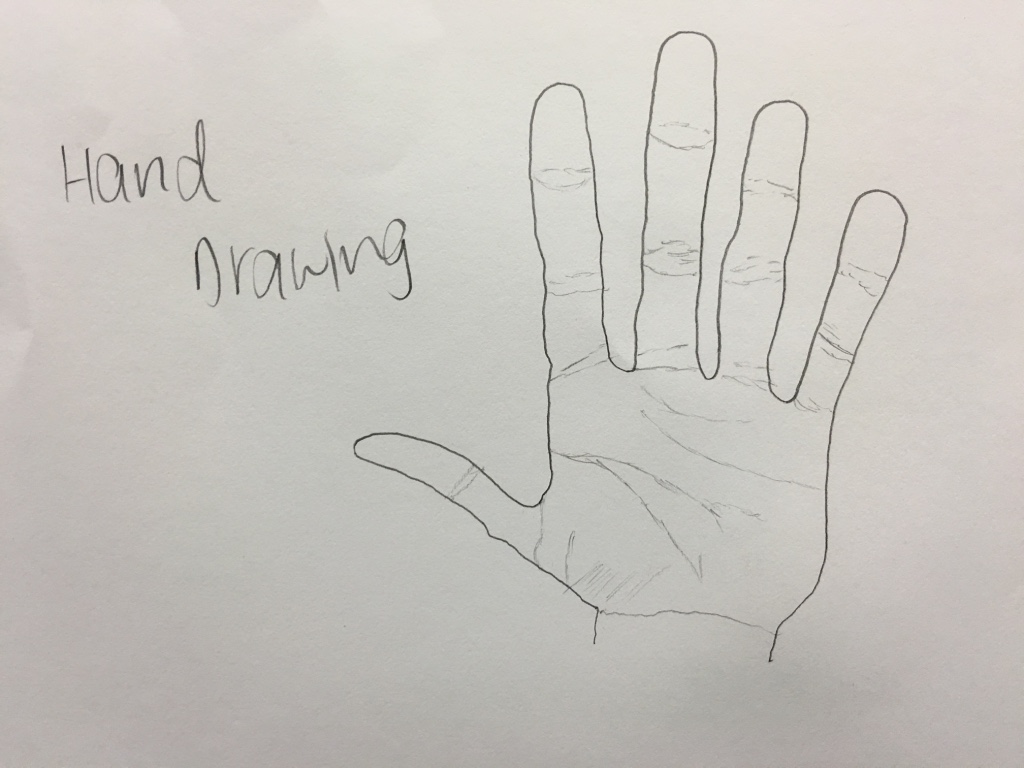
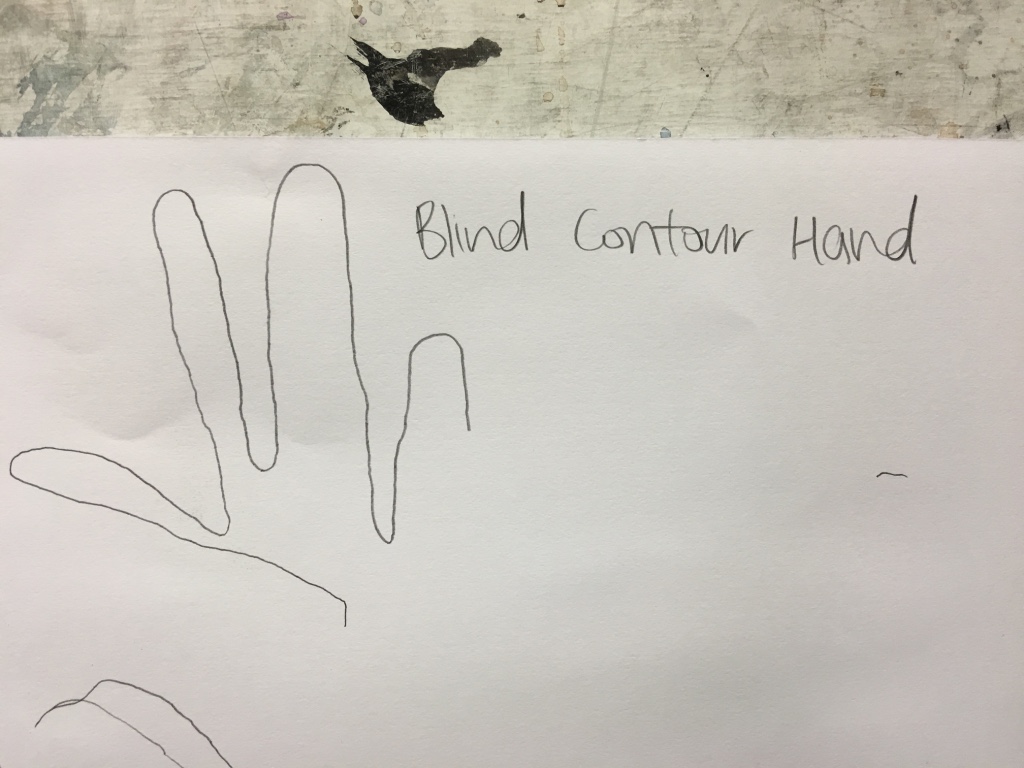
We started doing more drawings ‘blindly’ and the next exercise was drawing of a hand. First, looking at the hand and you are able to see what you are drawing. Then after will be the blind drawing. So the outcome turned out as shown below:

thumb_img_4394_1024thumb_img_4392_1024

I was pretty satisfied with the first hand that I drew even though it is a little out of proportion. The ‘blind’ hand was completely off for me. It was probably that I wasn’t focusing enough?

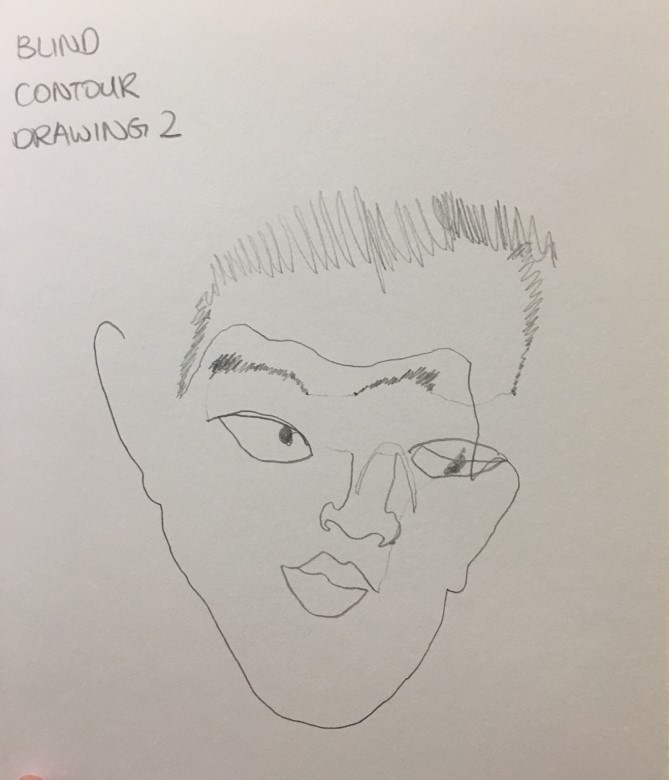
The last exercise was to draw another person in the room without looking at your drawing. Now this is a tough one because there are so many things to draw on a face. The facial features and everything must be captured without looking at the drawing. That’s a tough one. The outcome is as shown below:

thumb_img_4391_1024

I believed I’ve tried my best. This is my first art lesson after all and I hope to improve my drawings slowly and surely after every lesson.