This week’s lesson we had our second nude model drawing. This time the model has a more defined body with muscle lines all over his body to really help us in our drawing of nude models.
For our first exercise, still life was incorporated into the composition this time and it includes the background too. Therefore, there’s more things to draw apart from the pose of the model.
I’ve tried using the technique taught to us in the previous lesson which is to get the angle of the hips and shoulders of the model correct and also his line of action. I still struggle a bit with the line of action part but I believe I was able to capture the line of action slightly better than before.
We went on to do some figure drawing. First we used the normal pencil, then we attached our pencil to a stick and did the extended arm drawing. This is to allow us to not be so rigid in our drawing holding the pencil the same way as always. It teaches me that there are other methods of bringing across a mark or a drawing.
Figure Drawing #1
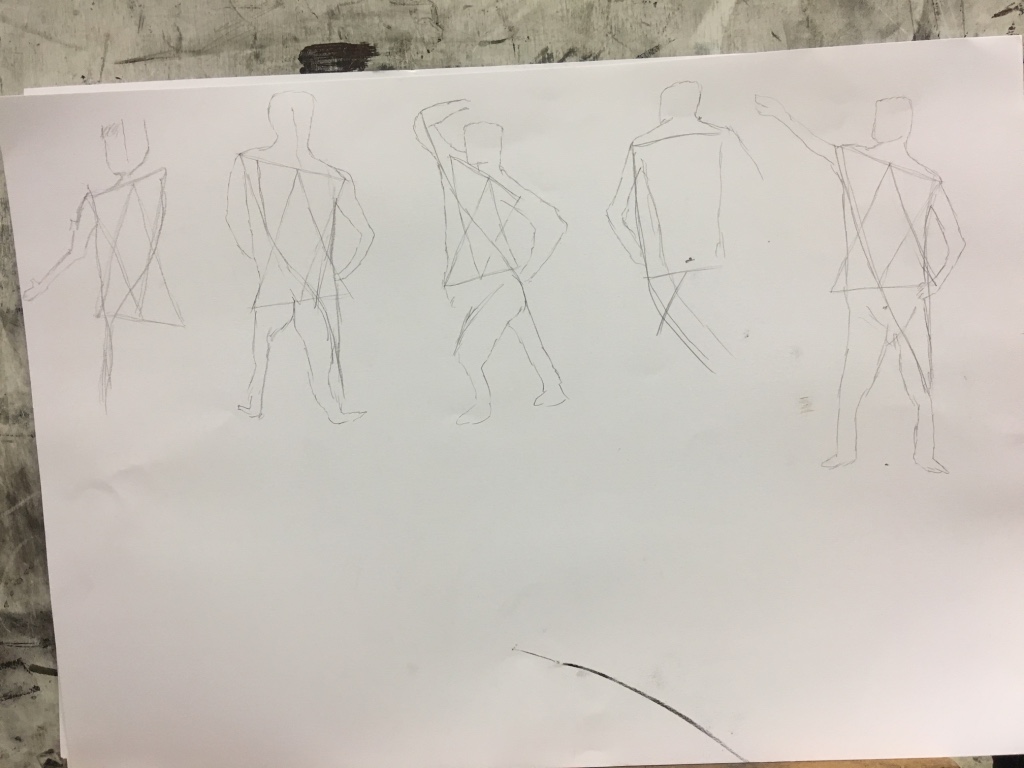
Trying to get the body structure right is the first step in figure drawing. First I drew the angle of the shoulders and hips using the sight sizing method. Then I drew triangles to the middle of each line.
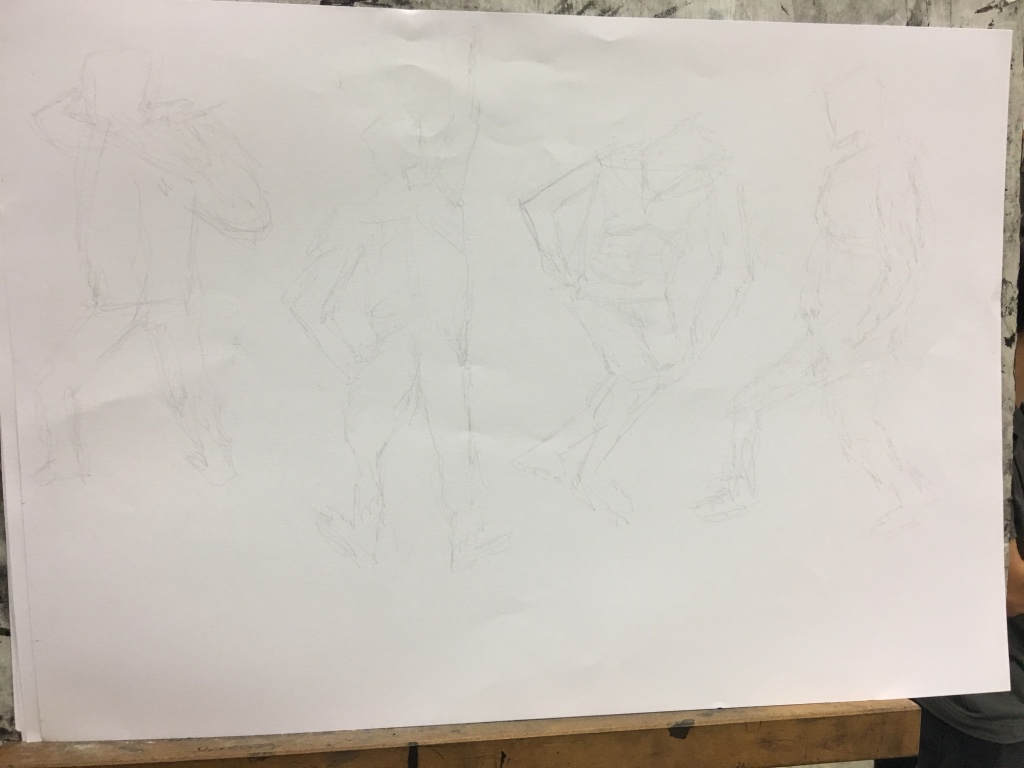
Figure Drawing #2

At this point we’ve extended our ‘arm’ out a little bit. That is why the drawing looks really light as it is difficult to apply pressure on the pencil when I am not holding on to the pencil.
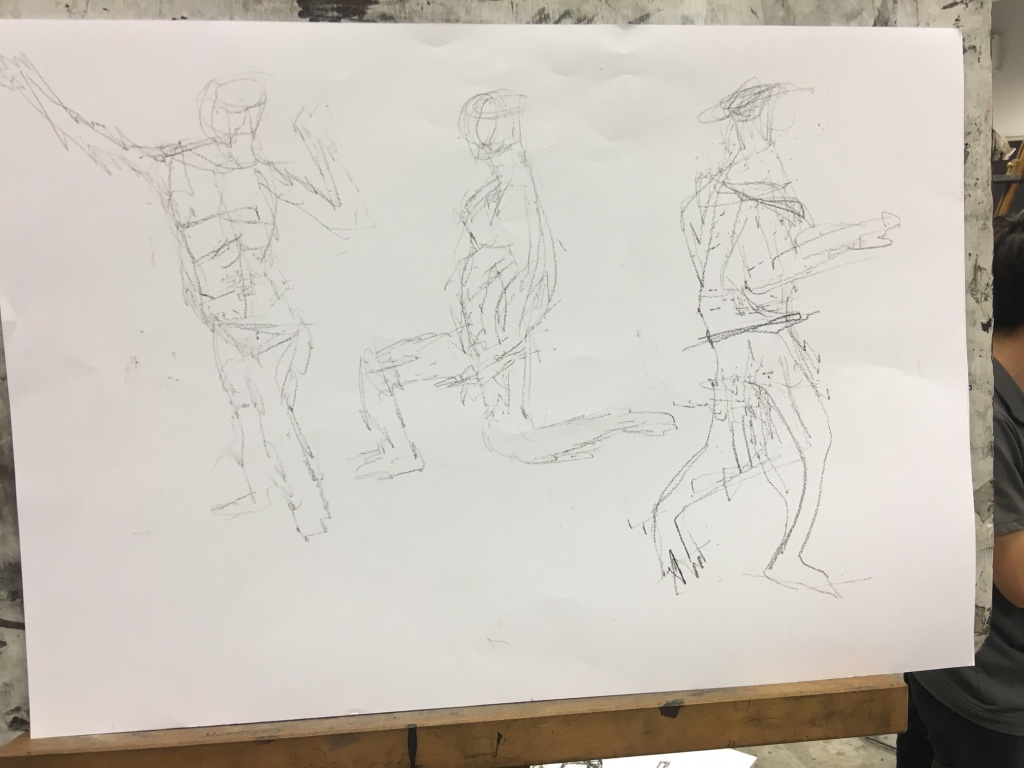
Figure Drawing #3
In this, we extended our ‘arm’ out much more. It is difficult to control the pencil right now and the lines are going everywhere at this point of time. But still trying to capture the gesture of the model.
Figure Drawing #4
The pencil is now swapped with a charcoal. It was my first time using the charcoal. I’ve heard of it before from my art friends previously and it’s cool to be actually trying it out.
We did the extended arm on the charcoal that is why the drawing is darker than previous but still pretty light.
Figure Drawing #5

Different poses one after another. This time I’ve included the body lines on his back and body.
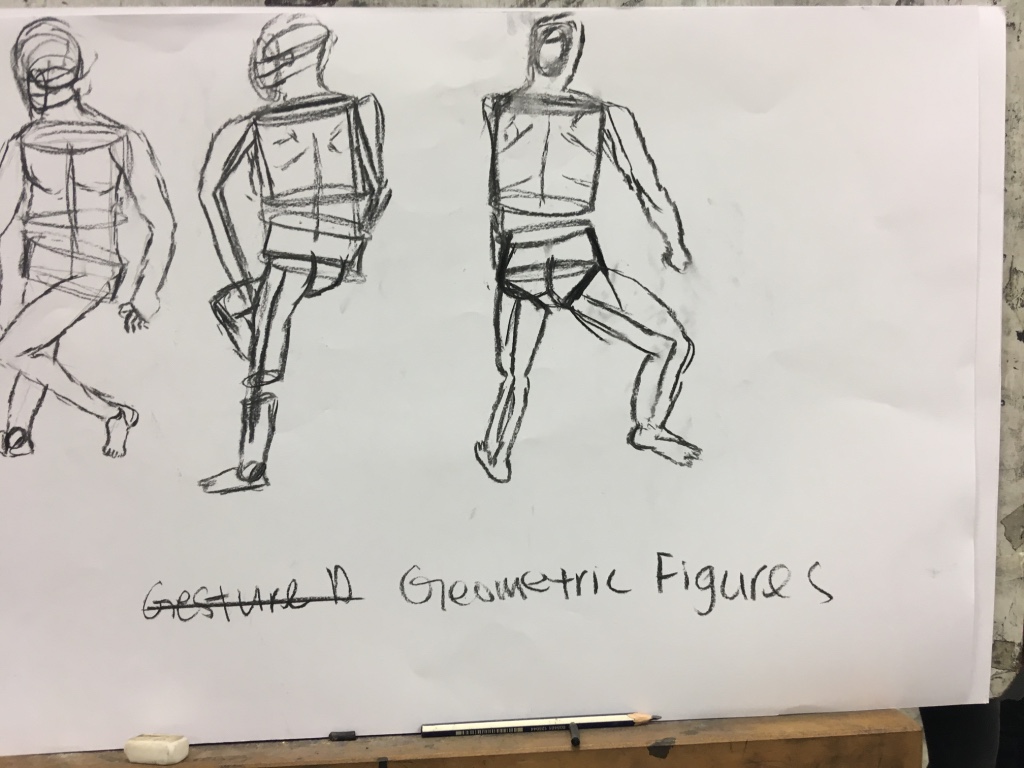
Figure Drawing #6
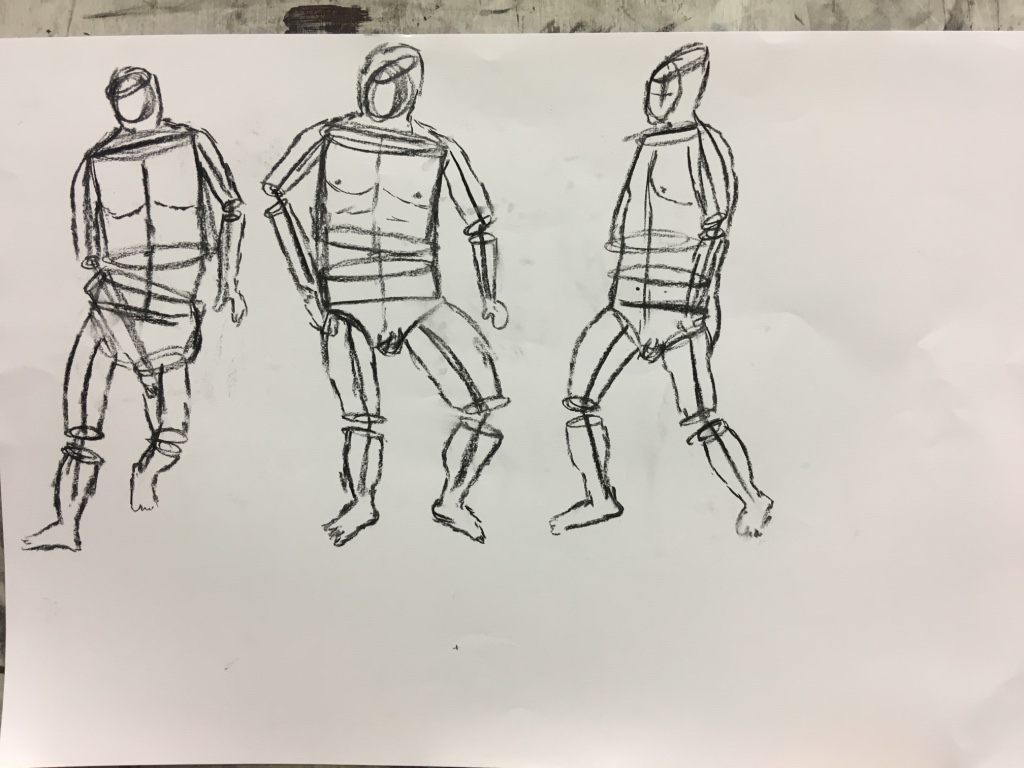
A new method was taught and it was, to draw a cylinder shape for the top body and a underwear like cylinder shape for the hips area. This is to aid us in making the figure look more realistic and proper.
Figure Drawing #7 & #8

This concludes today’s lesson. It was pretty interesting the things that I’ve learnt today. I have a better understanding on how to draw a figure better. With practice I believe I will get better in it.
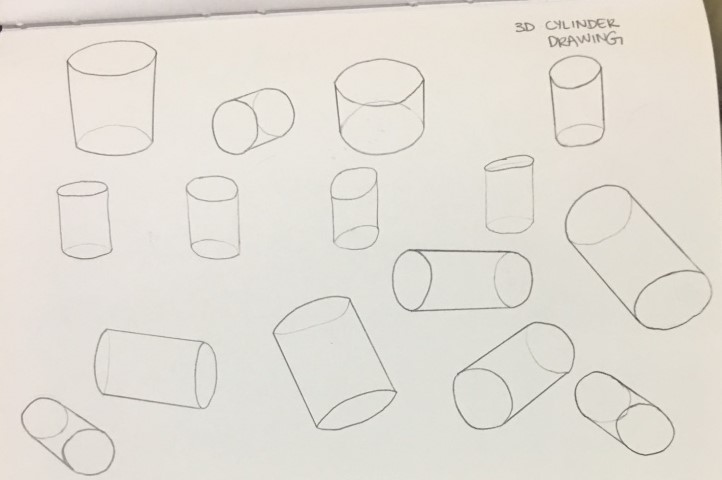
On to the homework, we were asked to do two drawings. A 3D drawing of cubes and a 3D drawing of cylinders.
I really love to look at 3D drawings because it looks really realistic and it is like I am looking at the object in real life at a certain angle.

Drawing the boxes in 3D wasn’t much of a problem. I got the hold of it after a few tries.
The cylinder was a little bit of a problem. I don’t really like to draw curve shapes as that is my weak point. Some of the cylinders are off shape but this homework really helped me look at things from a different perspective.