Start of week 2 and things are started to heat up! We started out the lesson by thinking about this thing call marks. The different kind of mark one makes can convey different kinds of emotion to the person that is looking at it. We were all asked to make a mark on a paper as a class and we were asked to say which marks do we think is unique or whatsoever. It is pretty interesting to see the different kind of marks everyone made. We were all pretty hesitant to make a mark thinking that it will be ‘wrong’ when the actual fact is that there isn’t a wrong in a mark. It is up to you and it is your own.
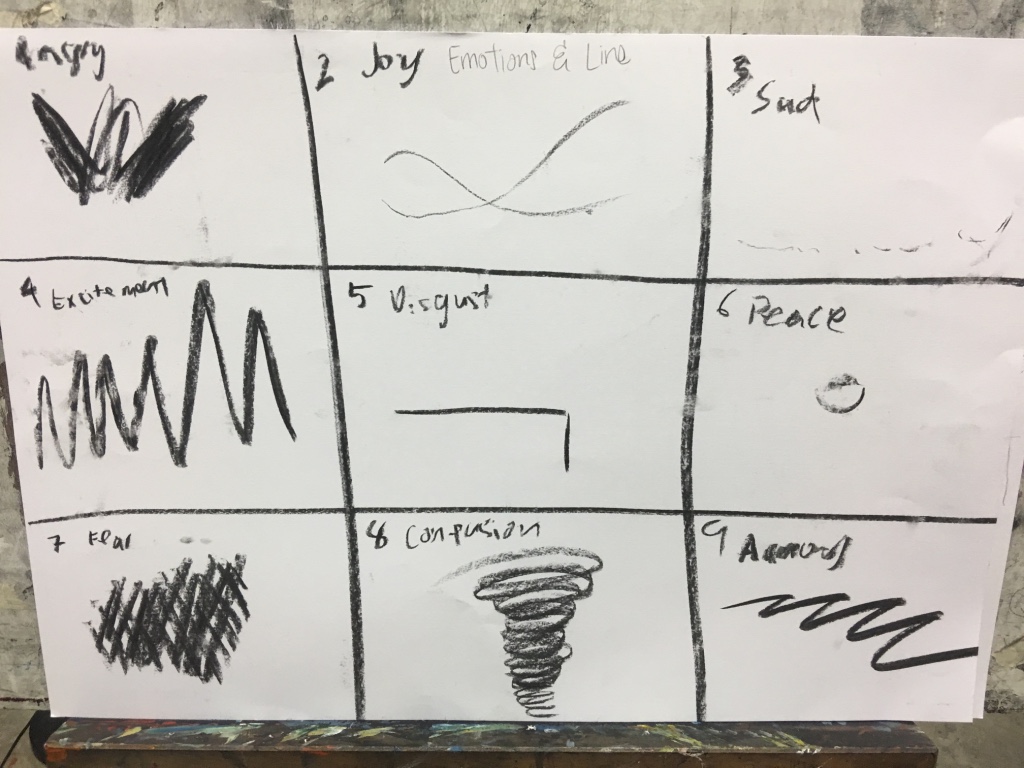
We then start this exercise of conveying the given emotion by making some type of marks that doesn’t already exist. Here is what I came up with in the different emotions given:
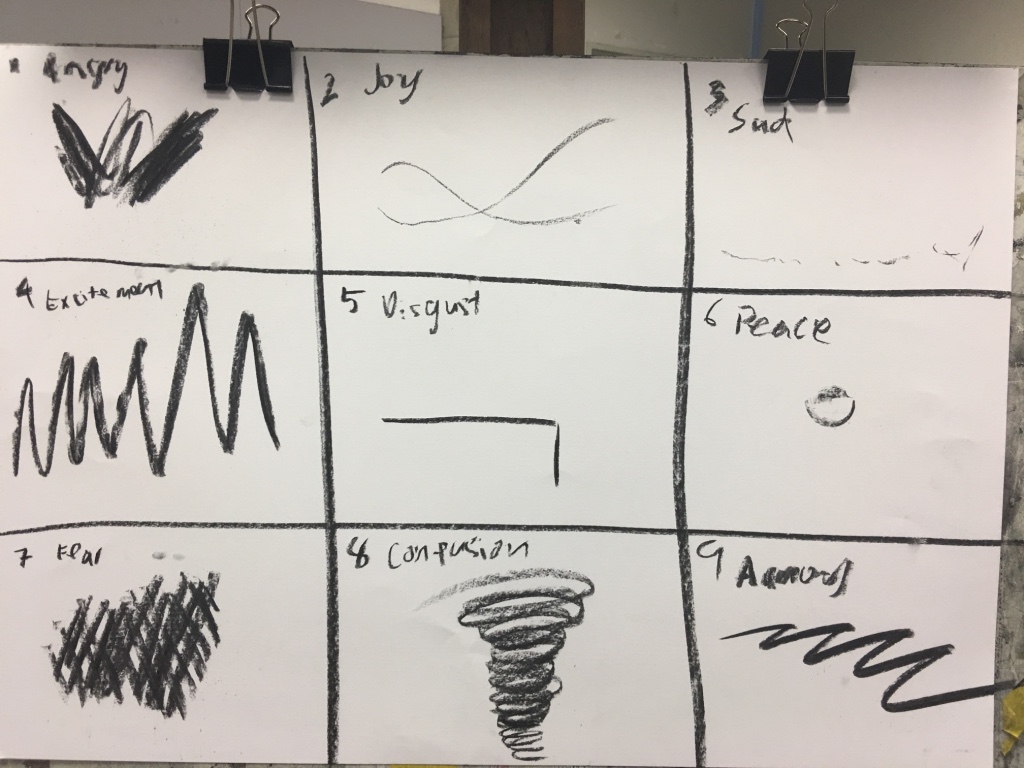
It was just a simple exercise to get us warmed up for the day of work.
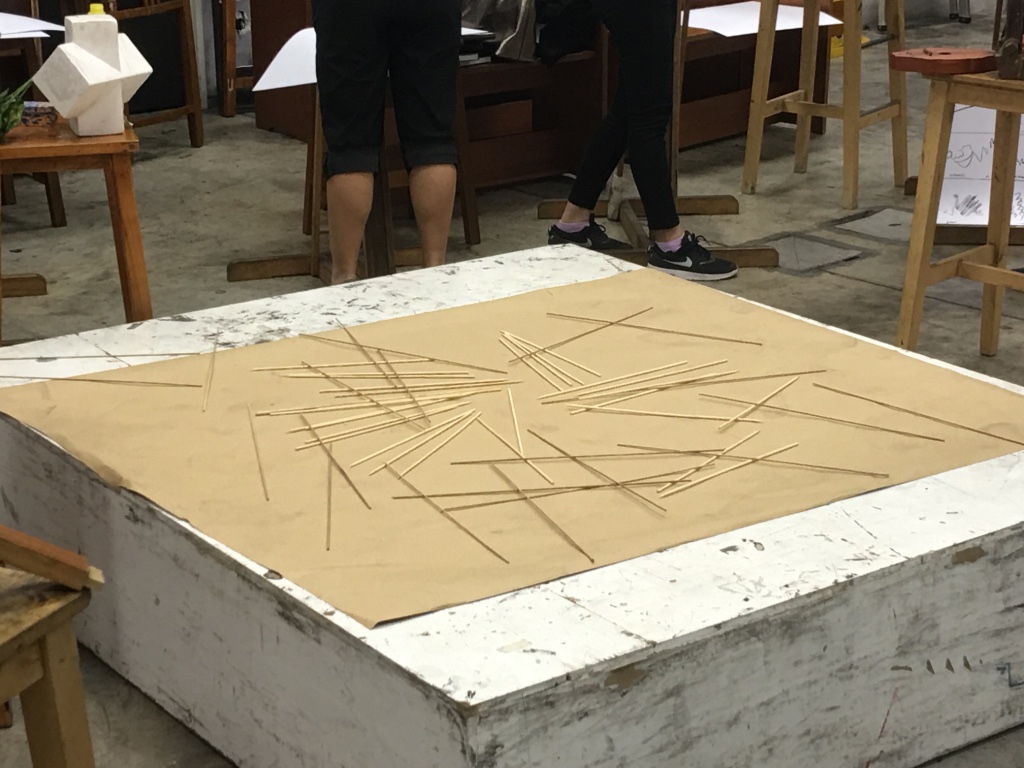
We then moved on to a really really tiring and draining exercise (to me). Sticks were thrown on the stage and placed in the middle of the class and everyone have to draw it out using the sight sizing method. Basically if you are accurate in your sight sizing, the picture that you draw will look realistic and have a depth in it.
This is the stage with all the sticks.
And this is my drawing of it.
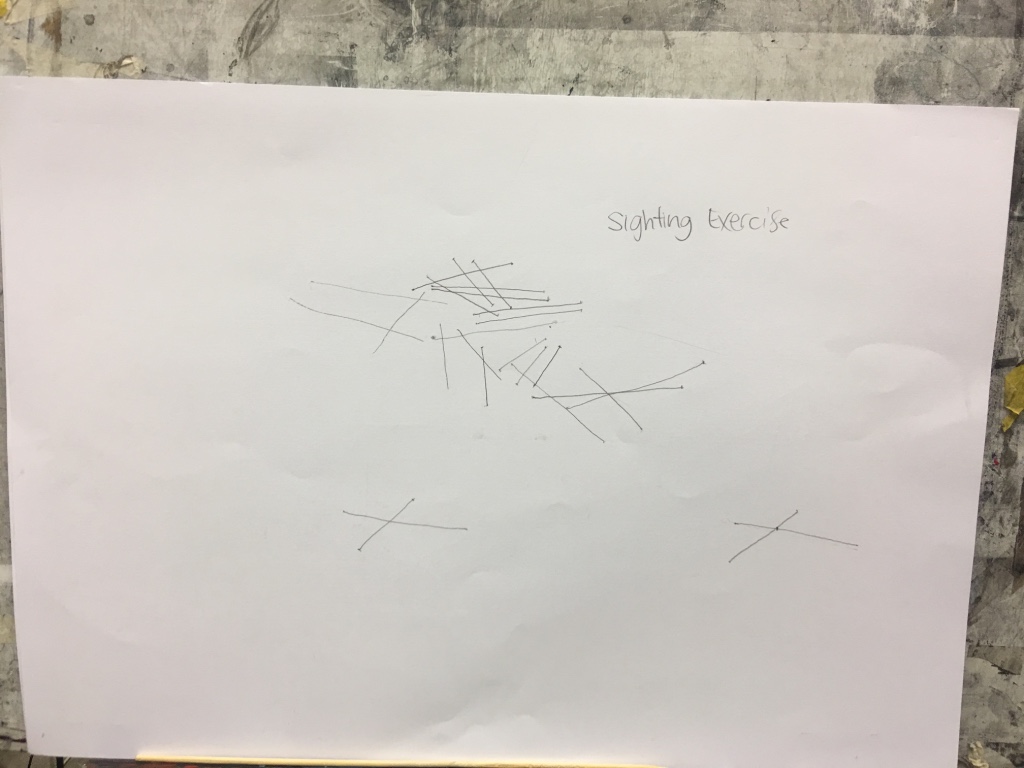
It is pretty bad I know. I was focusing so much on the sight sizing of every single stick that it just drained the energy out of me and I lost my focus and it was really tiring for me. I tried my best at getting the angle as well as the length of it correct but I don’t think I was successful at getting it right in this case.
Lastly, we were asked to placed random objects on a chair and do the same sight sizing exercise. My brain was kind of dead at this point of time.
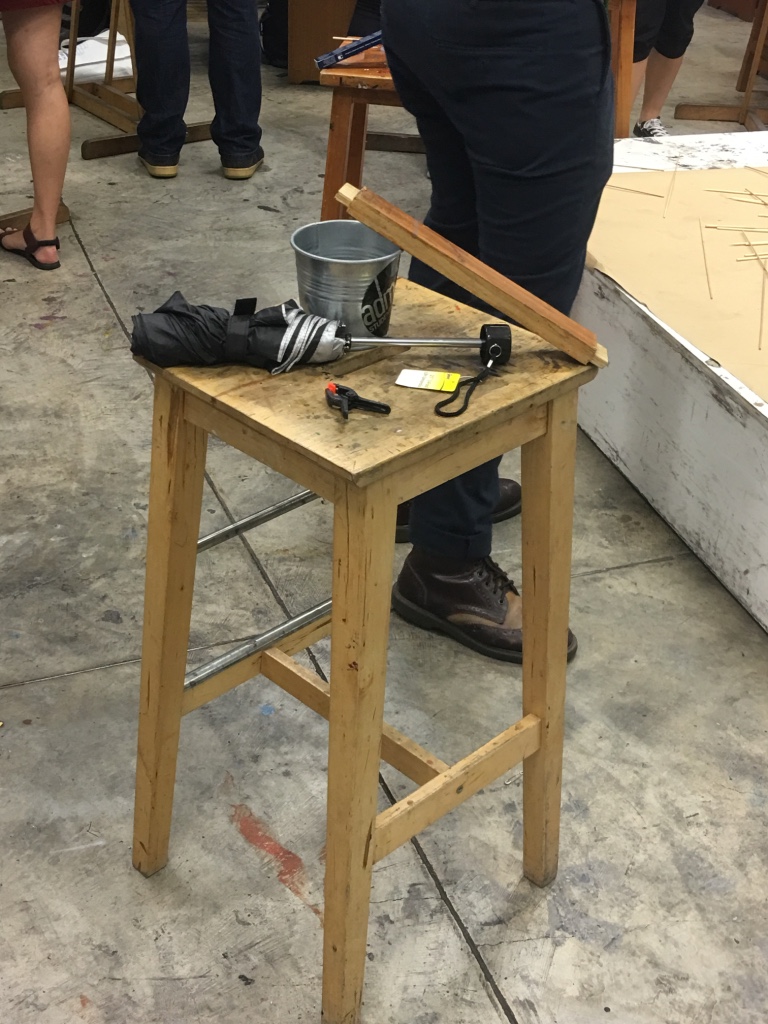
And this is what I came up with from the various objects.
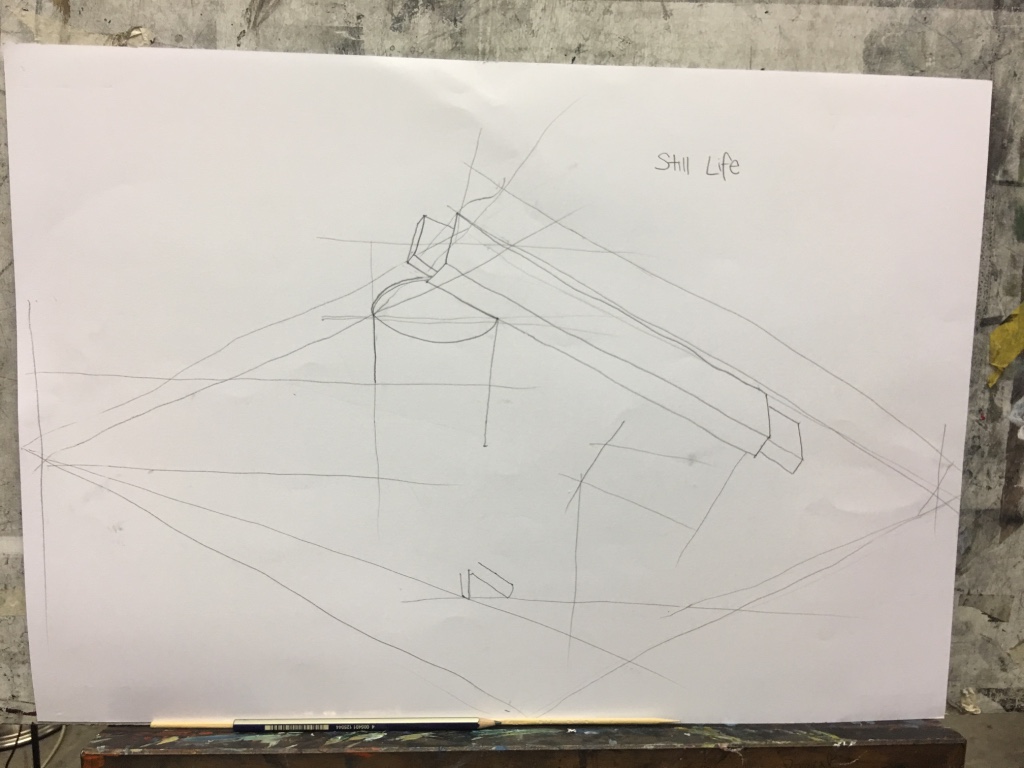
It is not complete but I tried to capture all the angles of the different objects placed on the chair. In order to make it look ‘correct’, the angles between the objects must be right as well as the angle of the individual objects itself. I am not too sure if I got the sizing correct as you can scale up or down your drawing to your needs.
In conclusion, I believe the technique thought to us is really useful at getting the angle right and also the size of the object because you don’t want to make something look bigger or smaller than expected.