Project 4, poetics of time requires us to create a final project that expresses one of the categories of time. Since it could be created with any medium of our choice, I decided to work with film and record a video. Below is a copy of my first very first project proposal draft. (Explanation of changes below!)
project proposal
- Project Title
- the inverse of time
- Describe the Art Project
- What is it about?
- changing the normality of time that we experience every day
- things that normally occur fast will become slow; vice versa
- focus on human behaviours/emotions
- Focus: Human reactions, grooming needs
- Sneezing, pre-sneeze
- Yawning
- Smiling
- Blinking
- Nail biting/cutting
- Nodding
- Wave
- Frown
- Cough
- Wink
- Crawl
- Laughing
- What has inspired you?
- I wanted to explore a universe that experiences time otherwise
- Are you trying out a new concept or a continuation of a previous project?
- New concept
- What do you intend to communicate to your audience?
- Let us appreciate motion and live in the moment
- What is innovative or new about it?
- Portrays scenarios that are against the norm
- points out moments that we tend to overlook
- What is it about?
- Objectives and activities of the Art Project
- What are you going to make or produce?
- A video
- How are you going to produce it?
- Film it from various angles
- capture subtle movement
- What is the type of work?
- Edited time
- What is the dimension?
- What is the length of time of this experience you are creating?
- 2-3 minutes
- What are you going to make or produce?
- Art Materials and Equipment for the Art Project
- Describe the materials you are going to use
- DSLR camera
- What tools will you be using?
- Singapore
- my surroundings
- Describe the materials you are going to use
- Mounting and Installing the art project
- describe how you would install the art project
- Played on the classroom projector
- describe how you would install the art project
- Art Project Design
- Mockup of your artwork
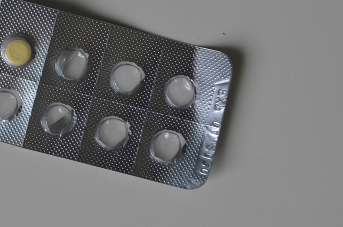
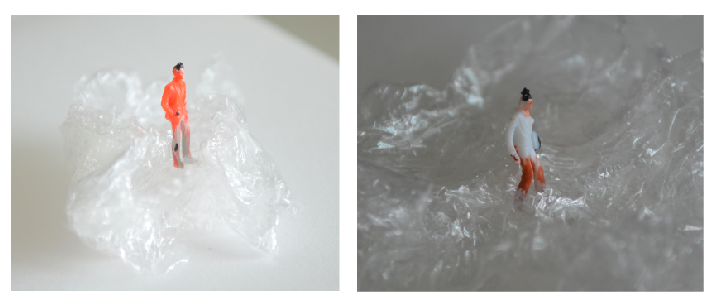
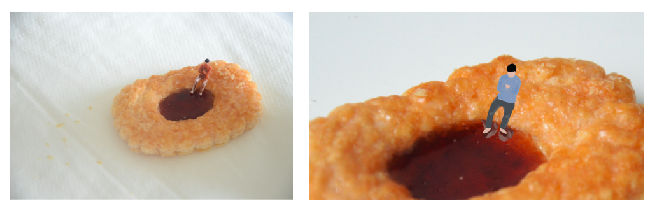
- Trial shots below
- Mockup of your artwork
concept development
Throughout the start of this project, I really struggled with the ideas that I had and was indecisive about what I wanted to focus on. However, I did kind of have a filming/editing style in mind which was inspired by the artists in my project 4 research post. For the filming and editing, I knew that I wanted it to be quite raw in nature, capturing the moments itself without the input of additional background music or visual effects.
ORIGINAL IDEA
As seen in my original proposal, I wanted to create a video that expressed the inverse of time. Since there was no focus initially, I then thought of focusing on human behaviour/actions. After consulting with Lei, my plan was to film very close up shots of people in their natural state and try to capture the moments of sneezing, coughing, etc… With this focus, I proceeded to take test shots in the public space of a mall. Below is a compilation of some test shots.
During the filming process of these test shots, I realised that it was too challenging to capture the moments of natural human behaviours that I wanted; especially in a raw setting because the moment is unpredictable. It was also very awkward for me since I was trying to film strangers without them knowing. I also could not film them to the level of closeness within a frame than I intended.
FINAL IDEA
Moving on to another idea, I thought of filming something that could mark the end of this first semester and the new chapter in my life of staying at university. With this, I aimed to create a video that documents a day in my life specifically spent at hall. I took the DSLR around with me throughout the day to record everything and compiled it into a video filled with many short clips.
“day in the life of” // project 4 final outcome
falls under the category of edited time
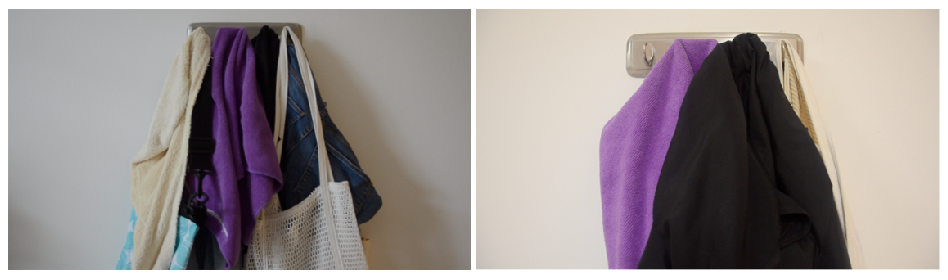
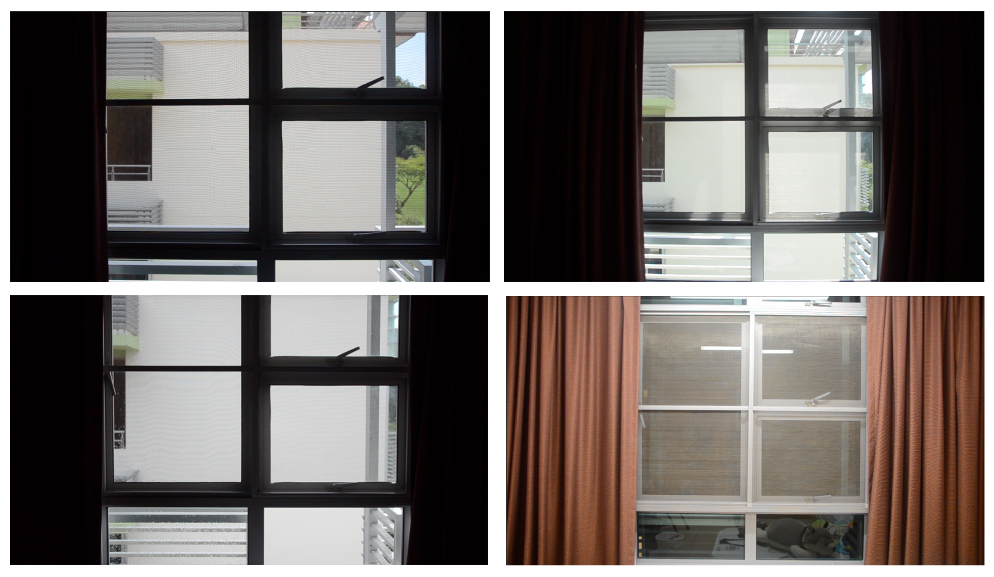
From morning to night, this video includes repeated clips of my window and the view when you step outside the door to show a progression of time throughout the day. Other repeated visuals included my shower basket, my bed, the view from when I am laying in my bed and the wall hook on my wall where my towel and shower bag hangs. Time stamps were also included to mark the time of day.
day // night

throughout the day
throughout the day
To sum up all the clips:
| Morning | – waking up – ceiling fan – window – brushing teeth – starting work |
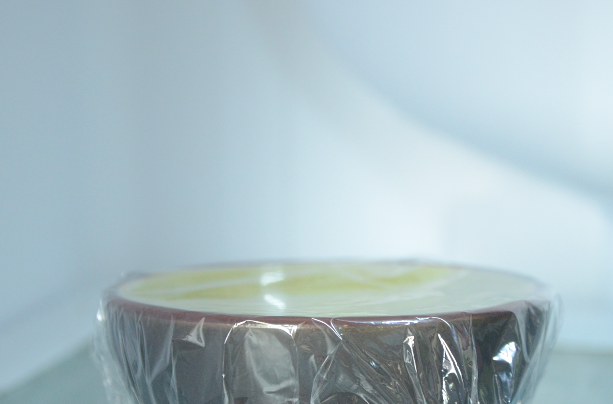
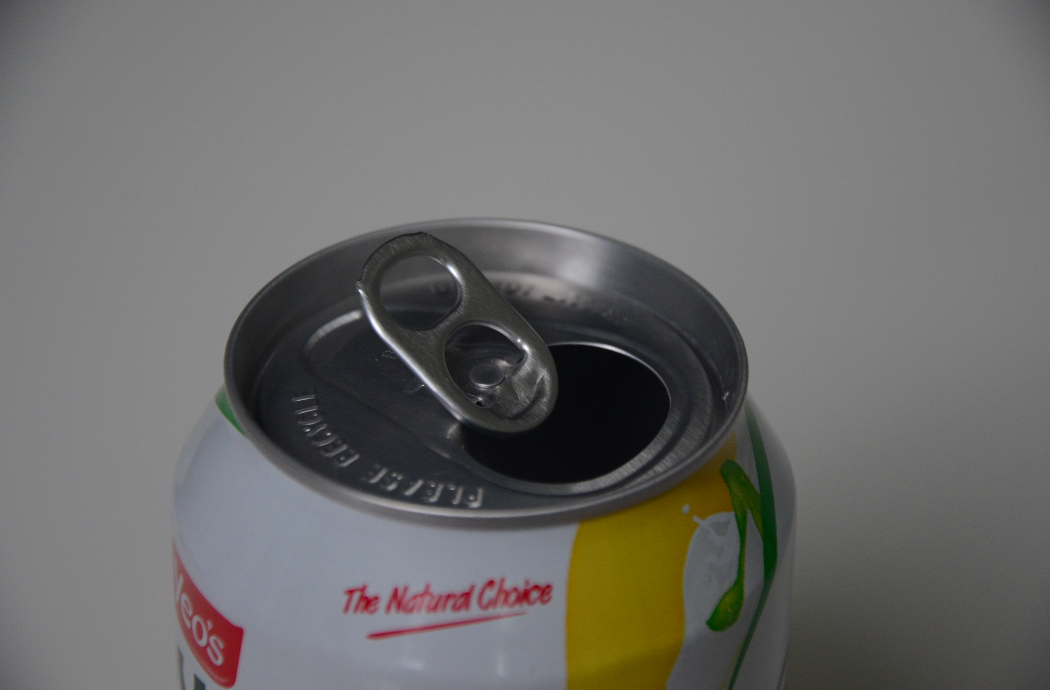
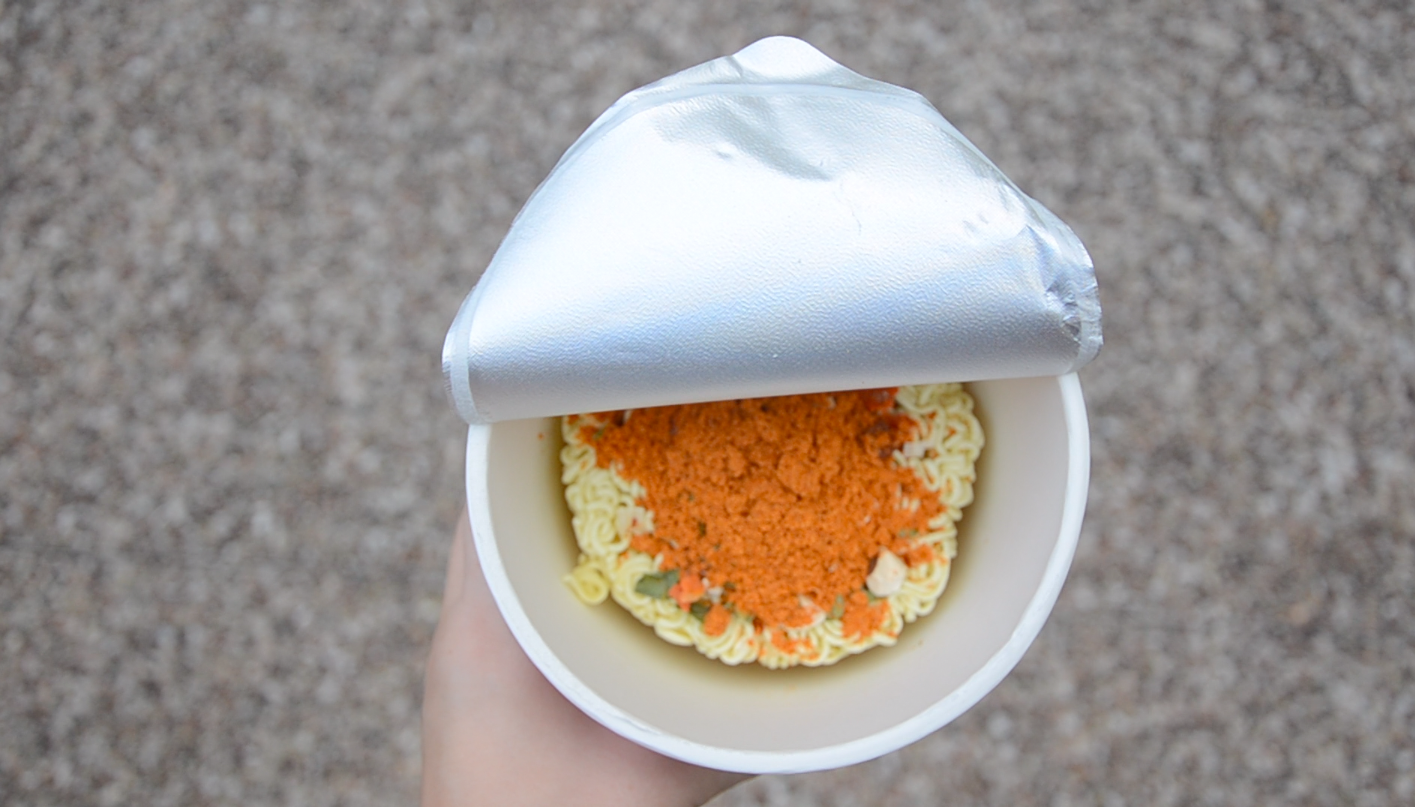
| Afternoon | – window – afternoon sun – cup noodle lunch – cooking cup noodle – enjoying cup noodle – back to work – nap time in the evening – waking up |
| Night | – receiving a dinner invite – window – heading downstairs – having dinner with friends – spending time with time – heading back up – shower time – watching tv shows/scrolling social media – lights out |
Filming/editing qualities
Throughout the filming process, I held the camera still in a single position without the use of a tripod for the effect of a presence behind the camera as well as to portray my day through my own eyes.
A few clips that I had to re-film another morning were the clips that turned out a little too dark and of bad resolution due to the lack of light. Initially, I had also filmed them out of focus to mimic the effect of me not wearing my glasses but it turned out even worse with the lack of light.

Out of focus // in low light
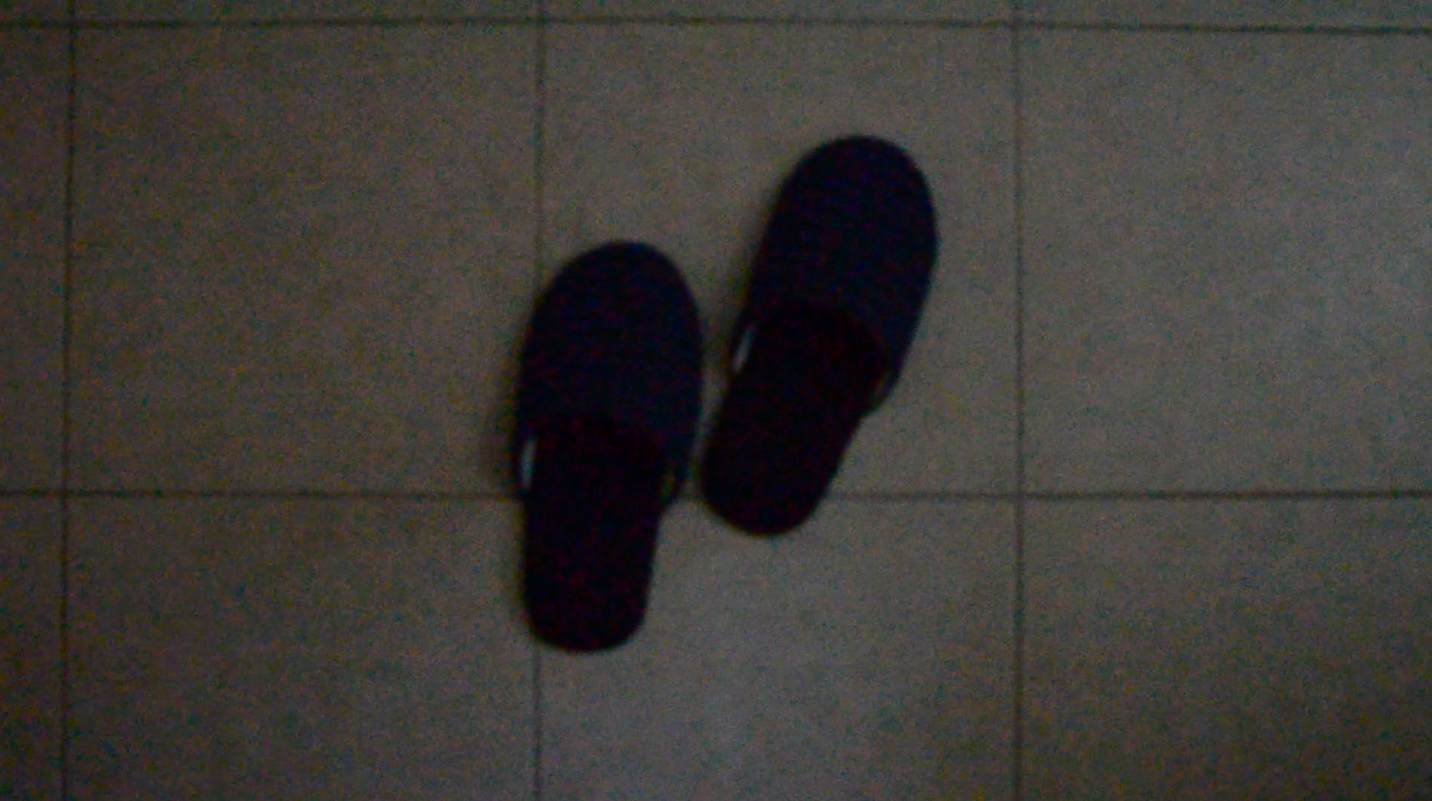
Out of focus // in low light
The audios present in the video were all ‘natural’ sounds that were present in my surrounding environment itself. I wanted to really capture the presence of motion and movement through the things around me that are often missed and overlooked hence for the lack of speaking and minimal movement of the camera.
As for the editing, I made decisions about altering the length of each clip when piecing everything together. During parts where I captured subtle motions such as natural movements and reflections within the frame, they tend to appear longer in order for the audience to appreciate the moment.
Critique/reflection
To sum up project 4, I really enjoyed experimenting with this style of filming and editing that I have always wanted to try. I am also glad that the outcome of this project documents this time in my life which I can look back on in the future. In the context that this video was shown in class and to an audience that is probably experiencing similar routines currently, I hope to have created something that feels familiar in some ways as they can relate to it.
Lastly, I had an amazing time during our last critique session admiring everyone’s amazing creations and development of their own styles 🙂