To kick off project 3, we brainstormed lists of places and sounds during class. Assigned to list locations where we’ve never been to, one of my favourite place that I thought of was a ziplock bag. However, upon tasked with project 3 which was to create a 3o second video about an encounter with my location, I felt a bit restricted working with a ziplock bag. As I progressed on getting started with creating my lo-fi storyboard, I decided to change my location to a fridge instead since it gave me a clearer space to work with.
Lo-Fi Storyboard
For my very first lo-fi storyboard draft, I sketched an eight frame storyboard focusing on the fridge as a whole object and a literal interpretation of my first discovery with it. Since the focus of this project was soundscape, I decided that I wanted to create a video with edited sounds recorded by a zoom recorder over it.

rough sketch of draft storyboard // discovery of fridge
This storyboard embodies my first encounter with a fridge during the night as I am alerted by the fridge’s buzzing noise. I had envisioned for it to be a rather magical discovery.
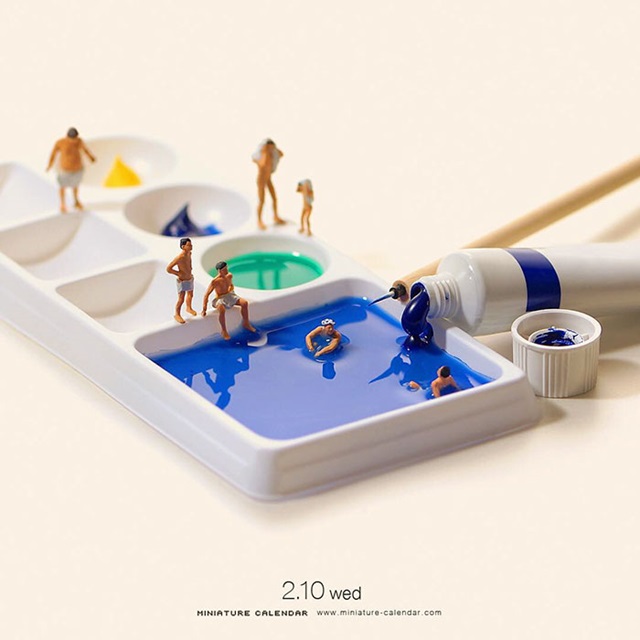
After the first consult with Lei, she suggested that maybe instead of discovering the fridge as an object from its exterior, I could slowly reveal it from the inside. The discussion came to the idea of a miniature world occurring within the life of the fridge and we looked at some inspirations online. Inspiration was then taken from images like these below, but for my project will be altered to fit with the context of a fridge.

http://editorial.designtaxi.com/editorial-images/PoyMiniFig28102015/1.jpg
http://www.ebaumsworld.com/pictures/36-amazing-miniature-scenes-using-everyday-objects/85244657/
Inspiration was then taken from images like these above but food items will be altered to fit with the context of a fridge for my project.
HI-Fi Storyboard
Moving on to the new concept, I developed my hi-fi storyboard based on plans for my still images since it wasn’t possible for me to film a miniature life in the form of a video. Starting off with items that I could commonly find in a fridge, I used inspiration from images found online to help me plan out some possible activities that could occur.
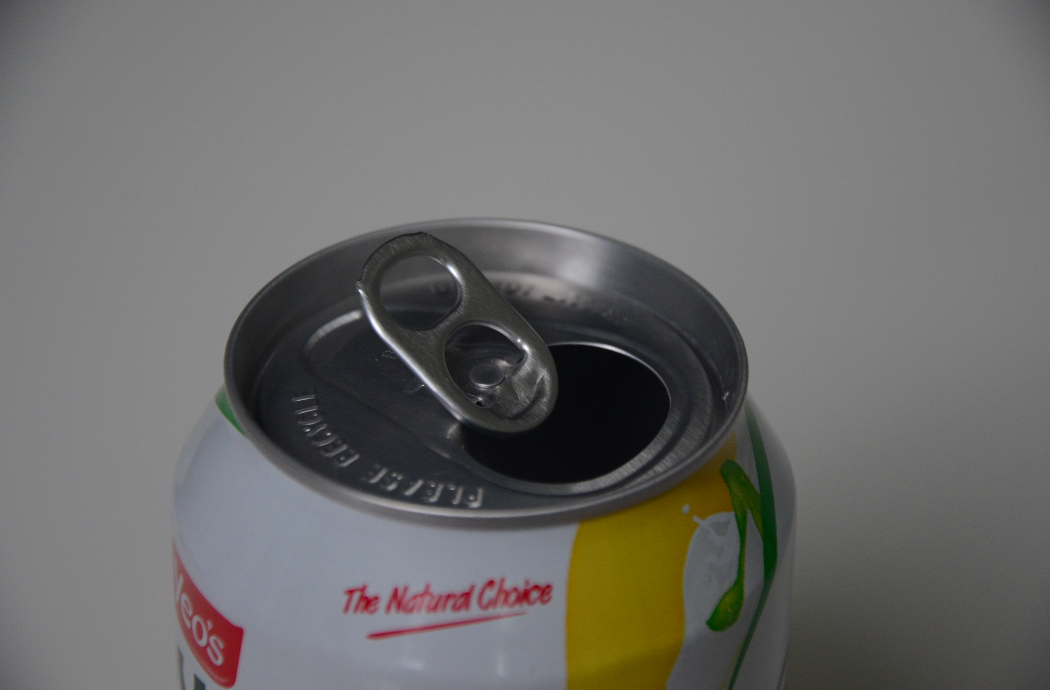
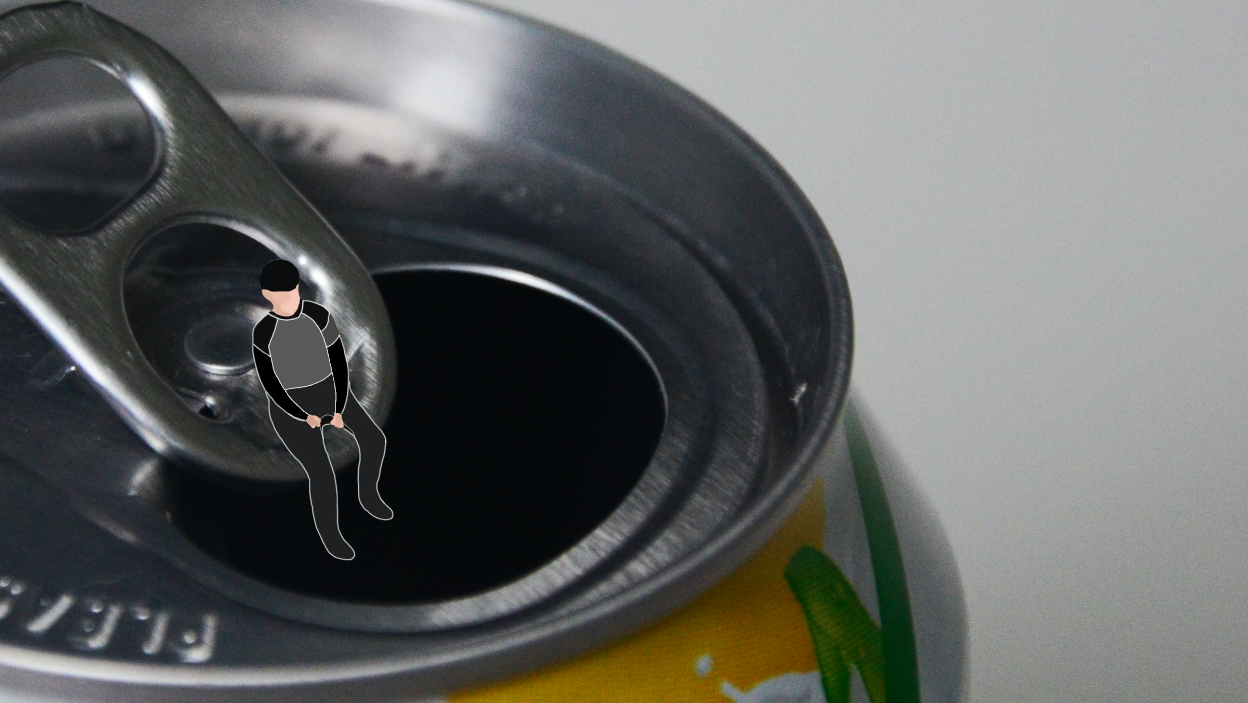
Can Drink
The transition of Sounds:
1. Pool sounds
2. Talking by the pool
3. Can opening
4. Placing can in fridge
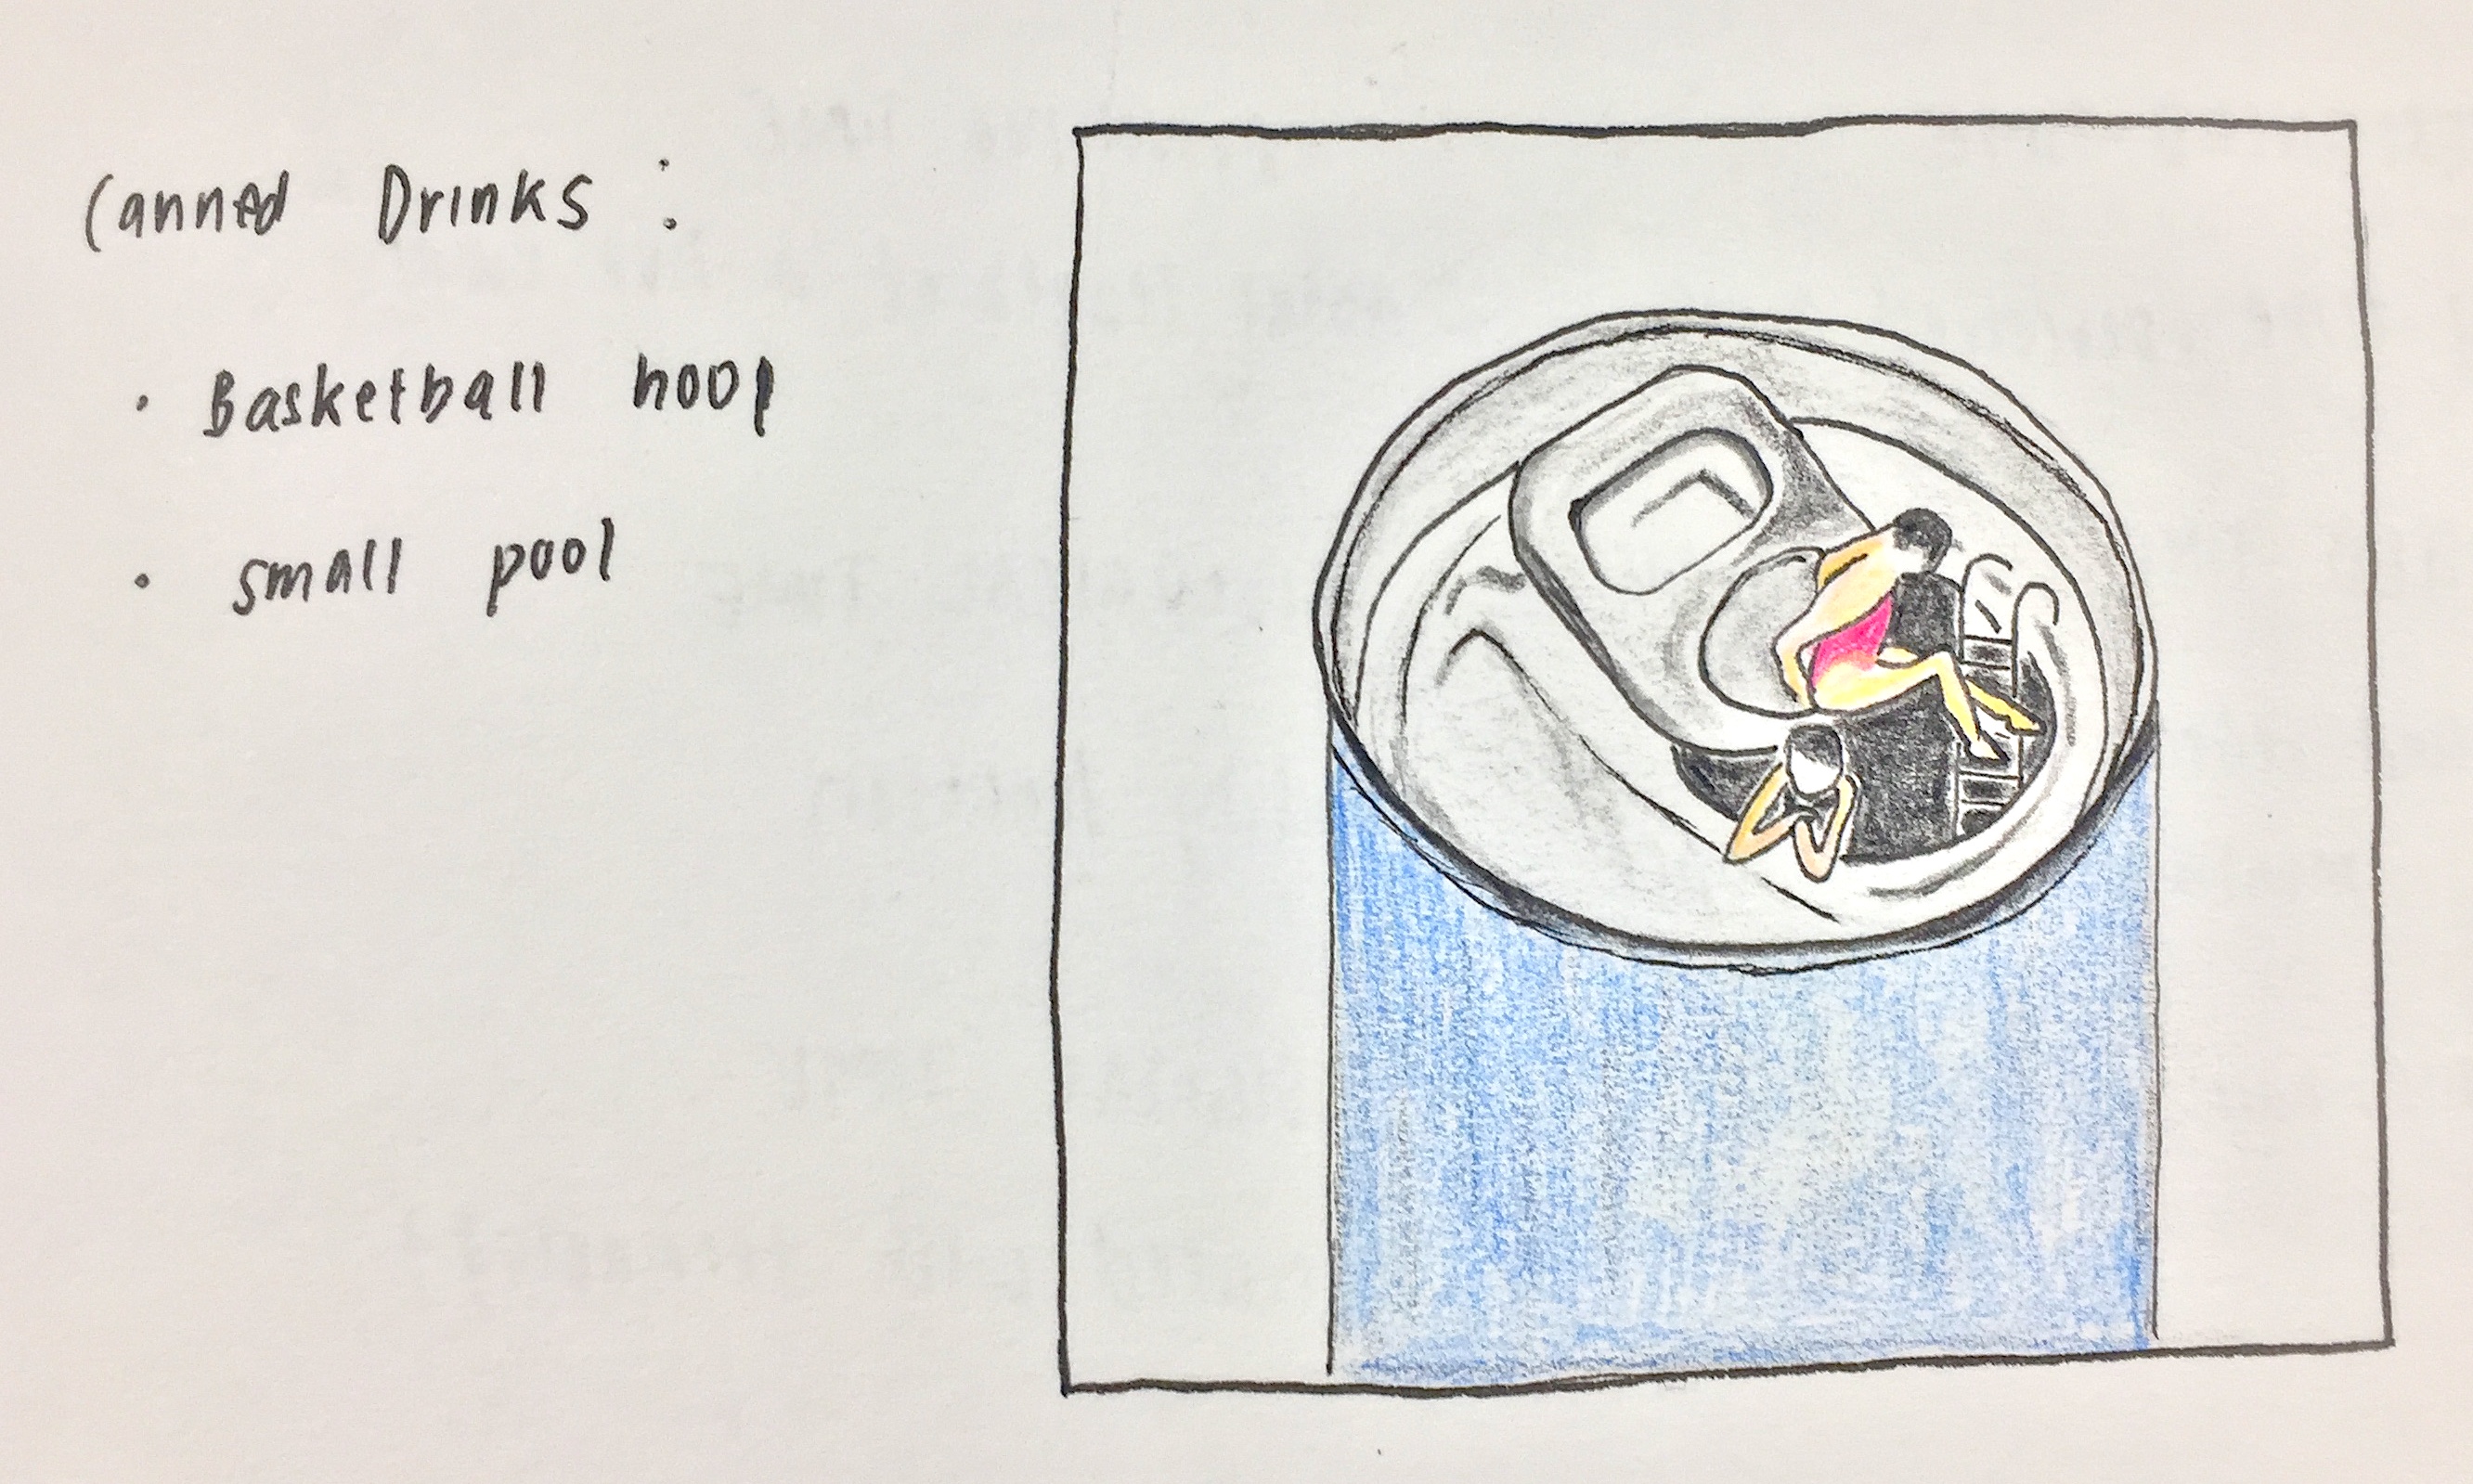
Can drink // swimming pool
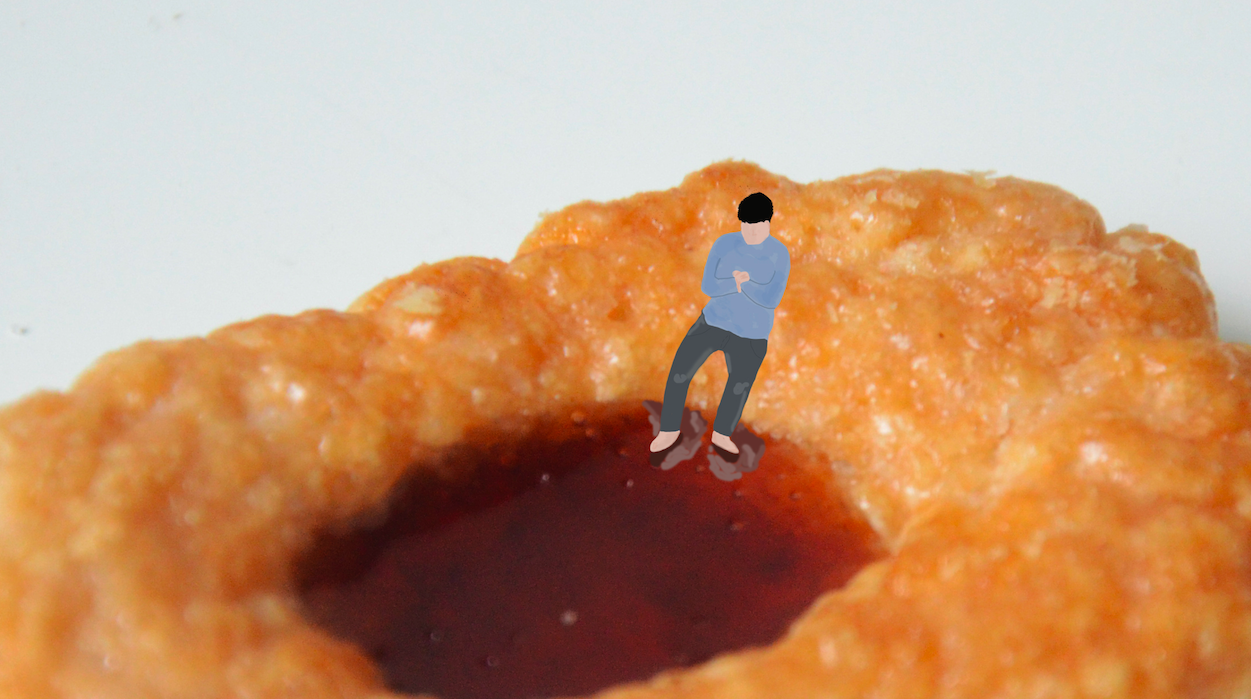
Dried Chilli
The transition of Sounds:
1. Rowing/water sounds
2. Conversation
3. Ruffling of dried chilli
4. Plastic sound from chilli packet
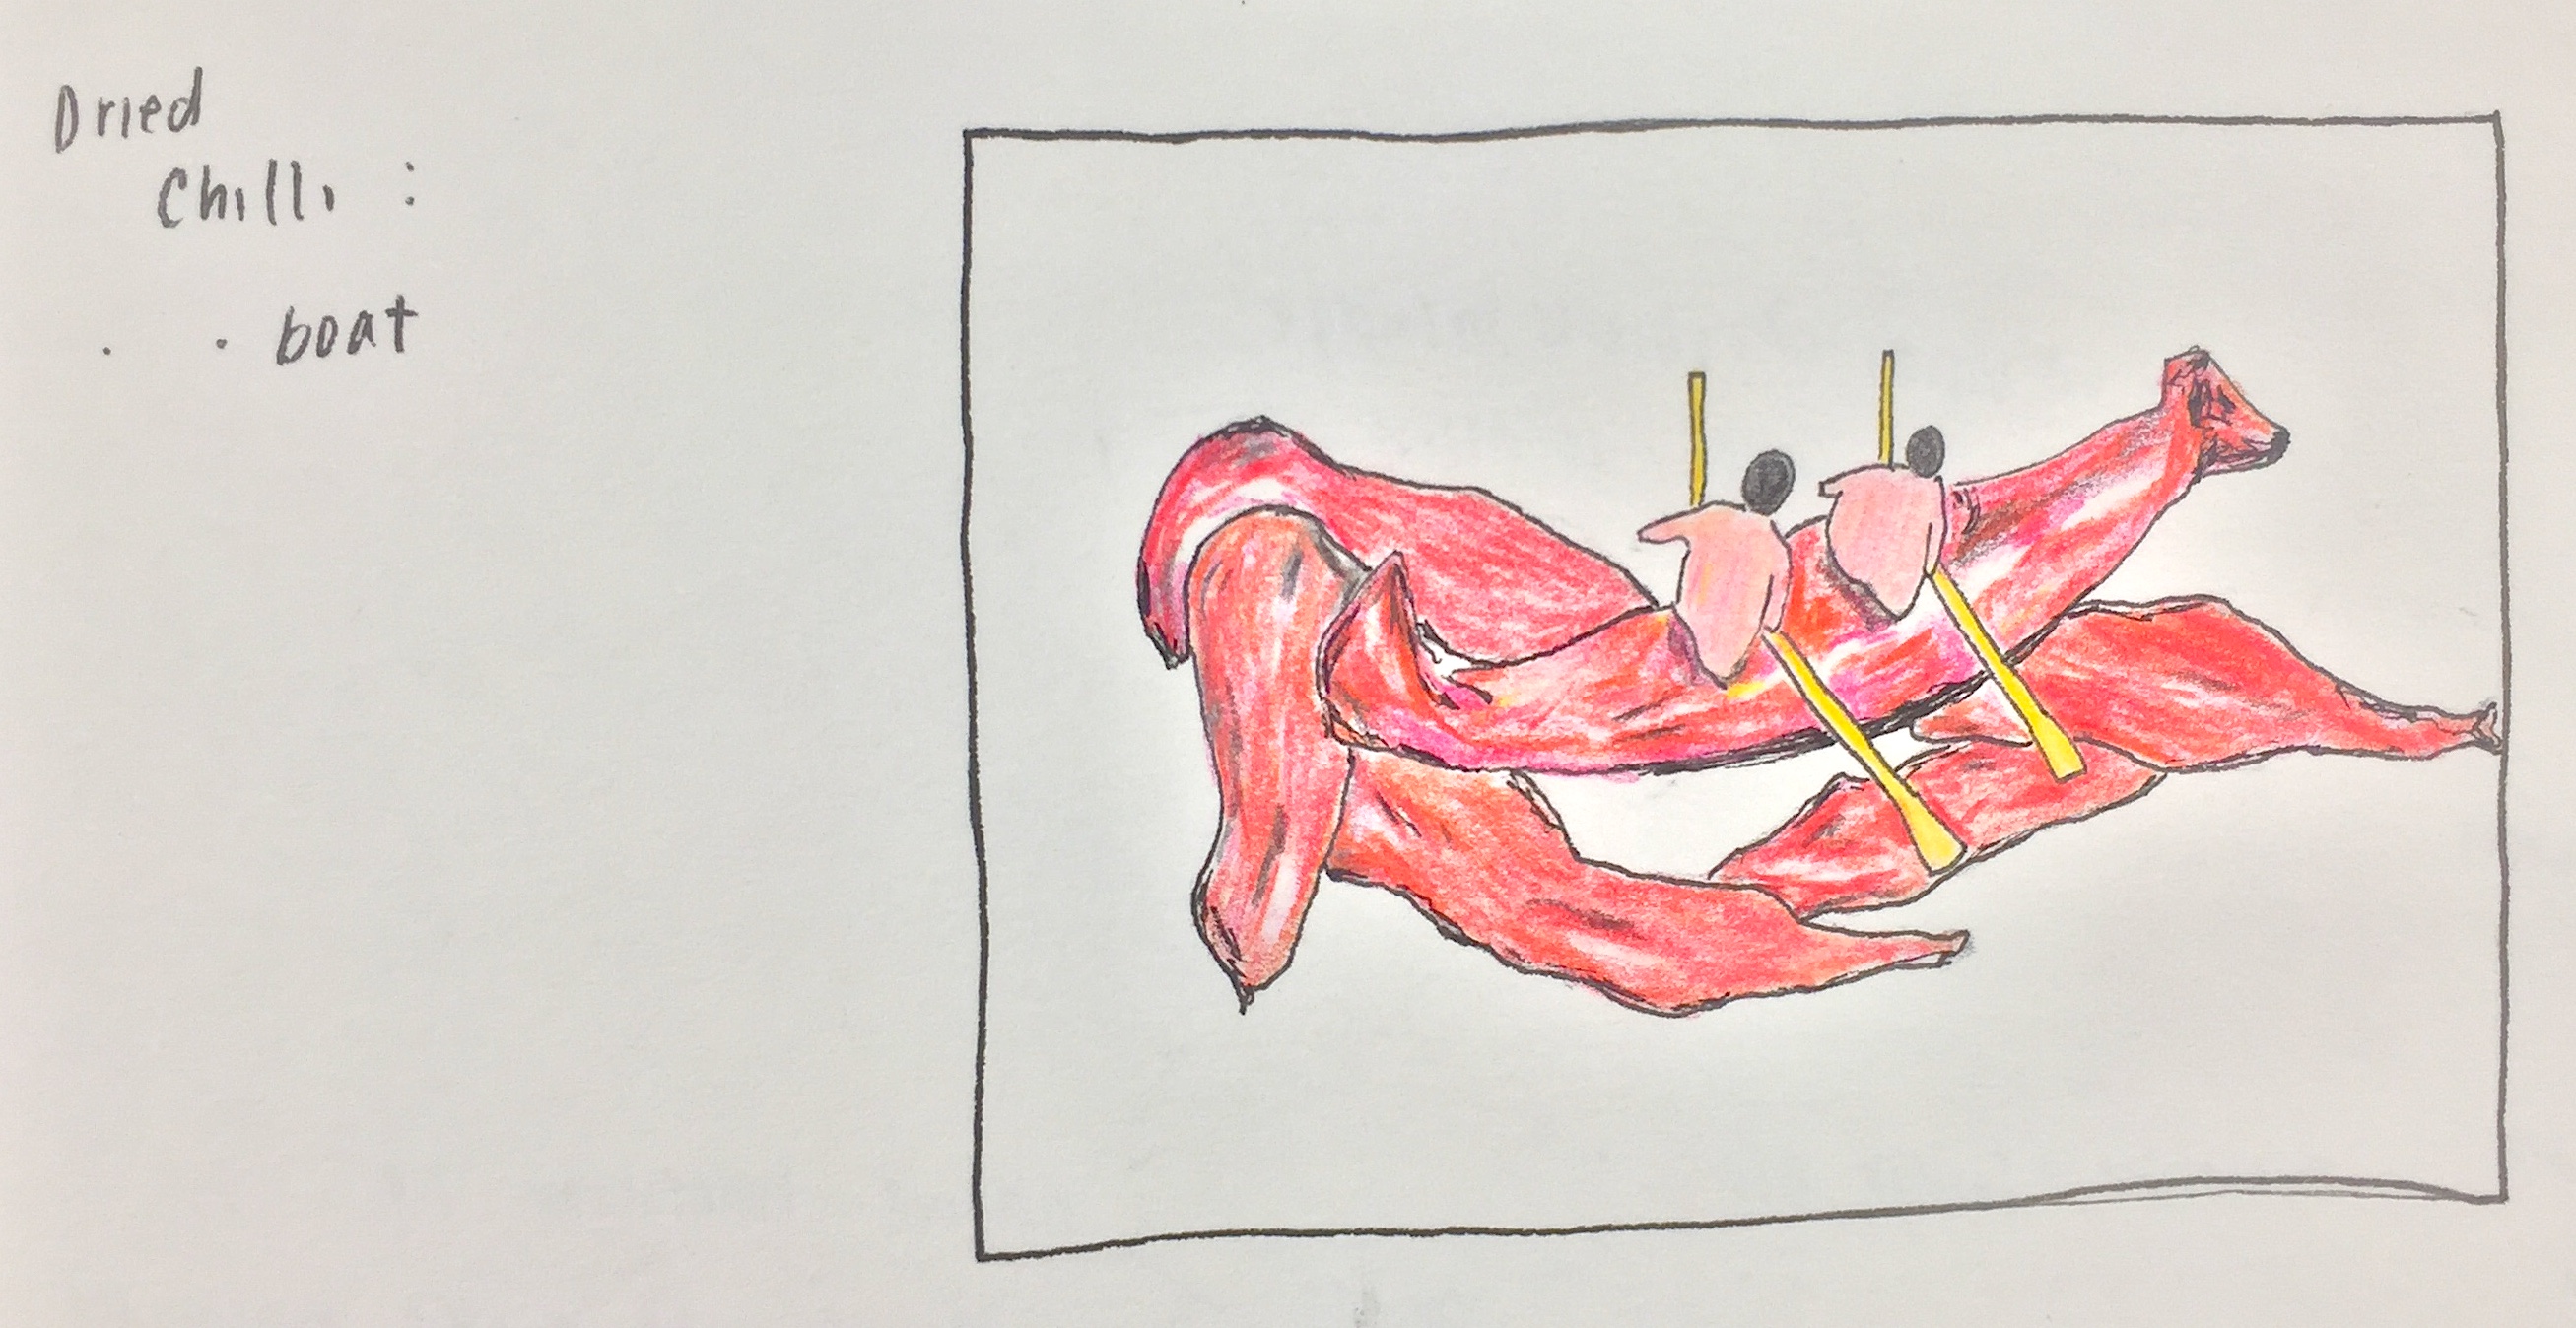
Dried chilli // rowing boat
Trampoline
The transition of Sounds:
1. Cheering sounds
2. Bouncing on trampoline
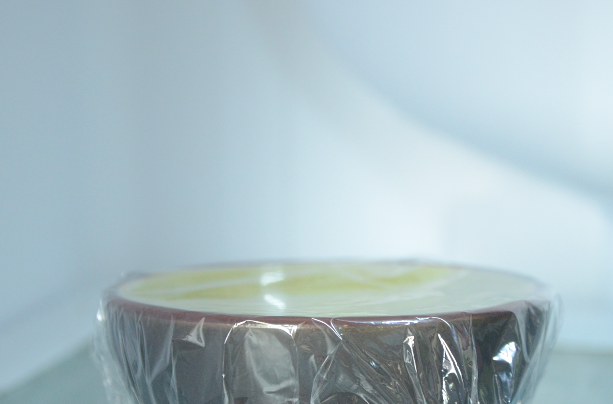
3. Cling wrap sound
4. Rubberband over bowl
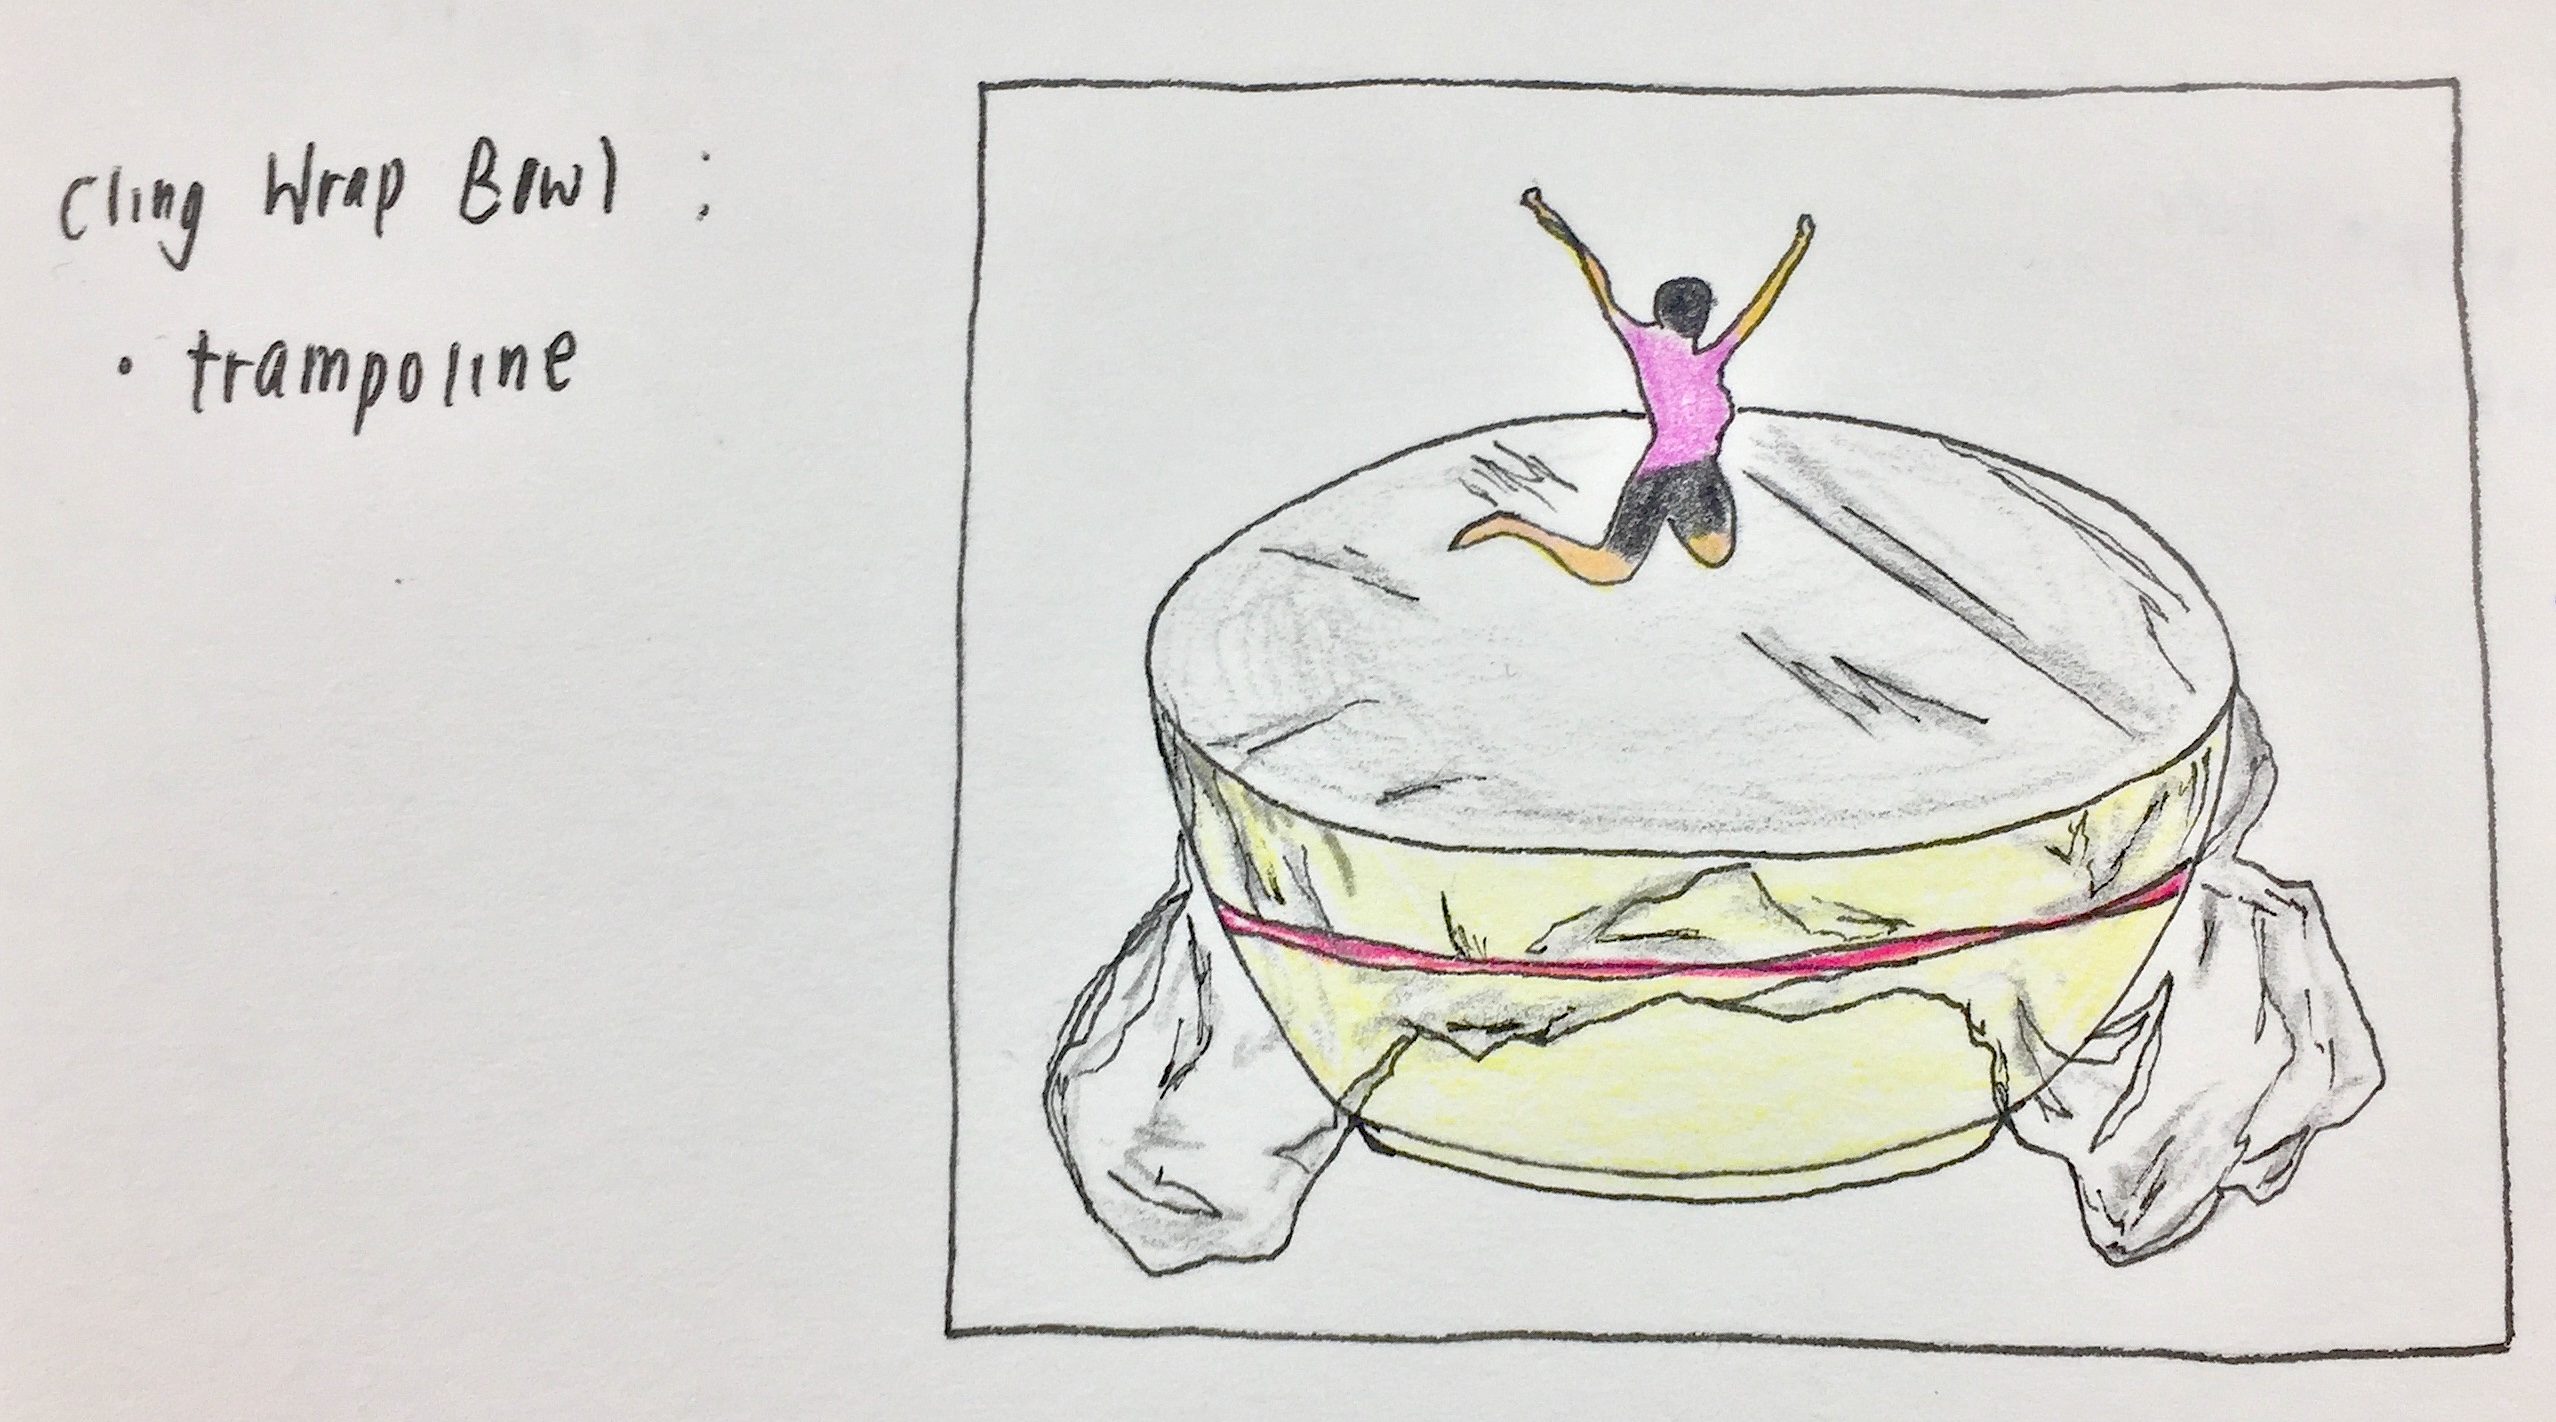
Cling wrap bowl // trampoline
Since the plan now was to work with images, I arranged the order of my different scenarios in a way whereby the close-up images would be shown first, followed by the reveal of the location with a zoomed out shot.
| 1. Blank screen, sounds of pool area | 2. Can drink image, volume increases, the transition to boat sounds | 3. Rowing/water sounds, conversations, transition into cheering | 4.Trampoline image, jumping sounds |
| 5. Zoom out image of the can in fridge | 6. Image of dried chilli packet | 7. Cling wrap bowl sitting on shelf |
video in the making
Images of my close up settings:

ended up removing this setting because the colors did not fit with the rest
replacement of chilli scenario
additional scenario because video had to be a minute long
When I started the process of taking my images, I had originally wanted to use these tiny human figures that I had previously purchased at a very low price. Unfortunately, the quality of it wasn’t the best, especially the colours and how it had been painted. Even though including the actual figures would have included a much most realistic quality within the scenarios itself, I felt that the low quality of these figures ruined the visuals.
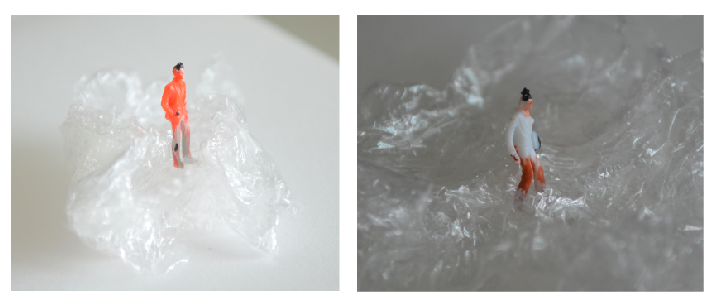
Hence, I resorted to photoshopping them into the close-up shots of the items and using them as a guide to creating my own illustrations of small humans instead.
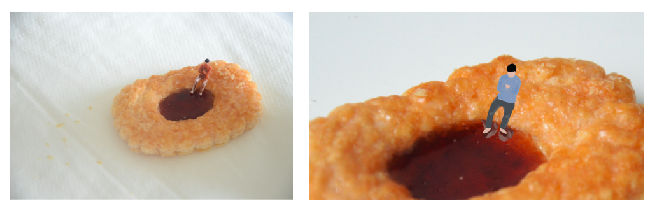
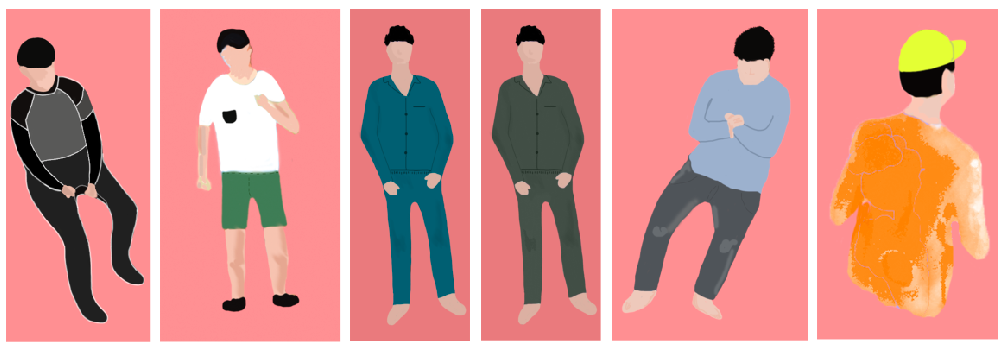
Illustration of humans for all scenarios
To create these illustrations, I painted over the previous images with the use of a Wacom.
Images of humans in the respective settings:
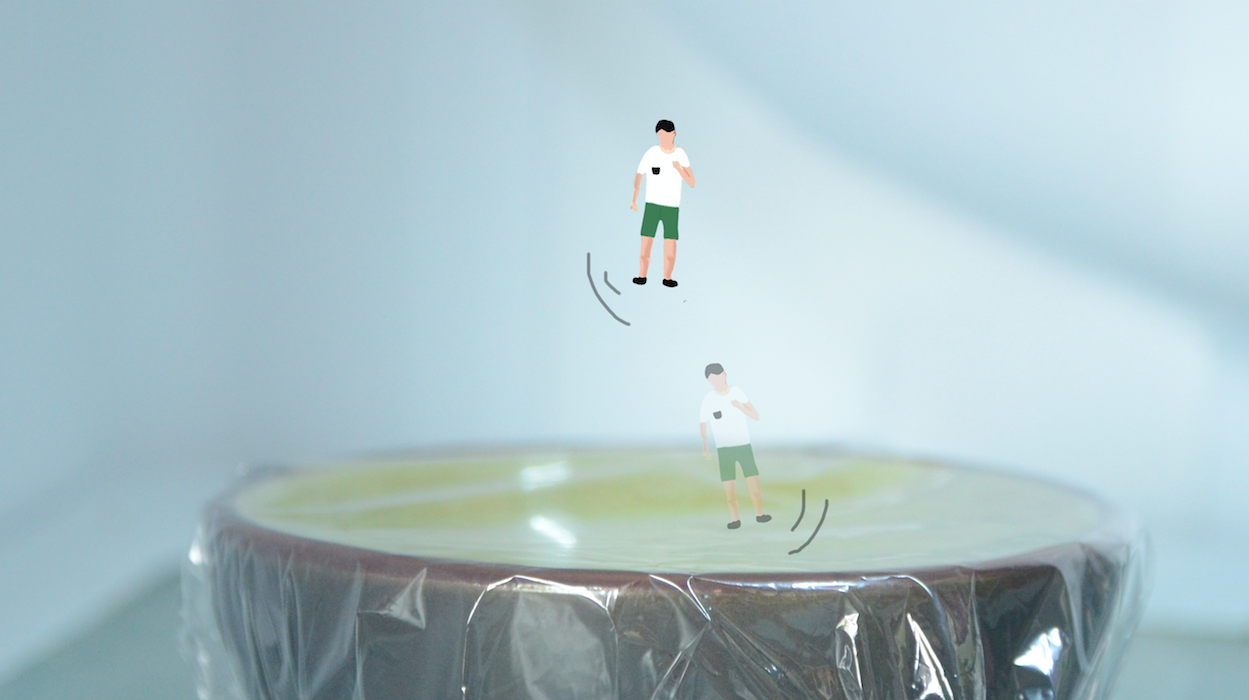

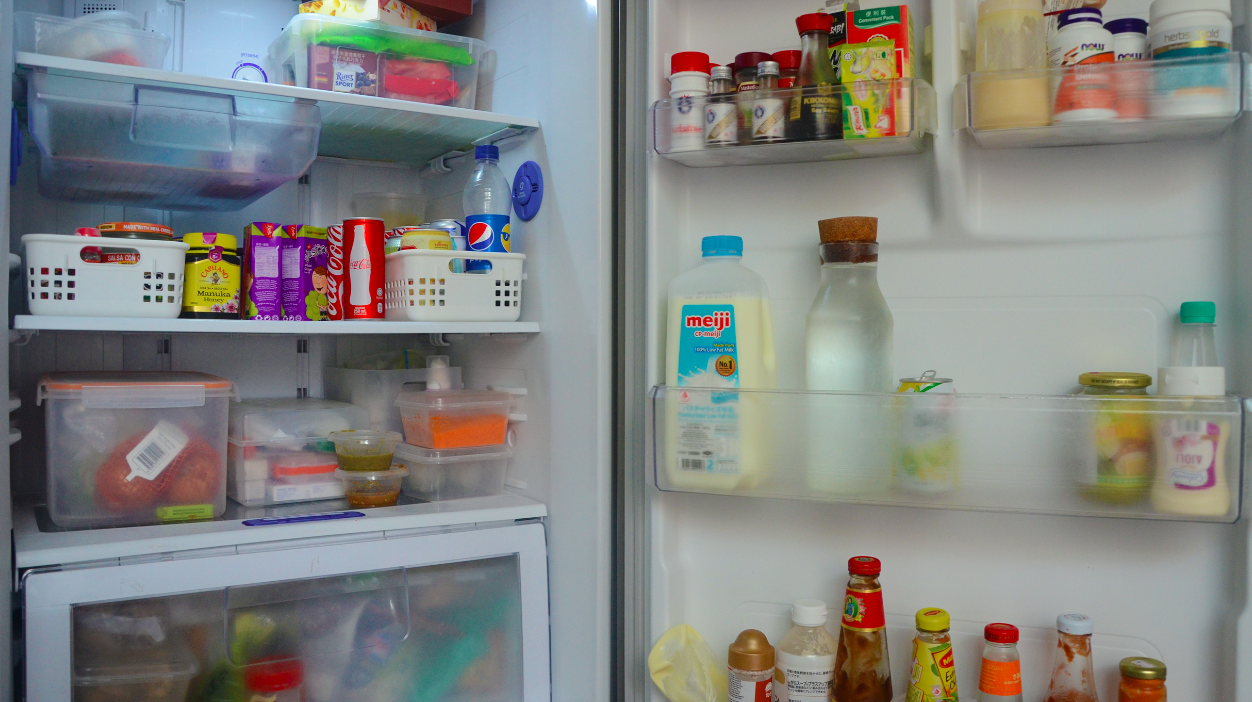
These 4 scenes appeared in the first half of my video with sounds that match according to the setting. The following half consisted of the zoomed out images that revealed the setting of a fridge.
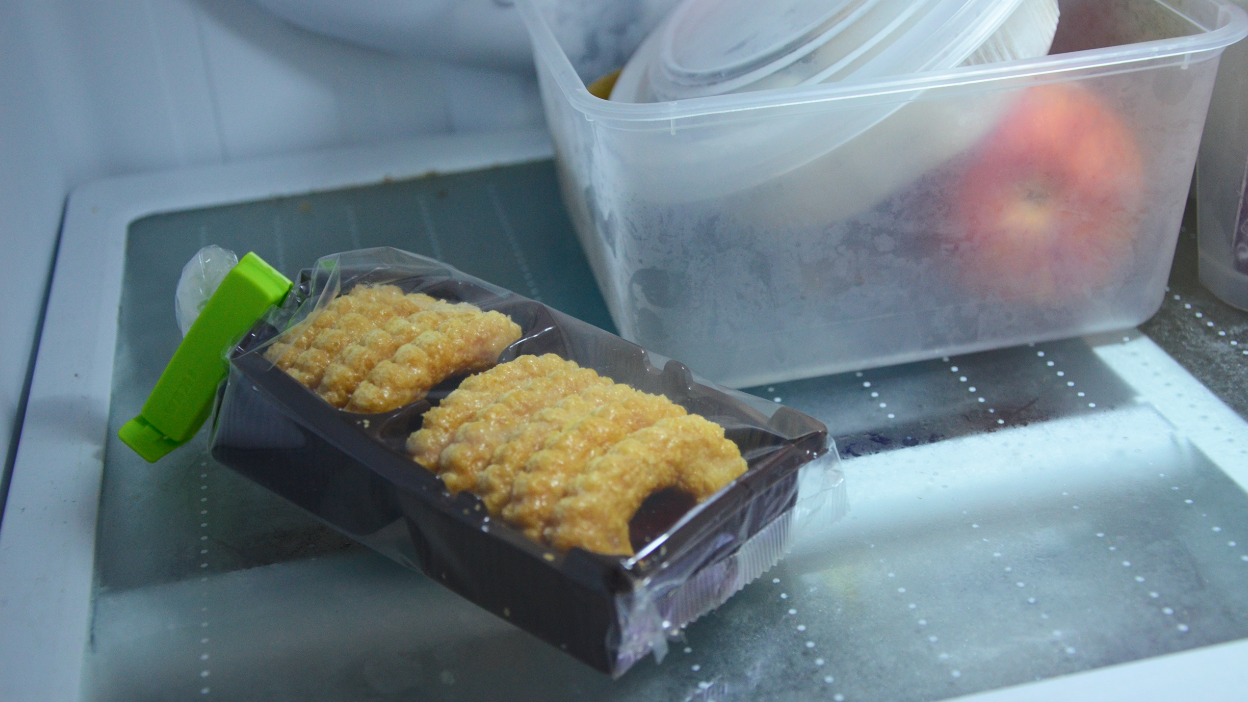
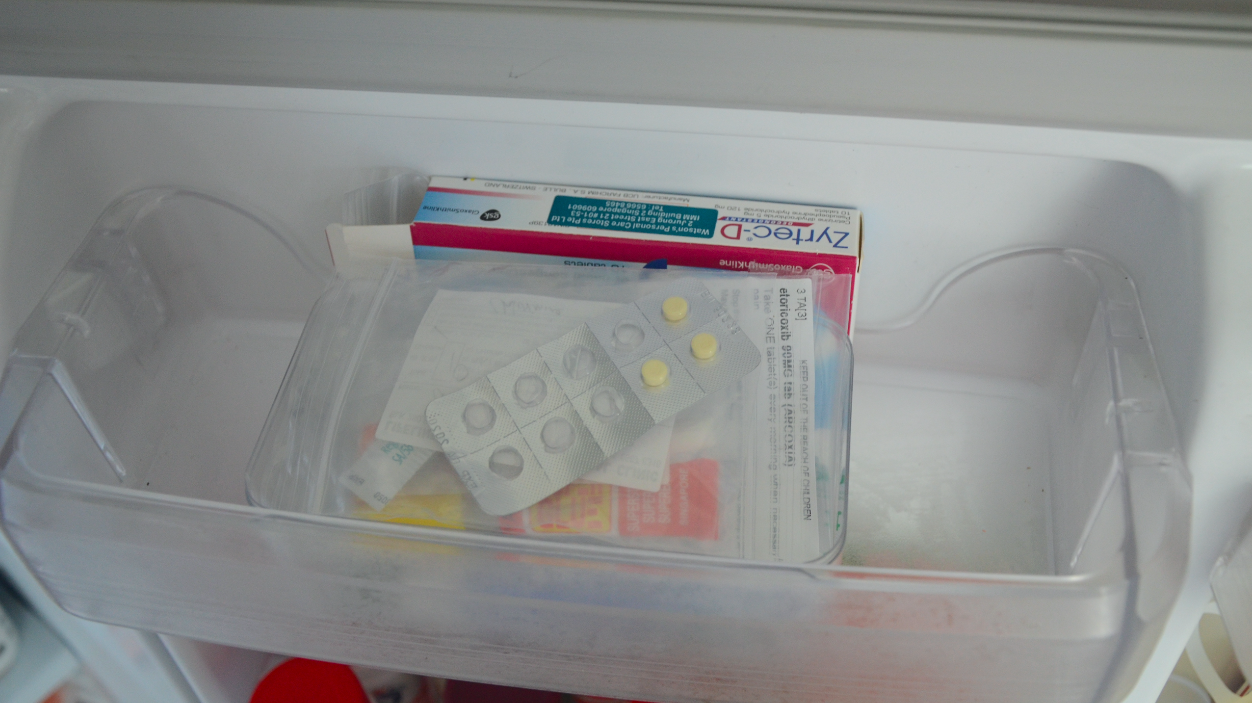
Images of fridge settings:

final outcome
After editing all my images that were taken with a DSLR, I compiled everything in order with iMovie and inserted the appropriate audio over it.
CRITIQUE/REFLECTION
During the critique, the feedback that I received was that the video would have been more realistic if the humans were not illustrated. I also felt that since we were limited to 1 minute, maybe it would have been better if I had stuck to 3 scenarios since it turned out to be a little rush.
To sum up project 3, I had a really good time experimenting with both realistic and illustrated qualities. Although the process was rather time-consuming with the photoshop and additional sound recording, I am very glad that I got to experience working with iMovie and piecing every part of this together.
You must be logged in to post a comment.