
After creating the basic shapes required for the final composition, I then looked into creating compositions for magazine cover, which was extremely tough for me in the beginning as I was lost, not knowing what outcome I wanted to have exactly in the final product.
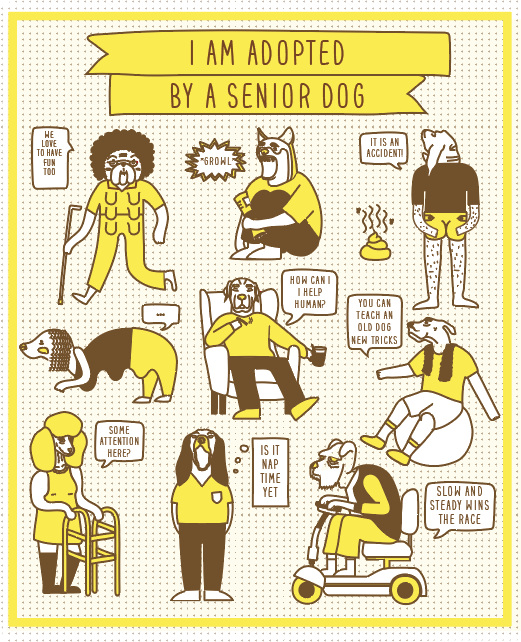
Version 1
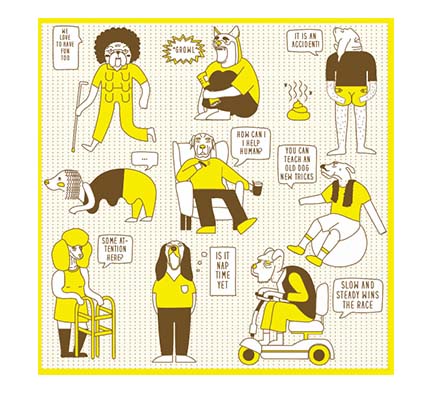
Version 2
This was what I had in the beginning, playing with the layout of the different elements. As you can see on the diamond shaped elements on the right, it is was done by combining individual shapes together. However I was unsatisfied with the final product.
After showing it to the people around and asking for feedback (which is super greatly appreciated!), it showed me what was the issue of the work:
- I wanted to touch on the theme of obsession, besides the trigger aspect of the whole work I also wanted to show obsession through the repetition and detail that is poured onto the work. However, it is not translated onto this
- Everything is too consistent and symmetrical, the layout can be played around with so much more
I believe that it is because I did not have the final product in mind, keeping in mind of what I want the user to feel through the piece of work.
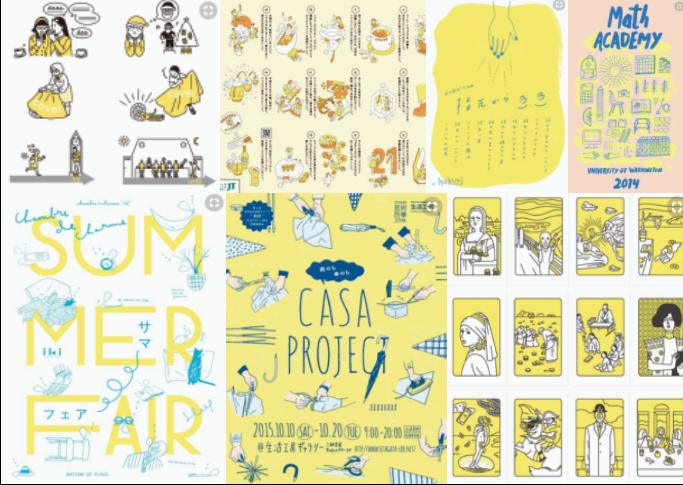
Hence everything was scrapped and started on a new piece of work, studying my inspirations; Marian Bantjes and Peranakan even more. I forced myself to think the same way of its created, the combination of different elements to form one huge one.
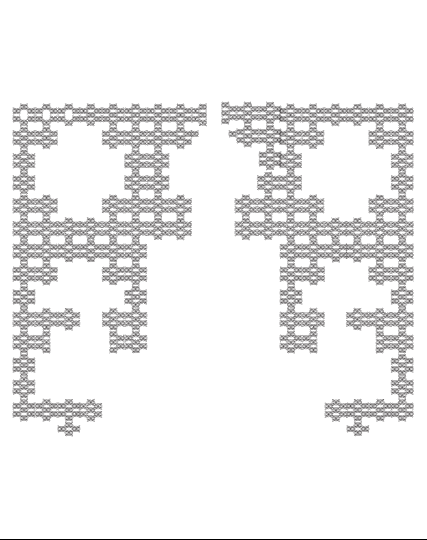
That was when I started playing around the one of the 9 elements that was created, and it can form this:
From here onwards, I started to create a base for the entire layout.
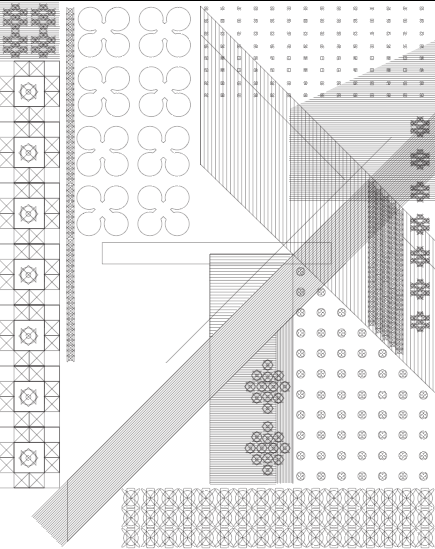
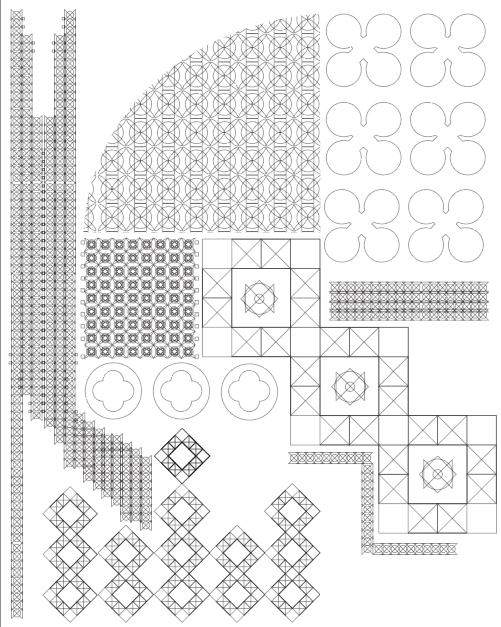
From here onwards, it was much simpler to create the details within the gaps. I also created a frame for the entire piece as I liked the way it looked. Here are a few of the shapes that was created closeup!
These were rough combinations I tested out before including it into the final work. Below is a rough sketch before finalising and adding in even more details into the work, guidelines also helped me to imagine the layouts that could be played around in this piece.
Rough sketch before adding in more details, noted the various guidelines which kept me in check throughout the process
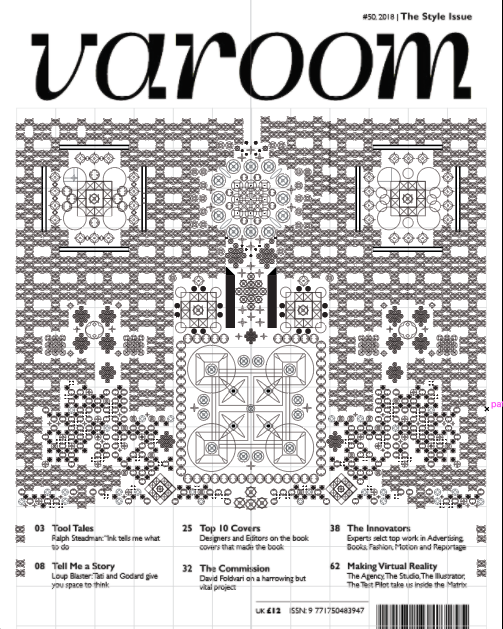
After adding in more details!! The final work before colouring
I then started to work on the colours and initially tried to use neon tones as said in the pervious tones, but because there was so much details in the piece the colours that was planned look too much. Looking back at Marian Batjes work, only simpler works uses more colours wheres detailed works like these were mostly plain (she uses black backdrop with gold strokes for the lines).
Hence various colours were tested out before finalising on the work:
I somewhat like the bottom right colour depite it not being neon, the grey against the black looks cool!
After settling on the final colour, the work is then moved around for the “trigger” aspect I was looking forward to in the beginning. But now, because of putting so much into the work it was saddening to destroy it haha. You can view the final post here, where the two diff versions are uploaded 🙂
Reflection:
It was a learning curve to reach the final product that I am extremely pleased with, of course with the help of many who gave the necessary feedback. Initially there was a lot of fear of choosing such style for the editorial, as it was completely different from what the rest was doing.
However with the encouragement of Lisa I decided to take the plunge and push myself onto unfamiliar grounds, which resulted in me finding joy in creating works of these kind which I would definitely try again in future!
I think that like what was suggested during class presentation, I do agree that there can be patterns around/above the Varoom logo, as after looking at it again the bottom seems heavy compared to the empty top. Though I did not submit that for the final grading I would edit it in what was suggested and place in my portfolio.
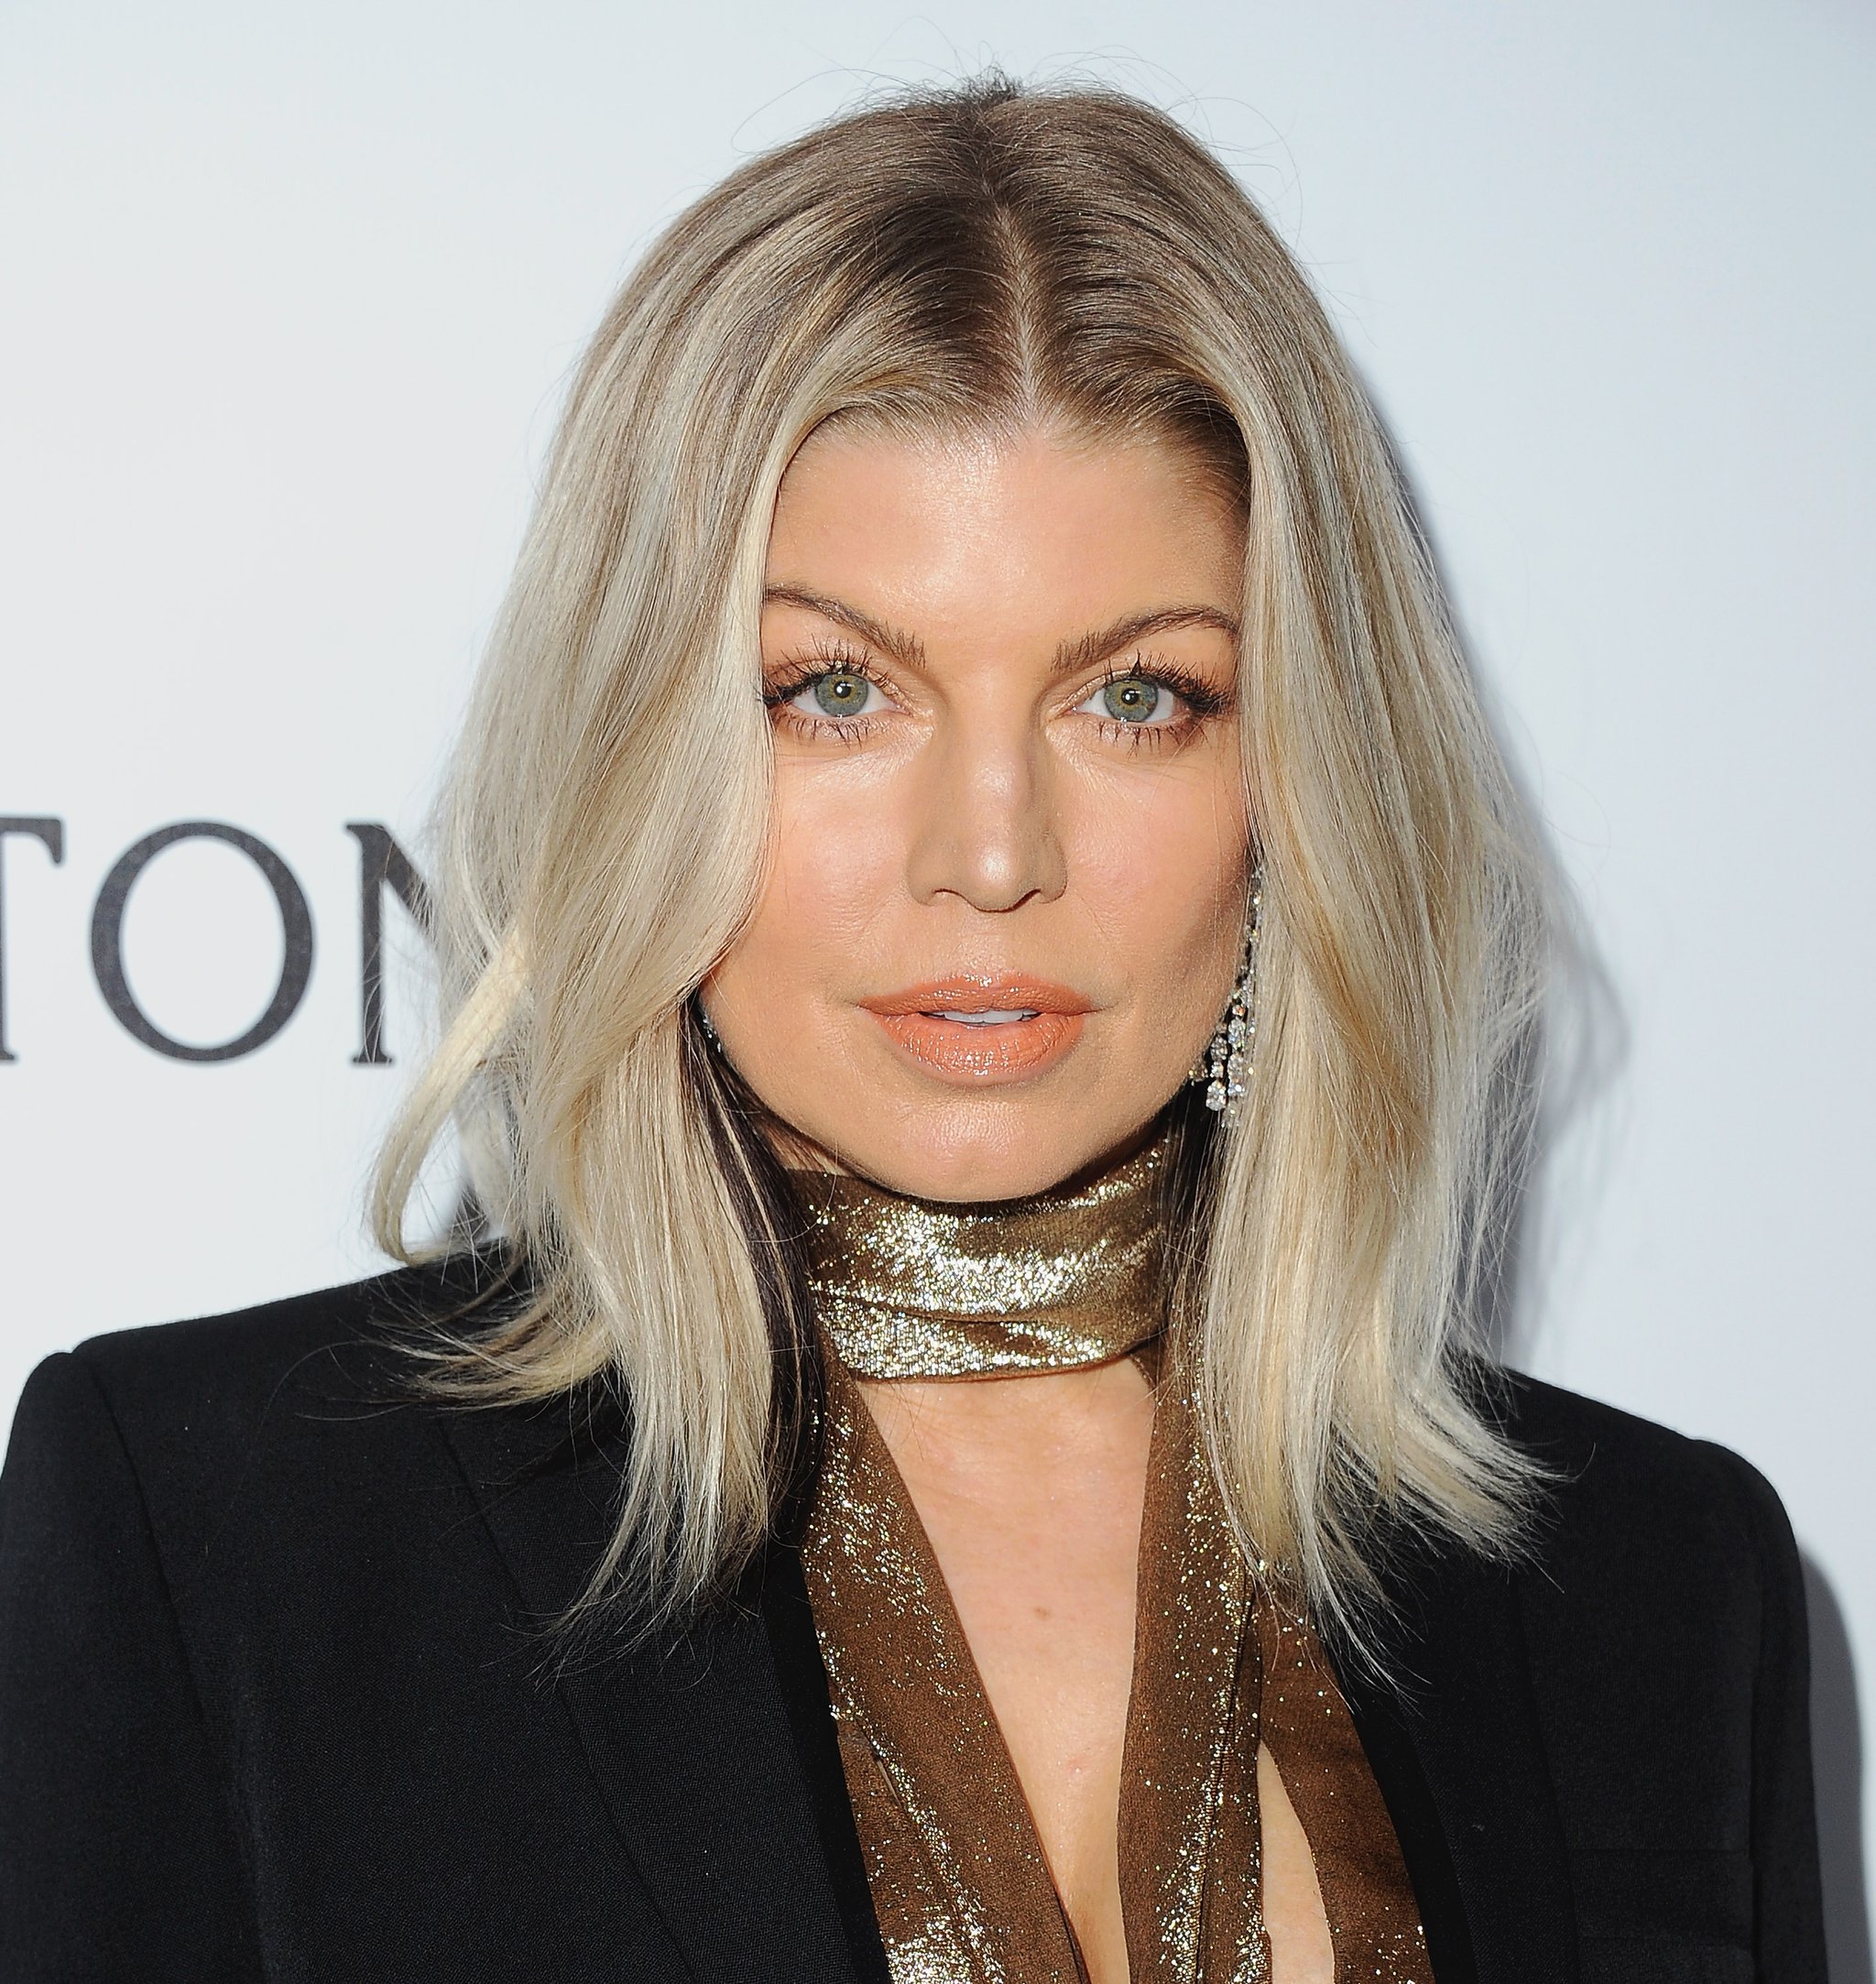 So after editing her image to remove the background, it is saved in the same folder as the rest of the items.
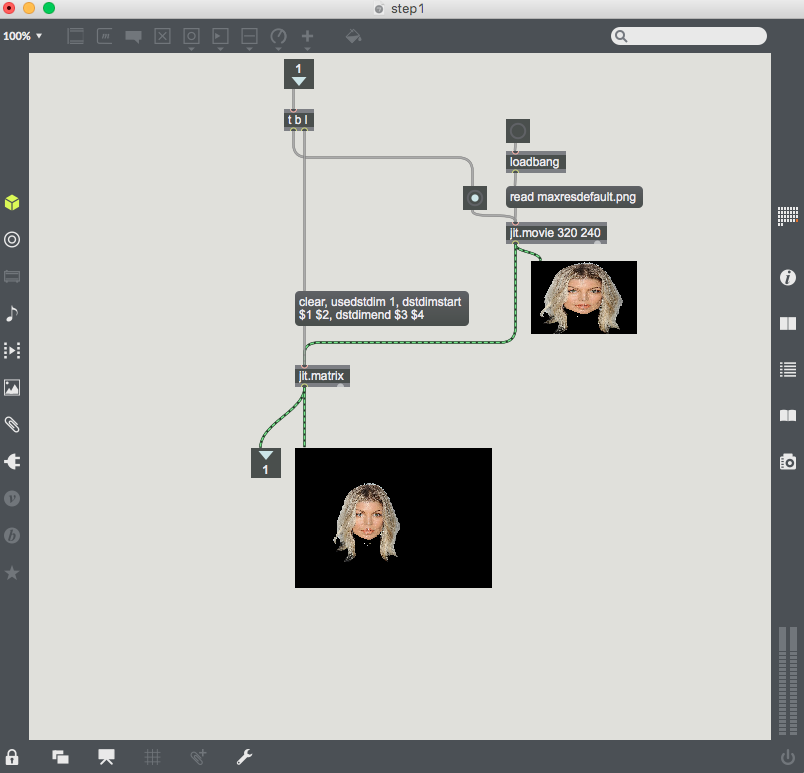
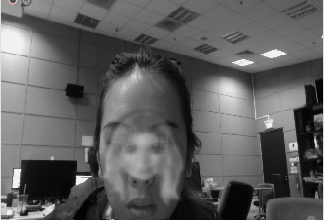
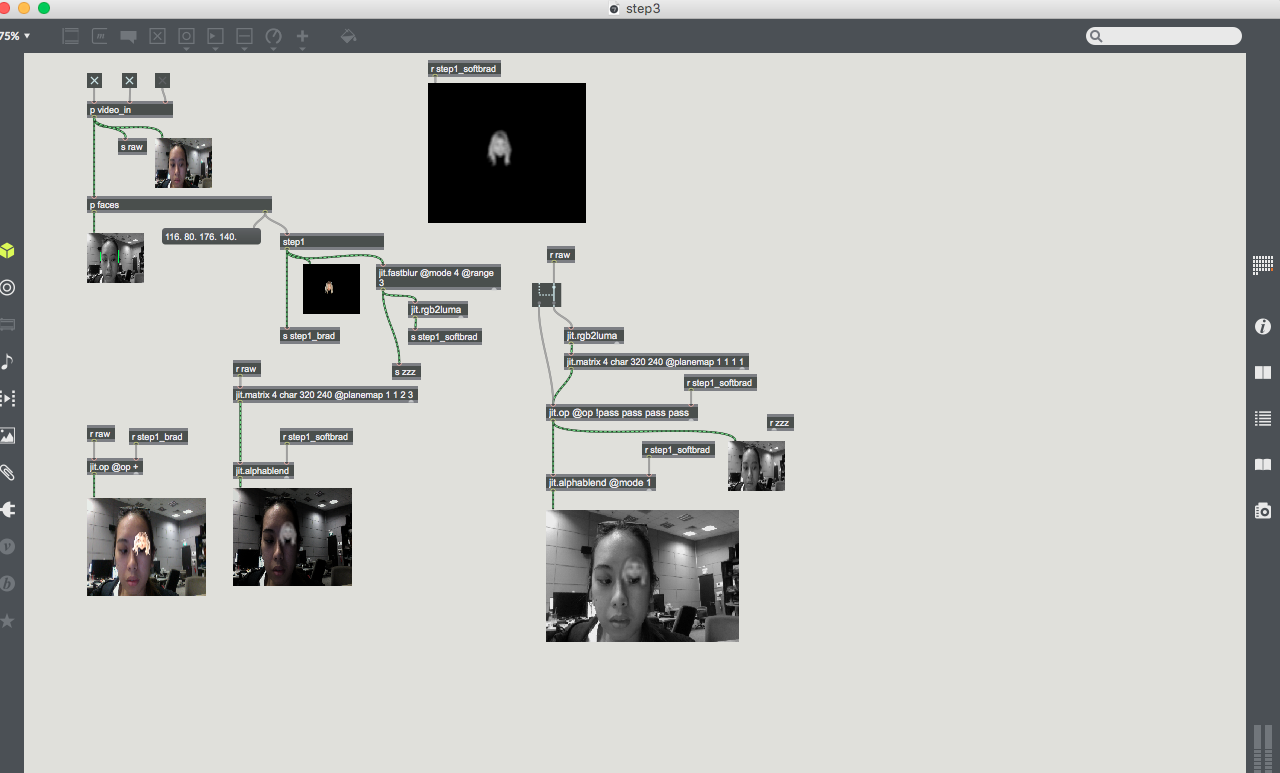 The issue is to resize the image to fit my face, which is something to which I thought was the issue of the fergie file, that it was not big enough. But using a much larger sized image somehow does not alter the end product in Max. Moreover, what can be improved is the flickering of the Fergie image, which is most likely due to the camera not detecting my face. Hence, improving the detection by playing around with brightness/contrast/threshold would probably be the best solution to do so.


