DN1009 Graphic Form
Project 2 – Locale
« 2B – Zine »
2B: Zine
After our presentation, the next task was to make an 8-page zine about our assigned location.
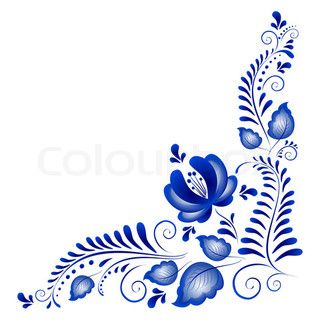
Since I decided to work on “colours”, based on the pictures I had, I realised that most of Pasir Ris was very blue and white themed, and hence I went with it. Initially, with blue and white in mind, I googled “blue and white” to see what I could find. I found that there were some “blue and white” objects that had patterns/textures that could be interesting to include:
- China Porcelain Pattern
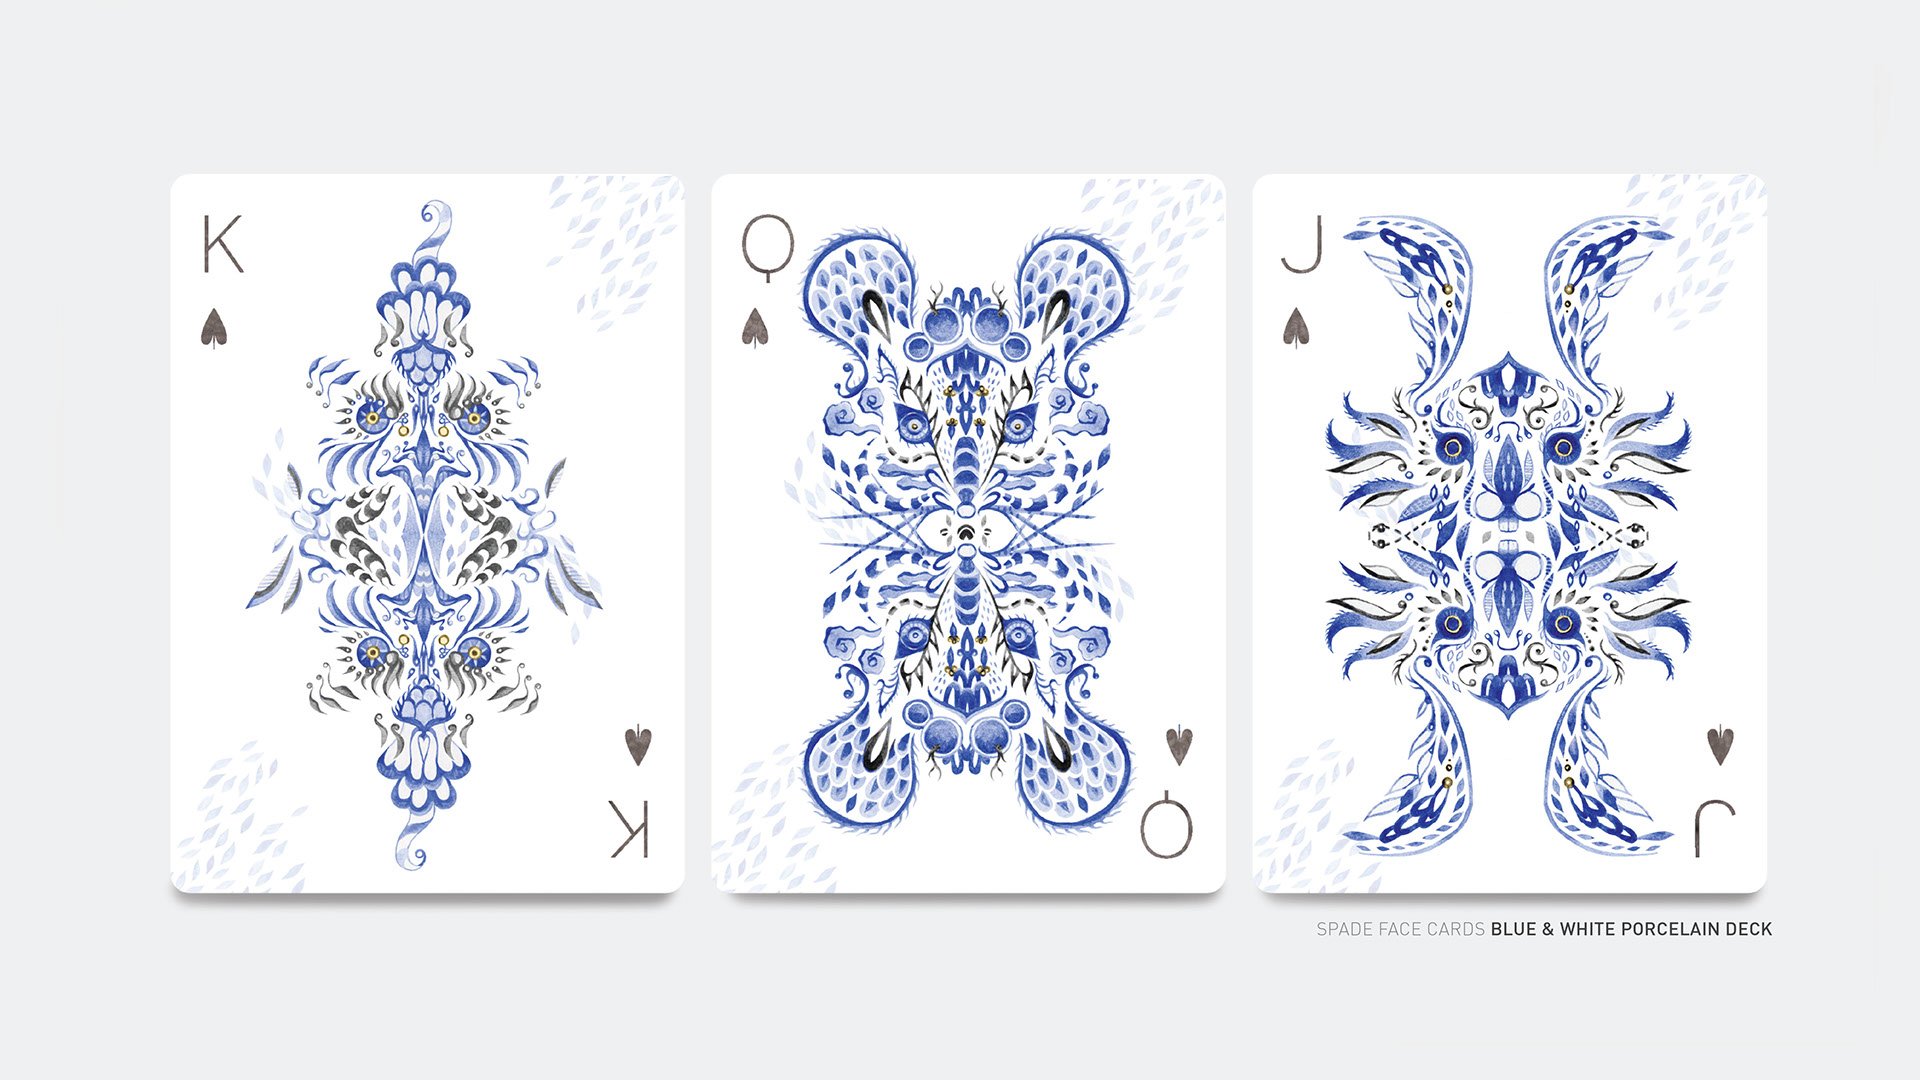
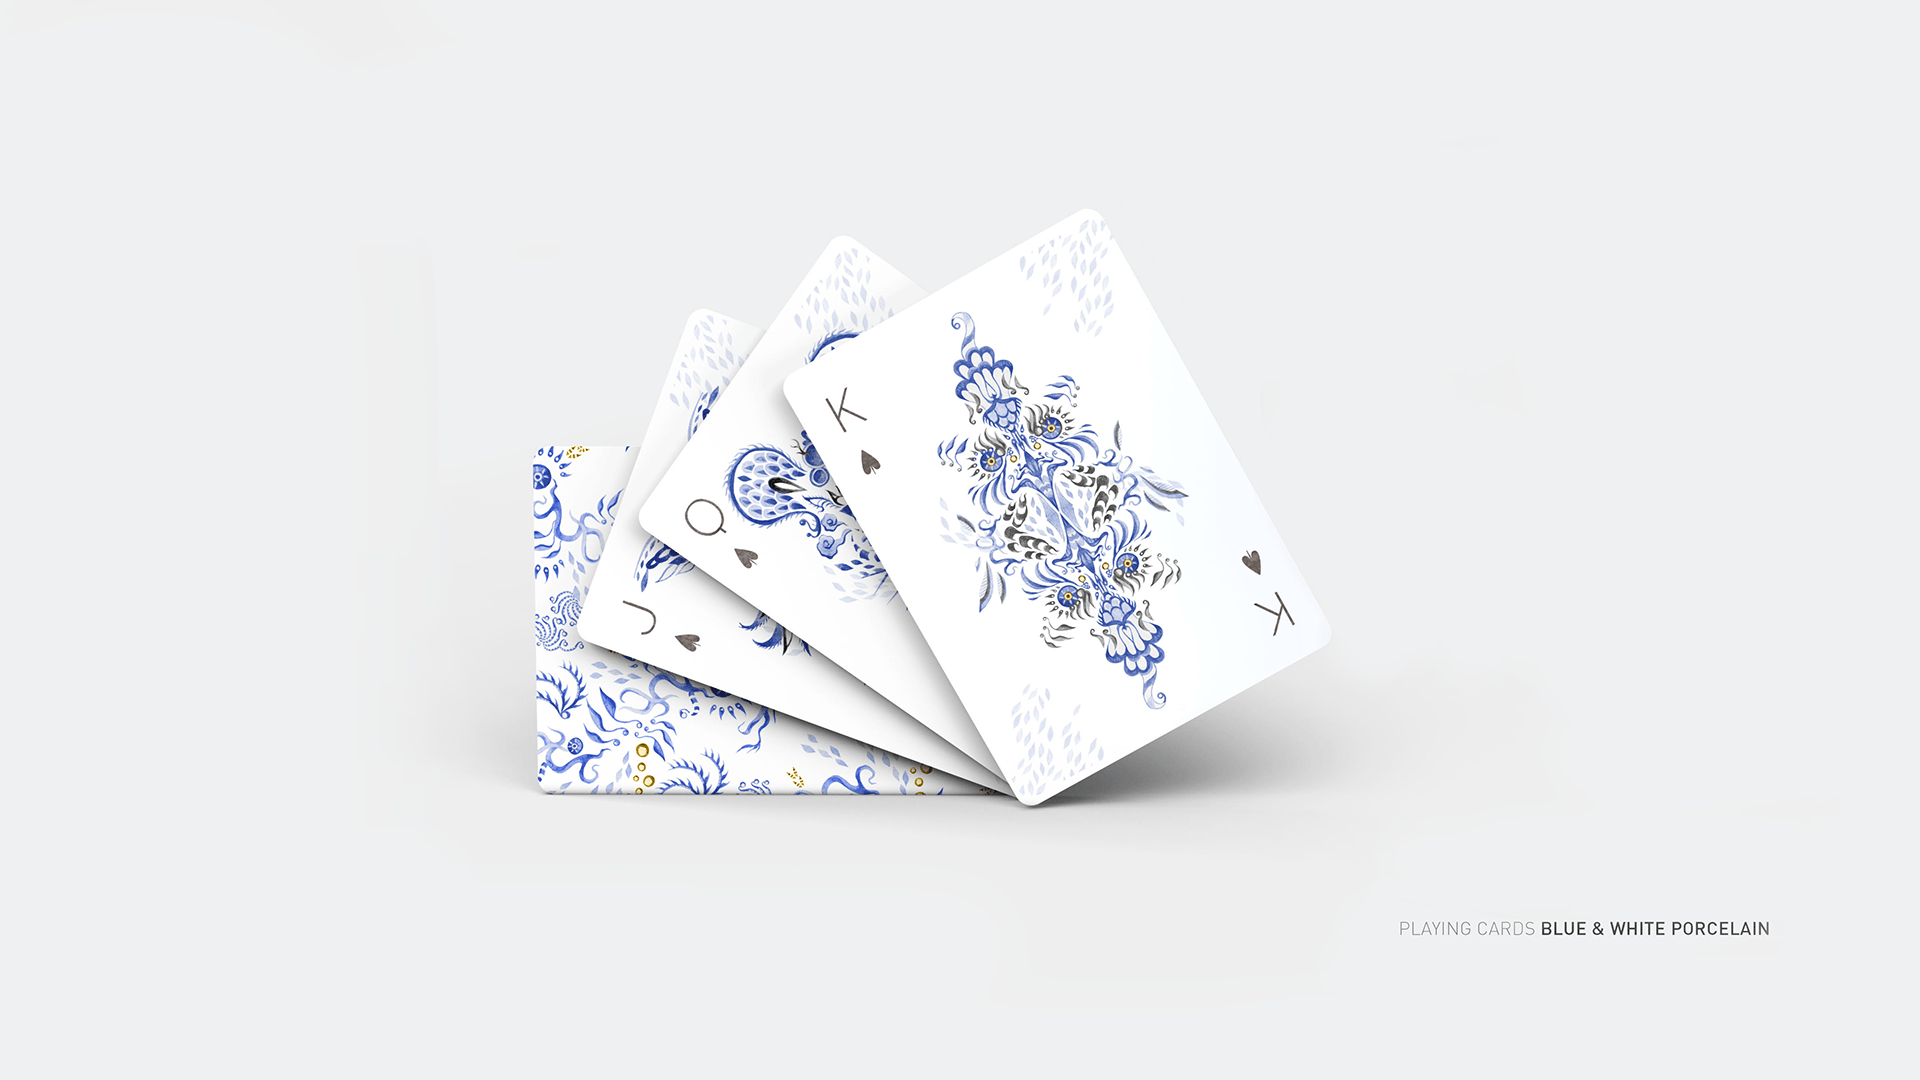
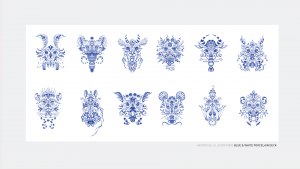
(Playing cards: Blue & White Porcelain by Shann Larsson)
I found this interesting set of playing cards which incorporated the blue and white porcelain effects. I really liked the design of the playing cards.
- Blueprint background


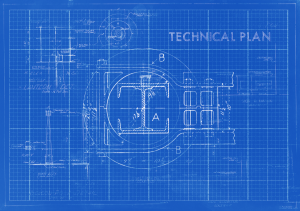
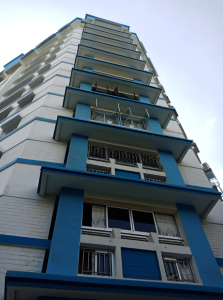
I wanted to put this in the background of the picture of my HDB block because I relate buildings/structures to blueprint patterns.
- Waves pattern
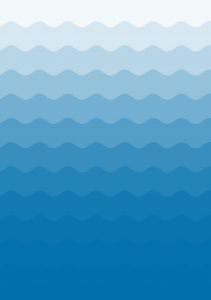
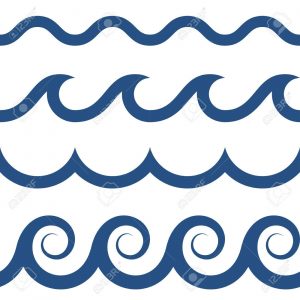
Since Pasir Ris is named after the long stretch of sandy white beach along the north-east coastline of Singapore, I thought including waves texture would be appropriate.
Artist Reference: Yulia Popova
(Onomatopoeia Zine, 3×3 inches)
An onomatopoeia is a word that actually looks like the sound it makes, and we can almost hear those sounds as we read.
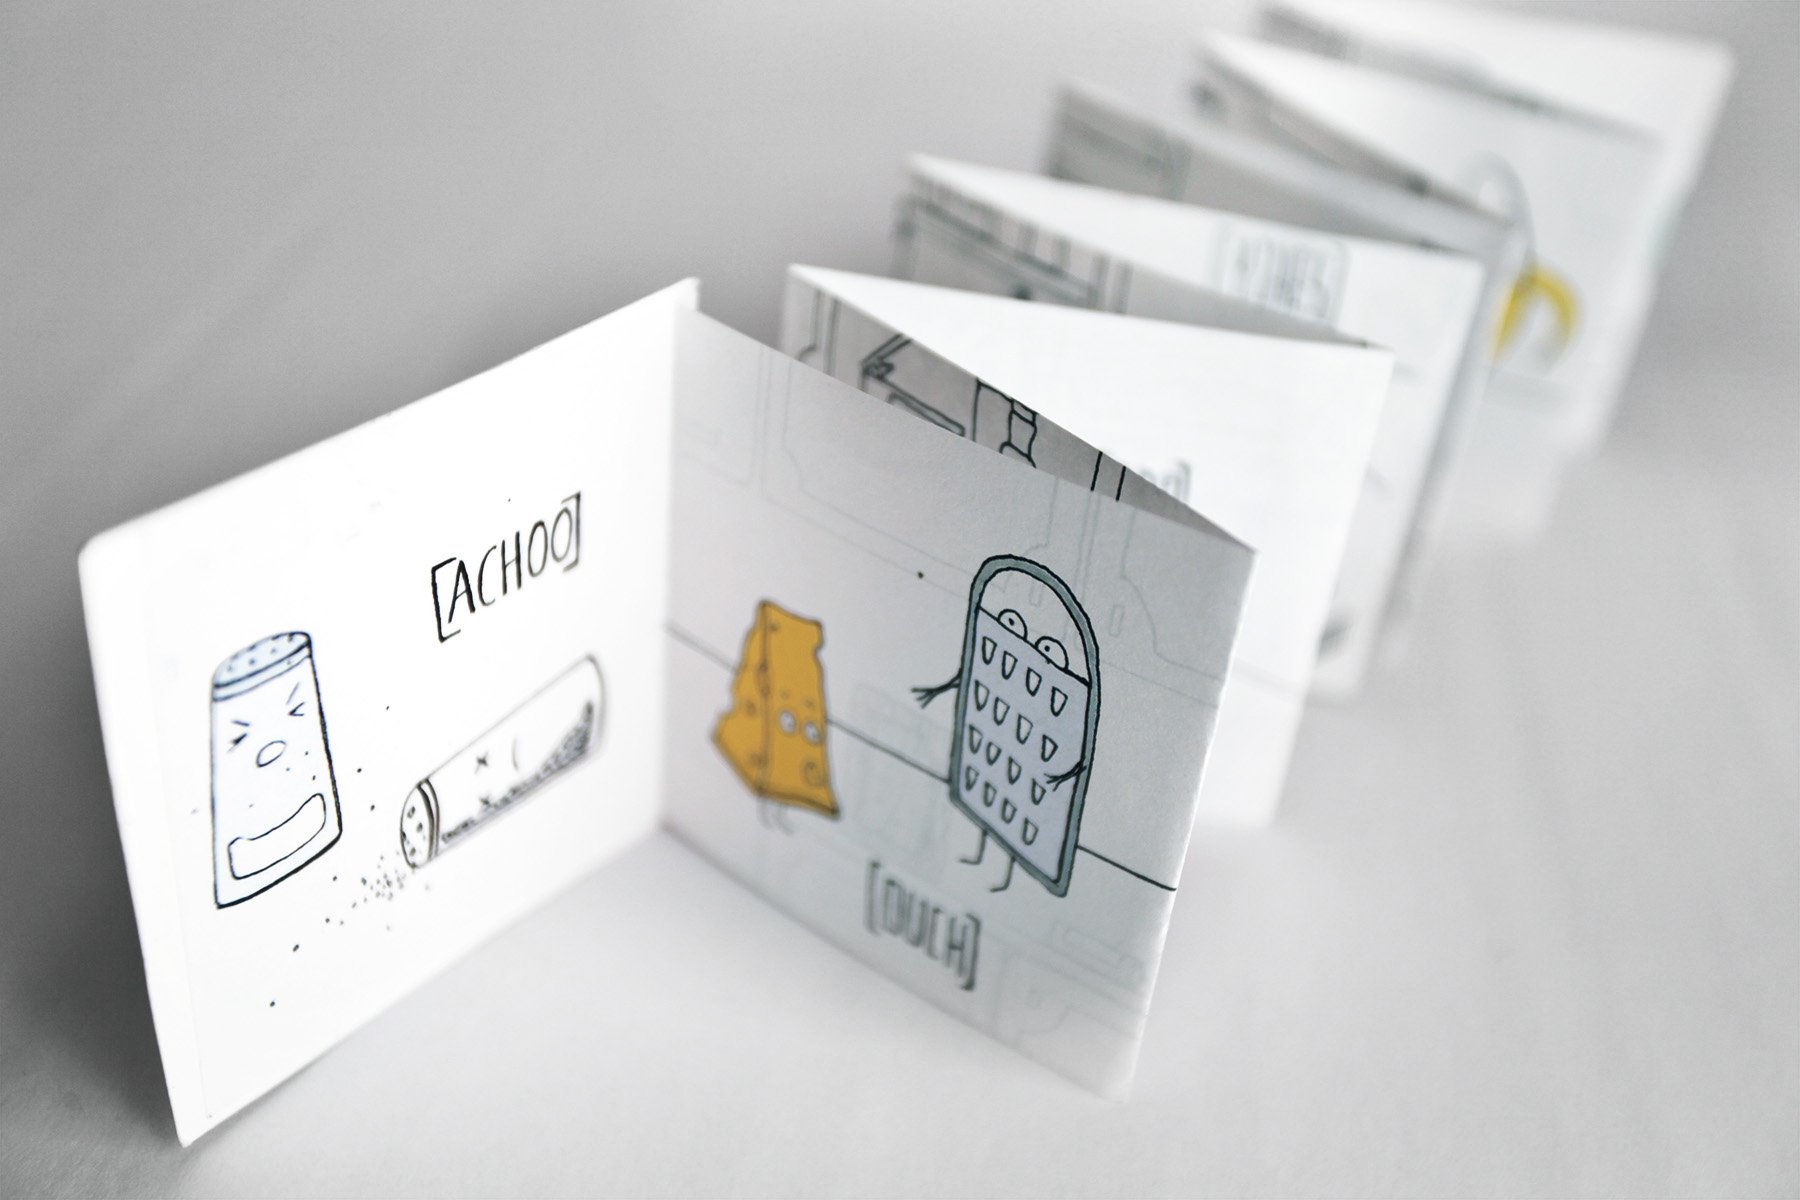
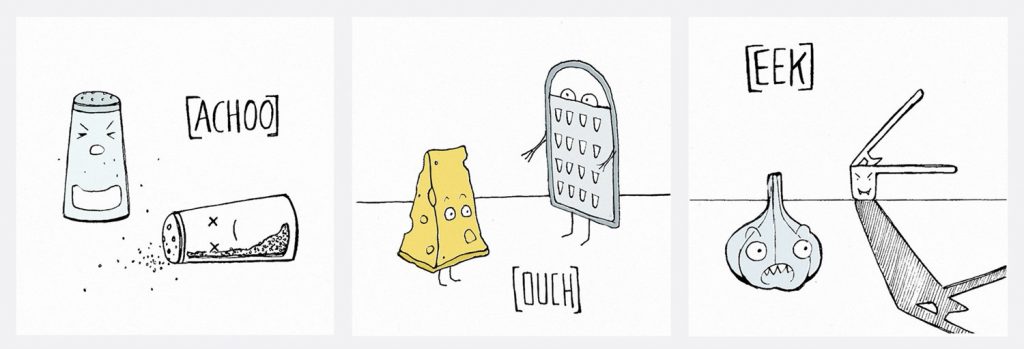
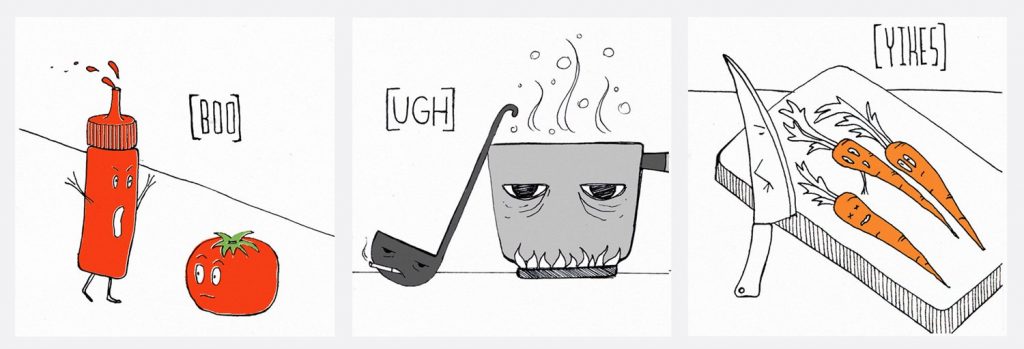
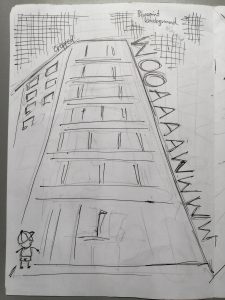
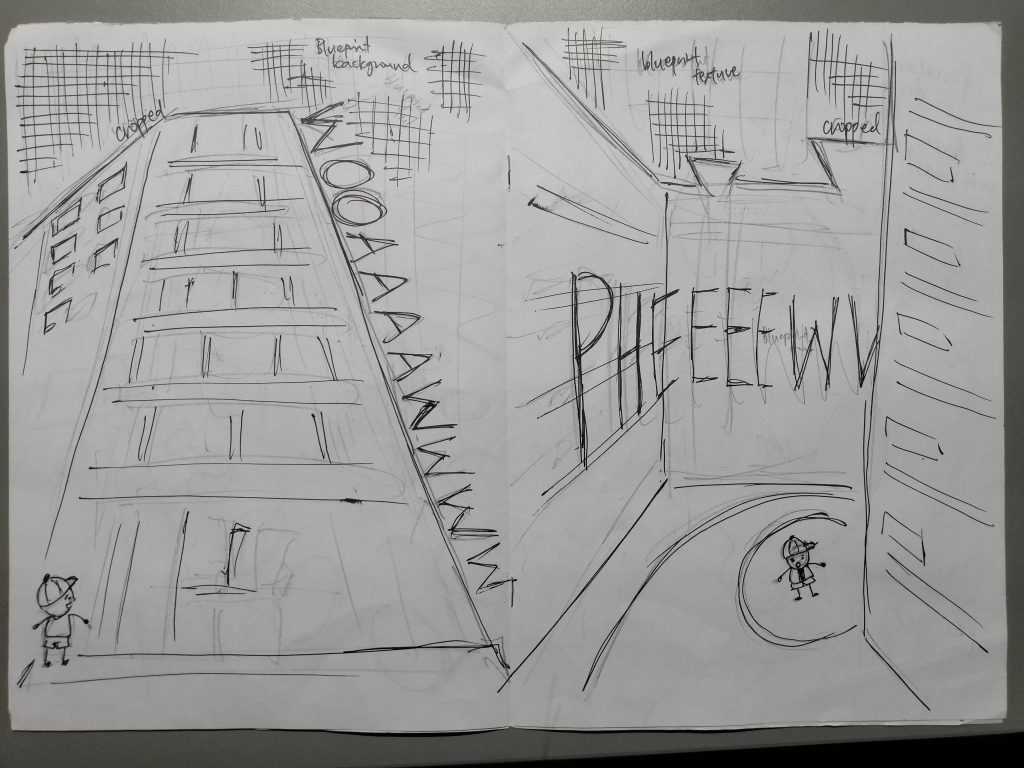
On top of the patterns/textures, I wanted to add illustrations to my zine, of which they would tell a story of a little boy exploring Pasir Ris. I didn’t want to add too many texts that may “overpower” the illustrations, so I thought of using simple “sound effects” or words that may convey what the little boy was doing, similar to the onomatopoeic zine done by this graphic designer. But just simple flat text would be boring, so I thought about what I could do to make the text be visually interesting. And I had the idea of playing with perspective of the text.

(something like this ^)
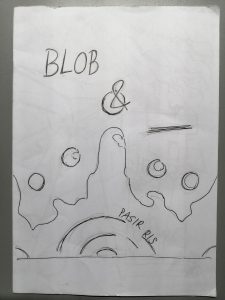
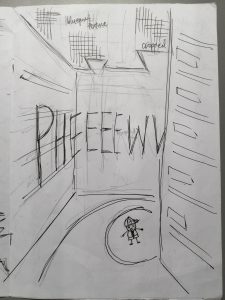
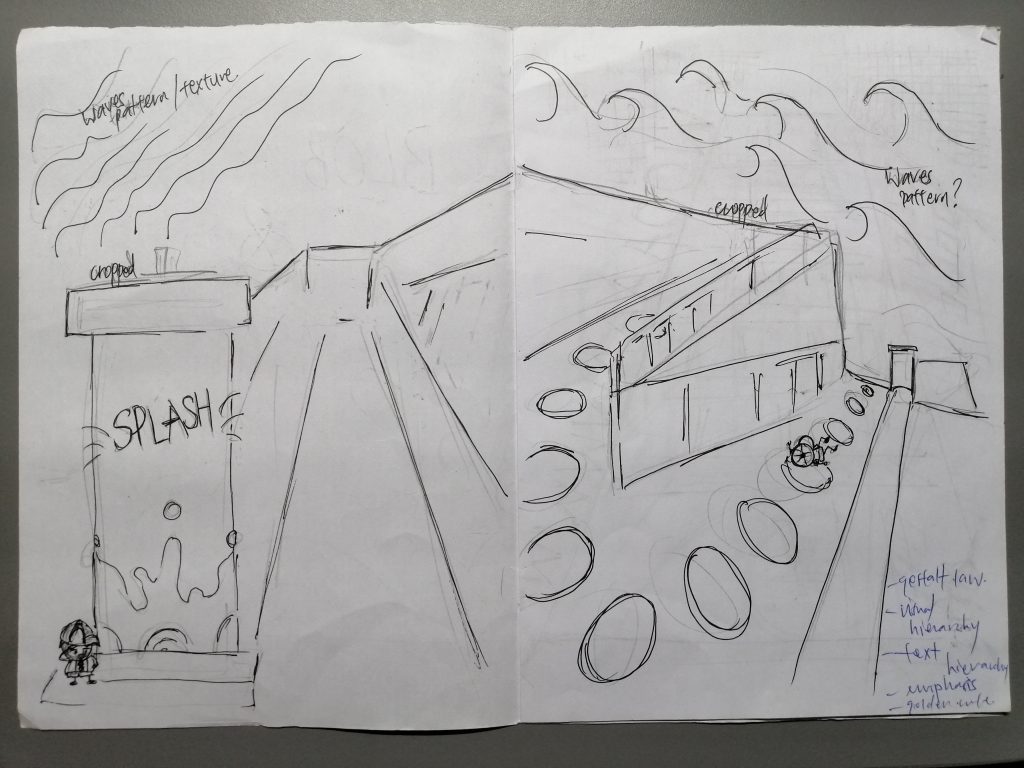
Sketch (Mock-up of zine): Done with pen, pencil and paper to get an idea of the possible layout that can be used
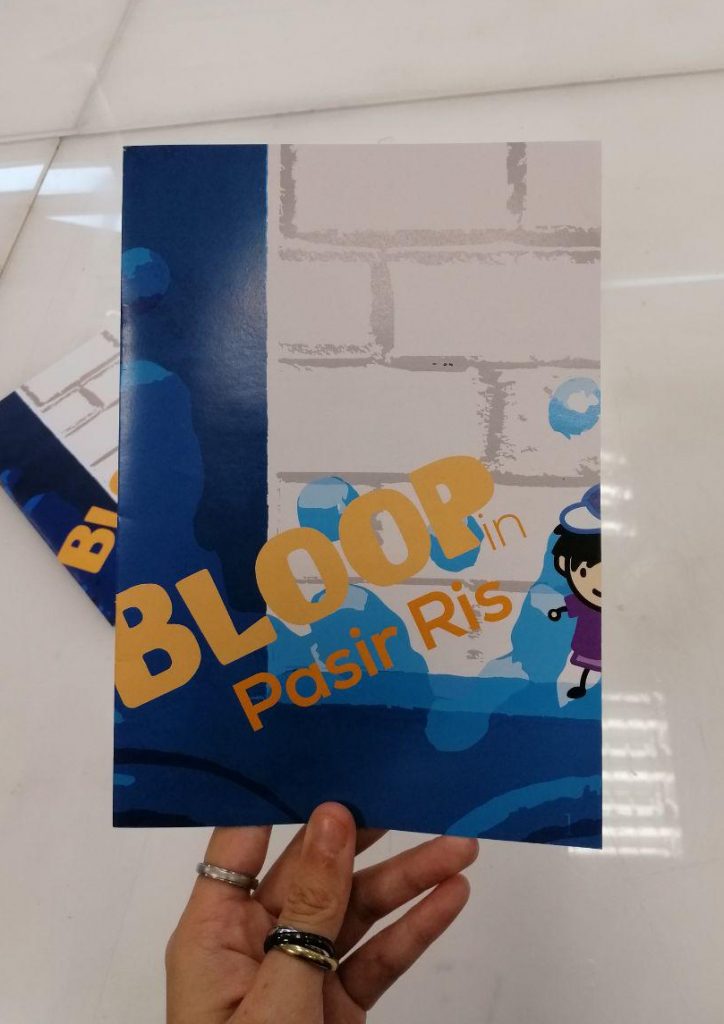
Front Cover (Page 1):
I used the pattern from one of my pictures. I wanted to use this texture because I felt that it was representative of Pasir Ris and no other place have this particular pattern.
Original
I then used Adobe Illustrator to image trace over it, so that it would have a “illustrated” look, which would be more consistent with my drawing of a little boy exploring Pasir Ris.
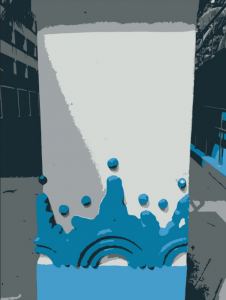
Image-traced
I used Adobe Photoshop (PS) to do a digital draft of the cover. I played around with the “Hue/Saturation” and “Levels” settings to get the results below.
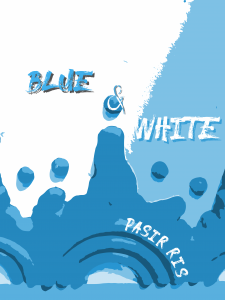
Draft 1
I then changed the title from “Blue & White” to “Blob & _____” because Blob was the initial name of the little boy in my story and the (blank) was to represent the varying sound effects he makes in the zine.

Draft 2
I later realised “Blob” isn’t really a sound effect, so I changed it to “Bloop”.
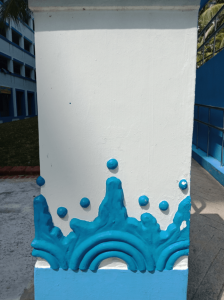
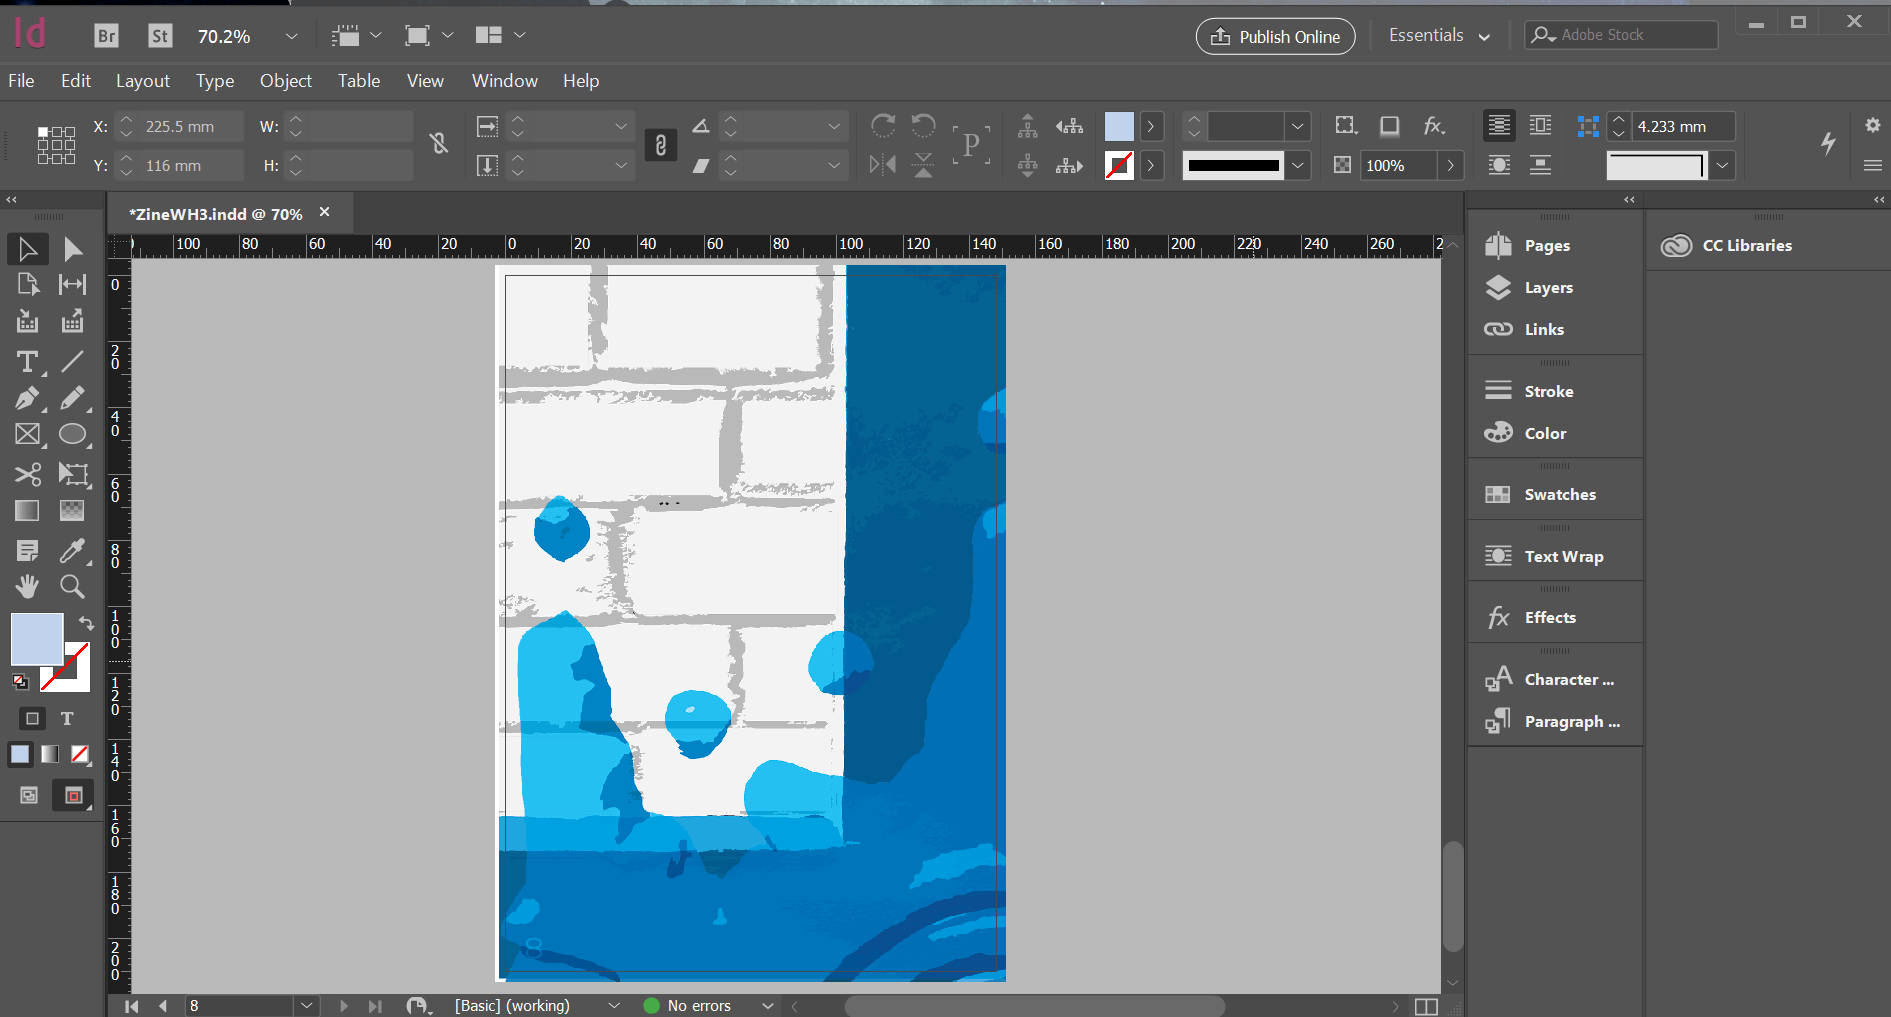
After working on the rest of my zine, I felt that this current draft of the cover didn’t really go with the style of the pages. So I redesigned it. I was afraid that the cover will get too cluttered with the pattern, so I decided to use this picture of a wall that I took.
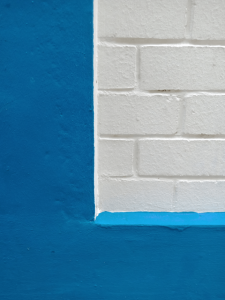
Original
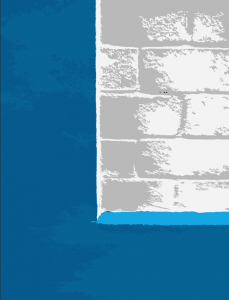
Image-traced
The image-traced result wasn’t really what I was looking for, so I retouched it with PS.
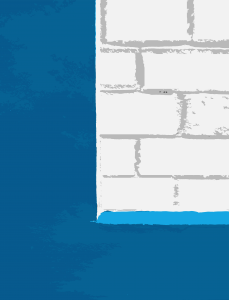
Edited image-traced picture
I removed most of the grey areas so that there is more white and more contrast. And also because my main theme was blue and WHITE, not blue and GREY.
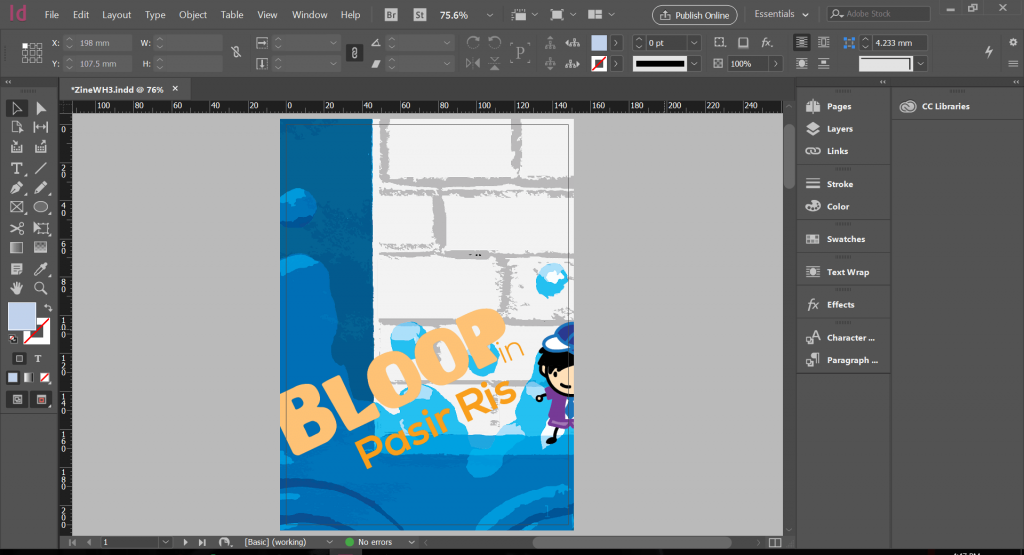
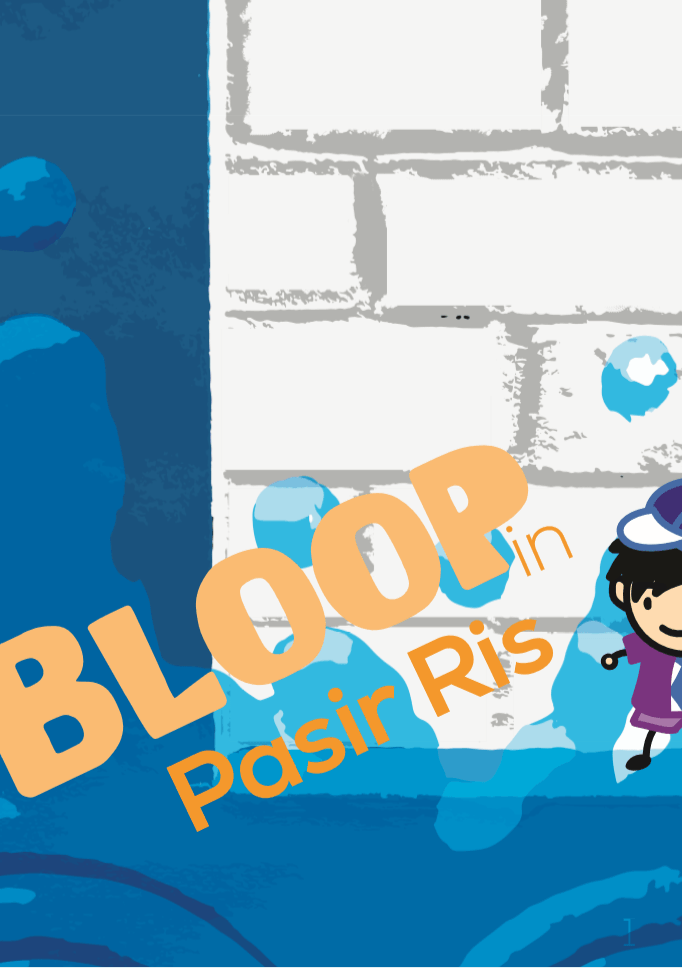
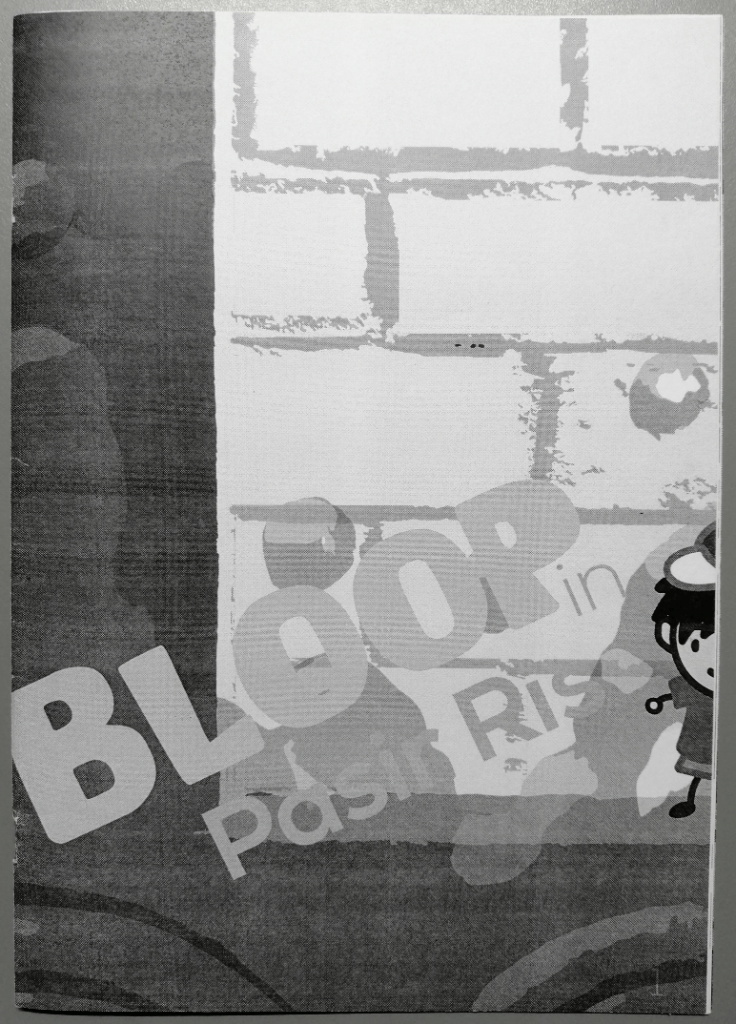
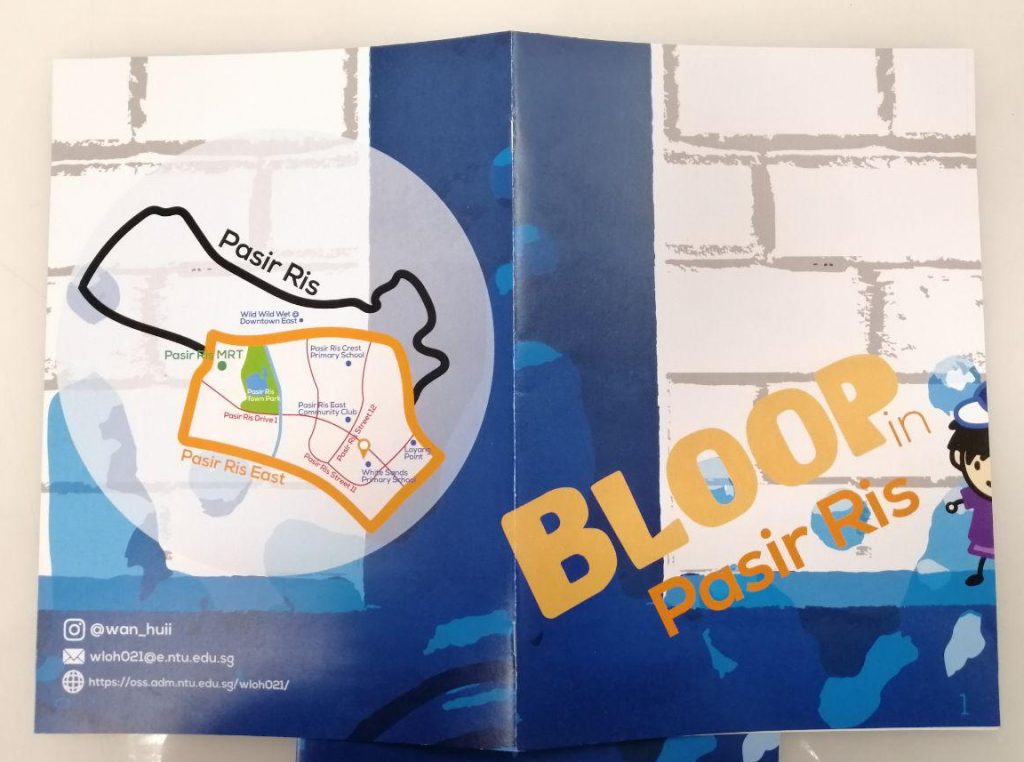
I then inserted this image into my Adobe InDesign (ID) project. I used the “Text Tool” on ID to add my title. I kept the title simple and straight to the point: Bloop in Pasir Ris.
The vibe that I was going for is cute and bubbly, so I used big and rounded text for the name of the boy. I also chose orange for the text because orange is the complementary colour of blue, hence giving a great contrast. In fact, I keep this complementary colour scheme consistent throughout my entire zine.
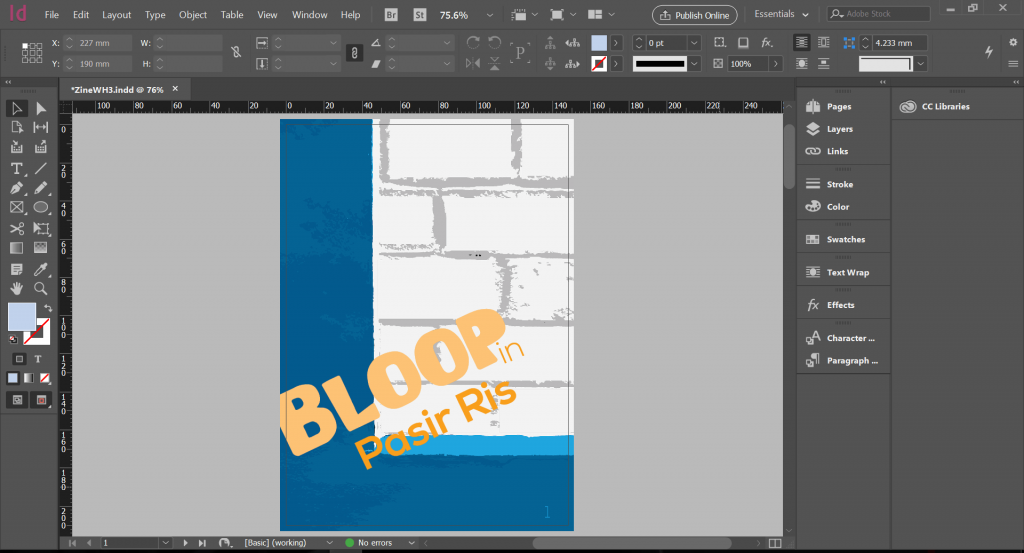
I also wanted to show a little of the boy on the front cover so that people who just look at the cover can know what to expect and hopefully make the connection that the boy is called “Bloop”.

However, this was too plain for the cover (not eye-catching enough). Shirley suggested that I brought back the pattern from the first draft, but I didn’t want to just place the full image on the cover page. So I thought of making use of the InDesign features, and make it such that the pattern goes over to the back page (i.e. only half of the pattern is shown on the front cover and the other half on the back cover, so that there is a link back to the start). I also used the “Paste in Place” feature for the text so that it matches the front and back cover matches. I also experimented with the blending (effects) options to find the one that is most suitable between the pattern and background. I liked the “Hard Light” blending effect the most.
Hard Light Blending Effect
Final Draft
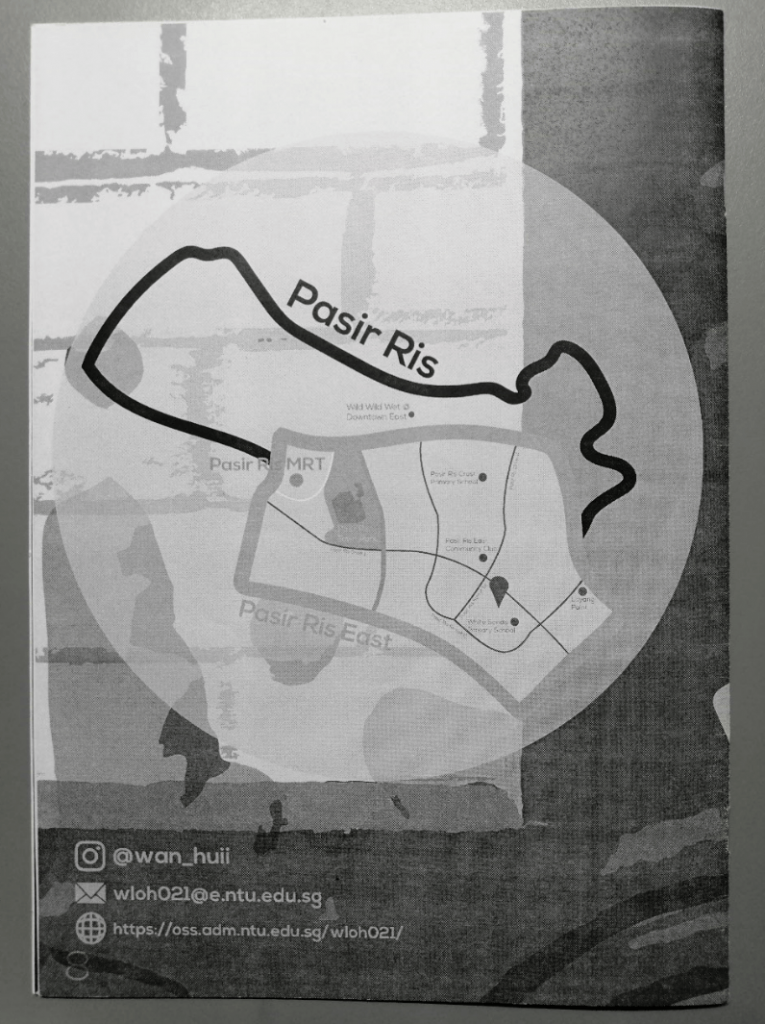
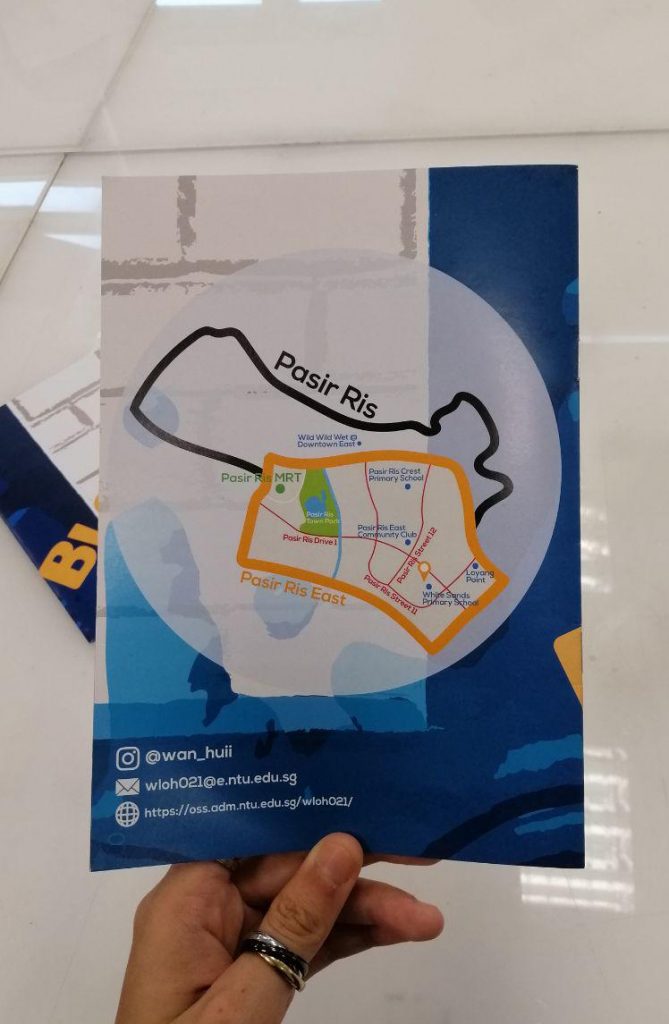
Back cover (Page 8):
The last page is quite a straightforward page to work on, but also the most tedious. I wanted the back cover to relate to the front cover, so I duplicated the picture of the blue and white brick wall from the front cover, flipped it, and added the other half of the “Splash” pattern over it.
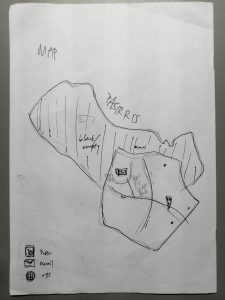
Pasir Ris itself is quite a huge area, and since I wasn’t doing on the WHOLE of Pasir Ris (just the east area), I decided to have a zoomed-in version of the area I was working on. I went to Google maps and took a screenshot of Pasir Ris, then took a screenshot of the zoomed-in area of Pasir Ris East.
I placed the screenshot of the map in Adobe Illustrator (AI) and using it as a guide, I drew over it with the “Blob Brush Tool” and pinpointed the significant landmarks.
After I was done with drawing the map, I imported the vector image into my ID file and labelled the landmarks using ID’s “Text Tool”.
Initially, my texts were too small (The smallest font size was 3pt.) I didn’t realise that this was a problem until I did a test print of my zine. The words were practically unreadable because it was soooooo tiny. My artist contact detail was also too dark to be seen, so Shirley suggested I changed it to white.

Draft 1
Labels too small to be read on print

Artist details too dark to be read; not enough contrast
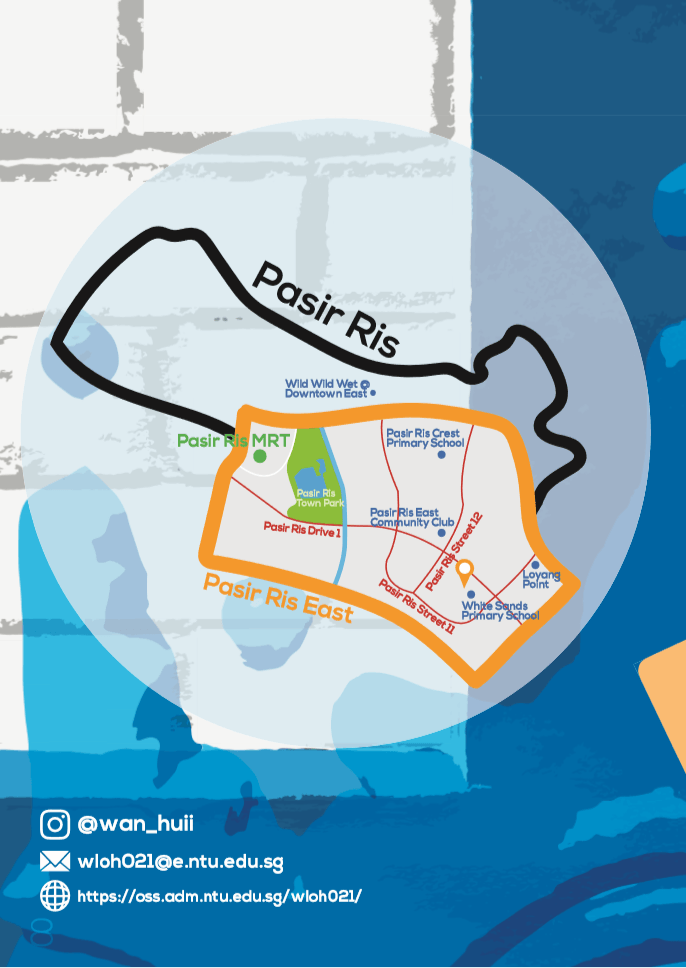
Final Draft
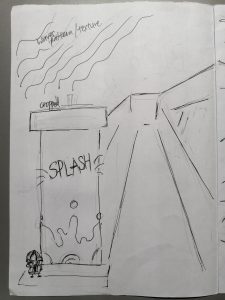
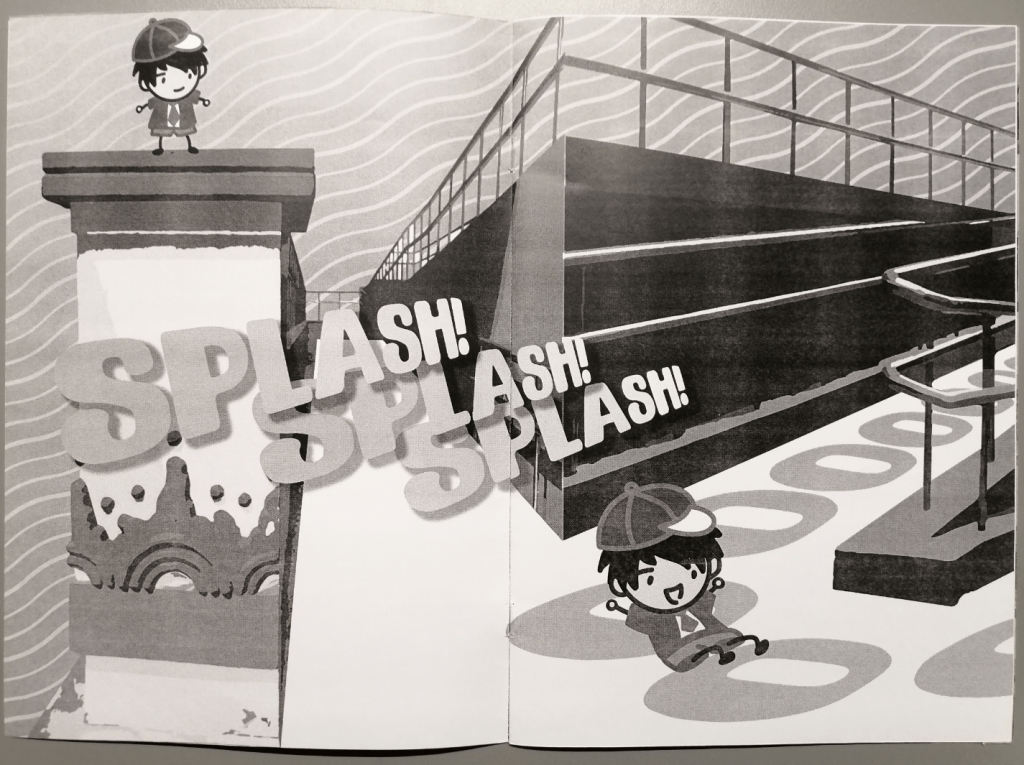
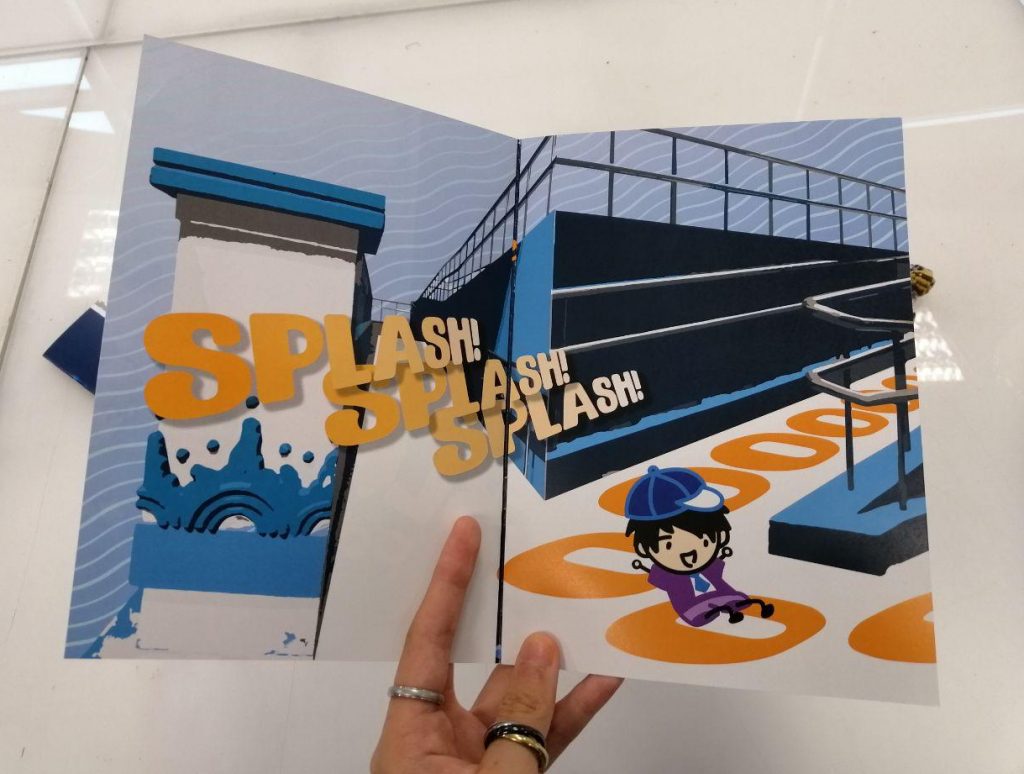
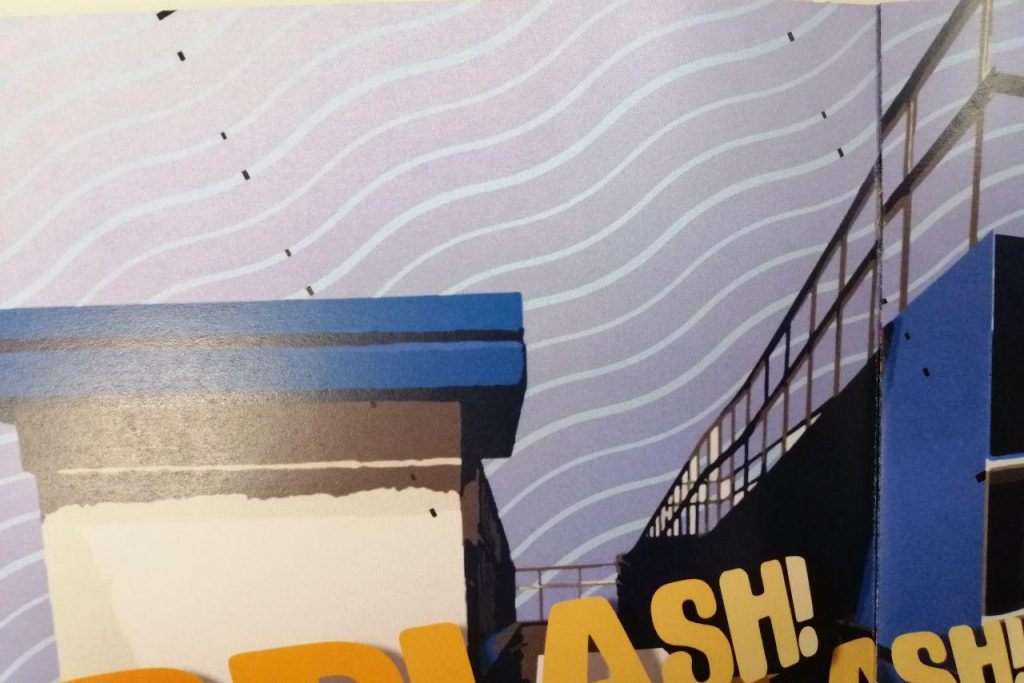
First Spread (Page 2-3):
Original photos:
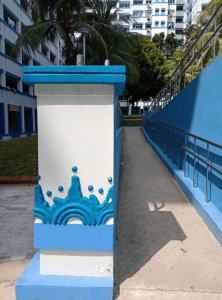
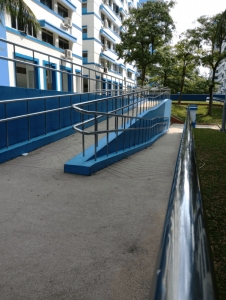
The original plan was to crop out the paths from the pictures I took (Pasir Ris has a lot of these kind of paths) and put them together, with them separating in the middle but joined at the railings because I wanted to make it such that there are leading lines from page to page. I decided on these 2 pictures because they had similar perspectives, just in opposite directions.
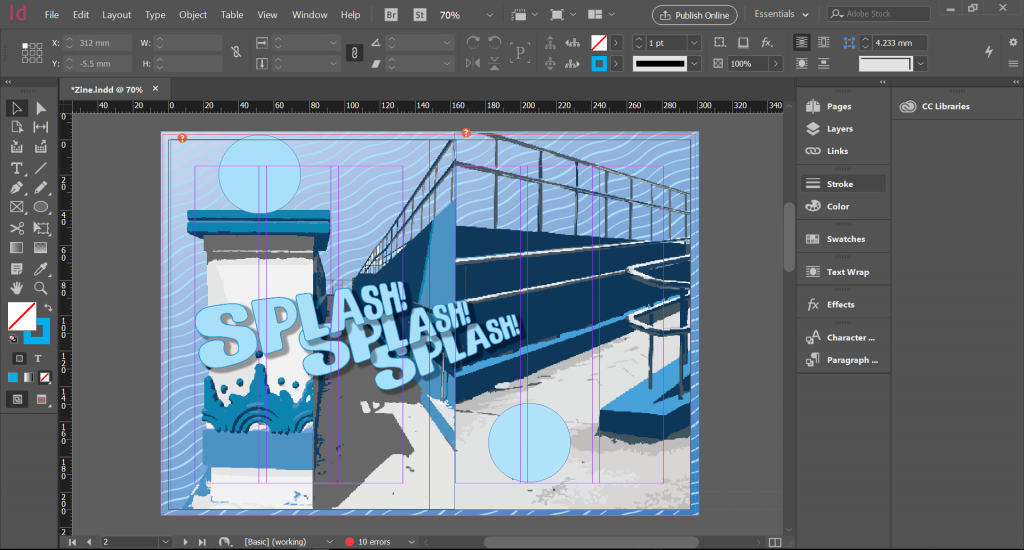
Draft 1
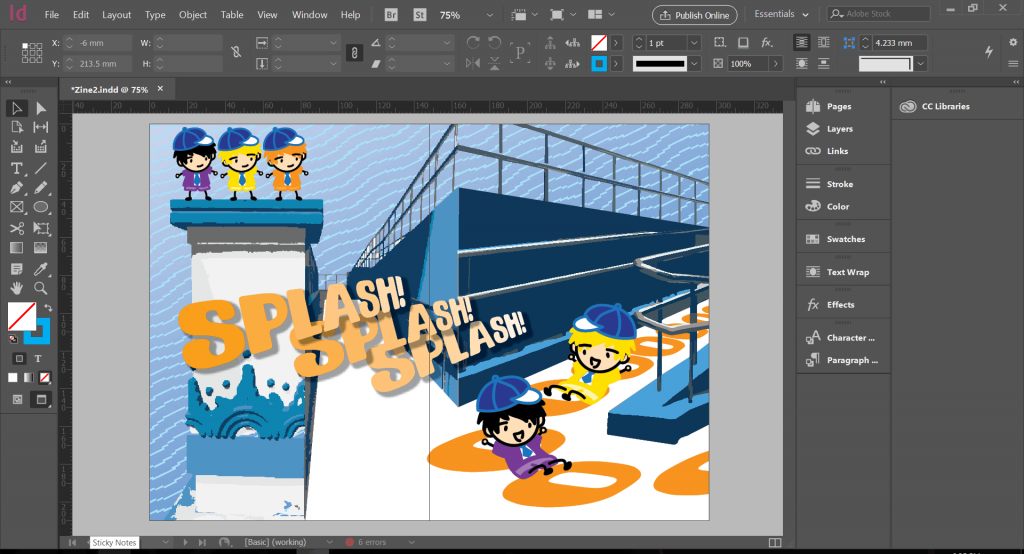
I chose the word “Splash” because the texture on the pillar looked like water splashing. Also, 3 times, because third time’s the charm (gotta use the design principles; repetition)! After the first consult with Shirley, she helped me with some of the arrangement of the elements.
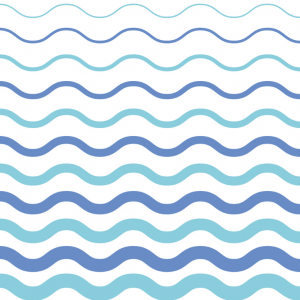
The waves pattern in the background was edited by me on AI. At first I had technical problems with creating the waves pattern, so I seeked help from Shirley, and by accident, we discovered that varying the size of the stroke of the wave made it visually more interesting.
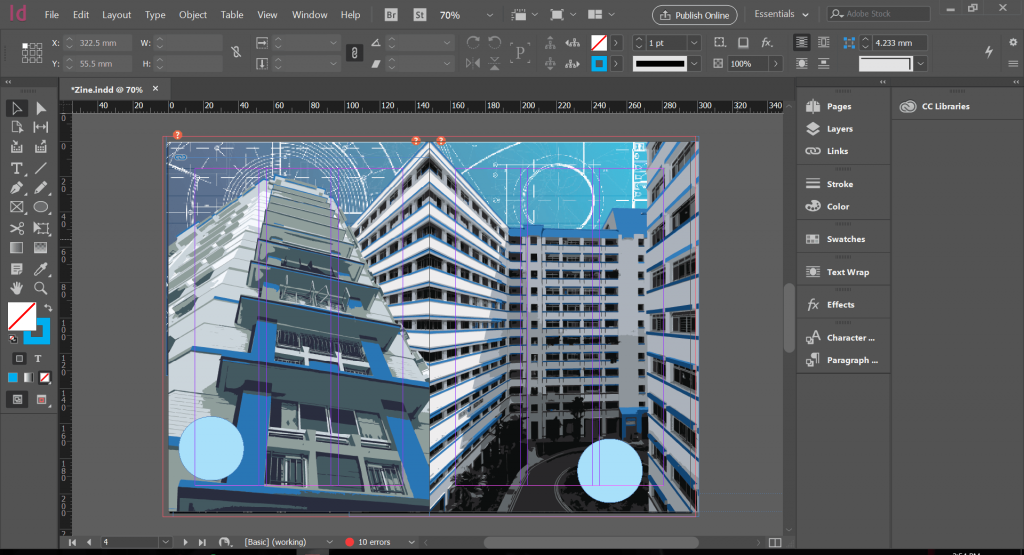
I wanted to use a monochromatic colour scheme, but as you can tell from above, it feels a bit flat and there are not enough interesting elements. So Shirley suggested using the complementary colour scheme instead, for a greater contrast, and also shifting the pictures such that they cover more of the spread and don’t join at the center (asymmetrical!).
I used blue circles to represent the position of the little boy temporarily. I realised that it was quite hard to see the effect of the boy’s position if he wasn’t actually there in the spread. In order to visualise the entire spread better, I had to first finalise the look of my little boy.
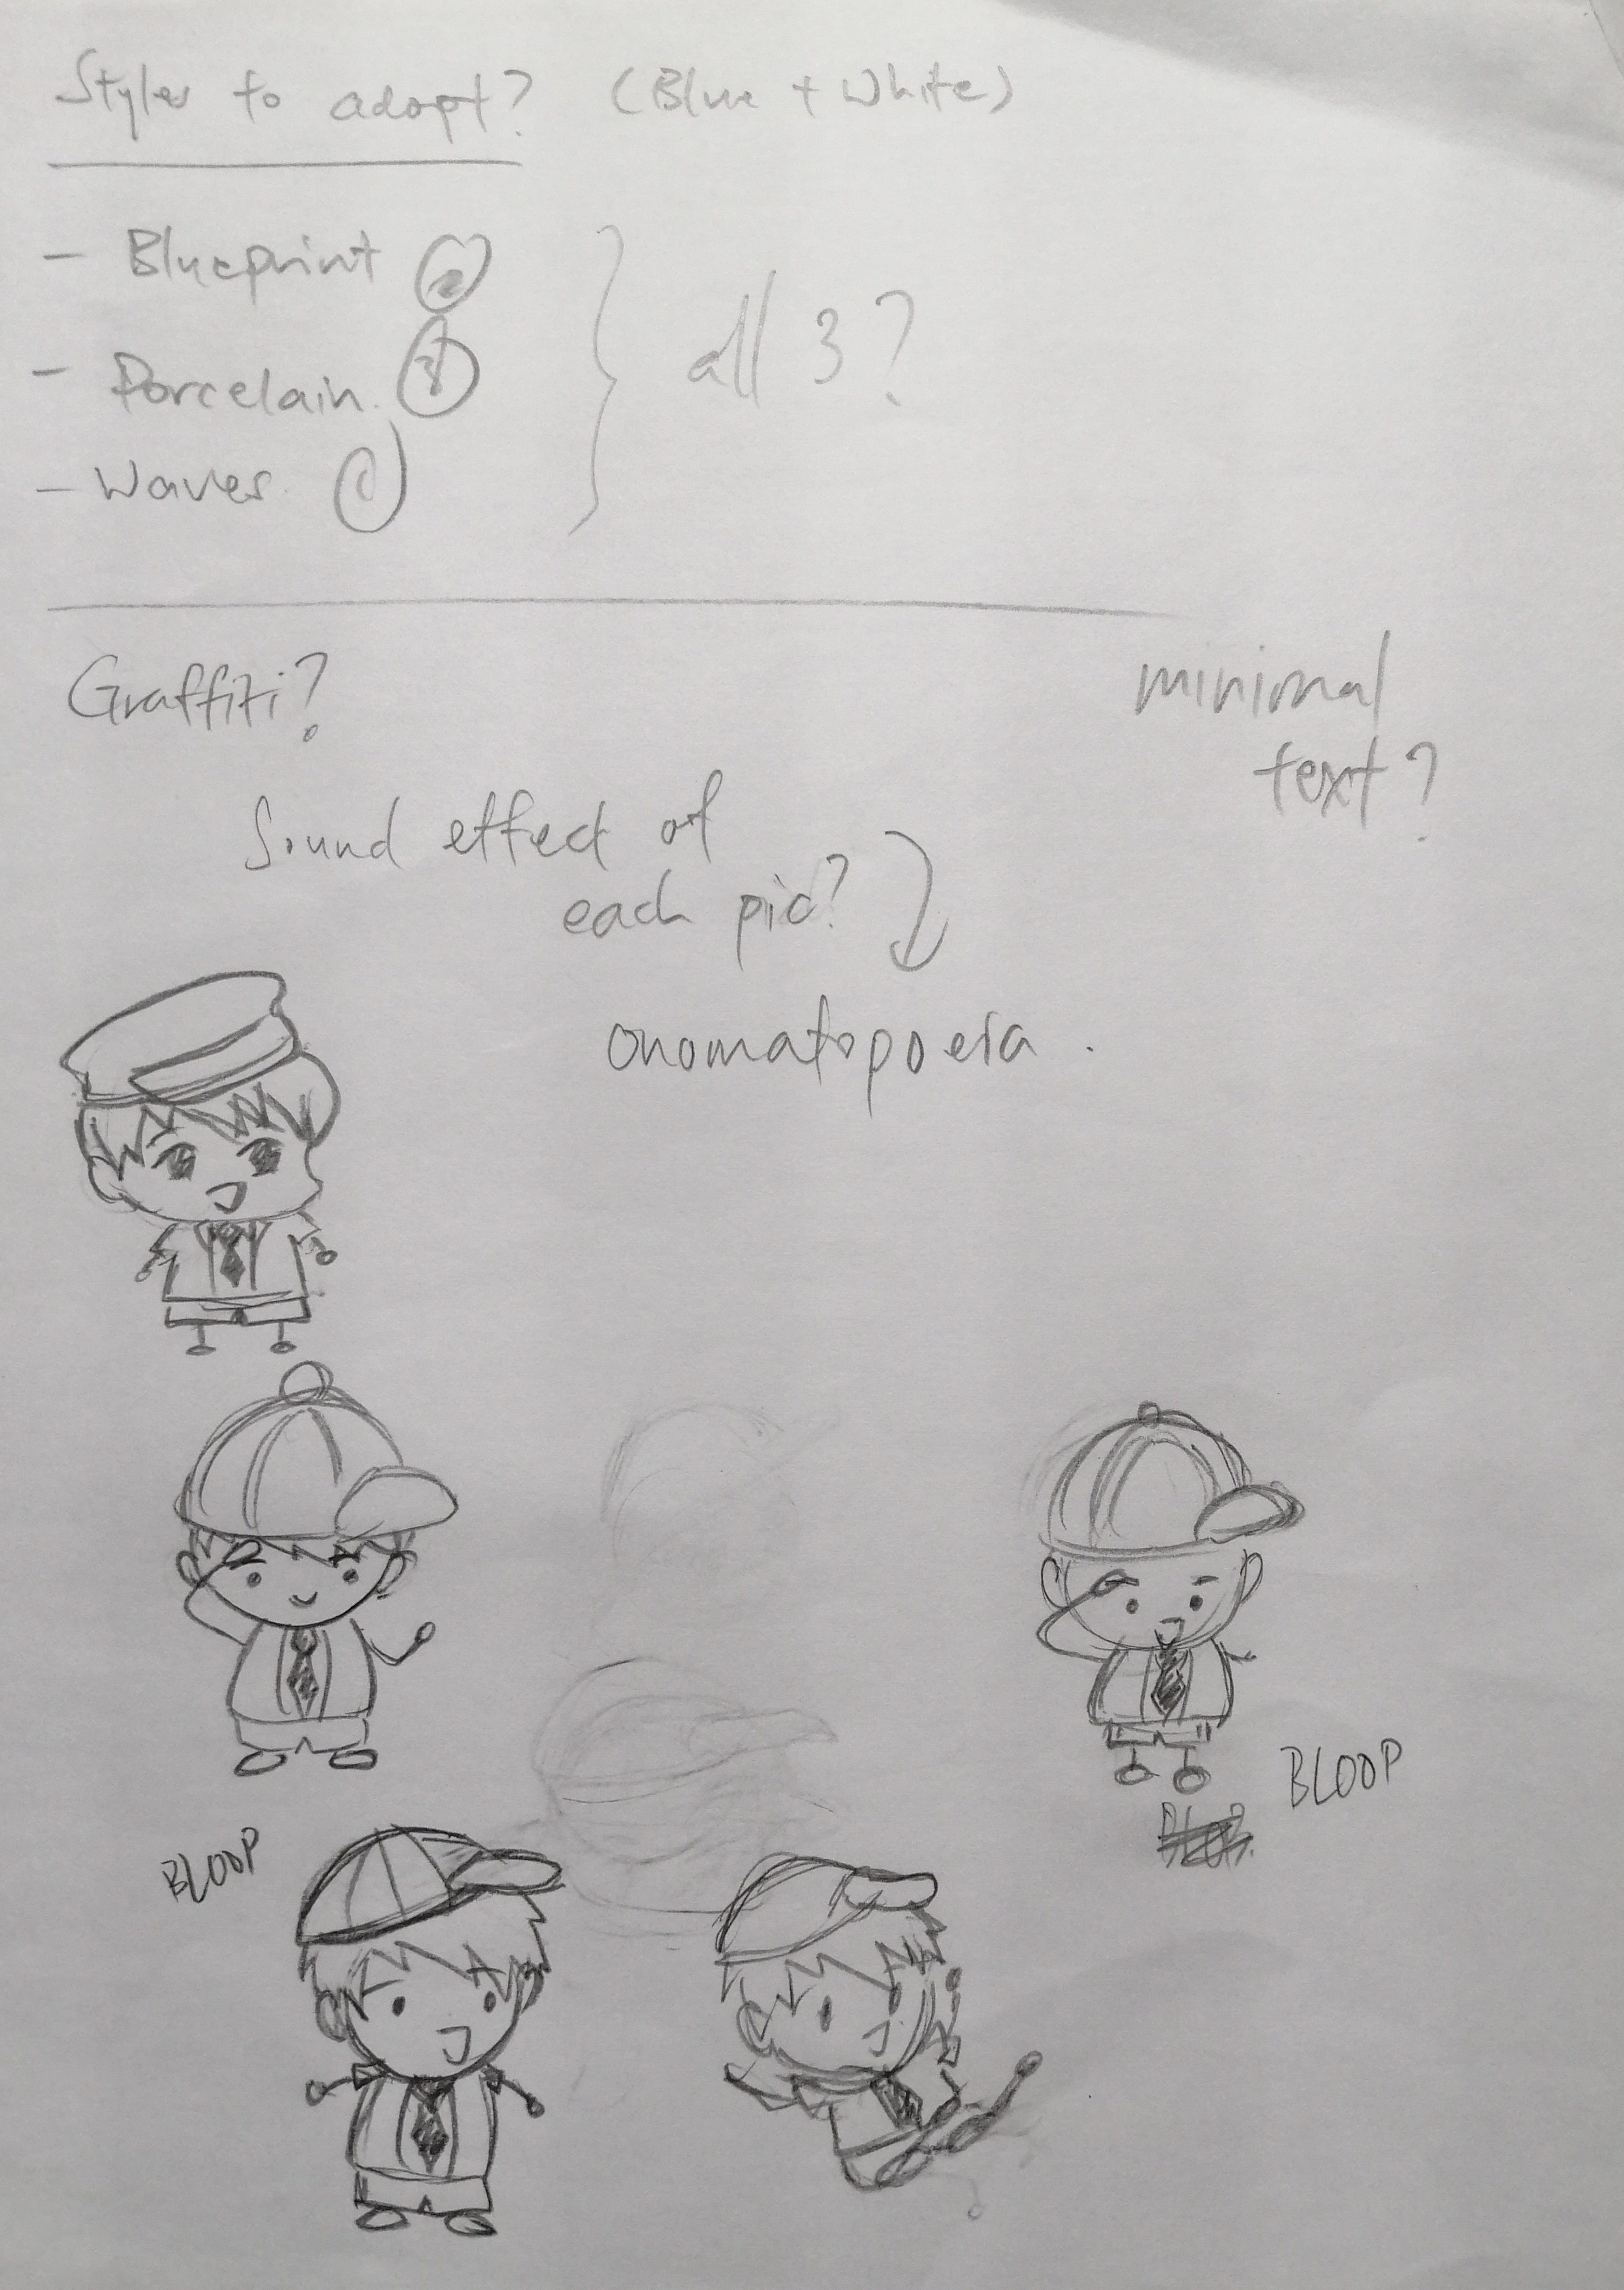
Several versions of “Bloop”
I ultimately settled on the one at the bottom right. I then put the pencil sketch into AI and drew over it. I then had to decide on the colour of his clothes and accessories to make sure he can be seen on the spread which is mostly blue.
I tried several colour combinations and placed them in the ID file to see how they would look like. Orange again? Or yellow?


Various coloured boiiiiiiii
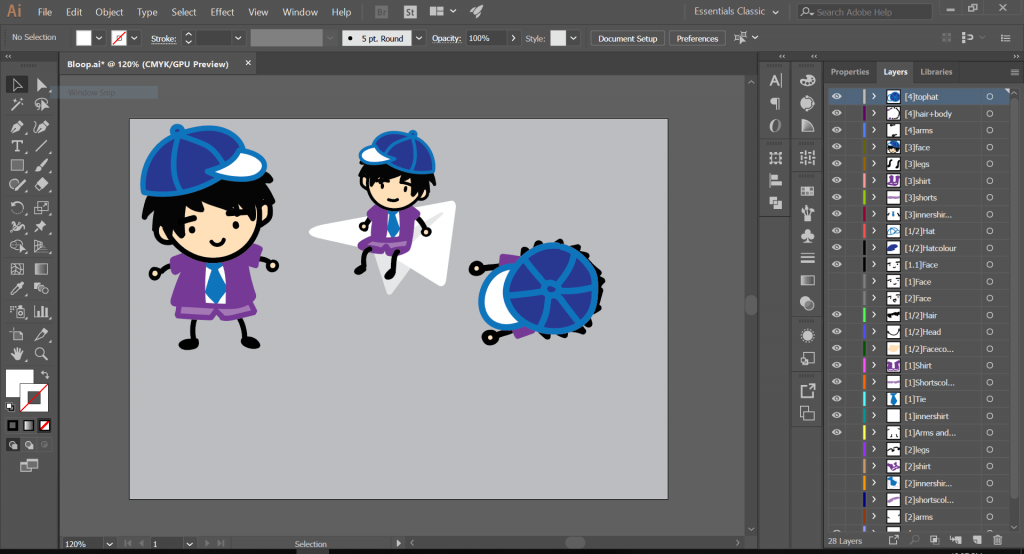
Bloop in different positions for the other spreads
I chose purple because it stood out the most, and together with blue and orange, it has a split-complementary colour scheme.
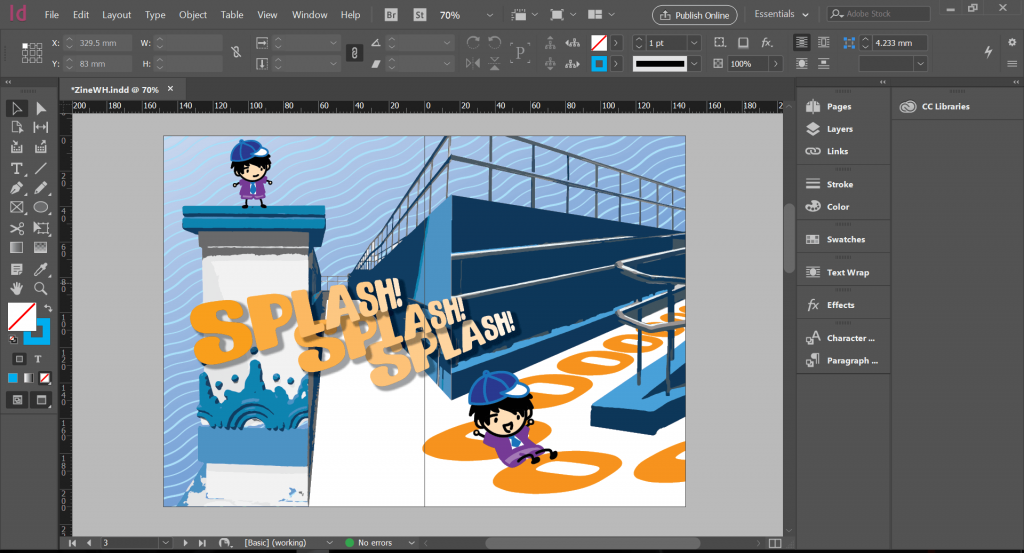
Draft 2
I used all caps for this text because splashing is a “explosive” effect, so I wanted it to seem “louder”. After the 2nd consult with Shirley, she thought that the first boy on top of the pillar wasn’t necessary (I should keep the boy to spread ratio 1:1). I agreed with her, because I think the little boy might take away the attention from the words.
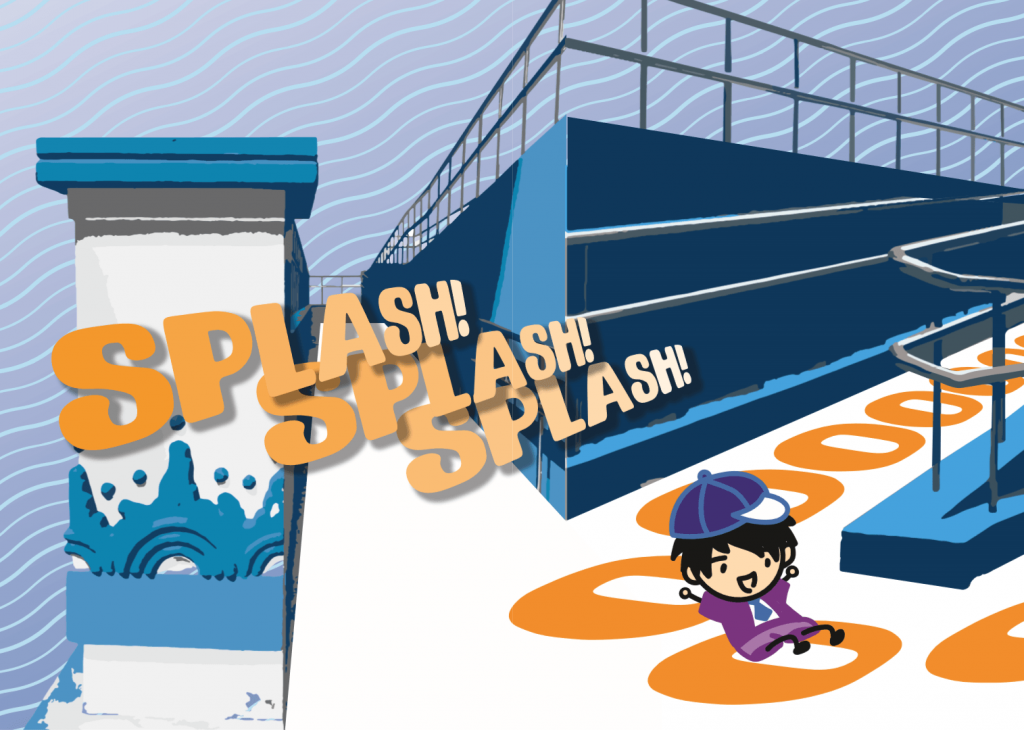
Final Draft
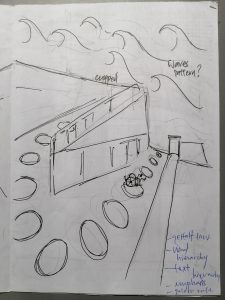
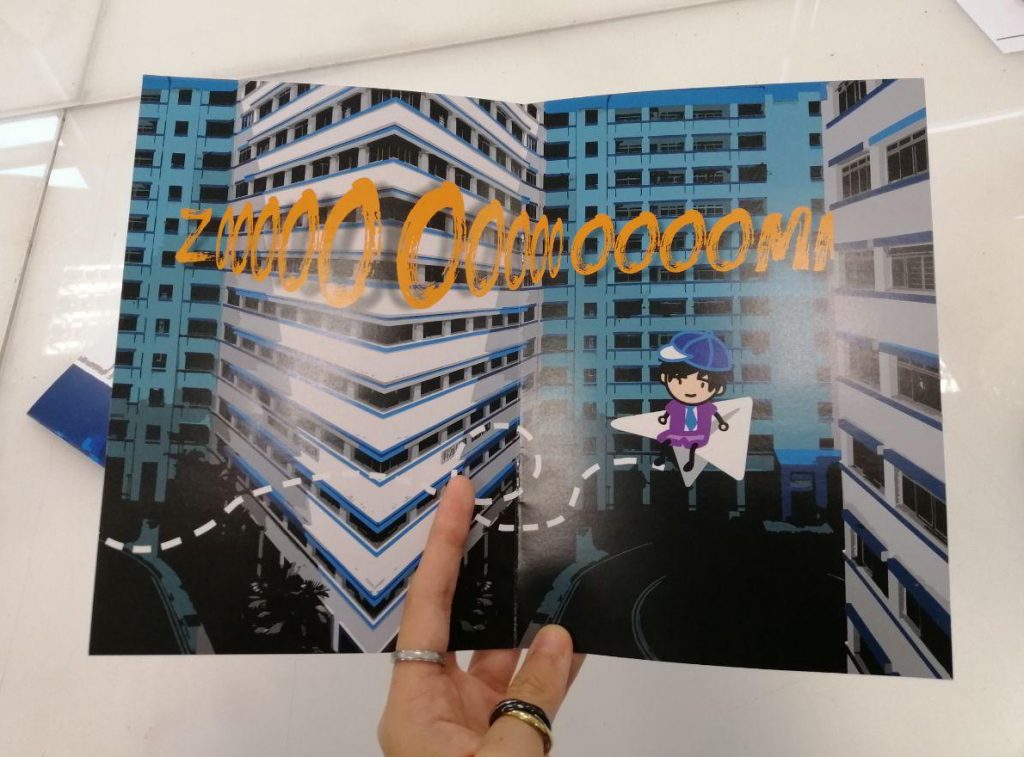
Second Spread (Pages 4-5):
Original photos:
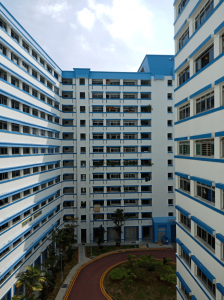
This is the initial sketch for my middle spread. It has a similar style as the previous page, of which I cropped out the subject (HDB block in this case) from the original pictures I took and insert them onto the pages.
Draft 1
I duplicated the photo on the right and mirrored it in the middle line so that it could kind of link to my first photo more smoothly. However, after I was done with this draft, I felt that there was not enough white space and I was quite lost as to how to rearrange this page. After my second consult, Shirley helped me with the placement of my HDB blocks to make it look better, and I liked how it turned out. In my original concept, I wanted to use things that are usually blue and white. For the first spread I used waves in the background, and for the second spread I was going to use the blueprint as the background. However, in my second draft below, I realised without the background, it looked better, so I decided not to include it, and hence change my concept (leading into the third spread; no more porcelain patterns)

Draft 2
I was wondering where I could place Bloop, because supposingly, he was meant to be small at the bottom of the page, looking up at the HDB blocks to show how tall they are. But my classmate gave me a suggestion that I really liked, which is to put him on a plane and make him fly through the HDB.
I used all caps for the word “ZOOM” because the nature of the word is quite loud to me, so using caps gives off that vibe. I used text effects on the word to add to the “floating” feel, but Shirley said that some of the effects didn’t fit well, so I made small adjustments to it to finally get my final draft below.
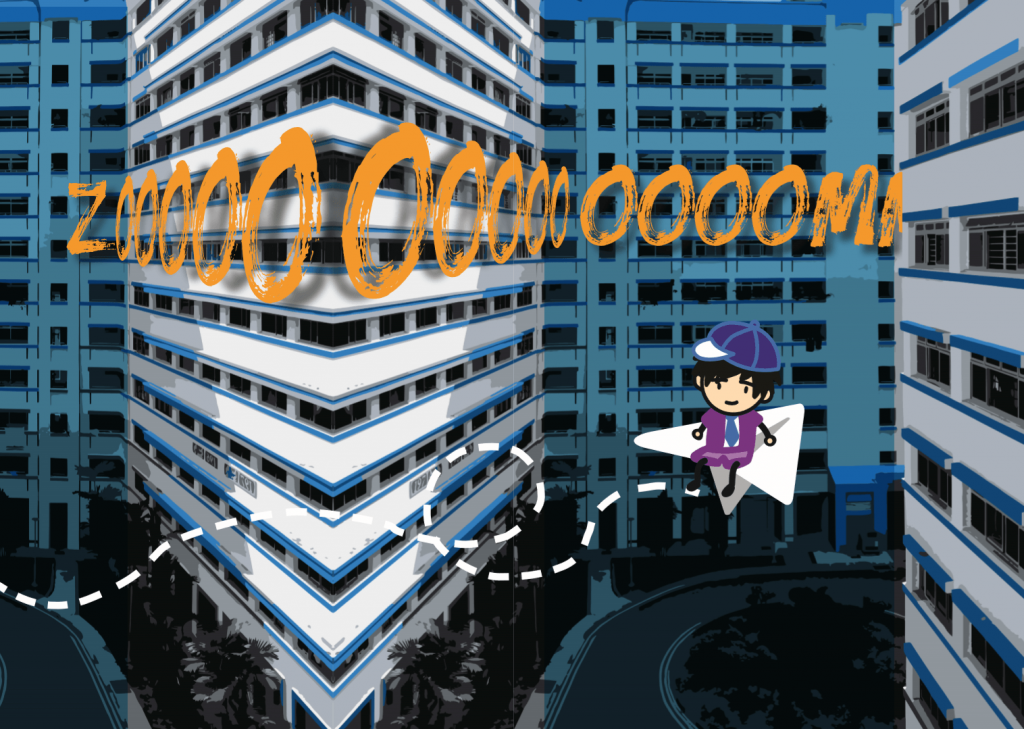
Final Draft
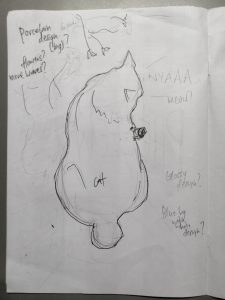
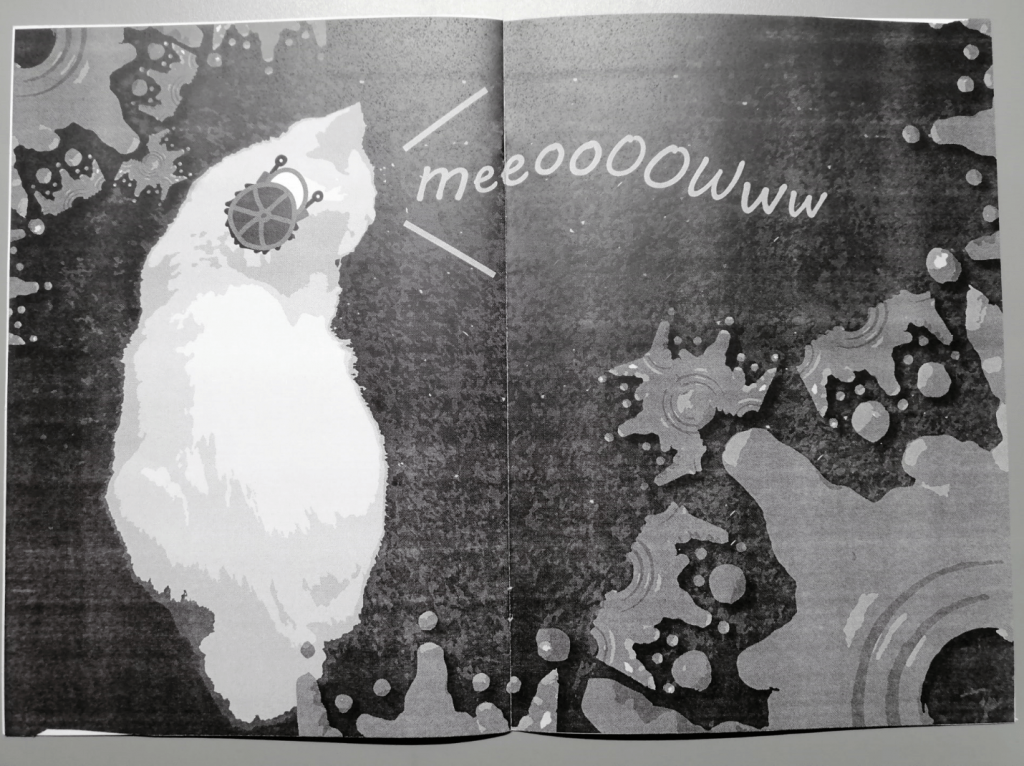
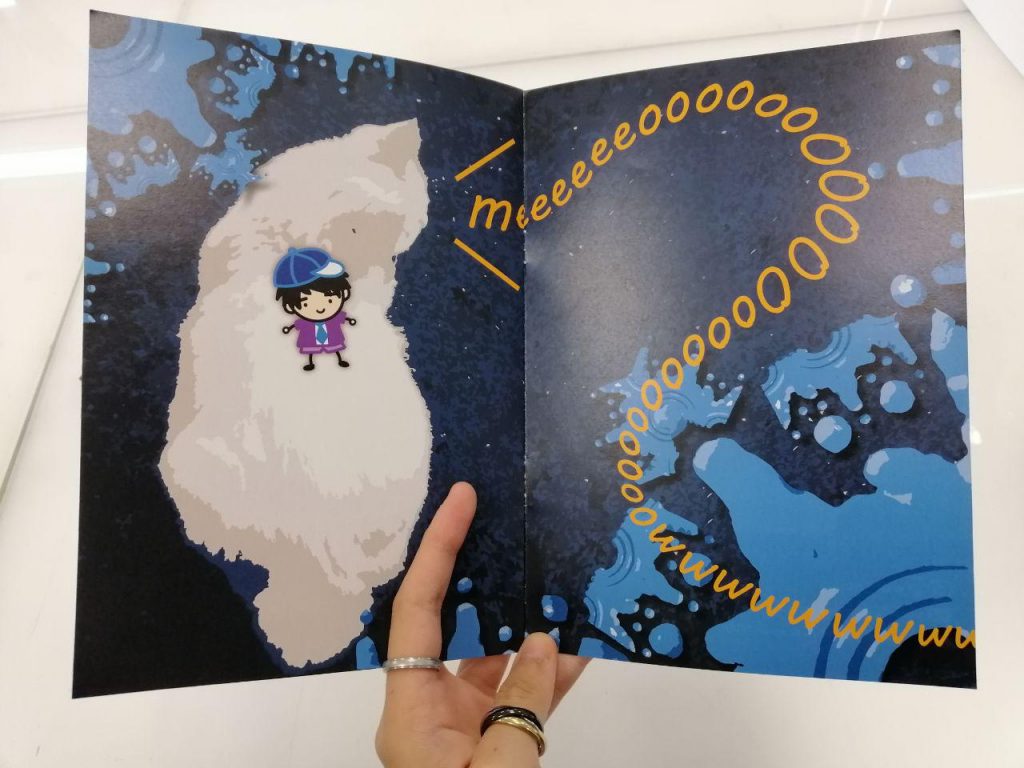
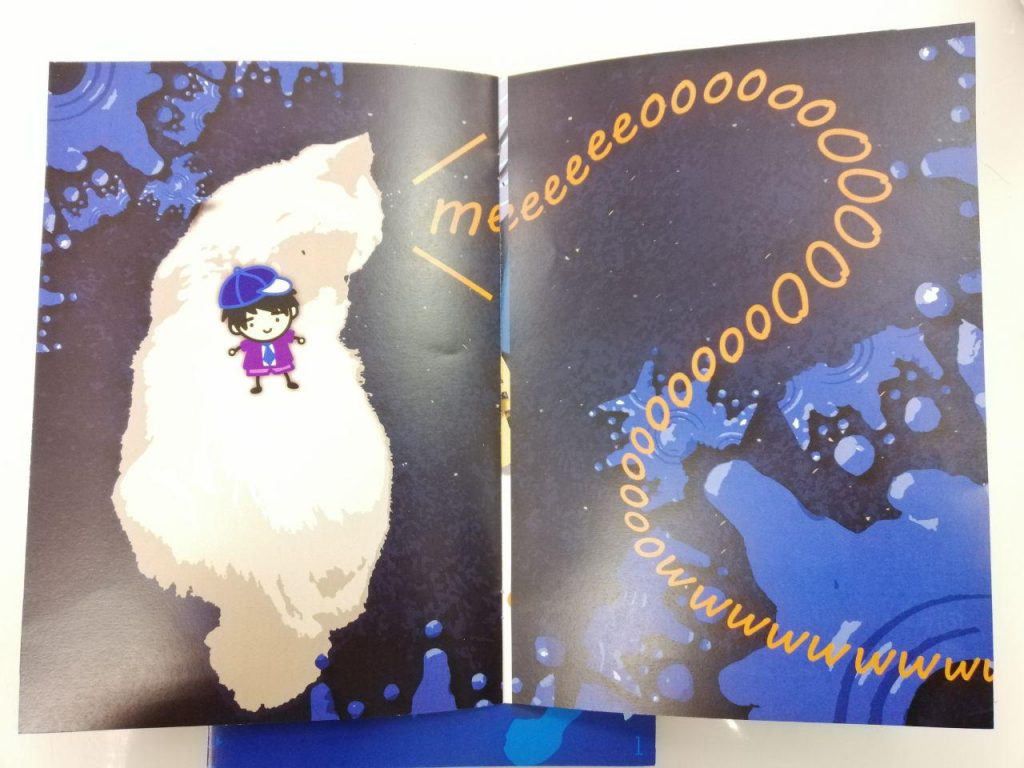
Third Spread (Page 6-7):
Original photo:
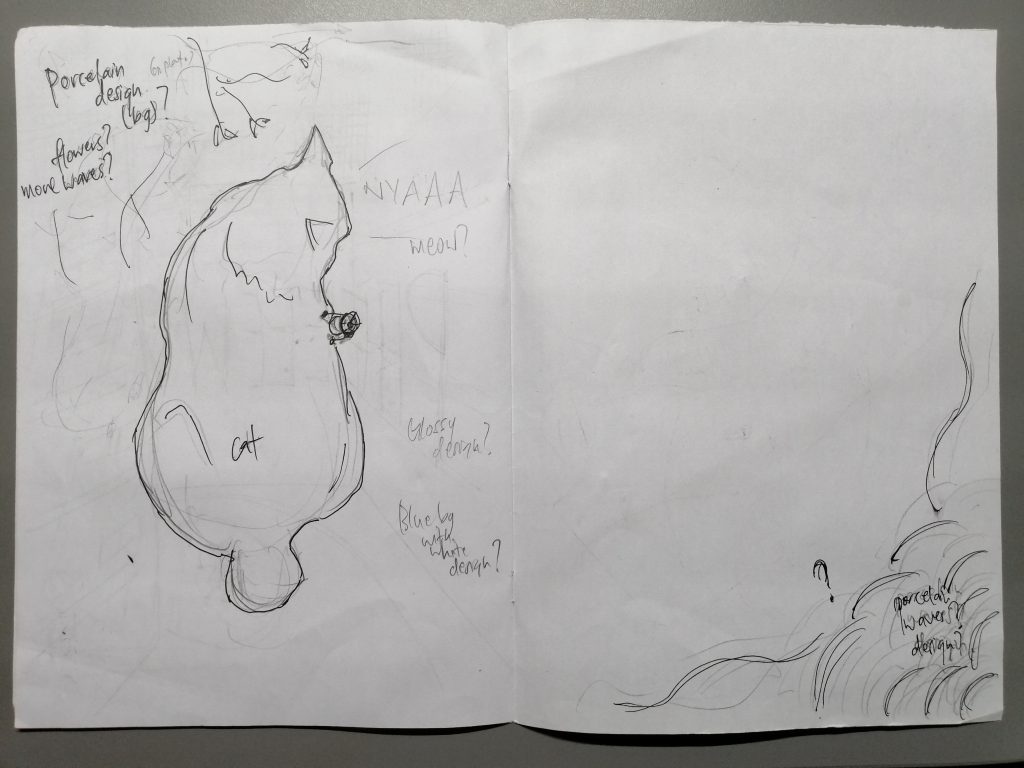
CAT. I wanted to include this cat because I found it while exploring my neighbourhood to take pictures. In my initial sketch, I didn’t really have a full idea on what to do with this spread, I only intended to put the cat. I thought about how I could use my pictures better and perhaps add more things to it. I wanted to use porcelain patterns at the corners of the page, but I suddenly thought of another idea; using the “splash” pattern on the pillar to create my own pattern.

Original pattern
Using repetition,

Pattern I made
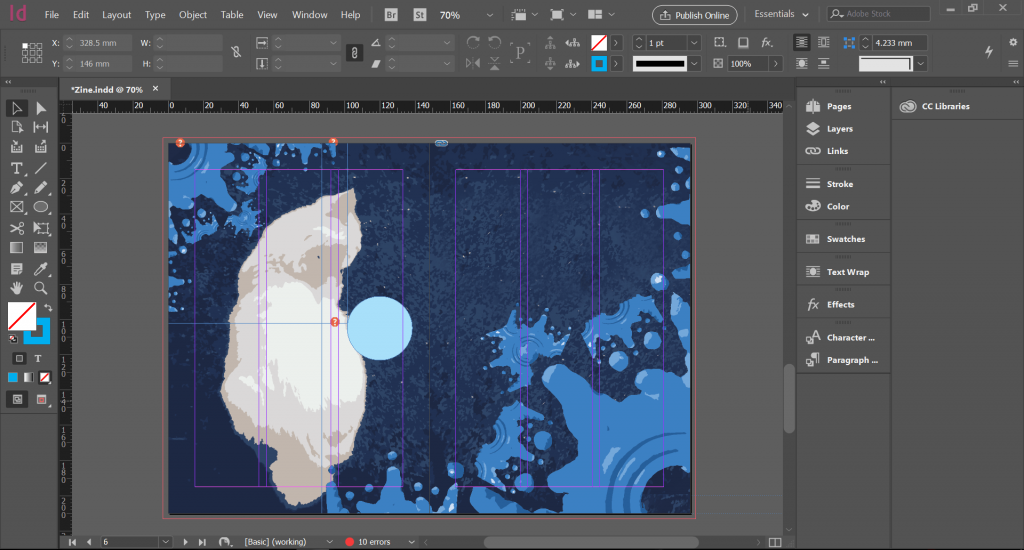
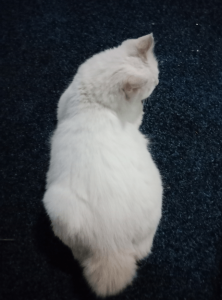
For the right side of the background, I removed the cat so that I could get a plain background that fits with the original image. The blue circle represented the position of Bloop. At first, I wanted to put him on the ground and touching the cat. But after drawing his top view, I realised his hat was blue and blended in with the background, so it was quite hard to see him.
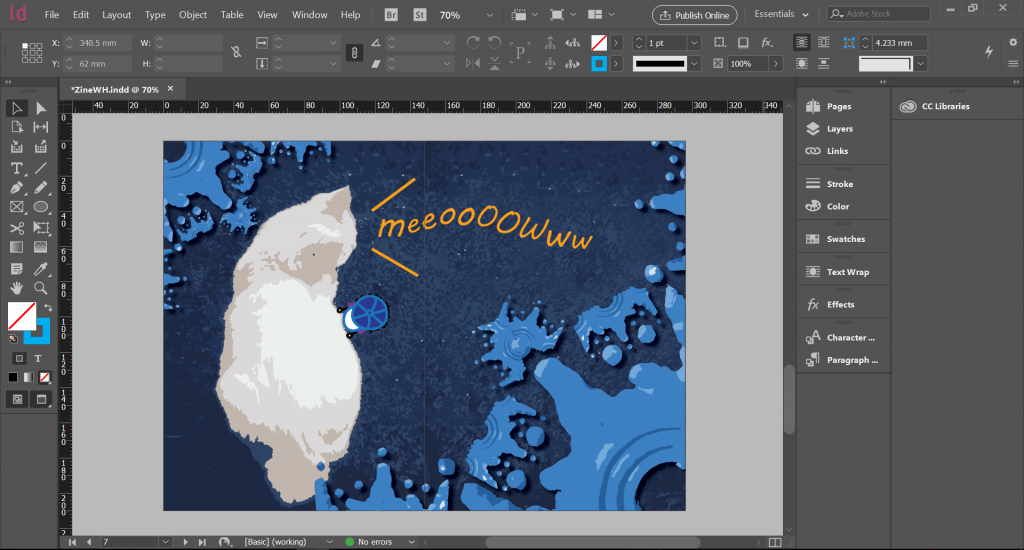
Draft 1; Bloop too difficult to spot; blends in with background
So I moved him onto the cat, since it was white and maybe there will be greater contrast.
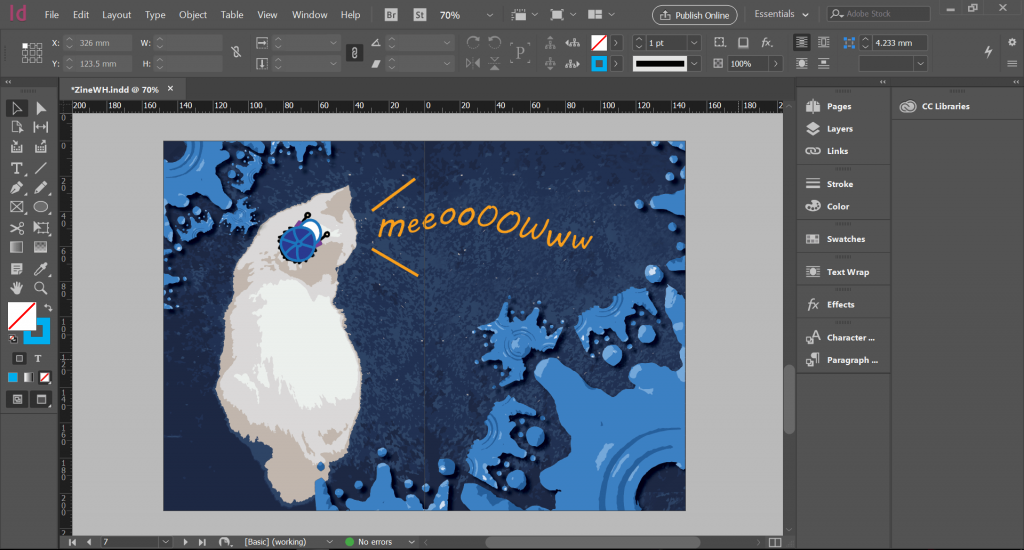
Draft2; Bloop on the cat
But after putting him on the cat, I received feedback that it looked like the cat itself was wearing a hat, so I had to change it again. After the second consult, Shirley suggested I lengthened the “Meow” so that it goes out of the page. I chose to use lowercase letters for the meow because usually when cats purr, it is quite soft and tame (unless they are irritated). I associate lowercase letters to softer sounds, rather than CAPS that seems big and bold. After some tweaking, I got my final draft out.
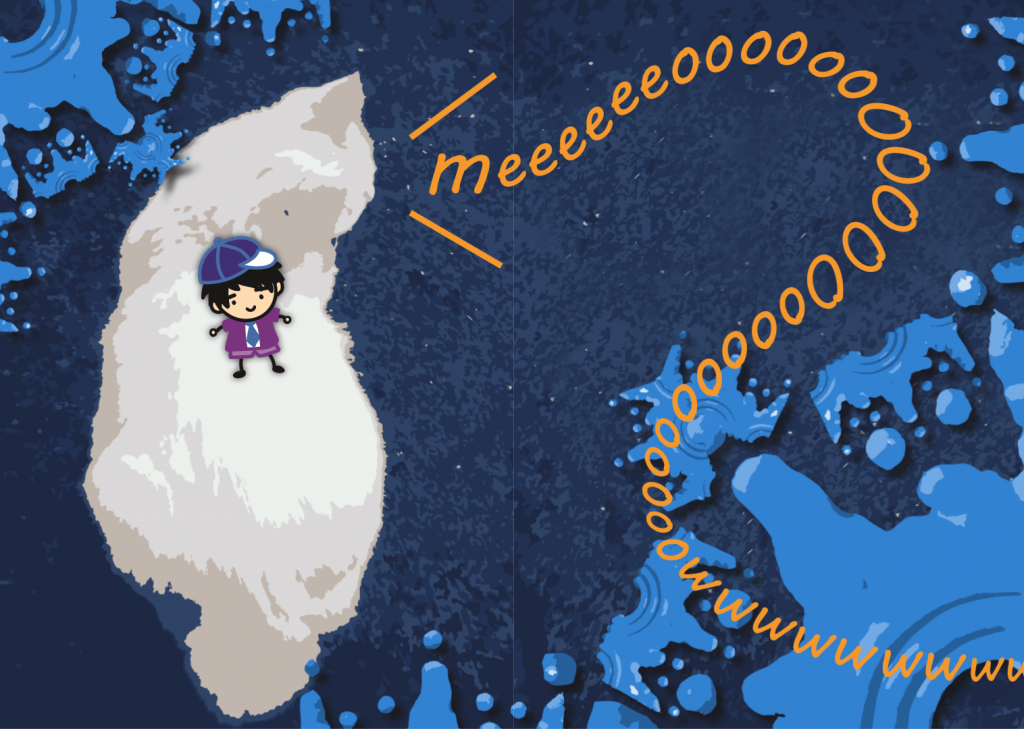
Final Draft
Black and white test print:
I test printed with my second draft, so the outcome below is not my final version.

Final printed zine:
⇒ Click here for digital version of zine ⇐
Printing problems:
- Technical misalignment: Initially, I didn’t have much of a bleed, so when I printed out and cut my zine, there were some unintended spaces left at the edges. So before I reprinted my final, I extended all my images beyond the border so that there was more leeway for the misalignment.
- Mystery of the black dots: So after I printed, I realised there were some black dots on my paper. But when I checked my document itself, it’s not there. So where did the black dots come from? Was it an unintended printing error?
- My own mistakes: So I should have done a better job of checking before I sent my zine for printing. Only after I printed, then I realised my “Splash” pattern on my cover page was misaligned.
Misaligned pattern
Also, while binding, I only checked the outside, and I didn’t account for the pages inside, so there was quite a big gap and so the “meeeeeoooooowwww” wasn’t joined nicely 🙁
- Printing costs: I printed, not one, not two, not three, but 4 copies of my zine, with 3 out of the copies being of unsatisfactory standards. Because of my own mistakes and also unforeseen technical errors, I ended up with multiple copies of my zine before I finally got a copy that I was happy with. I think I spent about $25 printing all of these when I could have just spent $10. Lesson learnt: Check your files properly before printing to prevent unnecessary costs.
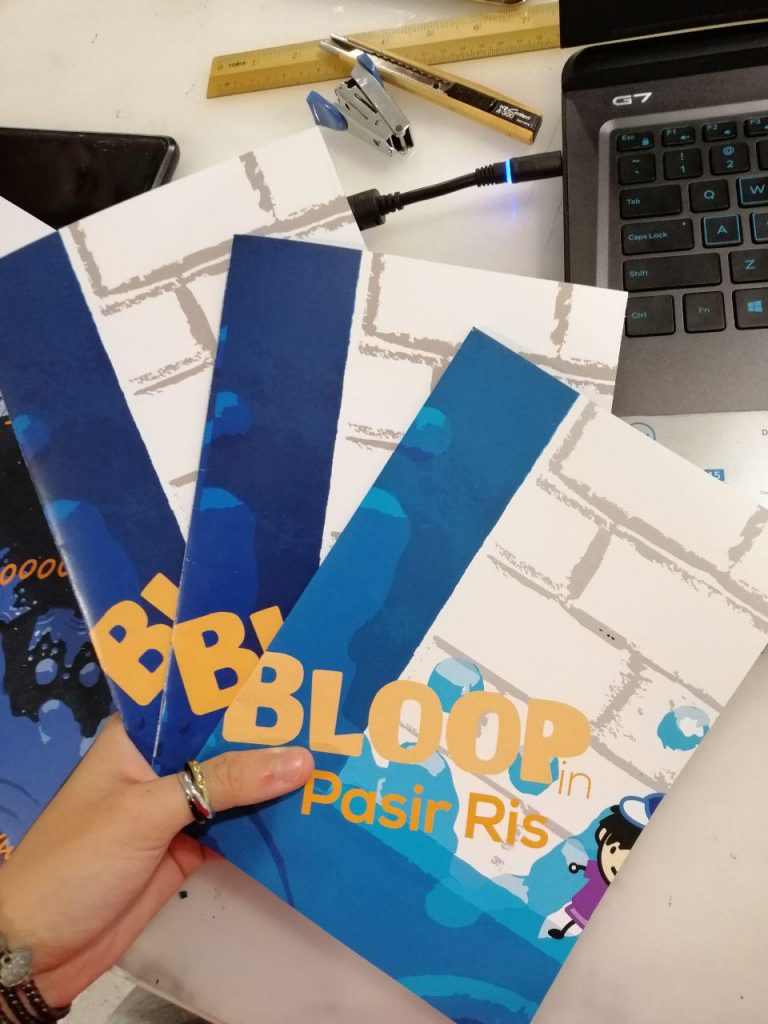
Multiple copies of my zine
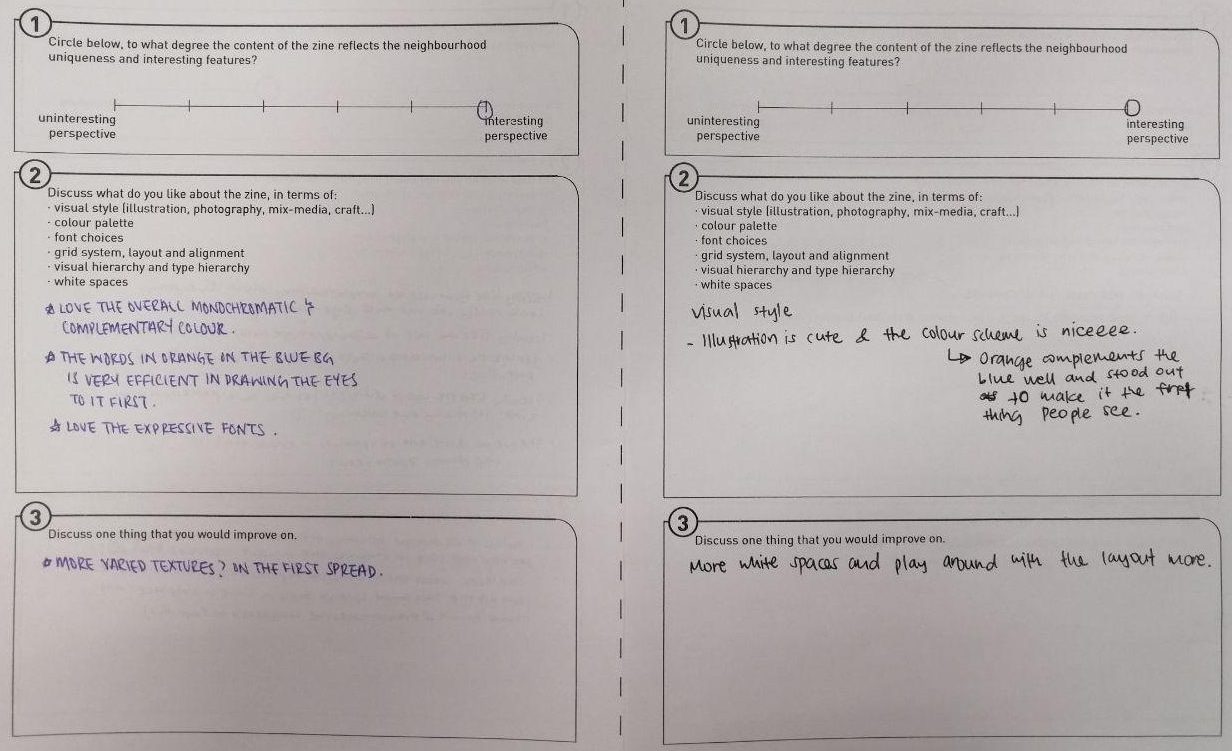
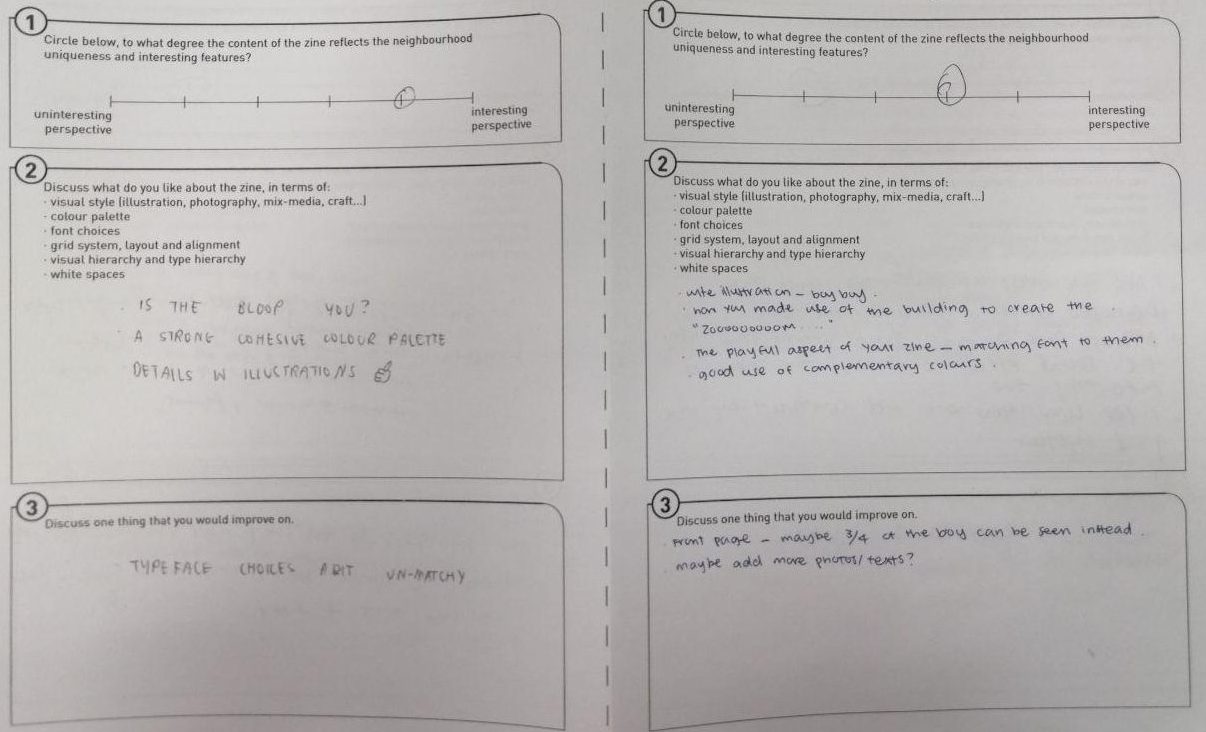
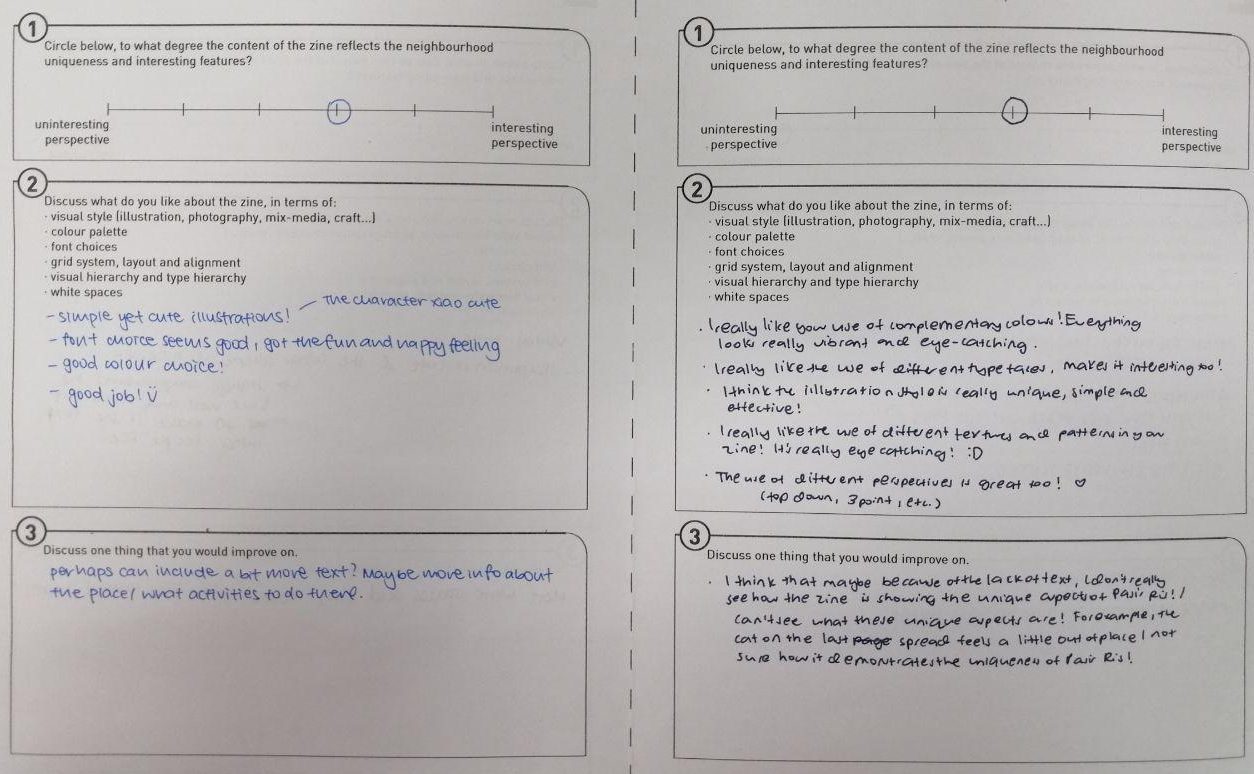
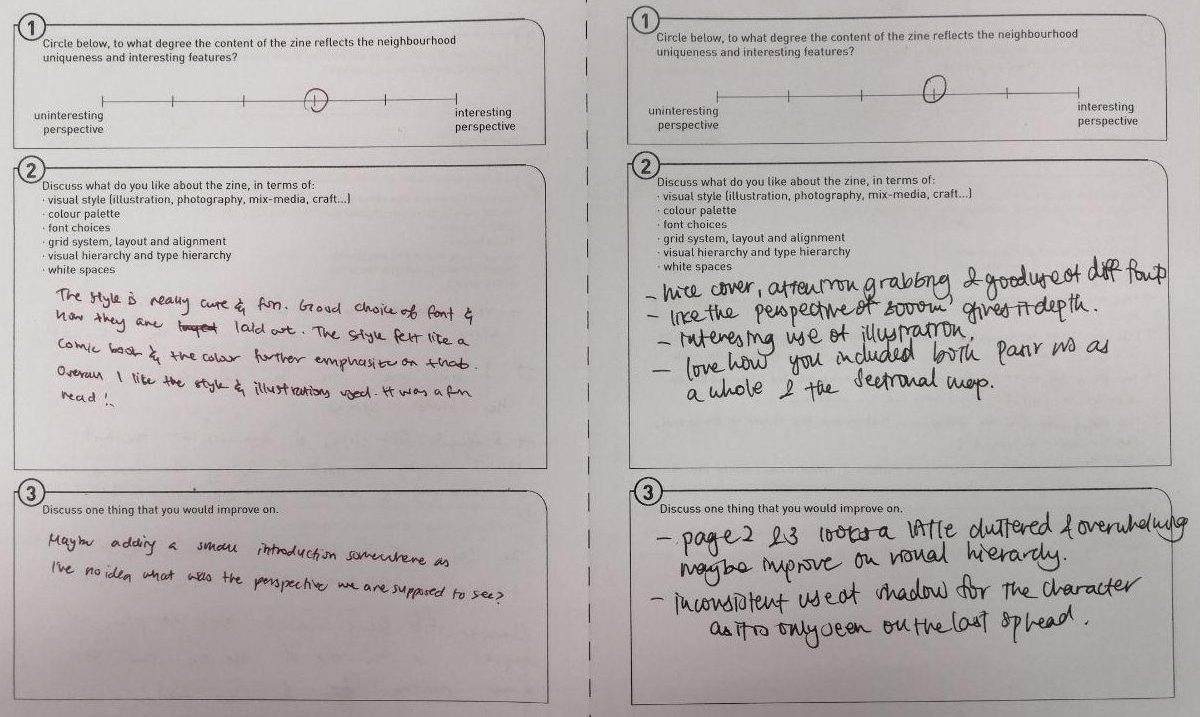
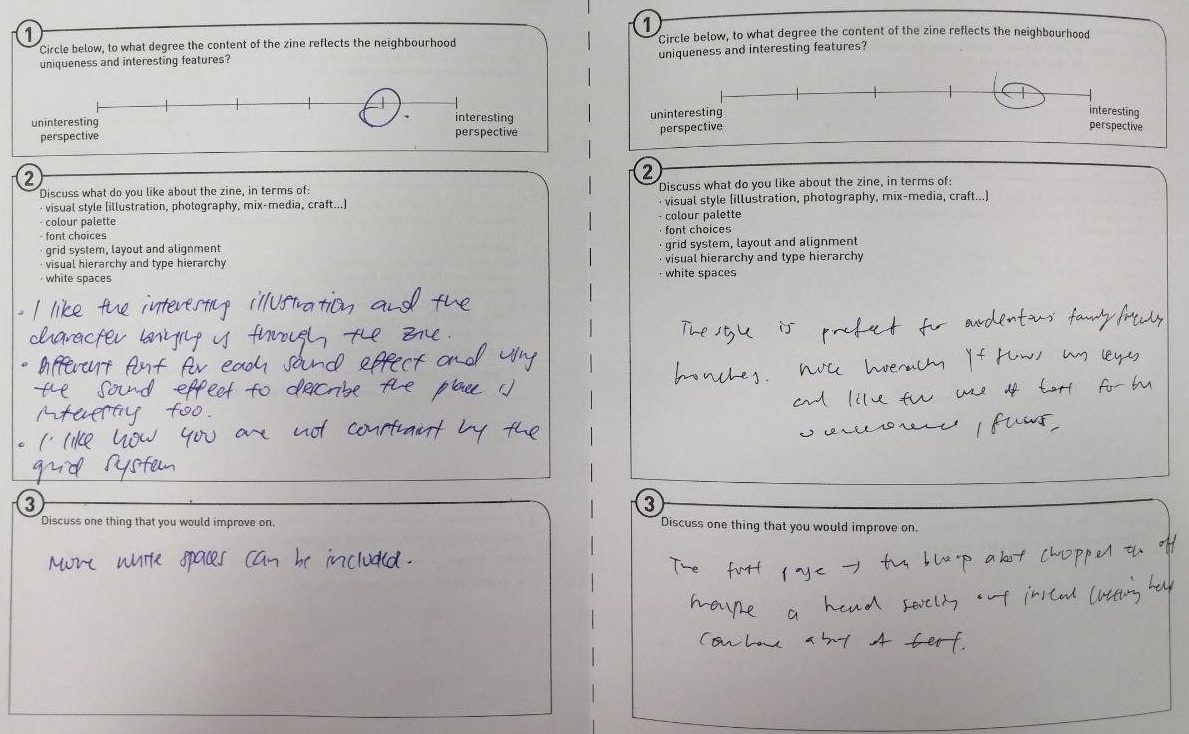
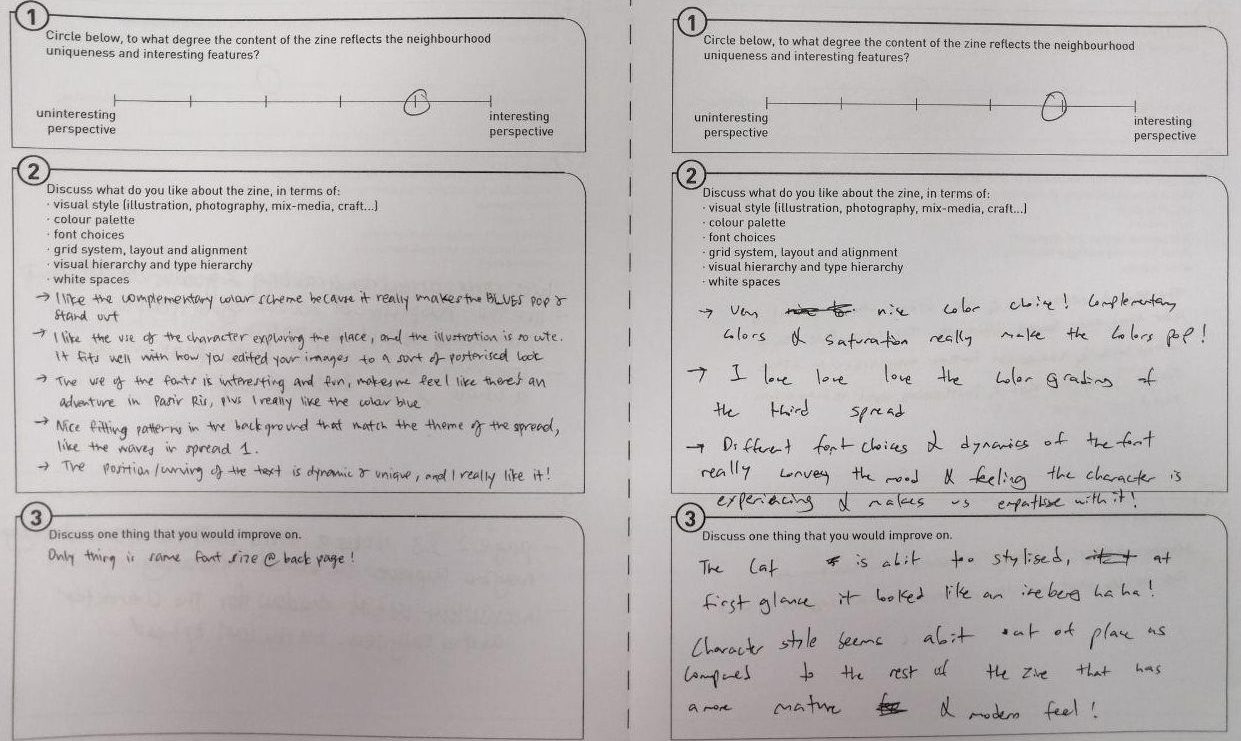
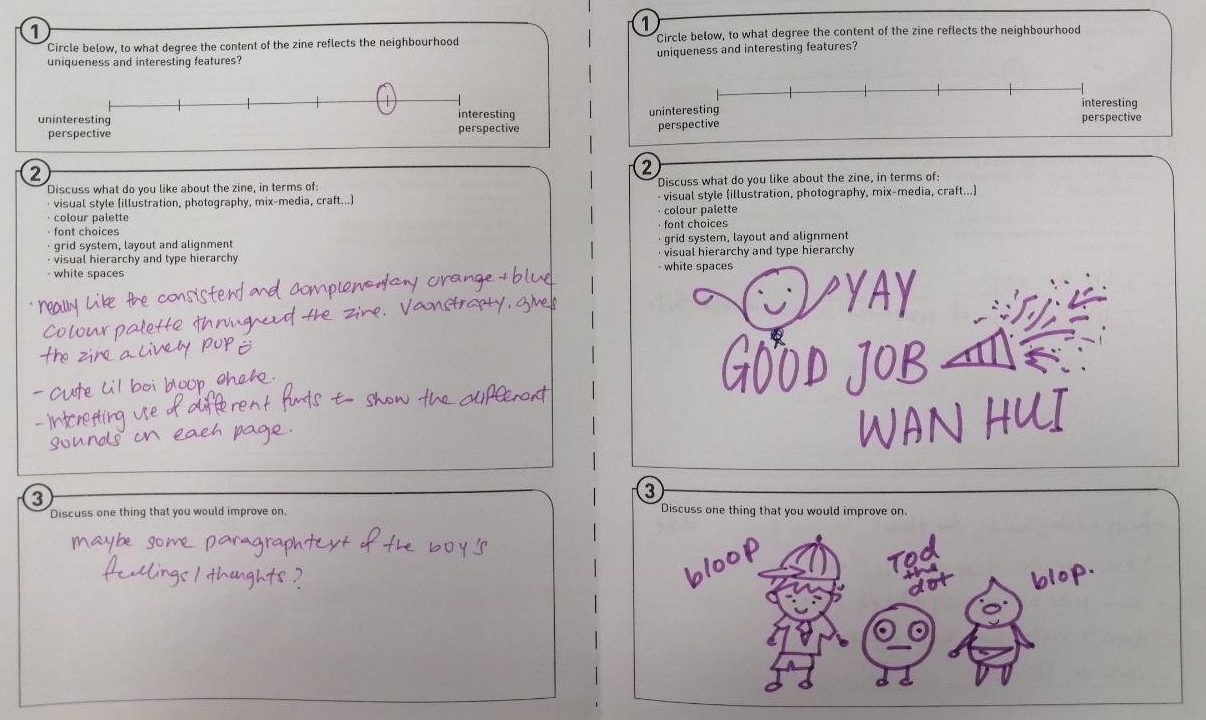
Feedback from classmates: Keeping their identities hidden, 你知我知就好 ;D
And finally, my own feedback: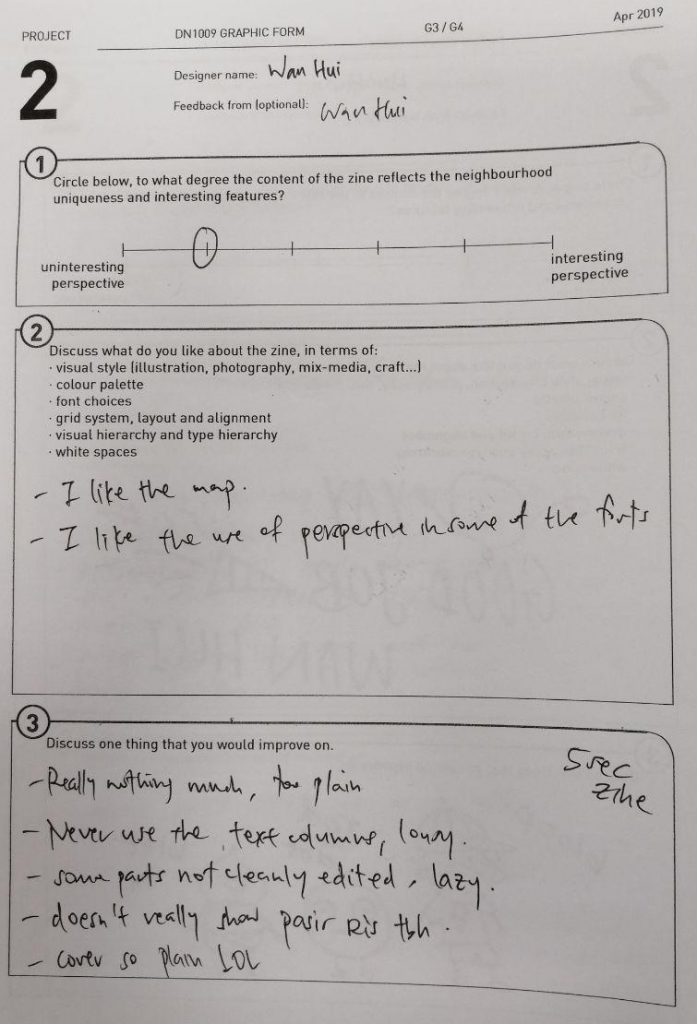
Reflection for this project: I found this whole experience really enriching; learning how to make your own zine. I’m glad I got to learn a new software: Adobe InDesign. I can see the appeal and how InDesign really helps with the making of printed media, like editorials and zines. The tools are very useful, especially for formatting and arranging the layers. I feel that I definitely could have made use of the software better. The style of my current zine didn’t really make full use of the array of features available in the software.
For my zine itself, I’m not really happy with what I made…? From the feedback I got from my classmates, it seems that there were not enough texts to convey my idea, and I agree. I feel that I could have played around with the layout more, go beyond and include more text. My zine feels a bit meaningless at this point. I also didn’t really make use of design principles because most of my spreads were mainly covered with the pictures. 🙁 Nonetheless, I think I should be proud of what I have done, hopefully I’ll improve and be better in my future projects.
The end of Graphic Form. Such a bittersweet feeling. I honestly had fun because I generally like working on the computer, so having to do the digital stuff was my kind of thing. Though it is definitely a very tiring and tedious process. Very time-consuming too. I feel that I’m not up to the standards of a visual communications student, because most of my peers seemed to have a knack for it, while, I’m just here barely scrapping through. I wouldn’t mind learning more about it though, I really enjoy the photo manipulation stuff. Thank you Shirley for your patience and guidance throughout, I wouldn’t have been able to do what I did if it weren’t for your teachings. WHOOHOO Year 1: Graphic Form end loooooo 😀