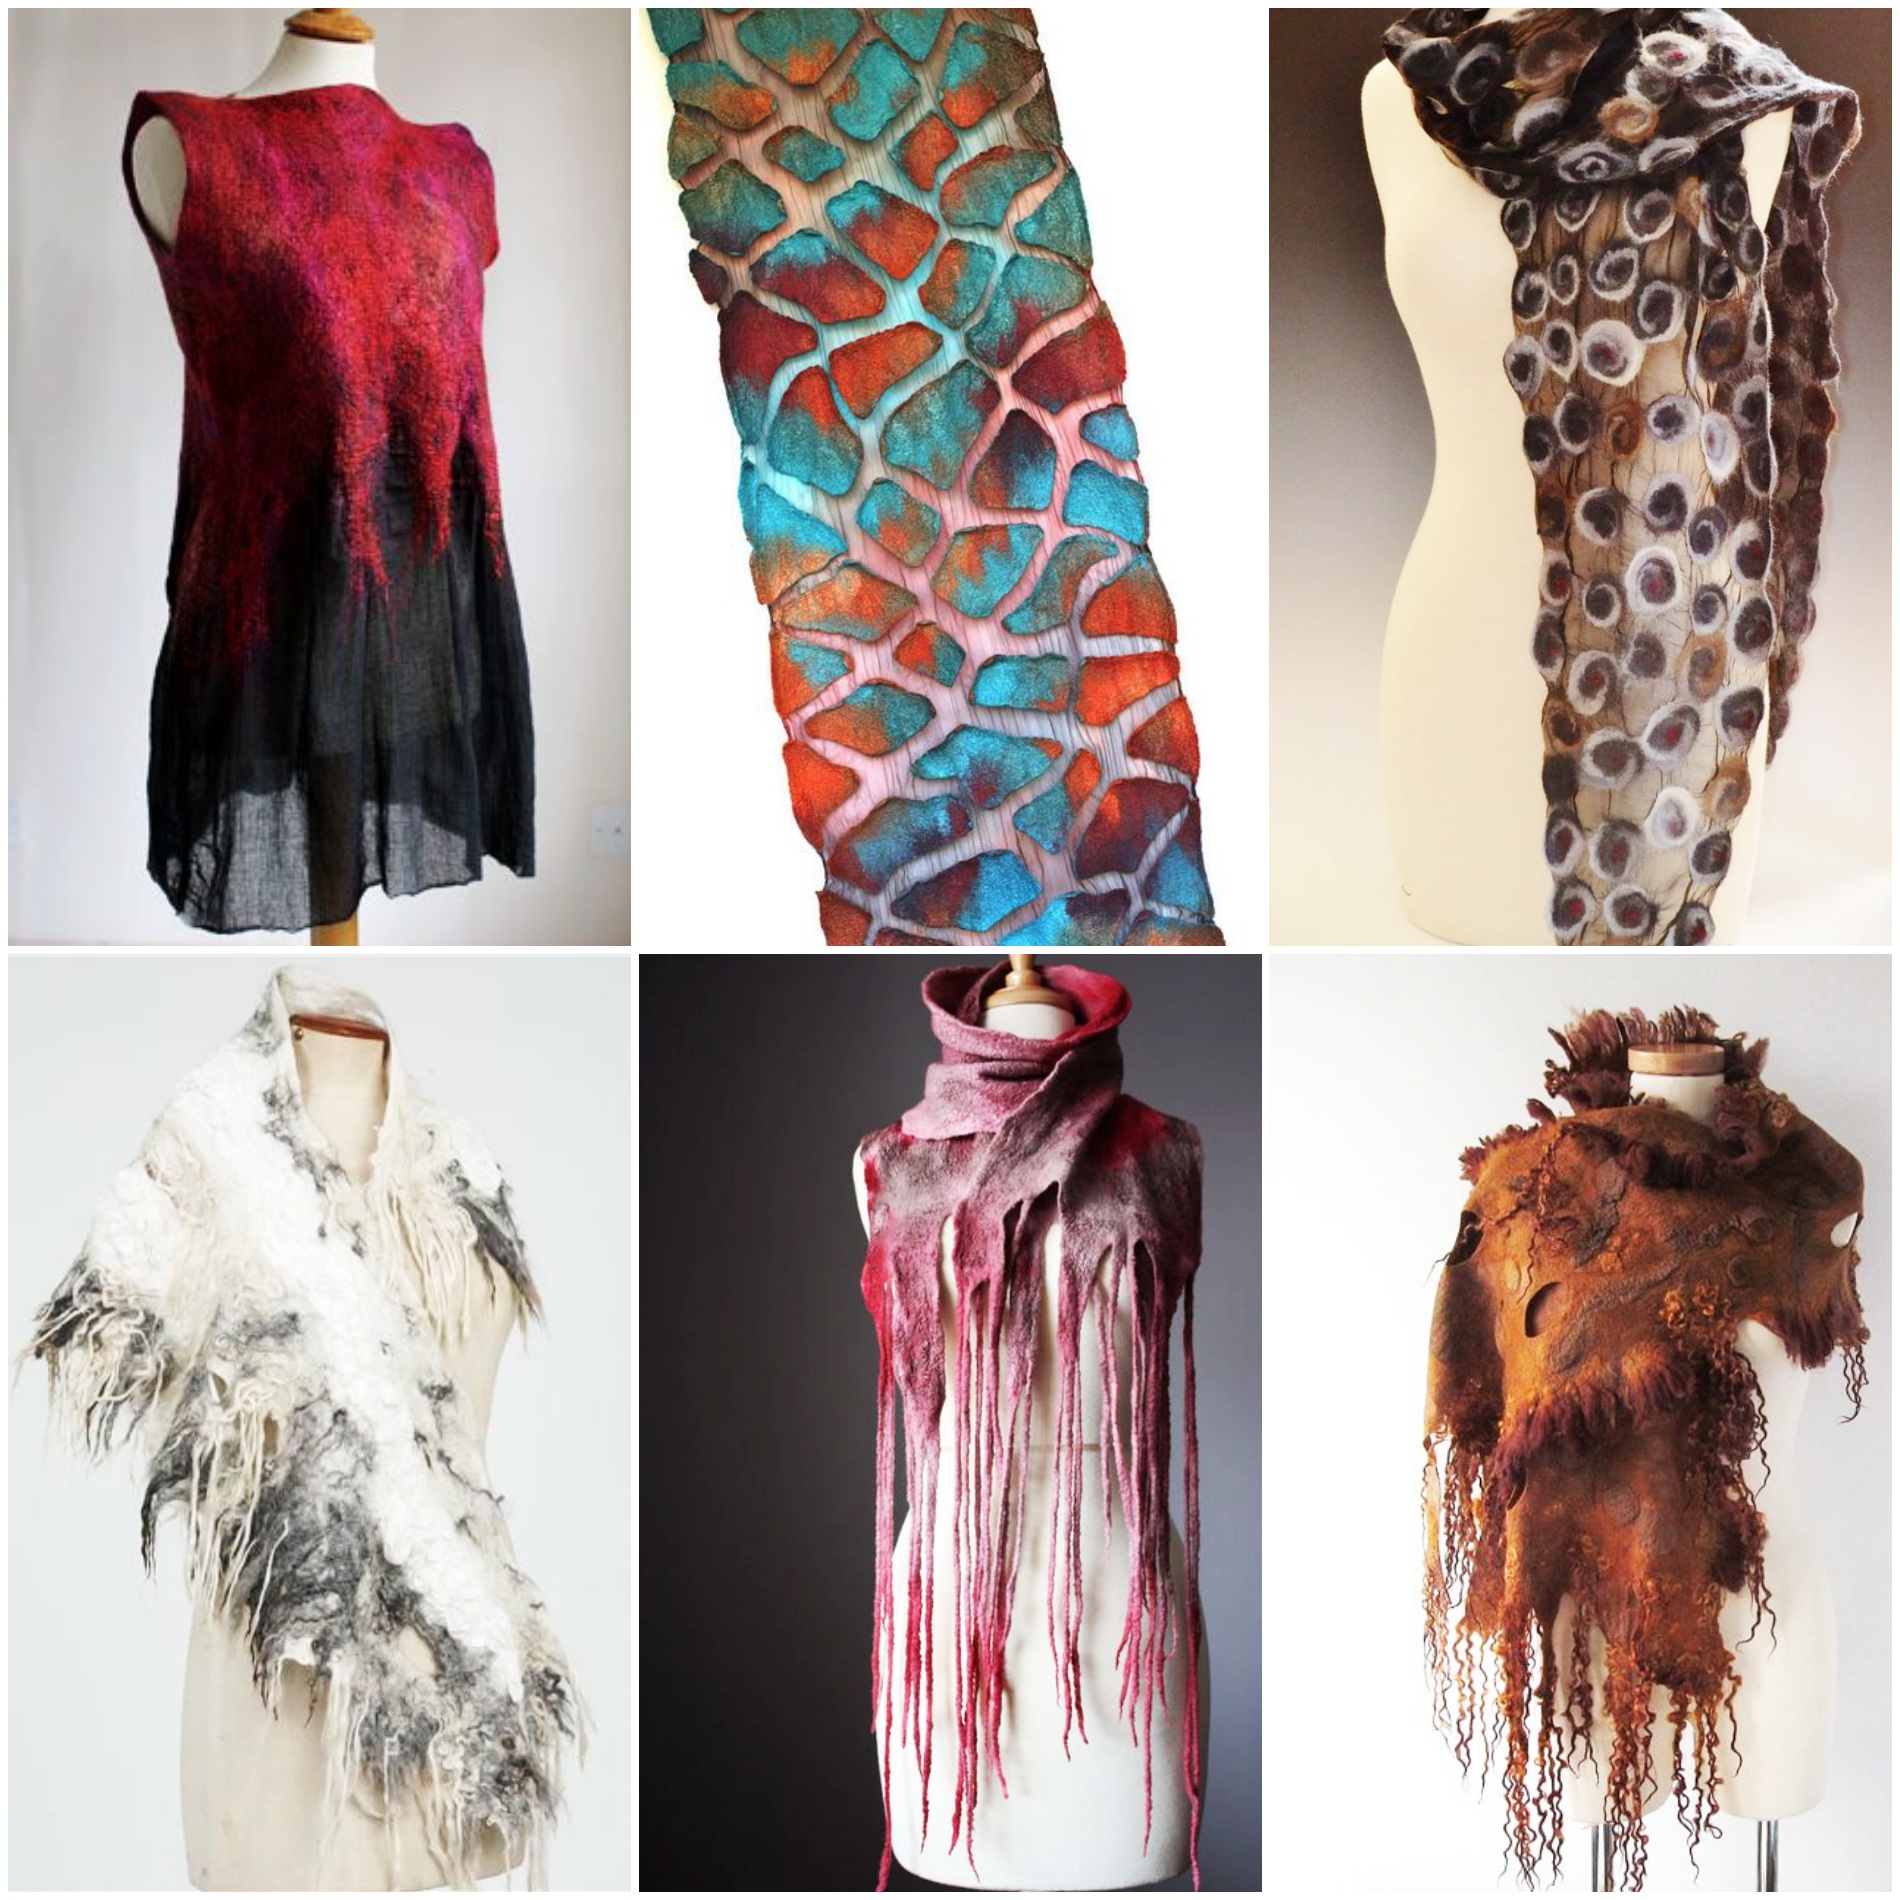
Felting is done when animal fibres are separated, tangled and relocked. In wet felting, tiny scales in the fibres are separated using heat (warm water or friction), and tangled again using various tools. Interlocking occurs when the fibres cool. In needle felting, the scales are interlocked using barbed needles.
Materials required:
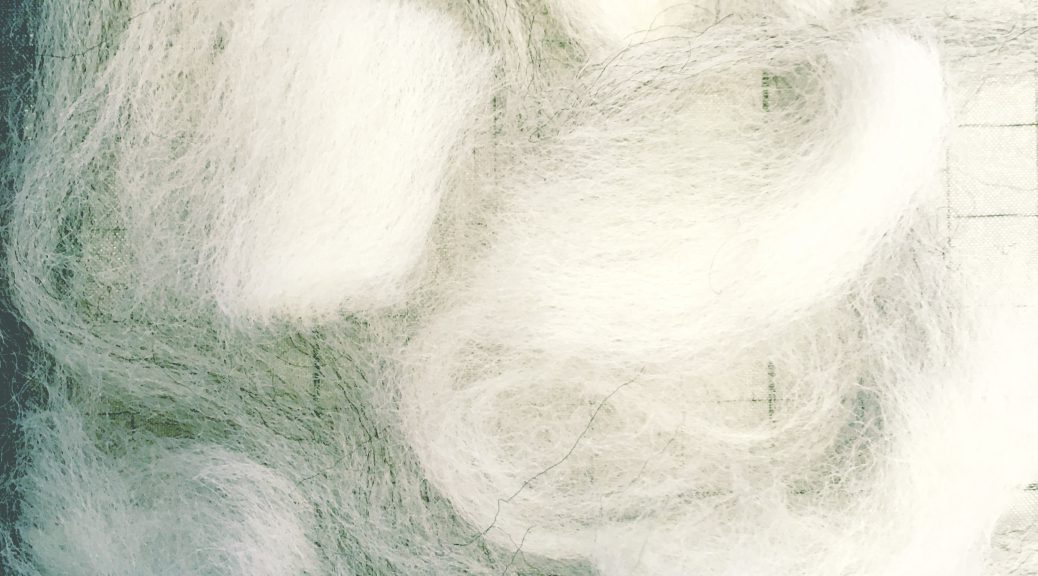
- Wool, natural fibres
- Warm soapy water
- Plastic sheet
- Felting needles
- Sheer fabric (like silk)
- Flat spongey support
Technique:
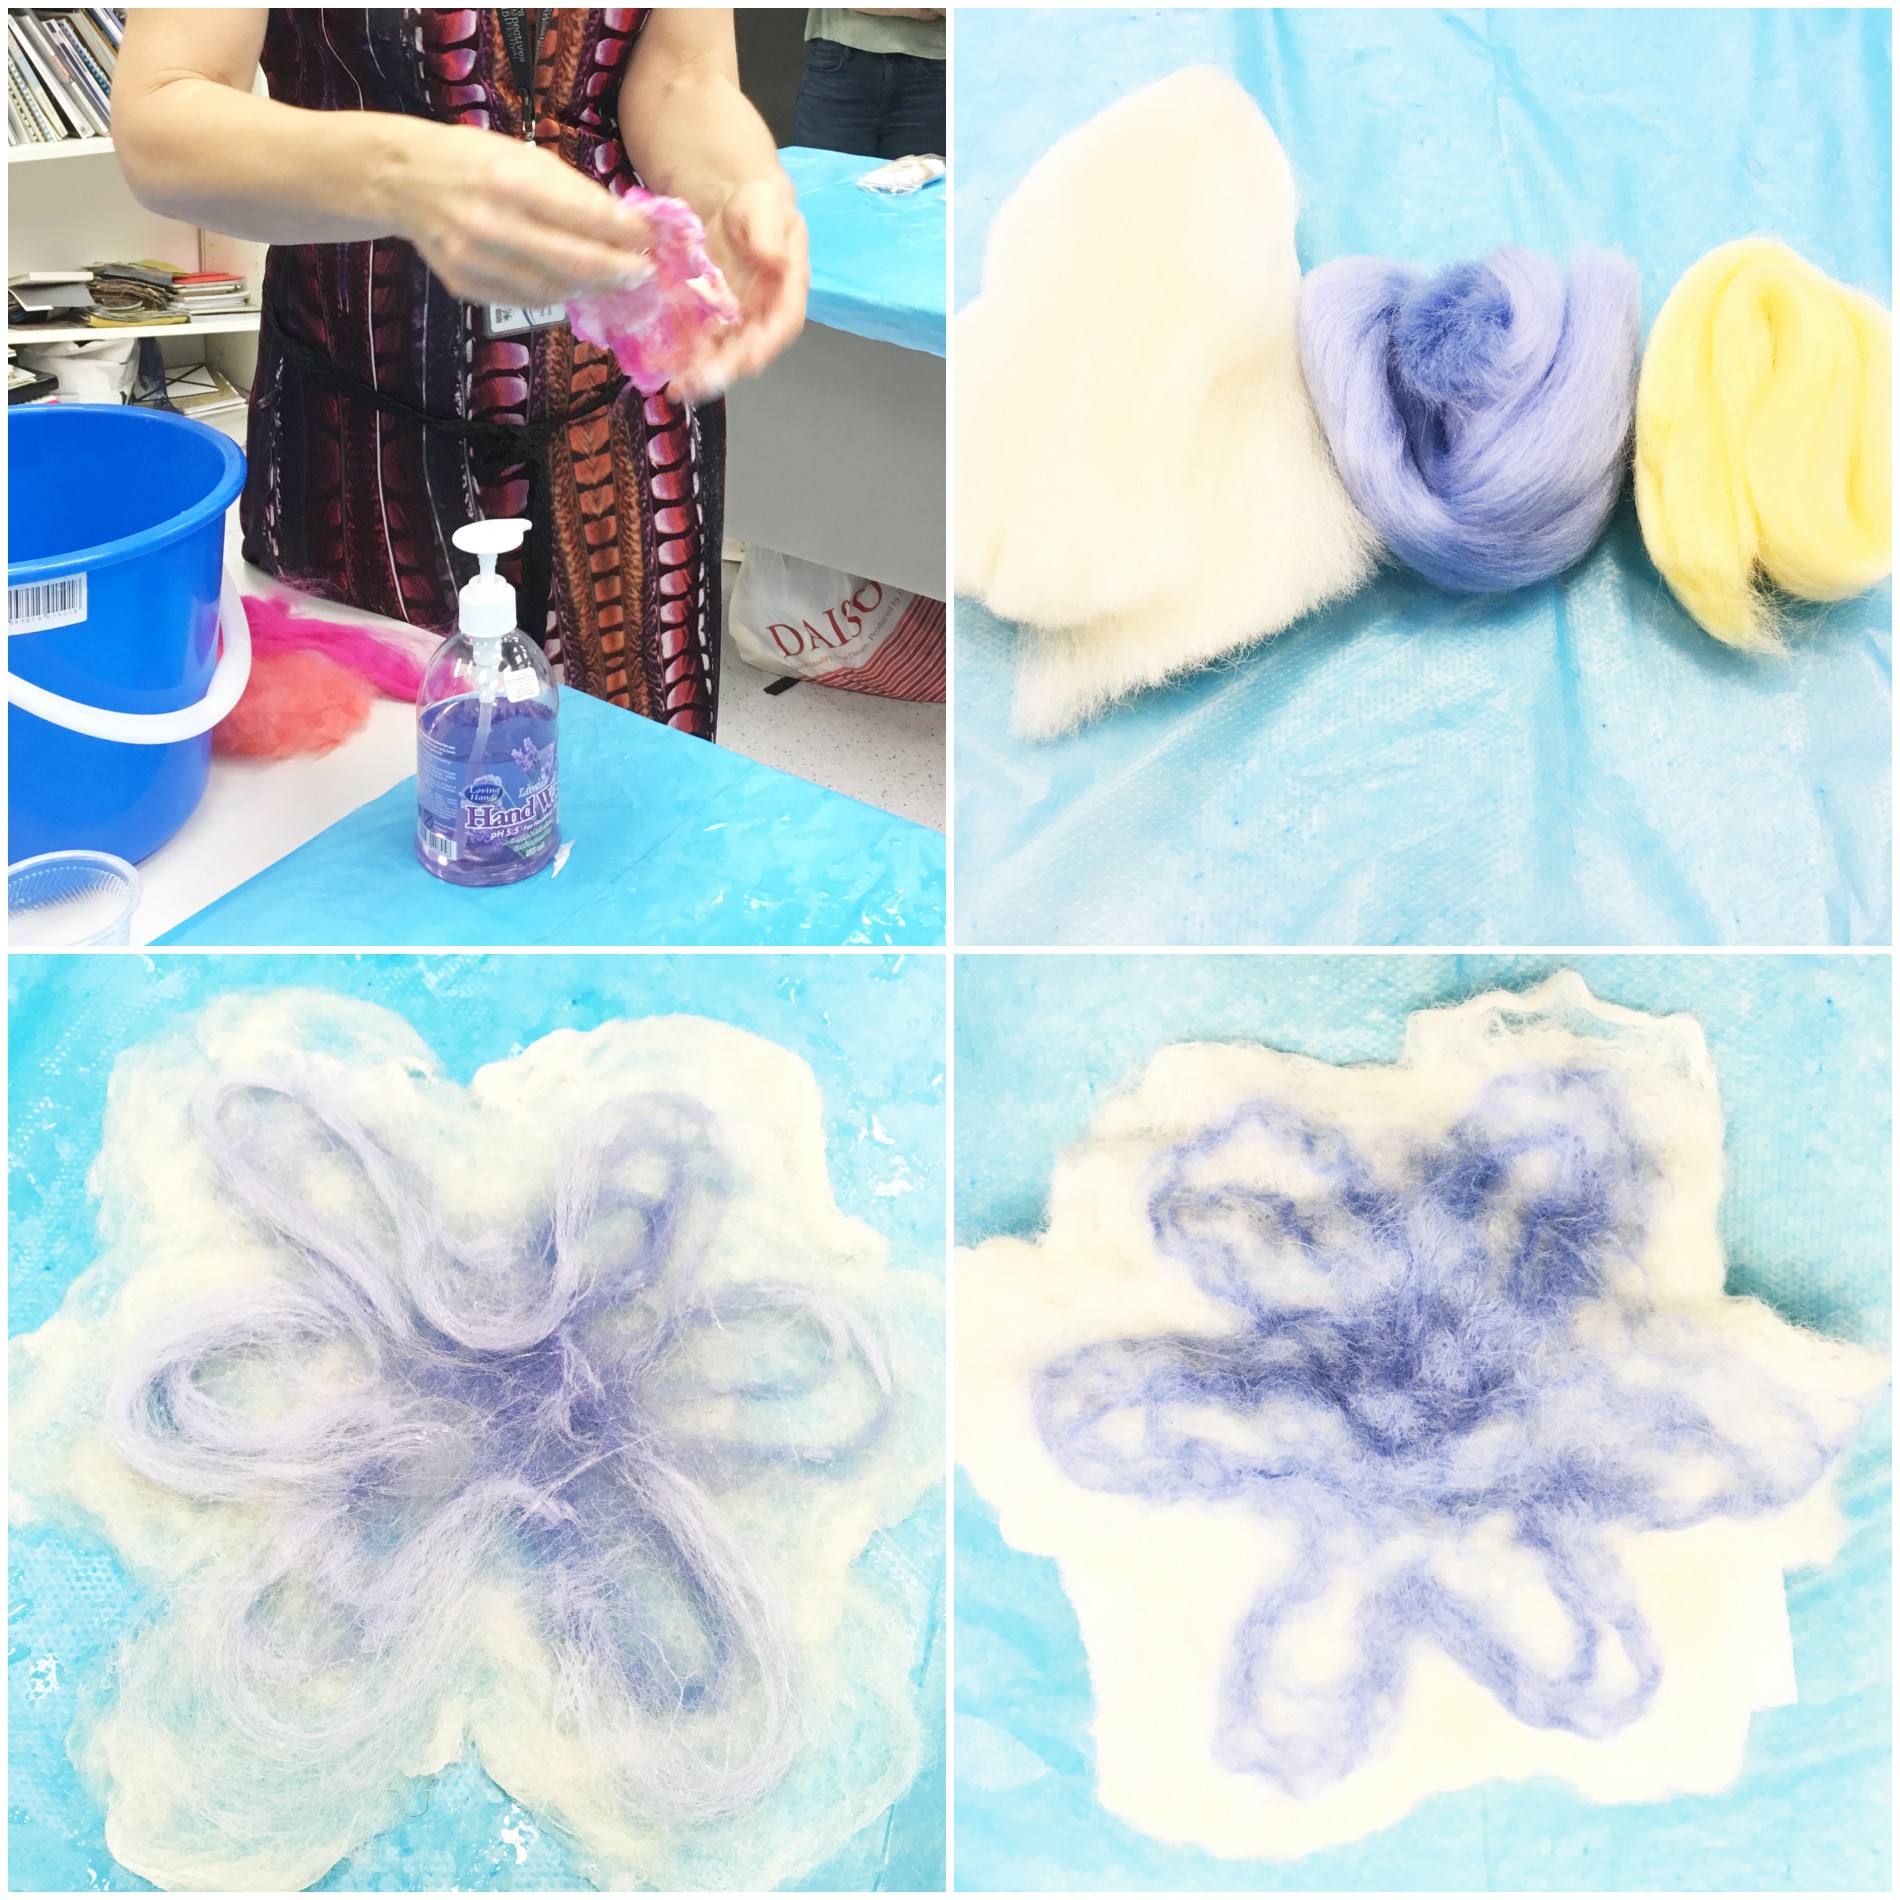
a) Wet felting:
- Arrange the wool or yarn and wet it with soapy water
- Rub the wool until the surface grows thicker and more stable
- You can also roll it in a bamboo mat
- If using artificial fibres, a minimum of 30% wool content is still required
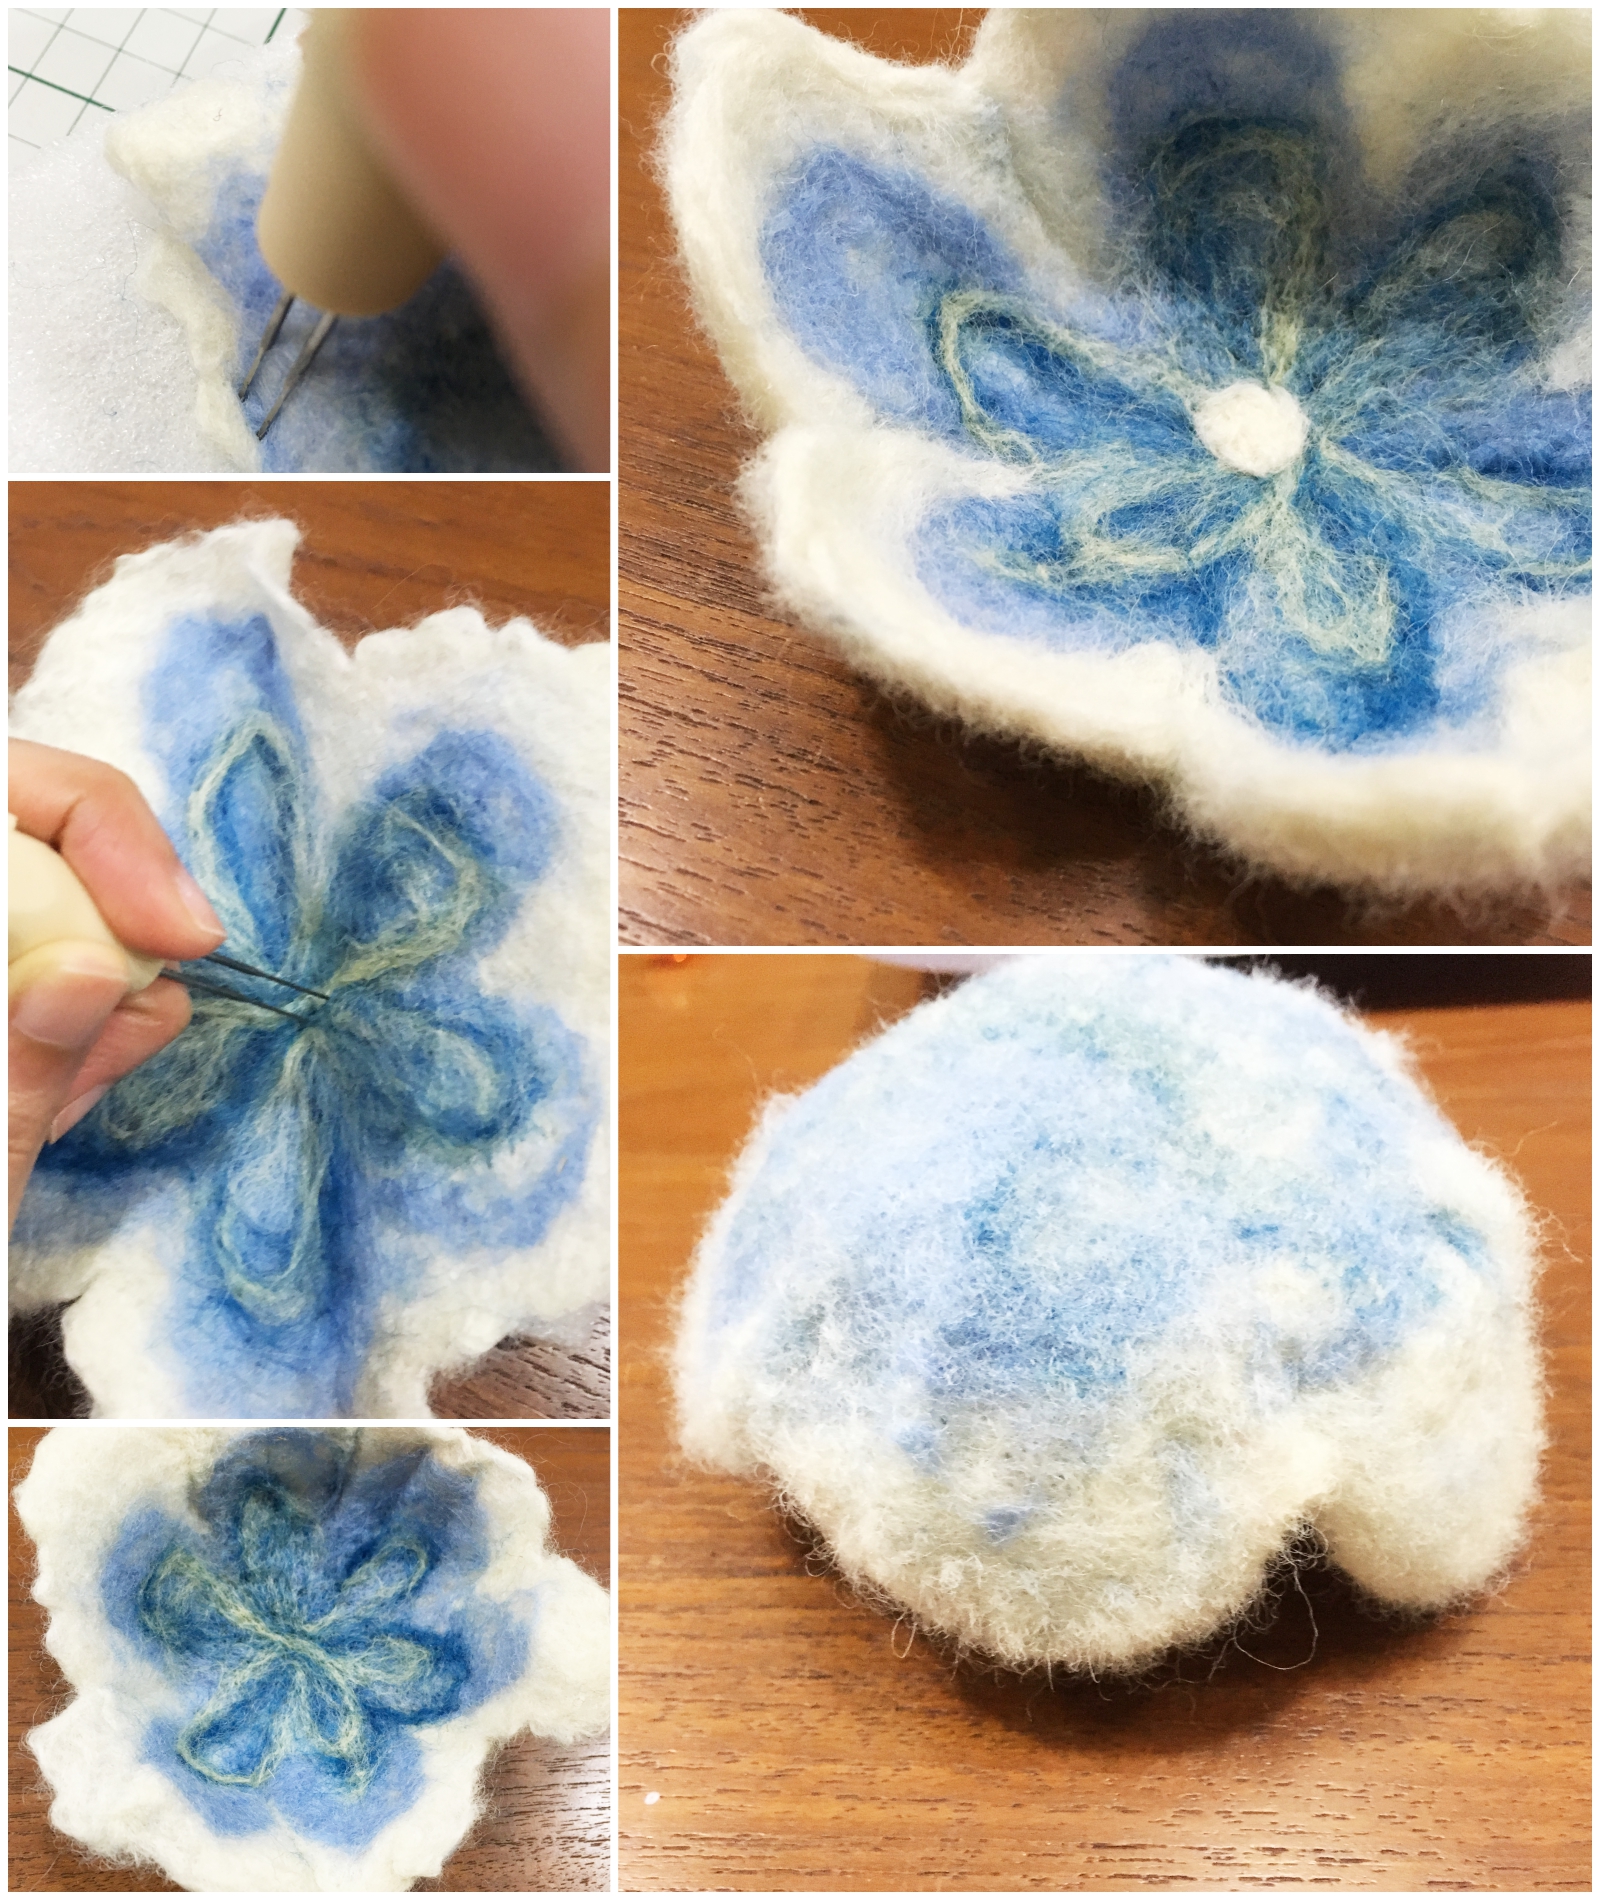
b) Needle felting:
- Arrange the wool in the manner desired
- Poke the wool with the felting needles until structure is firm
- This technique is suitable for both 2D and 3D felted works
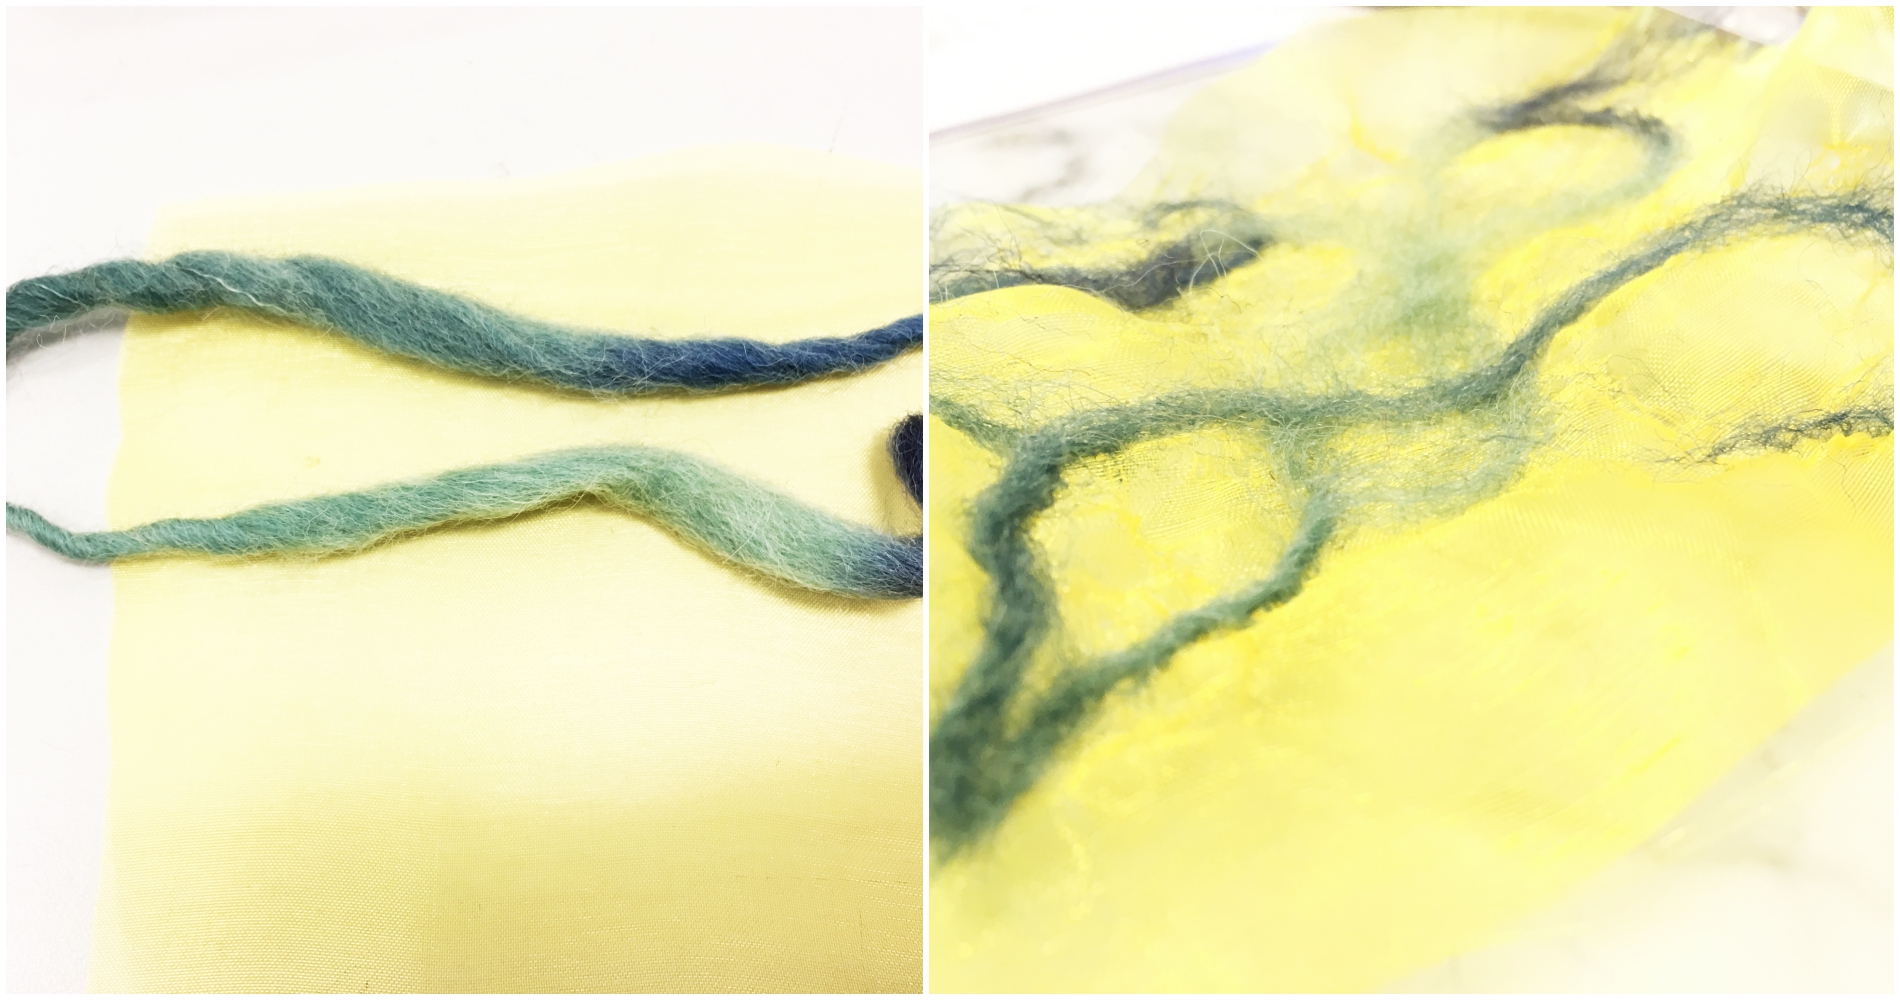
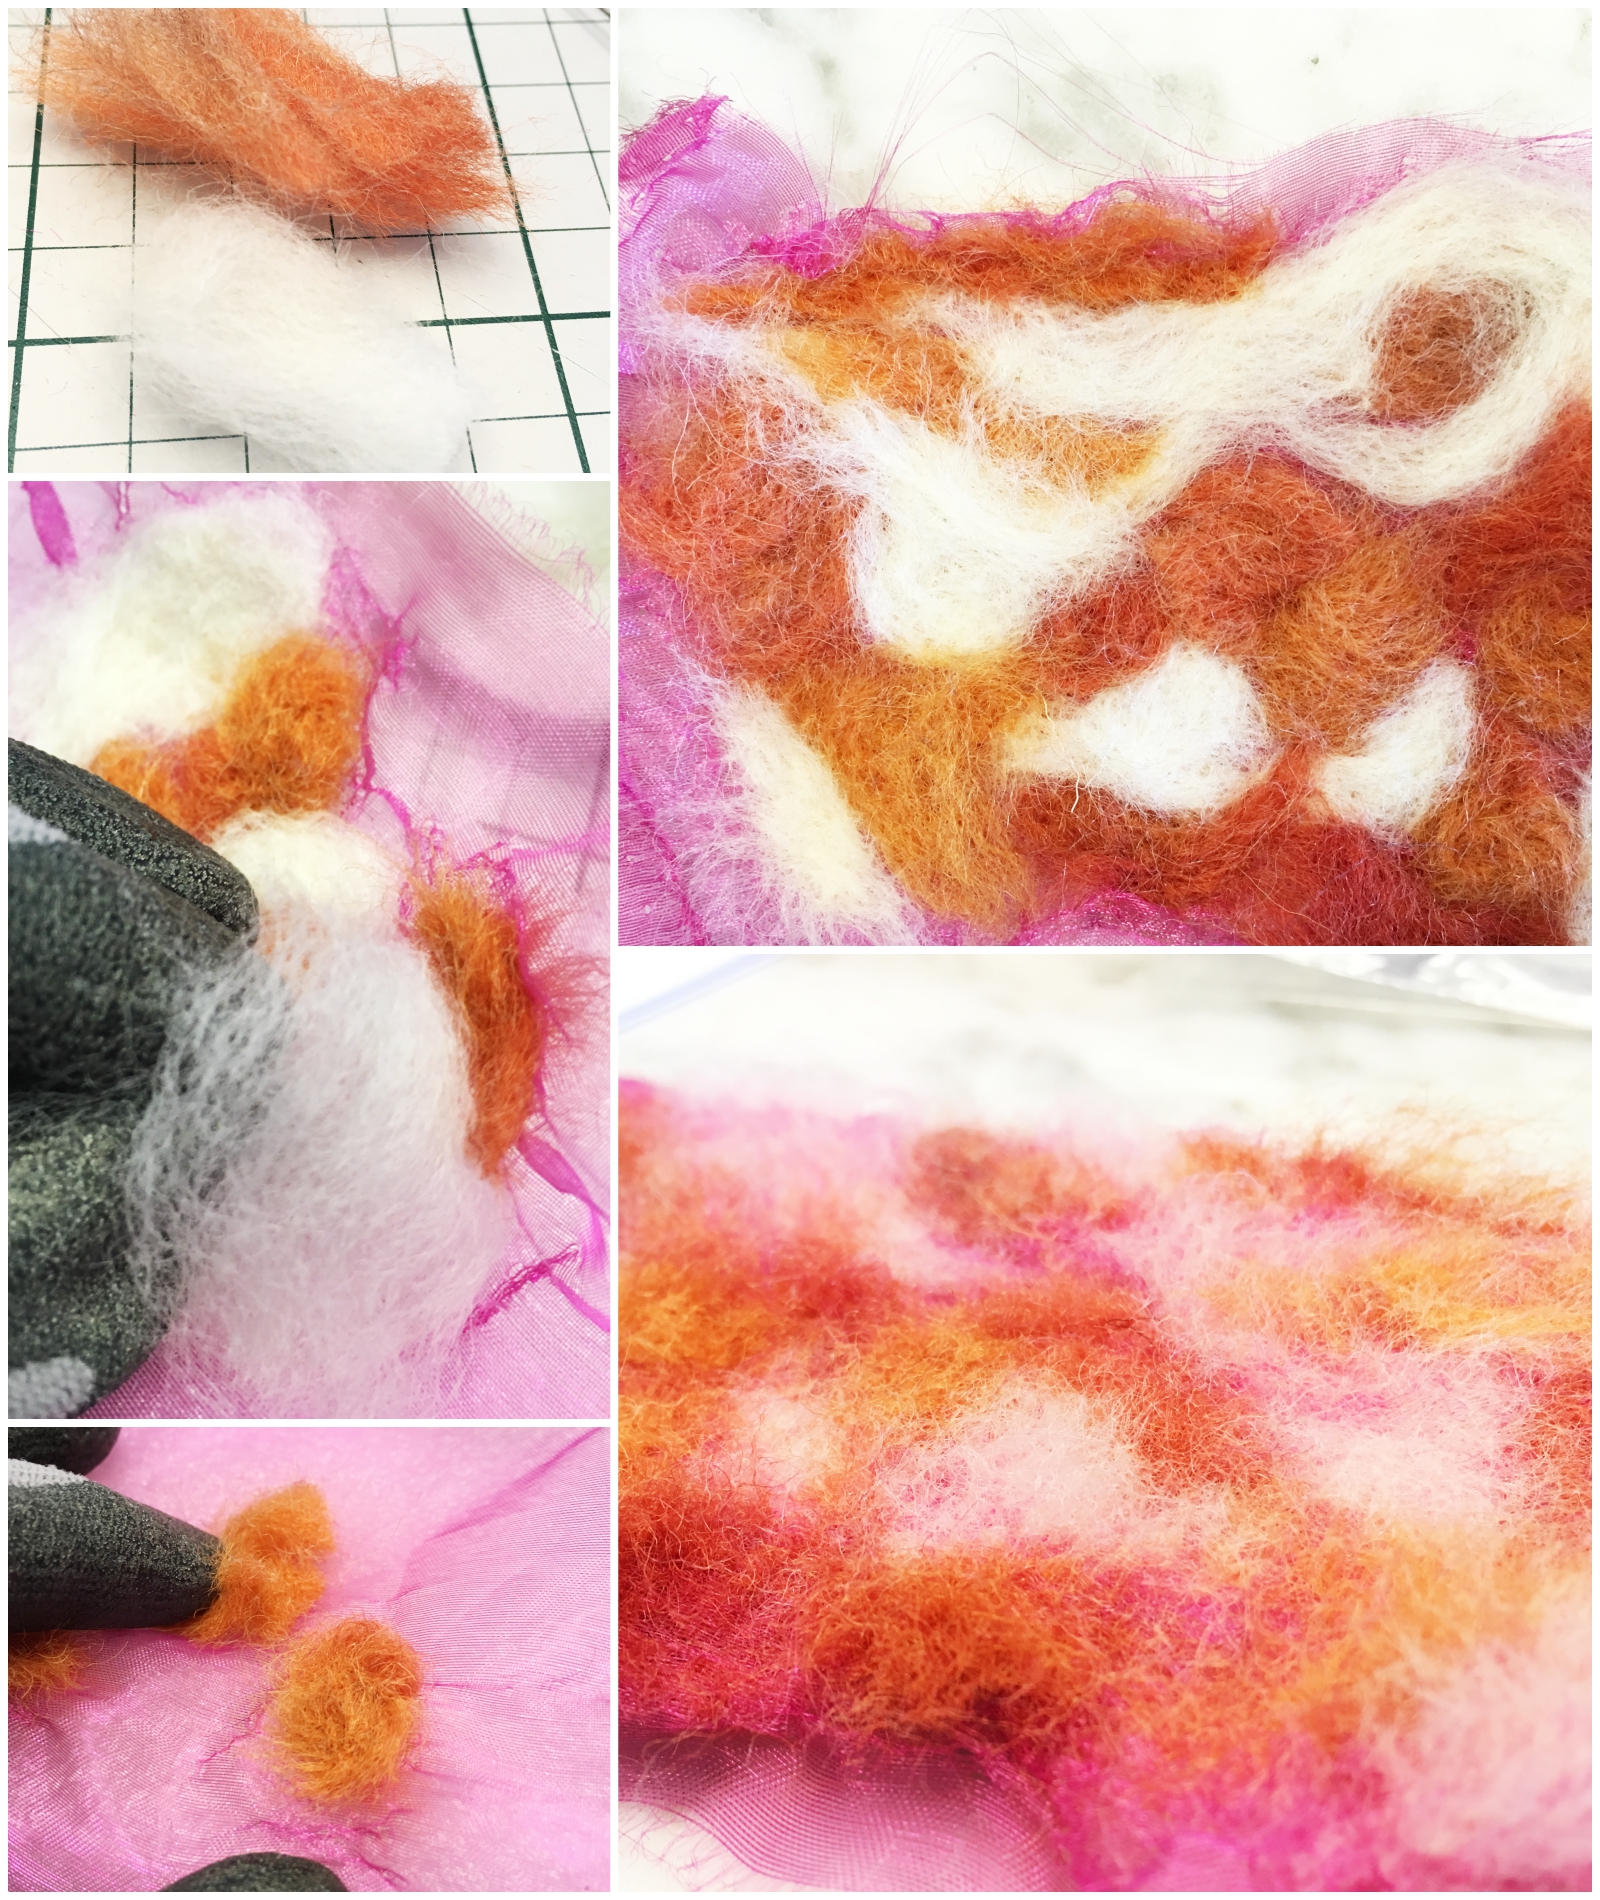
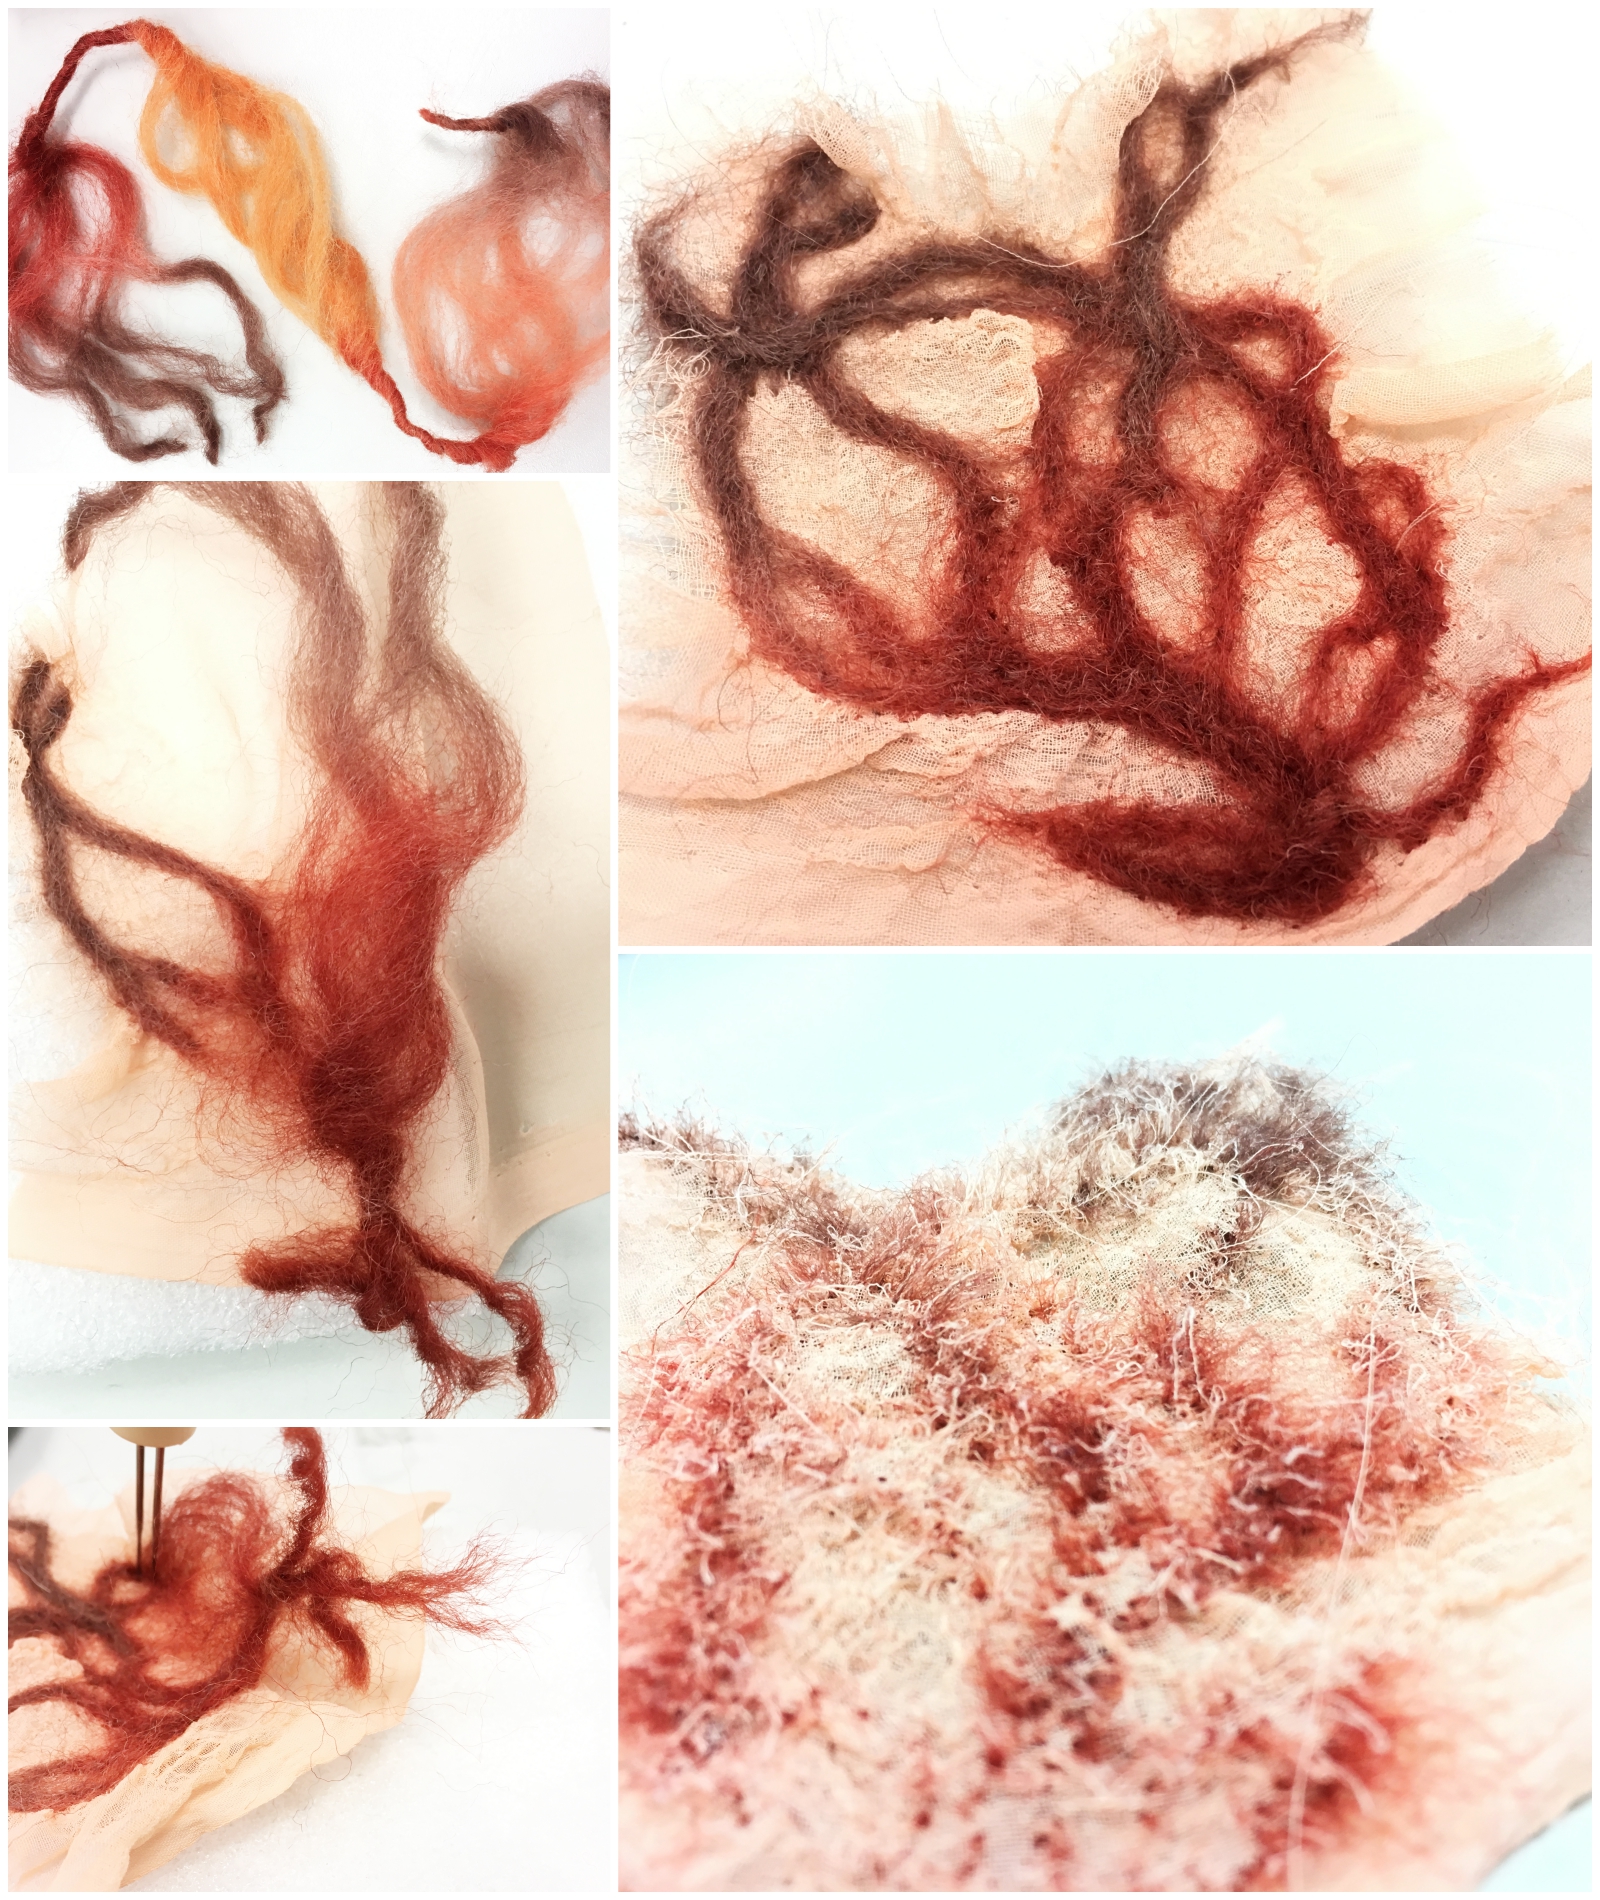
c) Nuno felting:
- Arrange the wool or other natural fibres on the fabric placed atop the sponge
- Poke the wool with the felting needles until structure is firm
- The effects of different fibres on different background fabric can be explored
Applications include:
- Making of very stiff object (like winter coats, boots and bags)
- Delicate objects (like scarfs and accessories)
- Mixing both properties to achieve intriguing designs
Personal reflection:
I do enjoy the long and tedious process of felting as the end result is somewhat unpredictable. The resulting textures on the back surface of nuno felting was a unexpectedly delightful as well. The soothing and warm tactility of woollen surfaces makes the process worthwhile and highly therapeutic!