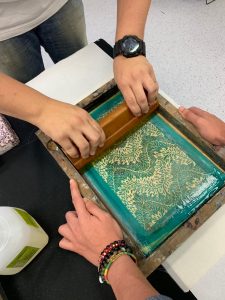
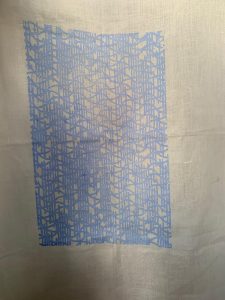
What is Transfer Printing?

Transfer printing transfers an image using heat and pressure onto a fabric or other materials through a substrate. There are 3 types of transfer printing.
1. Direct Dry Transfer
2. Direct Wet Transfer
3. Indirect Wet Transfer
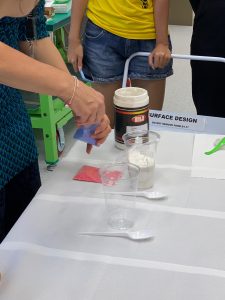
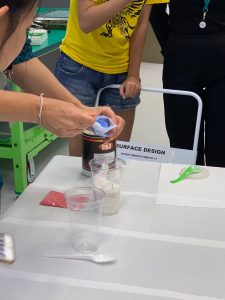
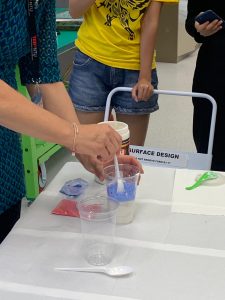
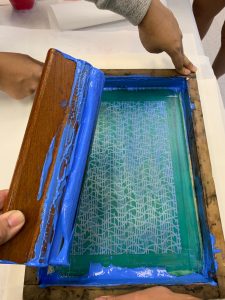
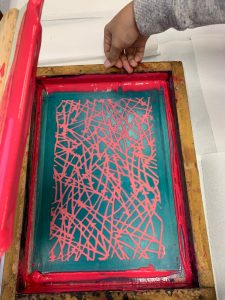
Materials needed for Transfer Printing?

Baking paper, paper, transfer paper for digital transfer, fabric (polyester) or wood, fabric dyes, fabric crayons, iron, heat press machine and objects for stamping / pattern-making (e.g. feather, leaf, etc.)
What are the uses and applications of the technique?
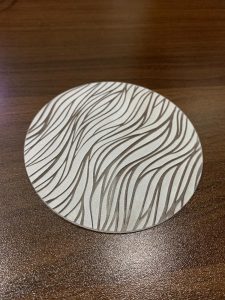
Transfer printing can be used on fabrics and clothing such as t-shirts, bags. They can also work on non-fabric hard surface such as wood or metal to create a picture for decoration. It can be used to design fabrics which then to be made into other products like table lamp, curtains, shoes, etc.
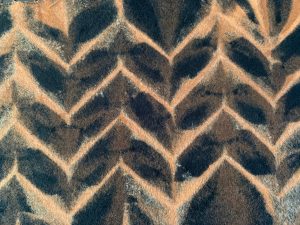
Direct Dry Transfer Printing
1. Sketch a drawing or pattern using the fabric crayon on a piece of paper. Or you can use the rubbing technique where you place a hard item (e.g. coin) behind a sheet of A4 paper, then shade the item using crayons to create the marks.
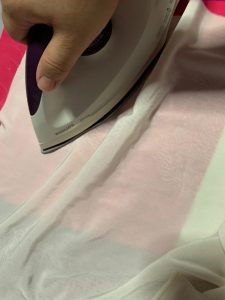
2. Once your illustration is complete, lay a sheet of clean paper atop on an ironing board.
3. Place a piece of fabric on top of that piece of clean paper.
4. Place the crayon colored picture on top of the fabric, facing downwards.
5. Place a sheet of baking paper on top of the paper colored picture in order to prevent burning.
6. Slowly use the heat and force from the iron to transfer the crayon colored image onto the fabric.
7. After a few minutes, the transferal is complete.


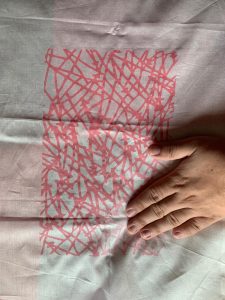
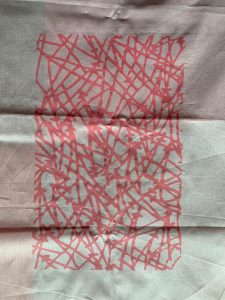
Direct Wet Printing

1. Paint on a piece of paper using transprint ink.

2. Once your illustration is complete, lay a sheet of clean paper atop on an ironing board.

3. Place a piece of fabric on top of that piece of clean paper.

4. Place the painted colored picture on top of the fabric, facing downwards.

5. Place a sheet of baking paper on top of the paper colored picture in order to prevent burning.

6. Slowly use the heat and force from the iron to transfer the colored image onto the fabric.

7. After a few minutes, the transferal is complete.


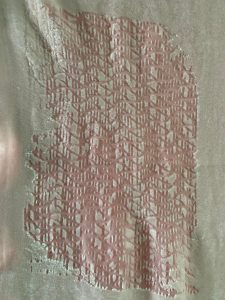
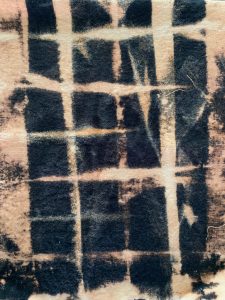
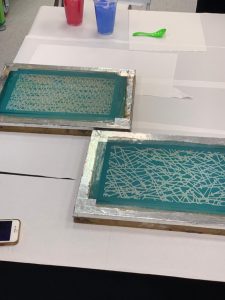
Indirect Wet Printing
1. Paint on a piece of paper using transprint ink.
2. Once your illustration is complete, lay a sheet of clean paper atop on an ironing board.
3. Place the painted colored picture on top of the clean paper, facing upwards.
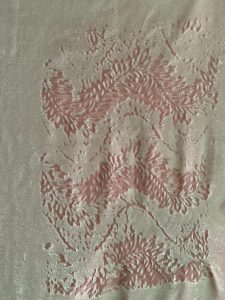
4. Place a flat object (e.g. feather) on top of the painting.
5. Place a piece of fabric on top of the object.
6. Place a sheet of baking paper on top of the fabric in order to prevent burning.
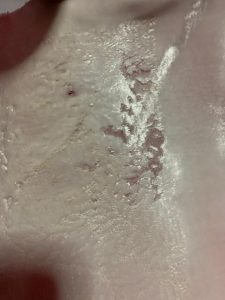
5. Slowly use the heat and force from the iron to transfer the pattern onto the fabric.
6. After a few minutes, the transferal is complete.


 You can also use the ink on the feather to do a wet direct printing on a new piece of fabric.
Reflection

I feel that this class is super interesting as I am learning new and useful technique that I can apply on my Product Design works. The Transfer Printing method is easy and simple, you can simply do this at home if you have a steam iron.