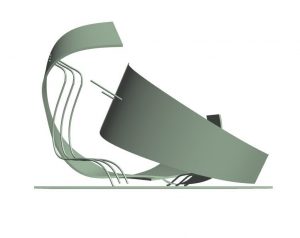
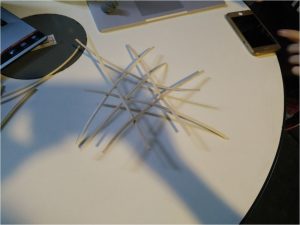
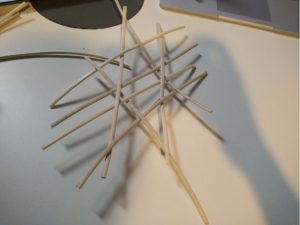
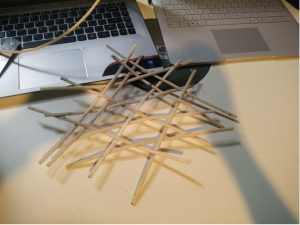
After figuring out what the prototype that I have wanted to do, the task was to move a step beyond to incorporate at least one element of the verb prototype into the final product. My direction is to make a luggage with hidden features.
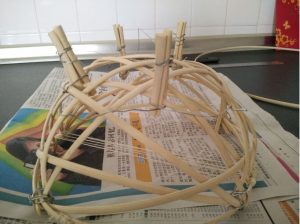
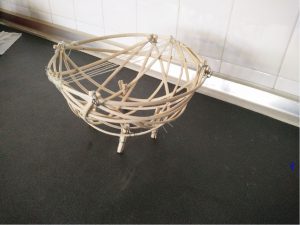
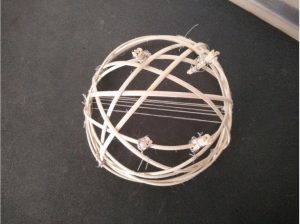
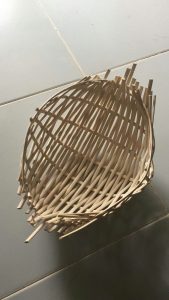
Click here to the link for the prototype fabrication.
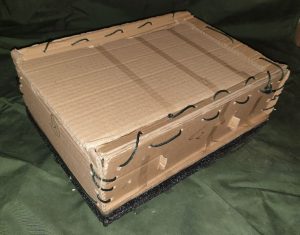
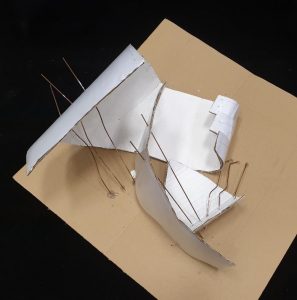
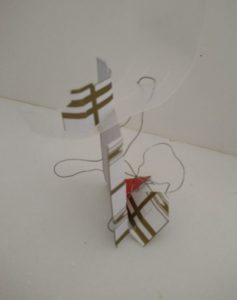
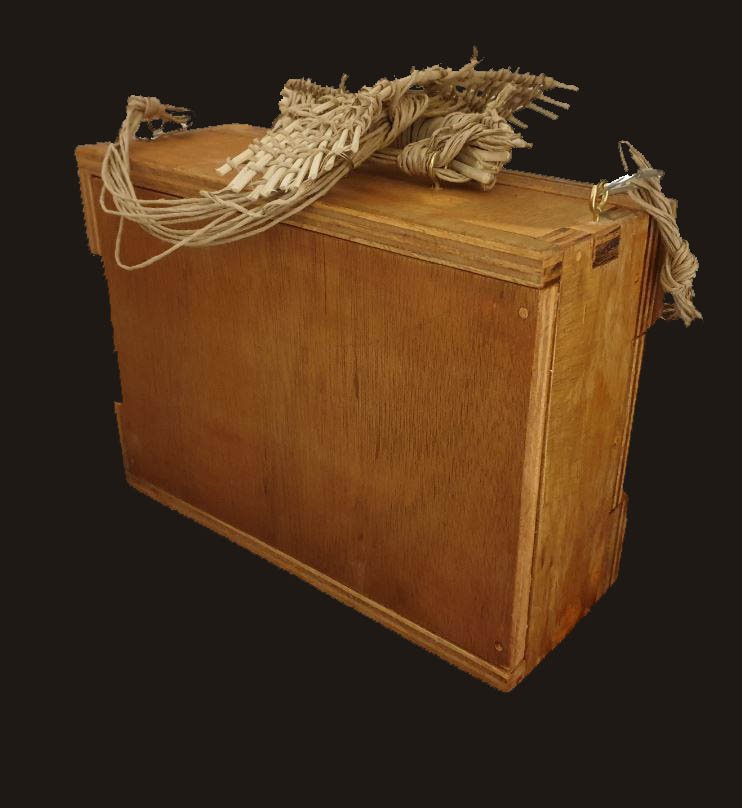
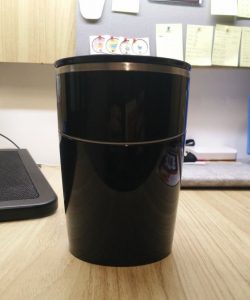
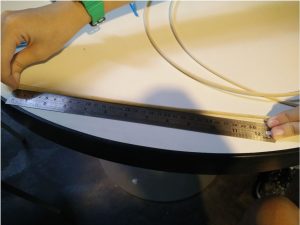
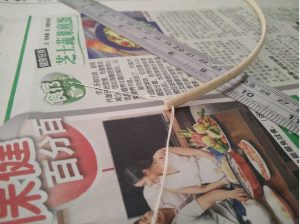
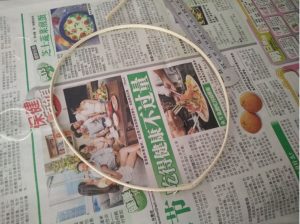
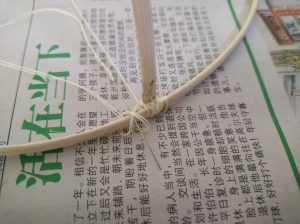
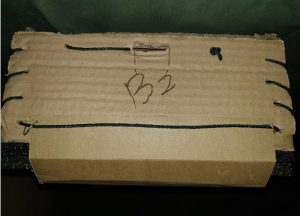
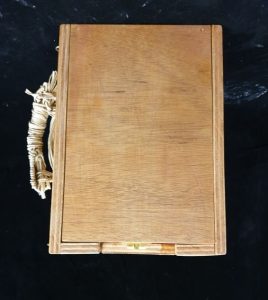
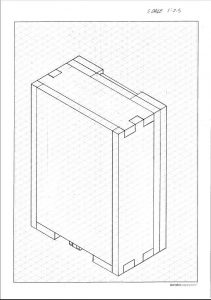
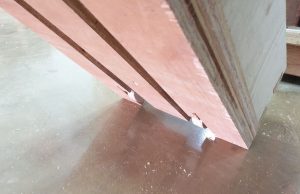
Original box with twine used to secure together
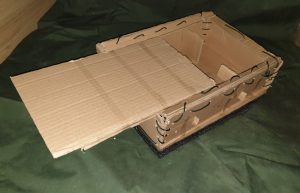
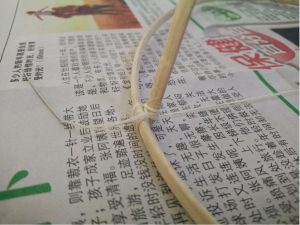
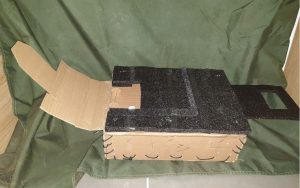
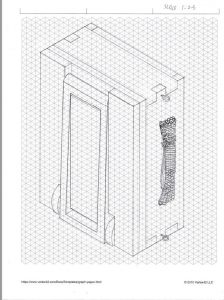
Sliding of the box cover to reveal the inner compartment as first hidden feature
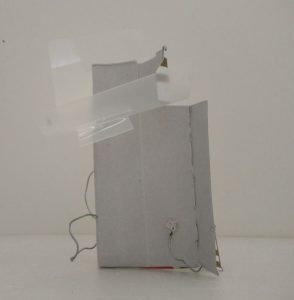
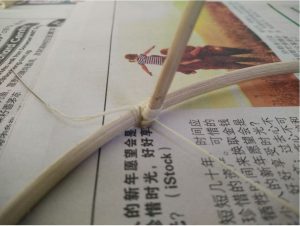
With the top cover removed, it will shows the compartment within the box
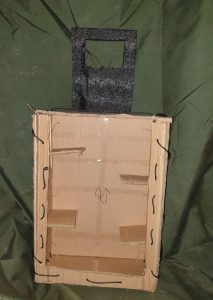
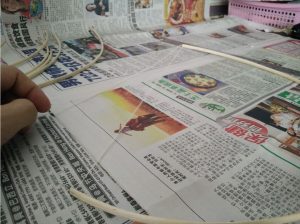
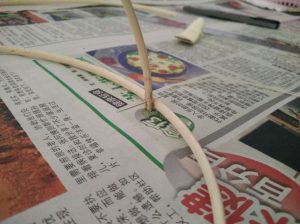
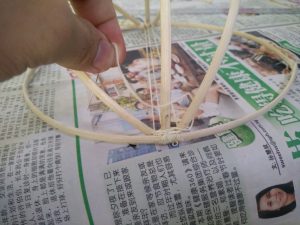
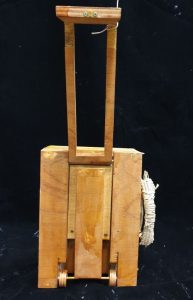
Second hidden feature, the handle is then remove from within the box through the built-in locking mechanism
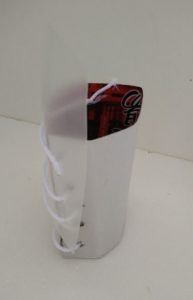
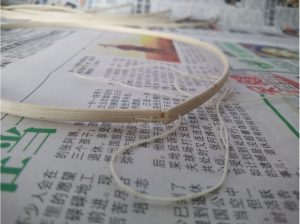
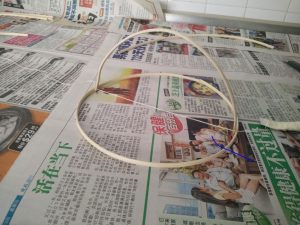
Using steel wire to act as a double hooking lock mechanism system to secure the base cover intact
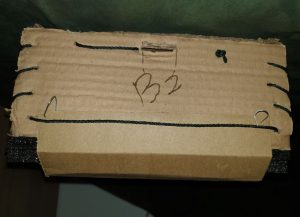
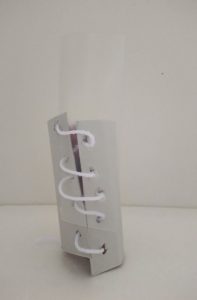
Steel wire is turn to unlock
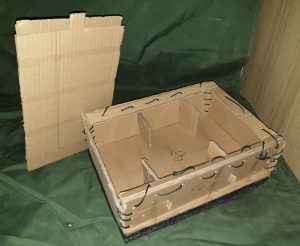
The base cover is then being remove after unlocking
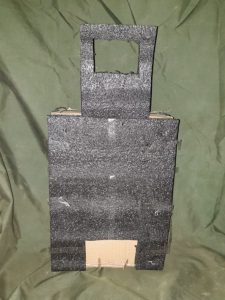
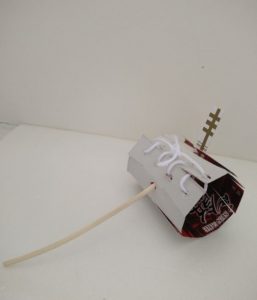
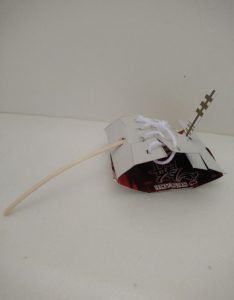
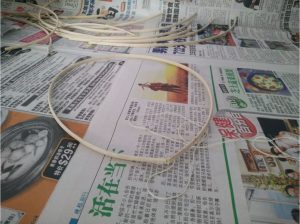
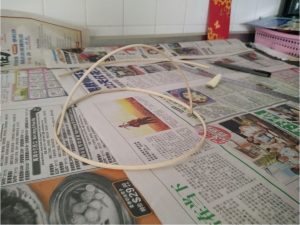
Final composition of the Prototype luggage
With the prototype made and shown for consult with Ms Sherry, she mentioned a few details on making it “Less complicated” in terms of the hidden puzzle mechanism as it will be too troublesome for the users to use if they have to figure out how to open it and the steps taken will be too much
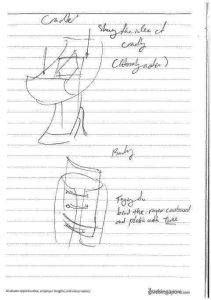
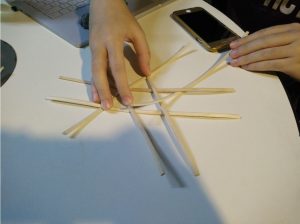
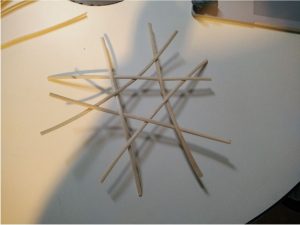
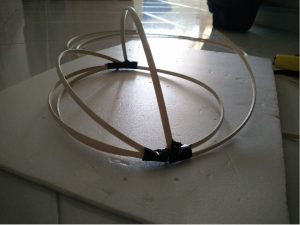
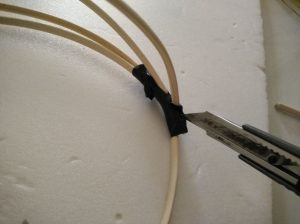
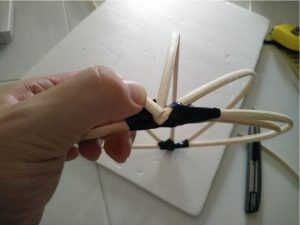
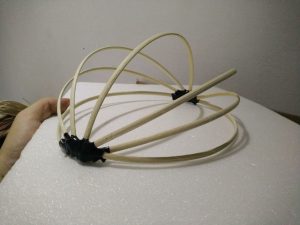
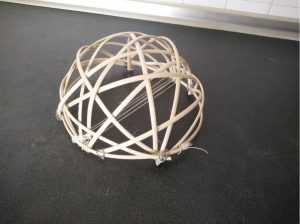
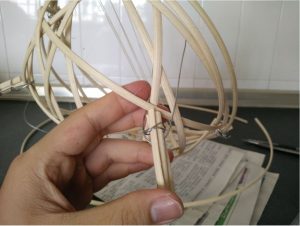
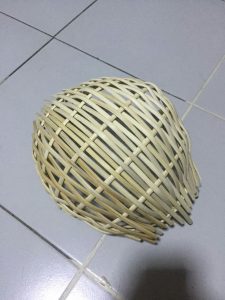
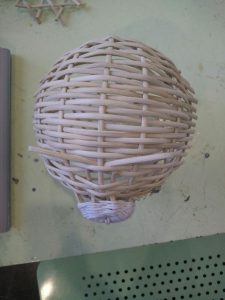
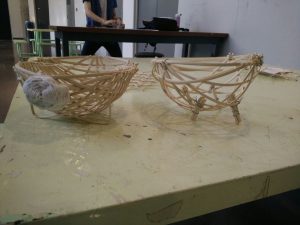
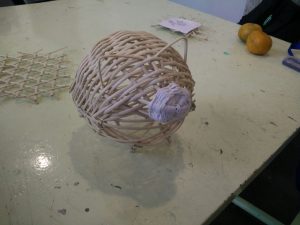
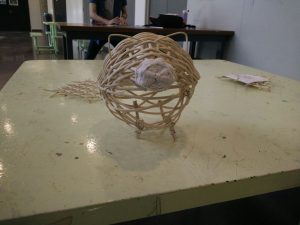
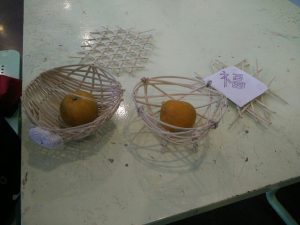
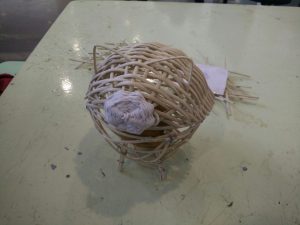
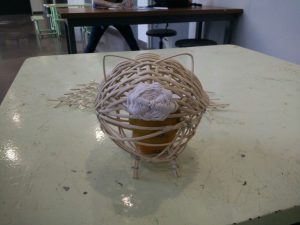
Secondly, “Incorporation of weaving” in terms of the handles or parts where I can incorporate weaving details into the product to show how I can compliment weaving with the rigidity of woodworking
Lastly, “Exploration of ideas” in terms of the joinery, how I can incorporate the idea of “Binding” into the product itself to make it compliment with weaving since I am doing wood product in this case
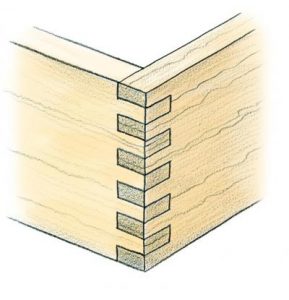
Finger joint
Christiana, A. (2010, October 23rd). [Picture]. Finger-joint Basics. Startwoodworking. Retrieved 2019, March 3rd from http://www.startwoodworking.com/post/finger-joint-basics
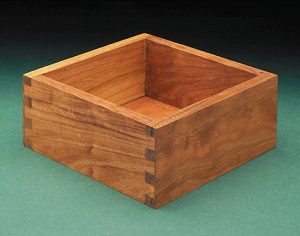
Box-in-cherry-with-square-half-blind-box-joint
Unknown. (n.d.). [Picture]. Gallery. Leigh. Retrieved 2019, March 3rd from https://www.leighjigs.com/f3-finger-box-joint-gallery/
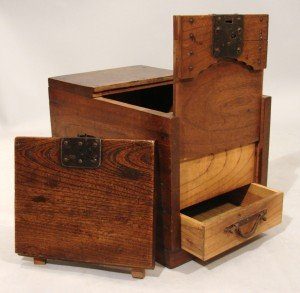
secret-compartment-box-japanese-merchant-chest
King, C. (2013, July 14). [Picture]. Secret Compartments in Wooden Japanese Merchant’s Chest. Stashvault. Retrieved 2019, March 3rd from https://www.stashvault.com/japanese-merchants-chest-with-secret-compartment/secret-compartment-box-japanese-merchant-chest/
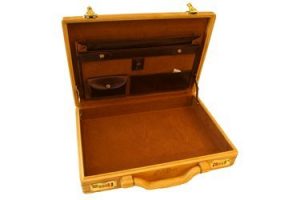
Wooden Briefcase
Unknown. (n.d.). [Picture]. Wooden Briefcase. Alibaba. Retrieved 2019, March 3rd from https://www.alibaba.com/product-detail/Wooden-Briefcase_100055374.html
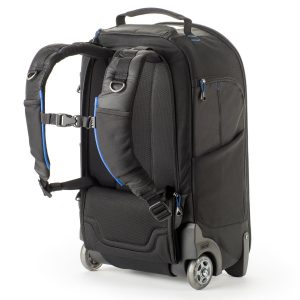
StreetWalker_Roller_V2-WEb-layers_0013_StreetWalker_Roller_V2-Harness-1687-
Unknown. (n.d.). [Picture]. Think Tank STREETWALKER® ROLLING BACKPACK V2.0. maniocinetools. Retrieved 2019, March 3rd from https://manioscinetools.gr/en/product/think-tank-streetwalker-rolling-backpack-v2-0/
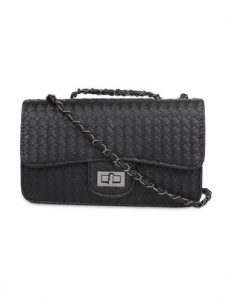
Black Leatherette Braided Sling Bag
Unknown. (n.d.). [Picture]. Black Leatherette Braided Sling Bag. Limeroad. Retrieved 2019, March 3rd from https://www.limeroad.com/black-woven-leatherette-sling-bag-alvaro-castagnino-p9657881/
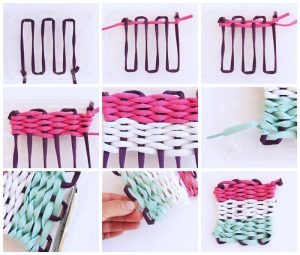
Weaving-with-a-recycled-plastic-loom-BABBLE-DABBLE-DO-Basic-Weaving-Steps
Dziengel, A. (2014, June 5). [Picture]. Art for Kids: Basic Weaving Using Recycled Plastic Looms. babbledabbledo. Retrieved 2019, March 3rd from https://babbledabbledo.com/art-kids-basic-weaving-plastic-looms/
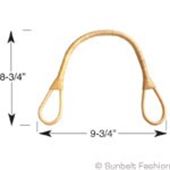
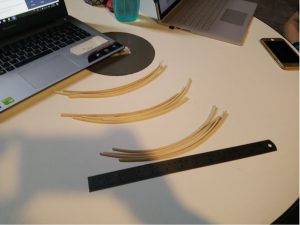
Boomerang Burnt Rattan Handle
Unknown. (n.d.). Rattan Handles. [Picture]. Sunbelt Fashion. Retrieved 2019, March 3rd from https://www.sunbeltfashion.net/Rattan-Handles.html
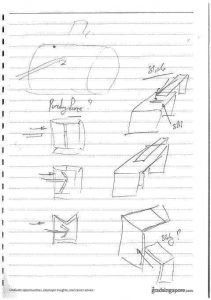
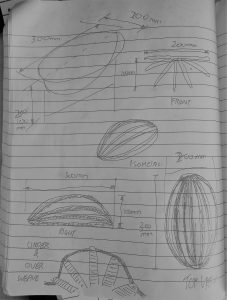
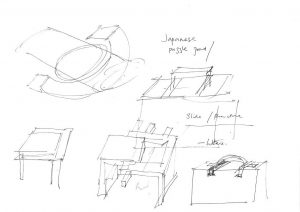
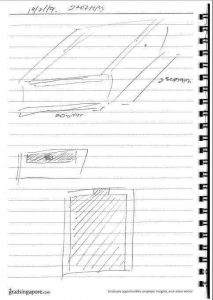
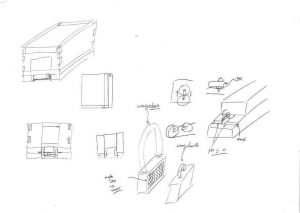
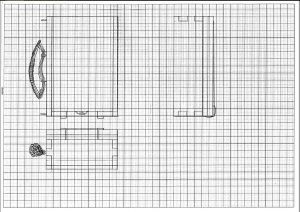
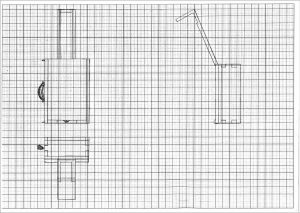
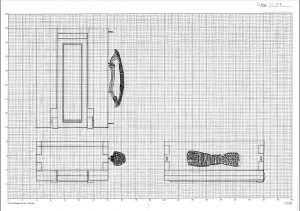
With the research and references in place, I have decided to create a product that incorporates a briefcase with wheel and pulley mechanism that is made entirely of wood. The next step towards bringing the product to life is sketching.
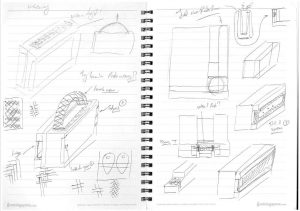
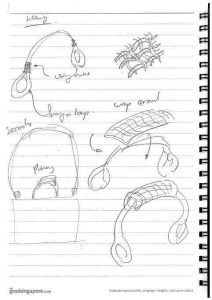
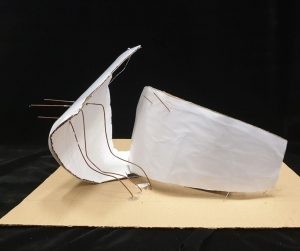
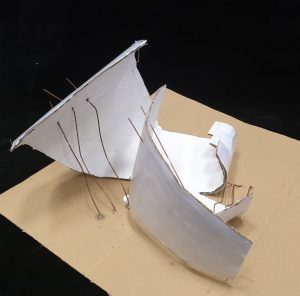
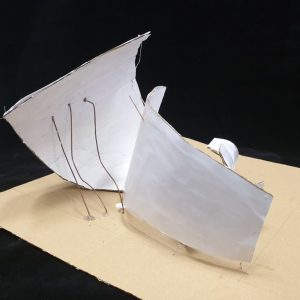
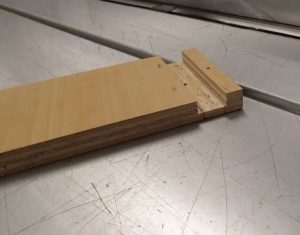
With the sketching done, the final step is fabrication of the product. Click here to the link for the briefcase luggage product fabrication.
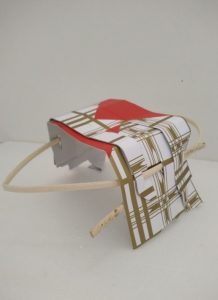
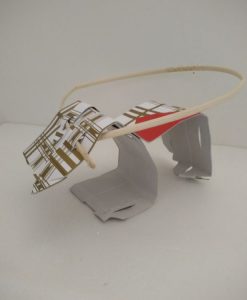
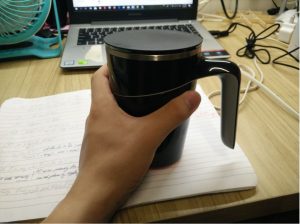
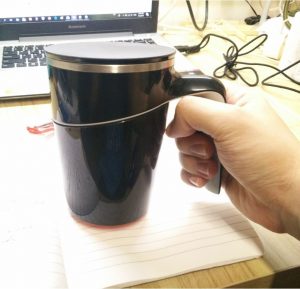
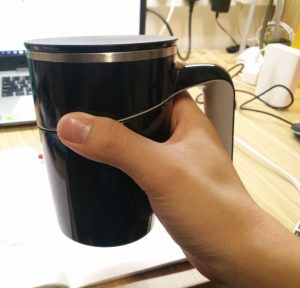
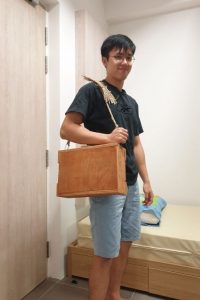
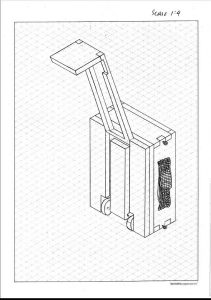
The final product, Briefcase Luggage. The verb elements that I had incorporated are all four – Slide, Puncture, Cradle and Bind

Me posing with my briefcase luggage as an user experience.
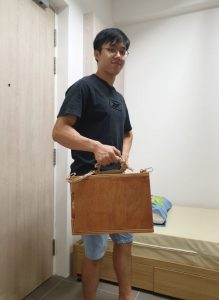
This is a video of me using the briefcase luggage.
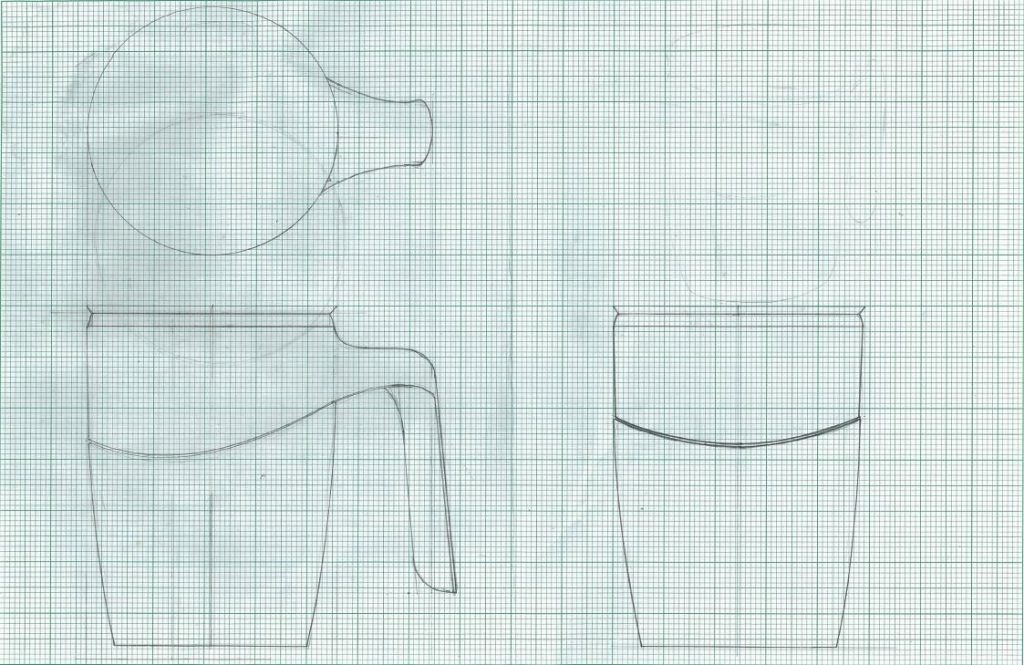
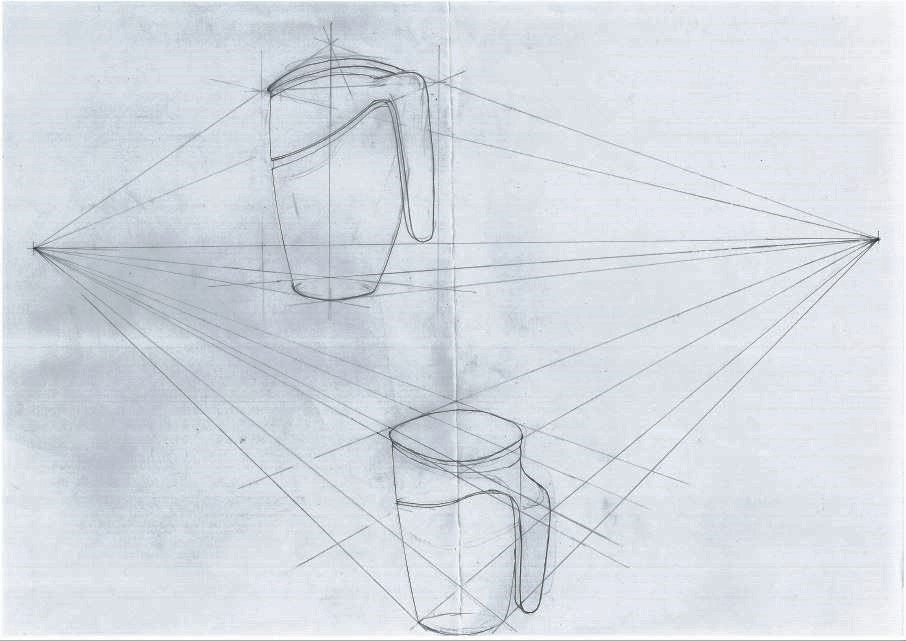
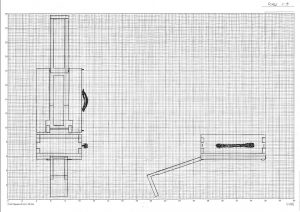
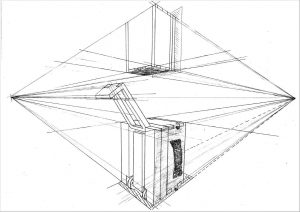
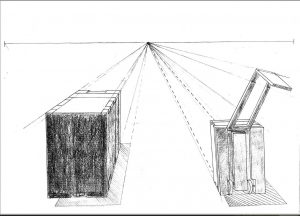
These are the required drawings as per the final product. Orthographic projection drawing, Axonometric drawing & Perspective

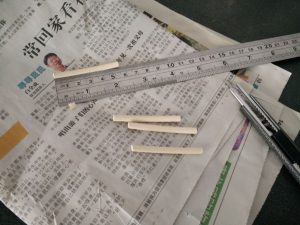
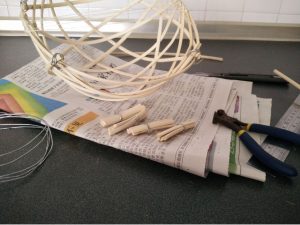
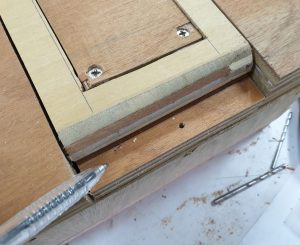
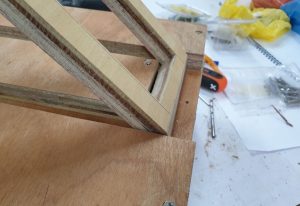
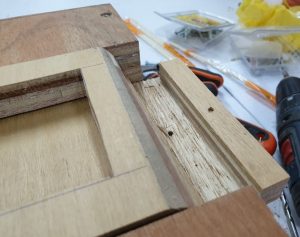
Through the process of making, I had encounter two issues which were very good learning point for myself.
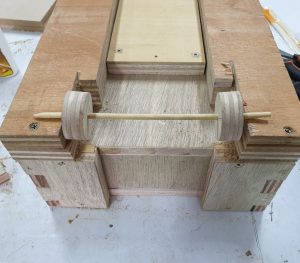
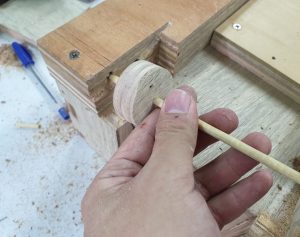
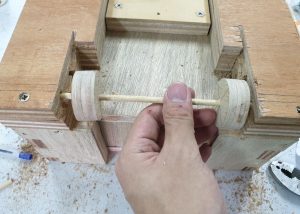
Firstly, the handle has no excess space to rotate, which causes the handle to be unable to extend and I have to correct the issue by using a table saw to trim the affected width down.
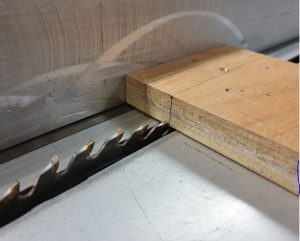
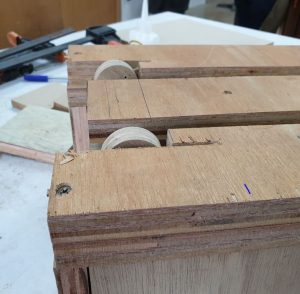
Secondly, wheels, as this is my first time experimenting with a luggage, I miscalculated the length to put the wheels and it causes the wheel to be too high and I could not roll the luggage as planned. Issue was corrected by remeasuring the length and re-drilling the hole to fit the wheel and axle.

In conclusion, this is a very meaningful exercise that allows me to experiment with making a briefcase luggage system. The challenges lies in the weaving and also the mechanism of the handle.
How I can improved, Ms Sherry had commented that it is a shame that the product is not fully incorporated with weaving as I only incorporated weaving within the handle and sling. I felt that for the body of the luggage, I could use weaving to weave into the compartment so that it does not look too rigid like a plain box.
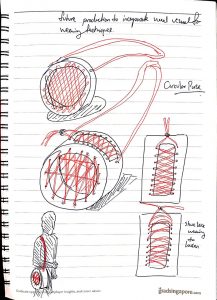
This is a general idea that I would like to work with in the near future, a wooden wheel purse that has the sides secured with rattan weaves to show the transparency as compared to a blocked up enclosed approach like my current design. The concept of a shoelace weave over the opening on the top that allows users to loosen or tighten the weaving to take or place their valuables.