
Materials – Electronics
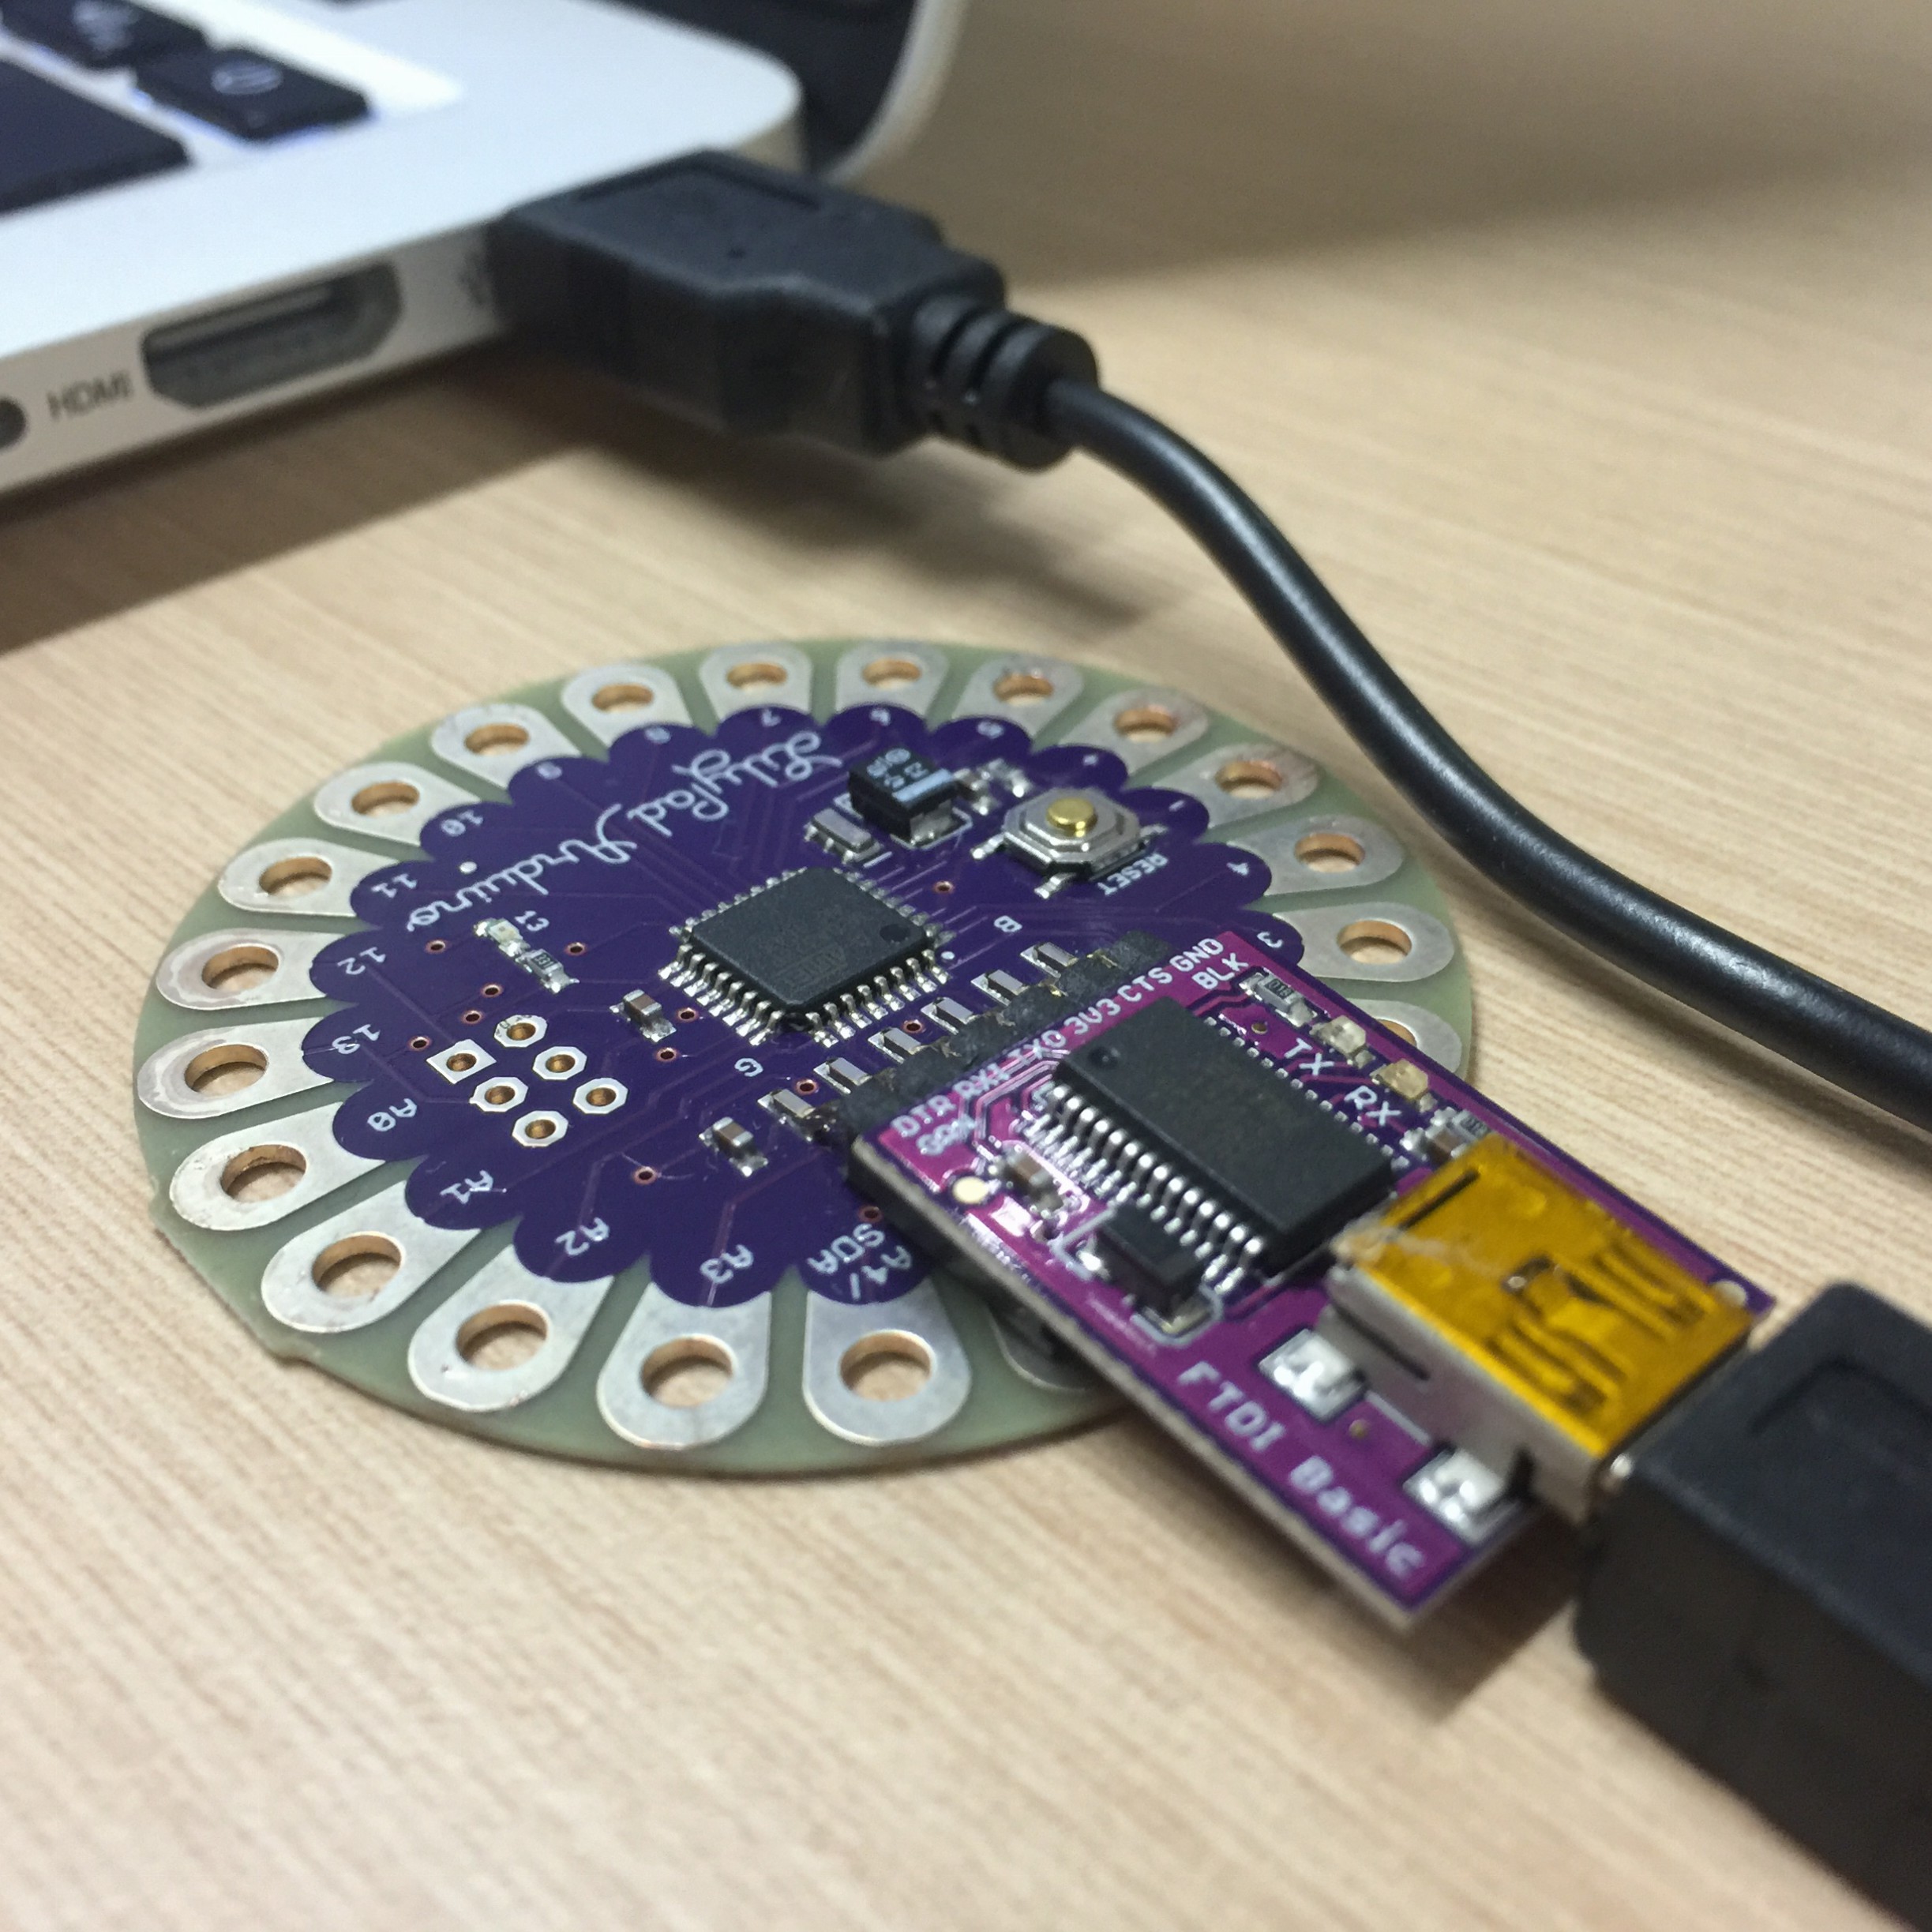
Main Board:
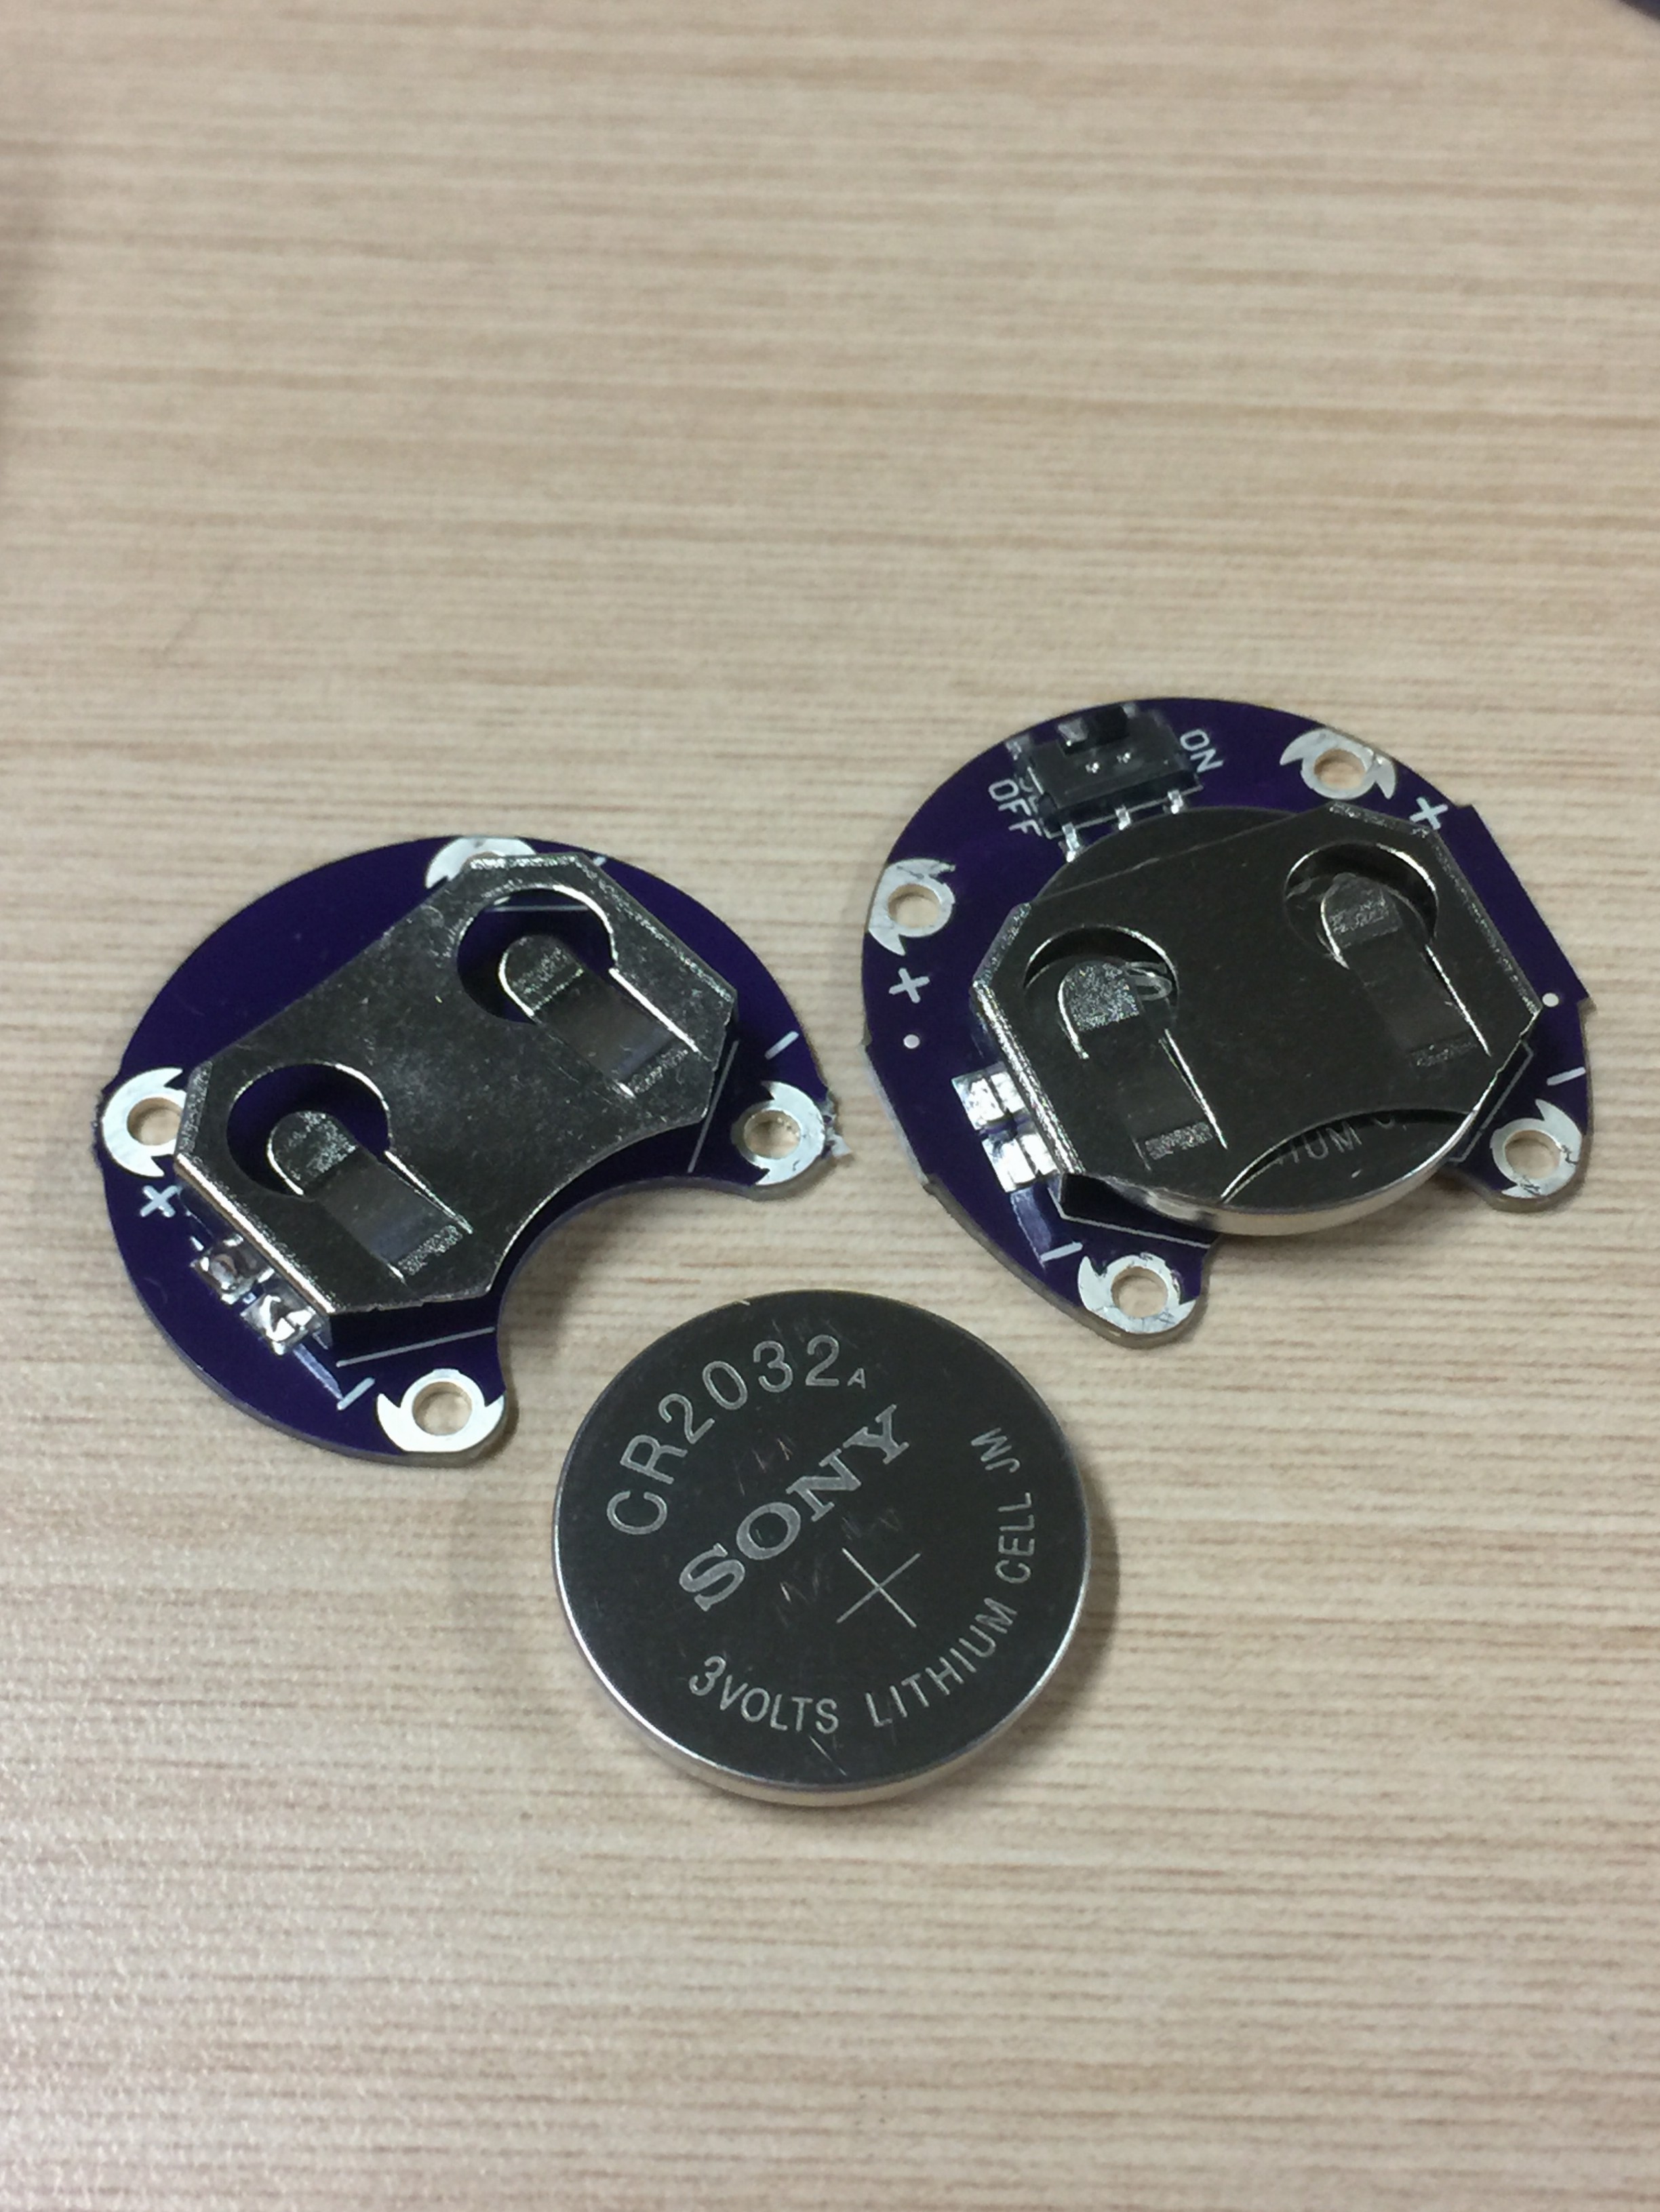
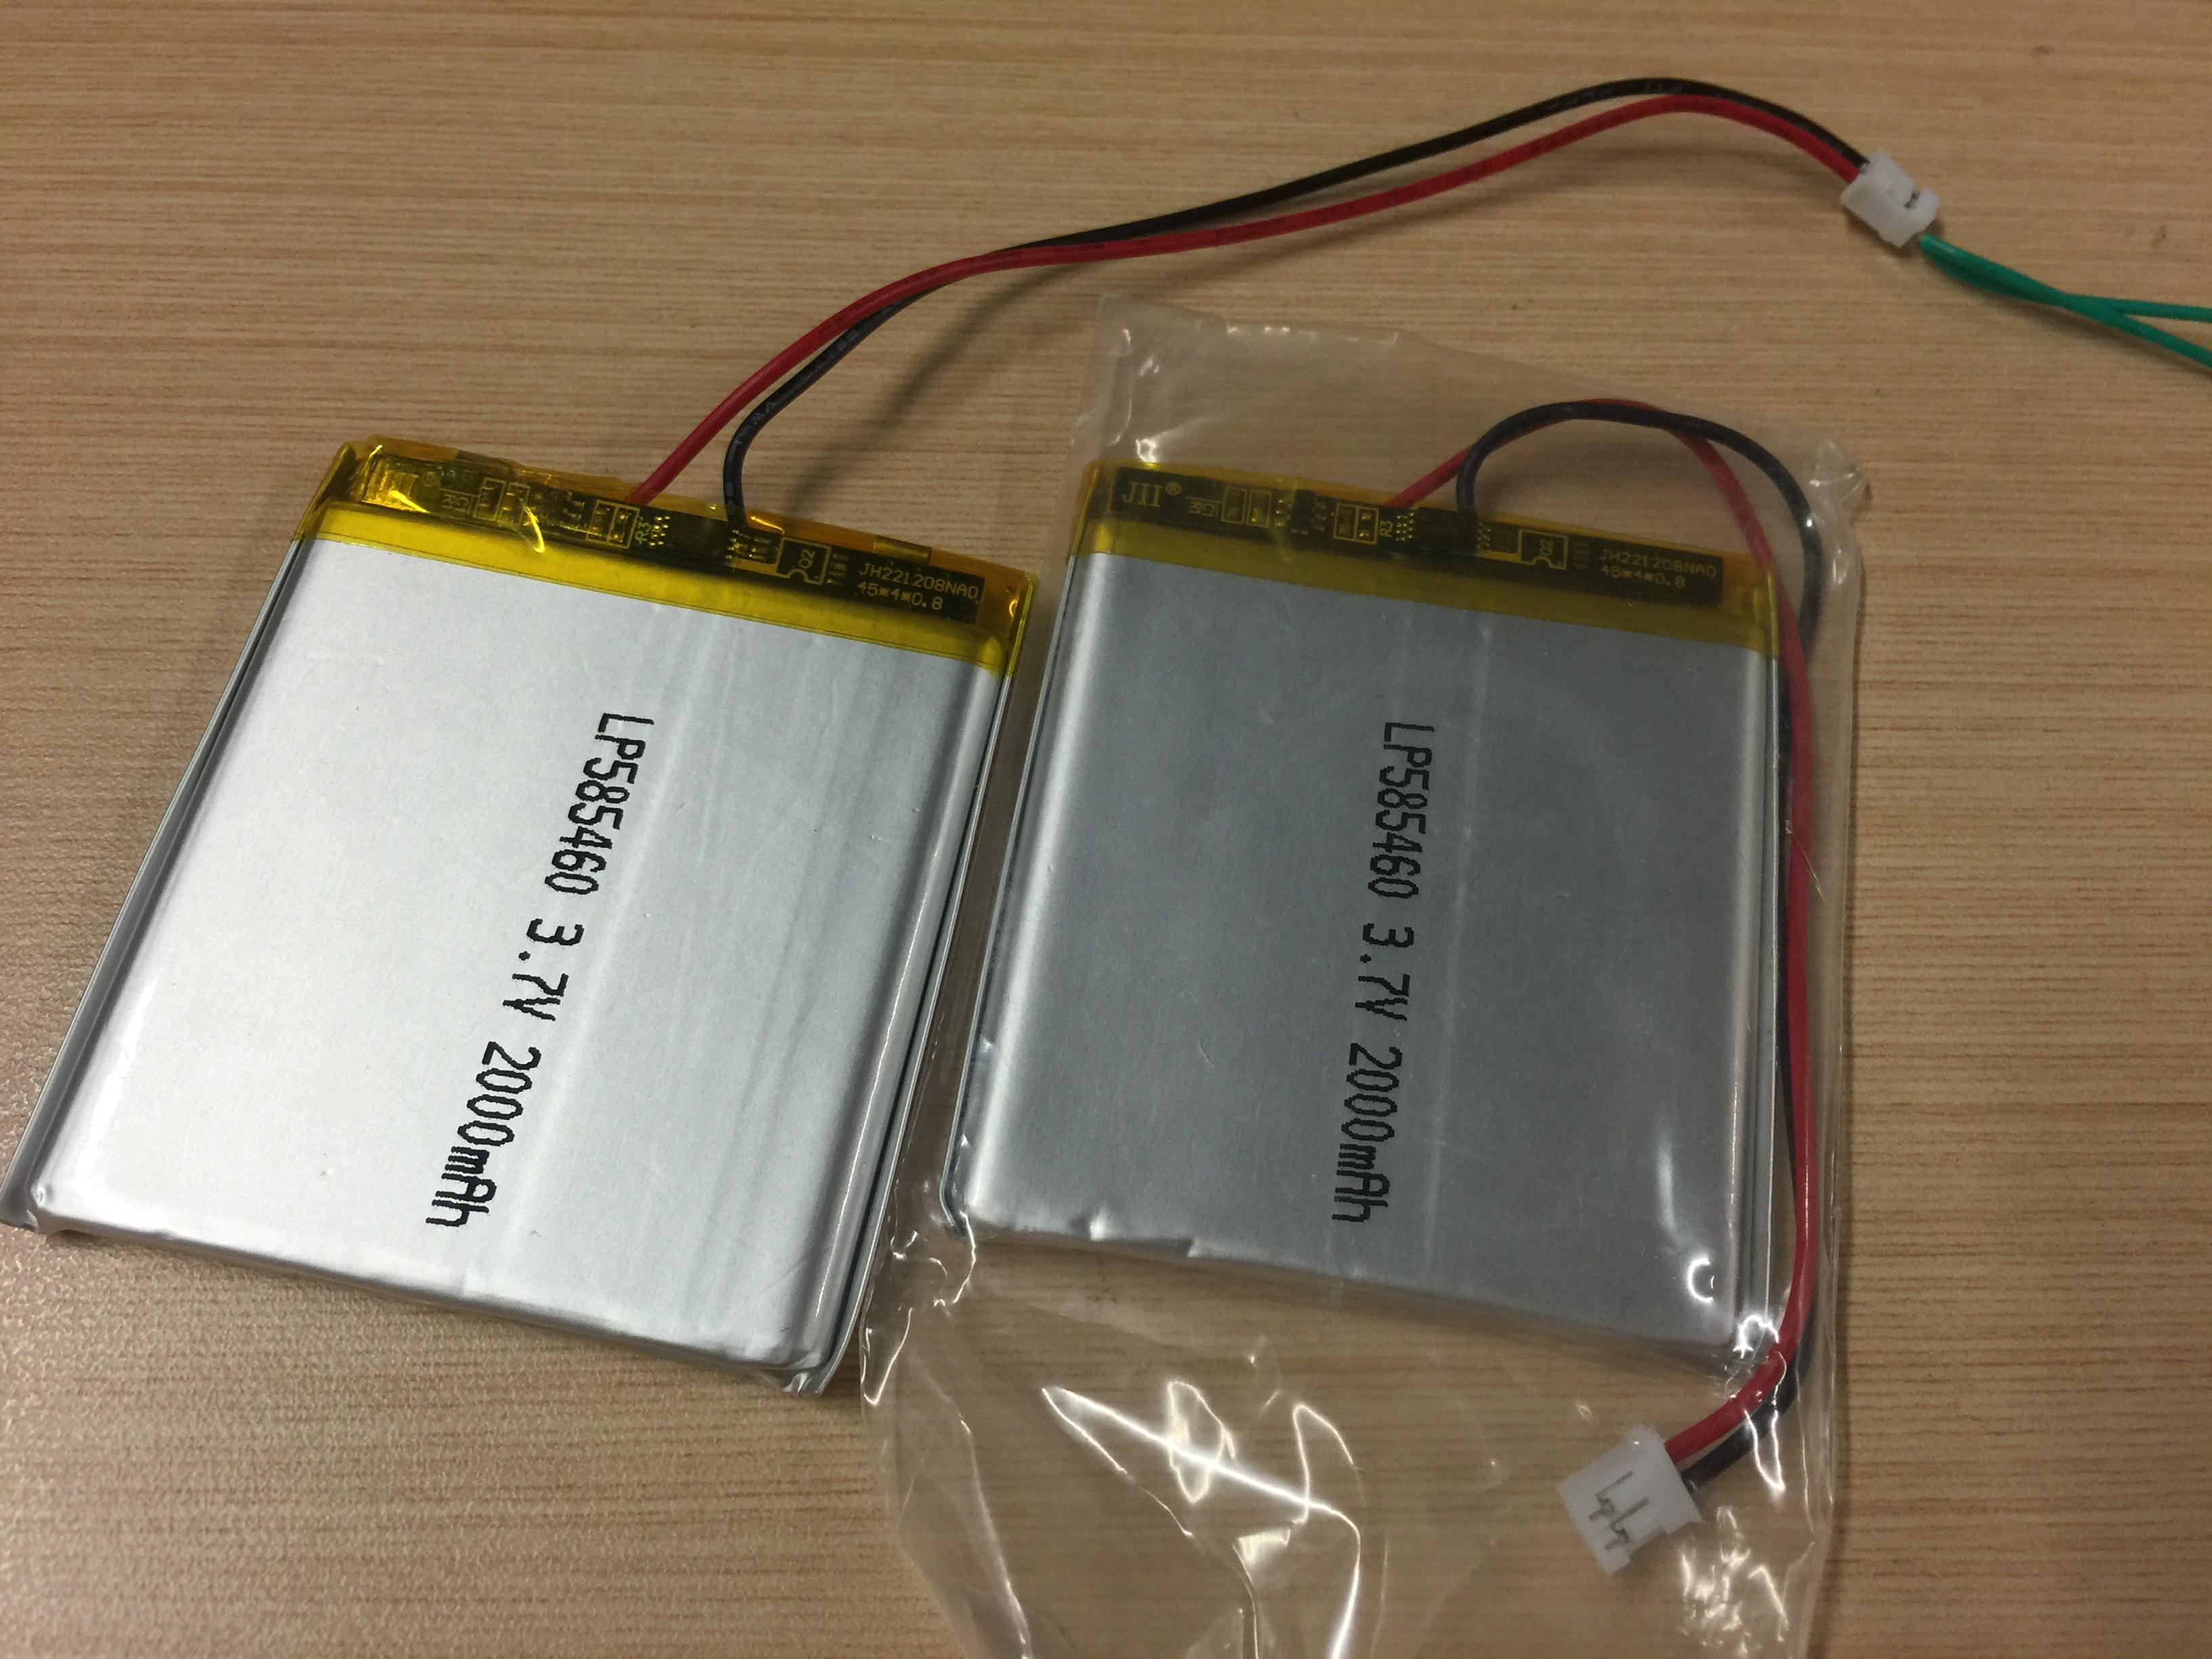
Power Supply:
- CR2032 Lithium Cell Battery – 3 V
- Polymer Lithium Ion Batteries – 2000mAh 3.7V
Sensors:

- Light sensor: This is a simple to use light sensor that outputs an analog value from 0 to 5V. With exposure to daylight, this sensor will output 5V. Covering the sensor with your hand, the sensor will output 0V. In a normal indoor lighting situation, the sensor will output from 1 to 2V.
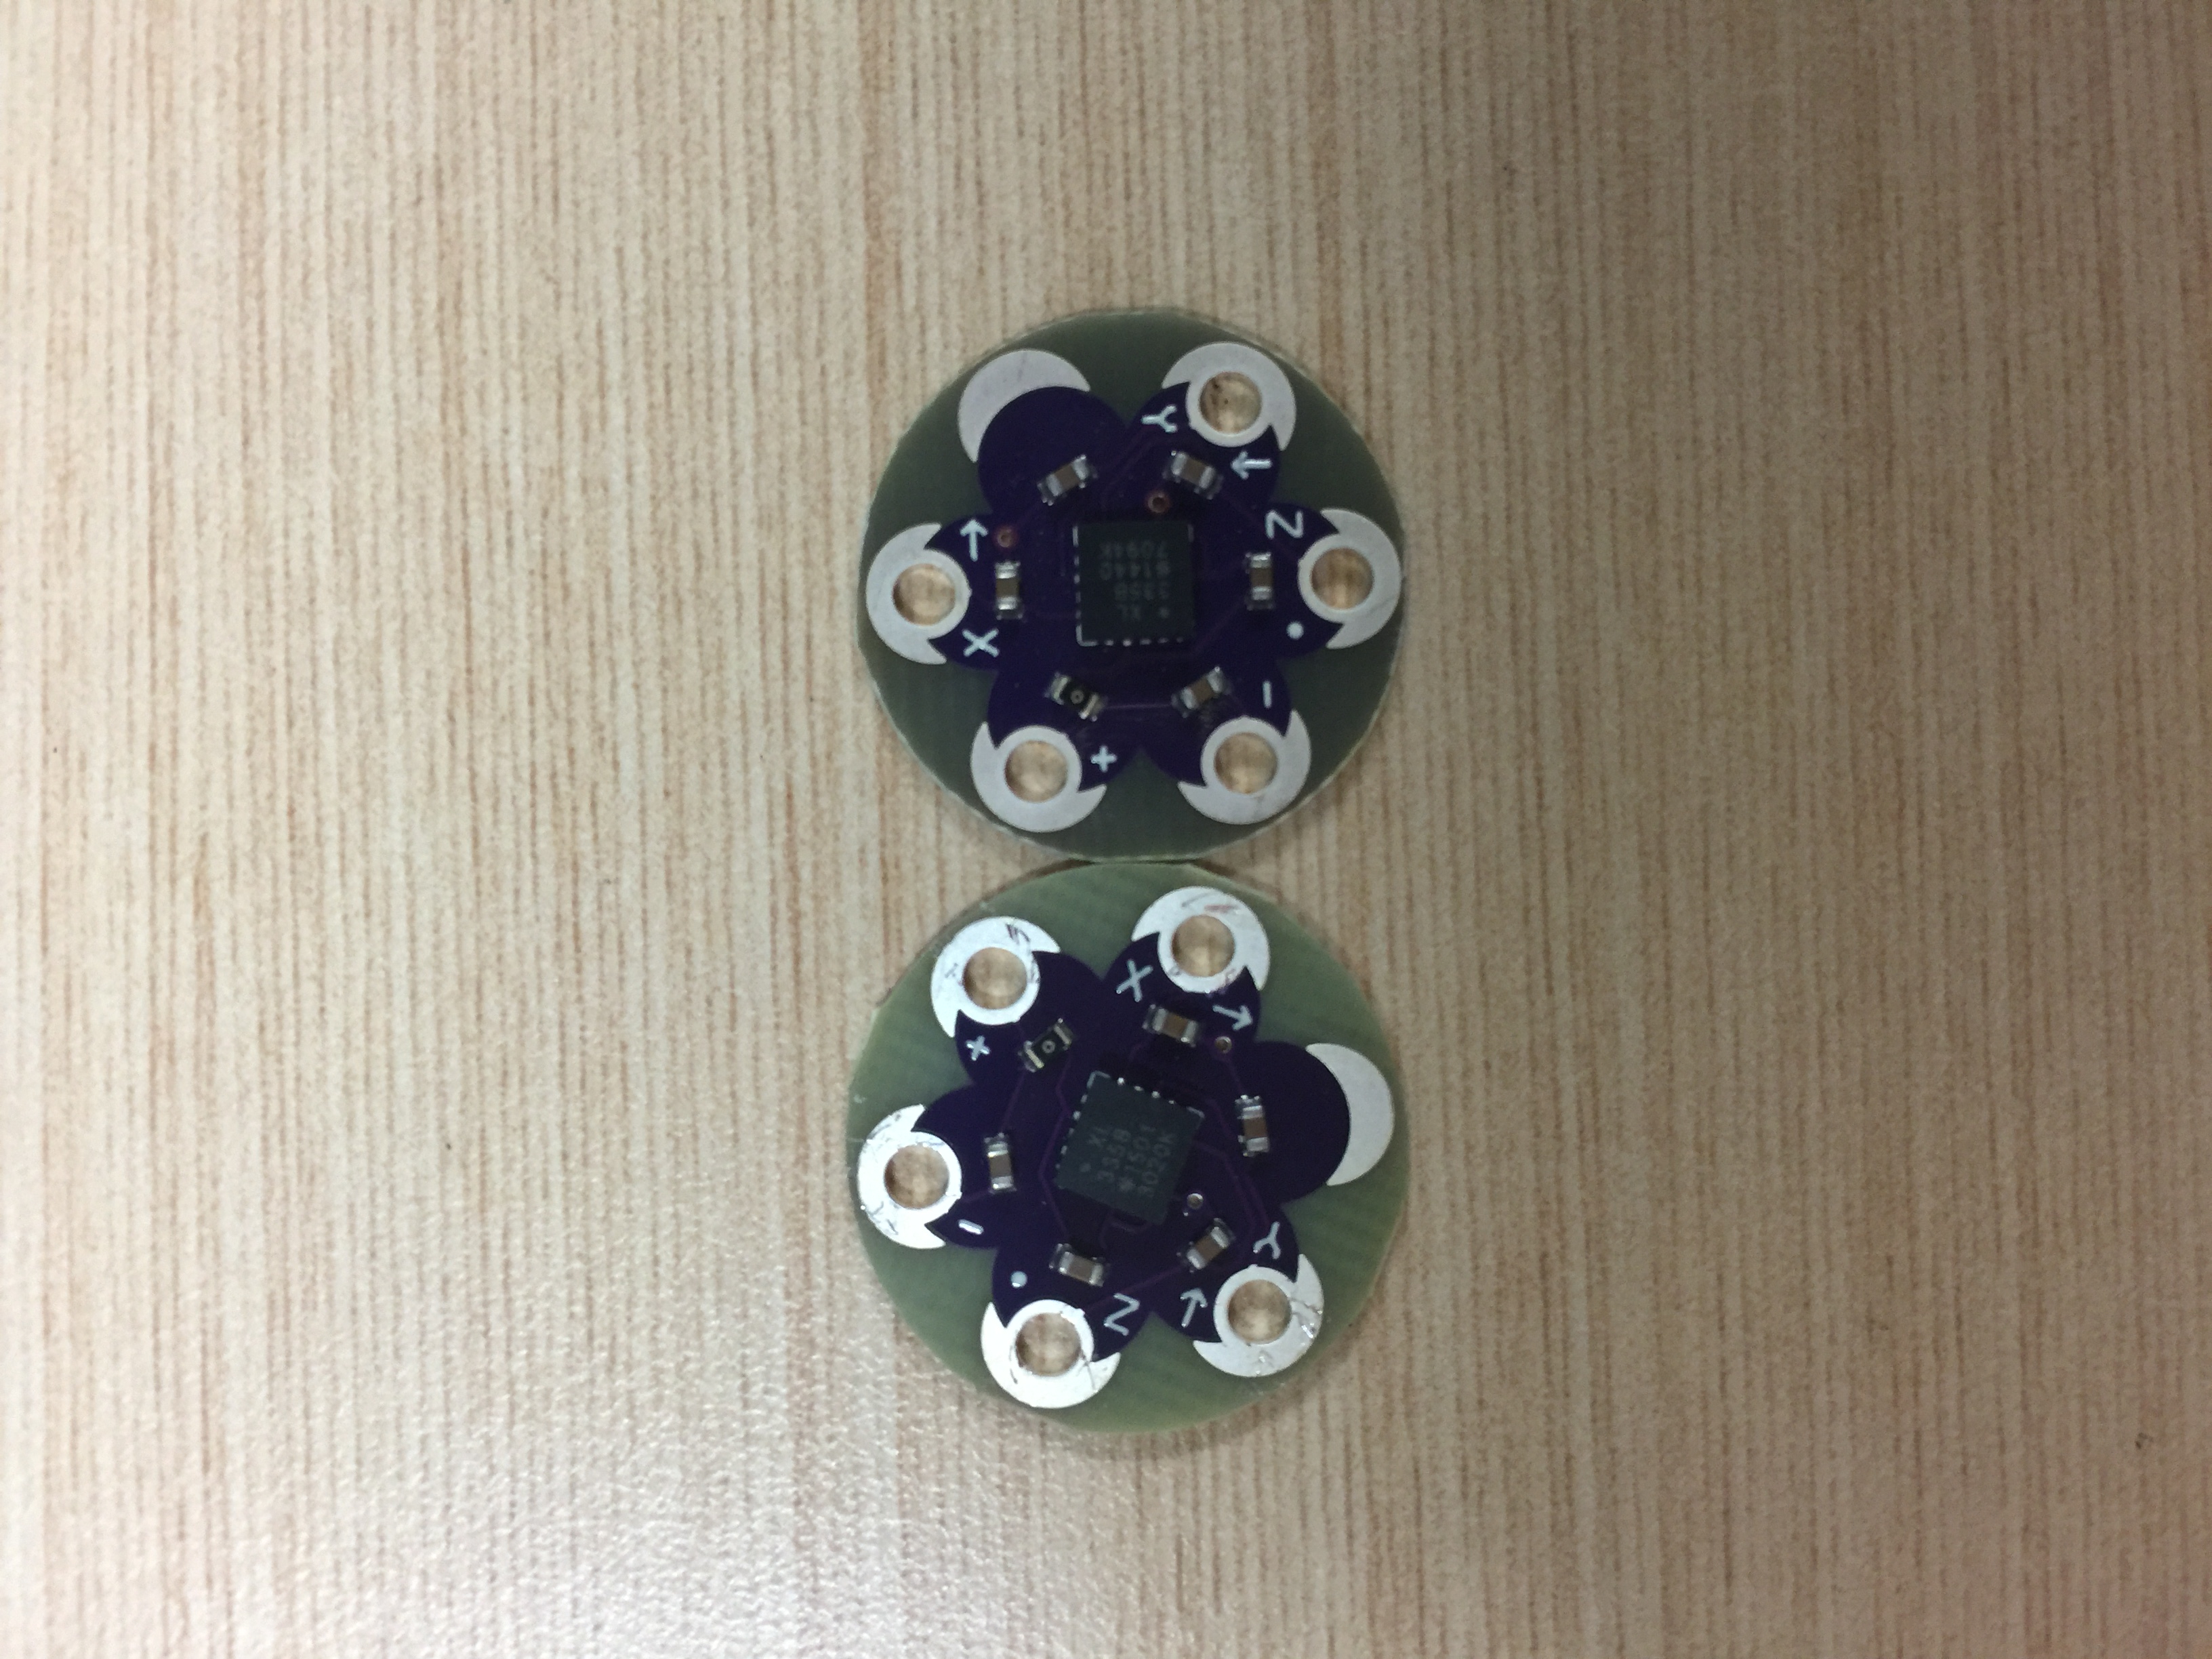
Accelerometer: The LilyPad Accelerometer can detect joint movement as well as inclination and vibration. The ADXL335 outputs a 0V to 3V analog signal on each of the X, Y, and Z axis. We will need to convert this analog voltage to a gravity amount and use trigonometry to calculate a true ‘angle’. If we are not looking for tilt, it is very easy to use this sensor for basic motion sensing.
Outputs:
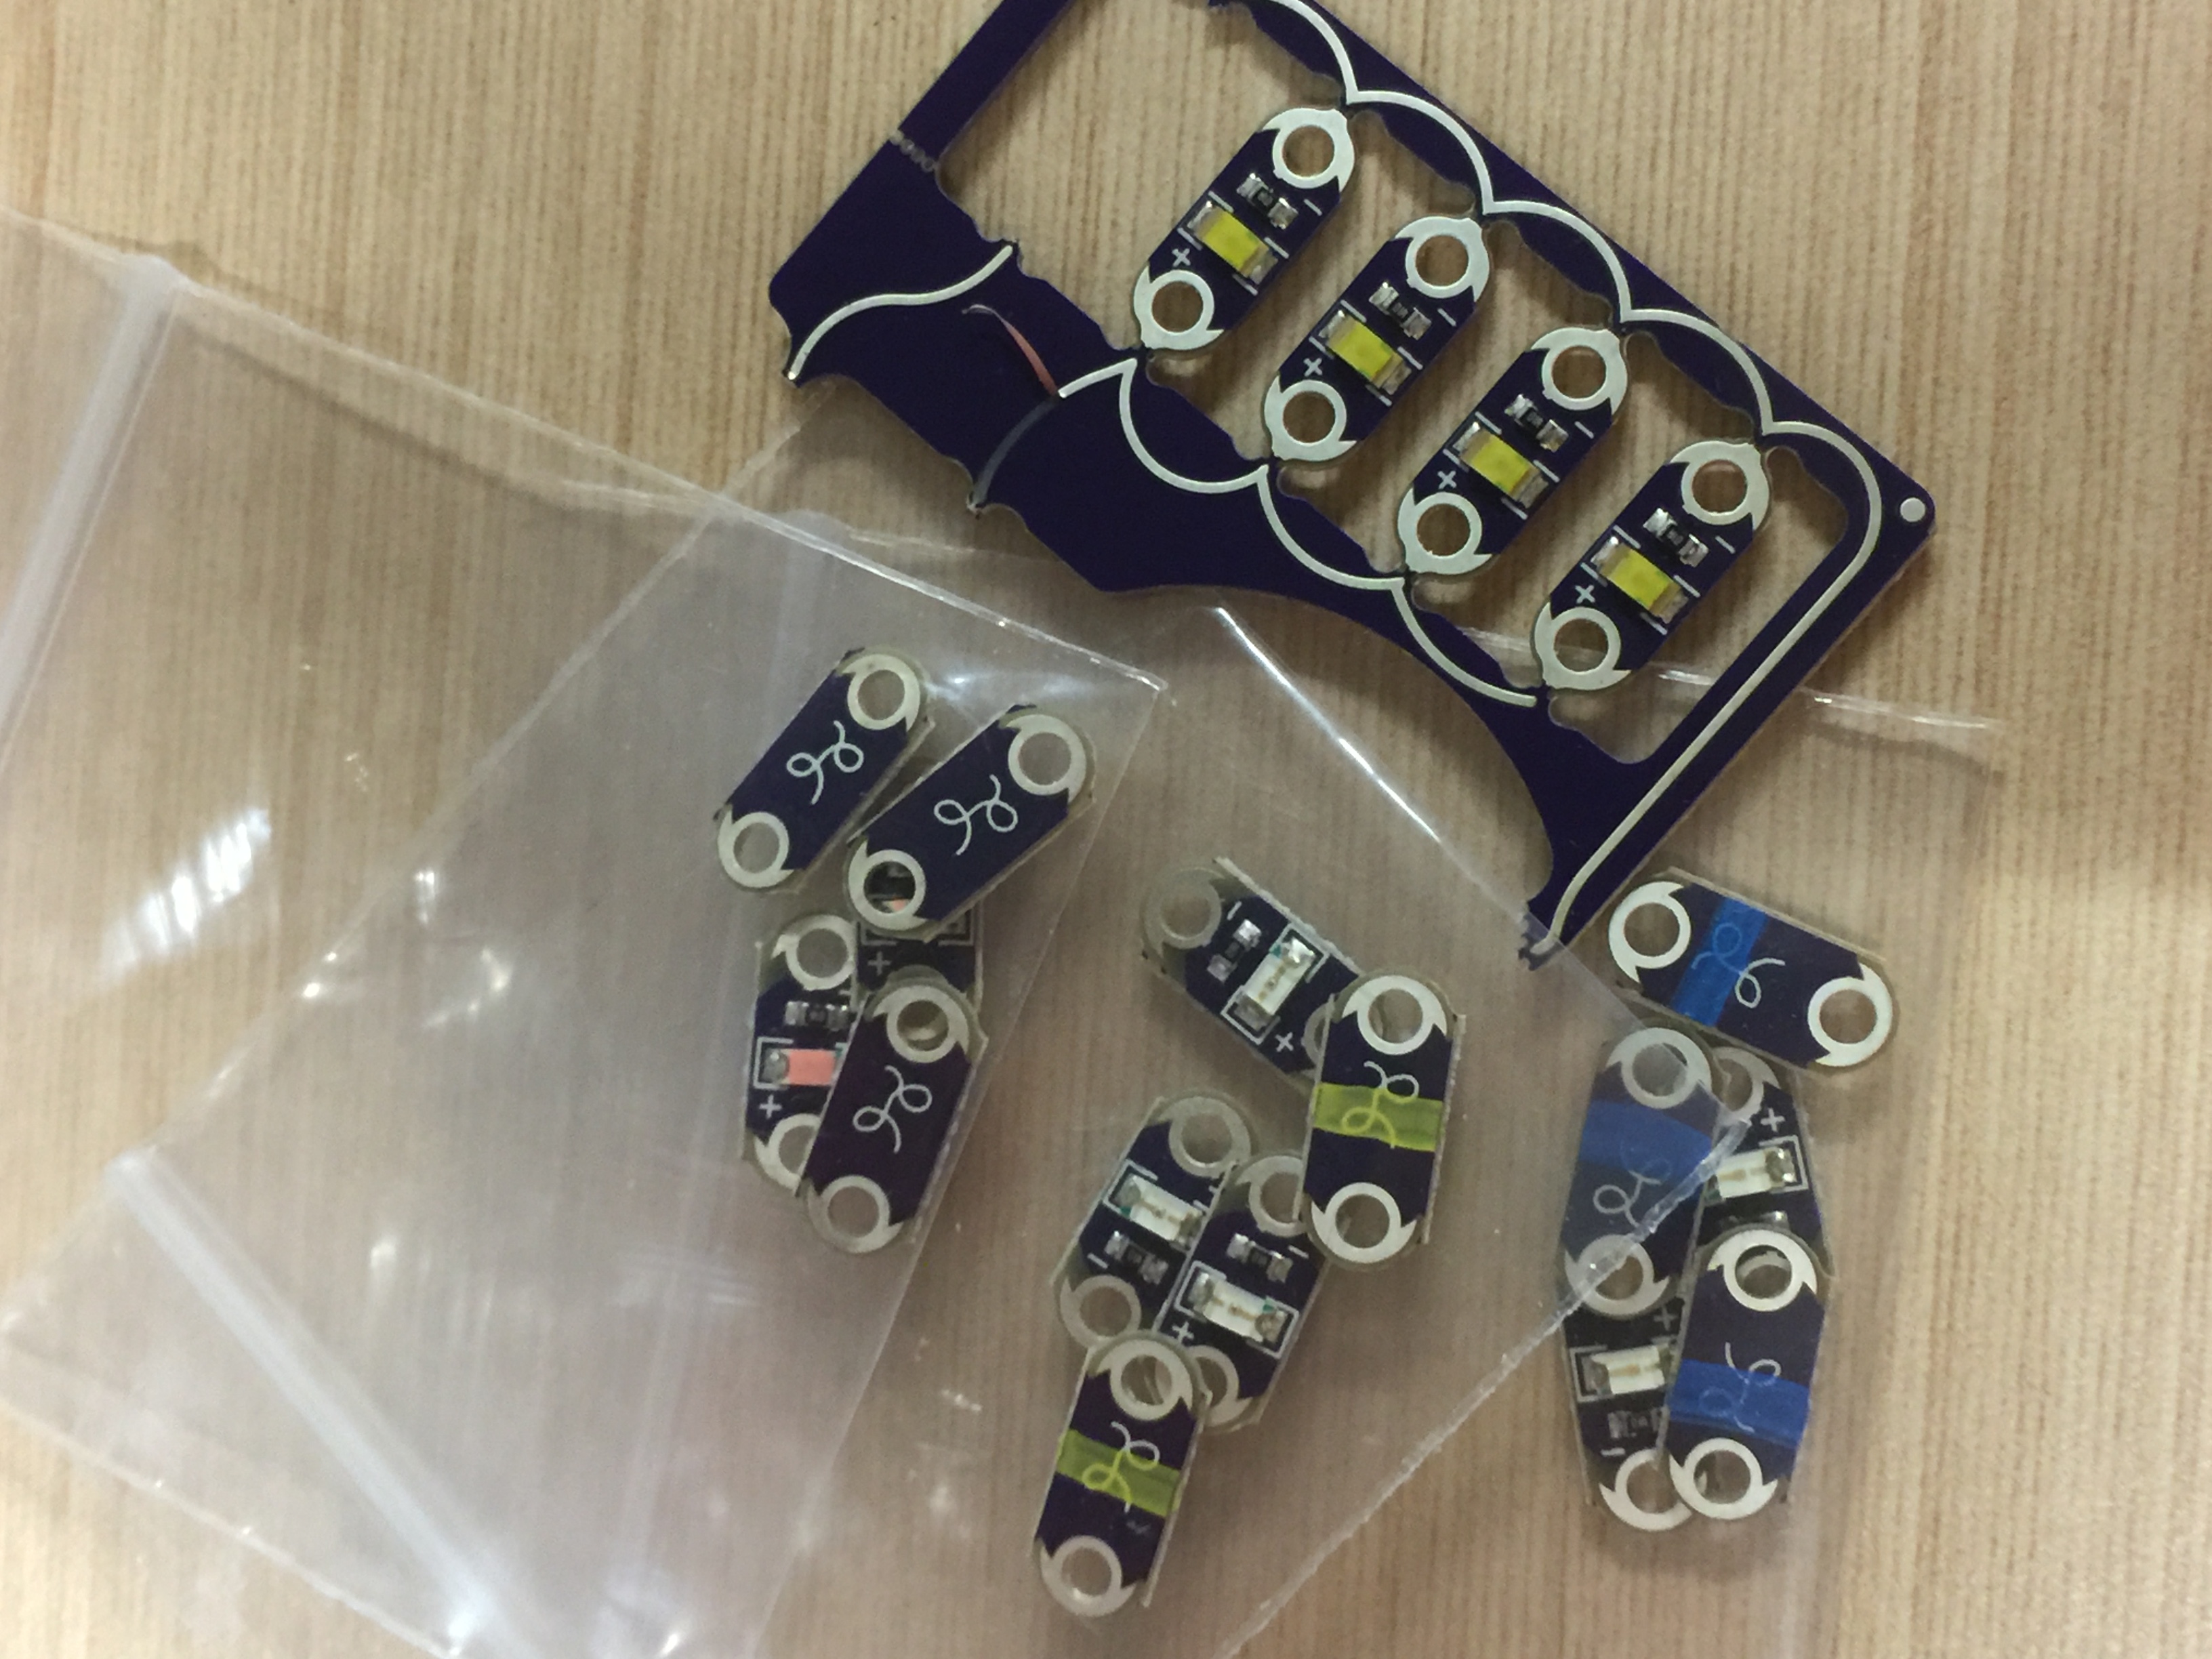
- LED – Blue, pink, yellow and white.
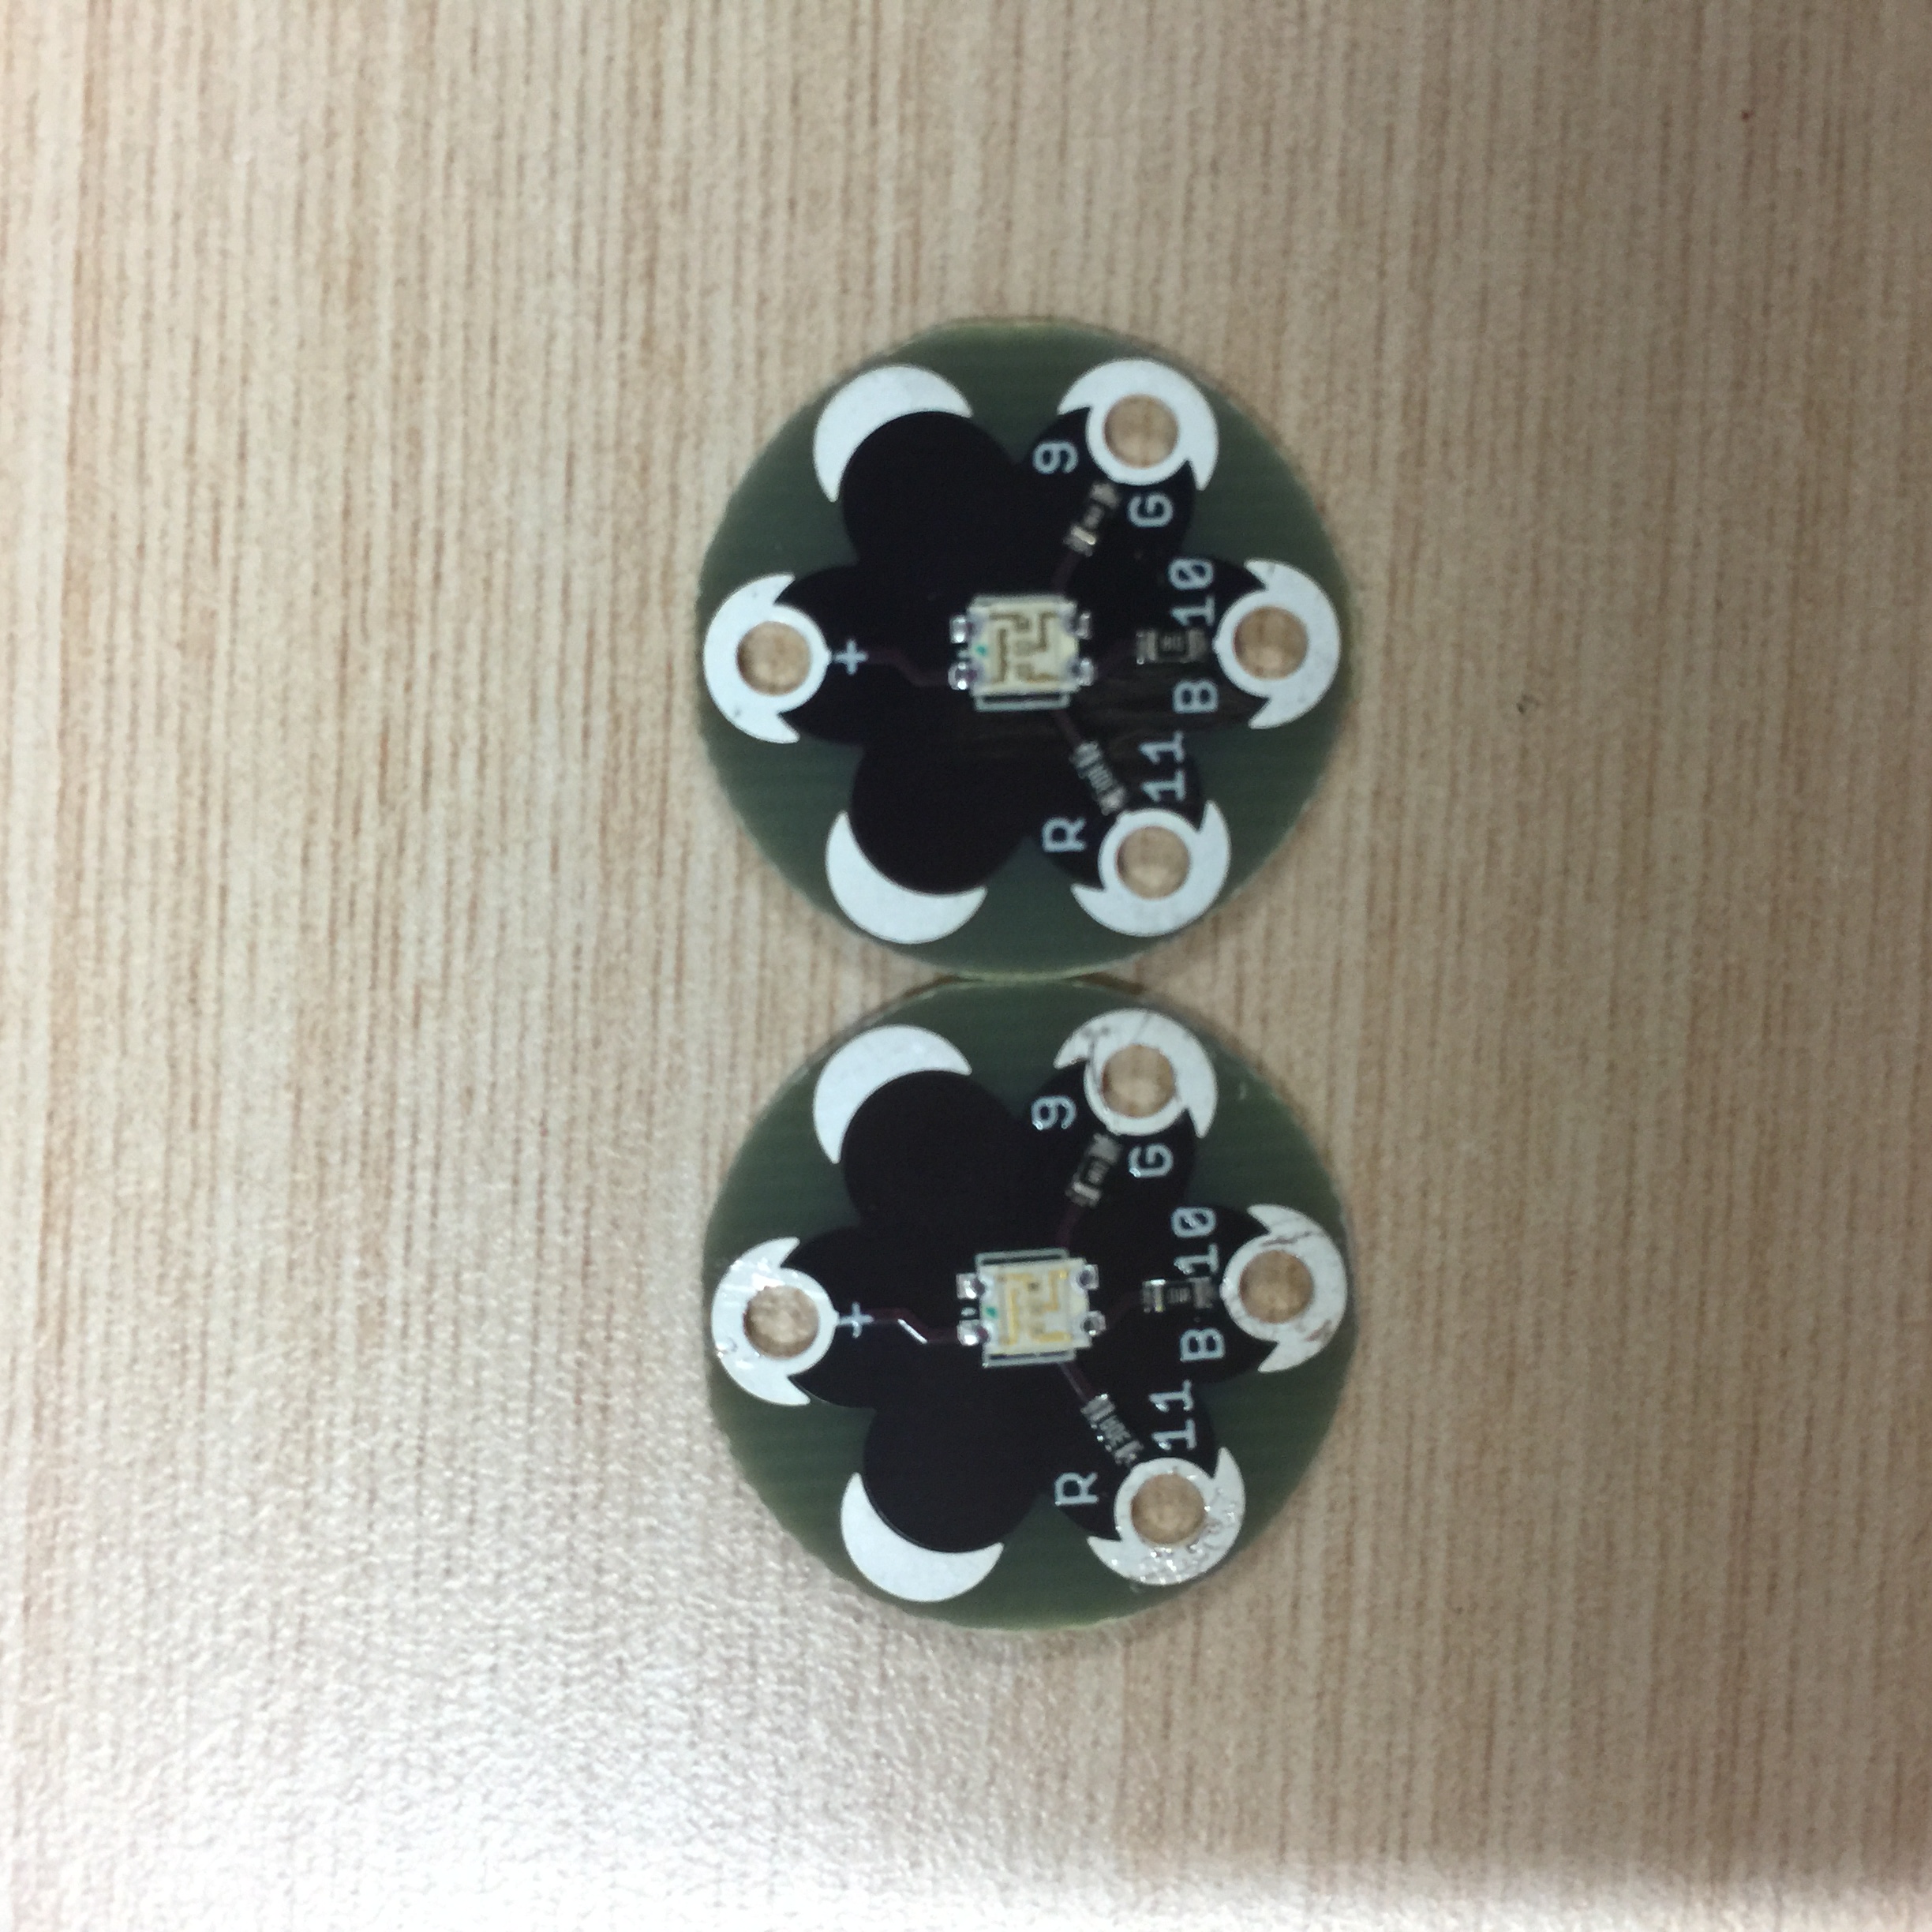
- Tri-Color LED: Use the Tri-Color LED board as a simple indicator, or by pulsing the red, green, and blue channels, we can create any color.
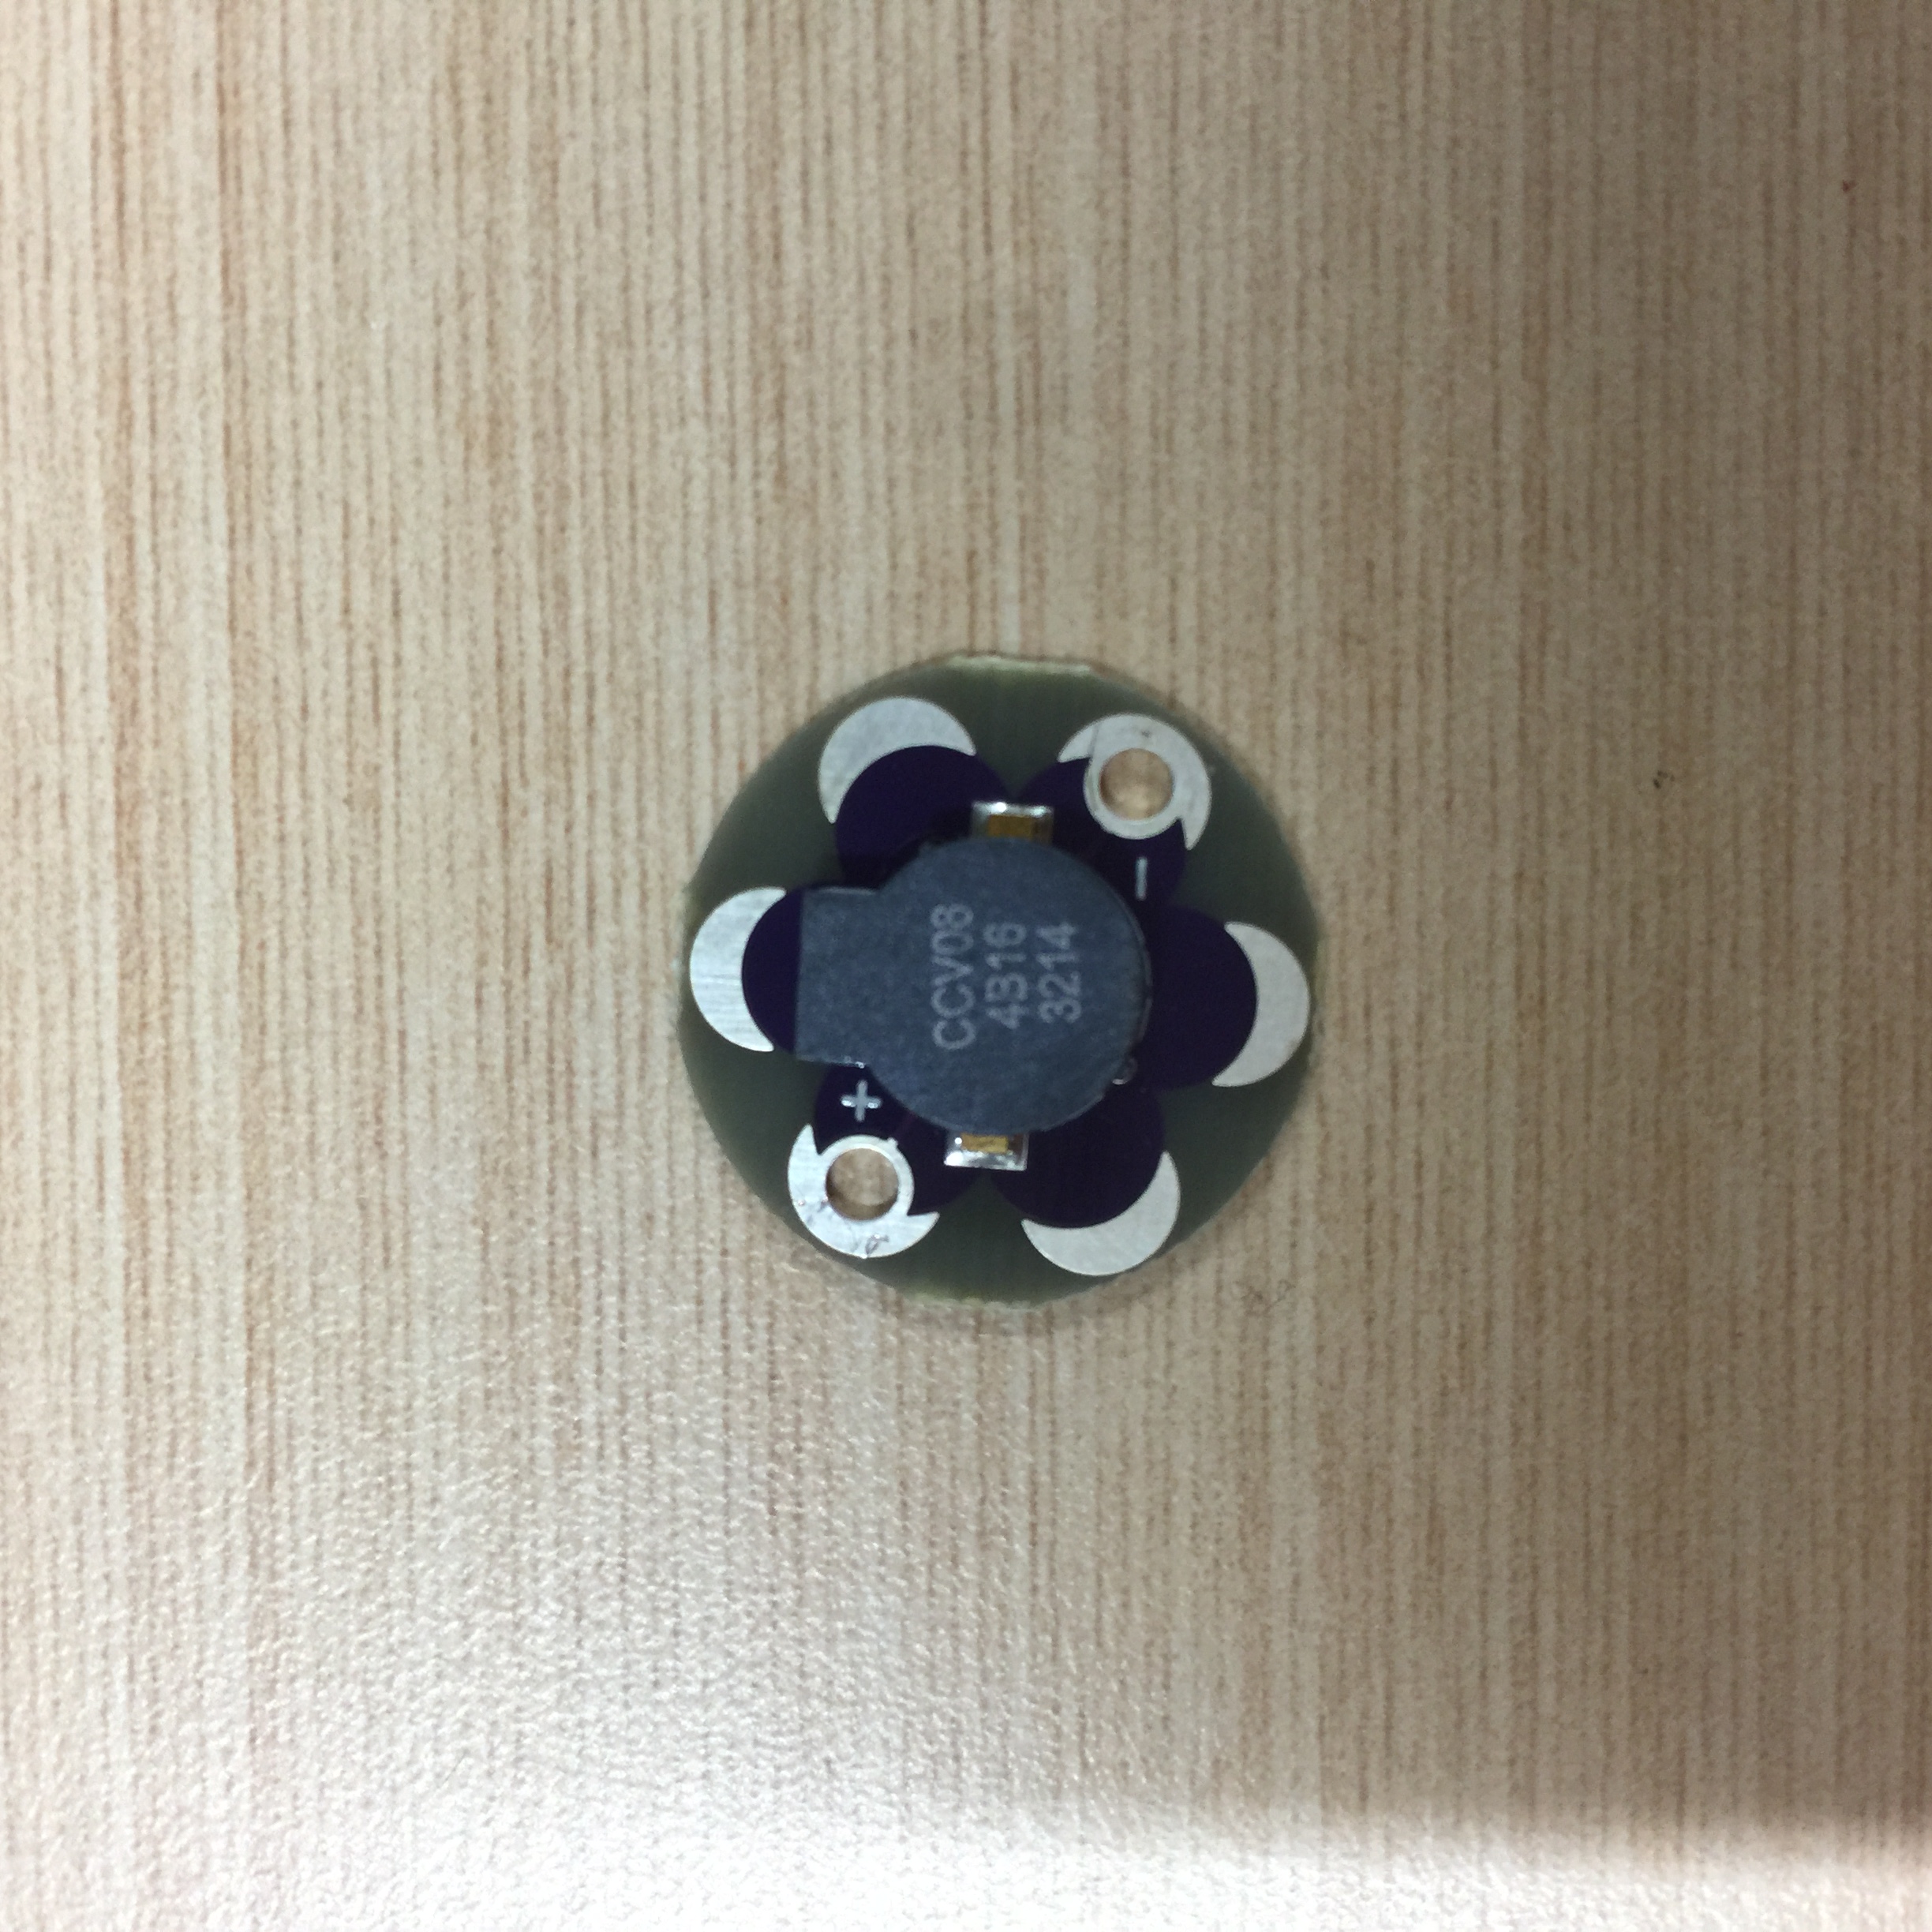
- Buzzer
Switches, Buttons and Protoboard

Wireless Communication
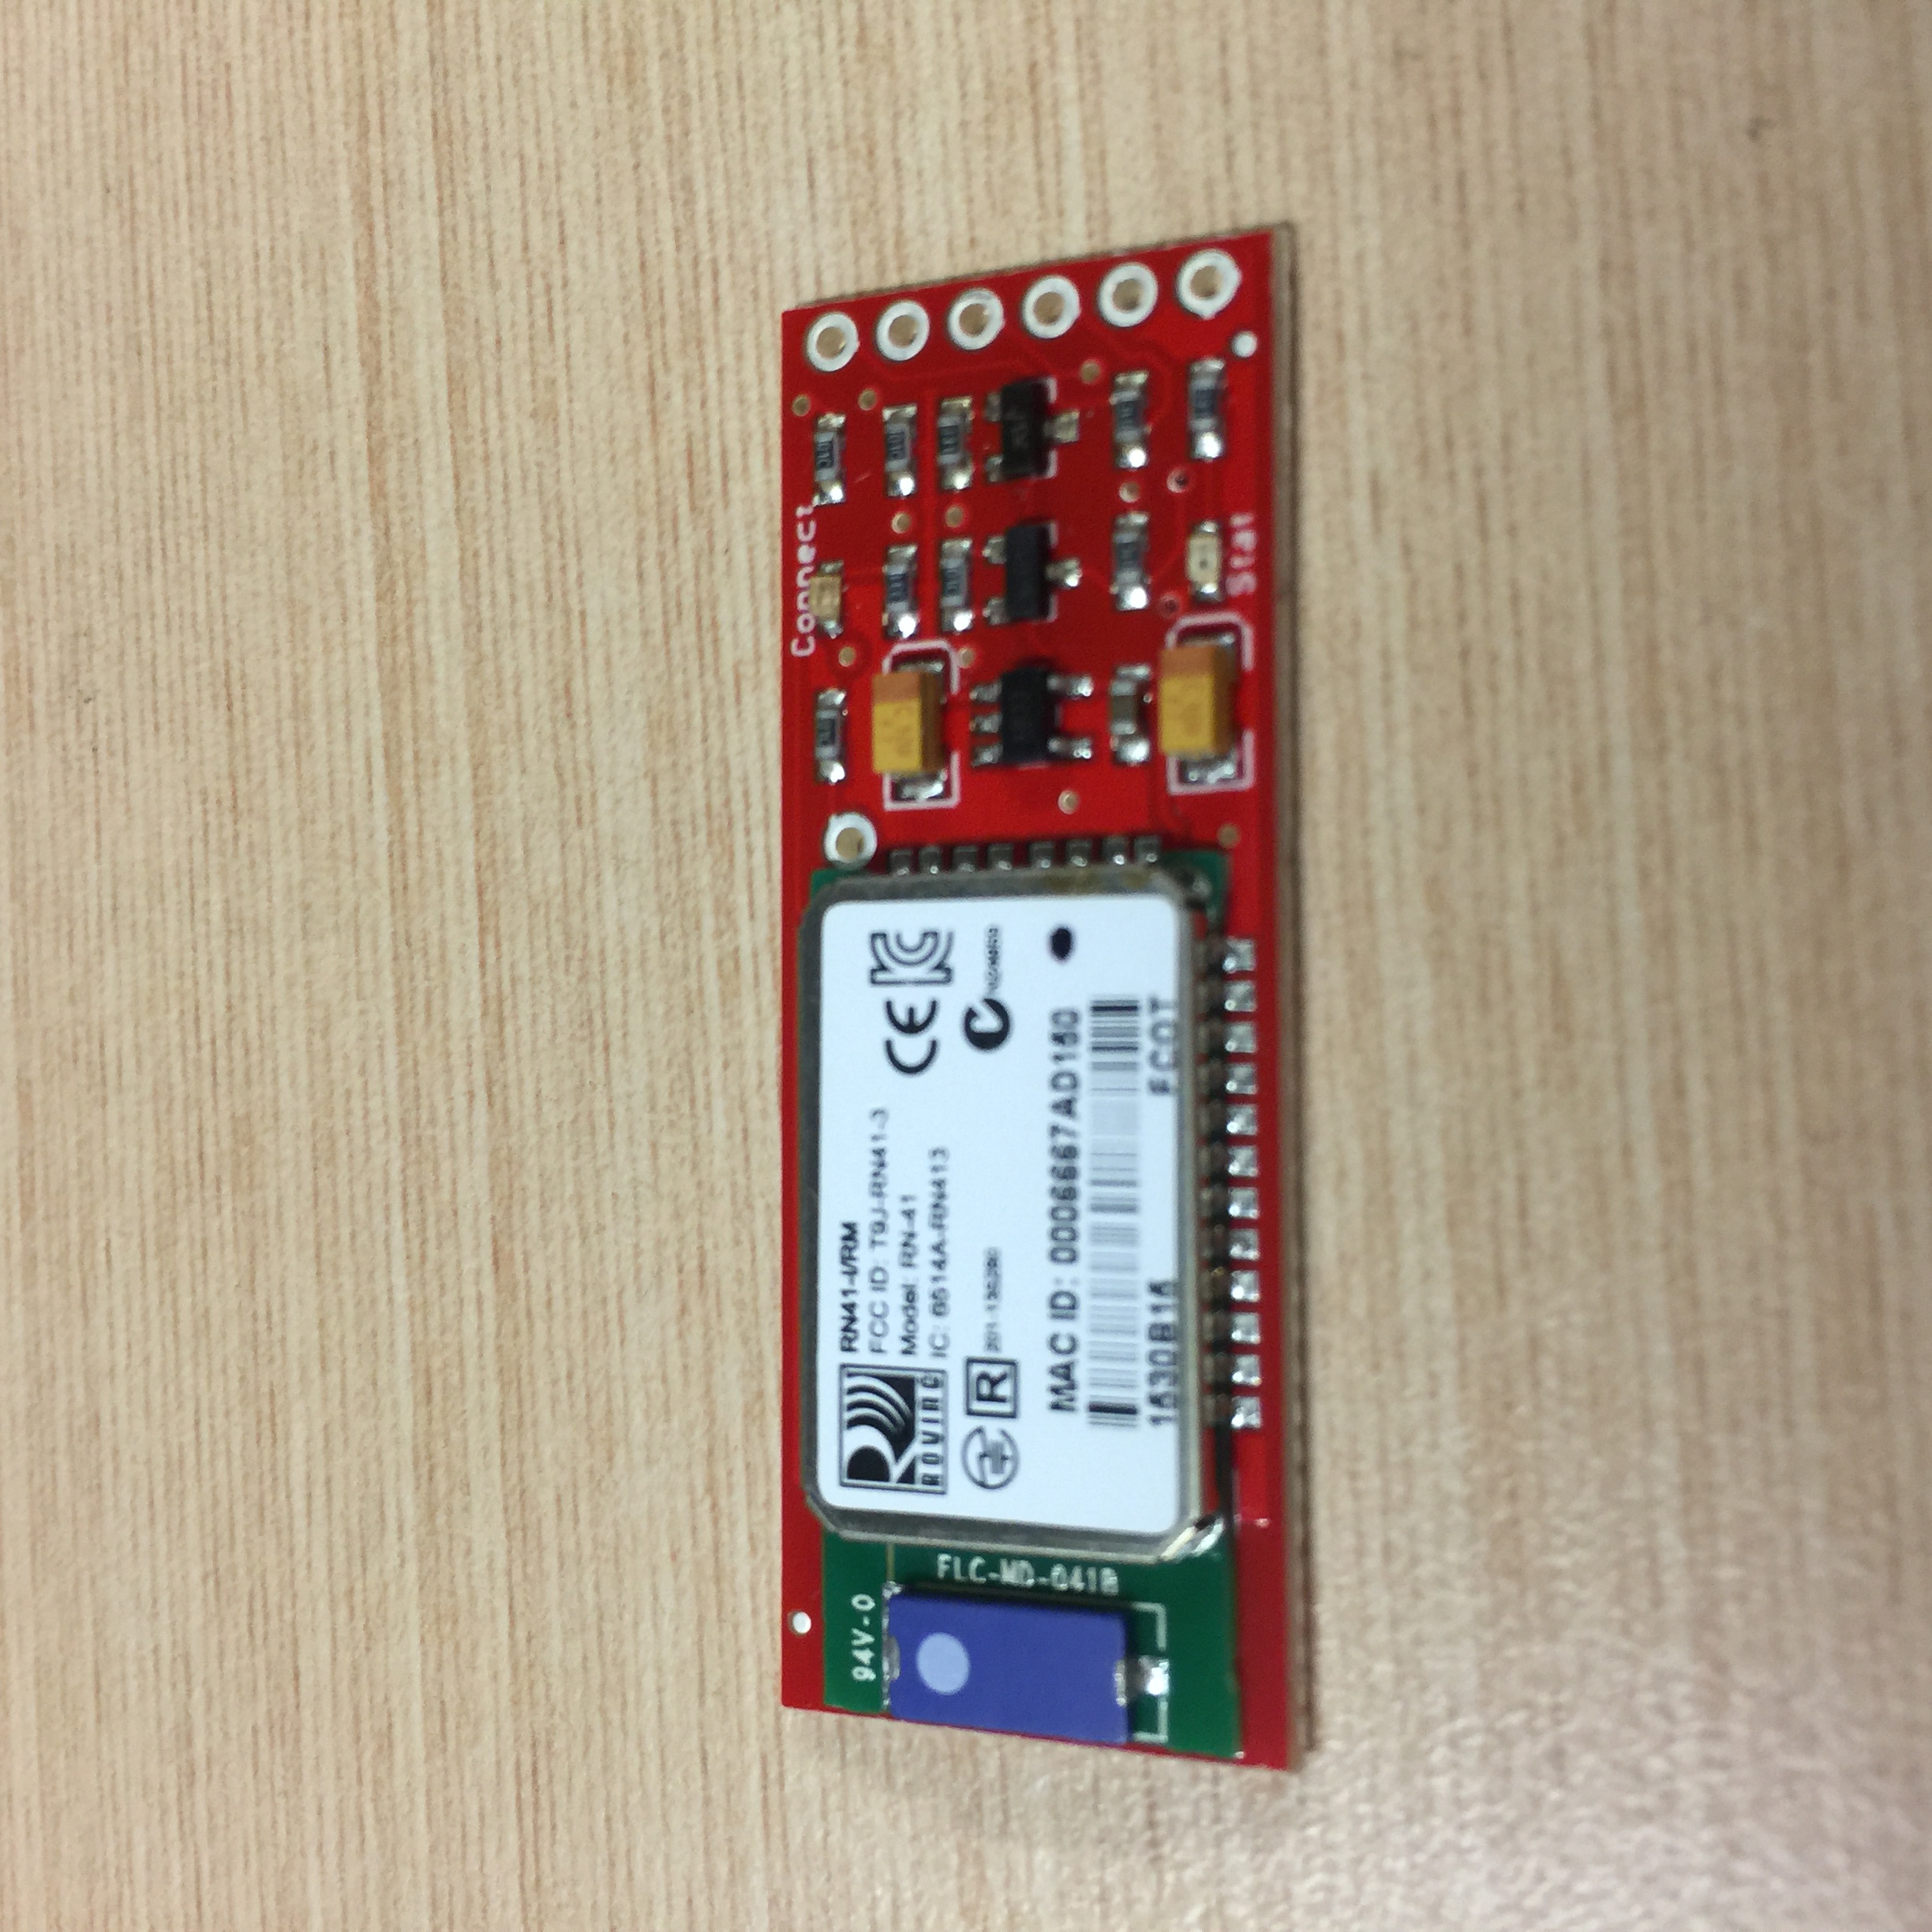
- Bluetooth Mate Gold
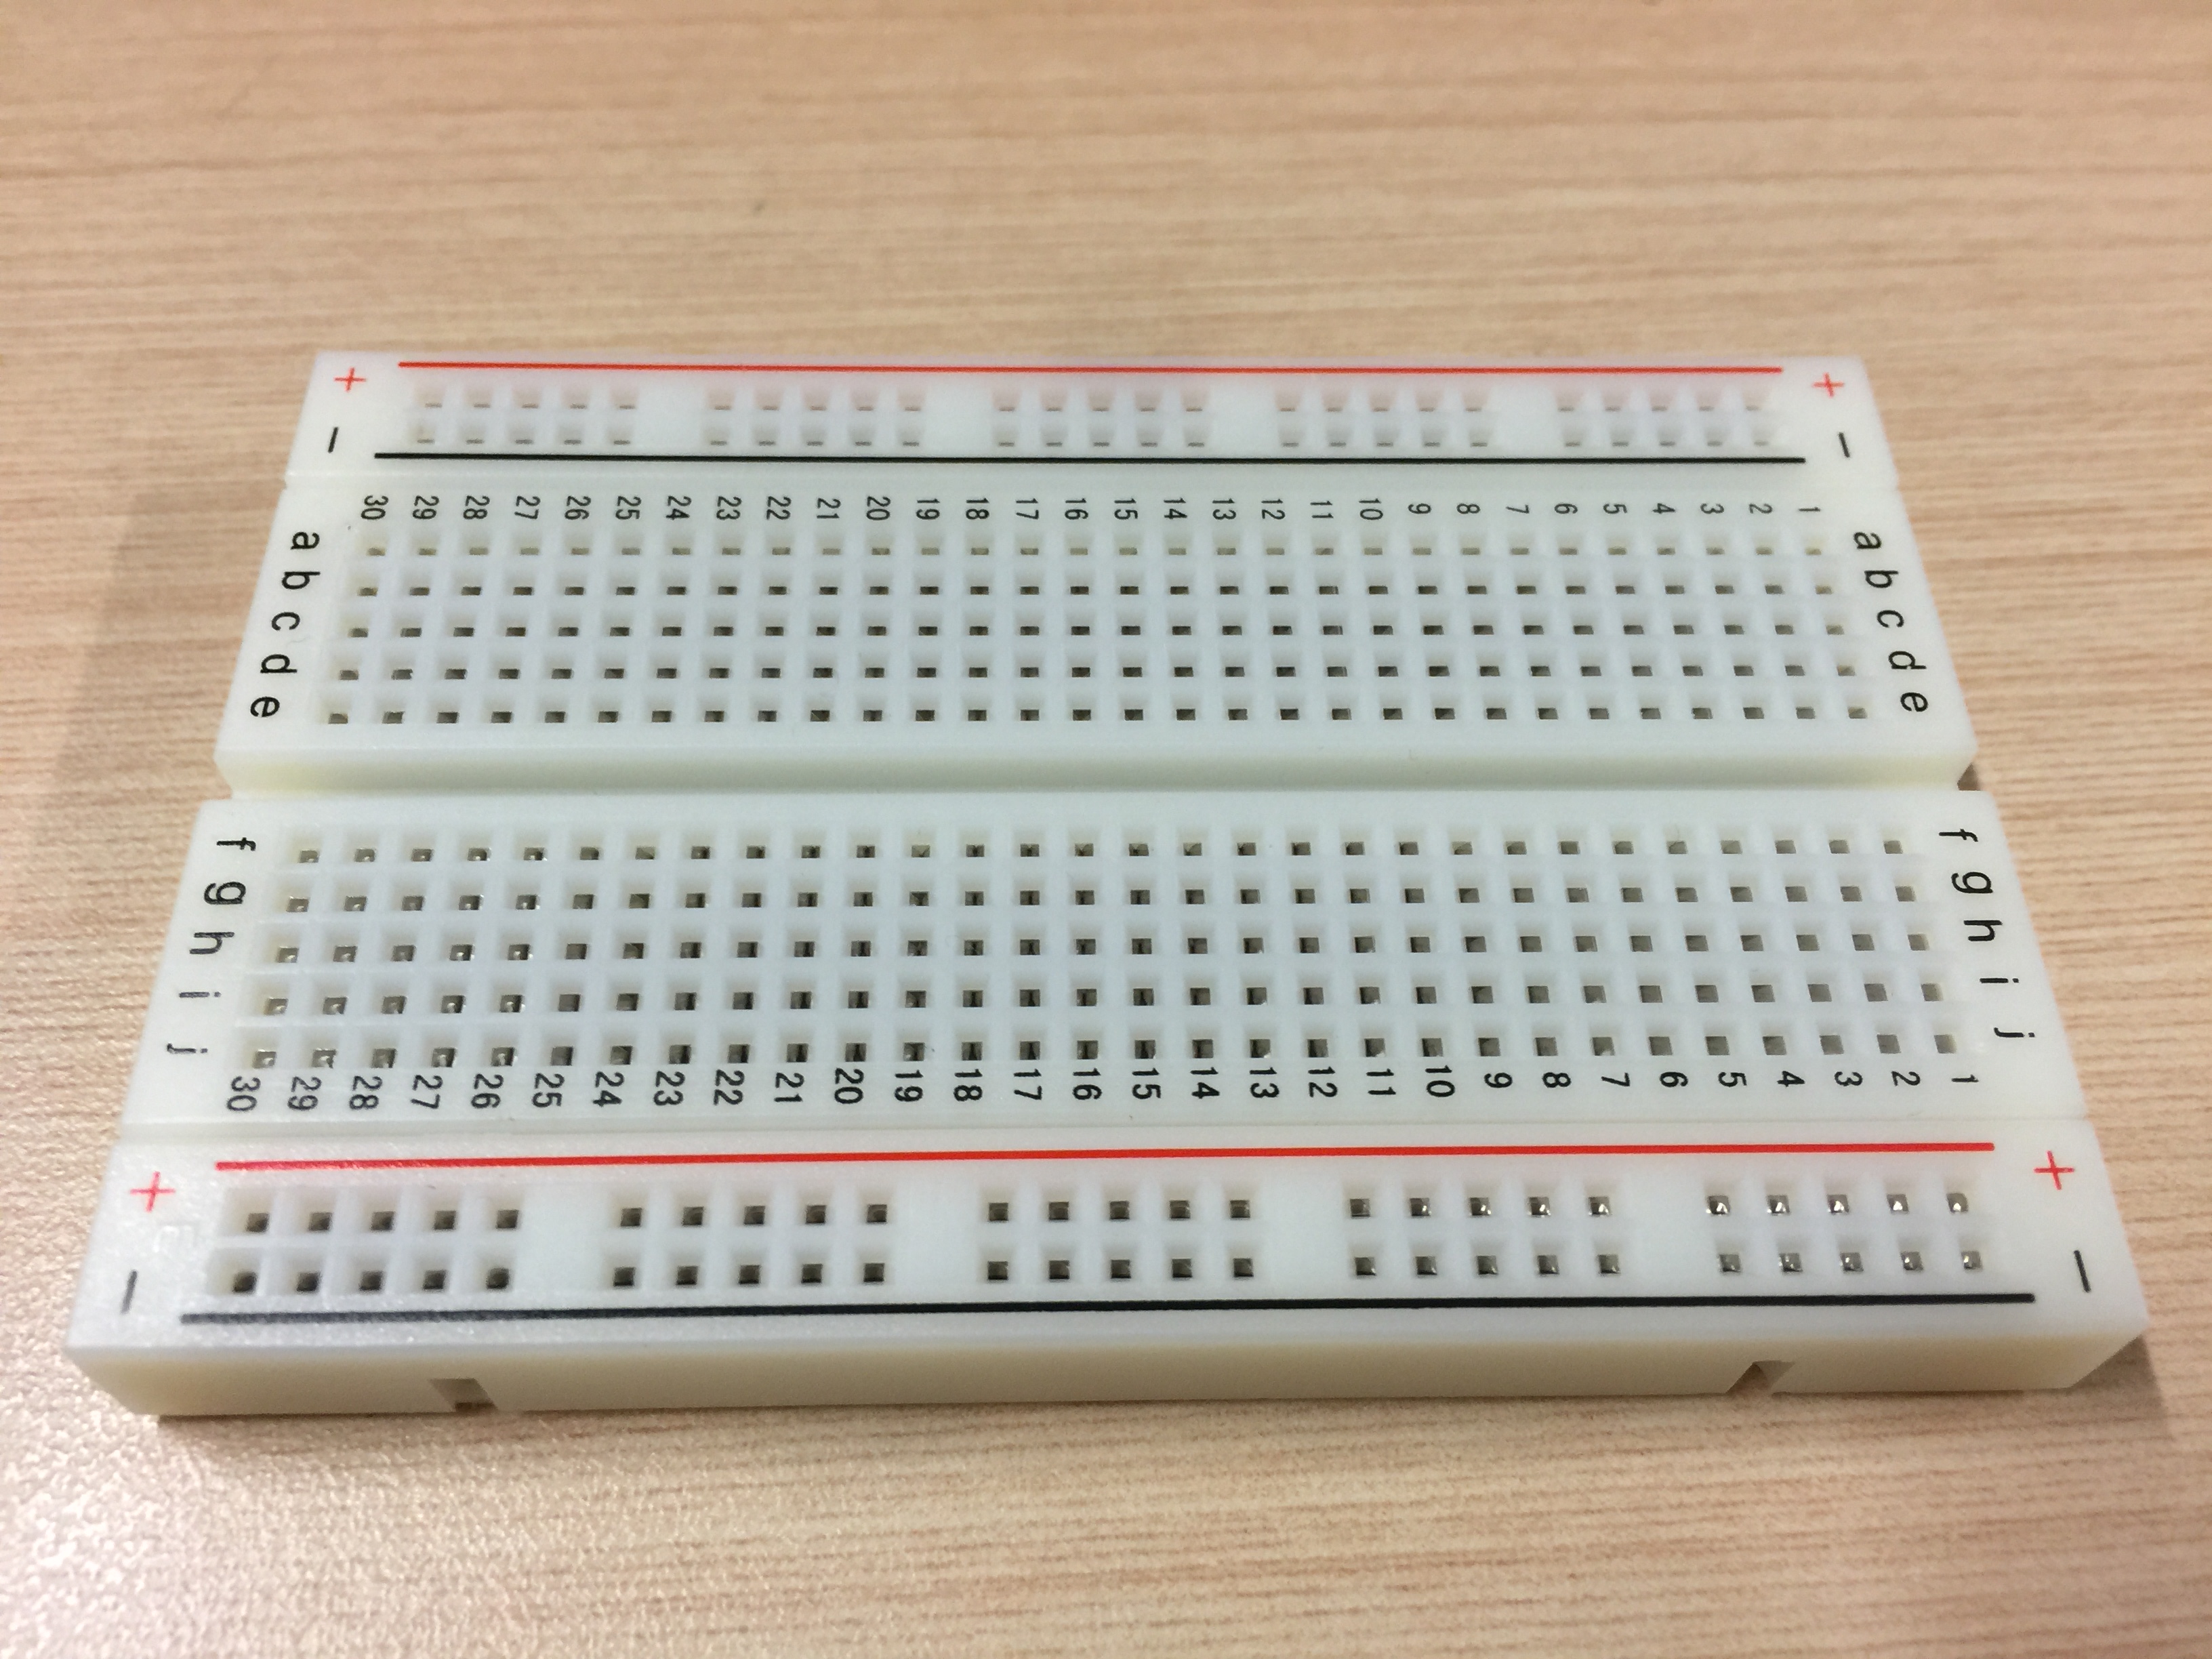
Breadboard
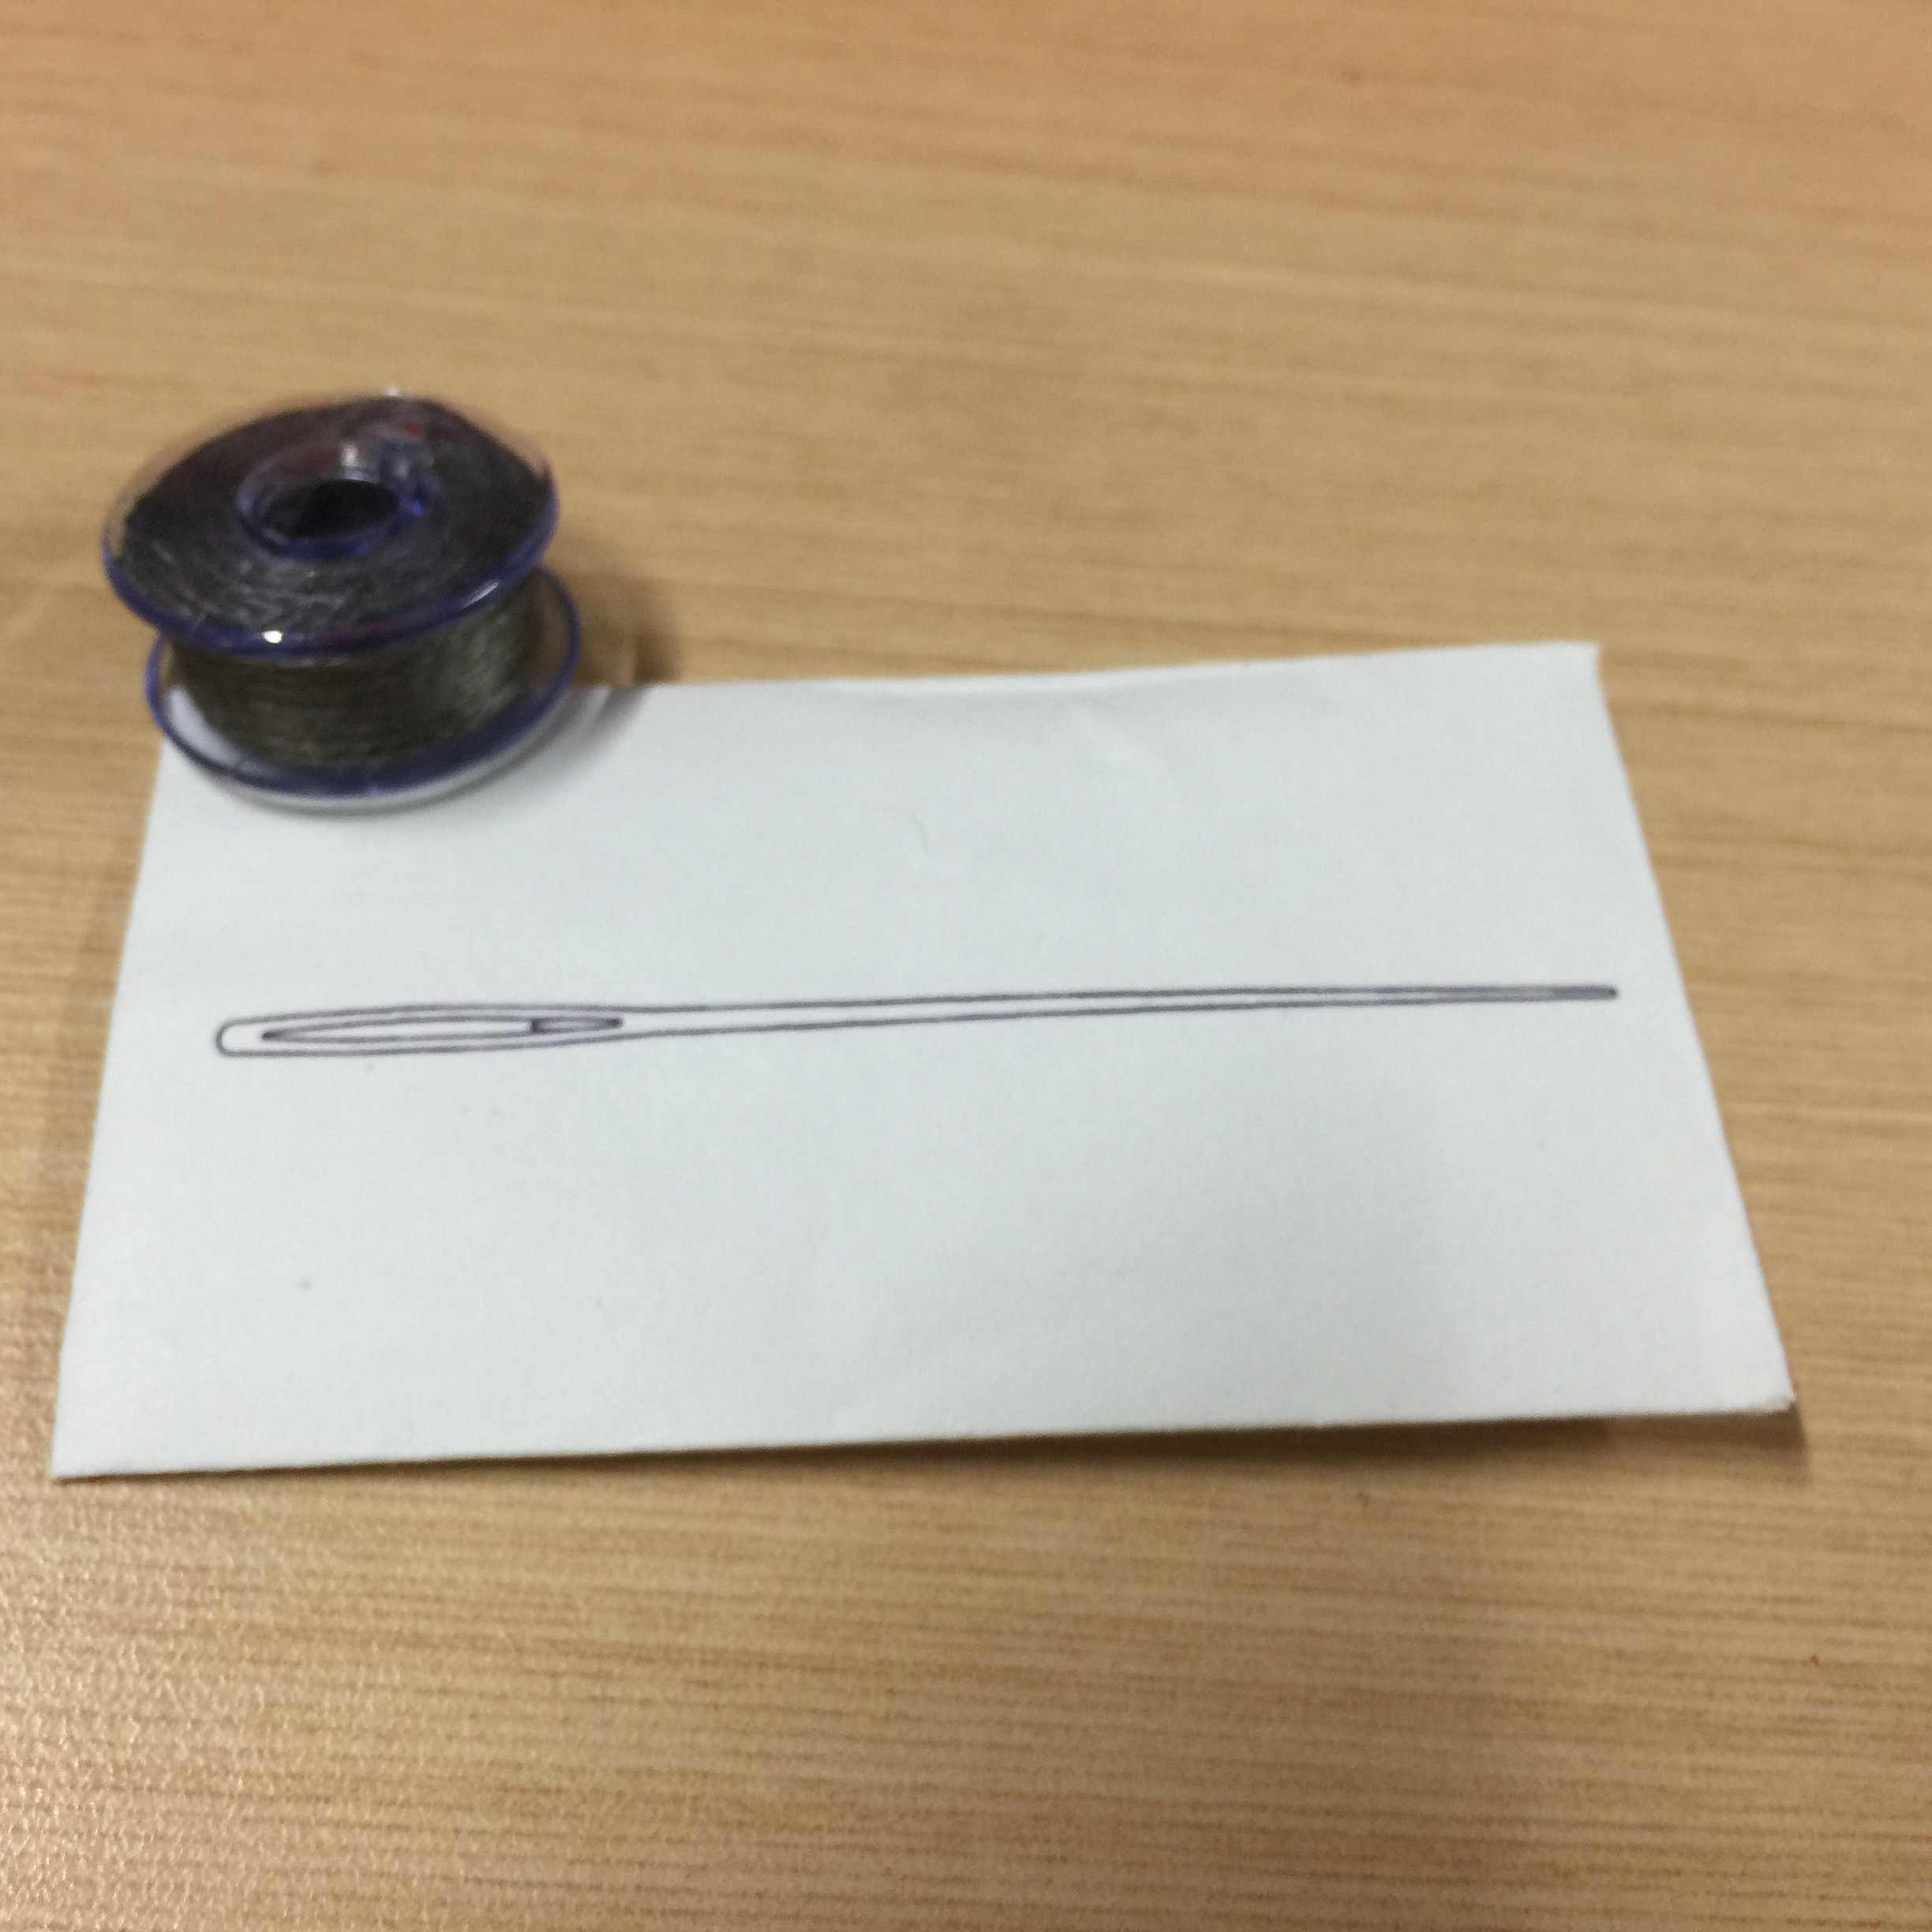
Conductive Thread and Needle Set
Functionalities:
Light Sensor
The LED is turned off when it’s bright and turned on when it’s dark. I used conductive thread as connections and it worked pretty well. Then I used a small cell battery as the power supply.
Buzzer:
I used the buzzer to play different tones. (Basically just change the vibration frequency of the buzzer.)
Bluetooth:
I tested the connection of Bluetooth Mate to my Mac. It took quite a while to connect to my Mac and the connection seemed unstable.
I managed to connect the device and send data (8888888….) to my laptop as you can see from the serial monitor. However, the connection always failed after a short period of time. I am still figuring out why.
Accelerometer: Motion Detection
One input: accelerometer.
One output: Buzzer
I used an accelerometer to detect my wrist movements along x, y and z-axis. Any acceleration along these axes will trigger the buzzer.
In the second video:
One input: Accelerometer
Two outputs: Buzzer and Tri-color LED
I also increase the threshold to change the sensitivity of the accelerometer. So if the movement is not big enough, it won’t be detected as you can see in the video. However, there are still some delays. And the sounds generated are quite random and inharmonious.
That’s the progress I have made during the past week. It’s mostly electronics. However, I also went to the studio and found Galina to learn about the sewing machine and how to fuse platics for the costume design. I will focus more on the costume design in the coming week.
Yuhao, excellent, very detailed documentation. I look forward to seeing how your motion sensors are incorporated into movement during the performance.
Great work, lots of testing, I love your curiosity!
I am very excited to see the final outcome of the costume with the embeded electronics .