ziptie were used to secure the flap onto the pole.
after ziptieing
Ziptie were used to to make sure it looks nicer and does not collapse, again, structural strength is the main priority as this is made of cardboard and I am lighting fire in it, I don’t want anything to collapse onto the fire.
Afterward, I tied the structural loop which my candle stairs will be attached to it later, it was tied to make sure nothing collapse again.
poles were put in place
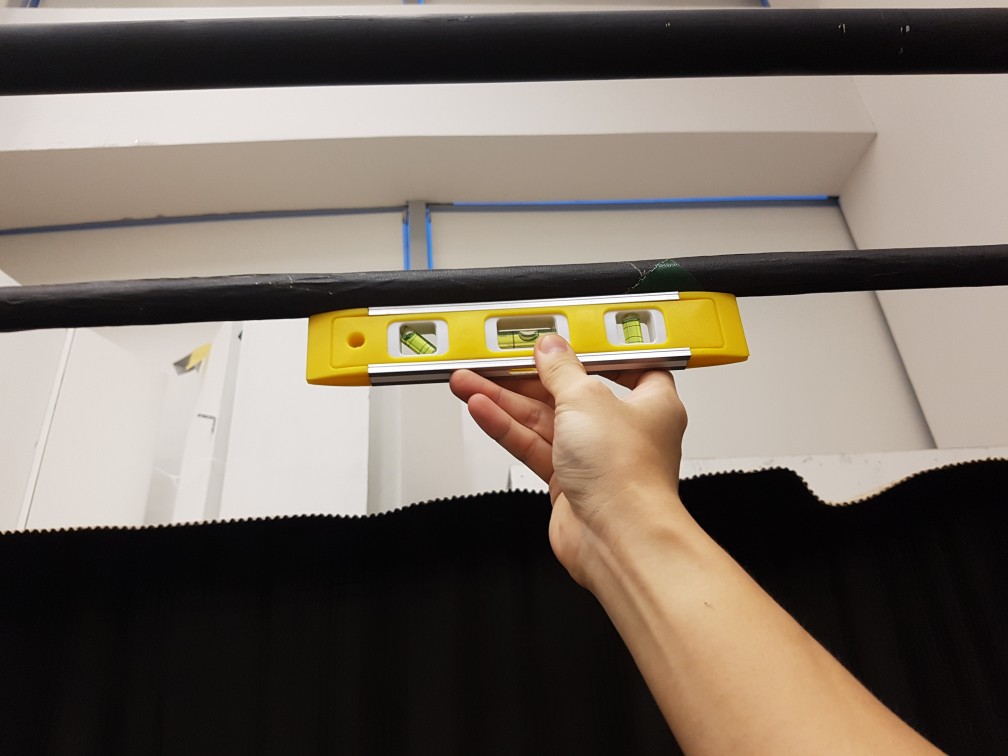
to see if my loops were leveled.
Next, the sides of the candle stairs were secured with metal plates for hanging.
and its measured to make sure that it balances while carabiner were used in case i have to remove the candle stairs from the structure later. but i think it sure does look good here!
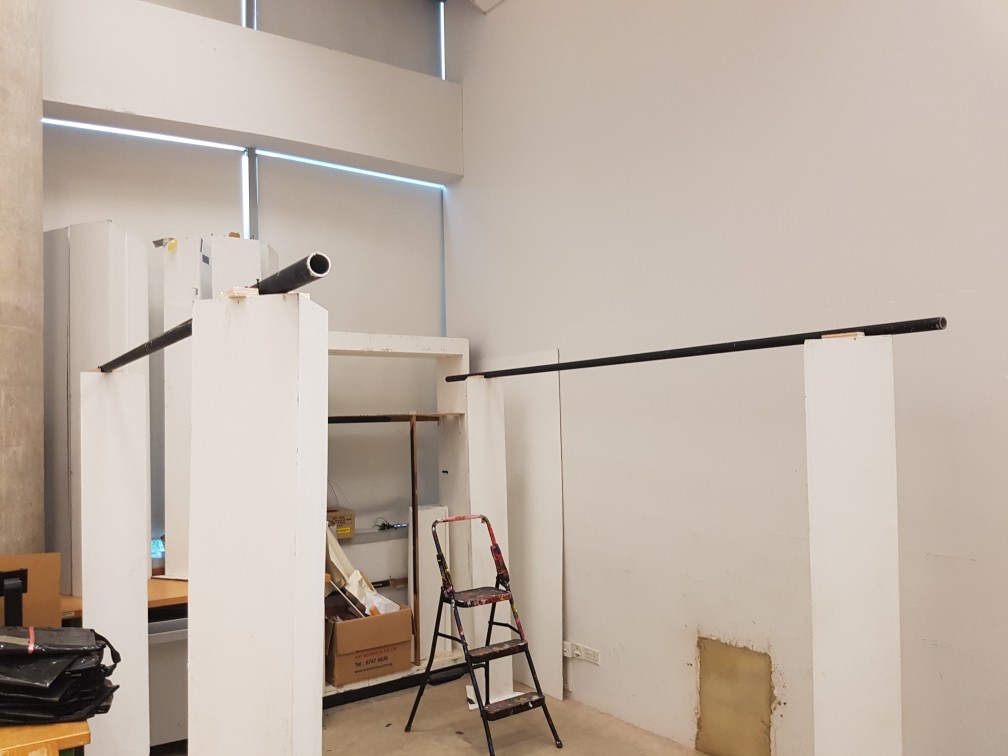
after I confirmed that the structure and overall look of the dark room, I proceed to build the roof of it, which is the most difficult piece to be build as it is really prone to collapsing and I did not want the structure to be seen inside, What i want to achieve was to have all structures outside of the dark room so it will feel legit like a room when you are in it.
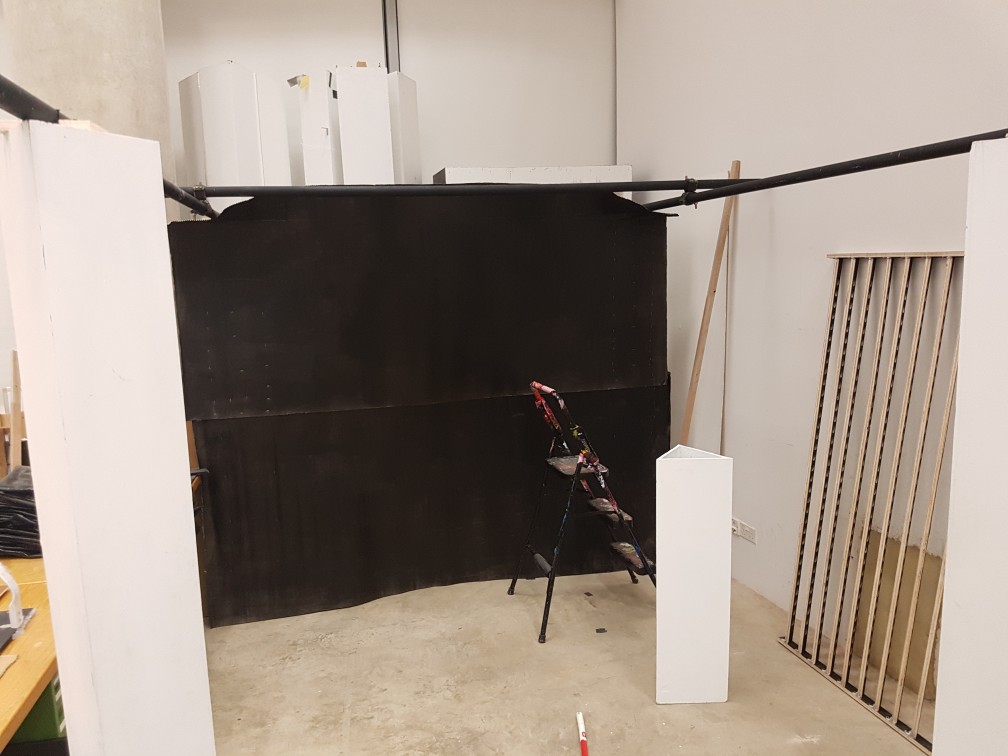
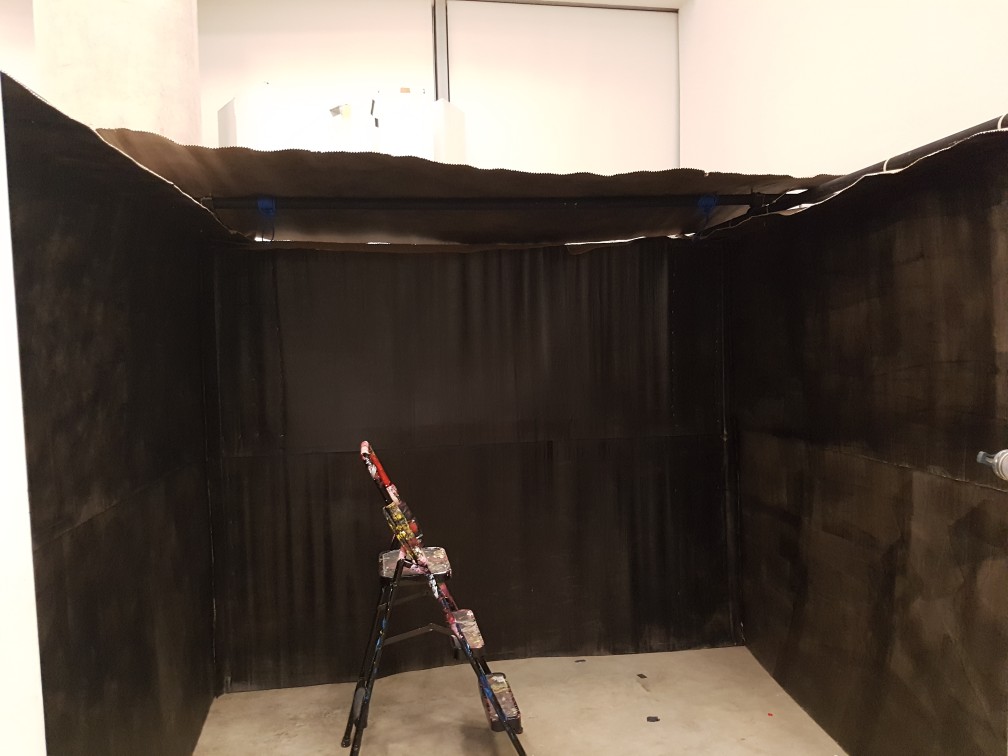
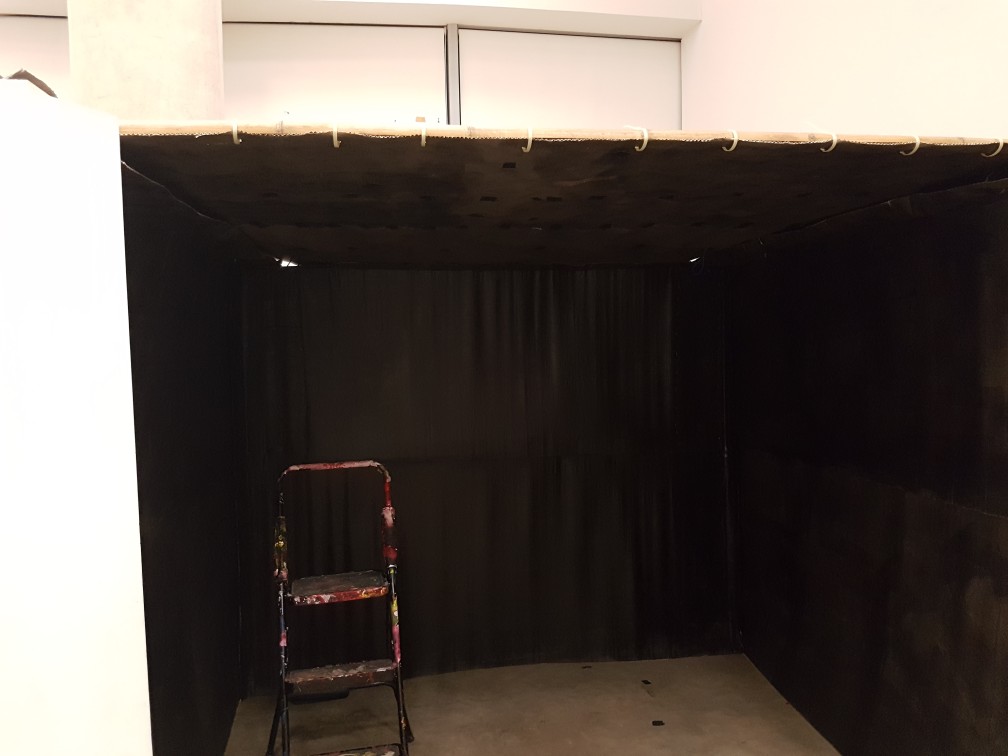
first look of the dark room
then i tried to secure the bamboo for additional support
but remembered that i want the structures outside so i flipped the pole out
and then again, it is easier to do it on the floor then bring it up.
so I cut and tied the cardboard roof onto the support on the floor and bring it up afterwards.
but I’ve realised that I should not fasten the previous pole as this new piece of roof has to be ziptied onto the previous pole too
so I’ve removed and refasten the ziptie
placing the ziptie through the small hole
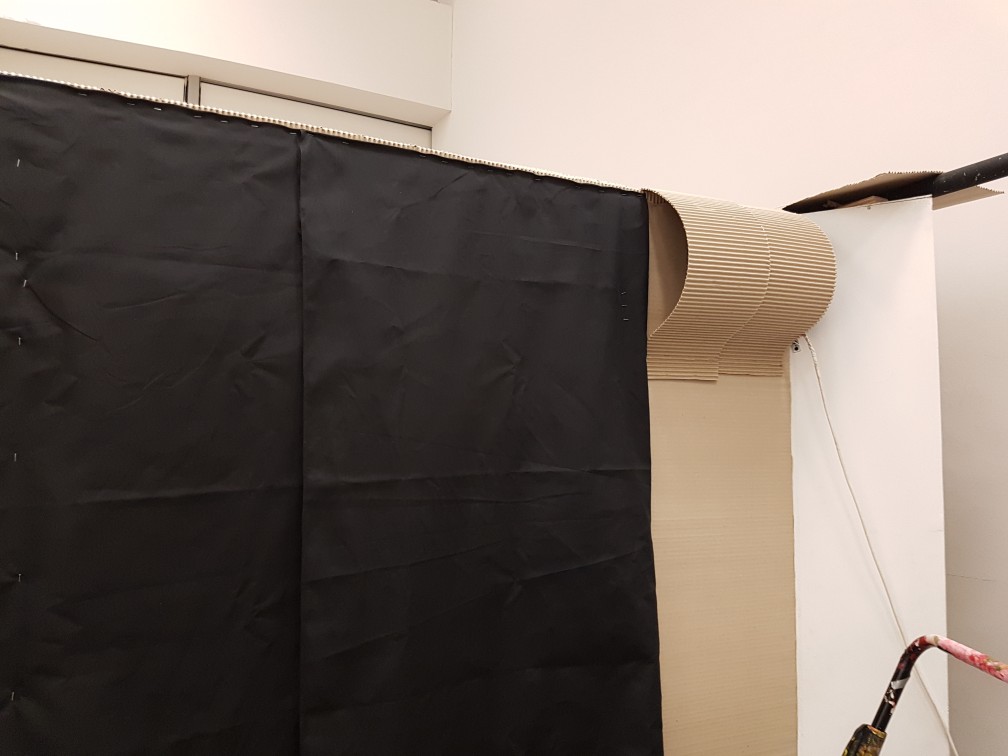
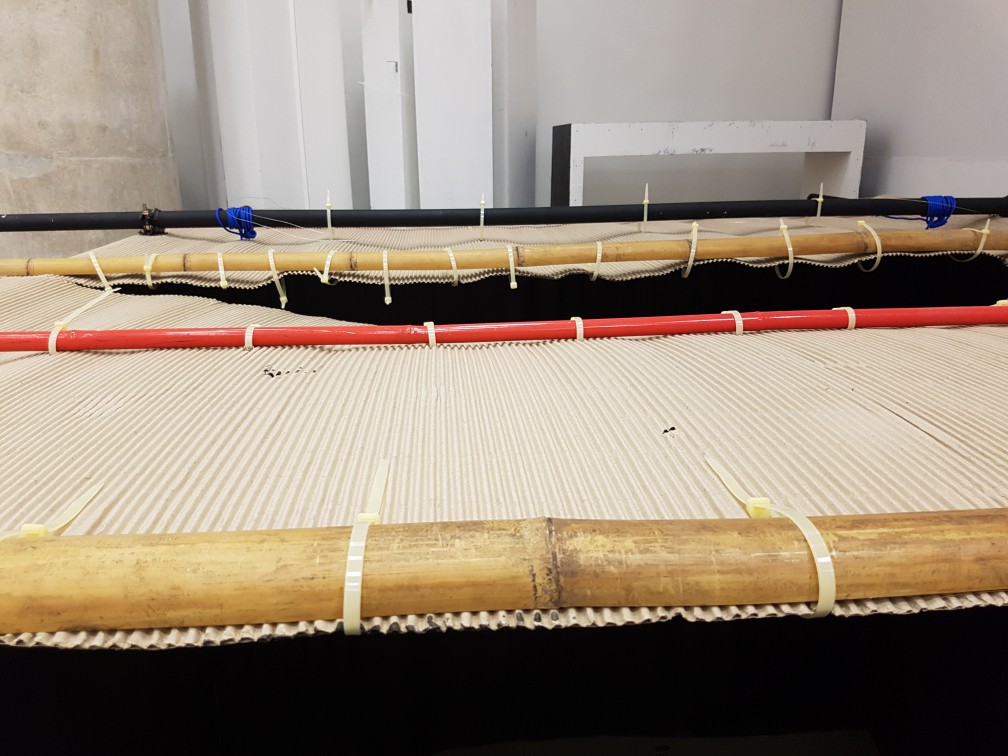
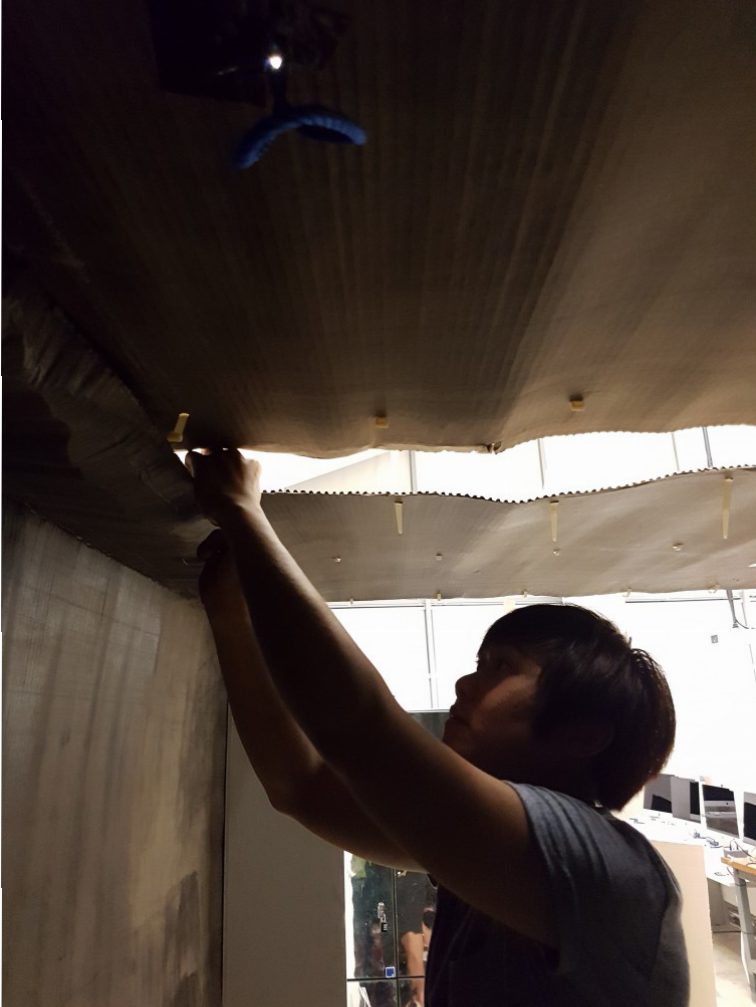
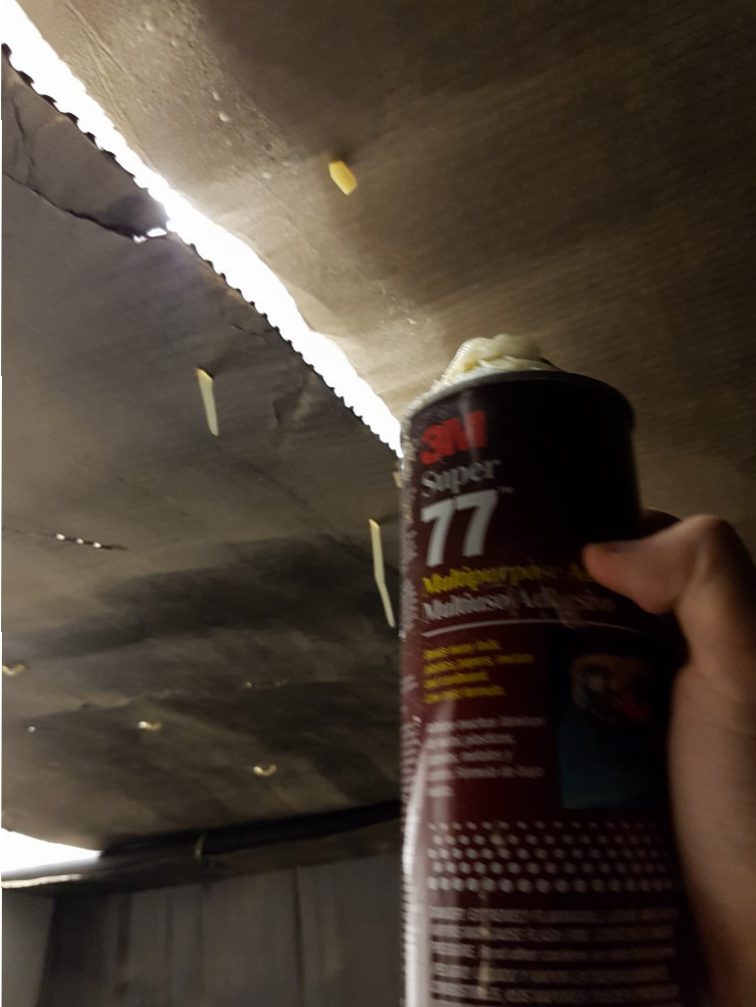
and I sprayed it with adhesive just like all other cardboard overlap to increase strength and reduce light leak
the top of the roof with all cardboard fastened with ziptie.
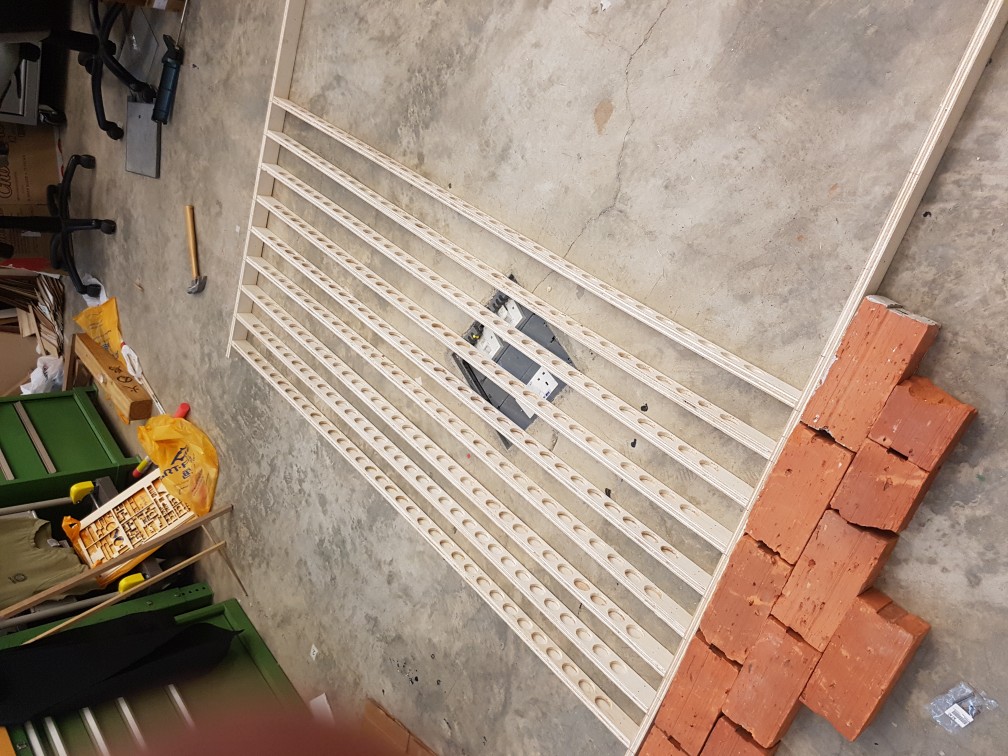
To build the stairs for the candle, I’ve estimated the size of it to be 180cm long and each step should be 5cm wide as the candle is 38mm, so having some tolerance for me to drill holes to place the candle into each hole would be really good to prevent the candle from falling off the stairs. I’ve not decided the total number of steps but since they sell 9mm thick plywood in the size of 2400 by 1200, I could possibly get 22 planks of 1800 by 50mm strip of plywood when I give some cutting tolerance to it.
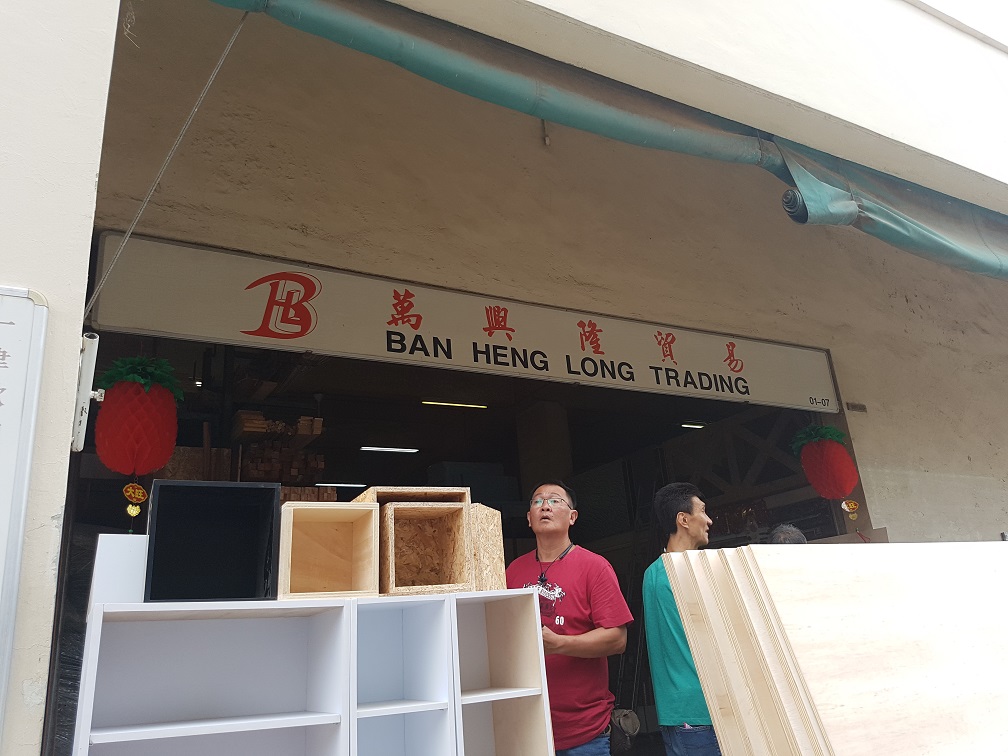
After calculation and calling around to find the cheapest plywood supplier that does cutting service at the cheapest rate, I found Ban Heng Long at Syed Alwi Road which the plywood is $20 and each cut is 50 cents.
Ban Heng Long
i’ve waited for 4 hours to get them to cut the wood as there were many orders before that
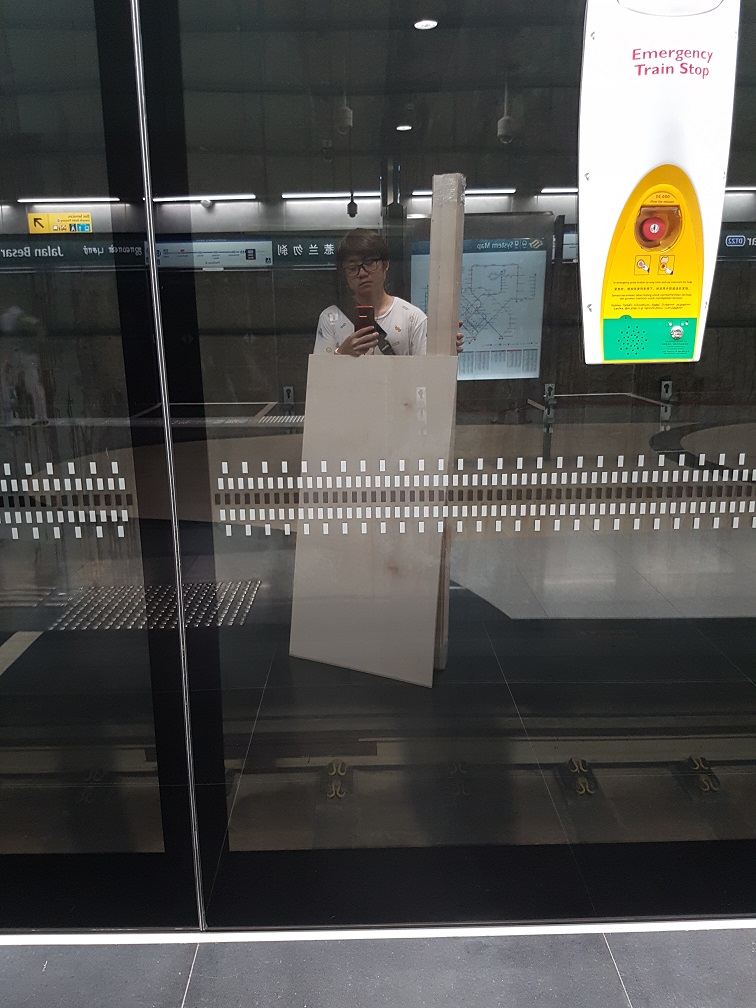
and I just took public transport to school with the super bulky woods
in bus to school
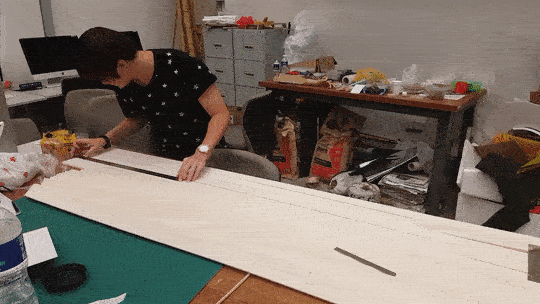
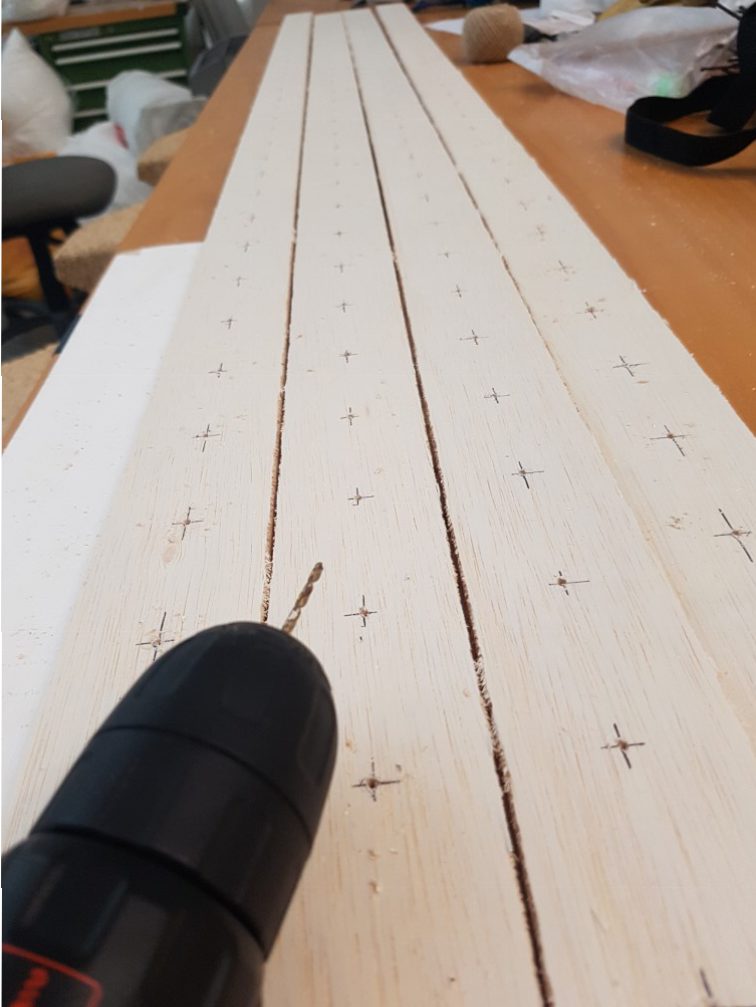
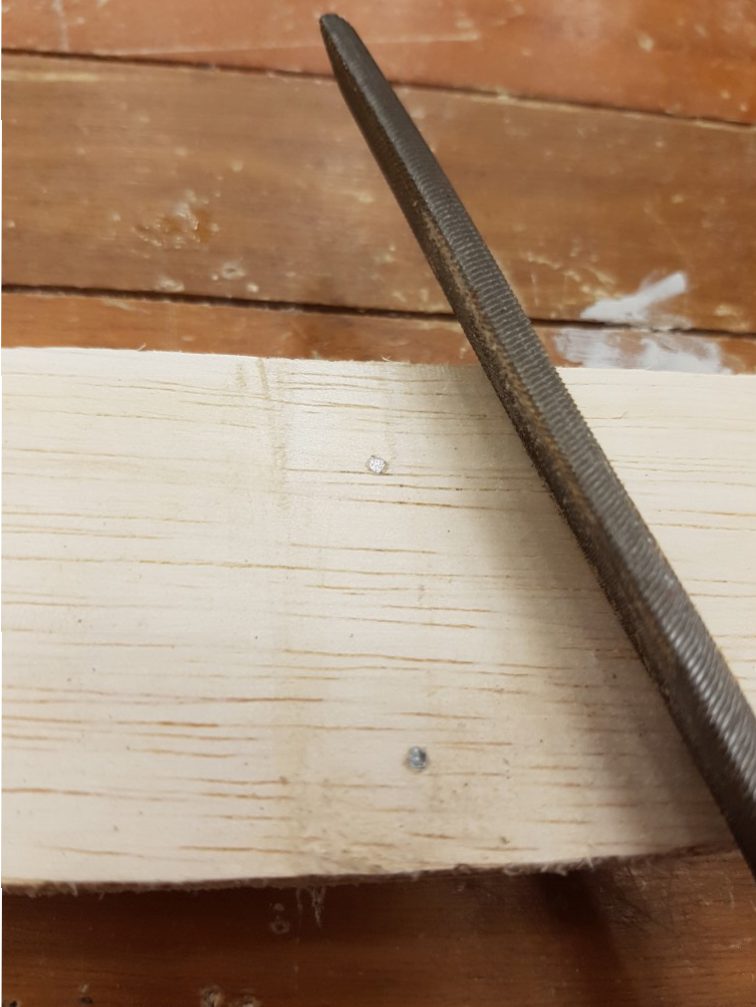
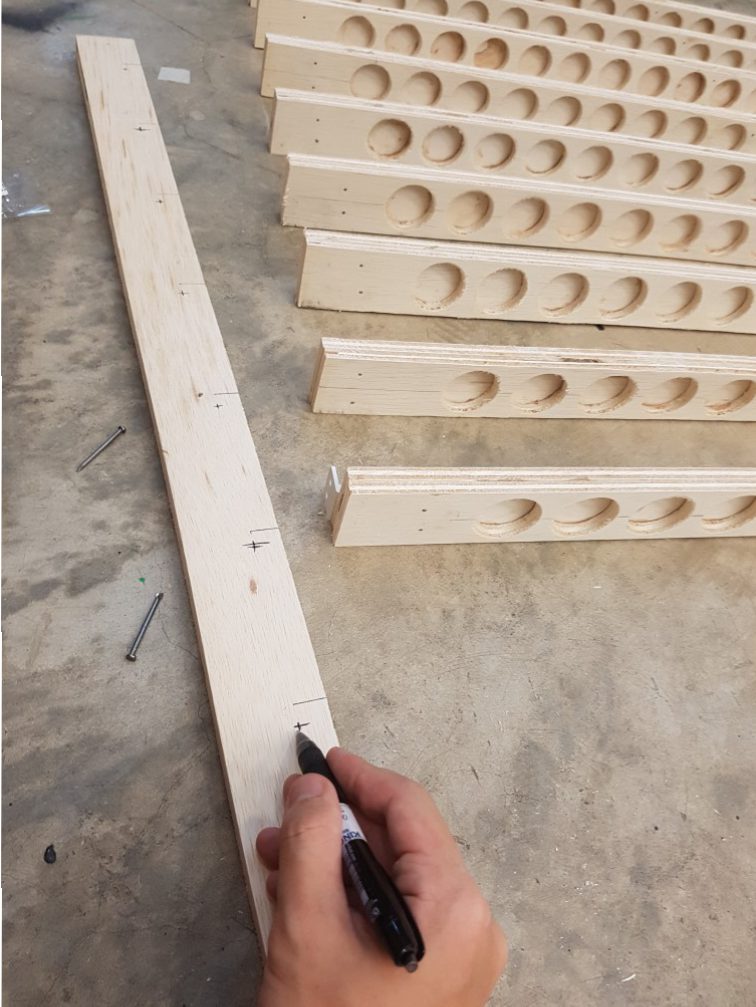
After buying the wood, I measured and marked out the wood for drilling later.
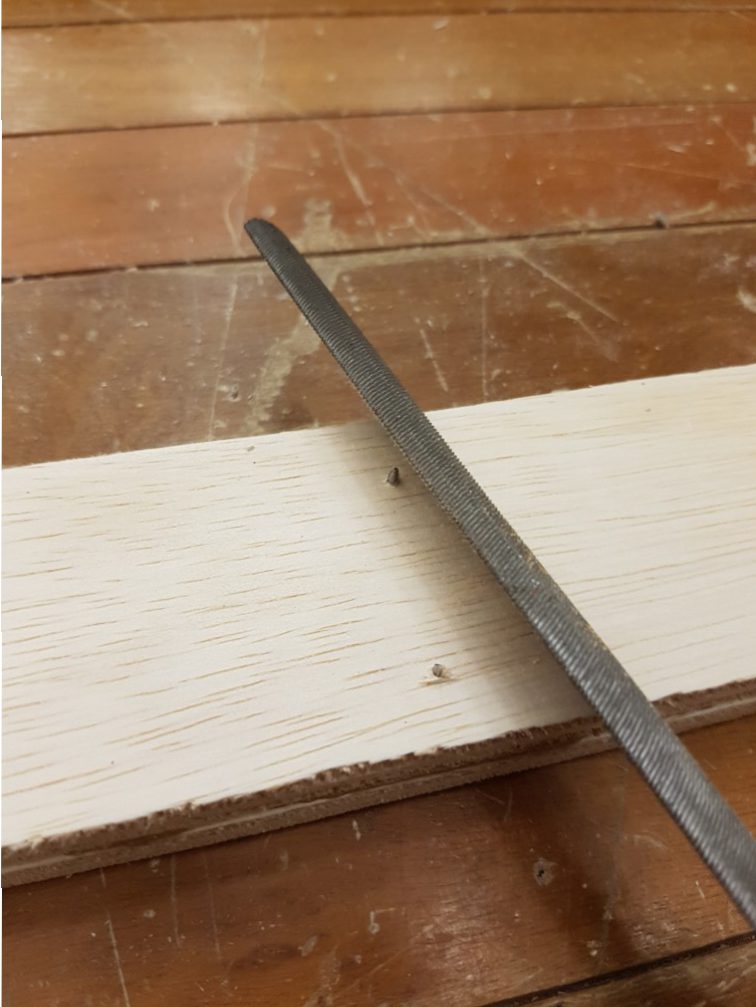
drilling a small hole as the center point for accuracy.
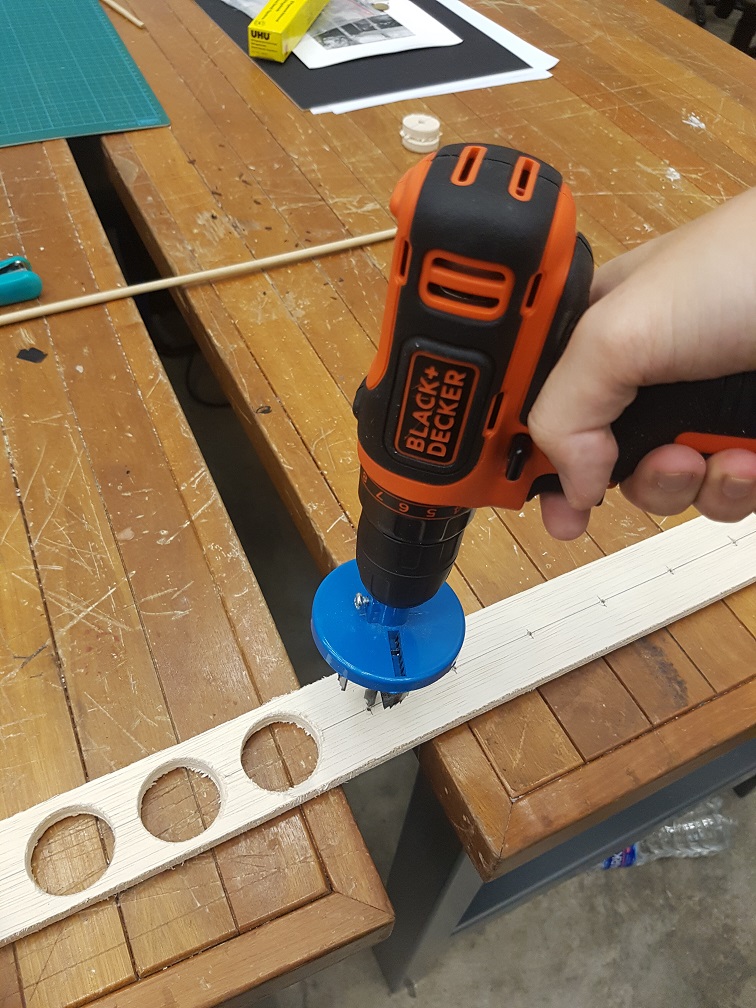
I bought this hole saw at Banheng long and I al really glad that I did, although it was tedious but it could be worst
this seemed nice but the height of this might be too tall,
so I’ve reduced the distance bettween planks
marking of the point to secure initial nails
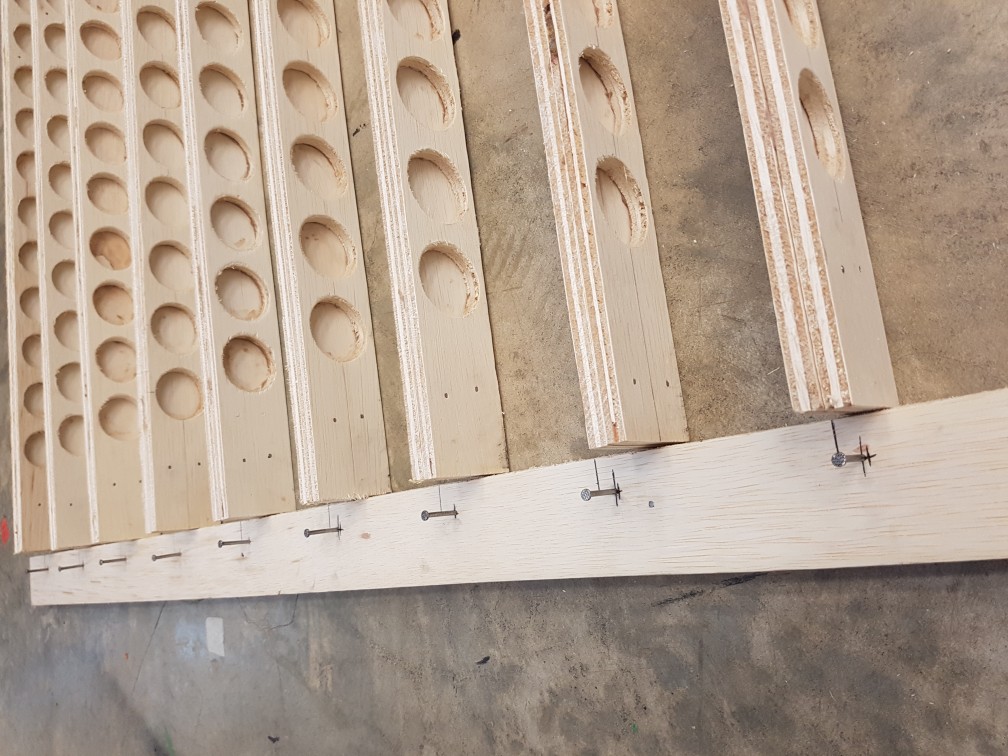
first I drive the nail through the side plank first
then driving the nail through the main plank
this was done by having bricks on the other side to hold it with constant adjustments
after the nails on the side was done…
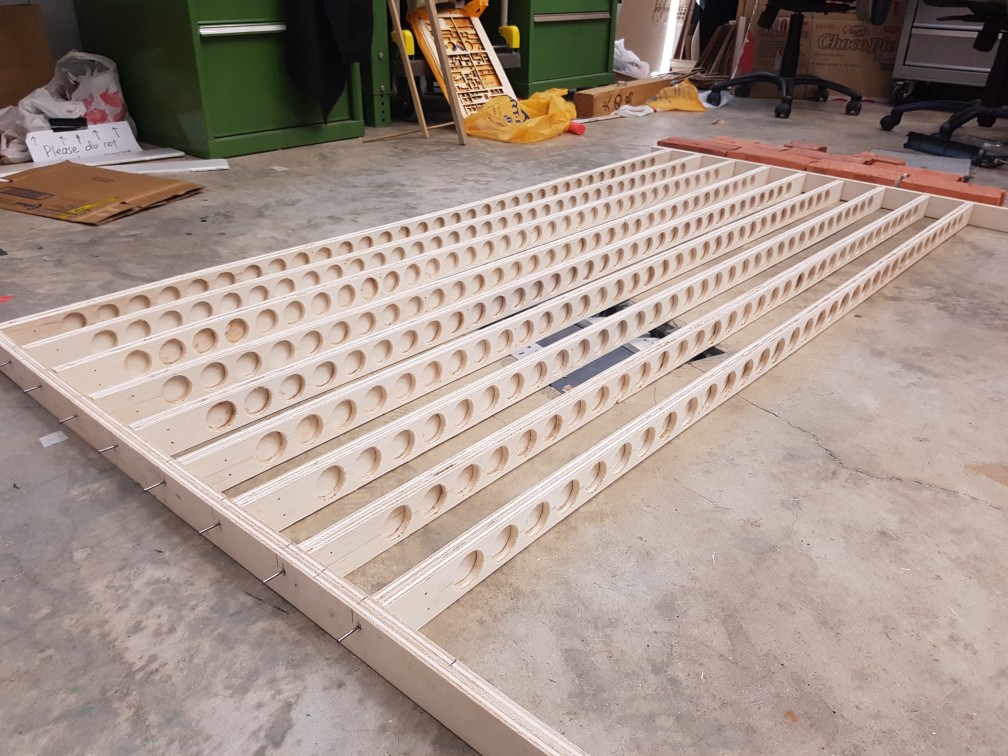
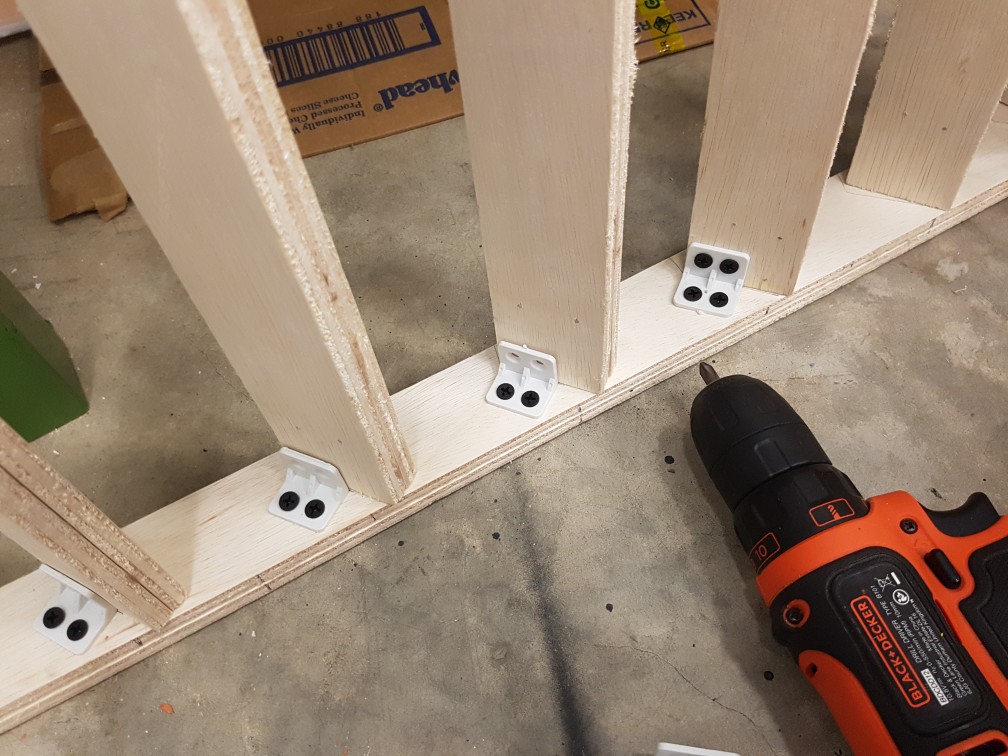
90degree support were then screwed to secure each planks.
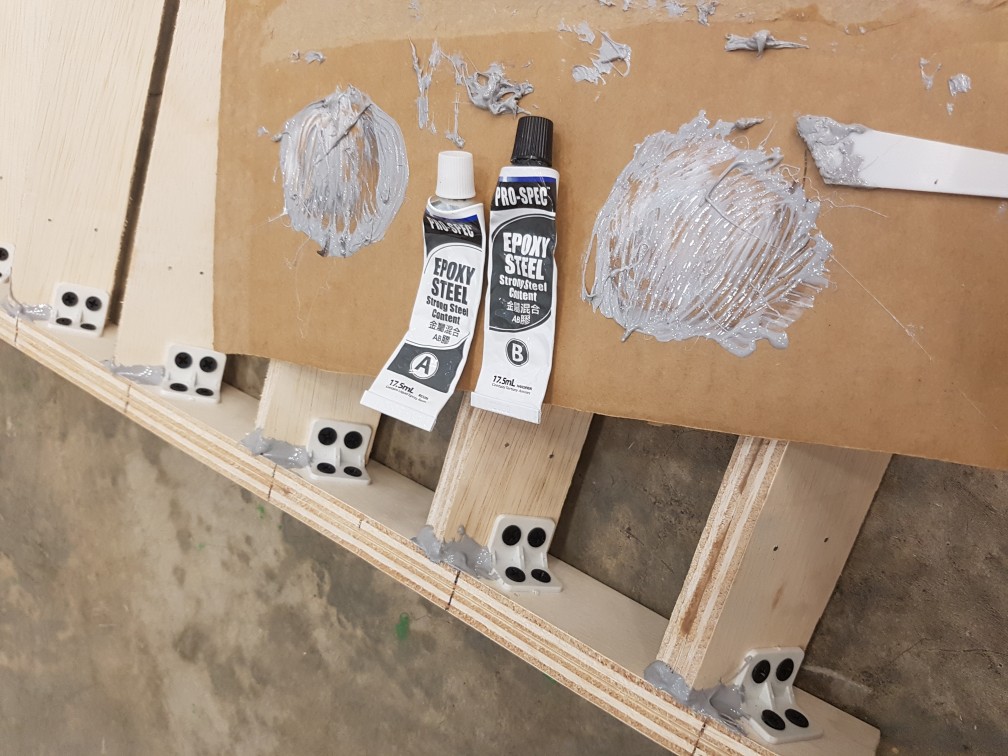
then steel epoxy were added to increase the contact and triple secure each planks.
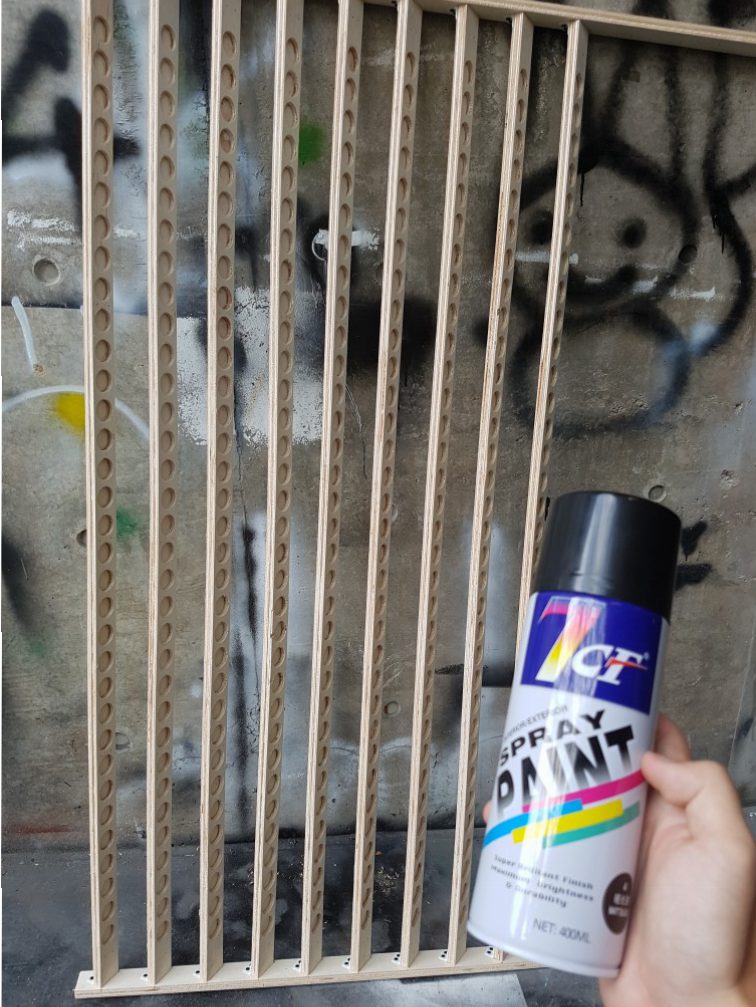
Next I brought it down to spray it black
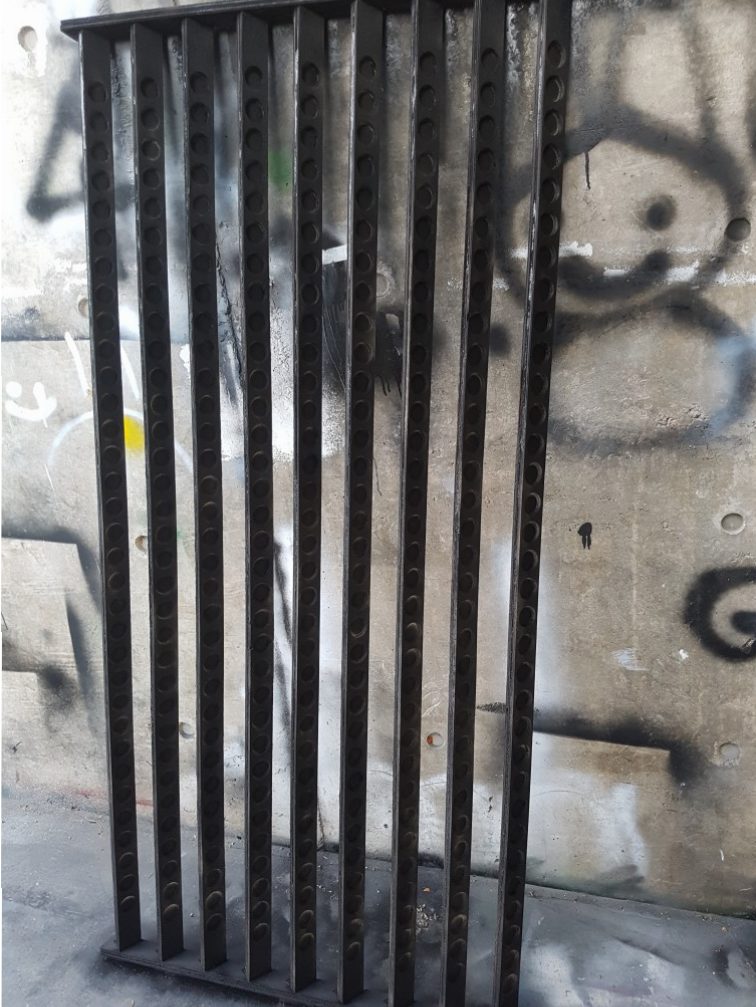
after spraying
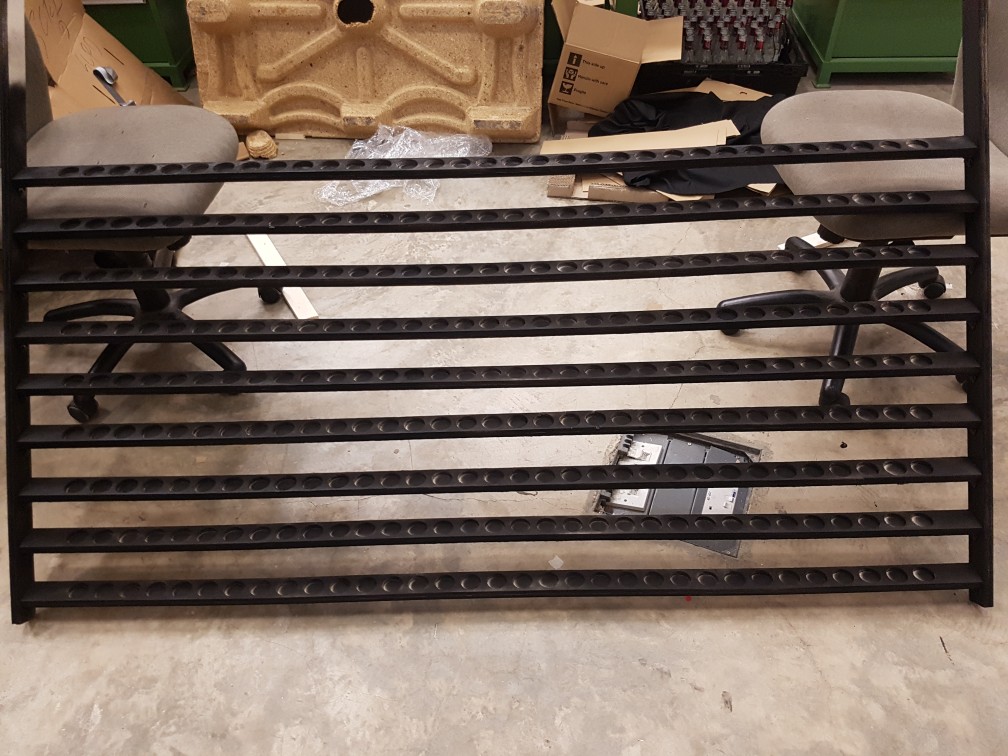
after drying
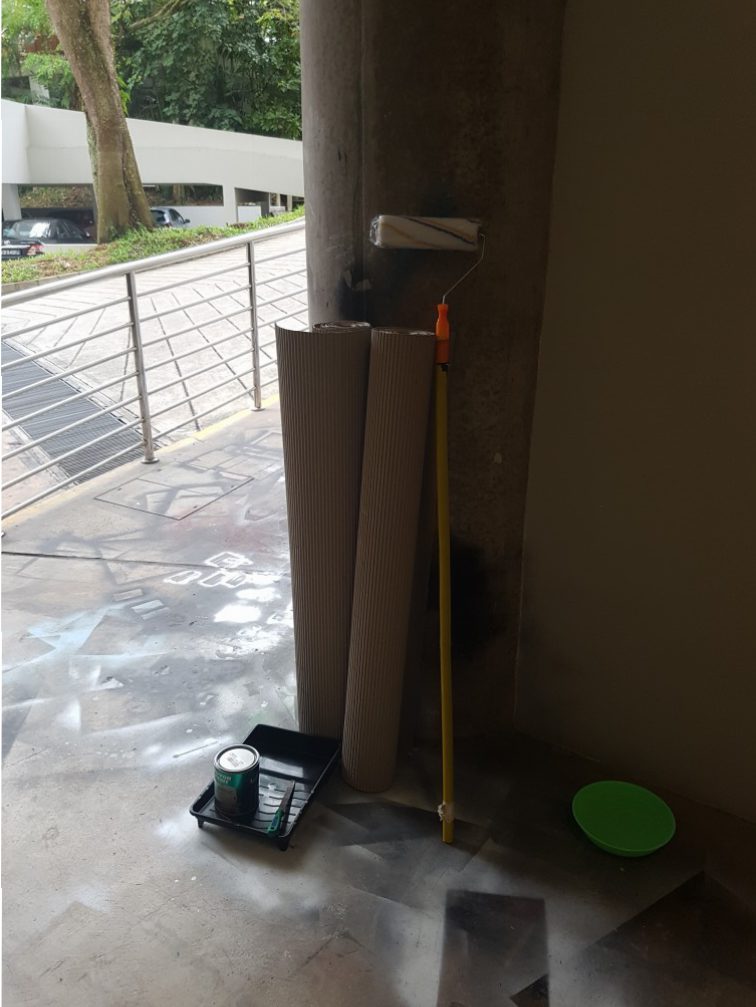
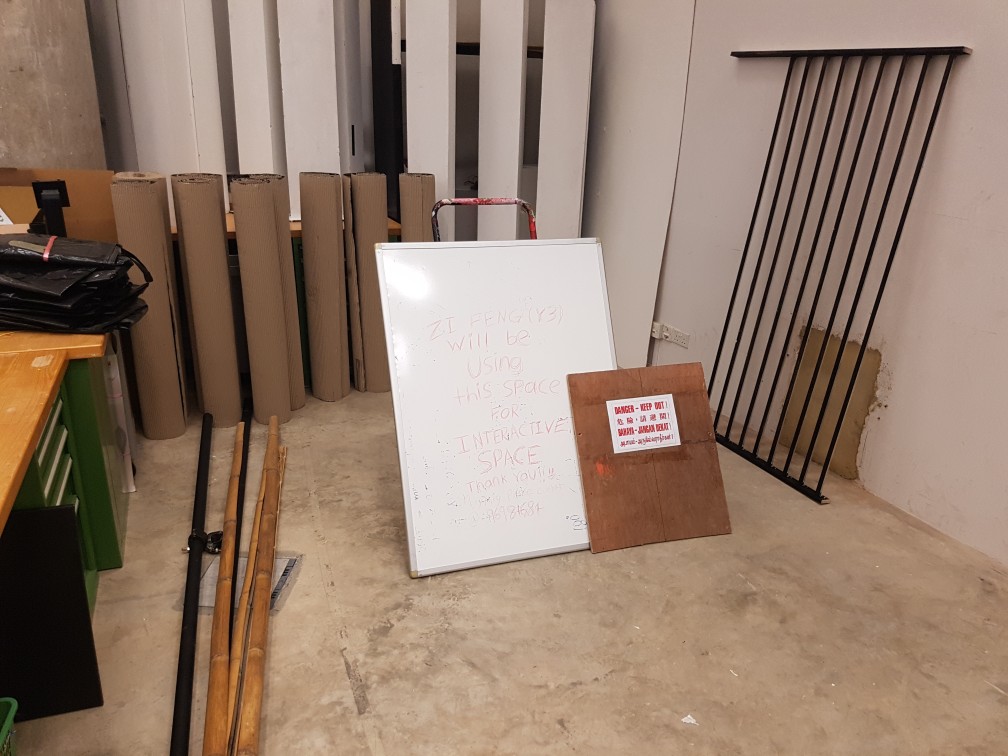
After that, I’ve purchase a 30m cardboard roll to build the dark room for my candles as I would really like to give a feeling of a customized space which one wont feel like in the same space when we are in the one I created, which actually is another space within what we are always used to, the IM room.
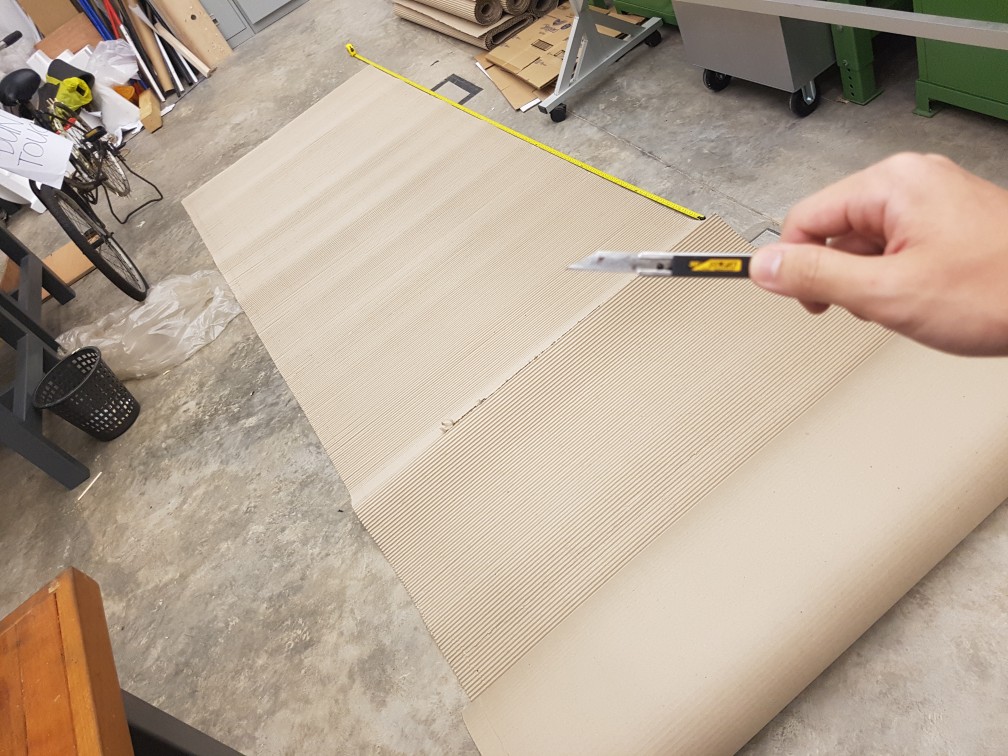
I cut the 1.2m by 30m cardboard into 8 pieces of 1.2m by 2.7m piece
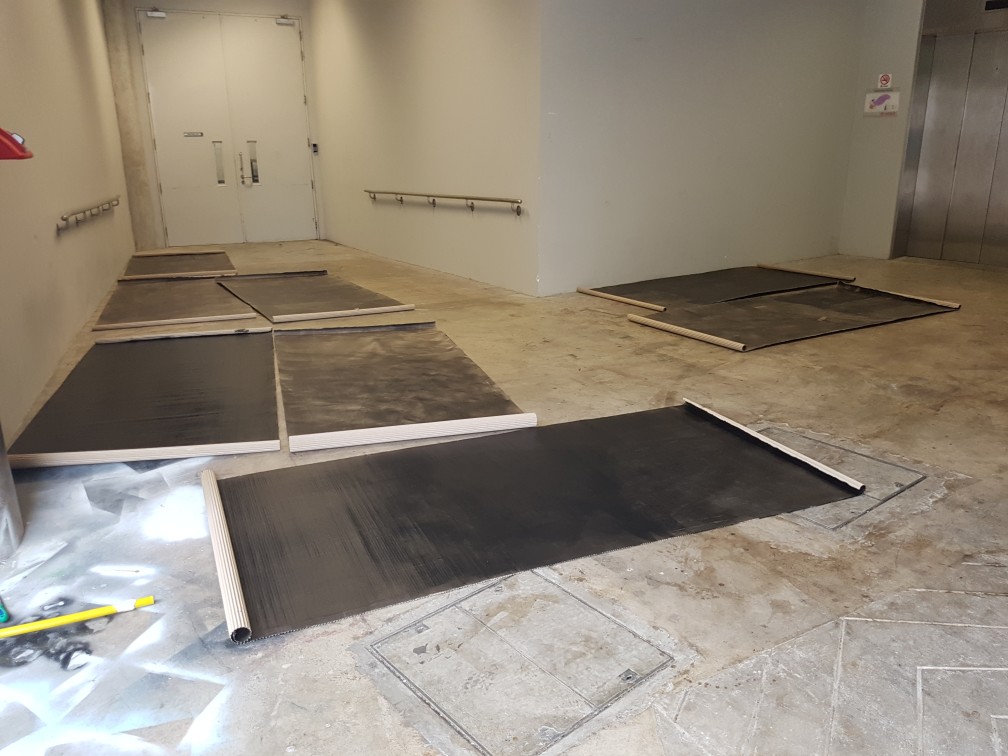
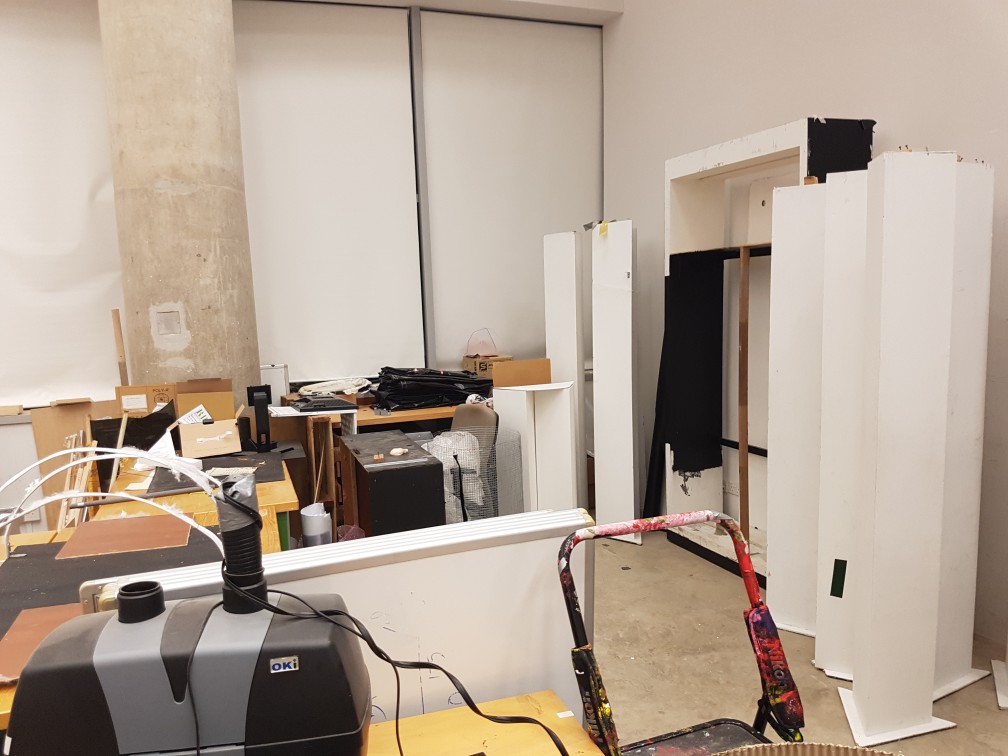
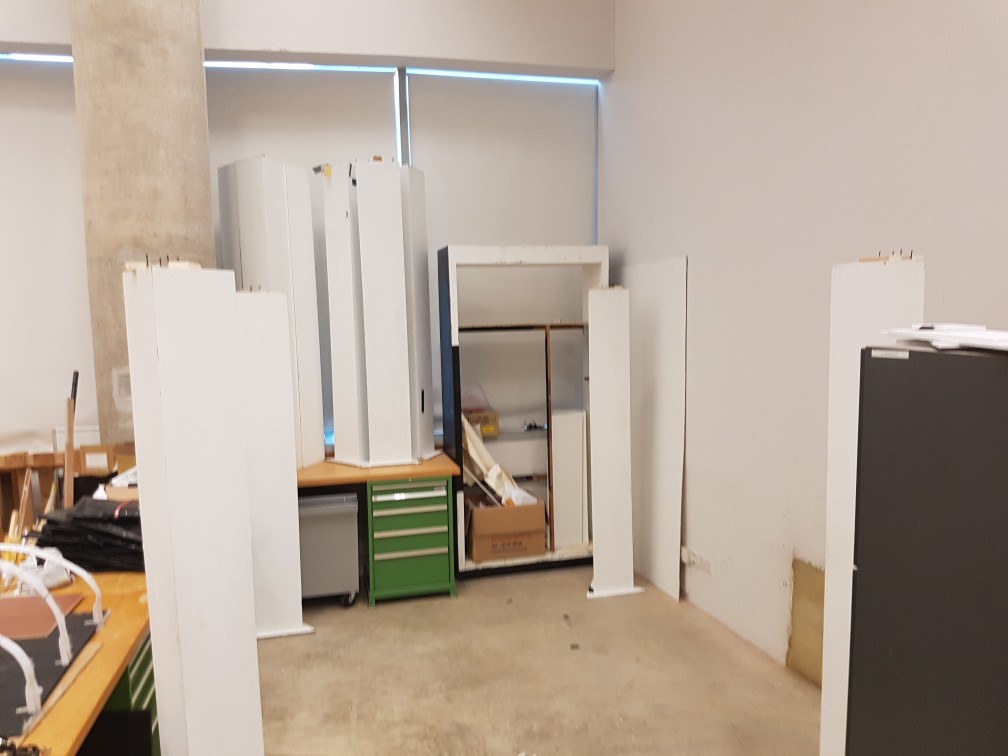
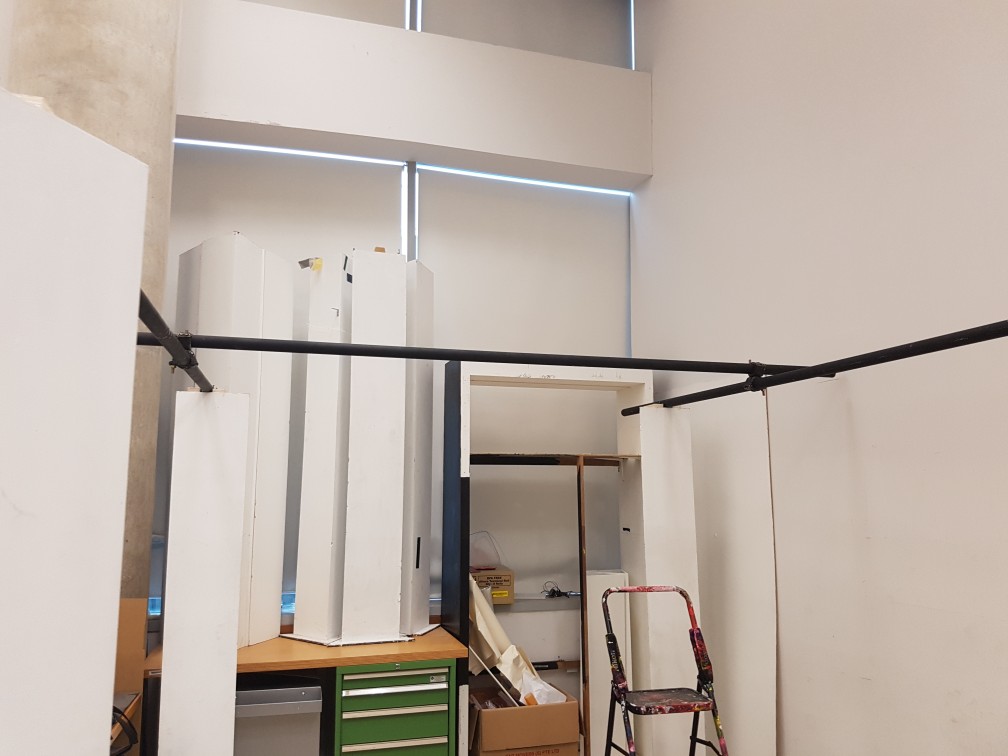
After dying, I brought the cardboard pieces up and decided a place to build my dark room… And I’ve decided to use the space that lesser people used in IM room which is the corner with lockers, however I have do do quite a bit of packing up and shifting of the tables to make space.
after shifting of tables but before packing
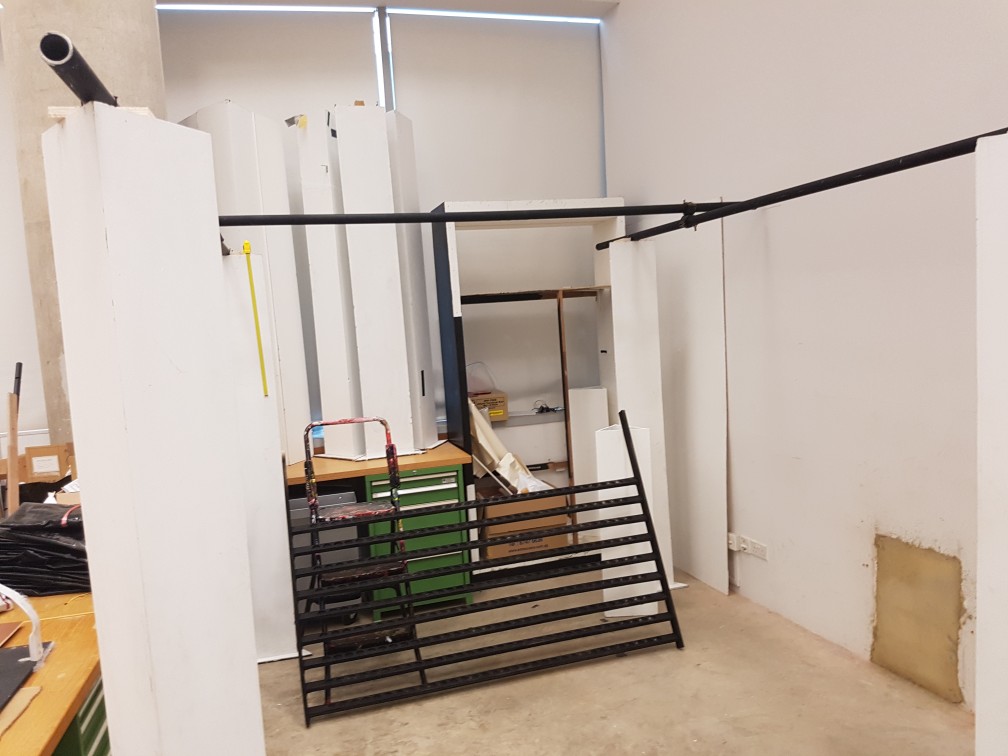
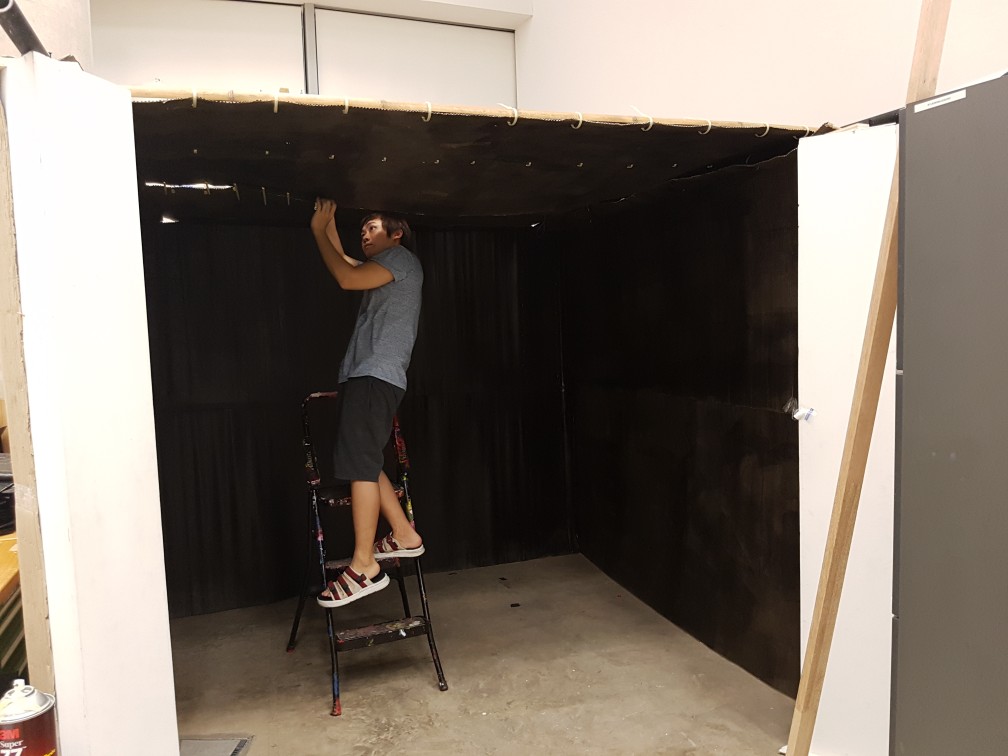
after packing and arranging the space into a 2.7m by 2.7m space.
this is the completion of the dark room and to add ventilation to it as i assume it will be really hot and there might be fire hazard if the hot air or smoke is not being ventilated out of IM room.
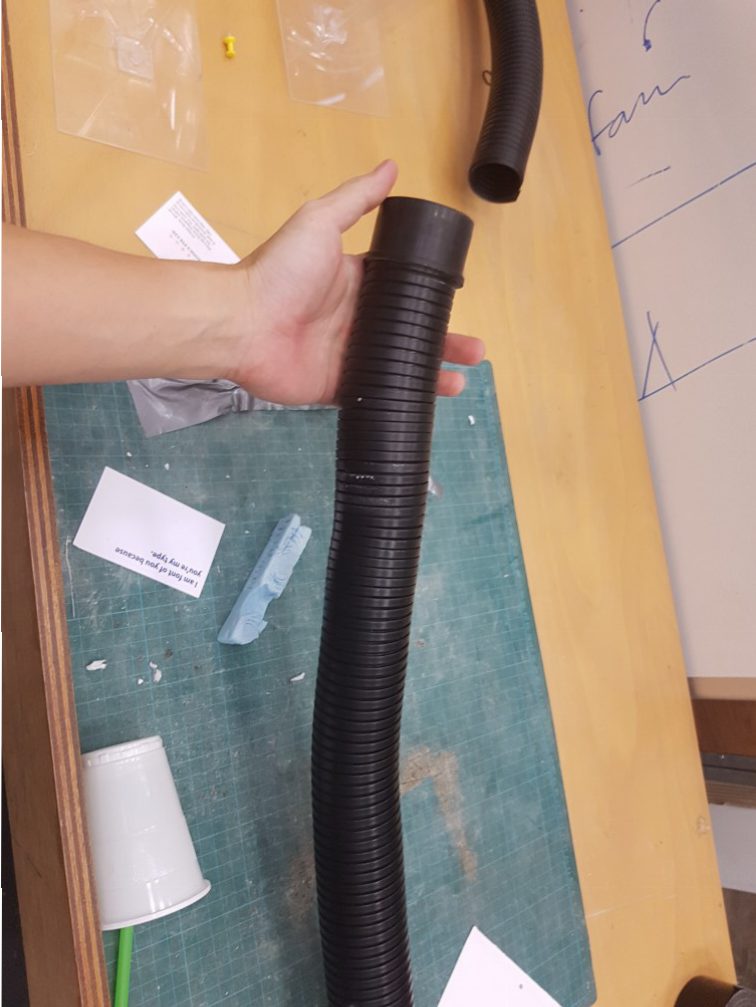
the pipe for the air pump for soldering in im room was damaged so i’ve repaired it
repair completed
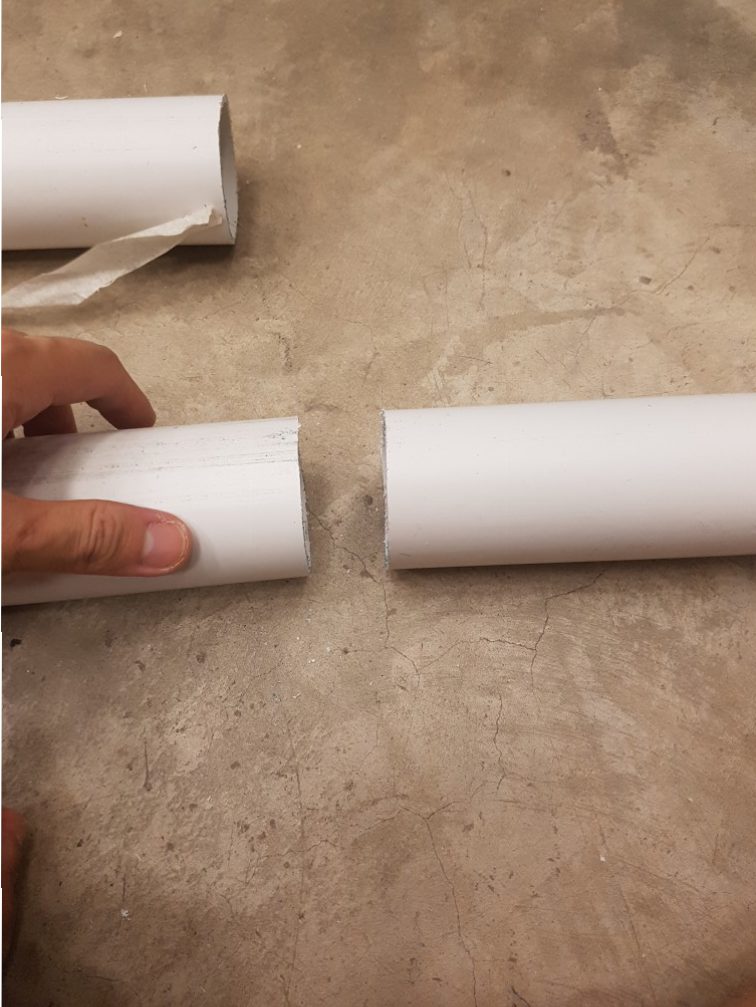
I’ve purchased 4.2m of PVC pipe and ask the seller to cut it into 1m length for easier transportation
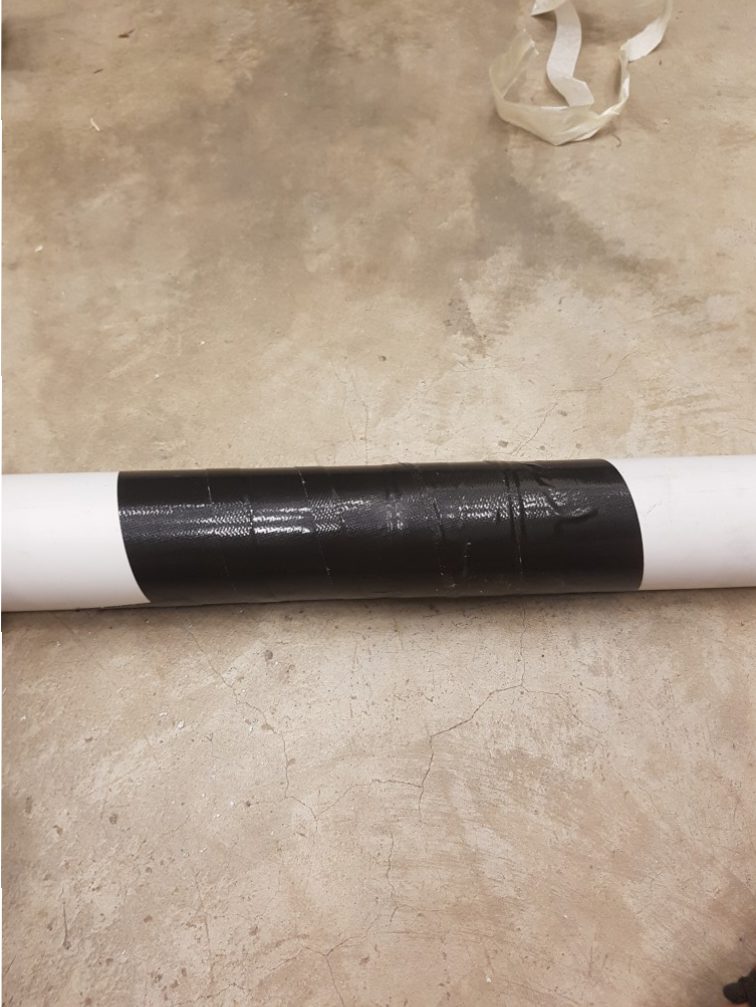
but I realised that i need the full 4.2m in the end so I stick them back
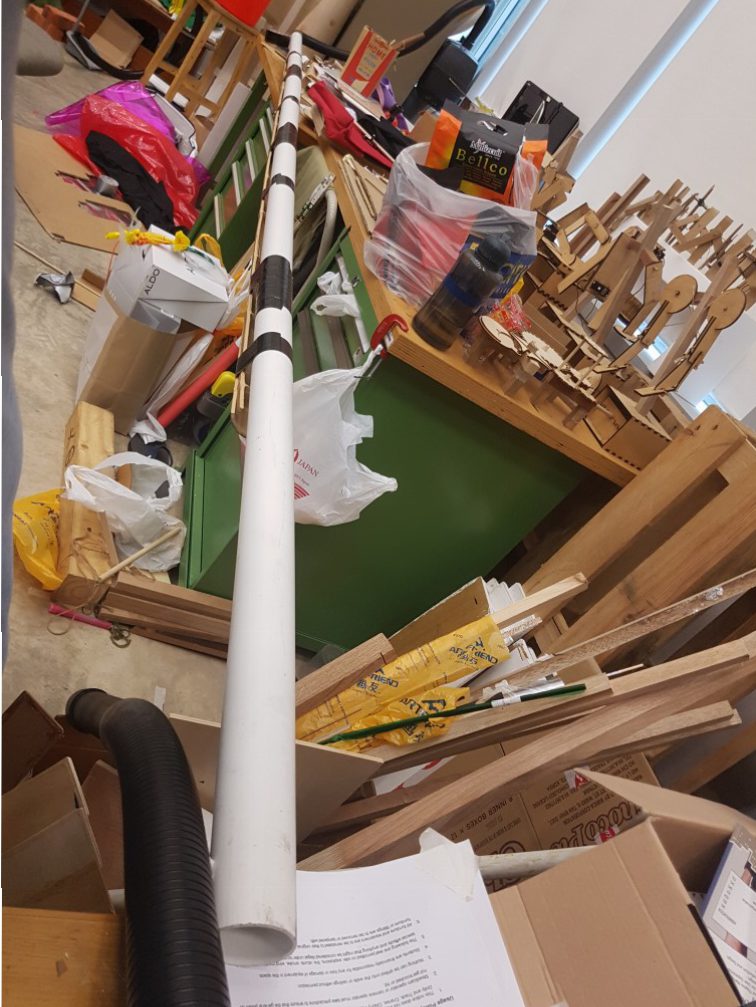
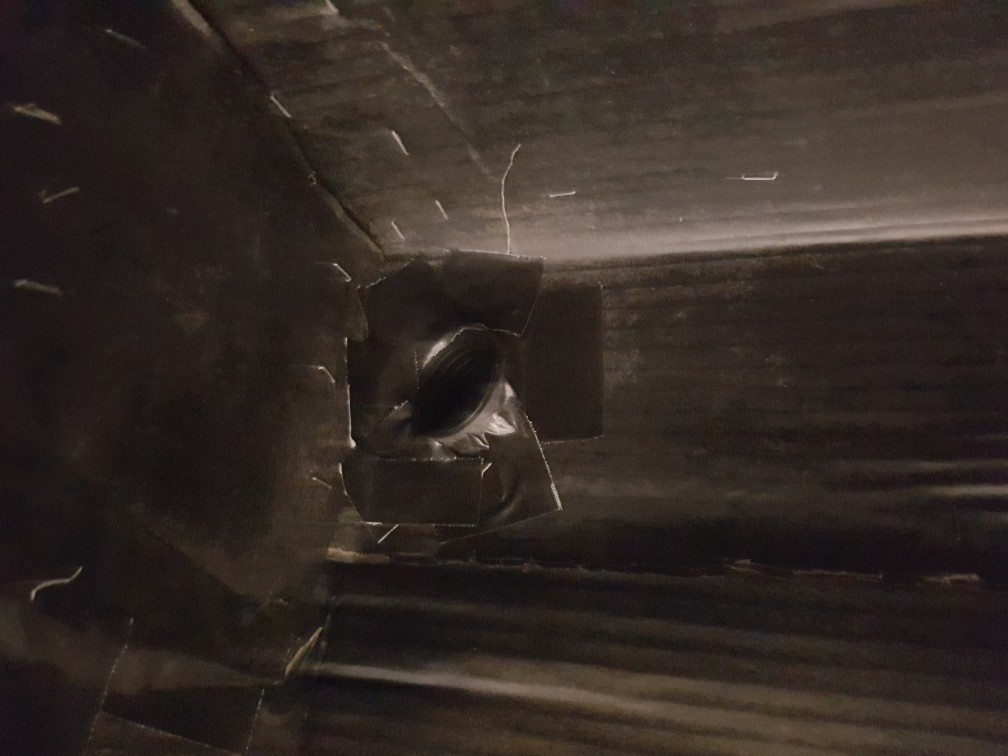
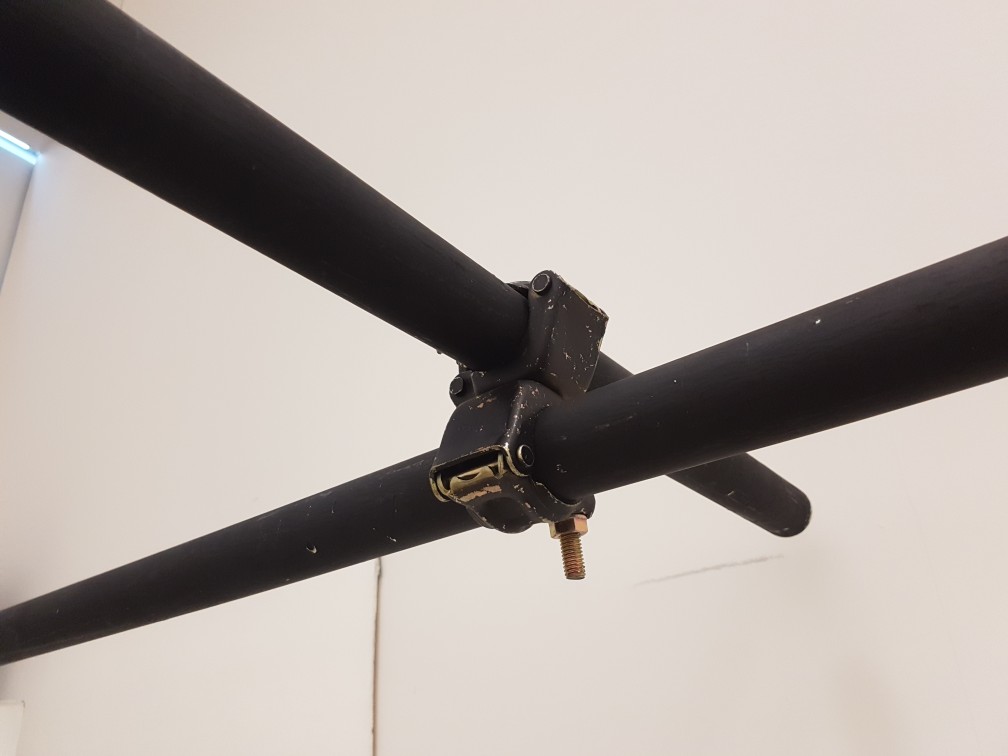
I also fasten the 4.3m PVC pipe to a bamboo pole to increase the strength. the machine was placed at the only openable window to draw the smoke out
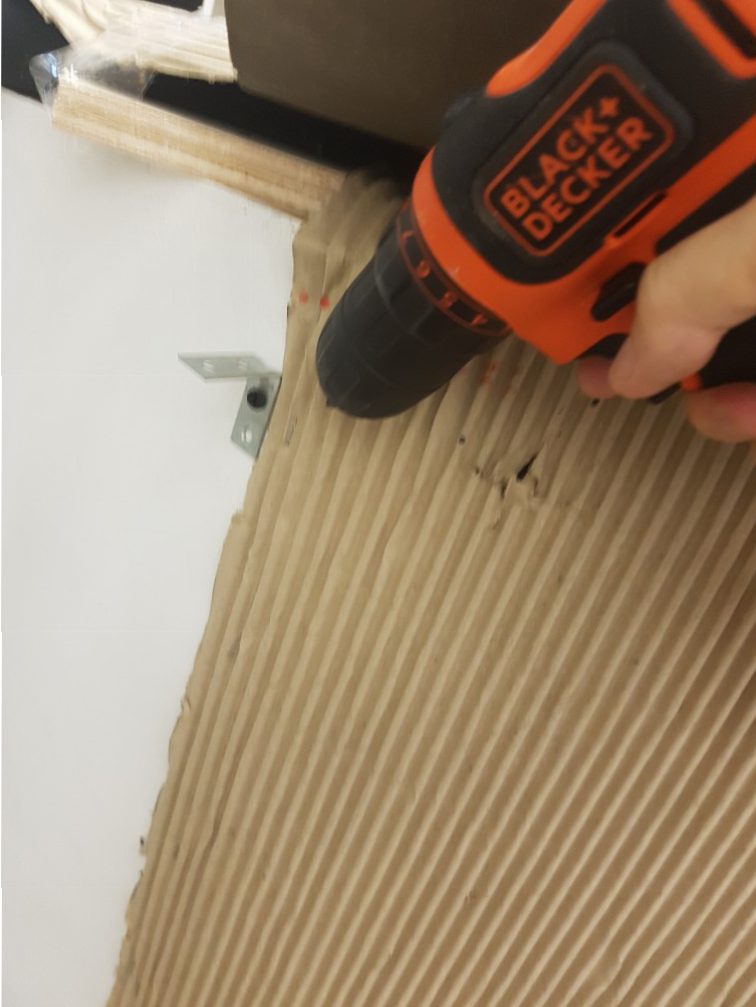
did a marking from the inside of the dark room for the ventilation pipe
I screwed the 90 degree bracket to secure the pipe
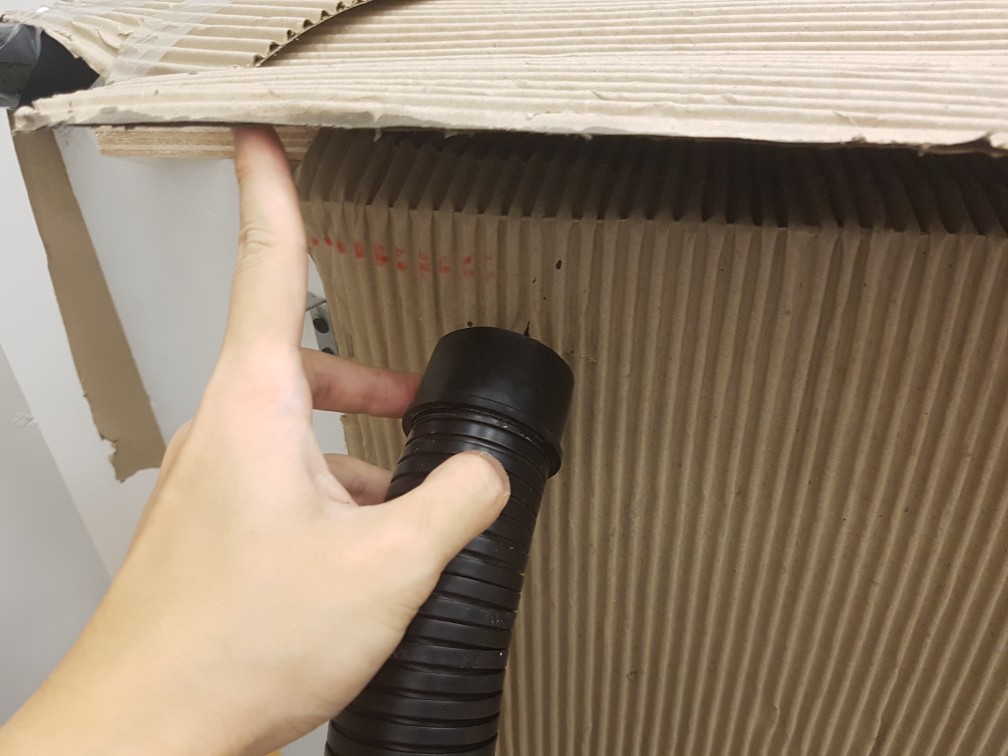
forcing the pipe in
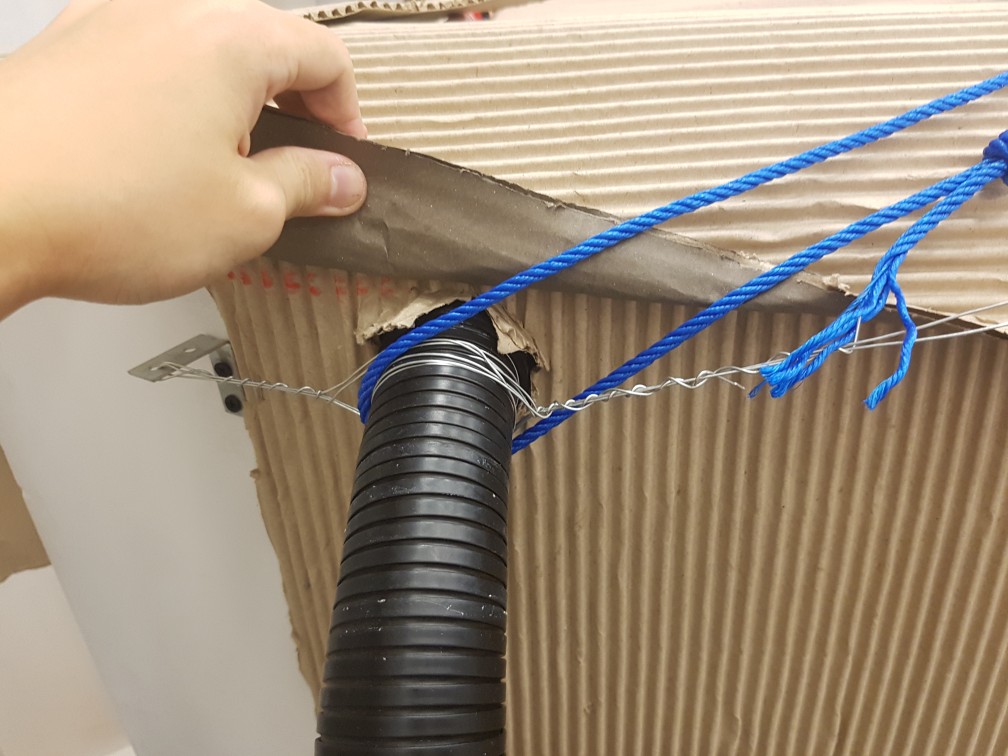
and secured using wires and ropes
tapped from the outside as well as inside.
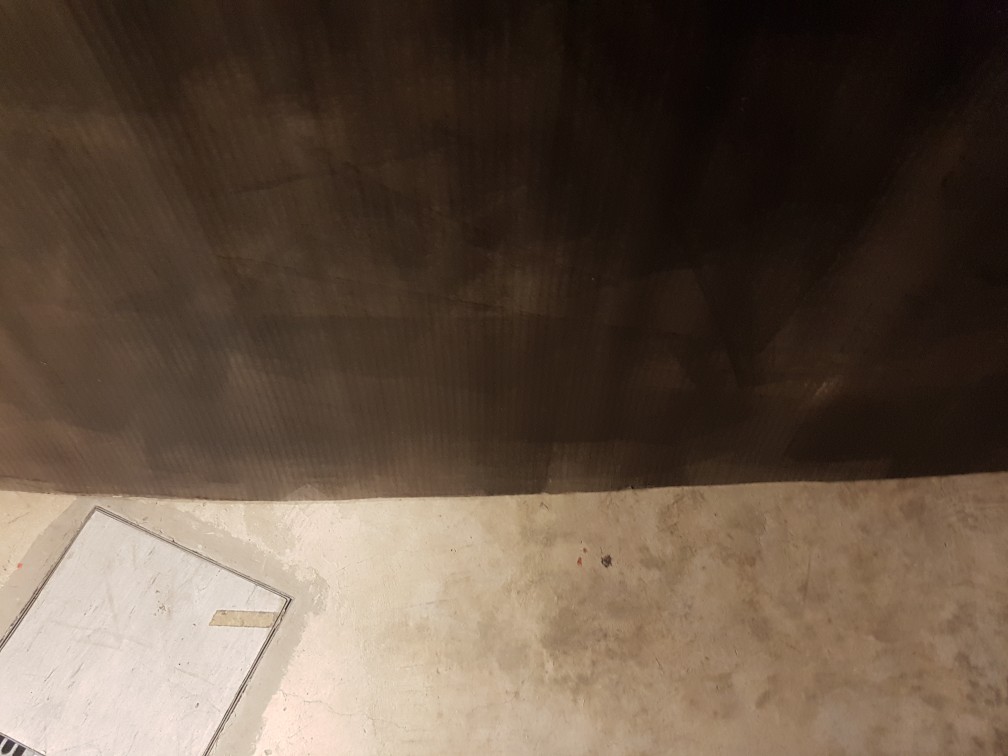
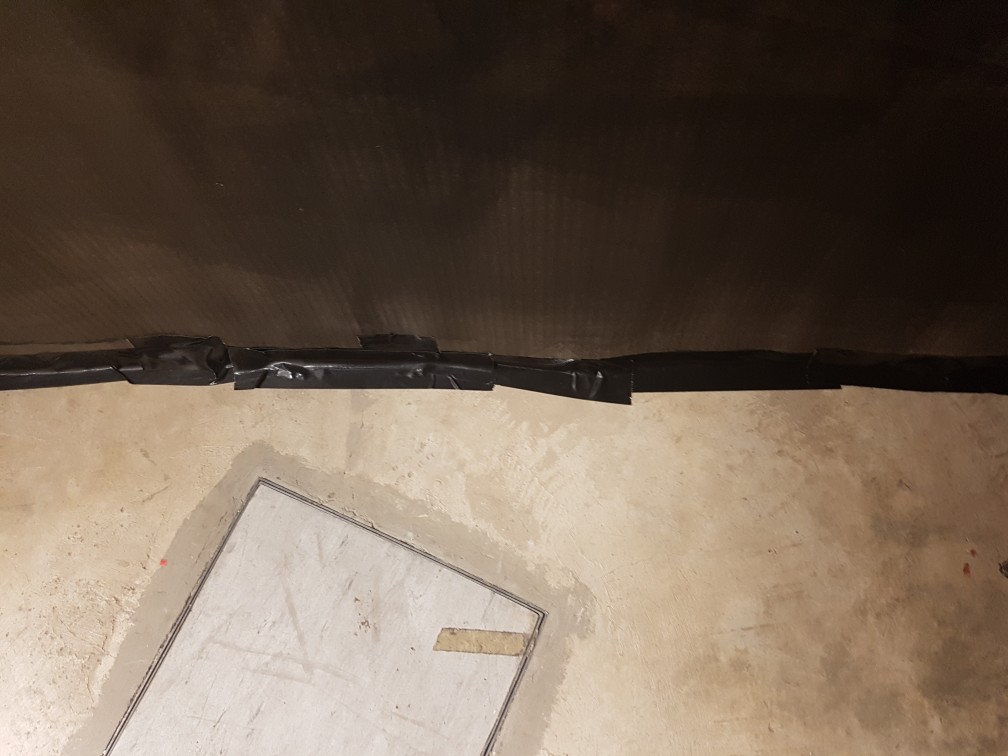
the bottom of the walls
tapped it securely to increase structural strength and remove light leaks
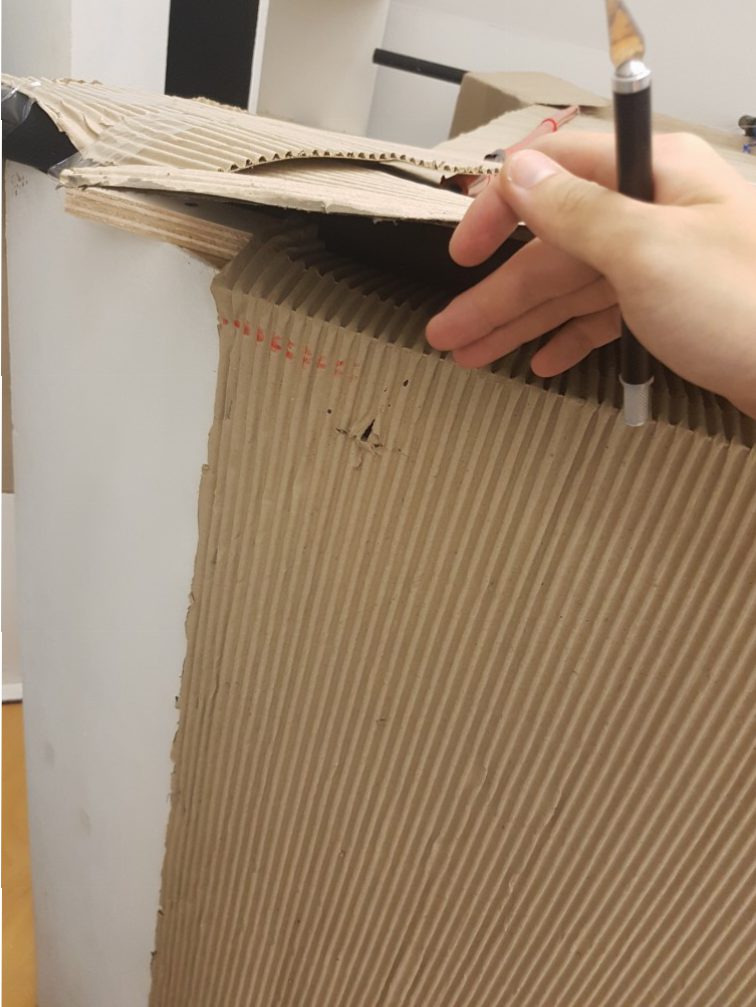
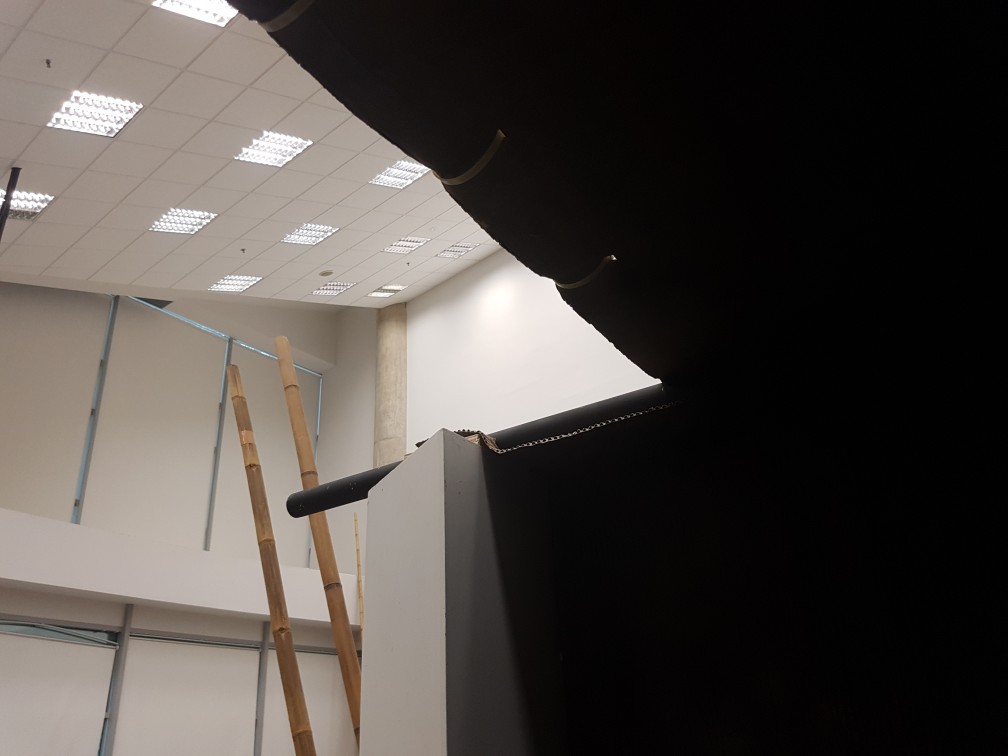
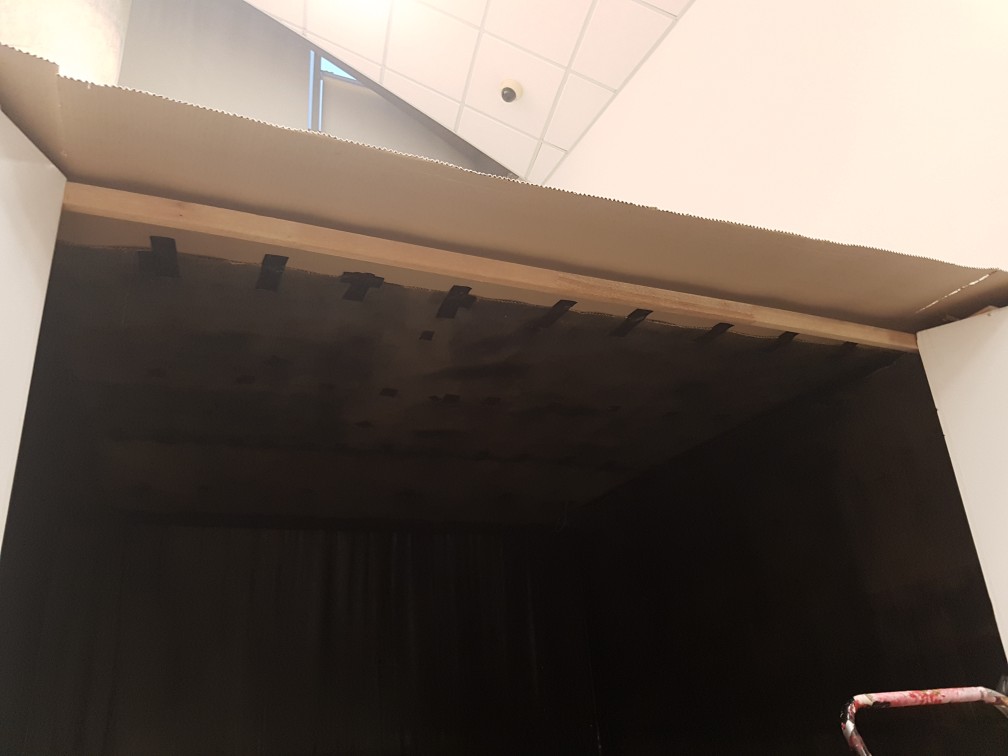
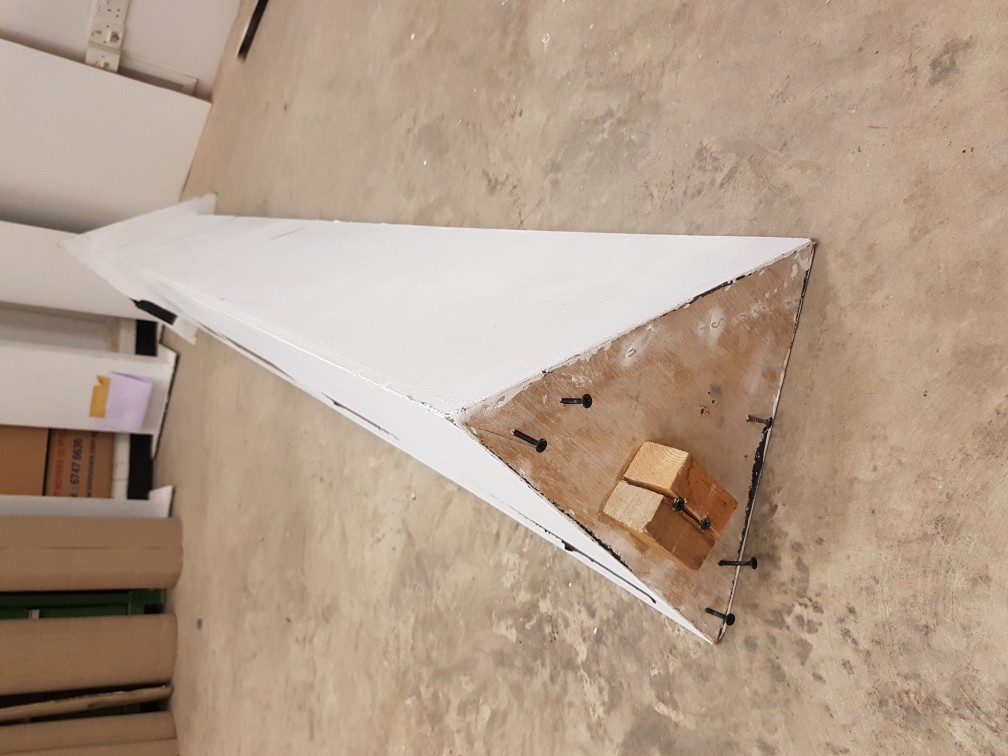
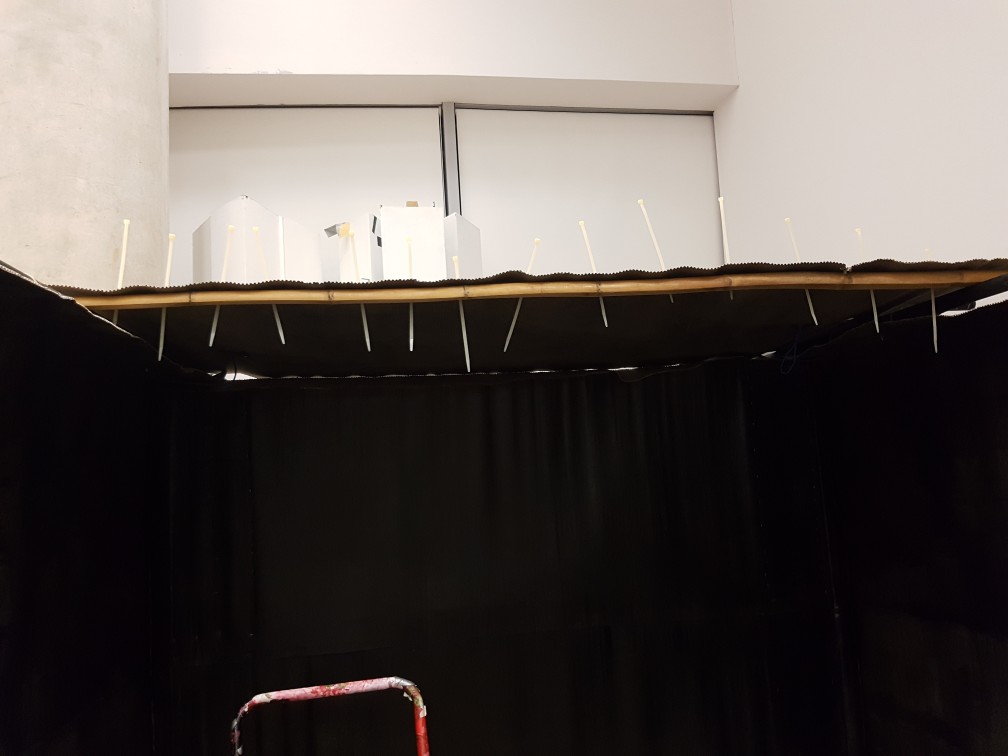
the top of the opening of the dark room
fasten a wooden plank for structural support as well as to finish the roof.
final piece of roof
previous ziptie were removed and re-fastened for the final roof piece
roof folded down
cardboards were cutted for a smaller opening
the side of the opening
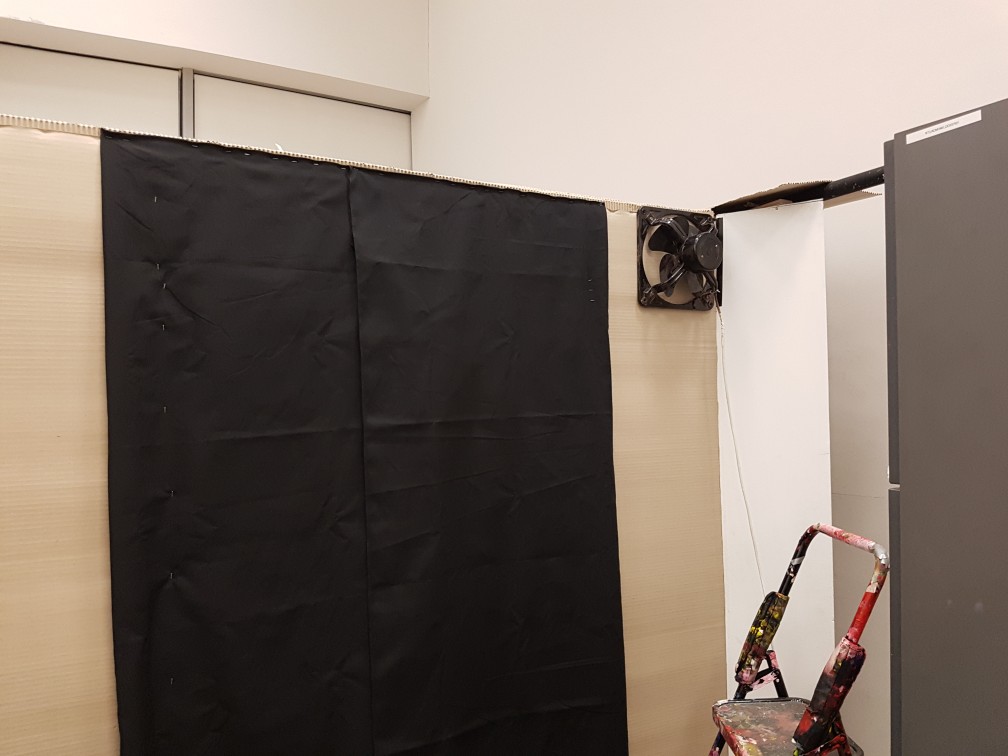
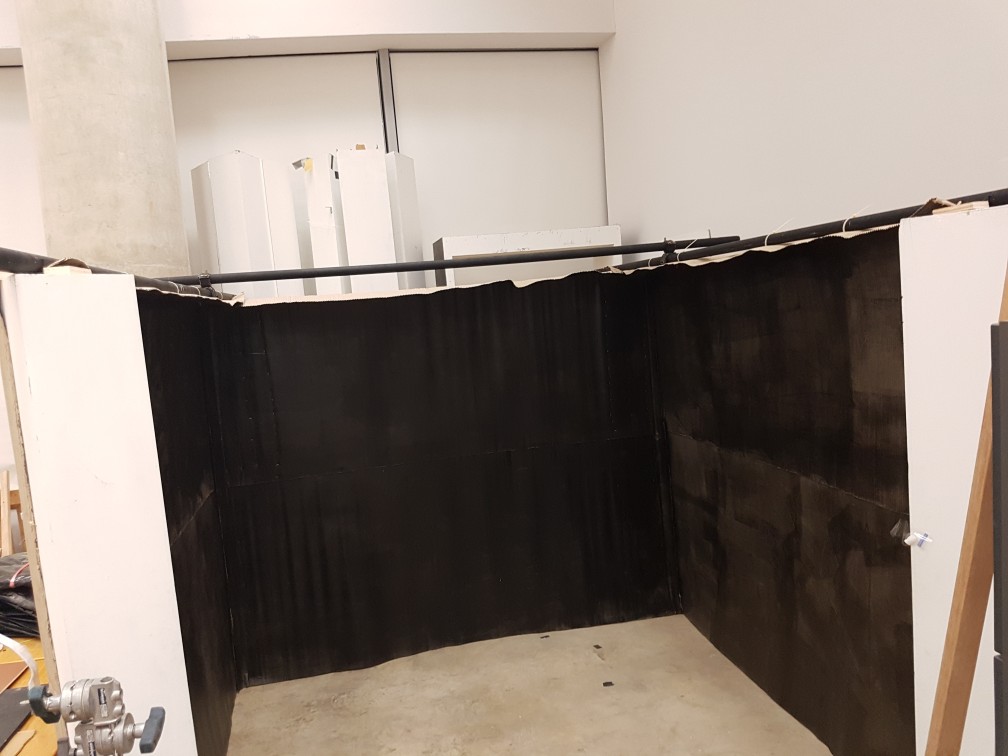
the overall darkroom done.
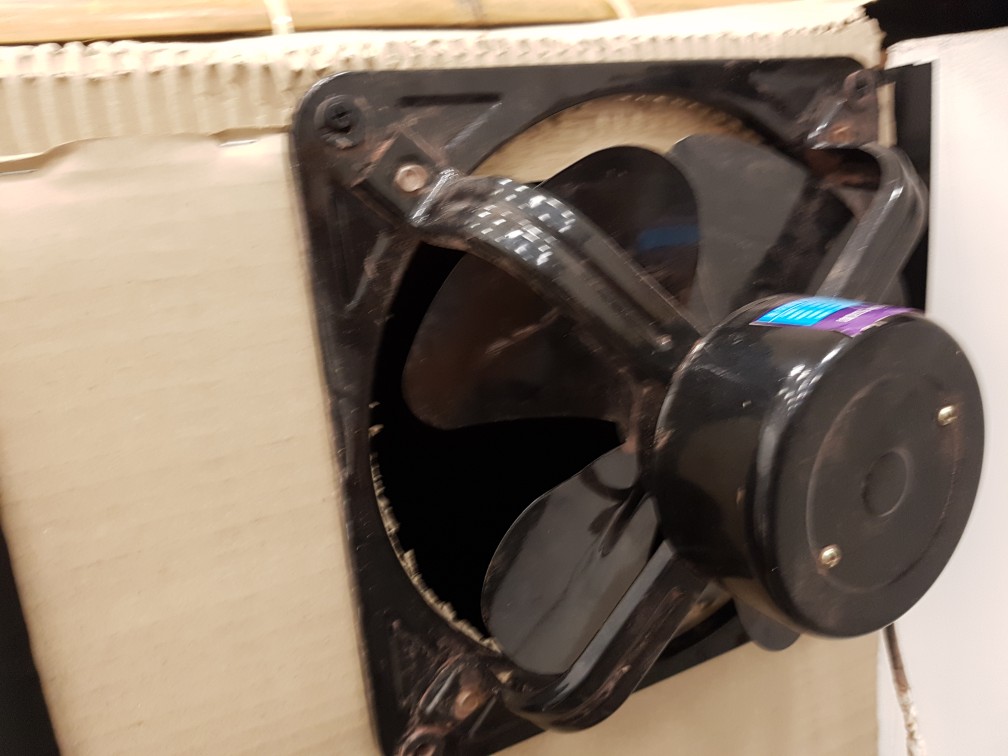
lastly, i realised that the air flow wasn’t that good so i detached a ventilation fan from my house and attached it onto the dark room.
The ventilation fan from my house
attached onto the structure of the darkroom with screws.
and the cardboard was cutted out
cardboard were added to reduce lightleaks.
And the dark room was done!!!
next post will be the final post for the Analog submission for this project.
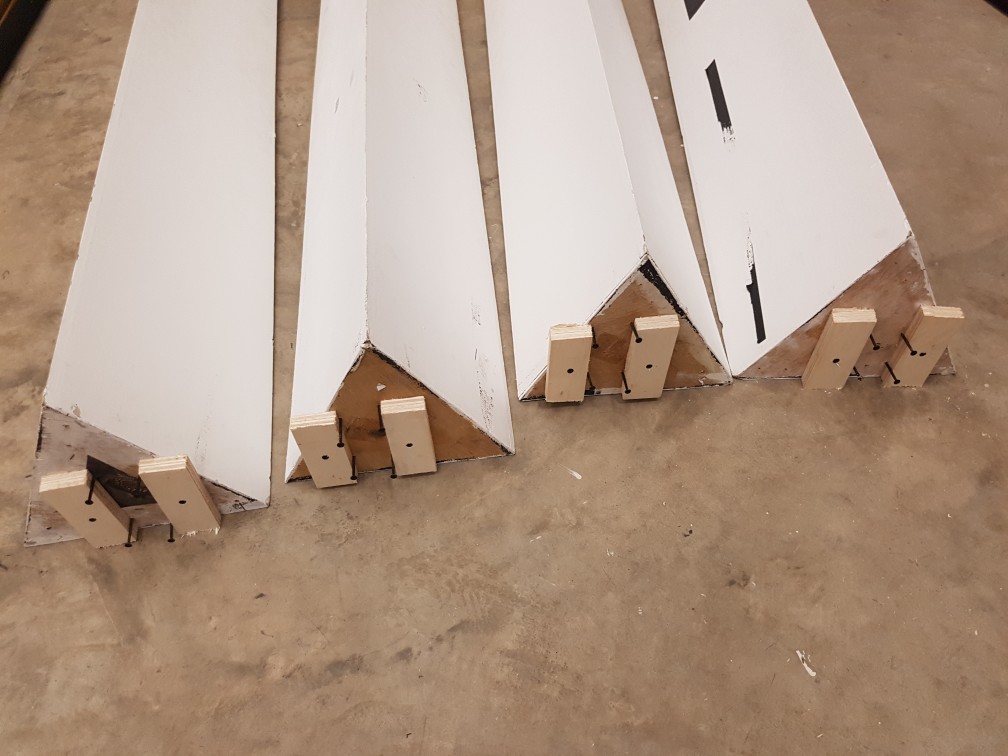

 Ive spray mount and tape it at the back on the floor before mounting the side wall as it is SOOOO much easier and nicer to do so!


 I really like the overall appearance of it for now!
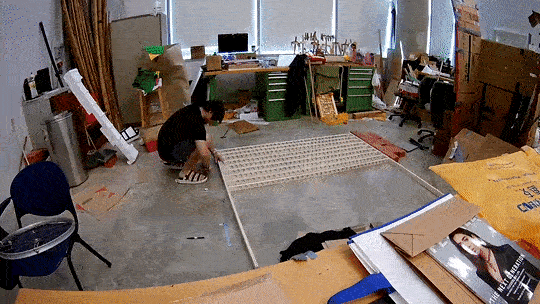


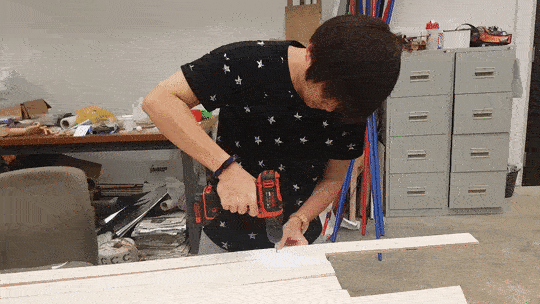
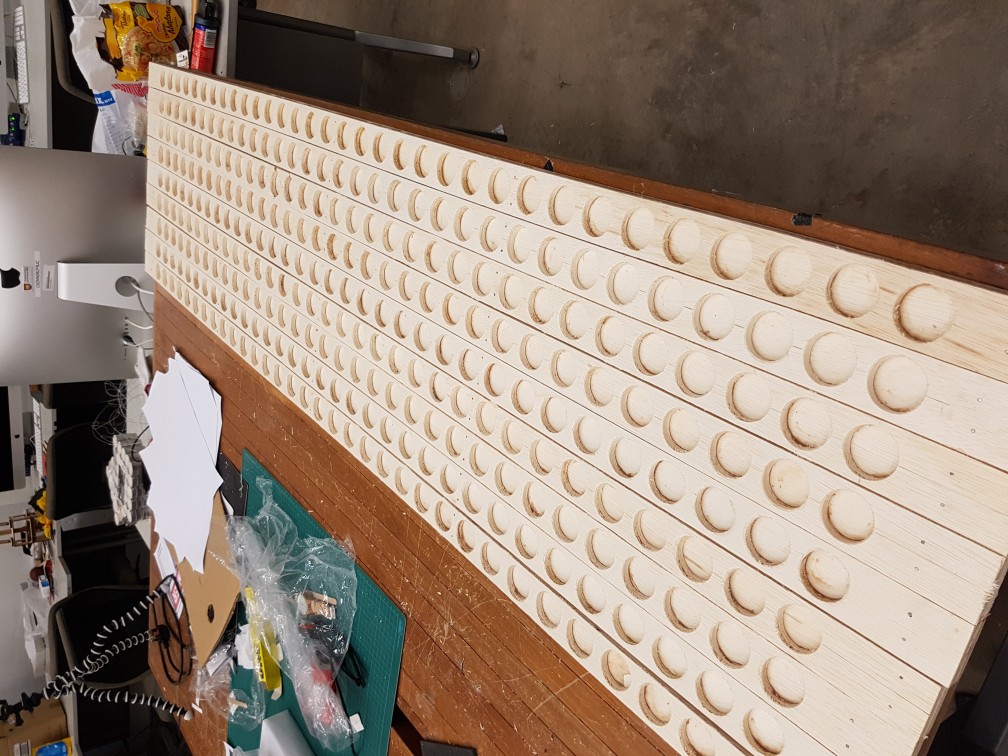
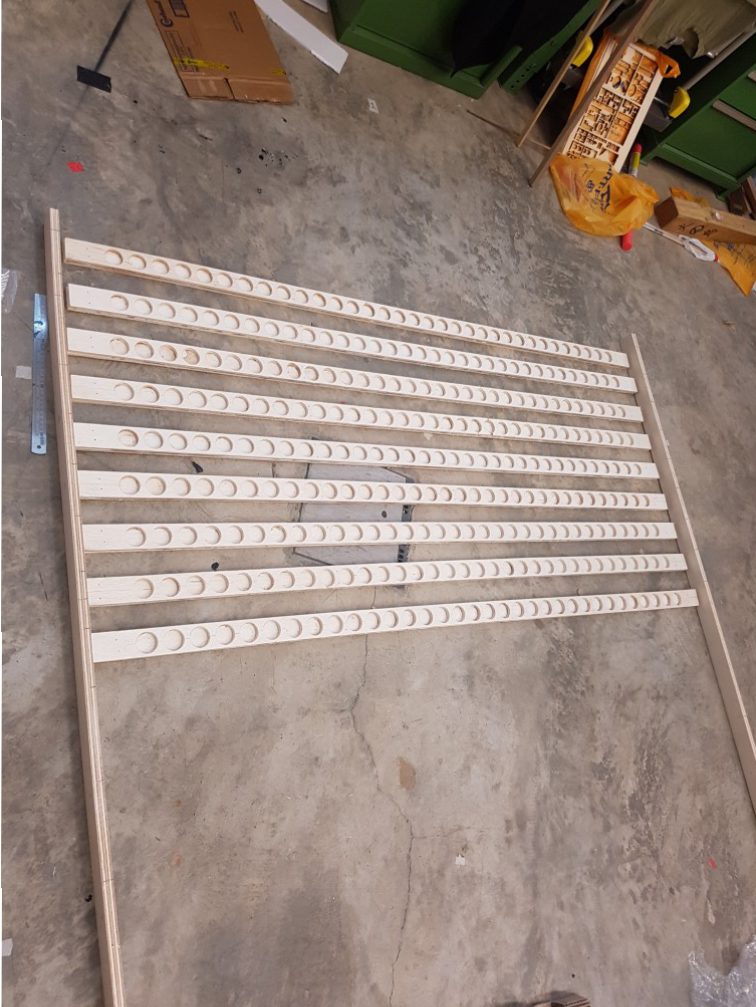
 100X speed and a total of 297 holes were drilled.
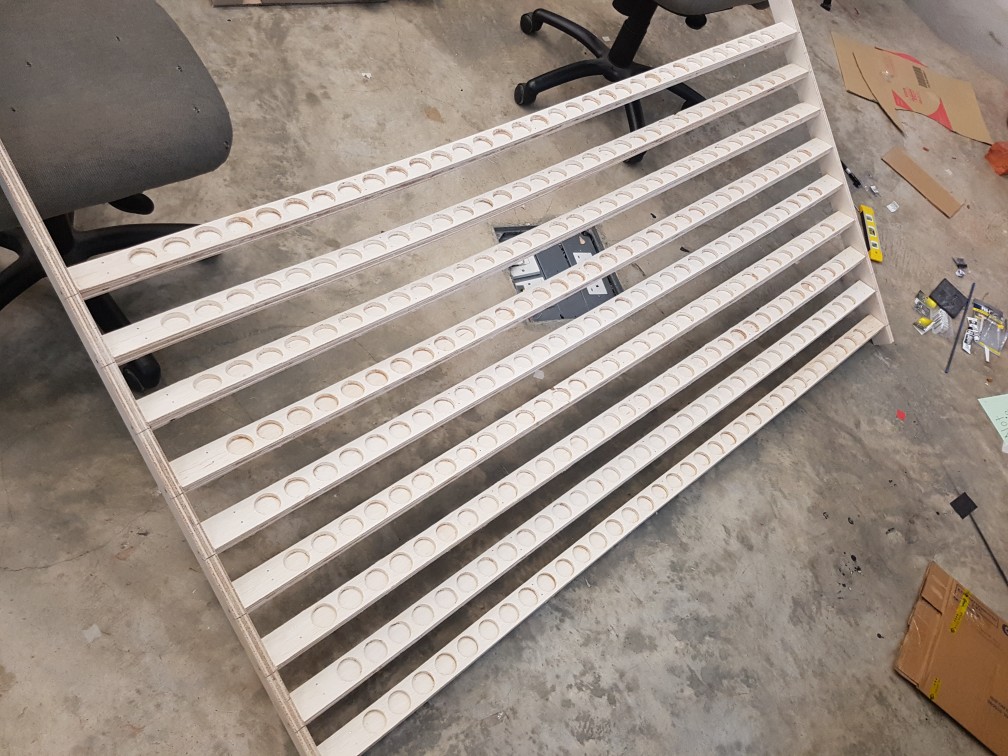
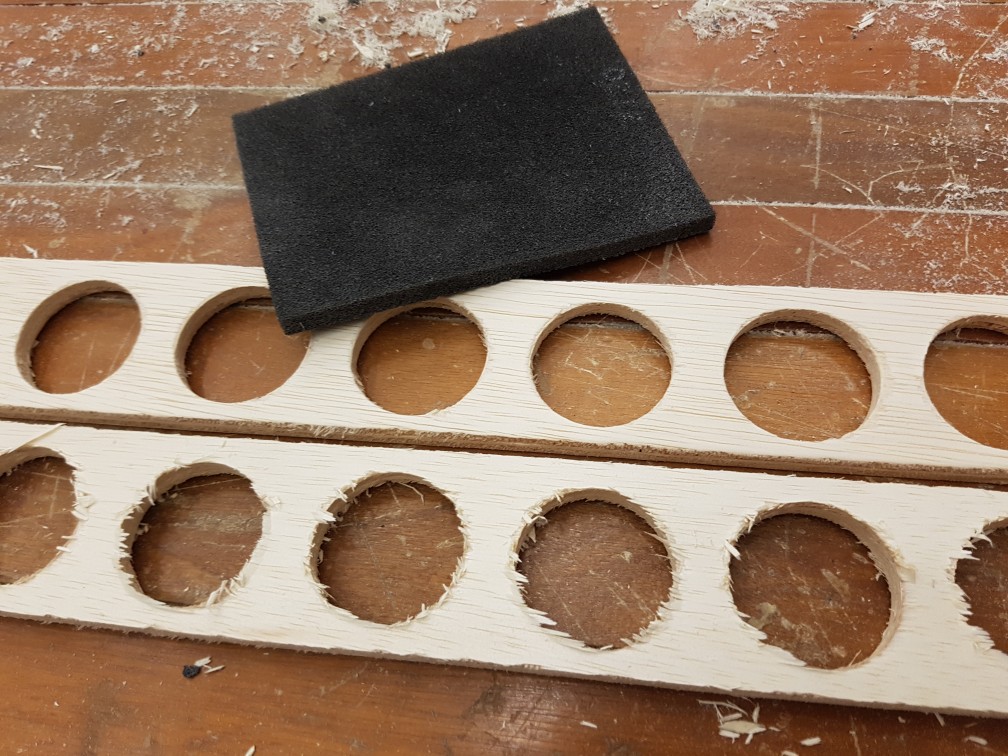 Sanding is so important for the finishing quality
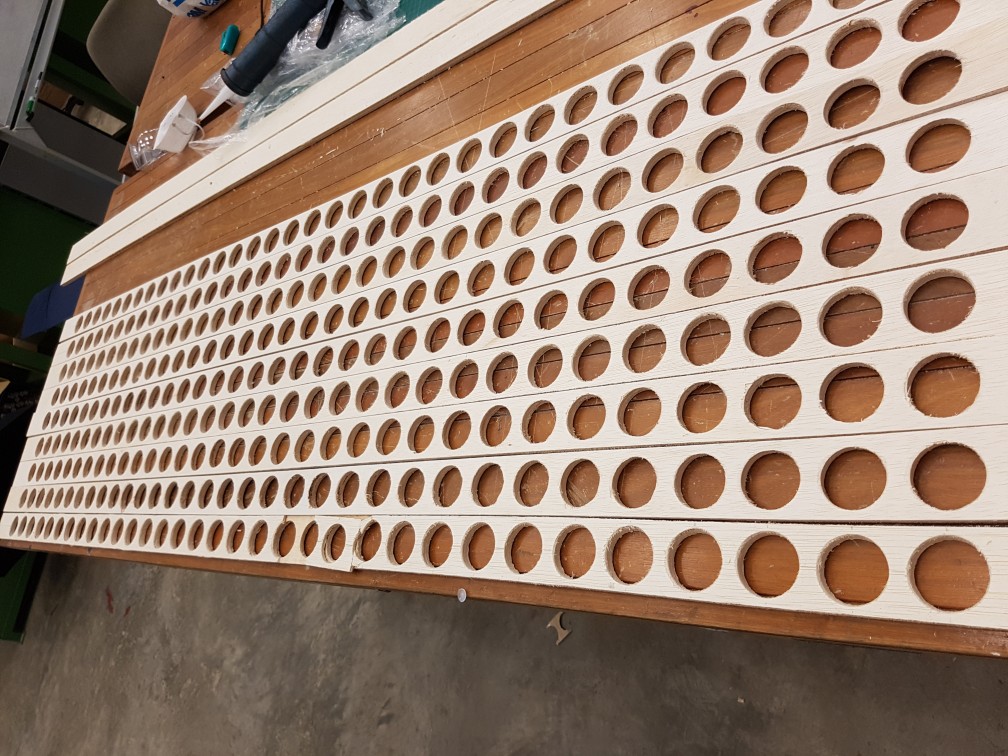 after sanding the 9 planks of 297 holes in total.
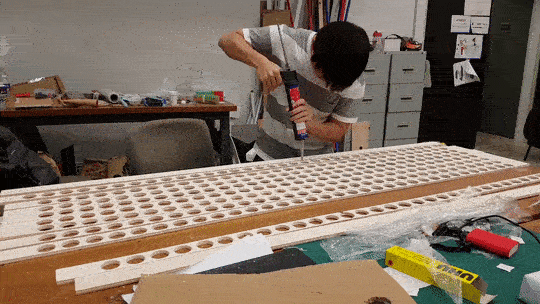
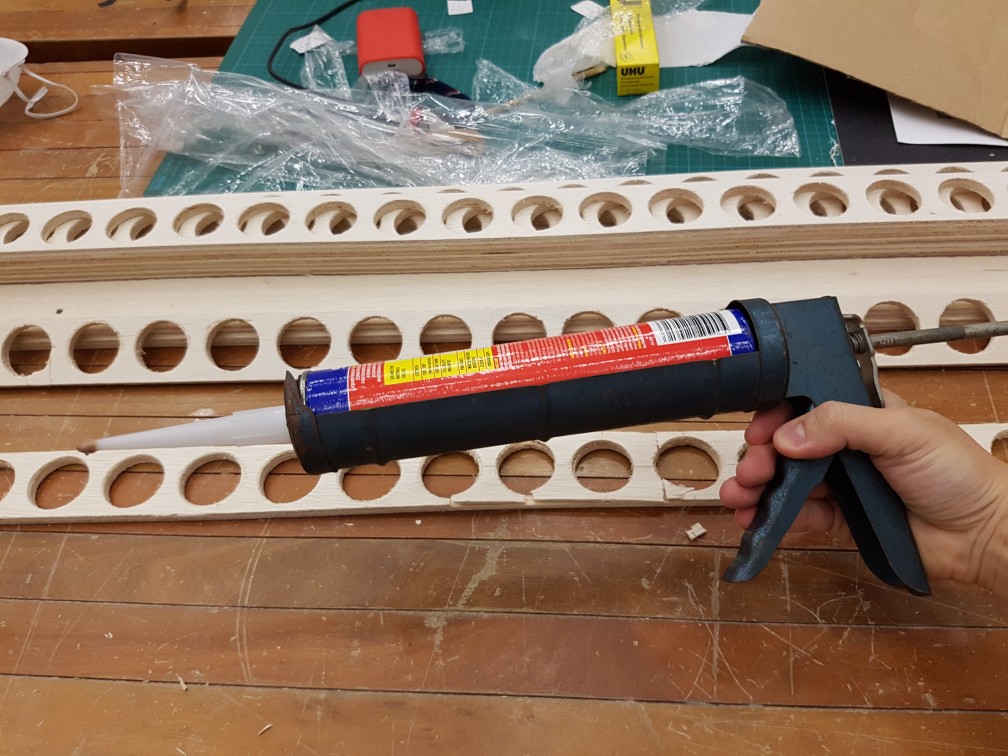
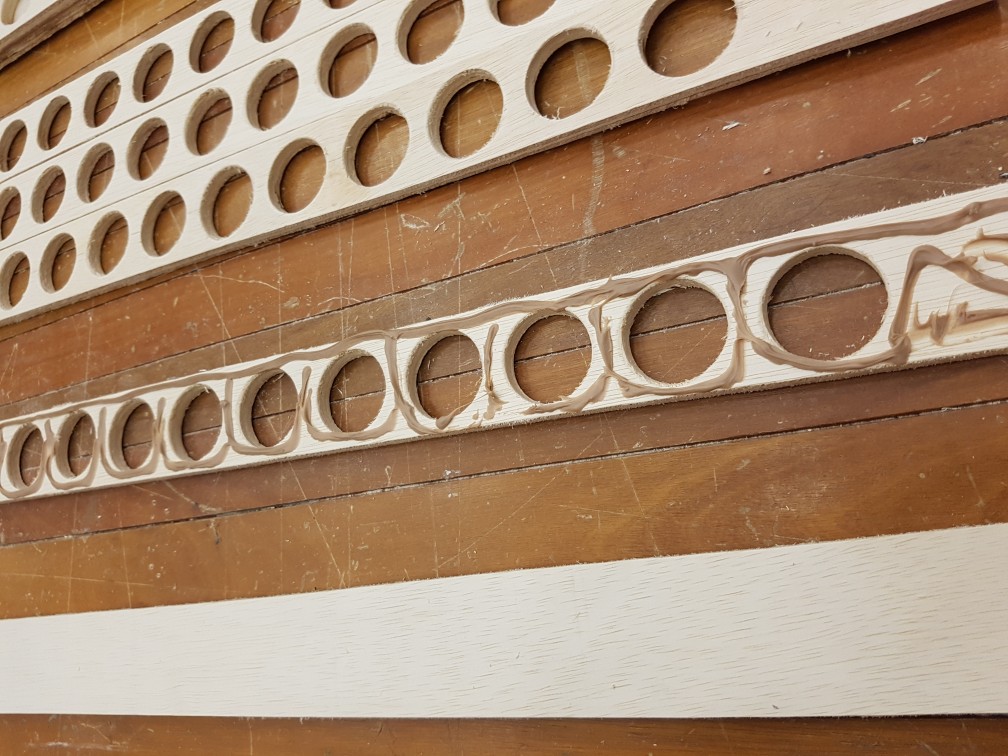
 after gluing done and excess glue cleaned up.
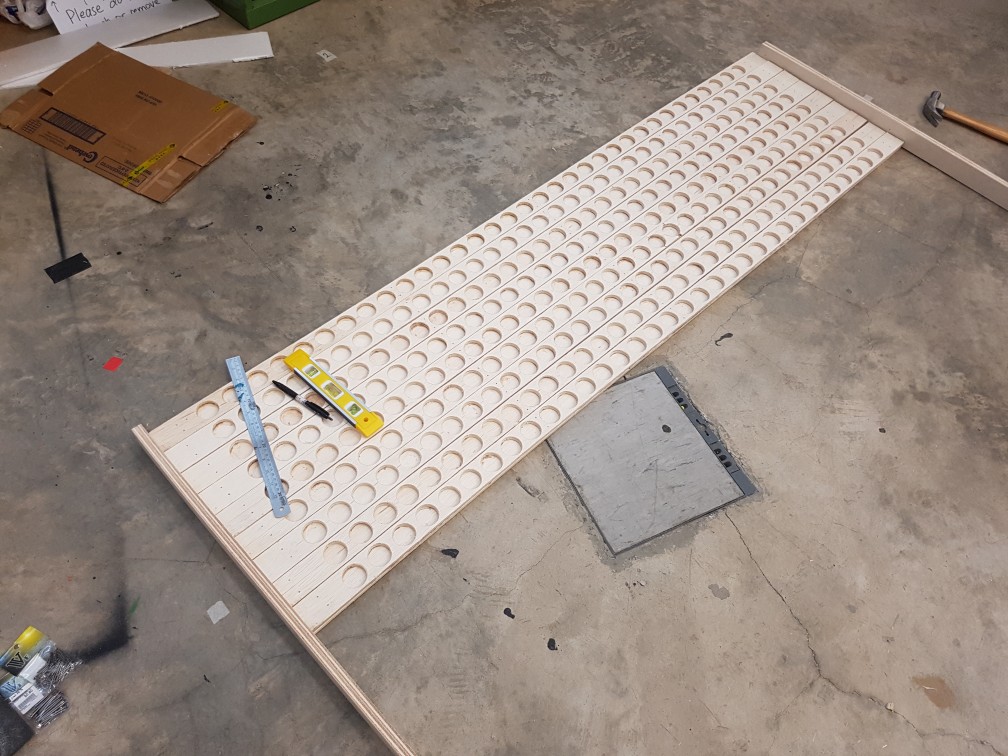


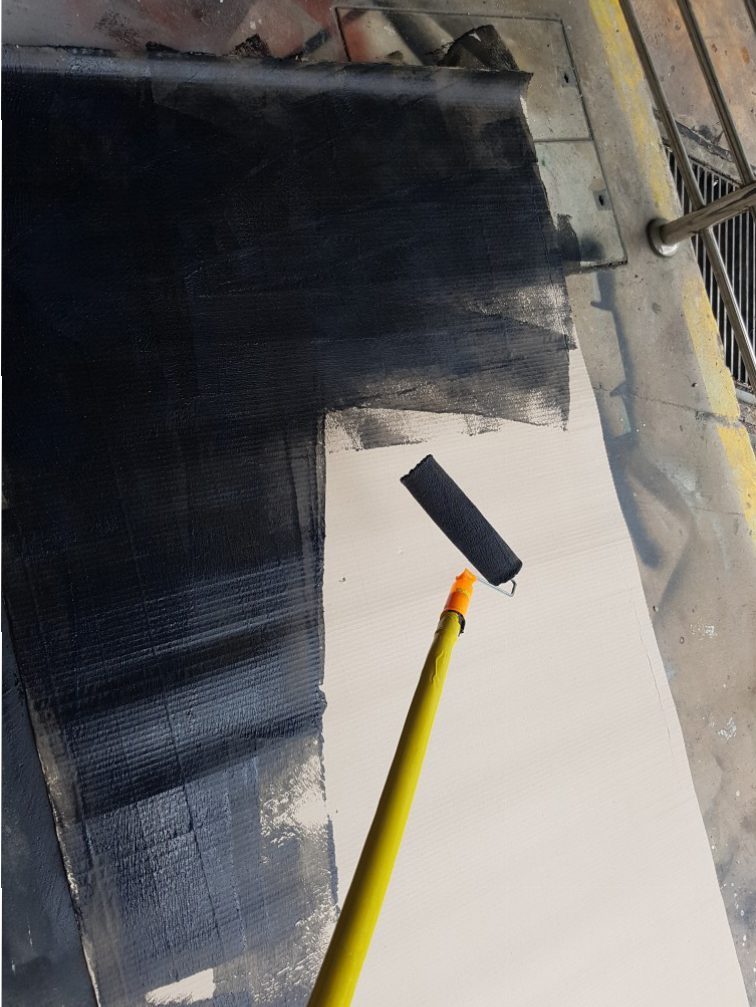
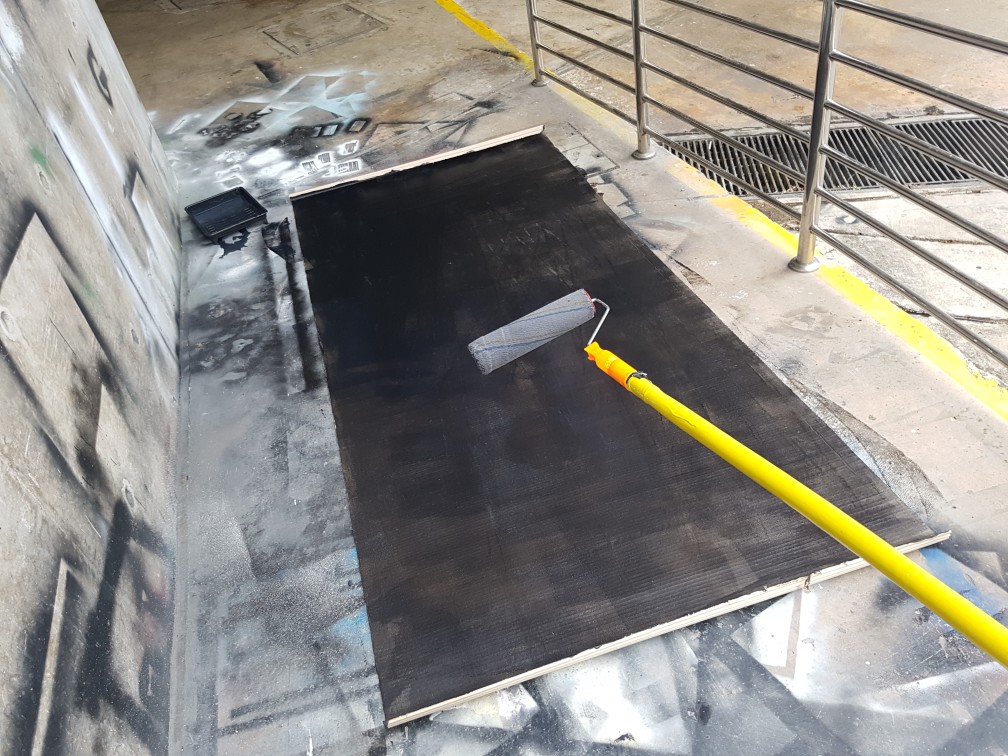
 Painting the 8 piece of cardboard roll with waterbased wall paint at 300X speed. the paint is rather expensive so only 2 piece were fully painted in black while the 6 rest were only somewhat black.