Interactive spaces: Light and Darkness Ver2 Analog + Digital

The final Video:

During the process of adding digital to the analog version, there were more failure than success done throughout, let me start with these failures (and additional works I did which were not used in the end)

The unused Animations

Right after the completion of the analog version, I thought of making a projection of animation from the back of the candles onto a sheet of translucent paper sticked behind the candle shelf, I tried to learn how to make an animation and so I asked my animation friends what program to use to do a simple animation and they suggested Autodesk Sketchbook, so I downloaded it.


The Circuit that works,(or didn’t)

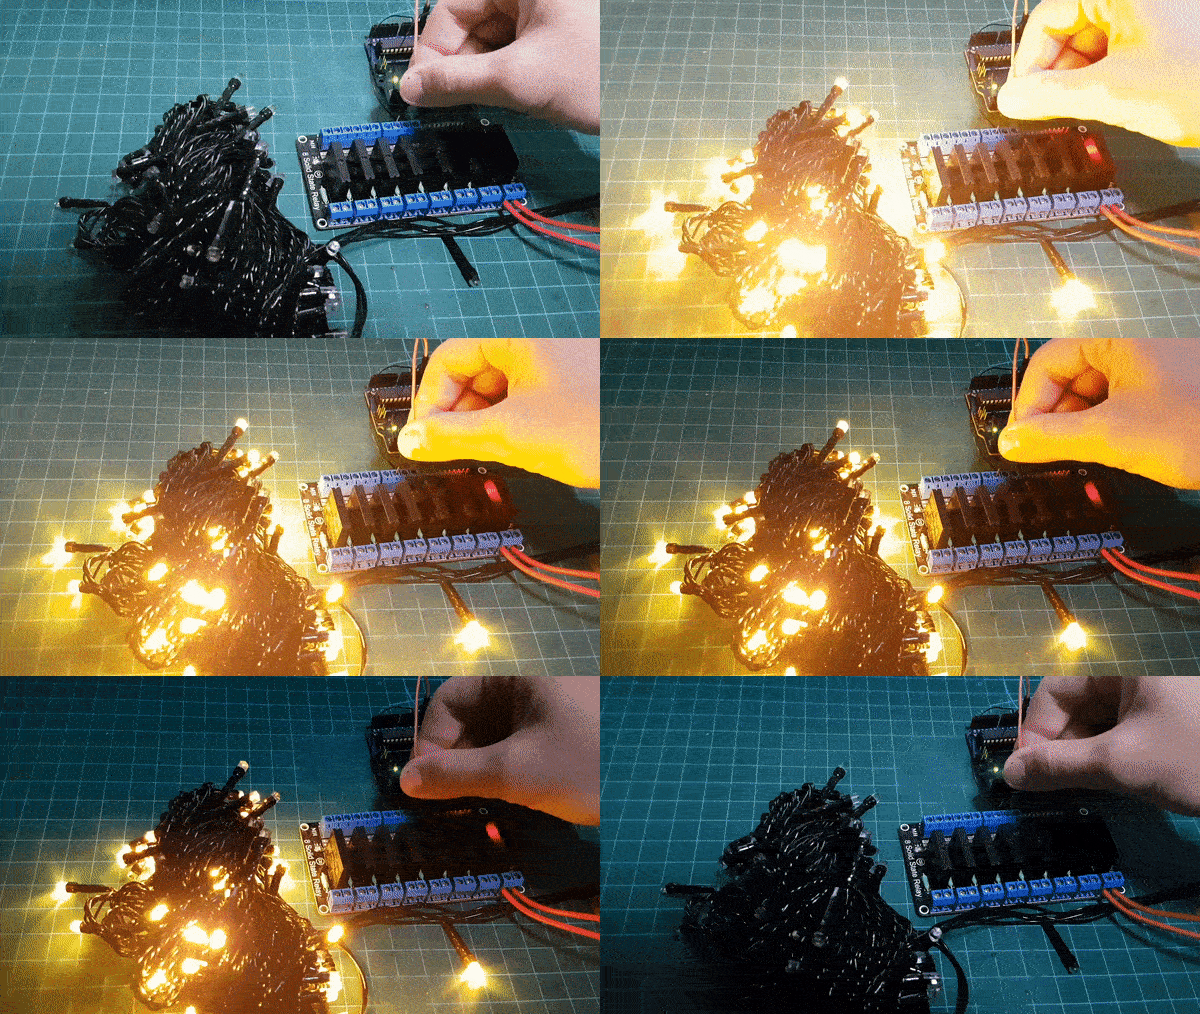
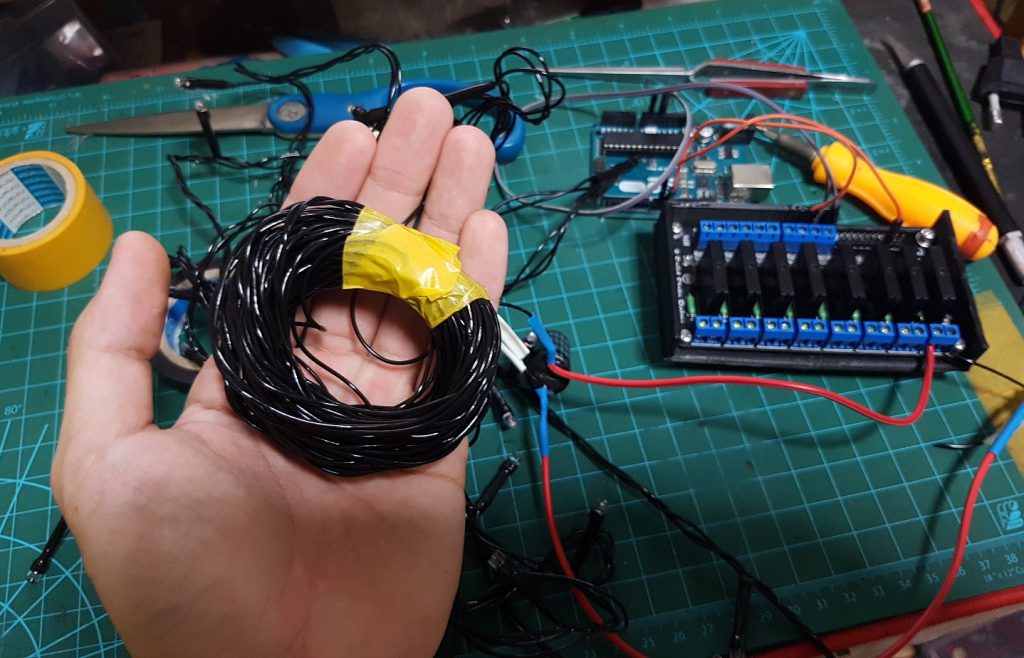
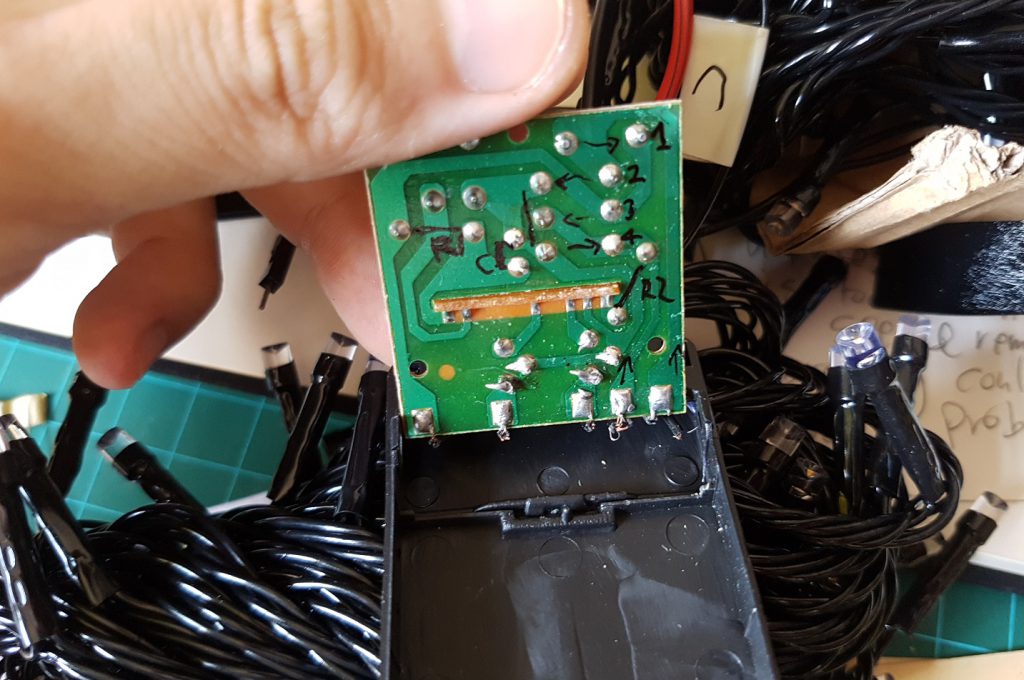
And then the Fairy light I bought from china arrived! I bought 220V fairylight because they are cheaper, and I did not expect them to be these problematic to deal with due to the dimming issue and also 220V = risky.

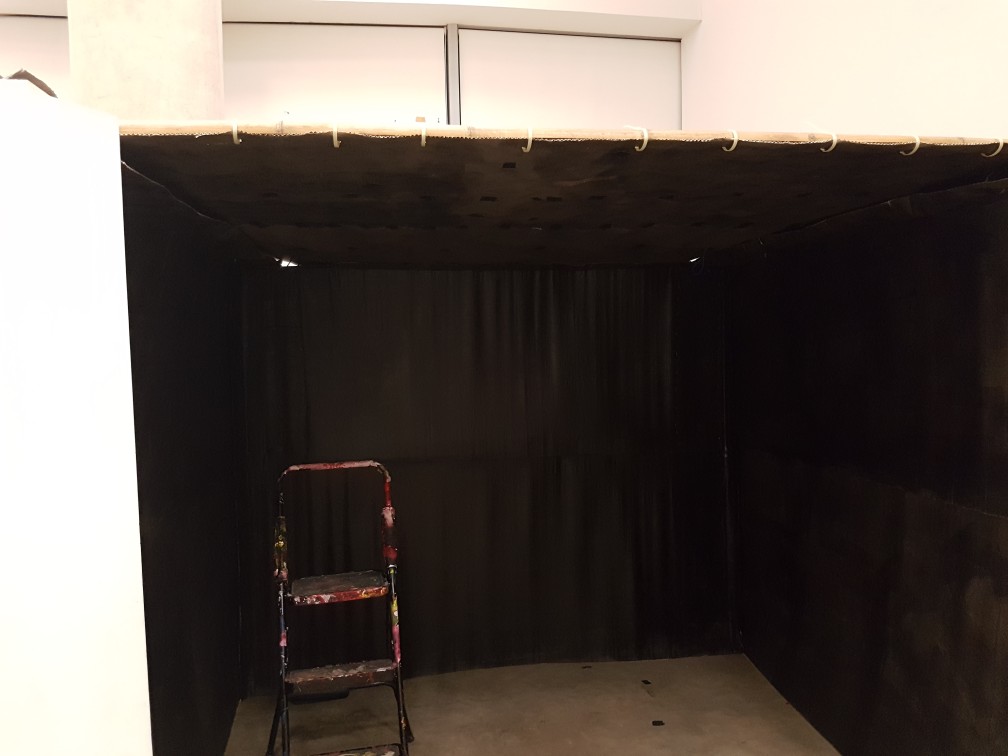
The additions to my “Dark Room”

Coding is a nightmare

as there are 297 candles, the coding to split each candle was simple but tedious, I am sure there are better ways to do thing, but the downside of using max msp was that the exact function to do things the better ways is really difficult to find, so… my mindset was “If I only know “IF”, I can also do unlimited amount of task, “IF” is as powerful as Hercules.” so… I had “IFs” my way through this project, literally. (just to be clear, I tried to find a better ways, and though I found them, but in the end it either doesn’t work or crashed my max msp.)


HEPHAESTUS SYSTEM FYP Presentation slides + speaker notes

Google Drive Download Link 


FYP part 5- Hephaestus Systems Planning + Software learning + Modelling + Gantt Chart

To understand what to plan for, I would need to understand the nature of the project. As the task for completing a physical + mechanical project differed far from a virtual-screen-based project like games and visuals. There will be more restrictions in doing a physical project than virtual one due to the nature law of physic, material and cost.

Money Problems:

As for building a few robots will cost me quite some money, budgeting will be even more important than time planning, as for where the monies come from, I will probably save up from selling things online and work studies and treat it like a commitment because I think that no one is forcing me to do anything and its all my resolution to fund my own project.
I had thought about asking for sponsorship and that may even happen if I have to. (especially for the batteries that I will be using in the robots, these little things must be of great quality due to safety issues while a good + durable + high capacity + low weight battery cost about $500 and up each and I would need at least 3(excluding spares), which I am totally unable to afford.)

During this few weeks, I had been learning Blender (3D modeling Software) from scratch, it is really difficult to pick up, but i think the potential of Blender is far beyond what I need, so I will stick to learning this super useful program.

I’ve tried to follow a few tutorial and learn the basic of Blender from youtube, this was my first blender experience in building a 3D model.

I stated to learn by building chest as it got similar shape of what I want to produce, and after this, I used the skills i learnt from here and applied into the attempt of my R1 Robot.

the overall shape of this is rather similar to the chest so it took a while to get used to this, however after building this, I realized that I don’t know how to make the top of the robot. So I progressed into another tutorial.

and this was the over shape that I made and I am pleased with it for a first timer effort, although it took me 2 days to reach here, after this, I continued to build the details at the side and front…

Side view

Front view

and I decided to make it like a production poster so I rendered another isometric view to make it to looks legit for my presentation.

In blender, there is a animation function and I thought it would be really cool if I can learn it, so I went ahead to learn it from an online tutorial and produced this.

After I feel that this is good enough for the presentation, I tried to 3D print the model out, it was then then I realized that my model was full of mistakes and it only look good, in actual fact, the surface of the robot was really badly made. So the effort I made in this 3D model got to the furthest here, I will definitely be modeling everything again for the actual robots that I will be building for this FYP as this model doesn’t work, however this was a good learning experience for me and understand that I need to build the model’s surface properly.

the surface detail was not able to be printed due to the mistake I made during modeling, which creates an non solid surface and therefore not printable.

and then it was attached to a small remote control car for proof of concept to be used during the presentation.
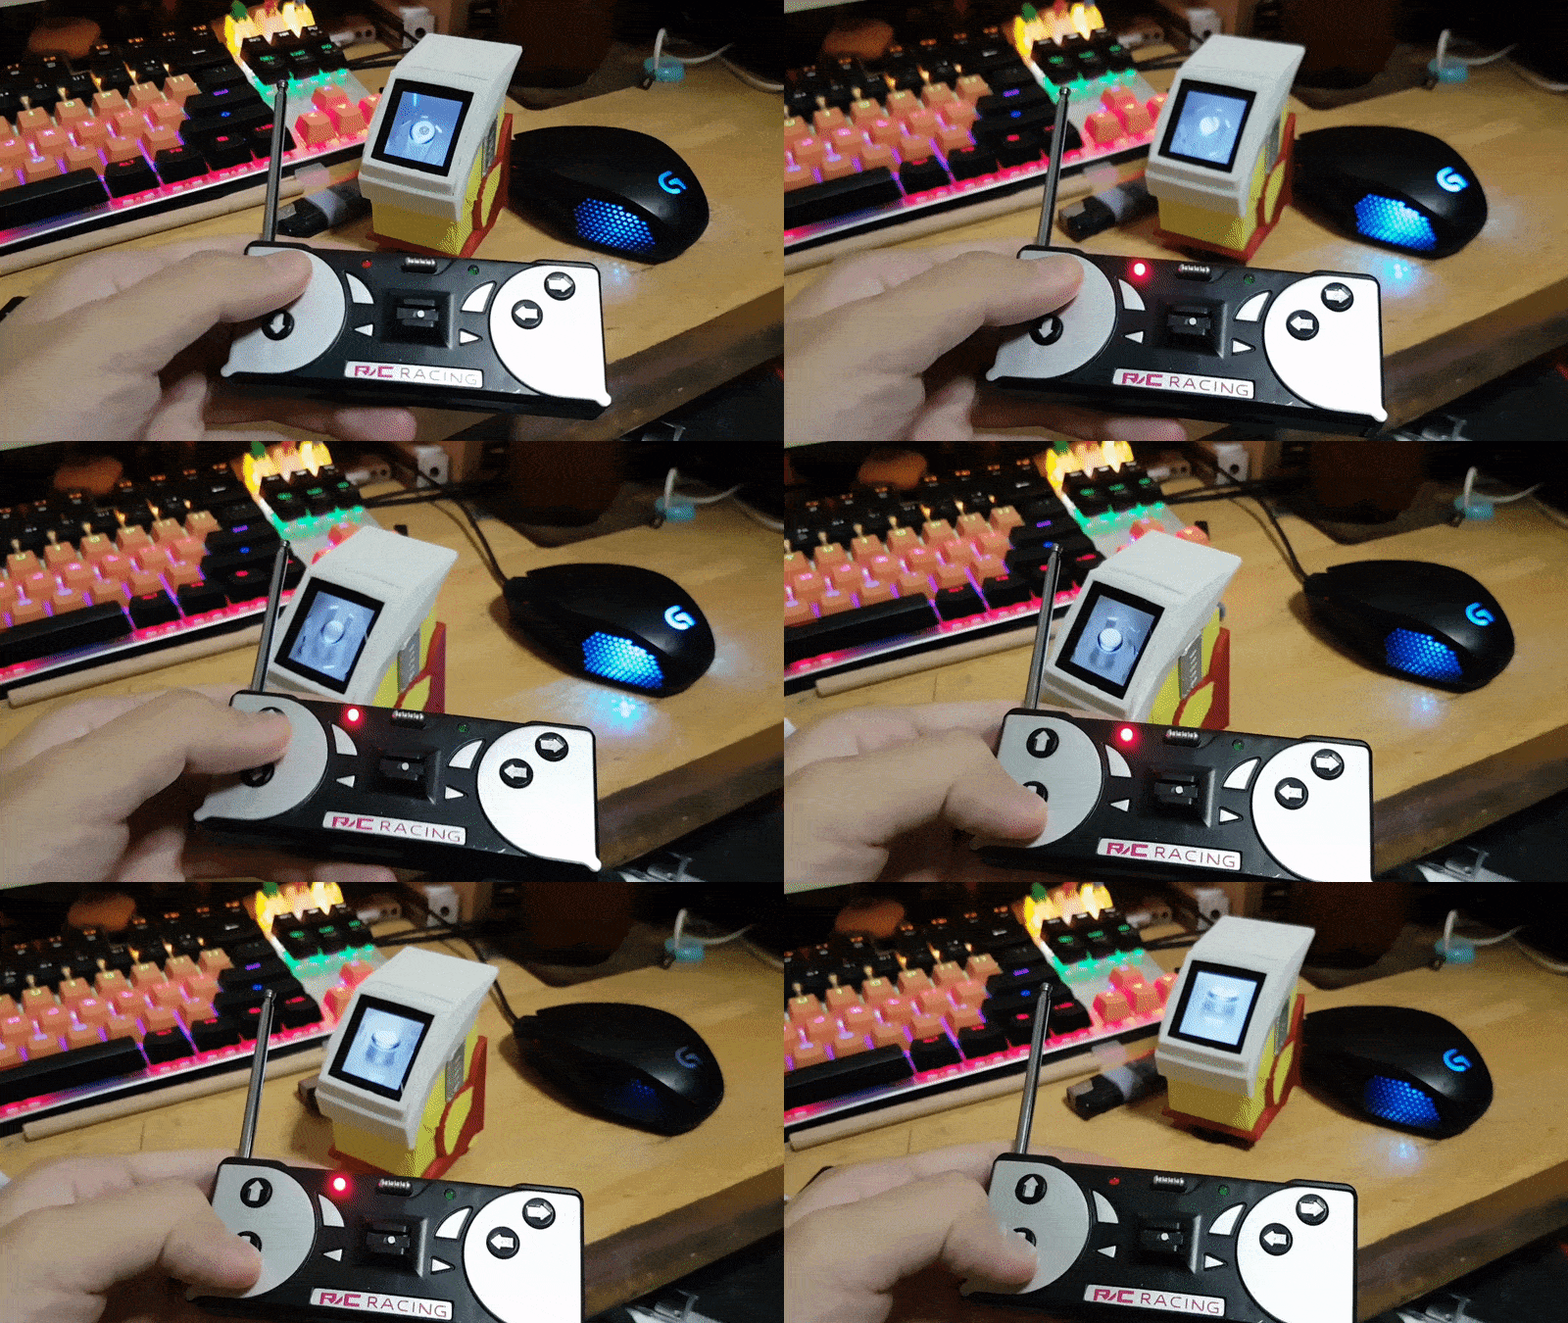
now, the Crowd Favourite…..
Mr Gantt Chart!
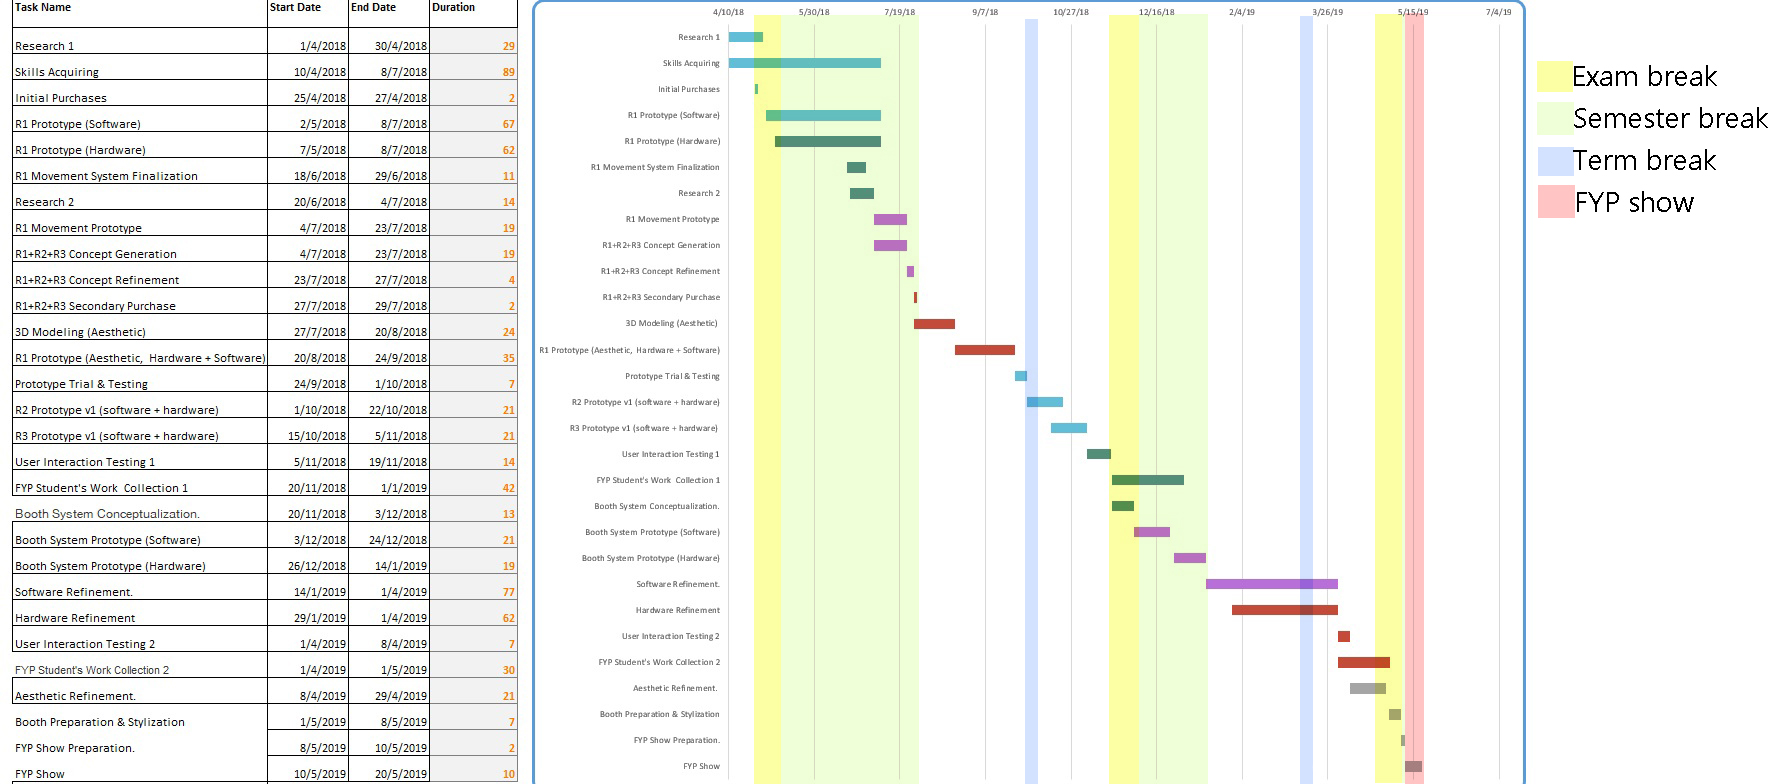
I started the Gantt chart at 1st of April 2018 as it was all research done till this point.

Within each task, there will be multiple small task which falls into the same category and I will explain them as well as a short description of what it is about here in this post.

Since my project will be physical+mechanical+ technological+ I need to get student’s FYP work early, it is really important to start the execution really early and throughout the holiday because building of the actual robot and troubleshooting the system will take quite some time, and I have to ask all FYP student to submit their work to me really early to make everything work.

Research 1 (1st -30th of April):
I think this is the most important factor of the project, good research done here will help me to reduce work greatly in the future.
Researches up till this point (16th April) – Similar Existing Products, potential parts, platforms for interaction, things I have to learn, Inspiration of artistic works, Parts price comparison, Target market and segmentation, 

Skills Acquiring ( 10th April – 8th July):
There are many lacking knowledge and skills required for me to complete this project, like the list of things to learn, I need to learn a few of them to make sure that my system could work. Also, I need to pick-up 3D modelling skills as the knowledge I have now is insufficient, In the past few days, I’ve started to learn Blender, which is a free software for 3D modelling and is great for my project, still, time is needed to hone the skills hence the long period of time allocated to learn these skills.

Initial Purchases (25th April – 27 April):
One of the biggest way to save money is to purchase them from china, which will take weeks for the item to arrive, hence it is really important to buy research about the parts required and buy them early to use the least money for the best result. Also, initial purchases is set to 25th because I will be presenting on that day, if no major changes were made, I could only really consider what to buy after that.

R1 Prototype (Software and Hardware) (2nd May- 8th July):
This will go hand in hand with skills acquiring, as I need to have a goal of what exactly to learn, it is the best to do while learning and learn while doing. R1 is the first Robot that I will be building of the set of 3, which will be the bare-bone of the Robot basic functionality and act as a confirmation to the general systems and parts requires to build R2 and R3.

R1 Movement System Finalization (18th June – 29 June):
As movement is really difficult task to achieve while concerning about the safety of the people and booth, (It is really easy to make something move, but it is much harder to make it move while not destroying things.)
so I gave more time for me to think about how I will achieve this.

Research 2 ( 20th June – 4th July):
When I think of robots, I will think of Japan, maybe its just me since I was influenced by the robotic culture of Japan when I was young, so I will travel to Japan during this period to experience their advancement of robotics first hand. (Place which I will visit :National Museum of Emerging Science and Innovation (Miraikan)Unicorn Gundam in Odaibabot at Haneda AirportHenn-na Hotel, Robot Restaurant (not sure about this).

R1 Movement Prototype (4th July-23rd July):
Start to prototype right after I am back from Japan from experiencing their robots and hopefully get to see how they works in Japan.

R1+R2+R3 Concept Generation and Refinement( 4th July -27th July):
Since by this point I’ve already understand what parts R1 requires and already have the measurement of parts and sizes like motors and screen size, I could think about exactly how each Robots will look like as they will look different and have different functionality.

R1+R2+R3 Secondary Purchase (27th July – 29th July):
Knowing what parts each robot needs, I could finally purchase the basic parts for R2 and R3, plus the add-on function for all 3 robots(each robots have different functionality so require different parts)

3D modeling(Aesthetics) (27th July – 20th August):
This will be the final appearance for all 3 robots, 3D modelling done in blender.

R1 Prototype(Aesthetics+ Software + Hardware) (20th August – 24th Sep):
3D printing of all R1 modeled parts, fix them together and make sure the software and hardware works, if it doesn’t, edit and reprint of the parts.

R1 Prototype Trial and Testing ( 24th Sep – 1st October):
when all parts work together, test the robots and system in a location to make sure everything work as expected and fine tune.

R2 and R3 Prototype V1 (Software and Hardware) ( 1st October – 5th Nov):
Since the primary component and system of R2 and R3 is the same as the already working R1, these 2 robots will require lesser time and the main portion of this 2 robot will be in 3D printing and executing the different function in them.

User Interaction Trail and Testing ( 5th Nov – 19th Nov):
Testing and making sure that there are no major bugs in the system, touchscreen and functionality works well.

FYP Student’s Work Collection 1 (20th Nov – 1st Dec):
At this time, all 3 Robot can roughly work and I’ve already document these robots, so instead of just verbally telling them I will help them in making their FYP better, It will be more stimulating if I show them a system which already work and ask them to prepare a document for this system for their own benefit. (it will not be easy to ask people to do extra work, so I need to make sure that I sell my Idea to them really early*That’s 1 semester before the end of FYP* by making these robots cool and they will be losing out if their work is not in the systems.) Also, at this point they don’t have to send me any work and it is already the semester break so they have some time to think about what they want to prepare for the systems.

Booth System Conceptualization.( 20th Nov – 3rd Dec):
By this time, I should have the system of the robots working and I need to incorporate that into booth for our FYP, and this will probably be the time which we will know where our FYP will take place(in school or in public) and this will change how the booth system drastically, so it will be better to place this at the end of semester break.

Booth System Prototype (Software + Hardware) (3rd Dec – 14th Jan):
after the conceptualization, prototype will come next and I hope to have this done before the start of semester so that I will have the fully working prototype done and having the whole semester to polish my work, troubleshoot and bug fix.

Software and hardware Refinement (14th Jan – 1st April):
Software and Hardware refinement will take up most of the time as the real problem will usually emerge at this point of time where some shortcoming of the project will be apparent, also, there might be good suggestion/advice by people along the way and this will be the time to incorporate these wonderful suggestion into the project.

User Interaction Testing 2(1st April – 8th April):
Testing of the final system, to make sure all parts and component work as it should. if problem found, atleast there are time to replace these components.

FYP Student’s Work Collection 2( 1st April – 1st May):
The final collection of (Hopefully) all of the student’s work and adding them to the system once it’s collected. At the very least, there will be the basic information of every student which is uploaded to the FYP website.

Aesthetic Refinement( 8th April – 29th April):
The polishing and painting of the 3 robots and making of props/items for the booth. (when all software and hardware is working)

Booth Preparation & Stylization (1st May – 8th May):
Production of prints for booth, name cards/postcards and such.

FYP Show Preparation. (8th May – 10th May):
The actual preparation of the Booth and to bring the robots down to the exhibition area and set everything them up.

FYP SHOW( 10th May- 20th May):
Make sure the show runs smoothly, on-site repair if needed.


CATEGORY

FYP IDEA: To create a system which will benefit the FYP students and gives the guest an improved visiting experience.

researches,

component (pricing, compatibility, functionality, component sponsorship(especially for battery))

softwares (research for platform + udemy courses)

movement (sensors, moving system + hardware) (main moving calculation should be done on the booth computer and transmit over to robots due to power issue, (more computation power it runs, more power it will draw)


FYP General Direction 2: Target Segmentation + Initial Approaches.

After the previous post here and presented it in the class, Kristy asked me about what group of people I would like to target for the direction of the FYP. I had not really thought about that before it, but after a week of researches and further thinking about the constraints which I will probably face while doing the FYP, I came up with a few criteria for choosing my target user so as to segment the broad differences of people around the world.

Geographic:

Firstly, people from the developed country. Because I am currently living in Singapore which is relatively advanced, my cultural upbringing, my daily life consist mostly of what a citizen from a developed country would experience, since I do not have sufficient understanding of what I am not used to and could potentially do more harm than good in a developed country, by targeting a people from the first world meant that I could get the researches done and the feedback  I need readily.

Next, out of the developed country, my interest lies in Asia country, more specifically, Japan, South Korea, urban China, Taiwan and Singapore. As I am more inclined towards the cultural aspect of these countries, moreover, these countries are relatively cheaper if I am to go there do my researches(there’s a possibility that I might do so.)

Socio-demographic:

For the FYP, I would like to produce something which could help the life of a students, this is because students are relatively similar throughout the countries which I am interested in. Also I would like to do something that could help the student of age 21 to 28, primarily because most of my friend falls within this category, this is also the age group who started to be legally labeled as adult, although none of the student would seem themselves as one (including me).

Personality:

Mainly someone who would like new technology and with short attention span who are open to changes. This is because I would like to produce something at the end of the FYP which will be tapping into the current technological ecological system like the smart phone or computer, the short attention span of the millennials seemed like a negative aspect, but I think that there are potential to tap into these “negative” behavior and make it into the strength of my FYP, like how the fidget spinner swept the trend a year before, something that make no sense will seemed like an good product in the eyes of the beholder.

Initial Approaches :

For now, I’ve got 4 ideas that I think that it might have some potential in it.

First, it is to create something that will help students in taking notes/writing/ drawing, like a Wacom Cintiq for computer application, or specially designed for note taking like the Wacom bamboo Folio or Sony Digital Paper,  however the Sony digital paper and Cintiq were designed for professional uses and their price point is rather steep for students. The Bamboo Folio is placed in the zone for note takers and scribblers to write/draw on the paper and still have an digital copy of it at an reasonable pricing. These were wonderful technologies which helped greatly in the transition of going from the traditional paper to the digital note taking, which the millennials spent the first half of their life having notes on paper while the recent half in digital notes, while not all will prefer digital notes over physical one, it proves to be a really good tool as the cloud sharing enhanced the capabilities of these students.


Second idea is to create something that will help to manufacture prototype at a better standing, be it cheaper or faster. As I would like to create something like a 3D printer specially for design student who need to produce physical work throughout the course of their creativity studies, although the current 3D printers in the market generally which suits the need of almost everyone who needs it, there are still room for improvements for these wonderful machines like the ability to print in different materials at a cheaper price. How about 3D foam printer? 3D Glue printer? maybe, maybe not.


My third idea was the idea that I was considering for the longest time and currently is inclined towards, a human powered electricity generating machine which not generate electricity, it would generate digital currency that represents “clean energy points” which could be used in various digital function like an in game currency or the capability to exchanged into discount coupons to be used in real life shop. While this may seemed impossible that there will be any market for this, it might actually be used in the future due to a few reasons..
1) User could use this as an emergency charger to charge their smart phone, which the battery usually last only half a day and the millennials could not live without their phones.
2) The rate of obesity is rising and partly it is due to the lack of exercise, these human powered electricity generating machine could be viewed as a workout to promote better health, at least by a tiny bit. Also, Gamer rarely exercise, so if there’s a game that encouraged them to play by exercising, there’s a possibility that they might. (like what Pokemon Go did when it was first launched, Gamers are walking more than they usually would because of the game.)
3) Incentives will be given to the users and participating shops, by generating electricity through these machines, not only the user could charge their electronics, they could save a slight amount of bills and earn discount from the shop. While participating shop would gain more customer as by having their shop appearing in the app for exchanging, it serves as an advertisement to their shop. Moreover, by participating, the shop could have the positive label of “environmentally conscious”, “taking part to increase clean energy production” which it seemed like what a medium sized cooperation would do for their branding effort.


My last idea of this post is simplest and might be applicable to everyone rather than for the targeted audiences… I would also like to create playful machines, systems, or applications that make people smile through the interaction, if I went along with this idea, I will probably create a diverse series of artifacts(digital or physical) that is funny in hope that they will bring the happy memory along with them after the FYP show.


According to Neurologist David Eagleman, there’s a scientific reason why our first(few) idea isn’t usually our best one: Our brains are lazy, and the first idea we have is usually the handiest idea, rather than the best idea. I understand this fact that the ideas that seemed appealing to me now might not be the best idea, so I am still coming up with new ideas that could contest the idea I am currently having, but for now, that is all I have.


FYP General Direction 1

In my initial general direction, I think that there many approach to consider what kind of FYP I would like to achieve in the end… Maybe instead of thinking what I can possibly do for my FYP, I feel like it is better for me to think about this question- “What can my FYP do for me?”

GIf from https://giphy.com/gifs/thinking-SabSYEpsVh0di

By this time, I already understand what is my strength and what I would love to do, I think that I am relatively skilled in handicraft, building physical object and would love to build challenging mechanism like my Obseleting Instrument I did for Interactive Devices in year 2.

But will doing what I am good in and what I like for my FYP really help me? It might look good in my portfolio, but at the same time, it simply means that I will be staying in my comfort zone, and I am not saying that there’s nothing for me to learn by doing so, but rather, it means that I am locking myself into just doing related project and narrow down on the infinite possibilities that could be ventured into an unexplored territory that I did not previously knew that I like. In the long run, doing something which I could achieve might not be that great afterall….

If I think about FYP as a “One Year Summary Exercise” for the 3 years here to showcase what I’ve learnt in NTU, the result of that FYP will be way different than if I were to think about it as “One Year Opportunity to learn and explore”. but the question here is….. How would I want to think about FYP as? And seriously, I dont know for now…

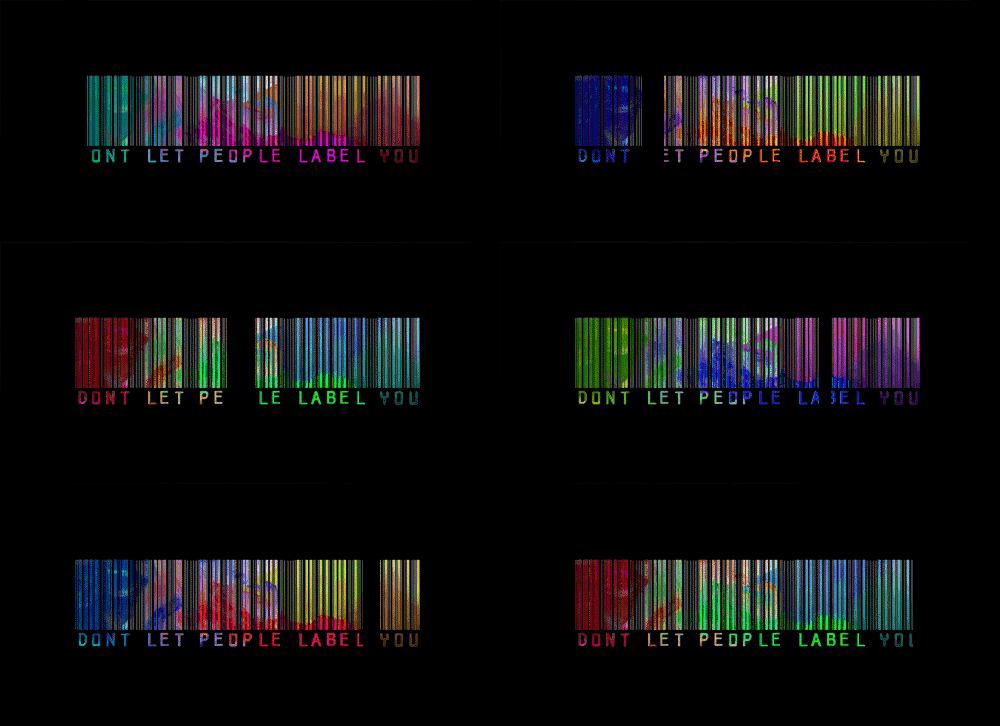
If we think about FYP in another perspective, It is a small label that will be attached to us upon graduation, we write this label ourselves, work hard to earn this label and once it is on us, there will be no way to change it. Of course, I am not saying that FYP will be super important to all of our life, but the fact that one year of preparation just for the moment of showcase, if its good, good for us, but if its bad, forget about it, there’s still many other things in life which will be more important.Label Yourself Before They Do

So, back to the question, “What do I want the FYP to do for me?”
Now I’ve got one year to do whatever I want,(I love Interactive Media~~)
this is the time to ask… What do I really want?
Doing something beautiful and looks nice with no meaning? Definitely not my cup of tea.
Artistic pieces with deep meaning that people will ponder over it? Maybe? But I am too shallow for this.
Pure visual/ sensory inducing project?  unless one that will help the scientific/medical field.. for art purpose, not interested.
something easy?
It’s easy to list down what I don’t want but what do I really want?
I can only think of one right now….

I want to change the world at least in a minuscule way and leave some footstep on the sandy beach(not literally) before I die. I would love to have an impact on people’s life in someway, somehow.

Big dream require small steps, maybe, just maybe, this FYP could be these small steps….

I have this A5 note as a motivational quote behind the desktop screen which I wrote long time ago for myself

“Create something that I want but unavailable in the market, not something that would sell.”  – ZiFeng

Now, building on what I mentioned above –“One Year Summary Exercise” VS “One Year Opportunity to learn and explore”, now I’ll nominate a new contender – “One Year Opportunity To Make an Impact/Benefit Others” and truthfully speaking, I like the latter the best and for now, it will be what I would like to achieve for the FYP.

All the celebration GIFs you never knew you needed by MrM3on

Did I change my question from
“What I can do for my FYP?”
to
“What my FYP can do for me?”
to
“What my FYP can do for others?”?
Yes I did.
And I quite like my direction for now, unless I’ve got a better direction that I could come out with before the end of this semester, I will probably go along the path of “Impacting/benefiting people” and think of what I could do along this path. (I am already excited thinking to think of ideas)


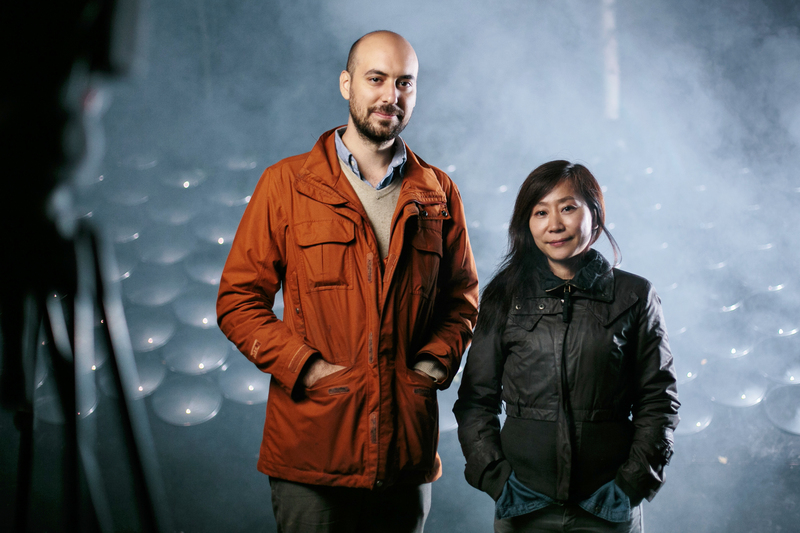
Emergent visions: Kimchi and Chips (by Bao, Fabian and Zifeng)

LUNAR SURFACE (2014, 2015)

In collaboration with photographer Eunyoung Kim.

LUNAR SURFACE by Kimchi and Chips, In collaboration with photographer Eunyoung Kim.
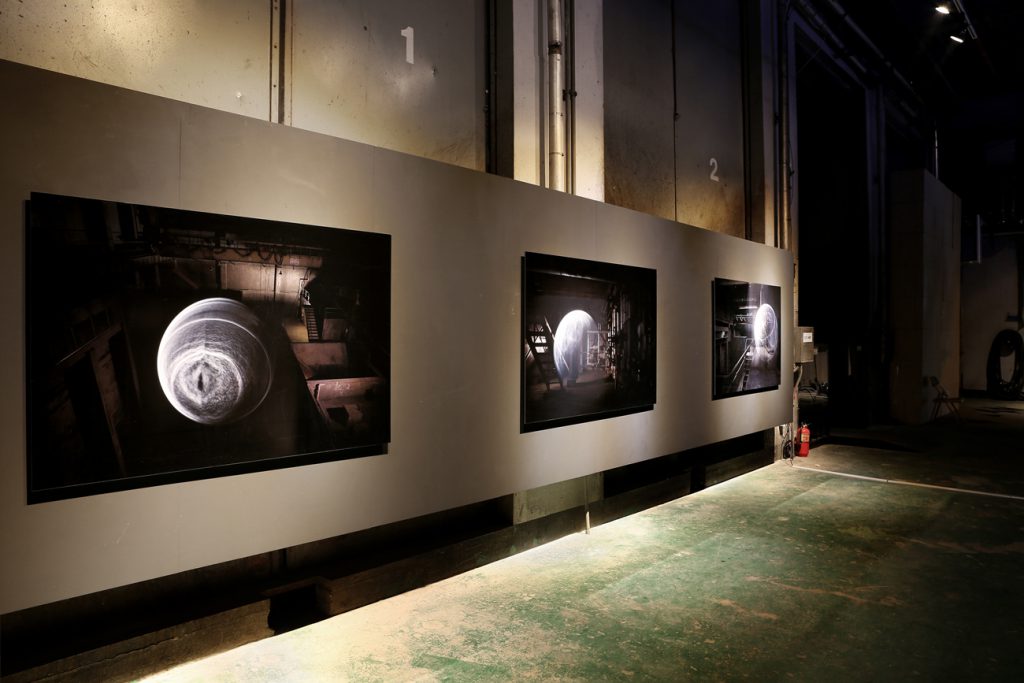
Digital photo print 1500 x 1000mm, Live scanning installation [dimensions variable].
2014, 2015

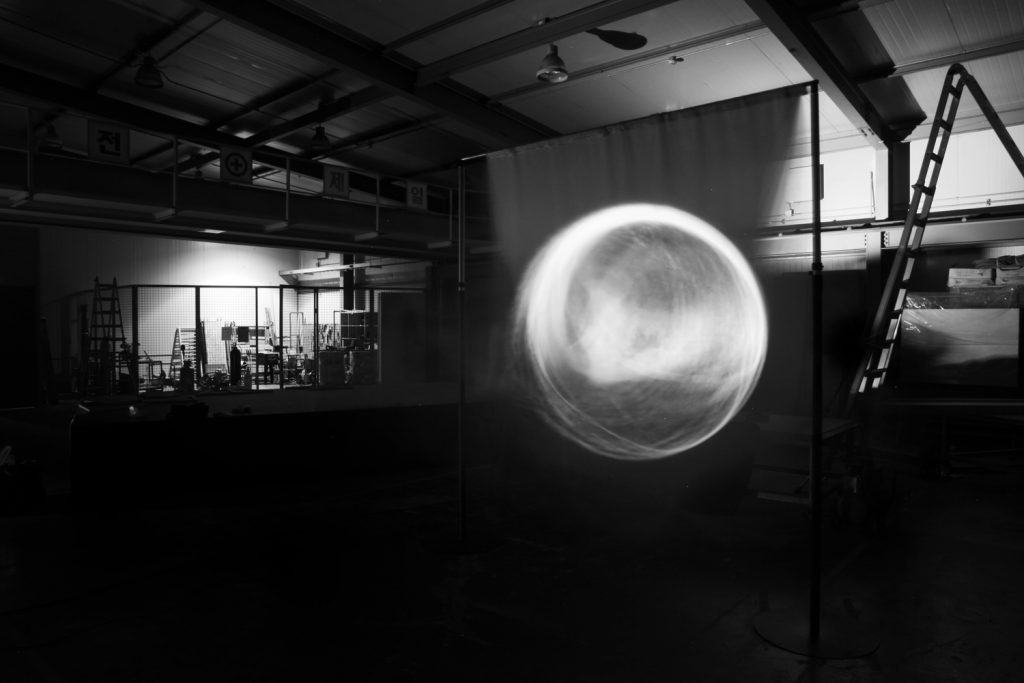
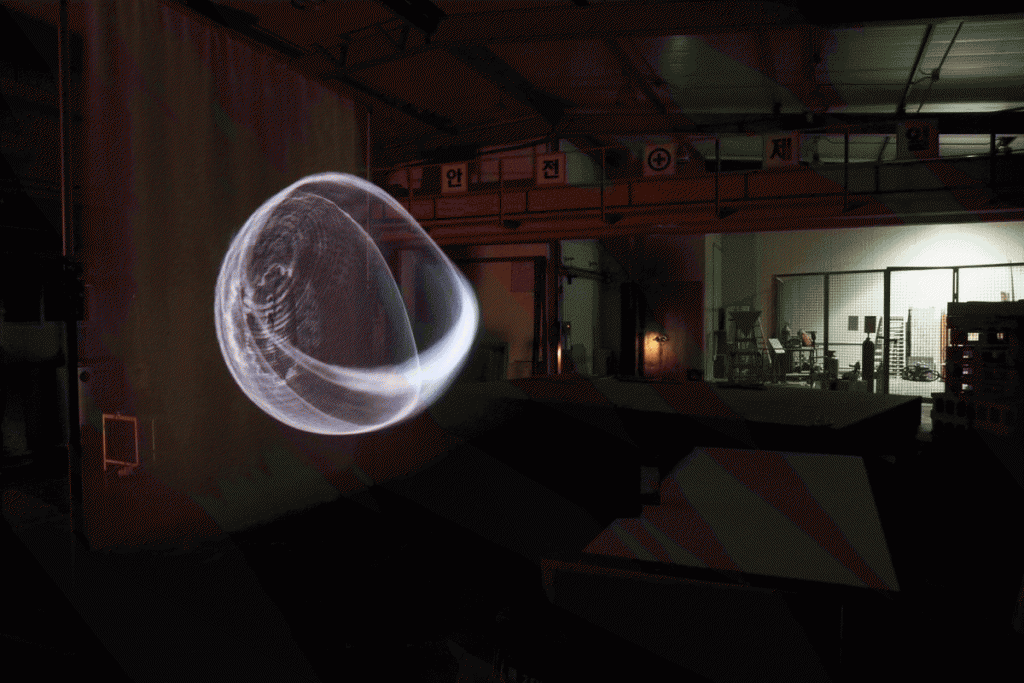
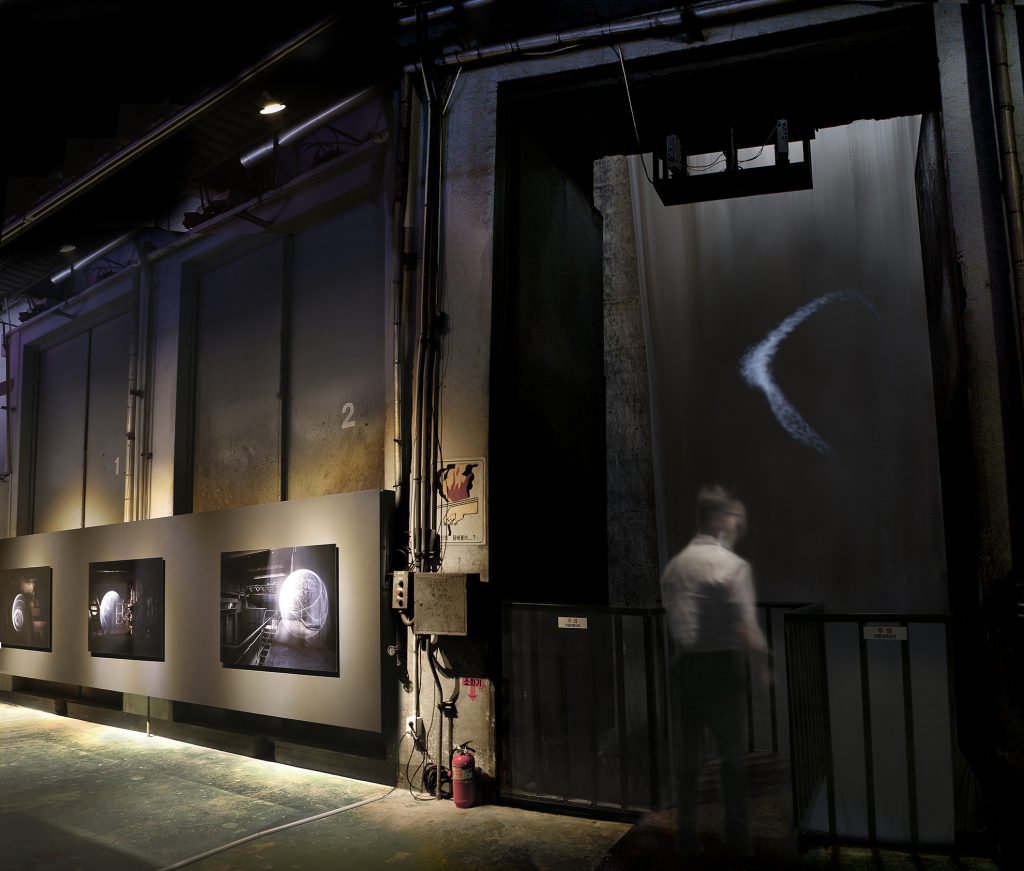
A vertical flag of fabric is stroked by the wind, displaced by curves of air, swinging back and forth. The fabric is tracked by a 3D camera whilst a projector replays a response onto it according to its evolving shape. As it sweeps, it leaves a trail of light which draws a heavy fragile moon floating in space. The flag renders this moon from another reality, the silk surface acting as an intermediating manifold between reality and virtuality.

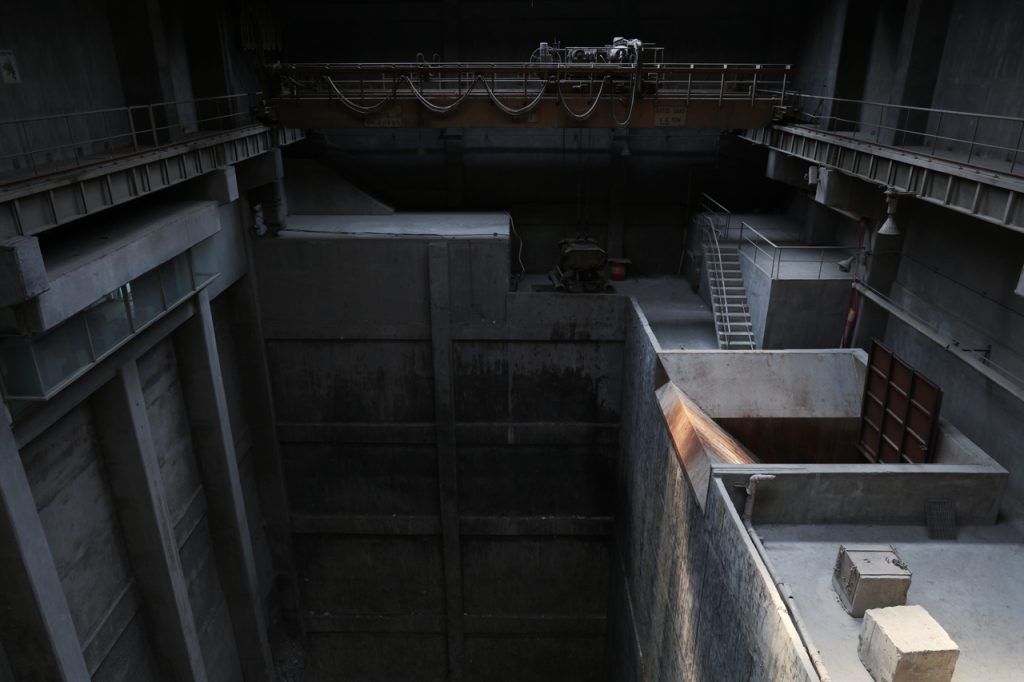
This artwork is an installation set up within the concrete chambers of Bucheon city Incinerator, a stagnant industrial processing plant decommissioned in 2010.

At locations within the building, the artists collaborated with photographer Eunyoung Kim to capture moments of the moon being birthed. Long exposure photography trades the dimension of time for a dimension of space, extruding the moon into existence on a set of photographic prints, capturing a painting enacted by the details of the wind.

2015_Lunar_Docu2_123 / 2015_Lunar_Docu2_123_w1 / 2015_Lunar_Docu2_123_w2

Inspired by the 2 moons of Haruki Murakami’s 1Q84 (a Japanese fictional book) and the flags of space travel, the artists present a portal into another existence where another moon orbits. This other place is made material by the fabric of the flag.

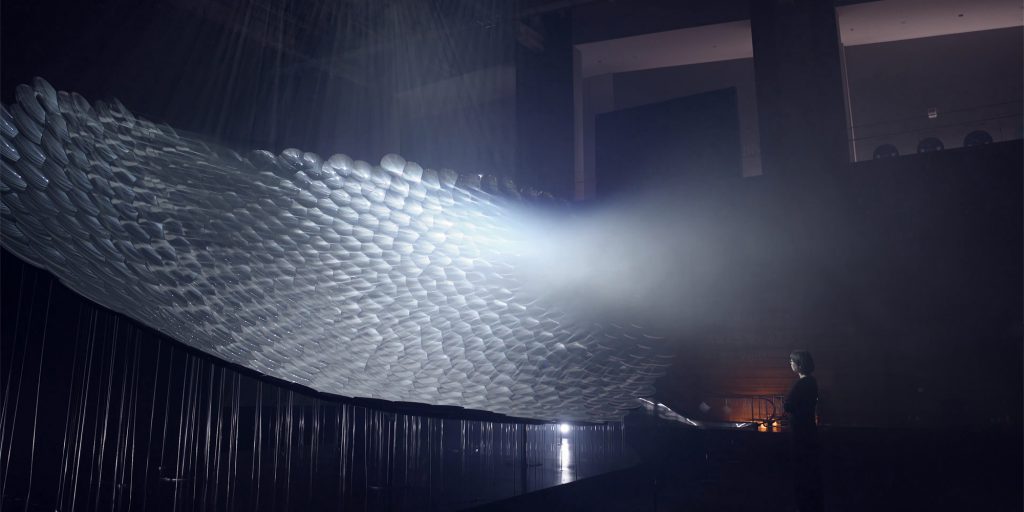
LIGHT BARRIER THIRD EDITION(2016)

Concave mirrors, Projection, Scanning, commissioned by the Asia Culture Center in Gwangju. The technology is enabled by Rulr, an open source graphical toolkit for calibrating spatial devices, created by Kimchi and Chips.

The installations present a semi-material mode of existence, materializing objects from light. Light Barrier Third Edition is a new installment in this series that exploits the confusion and non-conformities at the boundary between materials and non-materials, reality and illusion, and existence and absence.

The 6-minute sequence employs the motif of the circle to travel through themes of birth, death, and rebirth, helping shift the audience into the new mode of existence. The artists use the circle often in their works to evoke the fundamentals of materials and the external connection between life and death.

I think that Kimchi and Chips place a lot of effort into producing the Light Barrier and making it work, also as mentioned by Elliot Woods, when they started their project, they were not really earning a substantial amount of money and the project seemed really expensive to build as the concave mirrors and the structure needs to be customized built. This is also why the scale of the first edition of light barrier was much smaller. However as my own preferences, I like the first edition more due to the light beams were more focused as there were lesser mirrors used.


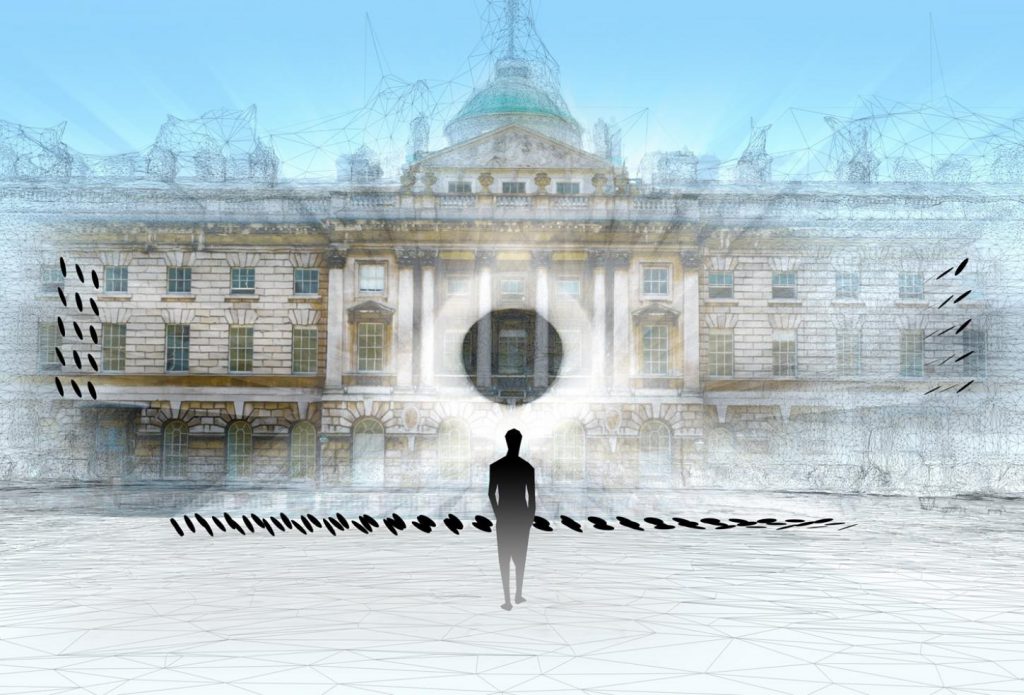
Halo (08 – 27 Jun 2018.)

Kimchi and Chipswill have a new outdoor installation, commissioned by Somerset House. Halo will be happening in London from 08 – 27 Jun 2018. 200 mirrors will reflect sunlight and together with mist of the fountains in the courtyard, a shape of light will be ‘drawn’ and suspended in the air. The mirrors are programmed to react to the direction of sunlight.

This kind of reminds of our Spectra light show at MBS, which make use of light projection and water sprays to create sort of holographic effects, except that it is done at night.
Kimchi and Chips really utilise technology by looking at the physics behind the machine. These states of semi-materiality created is as fascinating as any wonder of nature we could possibly encounter. And they make us immediately want to make sense and grasp the seemingly new material, only to discover it is just nothing but light.


Exercise 3, See Yourself Sensing: 66 Meters Apart.


66 Meters Apart is a project that explores the disruptions in the train of thought when a speaker is articulating their words, as our brain functioned as it should, we’ve forgotten how complex the brain are in these almost instantaneous real time processing of information that we sensed. By using 66 Meters Apart, user will have personal experience of these disruptions within our thought and notice how easily it is to distract our focus even from simple task like reading out loud a few sentences.


The 66 meters refers to the metaphorical distance created between the mouth and the ear through digital latency of 200ms, which is the time for sound to travel approximately 66 meters. As we hear our own voice through bone conduction from our vocal tract to our ear (which is much faster than the speed in which sound travel in air of the same distance), the physical latency it took to hear ourselves speaking is almost instantaneous and we were accustomed to this. By introducing a 200ms latency of us hearing our own voice, it could greatly impede our concentration in thinking as well as speaking in most of us.

The system which I am using for this project is the Lattepanda, which is a hackable computer and I’ve installed Max MSP into it for this project.

As LattePanda does not come with a sound card for microphone input and the only headphone require input and output jack separately, I had purchased an USB soundcard on carousell and luckily it works.
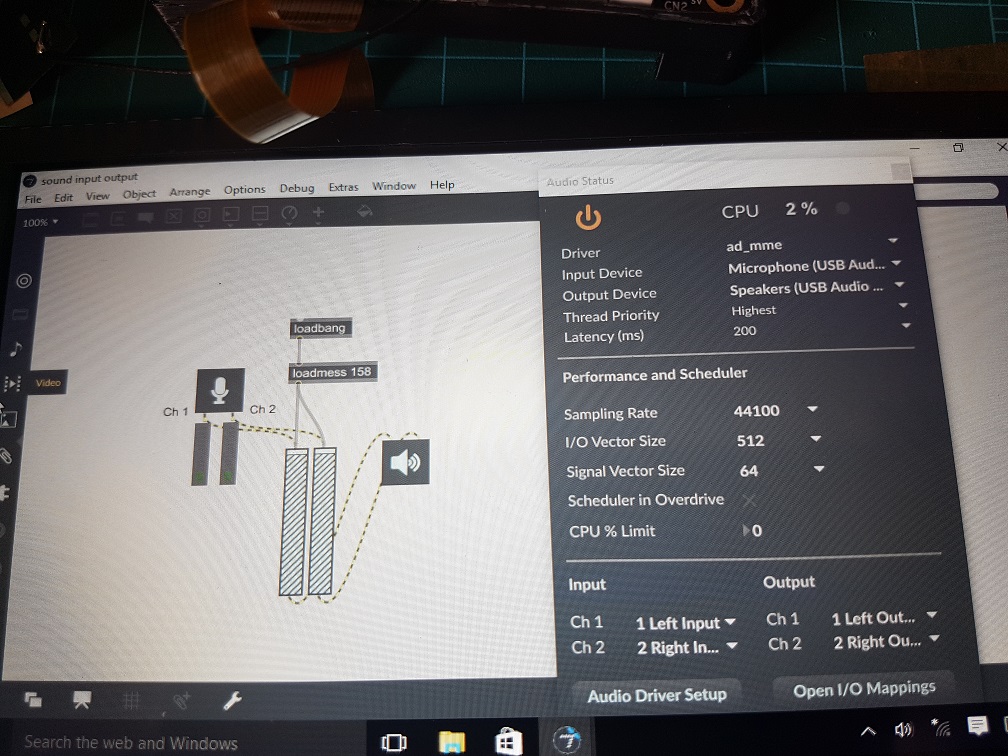
I was prepared to write the slightly longer code which require to delay the sound from the input to the output, however I found out that there is a “Latency” function in the audio setting and so I used that instead, also, I’ve add an audio gain to the patch to increase the output volume of sound. This is the simplest piece of patch and it works just as I needed so being simple is really good!


Interactive spaces: Light and Darkness Ver.1 – Analog

after the previous process, process 3

Thanks to Tiffany and Joan for the awesome snippets that were used as the featured image as well as in the videos, and helping with lighting up all the candles + documentations.

Also Thanks to Bao, Fabian and Suhwee for helping me to place all the candles onto the candle platform.

I’ve seen the actual project with real candles in the dark room the first time as the class saw it.

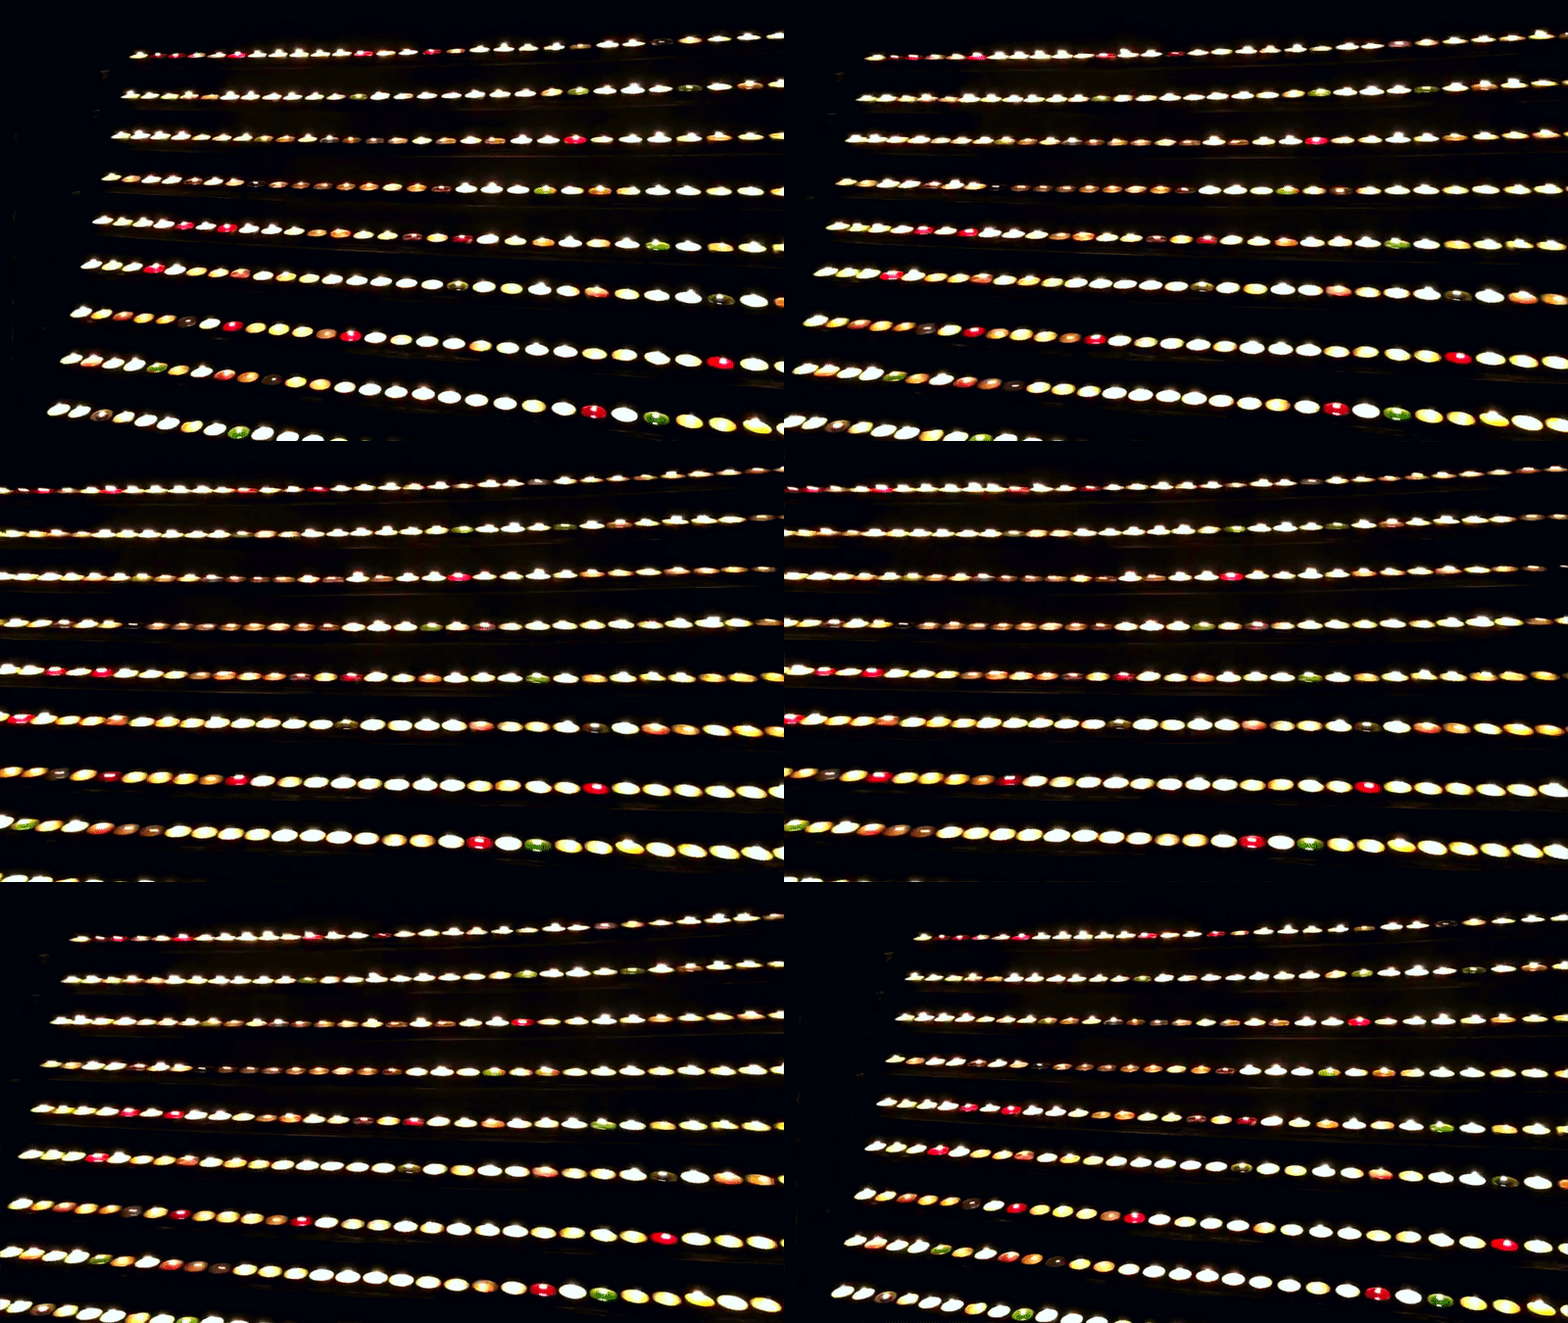
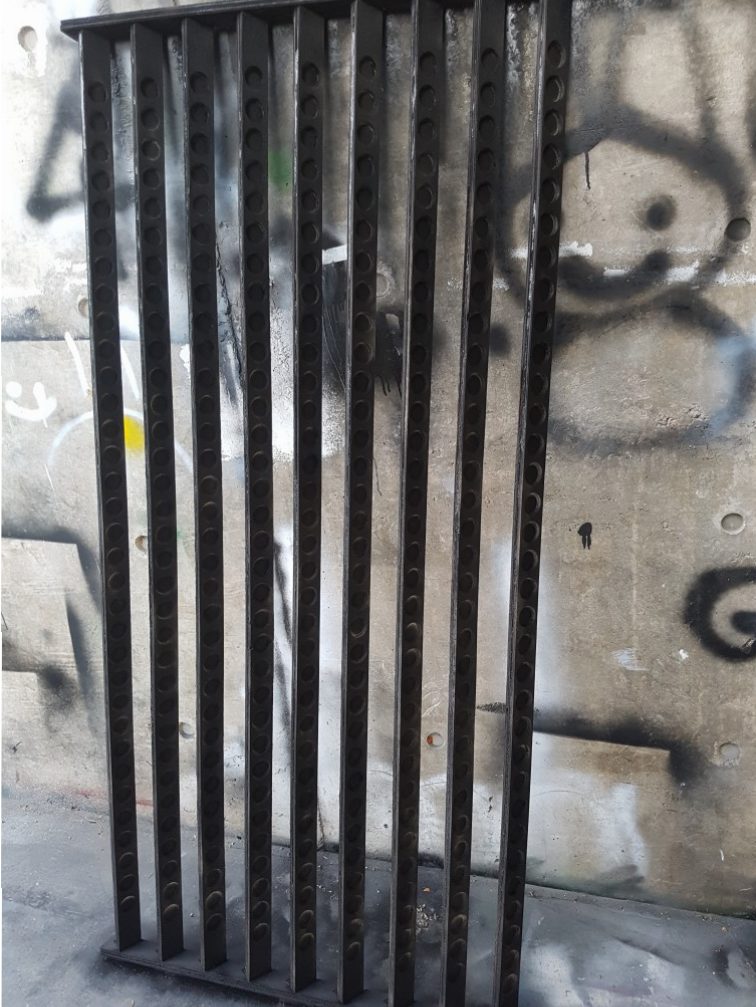
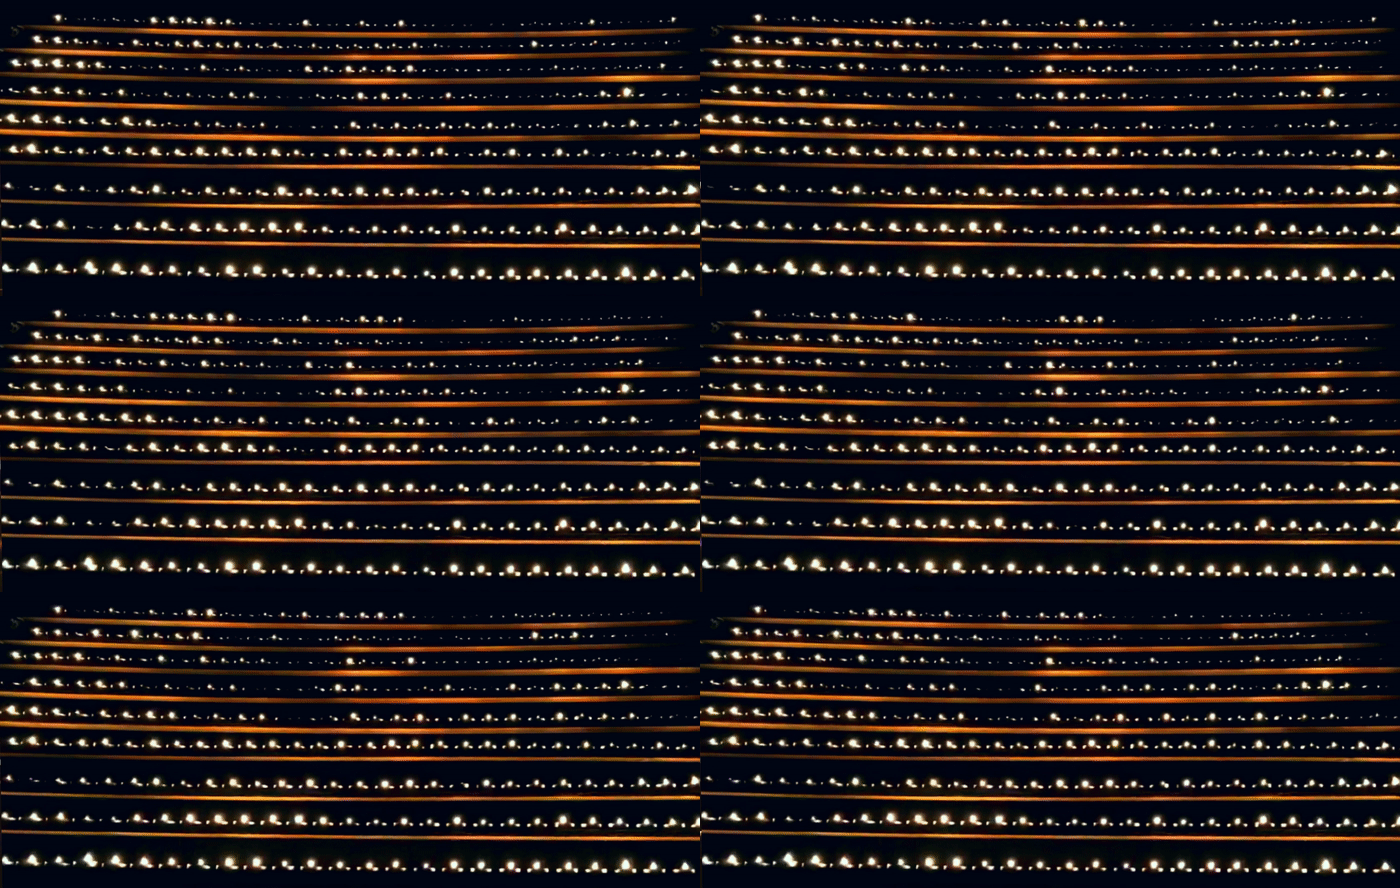
Light & Darkness was created to give a sense of alternative space within an ordinary space, in this project, I wanted to create a space so that the audience will forget that they were in the IM room, the room was build with pure darkness and stability in mind as nothing should collapse as I wanted to hang the candles platform instead of building a table-like structure to give a sense that all the candles were floating in space(which is also the reason why everything, including the candles platform was black), this worked really well as the candle platform would swing gently which increased the magical feeling to my space, Also, all of this will be enhanced in the digital version as I would add a series of stars(LED, not projection) to the room’s wall to increase the feeling of enchantment. The smell of the candles, as well the burnt smell created when extinguishing the candles worked much better than I expected, as I wanted to have smell that is not too overpowering, I’ve used 239 unscented candles with 60 scented candles, this combination worked like a wonder because there is only a faint smell outside of the dark room. another point that worked better than I expected was the random placement of the scented candles created a colourful candle array when they were all lighted up and this increased the overall aesthetic of this project’s analog version greatly.

After this analog version, I’ve noticed a few points to take note of, it is actually quite hard to light up all the candles so more lighters will be needed and the current lighter that I was using appears to be rather difficult to be used, so I’ll probably buy some more lighter which is much easier to be operated and uses lesser strength. Also, I would have to paint the metal wires that was used to hang the candles platform into matt black as the metallic would reduce the magical floating aspect of this project.


Interactive spaces: Light and Darkness Process 2

carry on from the last post, Process 1

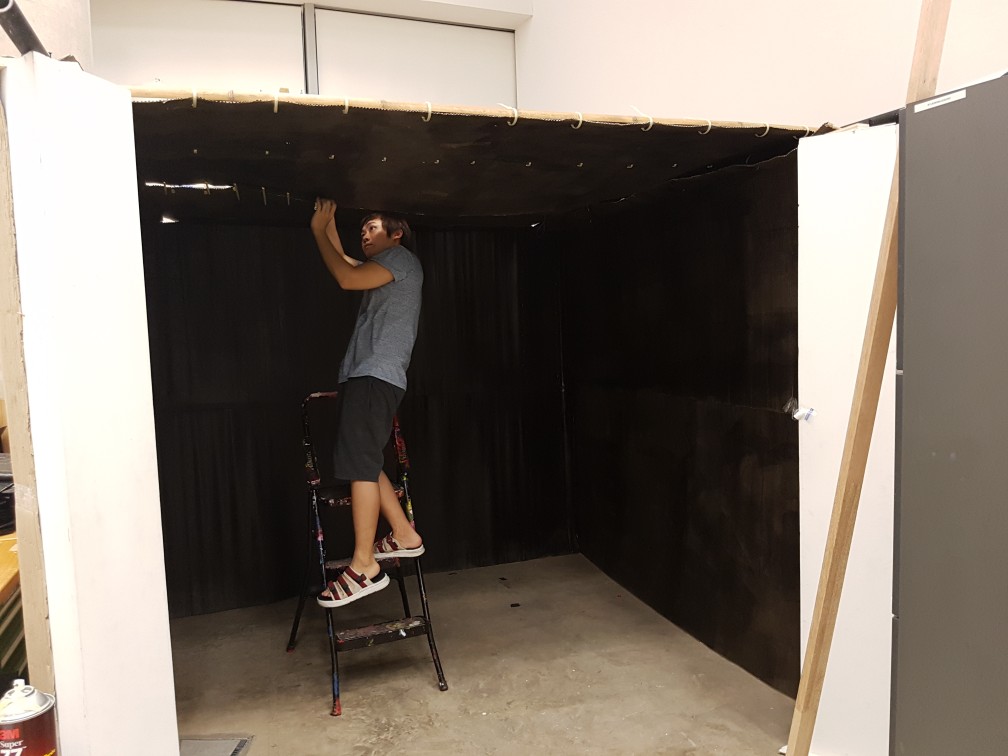
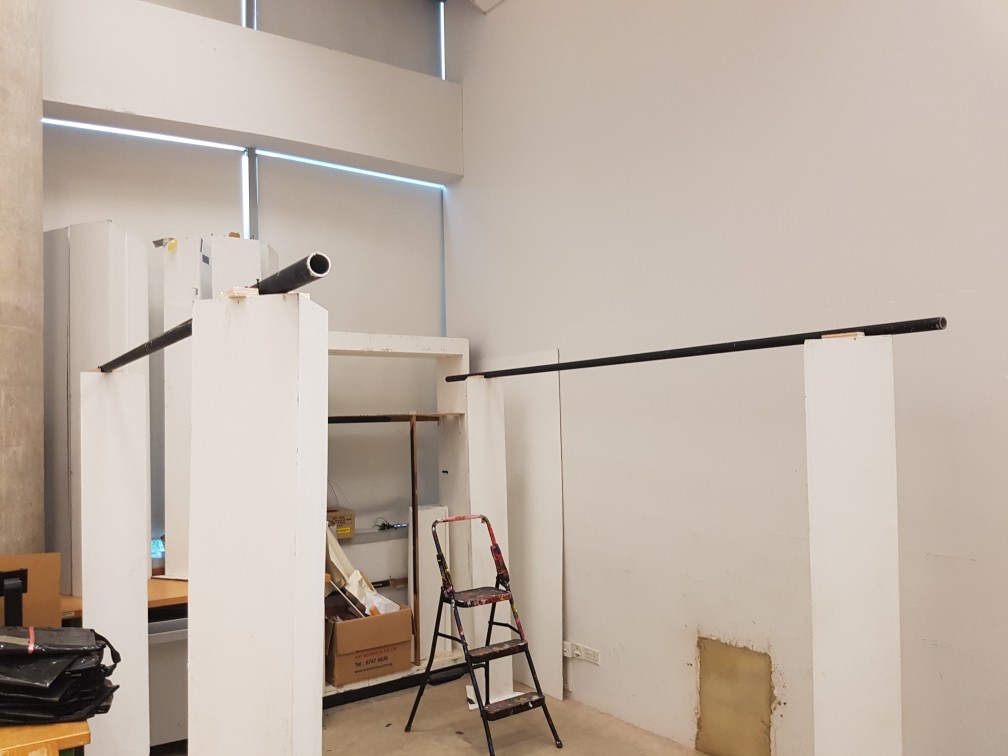
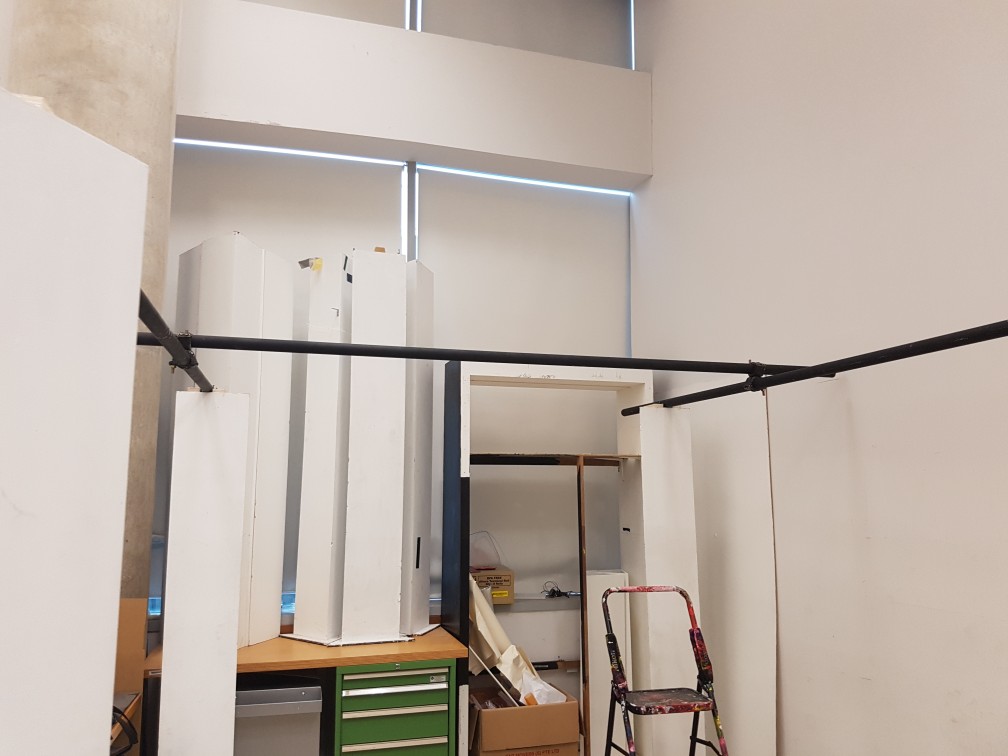
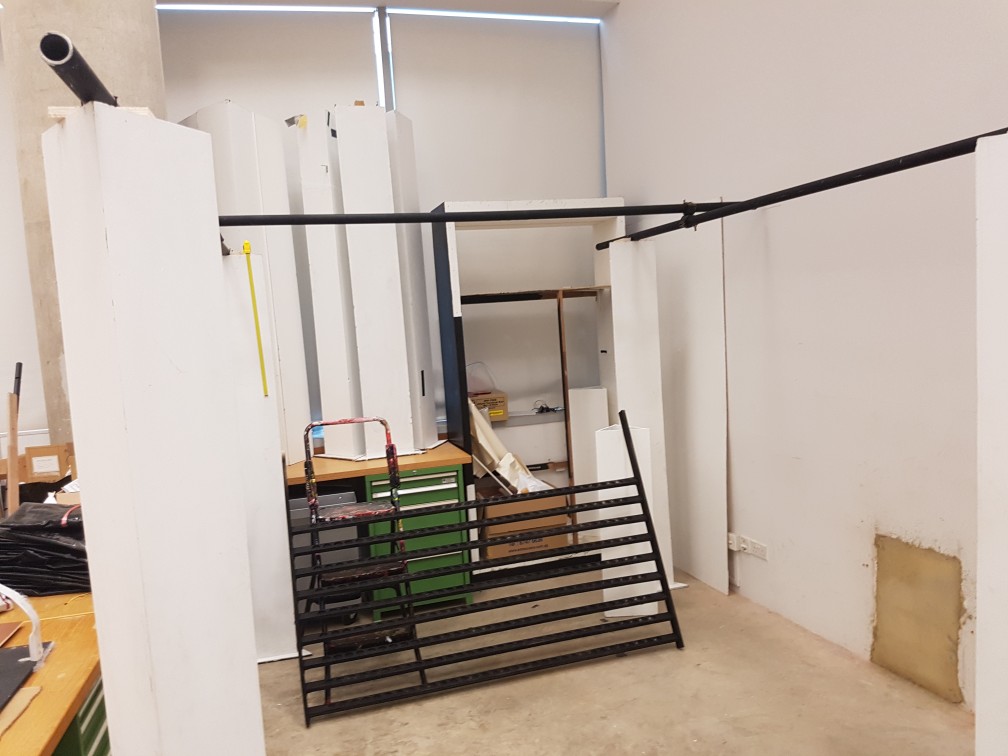
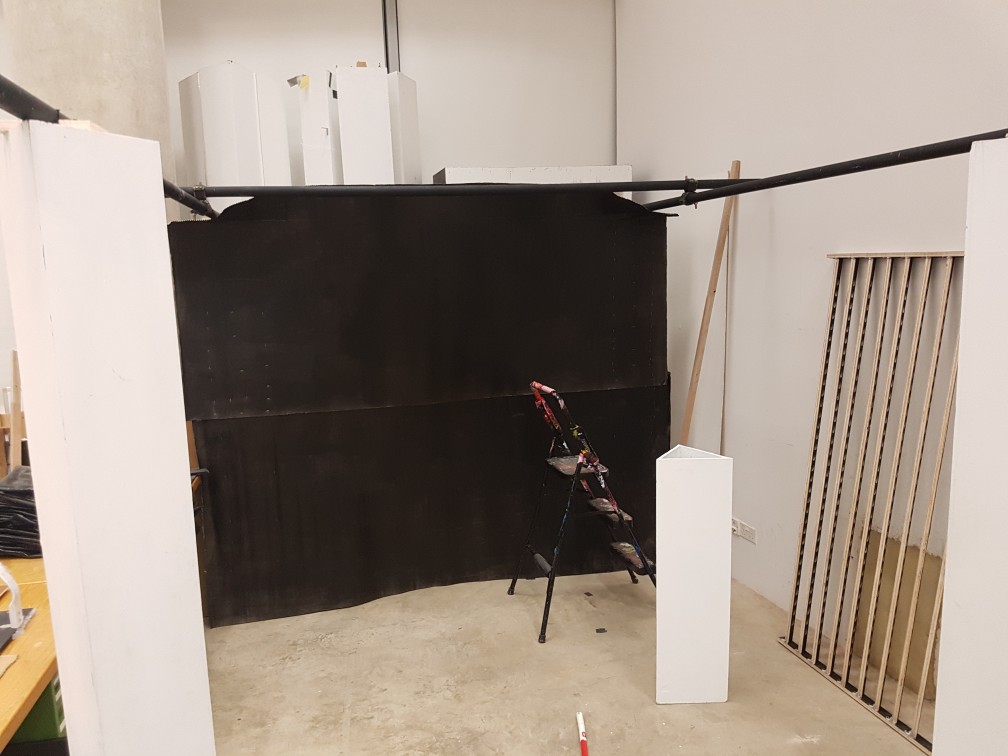
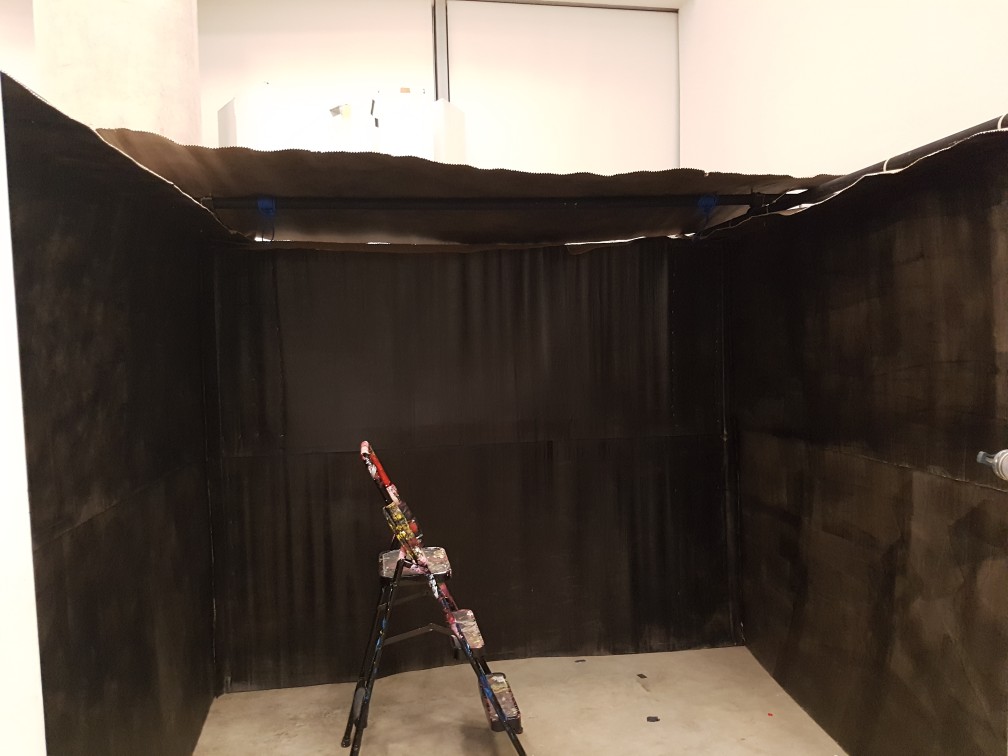
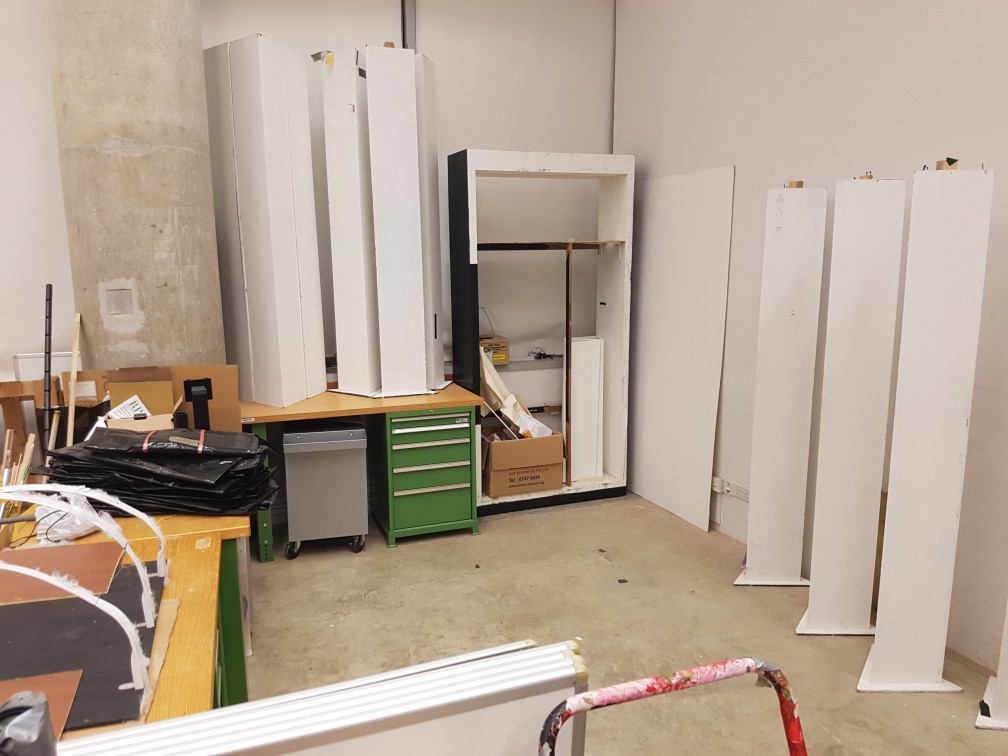
I started building my dark room in the corner of IM room.

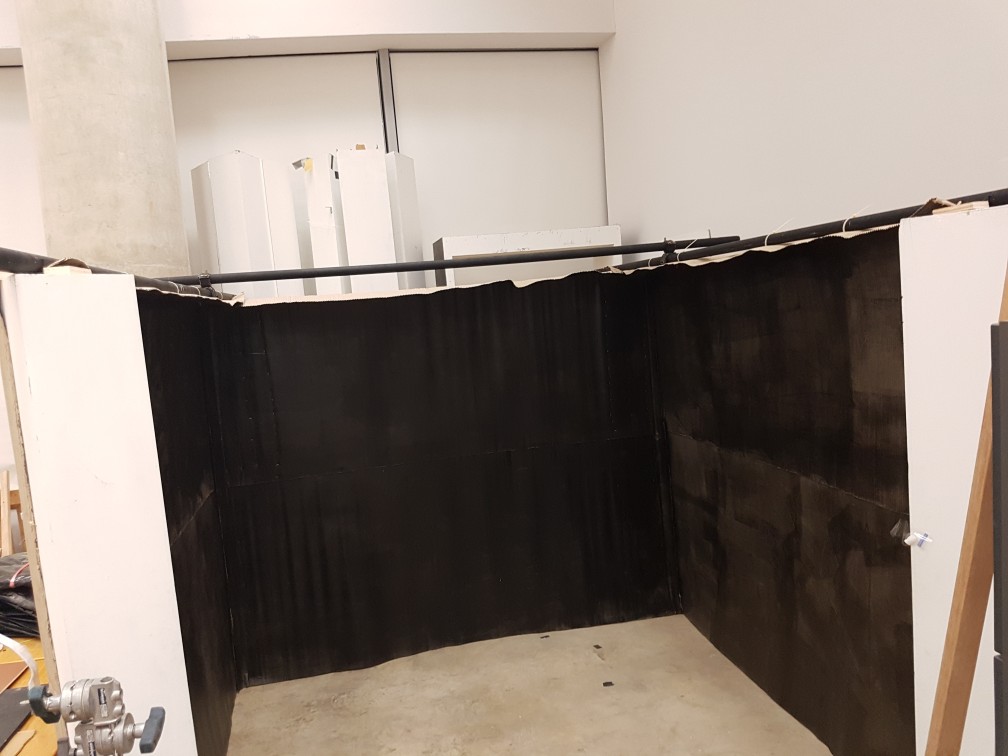
After the structure is stable, I continued to attempt to secure the walls of the room onto the structure.

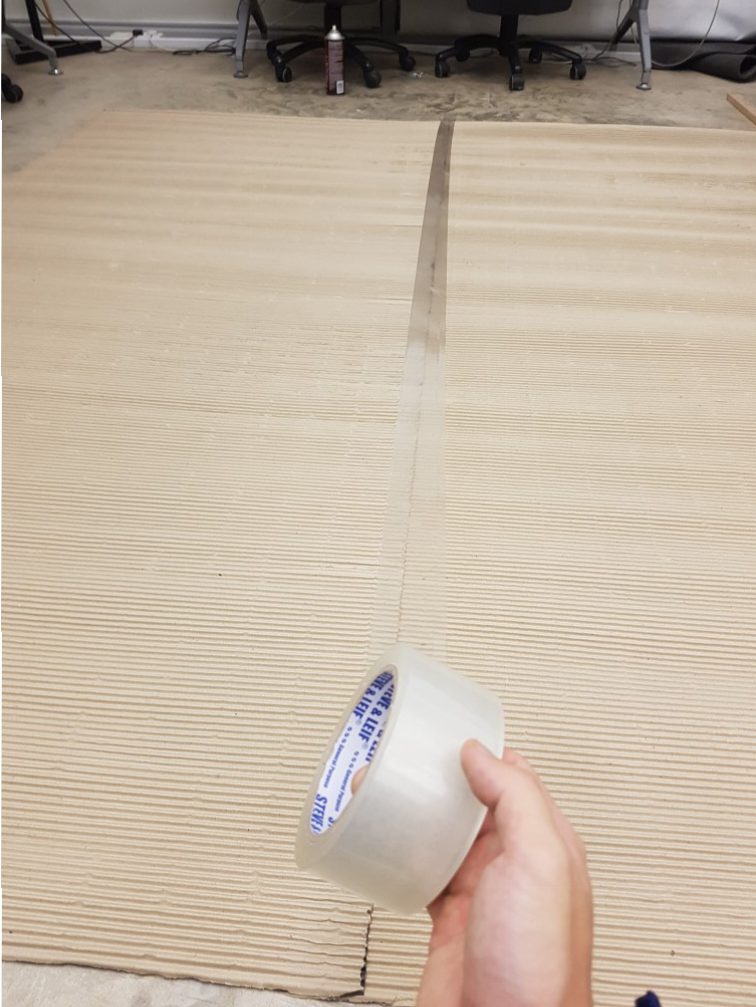
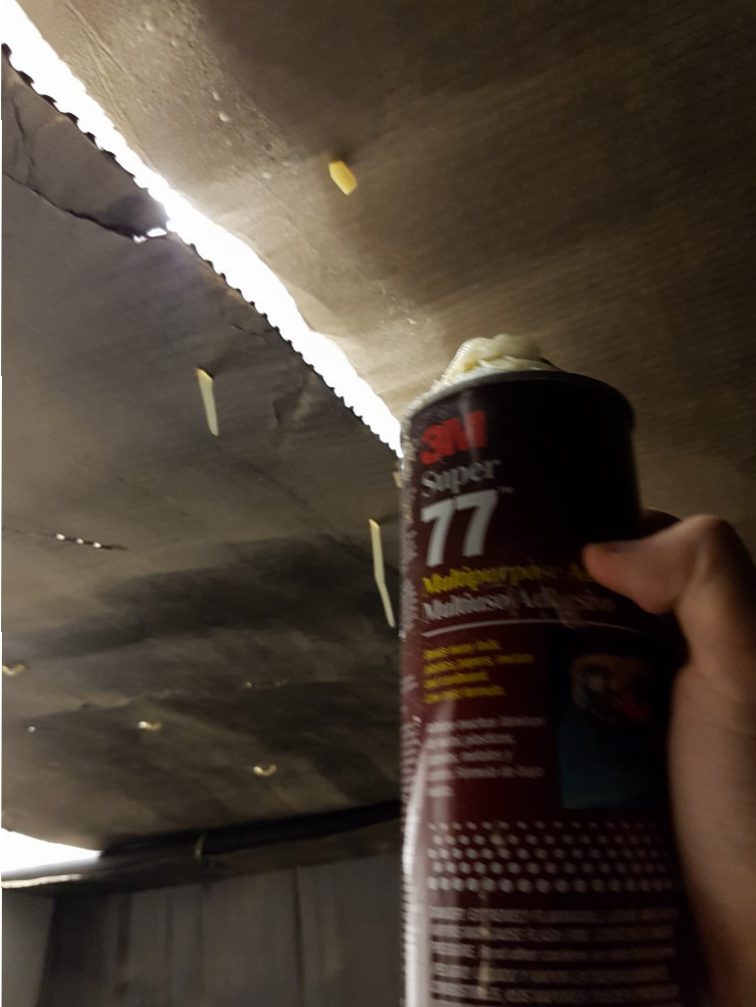
Ive spray mount and tape it at the back on the floor before mounting the side wall as it is SOOOO much easier and nicer to do so!

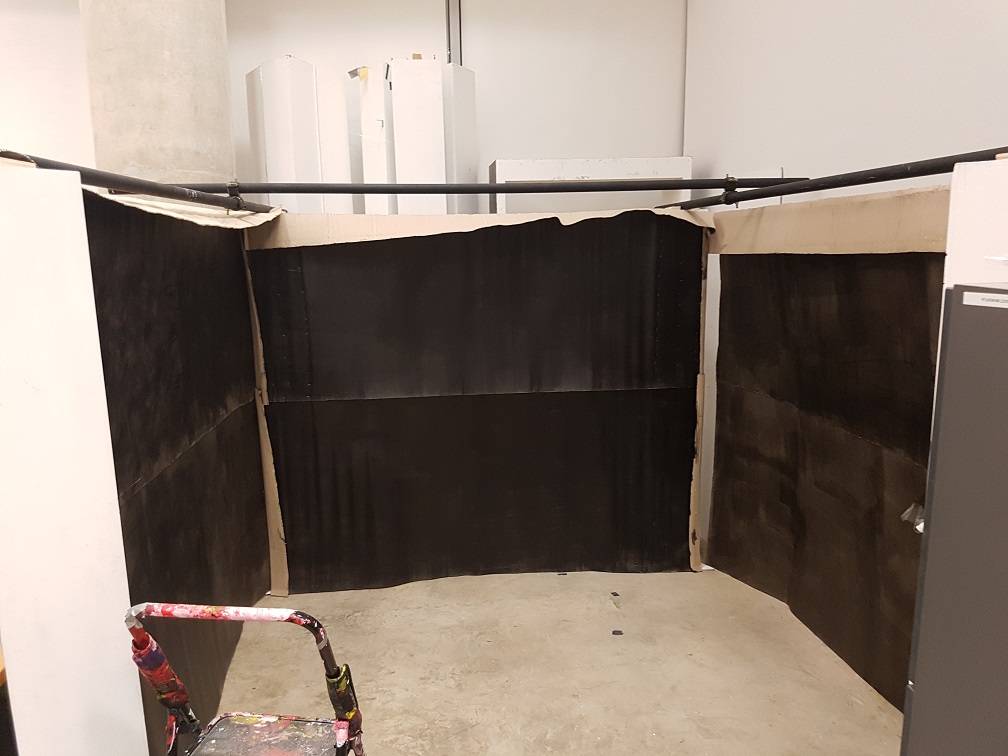
 

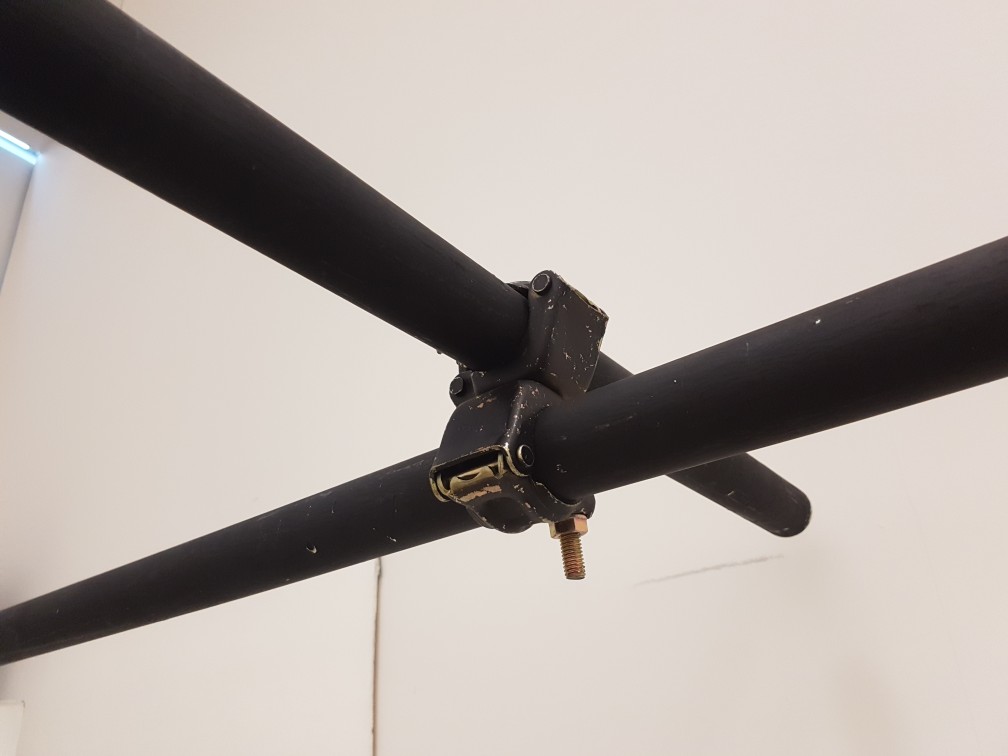
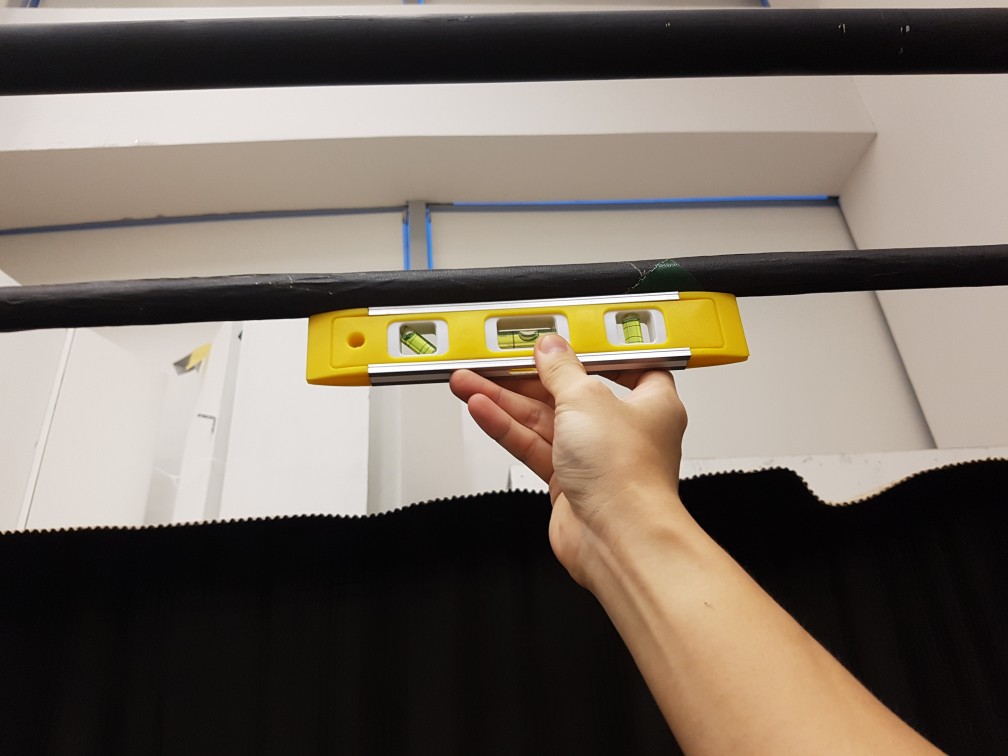
Afterward, I tied the structural loop which my candle stairs will be attached to it later, it was tied to make sure nothing collapse again.

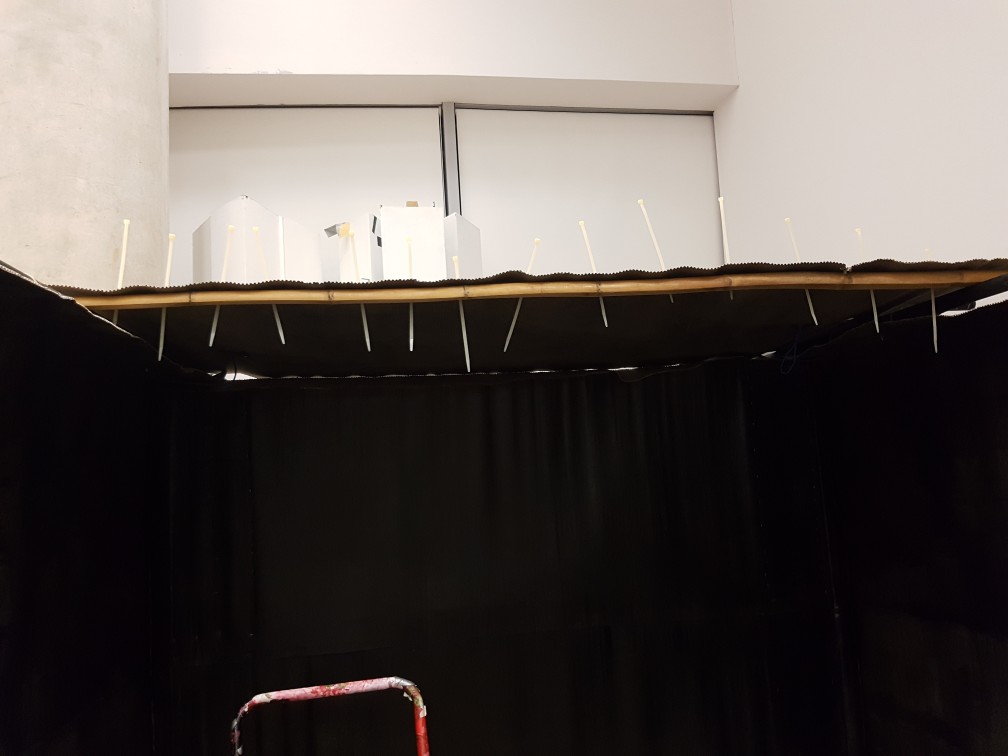
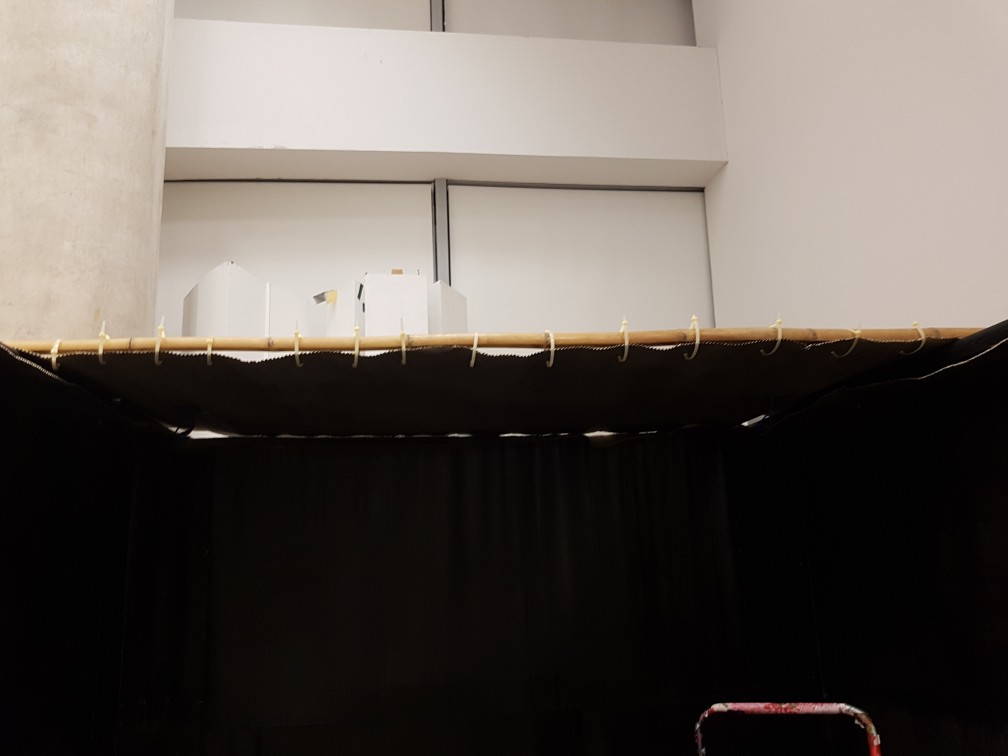
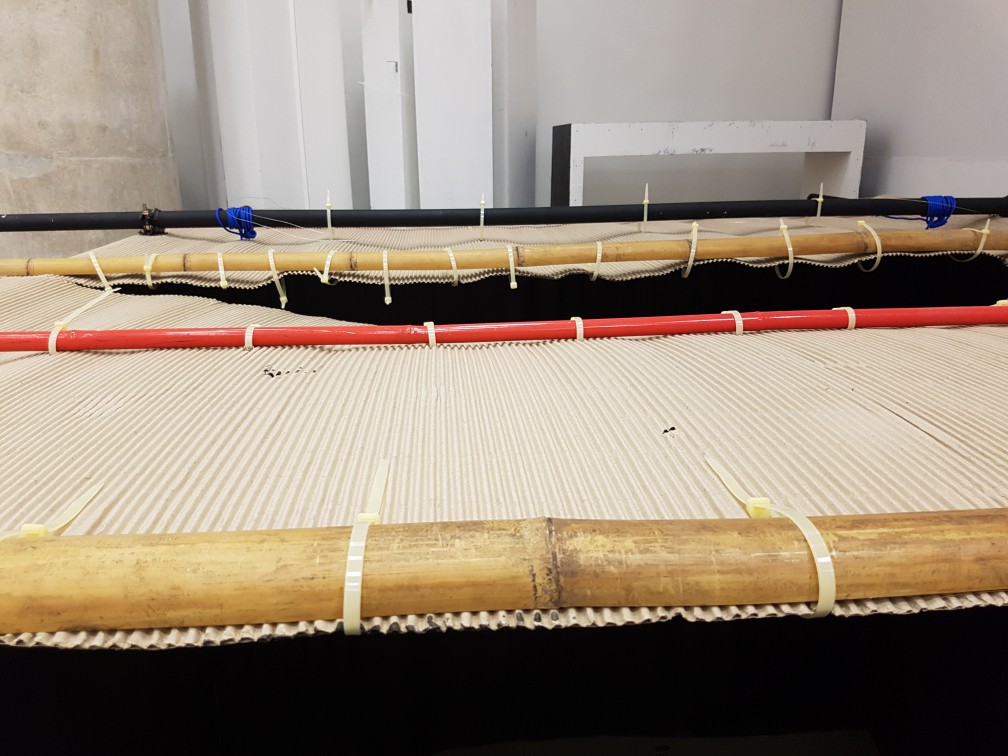
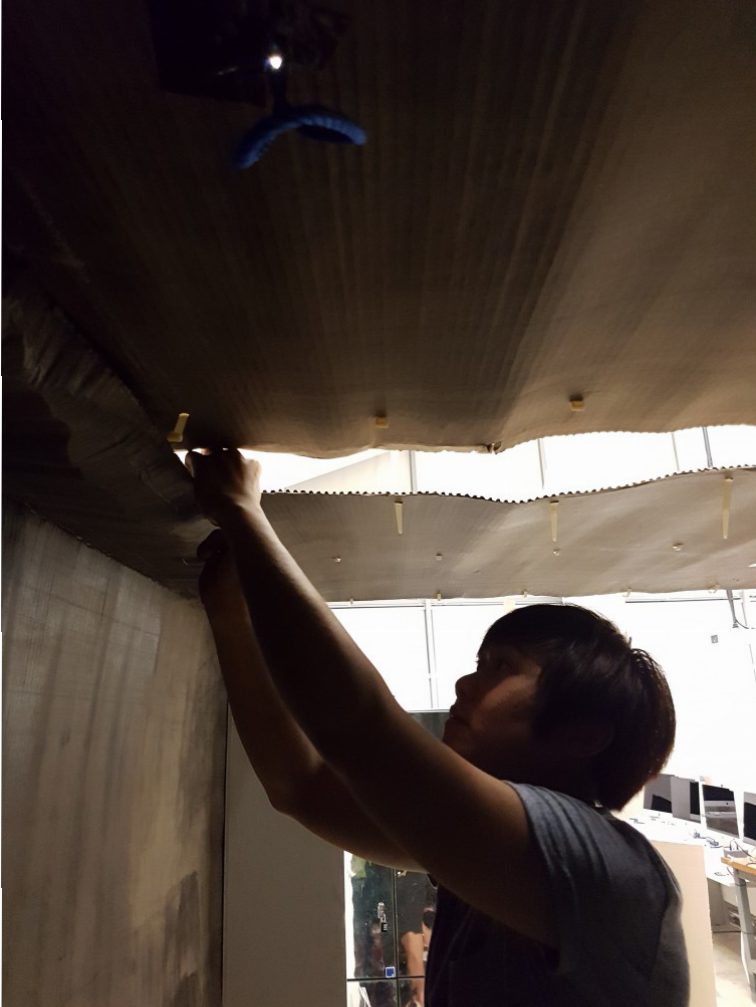
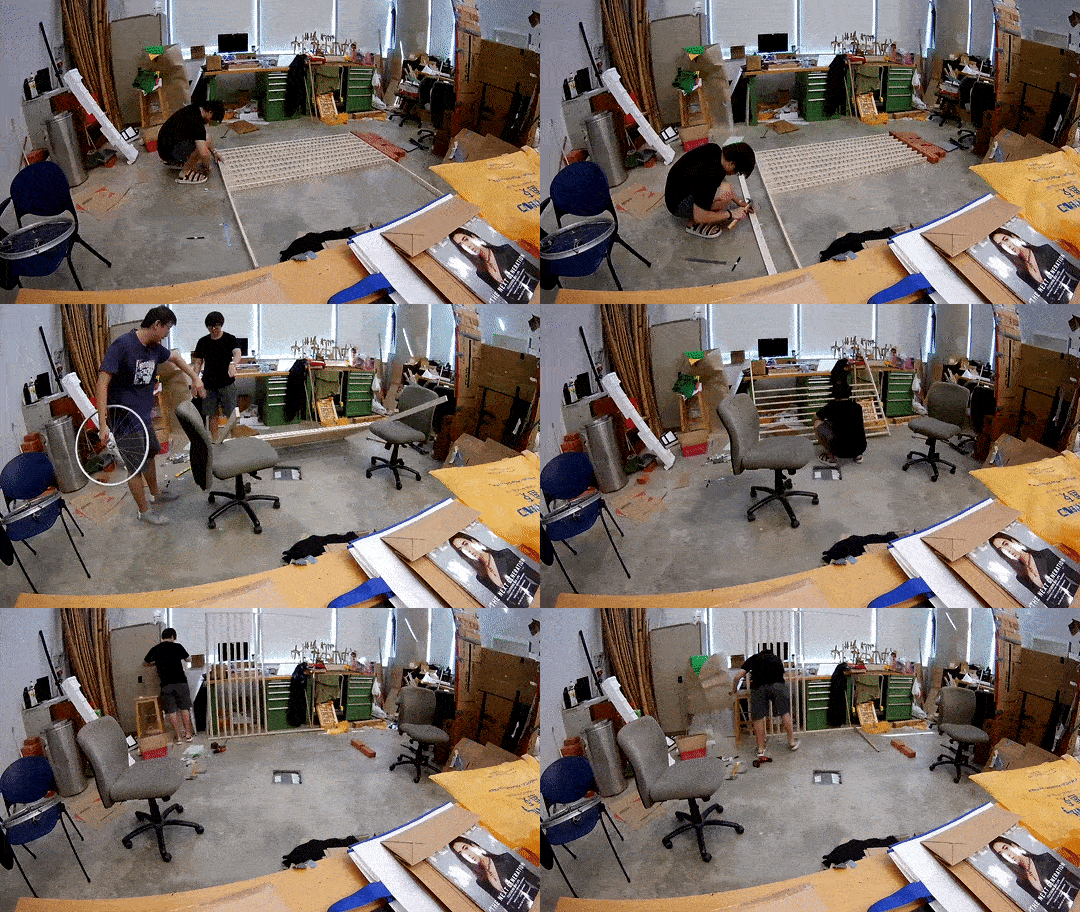
after I confirmed that the structure and overall look of the dark room, I proceed to build the roof of it, which is the most difficult piece to be build as it is really prone to collapsing and I did not want the structure to be seen inside, What i want to achieve was to have all structures outside of the dark room so it will feel legit like a room when you are in it.

I really like the overall appearance of it for now!
Interactive spaces: Light and Darkness Process 1

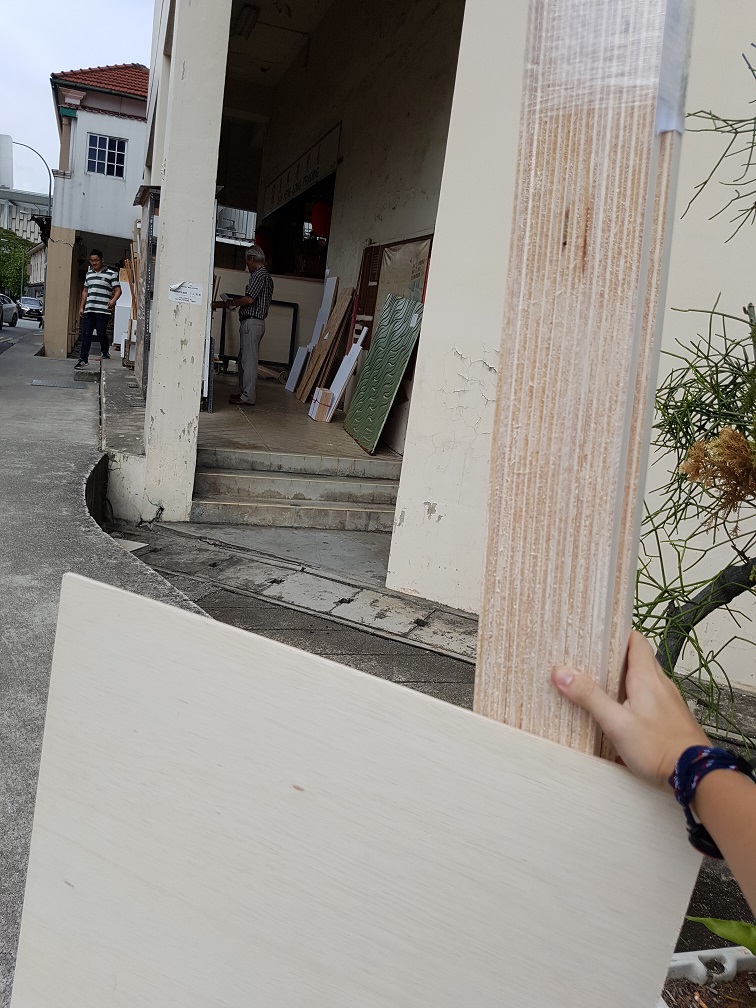
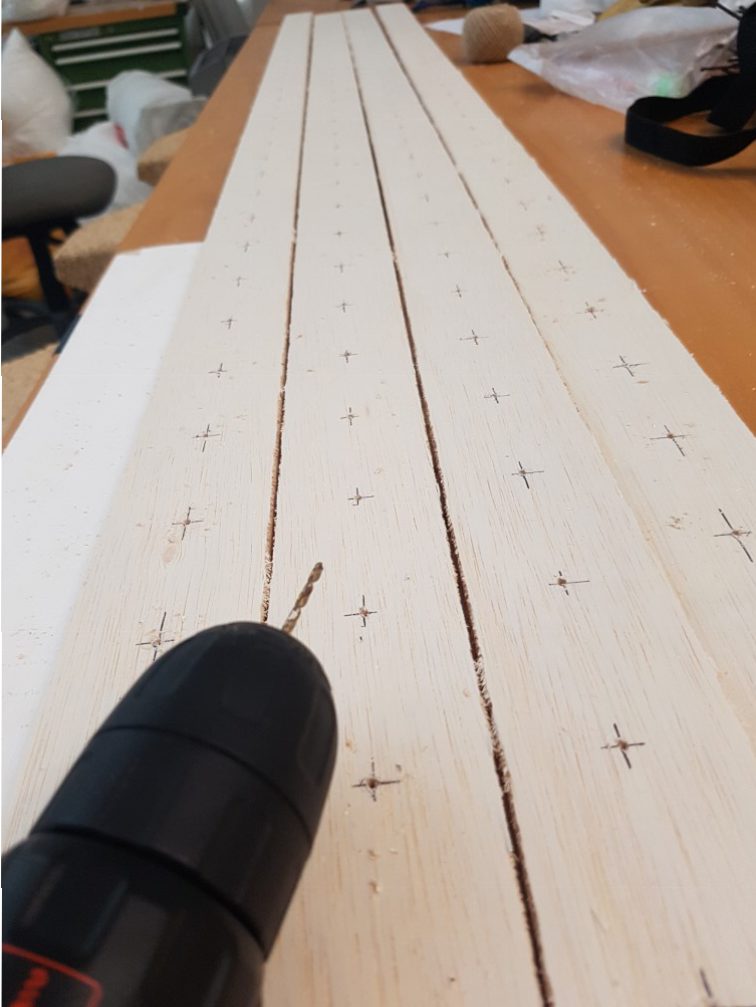
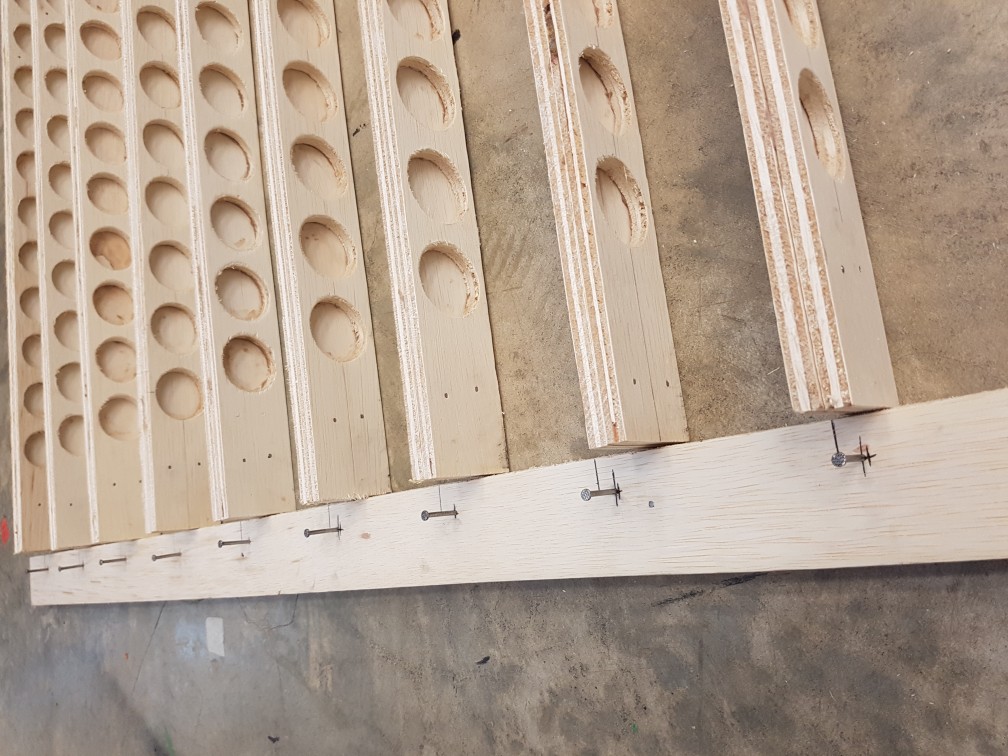
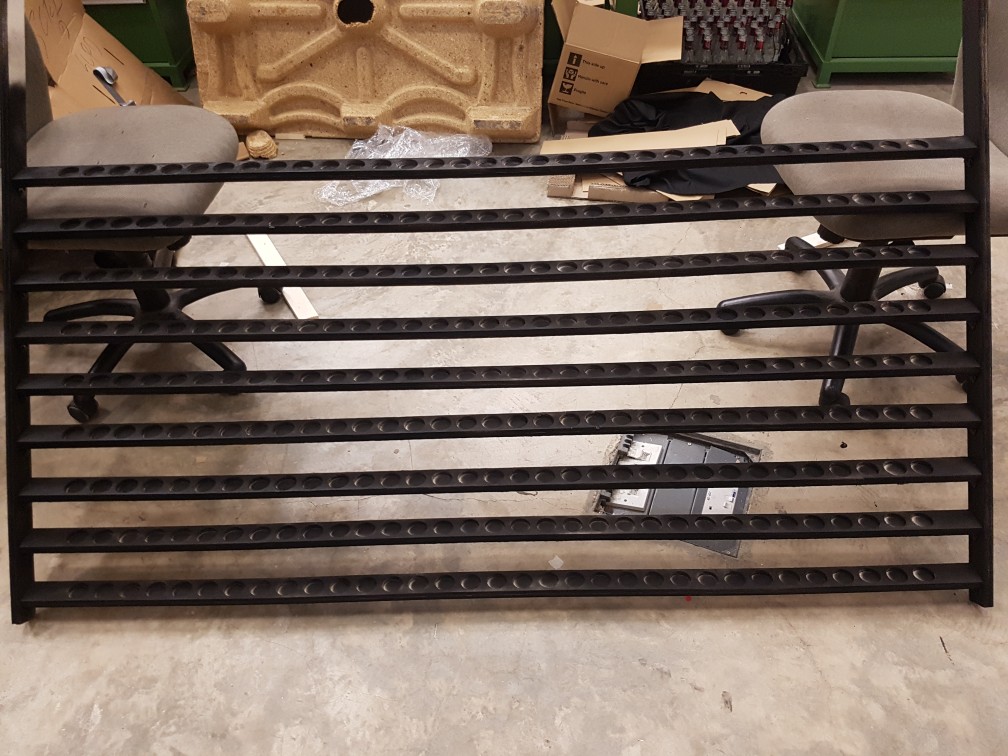
To build the stairs for the candle, I’ve estimated the size of it to be 180cm long and each step should be 5cm wide as the candle is 38mm, so having some tolerance for me to drill holes to place the candle into each hole would be really good to prevent the candle from falling off the stairs. I’ve not decided the total number of steps but since they sell 9mm thick plywood in the size of 2400 by 1200, I could possibly get 22 planks of 1800 by 50mm strip of plywood when I give some cutting tolerance to it.

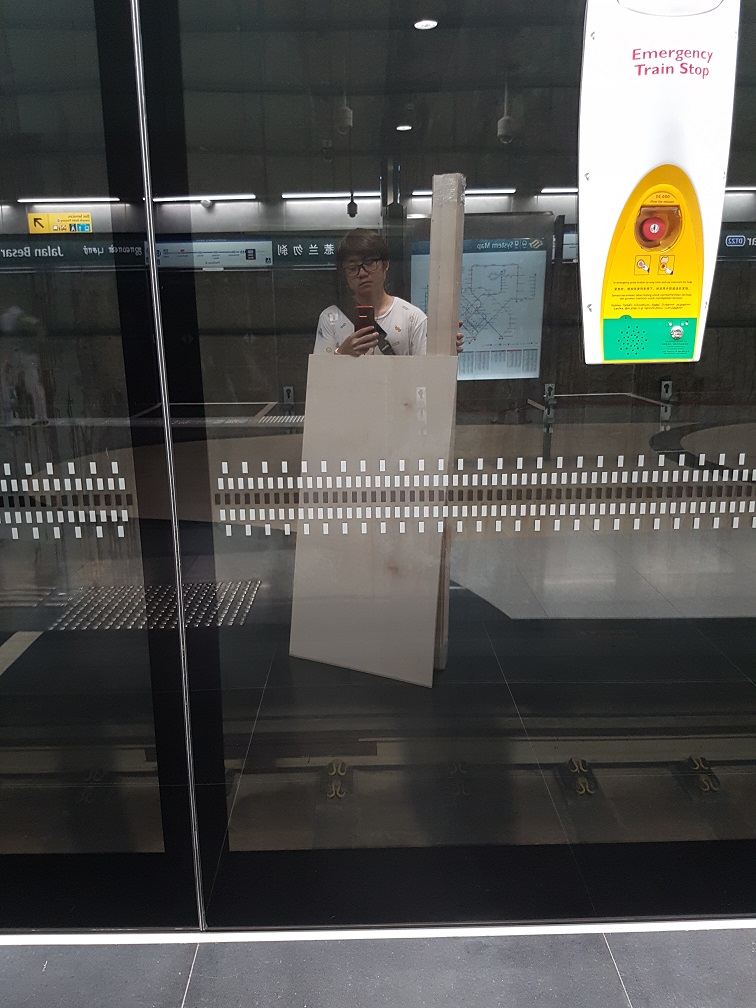
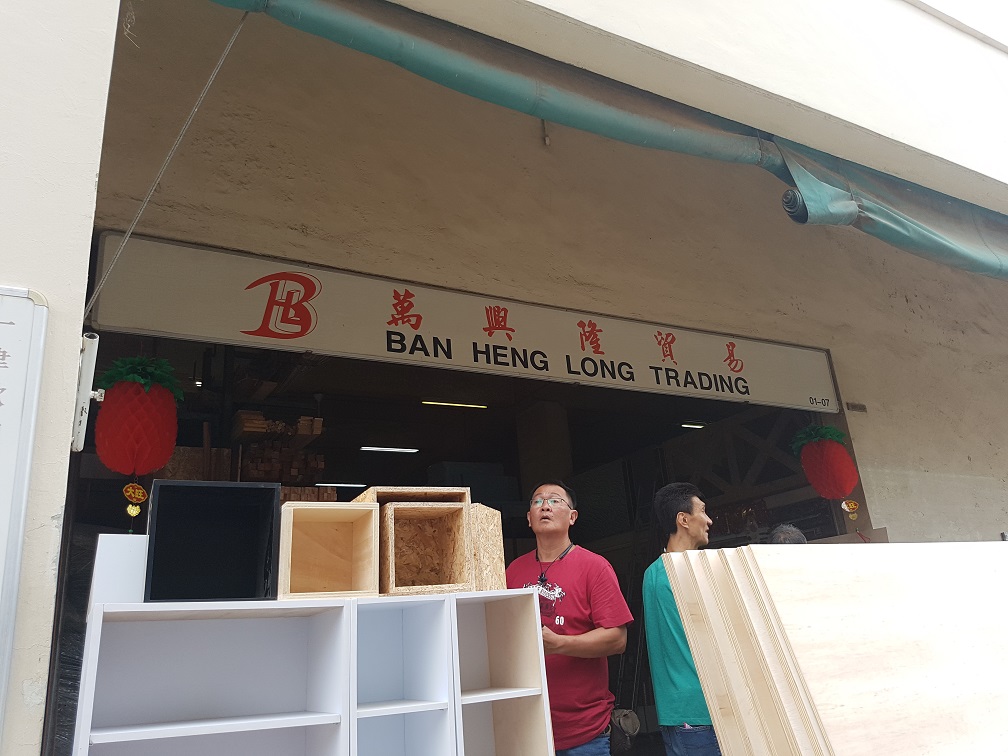
After calculation and calling around to find the cheapest plywood supplier that does cutting service at the cheapest rate, I found Ban Heng Long at  Syed Alwi Road which the plywood is $20 and each cut is 50 cents.

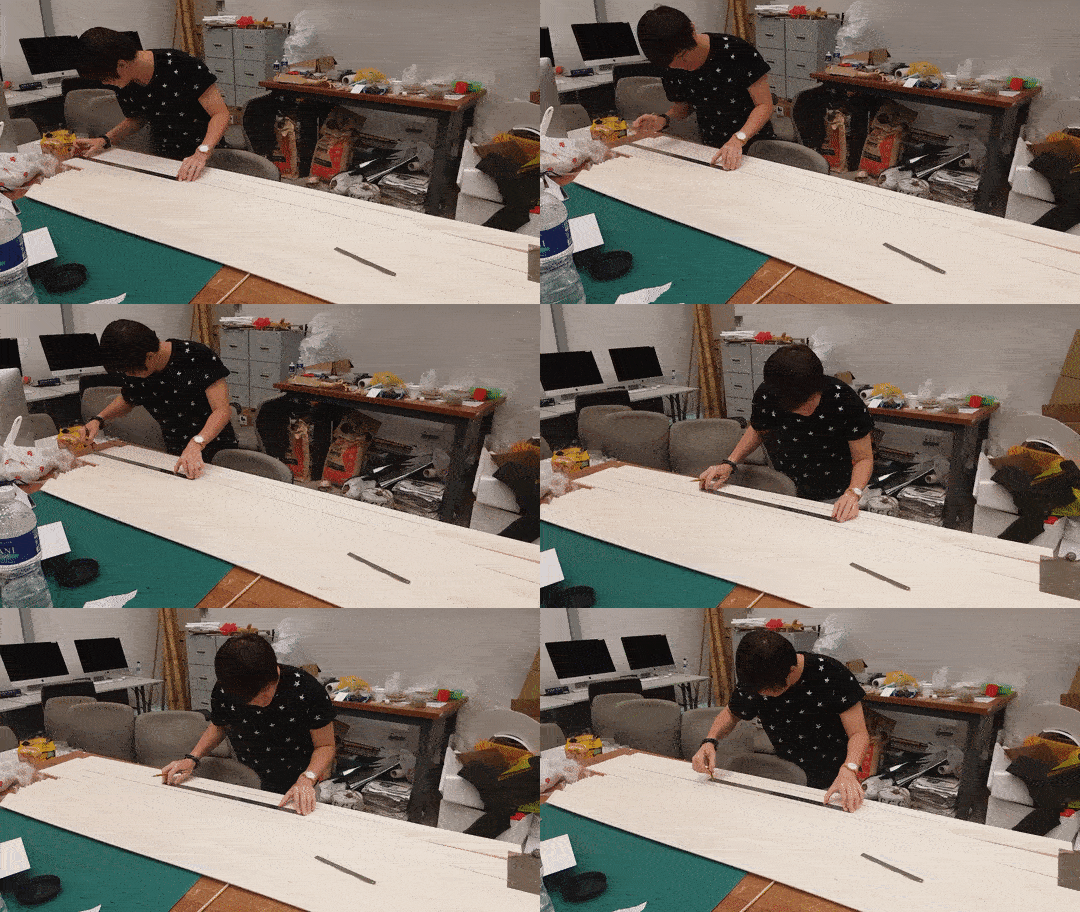
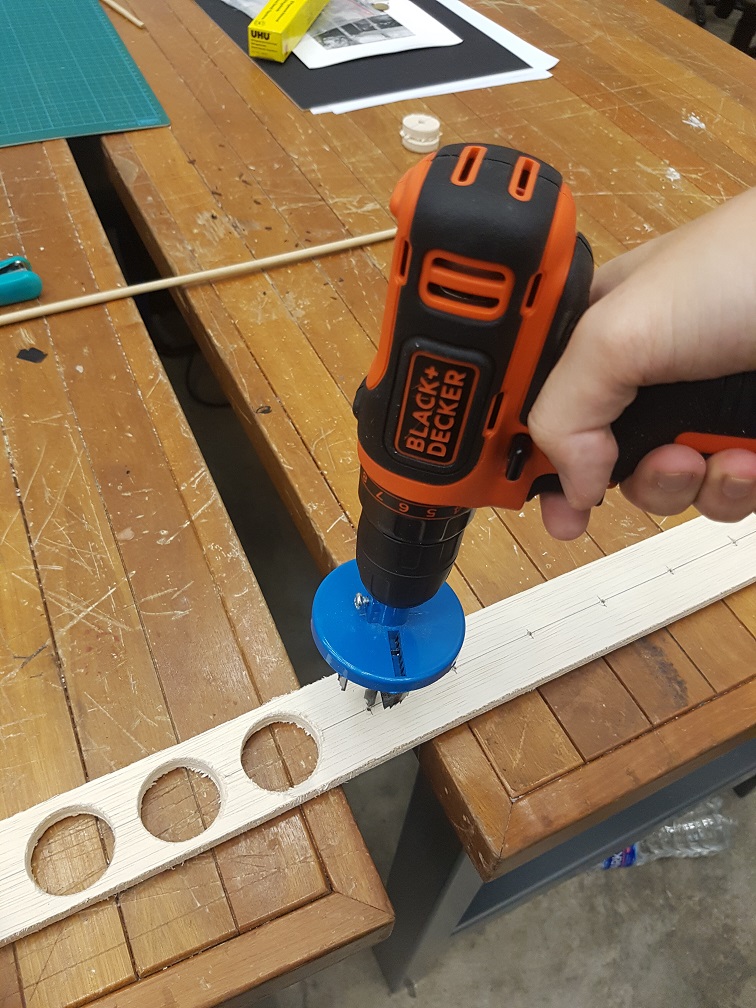
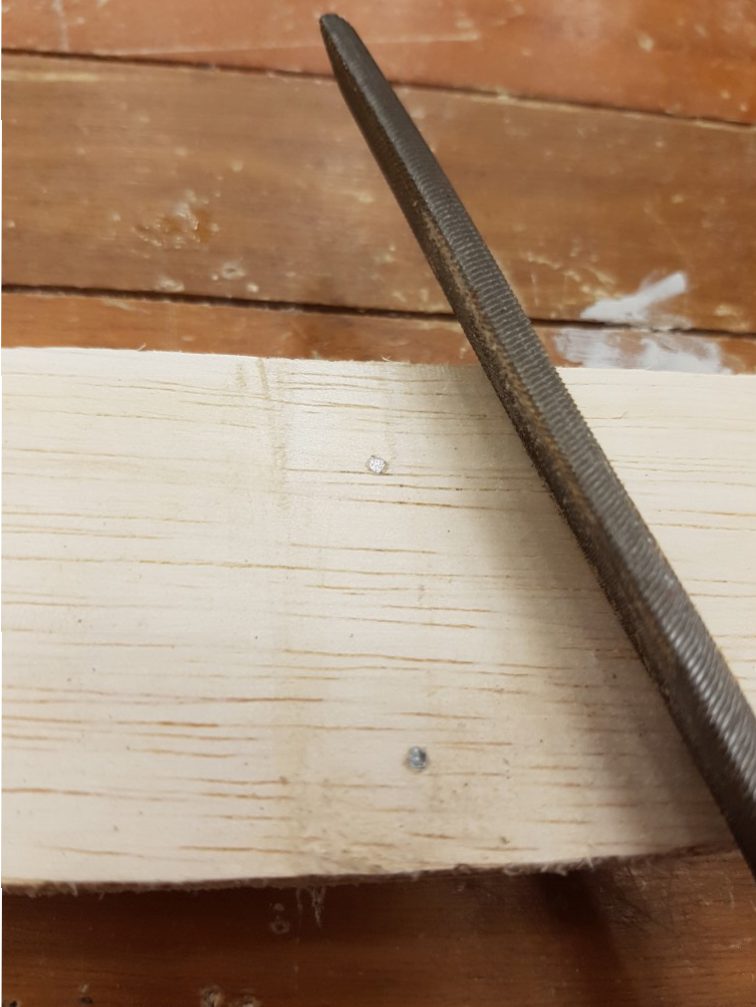
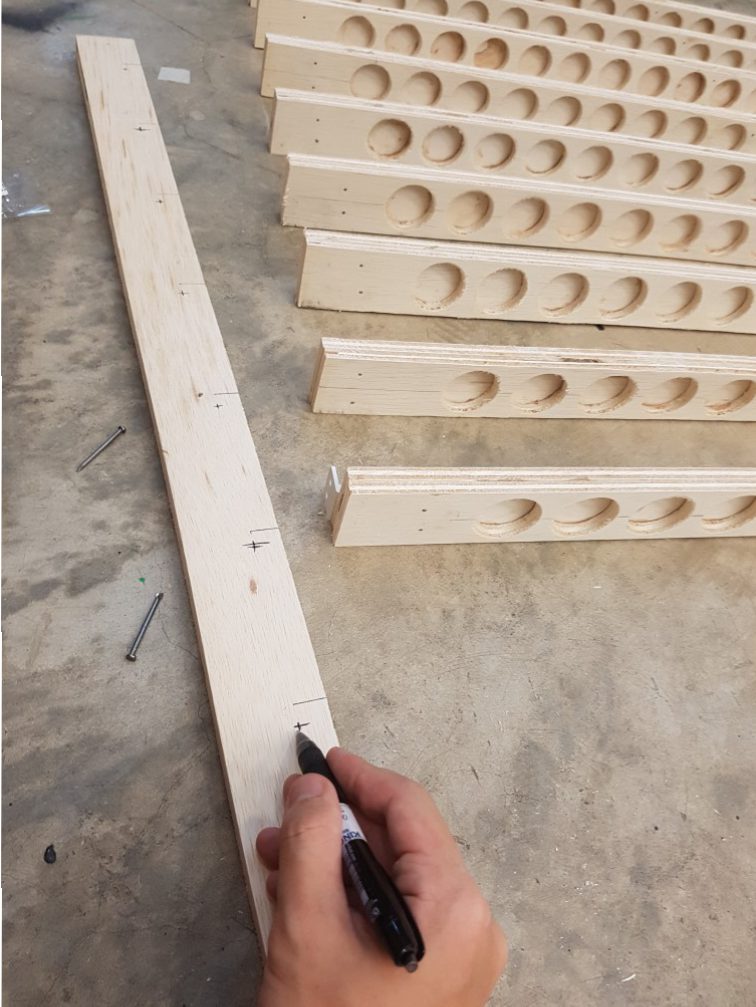
After buying the wood, I measured and marked out the wood for drilling later.

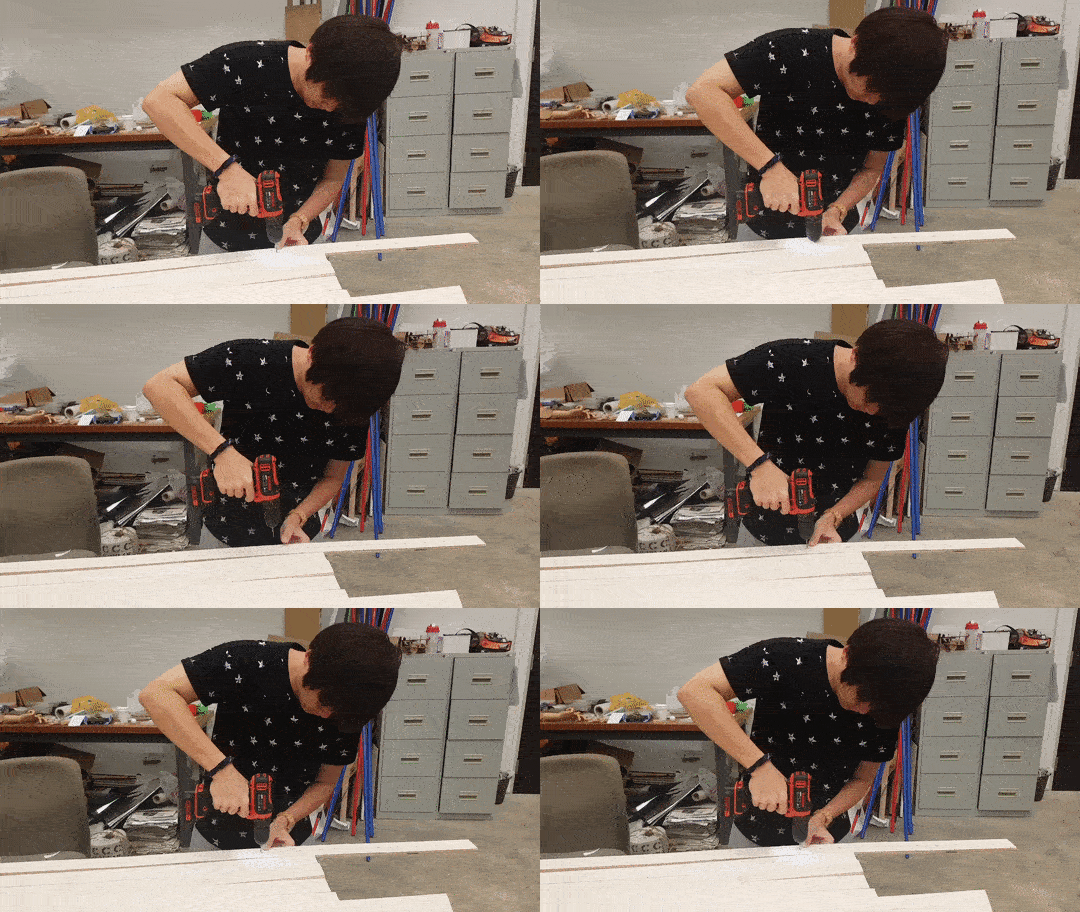
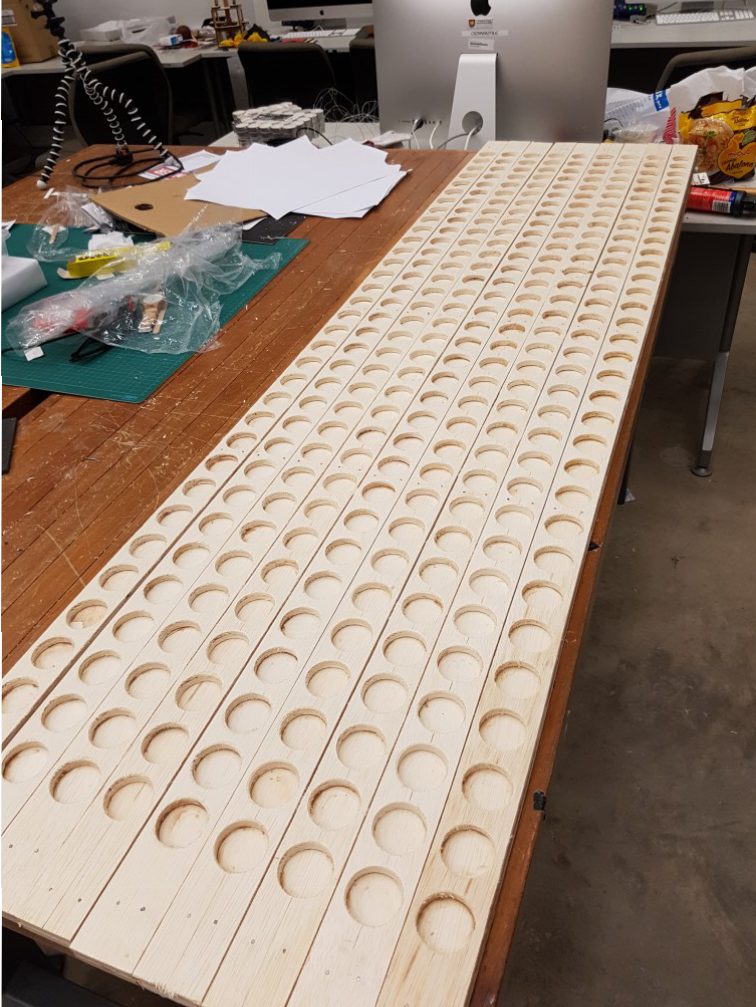
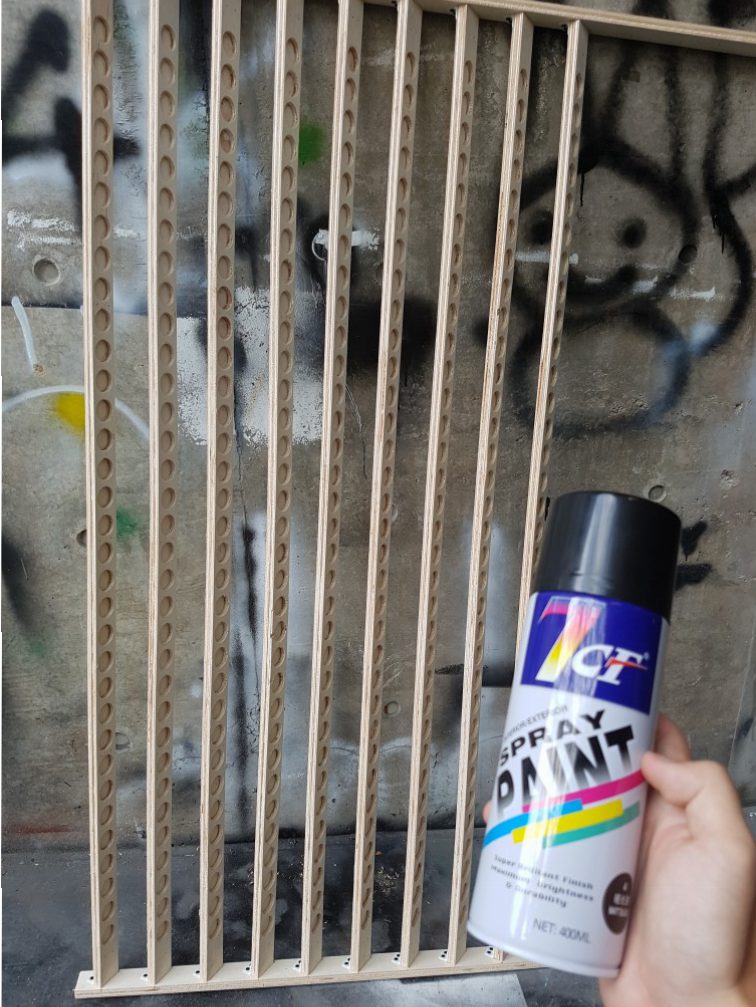
100X speed and a total of 297 holes were drilled.
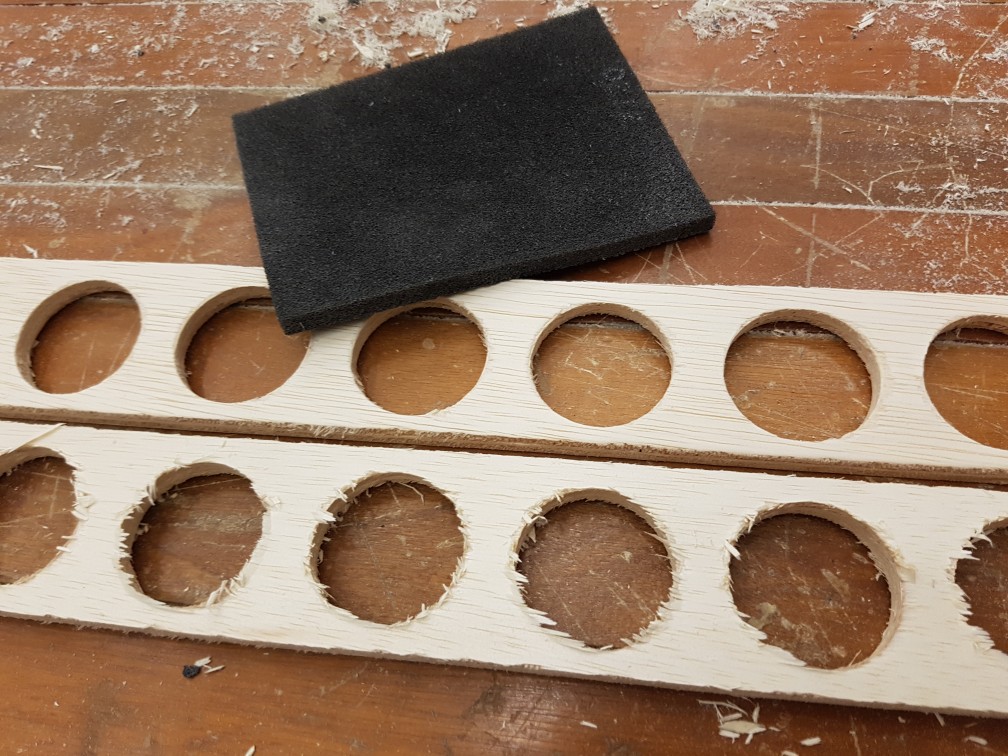
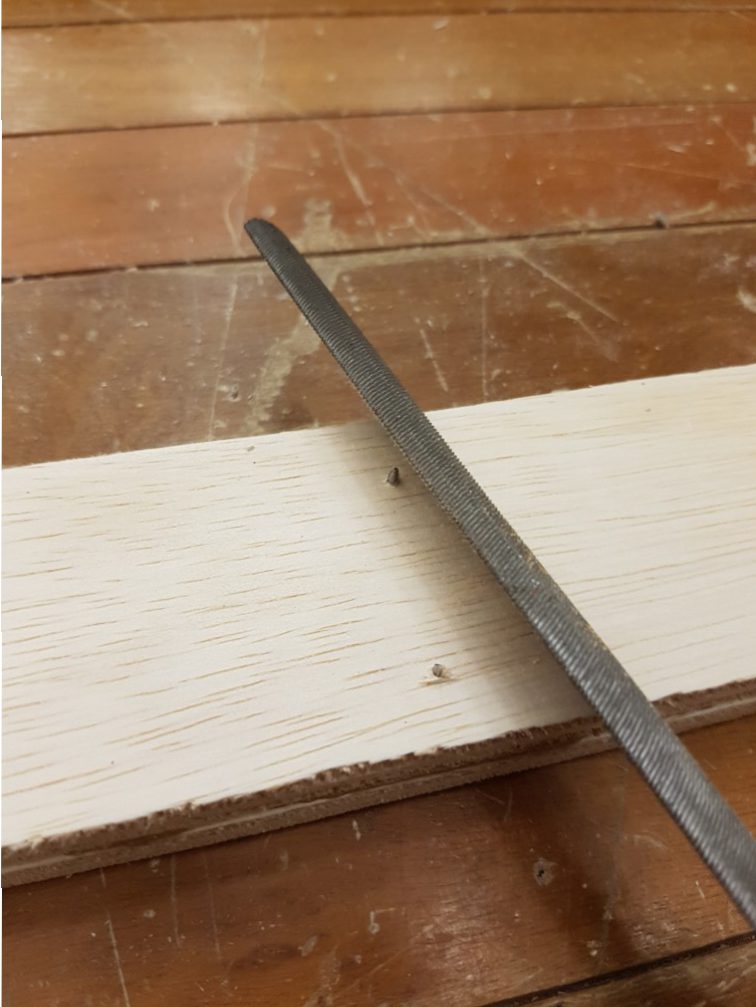
Sand sand sand at 100X speed
Sanding is so important for the finishing quality
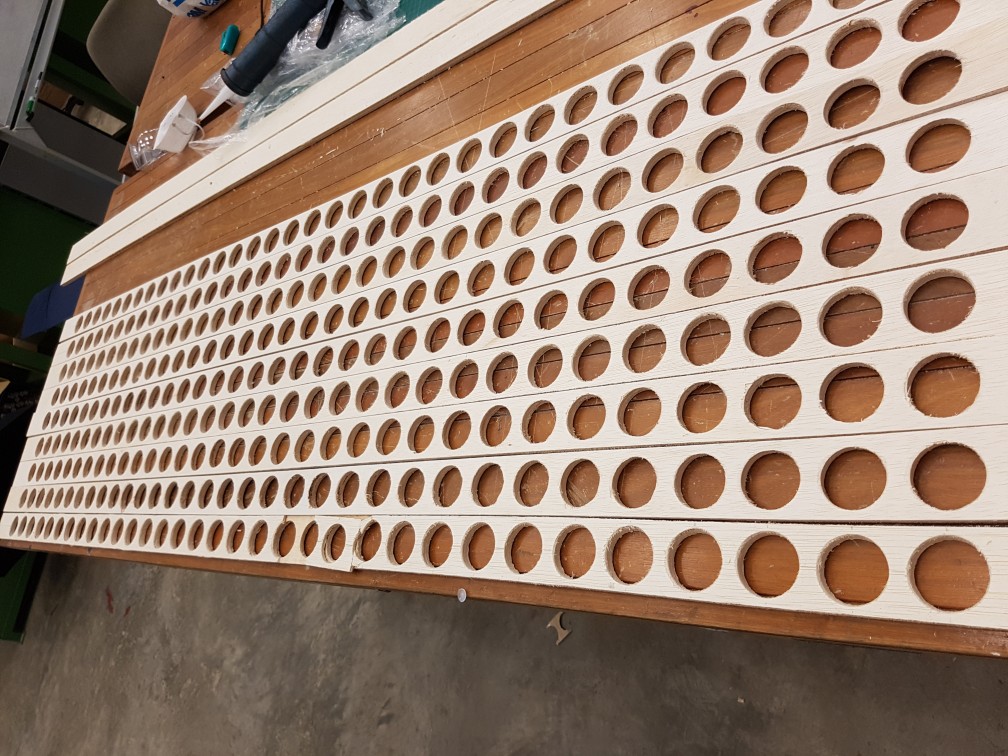
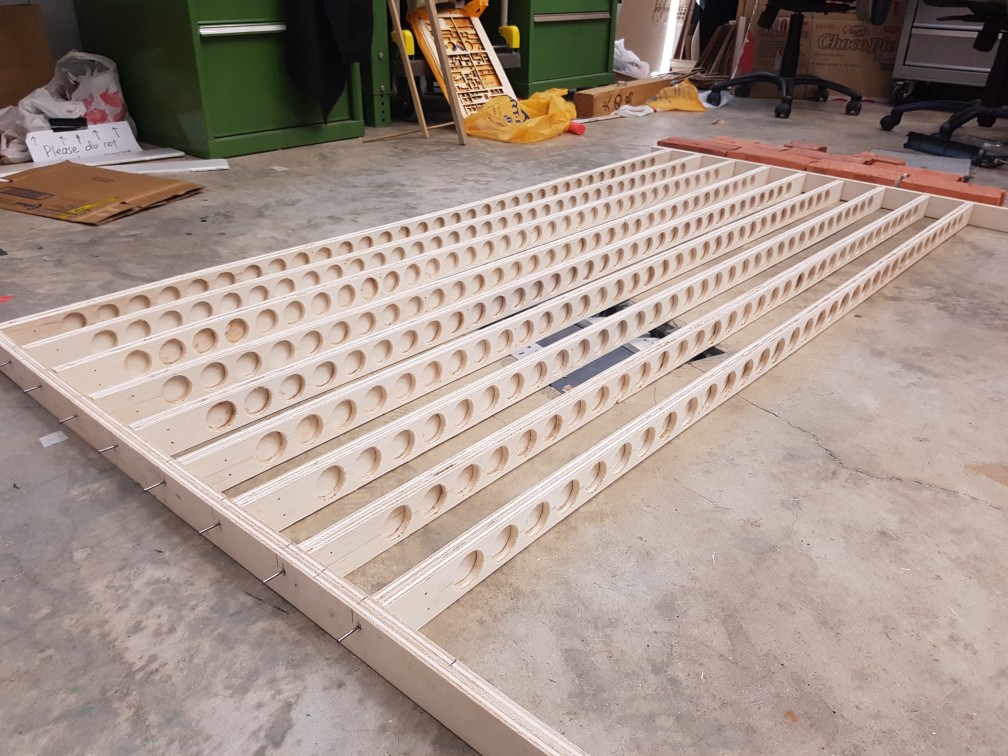
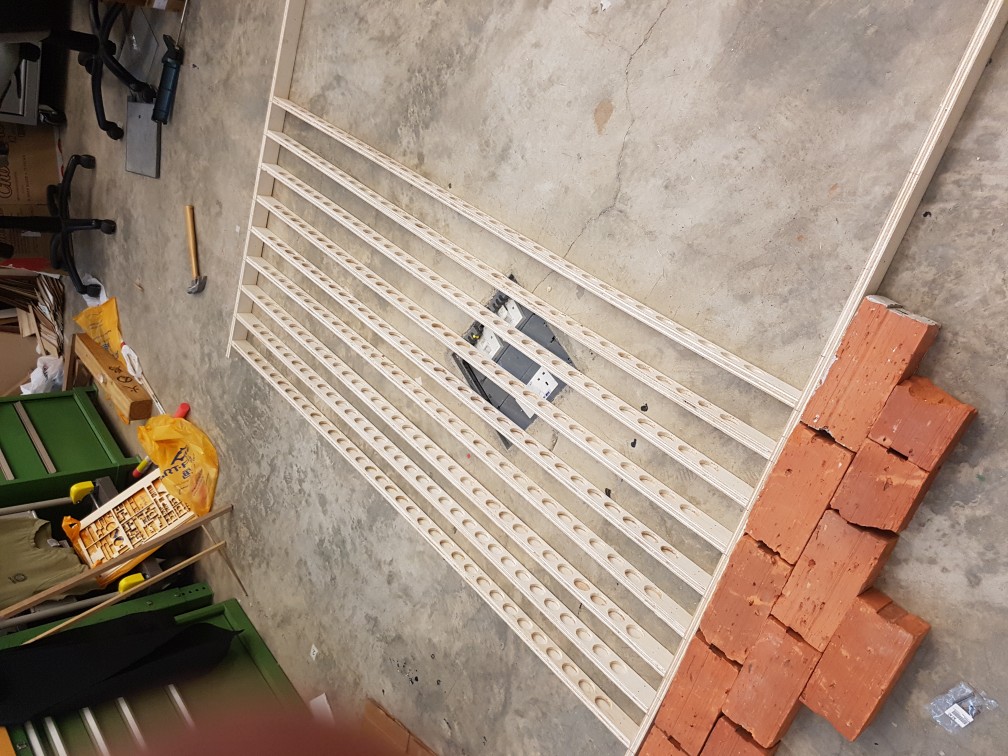
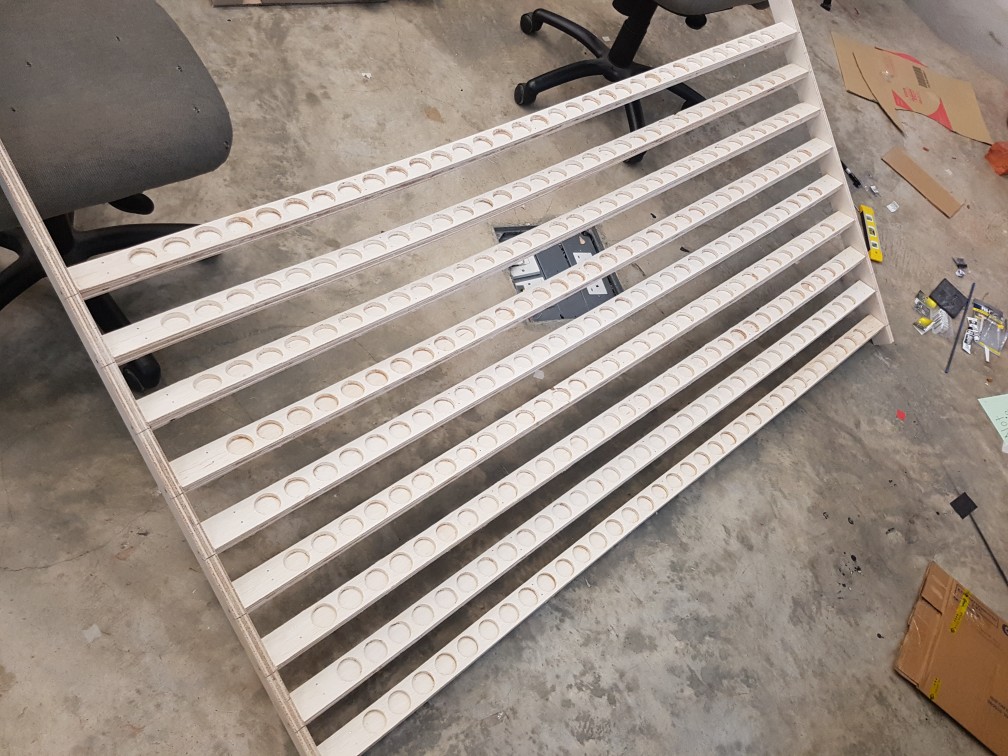
after sanding the 9 planks of 297 holes in total.
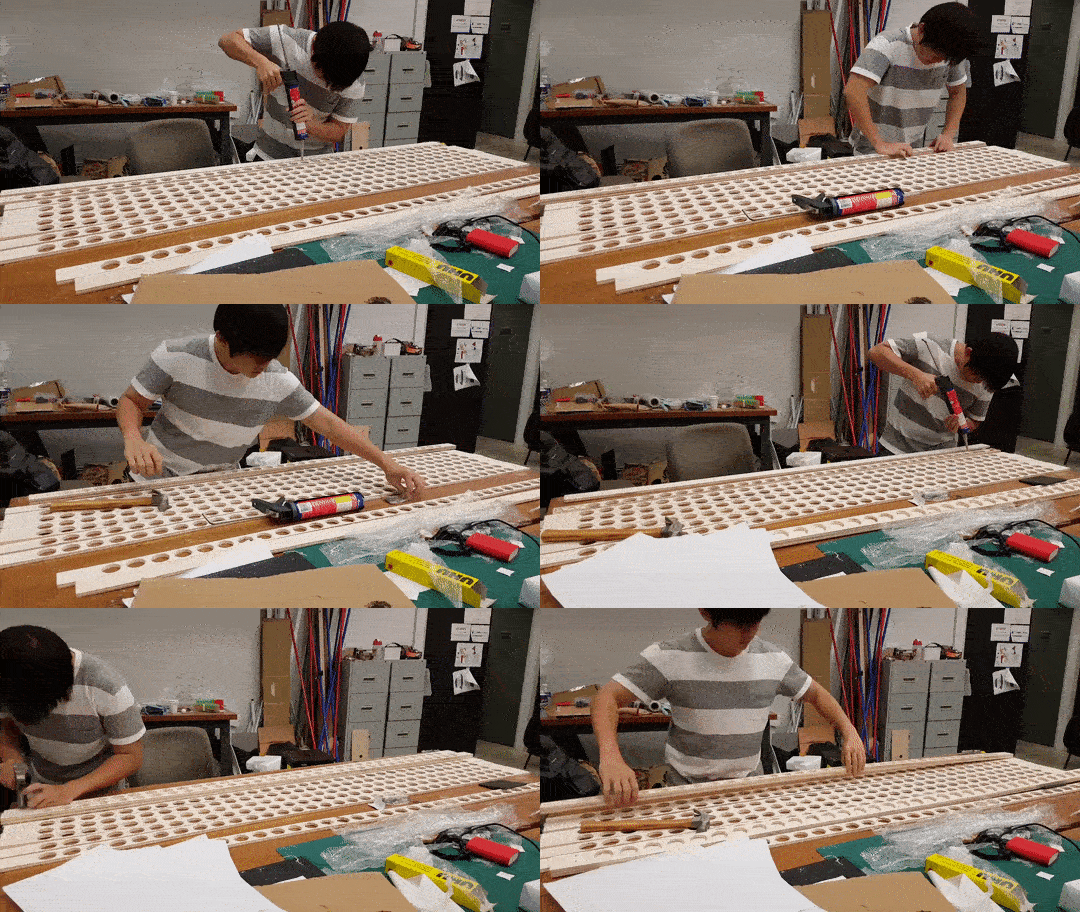
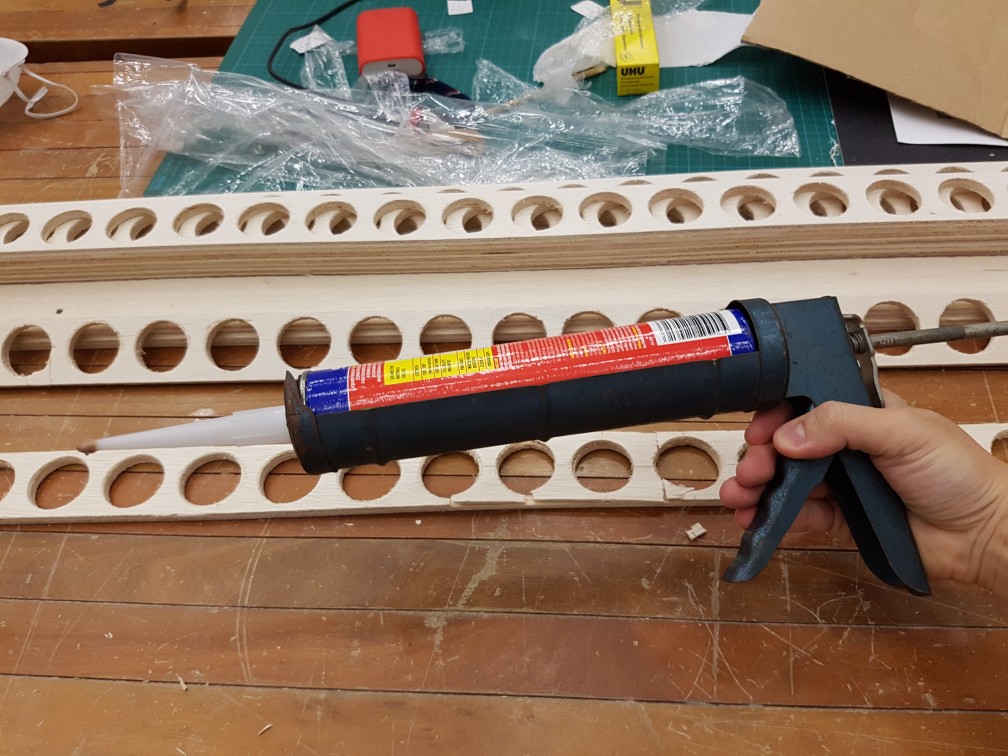
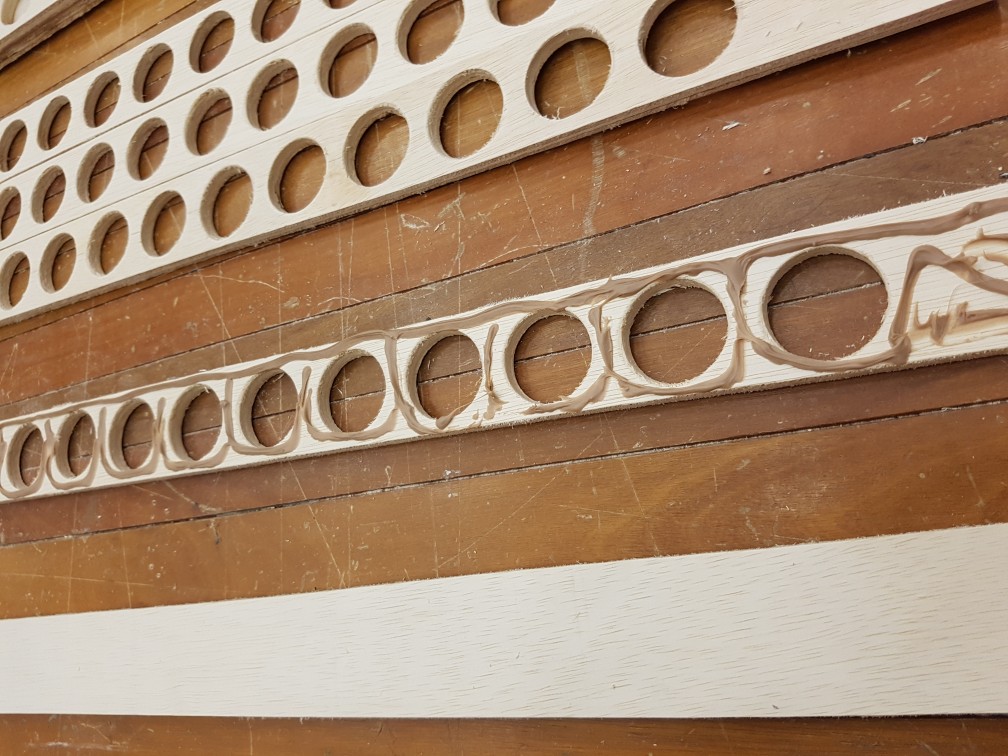
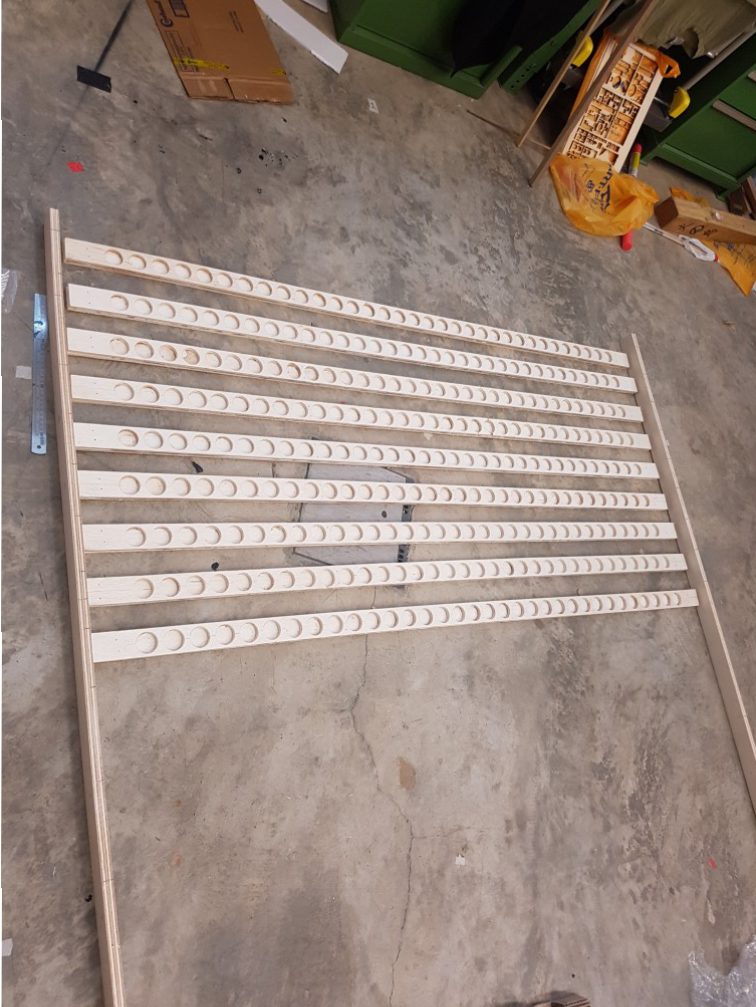
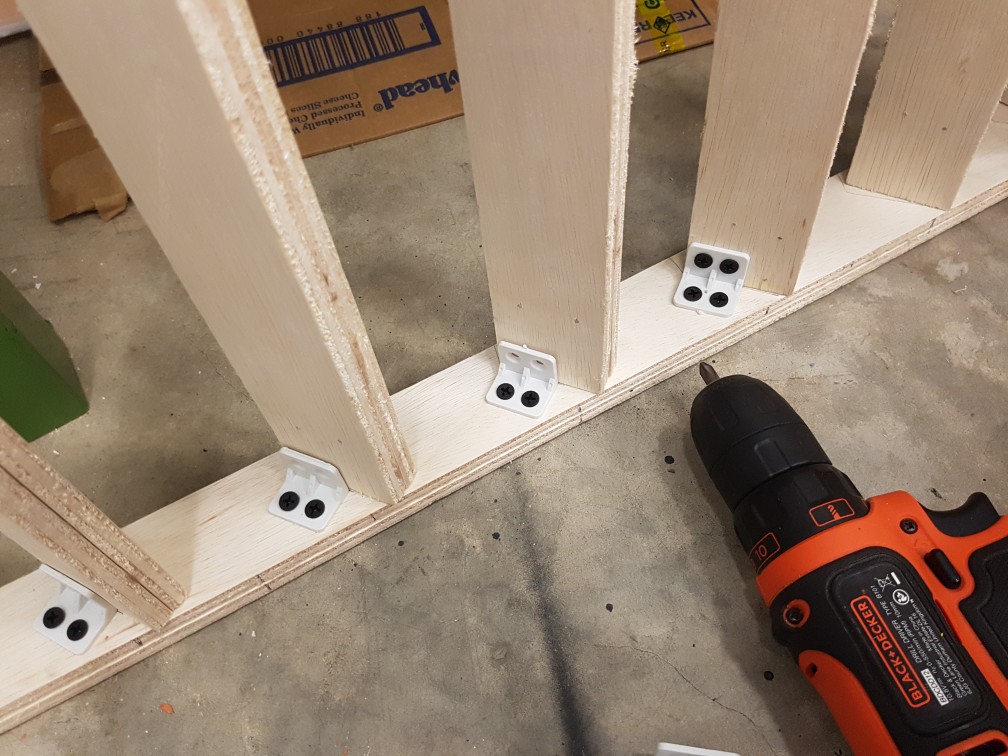
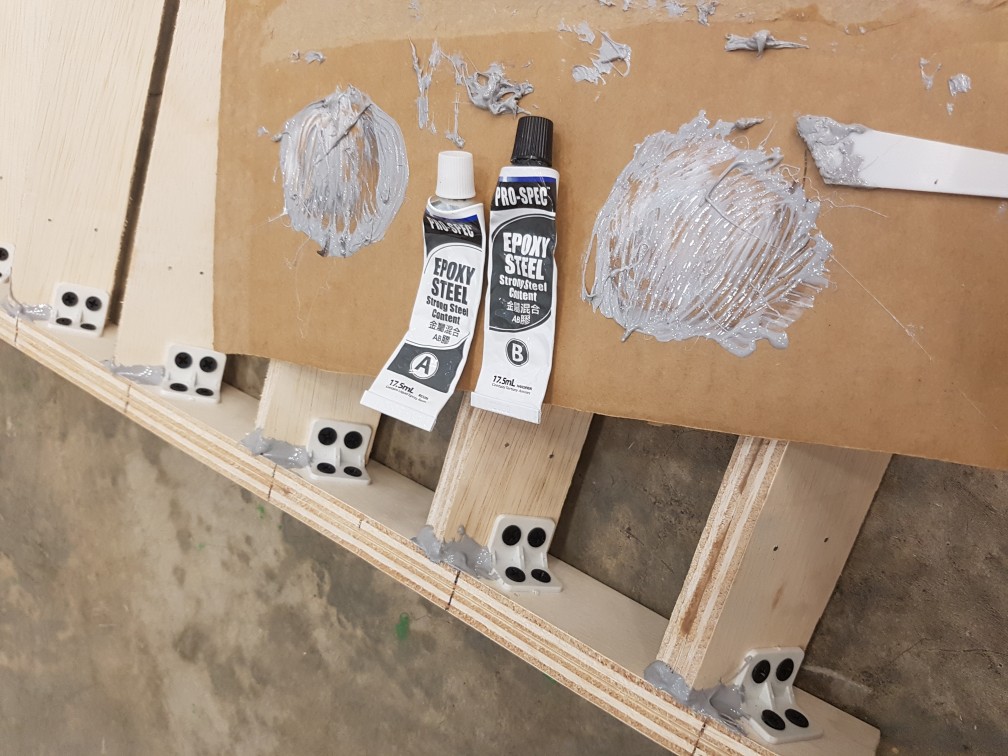
Gluing in 100X speed

after gluing done and excess glue cleaned up.
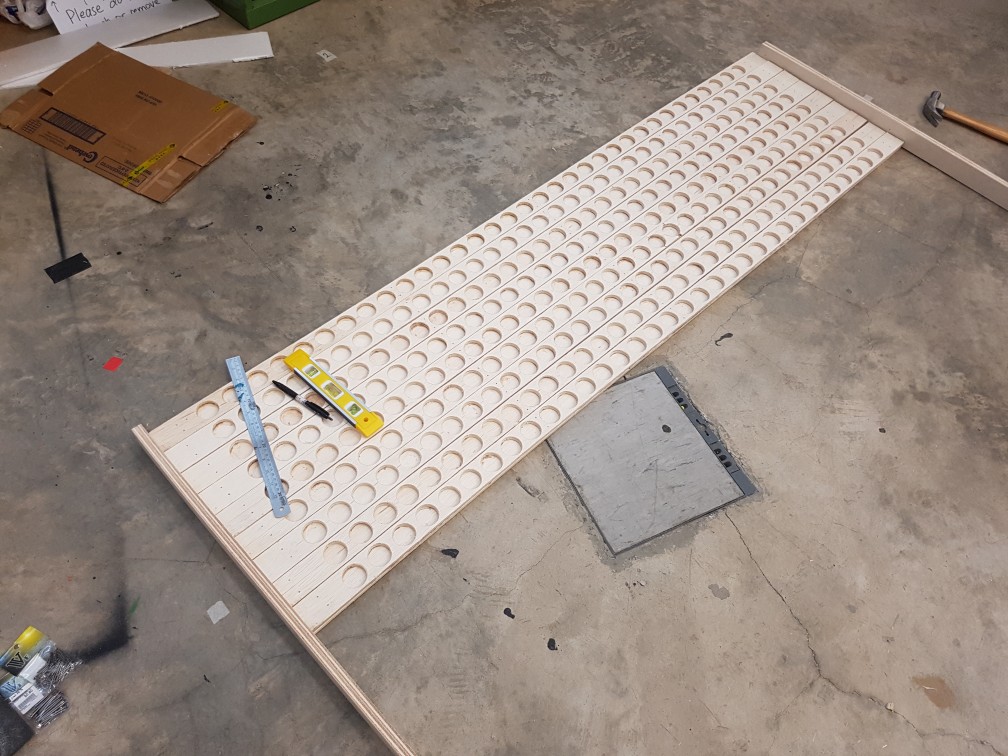
securing the frame at 300X speed

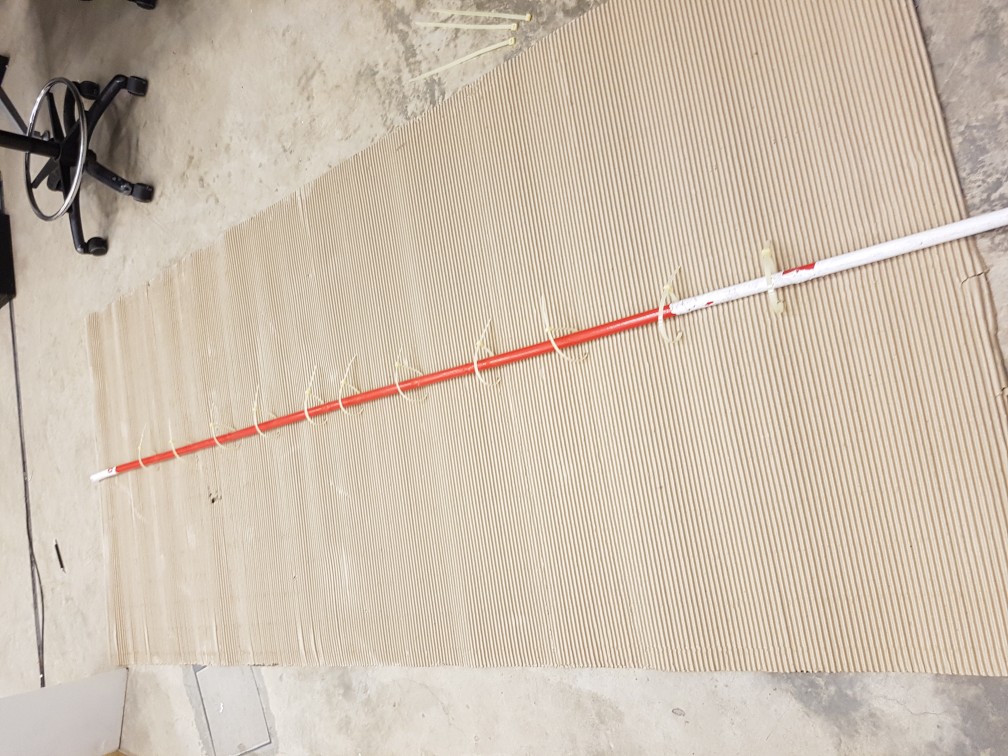
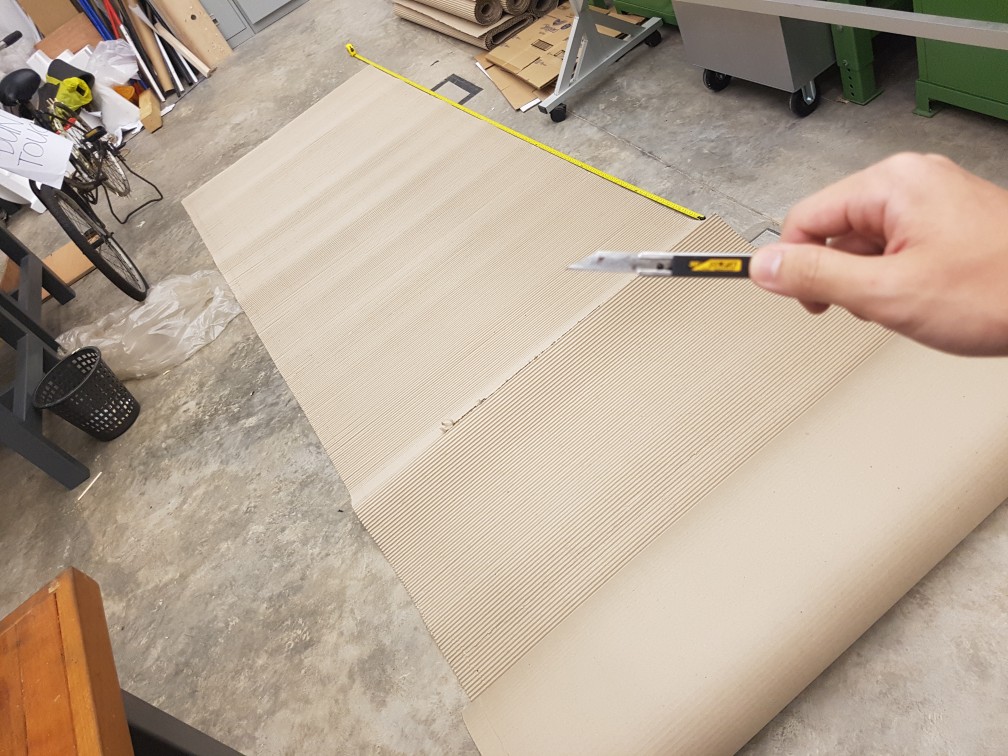
After that, I’ve purchase a 30m cardboard roll to build the dark room for my candles as I would really like to give a feeling of a customized space which one wont feel like in the same space when we are in the one I created, which actually is another space within what we are always used to, the IM room.

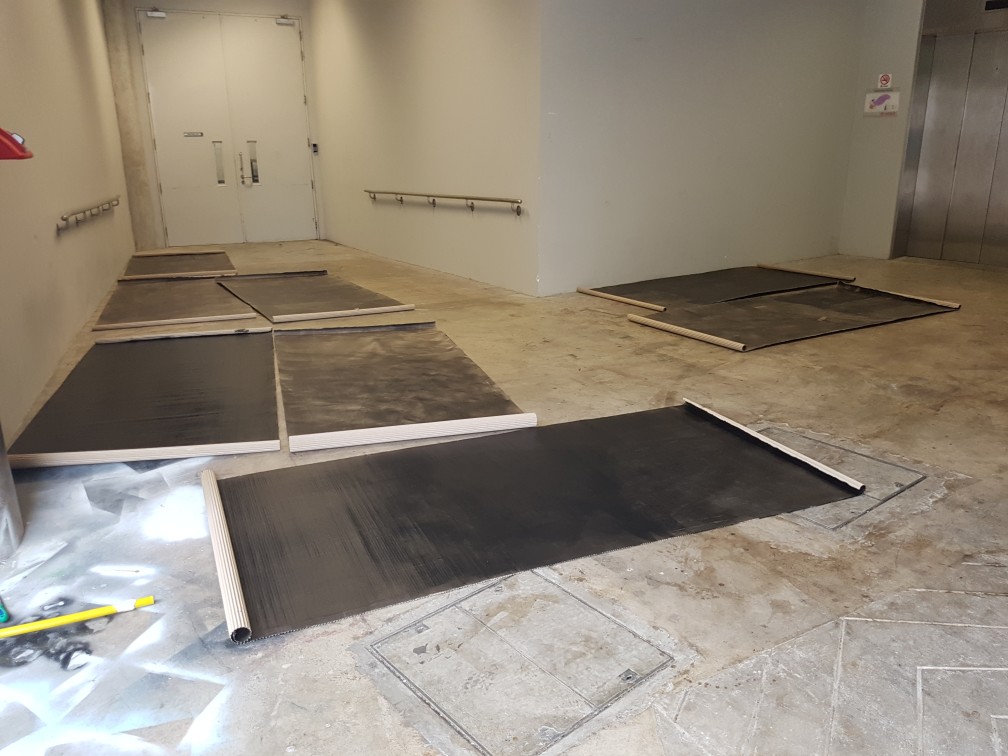
Painting the 8 piece of cardboard roll with waterbased wall paint at 300X speed. the paint is rather expensive so only 2 piece were fully painted in black while the 6 rest were only somewhat black.
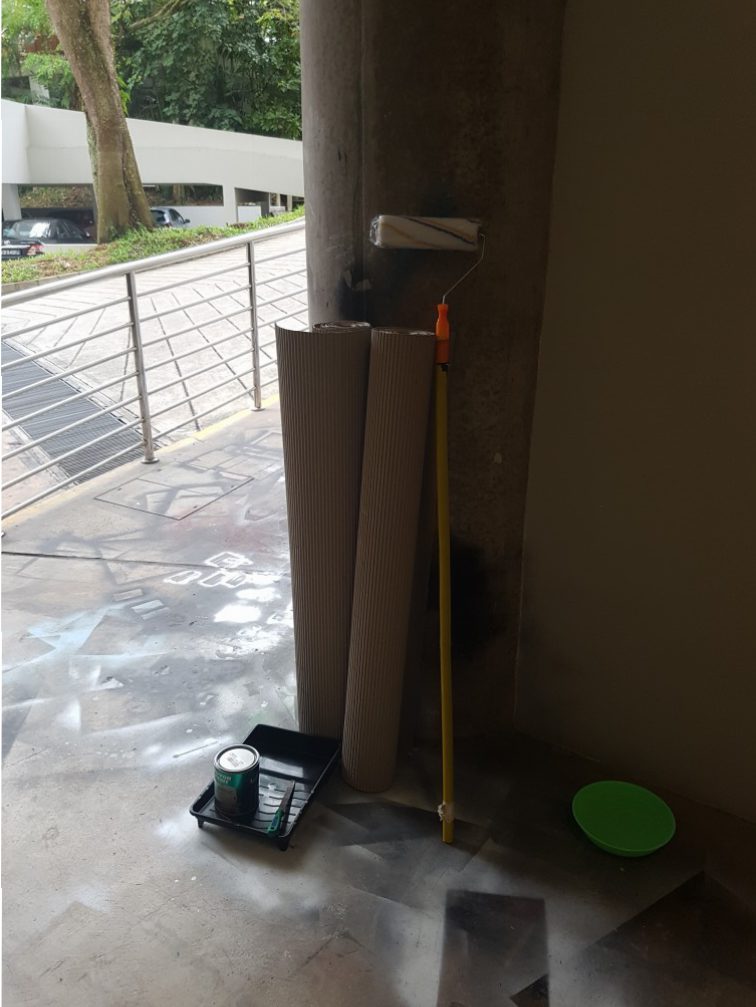
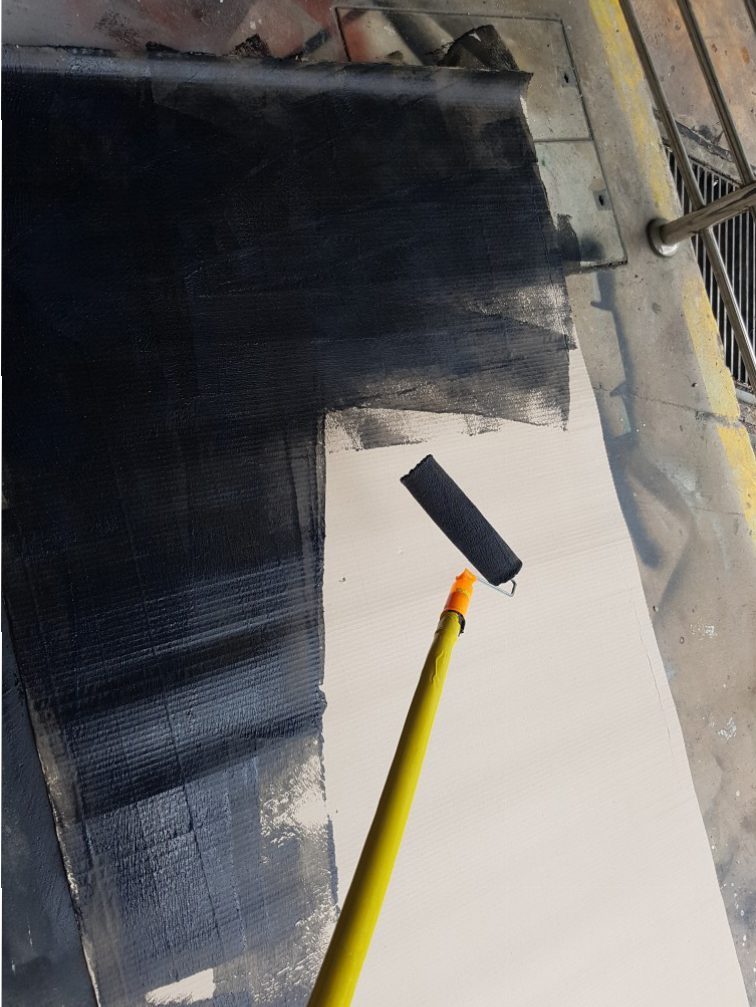
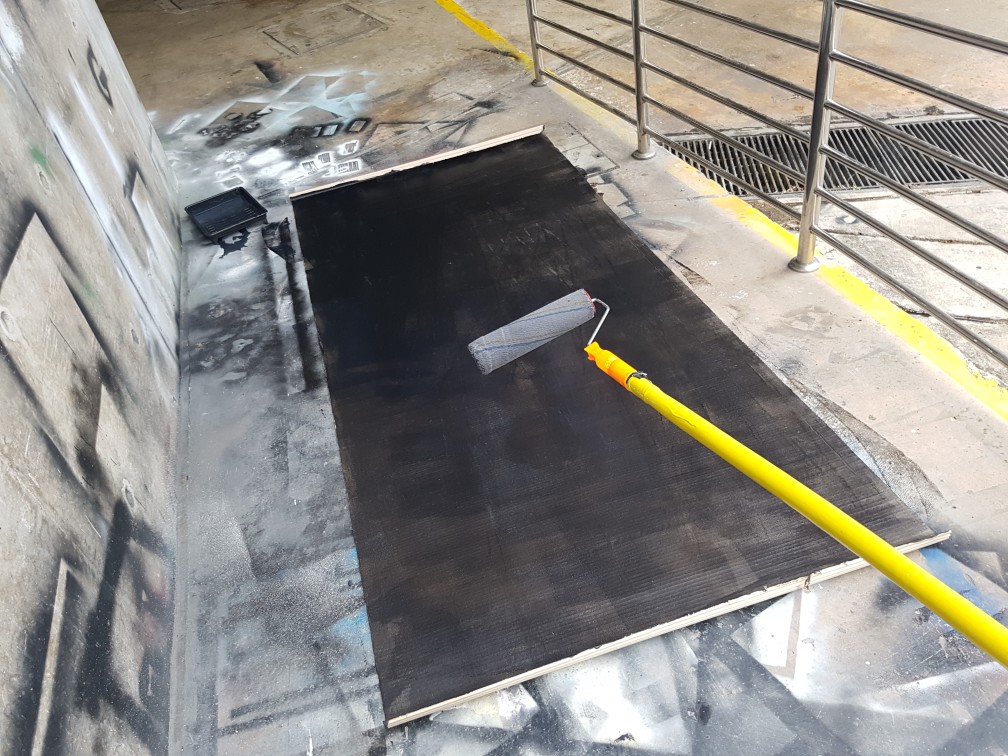
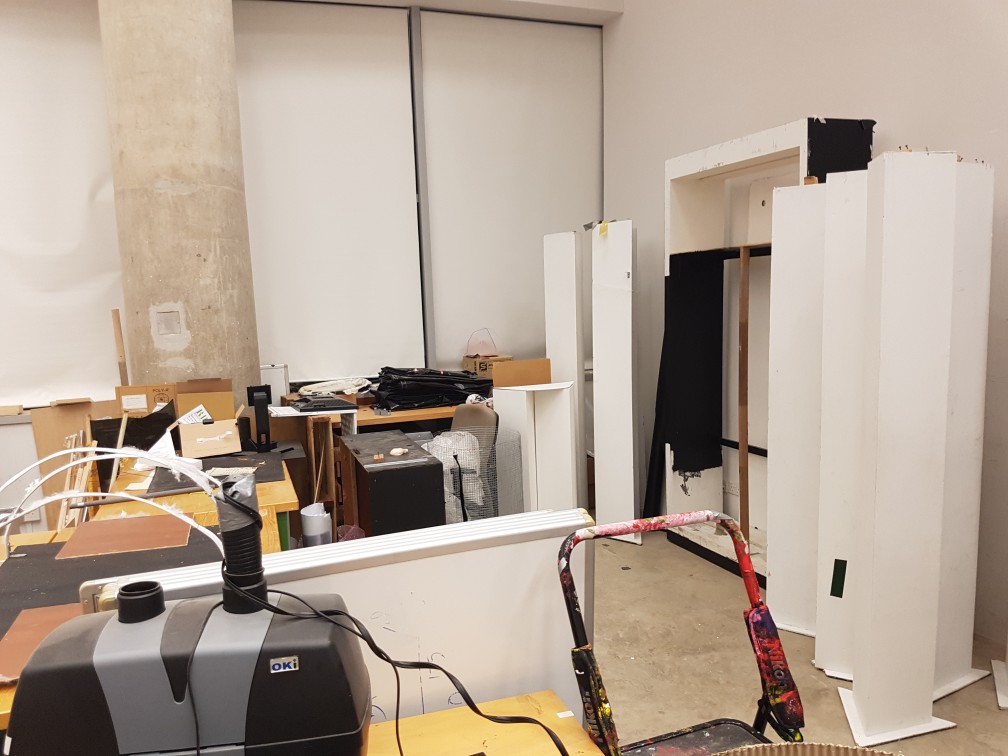
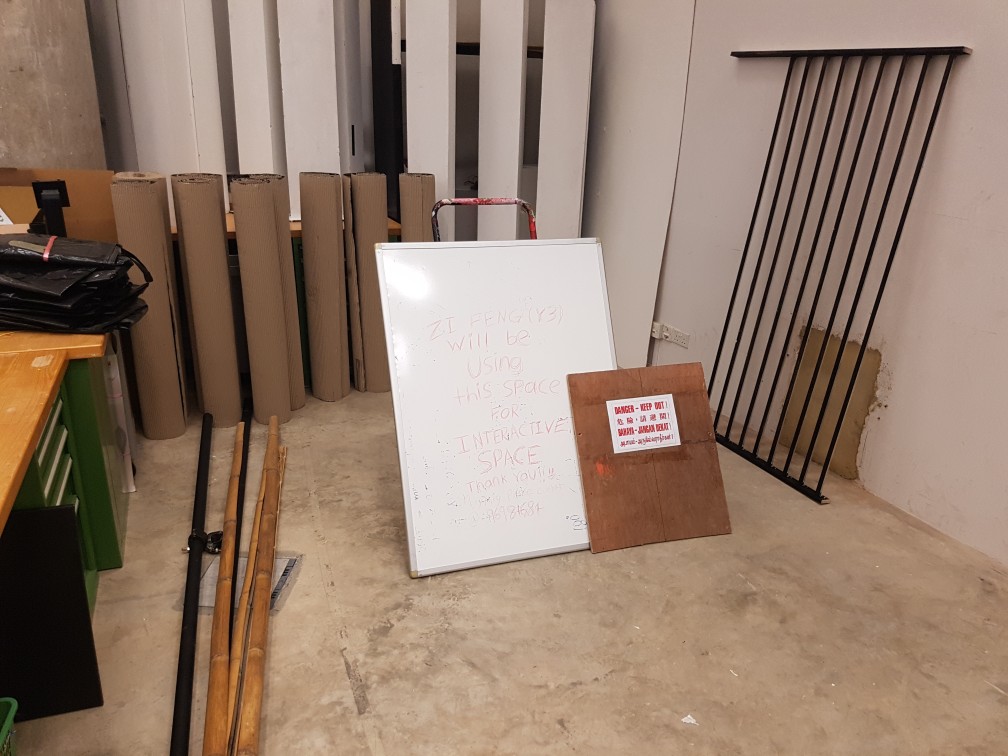
After dying, I brought the cardboard pieces up and decided a place to build my dark room… And I’ve decided to use the space that lesser people used in IM room which is the corner with lockers, however I have do do quite a bit of packing up and shifting of the tables to make space.

And finally, end of 1st process post.