Downloadable Quick Guides for Students
The Onramp to OSS
- Becoming a NetArtizen
- Your OSS Email Notification
- The User Profile
- WordPress Settings
- Your First Post: We’re Ready to Rock ‘n Roll
- Menu Navigation (For the complete roundtrip experience)
- My Work Menu
- The Class Site & Discussion
- Adding Widgets
- HELP!!
- Welcome to NetArtizenship
1. Becoming a NetArtizen
Greetings and welcome to the Open Source Studio (OSS) Getting Started Tutorial. You may be wondering: what exactly is OSS? Well, OSS is not just another e-learning system, it is about being a NetArtizen for the 21st century: that is, becoming a productive artist or designer in a fast-paced tele-connected world. This tutorial will guide you through the process of developing an online virtual studio using WordPress, a popular open source software for authoring websites. Here you can create new projects, document your work and ideas, collaborate with your fellow students, build a portfolio of your ADM experience, and ultimately present your work online for future exhibitions and job opportunities. In other words: OSS is about becoming a productive NetArtizen in order to use the Web as a tool and creative environment for your work.
So enough said, let’s get started.
2. Your OSS Email Notification
By now you should have received an email notification from OSS, so consider yourself an official member! Guard this email with your life, it contains all the relevant information to access your Website. Copy the email to your hard drive, write down the information in your notebook, frame it on your wall! Here is an explanation of the email:
New site created…
Address: https://oss.adm.ntu.edu.sg/mysite
Name: yzhang078
Log in here: http://oss.adm.ntu.edu.sg/mysite/wp-login.php
Now you are on the WordPress login screen: enter your NTU username and NTU password, and NTU Domain (STUDENT), check Remember Me, click on “Log In” and off you go onto the information superhighway!
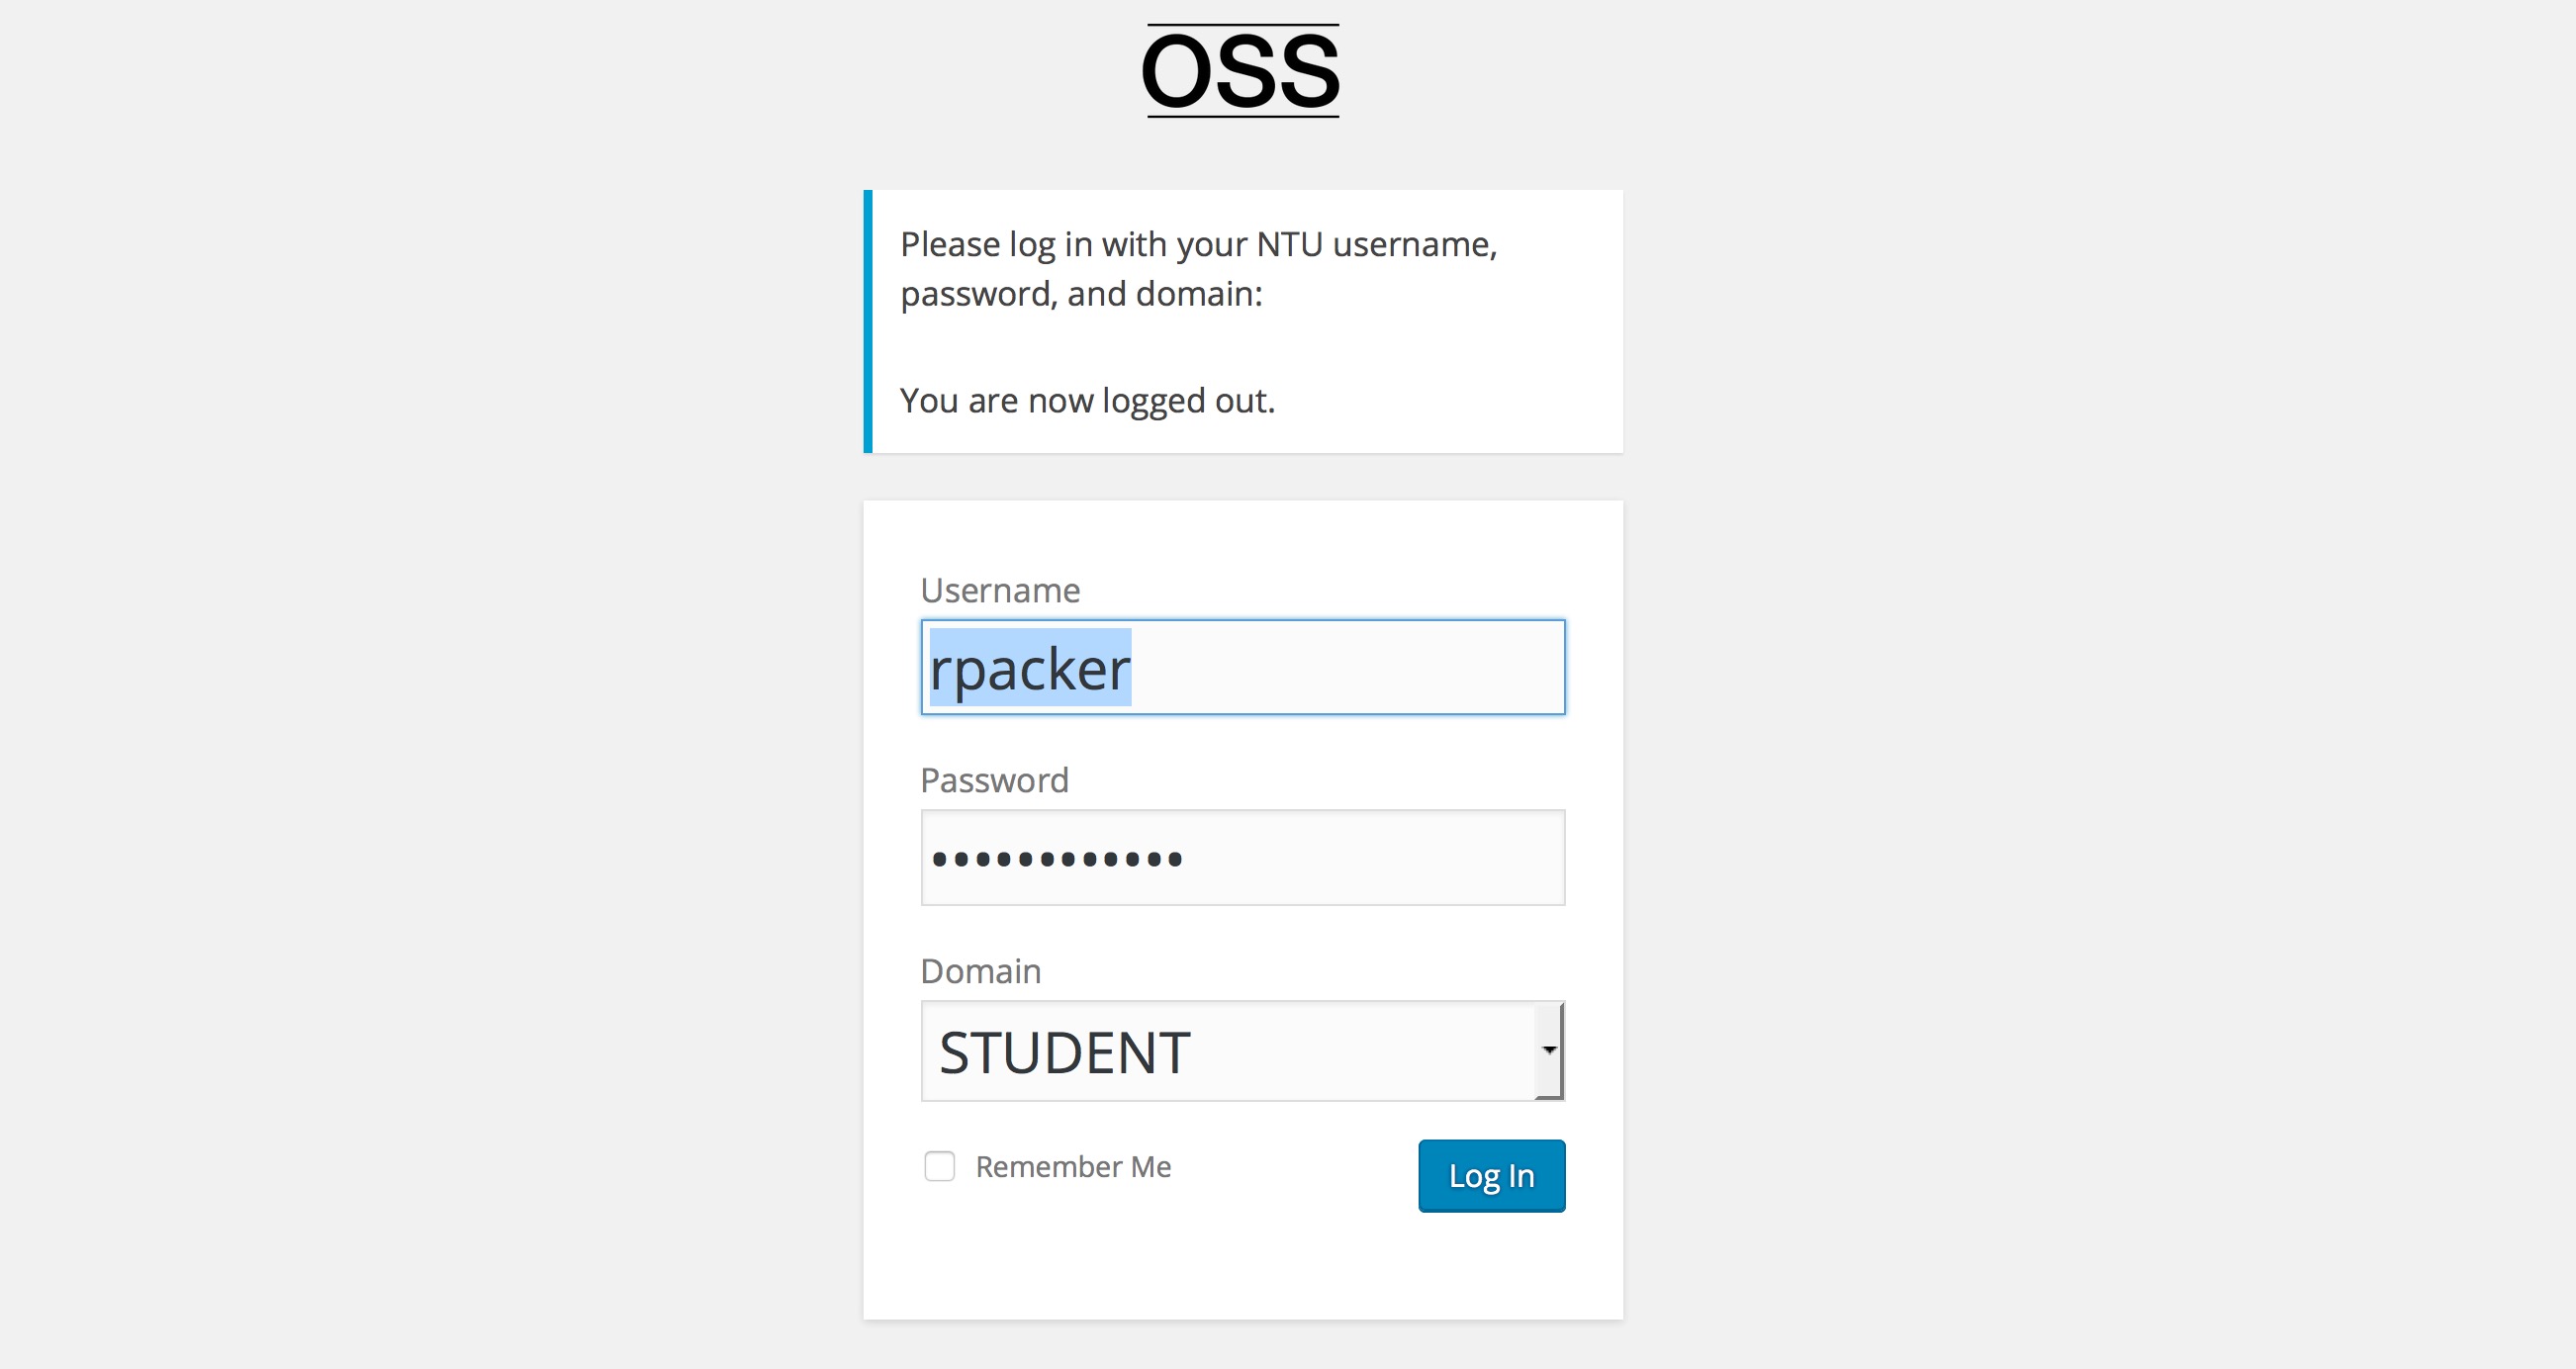
#NOTE: If you lose your password, follow the instructions on the login screen.
3. The User Profile
Note the sidebar on the left. It’s called the WordPress Dashboard, just like in a car: this is how you get to all the dials and settings behind your Website. Now the fun part begins, you can invent your own virtual identity! Have you ever created a Facebook profile (sure you have). We do the same thing in OSS.
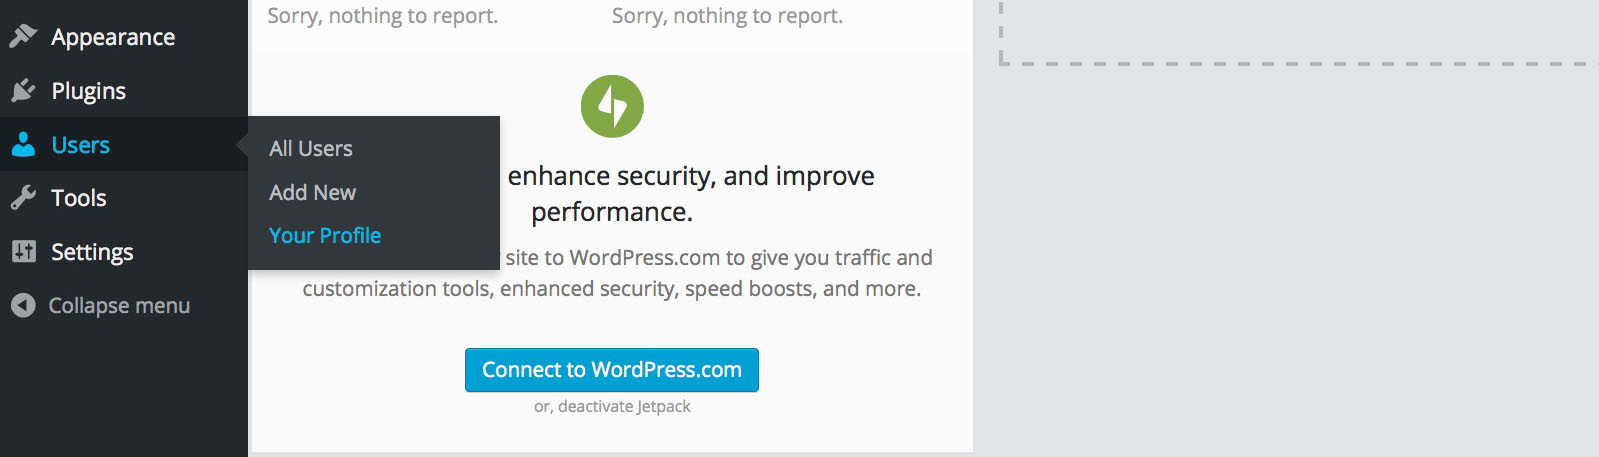
After you have logged in to your WordPress site go to your user profile page. Under “Users” click on “Your Profile” to edit your profile.
OK, now this is pretty easy, just fill out the following:
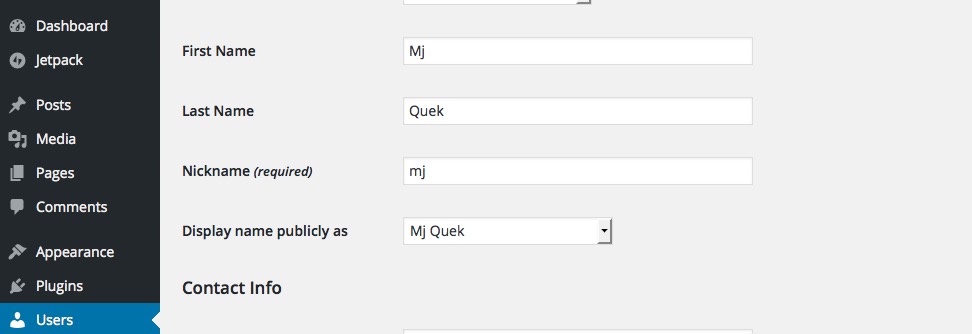
- First and Last Name
- Nickname: what do people call you?
- Display name publicly: how do you want your name to appear online?
- Email: don’t change this or you will be locked out of OSS forever!
- Website: if you have a site other than OSS
- Biographical info: Talk about yourself, reinvent yourself!
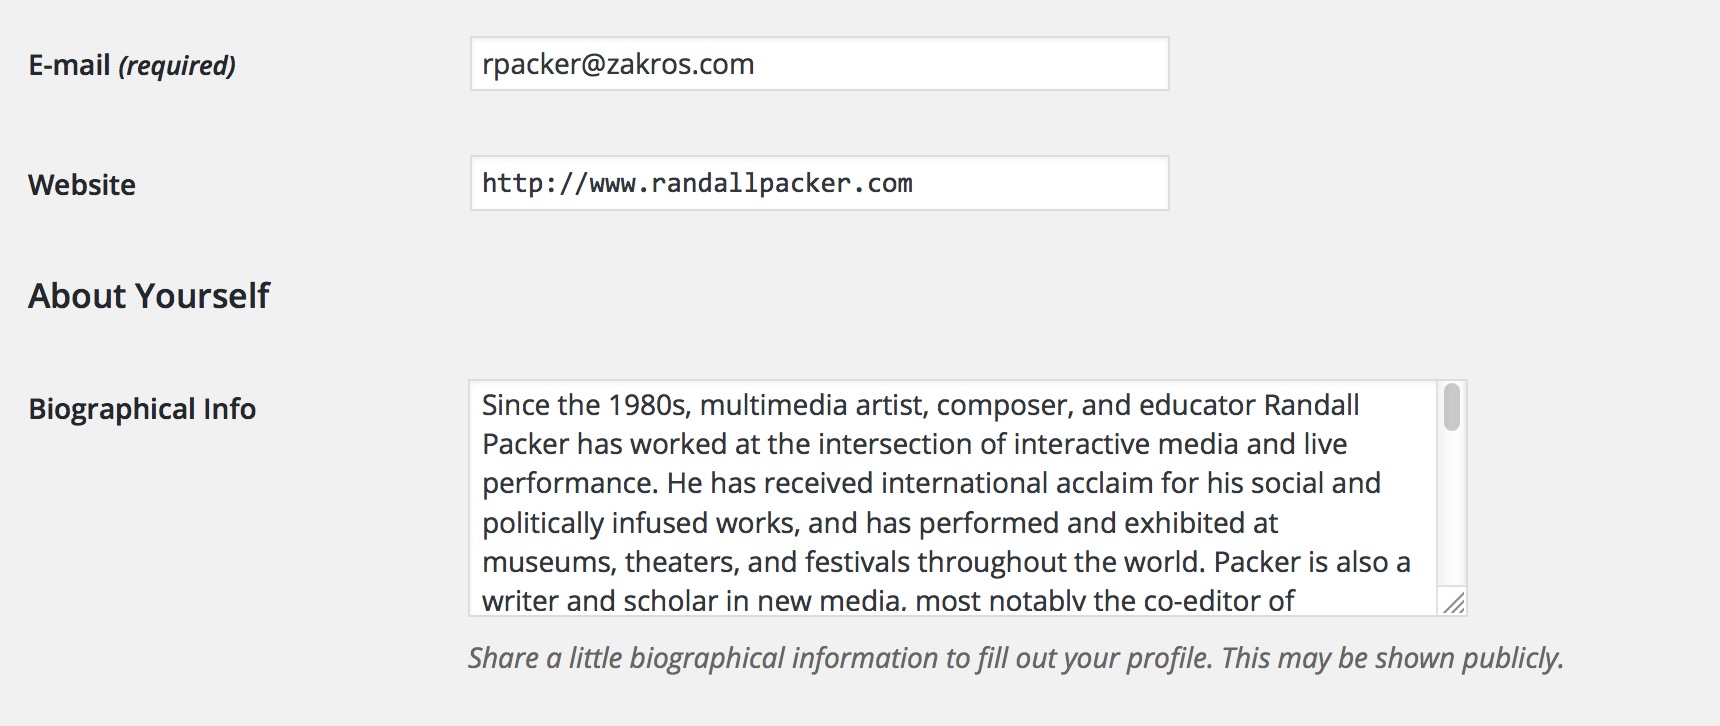
- Last but not least, click on “Update Profile” at the bottom of the screen or everything you just did will be lost and you certainly don’t want that to happen because you’ll have to start all over again.
Creating your Avatar
What’s an avatar you might be asking? It’s your digital representation, just like in social media, you probably have several already. In the digital age, we all have many identities!
Here is how to create an avatar for your site (follow carefully, it’s a little tricky):
- Select “Custom” where it says “Display this avatar”
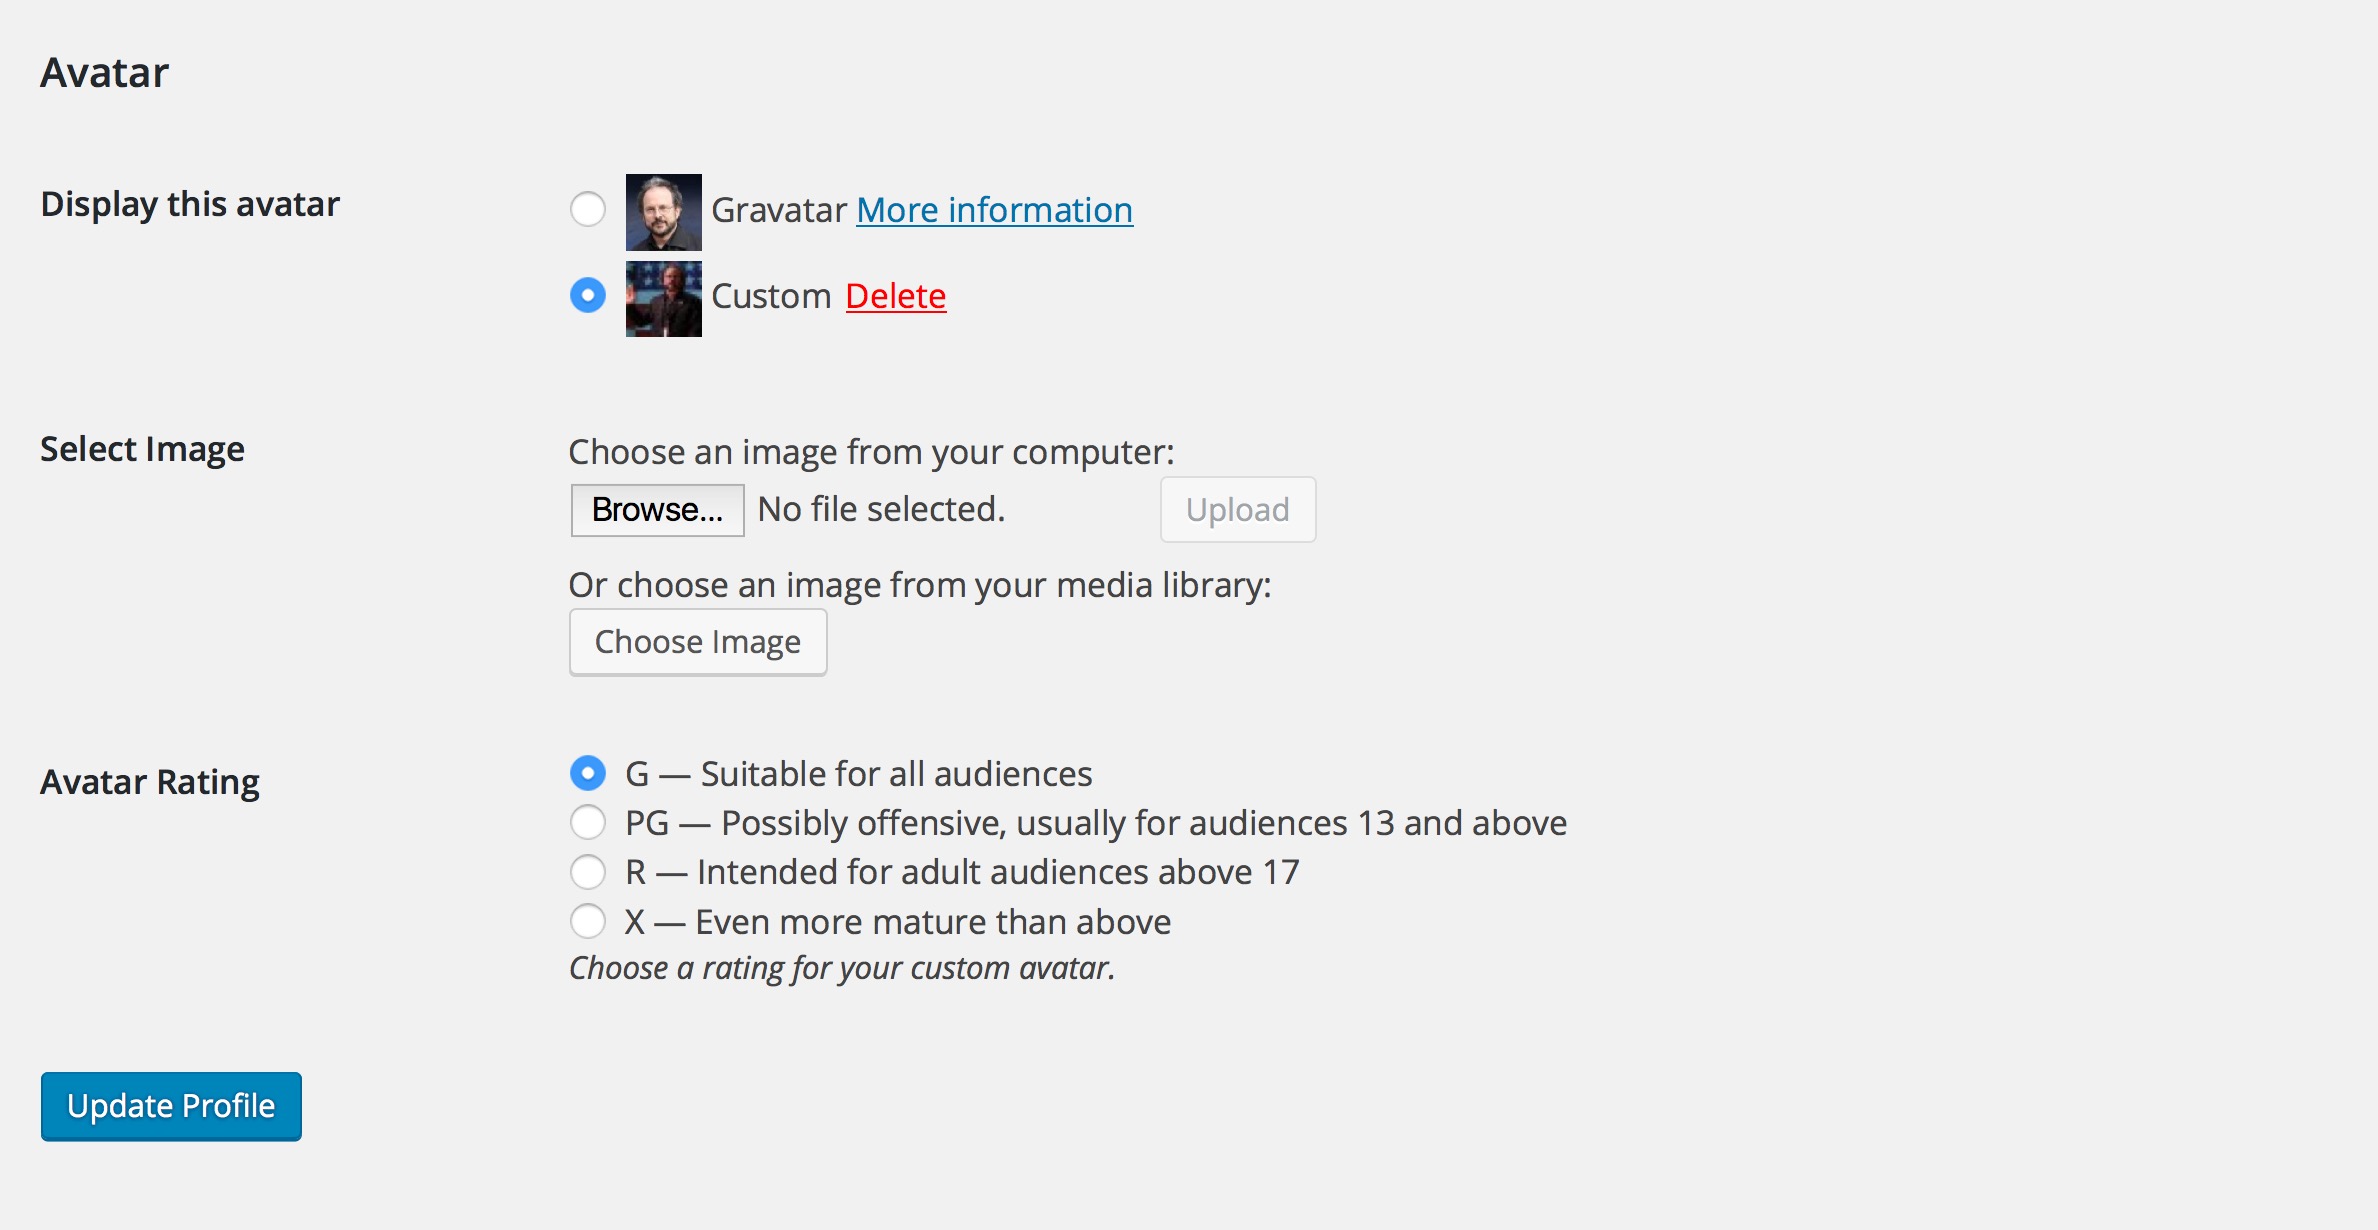
- Next to “Select Image,” Click on “Browse” to upload an image from your computer.
- Click on the “Upload” button
- Choose “G” for your Avatar Rating
- Click on “Update Profile”
IMPORTANT: Be sure to click on the blue “Update Profile” to save your profile, otherwise you will lose everything!
Congratulations, you now have an Internet identity in OSS!!
4. WordPress Settings
You haven’t created just any OSS site, it’s your very own virtual studio! Now on the Dashboard hover over to “Settings”
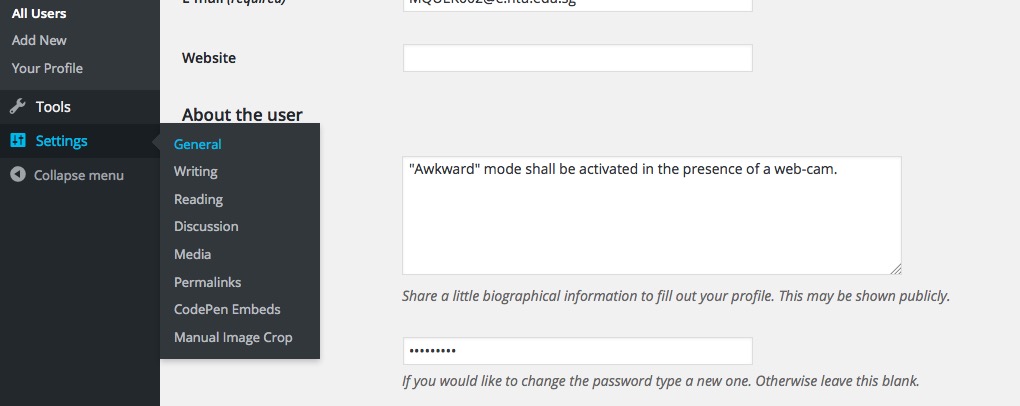
- Settings: A little further down the WordPress Dashboard sidebar, you’ll see “Settings.” Roll your mouse over so a drop down menu appears and click on “General.”
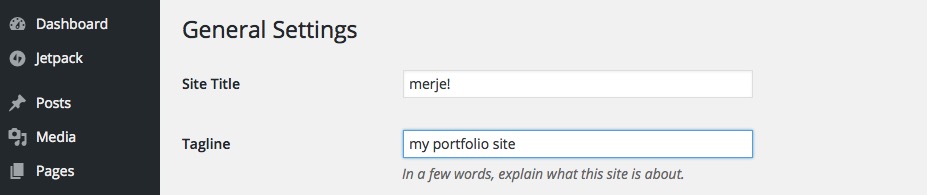
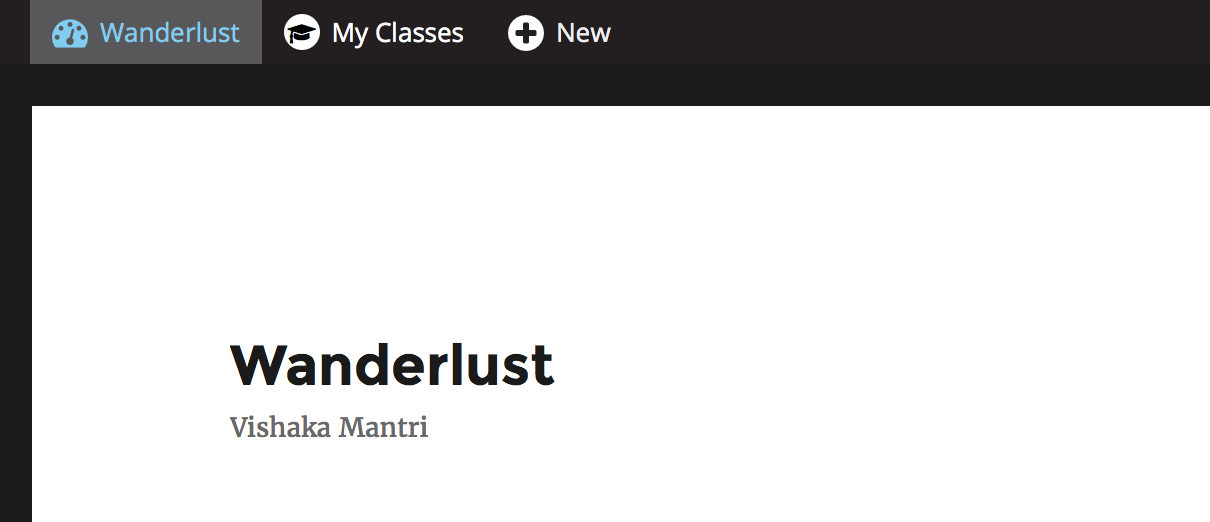
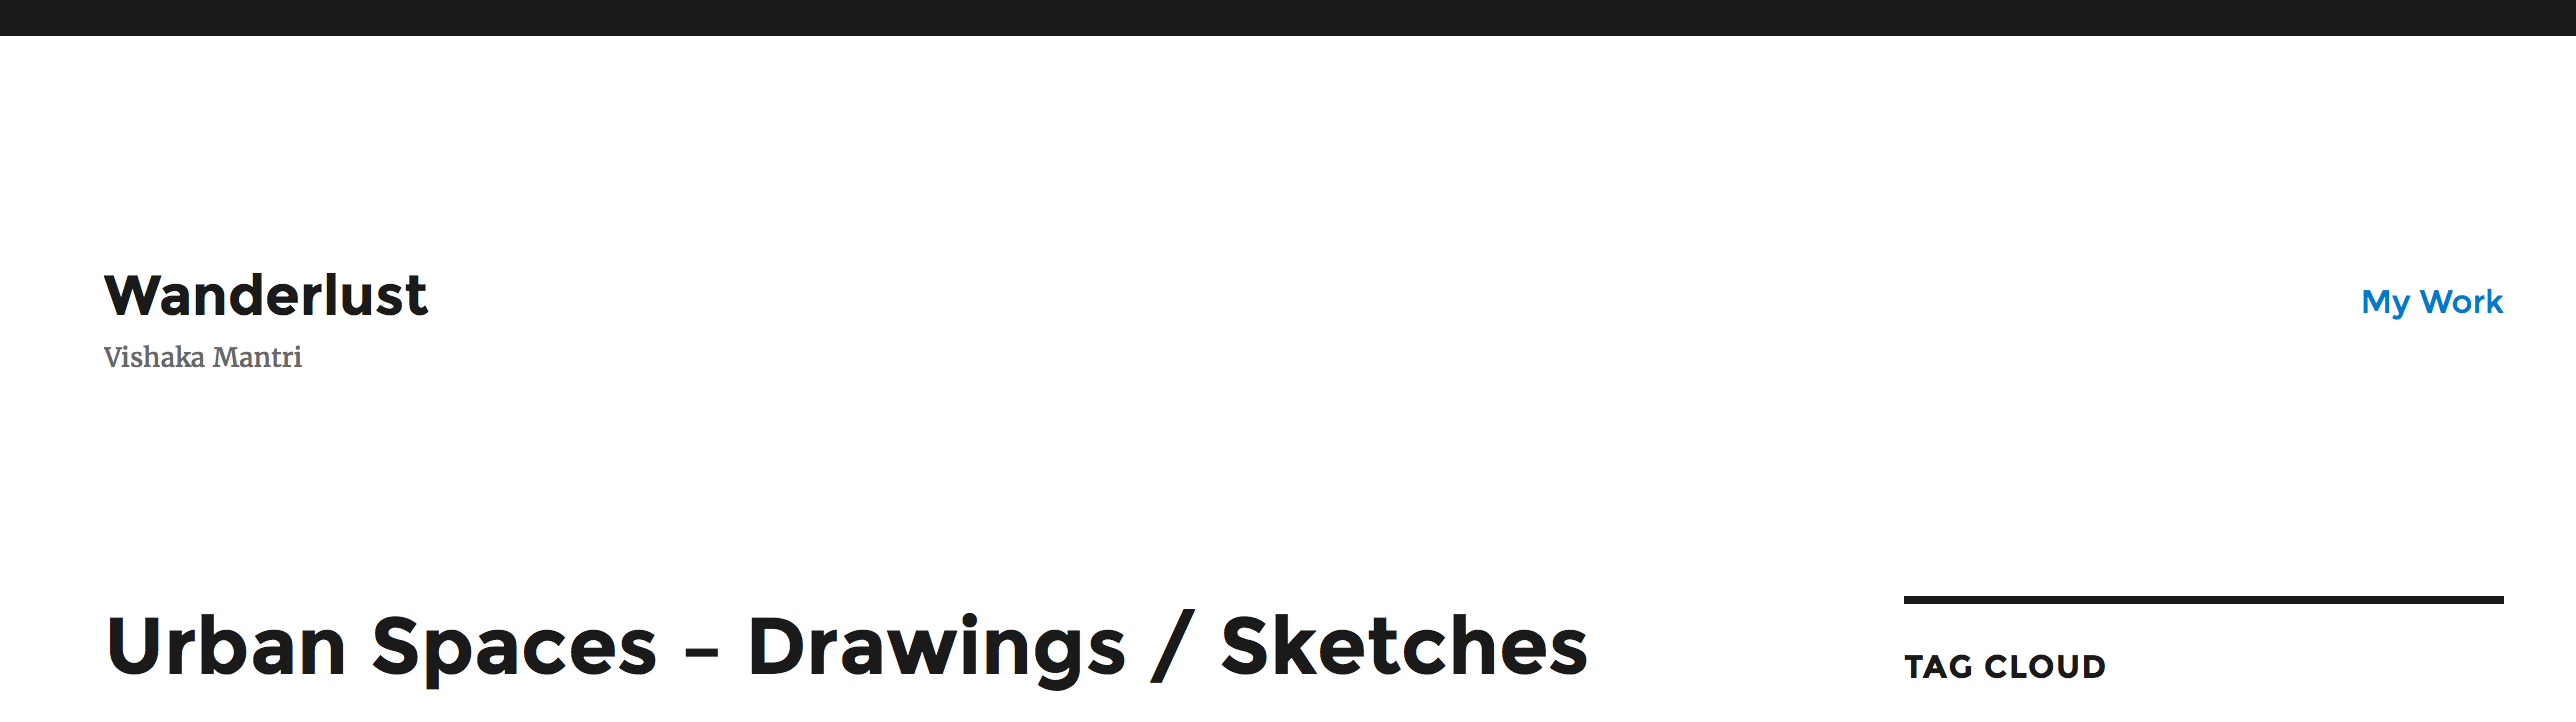
- Site Title: give your site a new Site Title, something creative, something that fits your own artistic personality. How about: “My Profound Utterances” (kidding). See the example of an ADM student below.
- Tag Line: this is the subtitle of your site, it could be your name, or it could be: “I can’t wait until the Day I Graduate” (yes, I was a student once upon a time). The student below has called it “my portfolio site,” a little less grandiose.
- There are a lot more settings in WordPress but I don’t want to bore you for now…
- Remember to scroll to the bottom of the page and click “Save Changes.”
5. Your First Post: We’re Ready to Rock ‘n Roll
This is the part you have all been waiting for. Right? Creating a post is really what WordPress is all about, it’s where you have the opportunity to express yourself, talk about your work and ideas, tell your story to the world! Sorry, I got a little carried away, so here we go:
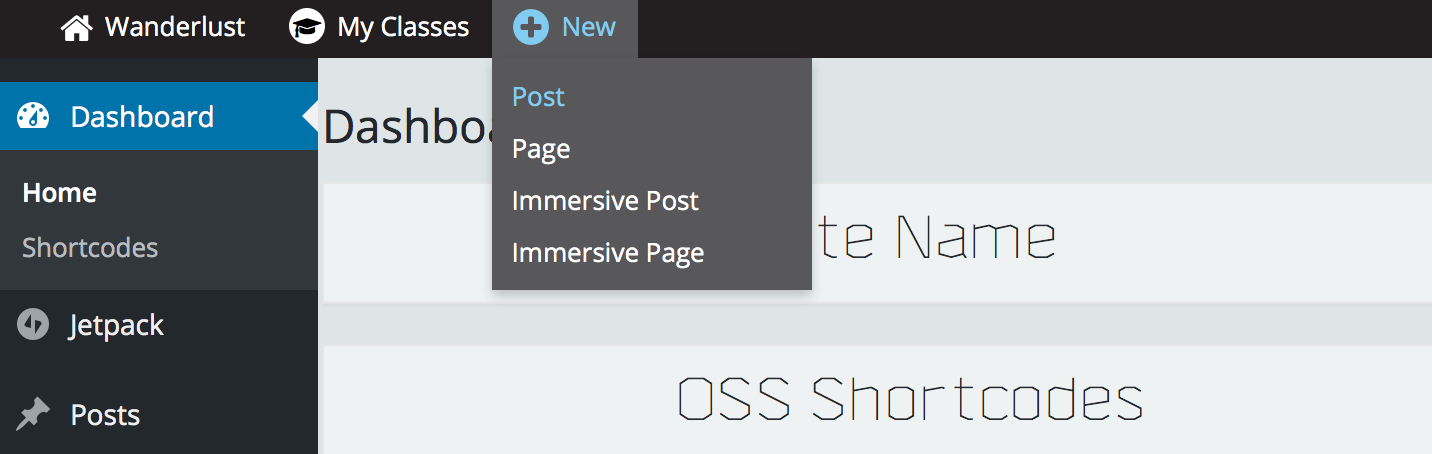
- New Post: Be sure you are on your Dashboard. There are many ways to make a new post, but let’s focus on the best one. Roll your mouse over the “+ New” menu item at the top of the black WordPress admin bar, and select Post from the drop menu.
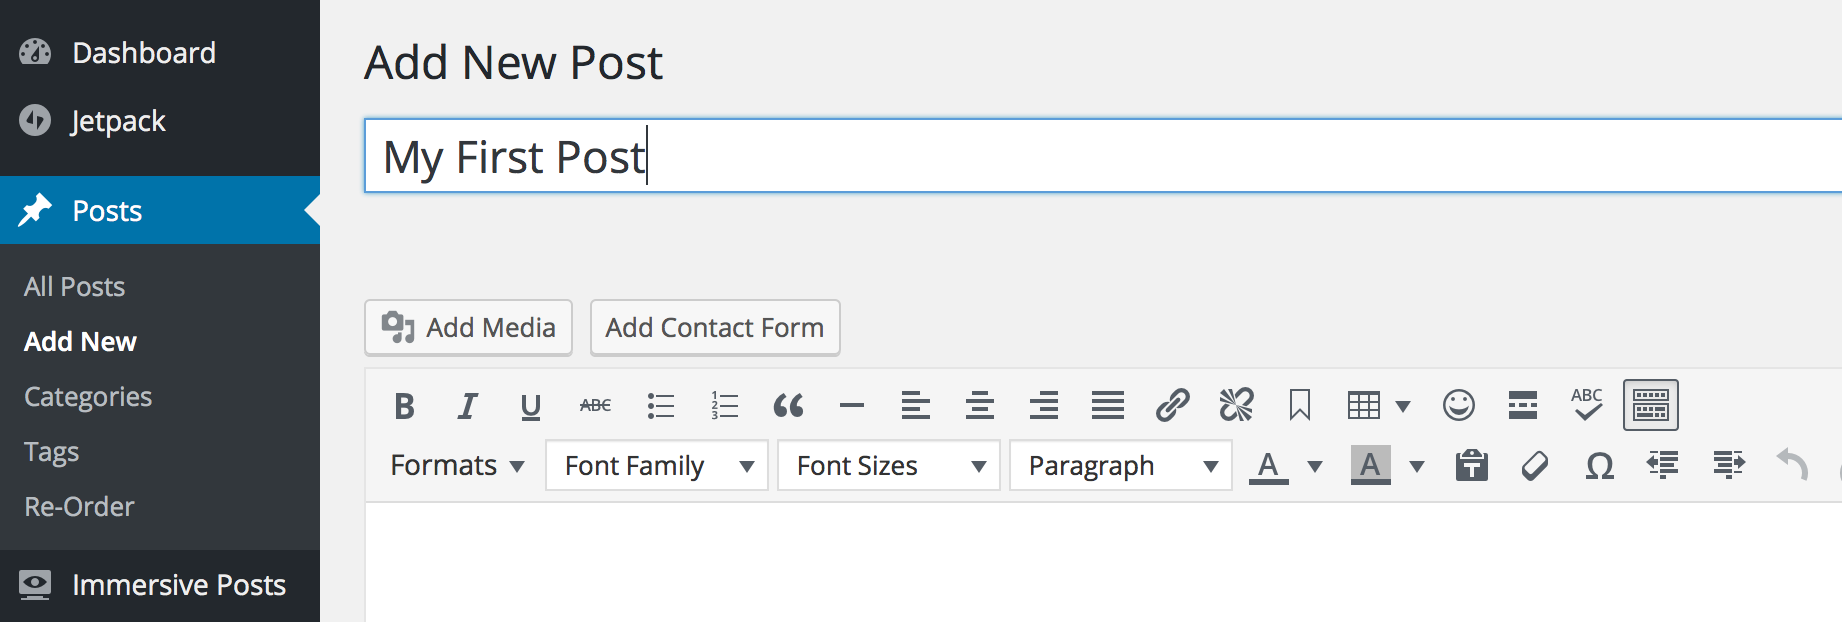
- Welcome to the WordPress editor: have a look around, you’ll be spending a lot of time on this page. Note the toolbar where you can format text, create links, add media, etc. Roll your mouse over them to see what they do. Think of the WordPress editor as an empty canvas where you will author your next creation. Believe me, posting is truly an artistic act!
- Title: Give your post a title, how about something like “My First Post” OK, perhaps something a little more original.
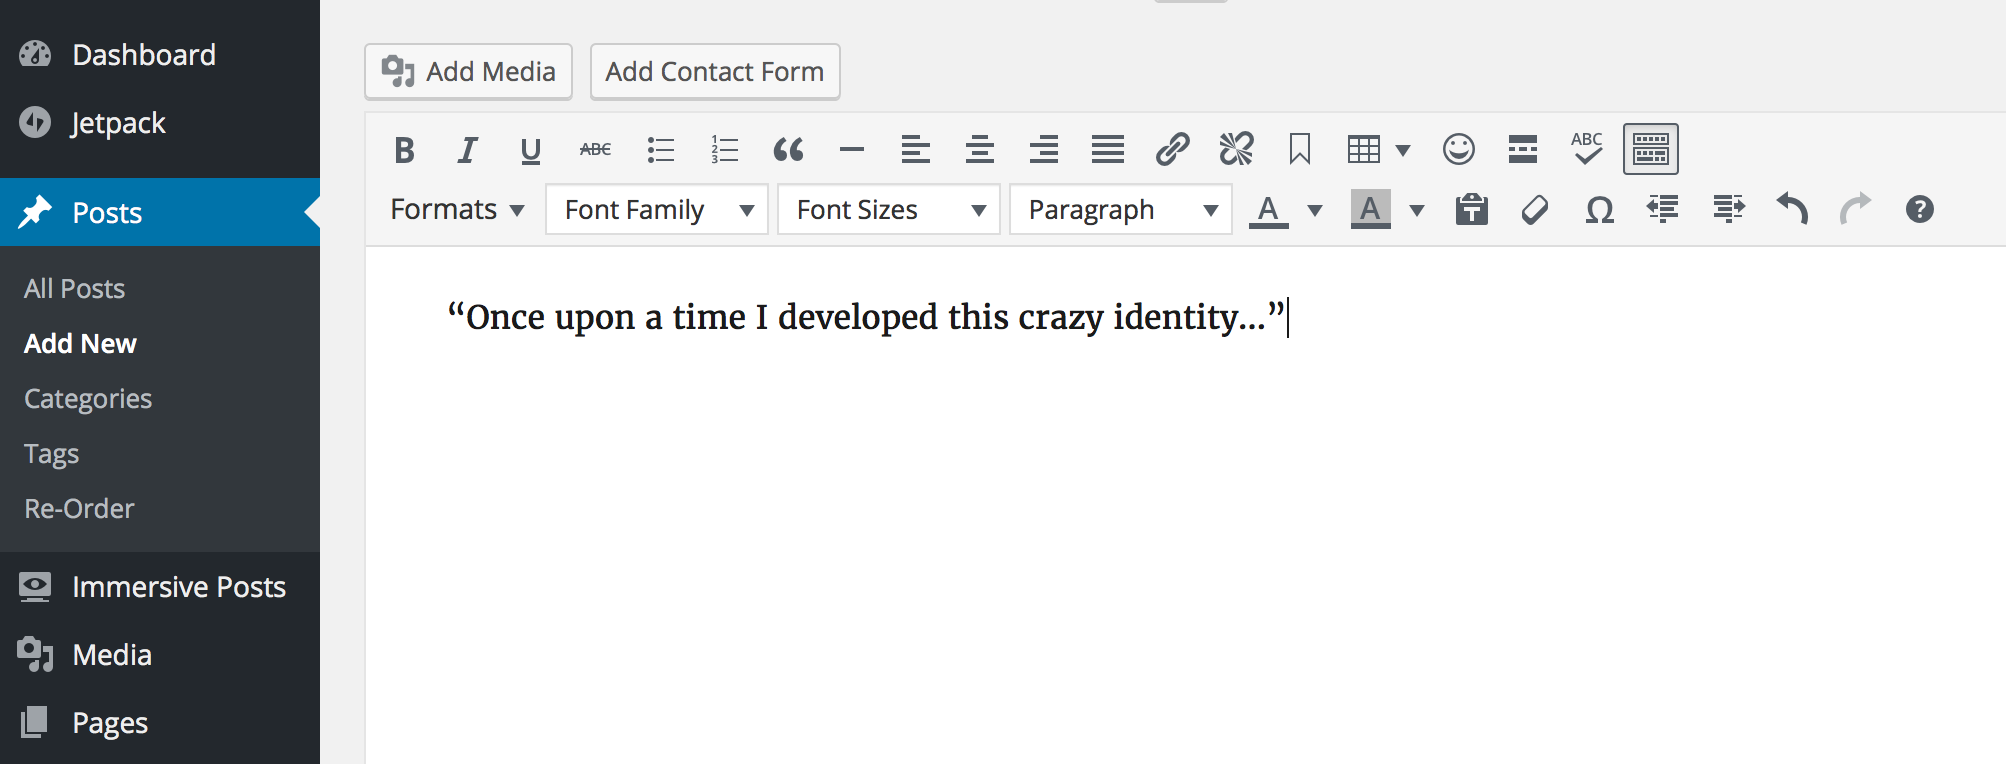
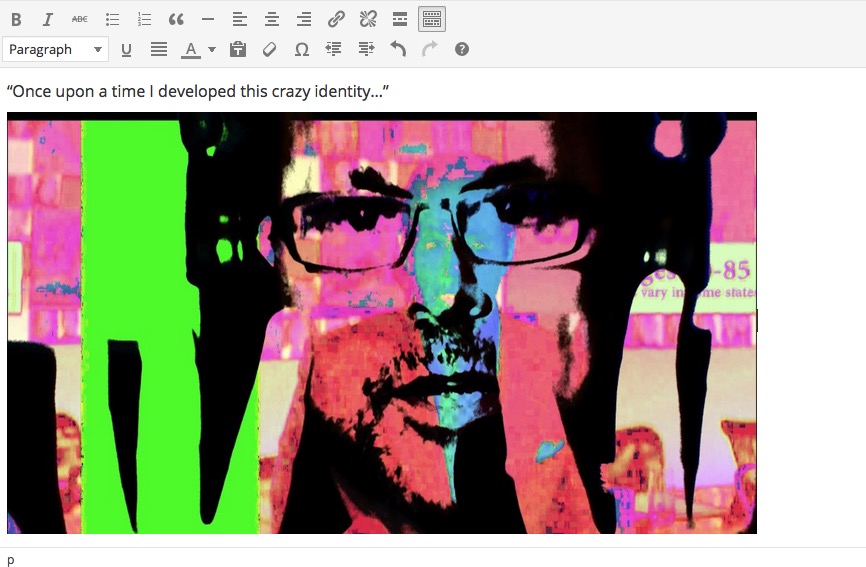
- Creating Text: Now click in the main editor below and start typing away. “Once upon a time I developed this crazy identity…” well, you don’t have to tell your whole crazy story, just a sentence or two for practice.
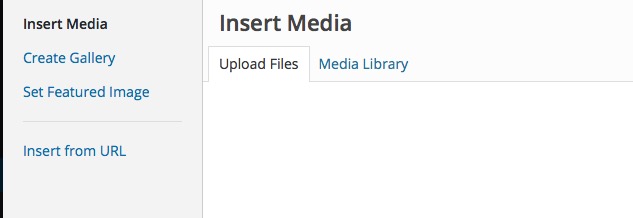
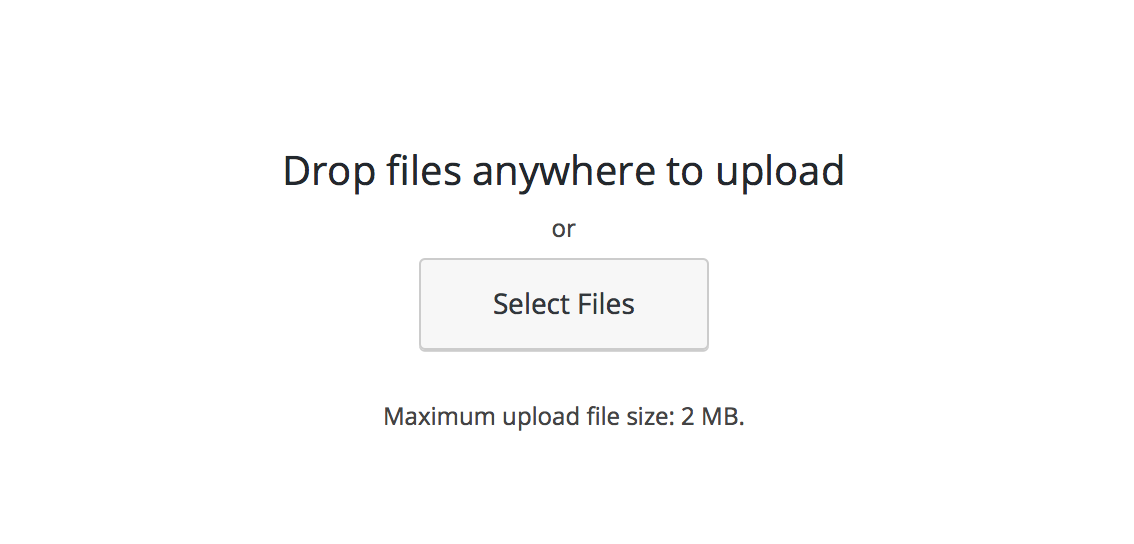
- Add Image: Since you’re a visual artist, it’s about time to add an image. Click on the Add Media button above the toolbar and you will enter the Media Library where you can insert media into your post. Since you might not have any images in your Media Library just yet, click on Upload Files.
- Upload Image: now click on Select Files, and voila, grab your favourite image from your hard drive. Make sure your image is a .jpg or a .png or a .gif (usually .jpg) and not gargantuan in size (note the 2 MB file size limit), but also not minuscule as well. Generally an image of around 1920 pixels in width is a good size. WordPress is very smart as it will create several different sizes for you. Remember, WordPress is your friend…
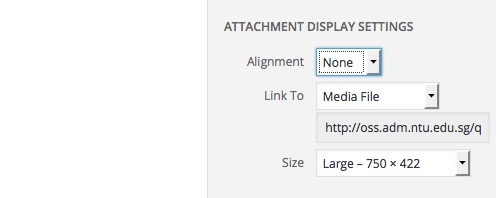
- Sizing Image: Once your image is uploaded, look in the lower right hand corner where you will see a drop down menu to select from the many sizes WordPress has created for you (you can always change this later), be sure the Alignment is set to None, don’t change Link to Media File, choose a size, and then Insert Into Post.
The size of the image will become clearer over time as you see how to best integrate images into your posts. Suggestion: generally the “Large” size is good.
- Congratulations: oh my God, you now have text and image combined together: you are now officially a true multimedia NetArtizen! Note that if you want to move things around, you can’t just drag the elements, you need to cut and paste. Experimentation is the only way to master the WordPress editor, believe me, but I think you’ll find it easy to use.
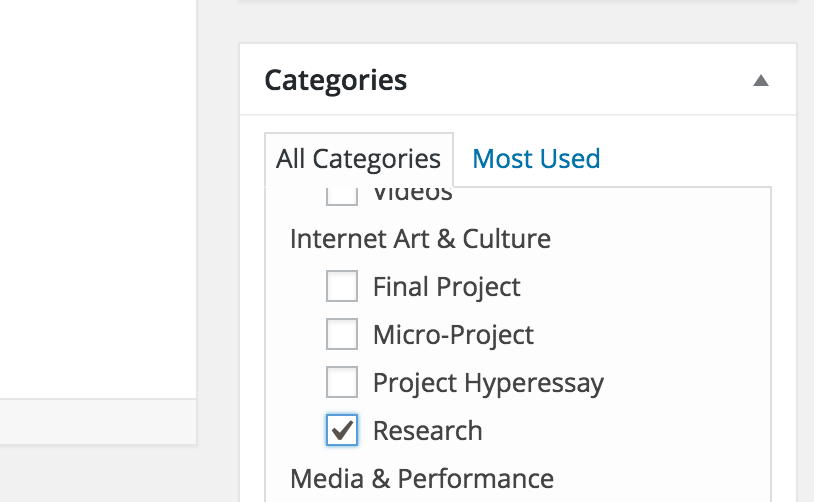
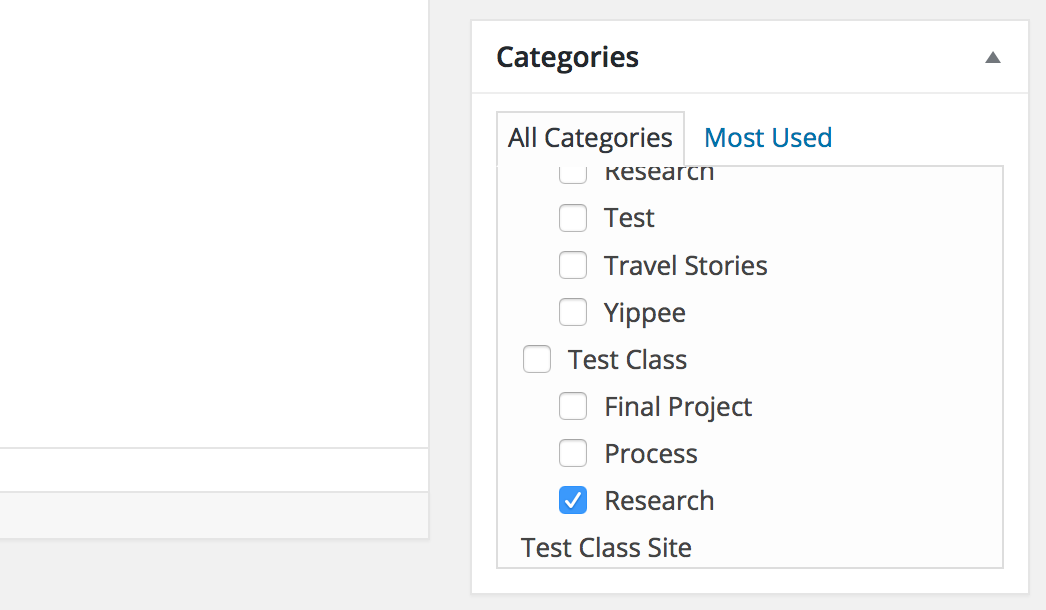
- Assign Category: Now you are wondering, what’s a category, what’s a taxonomy? I promise to keep it short and sweet: a category is referred to as a taxonomy, which is a word or phrase that categorises or groups ideas and concepts together. Like “Research” for example, in which every post in this category is part of your ongoing research. I hope I’m not getting too academic here! But seriously, taxonomies are at the heart of OSS, because how can you find anything unless it’s categorised? Think of the drawers where you keep your clothes: one for underwear, one for shirts, one for socks, etc. If you create your categories correctly, you’ll be able to find stuff, it’s that simple. You will find categories that have been made by your professor in the box off to the right side of the editor. For each class there is list of categories made by the professor. If you want your work to show up on the class you need to pick a ‘child’ category that is under the ‘parent’ category of the class. This is mission critical because using the child category will tell WordPress to display your post on the class site, otherwise it’s like being absent from class!
- Assign Tags: So perhaps you are starting to like taxonomies? You probably don’t know yet, but believe me you will. So let’s make some tags. What’s a tag? It’s another kind of taxonomy, not quite as grandiose as a category, more humble you could say. Are there a few keywords in your post, for example: crazy, identity, etc, which represent ideas or concepts in your post? Add these words as tags separated by commas. You can have multiple words in a tag, but commas separate each tag, got that? Click on the Add button and you will soon become a taxonomy-meister!

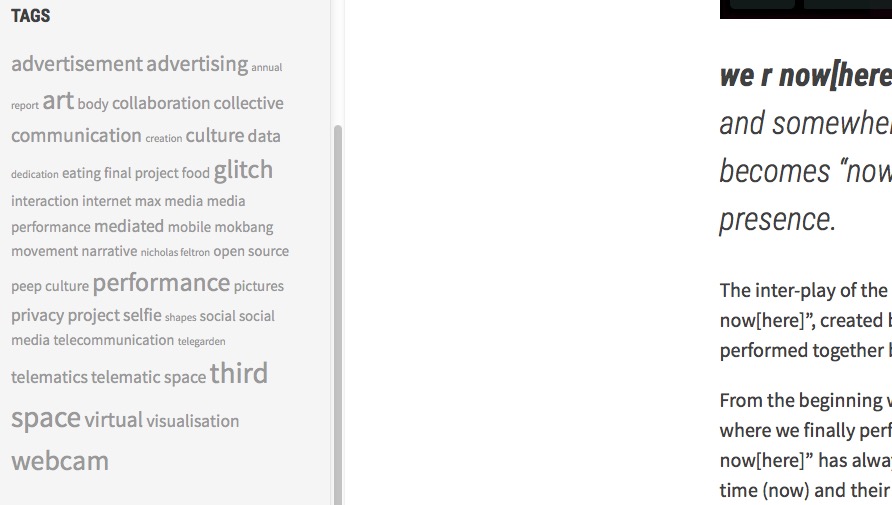
- Tag Cloud: We will cover this in more detail in another lesson, but one of the main reasons why you tag your posts, is to create what is called a tag cloud. Throughout the semester, after you have tagged your posts, a cloud of tags will emerge in the sidebar of your site that reveal what you have been thinking and writing about, such as the example below on the left side. This is one example of the power of the WordPress database.
- Featured Image: Last but not least, the featured image. If you care about design and aesthetics, you’ll love this. Click on the Set Featured Image button in the lower right hand side of the editor, and select an image, NOT the one you inserted into your post, but a new one that visually represents your post. It’s just like adding an image, so go through the same routine with the Media Library and then click on the Set Featured Image button in the lower right hand side.
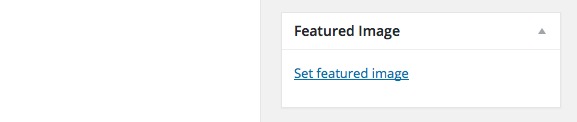
- Once you have set the image, it will show up in the Featured Image window as seen below. Don’t worry, you can always change it! Eventually when you go to the class site you’ll see the image featured prominently and you will be ever so pleased with the visual quality it adds to the site! We’ll get to this later.

- Publish: This is the moment you have been waiting for: click on the big blue “Publish” button in the upper right hand corner of the editor and you will be publishing your post so that it appears on the Web, globally, live, for the world to see! This is the power of the Web, you can publish instantaneously at the speed of light and share your work online. And guess what, your professor and the other students in the class will get a notification so they know you have posted. You’re probably saying, not another notification! But notifications are good, they help build community, just like in social media.

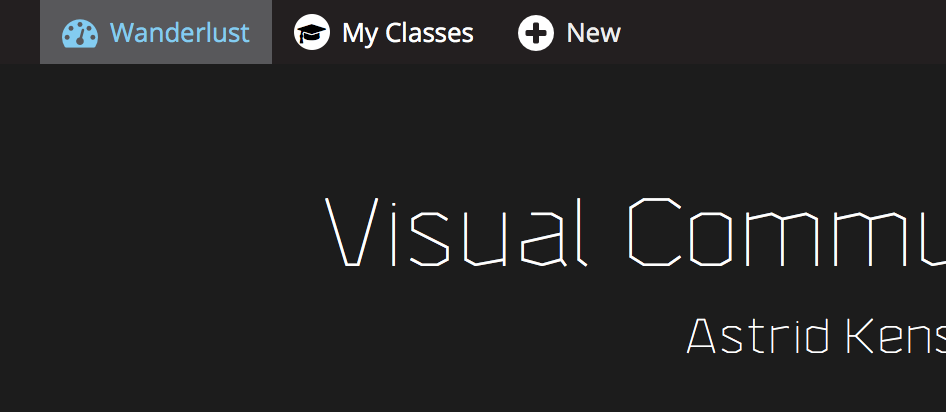
- Go Live: So far we have only been using the Dashboard, but now that you have published you are ready to a look at the front end of your site that online viewers will see. How do you get there? Well, on the top menu of your Dashboard, you’ll see a little house icon to the left of the name of your site on the WordPress admin bar: here called “Wanderlust.” Click this and you will be viewing your post live on the Web! A moment of revelation no less.
6. Menu Navigation (for the complete round trip experience)
Now how in the world do we get back to the Dashboard from the home page of your site you may be wondering. Here’s how:
I suggest you go back and forth a few times between your home page and Dashboard because you will be doing this a LOT, I guarantee it.
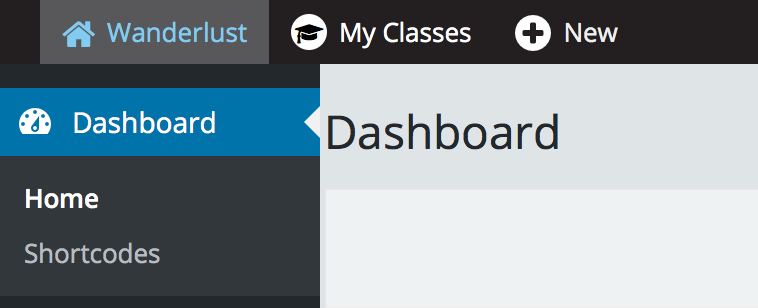
- Dashboard: Go back to the Dashboard by rolling your mouse over the dashboard icon on the WordPress admin bar, notice that the home icon has automatically changed to the dashboard icon.
- Home Page: Now go back to your home page using the same house icon on the WordPress admin bar.
- Roundtripping: Try going between the Dashboard and the home page a few times until you get hang of it.
Now that you can successfully navigate between your Dashboard and your home page, we are going to step it up a notch. Now you will roundtrip between your student site and the class site.
- Link to Class Site: Note that in your WordPress Admin bar you have a menu item called “My Classes.” Roll your mouse over it and you will see the drop down menu of classes you are using OSS in. Click on the name of your class and you will find yourself on the class site.

- Link to Student Site: you should now find yourself on the class site, Now, how do you get back to your own site you may be wondering? Remember way back when you filled out your user profile and created an avatar? Well, you will now find a list of students in the left sidebar on the class site as in the example below, where your avatar is displayed. Click on your name and voila, you’ll be jettisoned back to your student site. That is only one of many amazing OSS features! You can also get onto the dashboard of your site by clicking the dashboard icon on the top left of the WordPress Admin Bar

- Roundripping (again): Practice going back and forth between your site and the class site. You are now having the ultimate round trip experience that is fundamental to OSS: navigating between your own virtual studio, and the suite of studios of your class site. This allows you to easily work on your own posts, share them with your classmates, and then see what other students have posted in your class. But the power of OSS has still barely been tapped. Read on!
- Notifications: Never miss an email about changes in project deadlines or class schedules ever again – you will get notified as soon as the faculty post onto the class site! On the right corner you will notice the notification “bell” icon. This is where you will receive notifications every time someone comments or replies to your posts. You will also receive notifications when your faculty add teaching material or make announcements on the class site – clicking this notification will take you to the post. Your faculty will receive notifications as soon as you hand in an assignment.
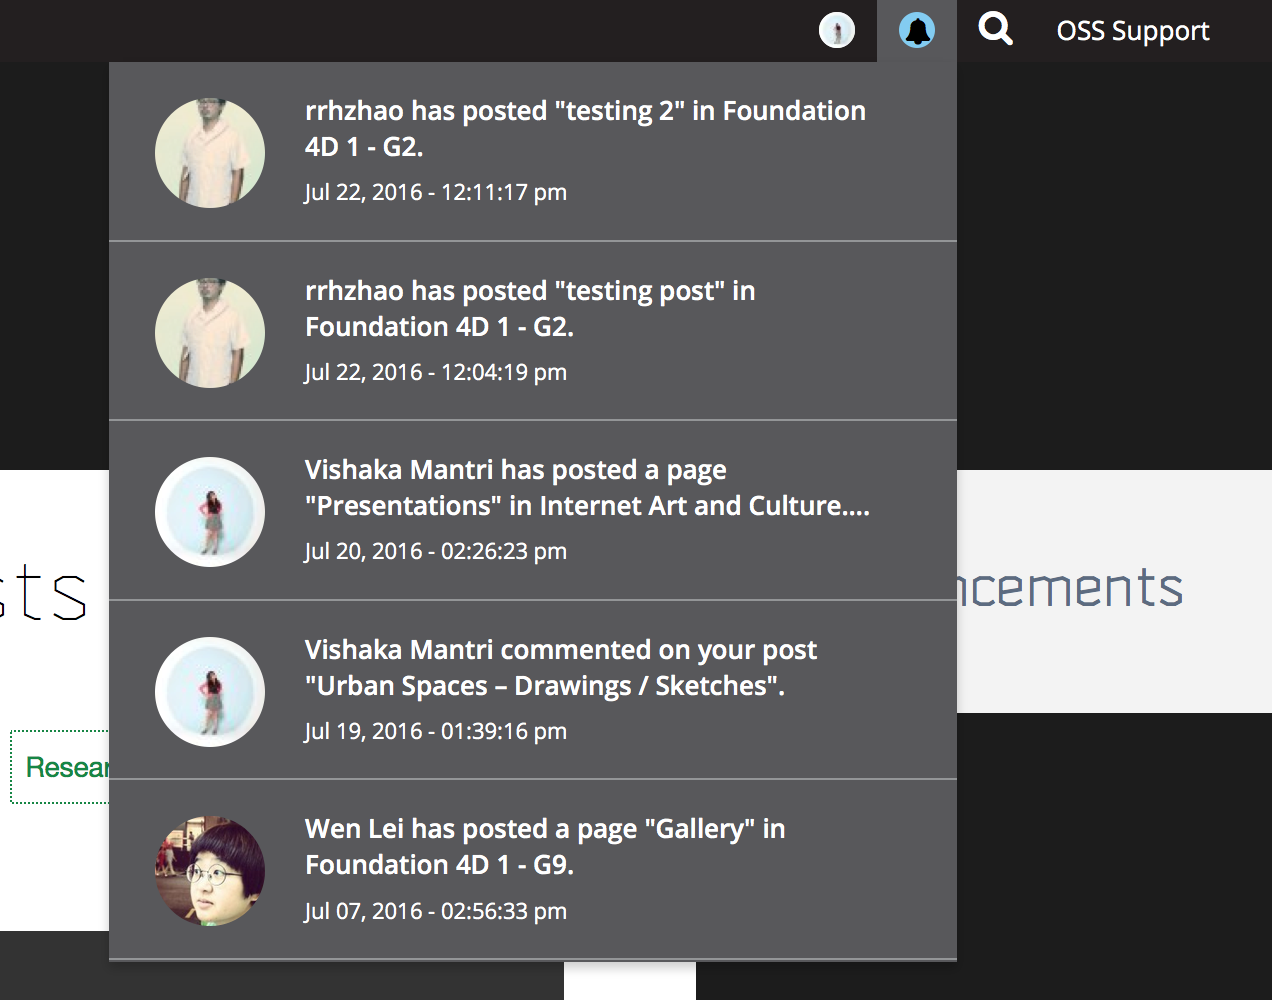
Note: there are now four important links on the WordPress admin bar from left to right: (1) Your Student Site; (2) My Classes, a drop down of all your OSS classes) (3) Notifications and (4) OSS Support where there is a link to this page. You are now able to navigate the full extent of OSS directly from your WordPress admin bar.
7. My Work Menu
Now not all the classes you are in are on OSS – but you might wish to document the work you do for those classes onto your OSS Site – so that you can come back to it later. Or you just want to create a portfolio of finished work on OSS. In order for you to do this we have created a category on all student sites called ‘My Work.’ This category is for you to use when you are making a post that is not part of a class site. Let me show you how you can add this category on the main menu of your site:
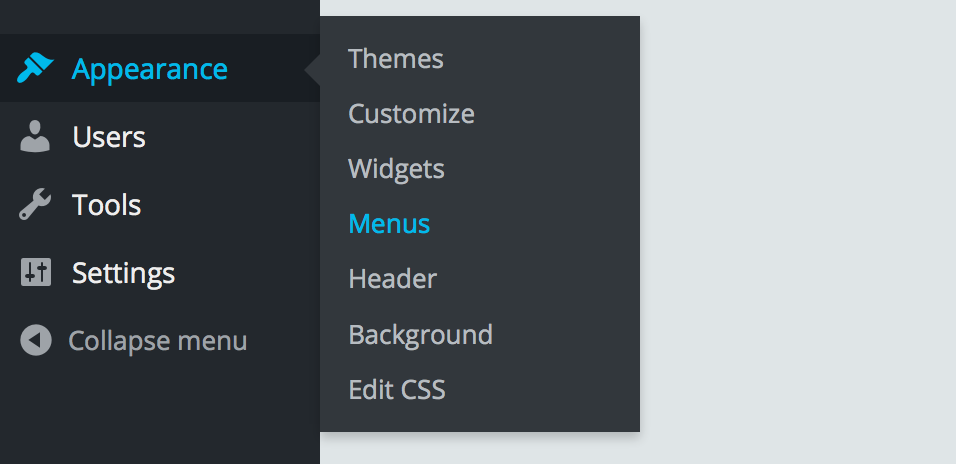
- Go to Appearance and Menus
- We will now create a new menu. On the right next to ‘Menu Name’ create a menu item called ‘Main Menu’ and press ‘Create Menu’

- Under ‘Categories’ go to the ‘View All’ tab and check the category ‘My Work.’ After selecting it you may click ‘Add to Menu’
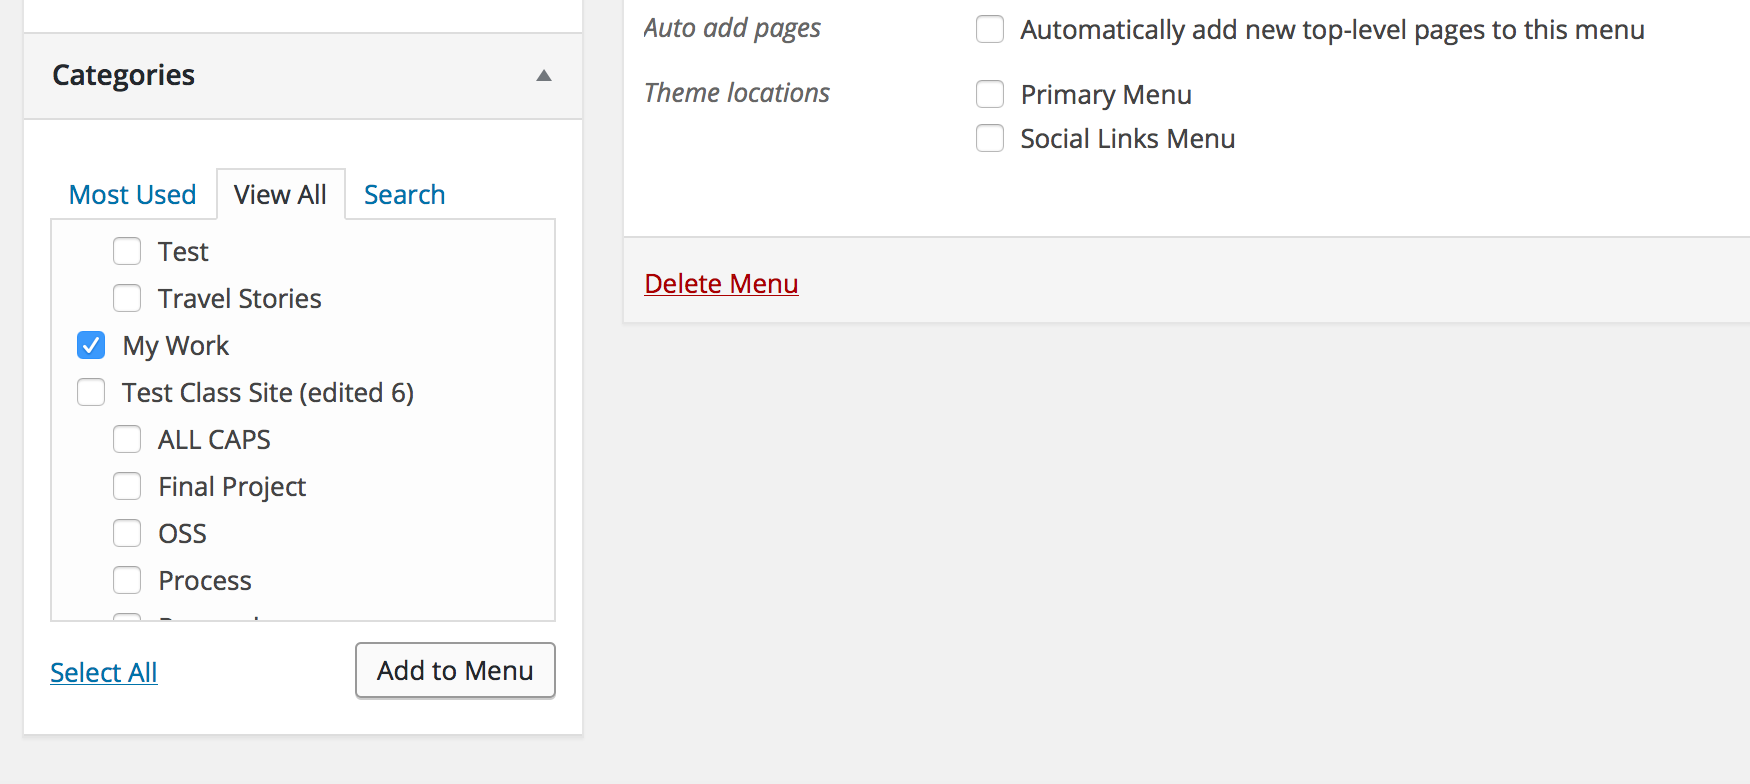
- The ‘My Work’ Menu item should have appeared in your Main Menu. Now you need to check the box that says ‘Primary Menu’ and then finally click on ‘Save Menu.’
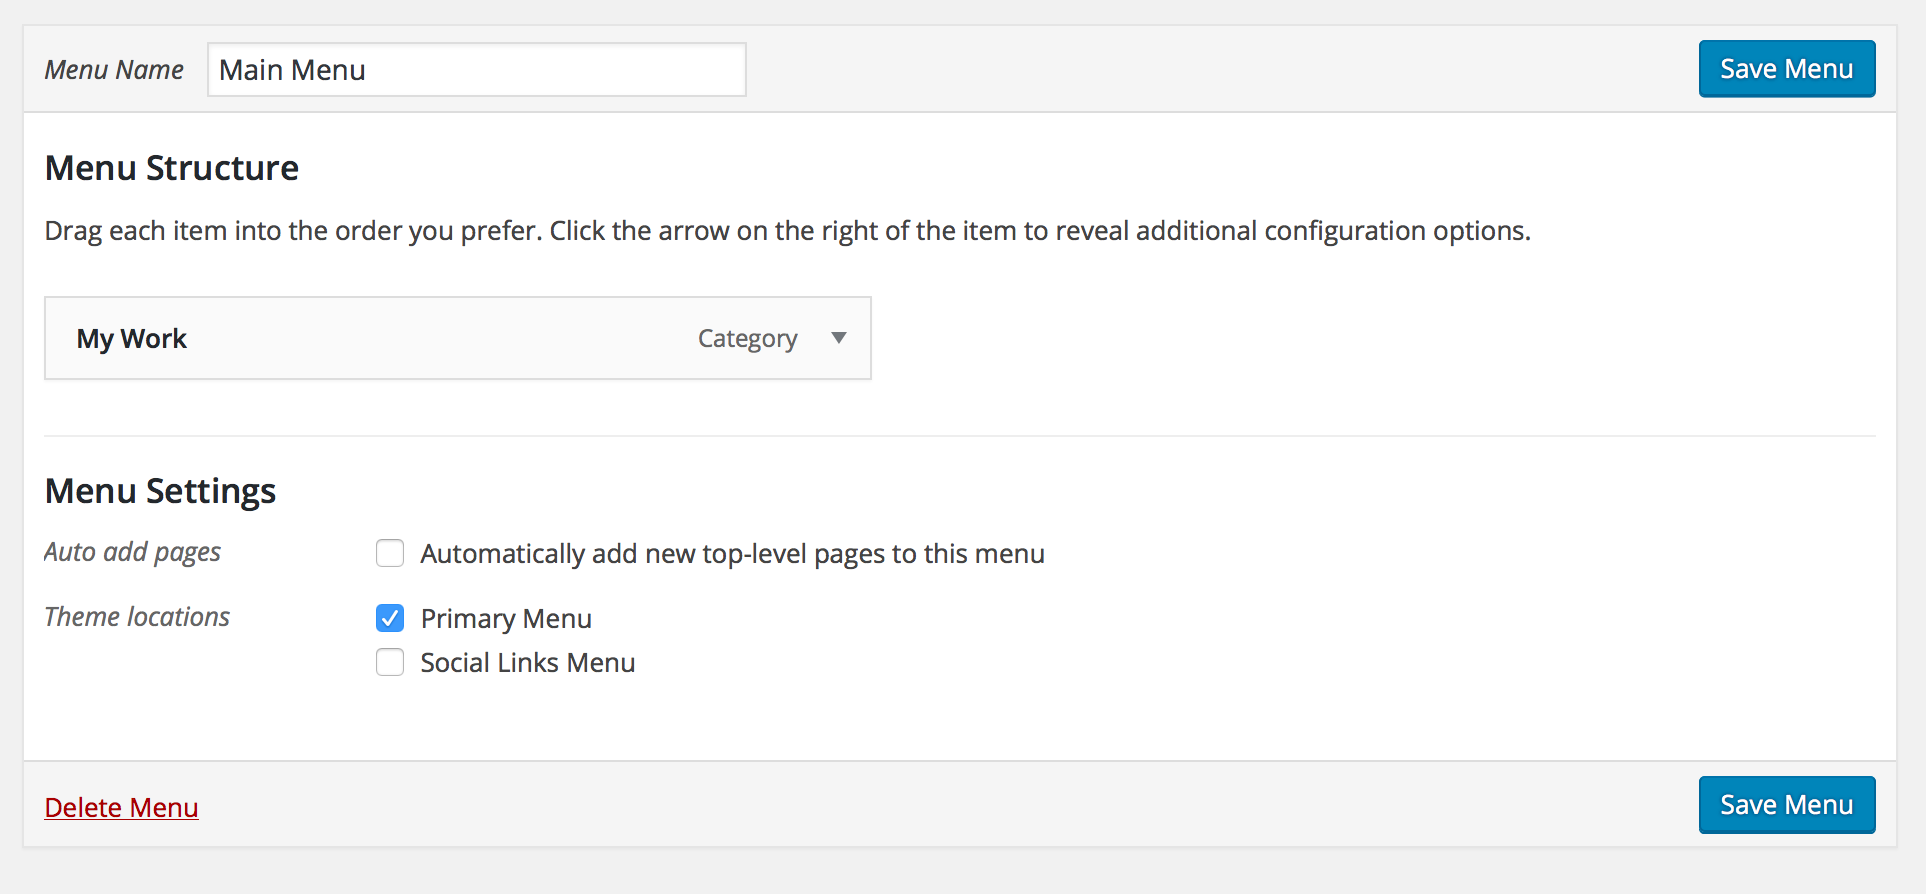
- Now if you go to the homepage of your site the ‘My Work’ category should be displayed as a page of its own on your site.
8. The Class Site & Discussion
If you have stayed with me through the OSS Getting Started tutorial, you have earned this moment, because now you should see the following:
- (1) the home page of the class site populated with student avatars, bios, name, etc. in the left sidebar;
- (2) running down the middle, you’ll see all the recent posts you and other students have just made;
- (3) in the right sidebar, your professor’s announcements.
 Why is this? Because OSS is a very sophisticated database system!! But wait, we aren’t done, now that your posts are being brought together on the class site, it’s time to party! No kidding. Now you can hang out on the class site and discuss everyone’s work and ideas, just like social media. You’re thinking, that’s a party? Well, think twice: just wait until you see what happens next!
- Anatomy of a Post: before we start our discussion, it’s important to first understand all the elements of a post as it appears on the “Recent Posts” feed of the class site. All this talk about the greatness of the OSS database, well, here is where the rubber meets the road. If you take a look at the example below, I will explain how a post is displayed in OSS:
- (1) title of the post, clicking on this will take you to the post on the student site;
- (2) the featured image, remember how this adds an important design element?
- (3) avatar;
- (4) student name, date of post, and the name of the student site;
- (5) post text excerpt;
- (6) categories and tags;
- (7) last but not least, the comments and reply button, note this post doesn’t have any comments (not yet!!).

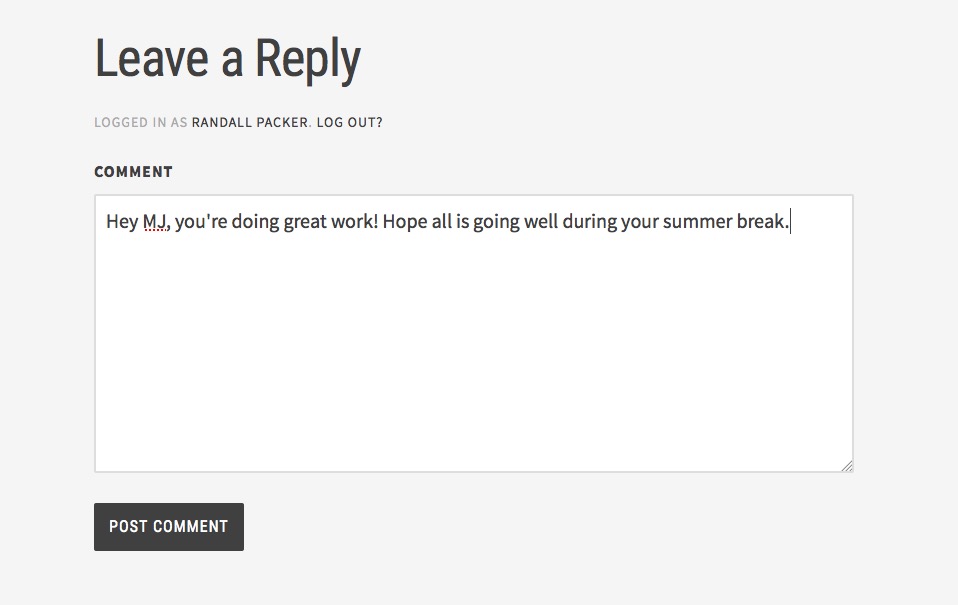
- Comments: Now you are ready to reply to another student’s post. Just pick a post and click on the reply button at the bottom of the post. This will take you away from the class site where you will find yourself on the student site, usually to the field where you can type your reply. First read the whole post, come up with something smart to say (that’s not too hard), and type into the comment window at the bottom of the post. When you are done, and again, remember this is going to out to the Web, click on Post Comment, and off it goes! The recipient of the comment will receive a notification so they know you have commented.
- When you go back to the class site, note that this post now includes a comment. Are you impressed?? OSS is not only a virtual studio to post your work, it is a discussion forum much like an open critique in your class, except it takes place online outside of class.

9. Adding Widgets
Now we will add a tag cloud, which is a widget, to the sidebar of our side.
- Go to Appearance / Widget in your sidebar

- At the bottom of the “Available Widgets” you will see “Tag Cloud.” Drag it up to the list of sidebar widgets as in the example below. You can insert it wherever you want the Tag Cloud to appear.
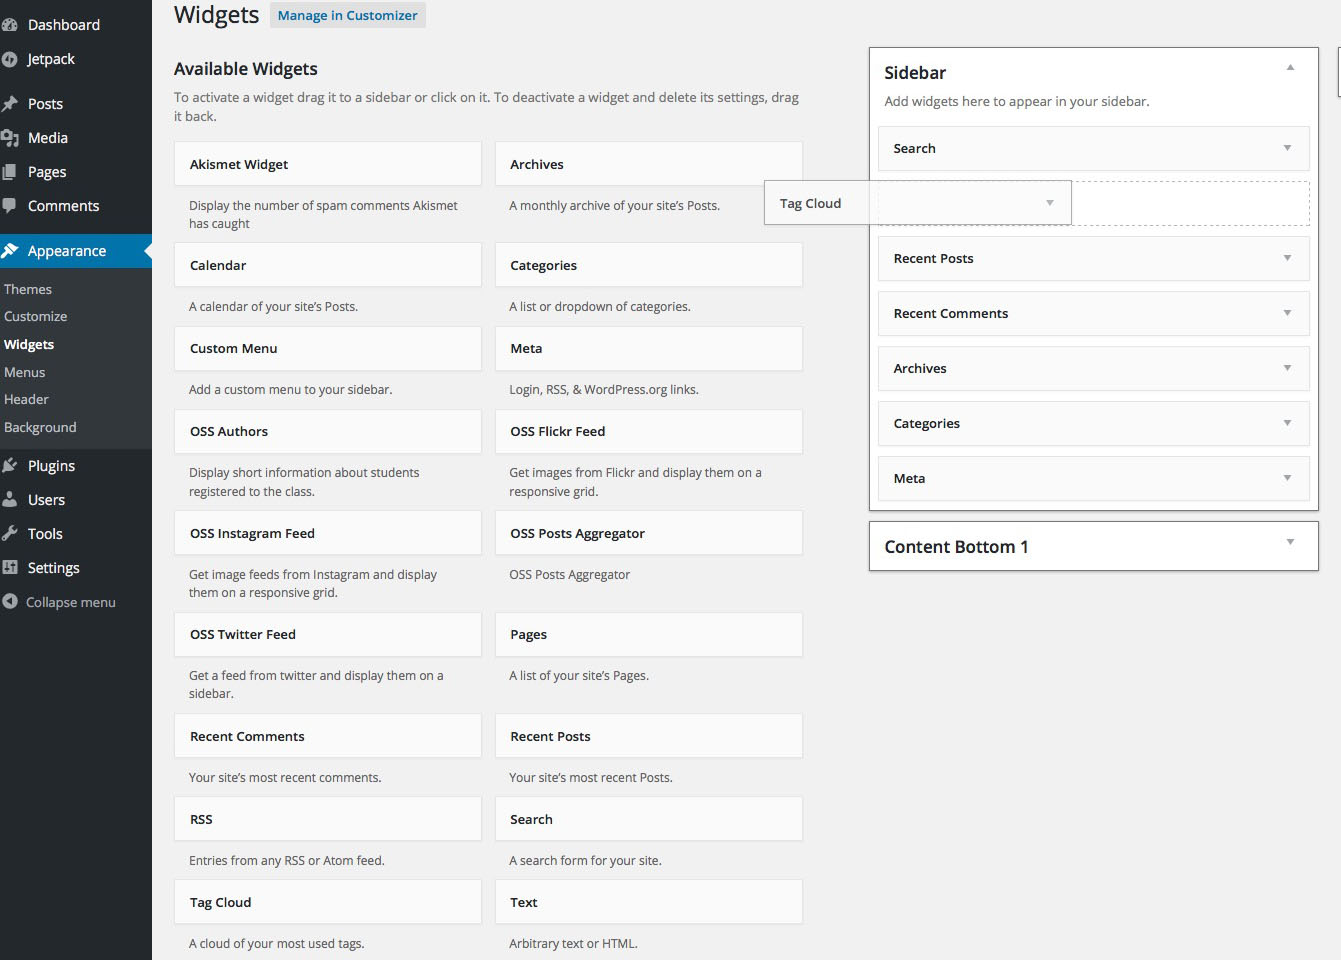
- The Tag Cloud widget will open up so you can give it the title “Tag Cloud” as below.

Now you can return to your home page and see your tag cloud building as you add tags to your post. Happy tagging!!
10. HELP!!
OK, you got this far, but you are having problems, something doesn’t work, or your just feeling kind of blue.
For all OSS Related queries you can use the following lines of defences!
Ask Your Peers
Often the thing you are struggling with may be something that your peers have already figured out. So the first line of defence for problem solving is to ask your friends.
Getting Started Tutorials
The second line of defence is the Getting Started for Students Tutorial! These tutorial were written in great detail and you will usually be able to find answers to your questions here. You can find this tutorial under “OSS Support” in the WordPress Admin Bar.
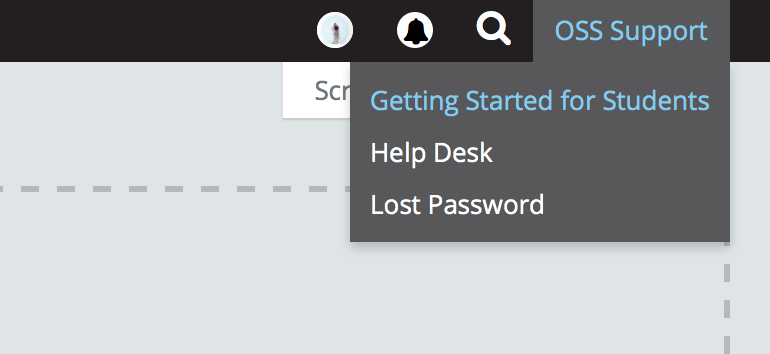
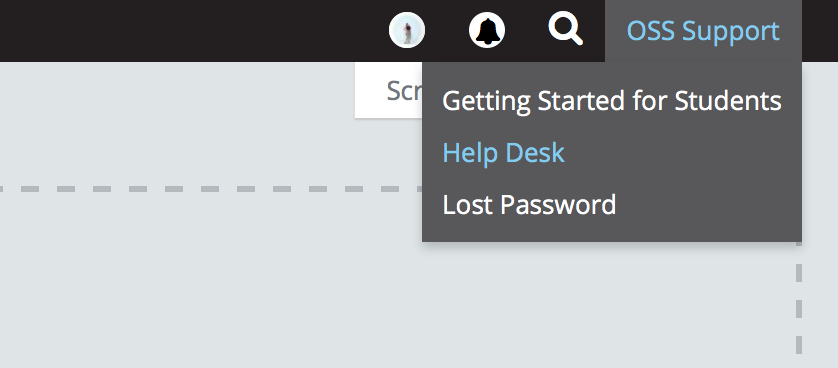
Helpdesk
If these two avenues don’t solve your queries then help is on its way. We have created the OSS Help Desk for troubleshooting your questions. On your WordPress Admin Bar is a link to the Help Desk under “OSS Support”
 Here is what you do:
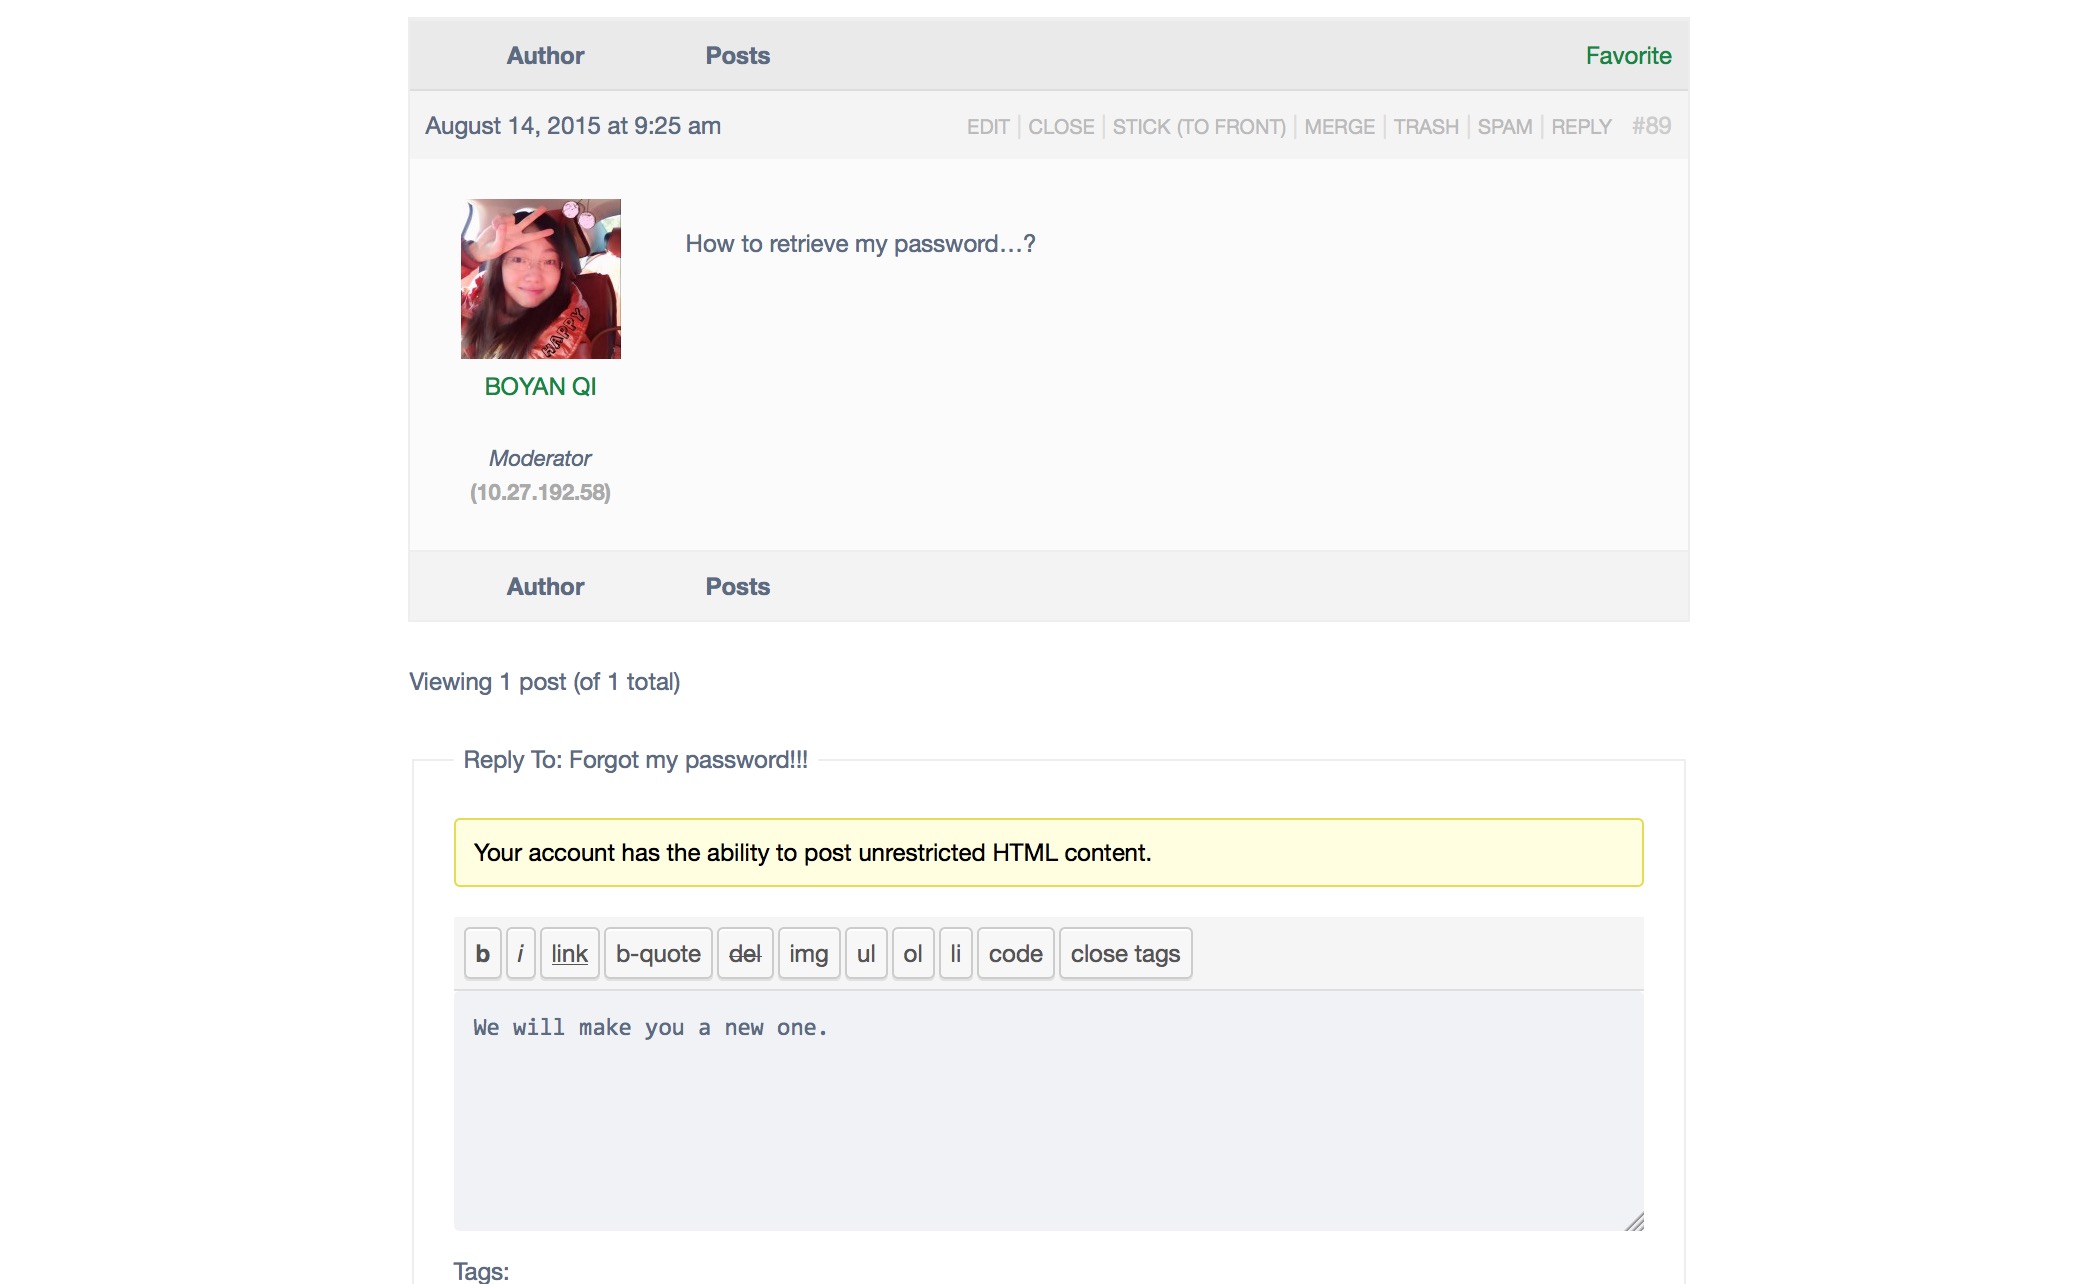
- Go to the Help Desk page. Here you will see a list of topics that students have submitted.
- You want to create a new topic. Click on the “Add New” button at the top of the page or scroll past the topics where you will find the “Create a New Topic” forum.
- Fill out the form with a Title and a description of the problem you are having. Be as specific as possible. You can ignore the topic tags and click on the “Submit” button at the bottom of the form.
- Remember to give us the link to your student site so we can solve the problem for you.

Our team of expert OSS troubleshooters, the OSS Support Squad, will be on it as soon as possible, most likely within 24 hours but maybe sooner. Once you receive a response to your question, type a reply indicating you need more help or your question is answered. If the question is resolved, please click on the “Close” button so we won’t keep worrying about your problem!
11. Welcome to NetArtizenship
So now that you have become a netartizen, have fun with OSS. You’ll be amazed to see your online portfolio grow as you begin to document your work. And if you have any questions or comments or even suggestions for improvements, send us an email: oss-info@ntu.edu.sg
OSS is the future, so let’s go crazy!!
