And finally, it’s the end of 4D! I’m really proud of the installation my team made, so here is my OSS post on the installation!
Ideation
Before writing our proposal, our group decided to compile our ideas on a google doc.

Me trying to think of my ideas down before putting it on the google doc.

Ideas we came up with 🙂
After much discussion, we decided on our idea and wrote our proposal.
Planning
In the week leading up to consultation, our group didn’t do any preparation for our installation – something we later realised we should have done. To be honest, we weren’t really confident that our idea would be approved by Ruyi, and didn’t want to have to redo any part of our installation that we might already have completed. As a result, we had a week to produce our installation, as well as complete our other assignments. We decided that the bulk of the creation would be done in the 3 days leading up to submission. In order to ensure that everything went smoothly, we carefully planned our execution.

List things we would need, and who would bring them.

Timeline for our project.
It was also then that I realised my great love for spreadsheets (omg I sound like such a nerd).
Script
Before writing the script, we came up with character profiles for each character.


We knew that we had 4 different characters with 5 different screens, and we would have to carefully coordinate the screens of the characters. This would be especially so if they were interacting with one another through their phones, such as in the scene where the mother sends the video of her baby via Whatsapp. With this in mind, we came up with the following table:

Our script


Close up view of our script
We wrote all the dialogue first, then decided what would be shown on each screen based on that. While writing the script, we also decided to make the entire video short as we knew that our audience would easily get bored if the meal and dialogue was too long.
One of our initial ideas was for the projector to light up as each character spoke. However,we scraped this later on as we felt it would be sufficient if speech bubbles of what each character was saying appeared on the projection on the table.
With all this done, we then split the work. Clarita made the goggles that our audience would have to peer through to see our installation. Debbie worked on the video projection on the table. I was in charge of videos played on the phones and iPads.
Sourcing for Materials
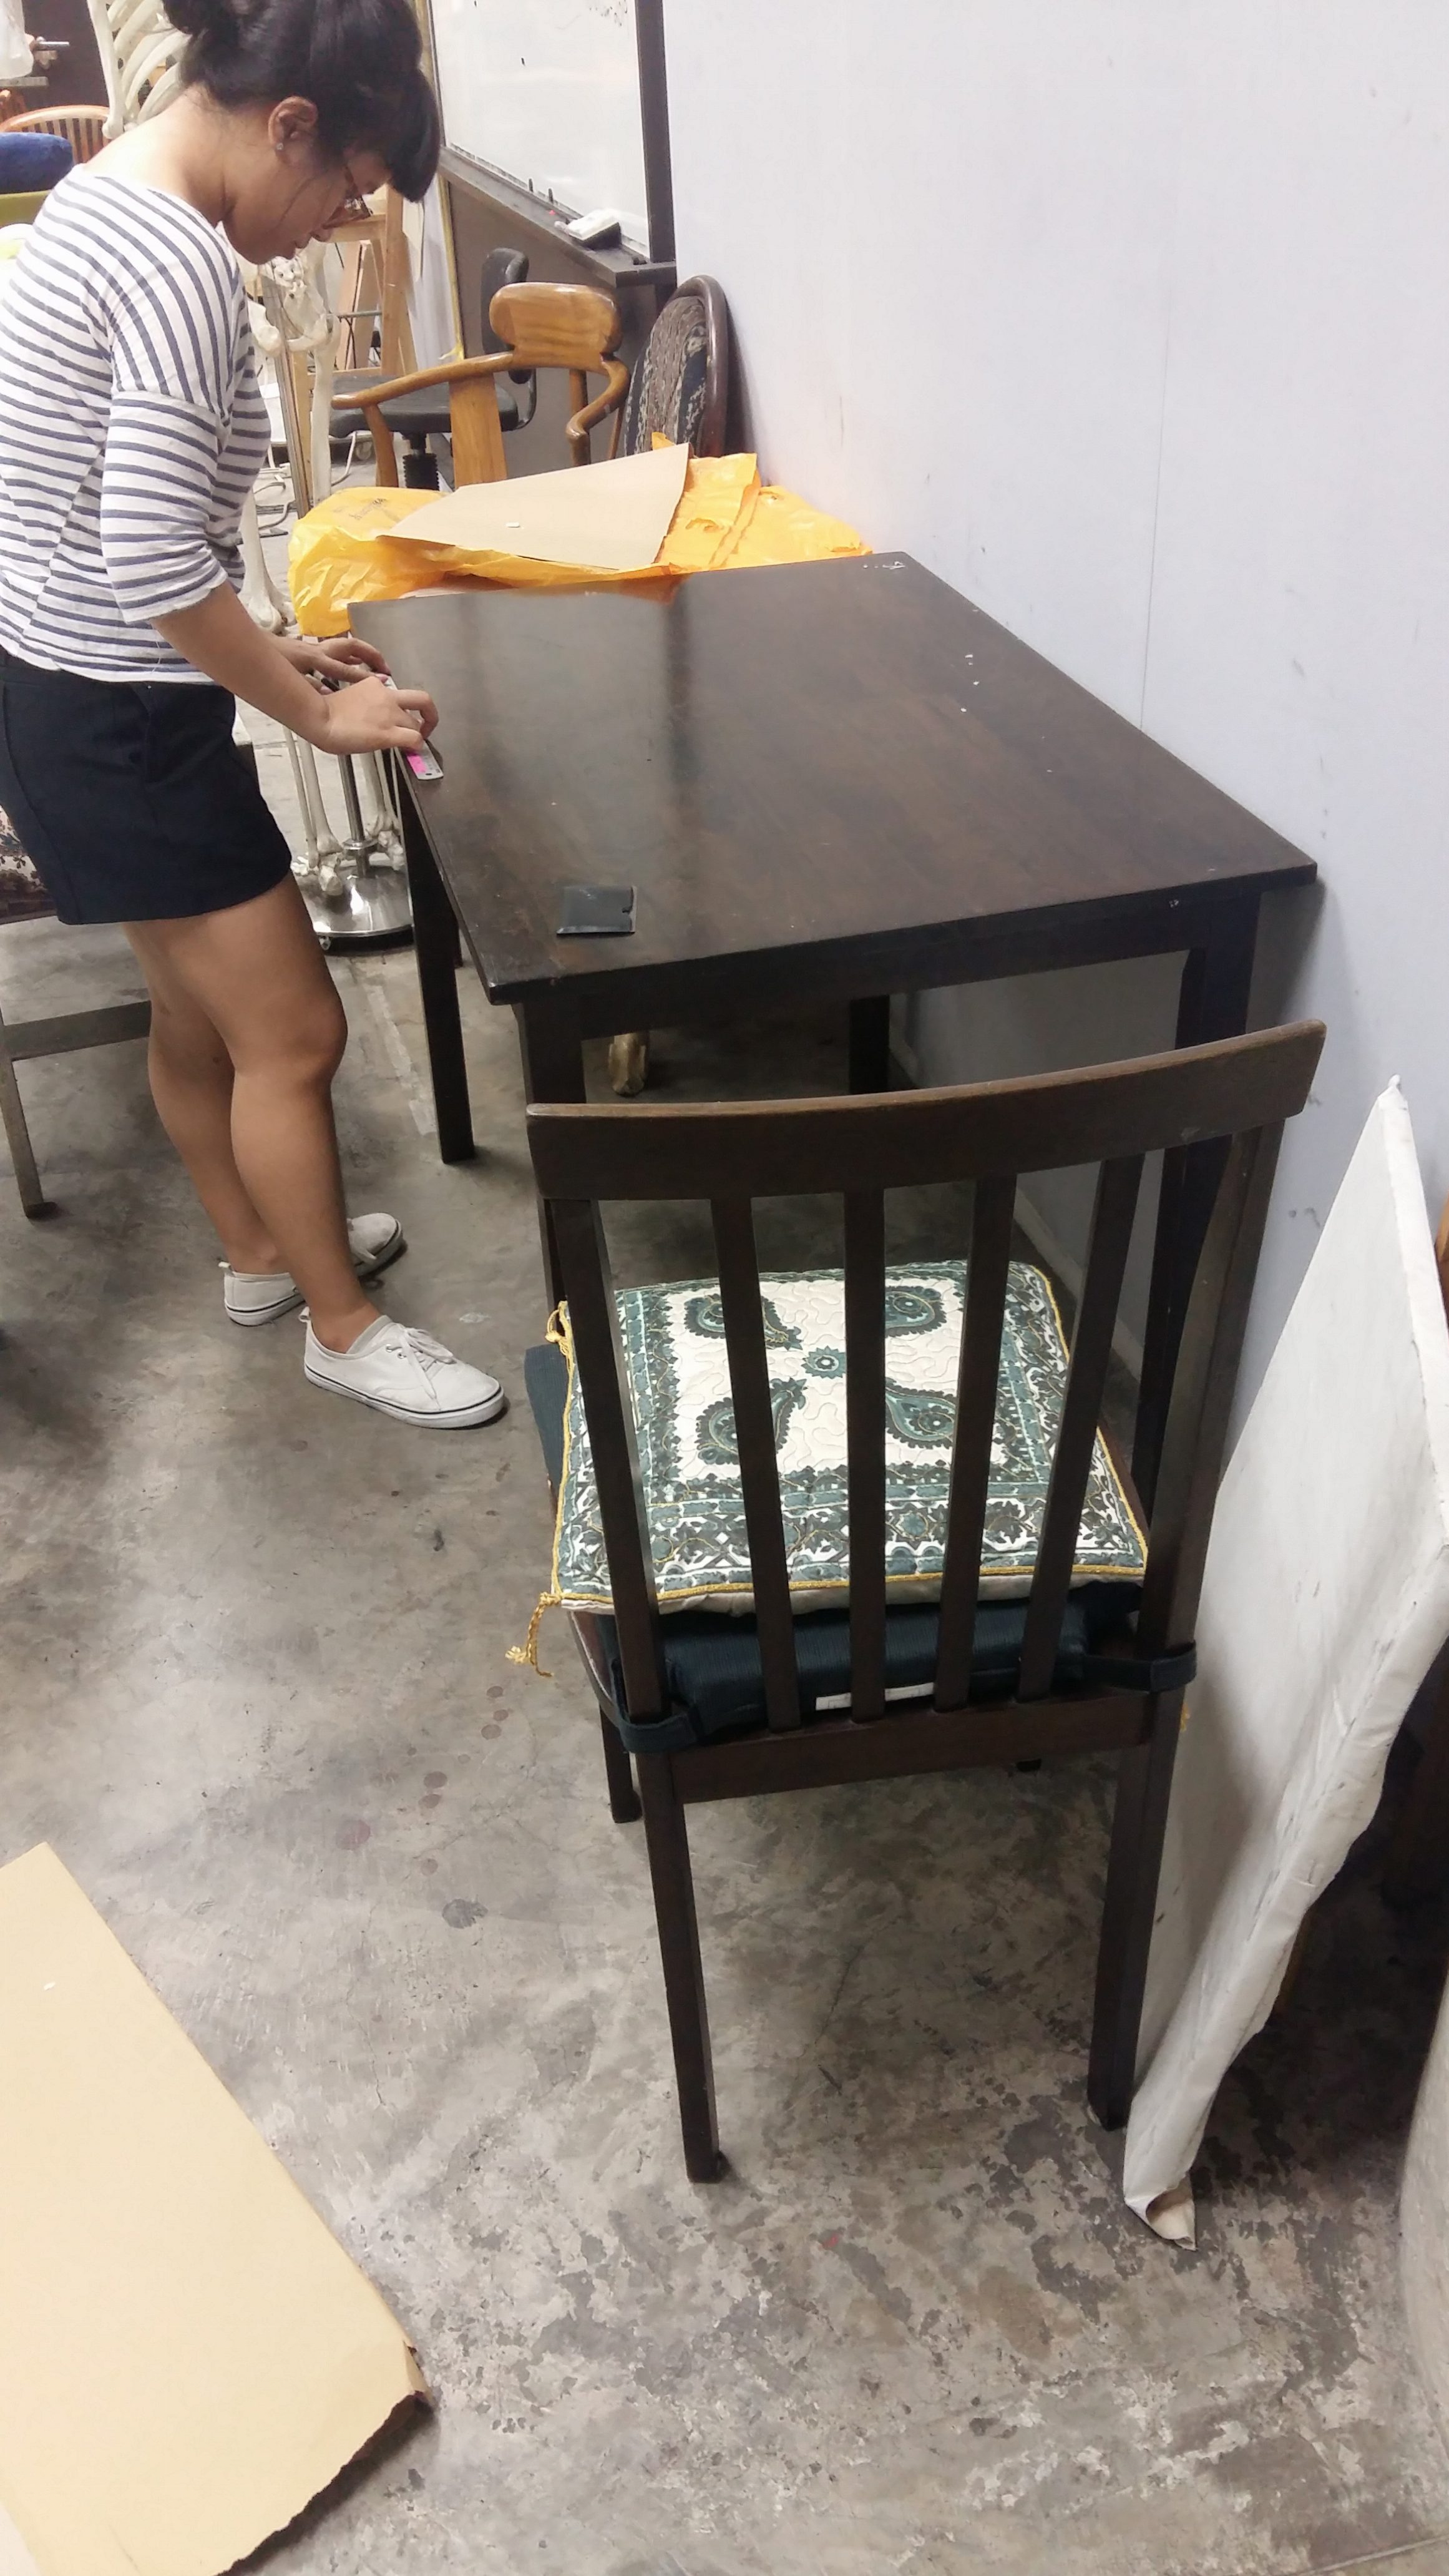
One of the first things we had to settle was the sourcing of materials. Our installation is rather setup heavy. We went around ADM looking for materials, especially the table and chair. Based on the size of the table, we would be able to see the space we had to work with for the projection on the table. The table and chair would also determine the size of our goggles, such that it the viewer would be able to look into the googles when sitting on the chair.

Table from B1 Crit room


There are tables everywhere! (Tables from the drawing room)
Finally, we spotted it. It was the perfect size and height. And it even had 3 chairs (no idea where the 4th one was) to go with it. Clarita then took down the dimensions of the table and chair. Later on, we started testing the projection.
Projection Testing
We tested to see if the size of the projection fit the size of the table. It was slightly smaller, but we decided to make do with it. We also tested to see if the room we had chosen was high enough for the projection to be of a decent size.


We were also unable to get a small projector, and Clarita and I were afraid that it would be too heavy to hang from the ceiling. We tested using mirrors to reflect the projection on the floor. It didn’t work out as well as we hoped to, as the mirror would have to be really big to encompass the entire projection and reflect it on the floor. After discussing with Debbie (who was at home working on the After Effects projection on the table), we decided to try our best to hang the projector from the ceiling.

Facebook calling Debbie (and using technology in a project about technology yay)
I also consulted my VJ art teacher to see how he hung heavy objects from the ceiling. It turned out that we would have to distribute the weight as much as possible across the frames of the ceiling.


Execution
Making of Goggles
Clarita was in charge of making the goggles for our installation. What Debbie and I thought was that they would look like the drawings in our proposal, and on the 2nd day, we started wondering why she was taking so long to complete them. It was only when she showed us one of the completed goggles that we realised why.
The drawings in our proposal were really simple, but what Clarita had envisioned was something much more refined and professional looking. I’m not really sure what went on in the making of them, but I do know that Clarita had to make and remake the goggles many times as the template was wrong.
Anyhow, I really like how they turned out (good job Clarita!).
Video Prep
On my side, I had to figure out how to record each phone/iPad’s screen, and put them together in video.
Before recording, I set up each phone to convey the personality of the character. For example, the mother was fitness person, with a major weakness for doughnuts. I reflected this through the background pictures on her phone. I also downloaded and arrange apps on the phone with the character in mind.


I changed the home screen to a motivational picture of a person running. I also downloaded fitness apps and cooking apps to show the mother’s personality and characteristics.

However, the background picture of the video would be the doughnuts. This, I hope showcase her weakness for doughnuts.
Besides setting up phones, I also created skype accounts and outlook emails for Desmond Lin and Edward Peh. This, I hoped, would make the videos more convincing.
Video Recording
I thought filming would be really easy, given how we didn’t have to work with any actors, and weren’t restricted by location or time.
Oh, how wrong I was.
*cold laughter*
There were many more problems than I anticipated, due to all the technical constraints I had to work with. The biggest problem was that whenever I recorded the iPhone and iPad screens, the time would automatically change to 9.41am, even though I set the time to 7.49pm before recording. I’m not sure why it was like this, and I wasn’t able to find a way to change it, and had to leave it like that.
For the Android, the screen recorder would show up on the lock screen, and made the video somewhat less authentic. Hence, I also decided not to show the lock screen for the mom’s video.

Other problems included how the iPad’s (for the baby) screen somehow could not be recorded at all (so I decided to use the iPad mini to record the screen for the iPad), and receiving random texts while recording.
Sound
The voiceovers were done by Debbie’s friends. We then recorded our own foley sounds, such as the sounds of eating, and the banging of pots.


Sound recording!
Debbie and I then put the sound together to form our audio. With that completed, we then edited the videos based on the audio.
Video editing
Editing the video was pretty alright. I just had to make sure that there was continuity between the different clips I’d taken. For example, if on scene ended with say, 2 notifications on the snapchat app, it couldn’t randomly change to no notifications at the start of the next scene.
What I did to solve this problem was to cut the start of the next scene immediately when the next app was opened. This way, there wouldn’t be a sudden change in homescreens, etc.


Because I recorded at different times, the home screen was different.
Projection Mapping
Debbie was in charge of the video projected on the table, as she had experience with projection mapping from her poly days. She did the entire thing with Illustrator and After Effects (good job Debbie!).
Still don’t know much about projections, but I’ve learnt that there is something called a keystone, which allowed us to distort the projection according to what we wanted. This was especially useful, as we had to resort to using a mirror to reflect our projection to the table (more on that later).
Setup
Setting up the furniture for our installation was easy too (Major thanks to the drawing room for providing most of our furniture). Most of it was done by Clarita, while Debbie and I worked on our videos.

Moving the furniture from the drawing room to 2-19
The hard part was setting up the projector such that we would be able to project our video on the table. We went with our initial plan of attaching the projector to the ceiling. Debbie and Clarita did the setup, while I worked on editing the videos. They placed the projector into a tote bag, and tied the bag to the frame using ruffian string.


And then. Just after they’d finally attached the projector to the ceiling, the projector died. We weren’t sure if it was because there was no circulation in the bag and the projector overheated, but it just stopped working, so.
Thankfully, Nevin’s group had an extra projector, so they lent their’s to us (thanks very much to Nevin’s group!). It also happened that this projector was able to project over a larger area than the one we had, and was perfect for us to use a mirror to reflect the projection on the table. So finally, after much effort, we did it! All that was left was to finish setting up the room, and edit all the videos.


Initially, the background of the projection on the table was supposed to be white. However, there was too much distortion, and we decided to change it to a dark greenish blue instead.

Of course, it is always time to eat oyster omelette your roommate offers you. While sitting on a random chair you were bringing to the installation site. Next to the lift of course. When it’s 2am.
After pulling an all-nighter, we finally finished our installation! More on that on my OSS post for the final 🙂