
Sarah Lanz Project 2: The Landscape
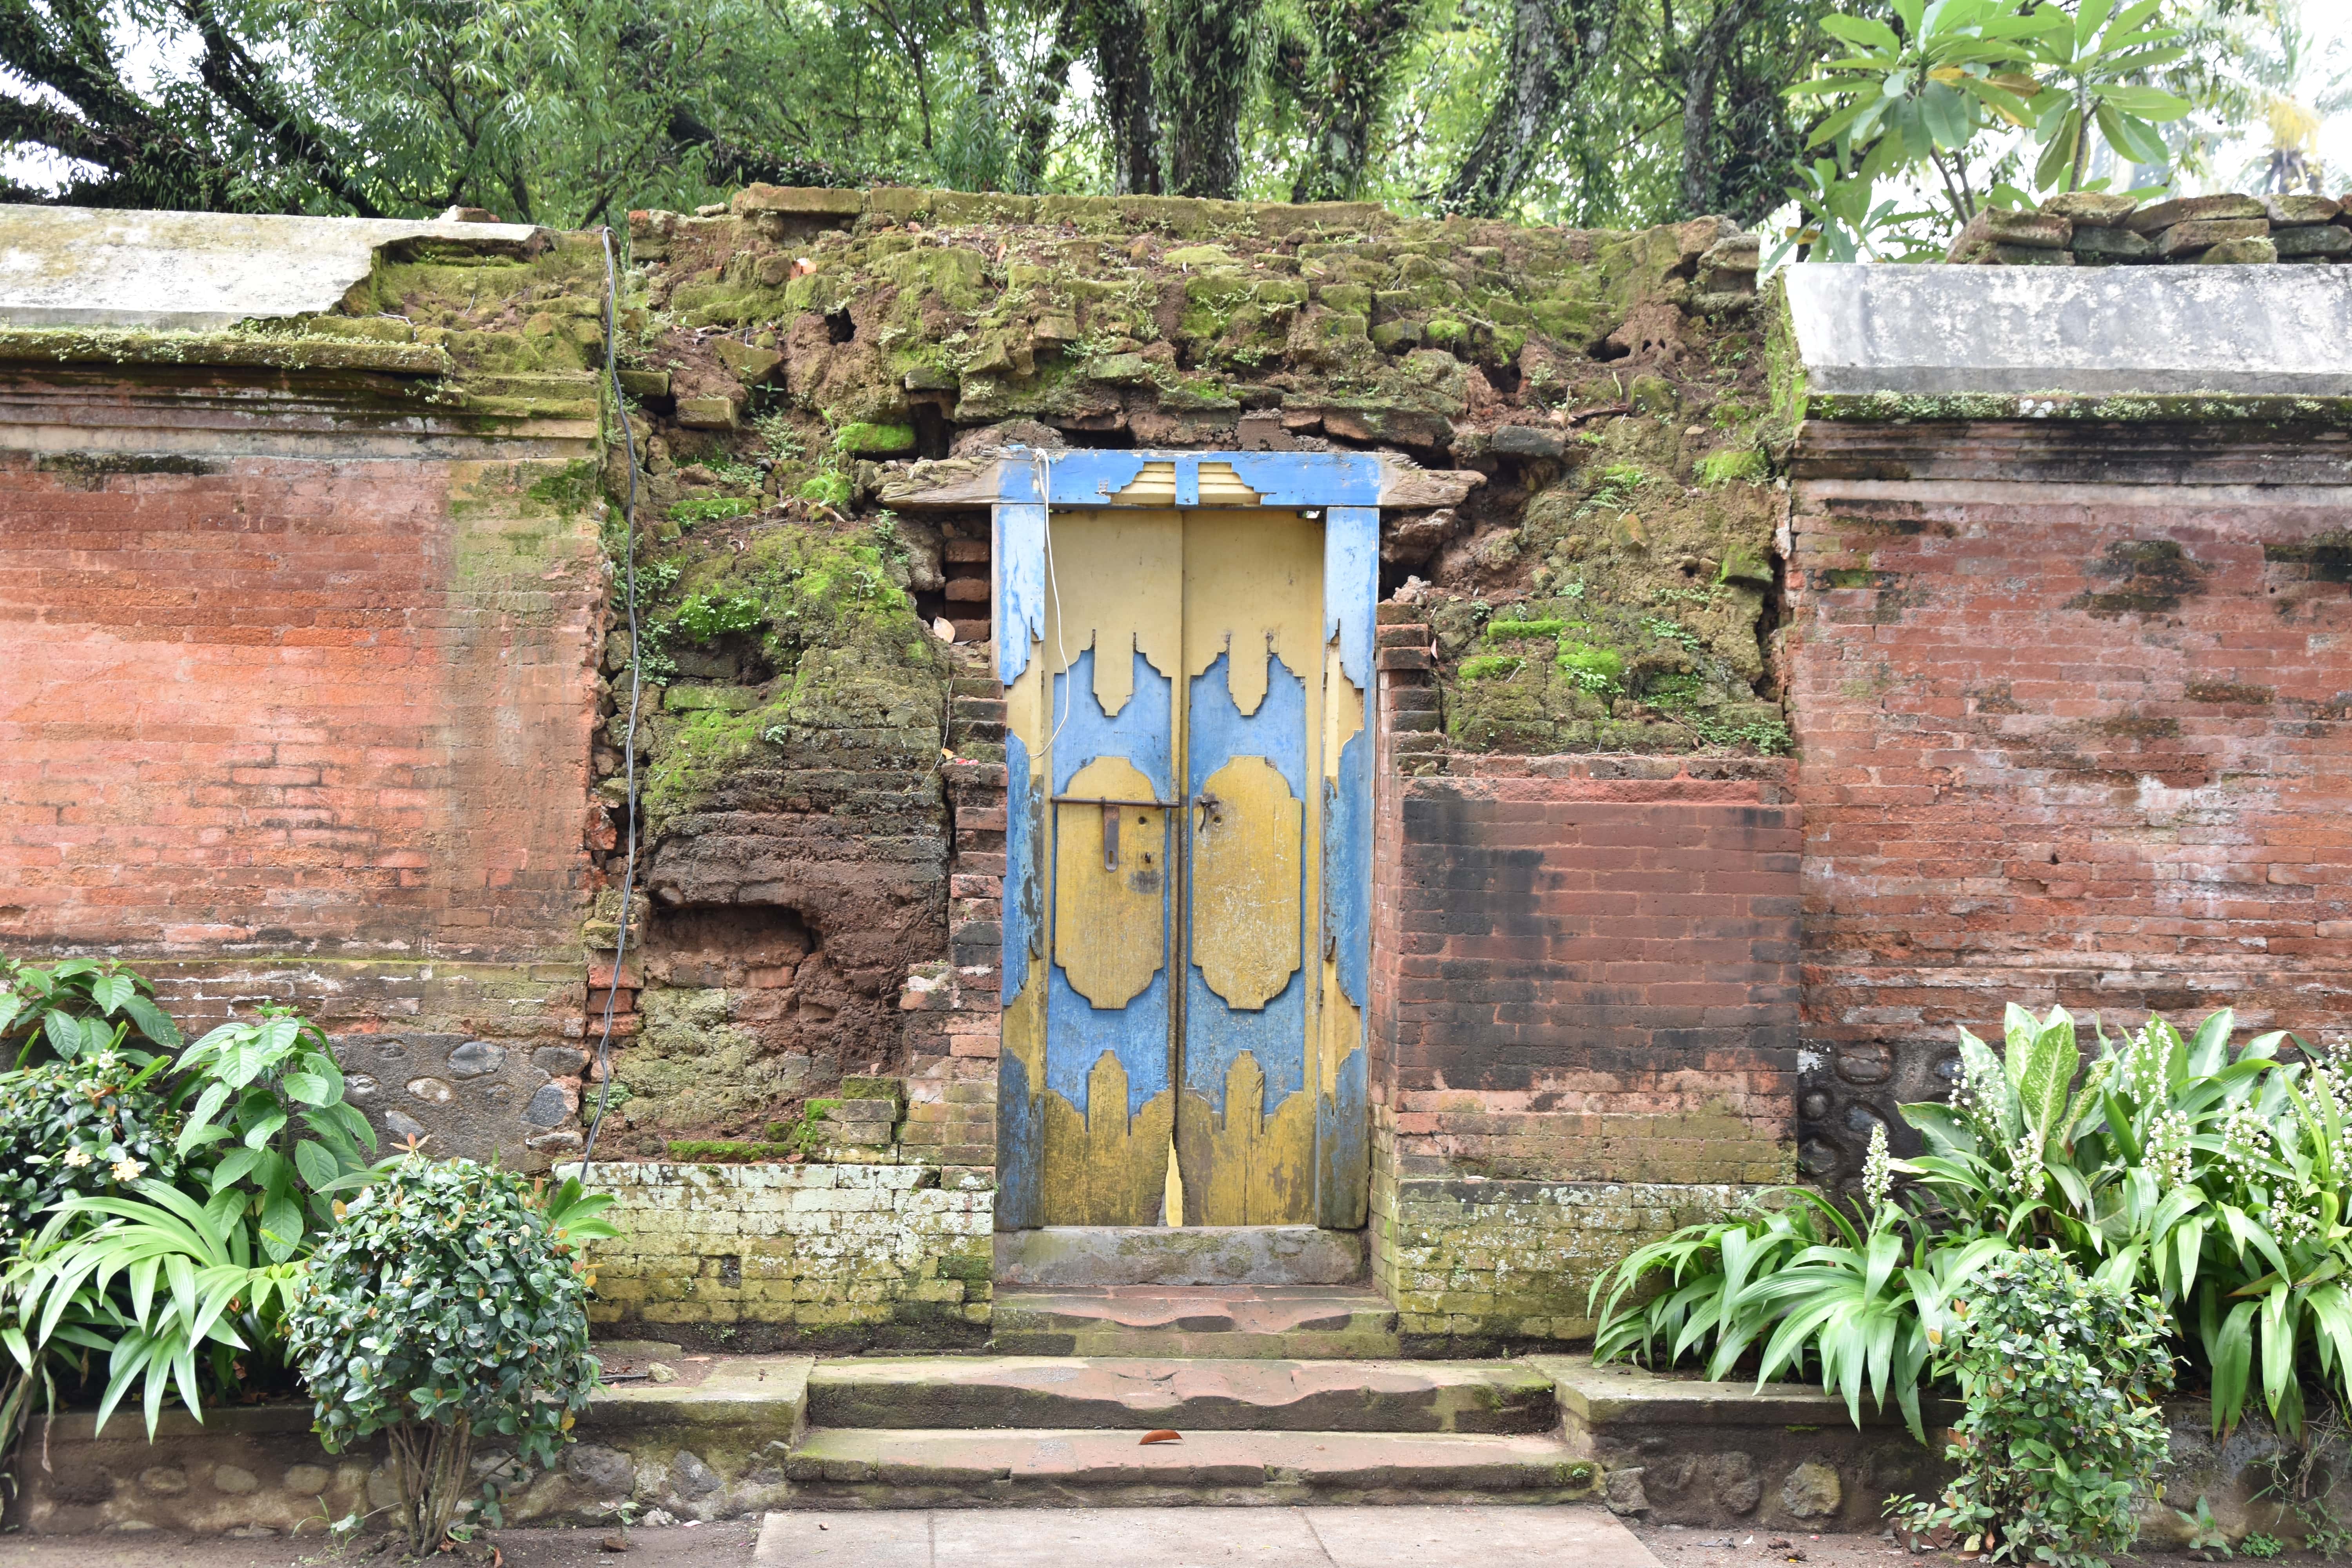
Before
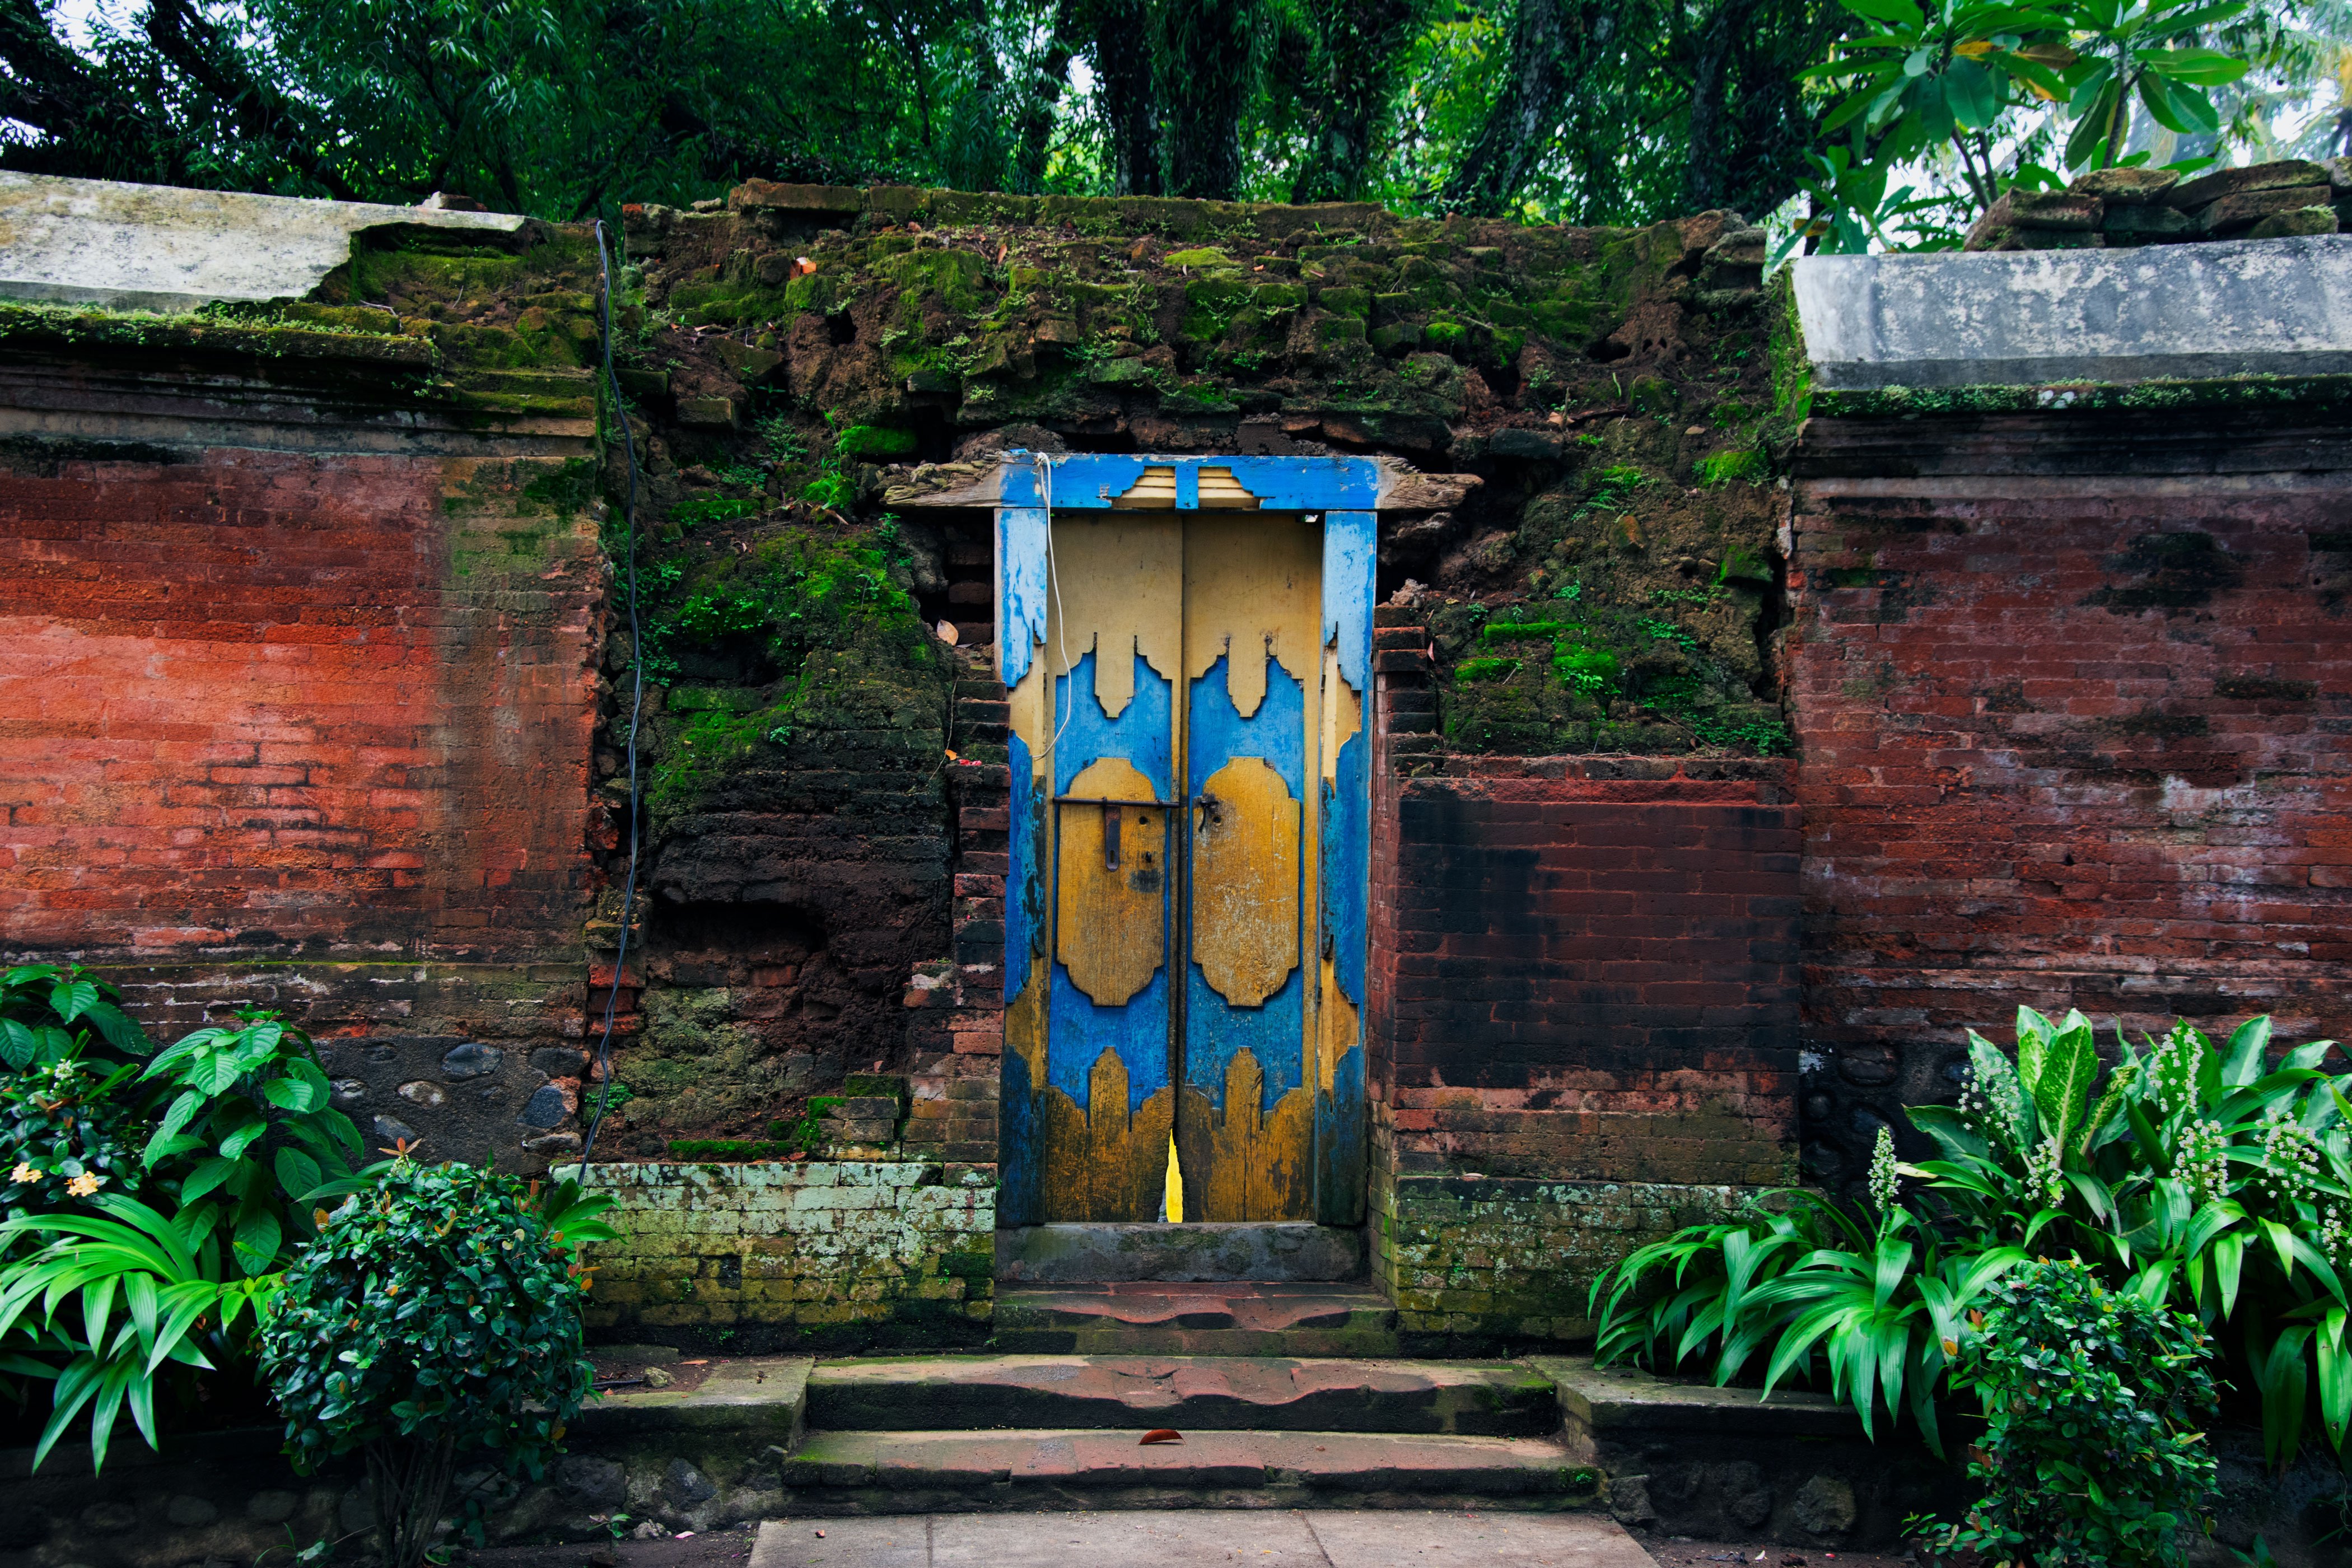
After
Concept:
When I went to Lombok over Chinese New Year, I visited a few Temples. At one of the temple areas, there was this old wooden door in the wall that really fascinated me, so I took a photo of it. Now as I was looking through the photos of the vacation, I found it again. I decided to use it for my second Photoshop Project, because I saw some potential in it to make it look even more mystical and maybe also a bit over-dramatic, like an old door into another mysterious world.
Technical decisions:
I took the photo with my own camera, a Nikon D3400 and my lens Nikon DX 18-105mm, because I am used to take a lot of photos with this camera and I love the lens.
During the digital processes I decided this time, that I would see how far I could go and try out a few things, even though the picture will not look as natural afterwards anymore.
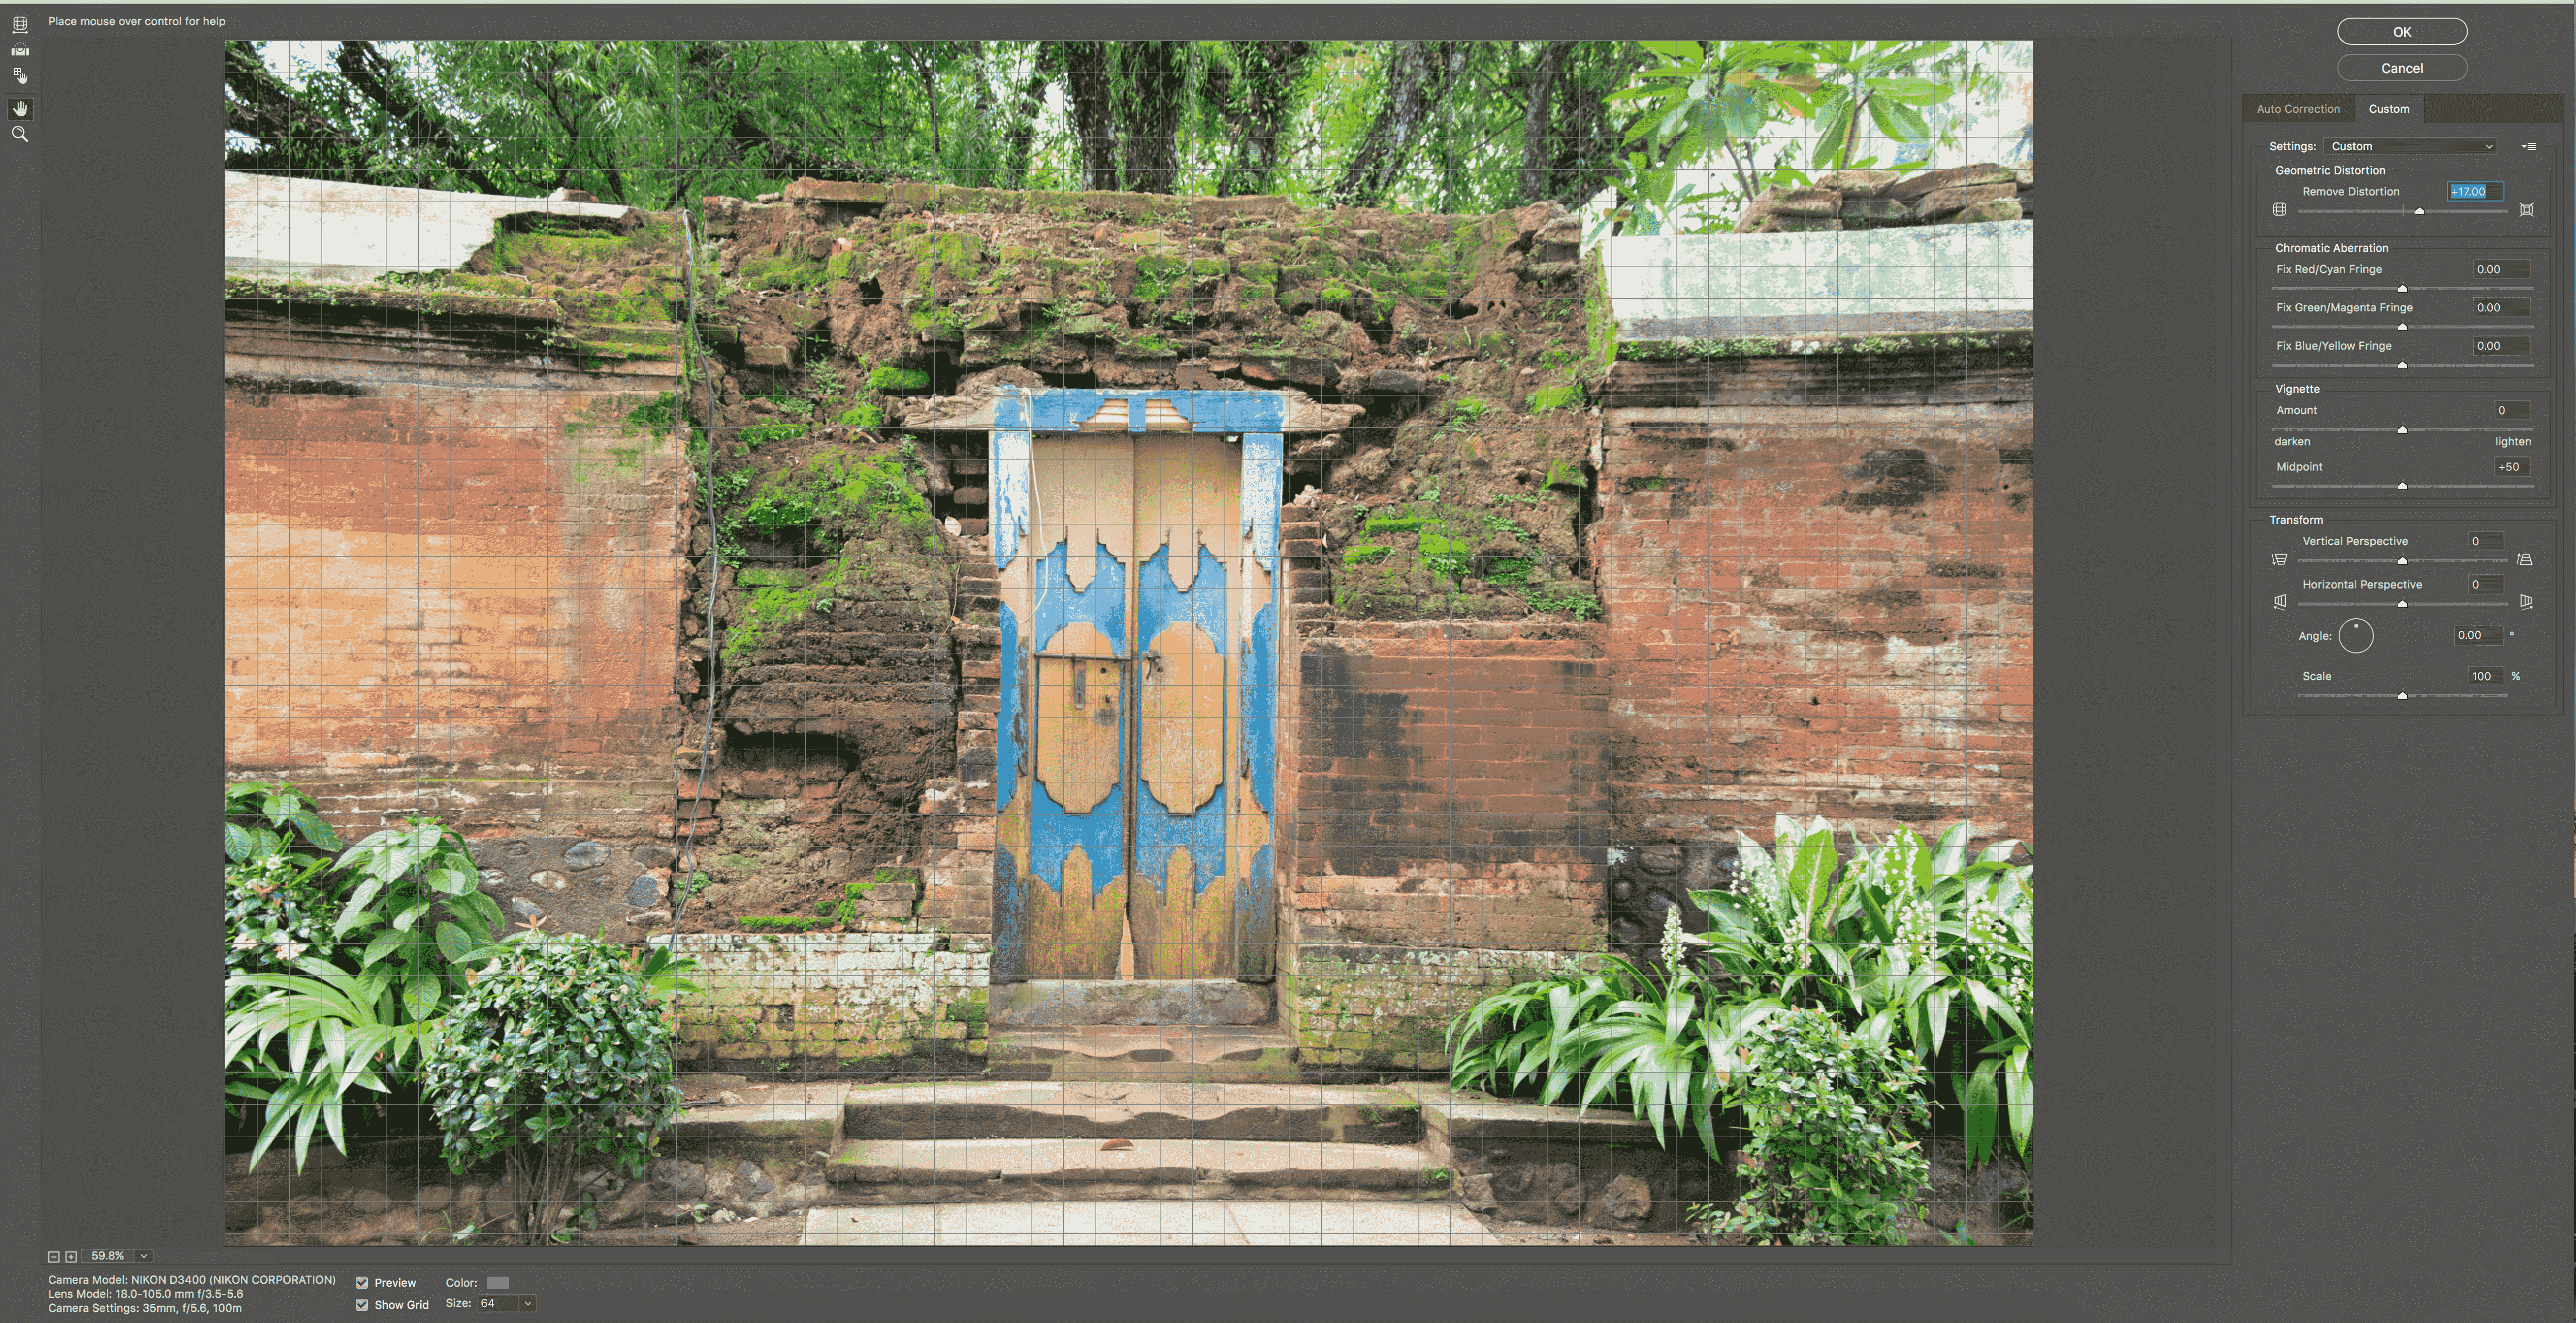
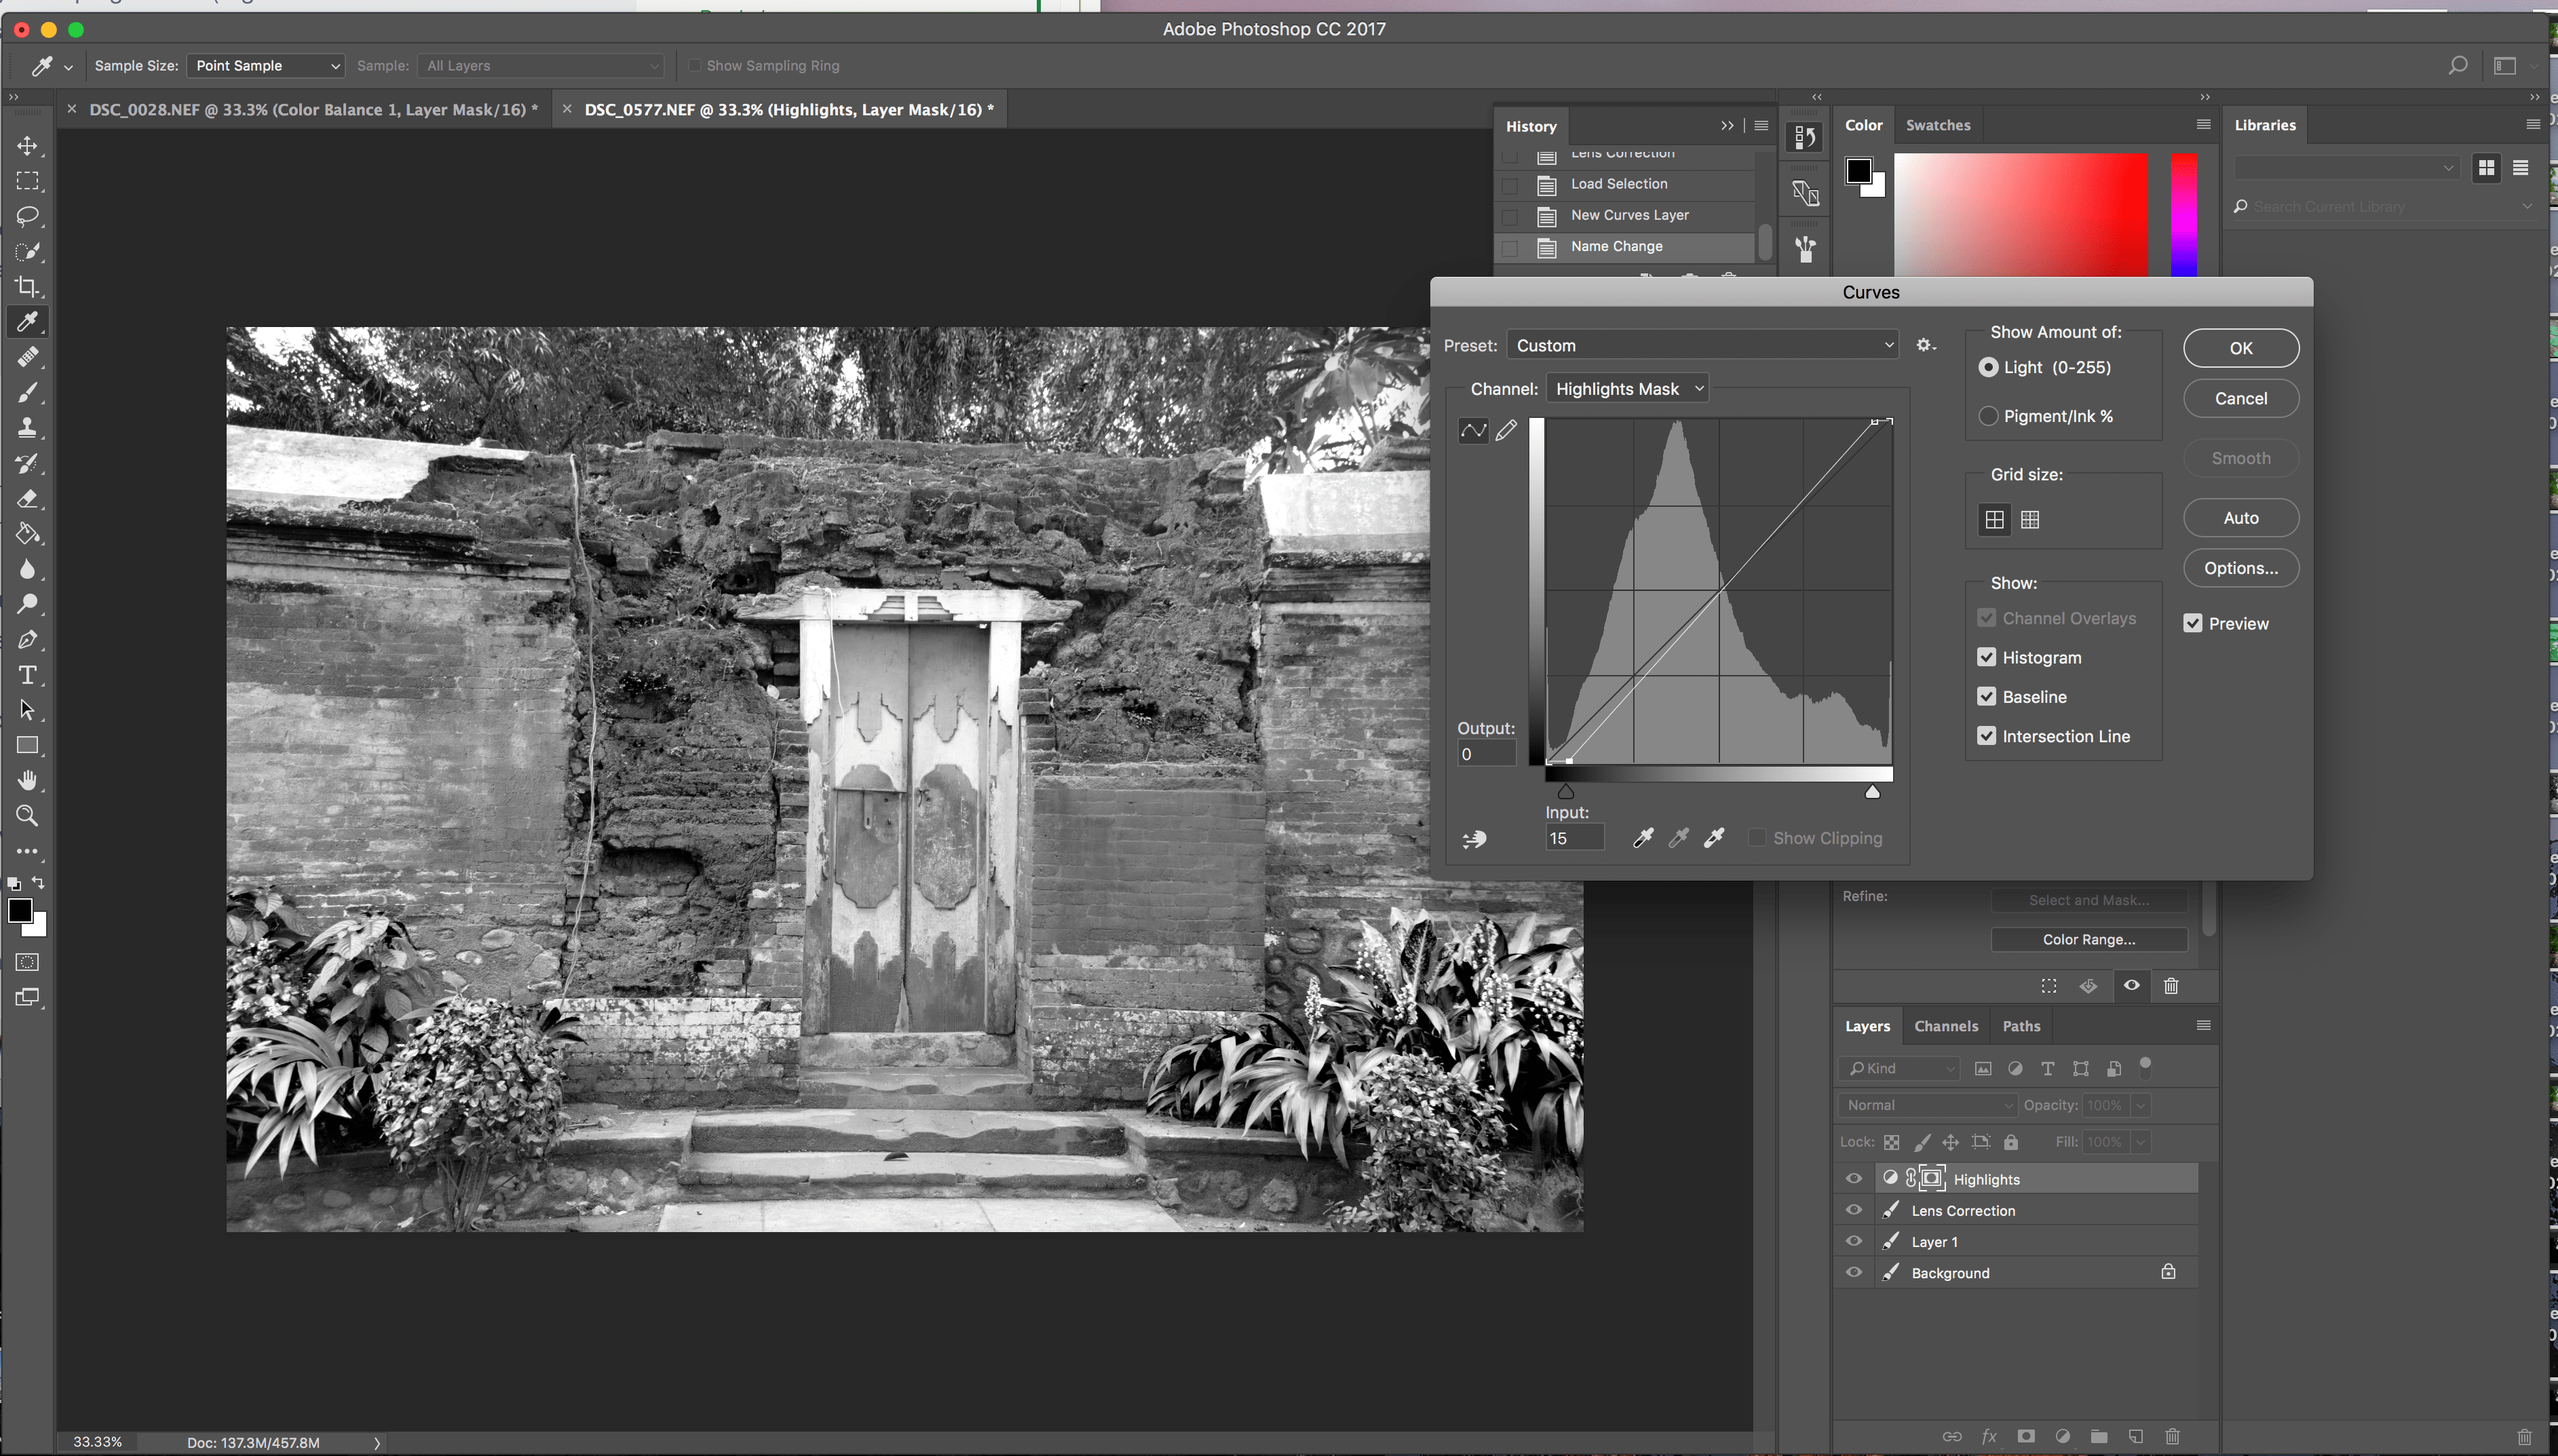
I first started with a Lens Correction, because it annoyed me a little, that the photo was a bit uneven. I changed the Geometric Distortion a bit, until I was happy.
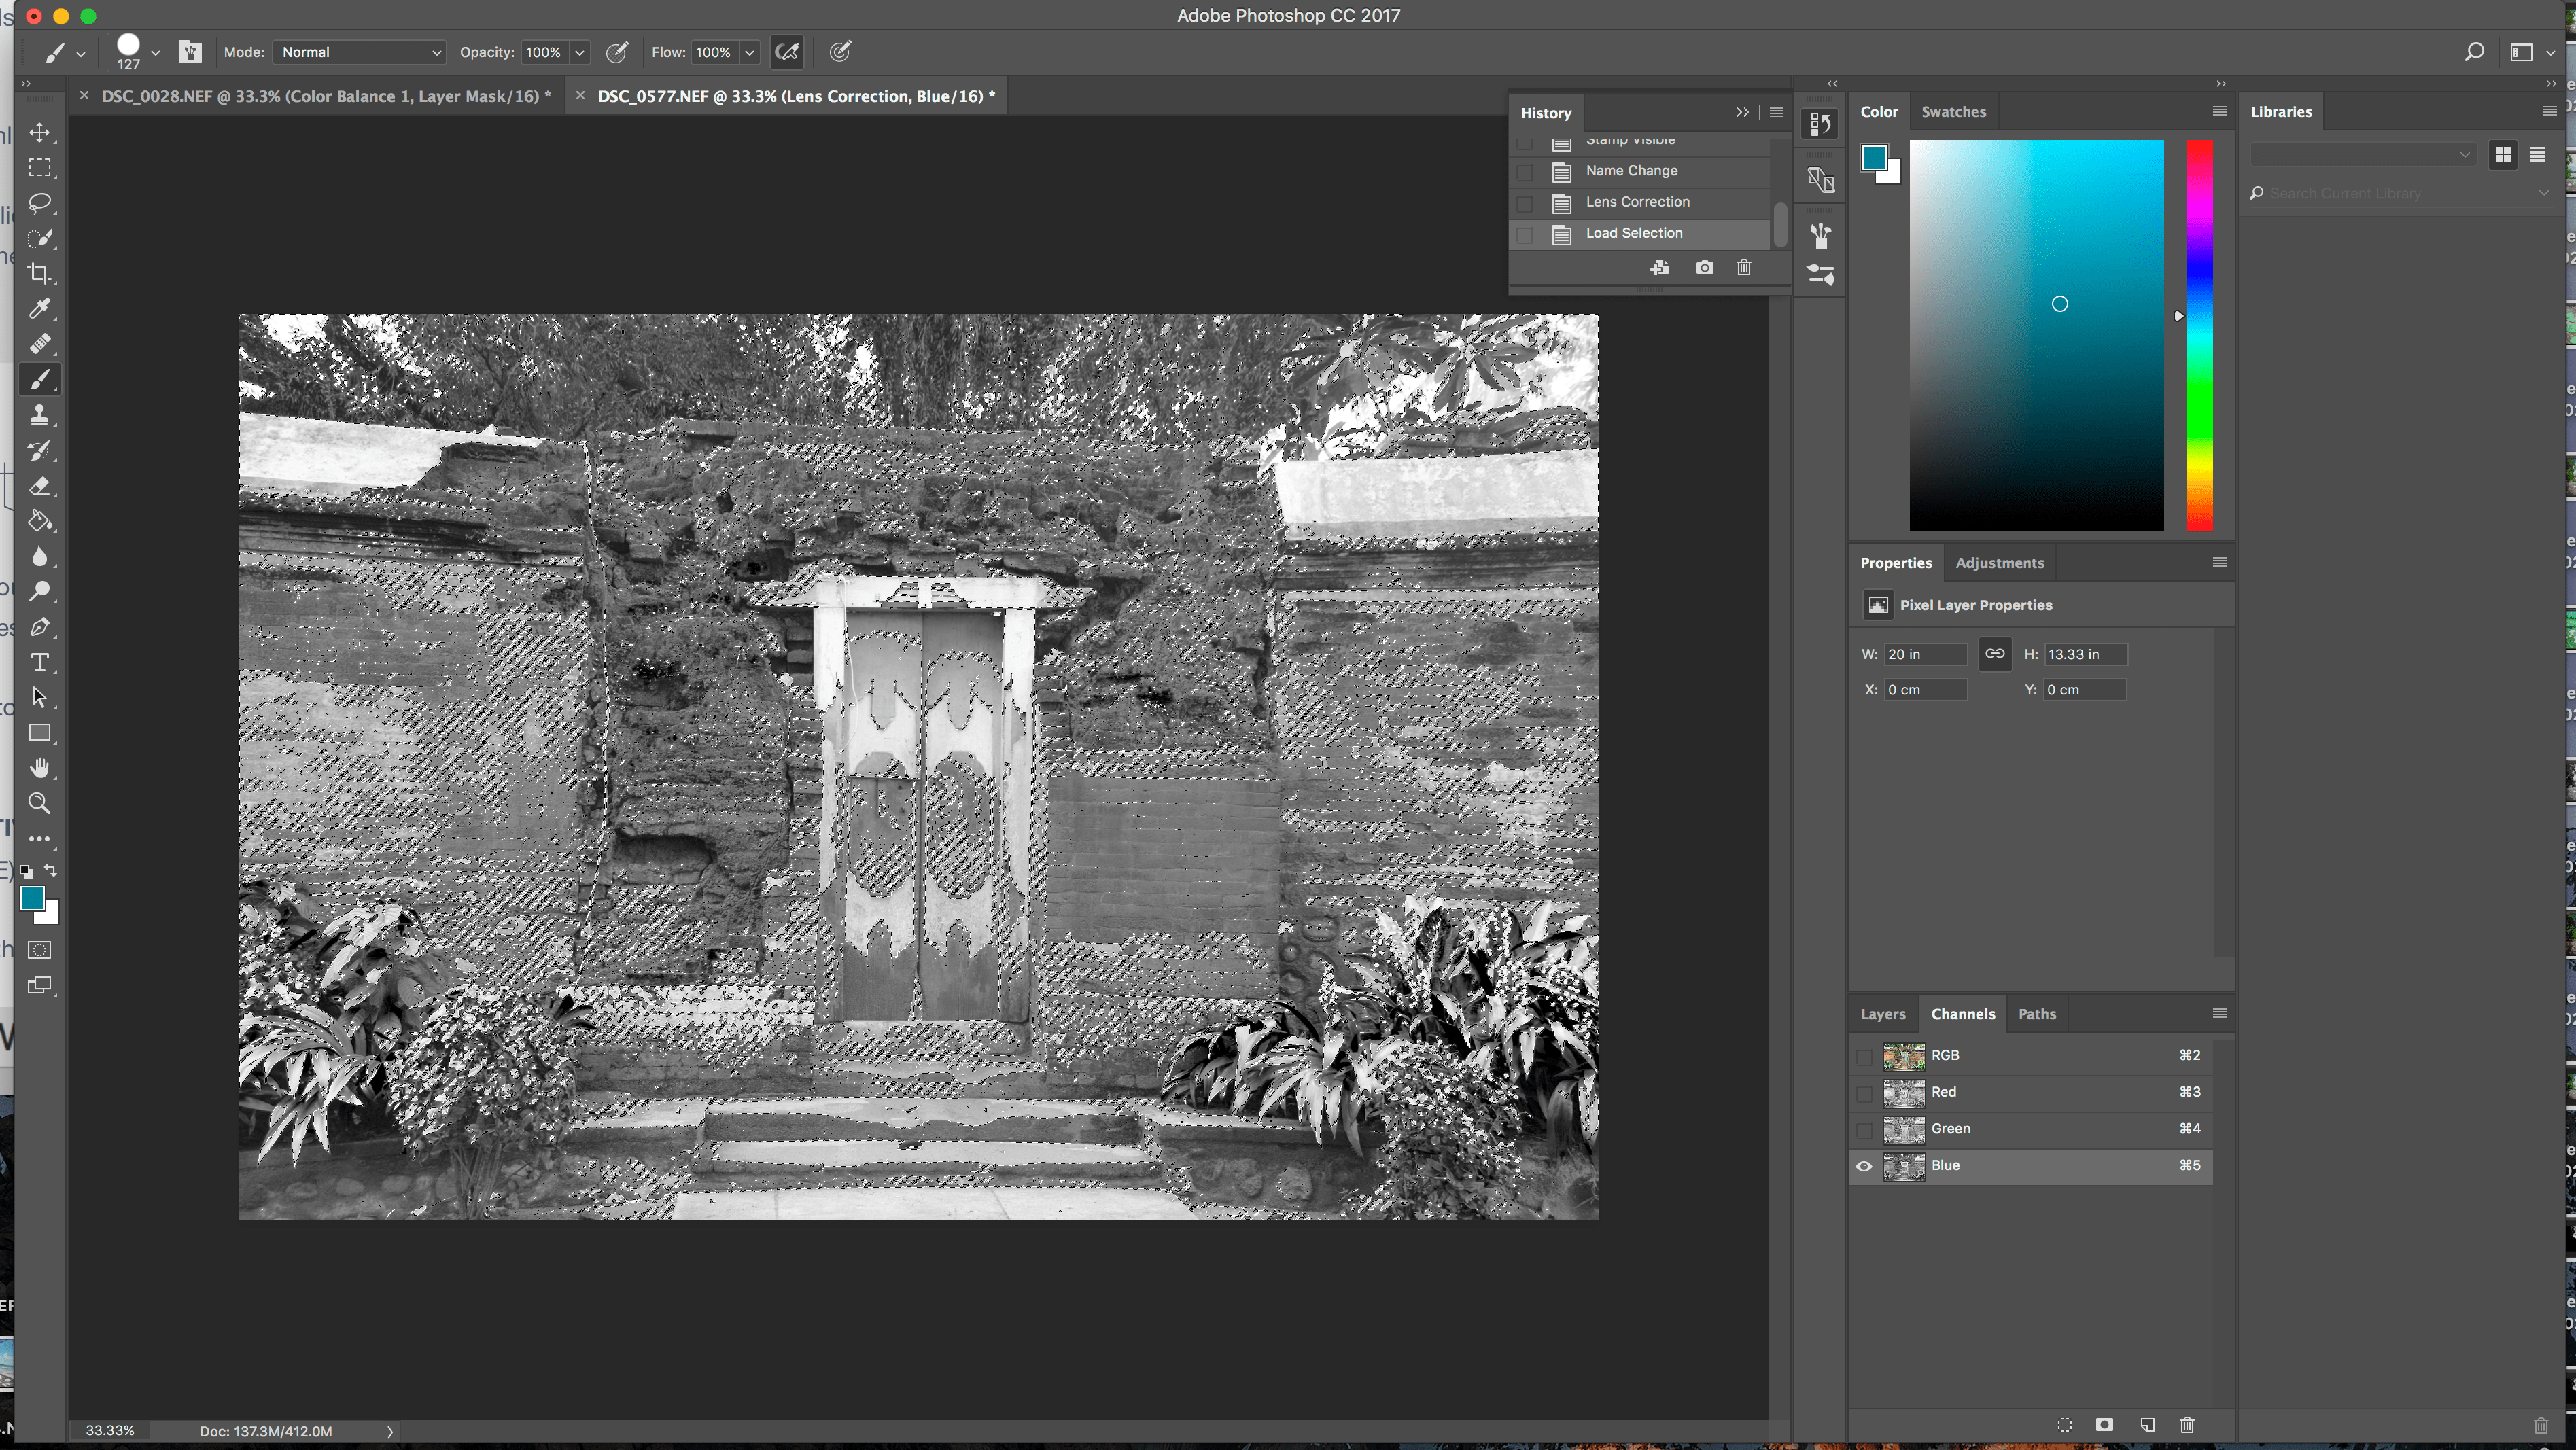
My second step was to use a Channel Mask to select and work with the Highlights and the Shadows in the image. I decided to go with the blue channel, because it affected the most areas I wanted to work with and created a Highlights Mask with it. Then I duplicated and inverted it to get my Shadows Mask.

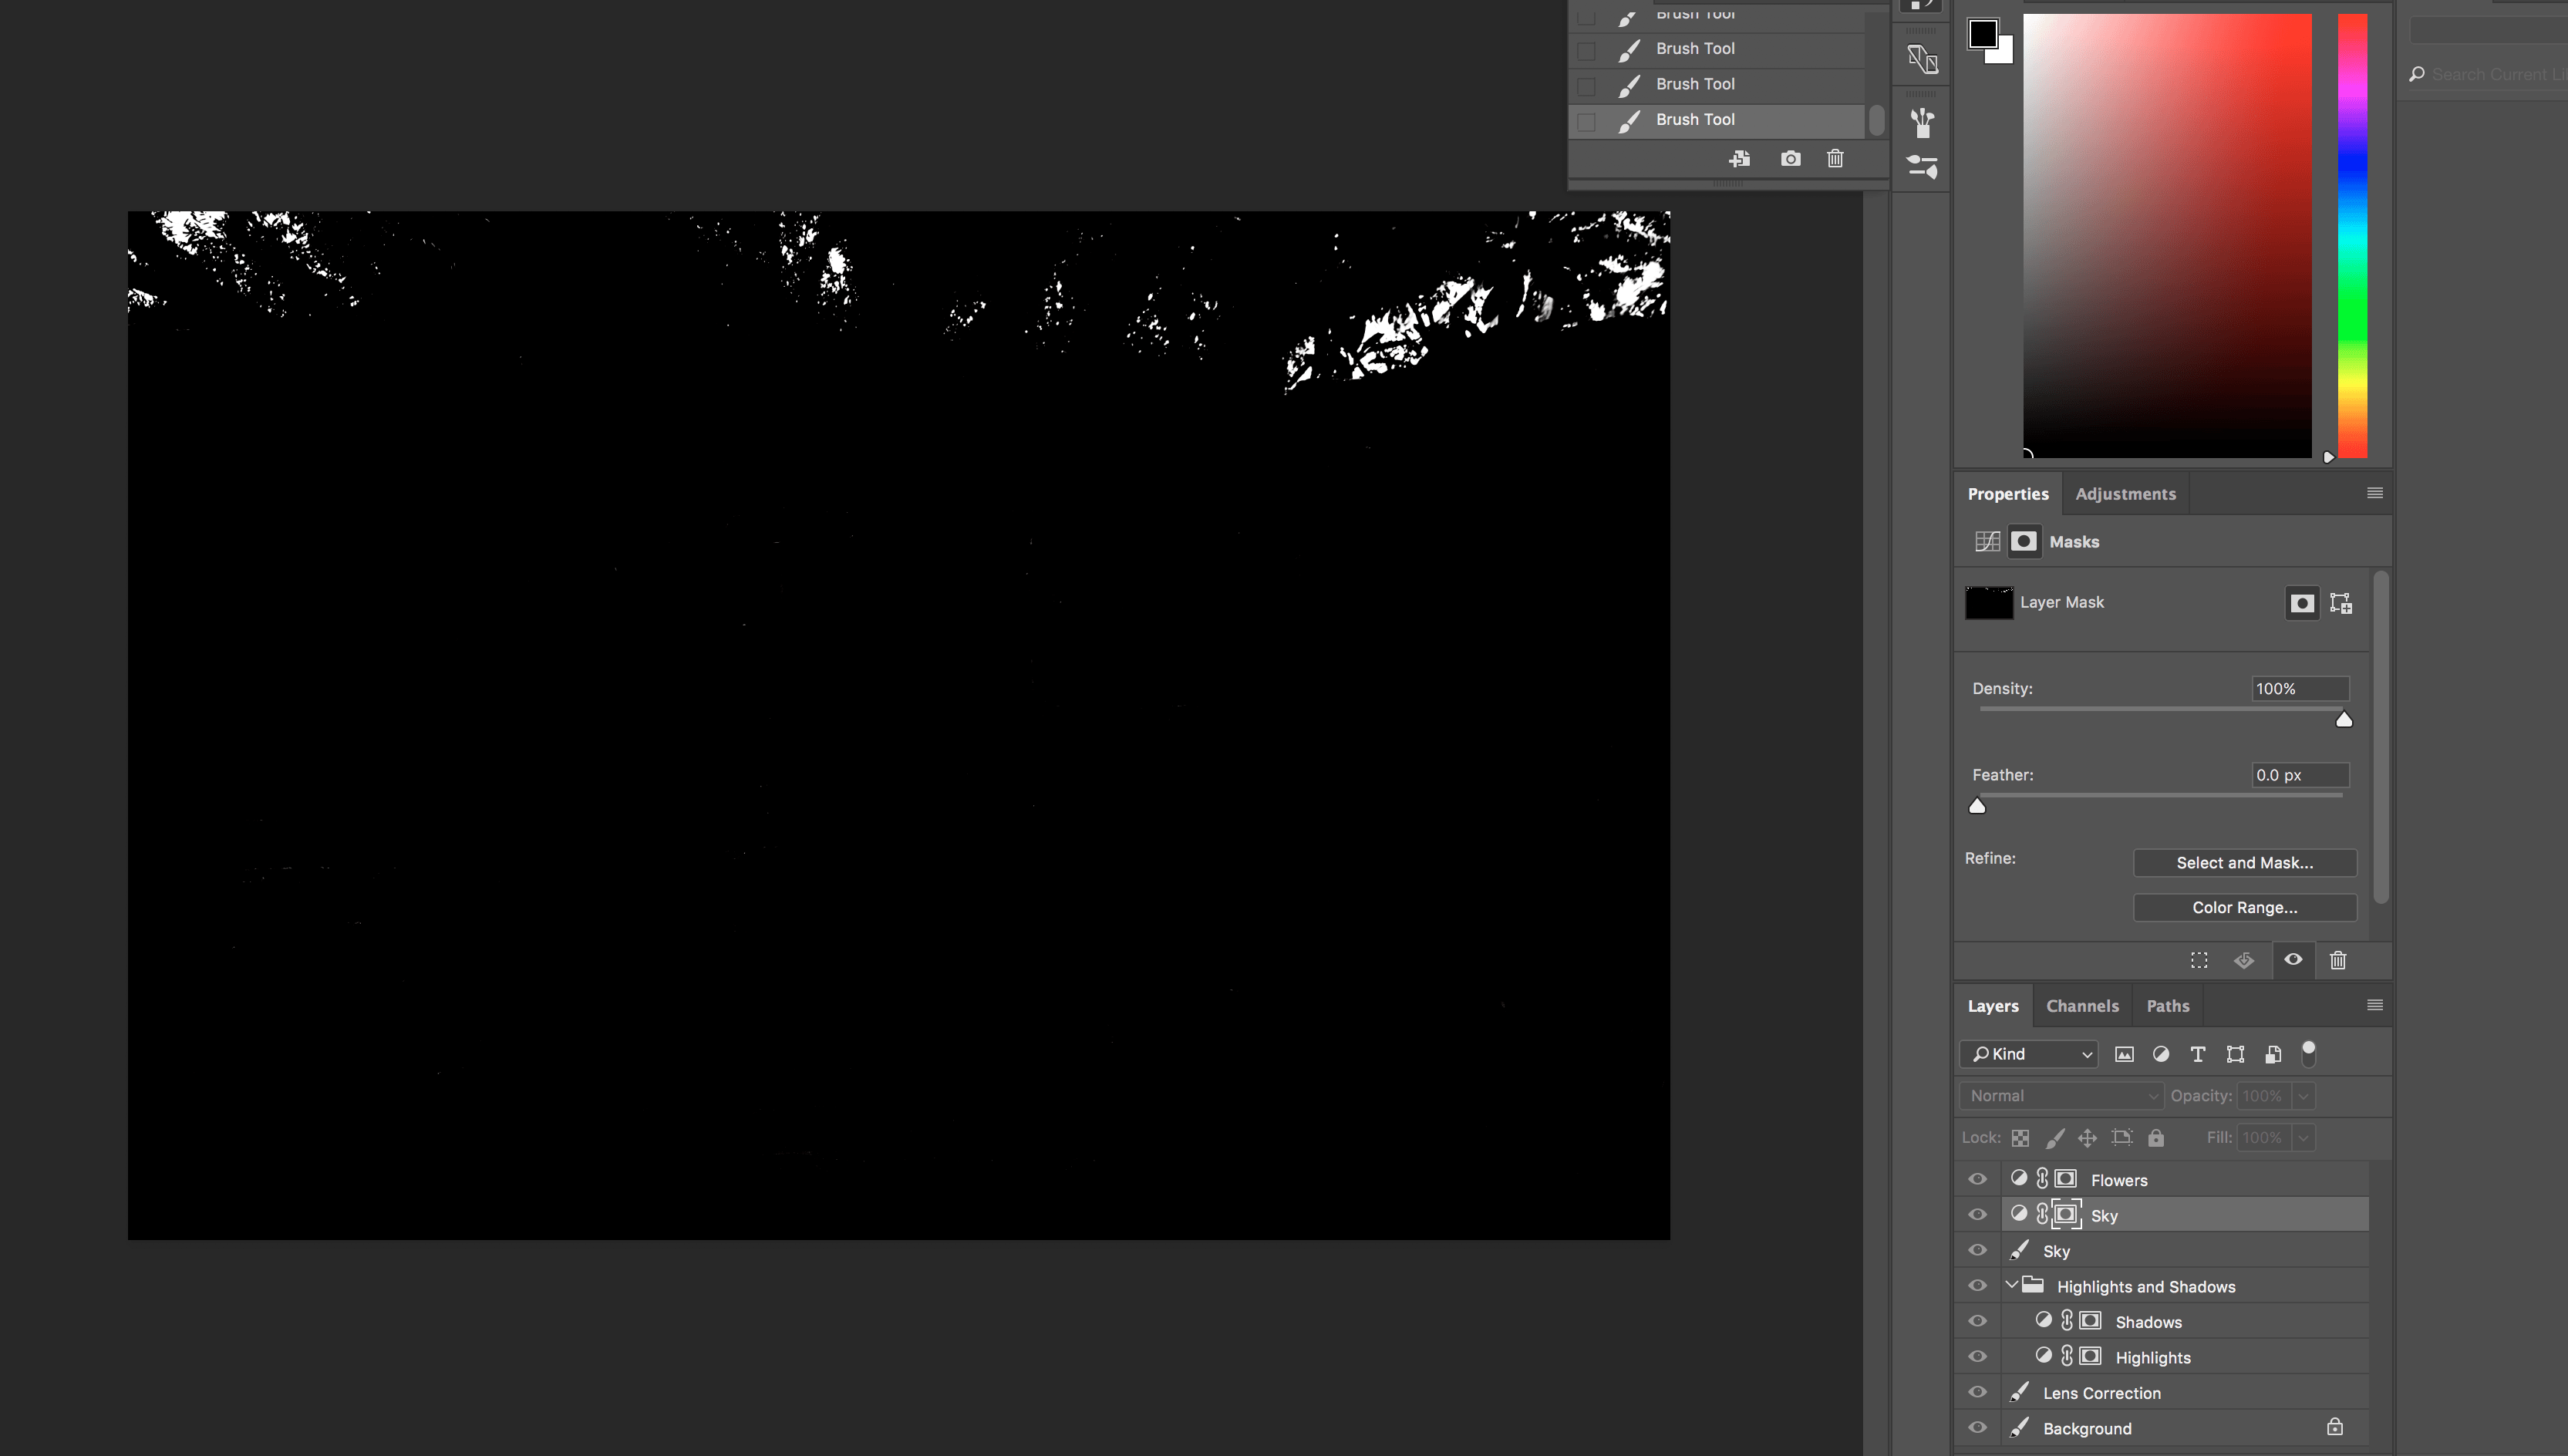
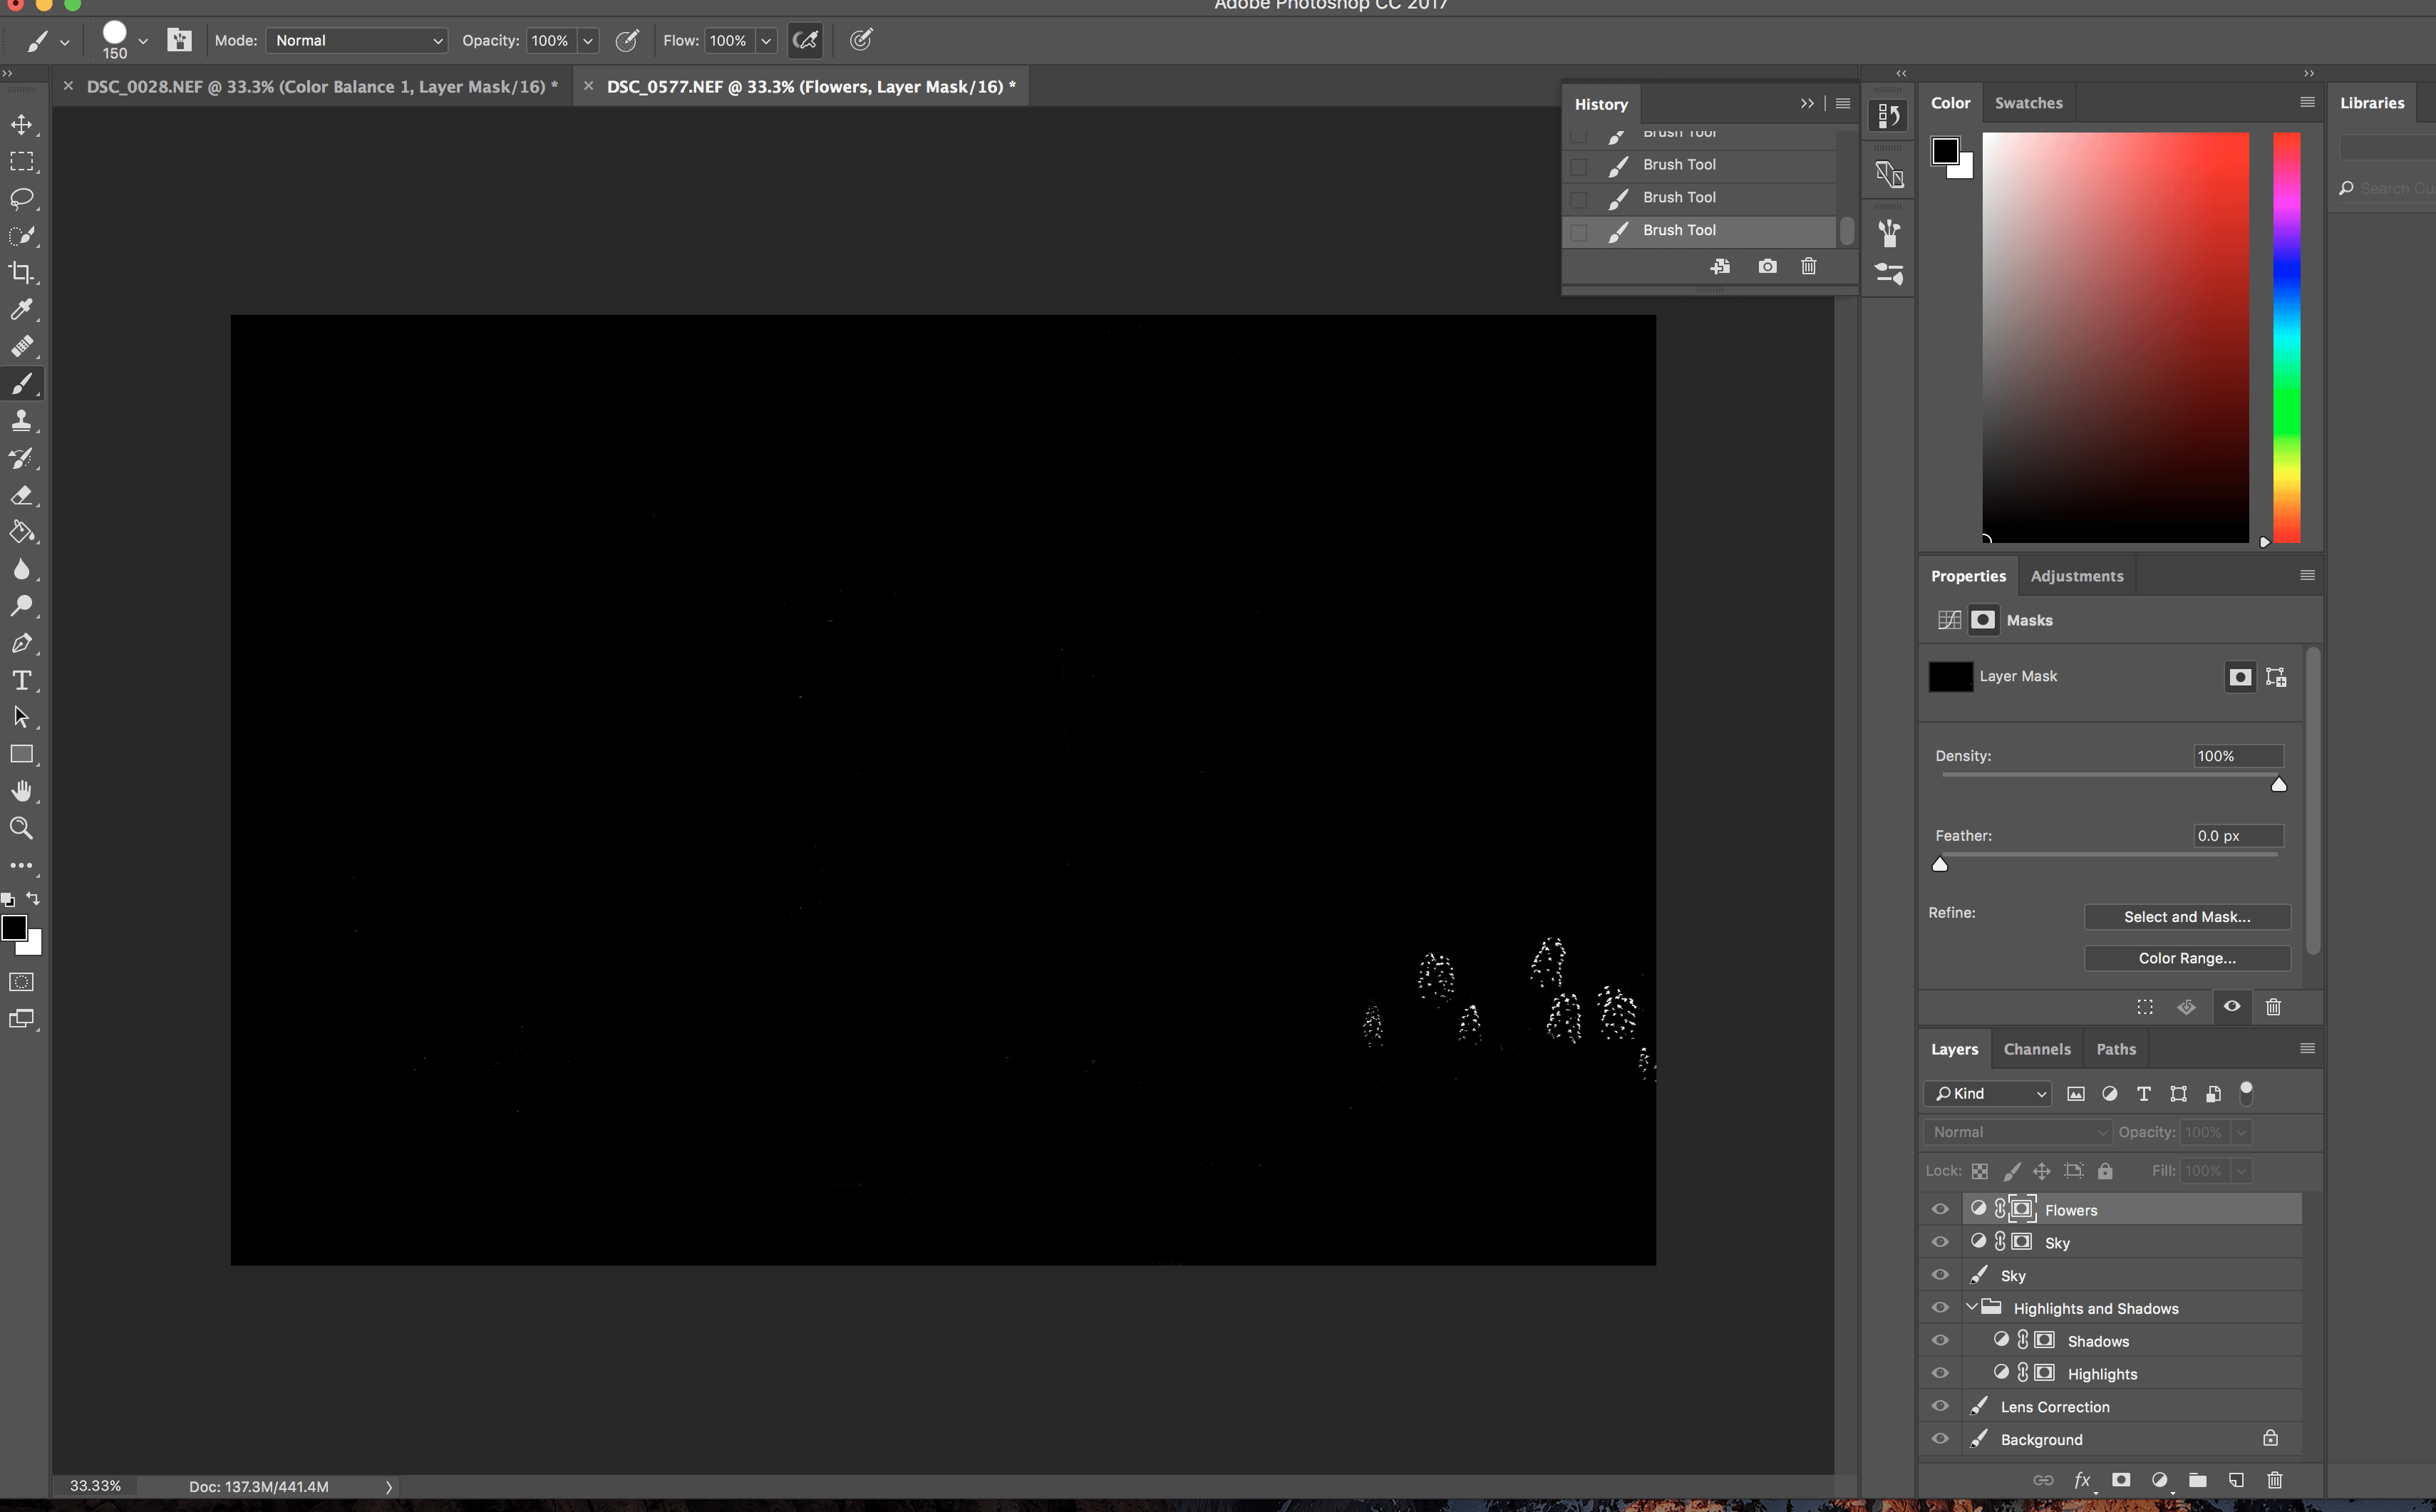
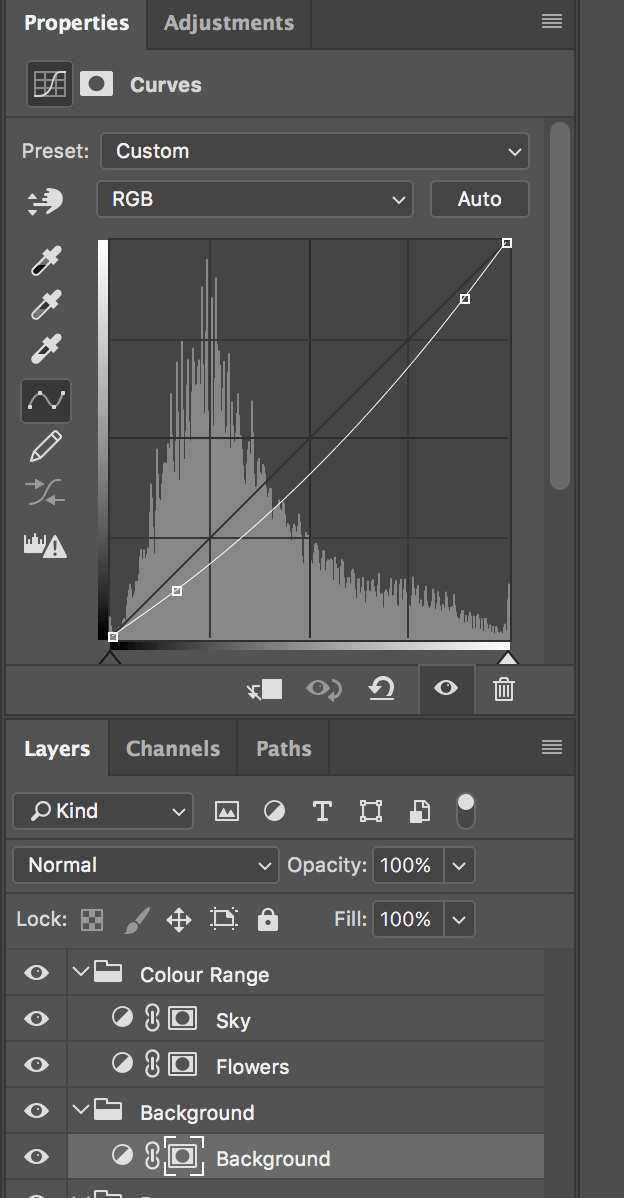
Now I used Colour Range to select the white areas of the image. I separared the whites into sky and flowers. I darkened the sky a lot, so that more plants of the background got visible and gave the area behind the door a more mysterious look. I also changed the settings of the flowers, but because they are so tiny, the difference was hard to see.
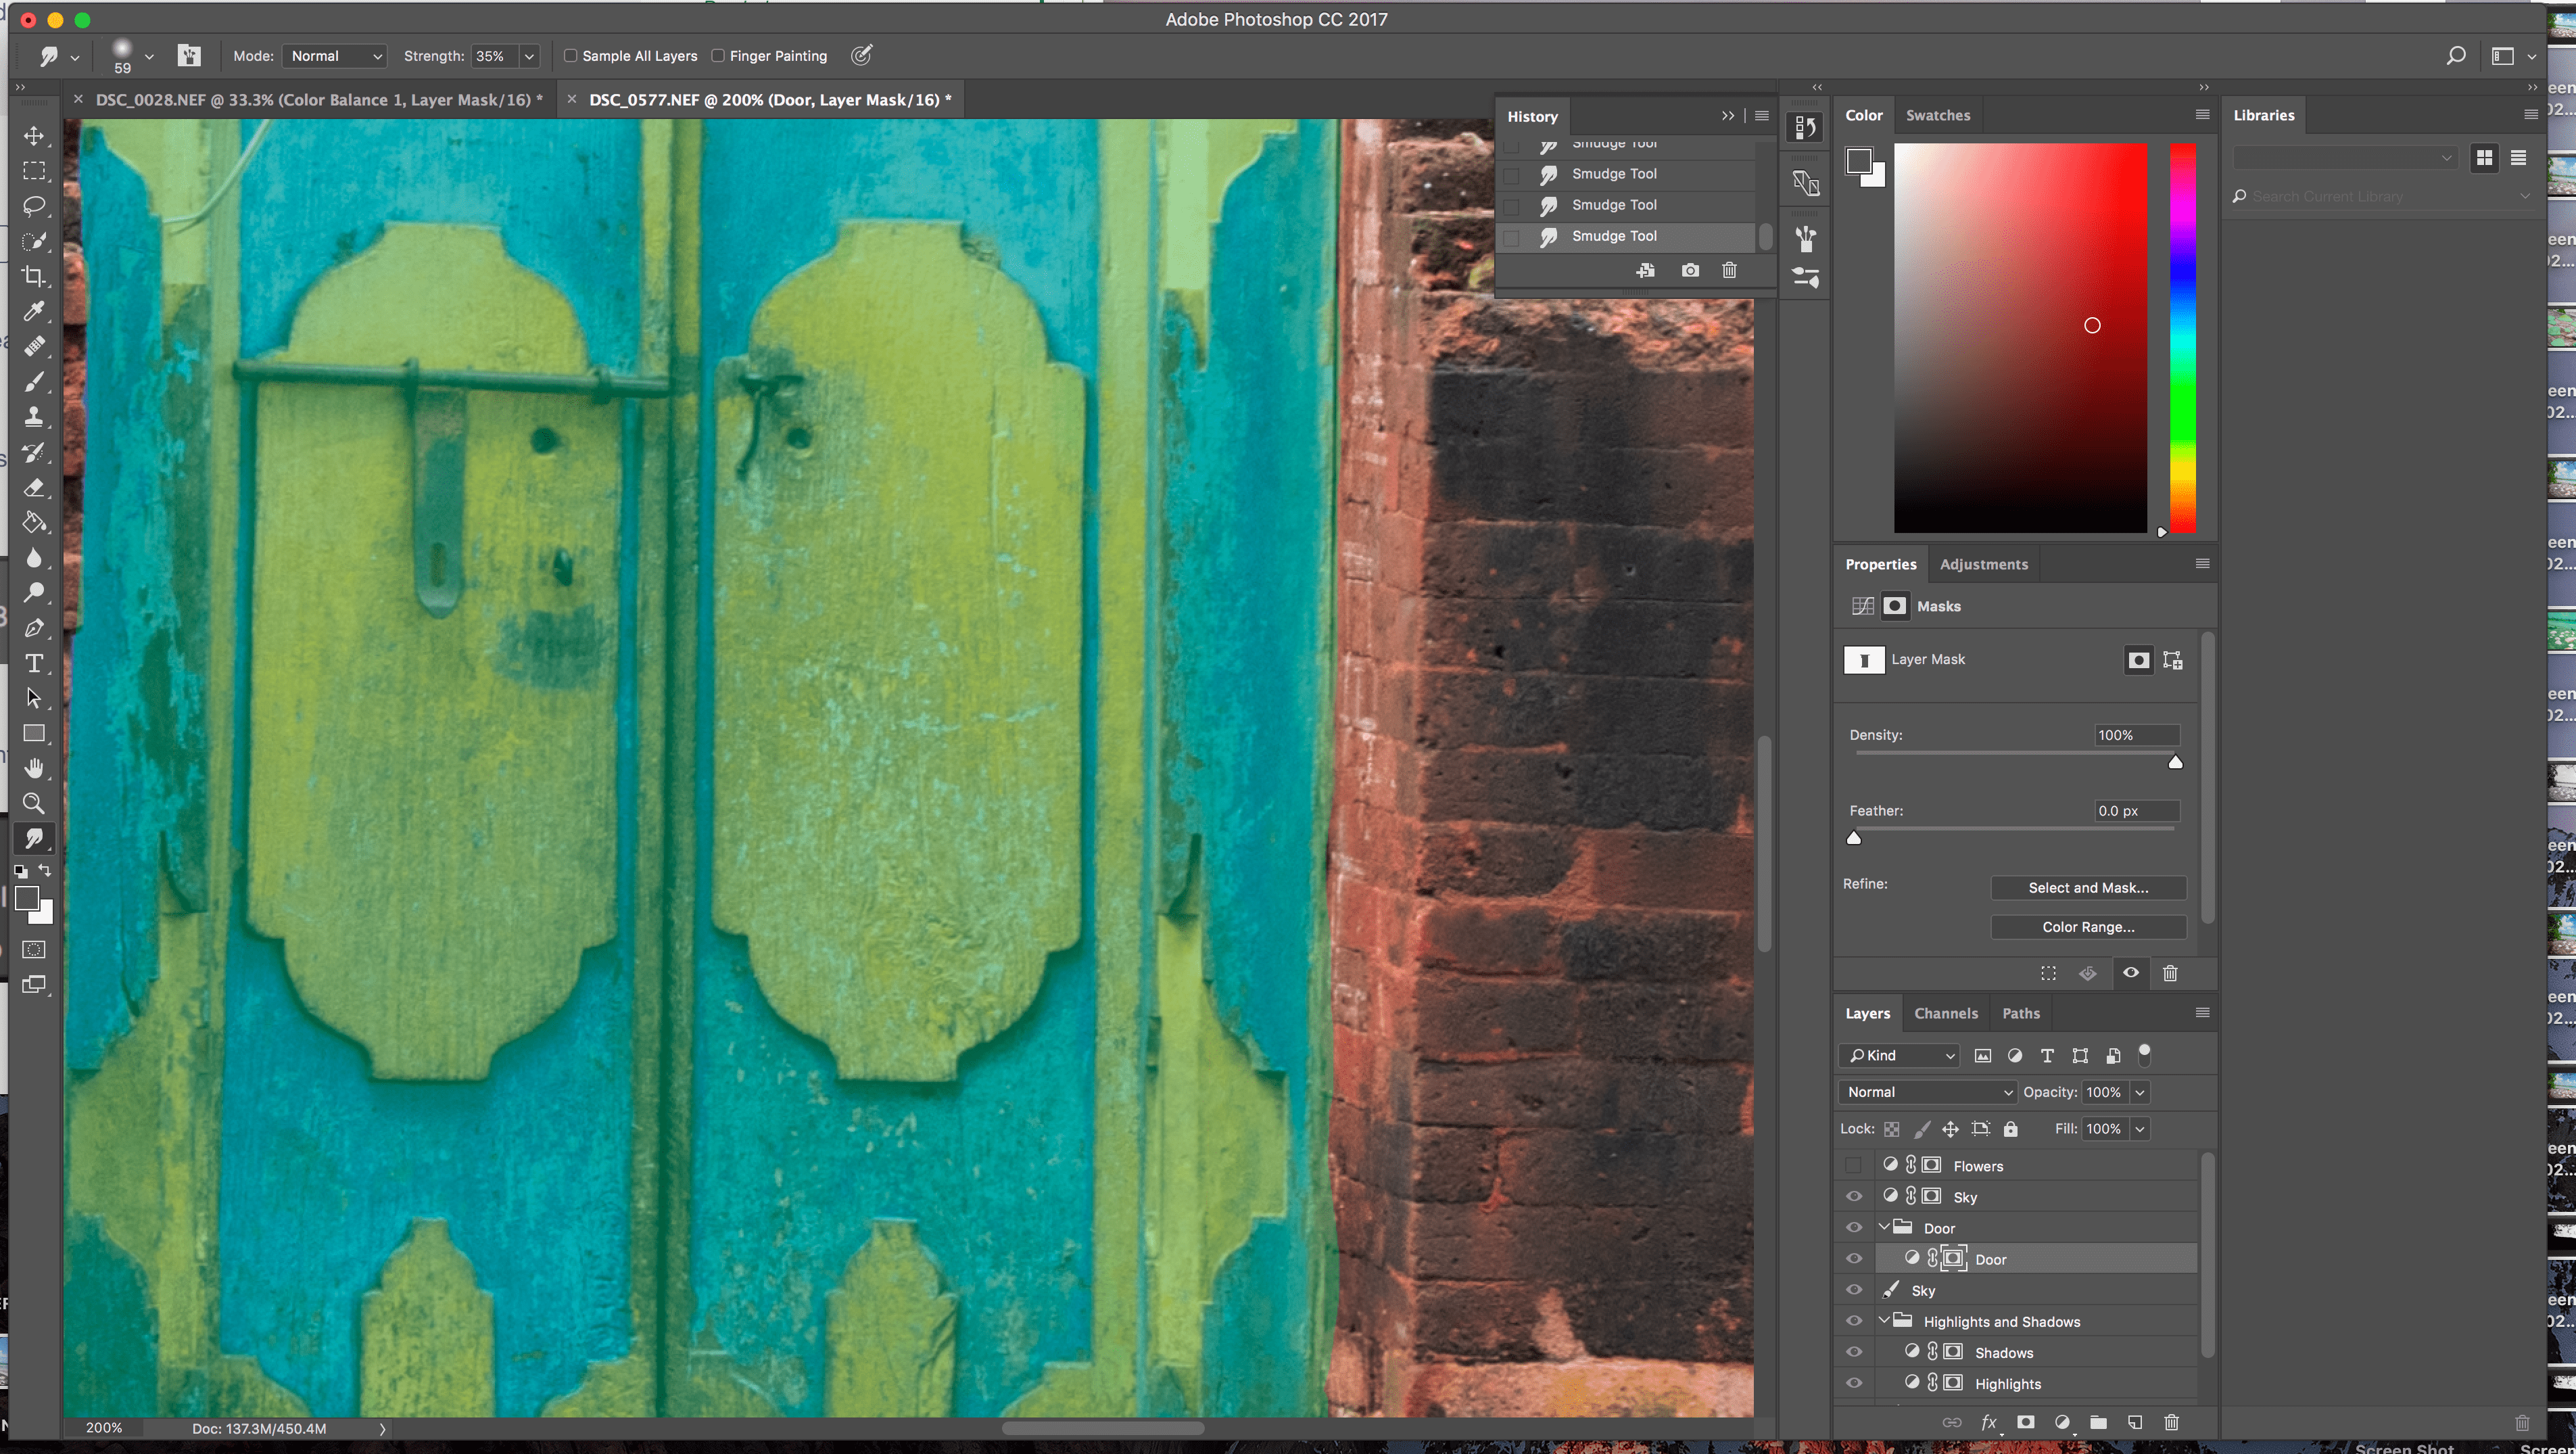
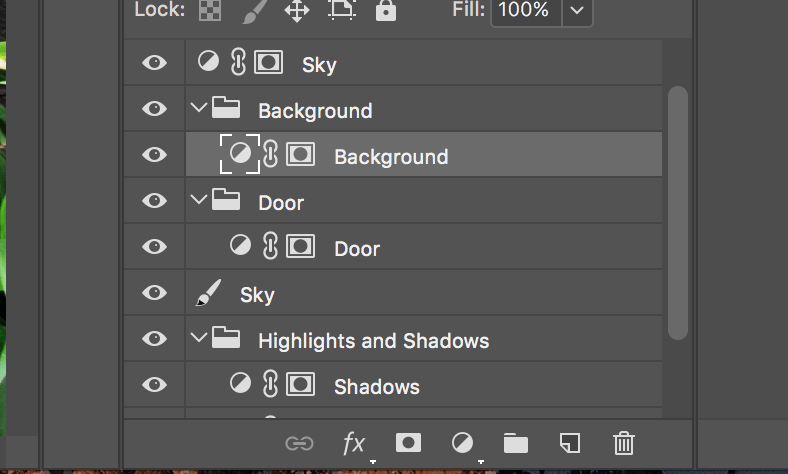
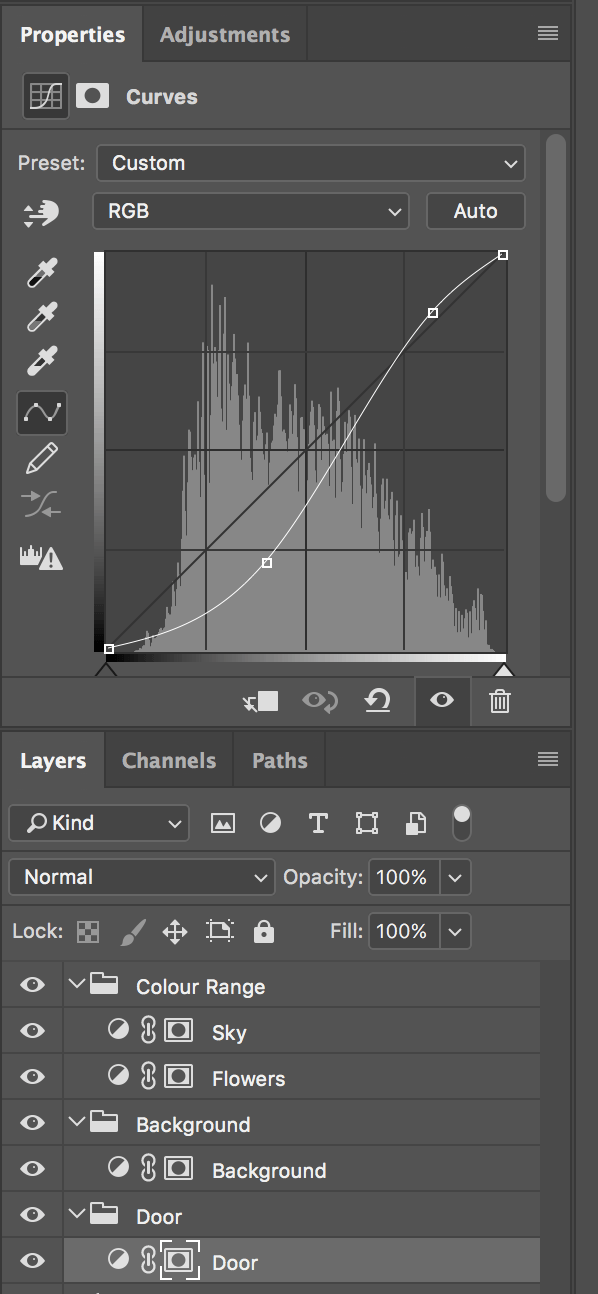
To mask the door I used the Brush Tool first and edited my mask with the Smudge Tool later, to avoid sharp edges. I named the Mask Door and duplicated and inverted it and named the second mask Background. I worked with the Curves on both masks, until I liked the changes for my mysterious door idea.
I also used the Brush Tool to create a Mask for the Hole in the Door. I used this mask to edit the Curves and lighten it more up, so that the other side behind the door become more interesting and enchanted.
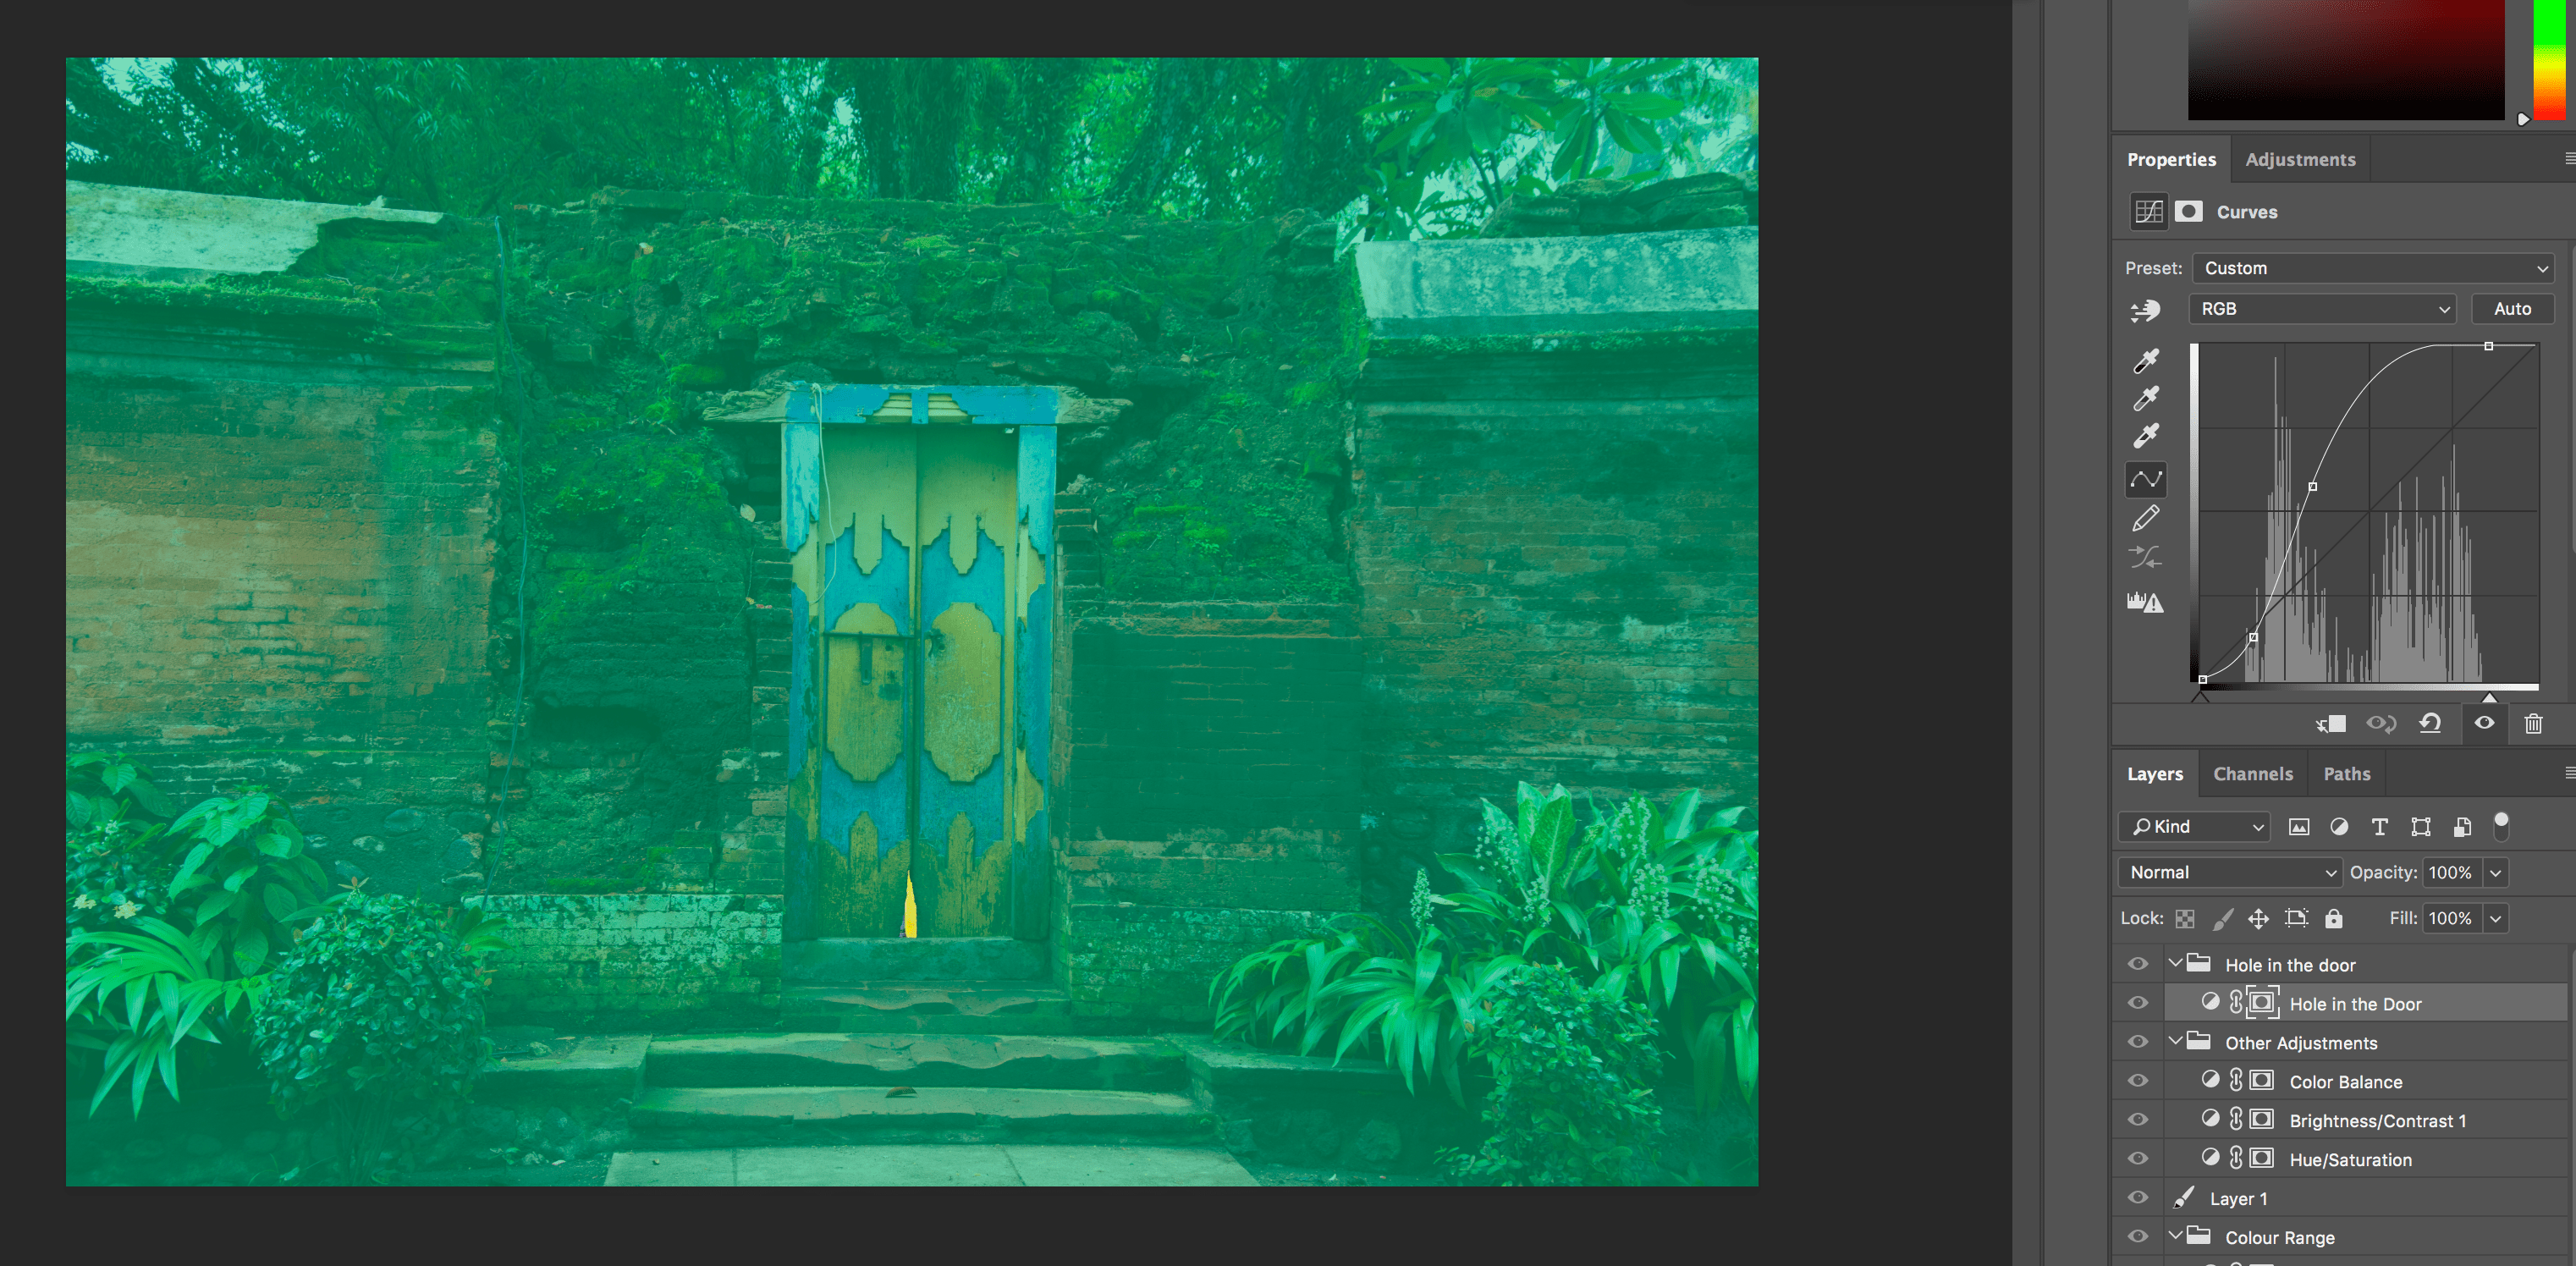
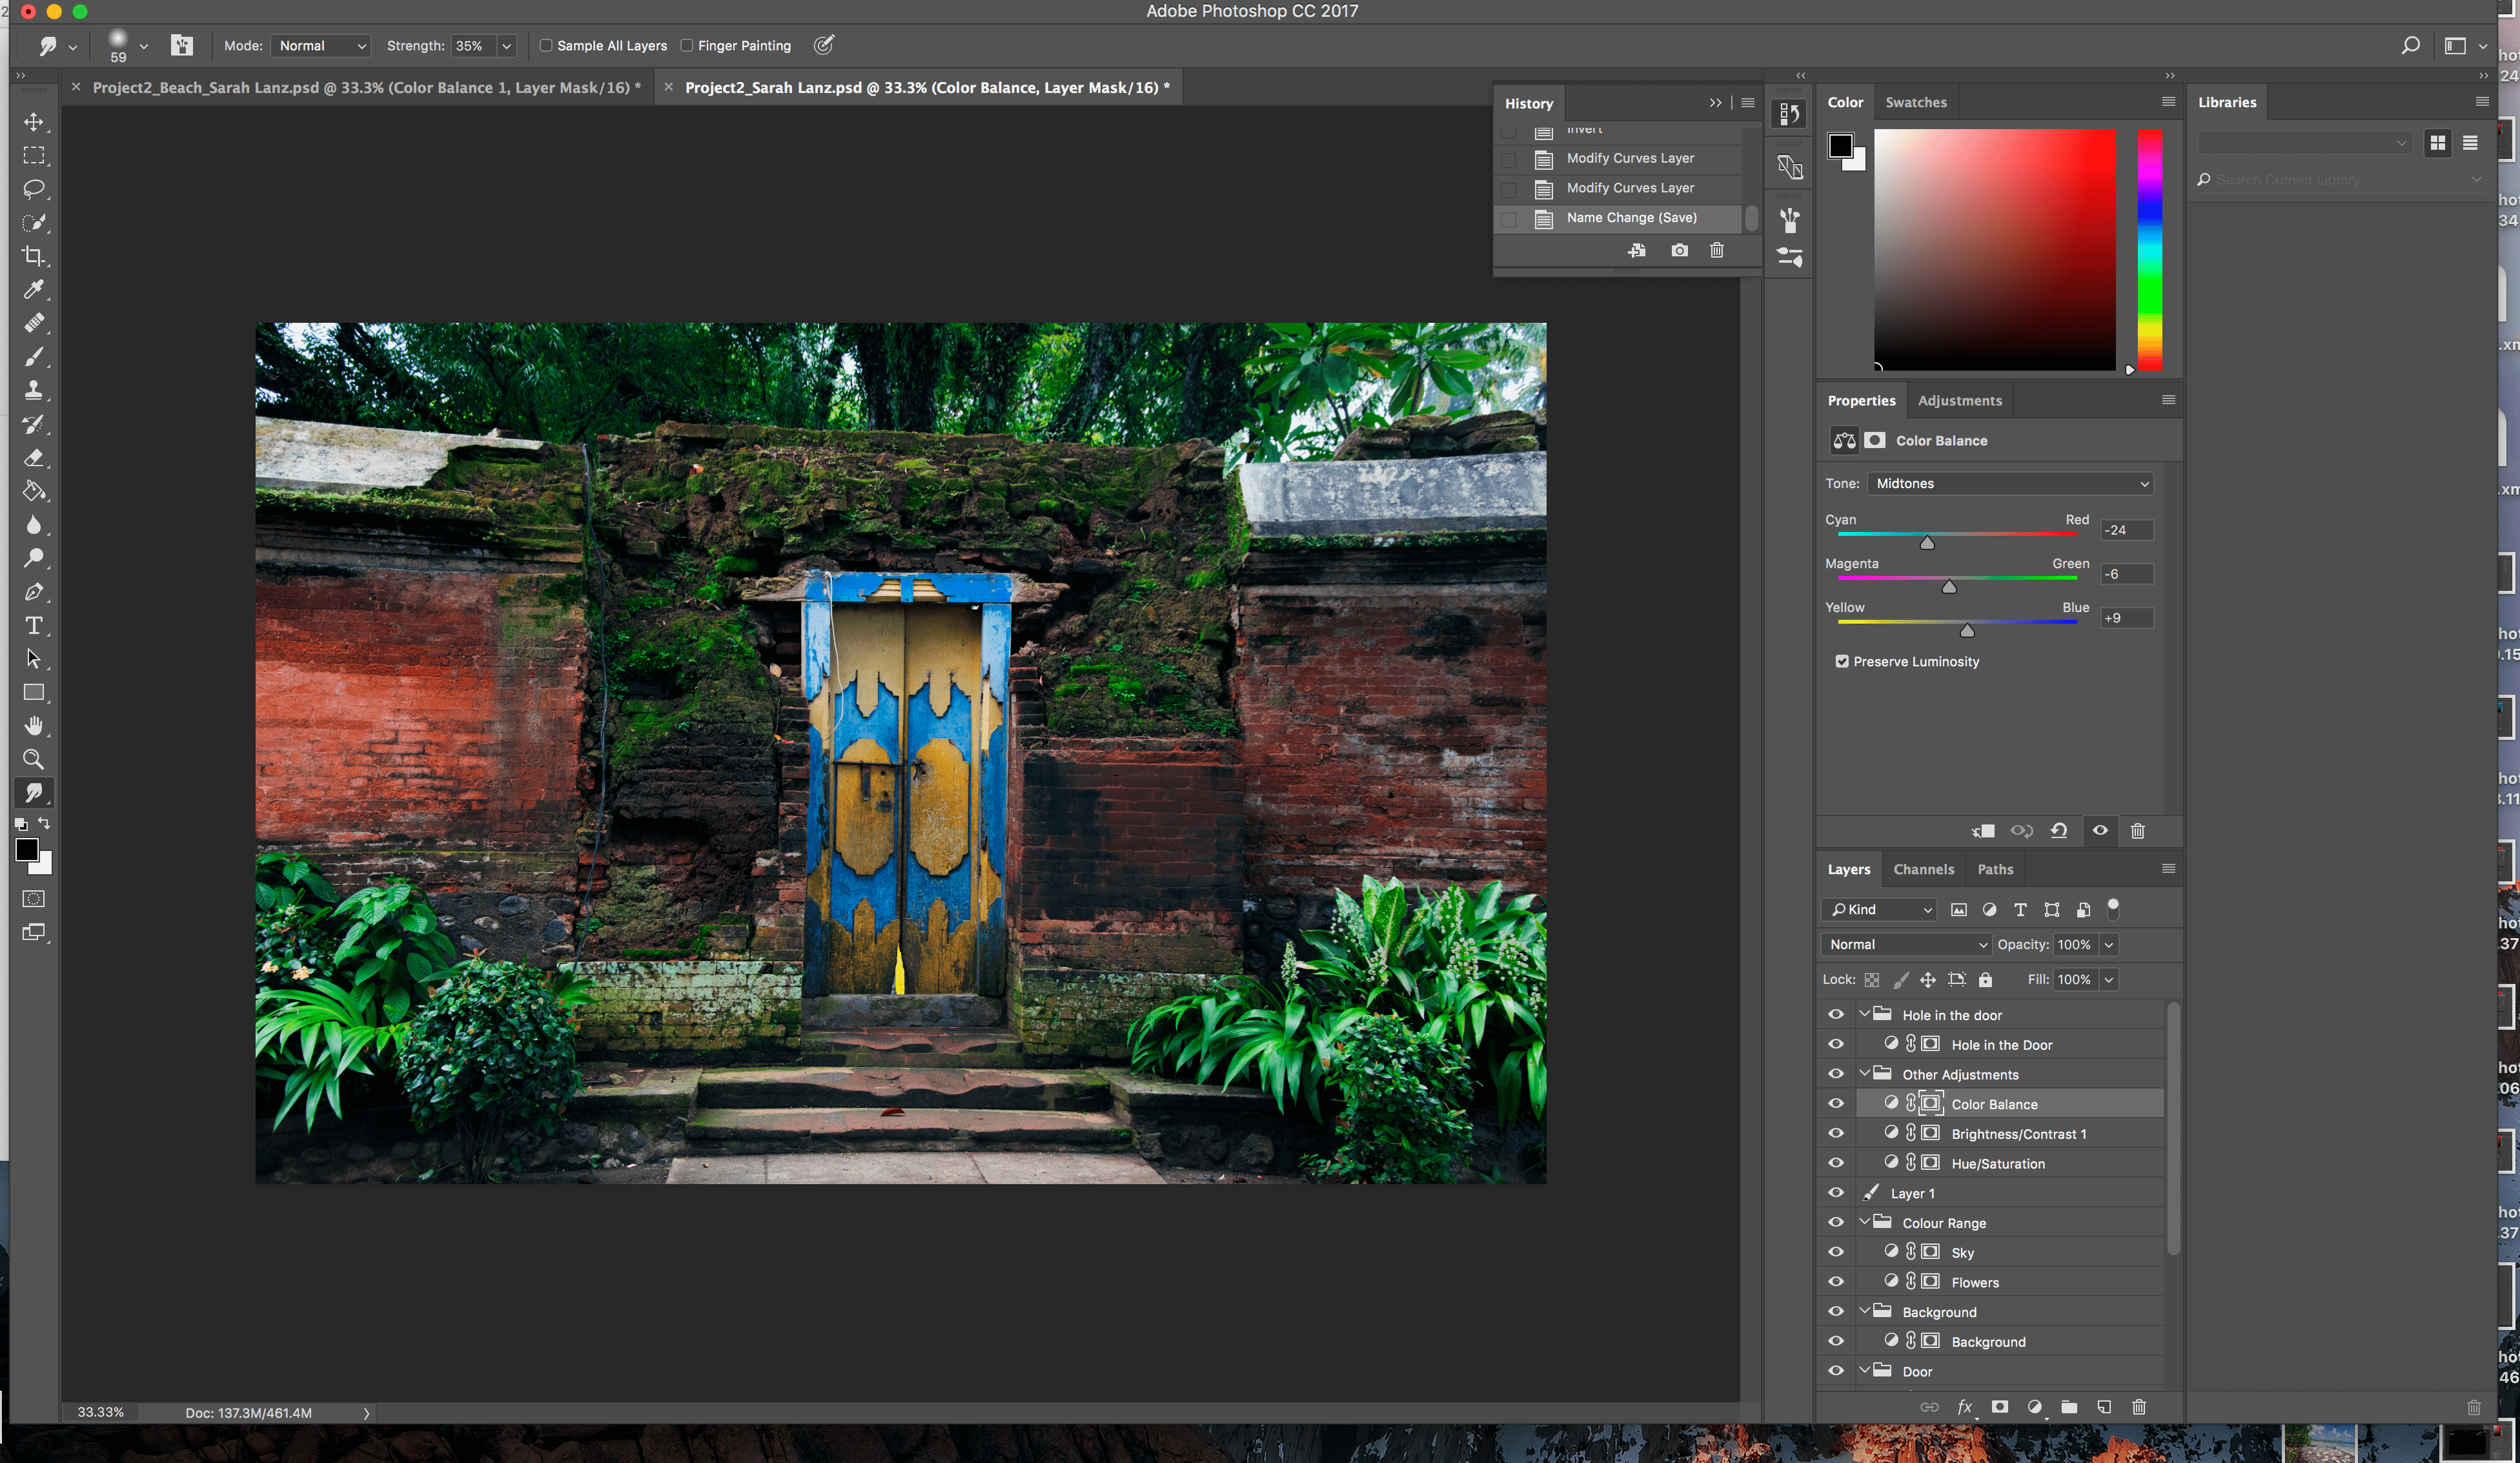
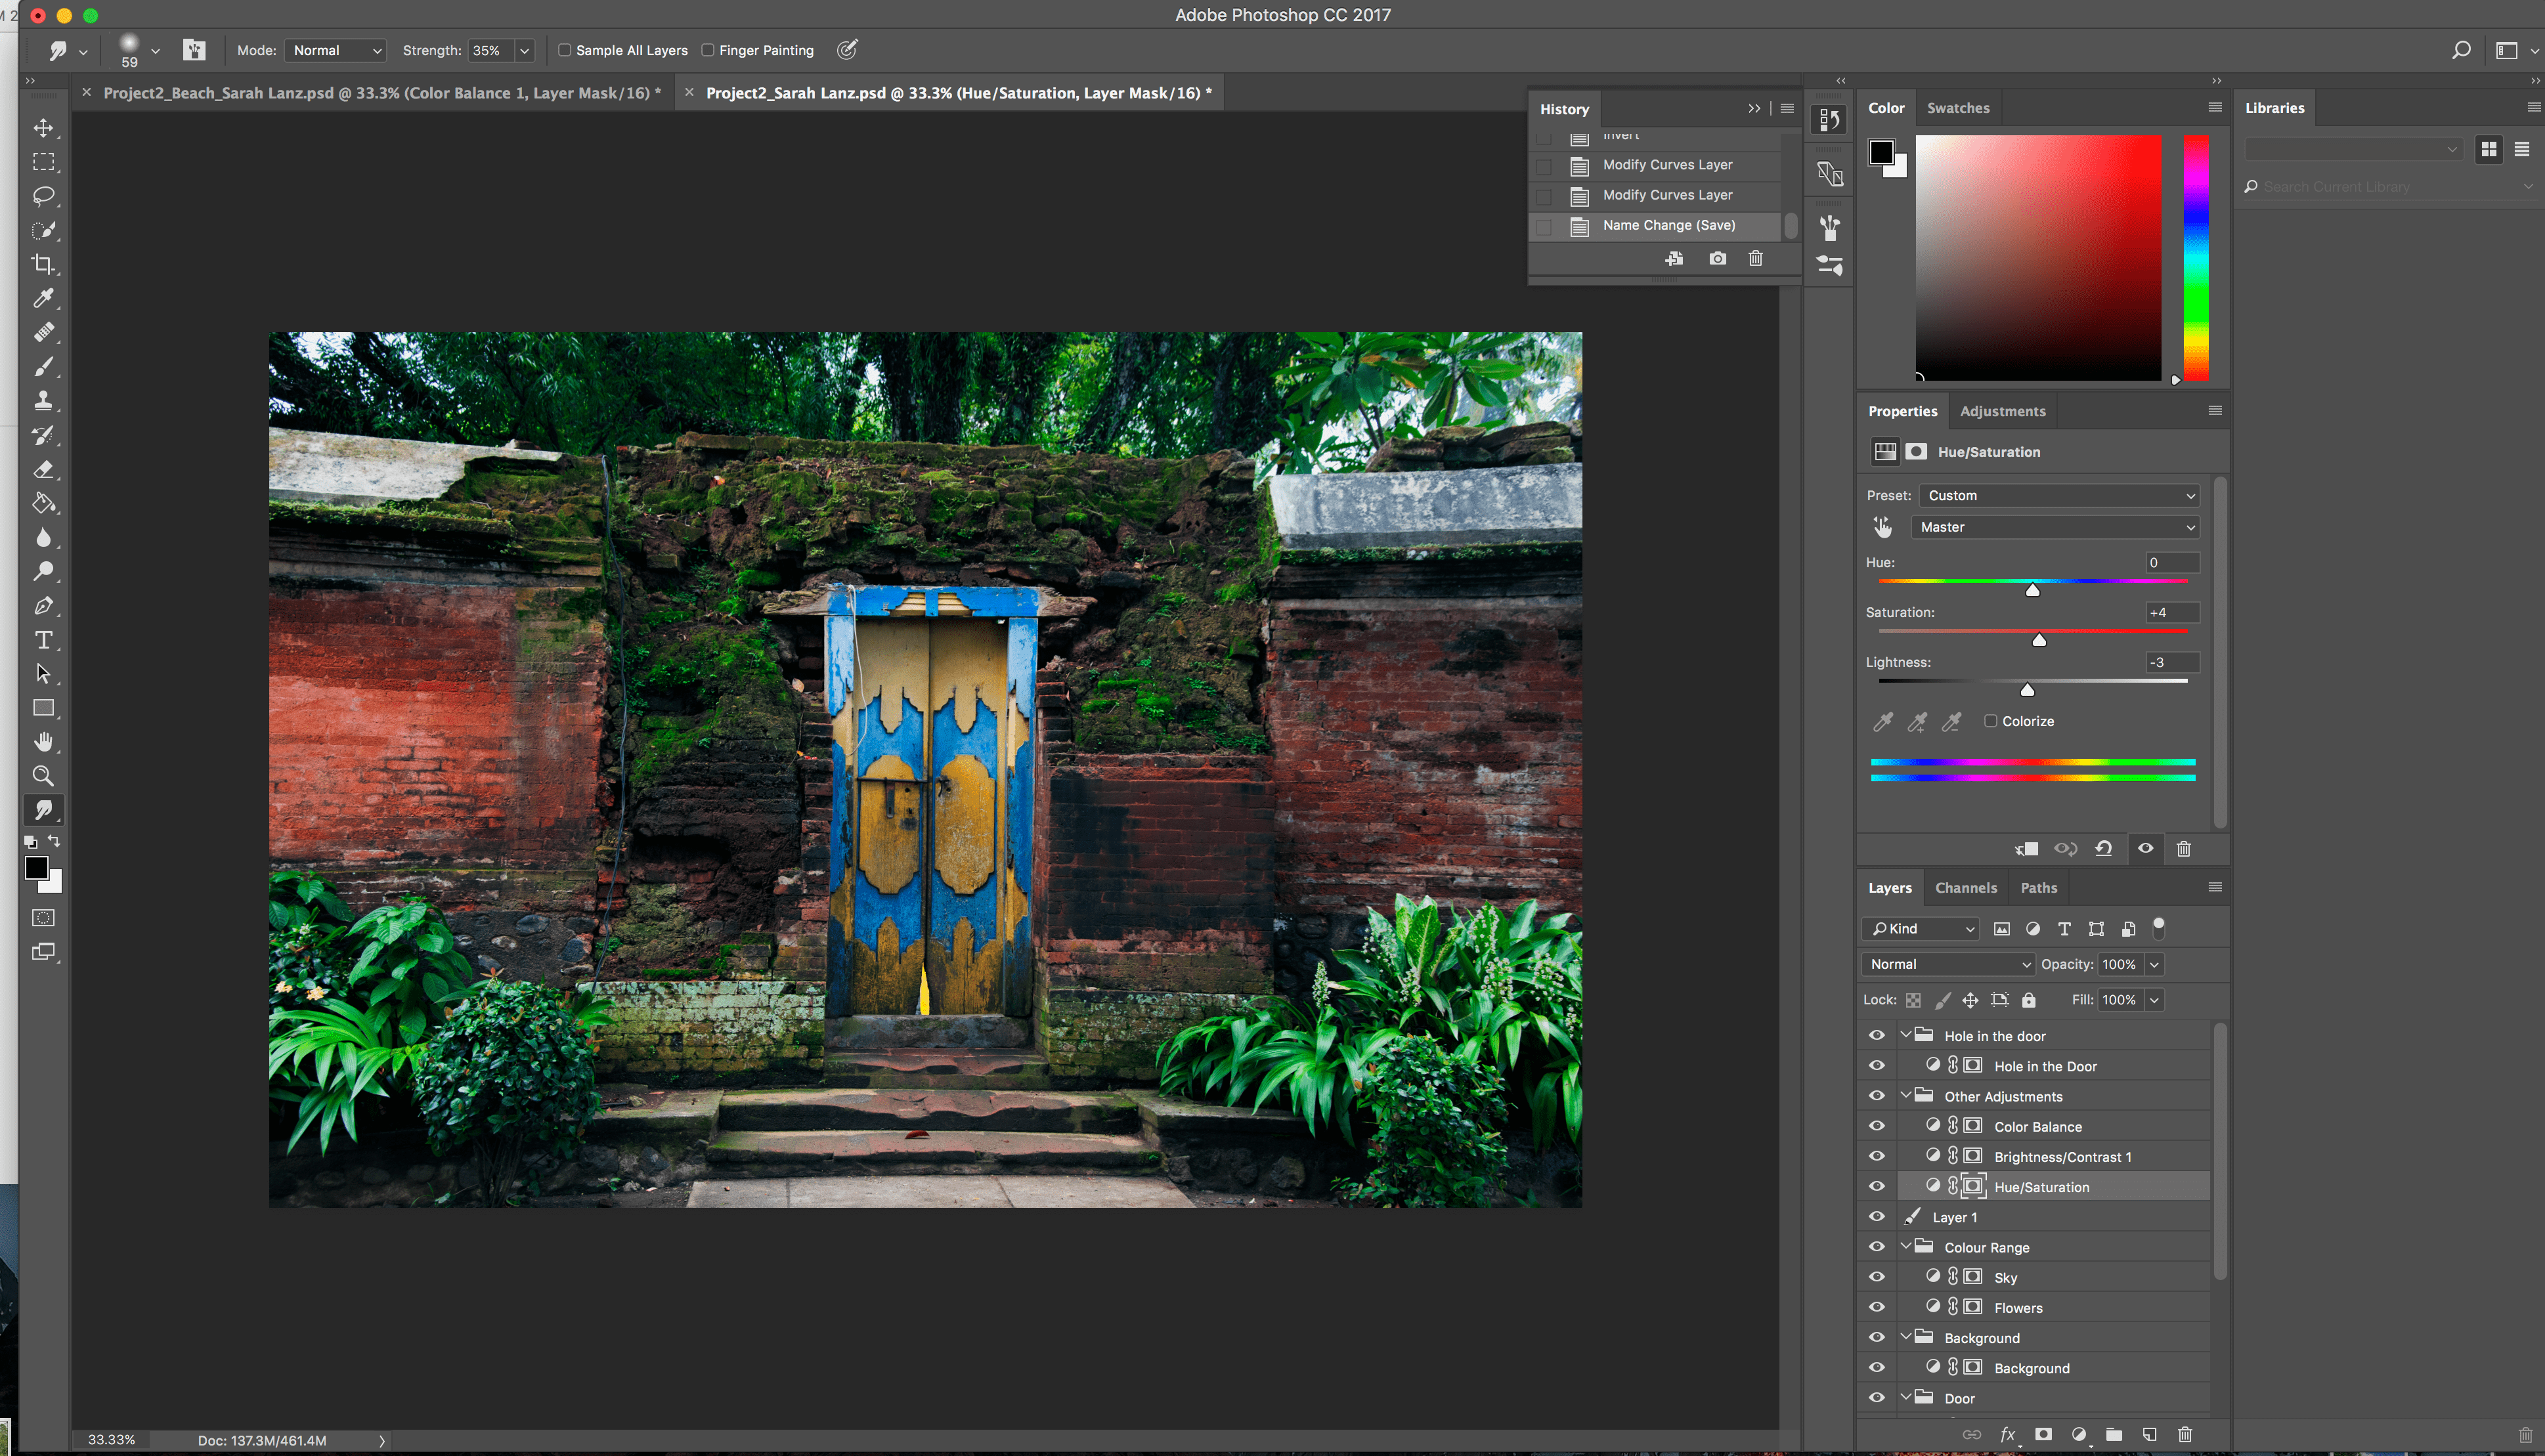
One of my last steps was to add three Adjustment Layers: Brightness/Contrast, Colour Balance and Hue/Saturation. I adjusted the Colour Balance in order to give the image a bit more blue and less green. At the Brightness/Contrast Layer I lowered the brightness and raised the contrast a bit and at the Hue/Saturation Layer I incread the Saturation a tiny bit and lowered the lightness a little bit.

At the end I looked through all my layers and curves, and adjusted them if necessary.
The link to the .psd file of my work:
https://drive.google.com/open?id=1jDTuCOHtP77Cum2ixDZVzrnfFOG8xbq_