
Sarah Lanz Project 1: The Portrait
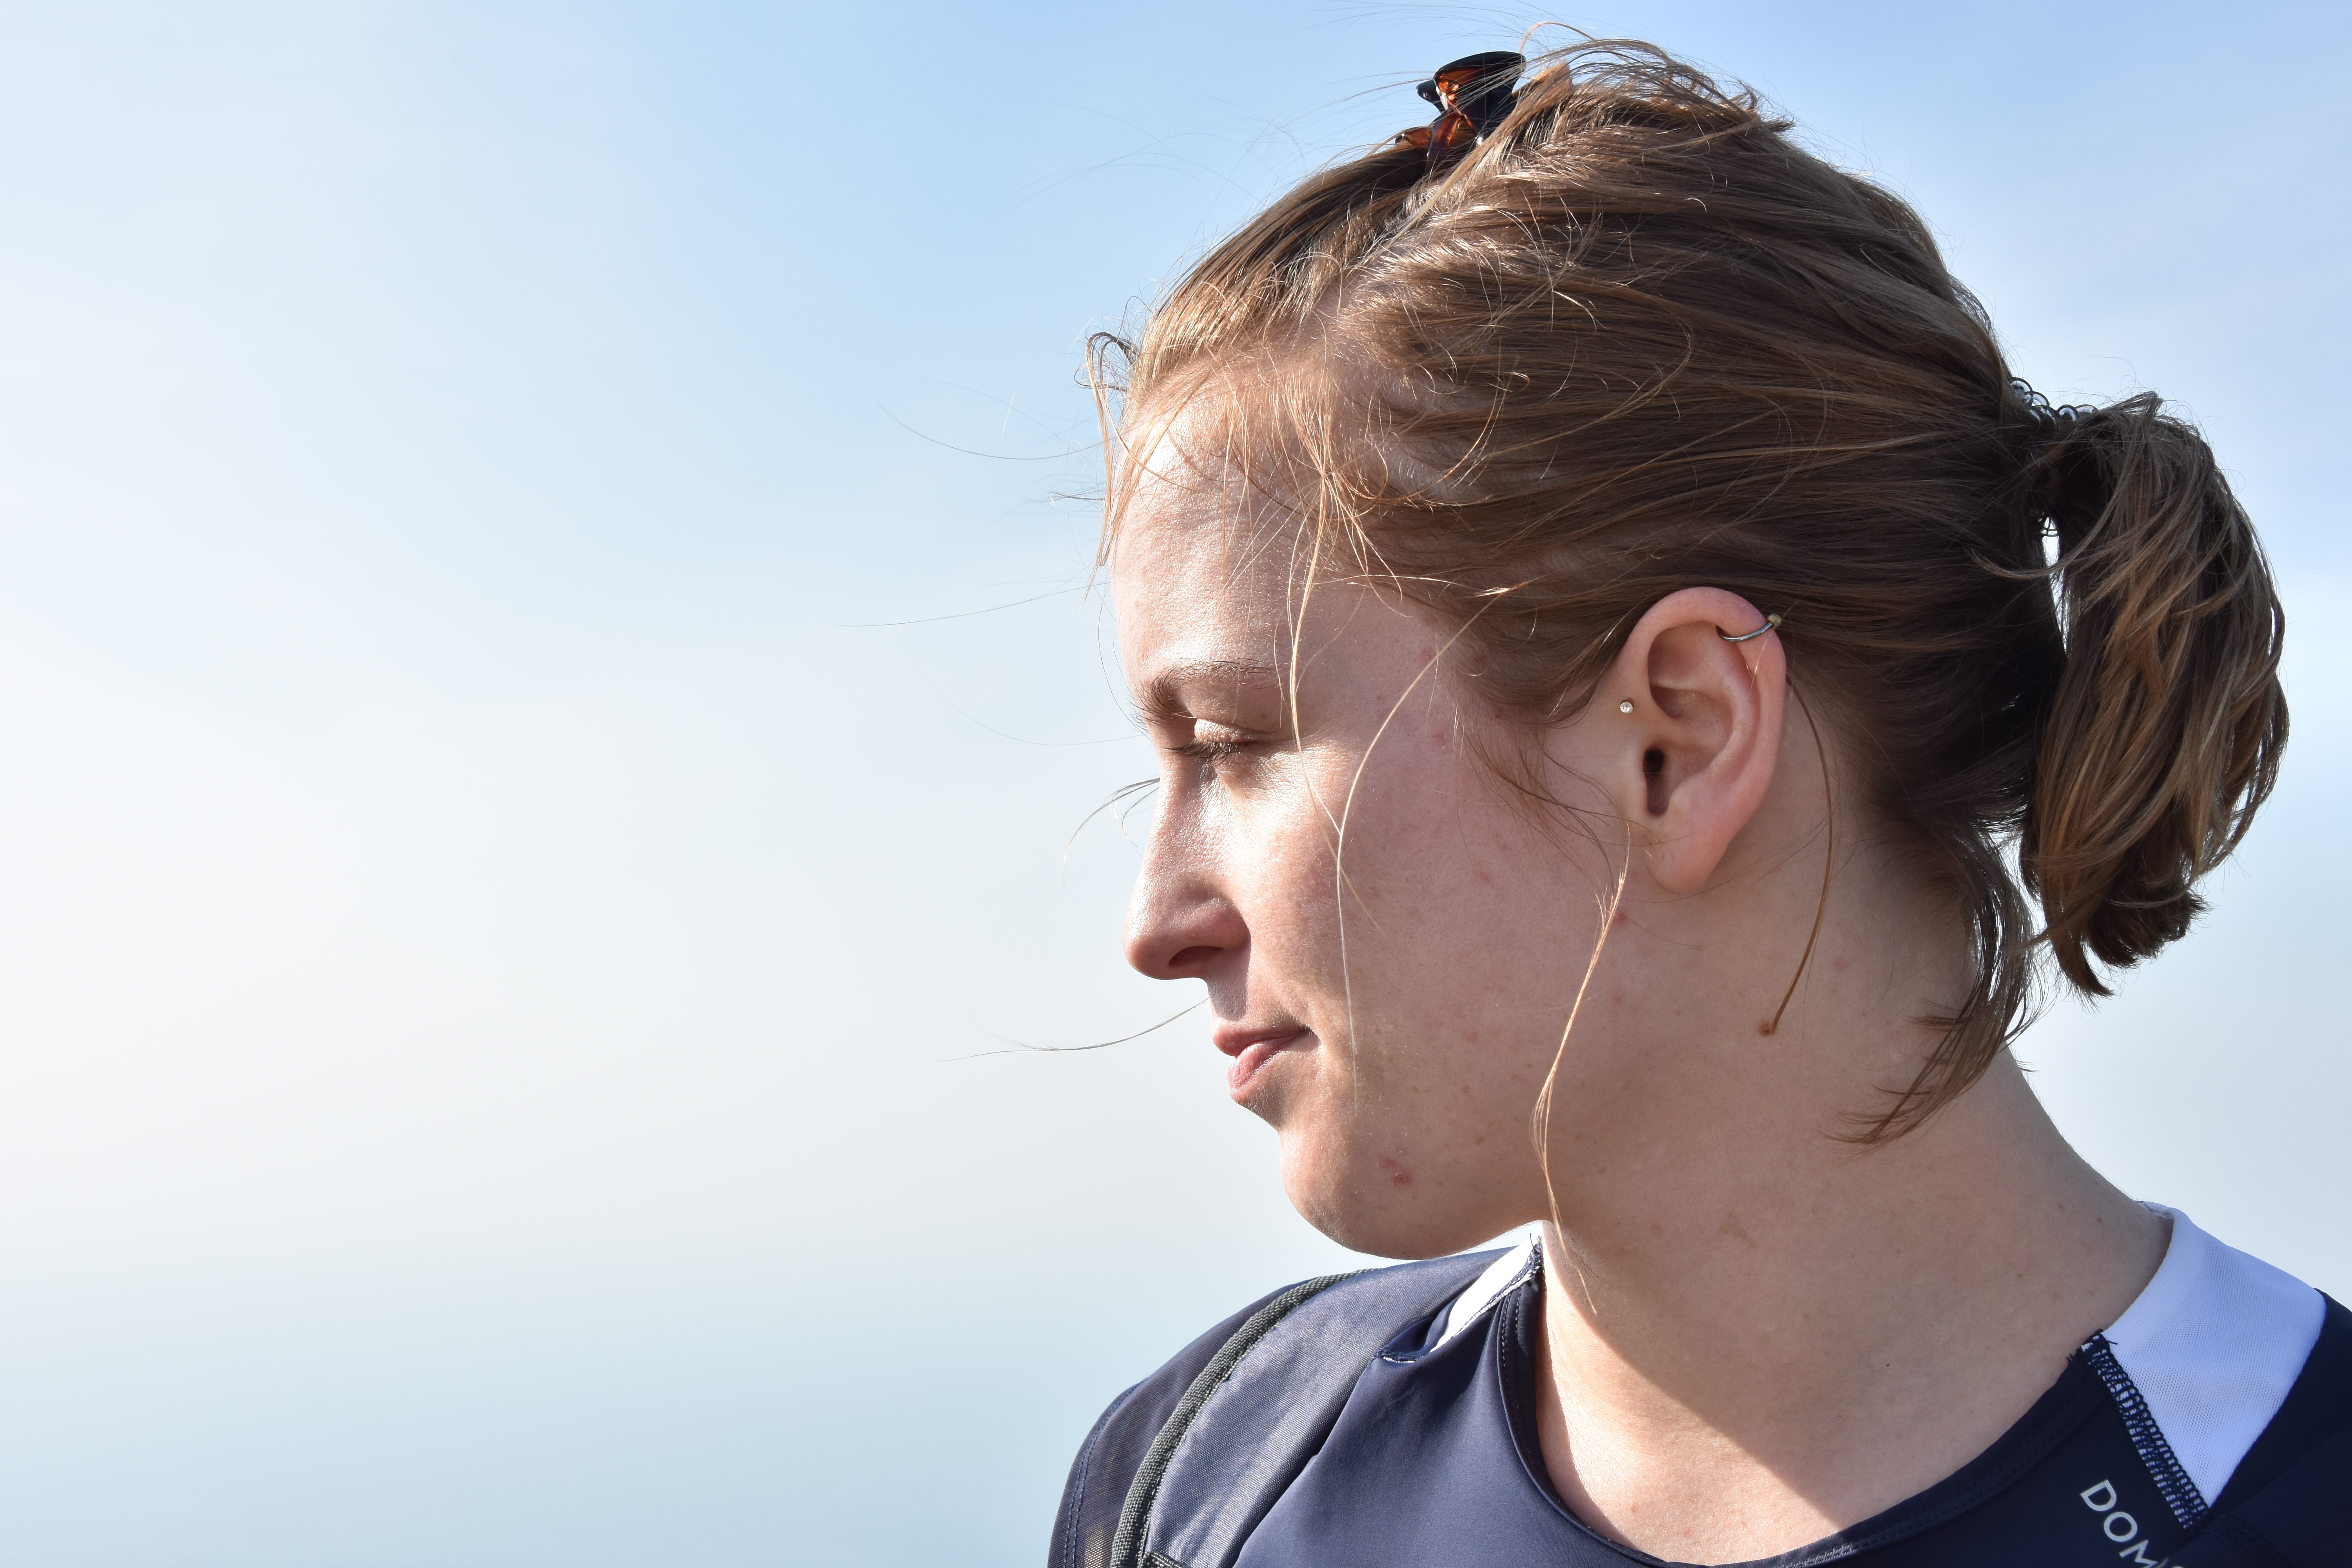
Before

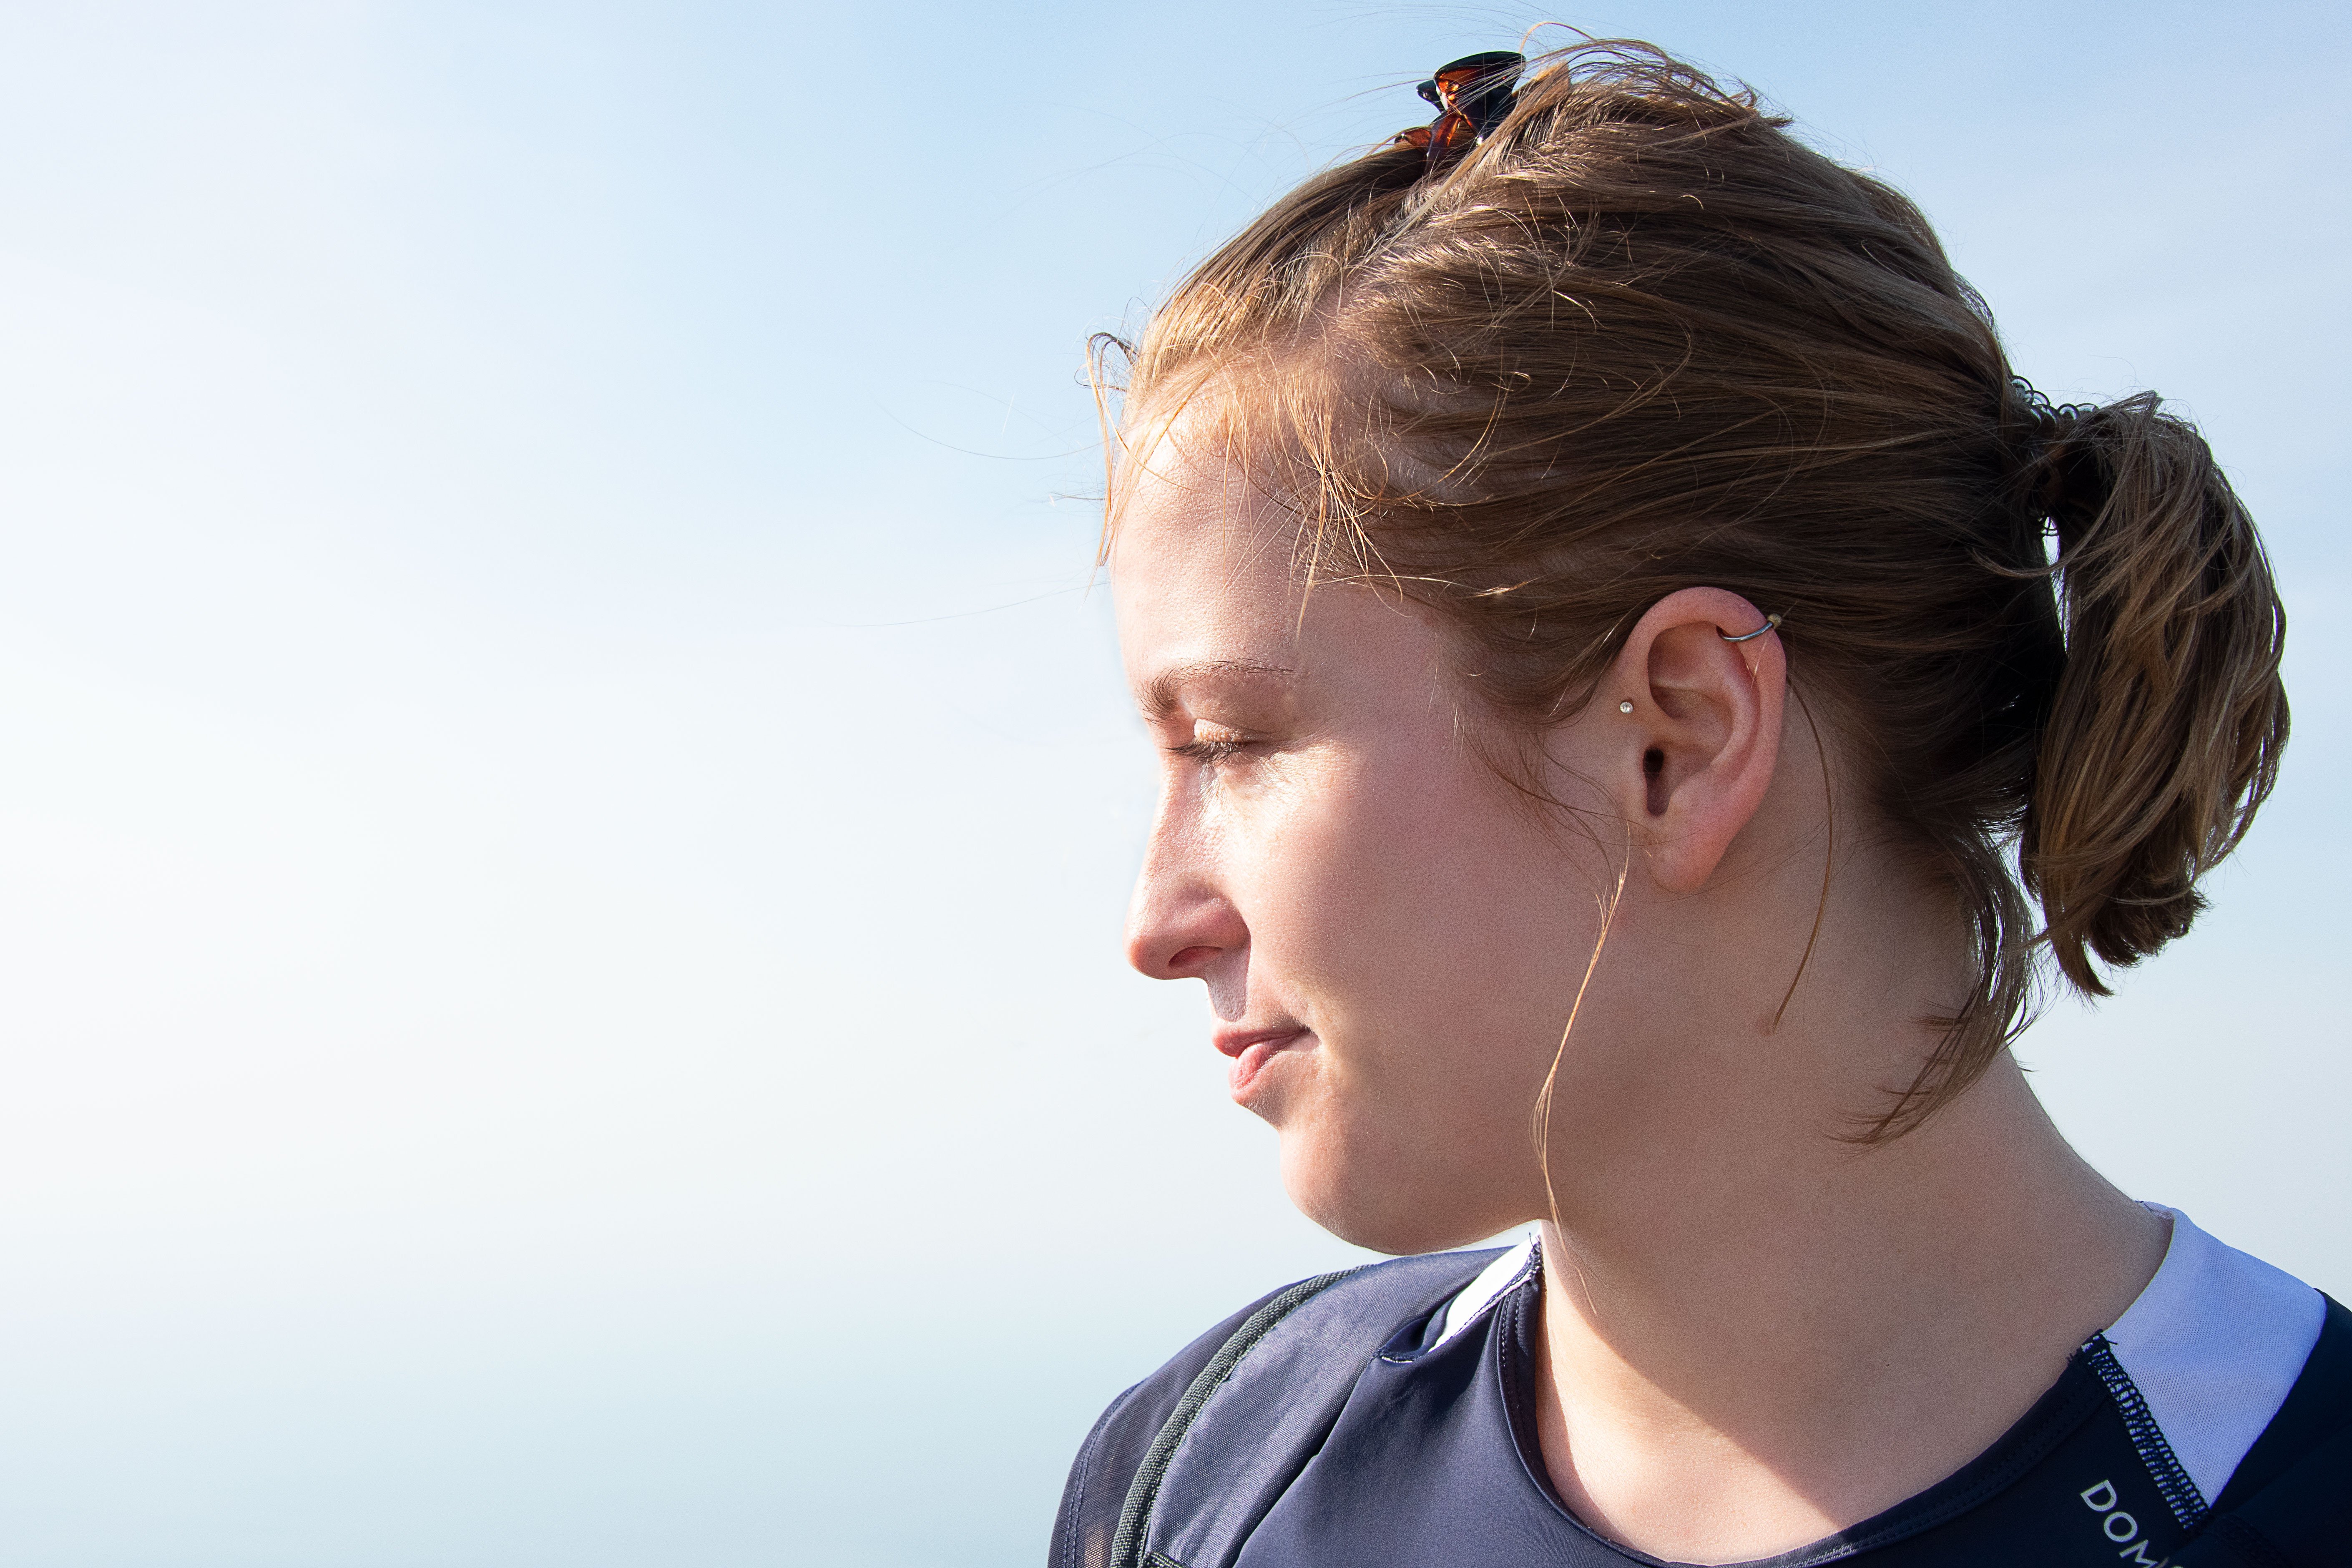
First Version
Revision
Concept:
I wanted to create a nice portrait of my friend Lisa. When we went for a trip to Langkawi I took a lot of photos of her and decided to use this one for my first assignment. The photo gave me a lot of different possibilites to work on (skin, hair, light) and so I thought it would be a great first opportunity to try out my photoshop skills.
Technical decisions:
I took the photo with my own camera, a Nikon D3400 and my lens Nikon DX 18-105mm, because I am used to take a lot of photos with this camera and I love the lens. I never concentrated on taking portraits before, but I was quite happy with the results.
During the digital processes it was important for me to keep the face real and natural.
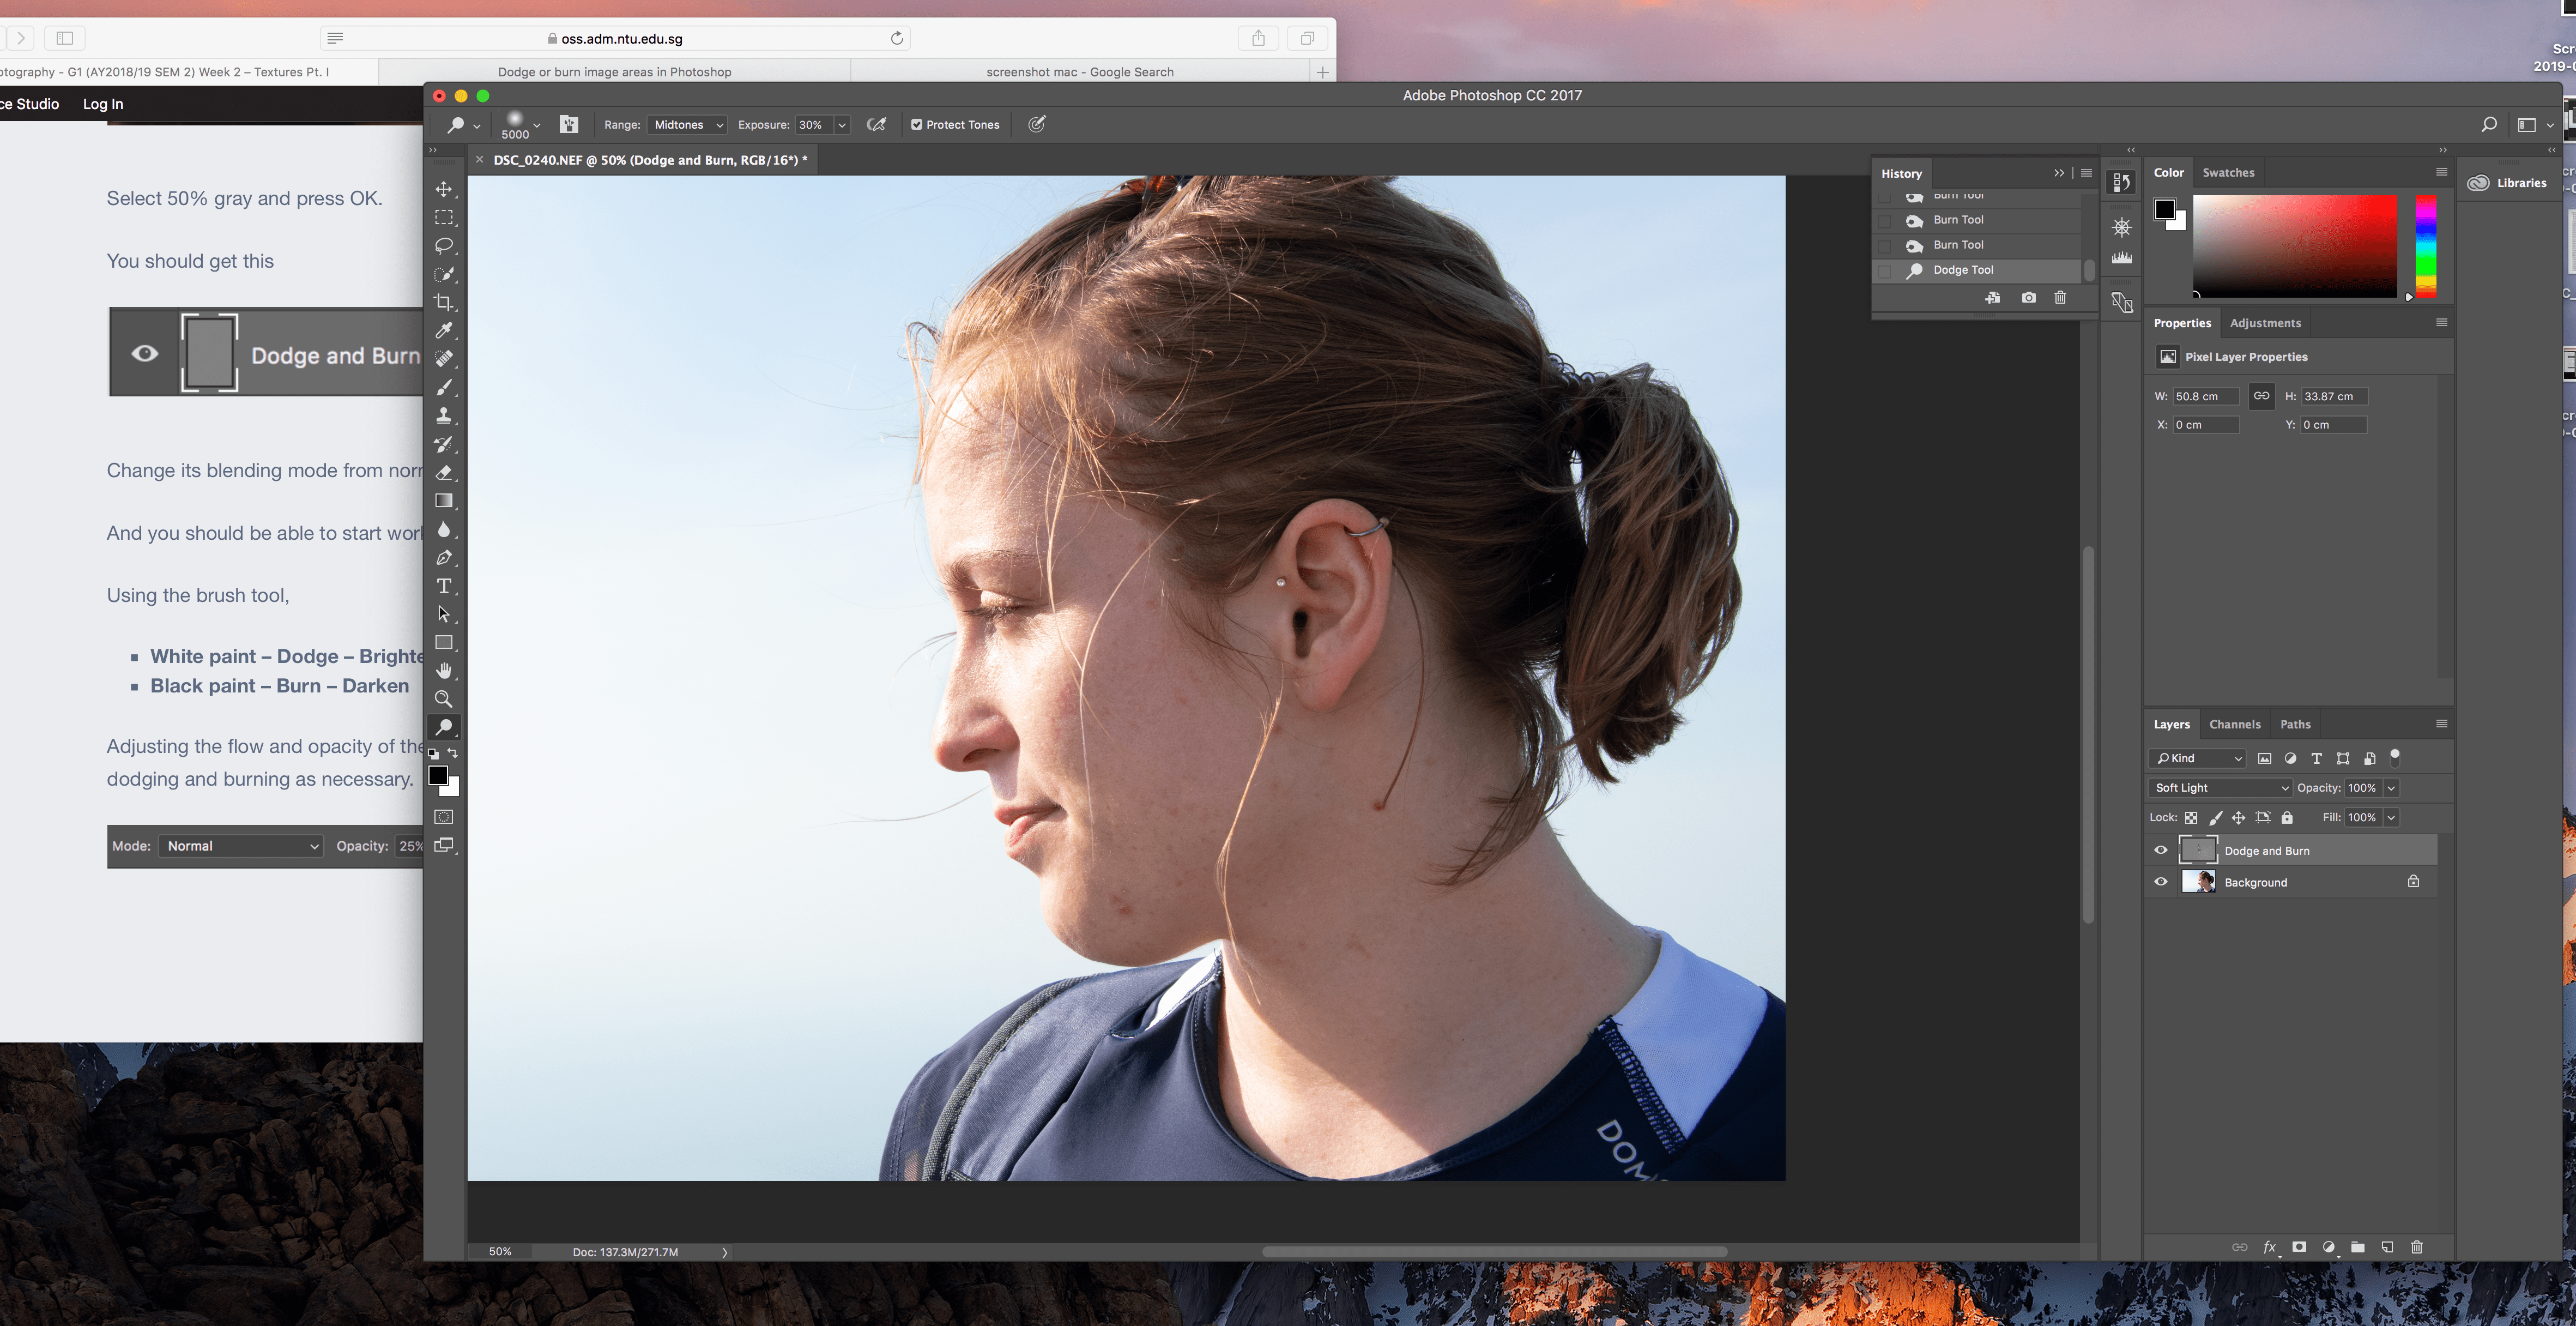
I used a Dodge and Burn layer to darken up some light parts and light up some shadows.
On the Colour layer I worked a lot with the Lasso Tool combined with the Gaussian Blur and with the Healing Brush Tool to remove skin irritaions and hair out of the face.
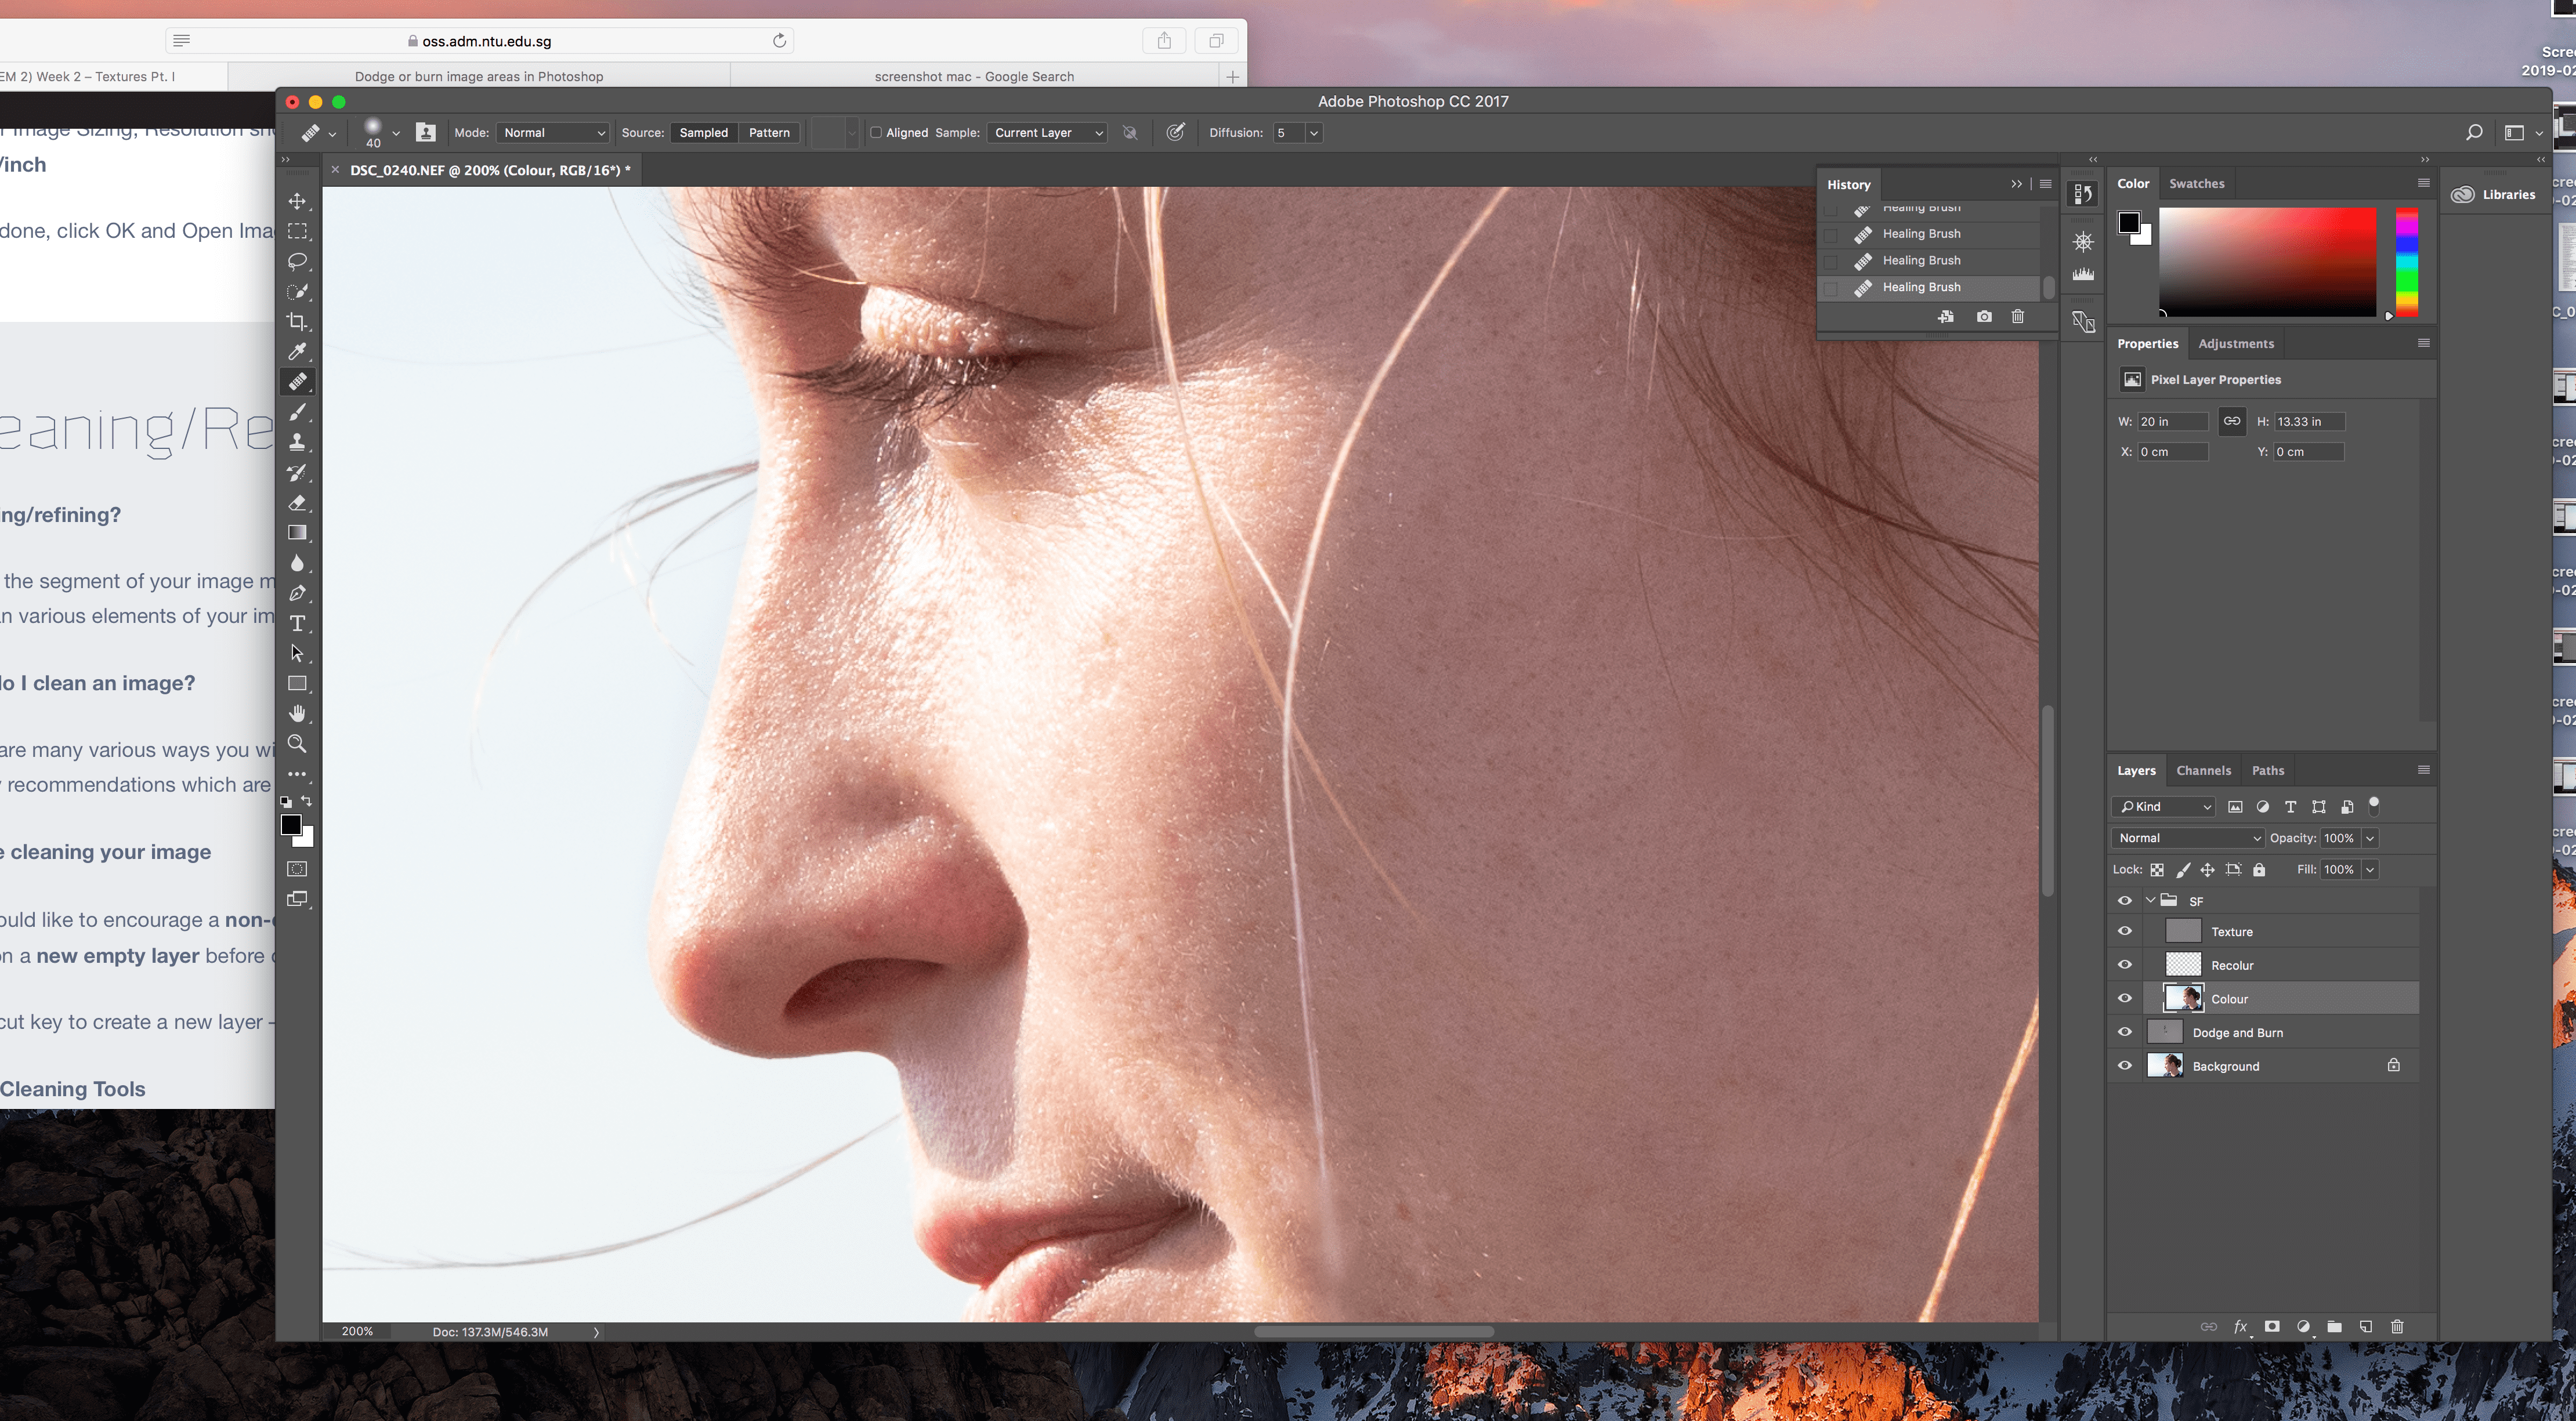
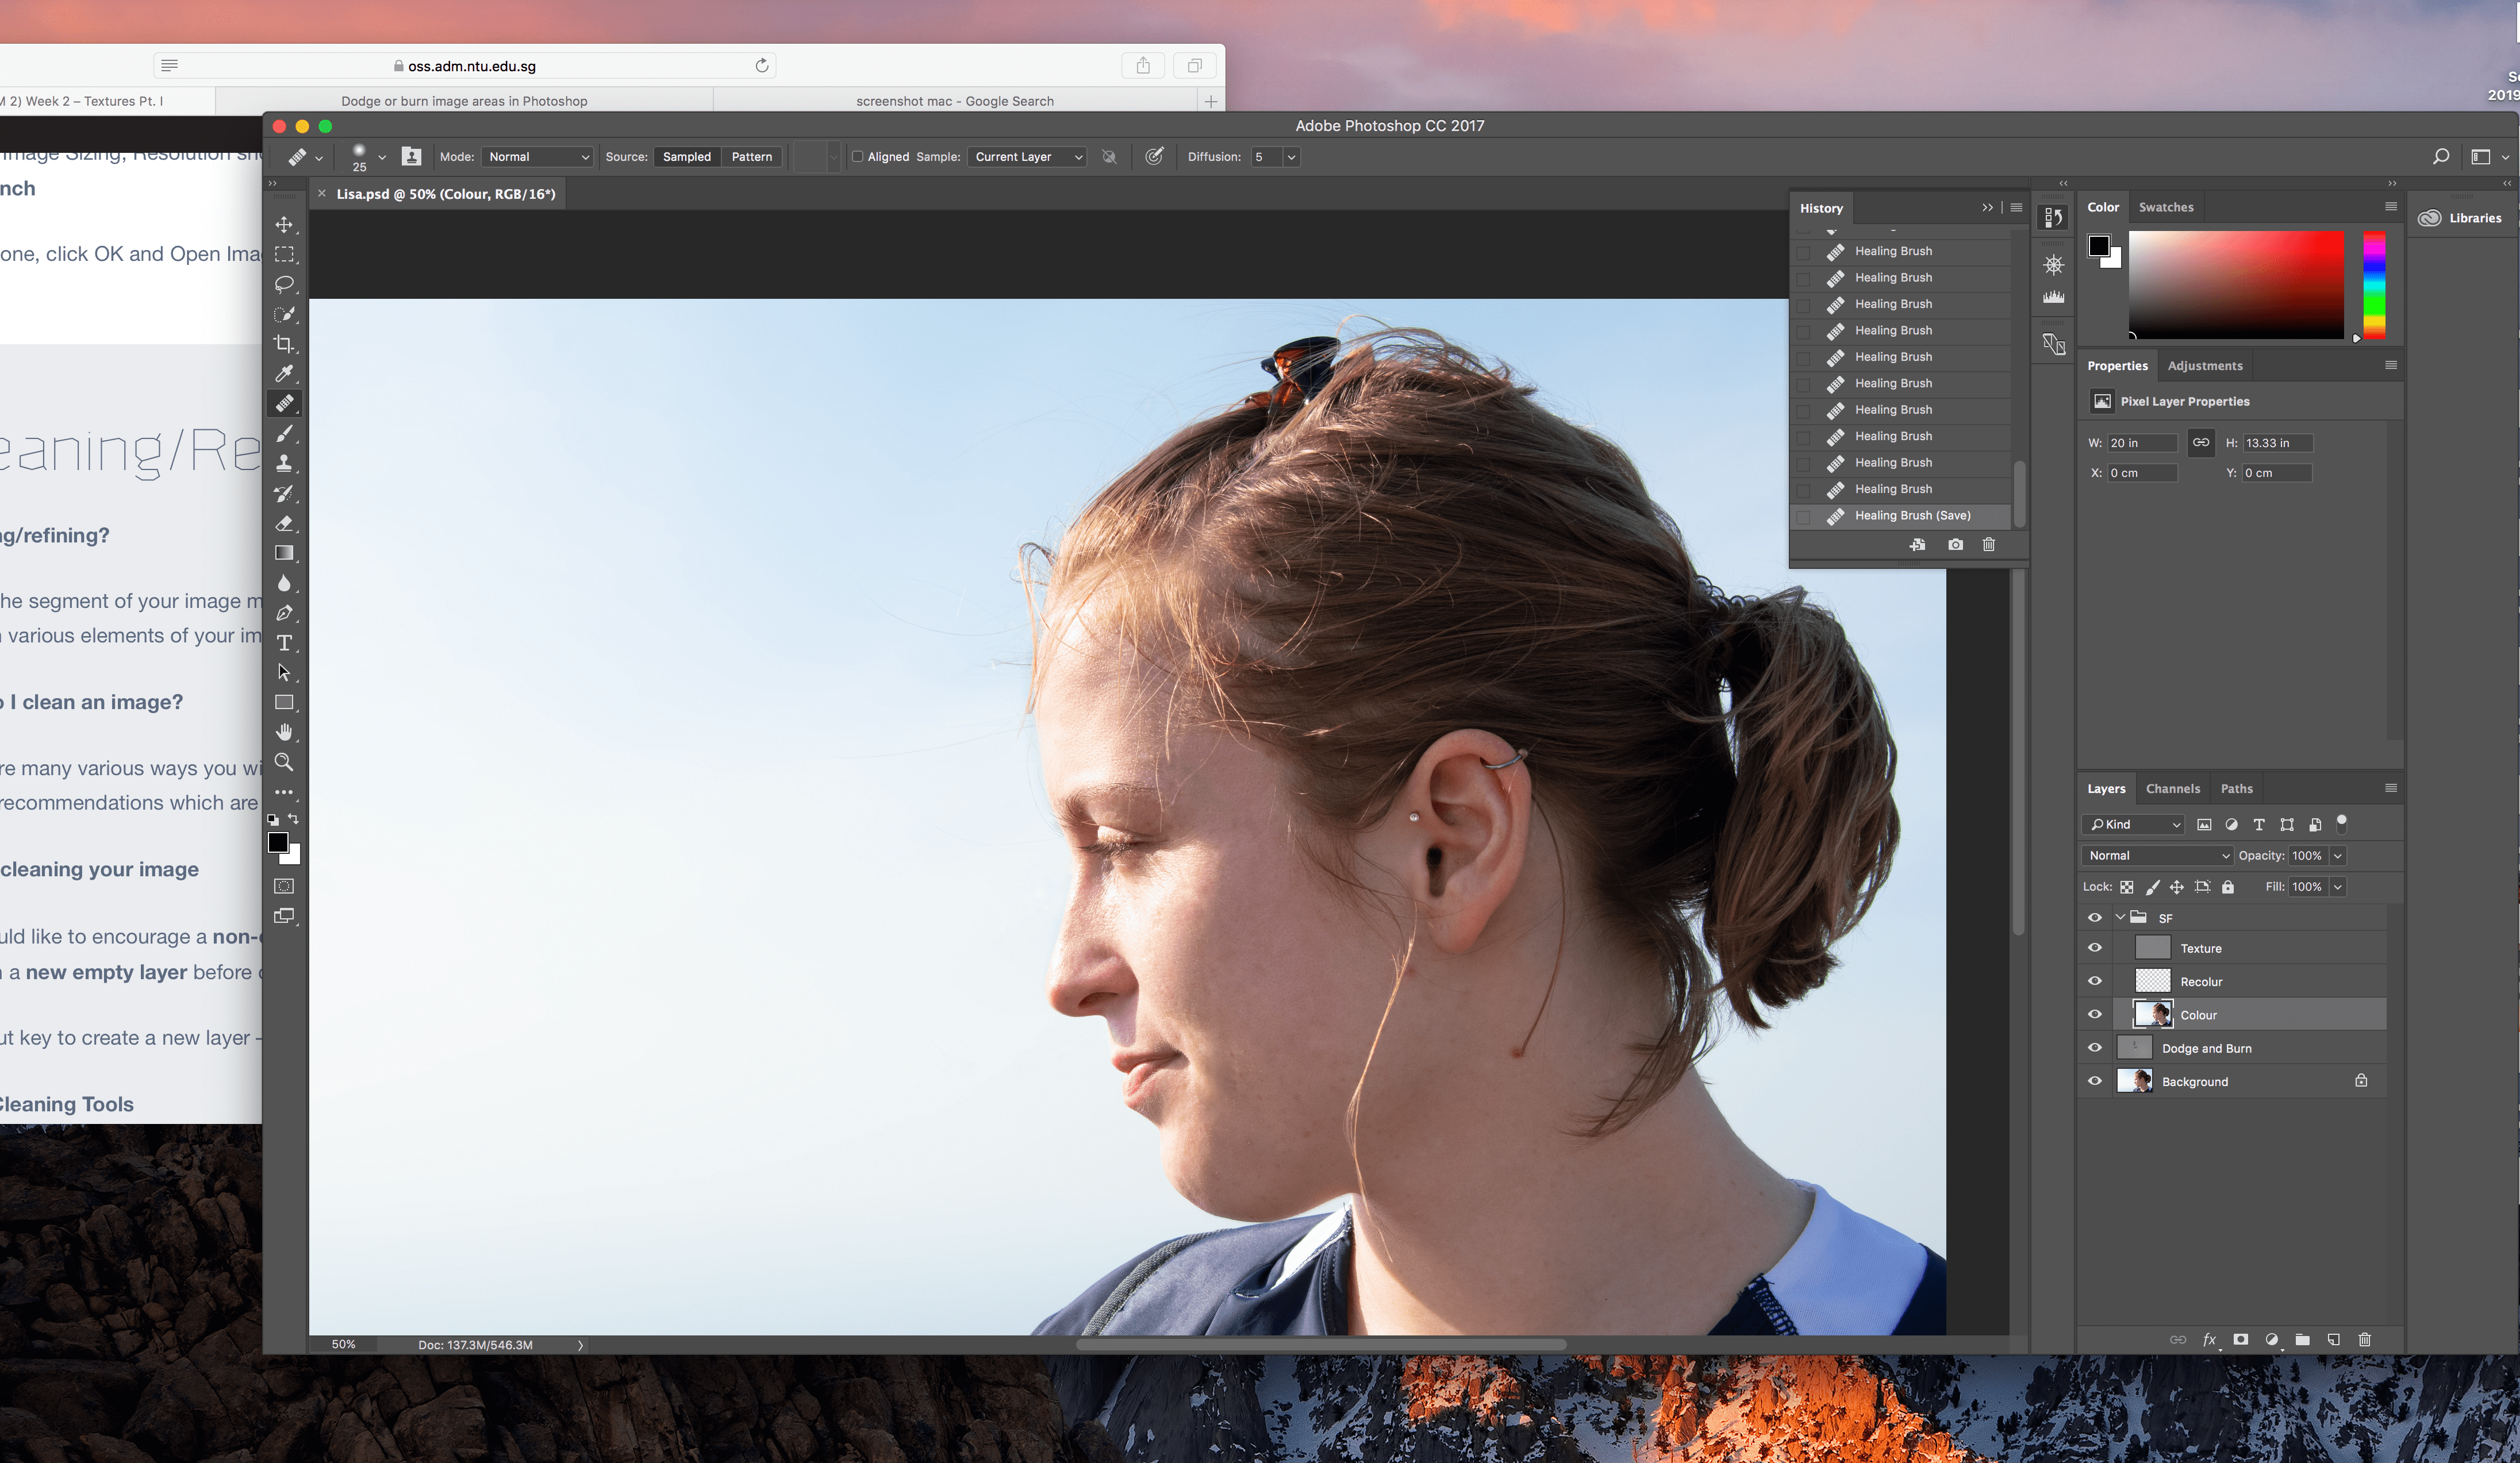
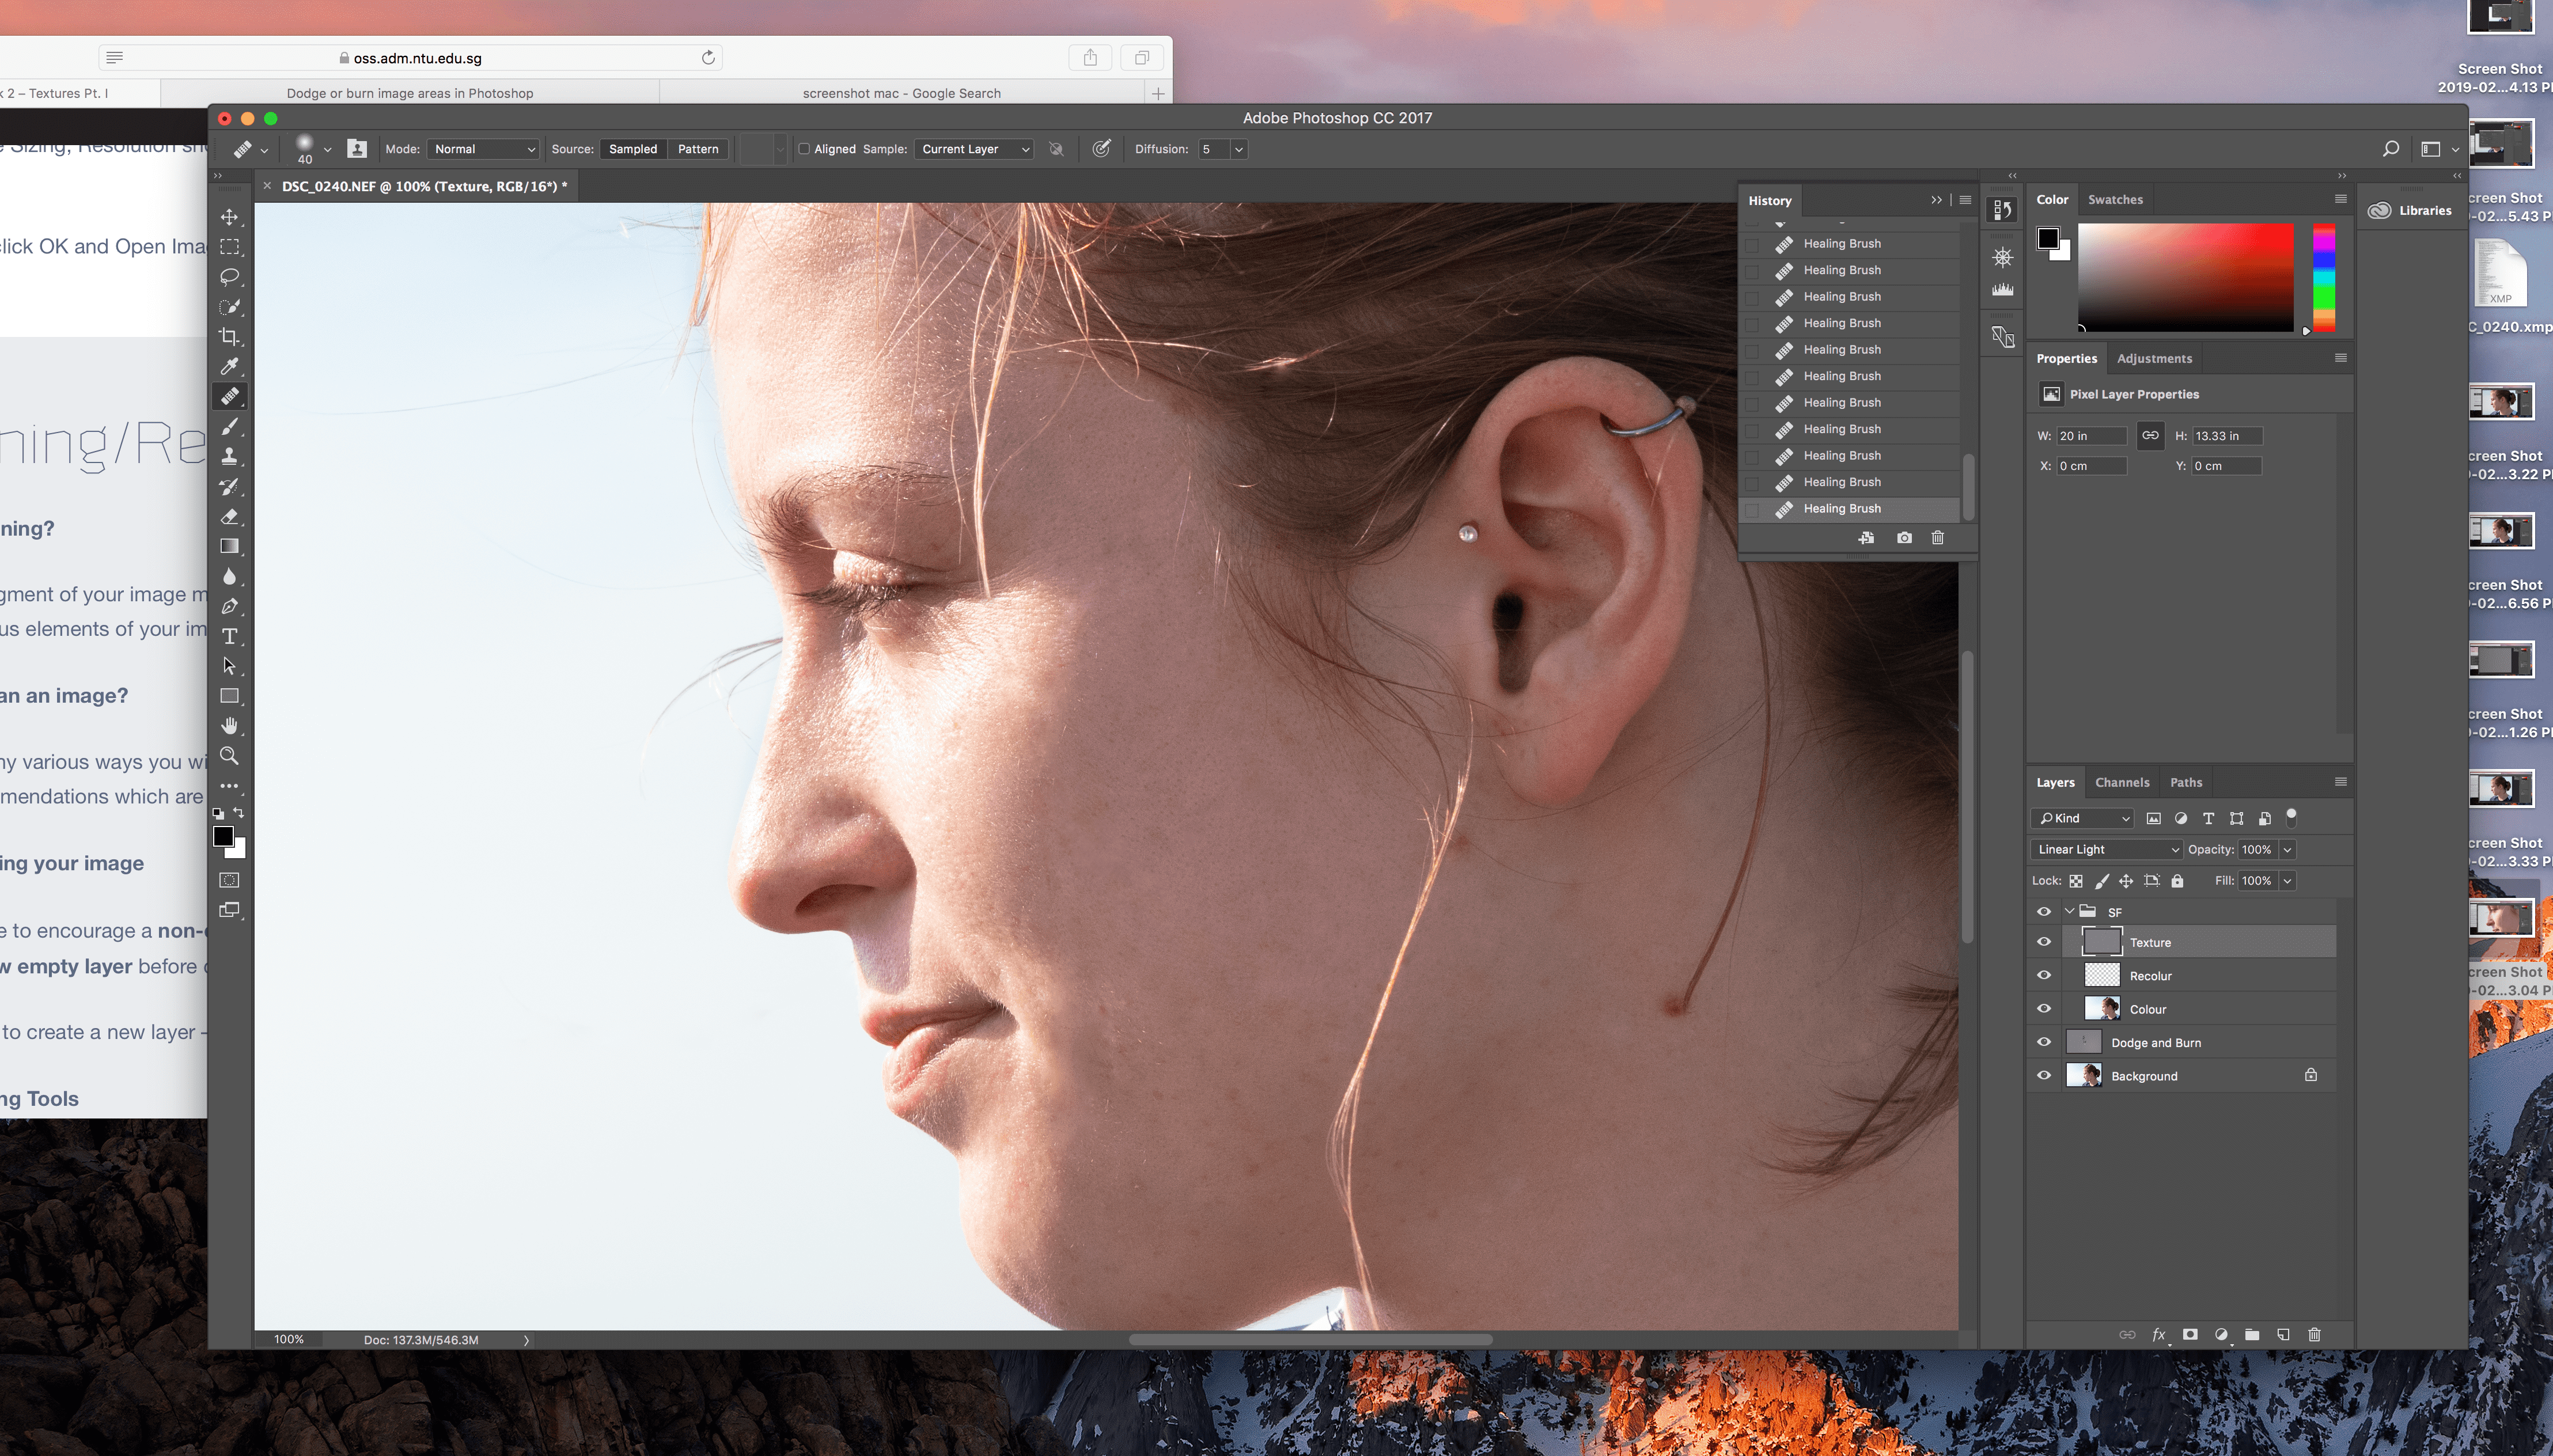
On the Texture Layer I also worked with the Healing Brush Tool for a nicer skin appearance and to remove some hair.
REVISION
After the course on Monday I changed a few more details on different layers.
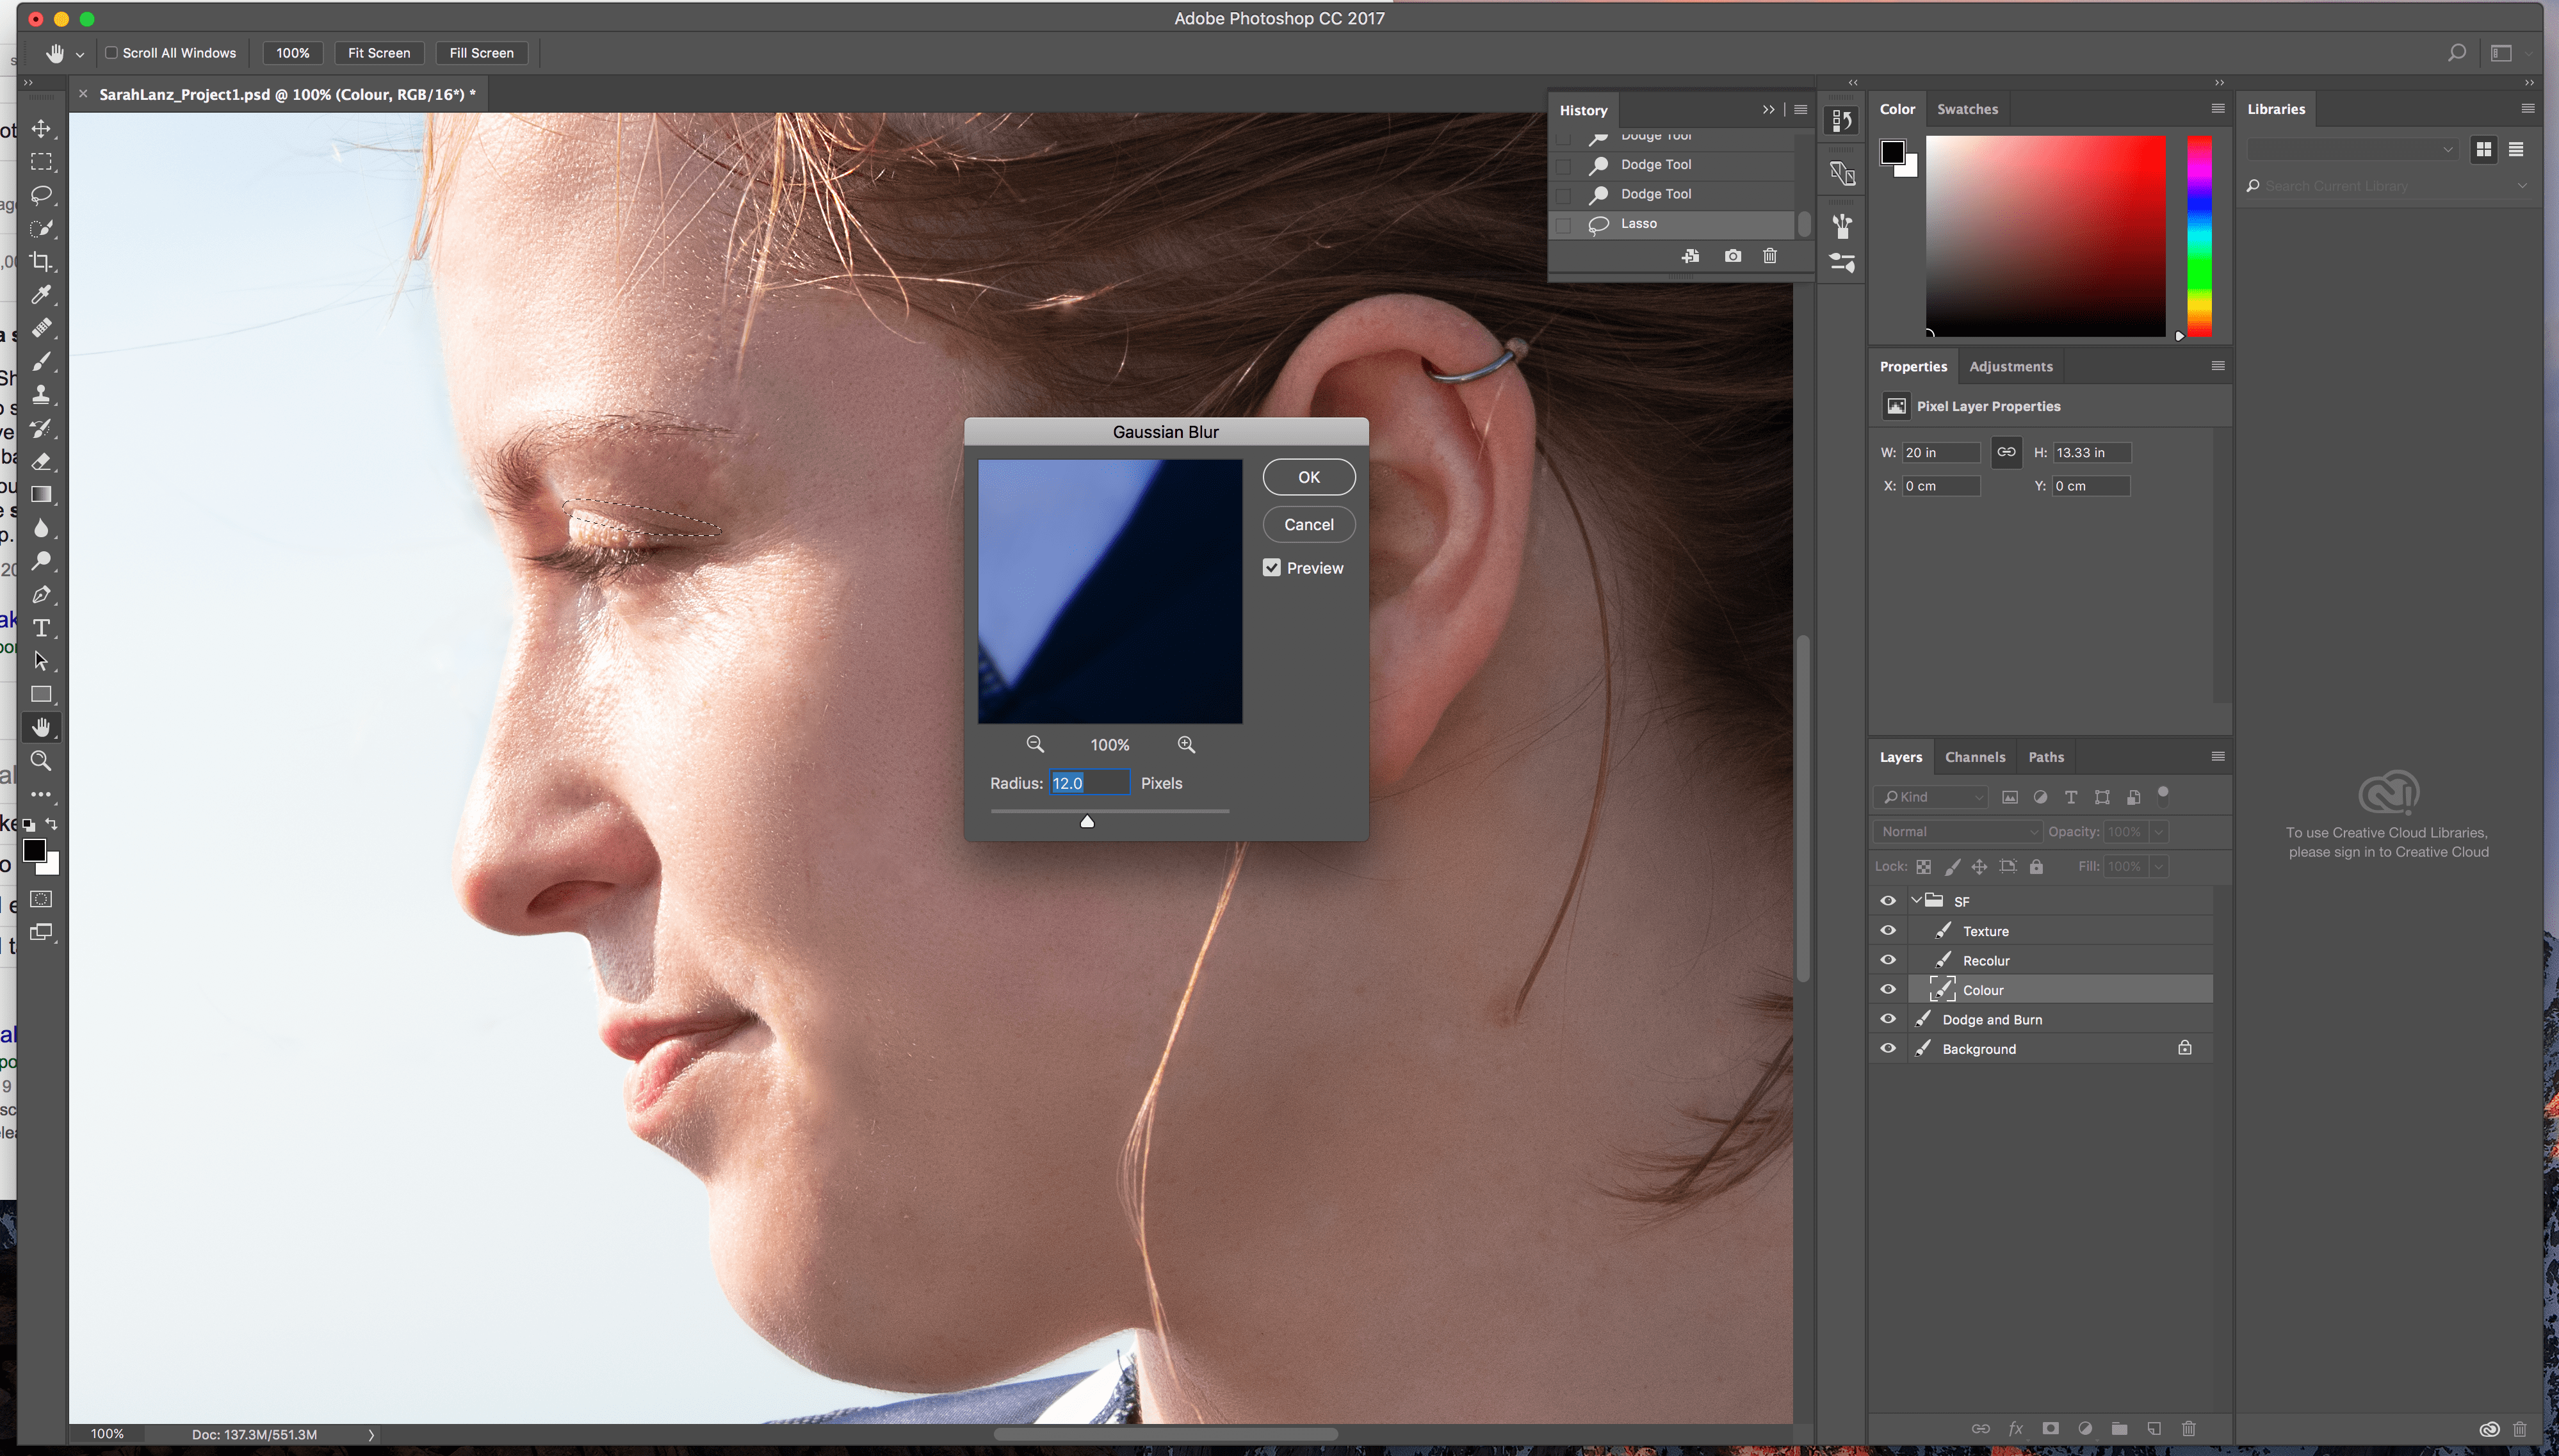
On the Colour Layer I worked a lit more with the Lasso Tool and the Gaussian Blur, to lighten up patchy skin areas and wrinkles around the eyes.

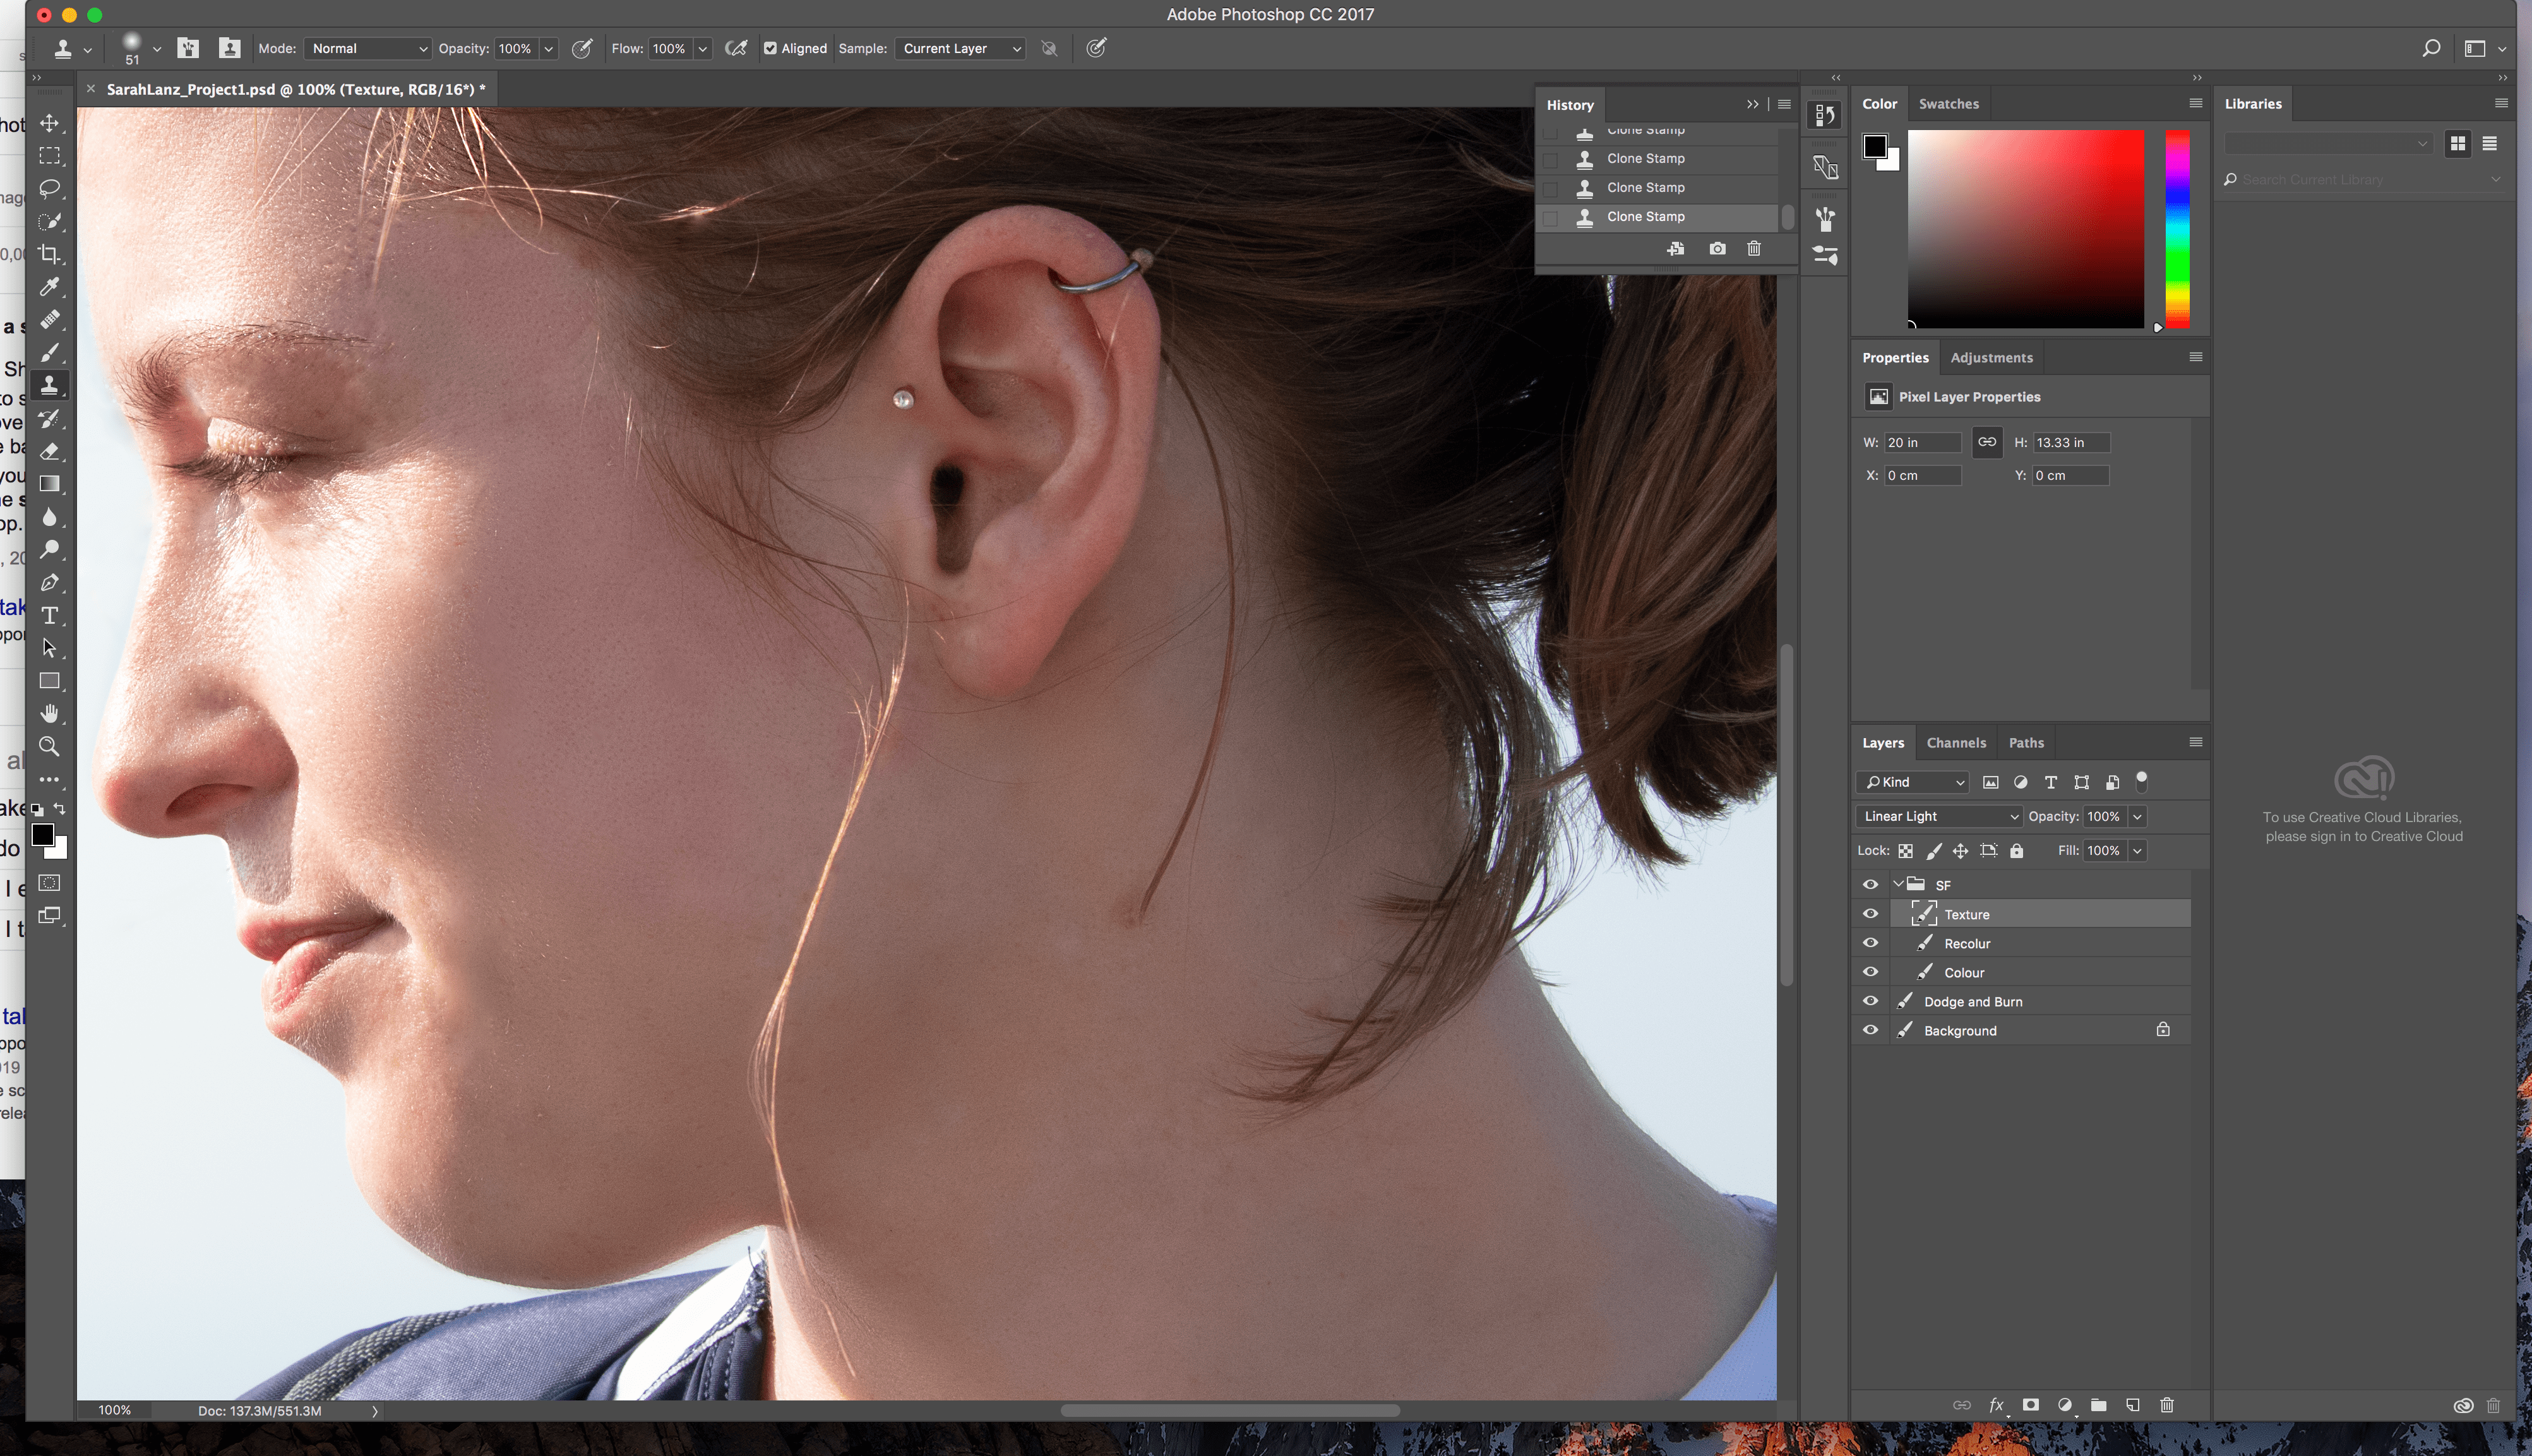
On the Texture Layer I worked with the Clone Stamp Tool and the Healing Brush Tool to remove some more hair and keep the natural skin strukture.
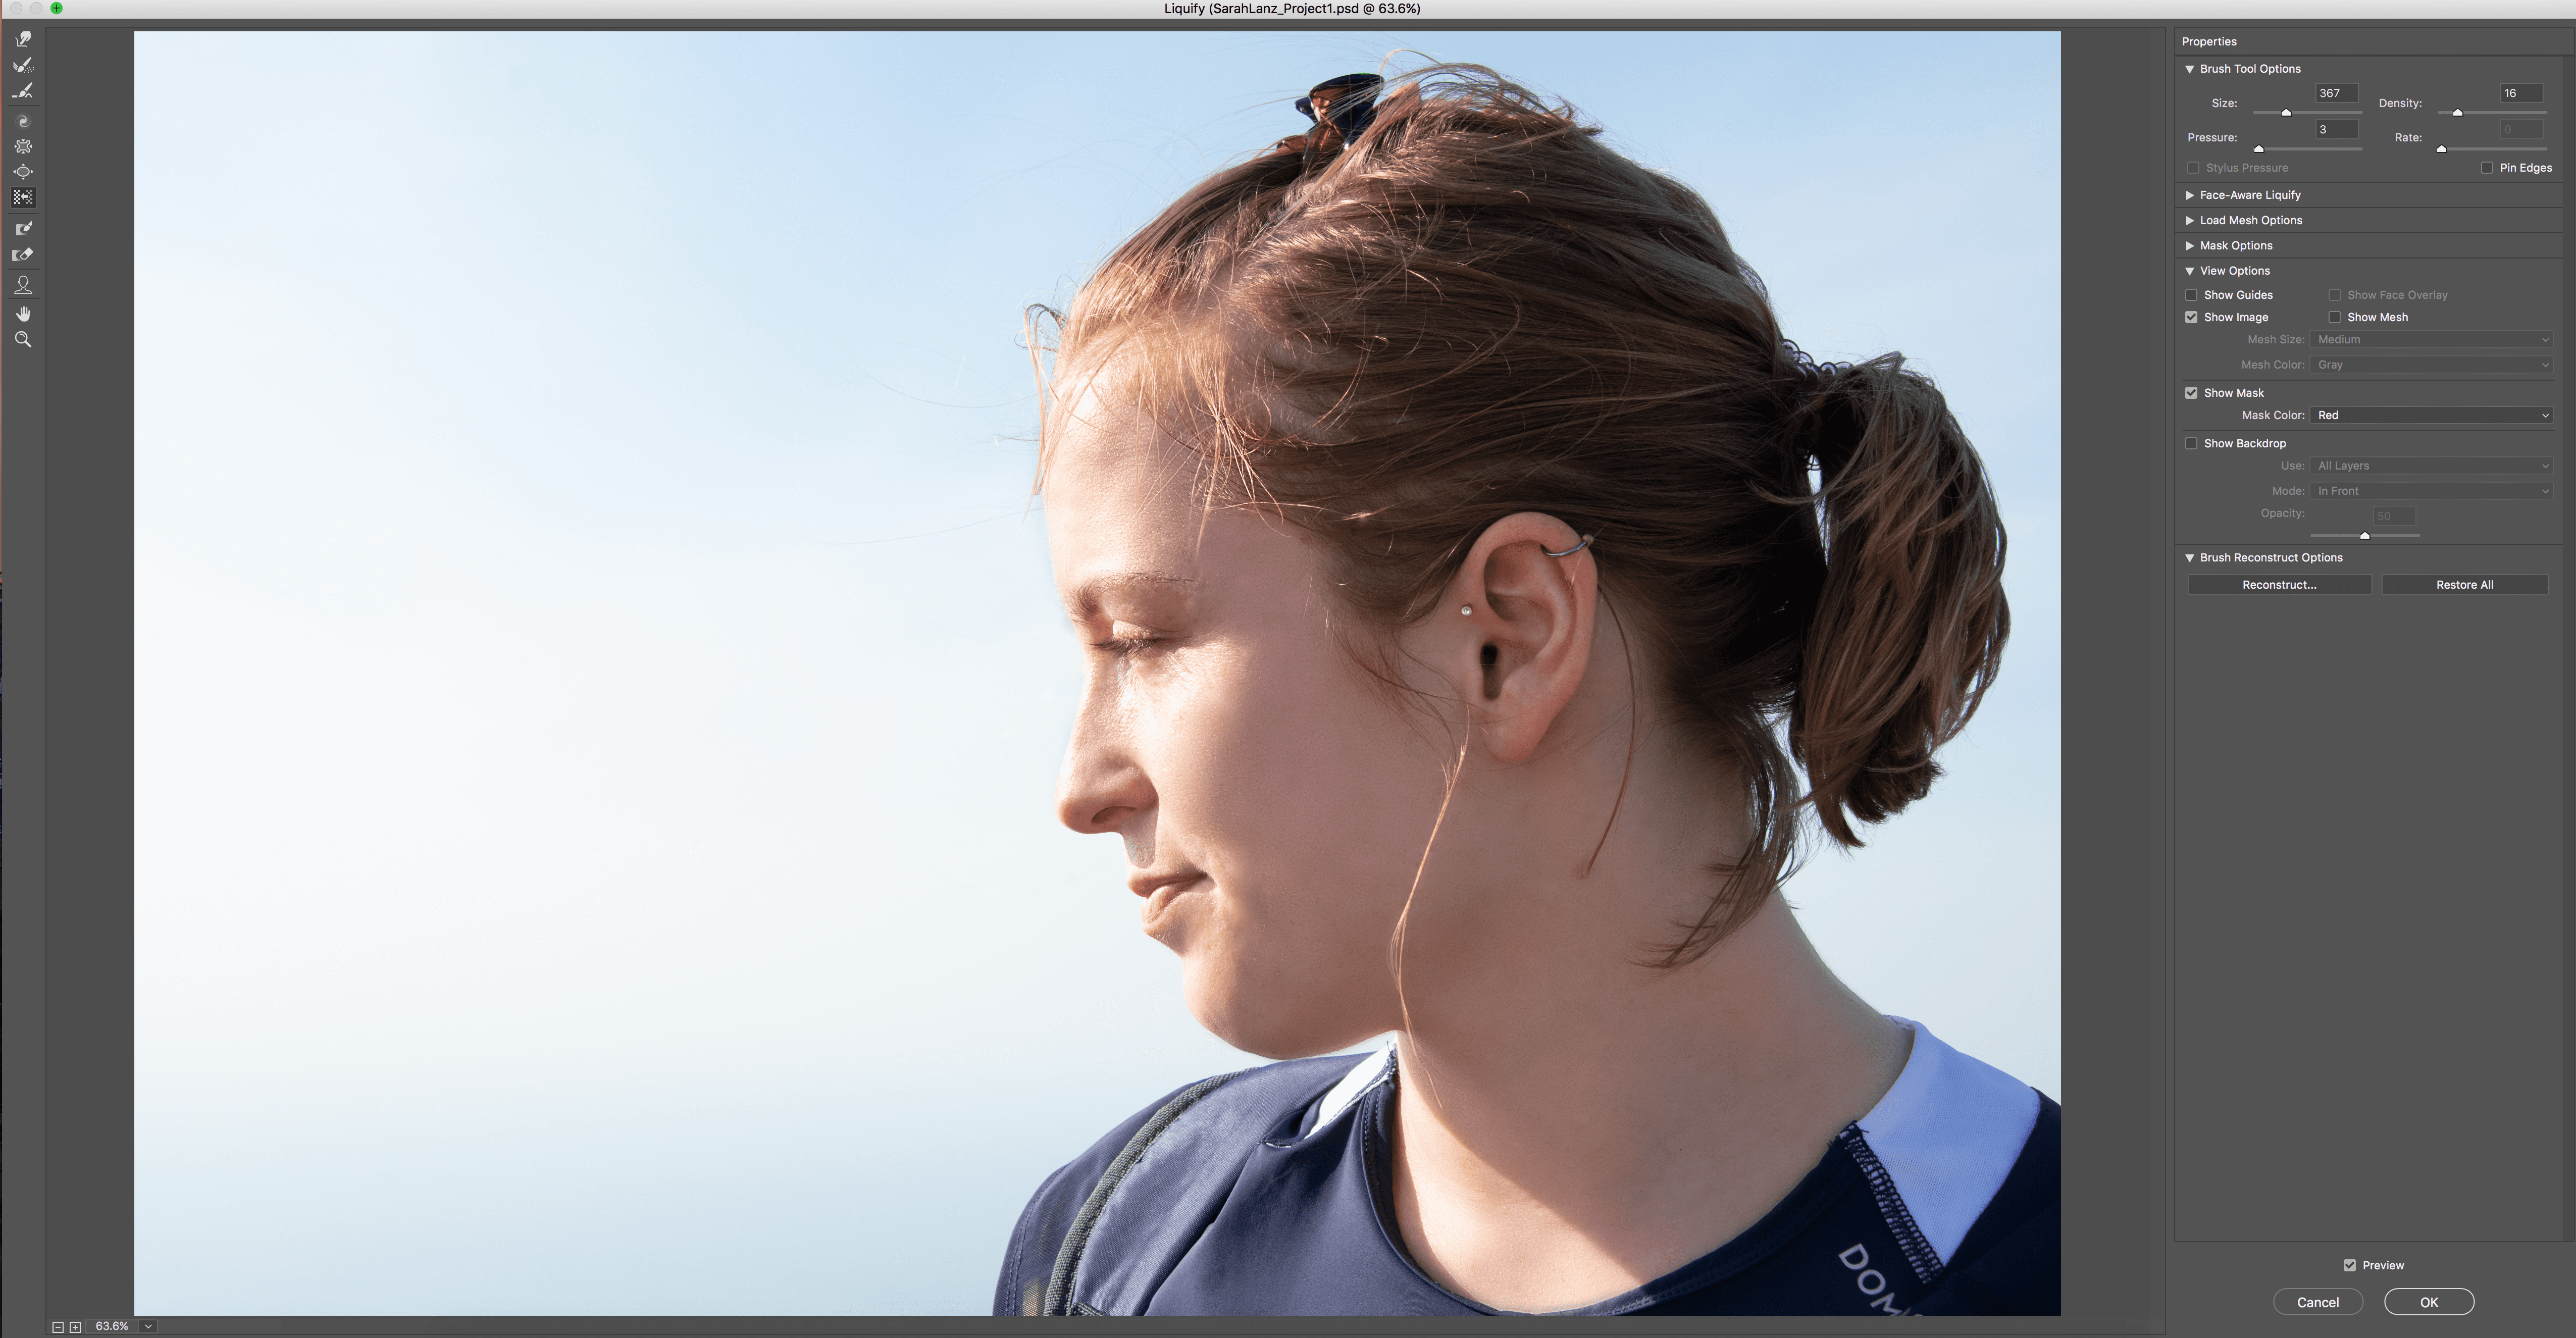
With the Liquify Tool I tried to straighten up the chin a little and give a bit more volume to the hair.
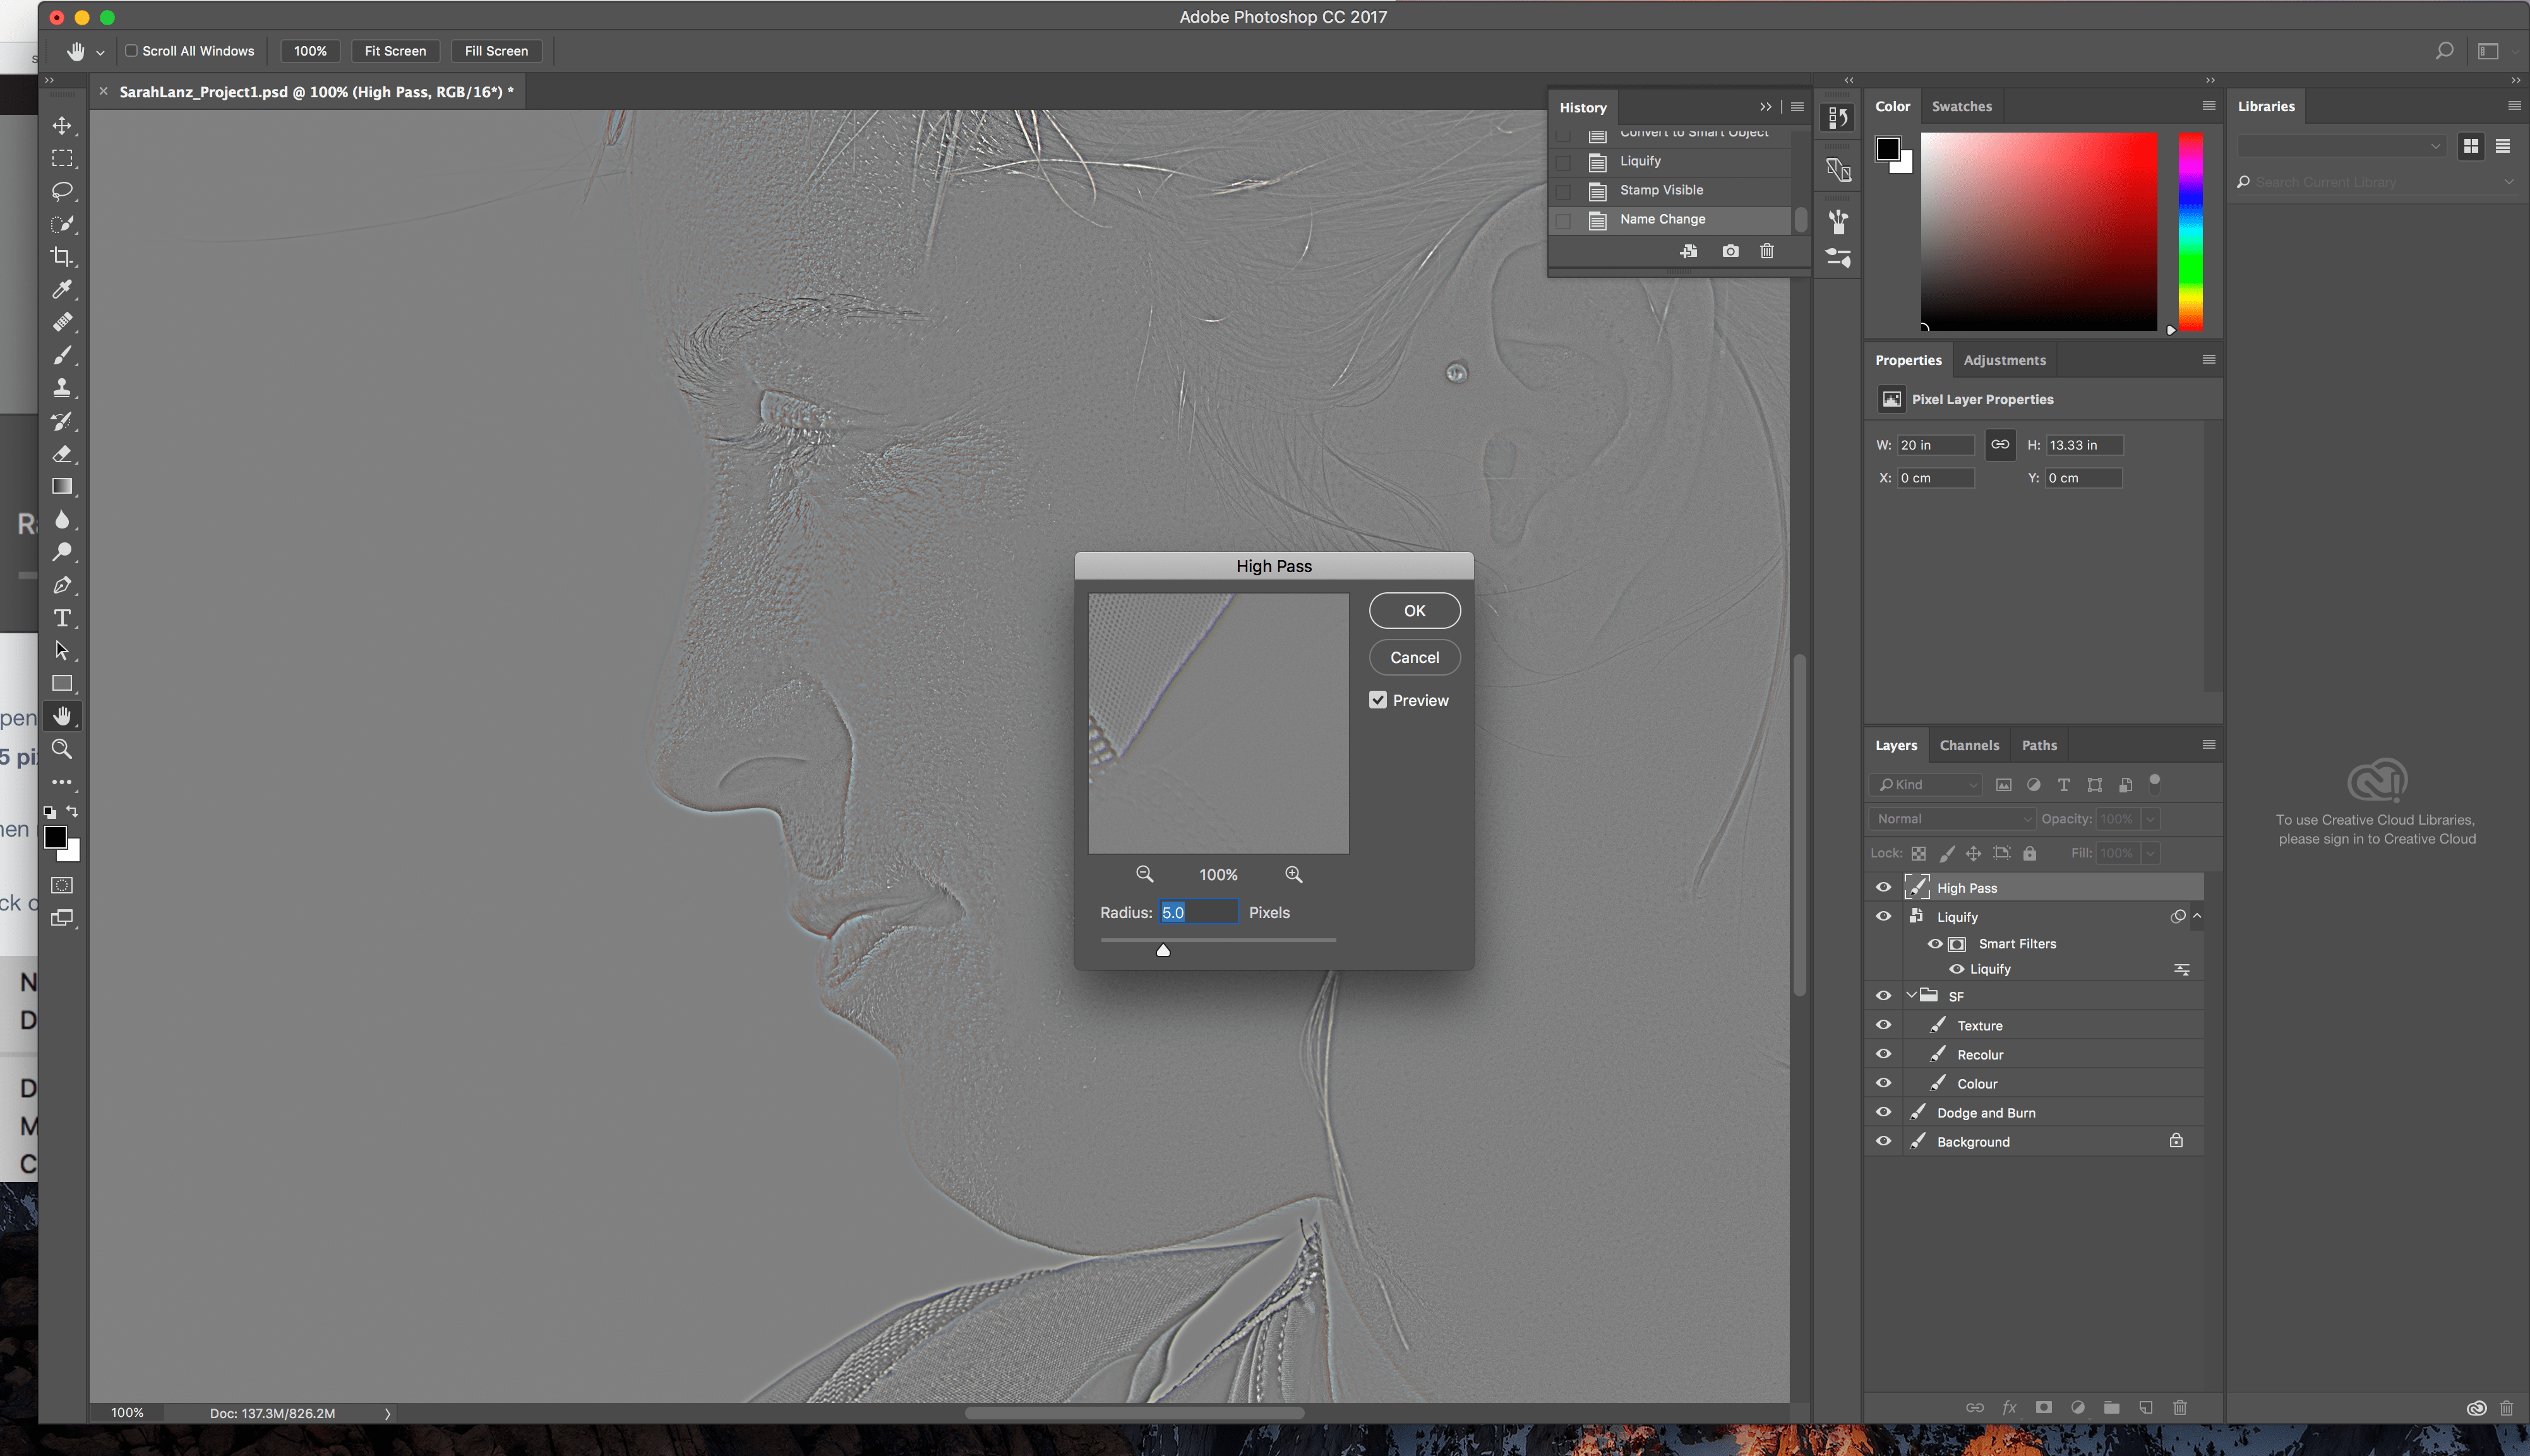
After that I wanted to sharpen the image by using the High Pass and soft light. I adjusted opacity and fill until I was happy.
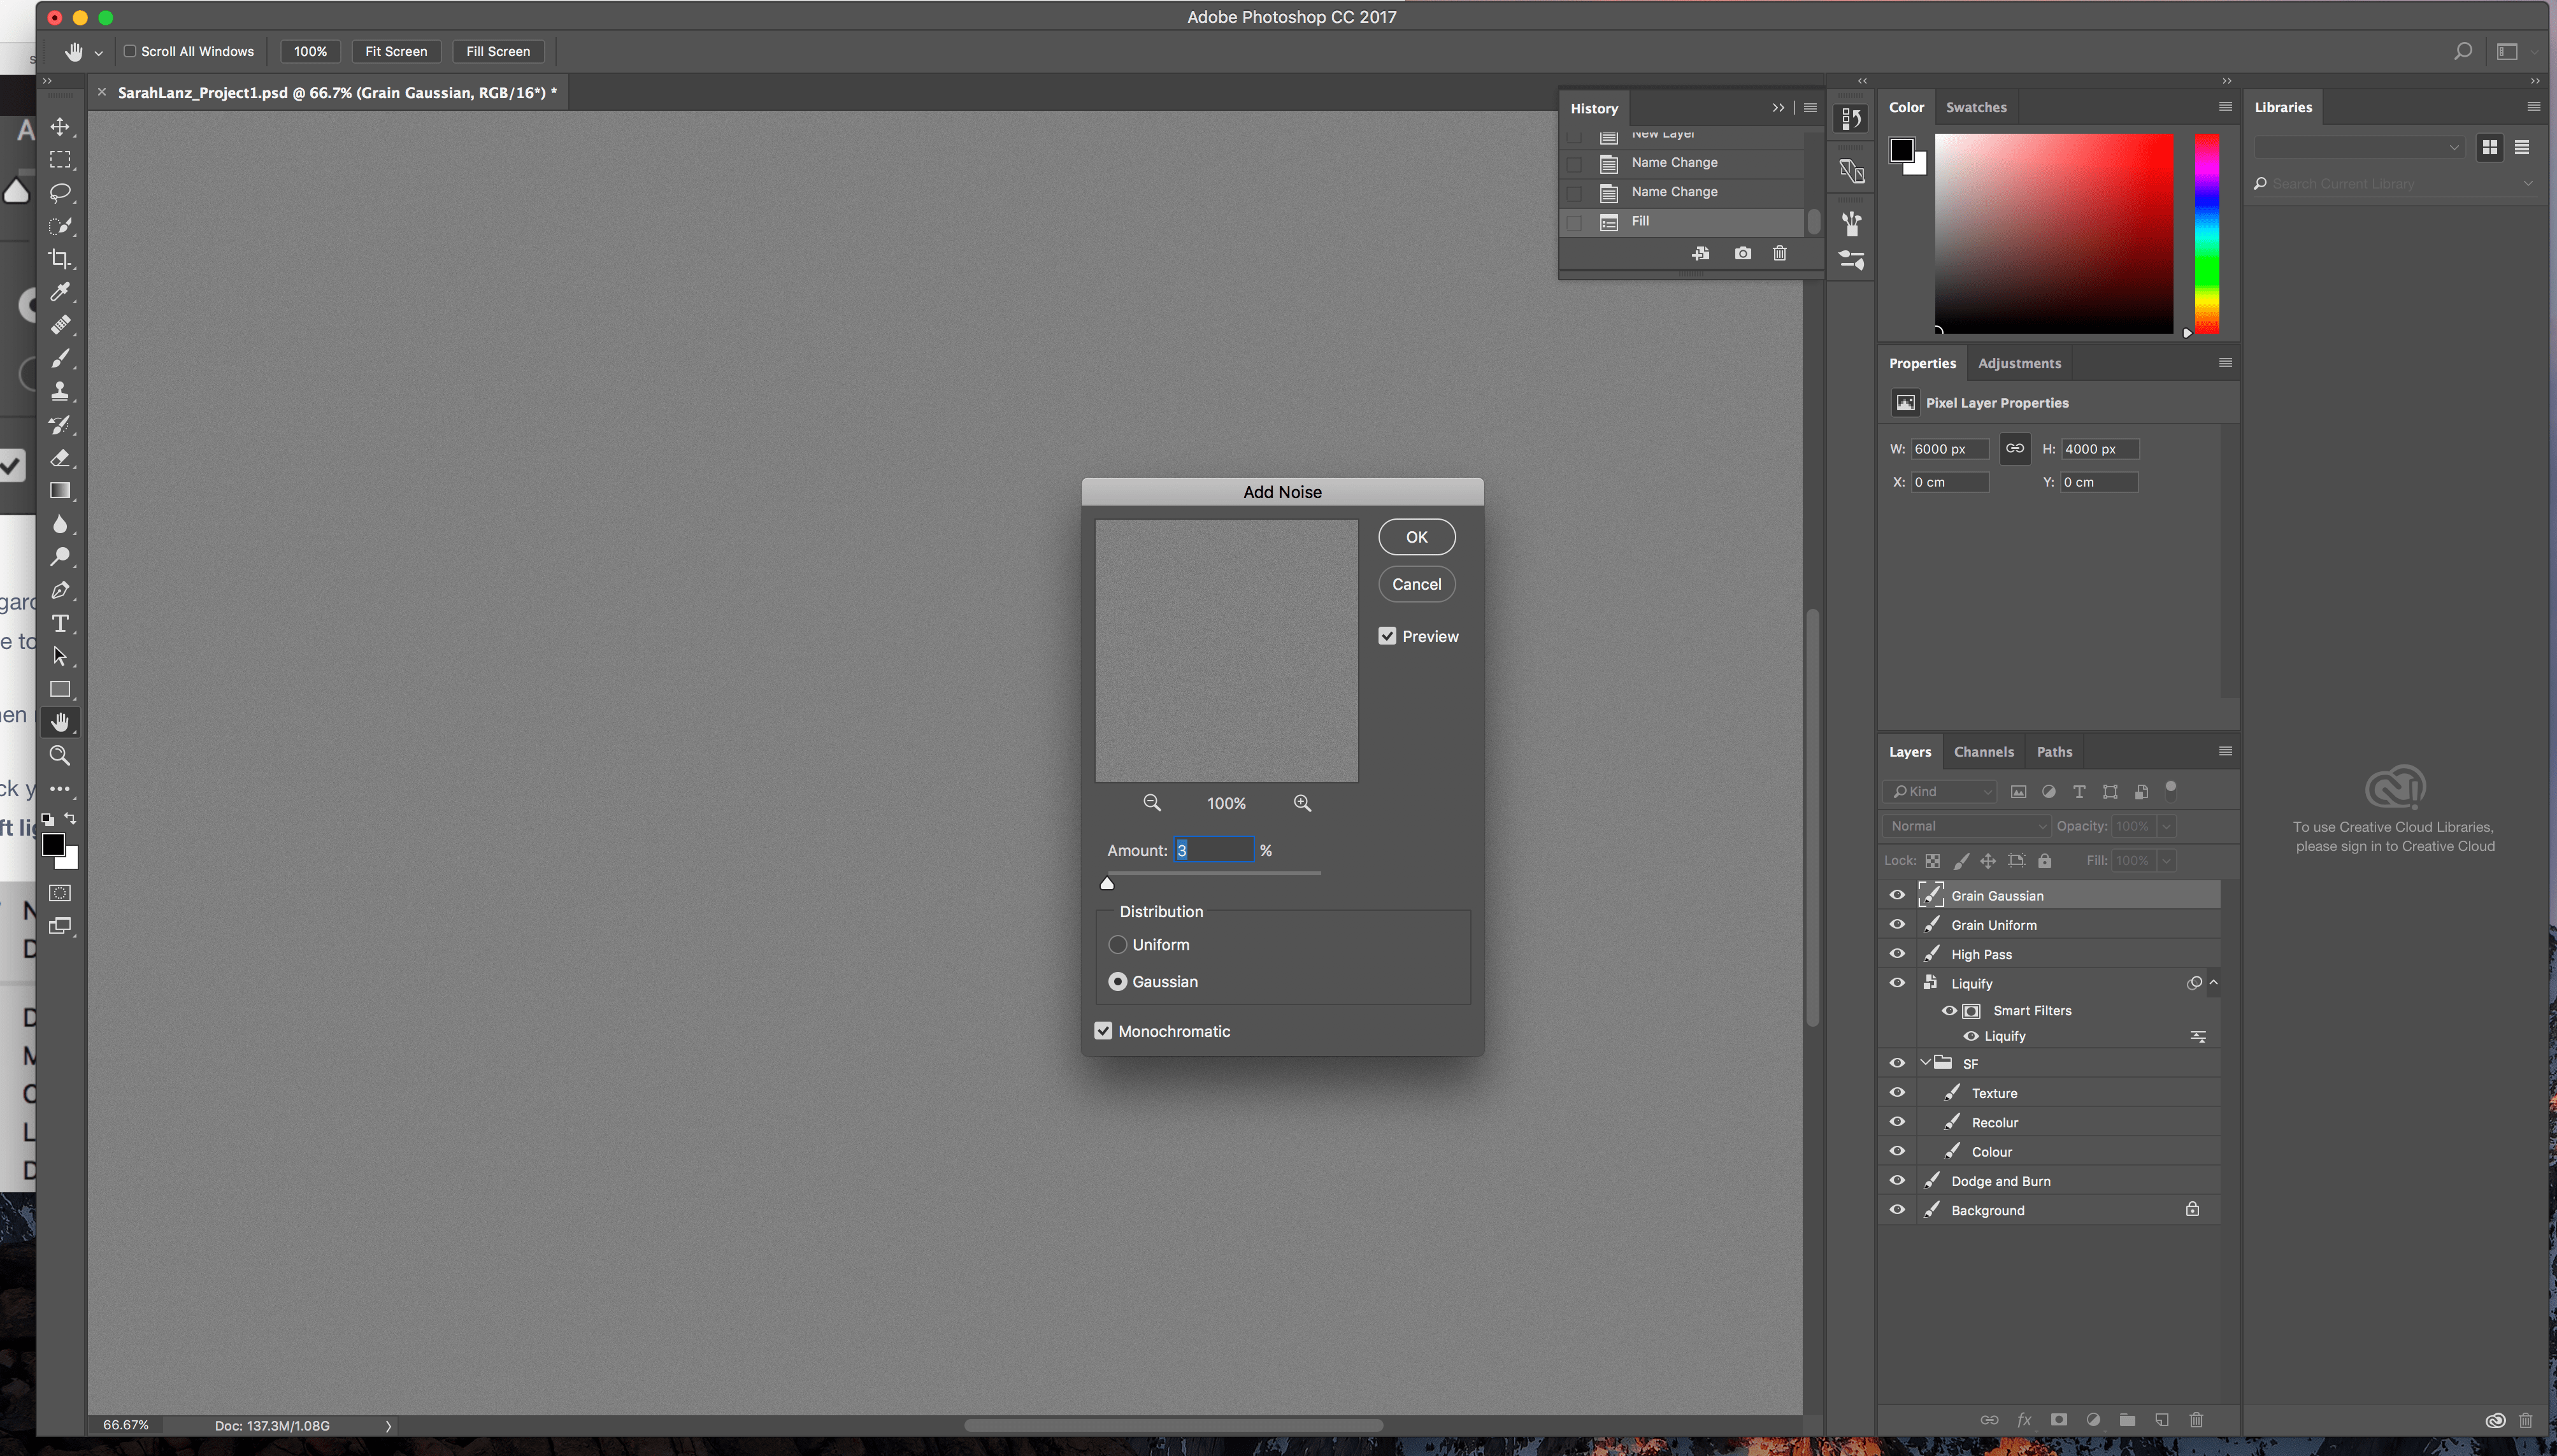
My last step was to add Grain in order to blend some of the digital processes I applied to my image. I used both Uniform and Gaussian Grain
The link to the .psd file and the screenshots of my work:
https://drive.google.com/drive/folders/1kq7kQYfqA0P95-JjVyAWi_LwdGdvoS08?usp=sharing