Design
I started the design in CAD, after having a loosely similar sketch. In the first iteration, the sitting area was much wider, basically a 1m x 1m square. After all the design was done, I prepared a cutlist, and upon realising the ridiculous amount of wood the design required, I had to go back to the digital board and do major revisions.

Design Iteration 1
I first down-sized the sitting space to a cosy 60cm x 60cm square, and reduced the number of legs. I was pretty confident this amount of wood was structurally sound, as I have made sofas of similar design before(actually slimmer in design). I was very relieved when the updated cutlist reflected an almost 30% reduction in wood requirements. On hindsight, I am glad I downsized the structure as the timeframe was challenging enough as it is.
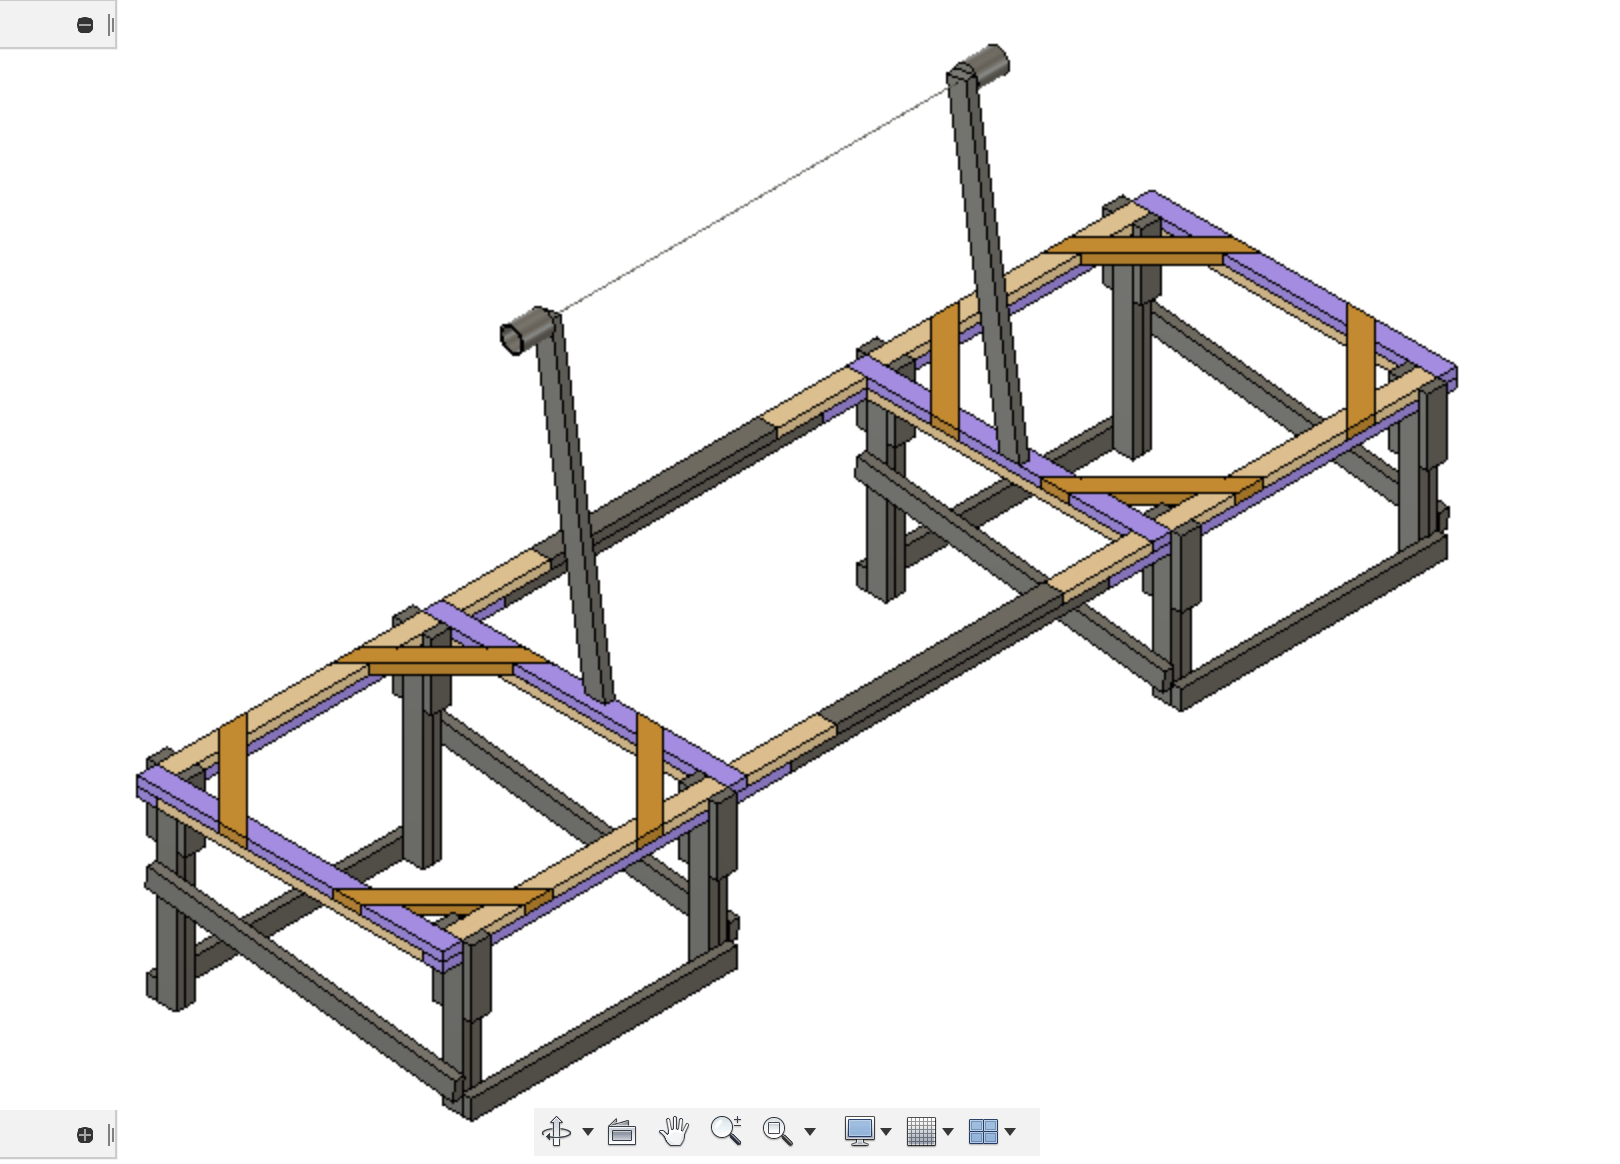
Design Iteration 2
Build
The building of this project took place over an intense five days, at least for me.. But it was great to do some building from time to time, and I am proud to share my process..
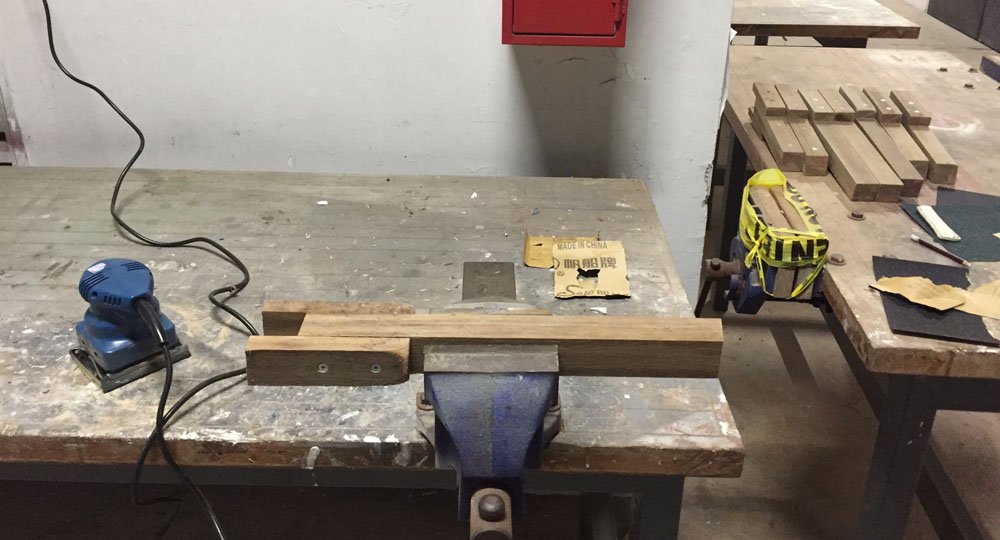
The wood was all sourced kindly from the IM room; alas there were many twisted ones, but as a lot of my construction used short lengths, much of the twist was mitigated as I processed and glued them up. Also, I would like to add that the whole process involved no heavy machinery, 🙂 only a cordless drill and sander.
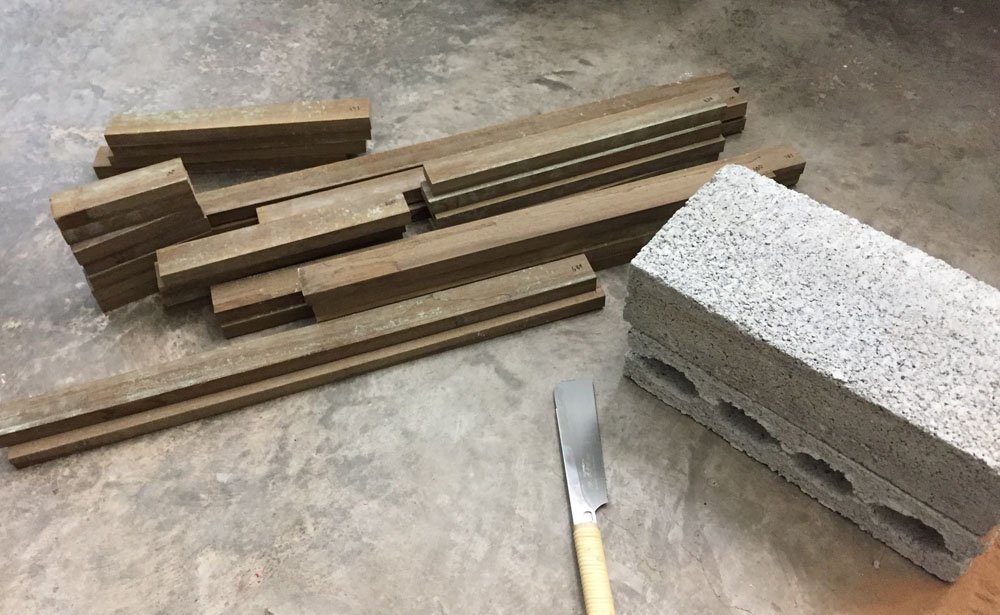
Cut planks to length
Measuring, cutting alone took a full day, in total there were close to 80 pieces, derived from about 6 x 2.4m planks. Then the planks were fitted, cut and glued according to the CAD design.
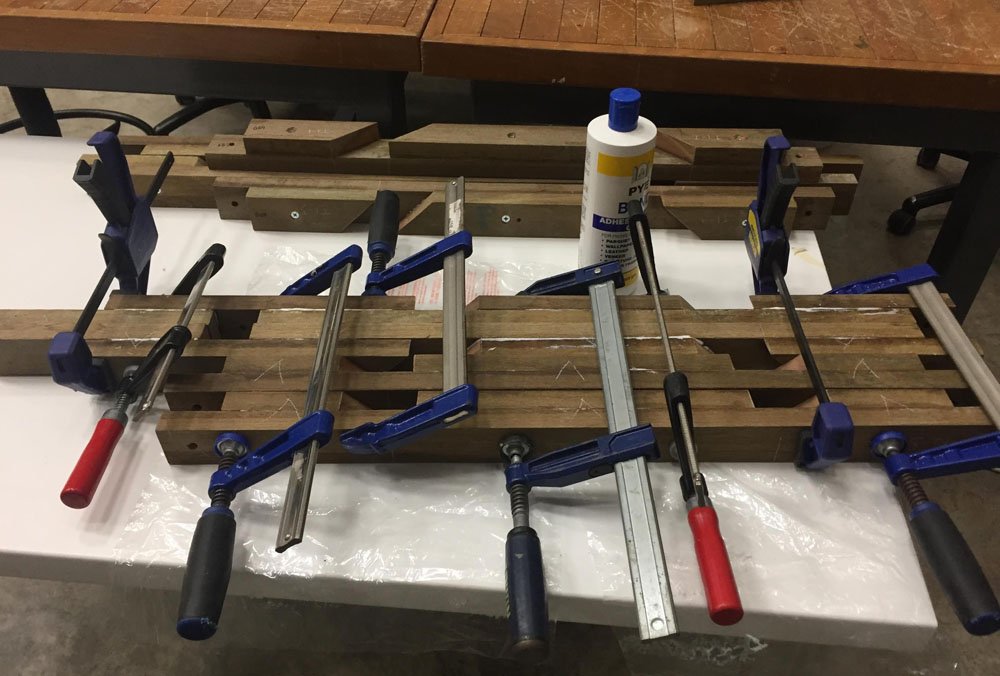
Glue planks for strength
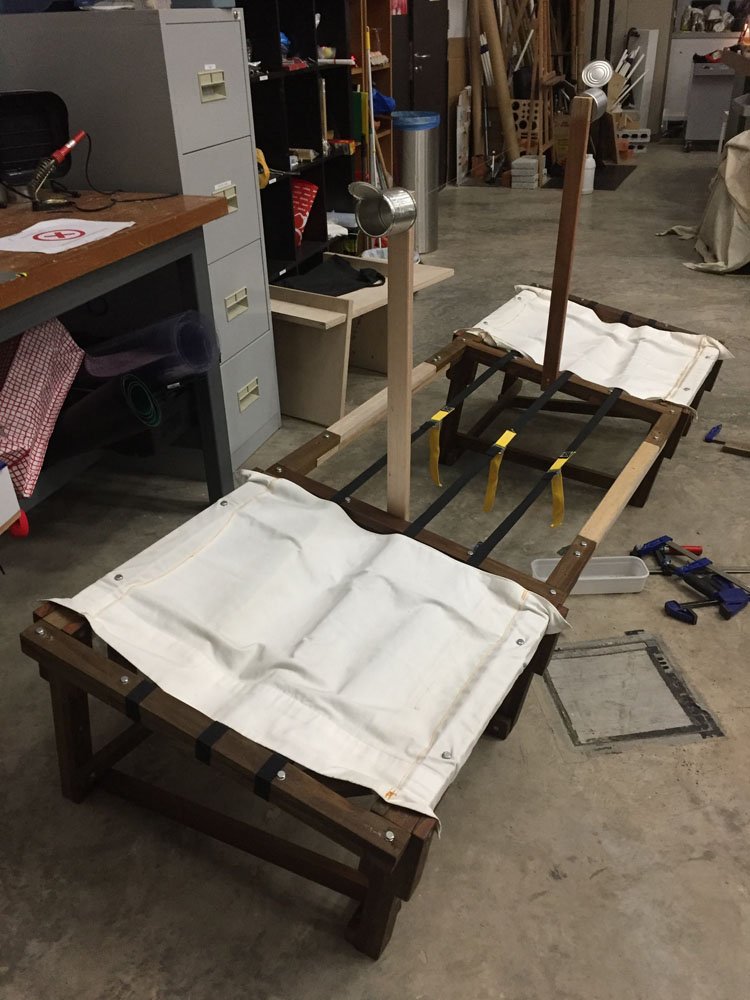
When one half of the frame was done, a dry fit was done to make sure that the translated CAD design worked in real world. At this point it was pretty spot on. Though I must admit the frame was not entirely square; about 5mm longer on one half.

First rough framing complete
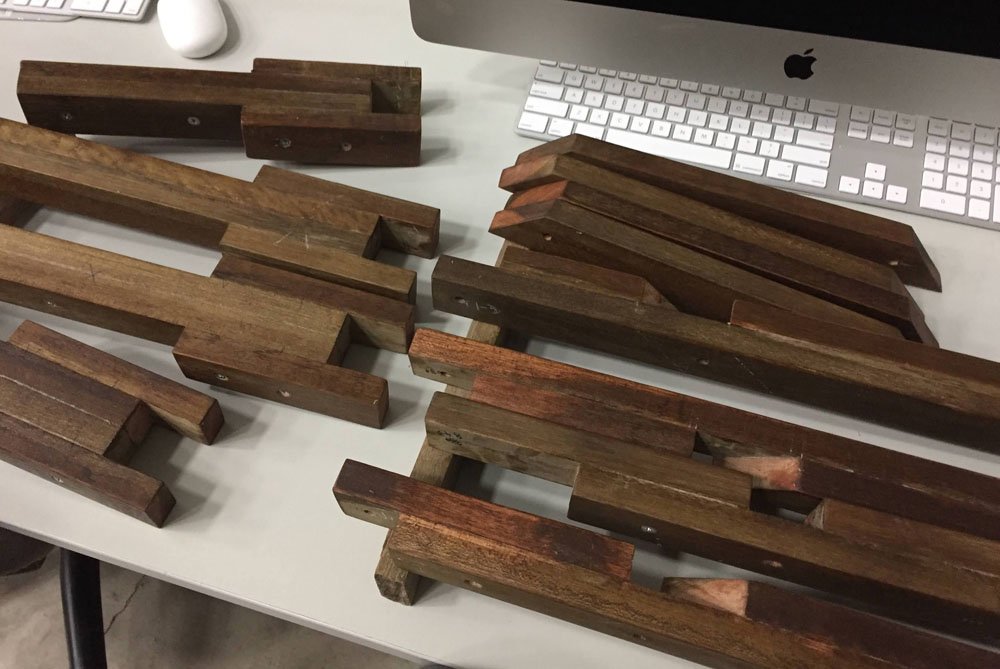
After all the parts were ready, lots of sanding was done to remove the blemishes and cracks in the wood. This part was certainly one of the most demanding.
Sanding mania
With the framing ready, the time has come for throwing in some cloth for the seating. I had on hand some used curtains; these were plenty strong for our purposes. After a bit of trial and error, I made 2 straight stitches on each side to act as sleeves for them to slide onto the frame. I try to make this as modular as possible, so I avoided using staples, even though it would be much faster.
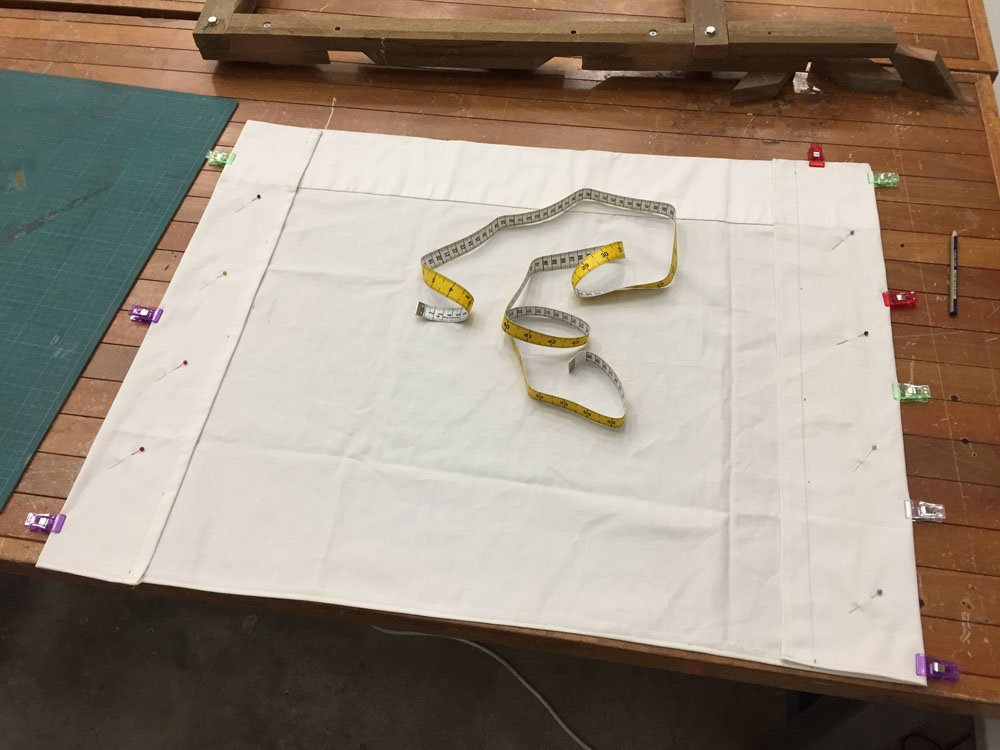
Marking & sewing stitches to cloth
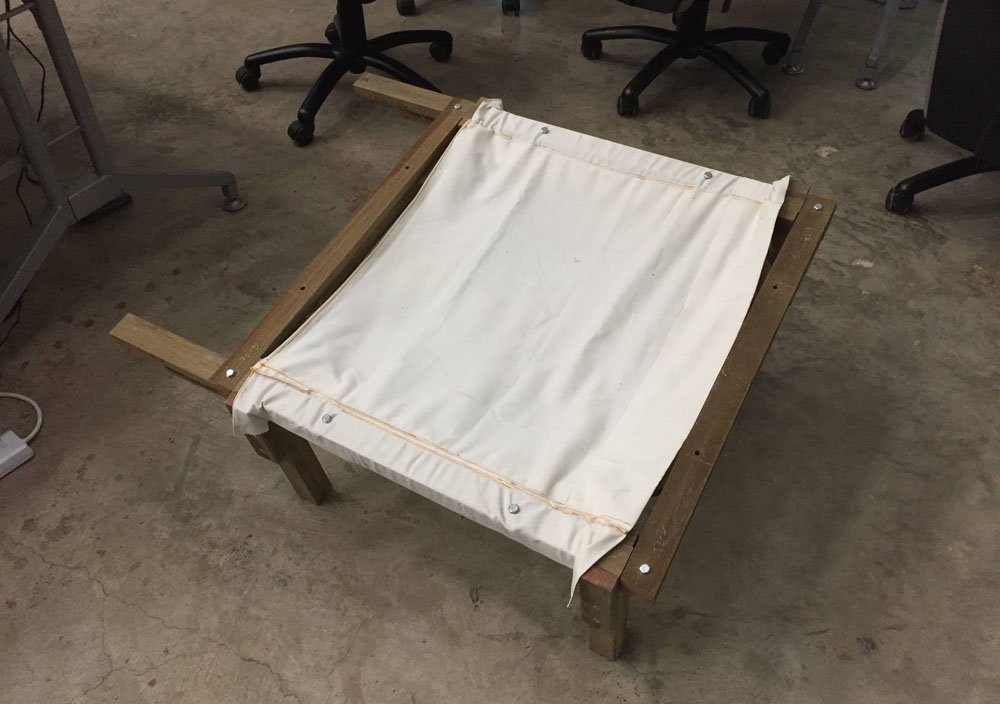
Fitting cloth to frame
As there was plenty of sanding to be done, I sanded one half per day and applied wax so that I can use the time while the wax is drying to sand the other half. It was pretty gratifying to see the crappy wood transform into something that look somewhat luxurious 🙂 By the way this is kapur timber.
Applying wax finish on first batch of sanded parts

Finished all sanding ! This is how the planks look before wax
Moment of truth! A first full assembly of one half. The legs are properly fitted for the first time, with the addition of the bottom leg tie supports. I deviated a little from the CAD for the supports, as it didn’t negatively affect the strength and looked more visually interesting, seen here in a cascading style. Some sewing was also done on the straps, repurposed from cargo tie-downs. Three of these were more than enough to help support the weight of seaters. Bryan, Zhifeng and Bao also bravely helped me test-run the strength of the cloth seats. Seeing Bao sit comfortably on the chair, I was confident the structure could handle itself.

First full assembly of one side, sign of relief!
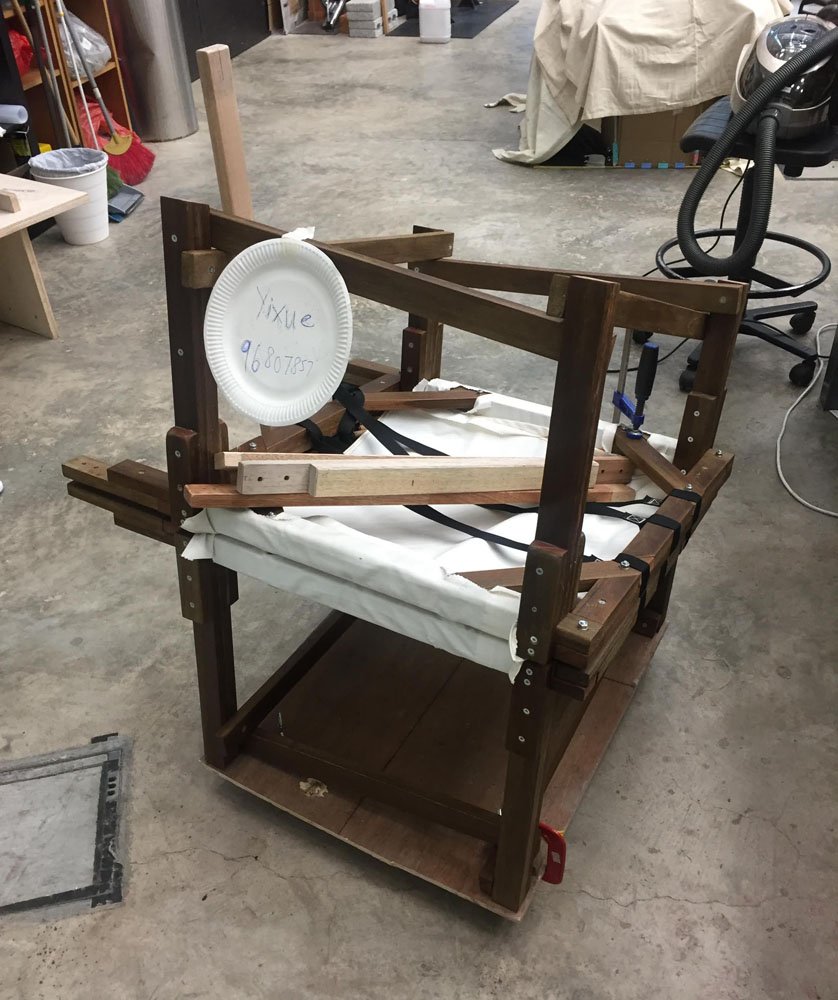
The other half was done much faster, and after some finishing touches the whole design is fully realised and ready to go! It was Friday, so I decided to also quickly throw together a cart to house the dismantled structure, and get it all packed and ready to go for installation on Monday evening.
Full assembly complete
All packed and ready to go
Setup went by smoothly, as this is an analog project I guess? Digital projects tend to throw you curveballs. I also added some greens for good measure. I was lucky to have Gwen, Yenee and Amanda to help me test-run. I am glad they had a bit of fun.
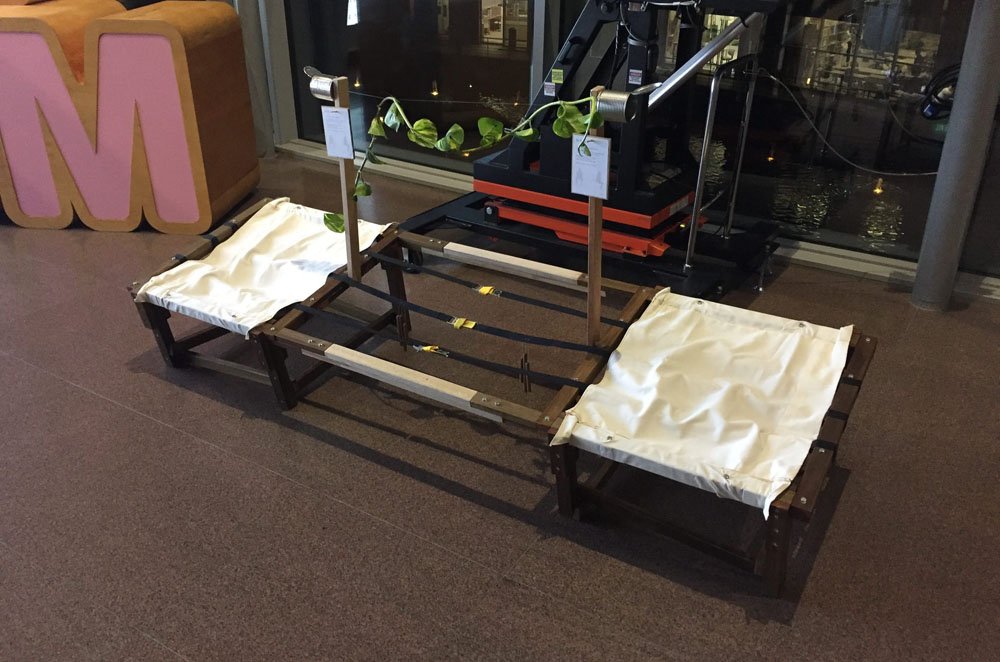
Setup at location

First eager participants :p
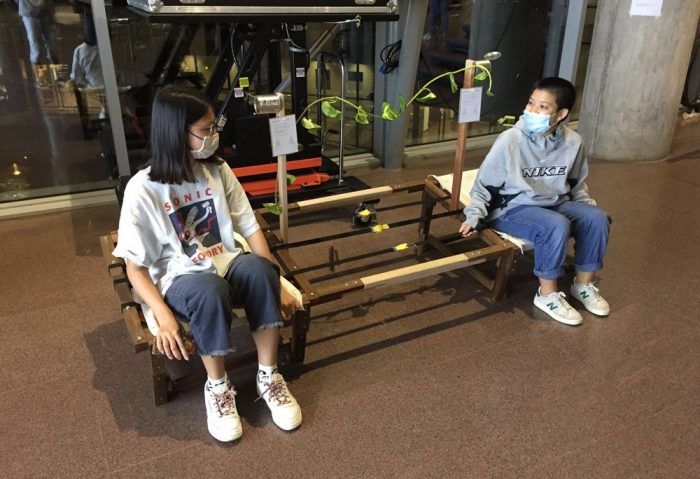
Presentation day. In general I think the structure held up well. In terms of interactivity, it was limited. Most of the interaction occurred as people sat and got up, making it see-saw-ish. Also, the tin-can contraption was more of visual eye-candy than functional. I think there are many opportunities for further development. And hopefully for the next iteration we can have this outdoors for better effect.
Cheers !
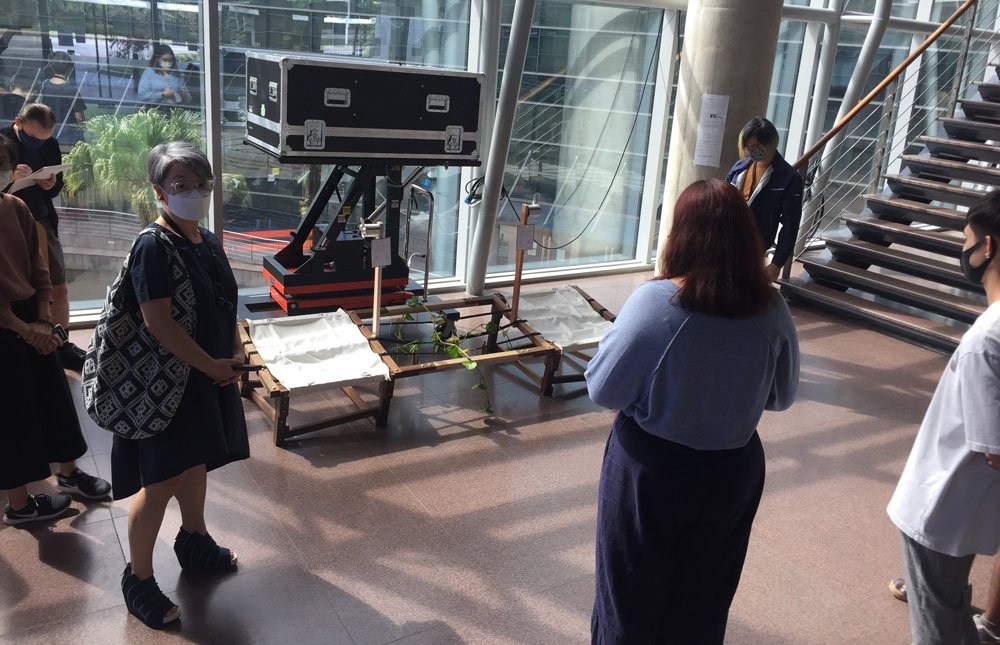
Critique day
Good mid-term project work and documentation well done.
You may think about using this structure as a starting point, and modify it for the final digital project.
Thank you ! 😊