Moving on from the sealing of the plastic, we worked on the contents.
We aimed for a glowing water effect and then researched on how to produce that visual. There was a tutorial which taught us that by placing purple and blue cellophane paper over the light source, tonic water could appear as glowing!
So, we test it out!

For a test, we cut out small pieces of cellophane (in purple and blue),

Over the light source and in a dark space. We can see the light appearing different already!

Finally, it works with tonic water in a bottle! We were so excited.

Then, we transferred the water into the bag but due to contact with the air over a long time, the tonic water has lost its effect :'( So we had to give up the idea, and proceed with an alternative, and MOVE ON.
Our initial idea also included to clamp and suspend the structure so users could interact with it from under it.

Working on some wood.

Carpenters!!!

We were going to stick and nail 4 pieces of wood together as a clamping structure.

However, the suspension would cause water to only concentrate on the centre of the piece, causing huge pressure and a great reduction in fluidity ): This contradicts our central concept, so we decided to scrape this off.
The optimal solution we decided on was to lay flat on the table surface to allow almost full control of the movement of the water. To enhance the user experience, which is to allow him to feel the motion, we will create 2 layers: above & below the hand.
Which means… making one more water bag!!!

On this added piece, we mixed glitter and crystals into the water to contribute to a shimmering glowing effect of the relaxed water 

Looks cute!!!

Finally, we sealed the second piece. BUT TO OUR HORROR, when we tried to put the 2 pieces together, the first one has spilled!!!

It’s okay we took care of it.
Now that we have finished the 2 waterbeds, it’s time for the set-up: Lighting!
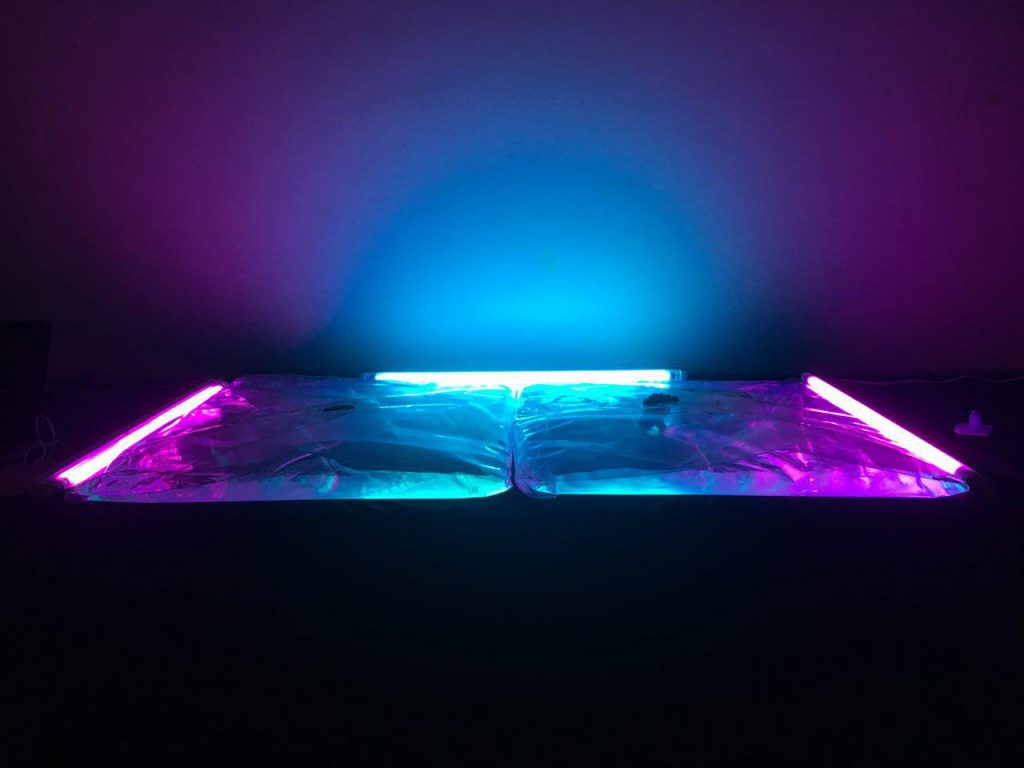
Using the same concept for the bar lights we produce a purplish-pink kind of gradient light which is reflected by the water.
This final piece appears like this:

It looks absolutely amazing 
The ferroxide is then scattered over the surface, when the hand holds onto the magnet hook to interact with it.

April 8, 2017 at 11:39 pm
You probably needed a rectangular wooden frame clamped on all 4 sides & probably 2 more battens in the middle to reduce the span of waterbed , thus the sagging. It can be worked out. This allows more room for varying the distance between the ferroxide & the magnet ring & hence making the undulating “spikes” more obvious. This is just a suggestion for improvement. No worries. Your setup during presentation day was sufficiently convincing. 🙂