Resin Encapsulation
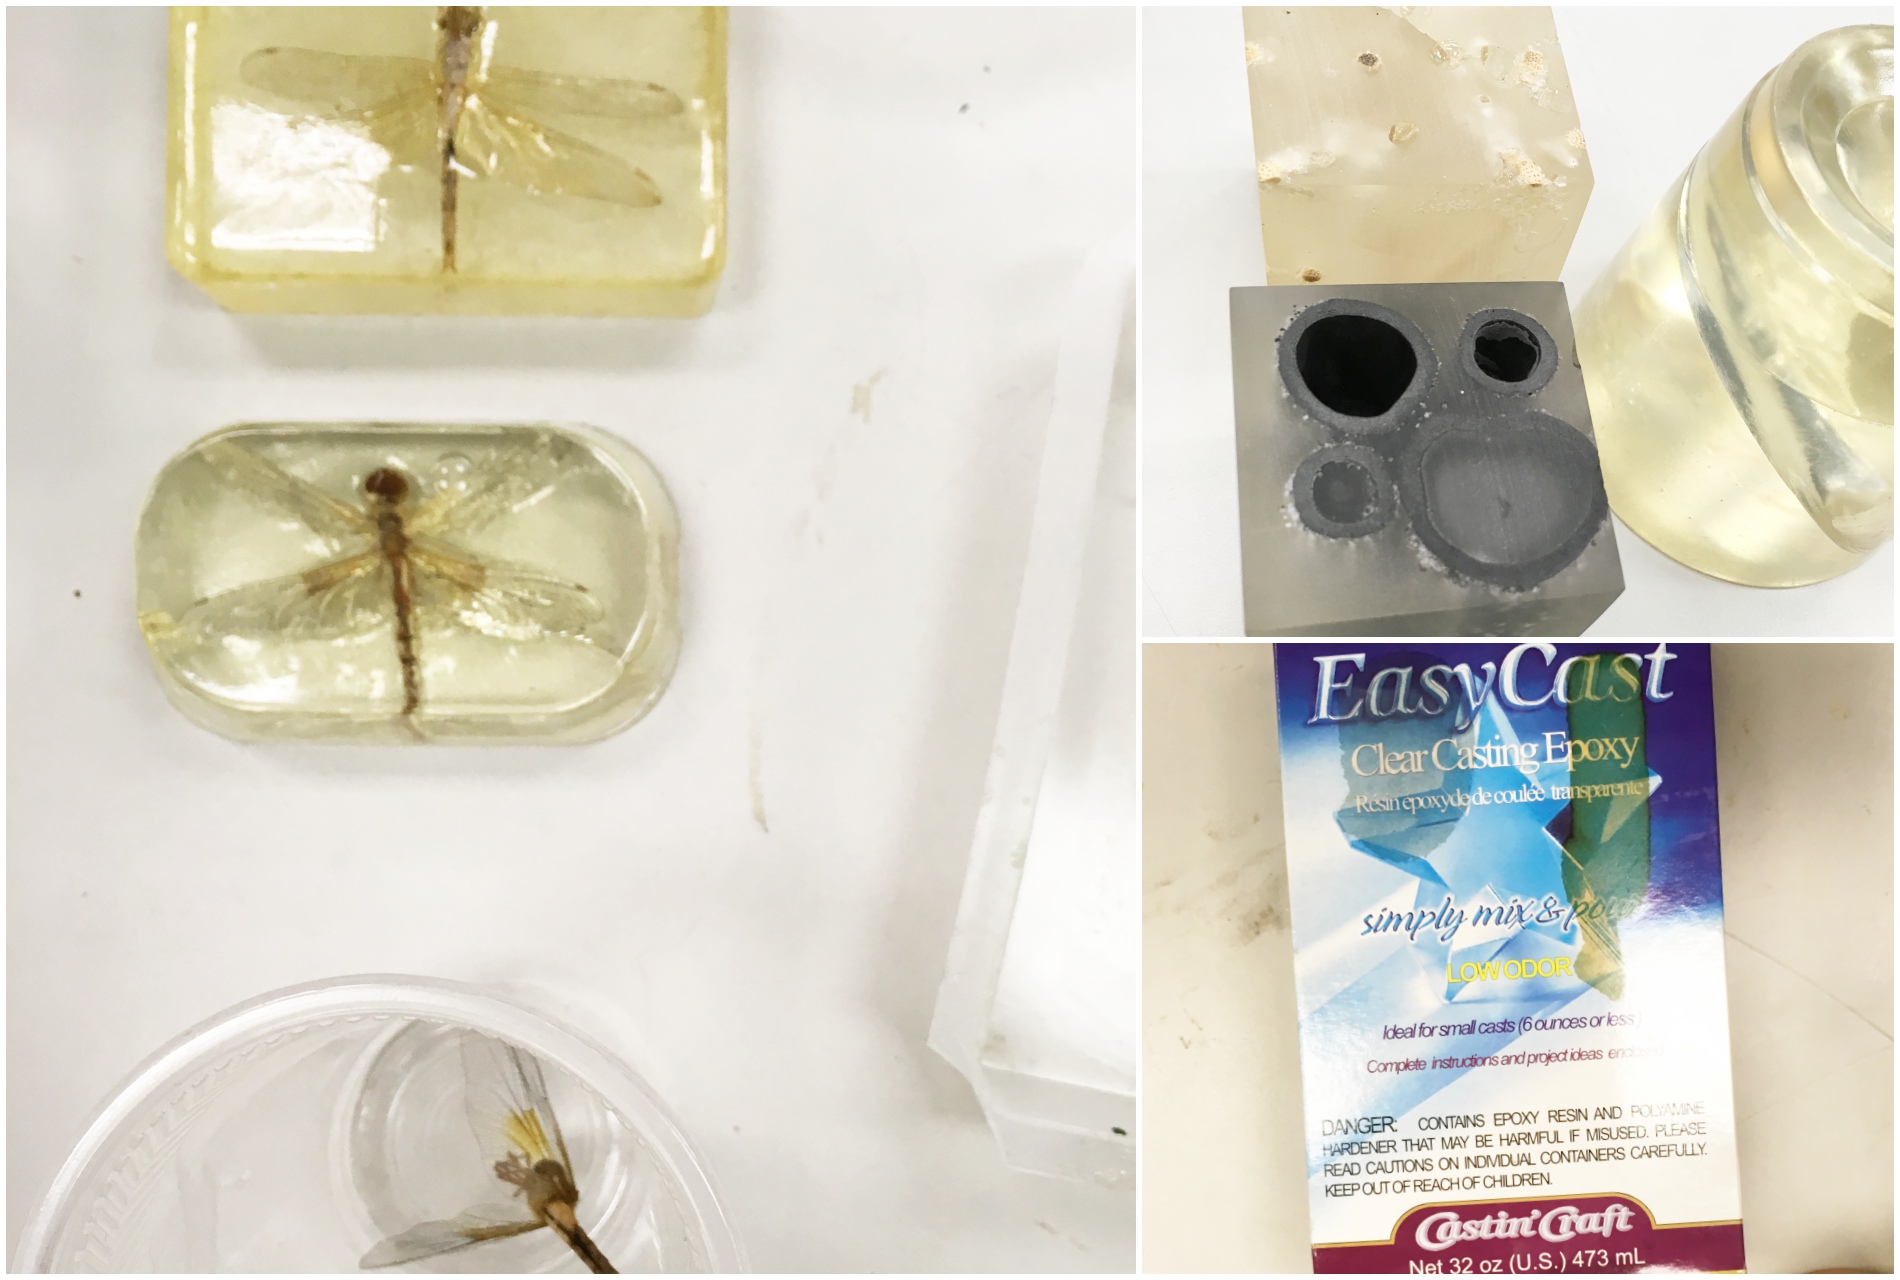
There are three main types of resin casting (Information from Environ Molds) :
- Polyester– commonly used in moulded reinforced fibre and composite products. It is a viscous liquid that requires catalysts to complete the curing process. It is considered unsafe due to the harmful fumes released (need well-ventilated areas and masks). It will also yellow over time when exposed to UV.
- Epoxy– more expensive but clearer. It takes several hours to days for complete curing.
- Polyuerethane– sets faster at around five to twenty minutes, and is less odorous.
Materials required:
- Mould (no bigger than 12 by 8 cm)
- Liquid resin
- Resin spray
- Things to encapsulate (leaves, wood, fabric, etc)
Technique:
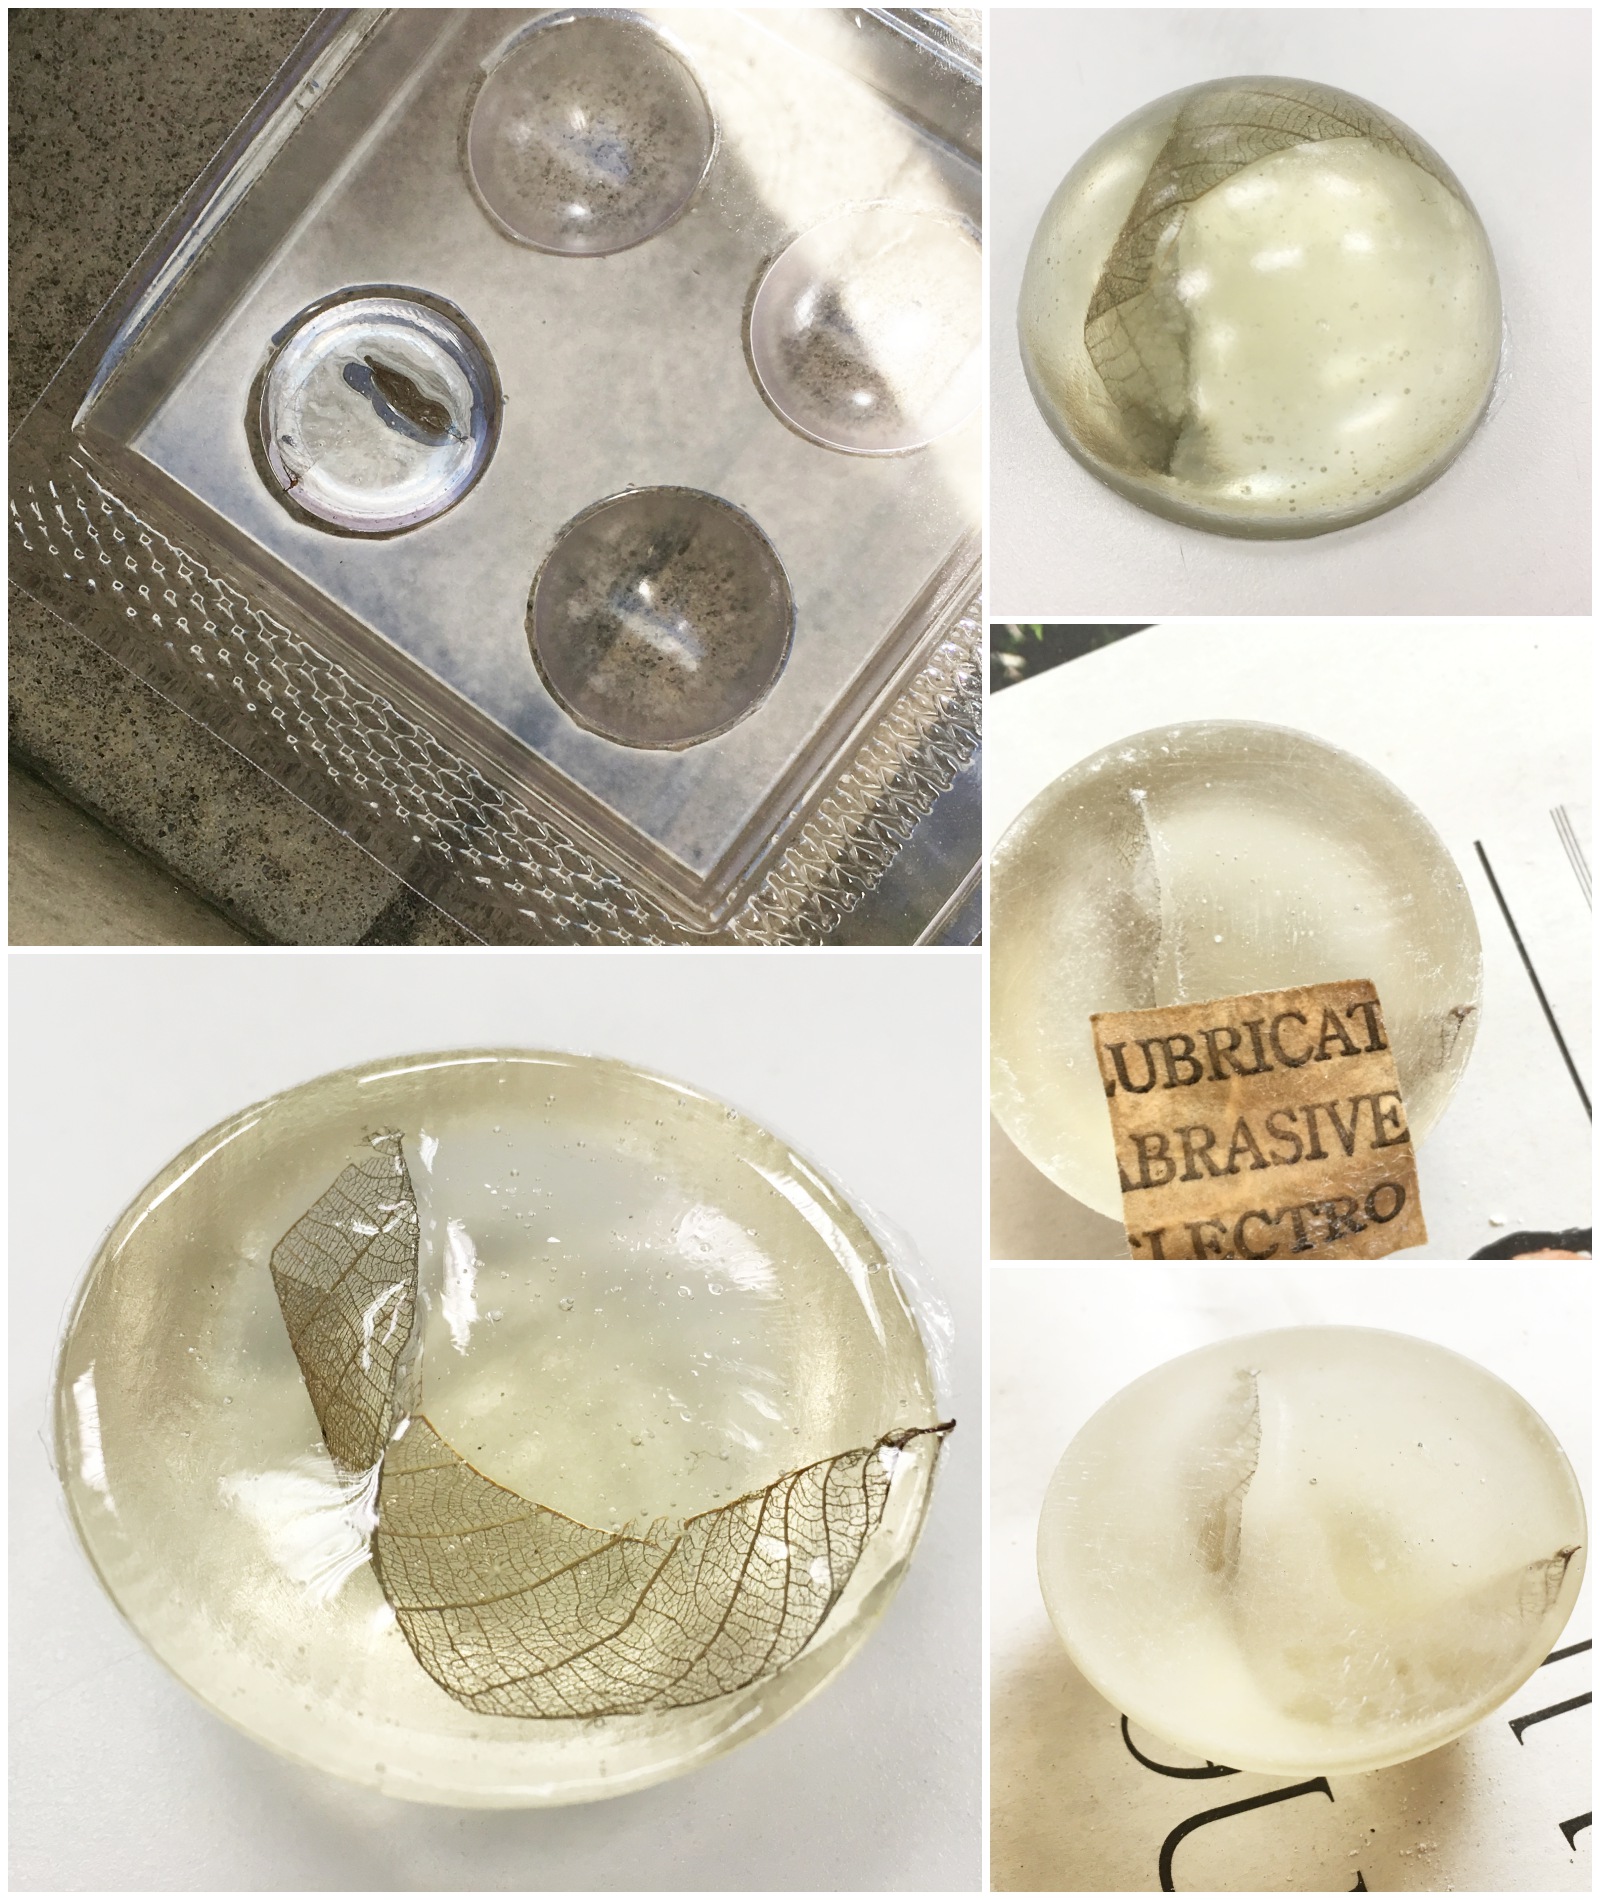
- Dust the container
- Spray the mould with resin spray
- Arrange the object in the mould (unless the object is to be placed midway in the resin)
- Pour out the resin into a large container and weigh it
- Add in the hardener (3% of the weight of the resin)
- Stir well and pour the mixture into the mould with the object
- Remove bubbles by poking with a pin
- Allow the resin to dry

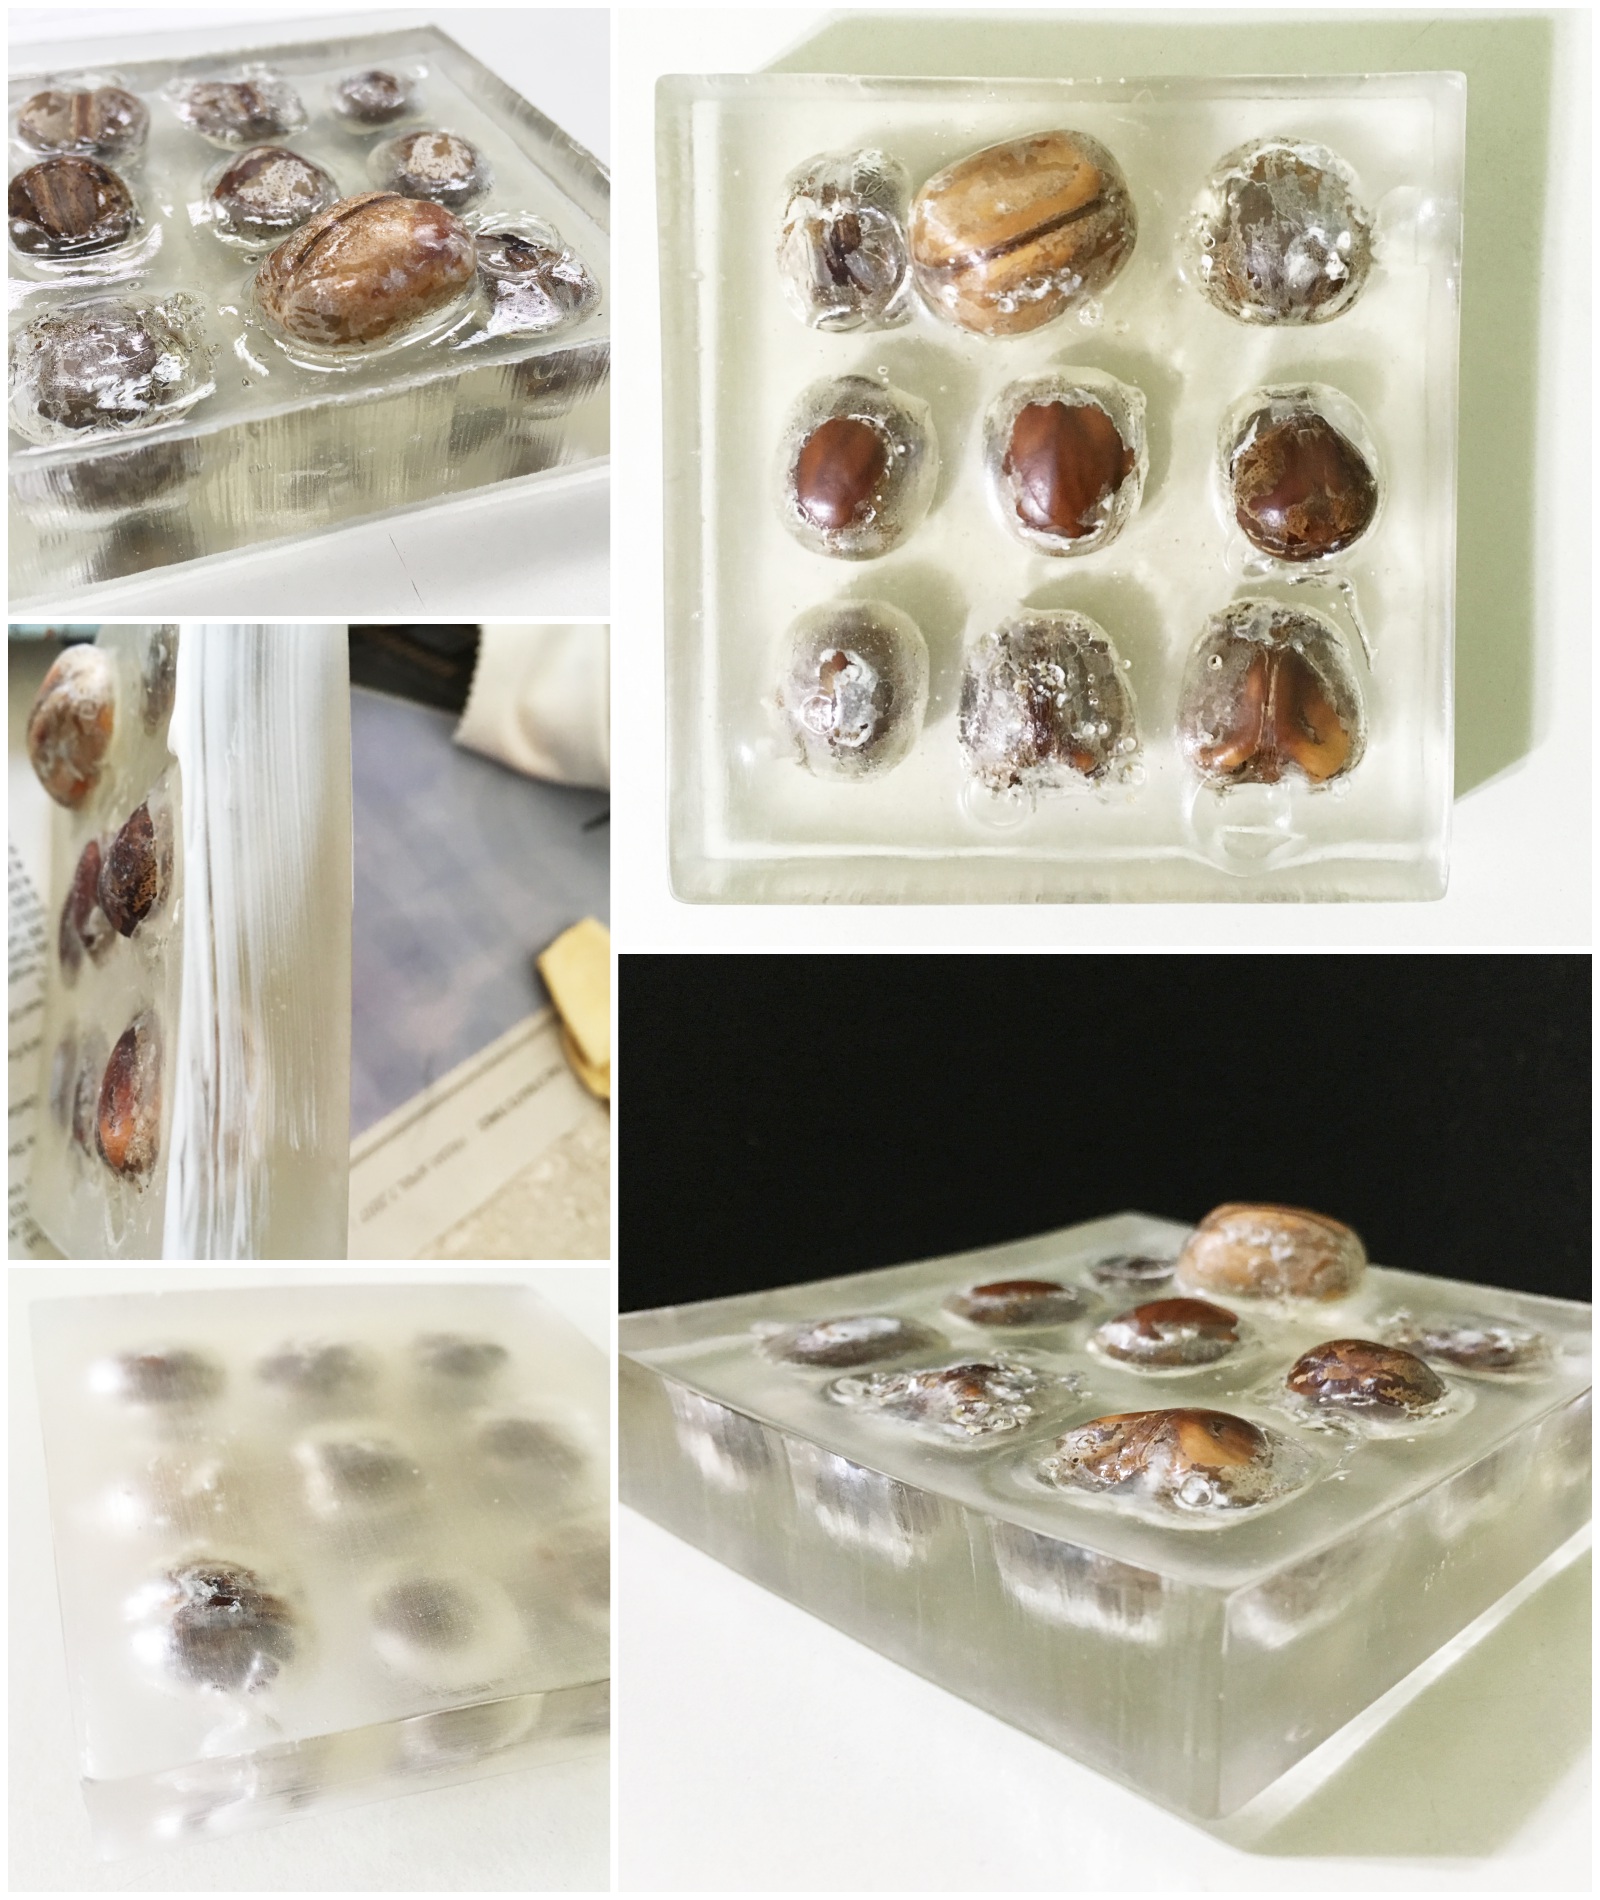
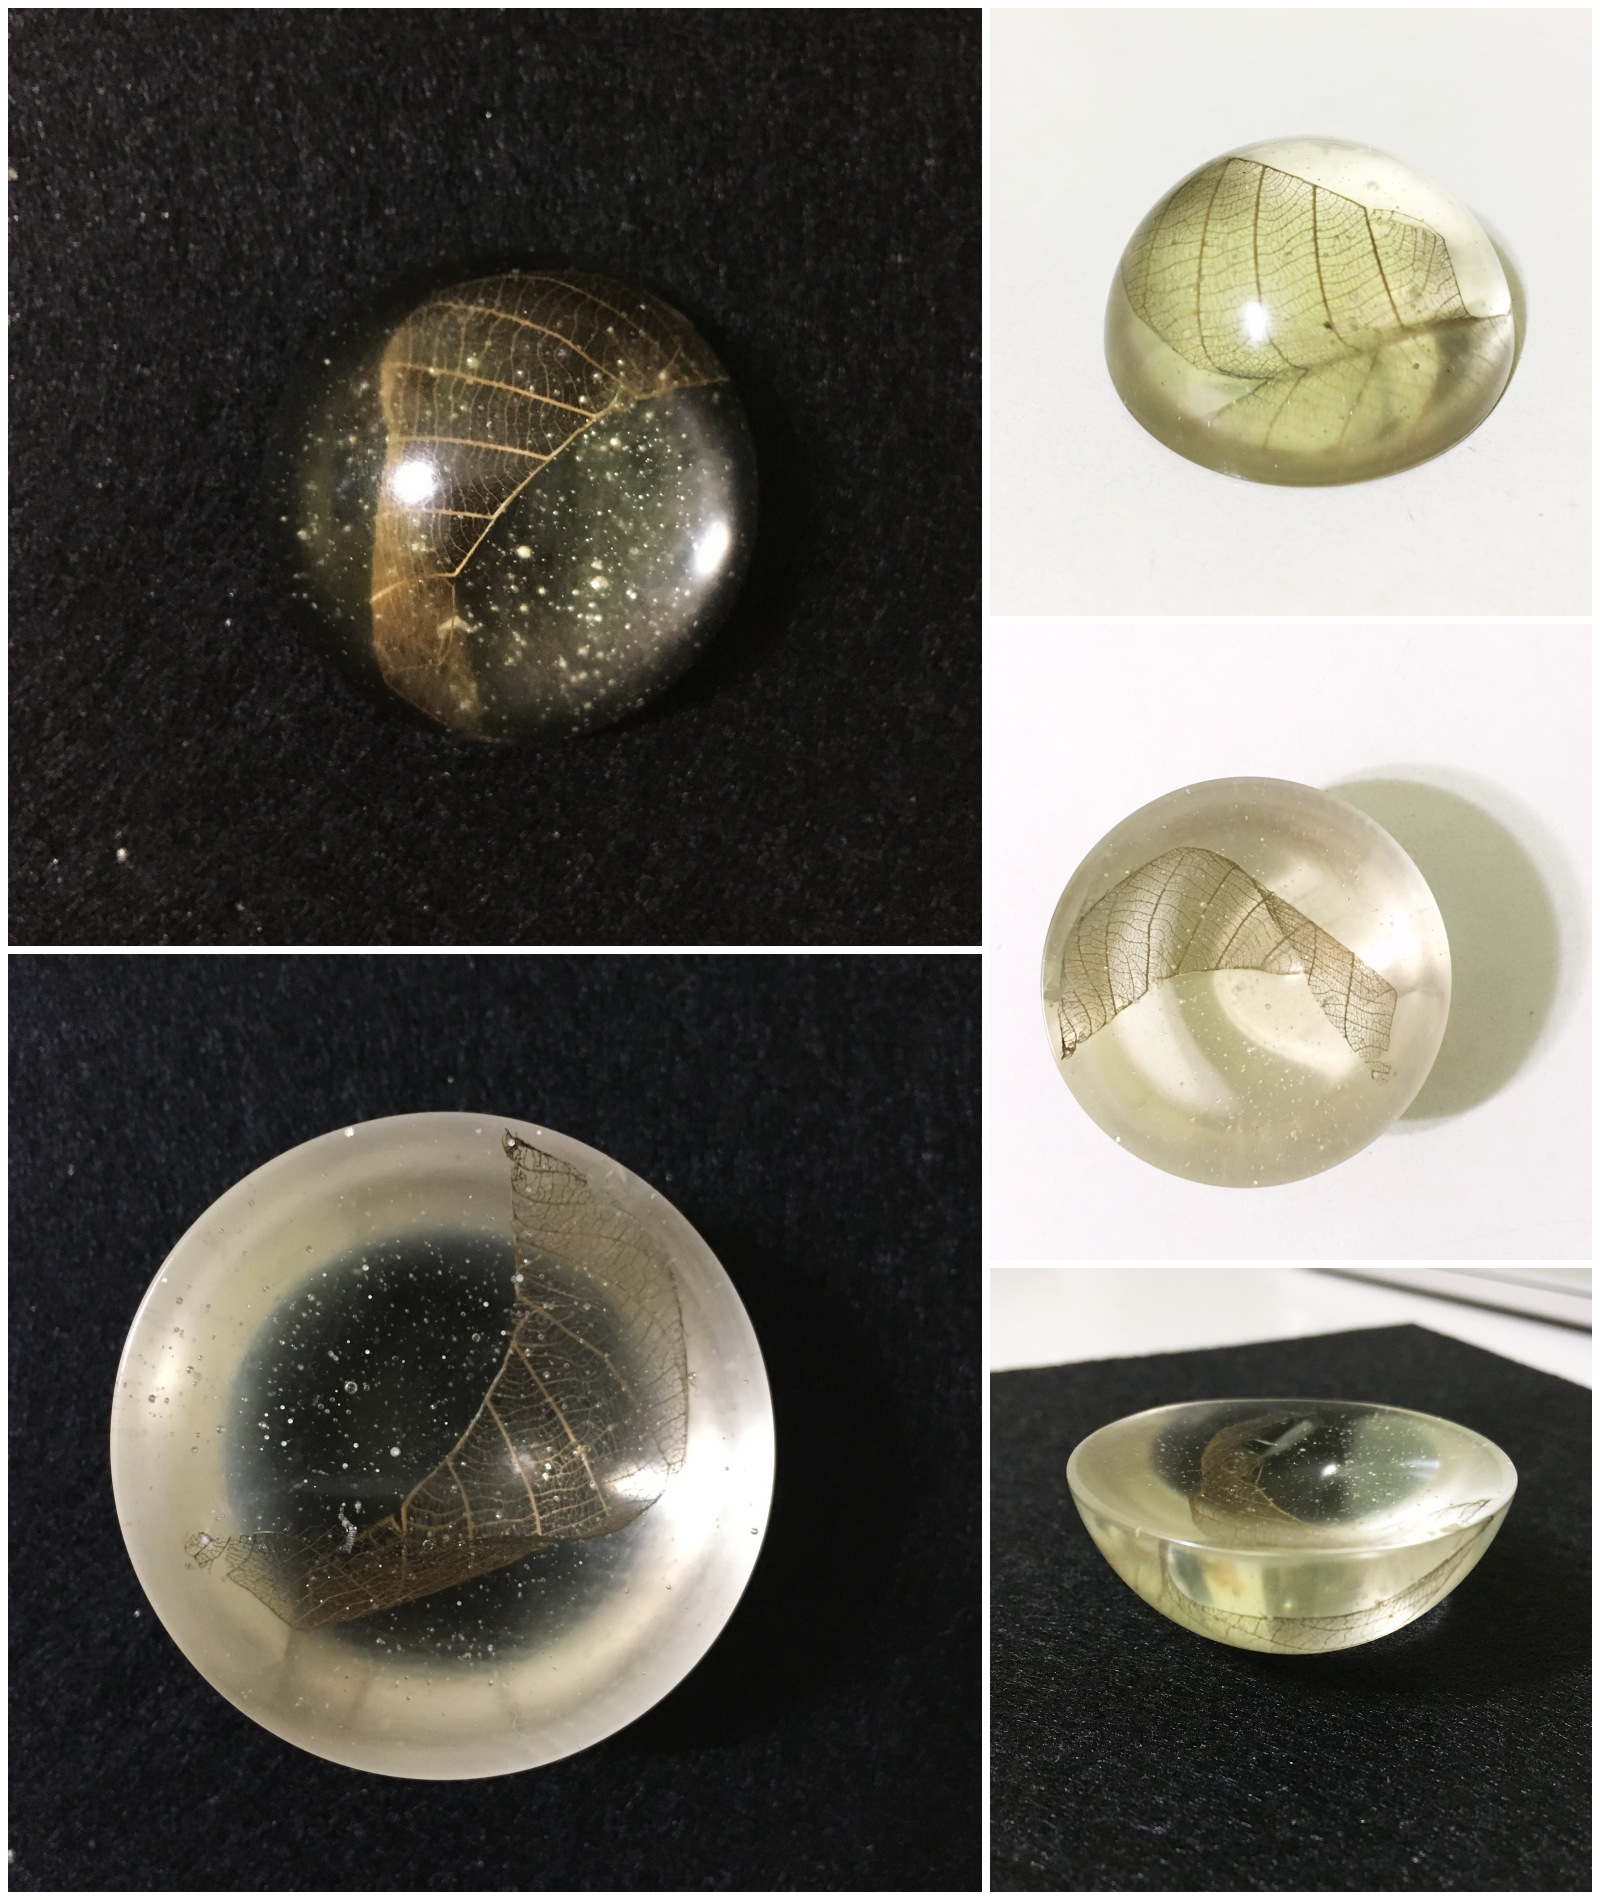
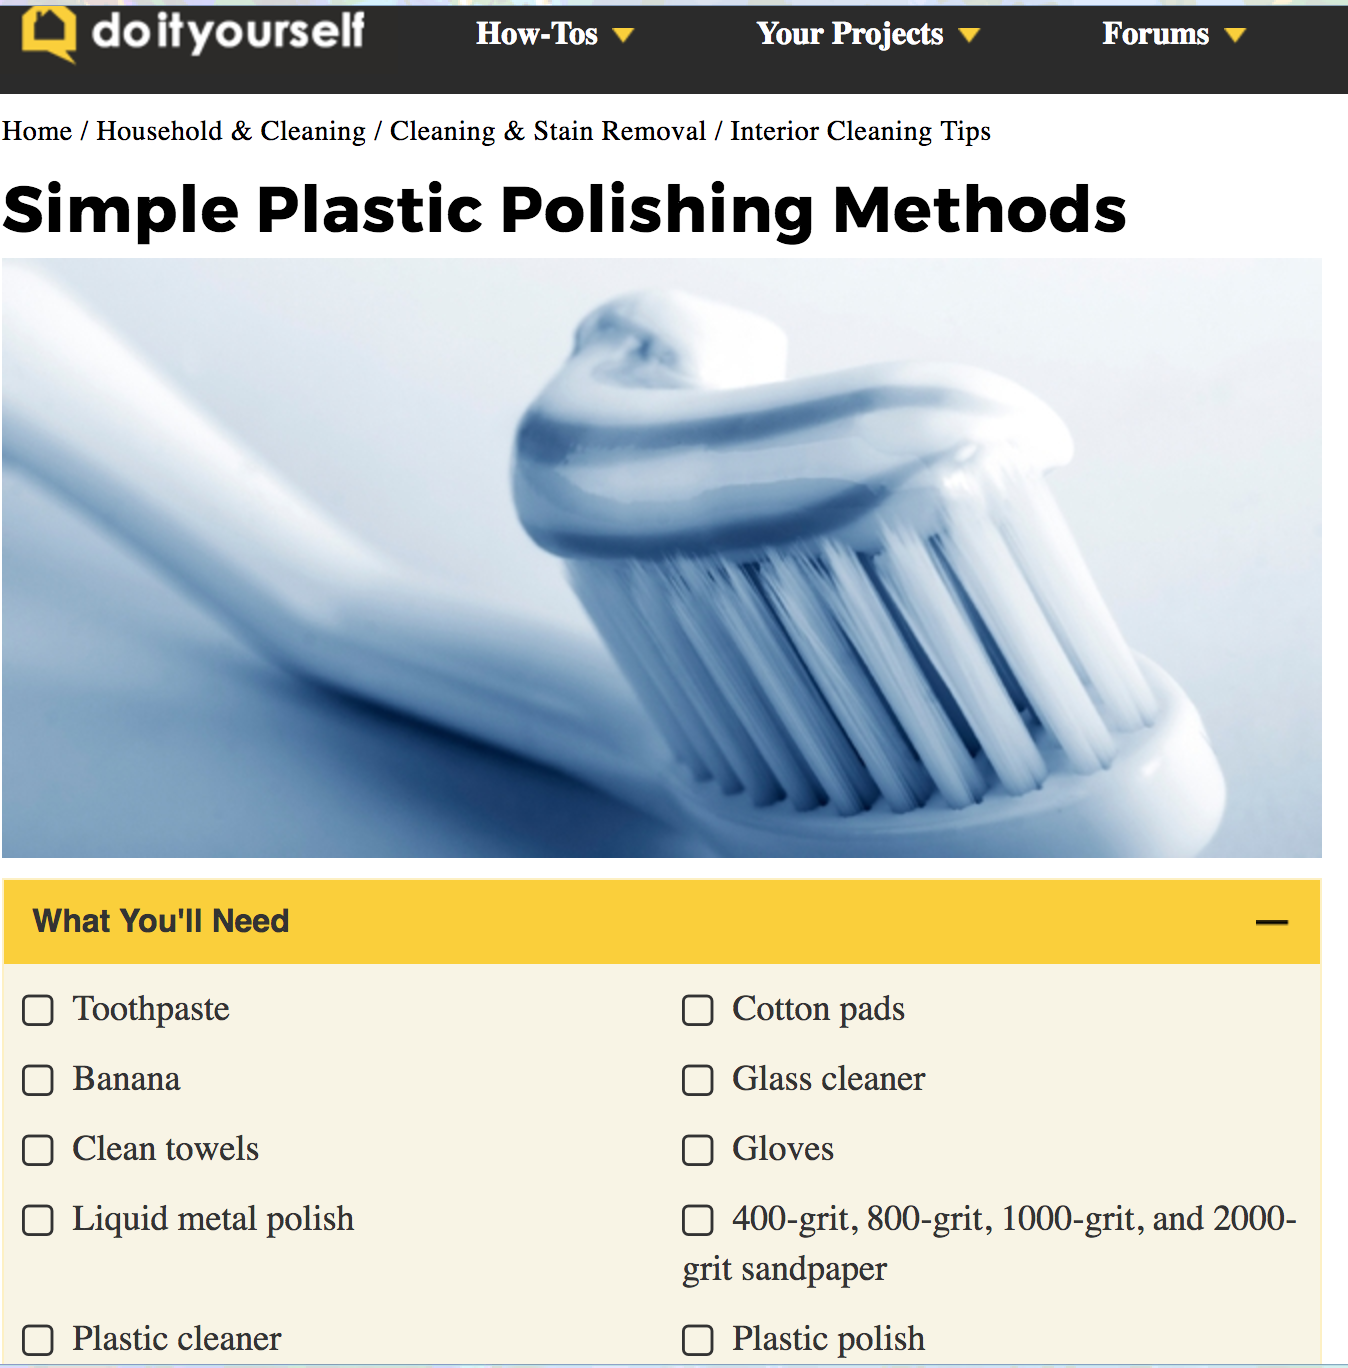
- Decided to try sand off any excess or sharp edges (followed by buffing with toothpaste as suggested by the internet, and then applying wax to polish the surface)
- (however, it was not as shiny and transparent as it could be)
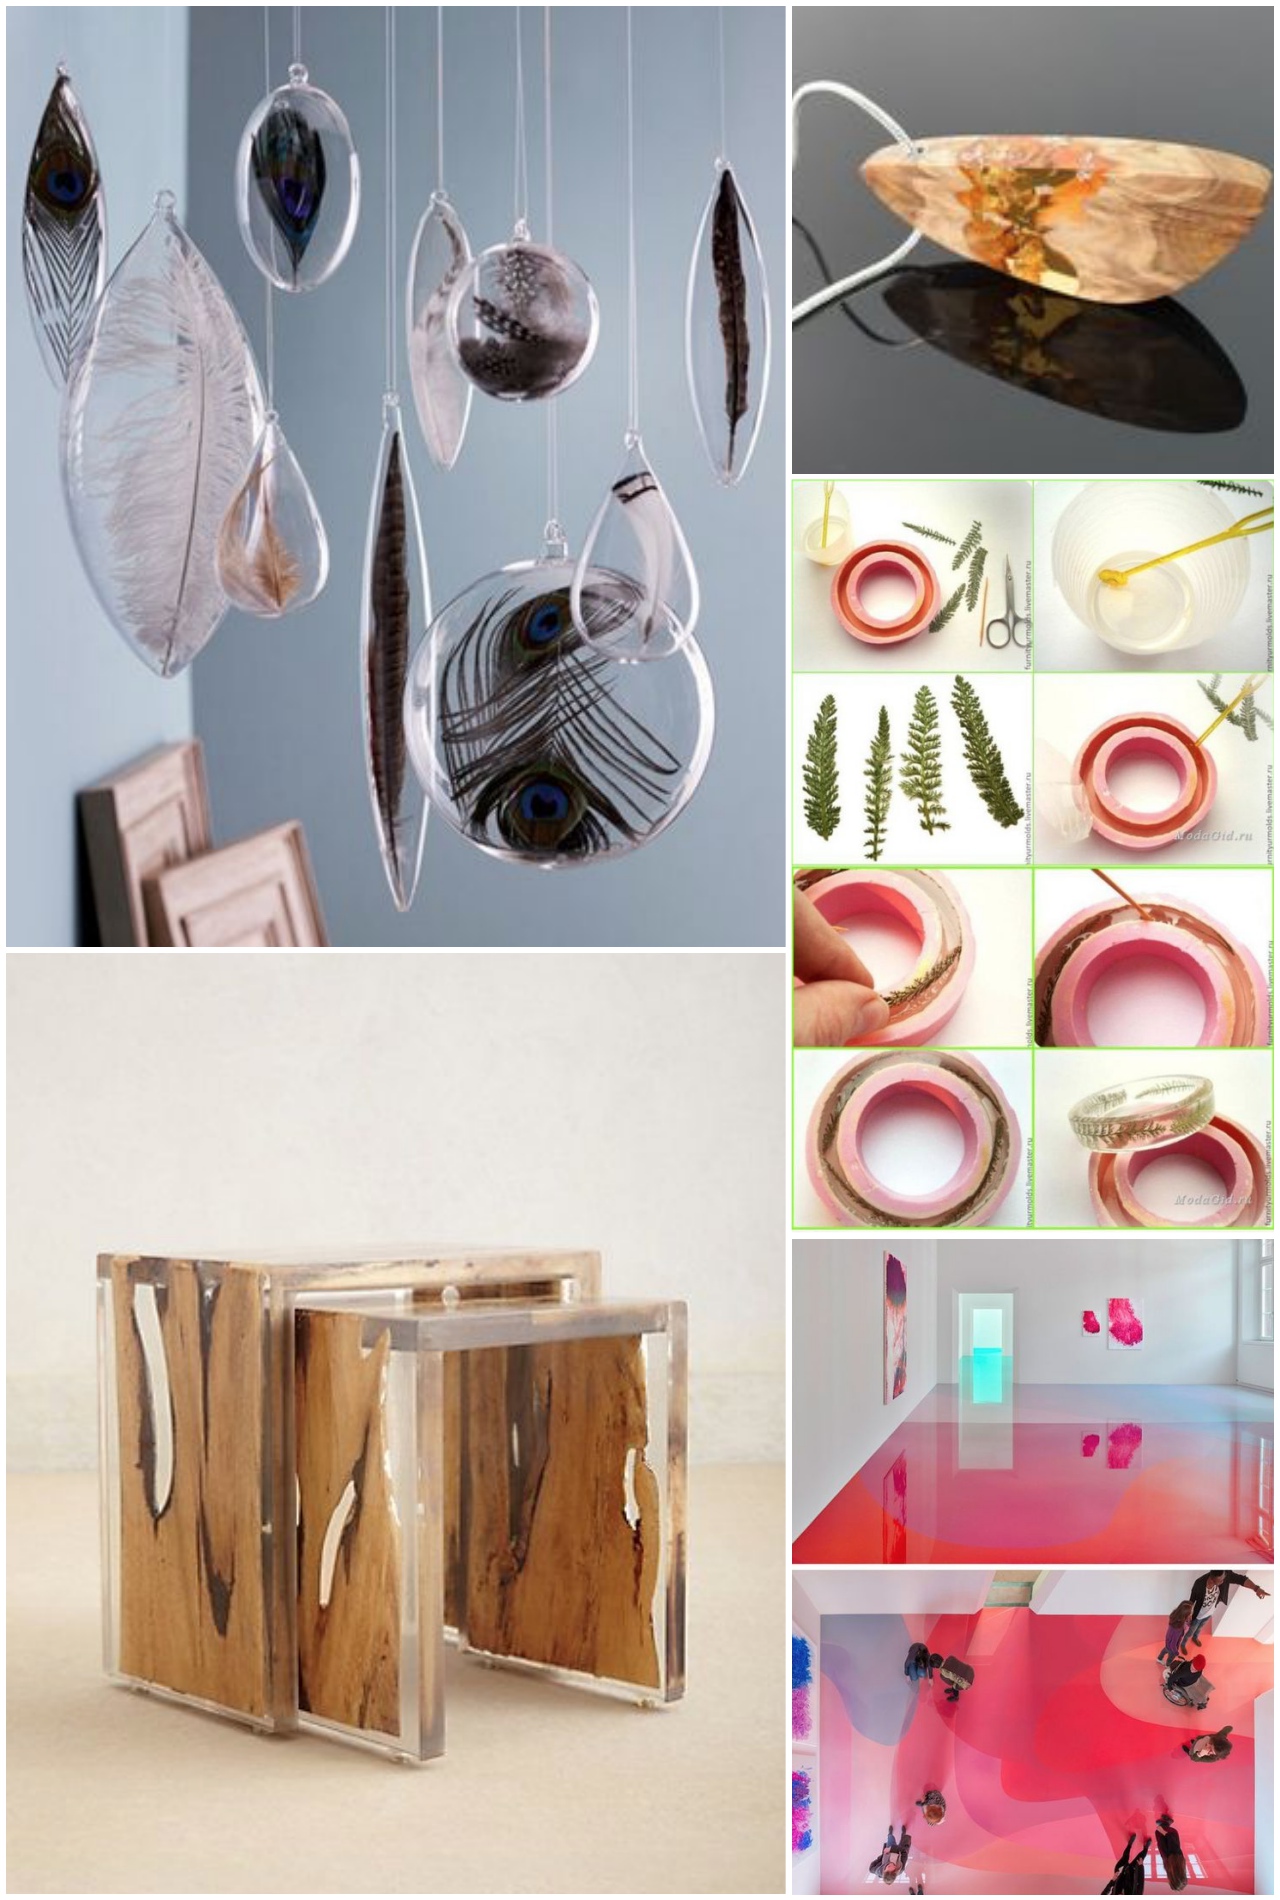
Applications include:
- The very small (jewellery) and the large (floors and walls)
- Display of specimens
- Objects that utilises its qualities (transparent, high density, strong)
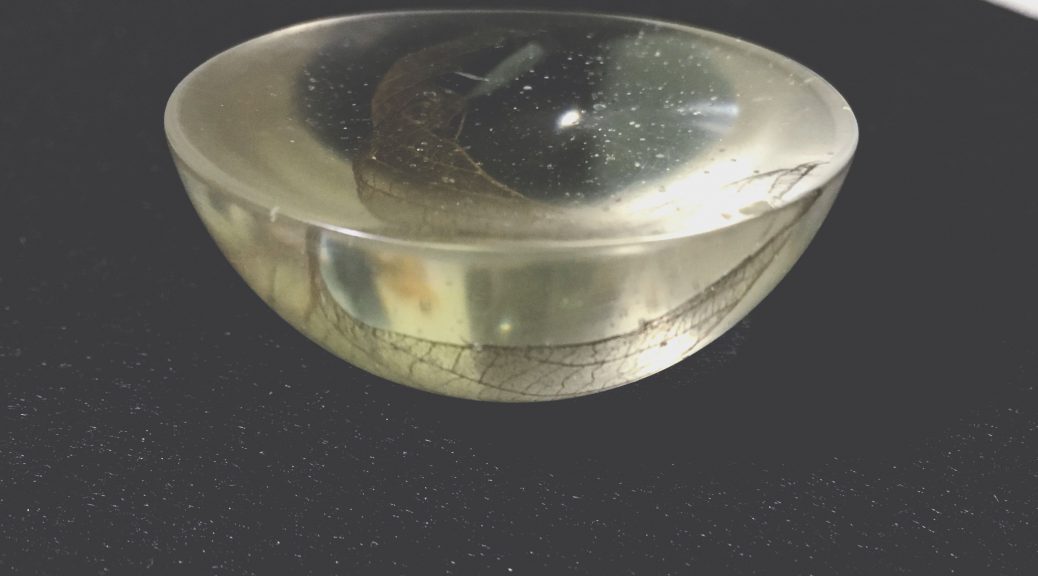
Personal reflections:
The transparency and the density of the resin causes refraction of light, enlarging the encapsulated object, manipulating the image of the background as well as cast shadows. These optical effects are particularly apparent while photographing the finished resin. The unique, three-dimensional frame around the chosen articles somehow creates a sense of stillness. I love such accidental discoveries!
Latex
Latex is a natural ingredient from rubber trees and they become sticky when drying. It solidifies and shrinks slightly into a rubbery material. It can be used as an adhesive as well. (information from Wikipedia)

Materials required:
- Mould
- Liquid latex
- Colours (food dye or acrylic paint)
Technique:
- Pour out the latex into a large container and weigh it
- Add in the hardener (3% of the weight of the latex)
- Stir well and pour the mixture into the mould
- Add in desired colours and stir
- Allow the latex to dry
Applications include:
- Props, masks, balloons
- Mats and wall coverings
- Lamps and other objects that can utilises its qualities (flexible, water proof, translucent, absorbent, soft)

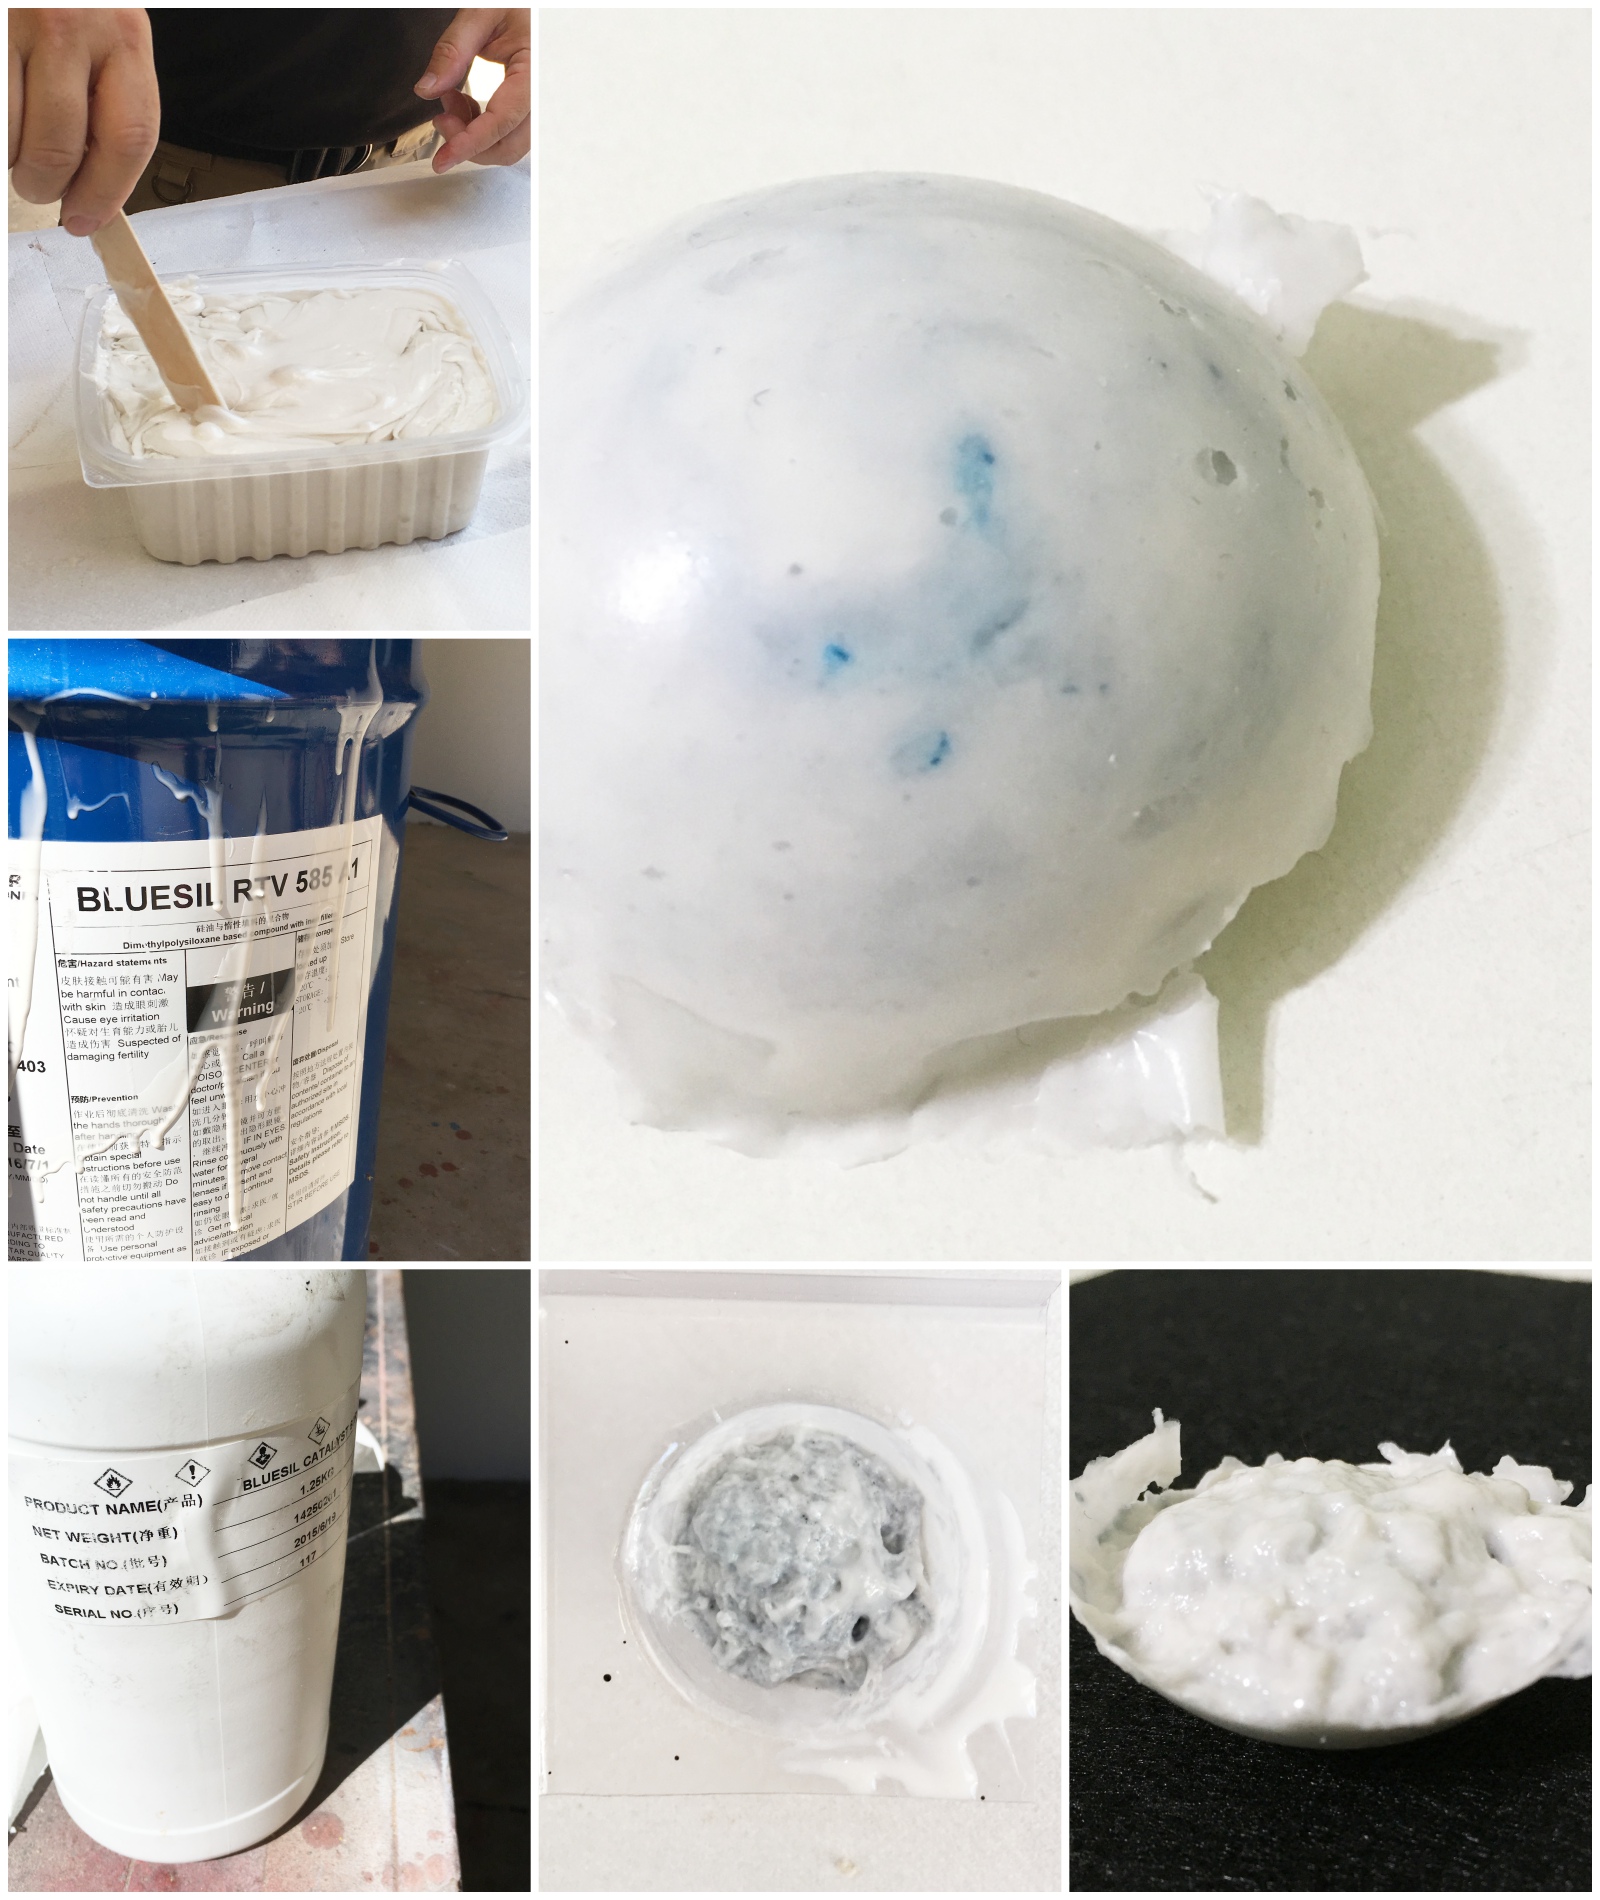
Personal reflections:
This seemed rather tough to handle as the latex hardened faster than we could manage. Although the resulting form was messy, the introduction to latex was fun and invokes that sense of childhood (those strange rubbery toys we had?). Upon reading more about the applications of latex, I realised that it was intended for industrial purposes rather than art. It is inspiring how putting a creative spin on a material can inject new life into it.