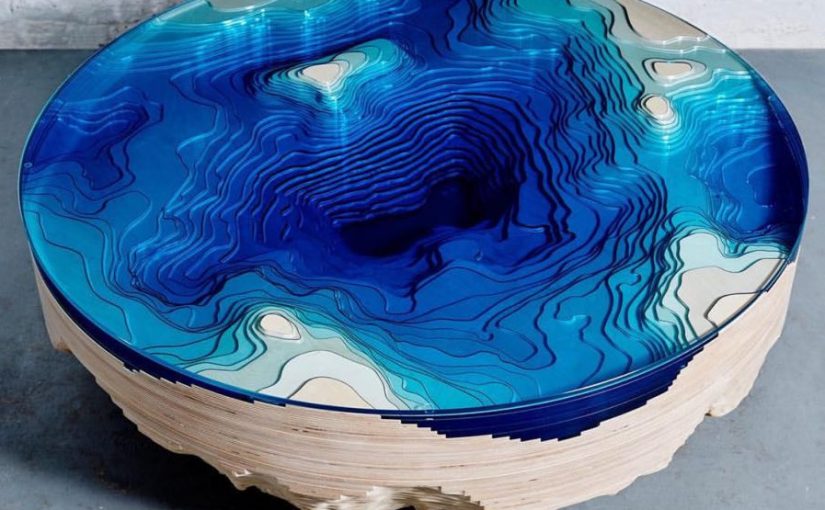
Now that’s interesting and beautiful furniture. I think it’s a table and the white is probably the Dominant while the blue glass is the SD. SO might be the white parts that stick out?

Now that’s interesting and beautiful furniture. I think it’s a table and the white is probably the Dominant while the blue glass is the SD. SO might be the white parts that stick out?
Arlo there,
So here’s the process I went through for my 3 sketch models!
MODEL 1


So these are photos of my 1st sketch model. I tried to get a design where the D, SD and SO can be easily recognized from any angle. I also tried piercing but it wasn’t very smooth.

I made a sketch analysis of this model and after the class critique session, I realised the SD was too long, thus making it look bigger than the D in some angles. Made a note to shorten it. The model was well received though and I was happy about that. Decided to add wedging into this model.
MODEL 2


Tried another model but with more hanging for each piece.
This had quite a few problems. The SO was longer than the D, as well as being flushed to the tip of the SD. Meanwhile the SD was wedged into the center of the D. In general, the model was not as interesting as I thought it was. The lengths were too similar in some cases. At least I managed to get some wedging practice out of this.
MODEL 3


For the third model, I tried to get the same effect of having a easily recognizable D, SD and SO from any angle.

However, this design came with a myriad of problems too. The SO felt too big, the SD’s height was similar to the width of the D when seen from an angle and the SD felt like it did not stick out enough.
But through the analysis, I was able to decide on a model to improve upon.