Pre-Session 2 (9/10/16)
I went to Muji on a Sunday to buy a couple of blank totebags for myself and my friends, so I figured I should put this down here as well so that I can refer to it if I ever need more totes in the future!
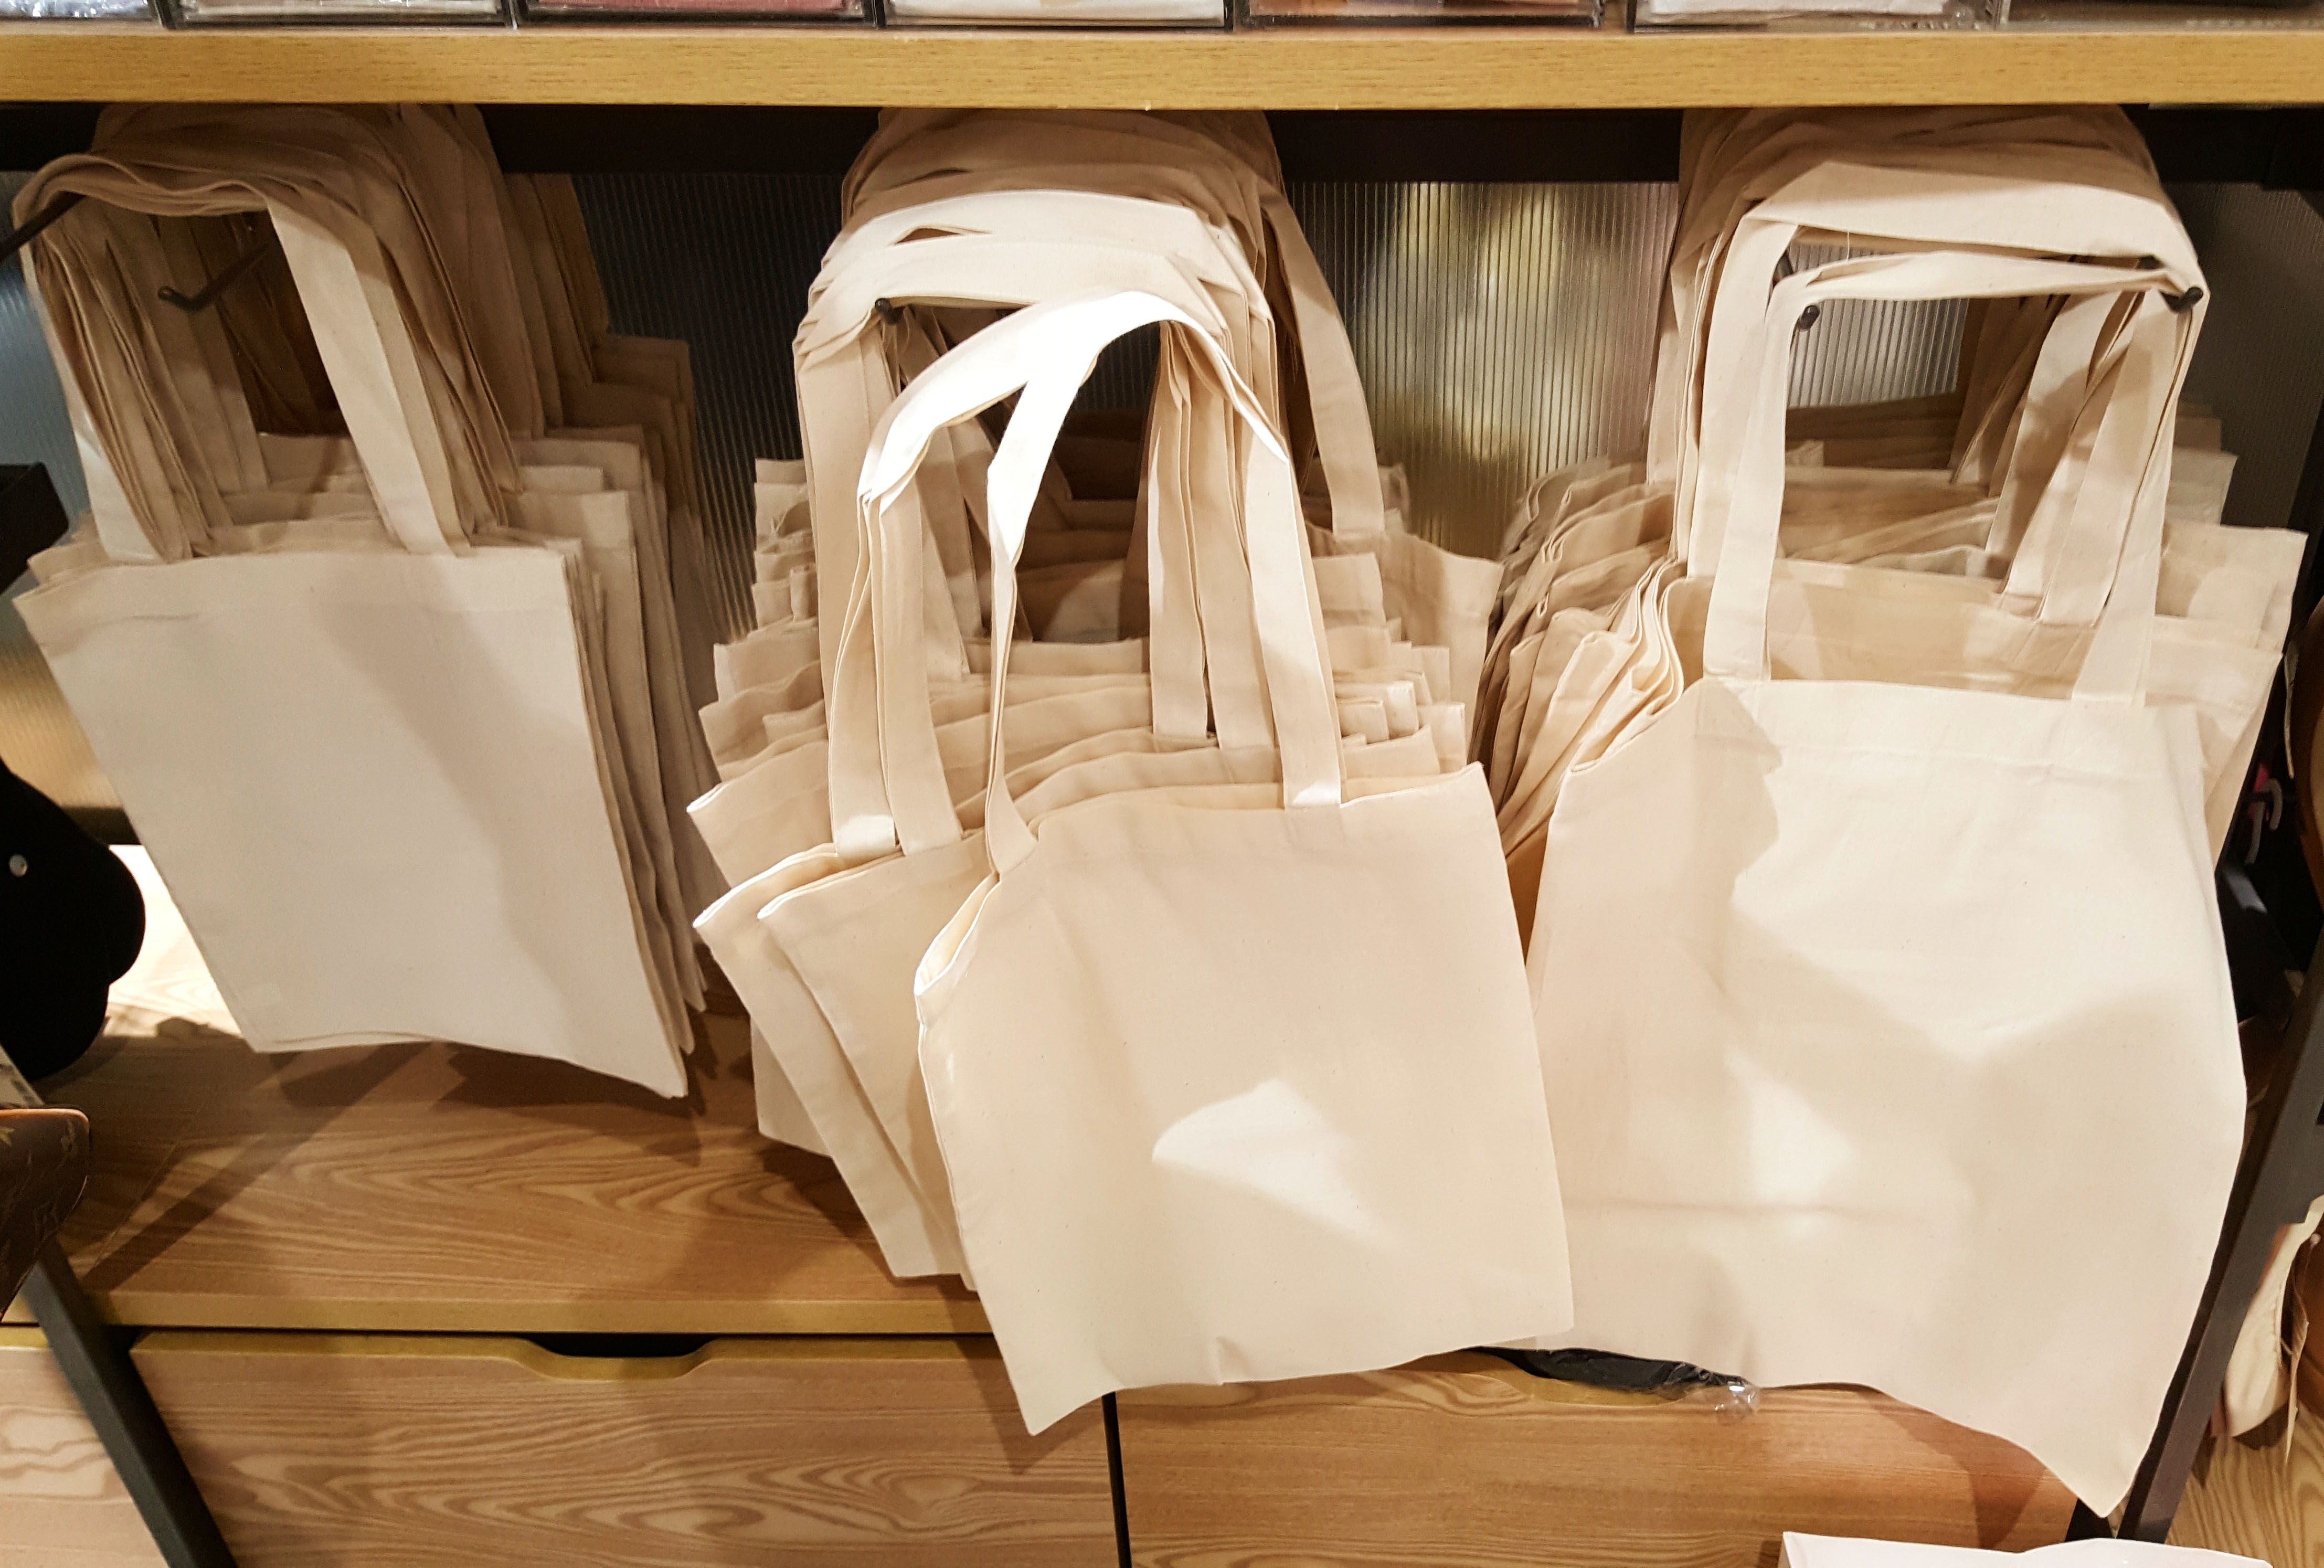
Nicole previously went to Art Friend as well to look at the totebags over there, but in terms of both pricing and fitting length – Muji is cheaper and also more aesthetically pleasing.
(I later found out on Tuesday that it was better for printing on (material-wise) as well)
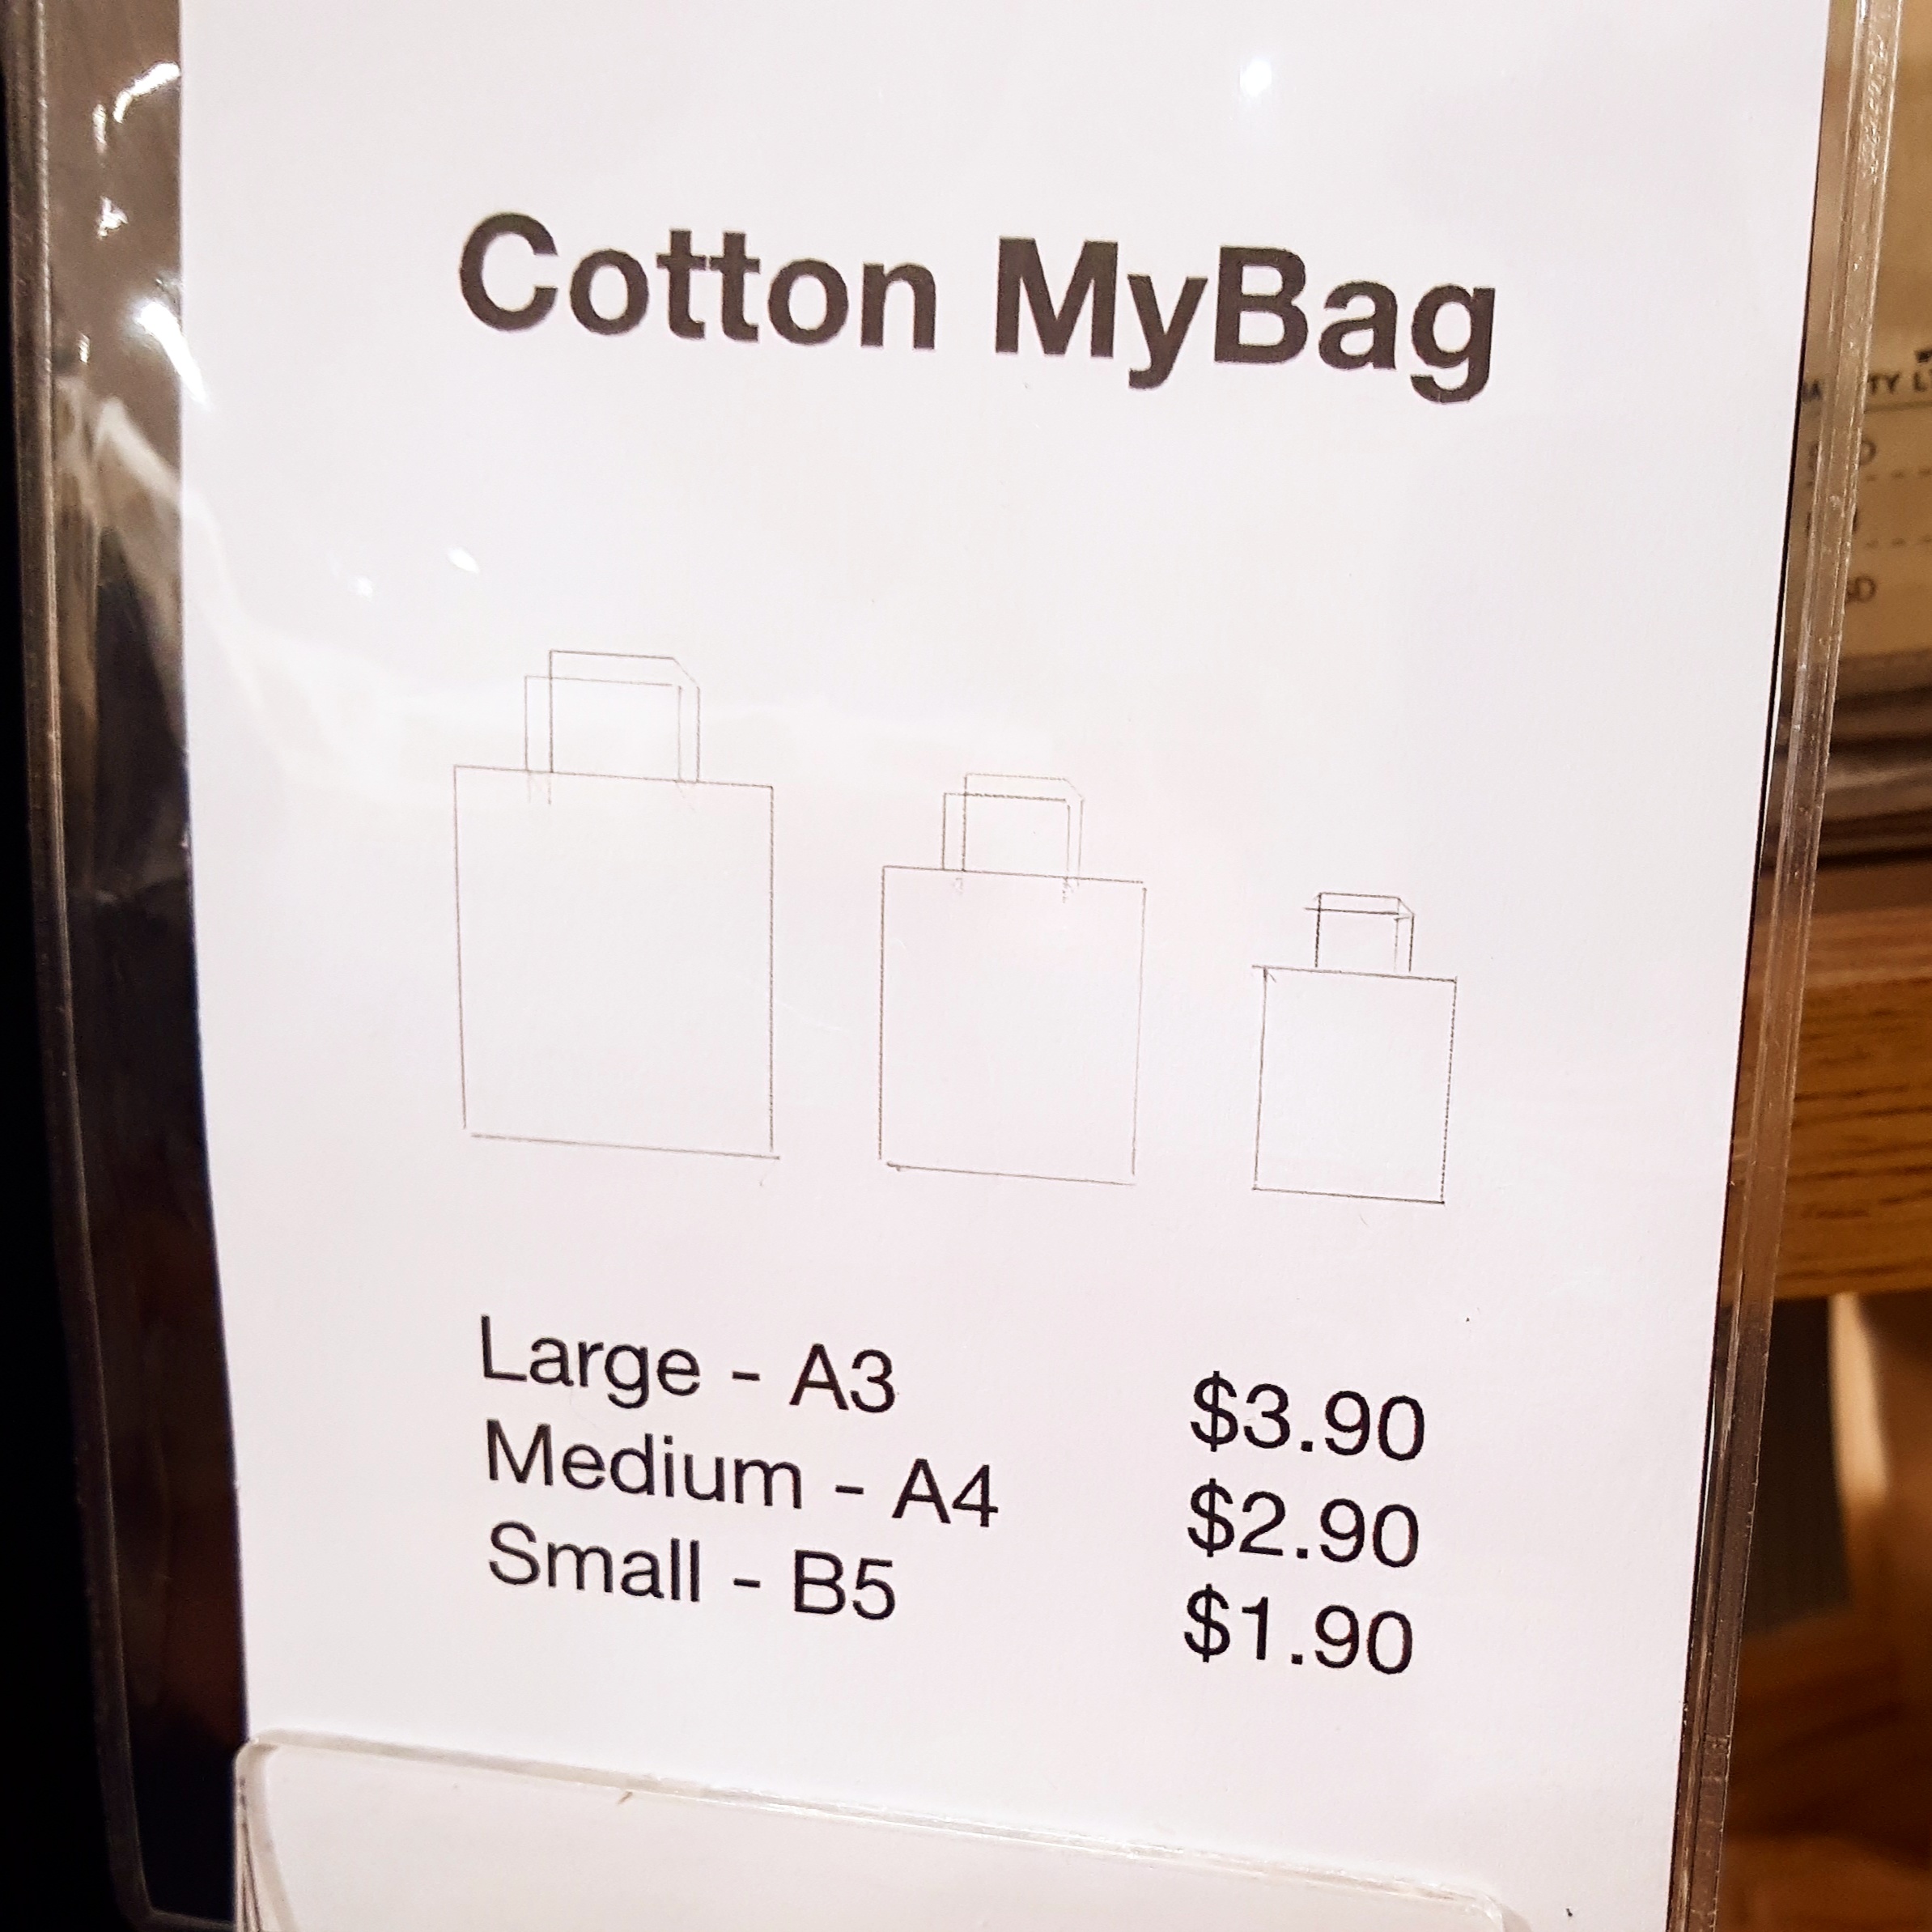
Also on an unrelated note, while shopping for the totes in Muji, I realised that Muji named it “MyBag”. A friend from WKW and I had a conversation over lunch about Japanese slang as well – I learnt more about their tendency to use “my —” in their slang.
Like when a Japanese asks you what is your “my boom”, it sounds ridiculous to us. What’s a “my boom”? Is it some sound? Some audio fad thing?
Apparently “my boom” refers to what’s your current obsession – like what do you have strong interest in – is it Kpop? Basketball? Fandoms?
There’s also “my glove”, which would mean personal gloves in japanese (which could be used when you have a personal bowling glove, etc)
So I guess Muji naming their product “MyBag” is their way of showing that they want to make this bag personal for the customer, in their own way.
It’s rather unrelated to the silkscreen process, but I feel like I understand more about Japanese product-naming senses and fads through shopping as well, so I just wanted to put this down. It’s kinda nice to learn! (‘u’)
Silkscreen Session Part 2 (The important bit!)
I’ve been dying to come back and finish up the silkscreen process!
Today’s session continued off from last week, and we got into pairs. I teamed up with Andree (thanks for being so patient and also for your help, Andree ;u;)
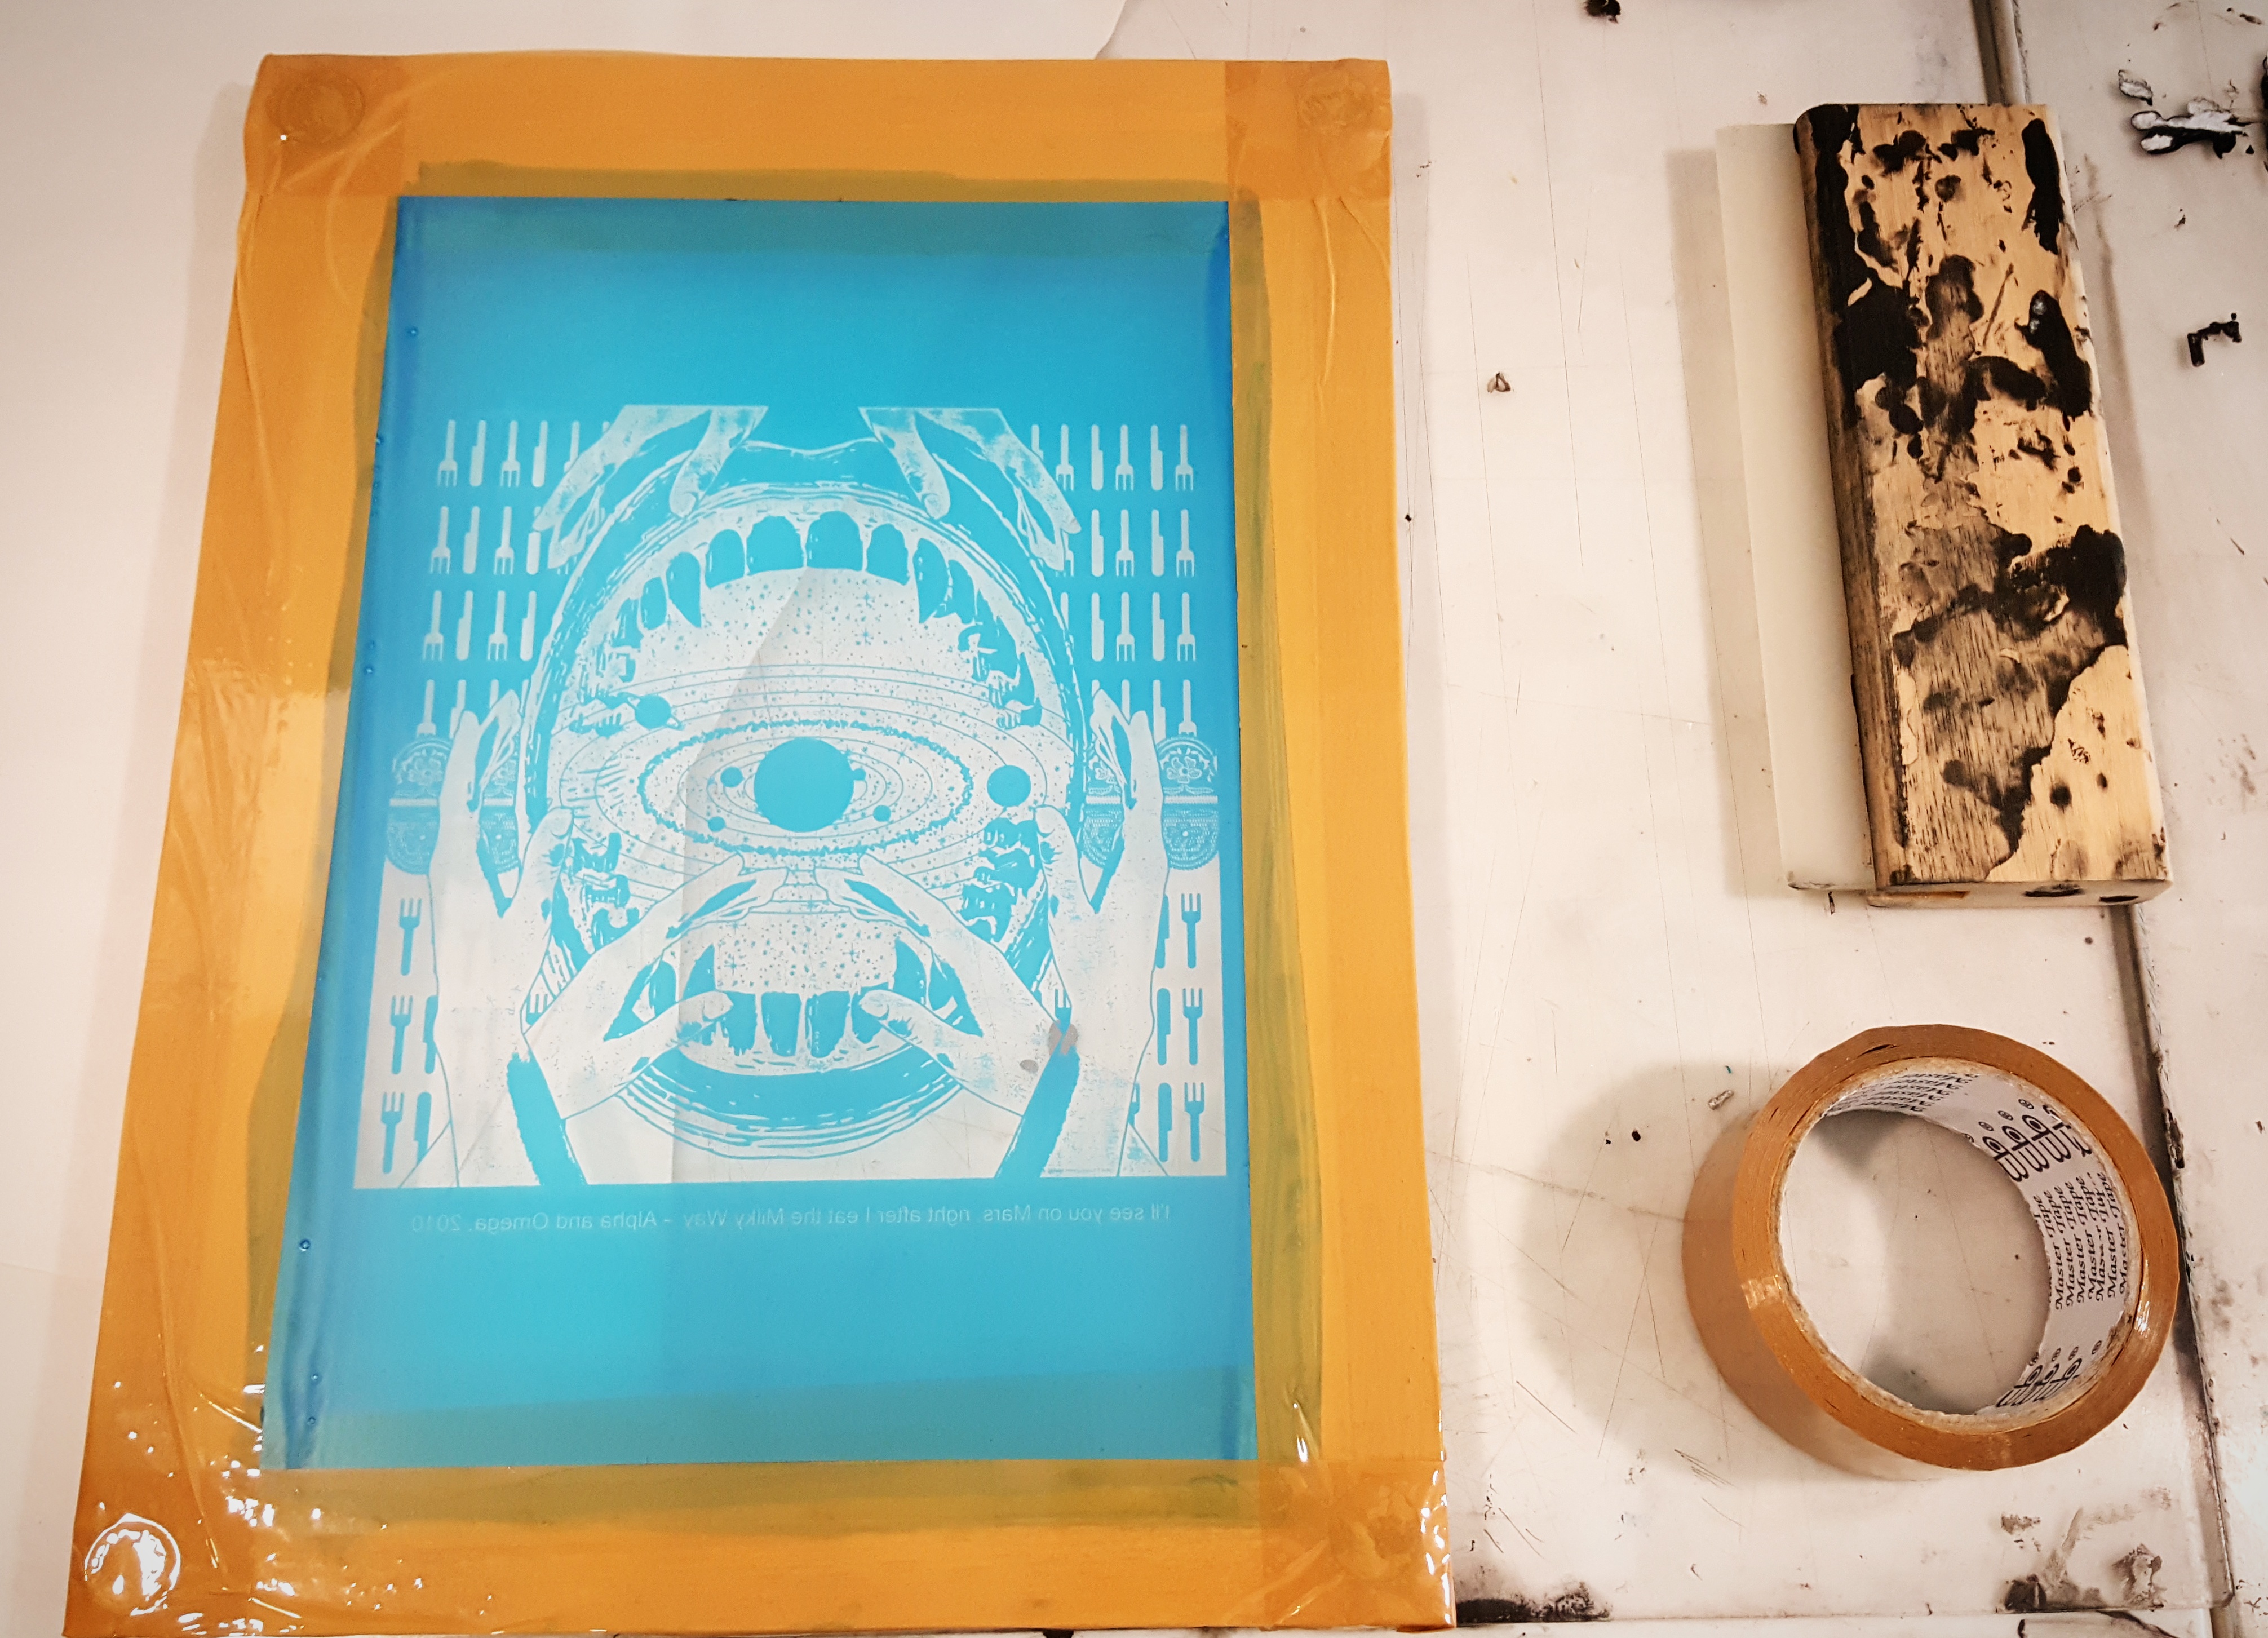
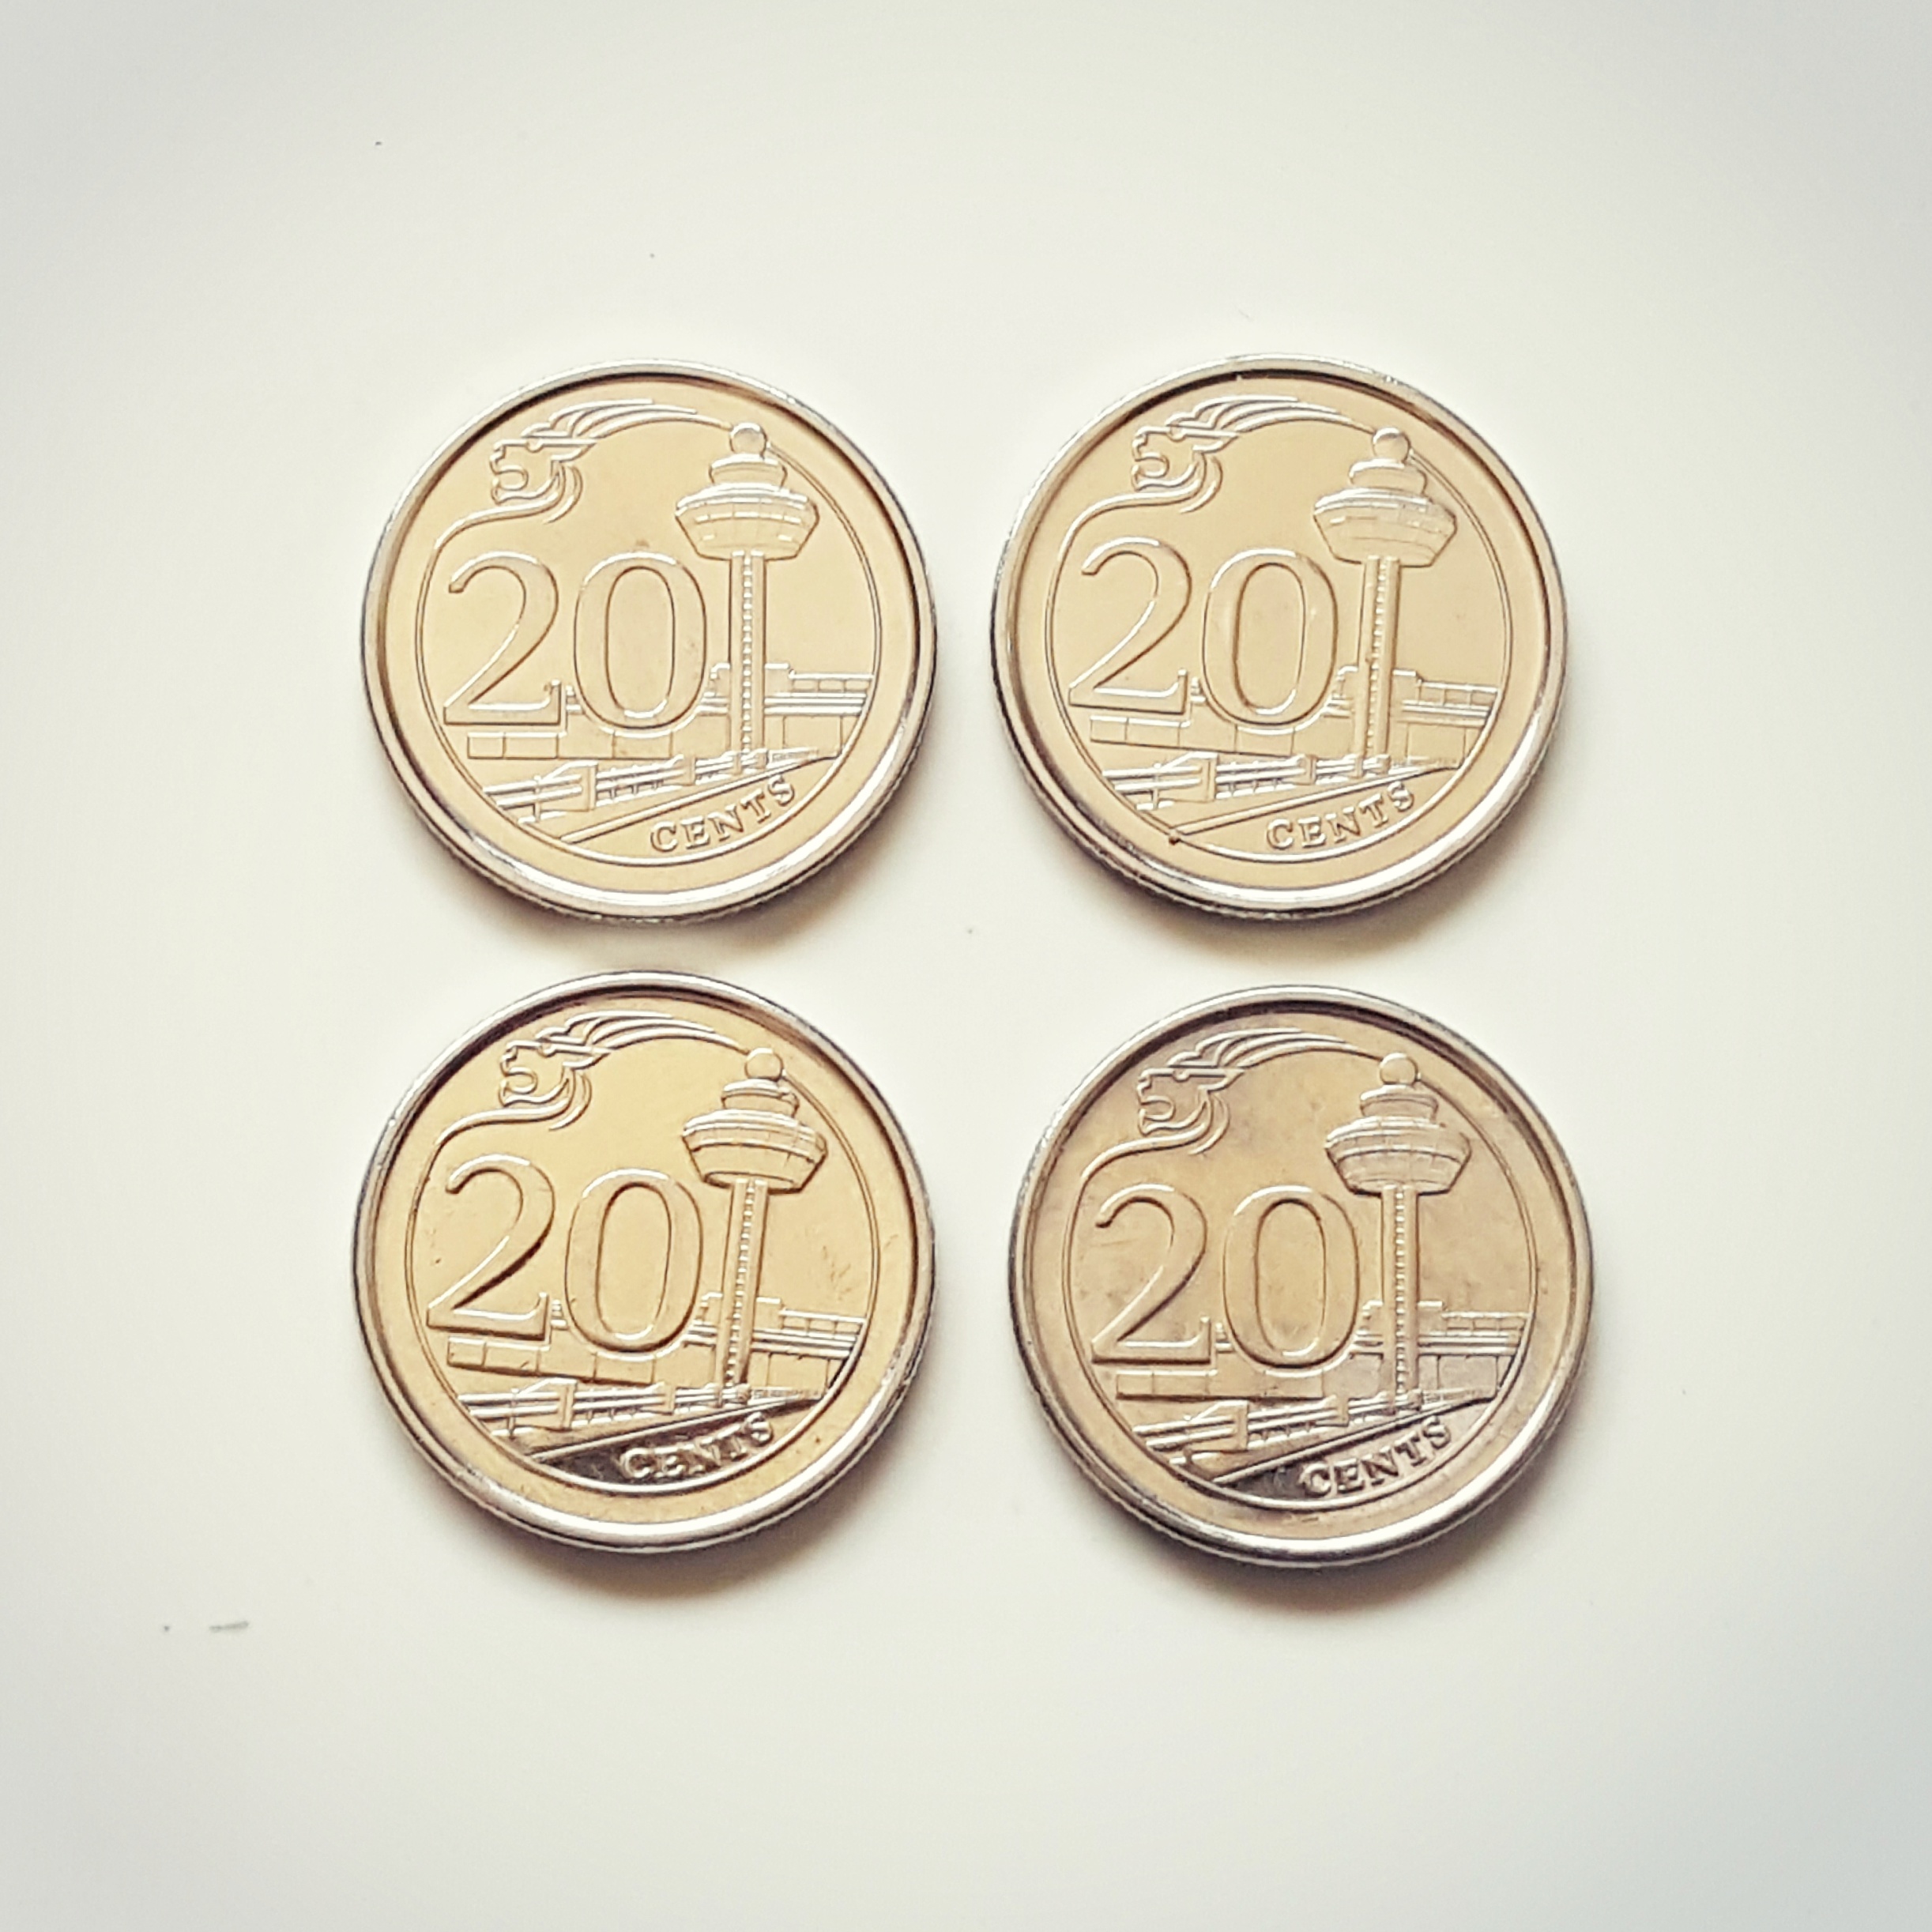
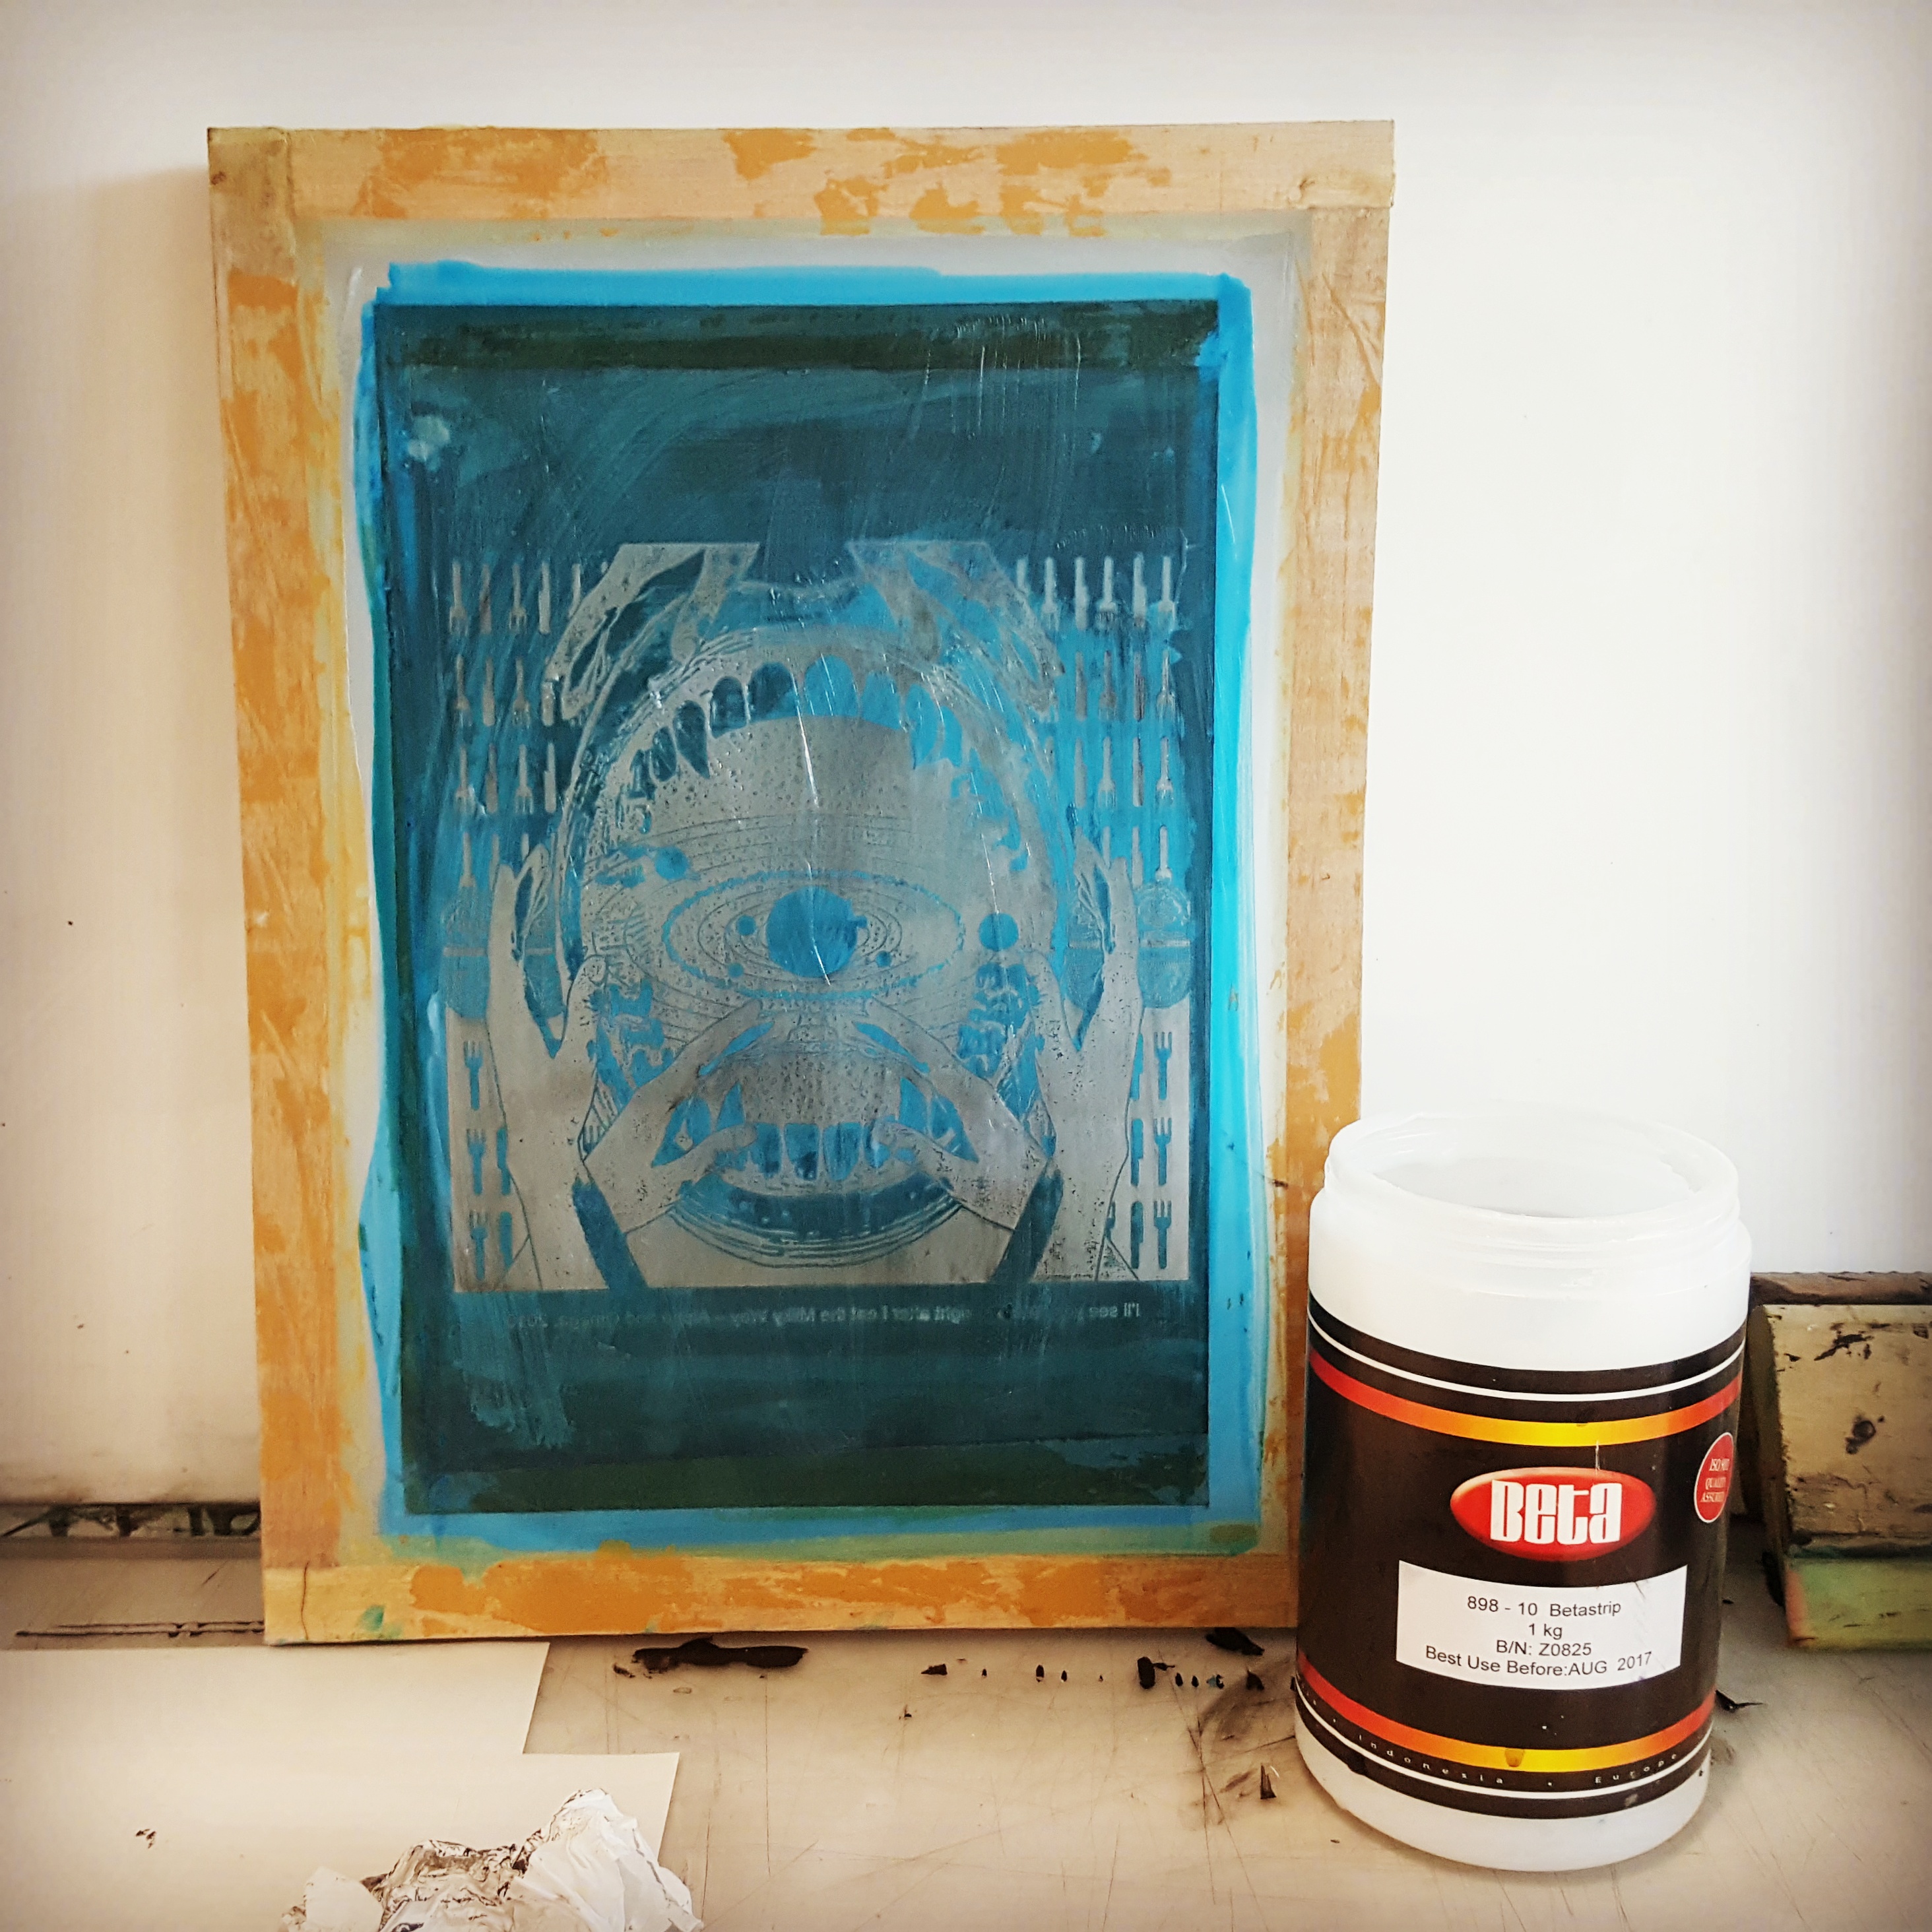
We started off with putting coins at the corners of the screen and putting brown low noise, packing tape over them. Putting coin at the corners helped to give a small distance between the screen and the canvas we were inking, and the packing tape on the sides was to prevent ink from seeping through the borders of the design.
 With the taping done, there was a demonstration for printing!
The concept of it was easy, but doing it myself kinda destroyed my nerves.
I should have bought more totebags from Muji. 🙁
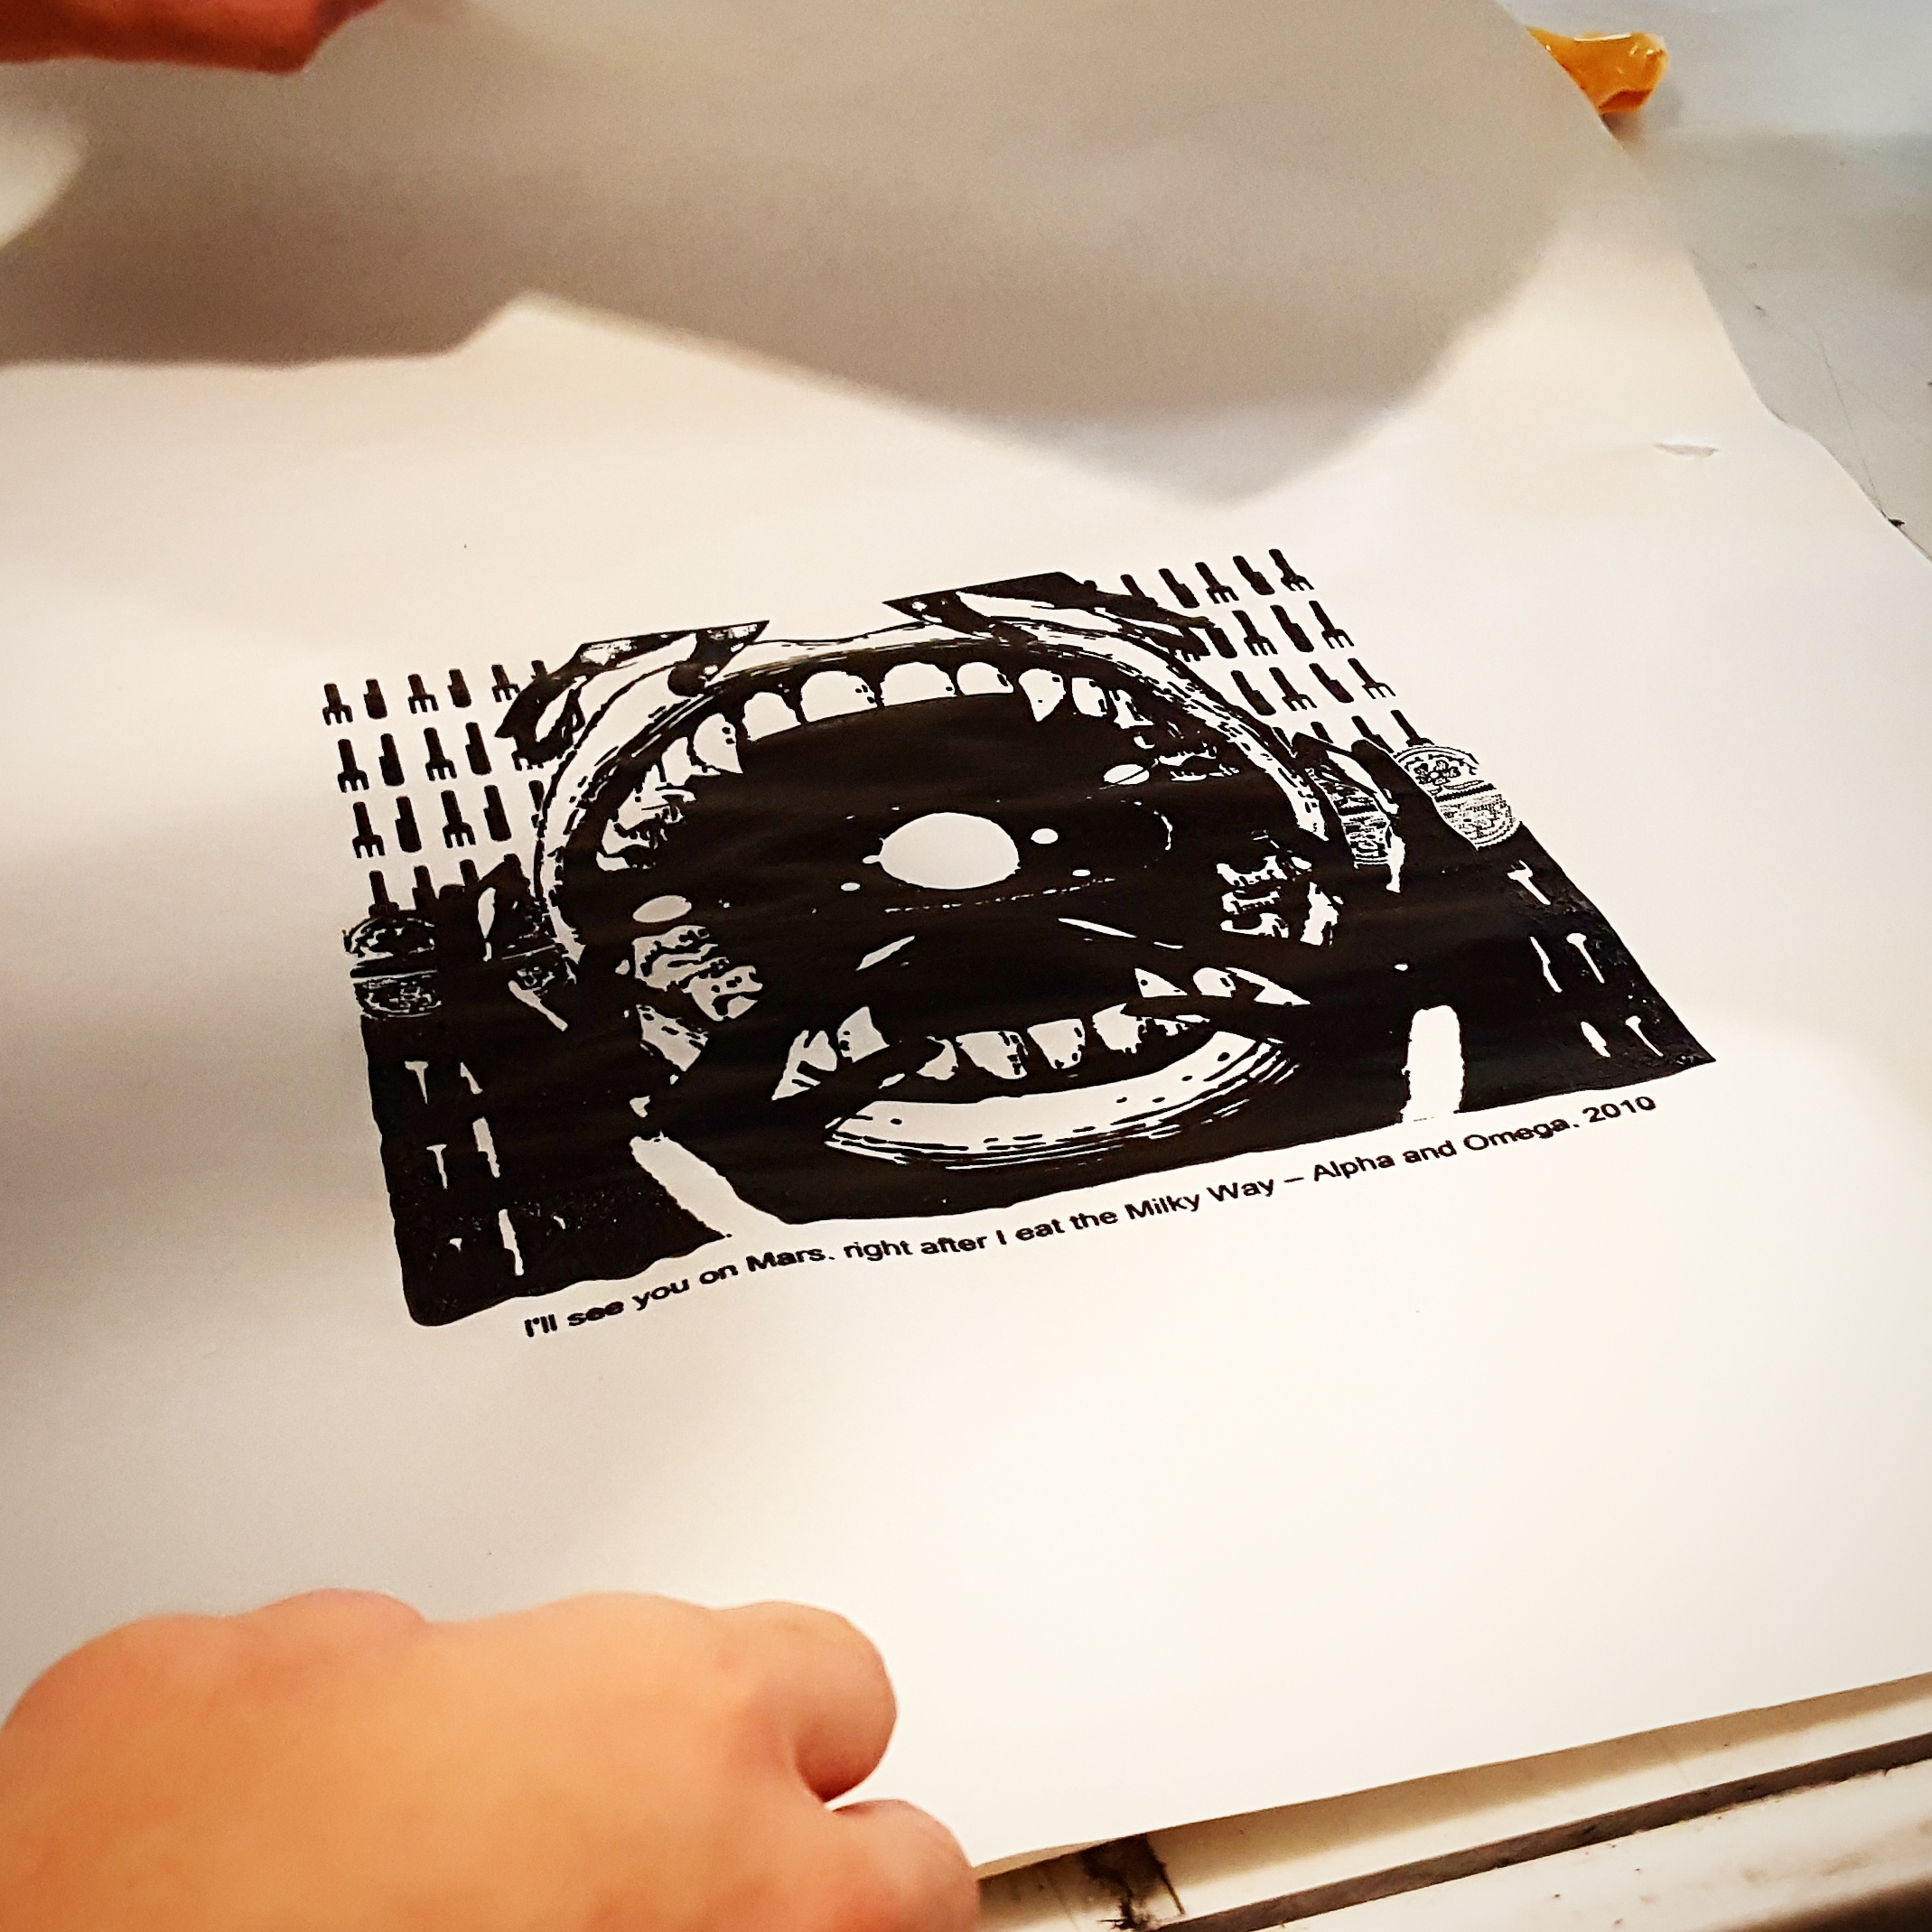
My tries on paper kept turning out too dark and I was extremely worried for a sec. Each time I tried, I needed to wash and dry the screen as well so I learnt to be careful to make sure the front part of the screen was dry before I attempted another shot at printing – else the print would come out with grey splotches and stains of ink mixed with water. (;u;)
One of the attempts on newsprint; bottom-left is grey because of water.
I finally dared to try printing on the blank tote given by the school. I stuffed a piece of cardboard into the tote and started on it, but I crapped up on my first attempt, so I had to flip it over and do it on the other side. I was so sad, but it was…. okay. It turned out alright… I guess…
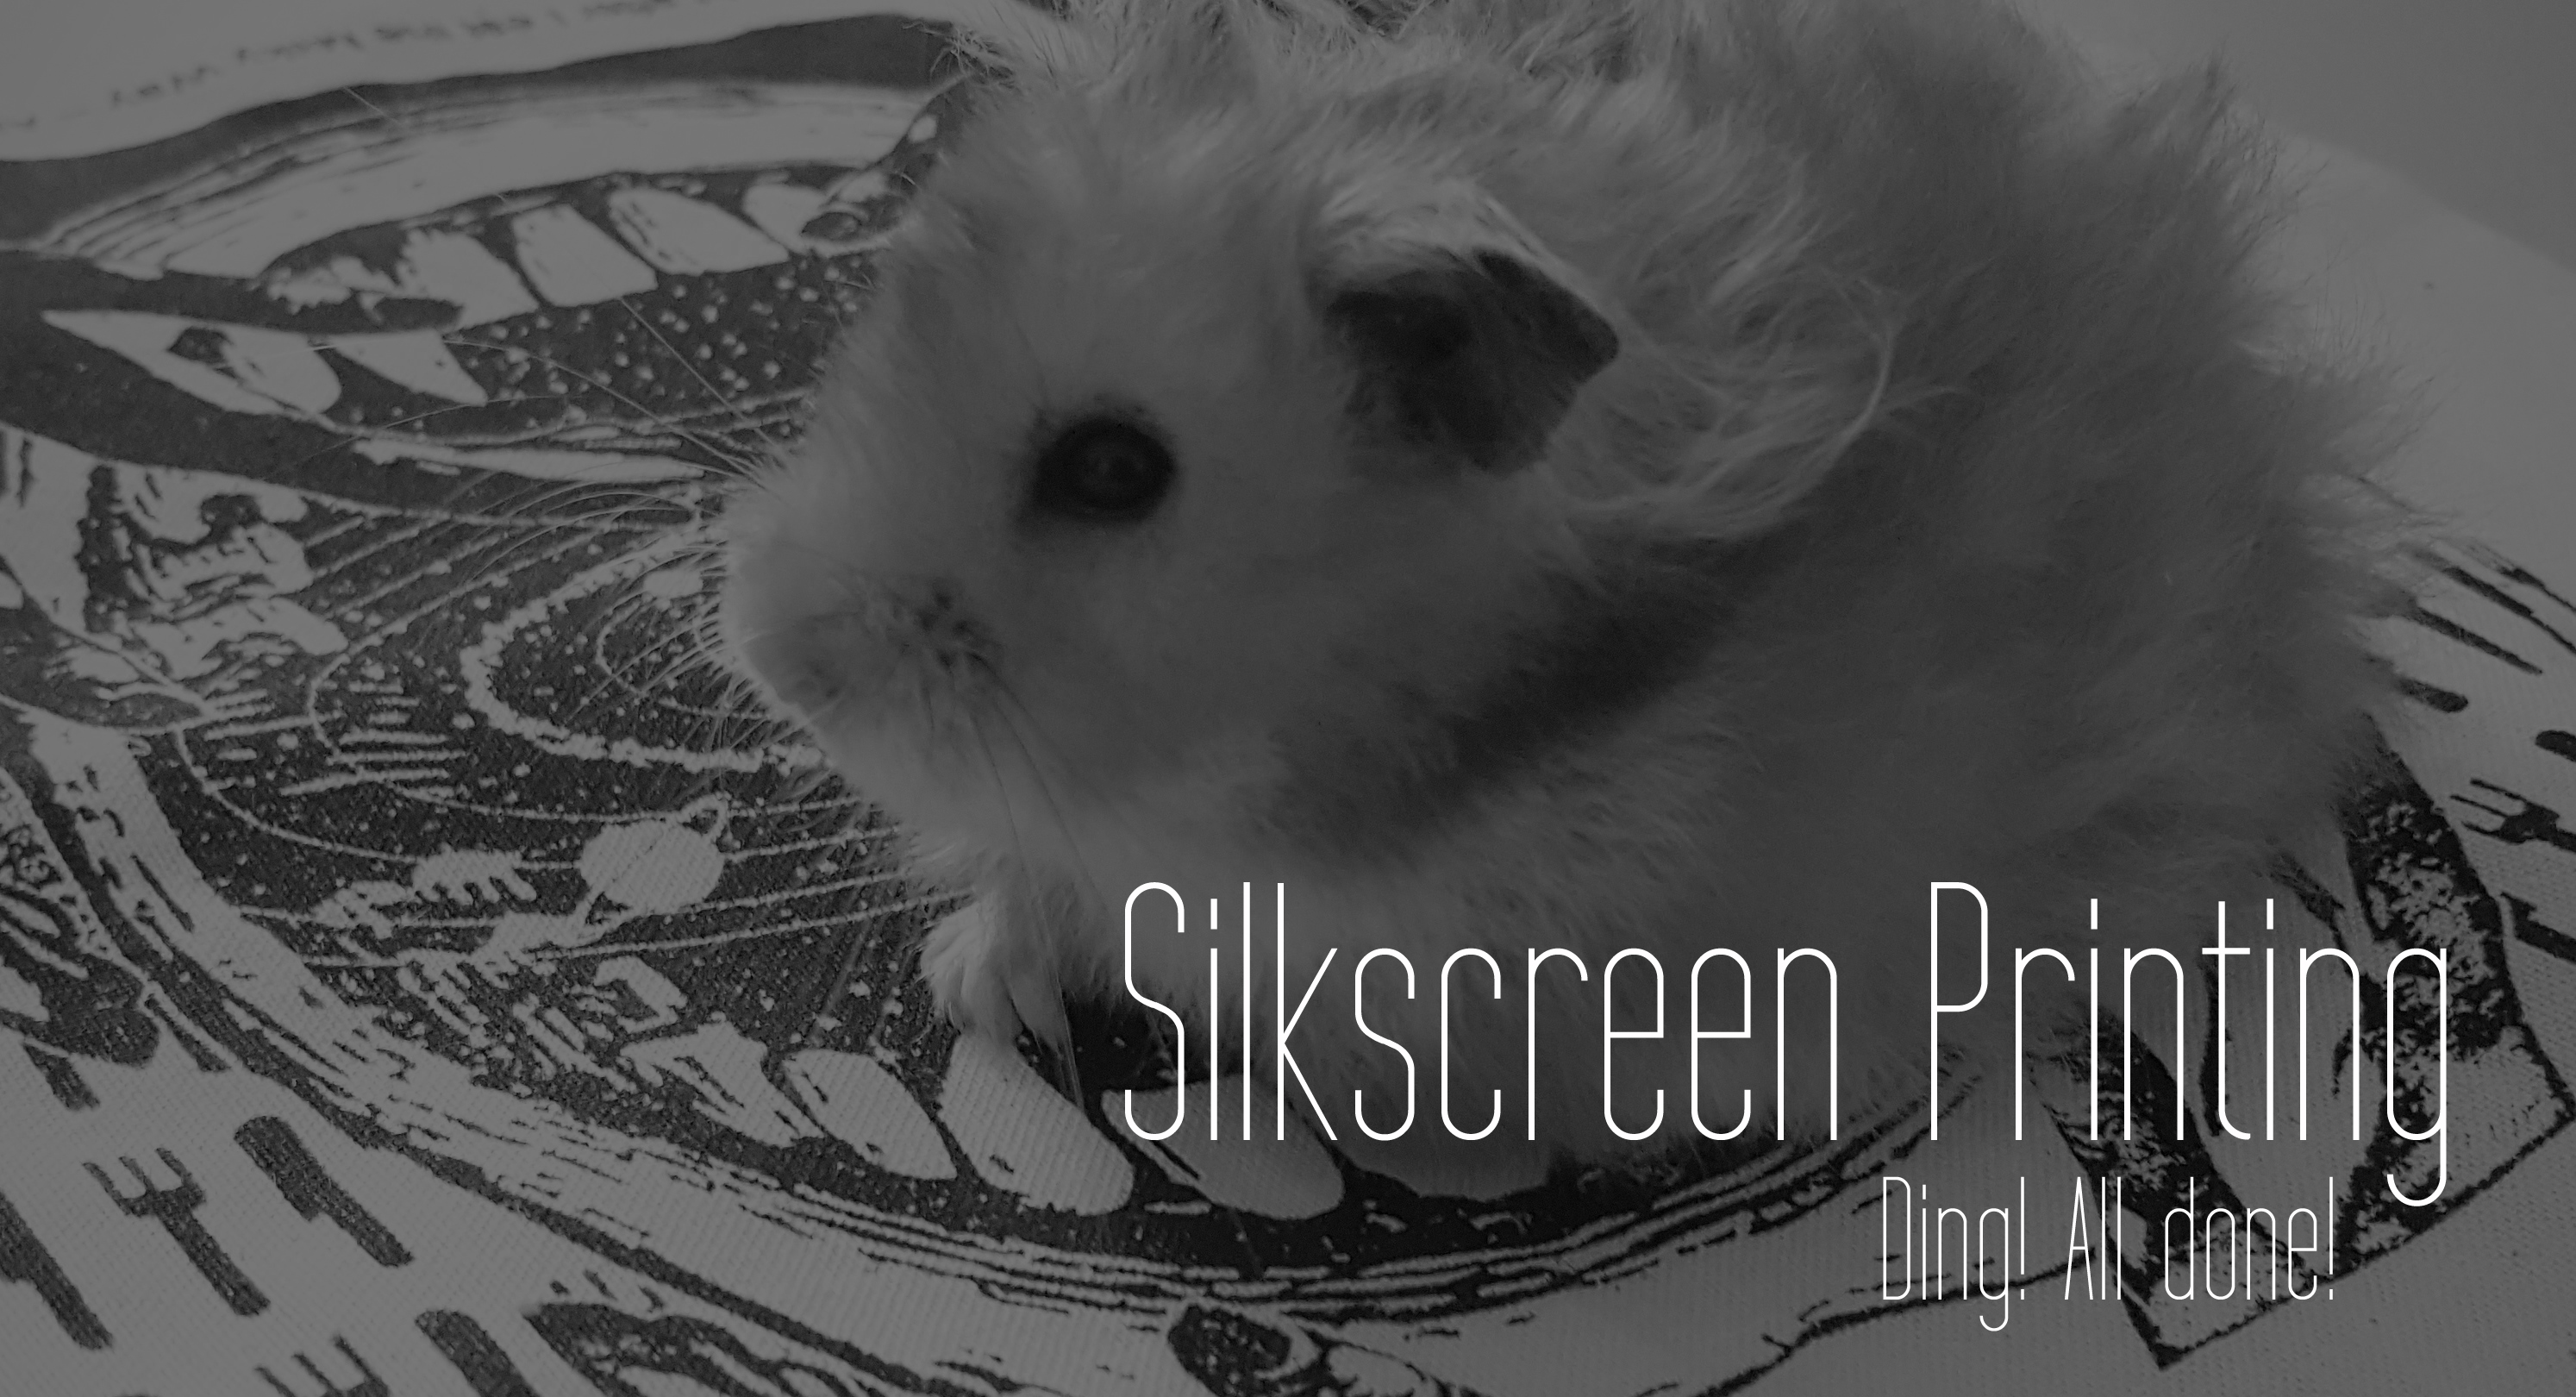
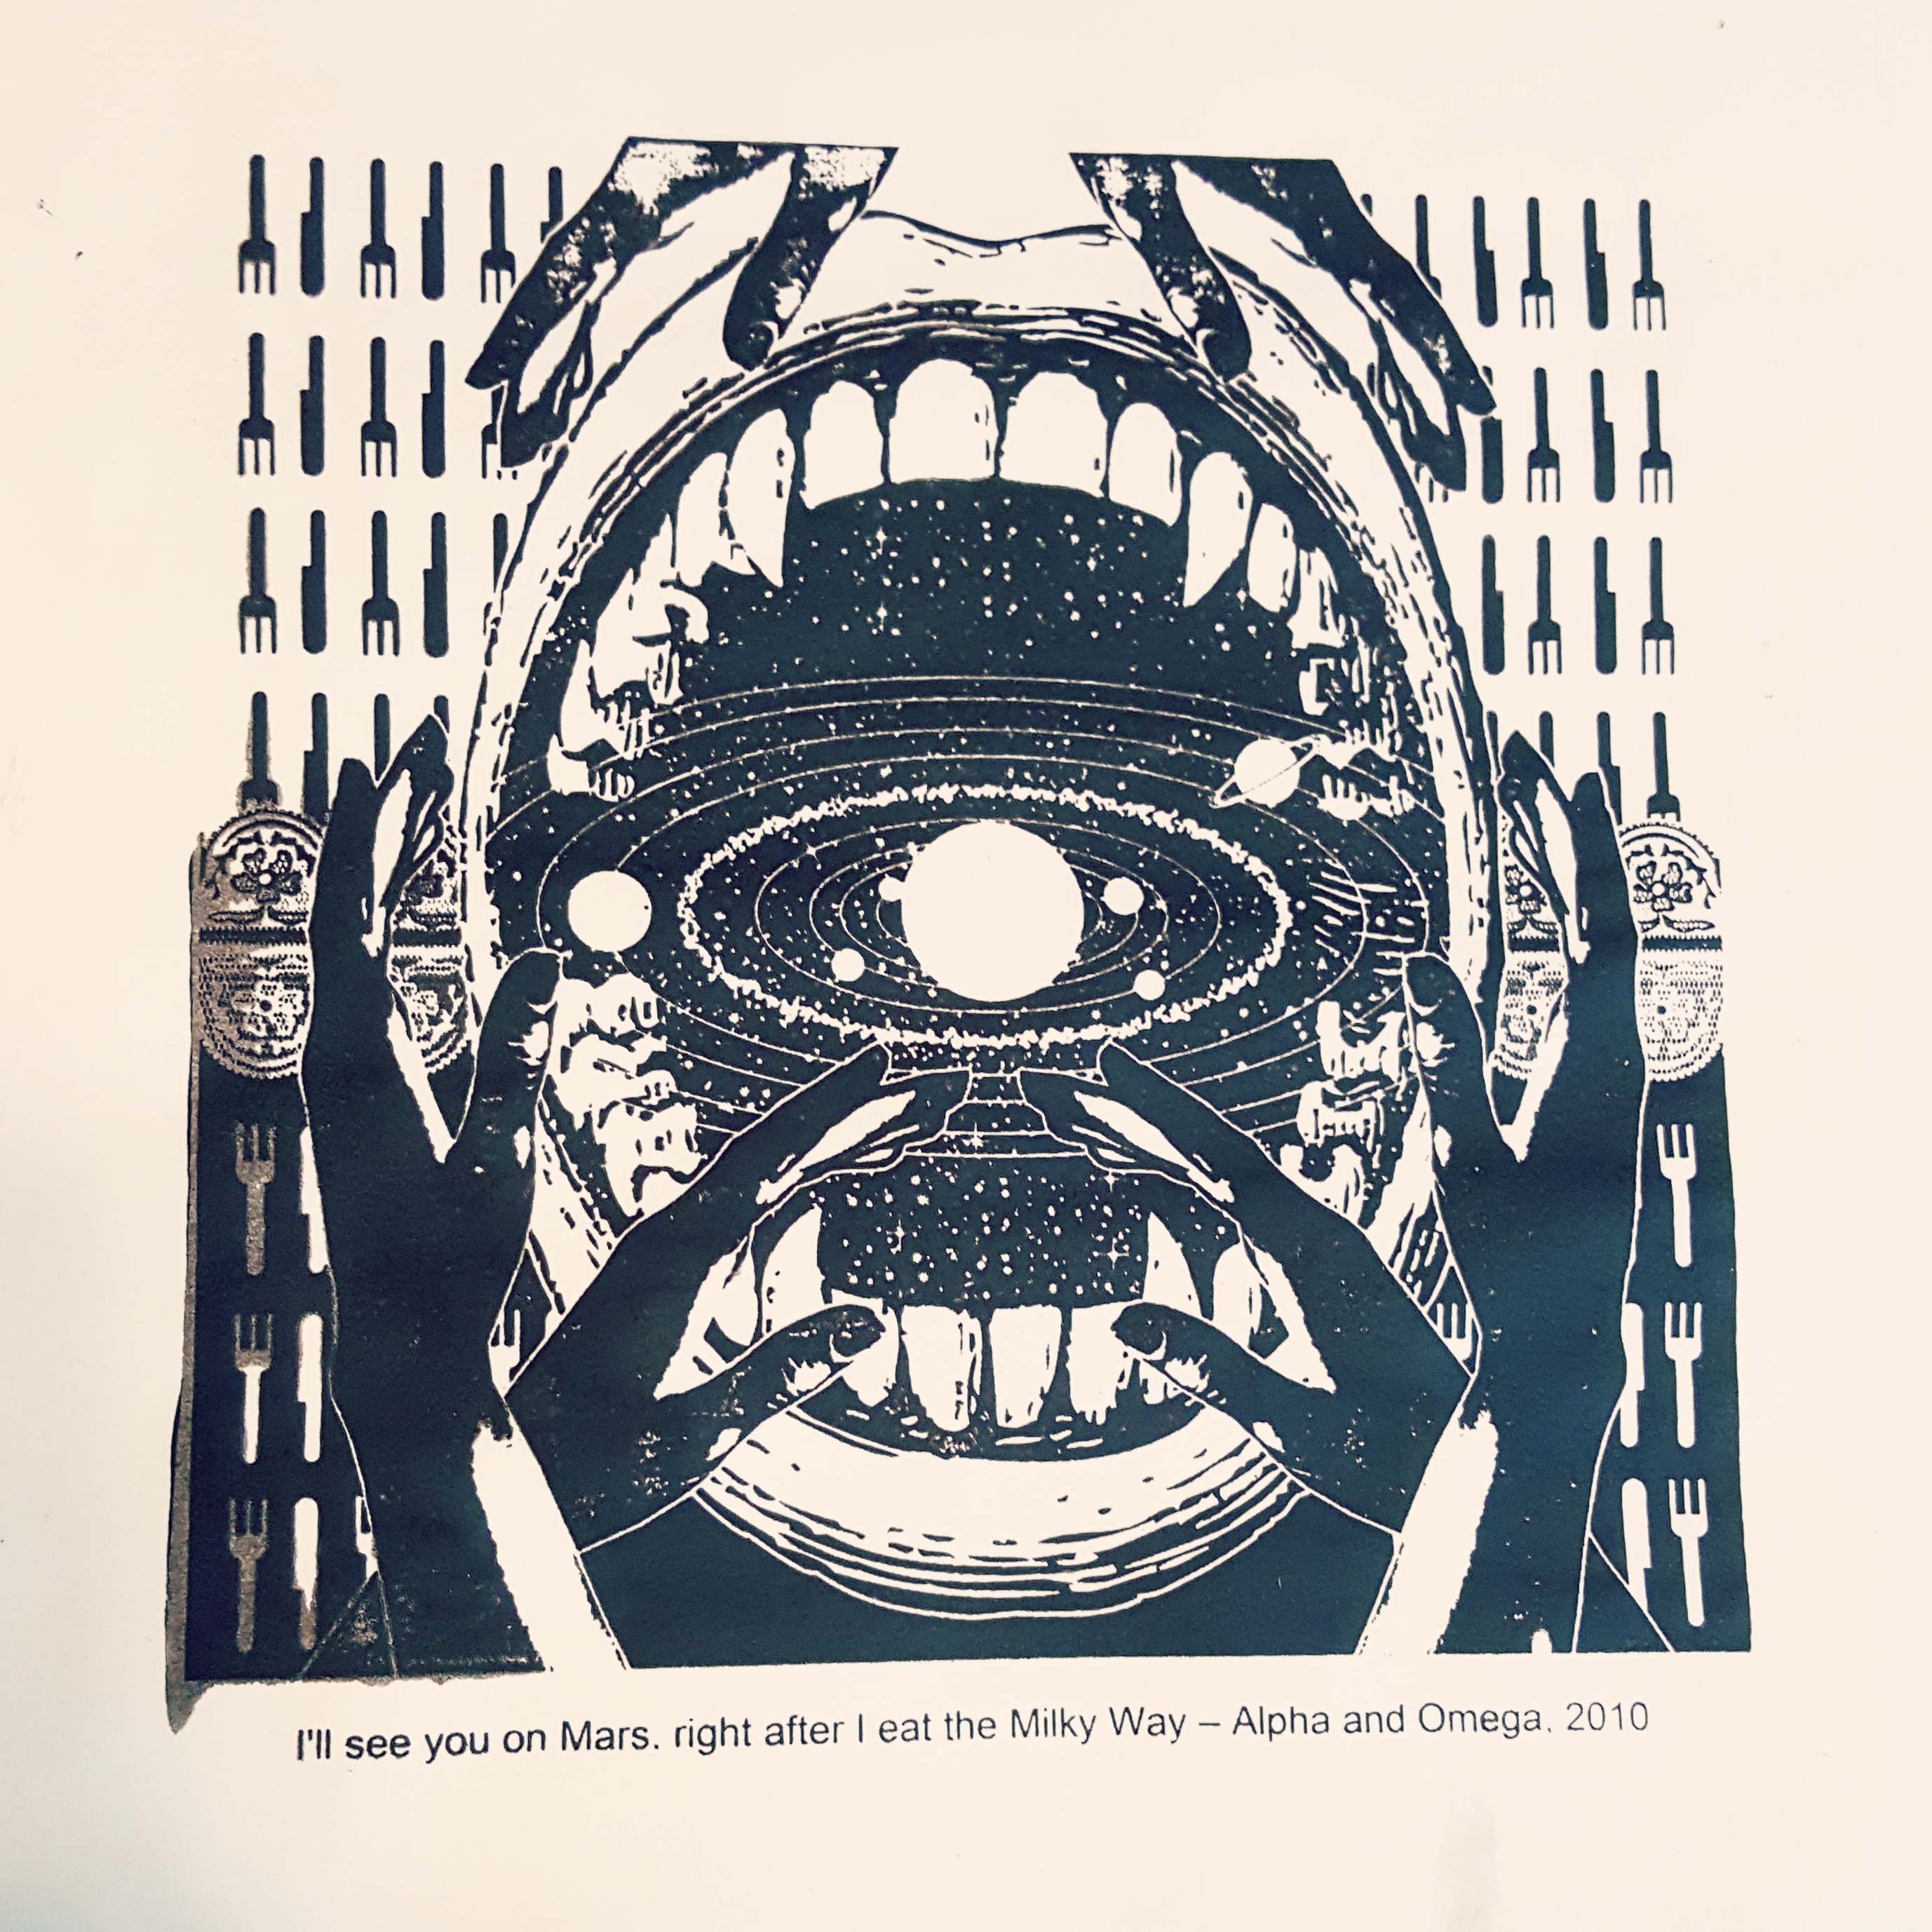
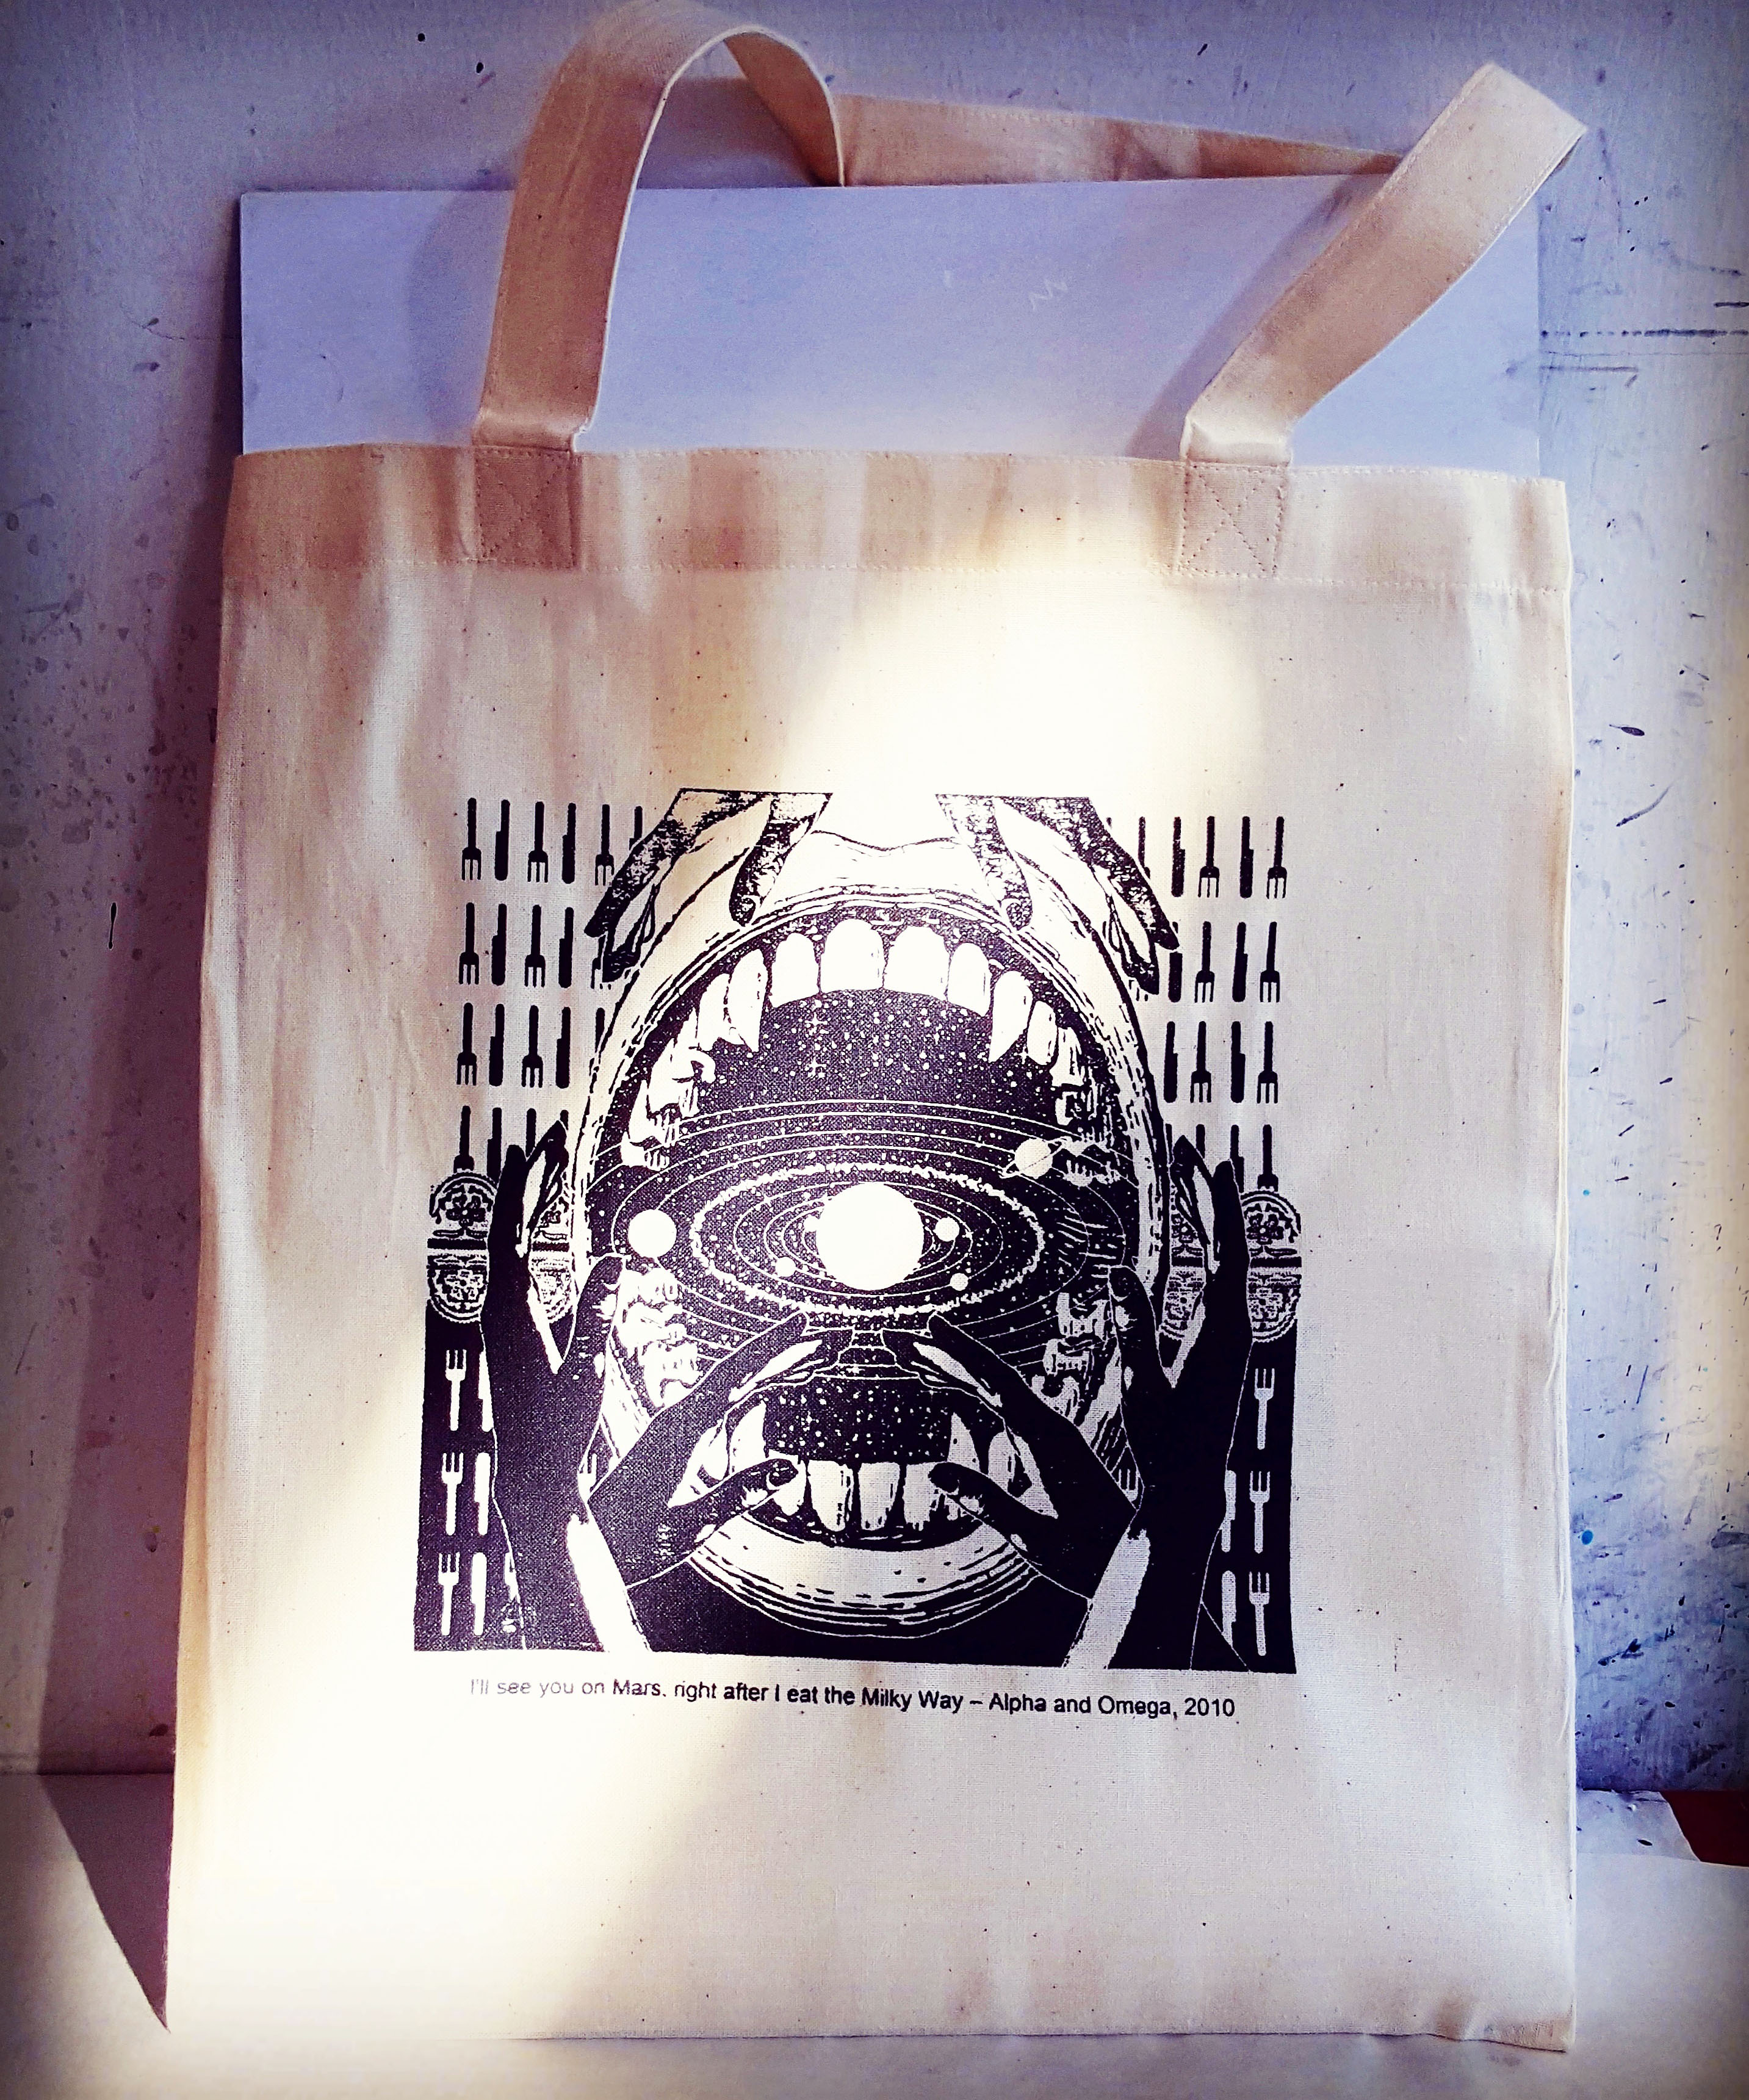
But the one I printed on the Muji tote!!!
The one I printed on my own tote turned out better than my attempts on newsprint and on the school tote though!
ALL THE STARS CAME OUT.
IT’S FINALLY DONE.
I shouldn’t scare myself so much next time – but it was really scary to try to print when all my newsprint attempts turned out so dark, and the Art Friend bag turned out either too dark or light.
It turned out alright in the end though! I guess what I picked up from this is that different material would take differently to printing. I have a feeling that since Muji made their bags for stamps and chops, it was probably why it printed better – the surface was smoother and took well to printing. //slaps newsprint to mars
It’s kinda sad to be applying betastrip to clean the emulsion off after working so hard to get the design out on the screen.
In the previous session, I saw Shirley applying emulsion on the front and back of Amelia’s screen to get the design off, so I did the same for mine after removing the tape and coins when I felt like I done.
The blue slowly comes off after the betastrip is applied, so I just left it on the screen as I went to clean up the other stuff – like the newsprints, the table and the screen printing squeegees (the smooth rubber blades we were using to pull the ink down).
I was super curious about the word ‘squeegee’ because it sounds super cute; apparently it comes from the word “squeege”, which meant to press or squeeze – which was in use around 1783. THIS IS SO COOL.
But anyway…
 RIP my first screen >—>(c’:)
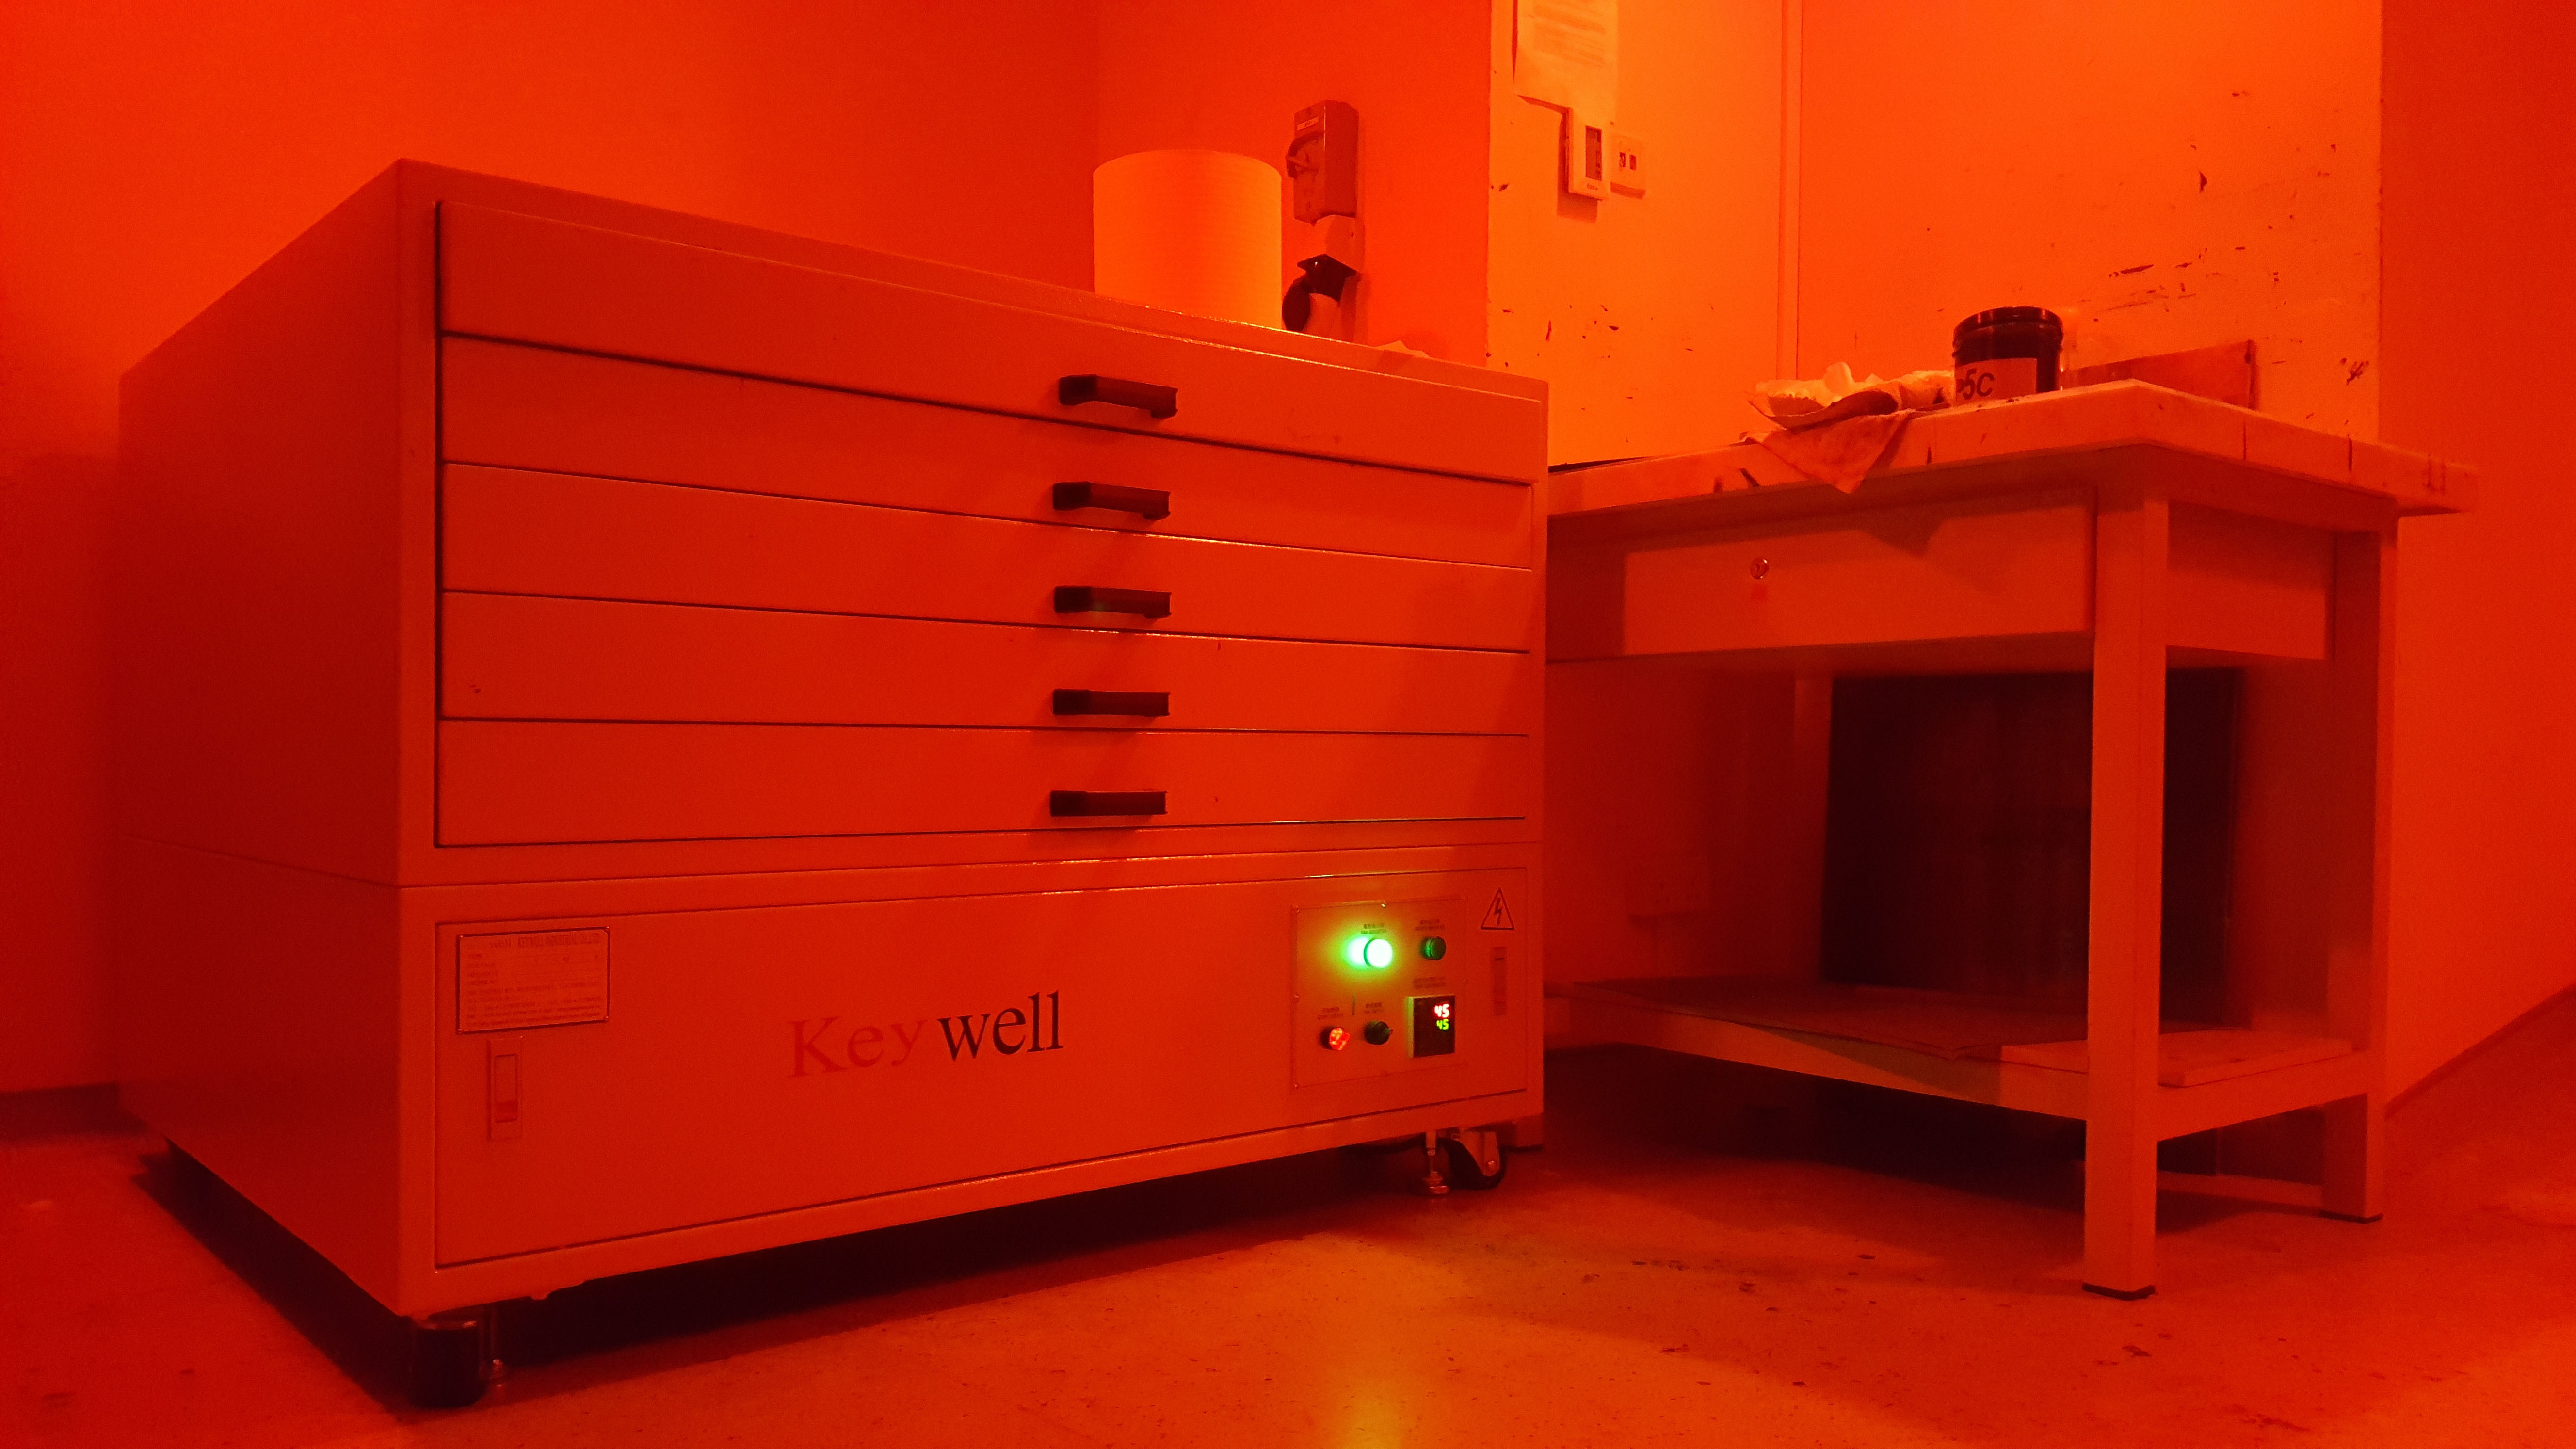
After waiting for awhile, I just dunked it in the sink and started scrubbing until all the blue came off, dried it in The Dark Room and returned the screen.
It was a blank screen graveyard. ~~~ଘ(੭*ˊᵕˋ)੭*
I was initially intimidated by the silkscreen process but I’m really glad to have been able to do it for this assignment! I really enjoyed the process, and I have newfound appreciation for people who are doing printing – they must be super patient and meticulous!

I’m not sure what I’m going to use the totebag for since I only printed one for myself, but I think I’ll eventually find a use for it!
I’ll just let my hamster sit on it for now. (;u;)
You must be logged in to post a comment.