Direction of Zine
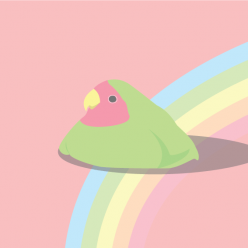
The initial ideas for the direction and theme of the zine were: Minimalistic, Nostalgic, or Modern. I also wanted to challenge myself to step out of my comfort zone. Therefore, I decided to create illustrations that are studio ghibli style (specifically spirited away) as it is my first time illustrating using the wacom tablet!
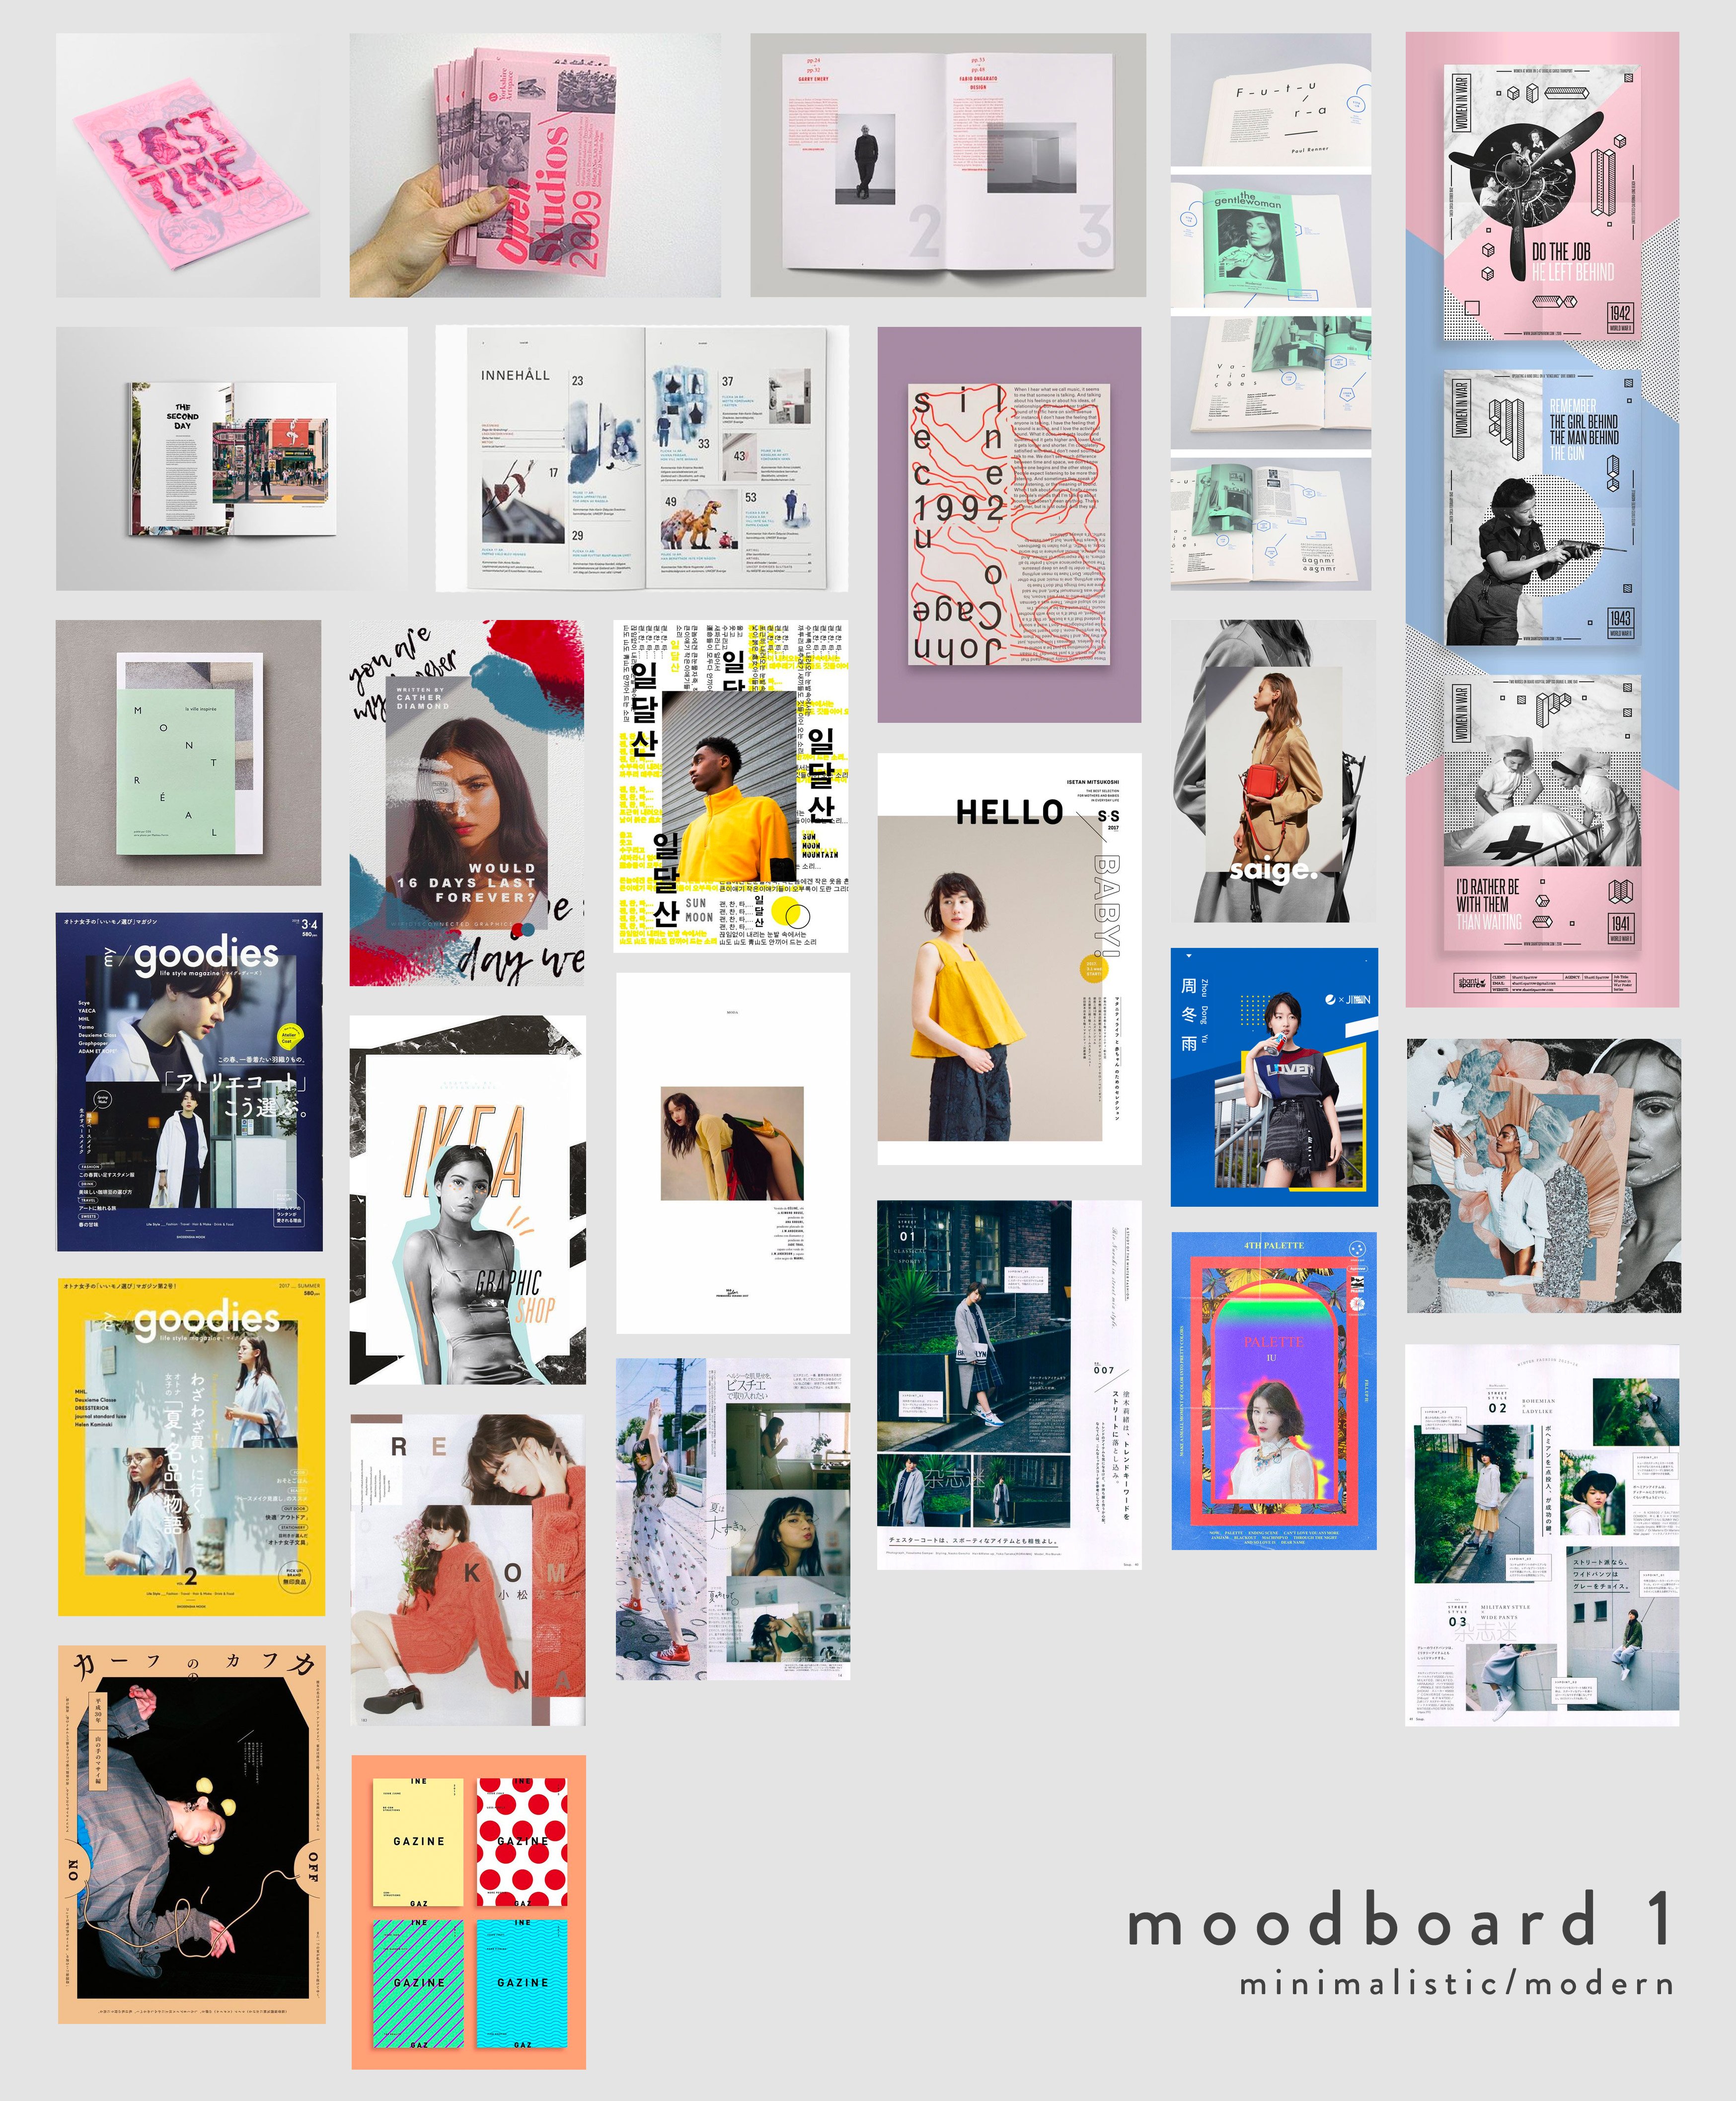
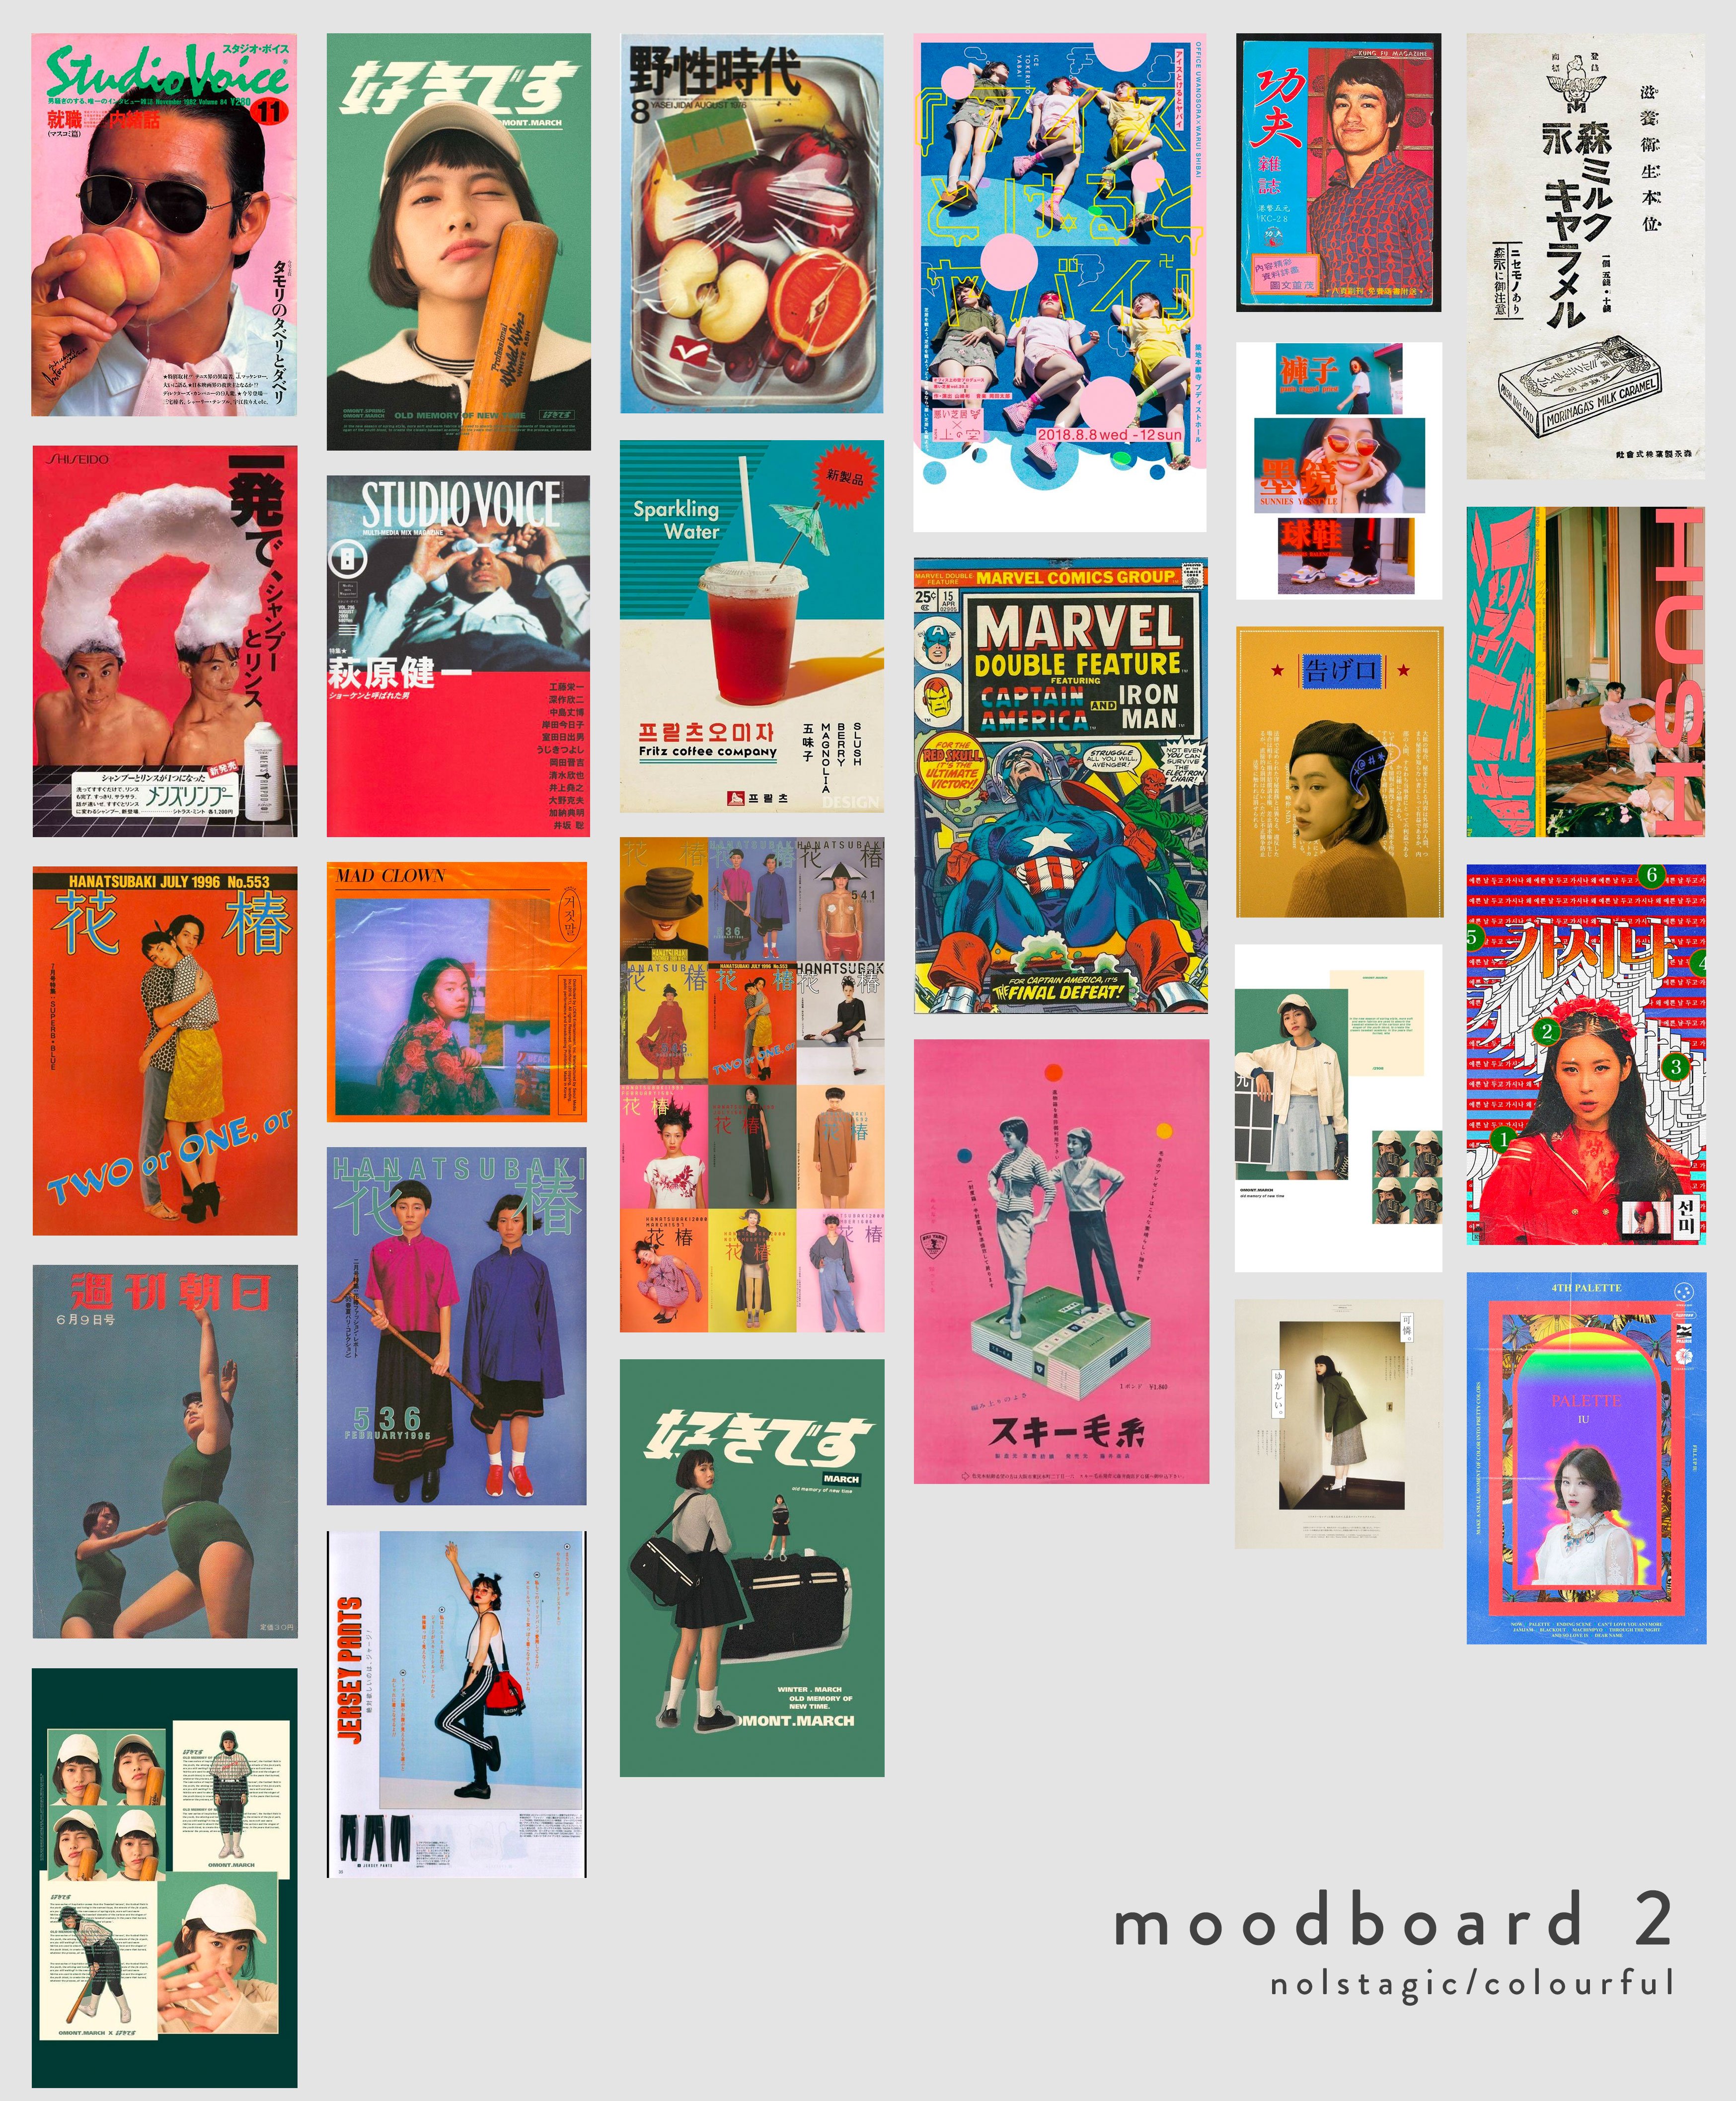
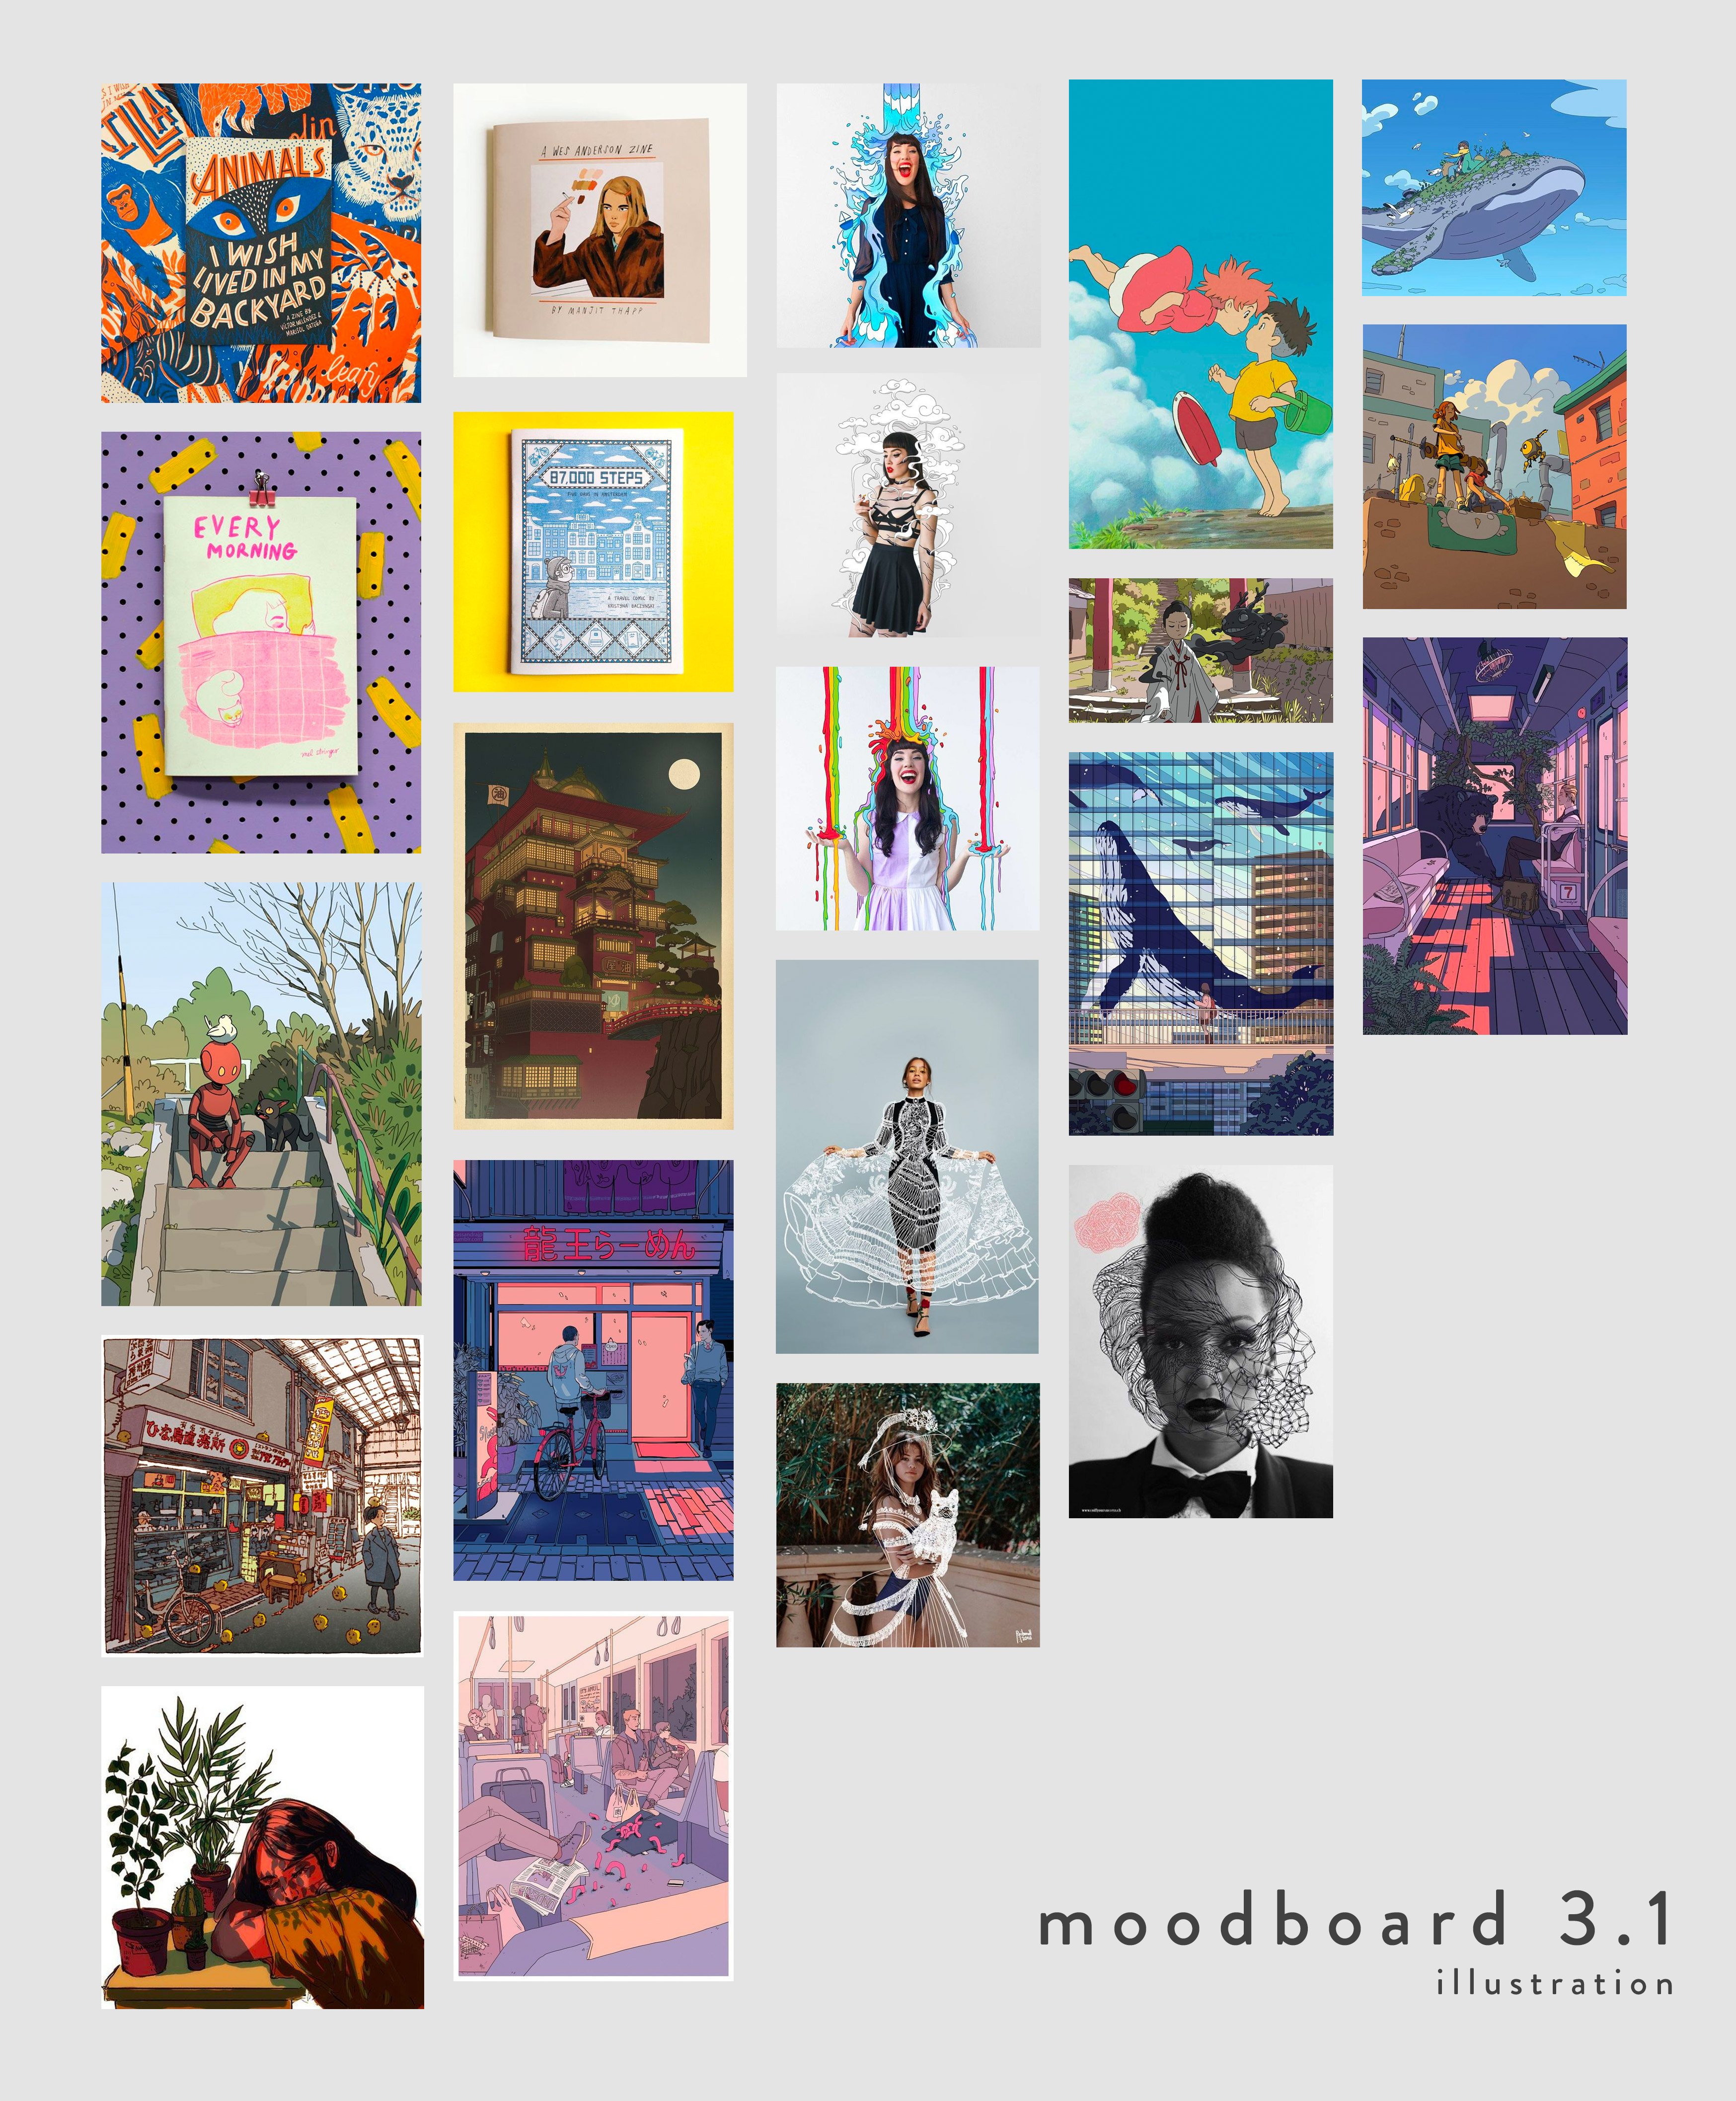
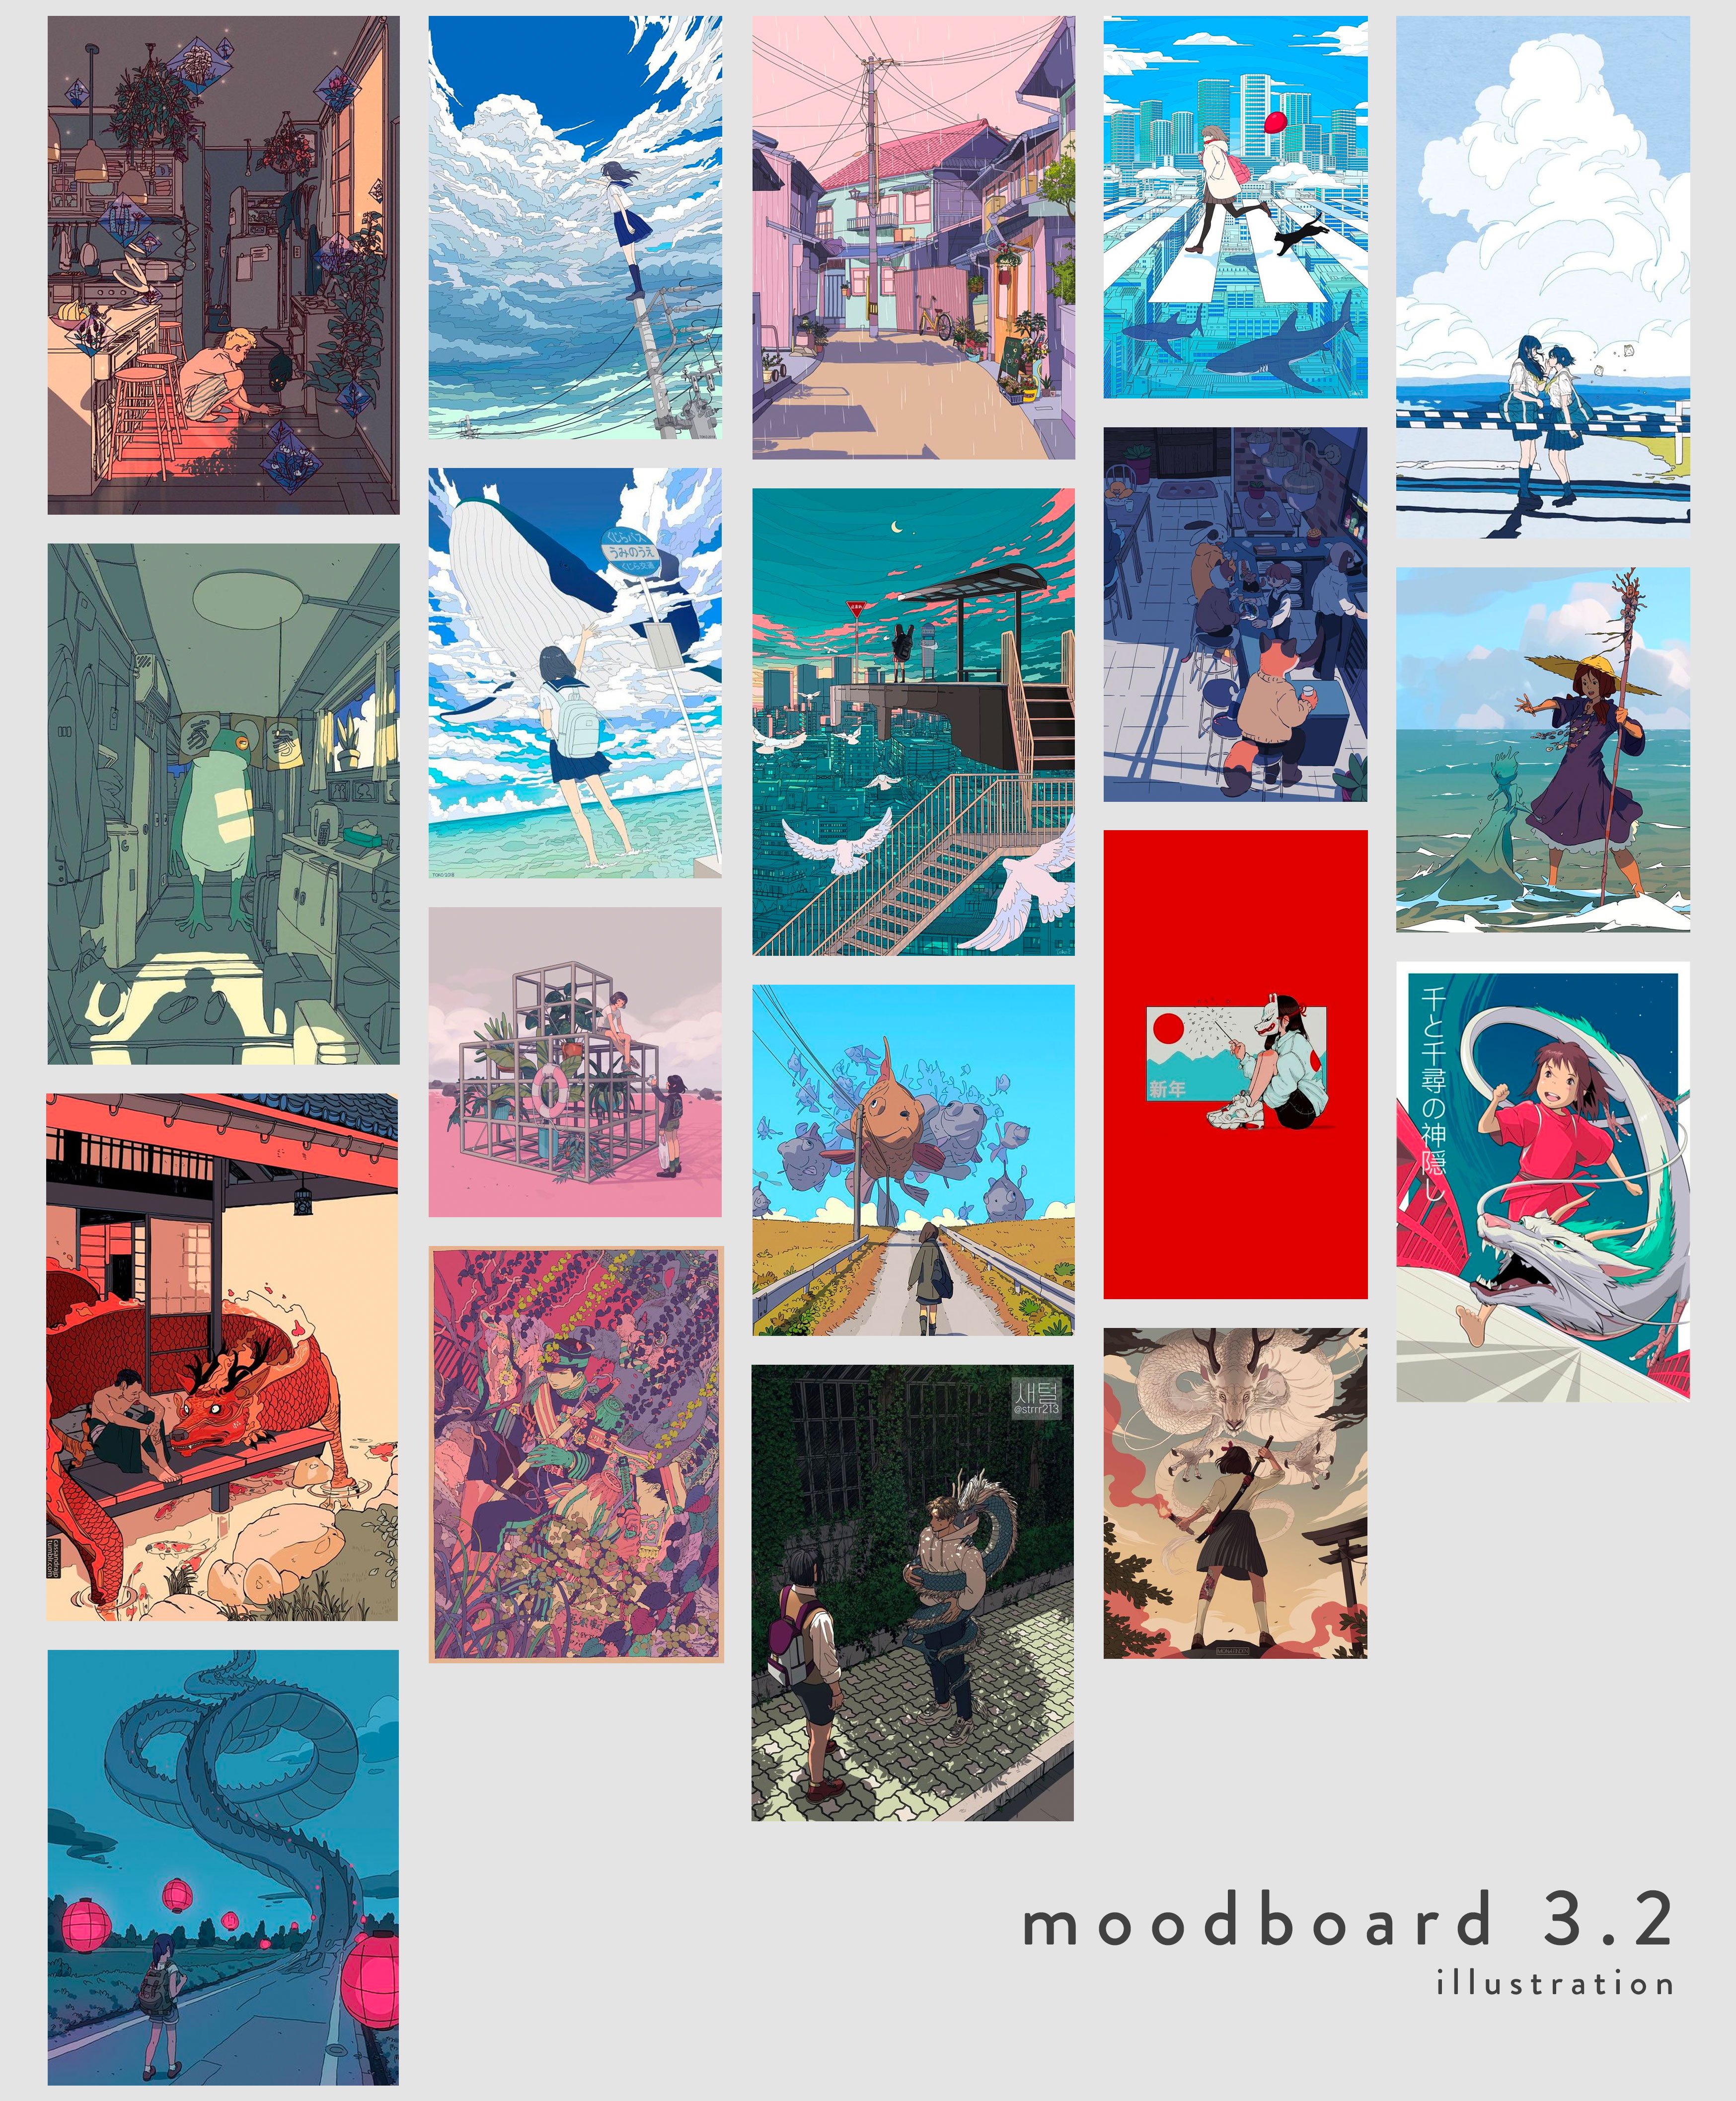
Inspirations/Moodboard
My Pinterest board can be found here: https://www.pinterest.co.uk/ashleuuuuu/zines/

Cover page & Back page spread

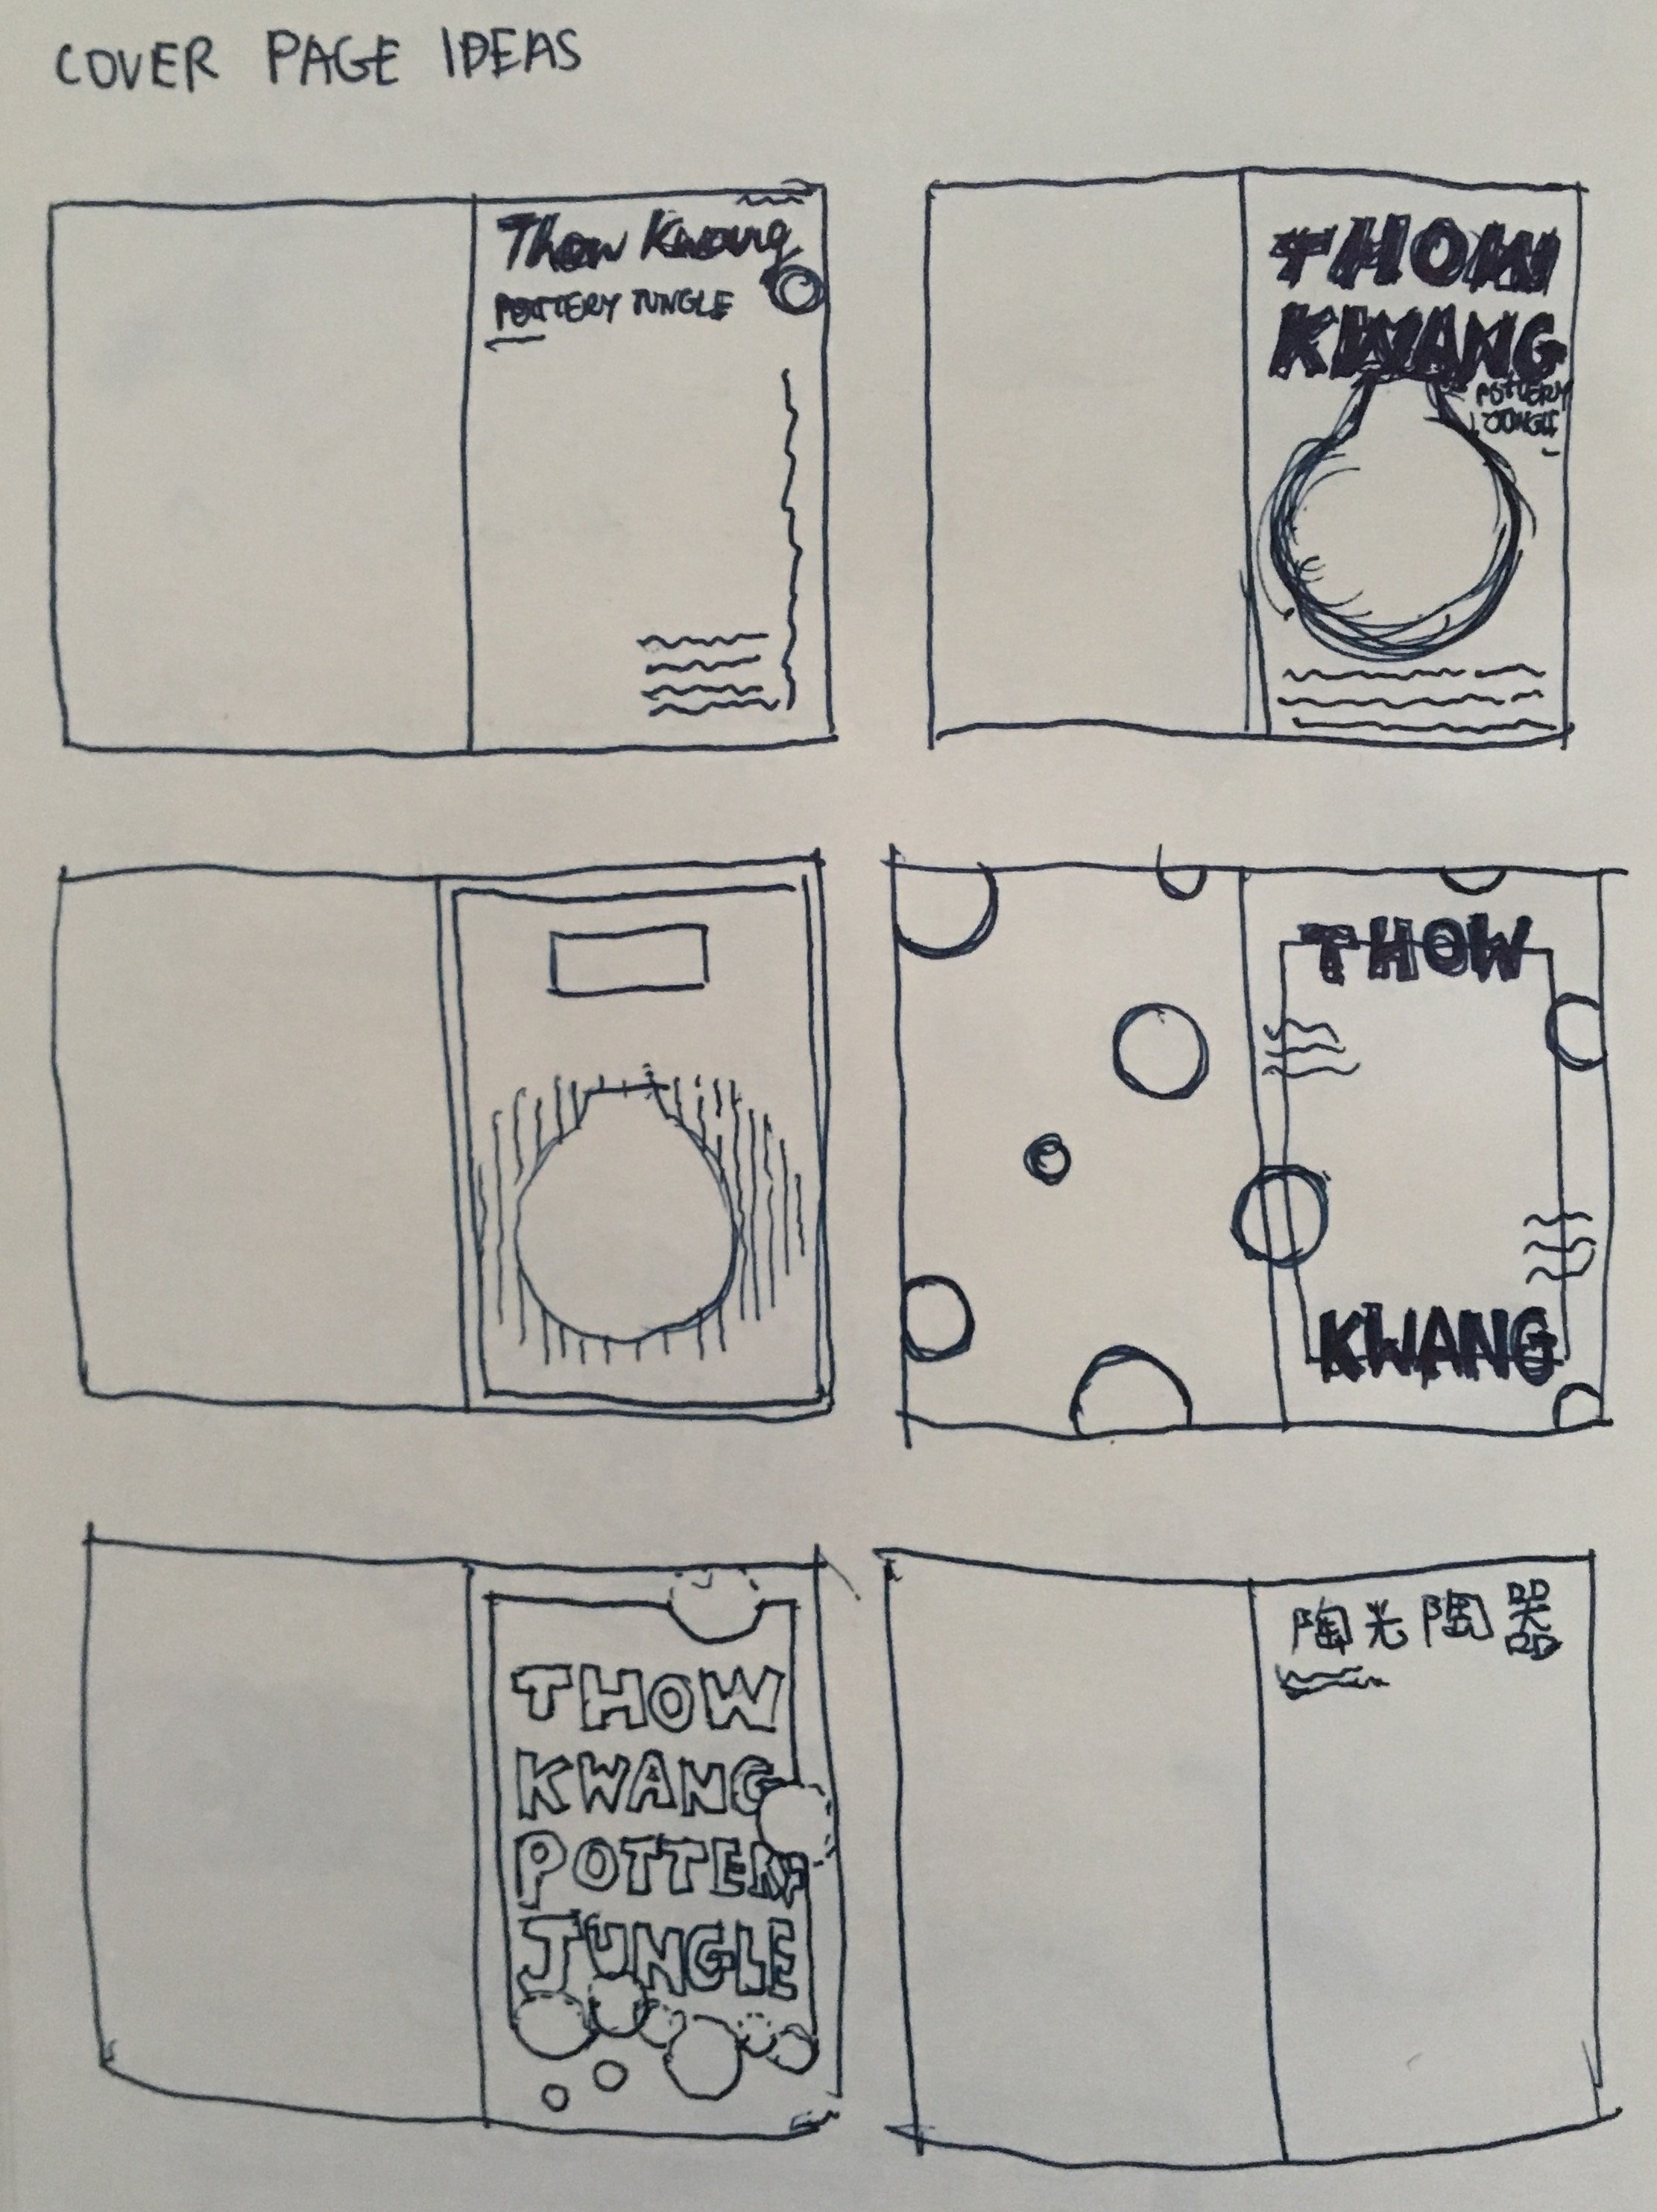
The cover page was based on the examples I found on my Pinterest at first. Then, after completing the other spreads, I decided to design the cover page to be part of the narrative so that it flows better.
Asset 1: Dog

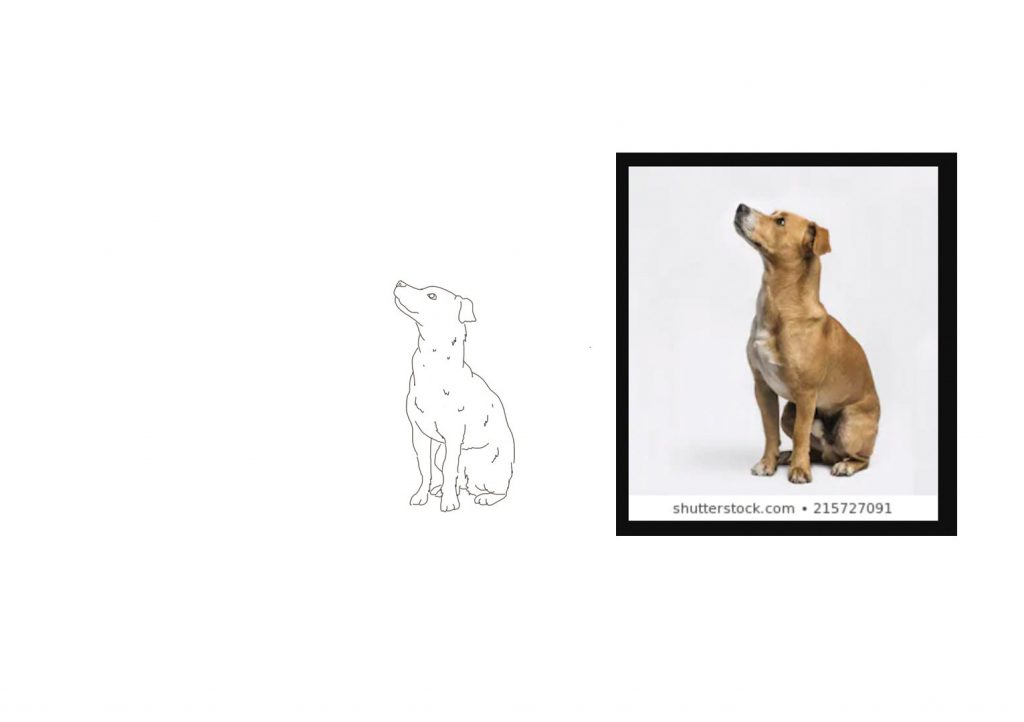
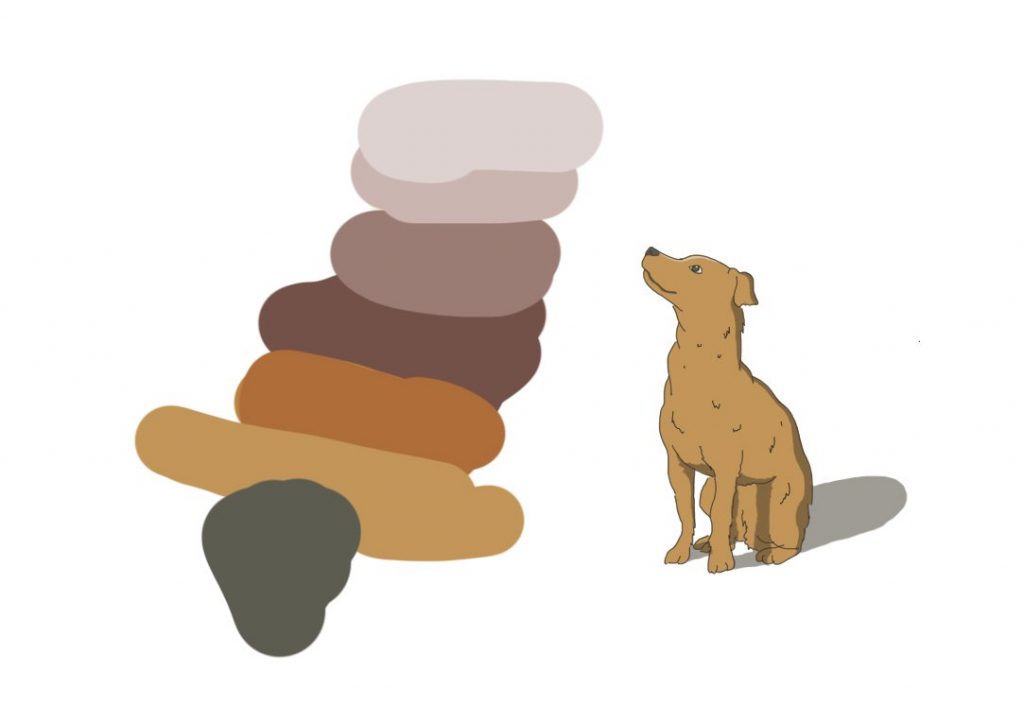
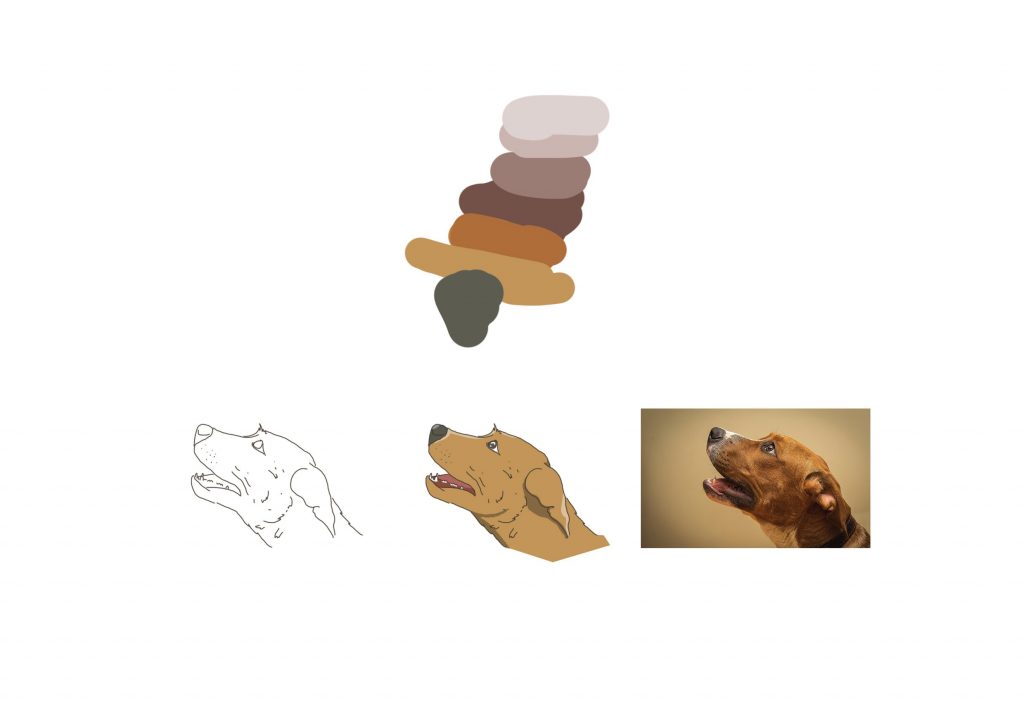
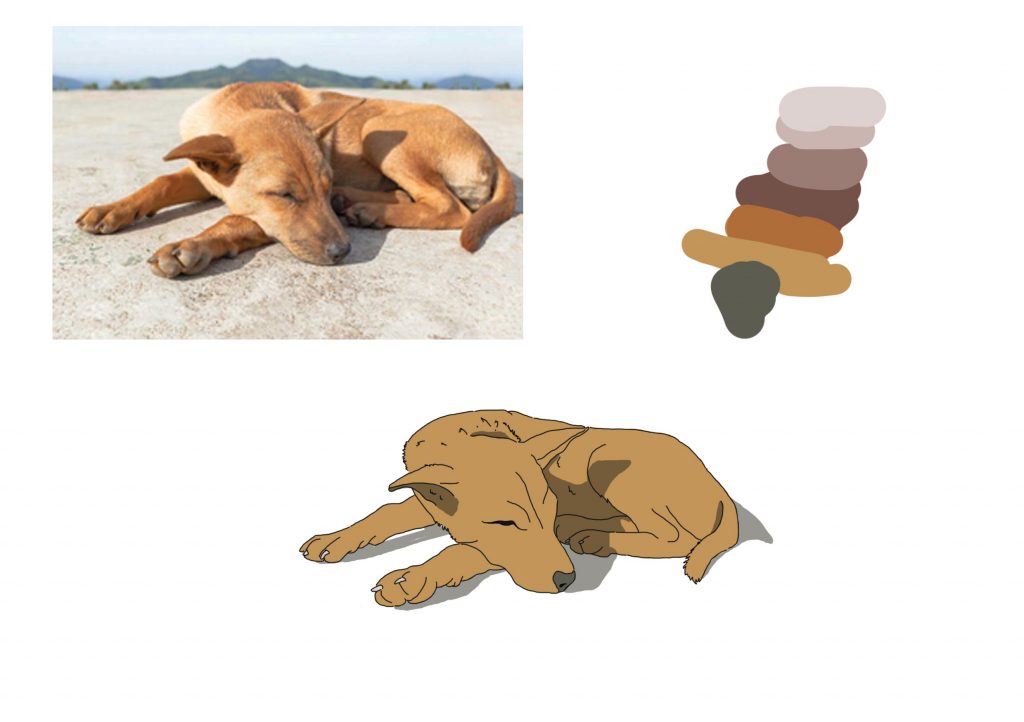
Firstly, the dog was based on the dog I saw when I was visiting the place. I first started out by outlining with a brush set to 100% hardness. Then, I coloured it referencing to the cel-shading method, where I first colour inside the outlines and finally adding a layer of dark grey set to multiply mode as the shadows. I used this method for illustrating all the dogs to show consistency.
Asset 2: Background
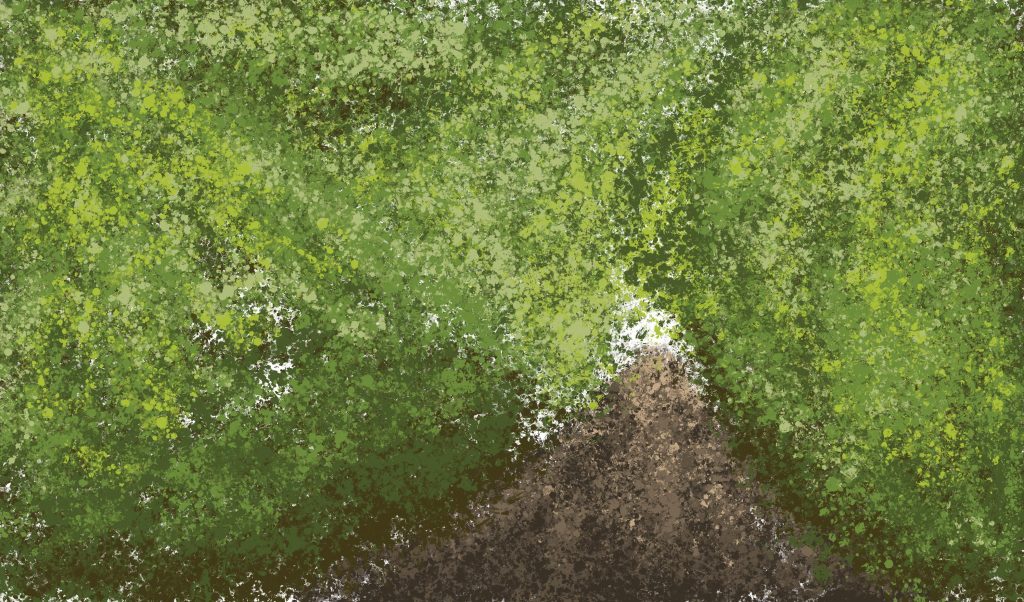
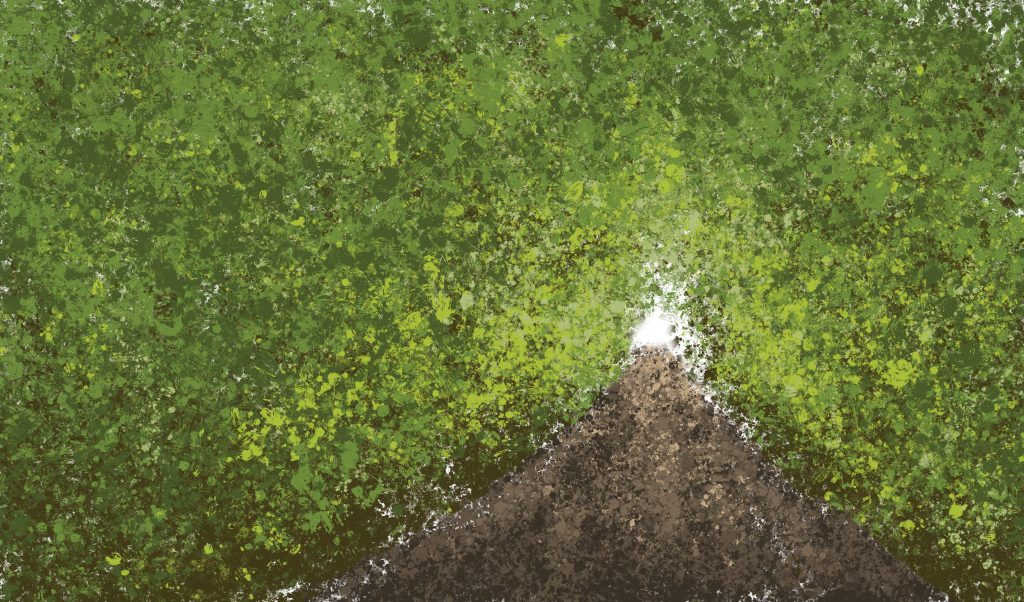
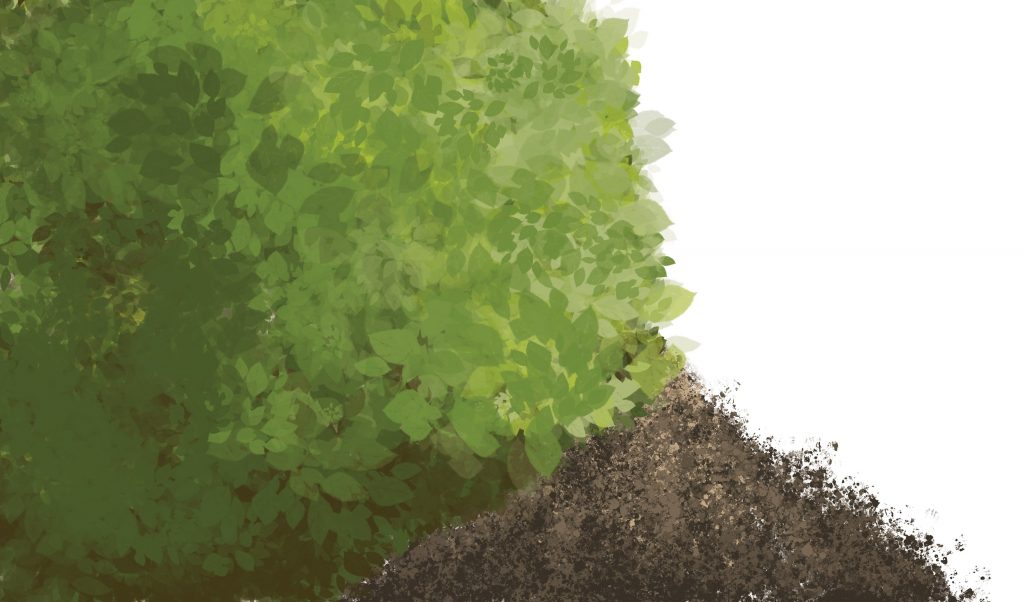
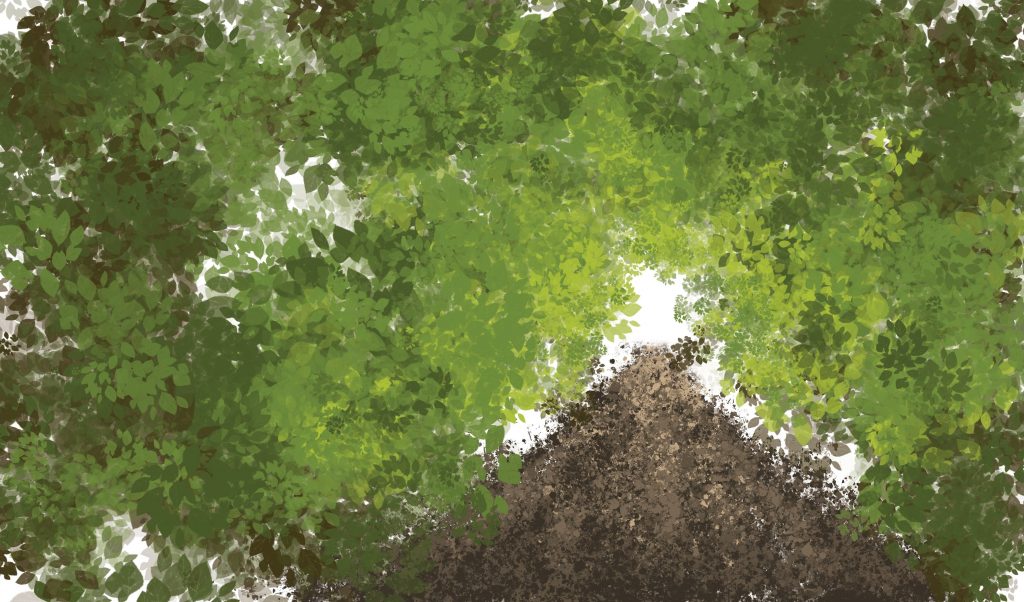
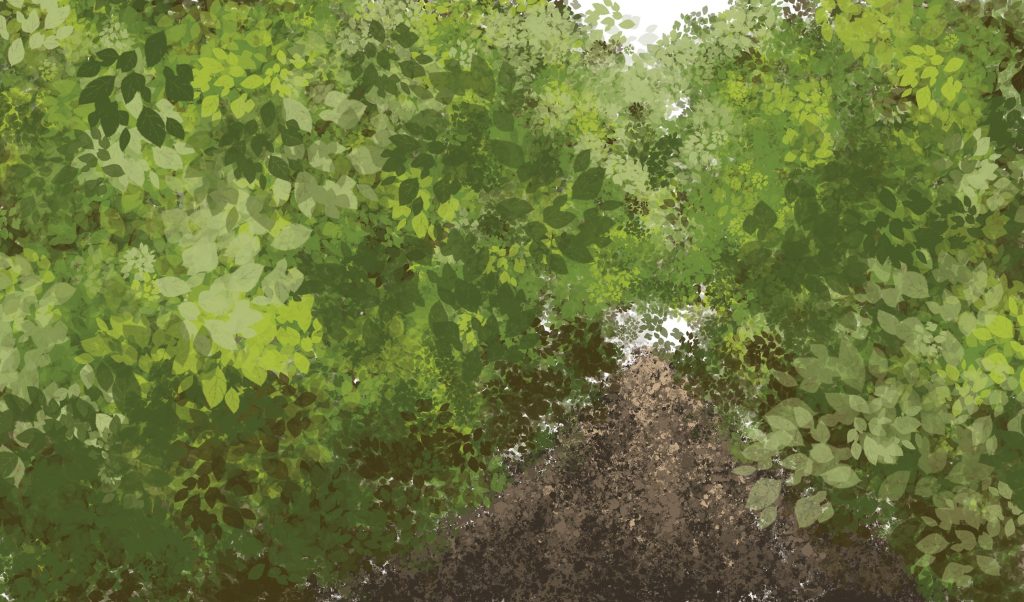
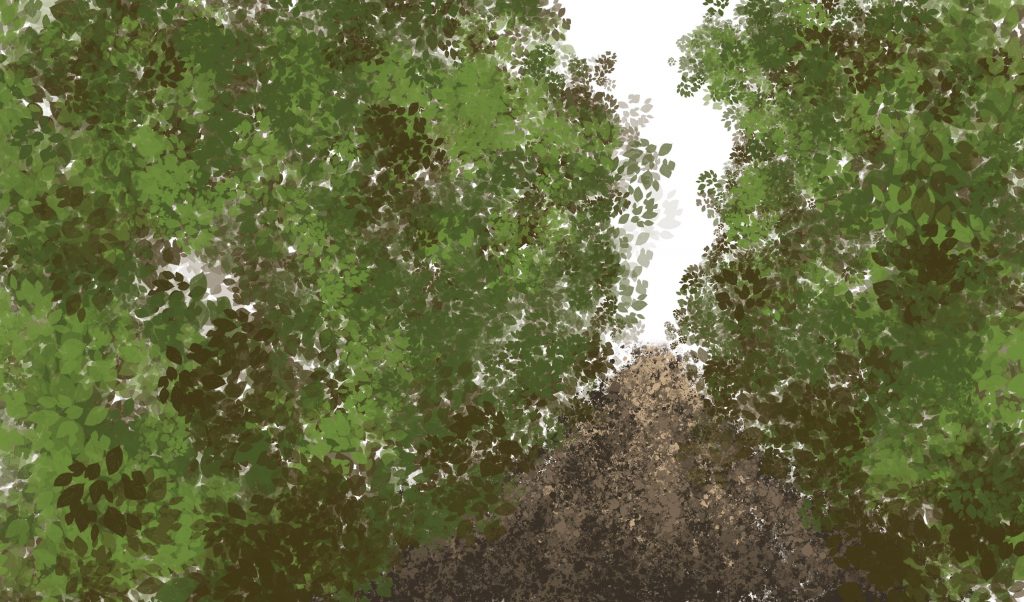
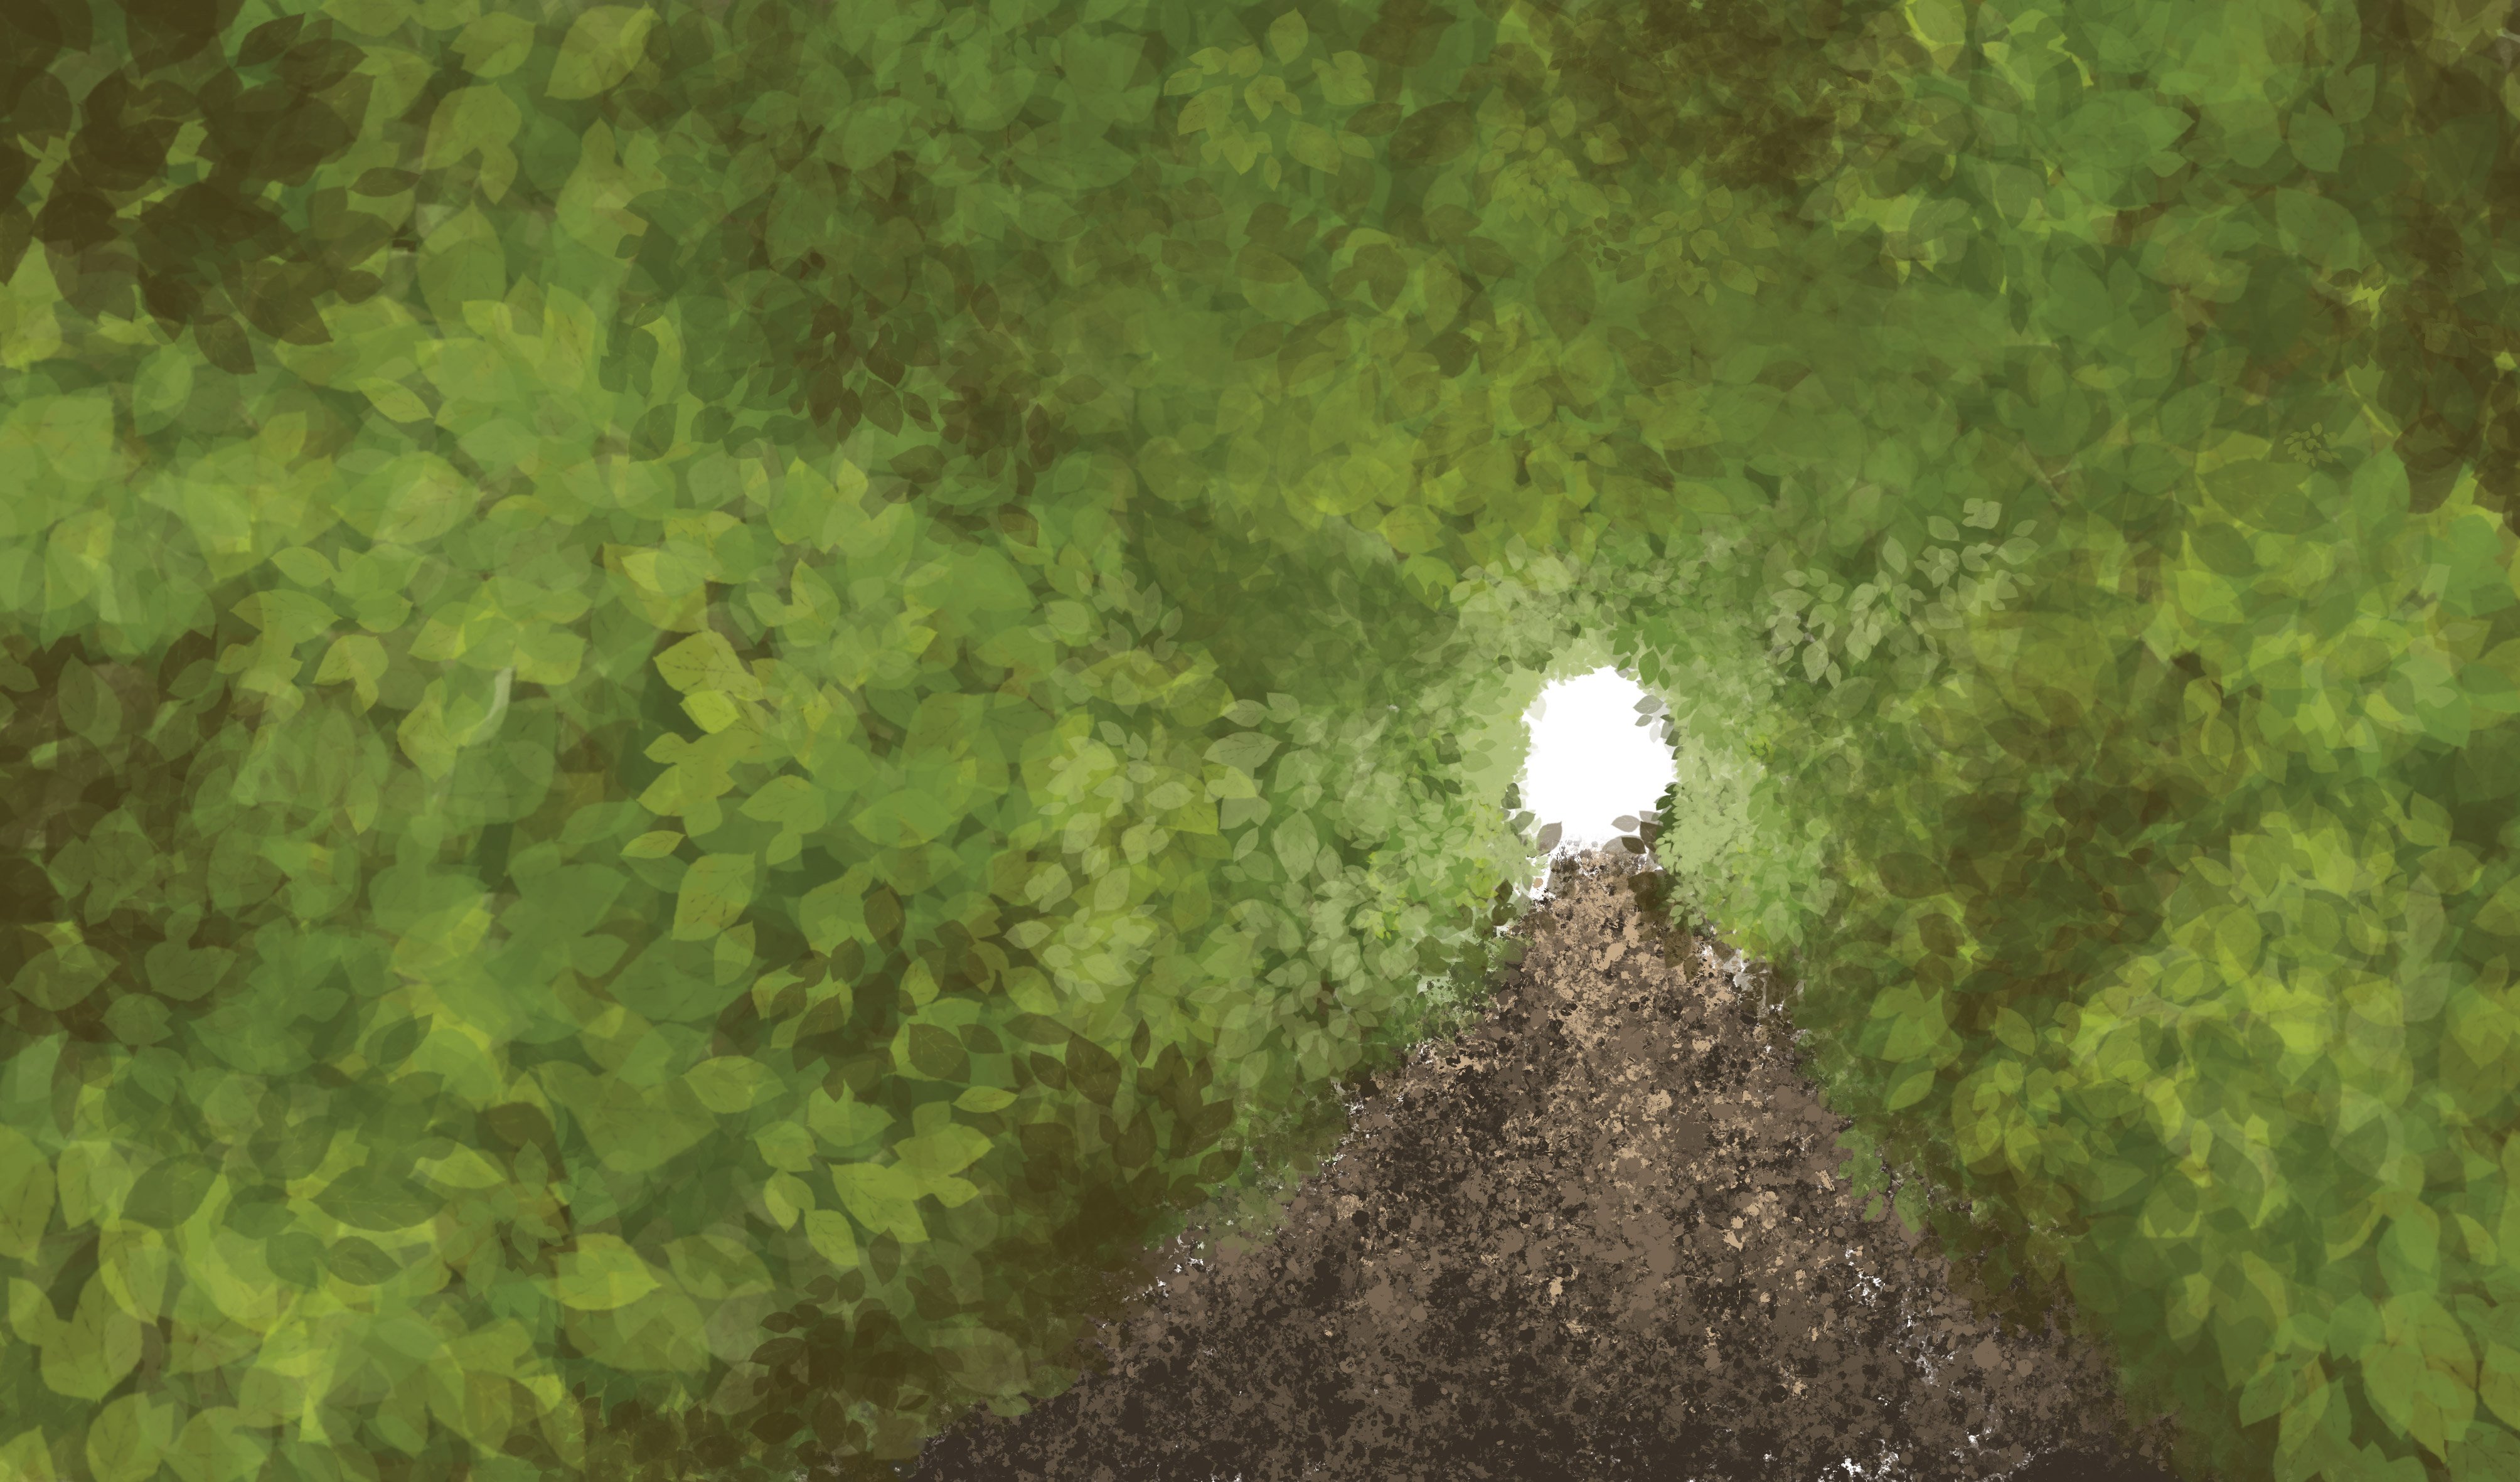
Then, I wanted to create a natural environment with trees to portray the nature of the place. I followed this tutorial and experimented with the lighting of the foliages.
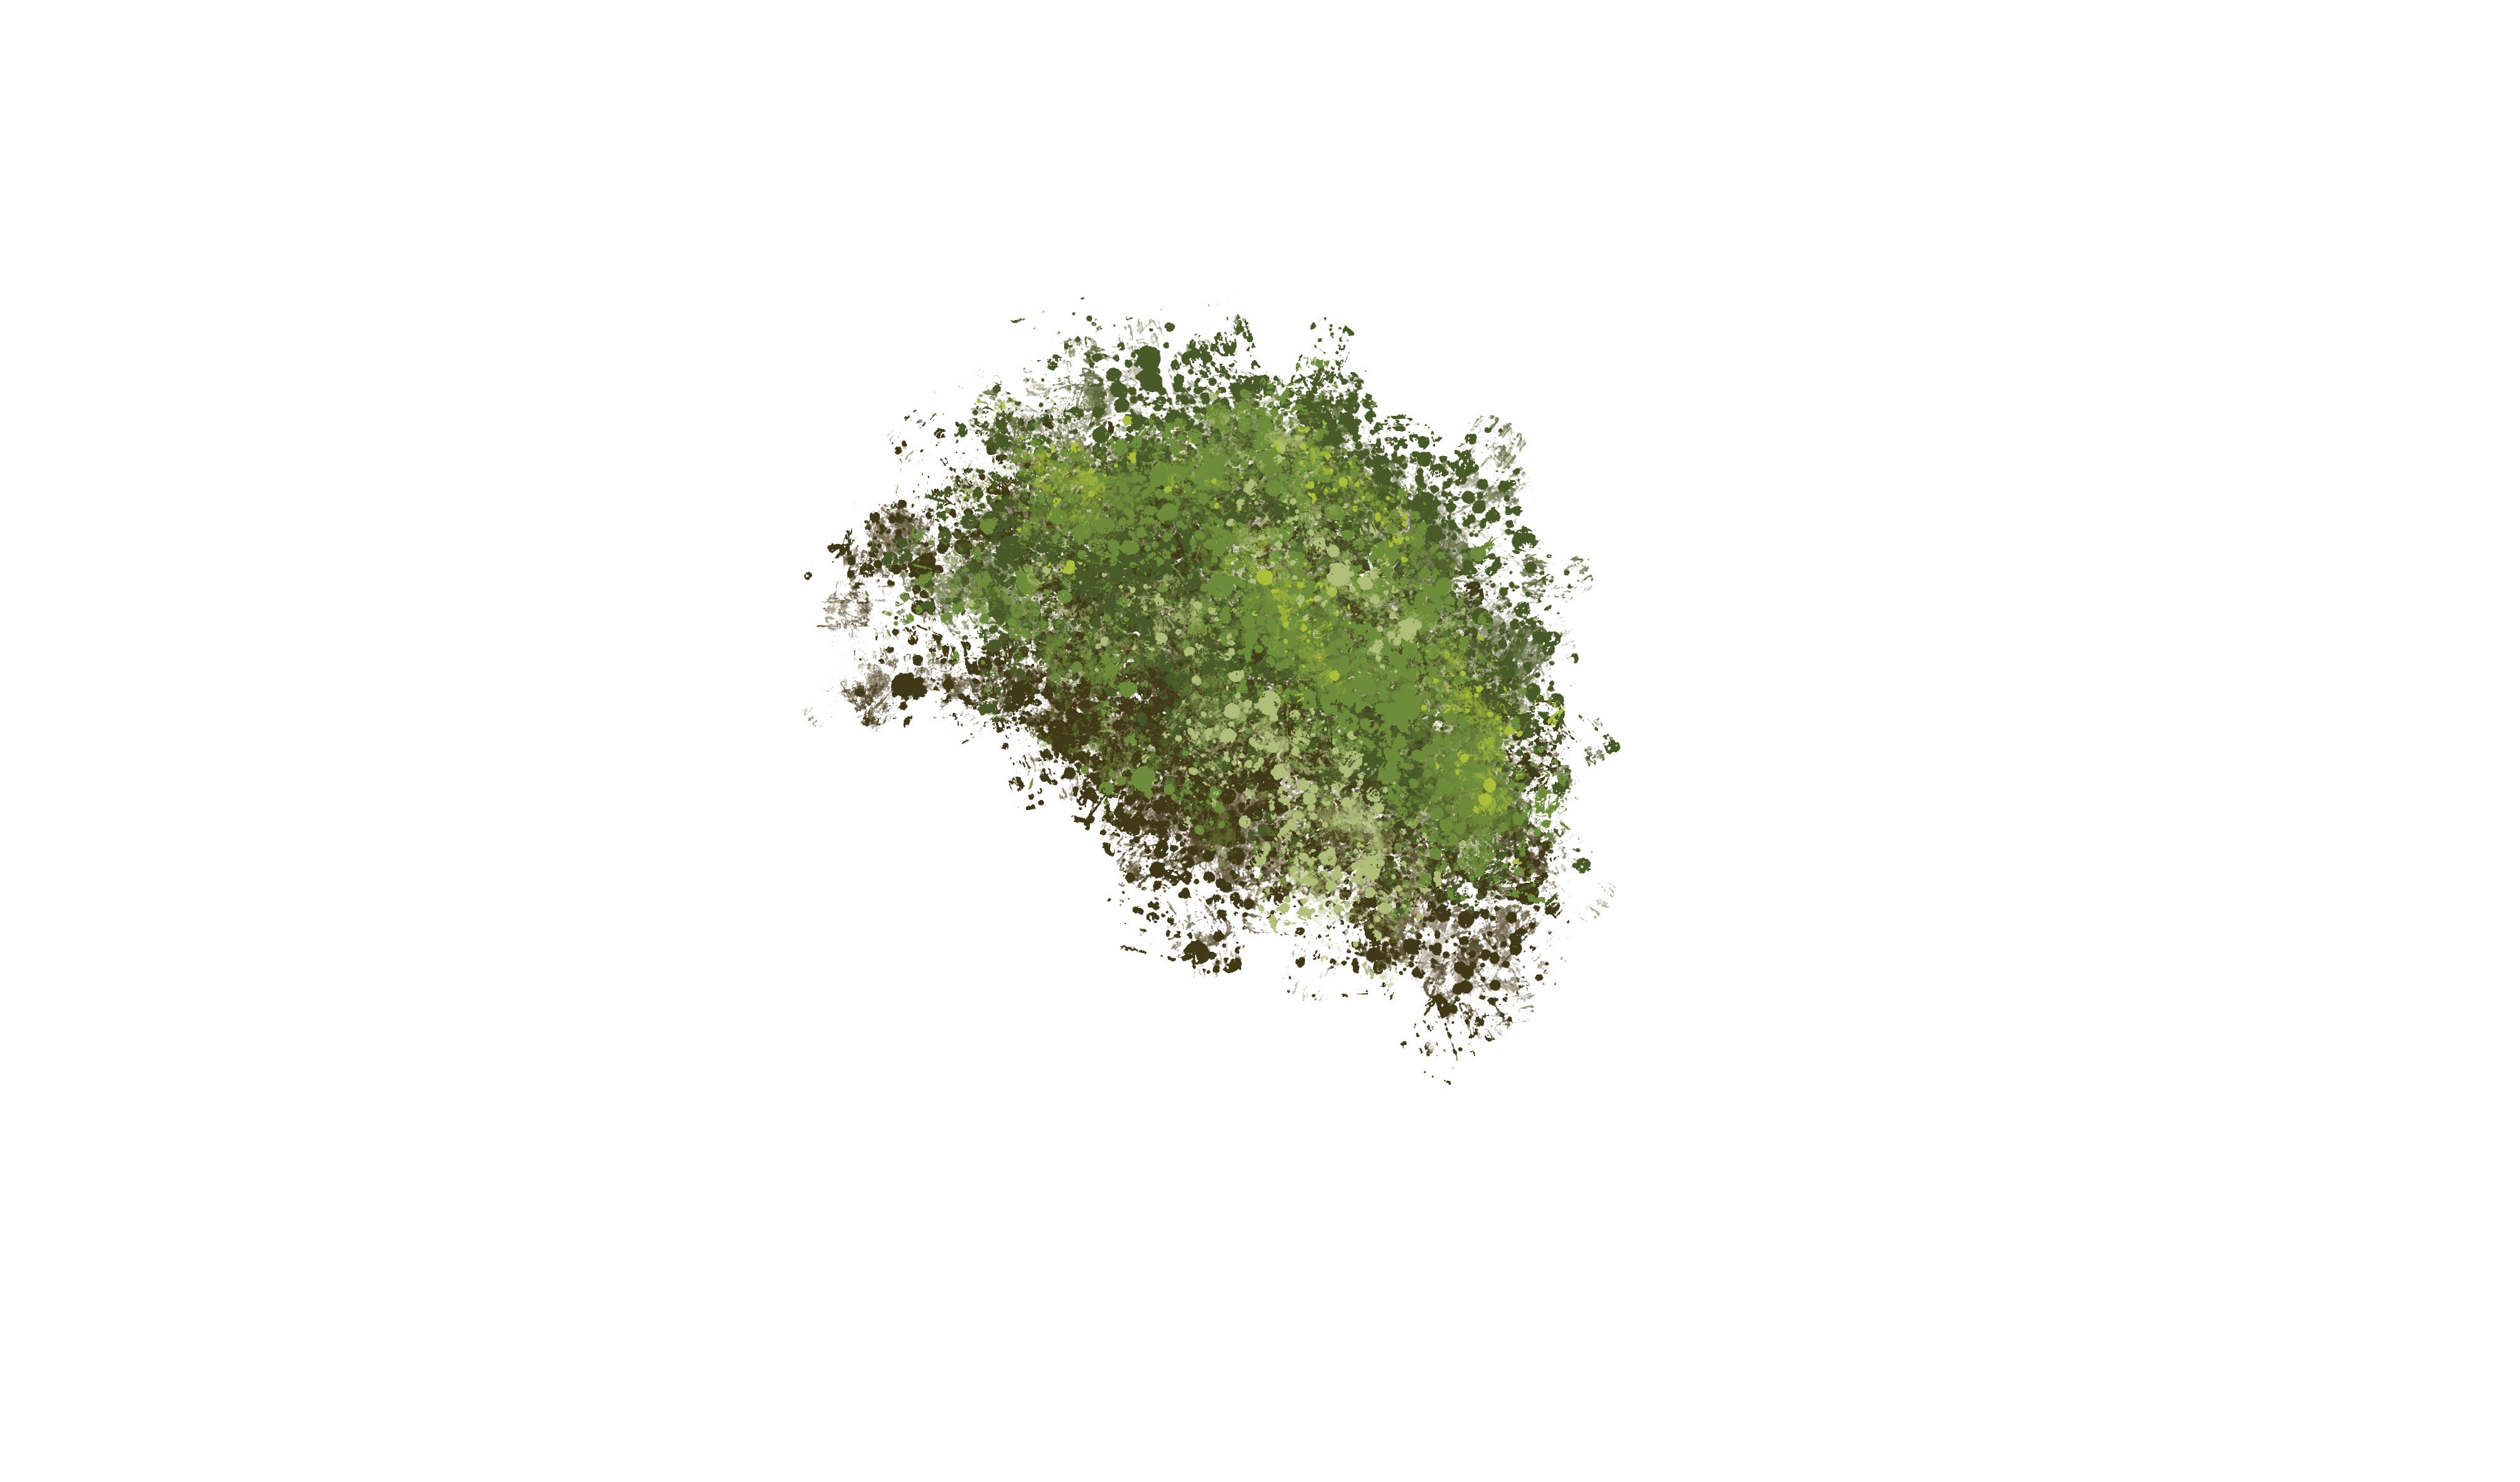

The following photos are me experimenting and testing out the lighting of the leaves. It looks VERY messy. I also used the photoshop built in leaf brush to make the foliage look more realistic.

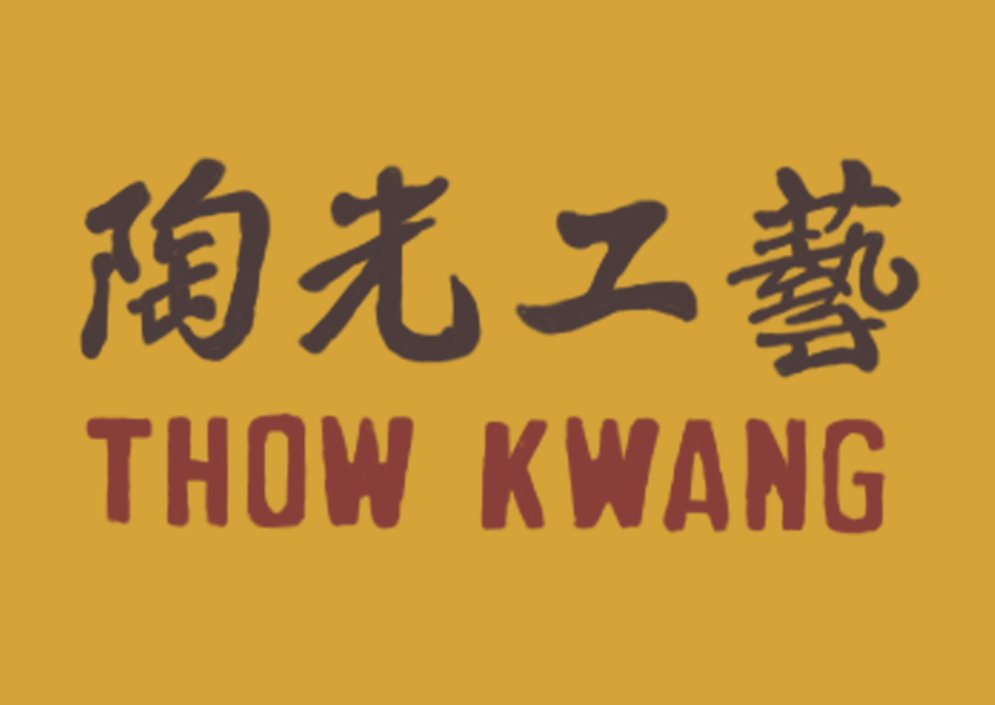
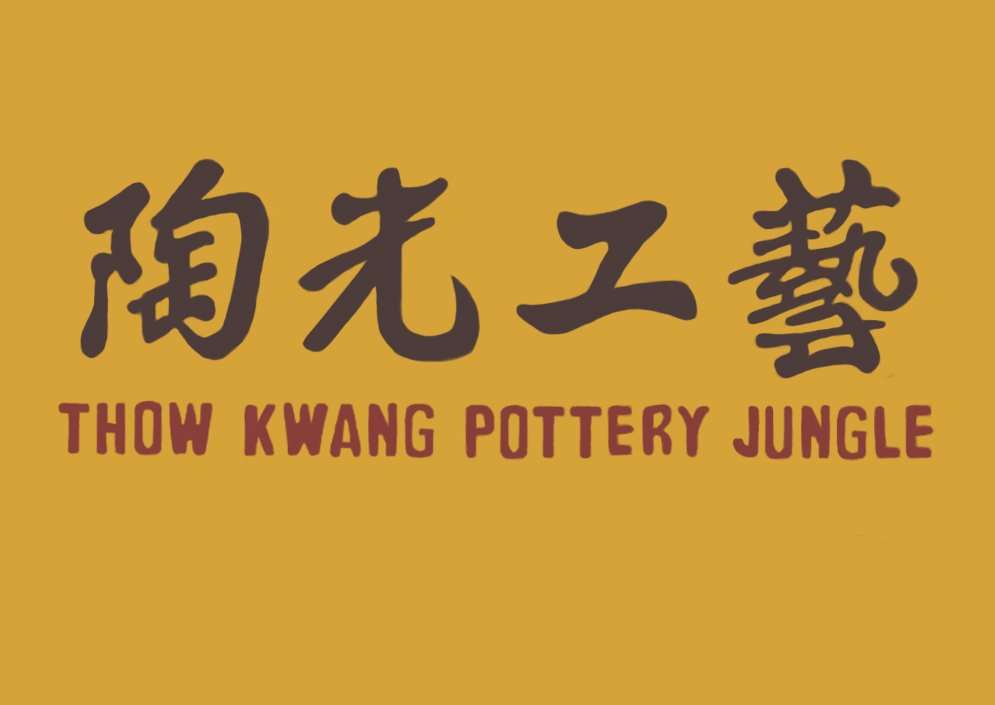
Asset 3: Signboard
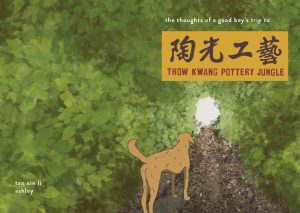
I decided to use the original signboard on the cover page as I like the colour combination and the font that was used.
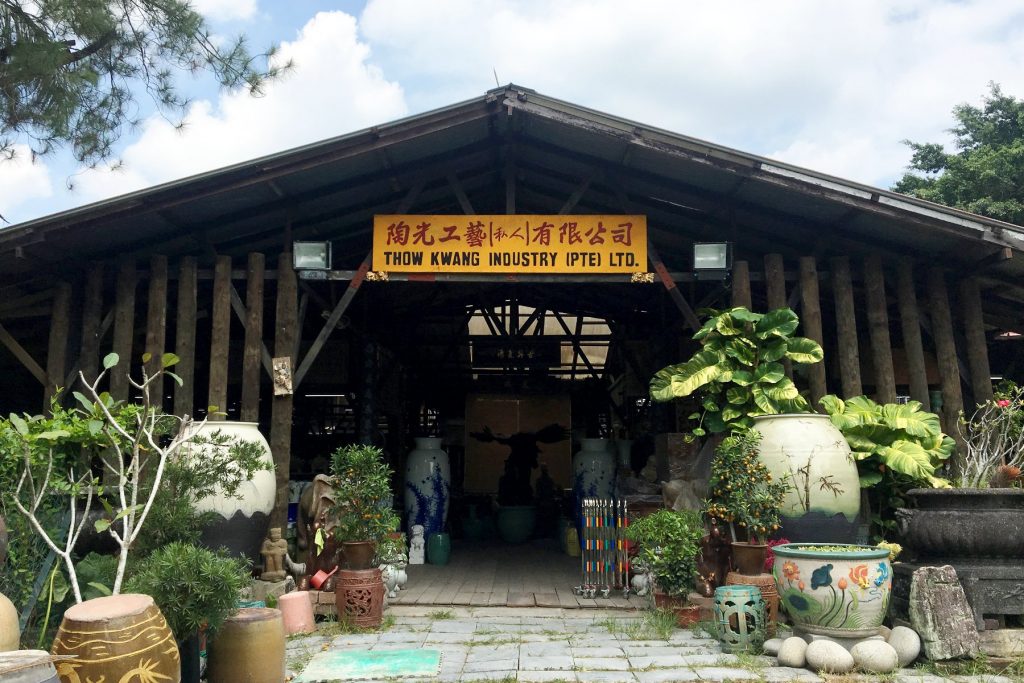
I then digitized the signboard by painting over the original photo on another layer.
After preparing the assets, I assembled everything on InDesign.
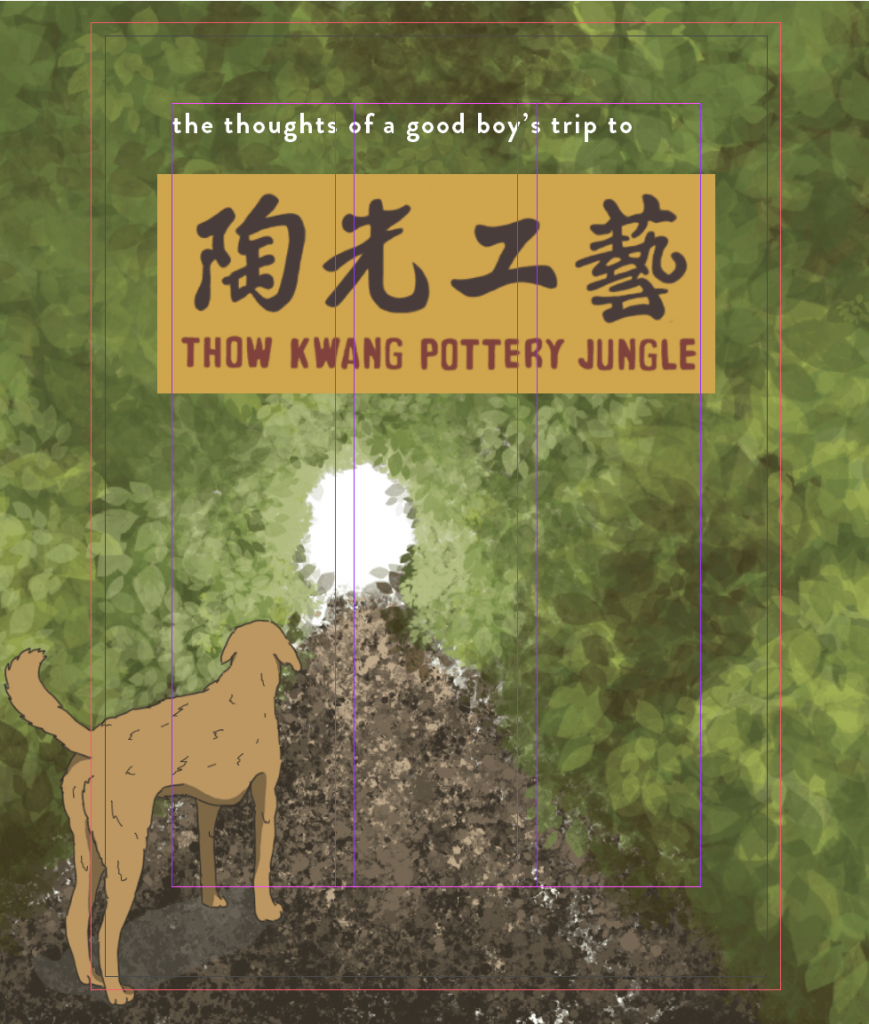
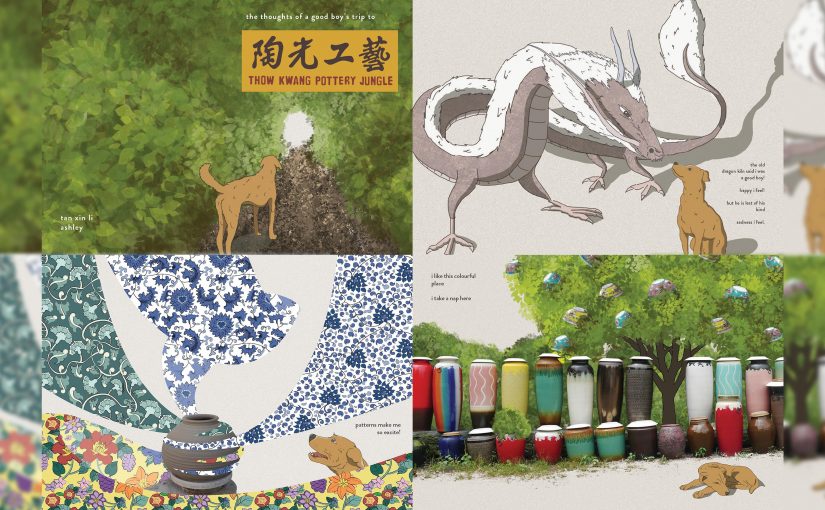
“The thoughts of a good boy’s trip to” is aligned with the left column, while the signboard is centralized. I used Brandon Grotesque in Medium weight as the font throughout the other spreads as well. For the words used throughout the spreads, I increased the leading (space in between the base of the fonts) and kerning (space in between letters) so that it is easier to read.
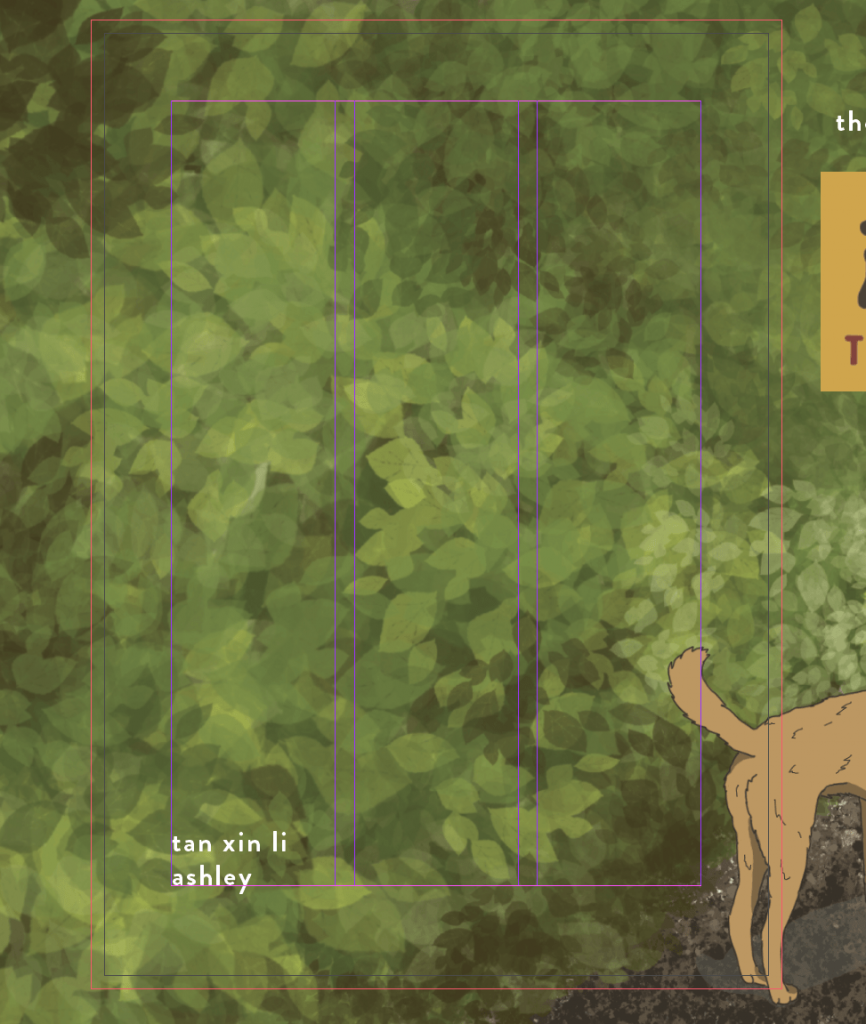
I aligned my name with the left column on the back page.
The cover page is the entrance to my zine, and thus I wanted to show that it is also the entrance to the place that I am illustrating. The dog facing the opening of the foliages and the leaves flowing towards the opening was meant to lead the viewer’s eye to it. There is nothing shown in the opening as I wanted to create mystery and anticipation as to what is waiting on the other end.
Spread 1: Texture
Asset 1: Dog
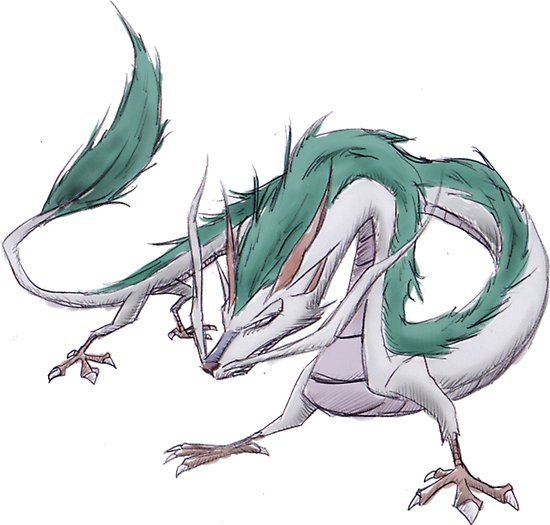
Asset 2: Dragon
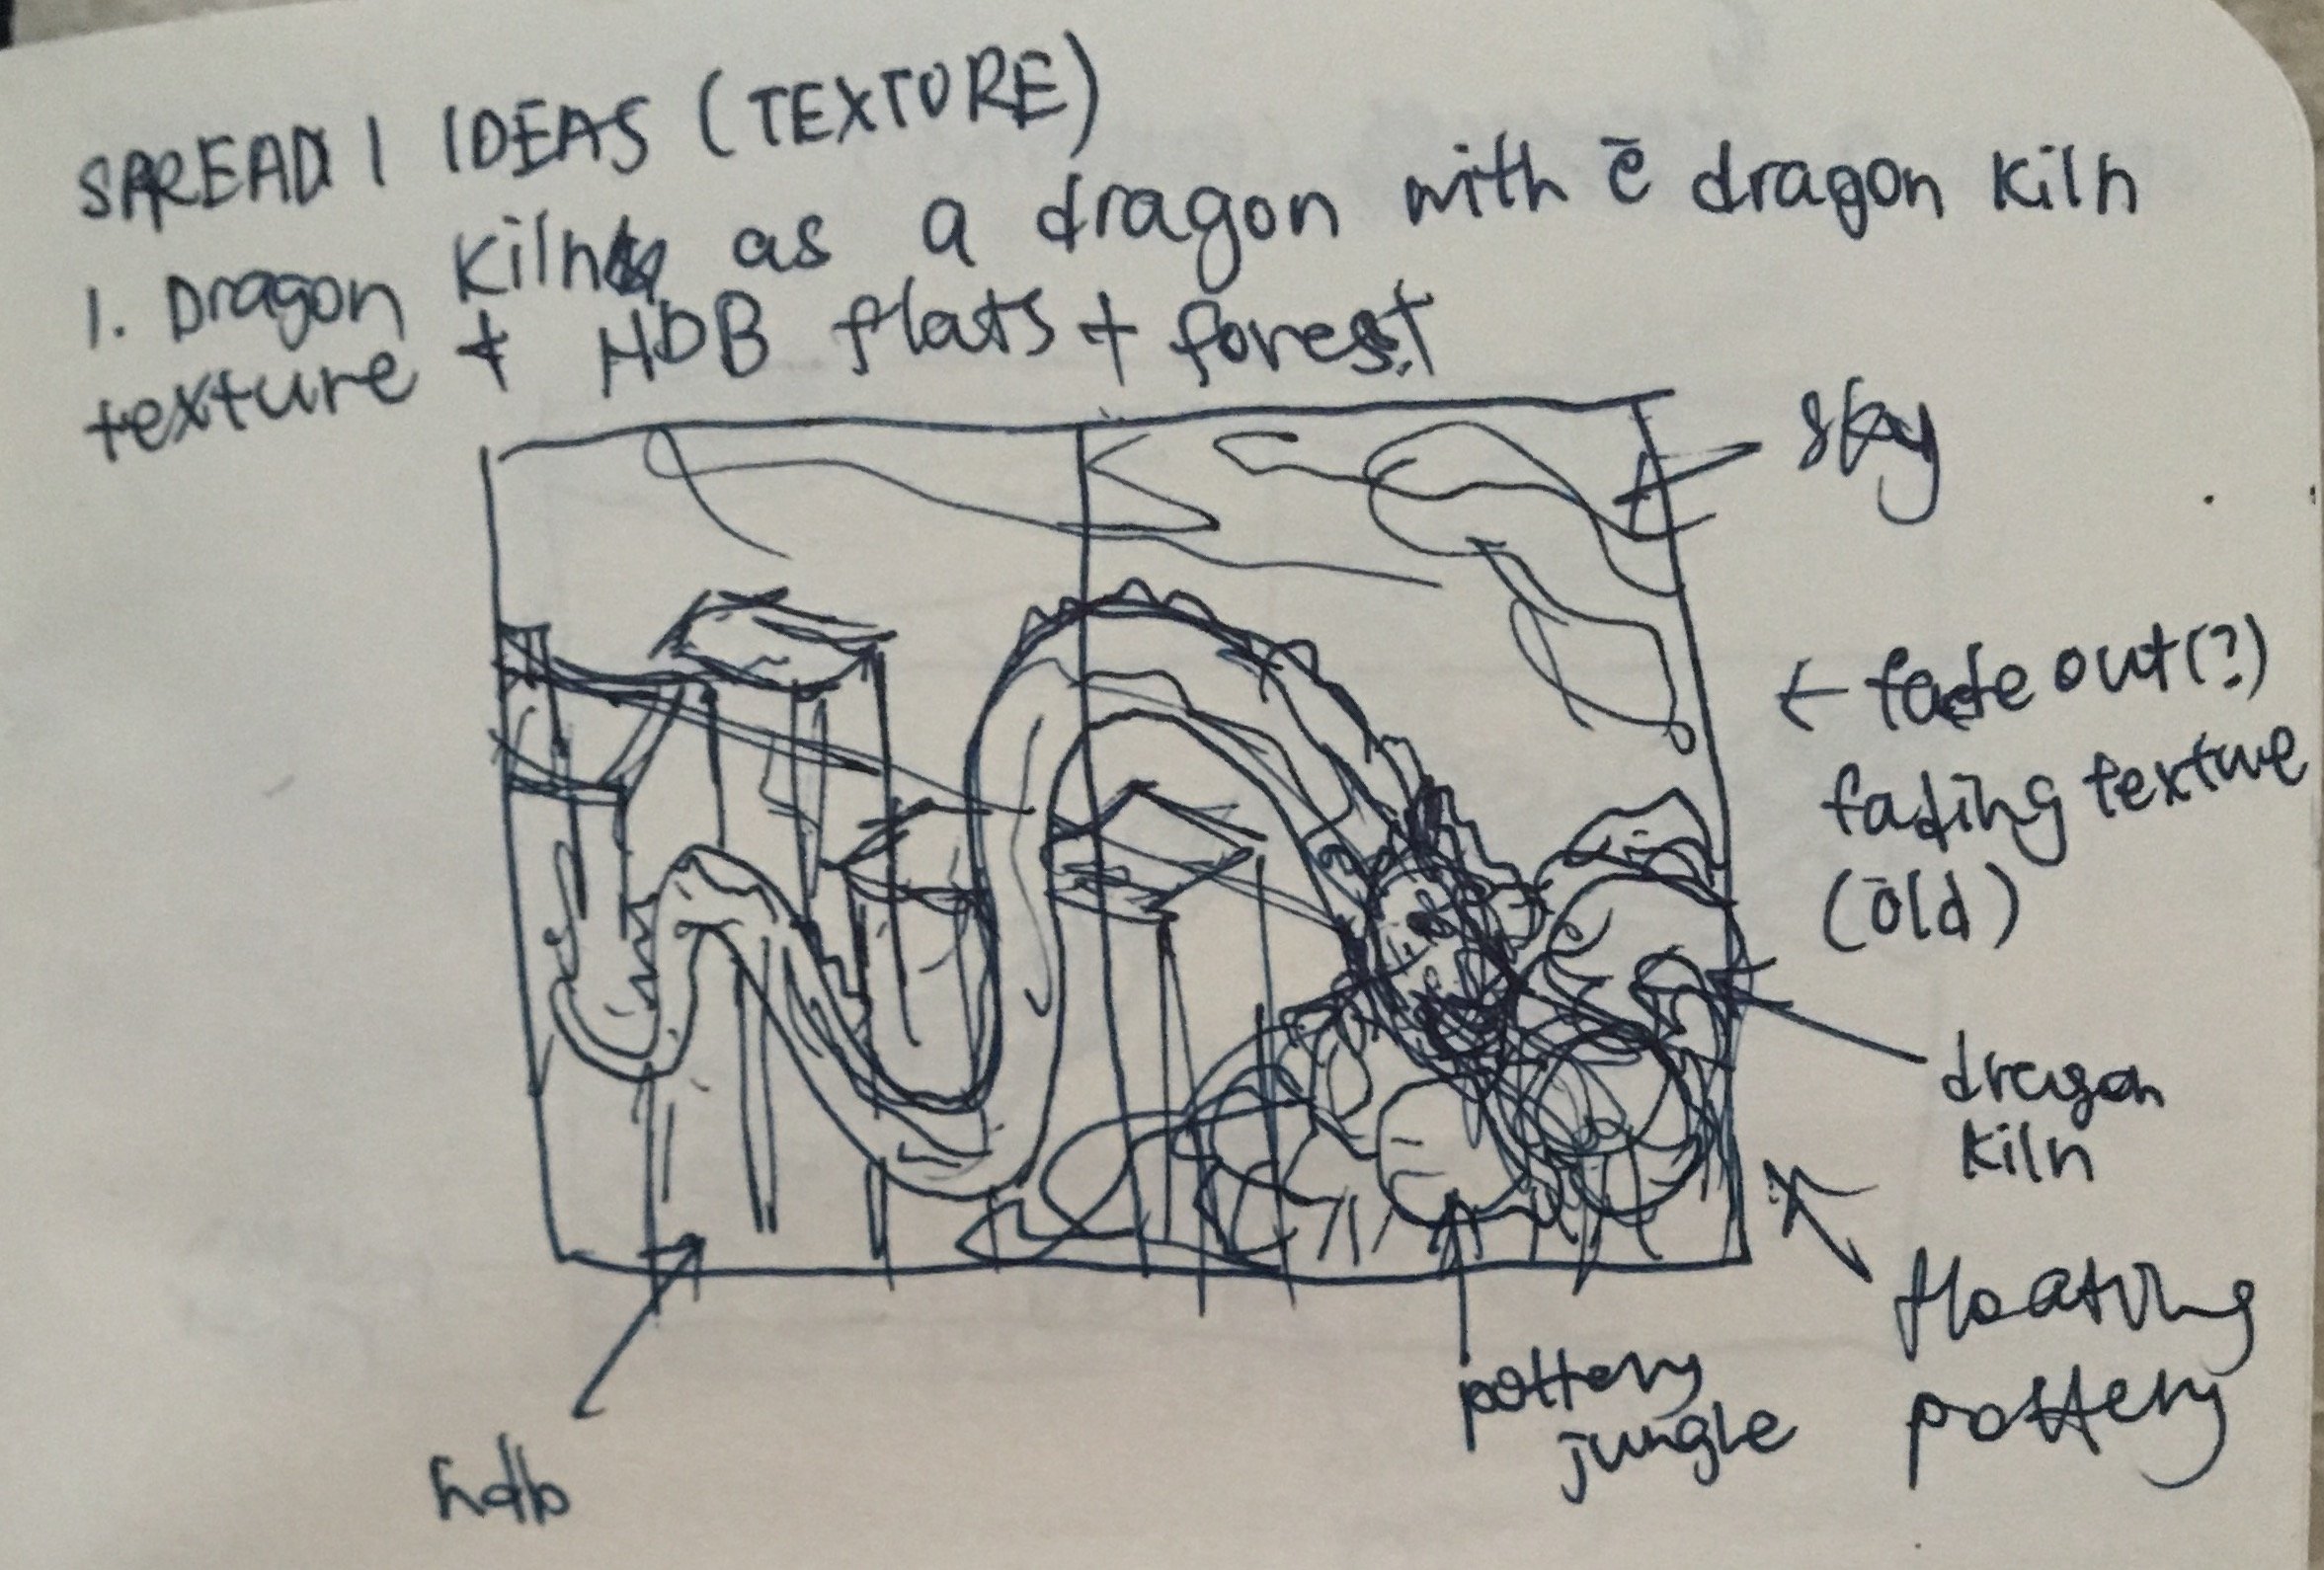
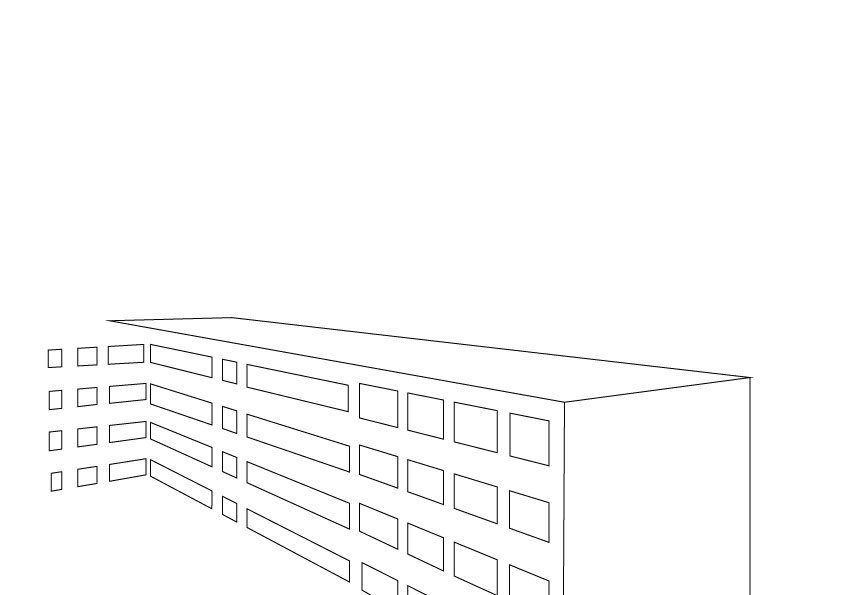
Initially, I wanted to portray the dragon traveling through the HDBs, as what most of Jurong would look like. However, I felt that there wasn’t a flow to the spreads in the zine. Therefore, I decided to add the character of a dog that is exploring the place. To add on, I imagined and crafted the thoughts of a dog traveling through the place. I thought it adds on to the fantasy/unreal/animated feel to the zine.

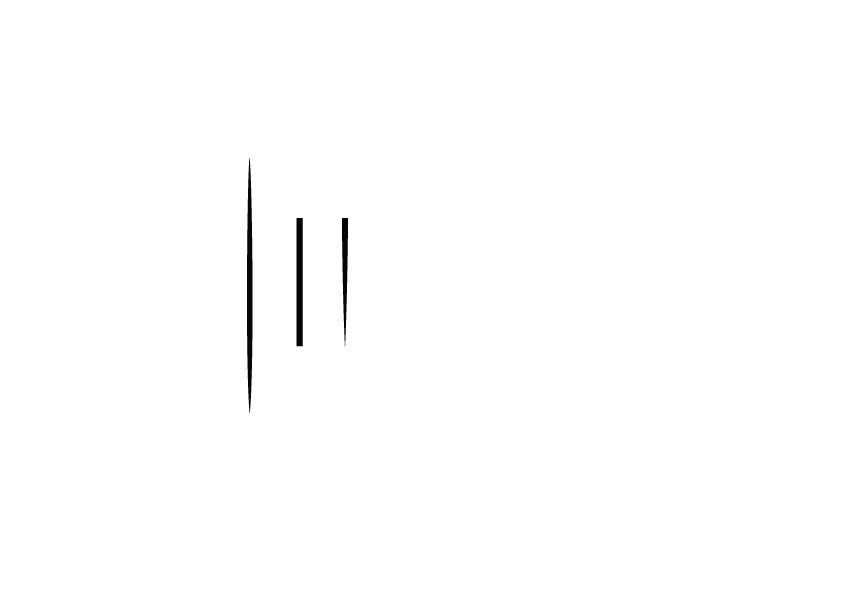
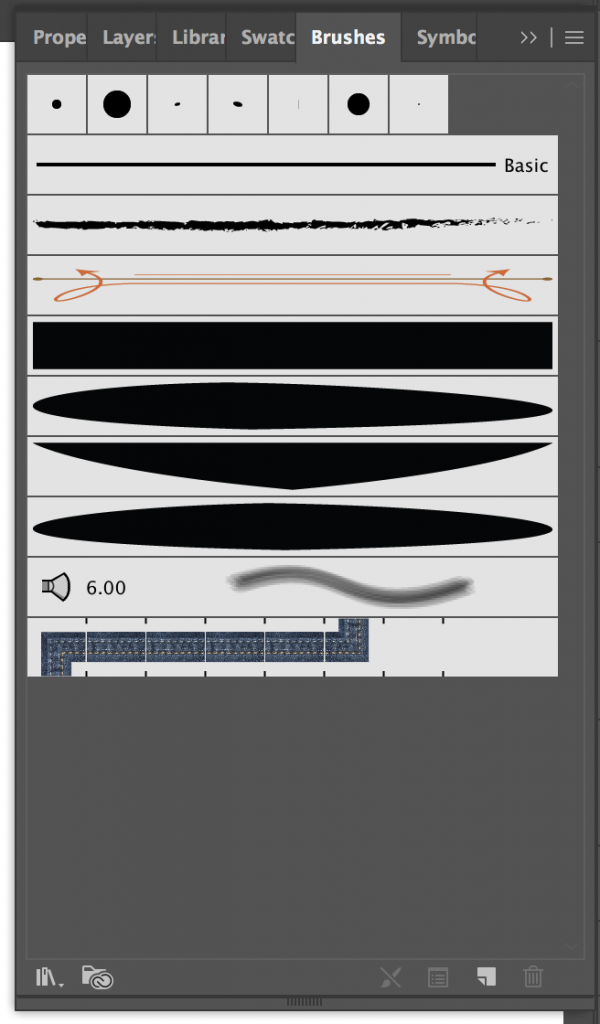
I created my own custom brush on Illustrator using the 3 shapes as shown on the left. I created the shapes first, then selecting a new art brush to create the brush. I only used these brushes for the initial stages of the dragon and the patterns which will be shown later.
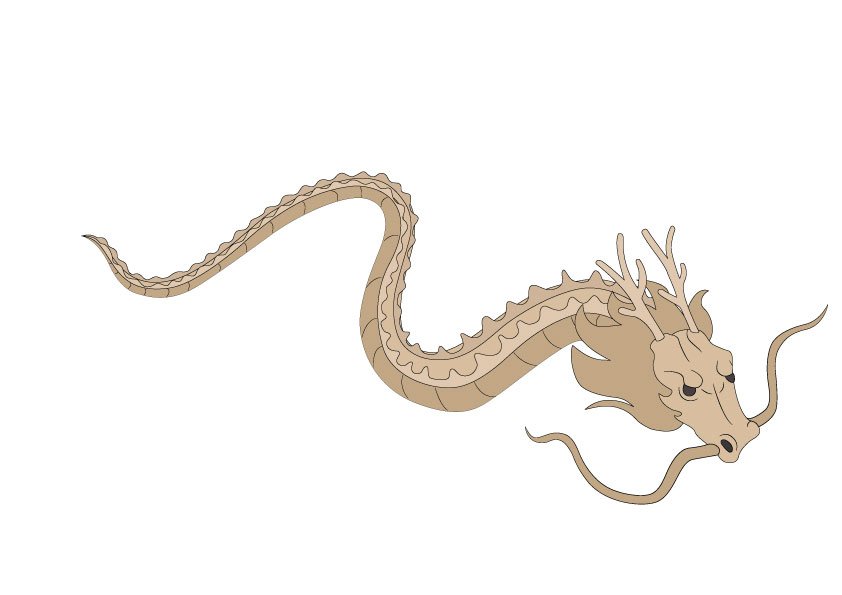
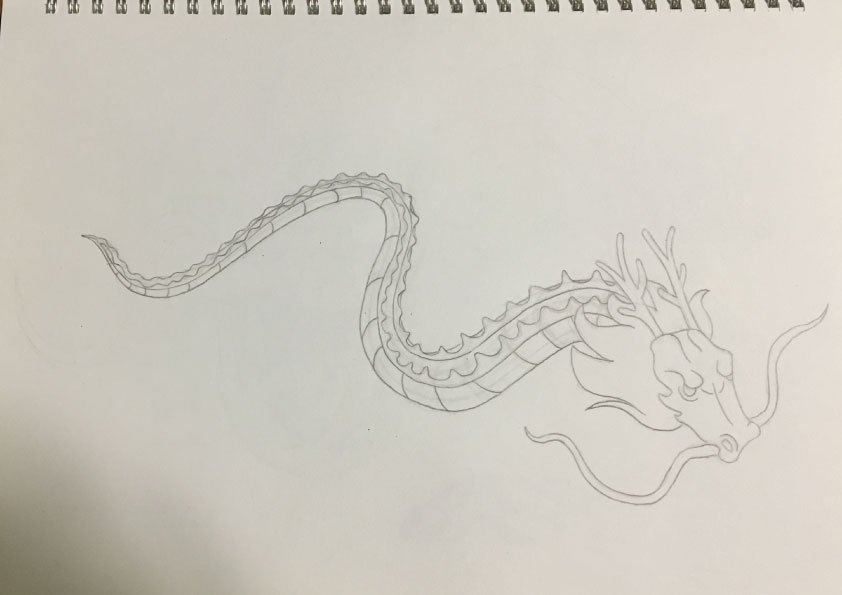
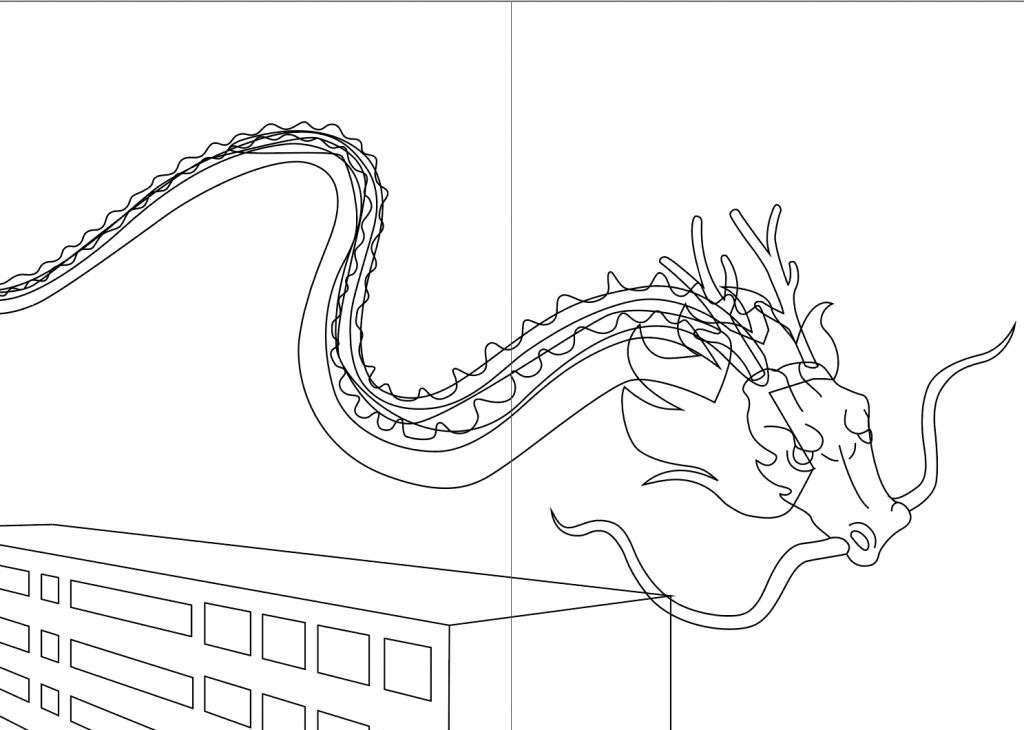
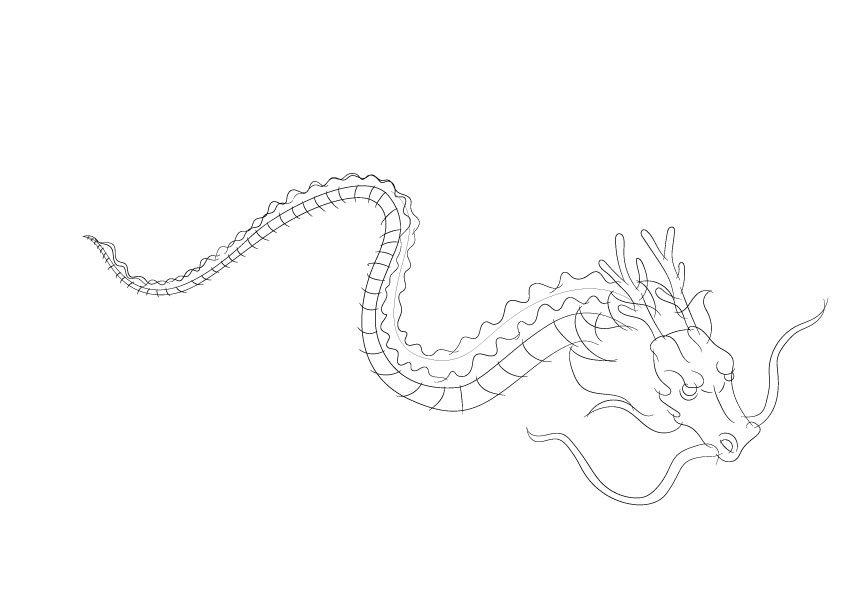
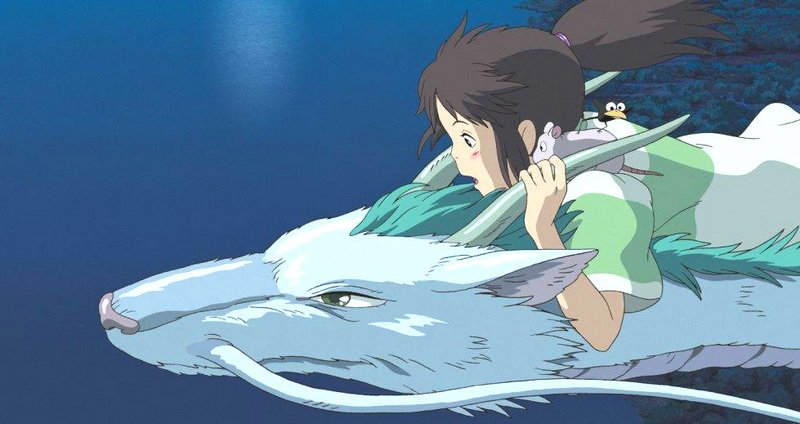
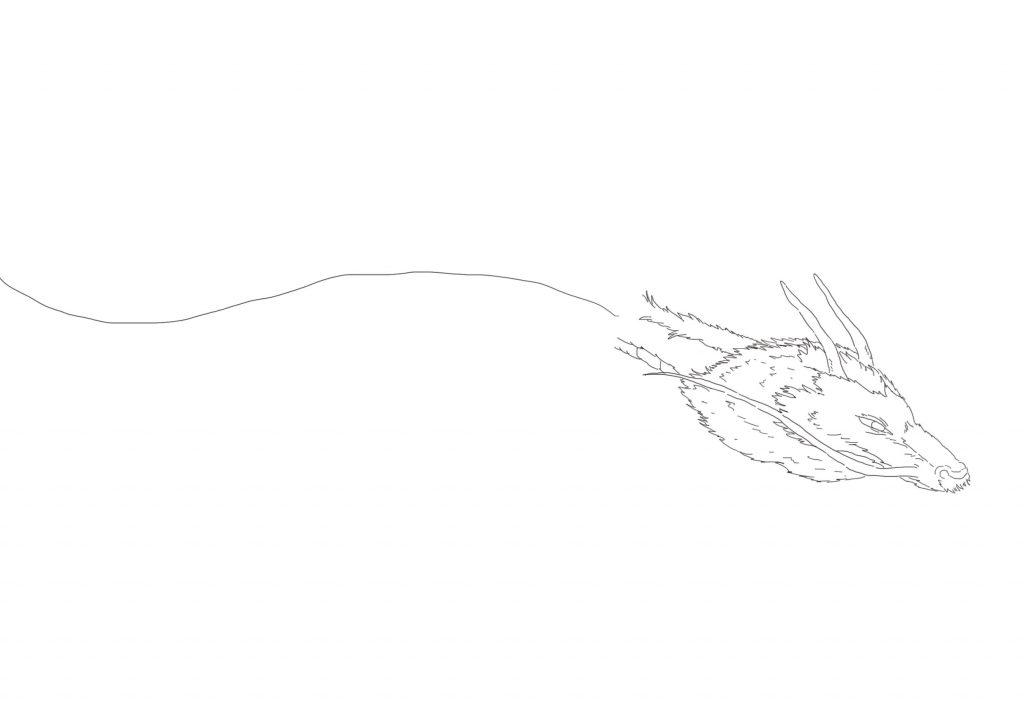
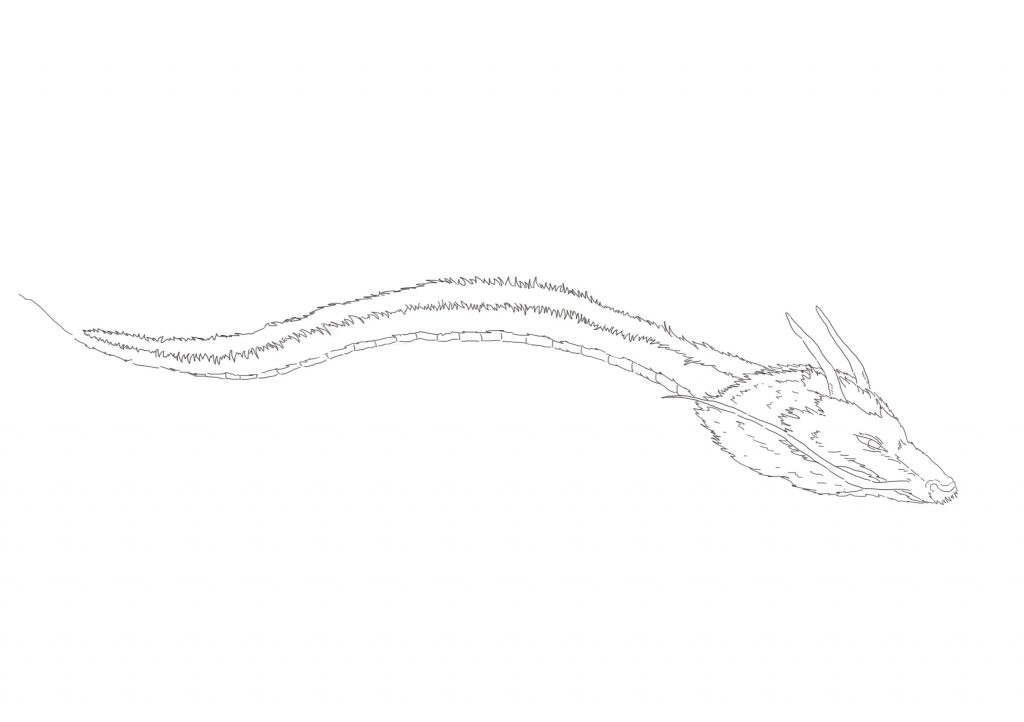
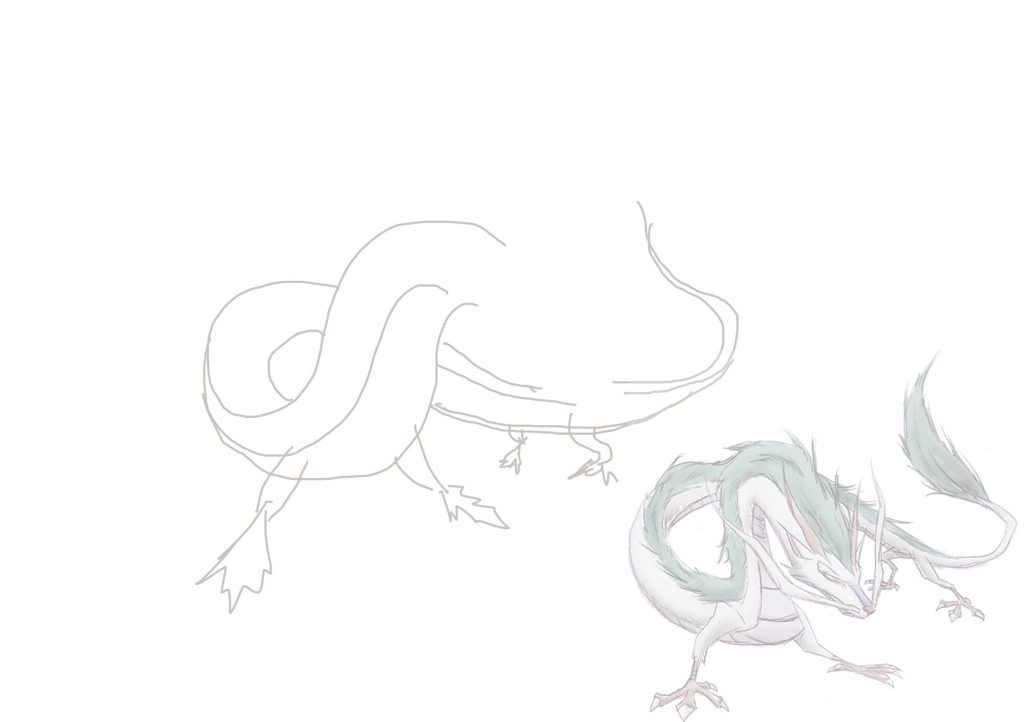
Initially, I observed that the outlines used in spirited away had sharp and thin stroke ends. Also, my initial drawing of the dragon does not have the same style as what was depicted in my mood board, thus I decided to redraw the dragon again as seen in v10.
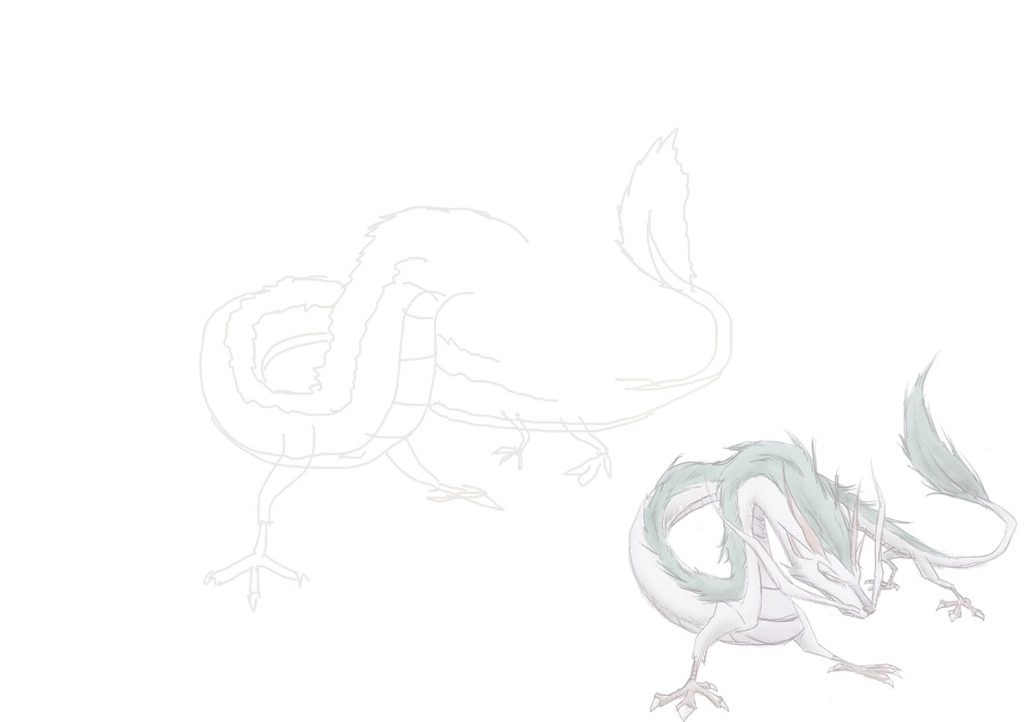
I also tried to redraw the dragon using a method that I learned while drawing the patterns in the next spread.

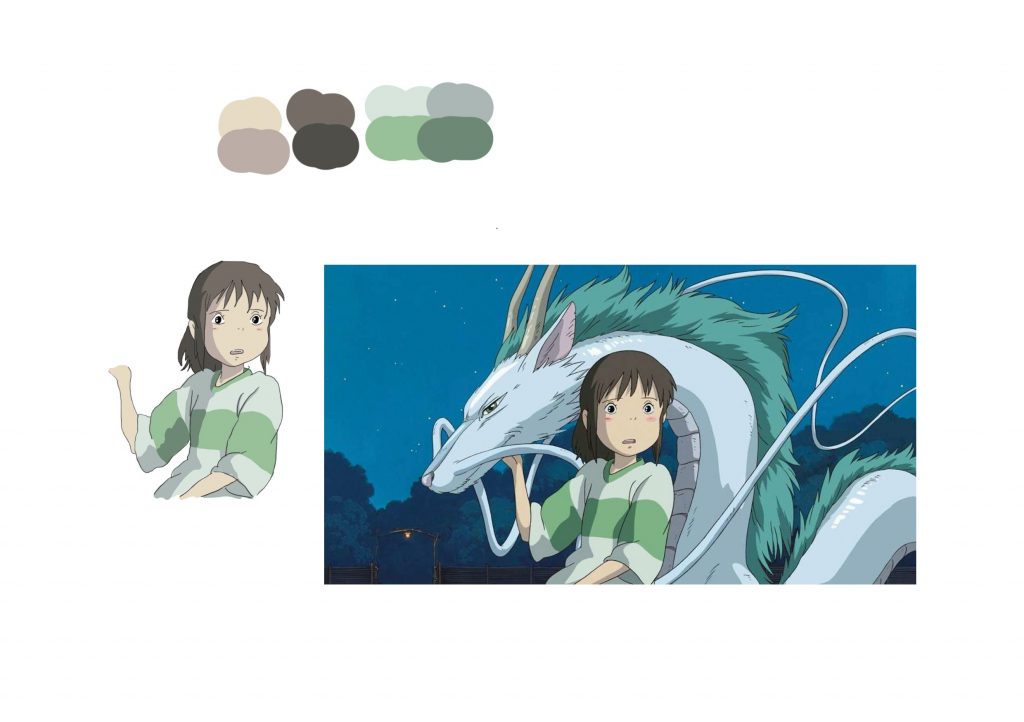
After not being able to achieve the style and feel that I want, I consulted my friend who is more experienced in illustrating digitally. He taught me the whole process of outlining, cel-shading, and painting shadows. In order to familiarise myself with the process, I practiced on illustrating Chihiro first, the girl depicted in the image below.

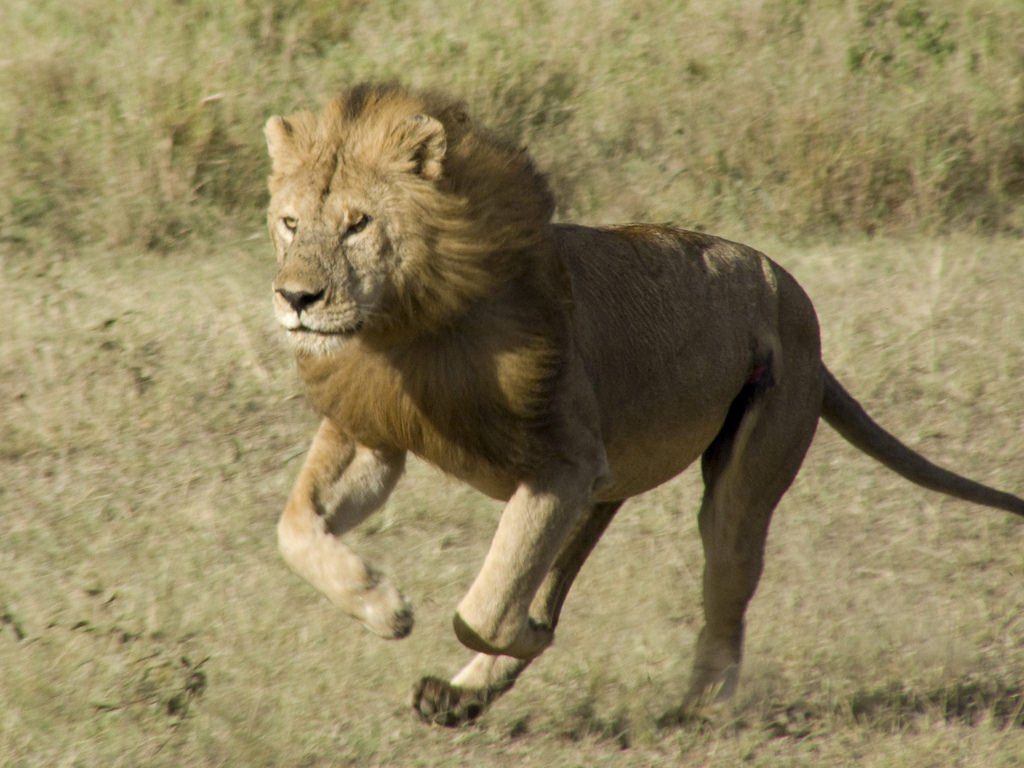
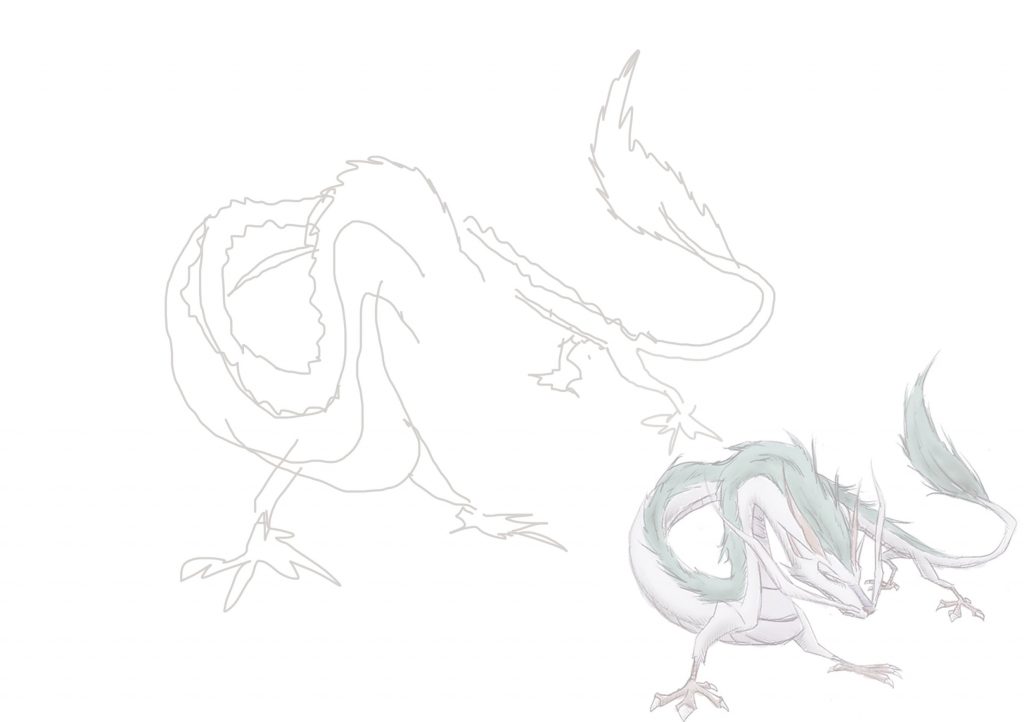
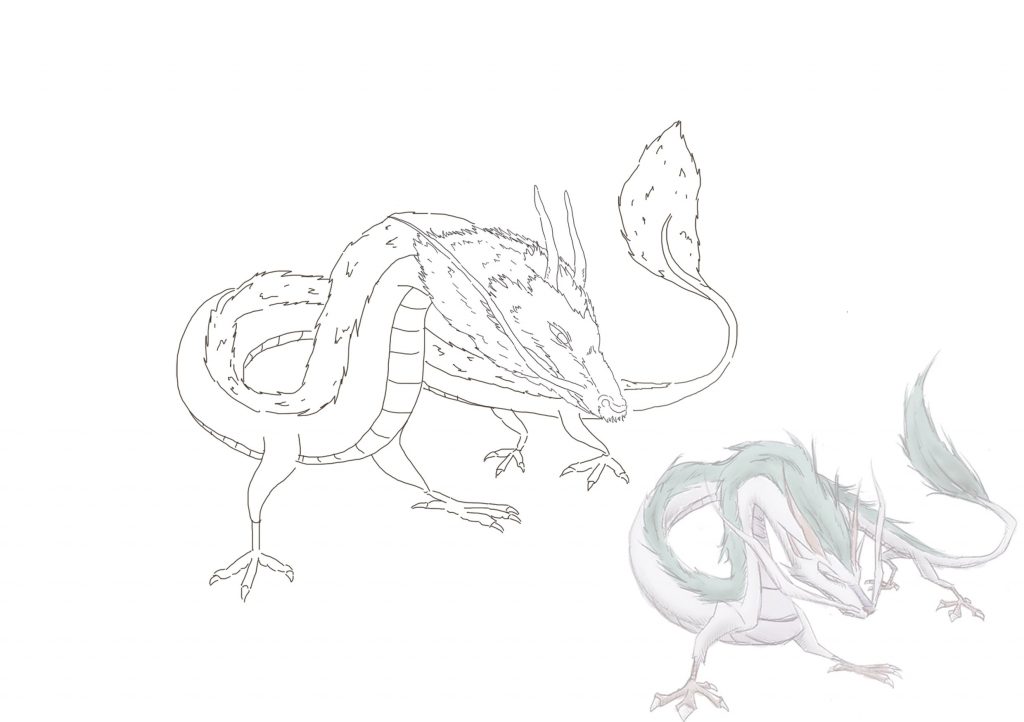
The dragon is too similar to what was portrayed in the movie. Therefore, I decided to add the mane of a lion to its hair.

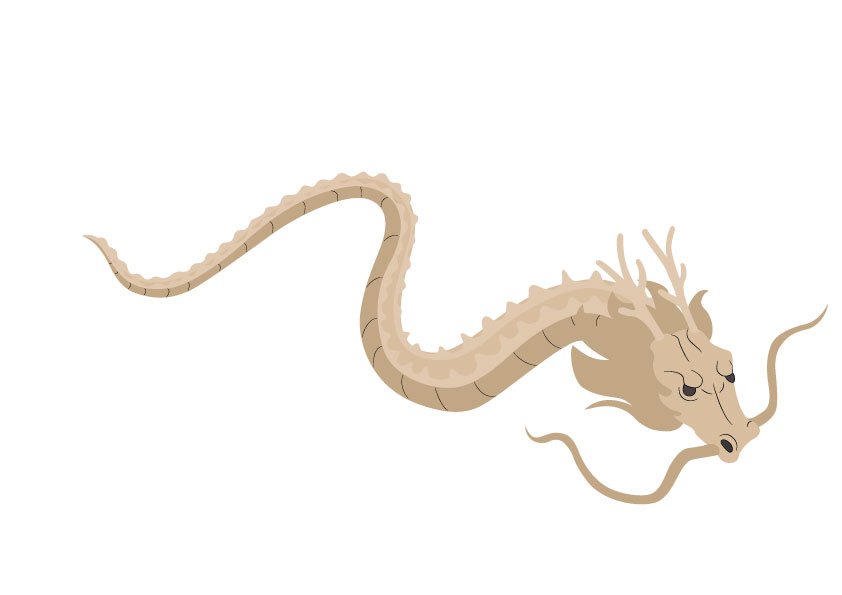
I decided to change the posture of the dragon as the body seems very short and is lacking movement.
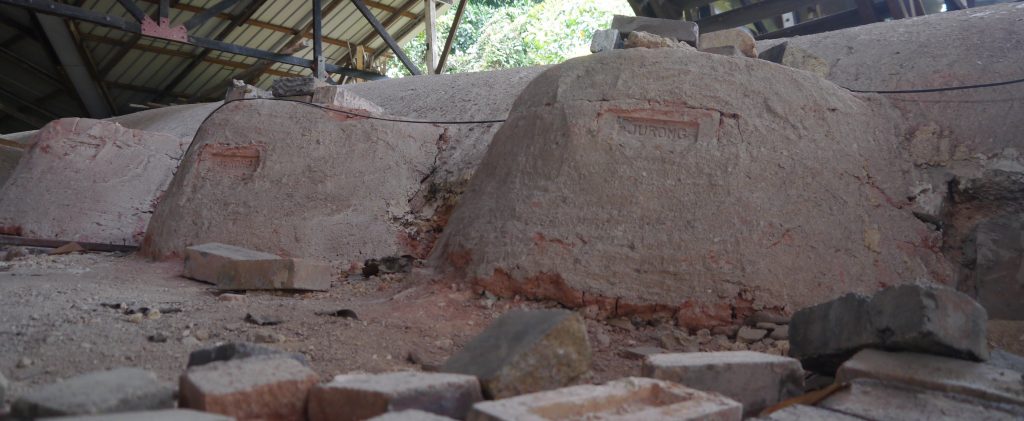
Then, I filled in the colour of the kiln and tried to get the right shadow. Also, the hair of the dragon is slightly off white to show that the dragon is old.
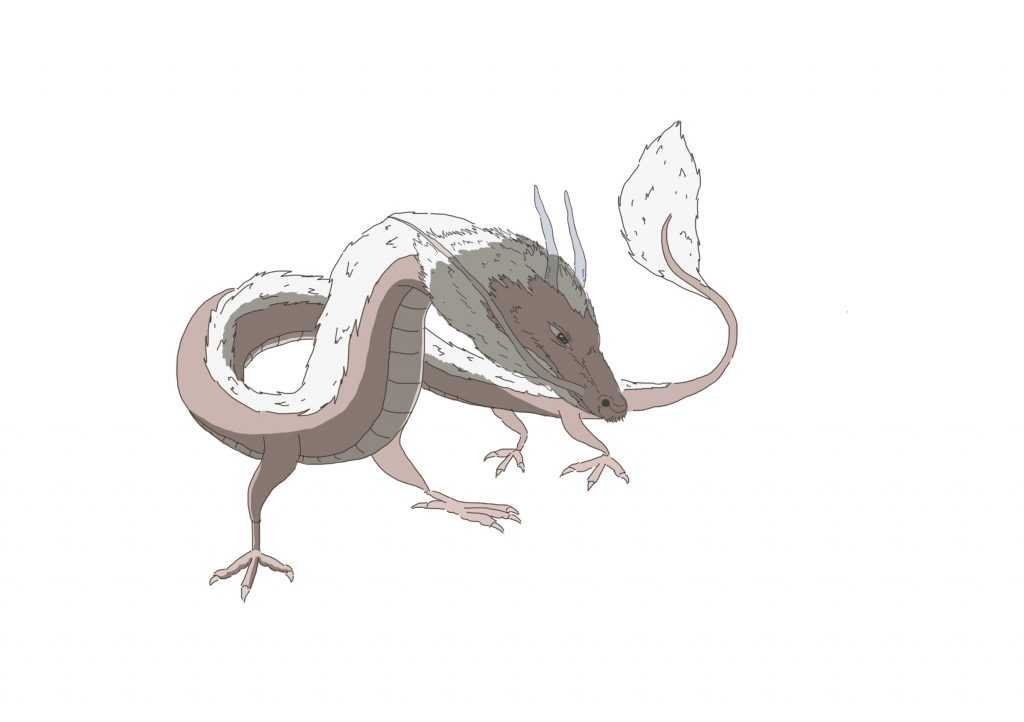
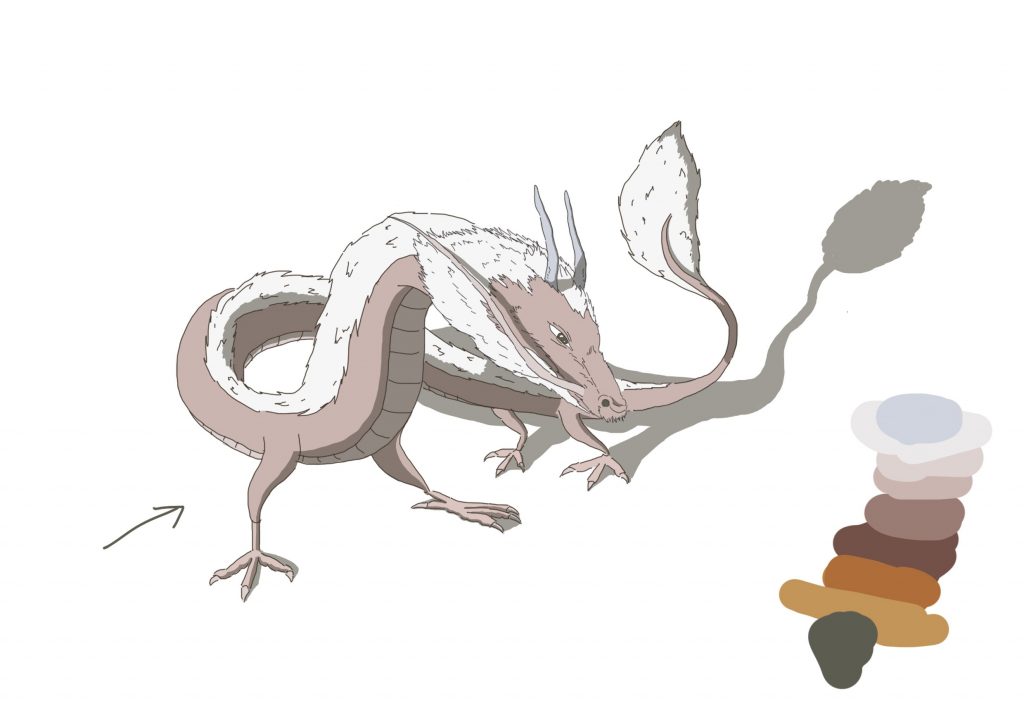
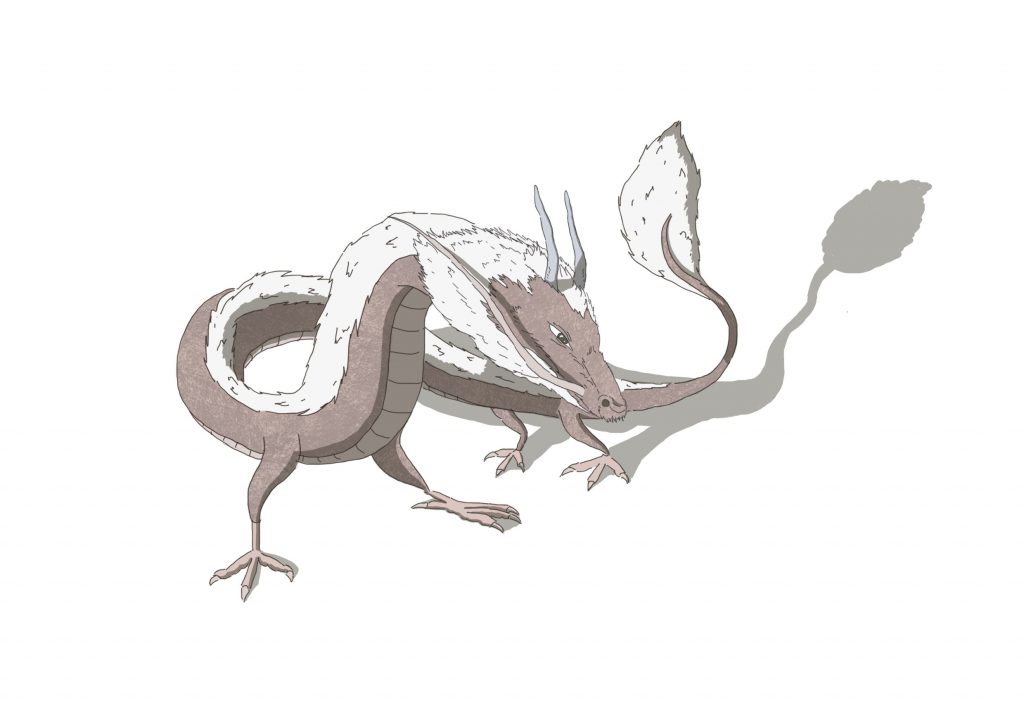
After finalising with the colours and shadow, I added the texture of the actual kiln on the dragon using the method that was taught in the last project.

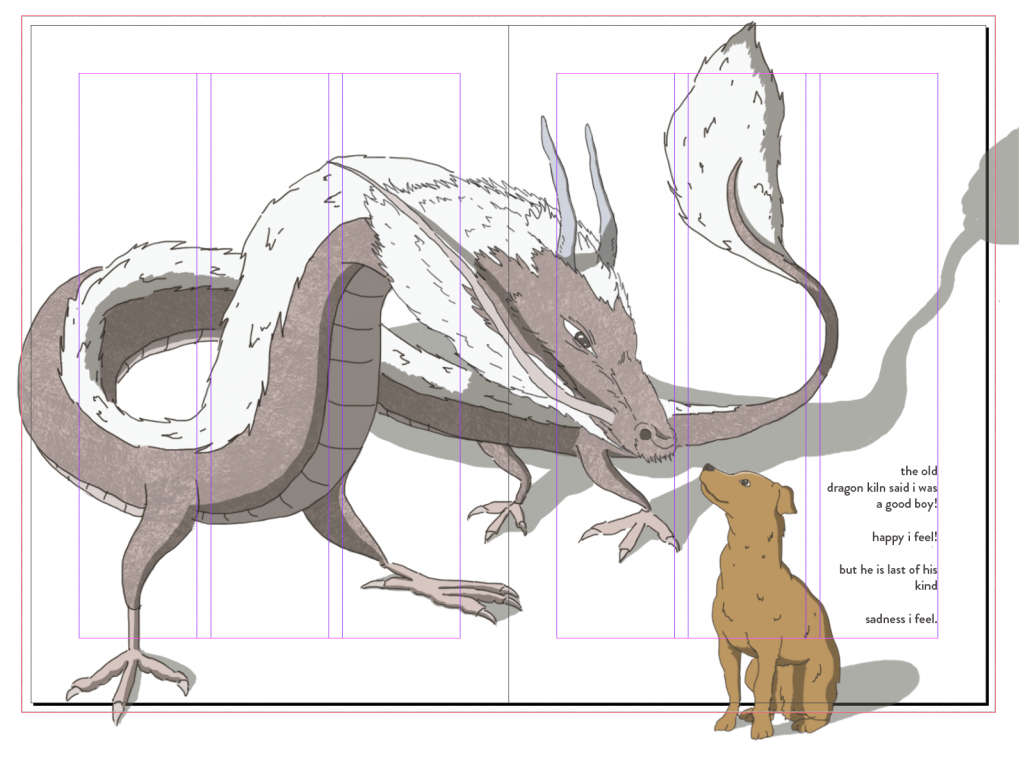
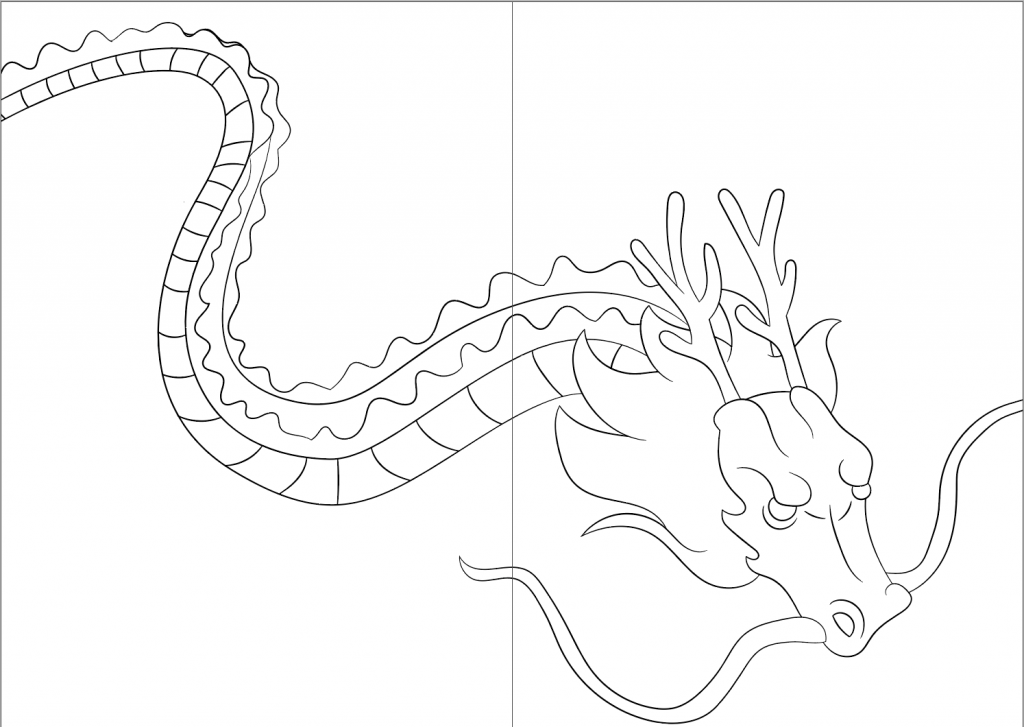
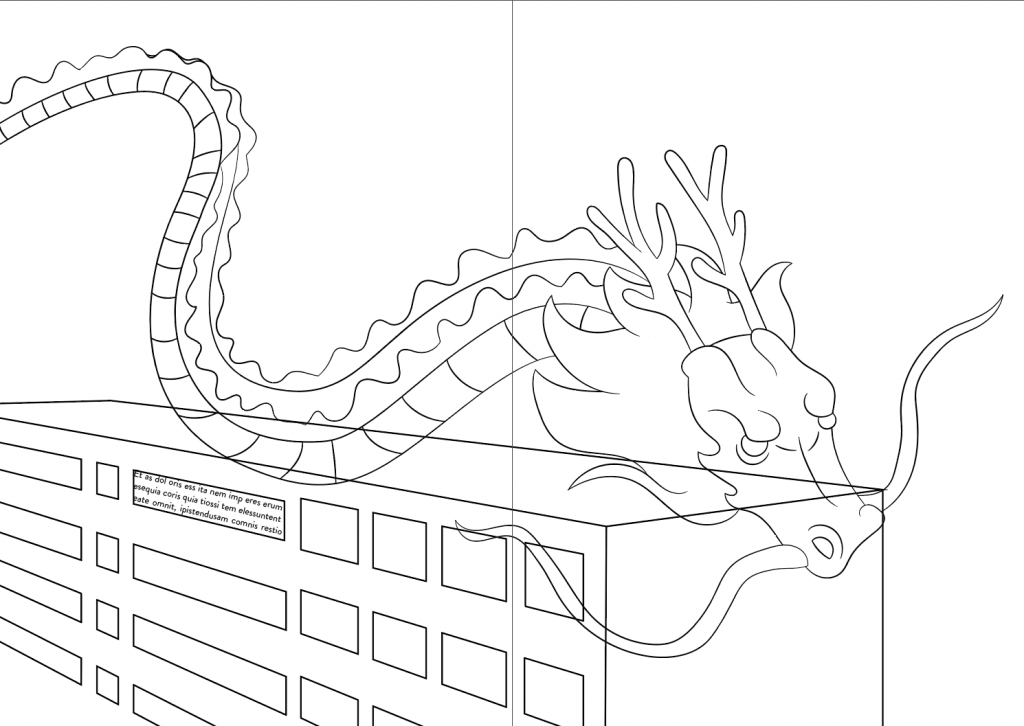
After preparing the assets, I assembled everything on InDesign. The dragon is slightly cut off at the side to show the size, and to dominate the entire image. The words are aligned with the outer right column of page 3 and are aligned to the right side.
I depicted the dragon kiln as an actual dragon as I wanted to add an element of surrealness to it. I also wanted to depict the dragon kiln being the last operating one in Singapore. The dragon is shown to be welcoming to all, as seen by the text by the side, saying that the dragon said that the dog is a good boy, despite its fierce appearance. To emphasize that the dragon kiln in Thow Kwang is the last in Singapore, I added “but he is the last of his kind” and “sadness i feel” in hopes to evoke an emotion for the viewer.
Spread 2: Pattern
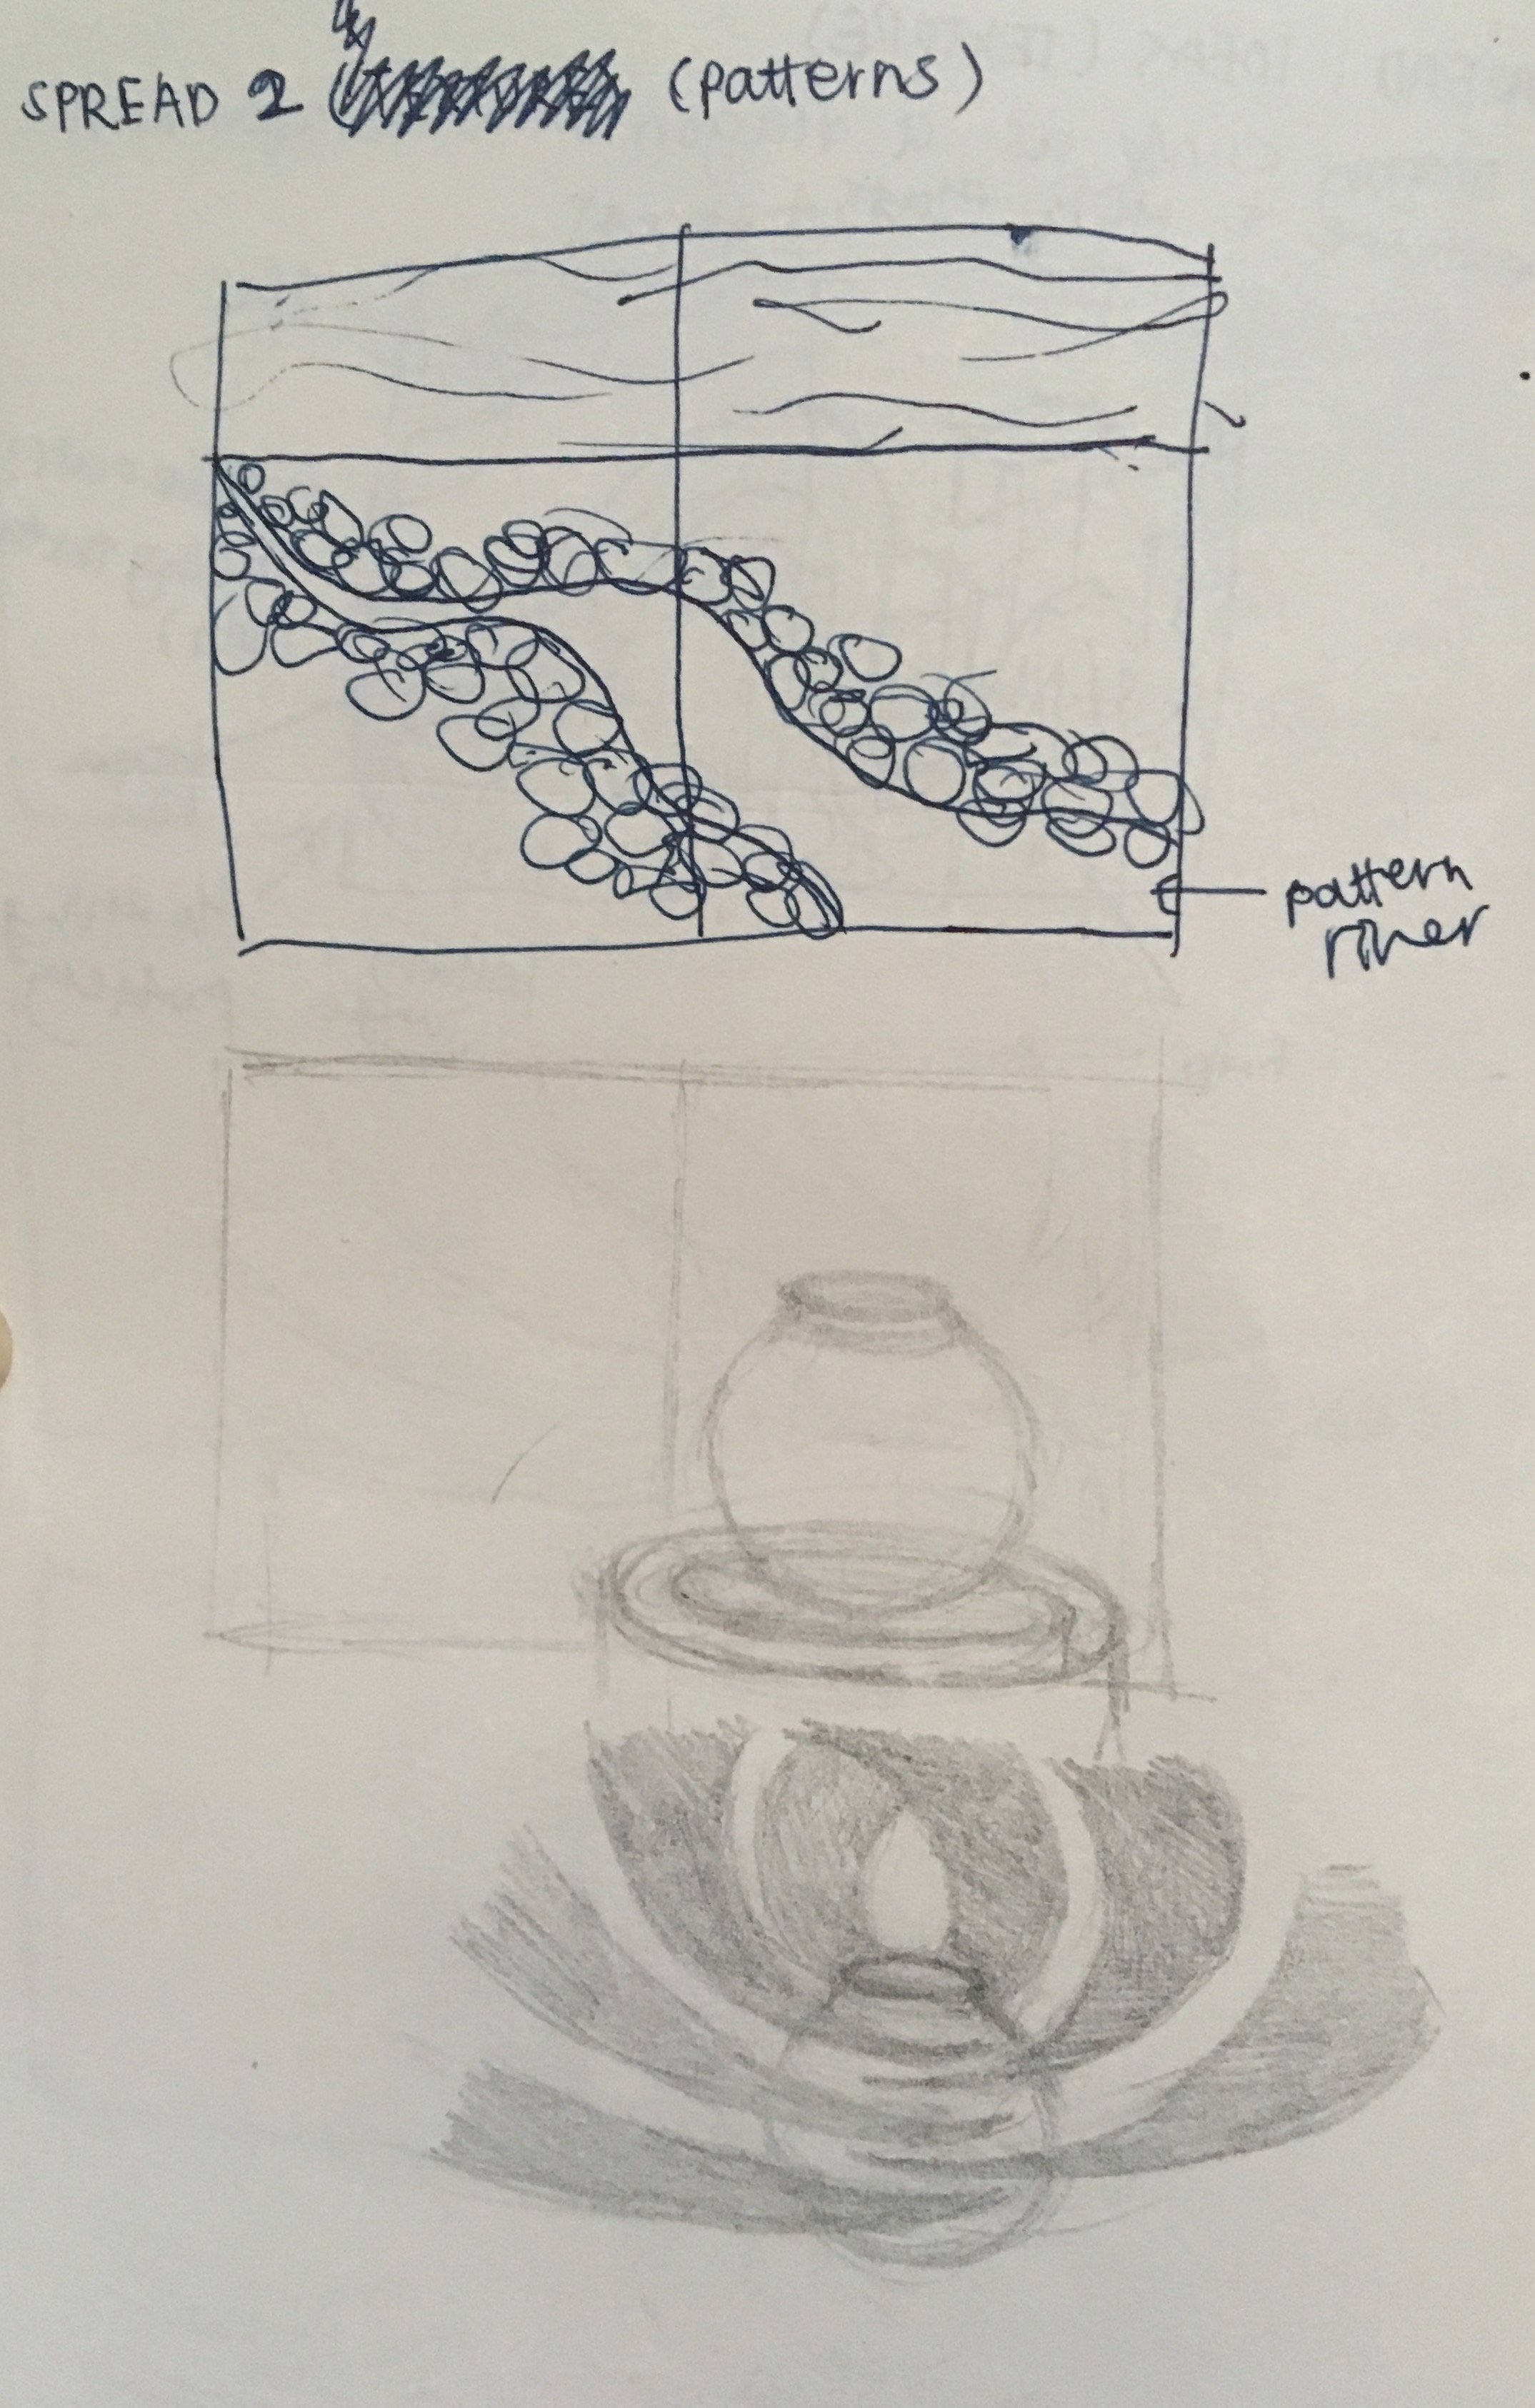
The initial sketch was a river with patterns flowing through it. I chose a river because I remember seeing a river near the entrance of the place. However, there is no pottery element to it. Therefore, I decided to change it to the second design.
Asset 1: Dog
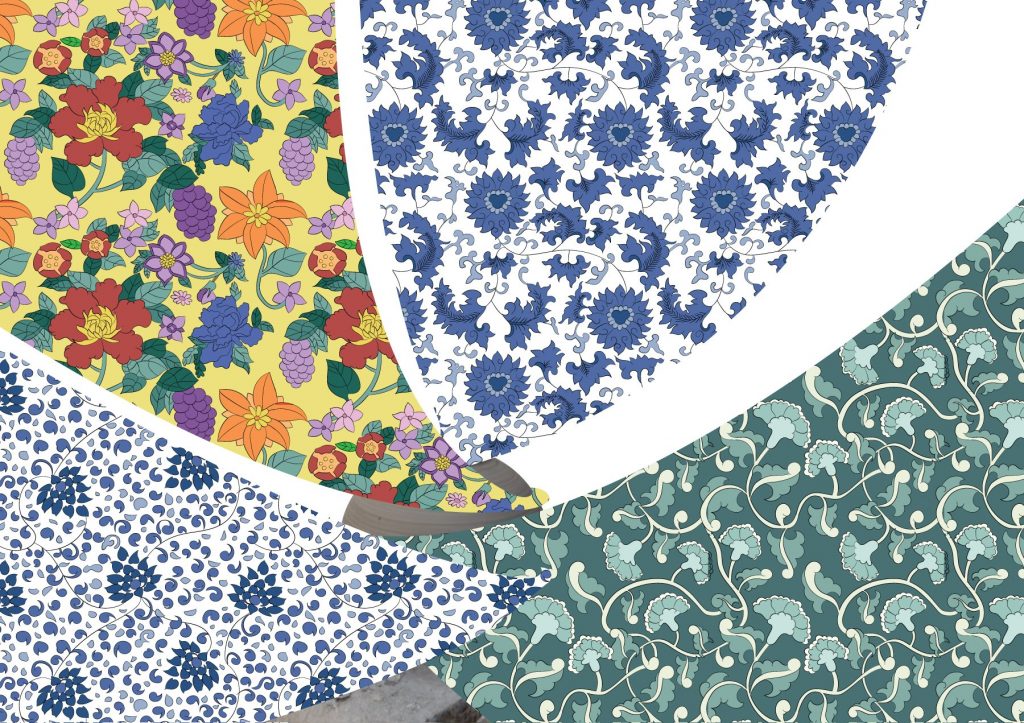
Asset 2: Patterns
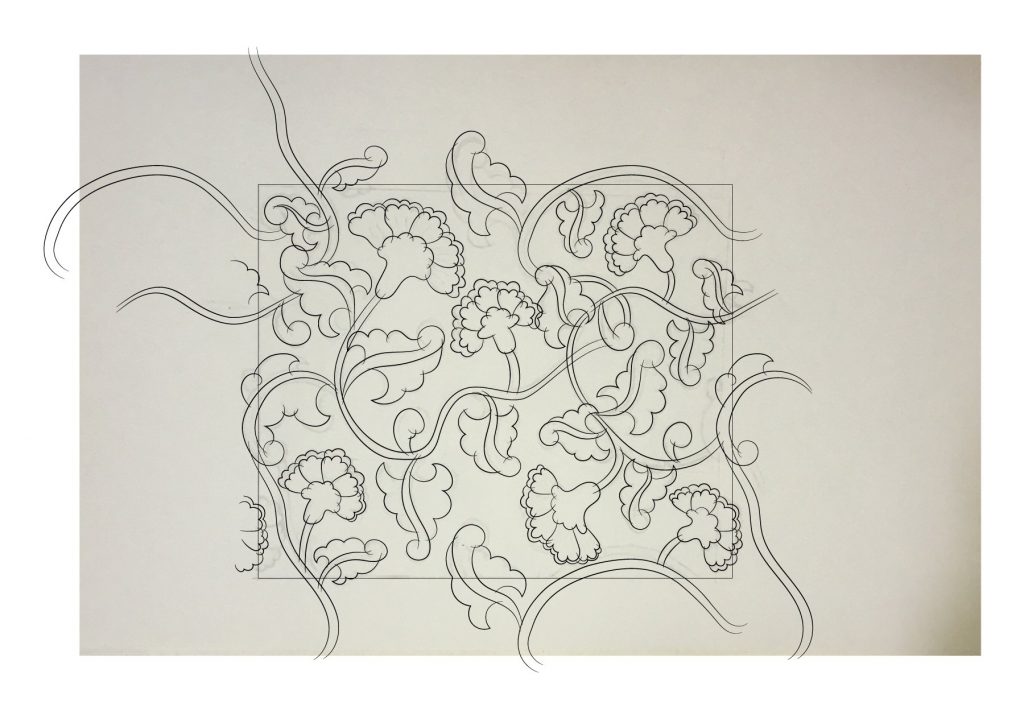
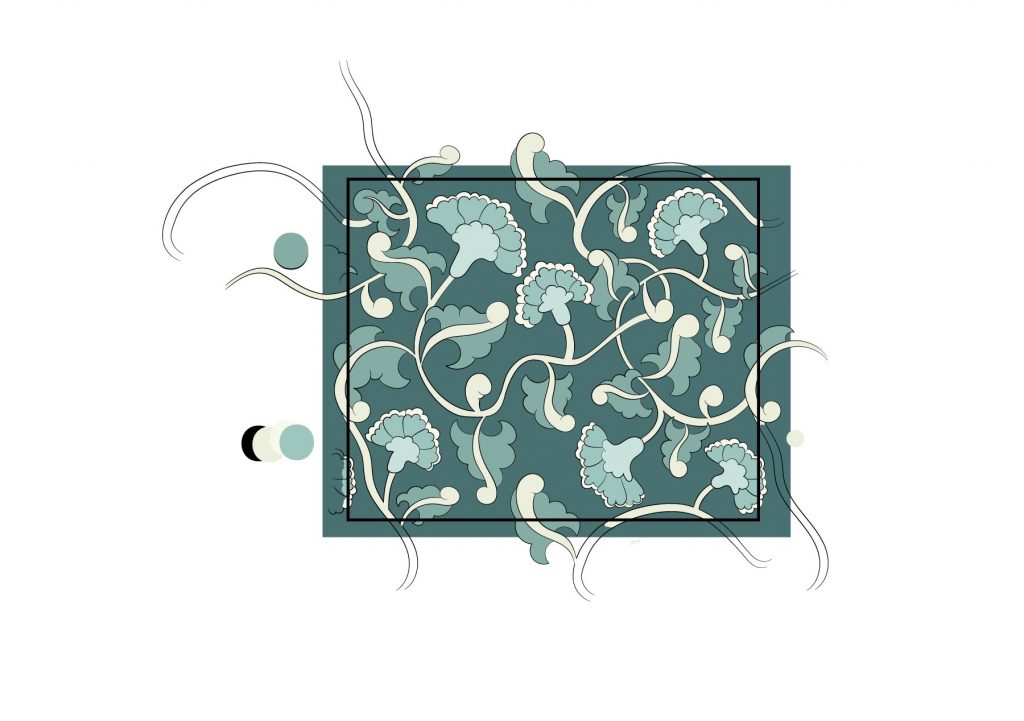
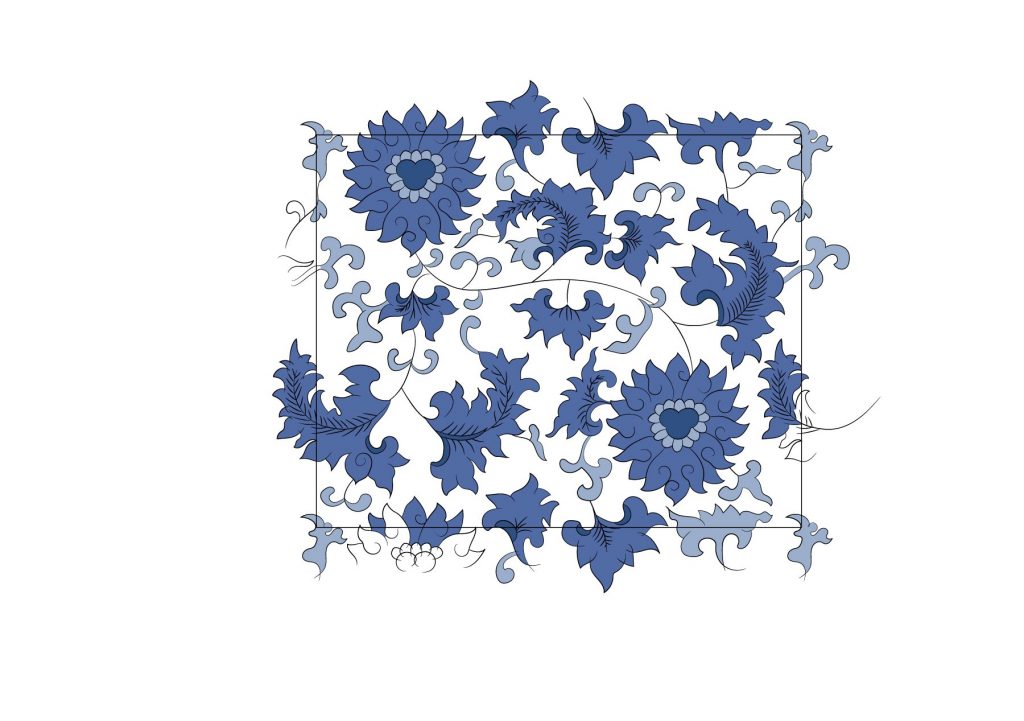
I followed this tutorial to illustrate all of my patterns.

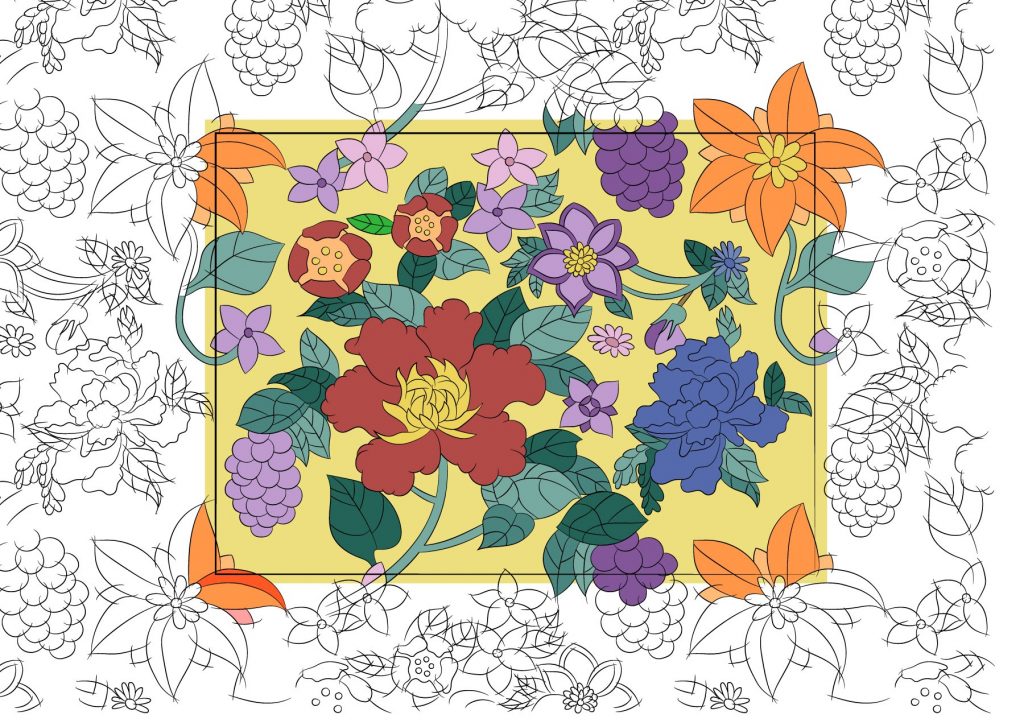
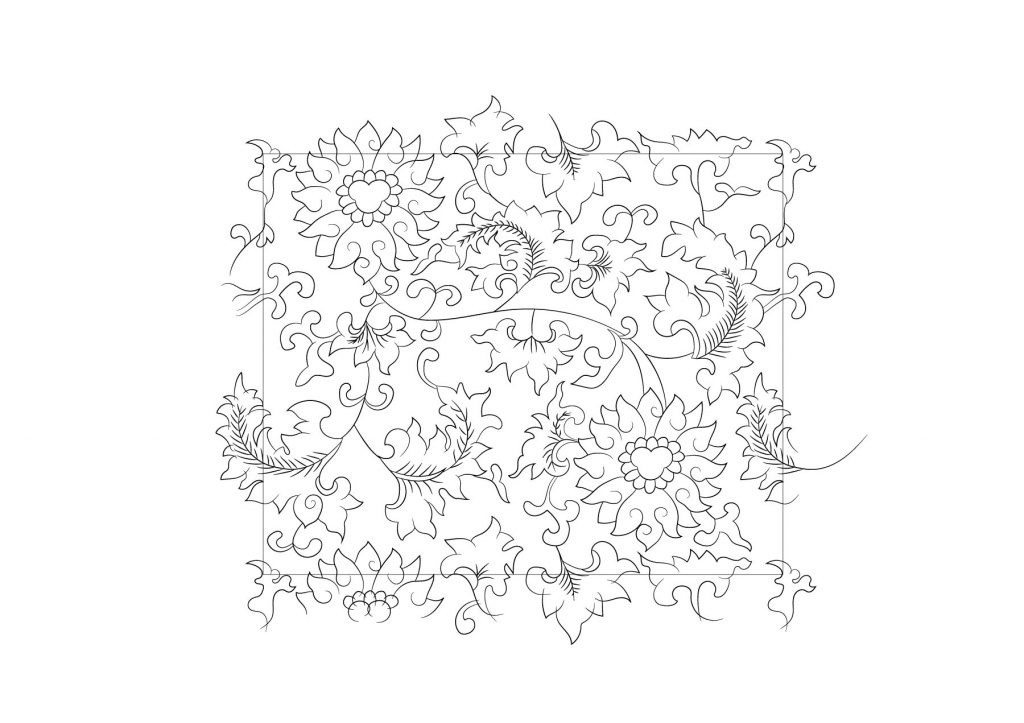
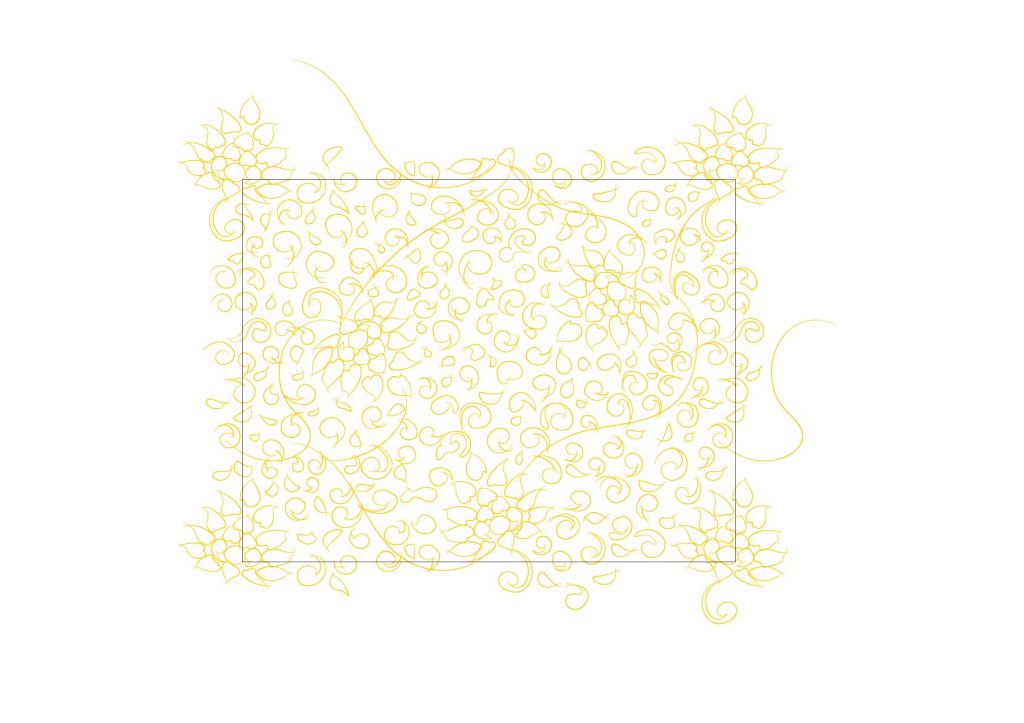
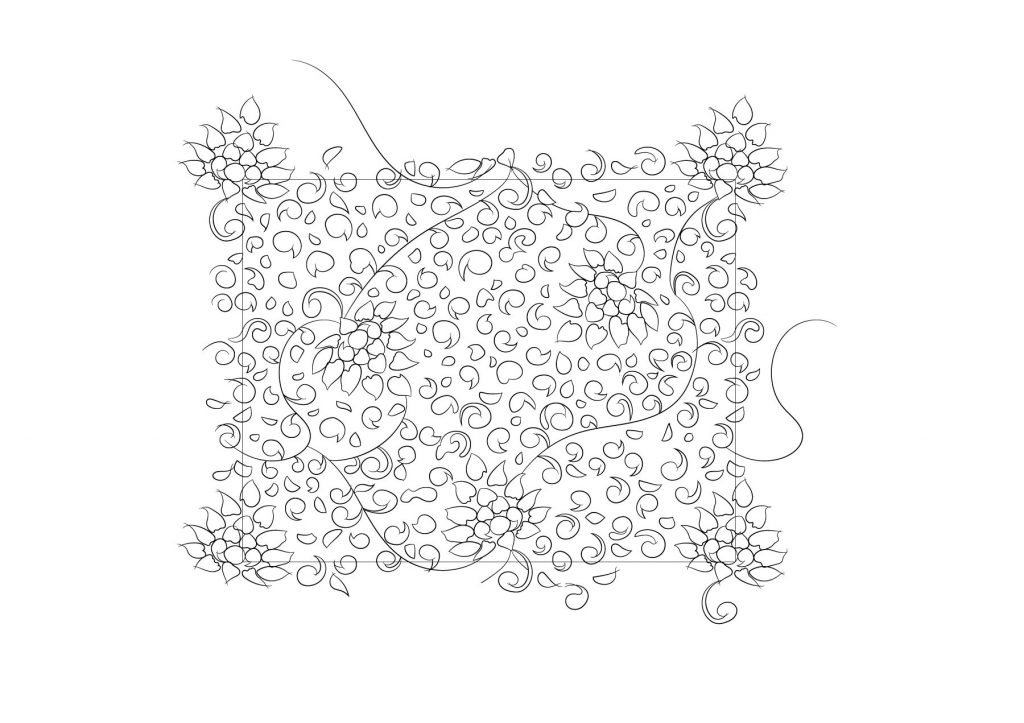
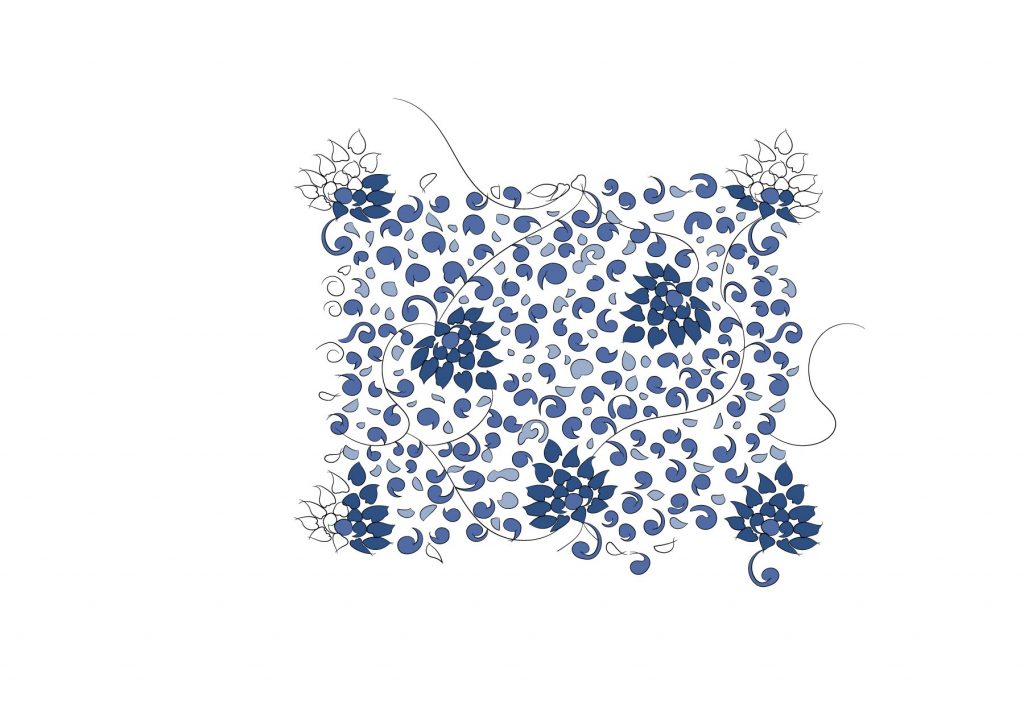
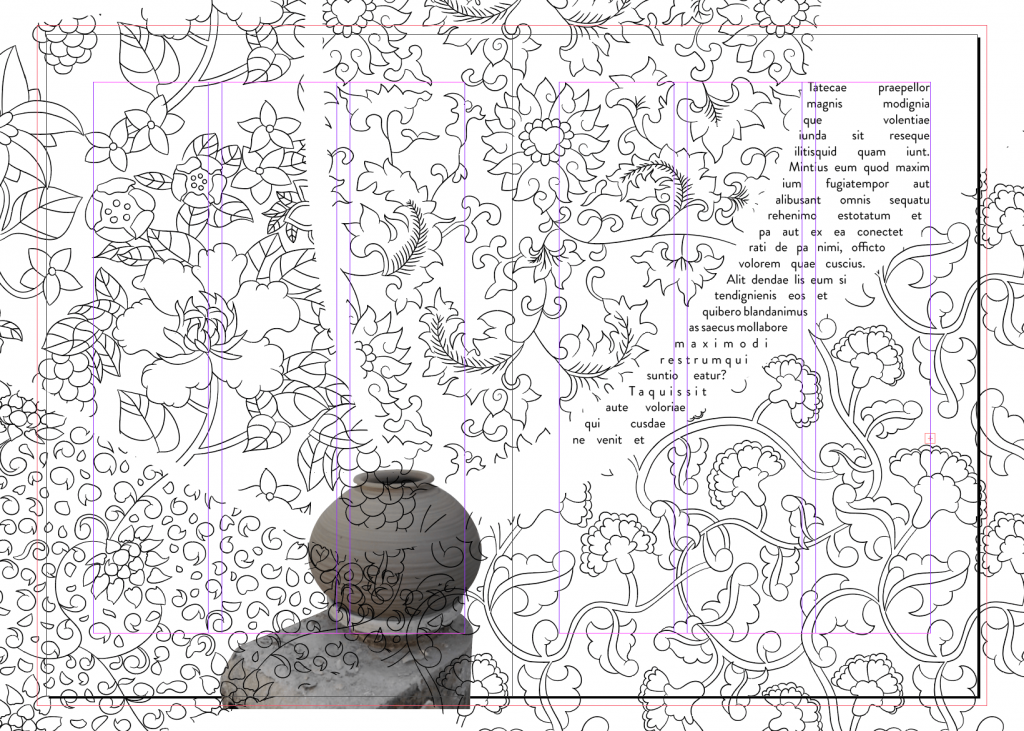
Firstly, I sketched out the pattern on paper. According to the tutorial, the lines are overdrawn so as to complete the space for the live paint function to work later on.
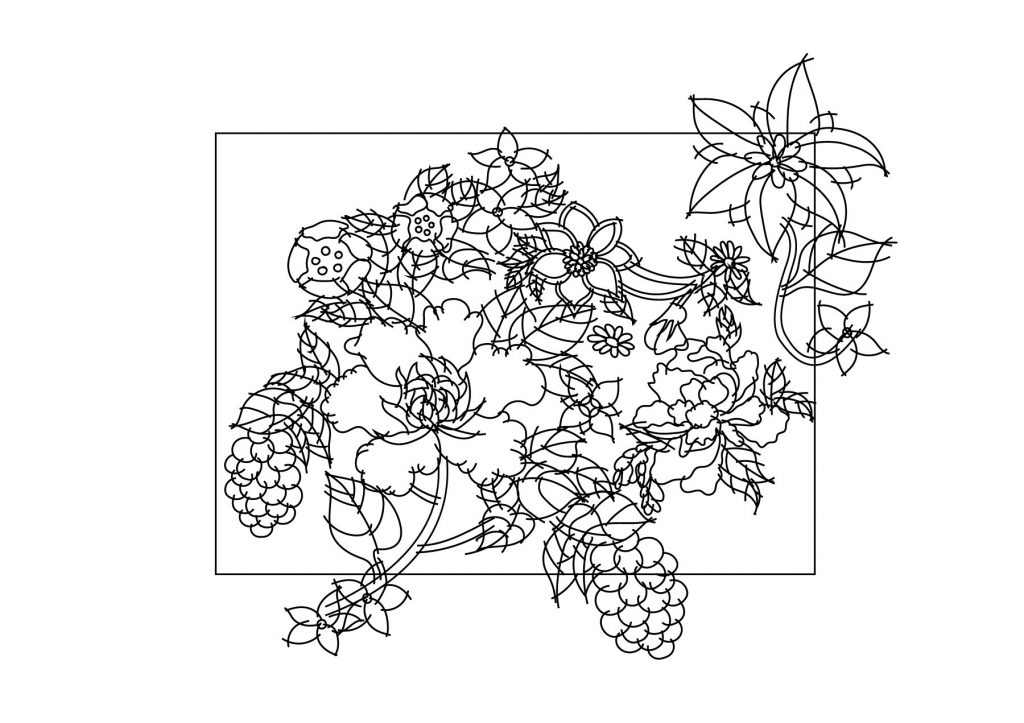
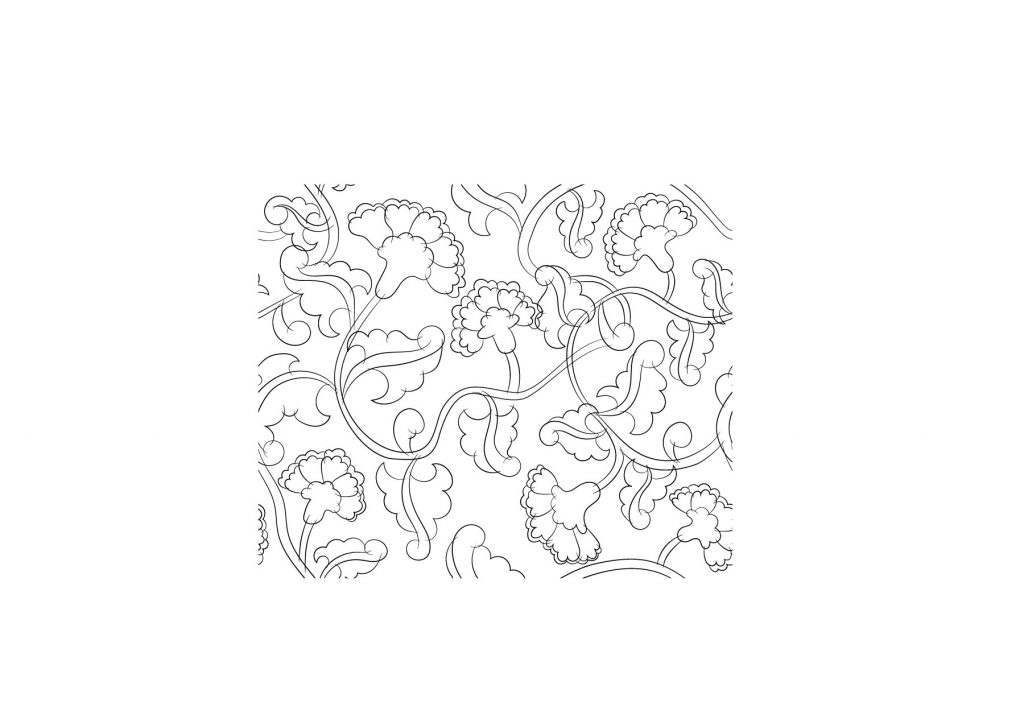
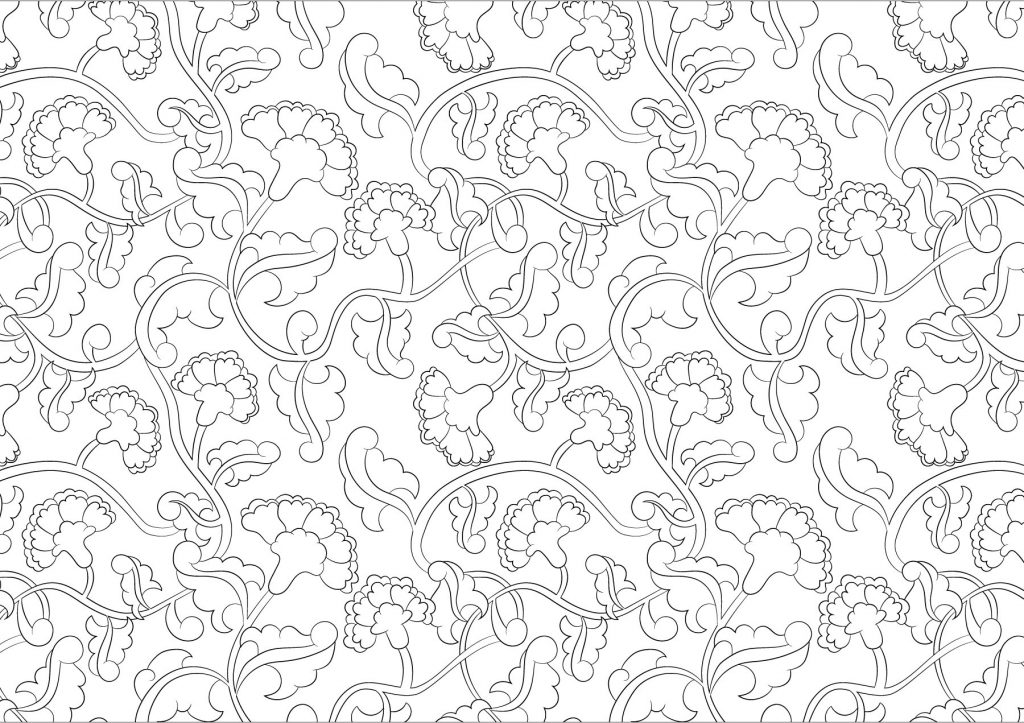
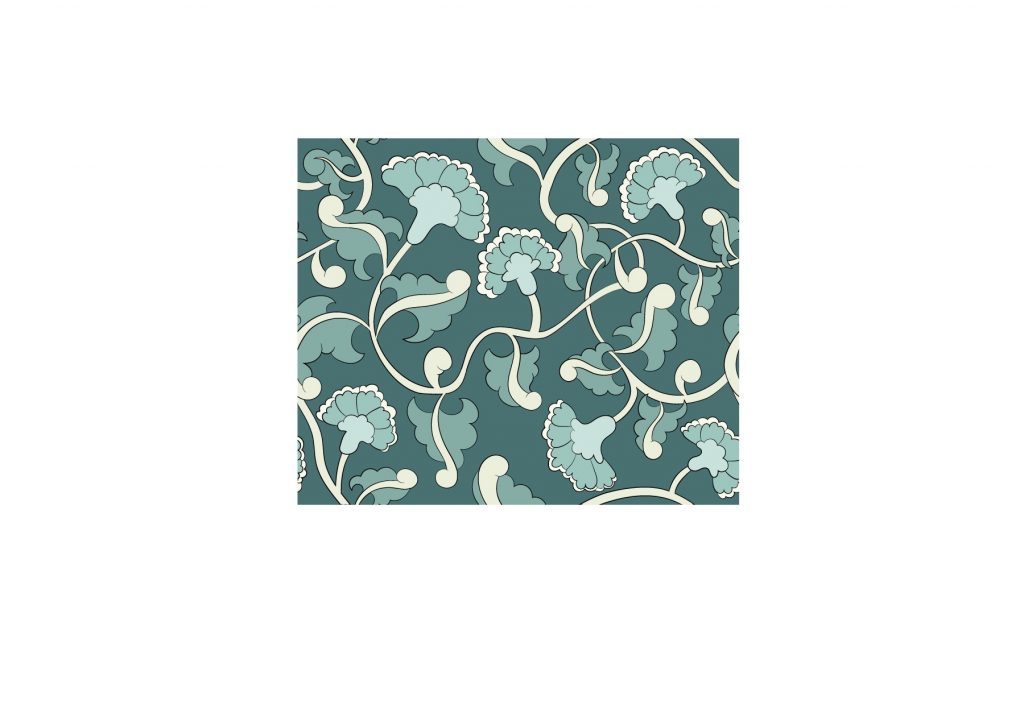
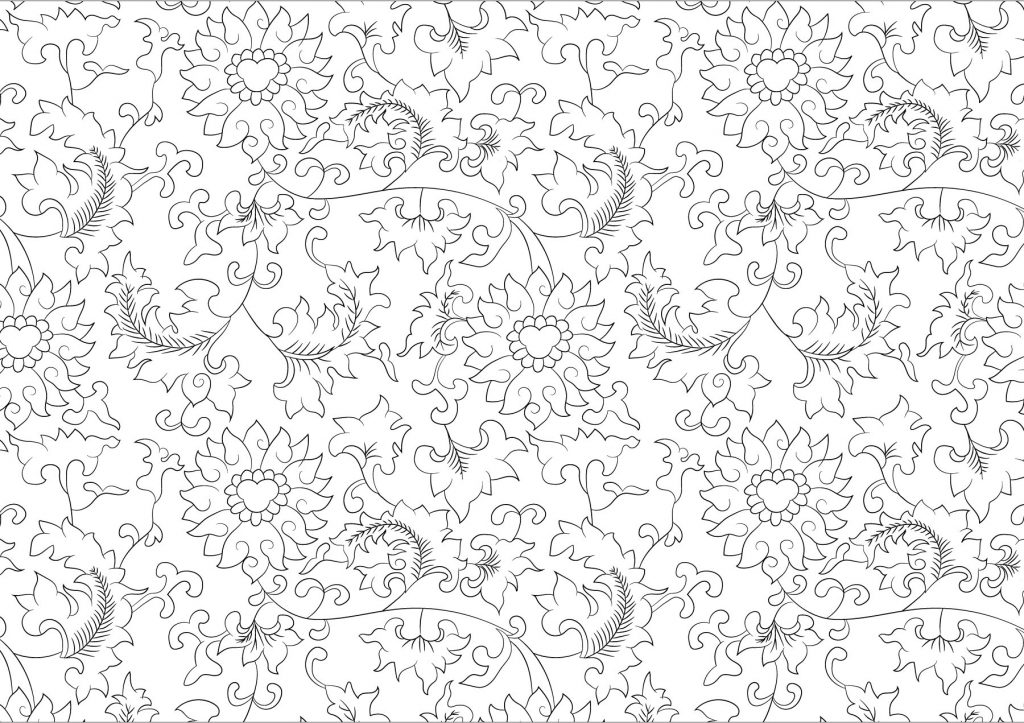
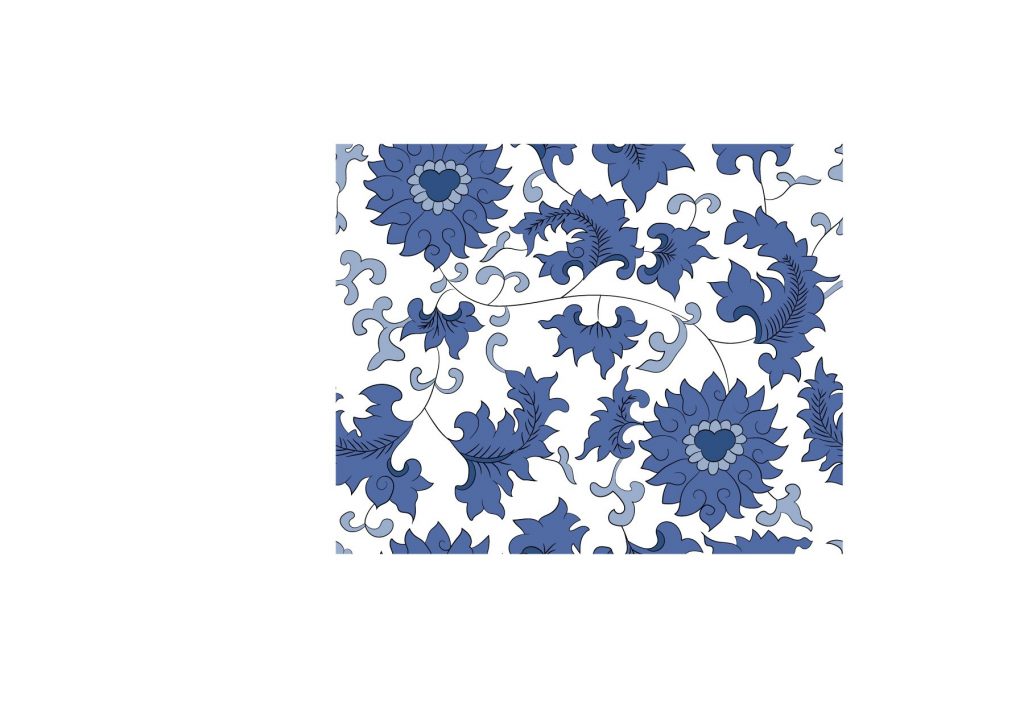
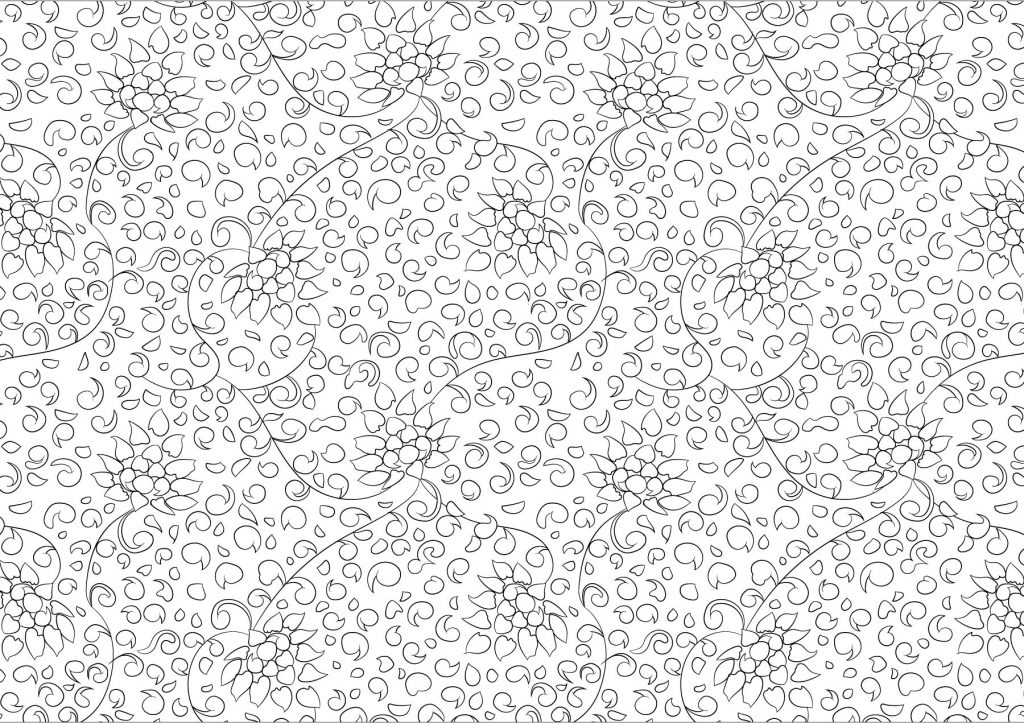
Then, after digitally sketching it I adjusted elements that are in the corners in a way that it will flow seamlessly to the next if the same base image is placed next to it.
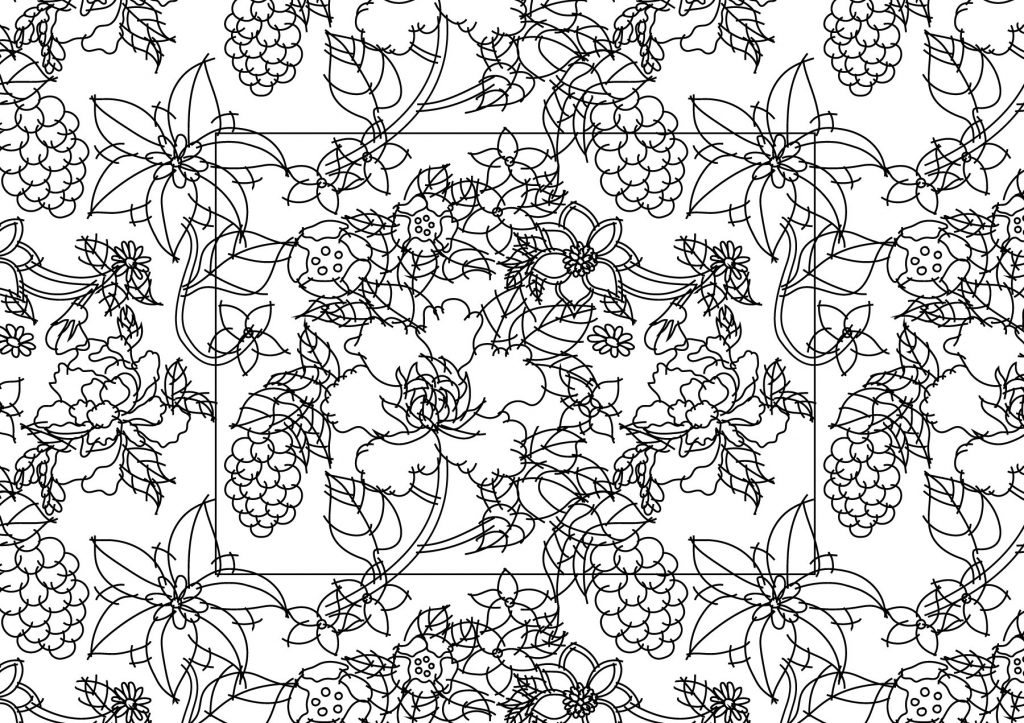
Before clearing up the lines, I always test whether any elements are overlapping each other, or if there are too much empty spaces.
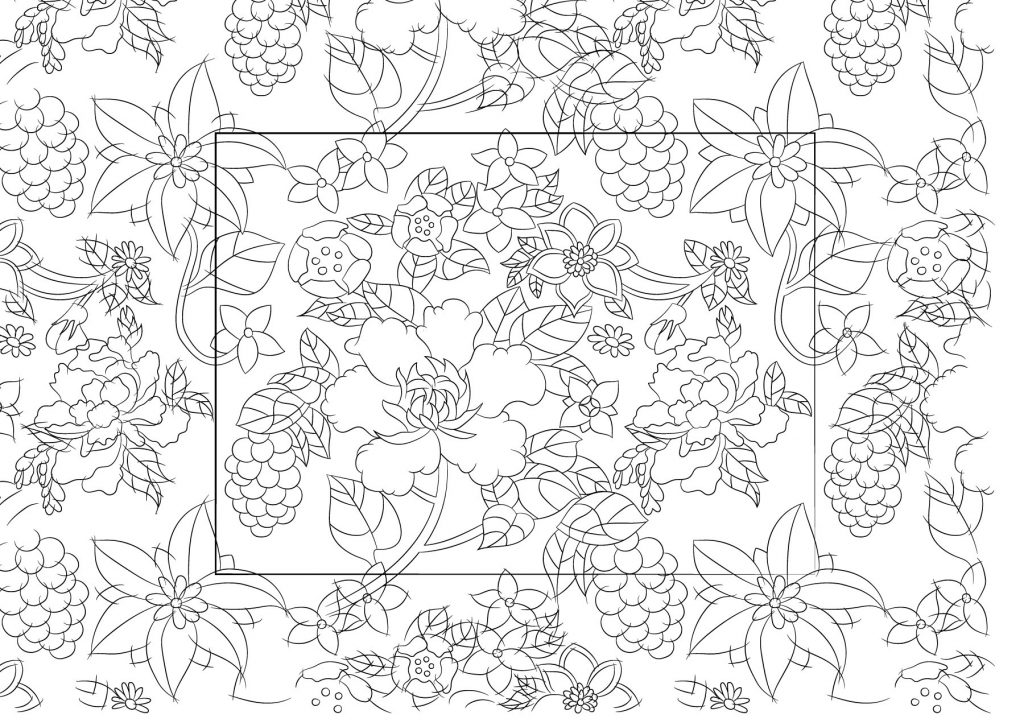
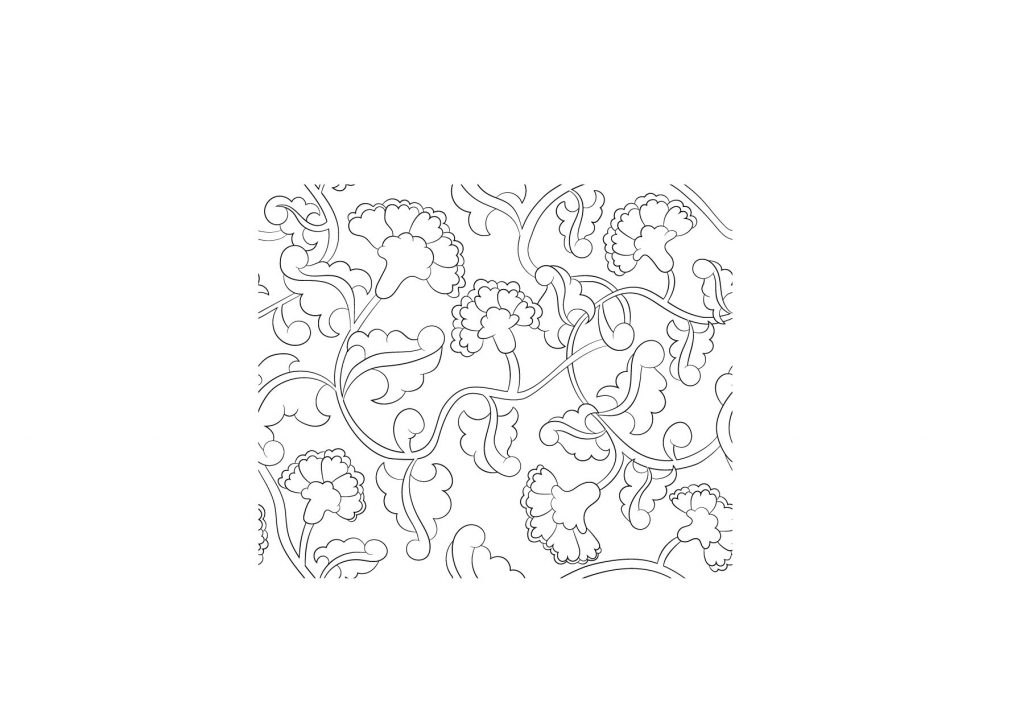
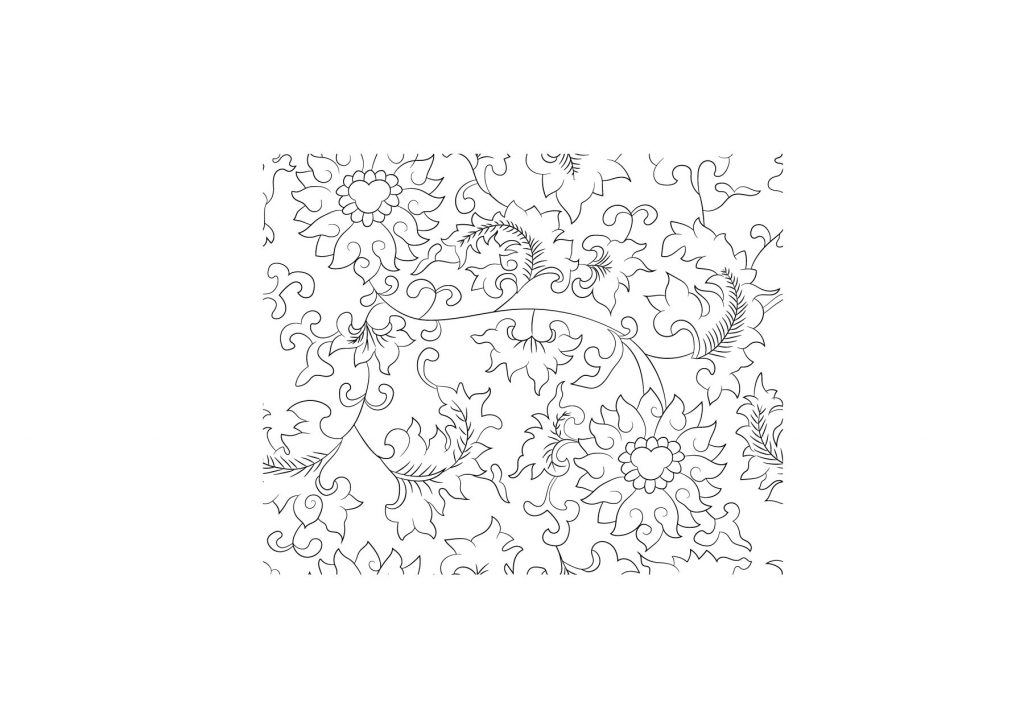
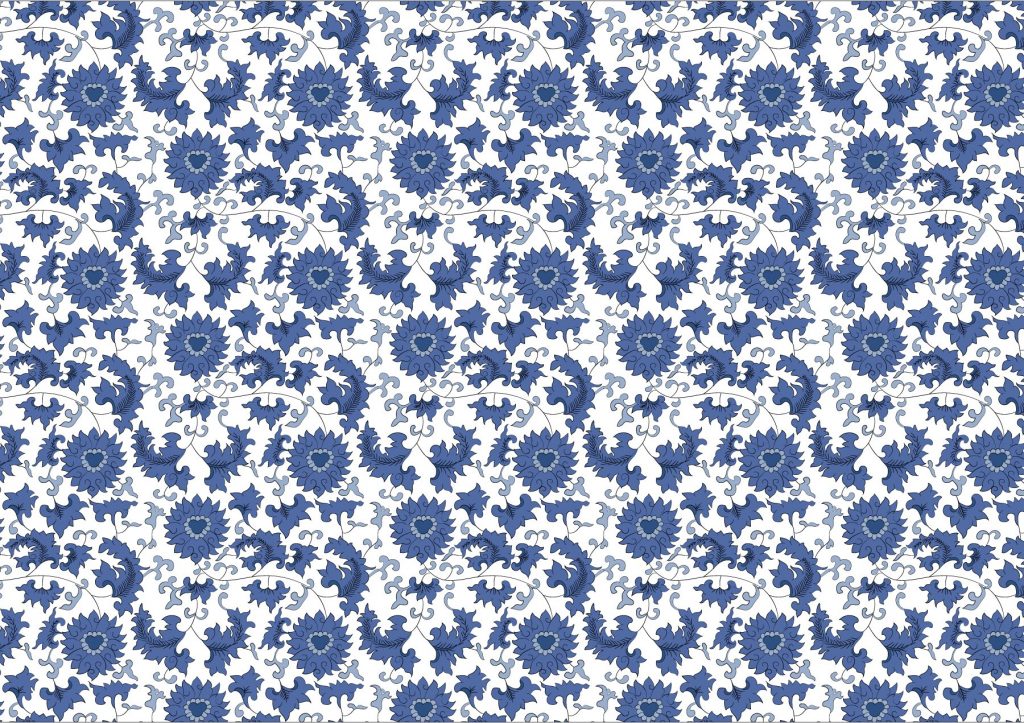
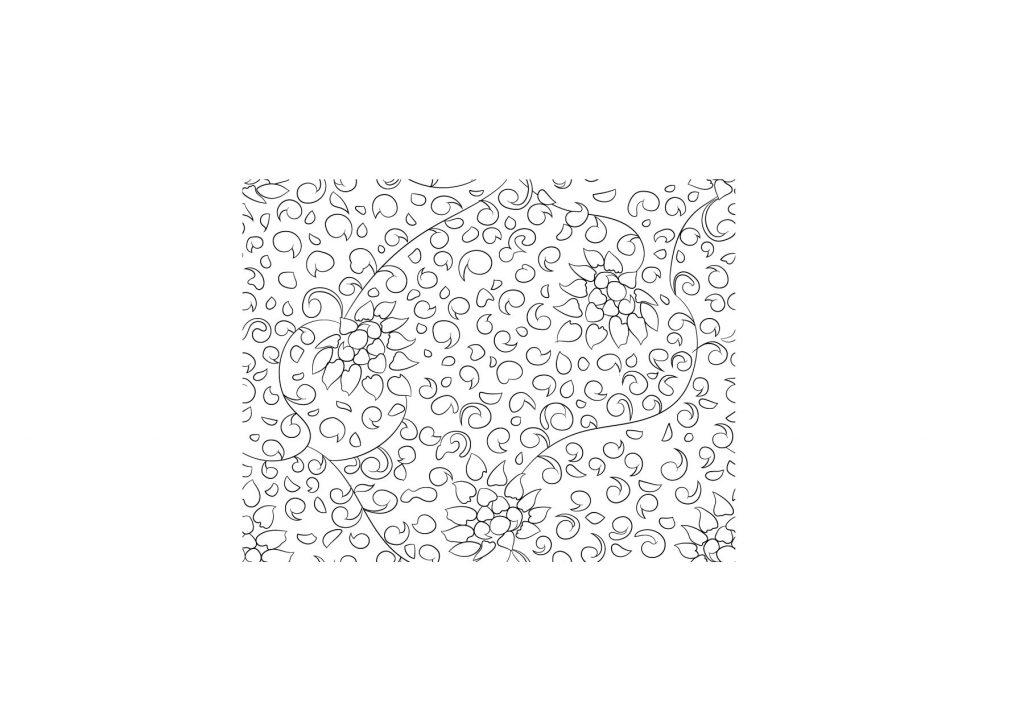
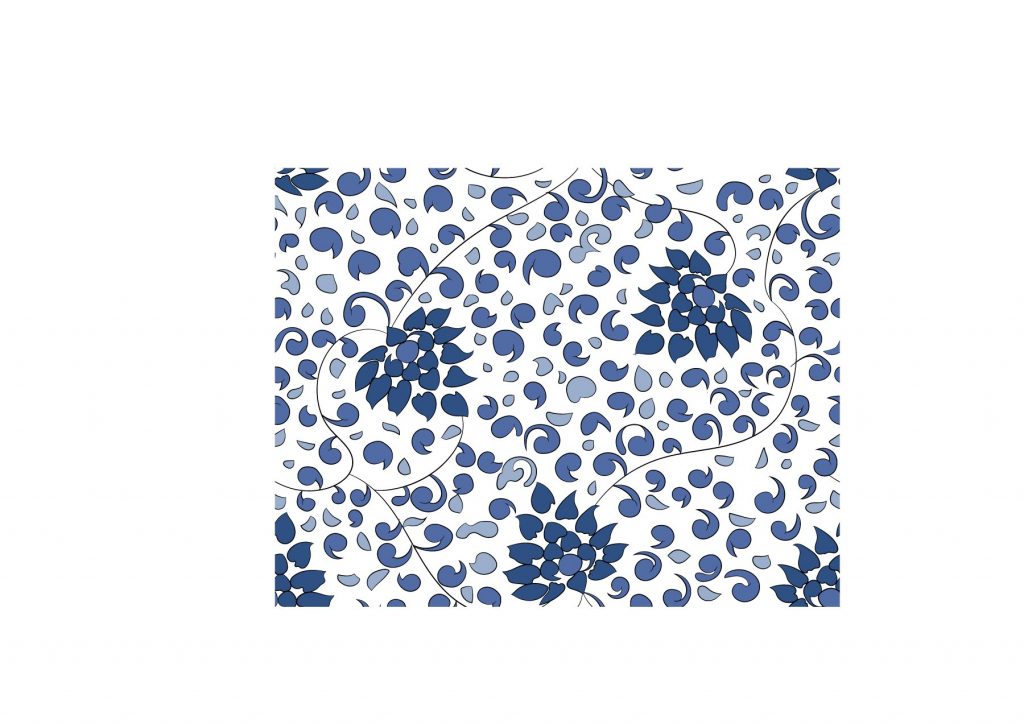
After finalising the elements, I did the following: Expand Appearance > Live Paint: Make > Live Paint: Expand > Ungroup > Ungroup. then, I deleted the overdrawn lines manually that are within the bounding box.
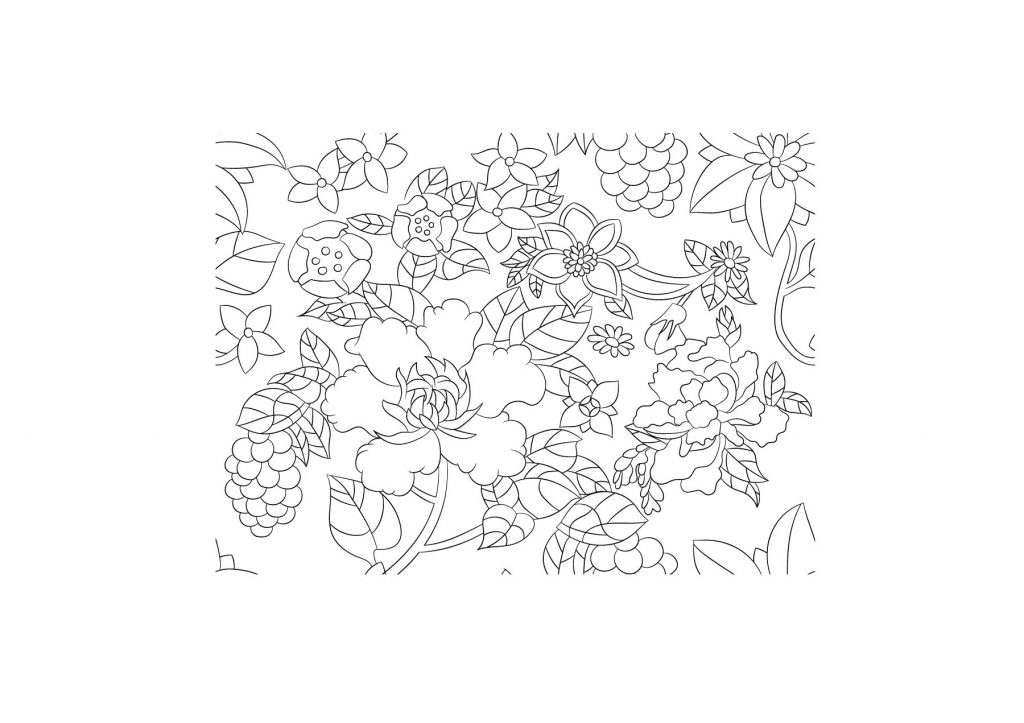

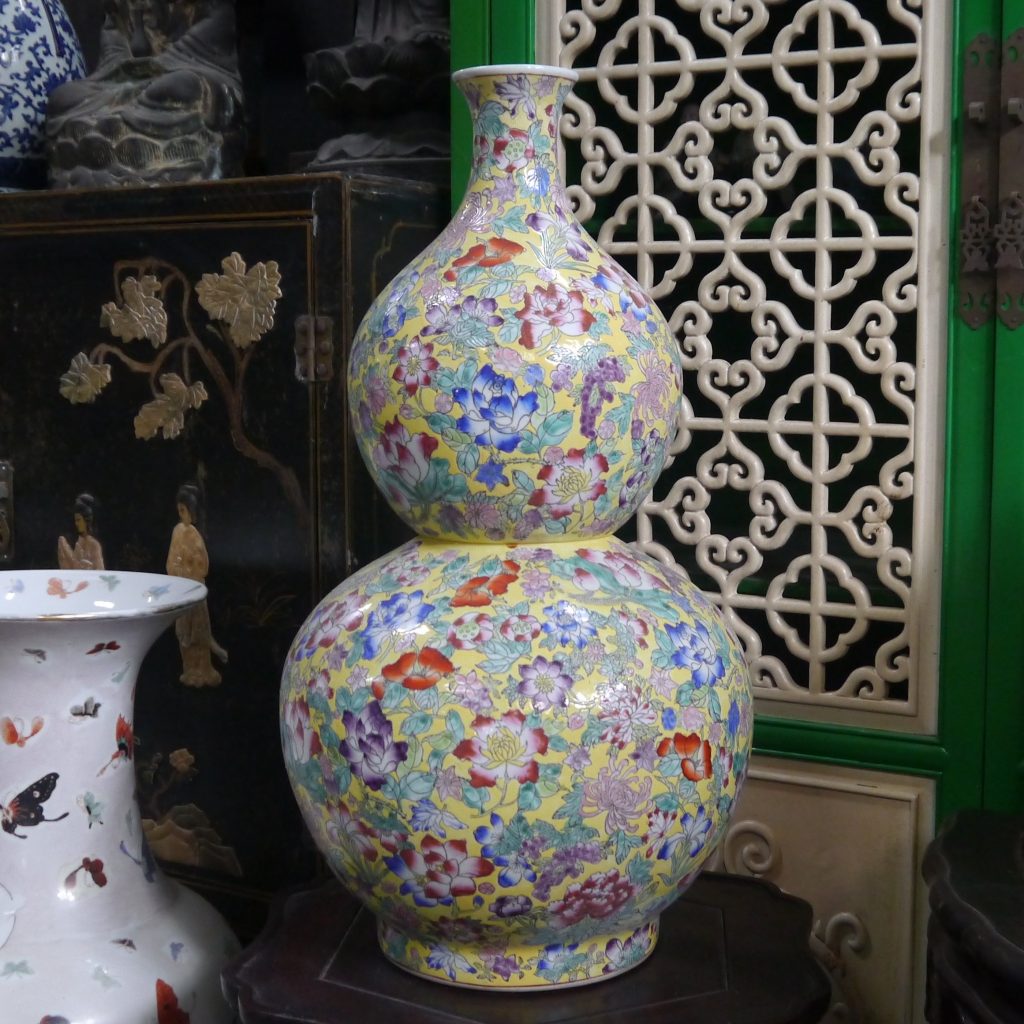
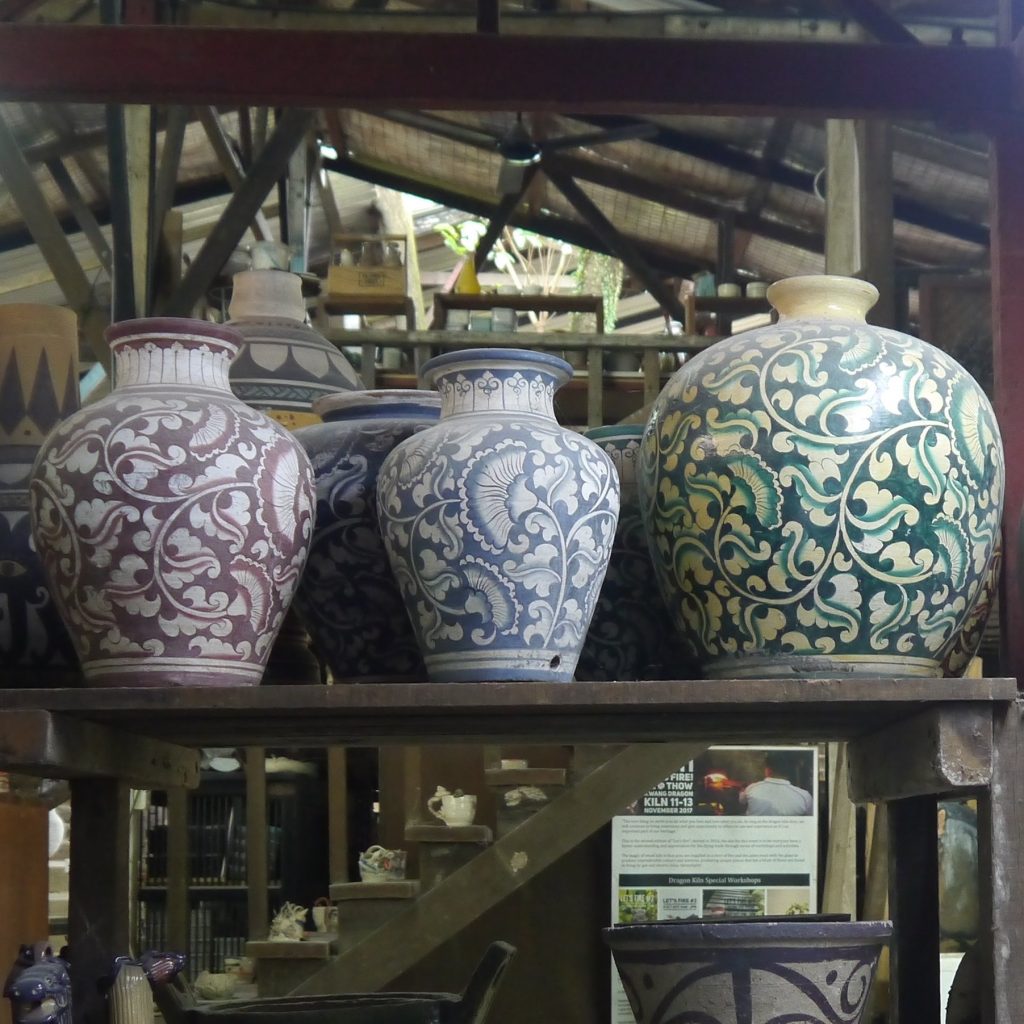
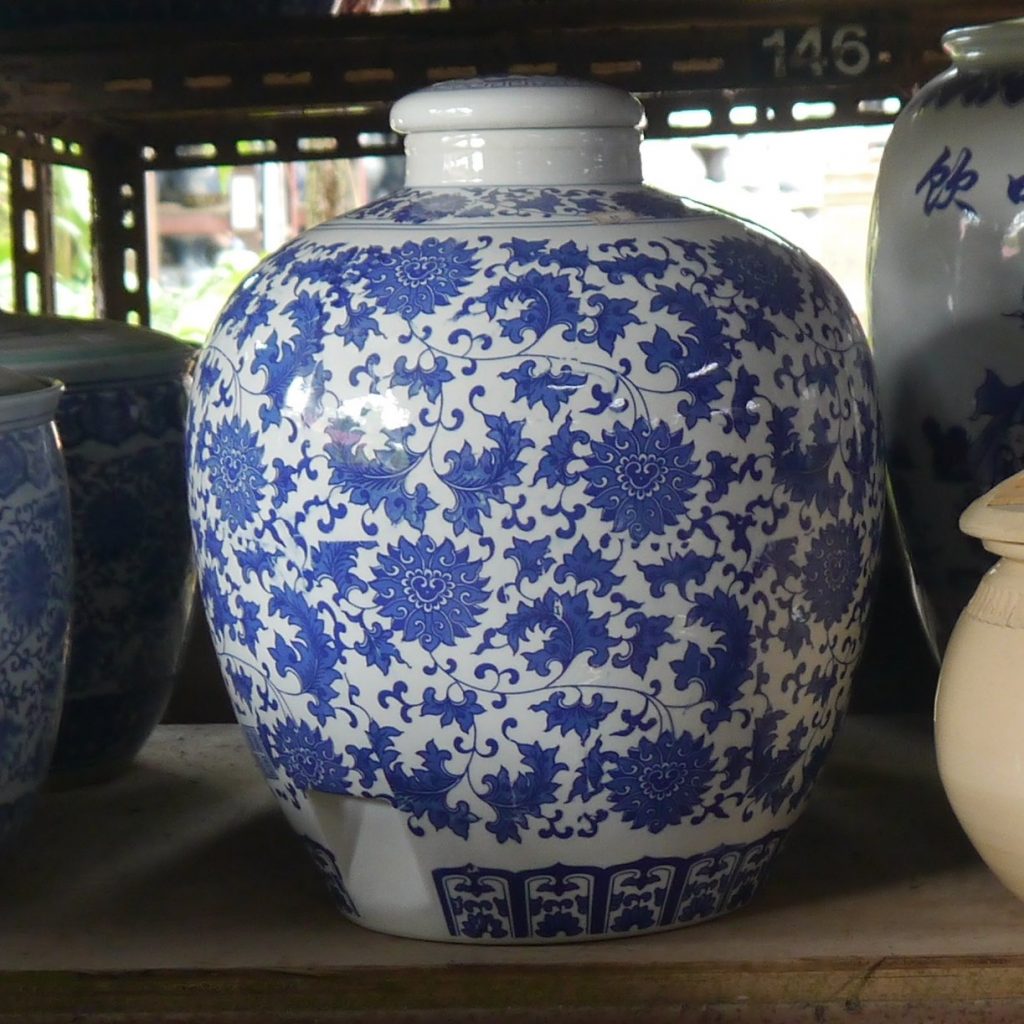
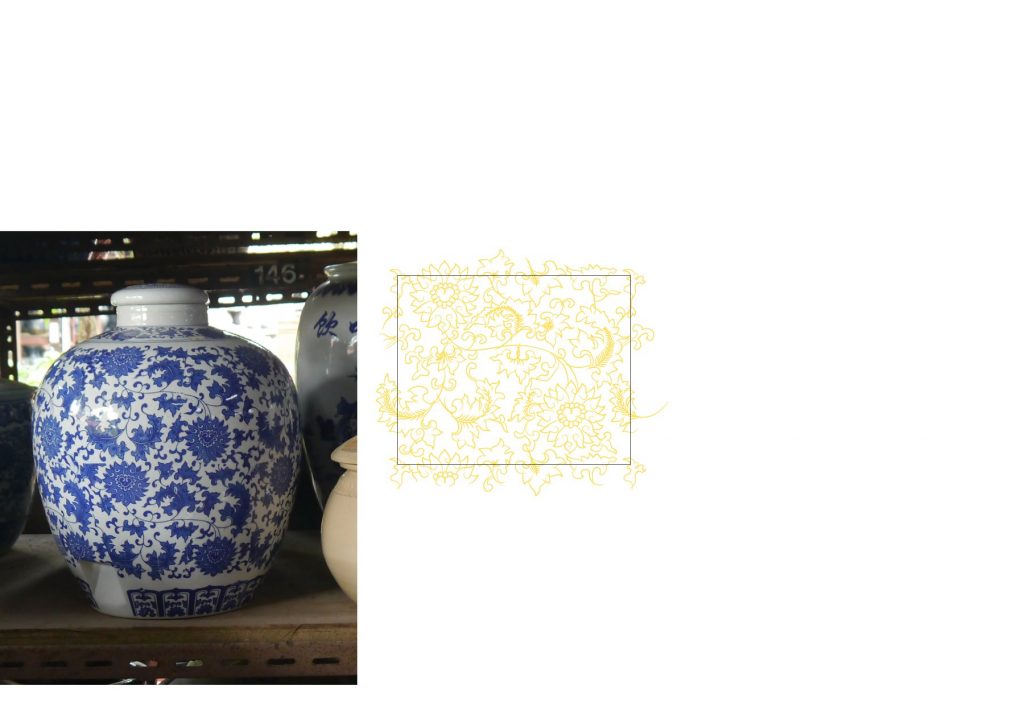
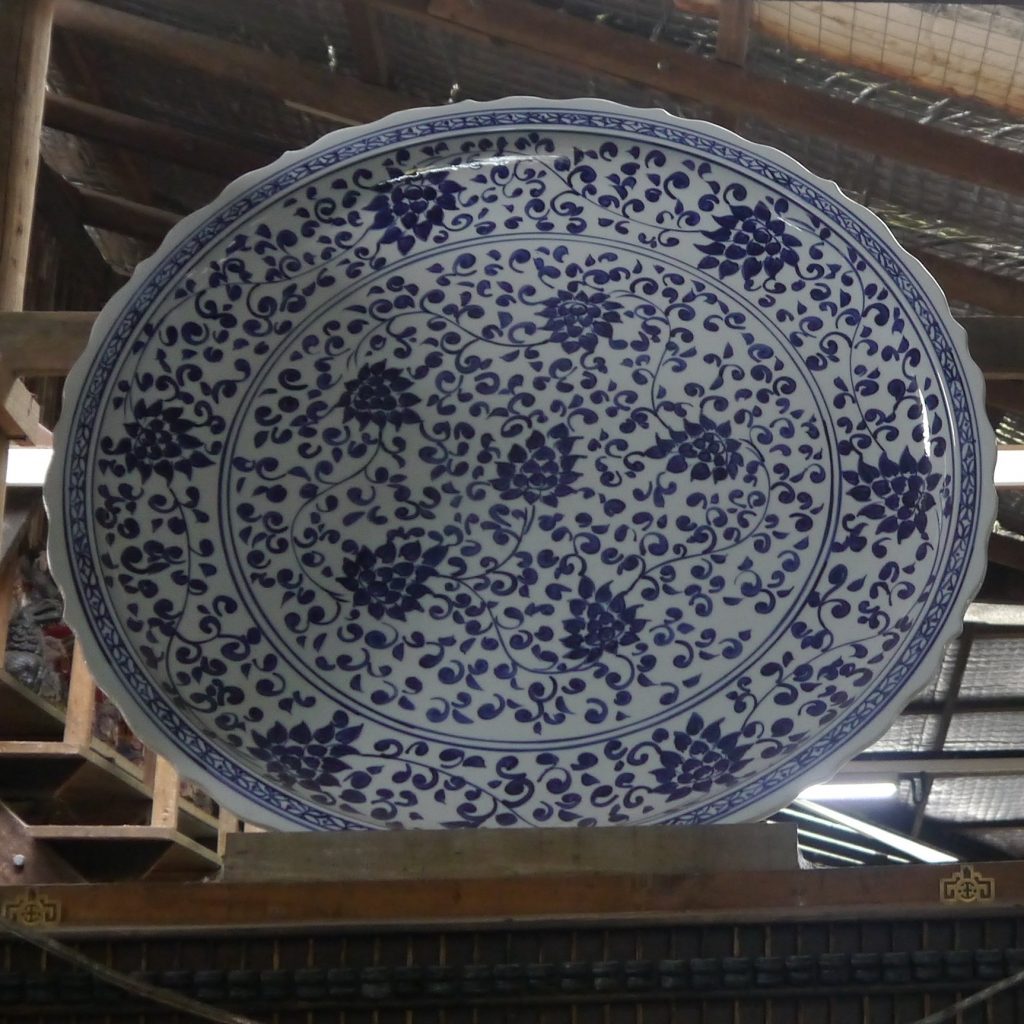
I then tested the pattern again to see if I missed out any overdrawn lines. Once it’s done, I followed the colours of the actual vase. I used the eyedropper tool to retrieve colour from the actual image, and then the live paint bucket tool to colour in the spaces.
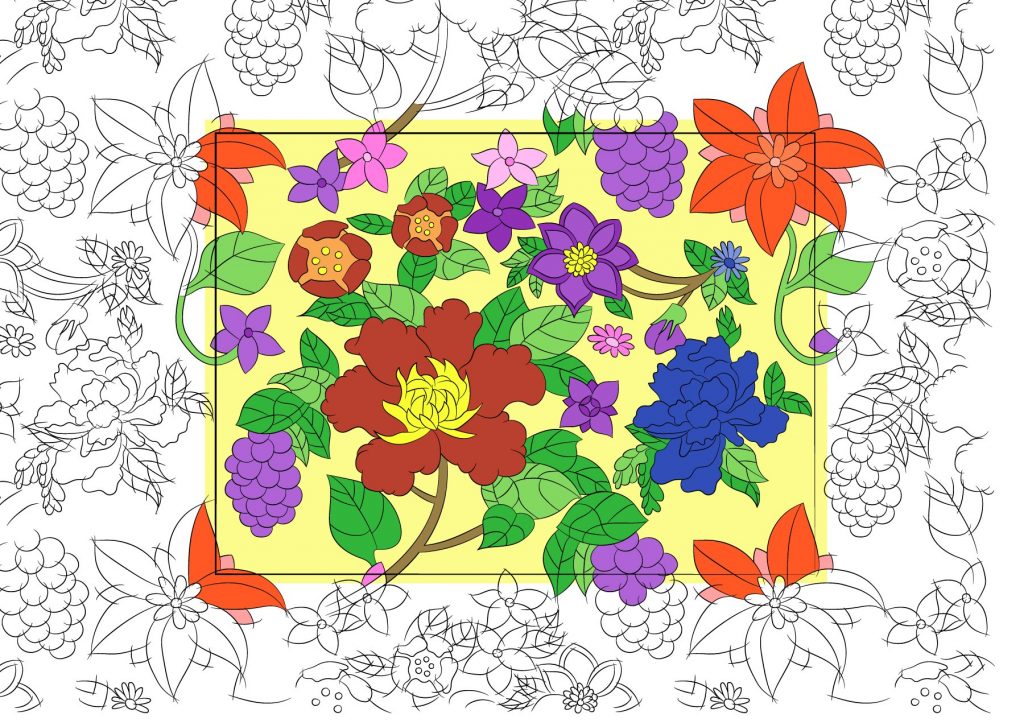
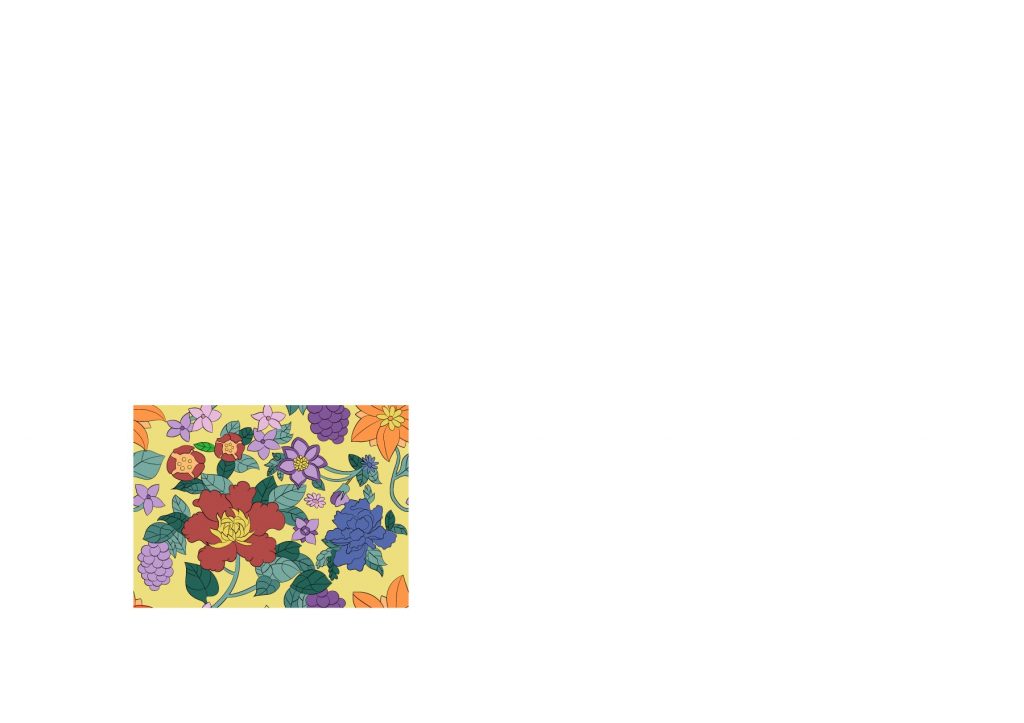
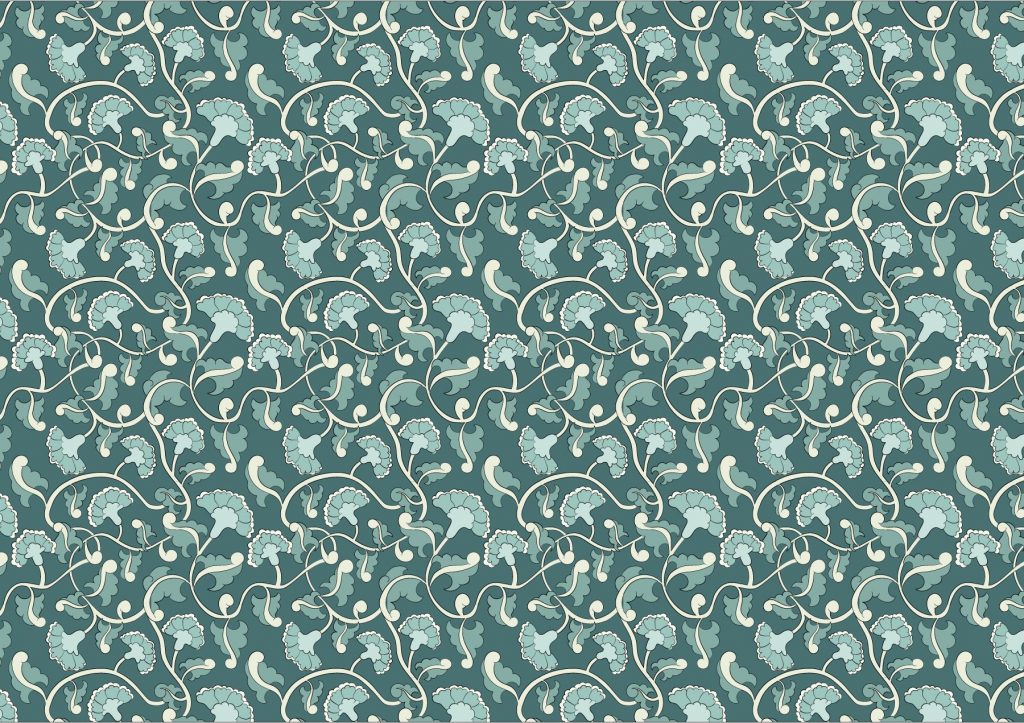
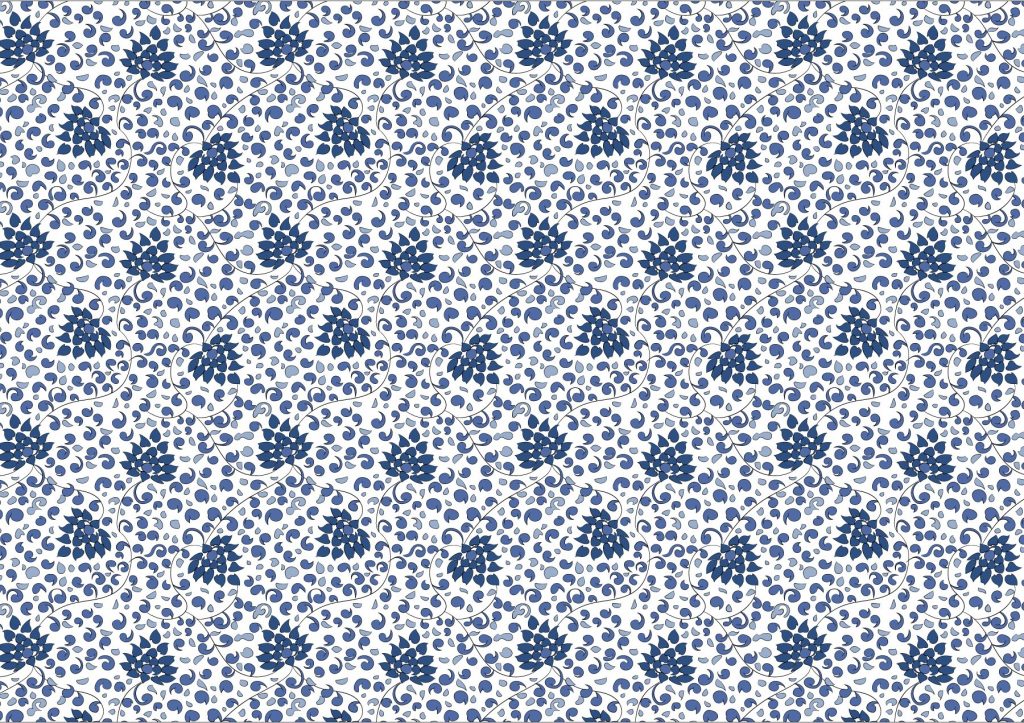
After placing the patterns on the shapes surrounding the vase, it was too big to see every element. Therefore, I decided to resize the base image of the patterns smaller.
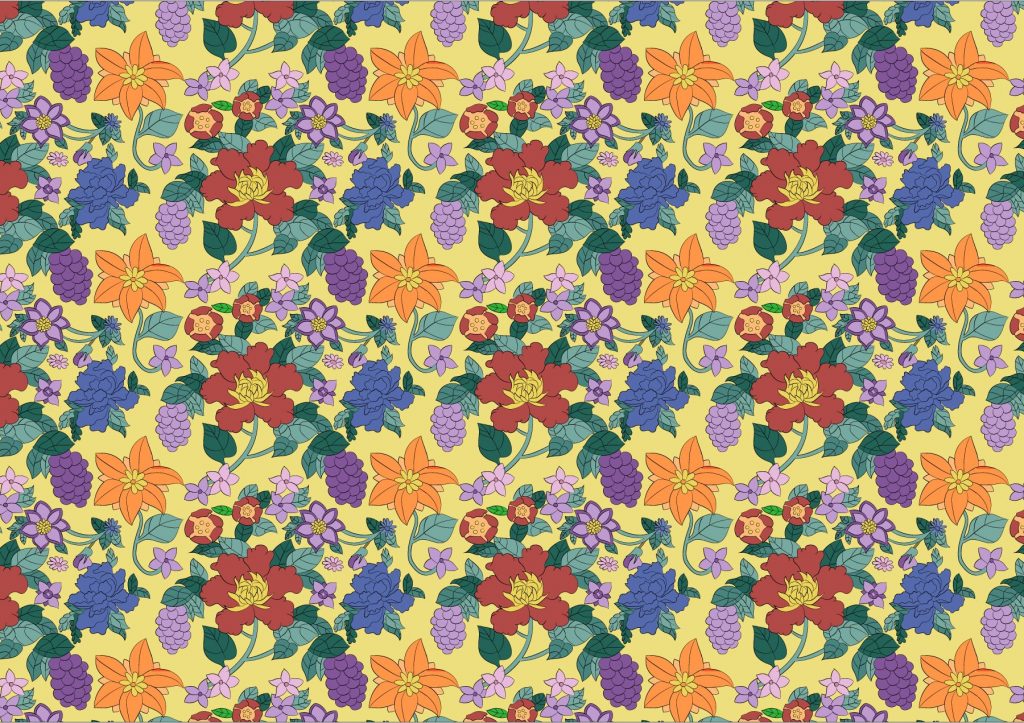
The following patterns are done with the same method and process as mentioned above.
Asset 3: Pot
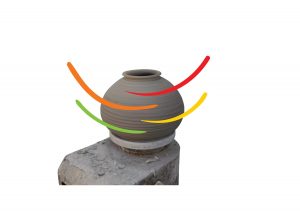
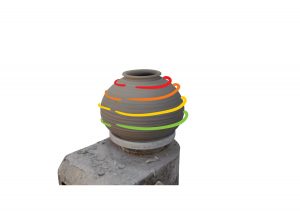
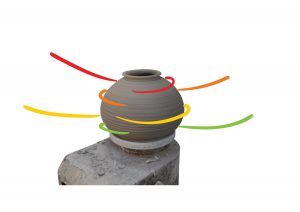
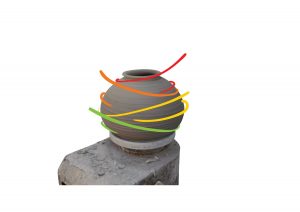
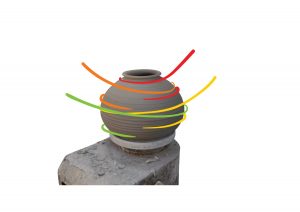
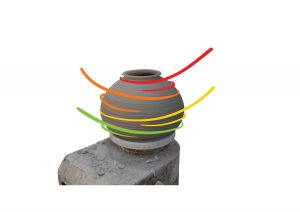
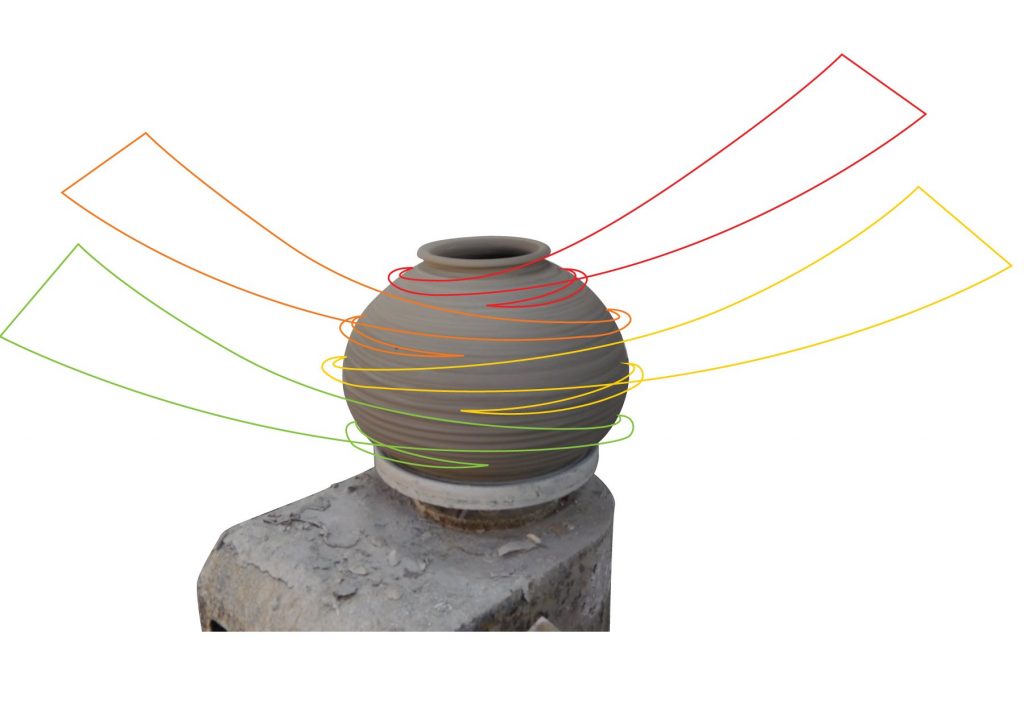
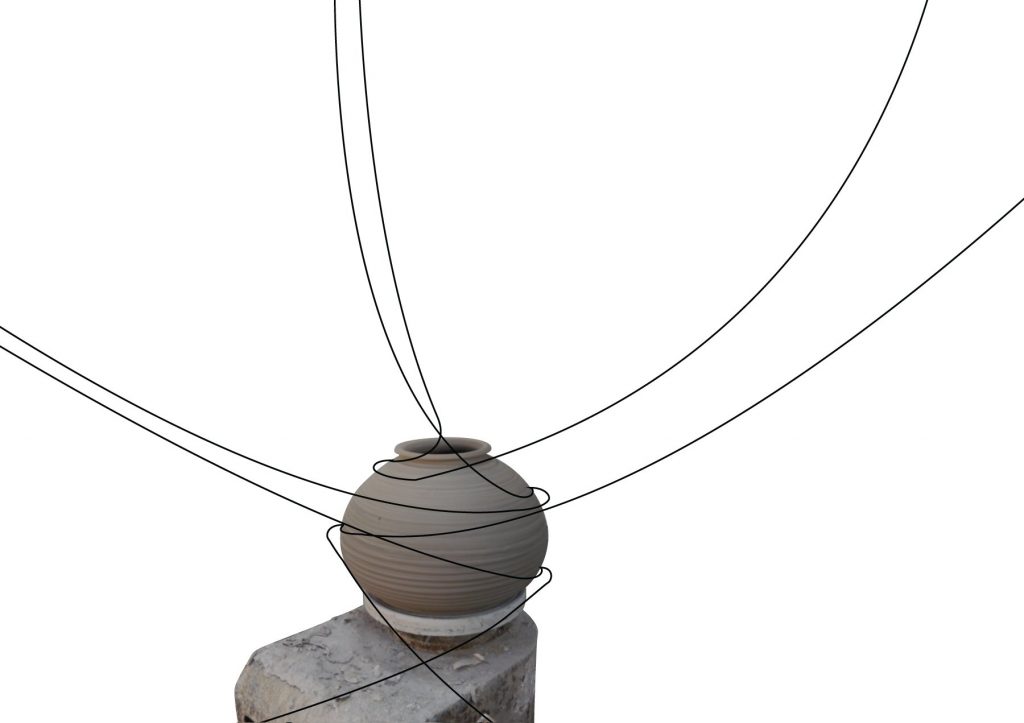
Inspired by wheel throwing that I saw when I visited the area, I wanted to show the patterns spinning out of the pottery when it’s spinning on the pottery wheel.
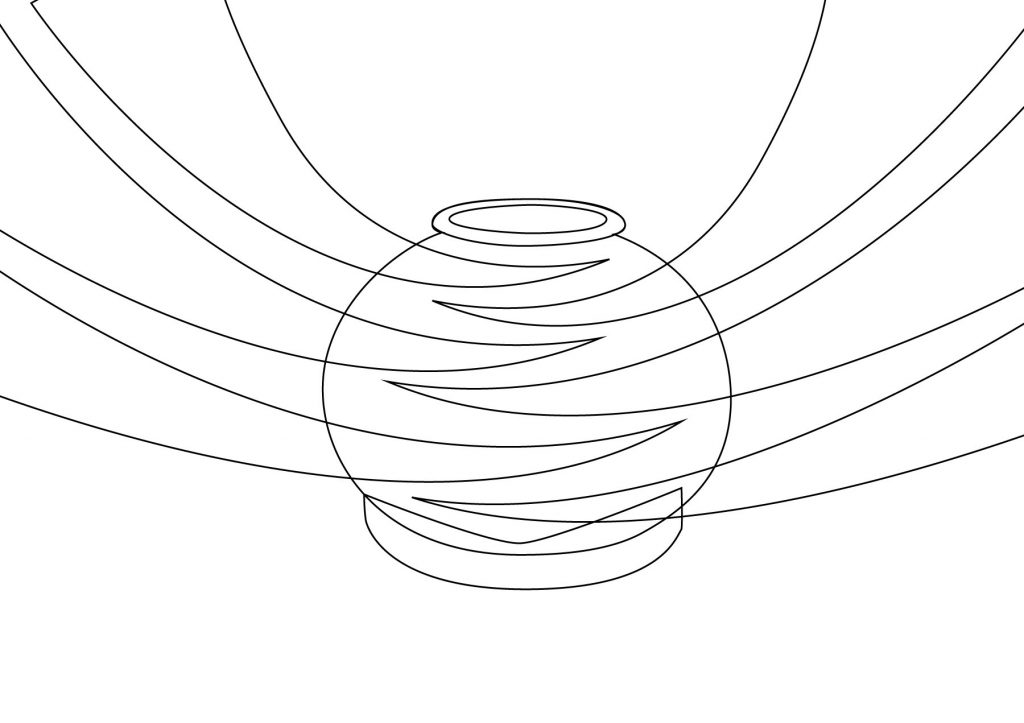
Seeing how the first draft not showing much movement, I decided to study the spinning again as shown below.
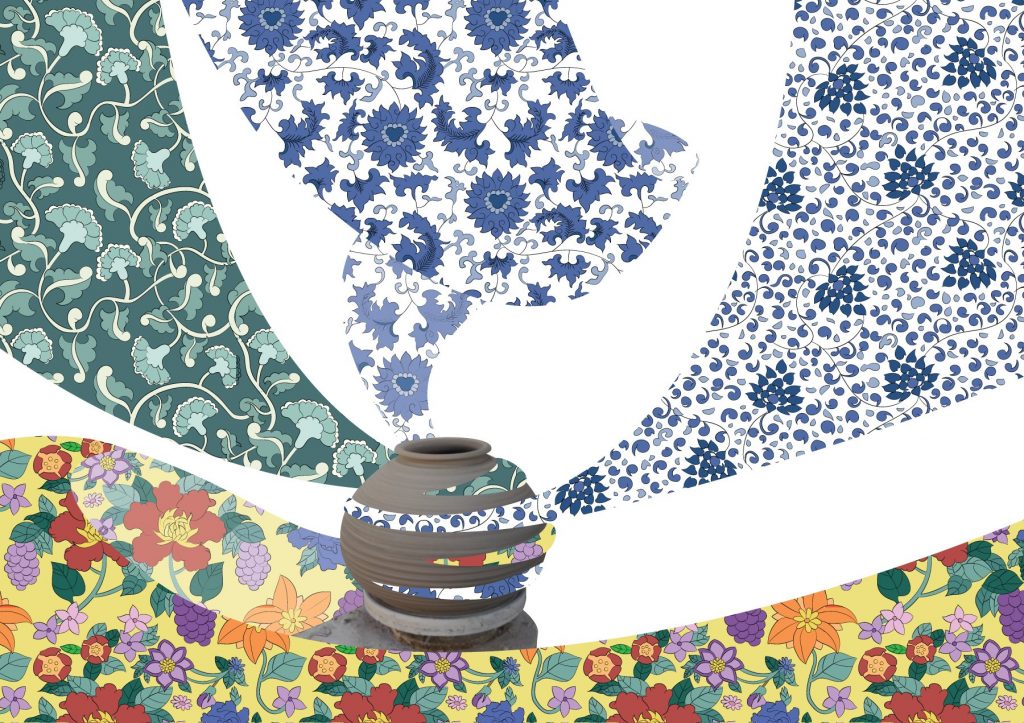
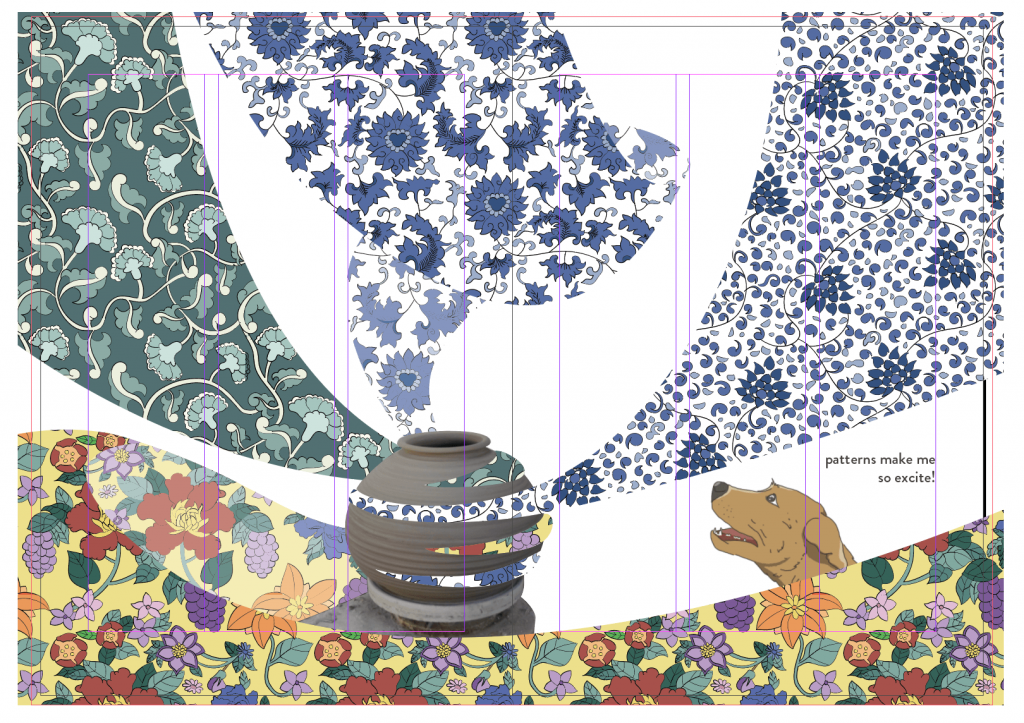
After preparing the assets, I assembled everything on InDesign. I placed the dog behind the patterns, and also added the text which is aligned to the right, on the right column.
When I visited the place, there was an ENDLESS amount of pottery, with different designs and patterns. I wanted to showcase the patterns at Thow Kwang by adding a sense of surrealness to it through the patterns shown when it is spinning.
Spread 3: Colour
Asset 1: Dog

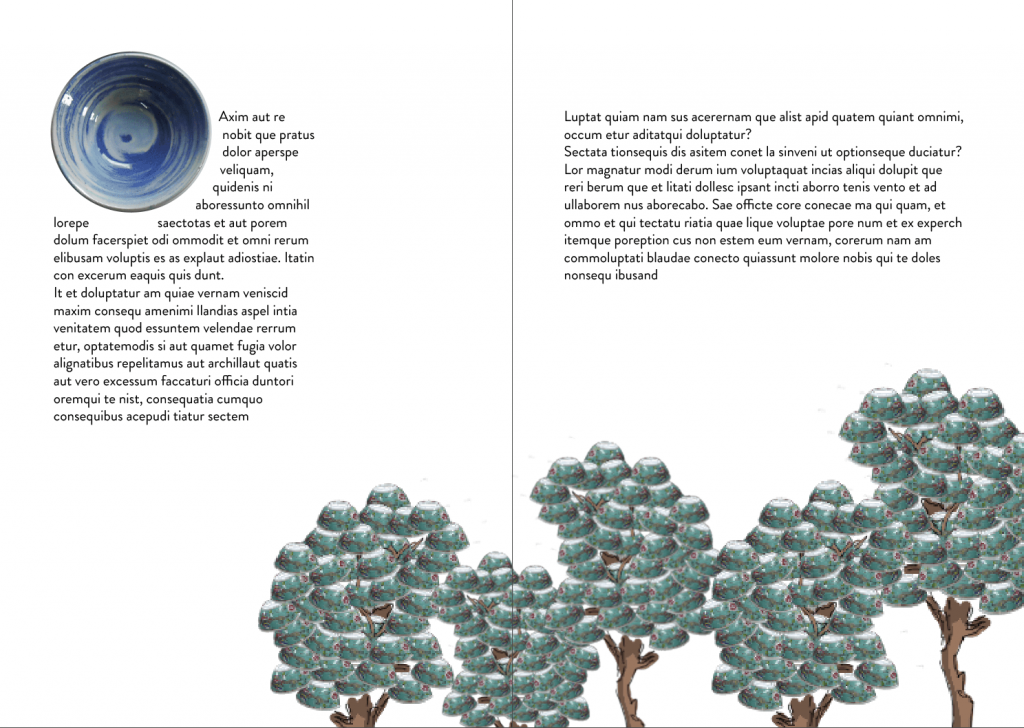
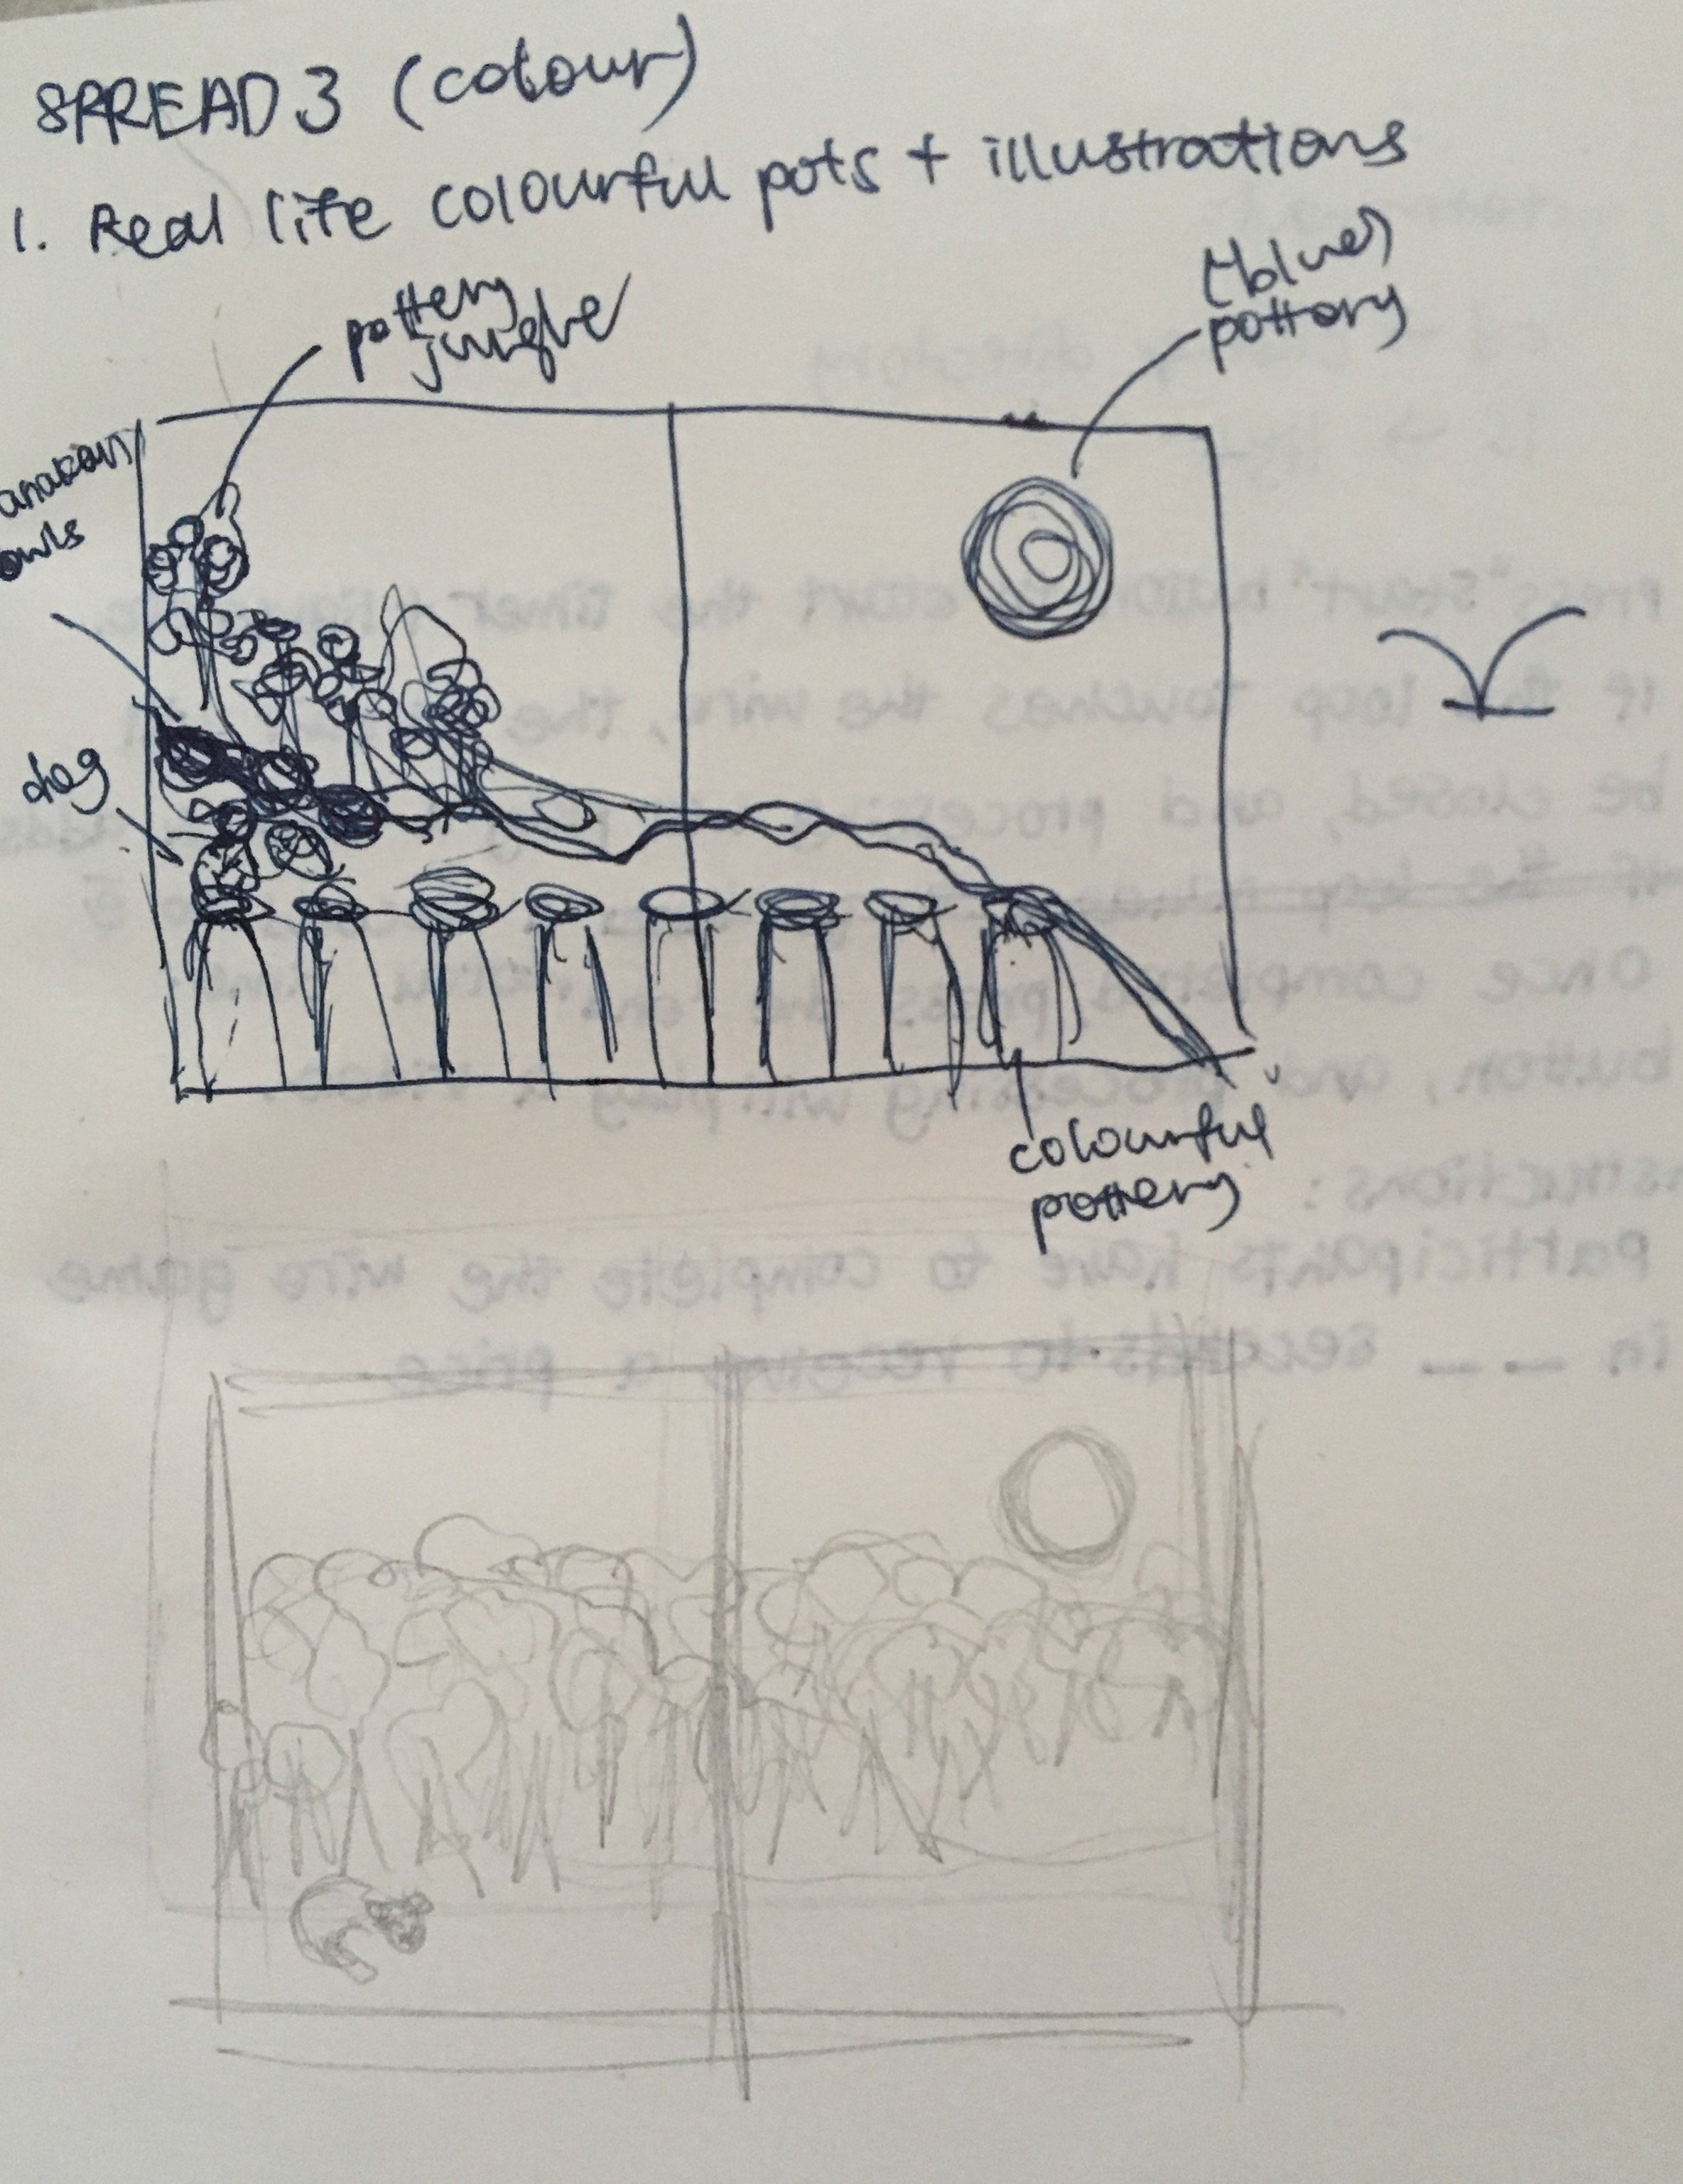
The first version was done through my first draft when I haven’t added in the dog element into my zine. I wanted to show the pottery jungle literally as a jungle with trees with pottery leaves. However, I notice that it does not fit the theme for the rest of the spreads because it does not have much of an illustrated element for the trees. Also, it looks messy to me. Therefore, I decided to play around with other possibilities.
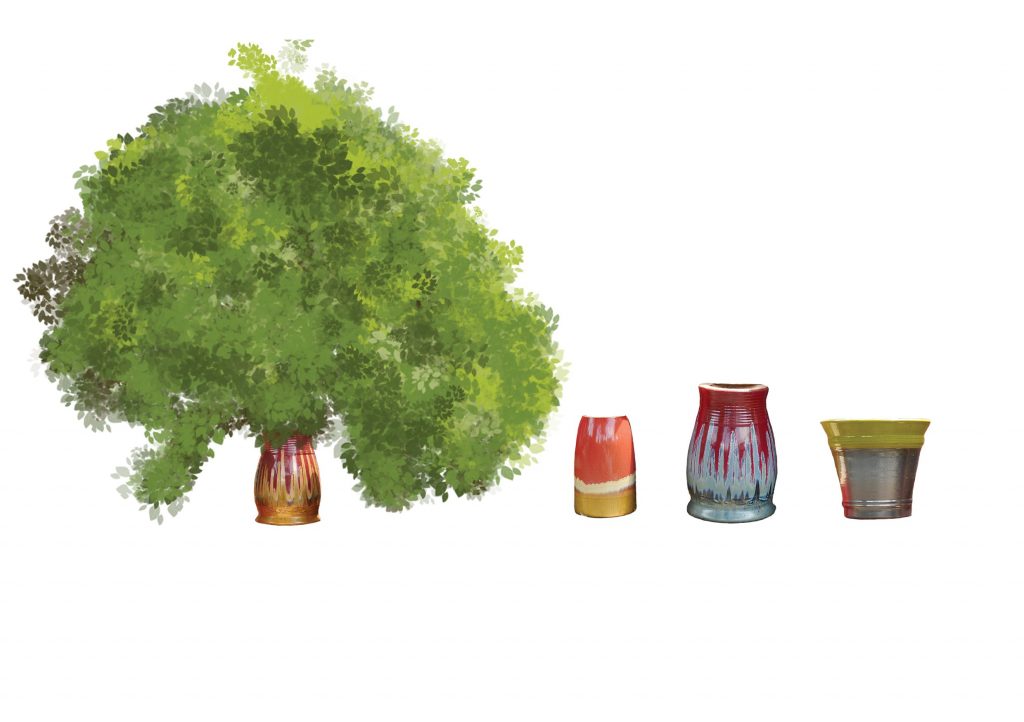
Using the same leaf brush used for the cover page, I added leaves on top of the pot as I wanted to show the pot as the trunk of the tree. However, it looks more like leaves are coming out of the pot. So I decided to work on another idea. (I masked the background of the pots before adding the leaves.)

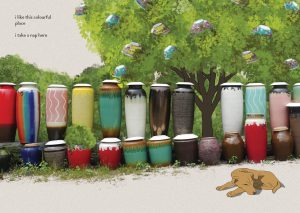
Instead of having pottery depicted as leaves, I included the pottery hidden in the leaves to show my interpretation of a pottery jungle. The leaves/bushes that are behind the colourful pottery are all applied with the Gaussian Blur filter to show depth and distance as things that are further away are usually less clear.

After preparing the assets, I assembled everything on InDesign. I placed the dog in the empty space in front and added the text which is aligned to the left, on the outer left column. Also, I made sure that my assets are all larger than the bleed so that there will be a consistent print.
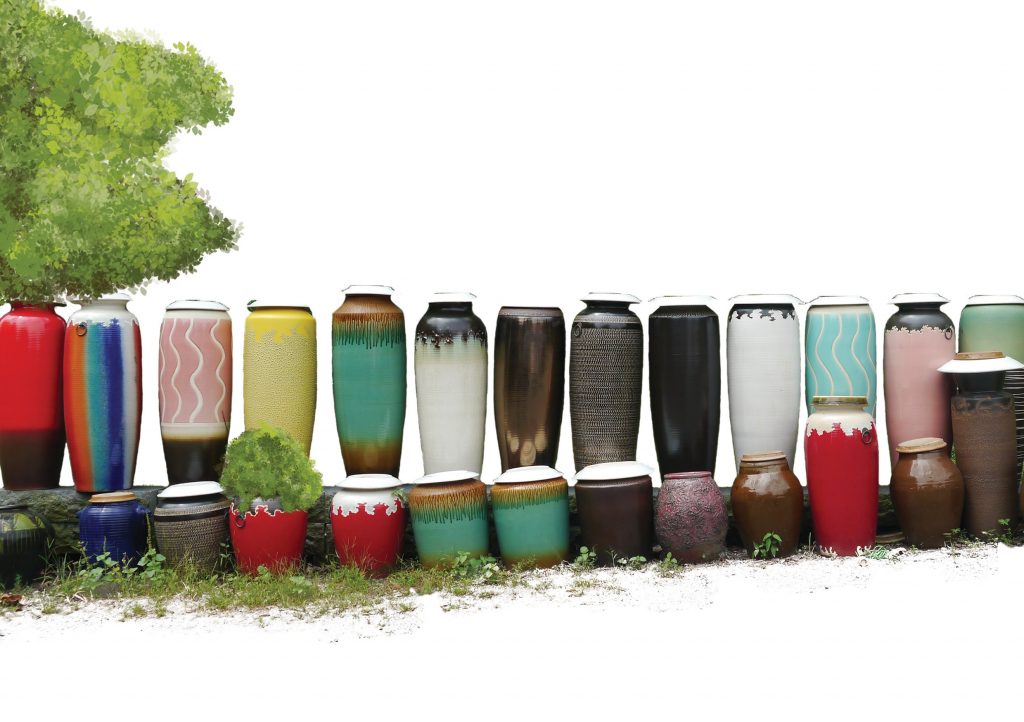
I decided to use the actual pots I saw in Thow Kwang to show the real colours of the place in this spread.
Texture


Finally, I wanted to add texture to the plain white background. I first created a shape and applied the inner glow effect to add a brown coloured noise. Then, I placed the shape behind all of the assets so that it does not affect the illustrations.
Reflection
In the past, I used to illustrate using the pen tool and drew basic vector objects. For this project, I wanted to learn something new and challenge myself to do something that I am not comfortable with or is particularly good at, which is drawing. I’m glad I did not give up halfway when I couldn’t find a way to illustrate the same style that I was planning to do. I’m grateful for my friends that helped me along the way be it teaching me how to illustrate using the tablet or giving me suggestions on how to improve the layouts. I am also grateful that I get to learn how to construct a booklet from scratch, and learning how to print using postscript. Overall, I’ve learned a lot from this project and am looking forward to more in the future!
Project 2a CPJ: https://oss.adm.ntu.edu.sg/a180062/project-2a-creative-process-journal/
Project 2a Slides: https://oss.adm.ntu.edu.sg/a180062/project-2a-presentation-slides/
Project 2b CPJ: https://oss.adm.ntu.edu.sg/a180062/project-2b-creative-process-journal/
Project 2b Final: https://oss.adm.ntu.edu.sg/a180062/project-2b-final/