And just like that, we approach the end of the first semester and first typography module. It’s been a crazy journey and I had to carefully weigh out my options before deciding which project I wanted to expand on for my final assignment. After thinking about it, I decided to do narrative photography with an accompanying prose that would incorporate typography rules to fully convey emotion.
For a start, I had to come up with a short-story / prose that my typography and photography would be inspired by. Following the creation of my zine done in Year 1 where I shared a personal story of heartbreak, I wanted to continue the story (that was in sync with my personal journey of healing ) and talk about something that I’ve been feeling for awhile: the feeling of alienation in a home and rejecting spaces because of the memories attached to them.
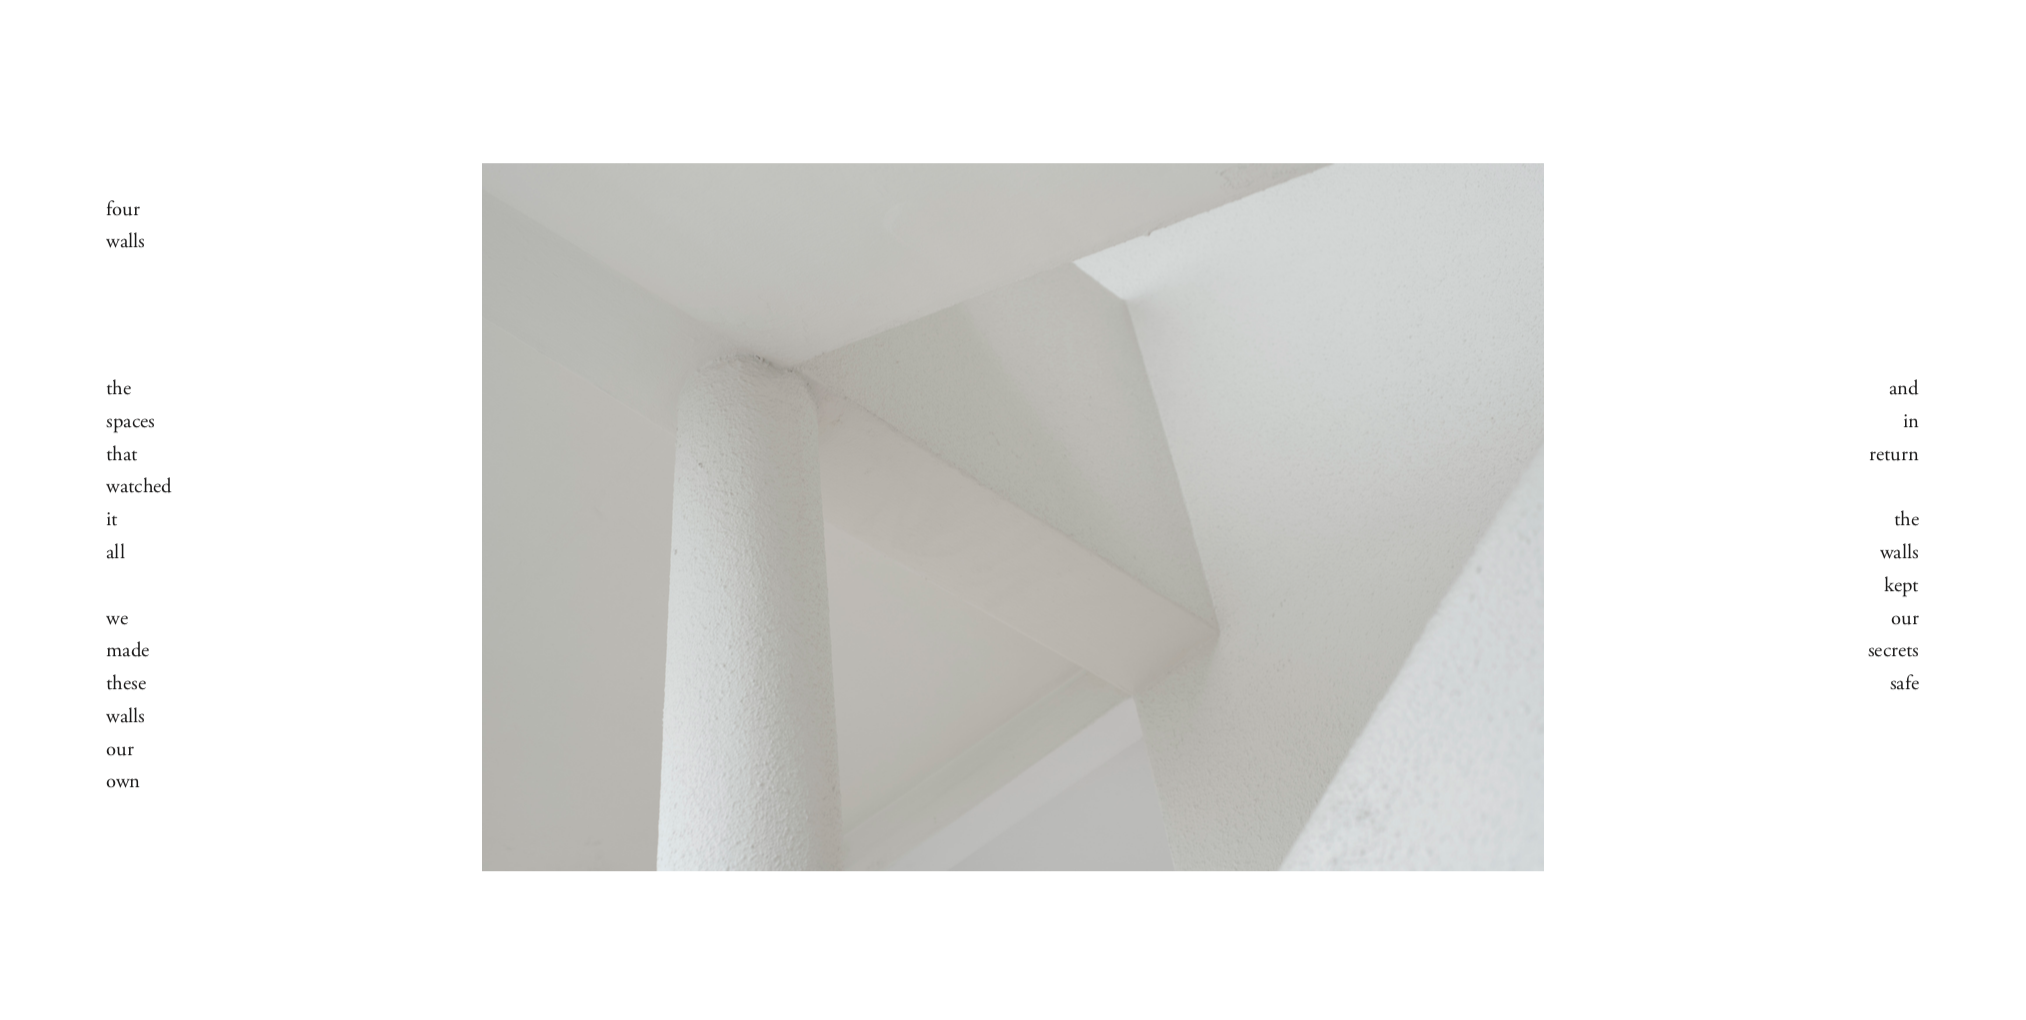
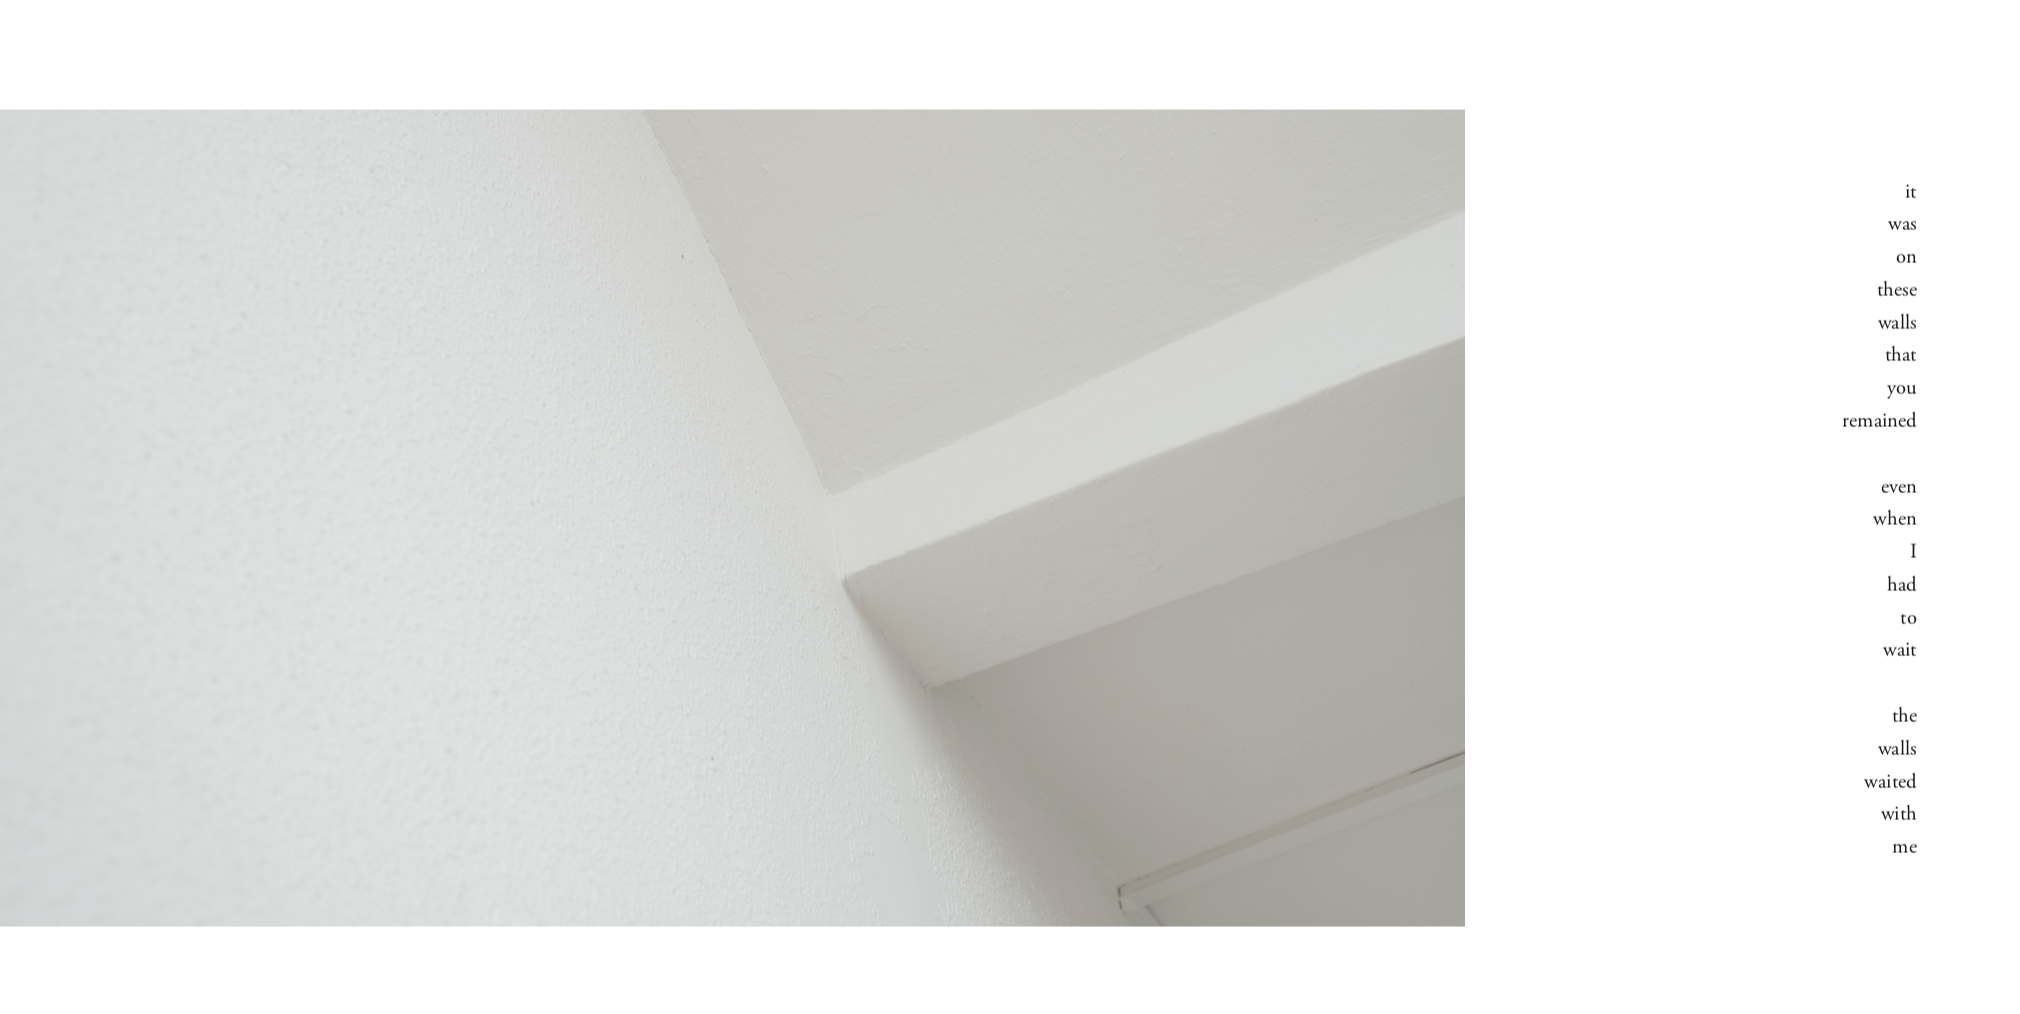
I sat down one Saturday, plugged in to my favourite sentimental (emo) songs and poured my heart out. It was emotional session that left me in tears to say the least. As I wrote, I decided that I didn’t want my words to rhyme too much like a poem but instead I wanted to incite thoughts through personifying my room at home. This was the outcome:
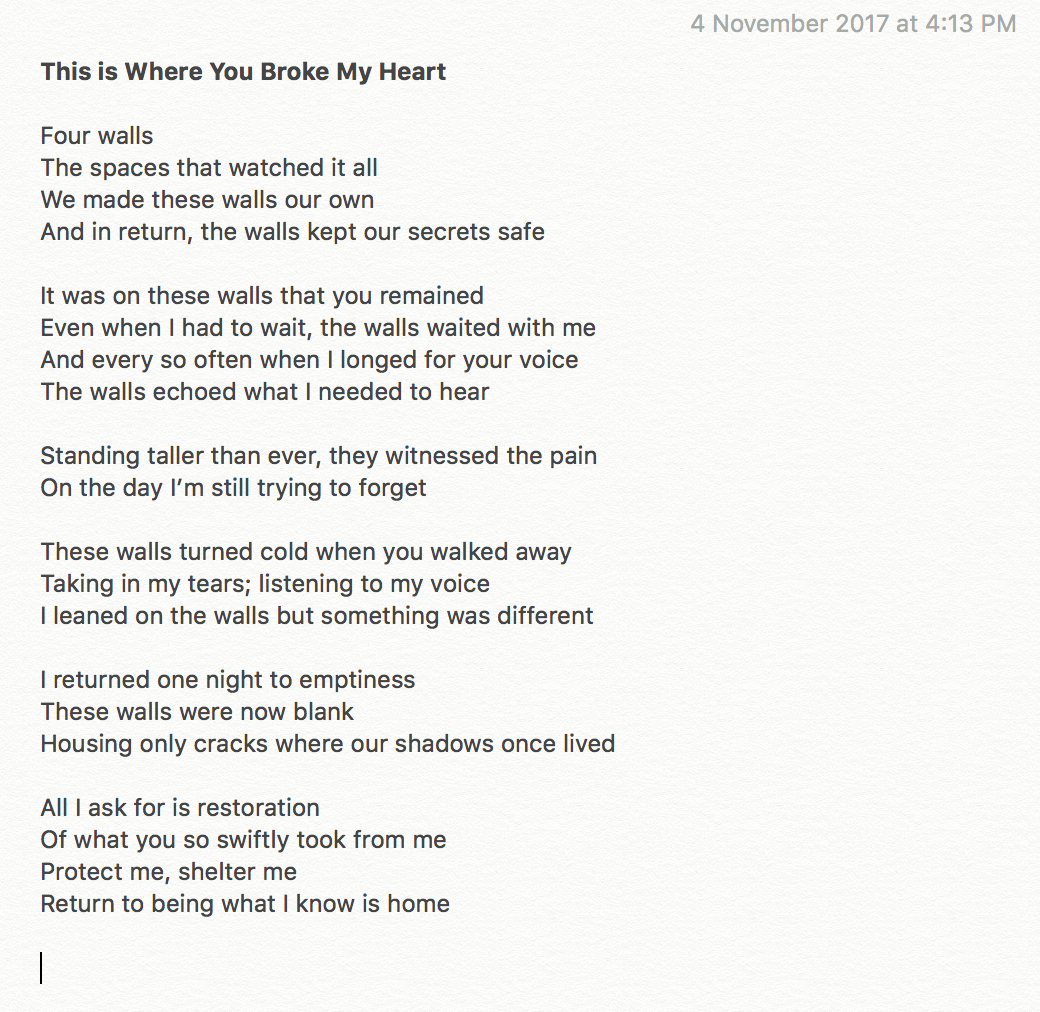
By giving character to the walls in my room / house, I managed to create a narrative that I felt gave a clear picture of the state I am in.
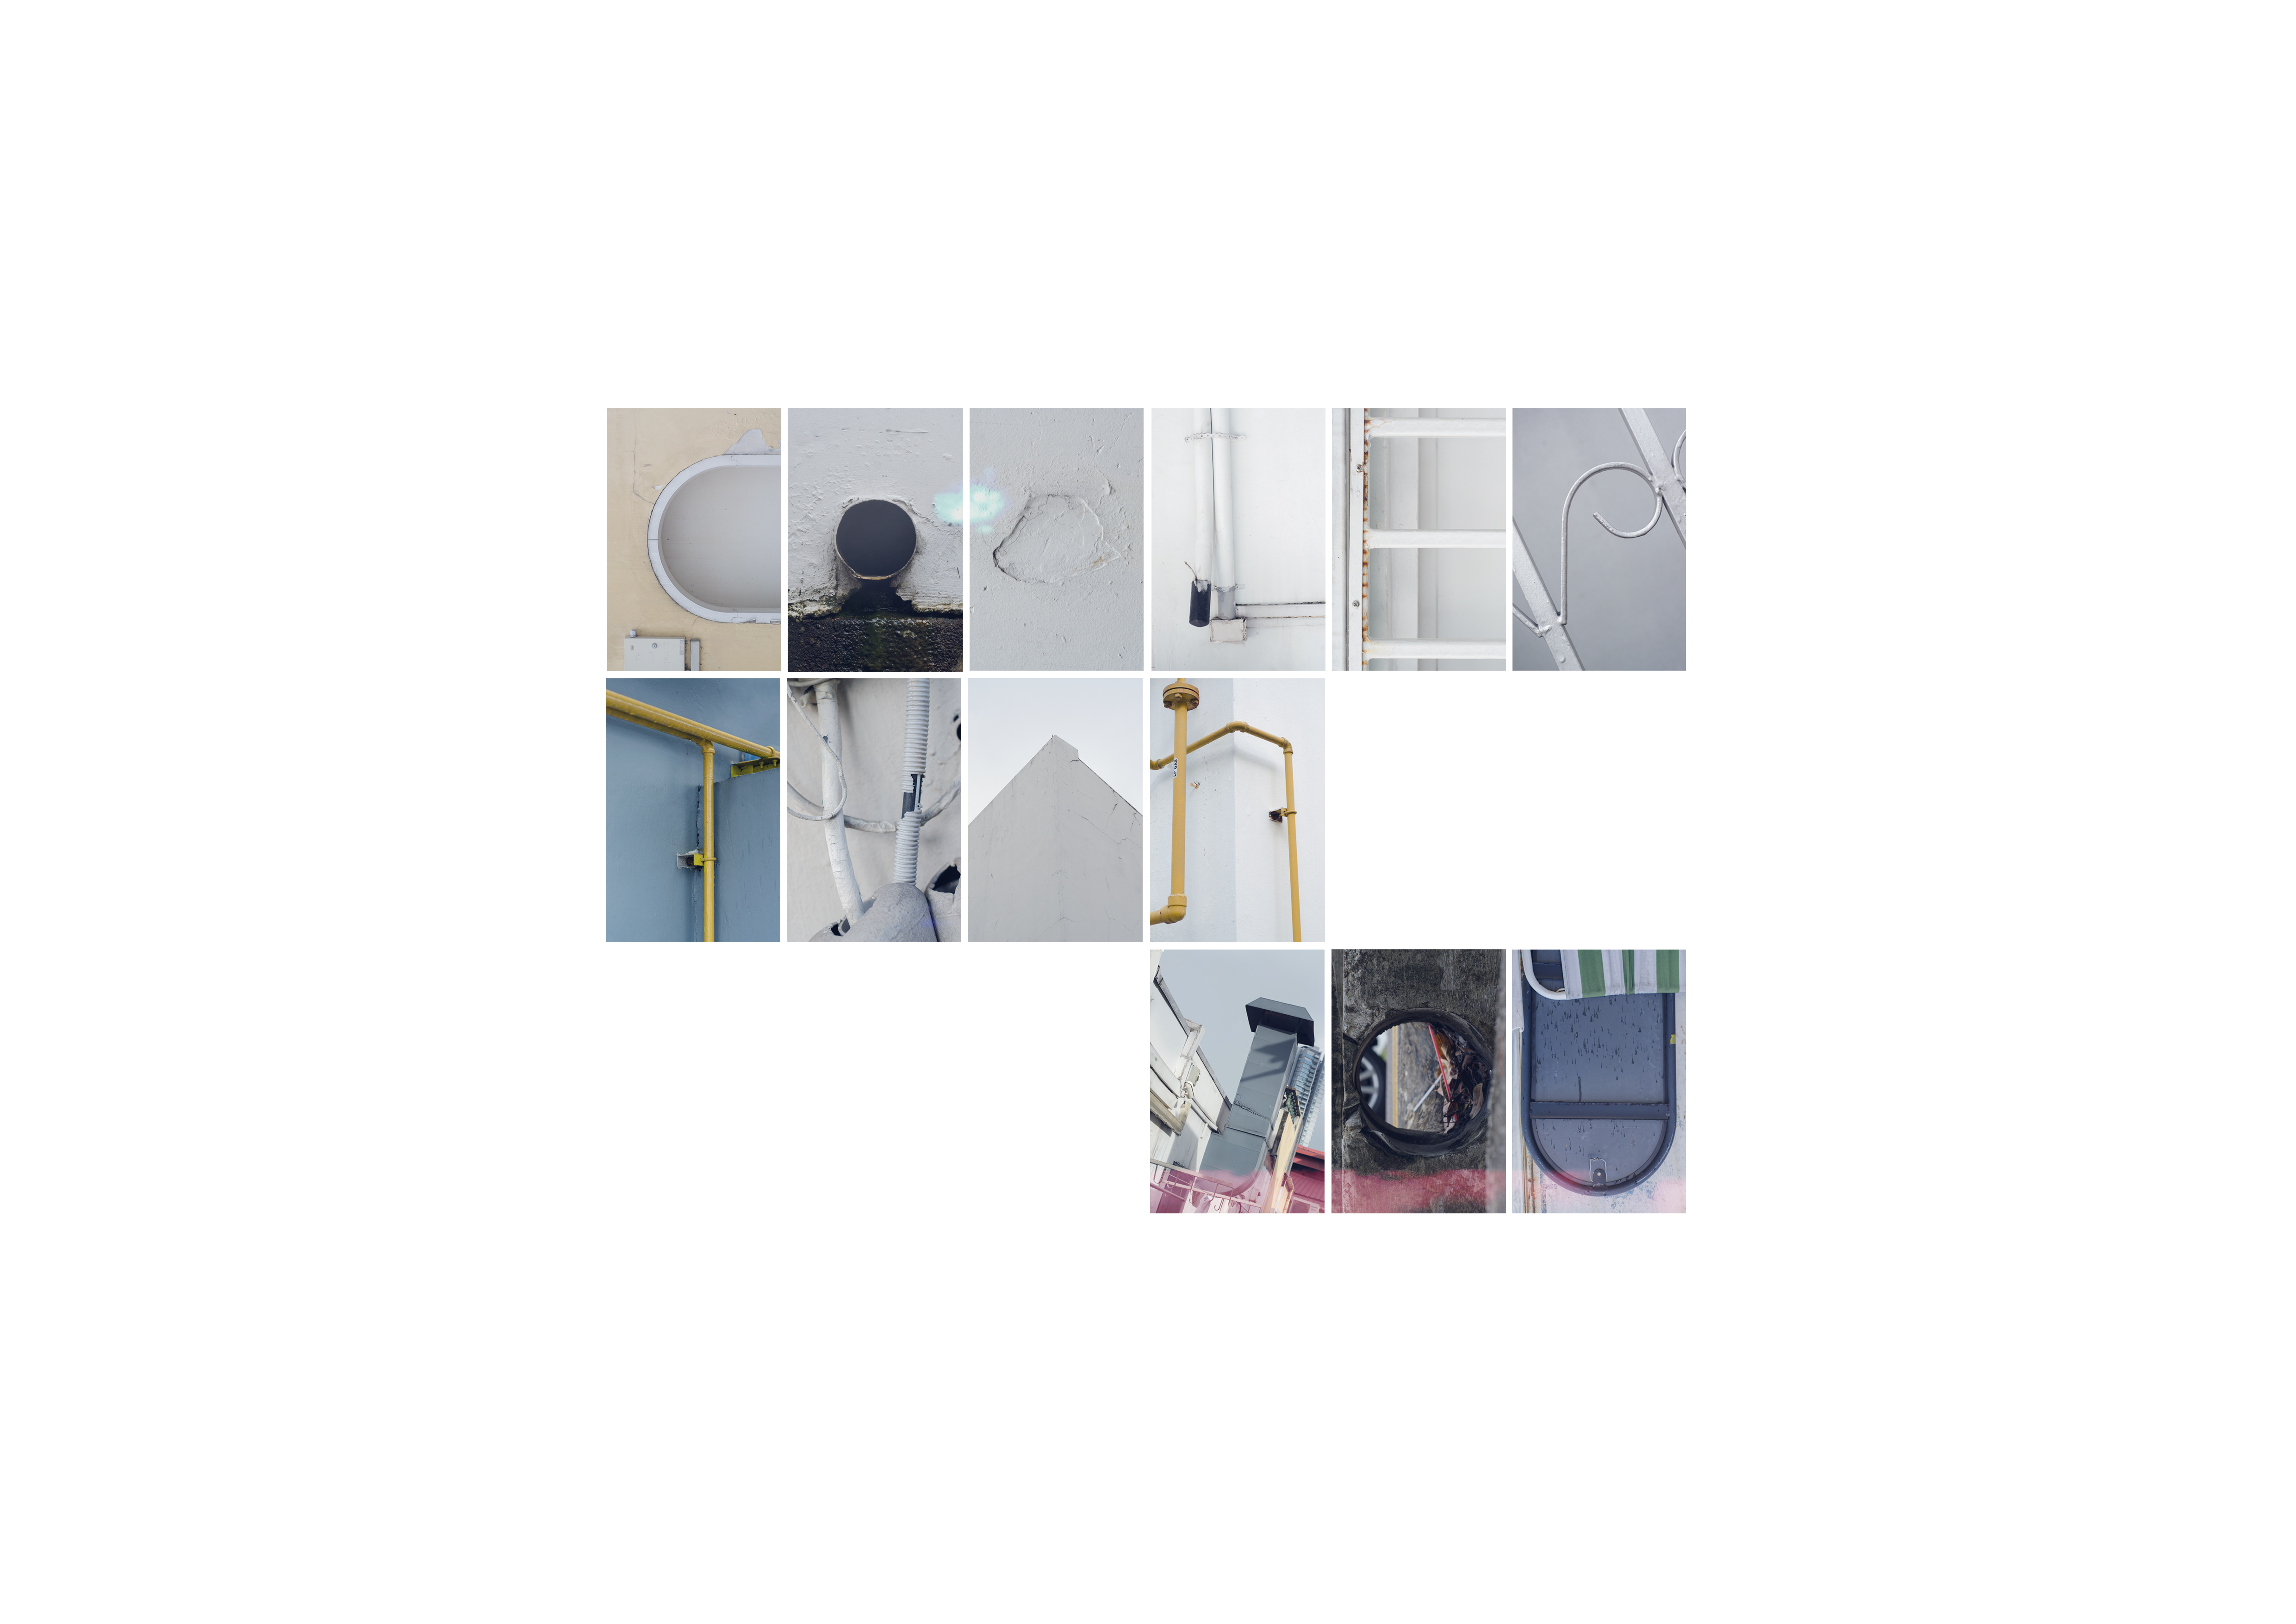
The next step was translating them into layouts and spreads. I aligned my text based on the flow of my story. To explain it concisely, I took notice to:
- More structured paragraph placements at the start
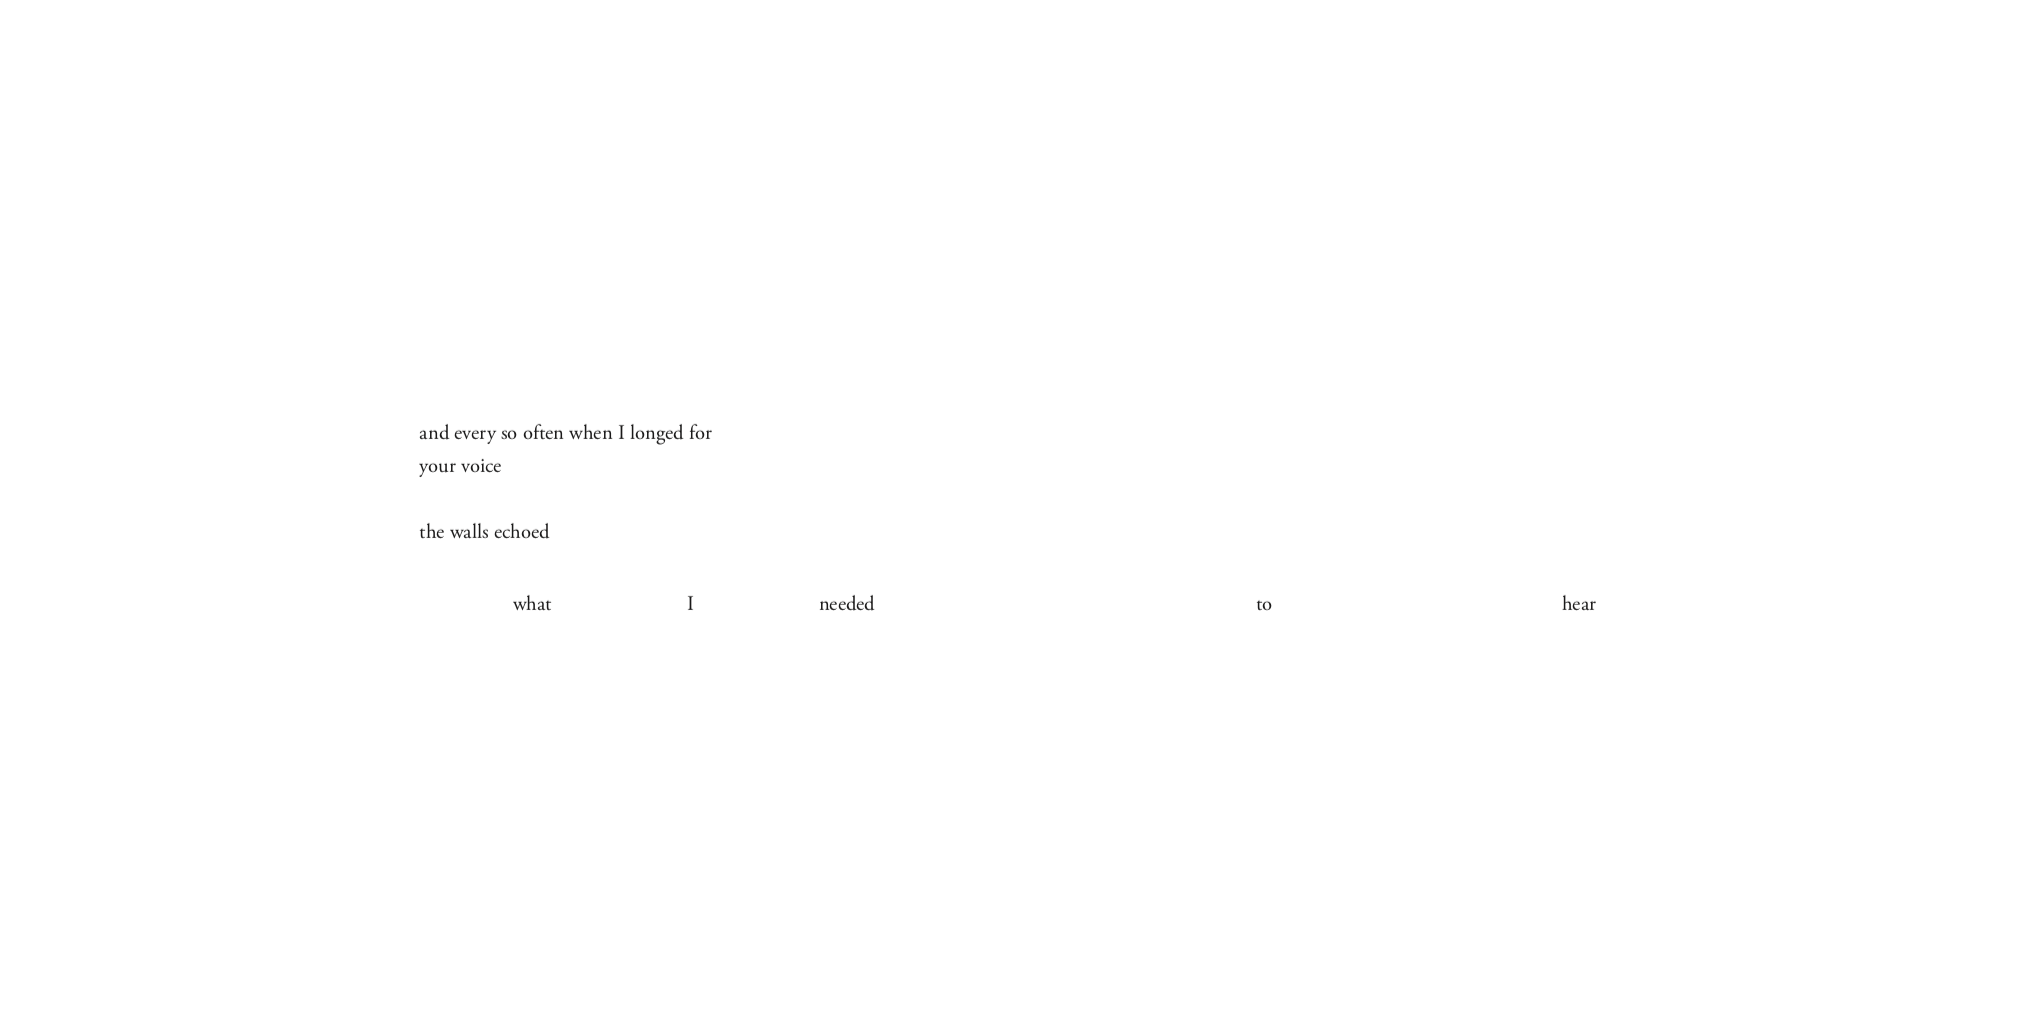
- Gradual dispersal and more space between text units as the story reached the climax
- Opposing structures by the end of the story
- Conscious altering of only leading, kerning and negative space. (no alterations of scale, form and opacity
The reason behind #4 is because I strongly believe typography need not be literal representations of words. As such, I want reader to feel the narrative through the image and text.
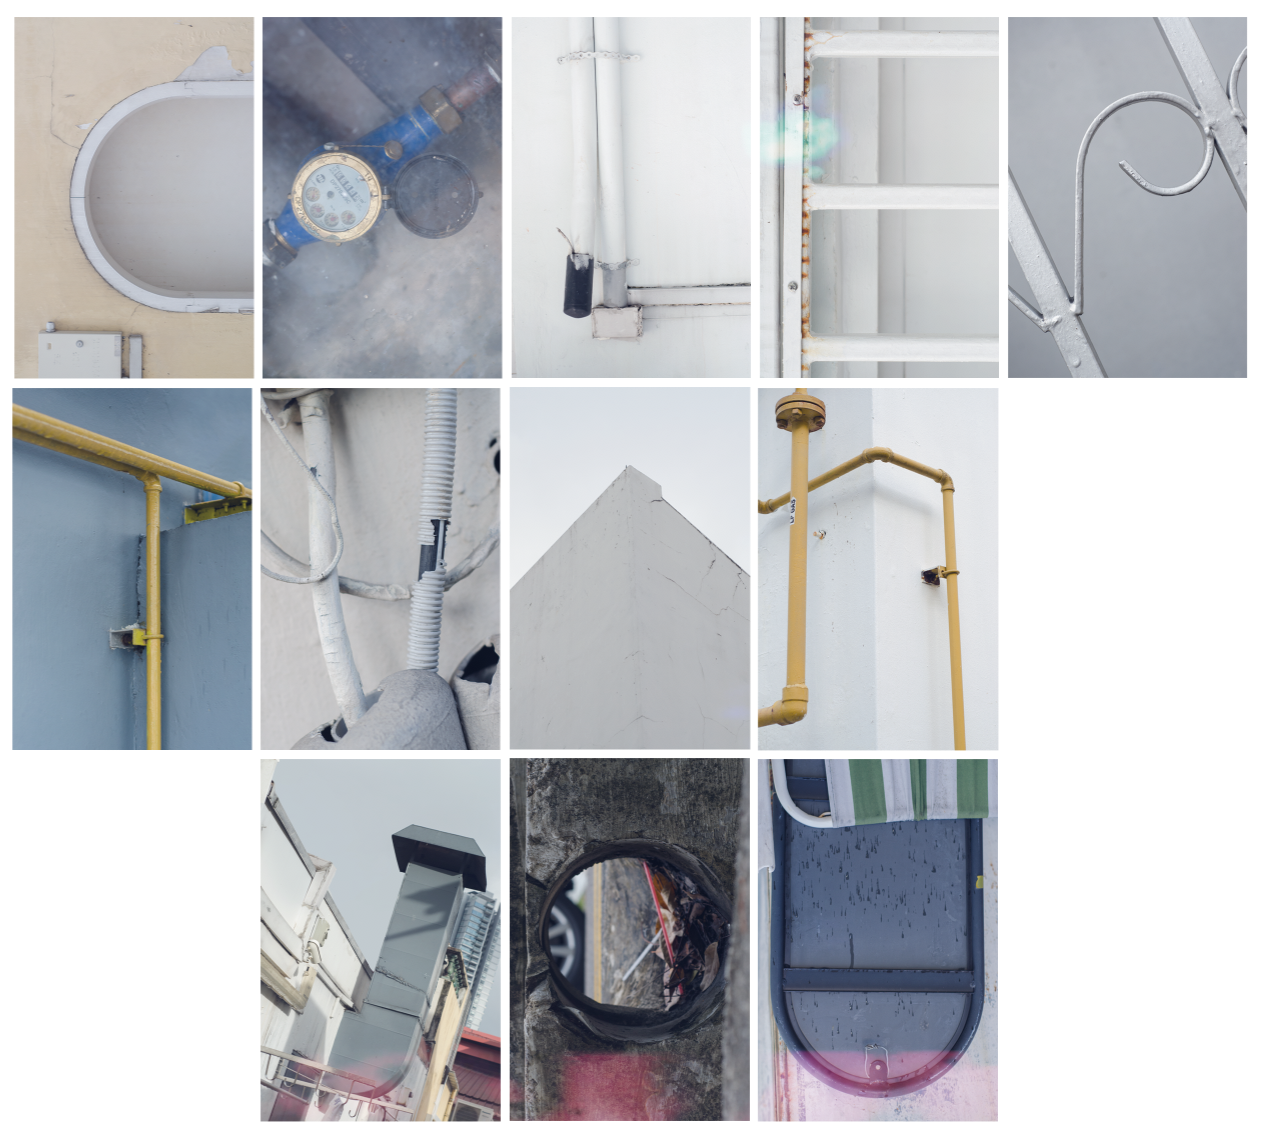
My next task required me to take photos that would complement the narrative. In the beginning, I had the concept of going around my hall (NTU Hall 2) to take photographs simply because I wanted amplify my feeling of alienation by portraying walls / a home that was not even mine. I wanted to push the idea of how I surround myself now with a different setting but try to make myself a home within it anyway. The first batch of photos were sadly very uninspiring:
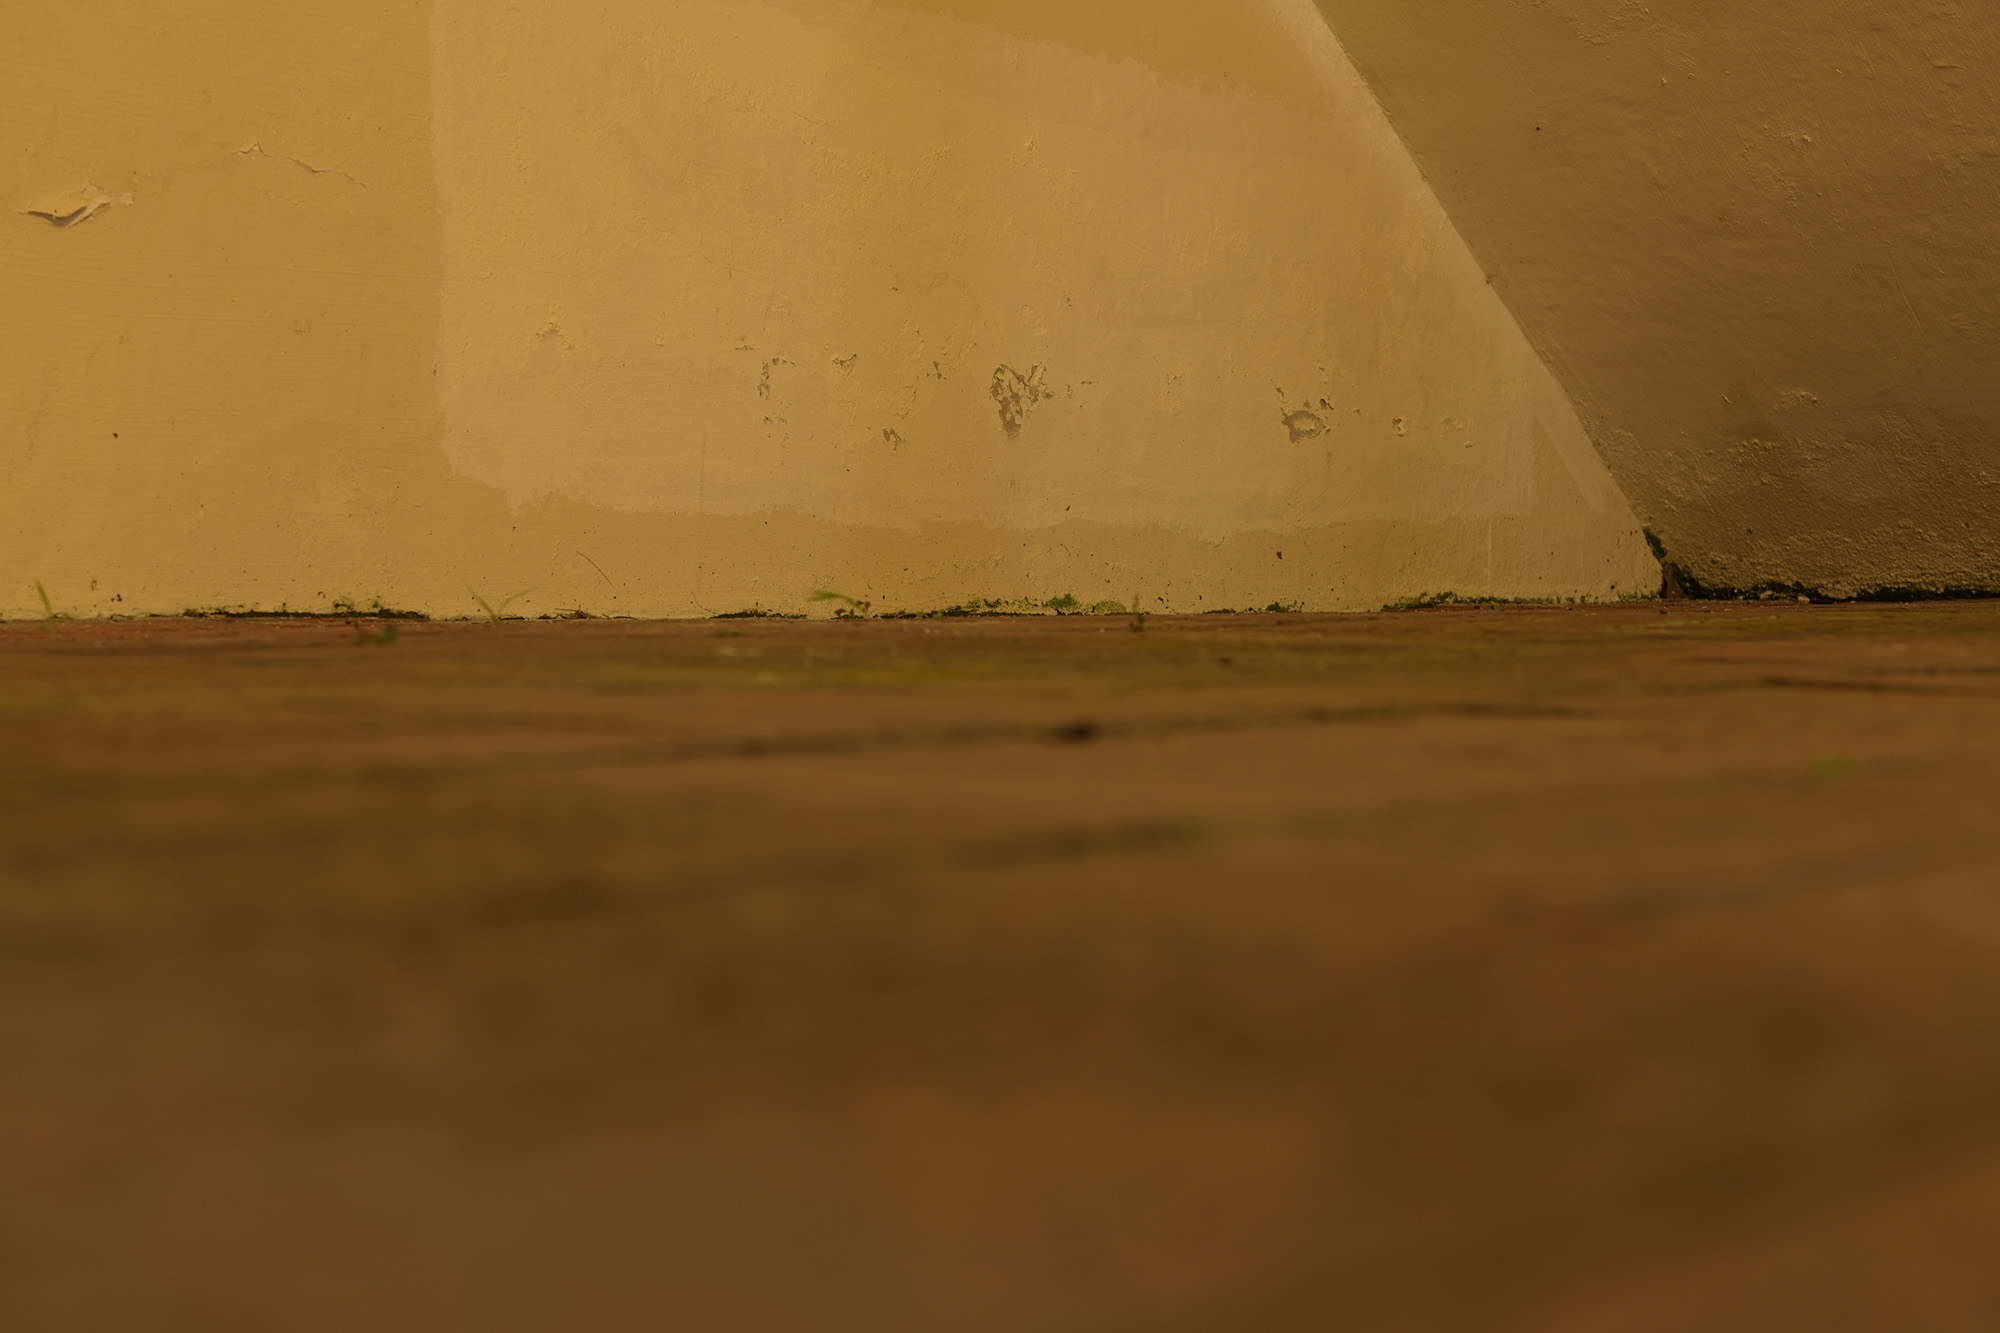
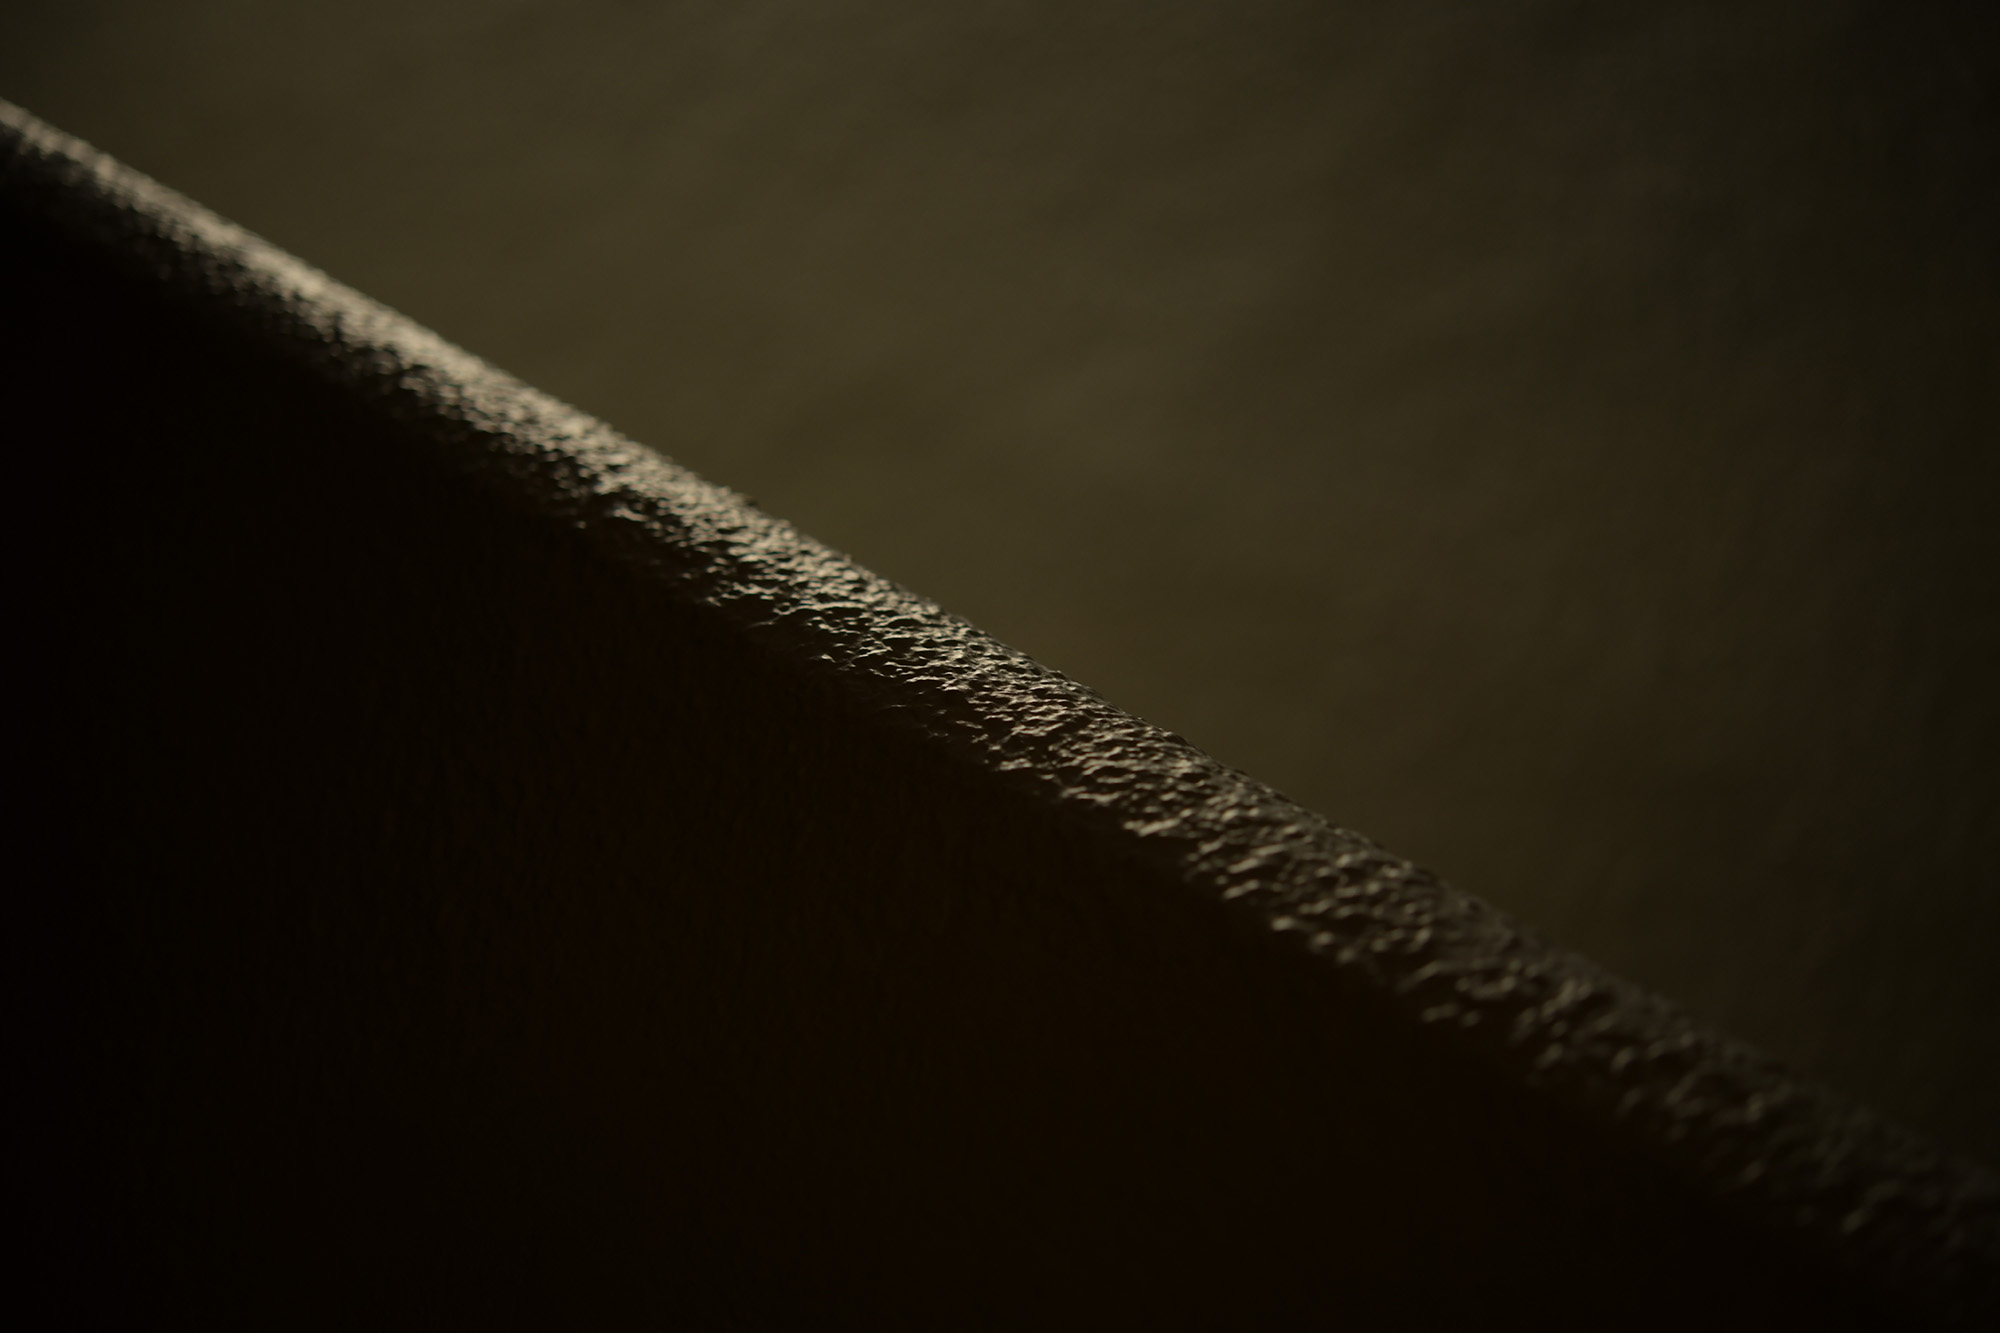
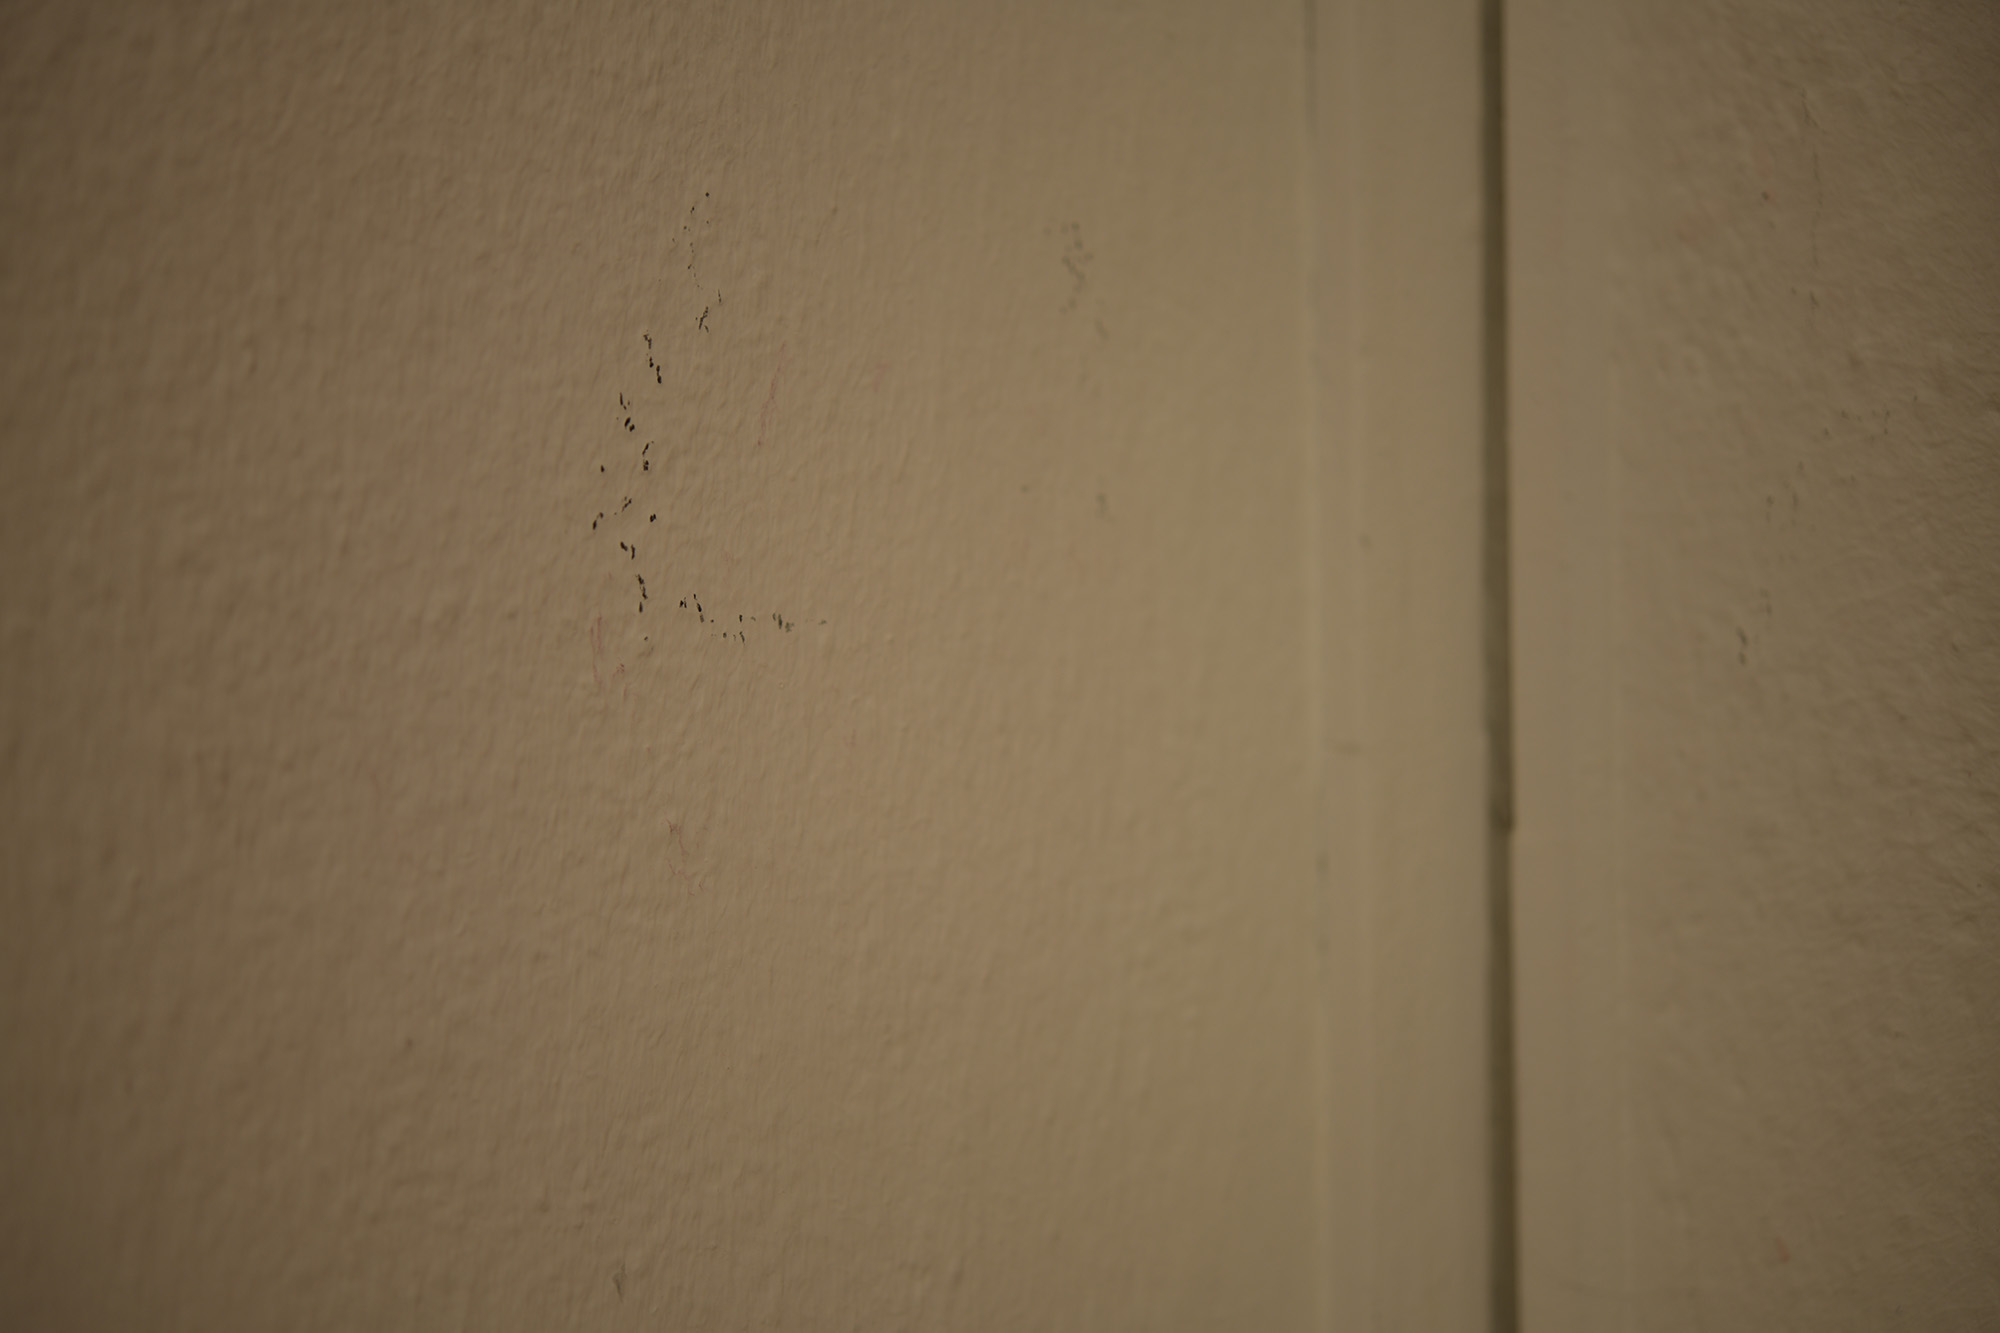
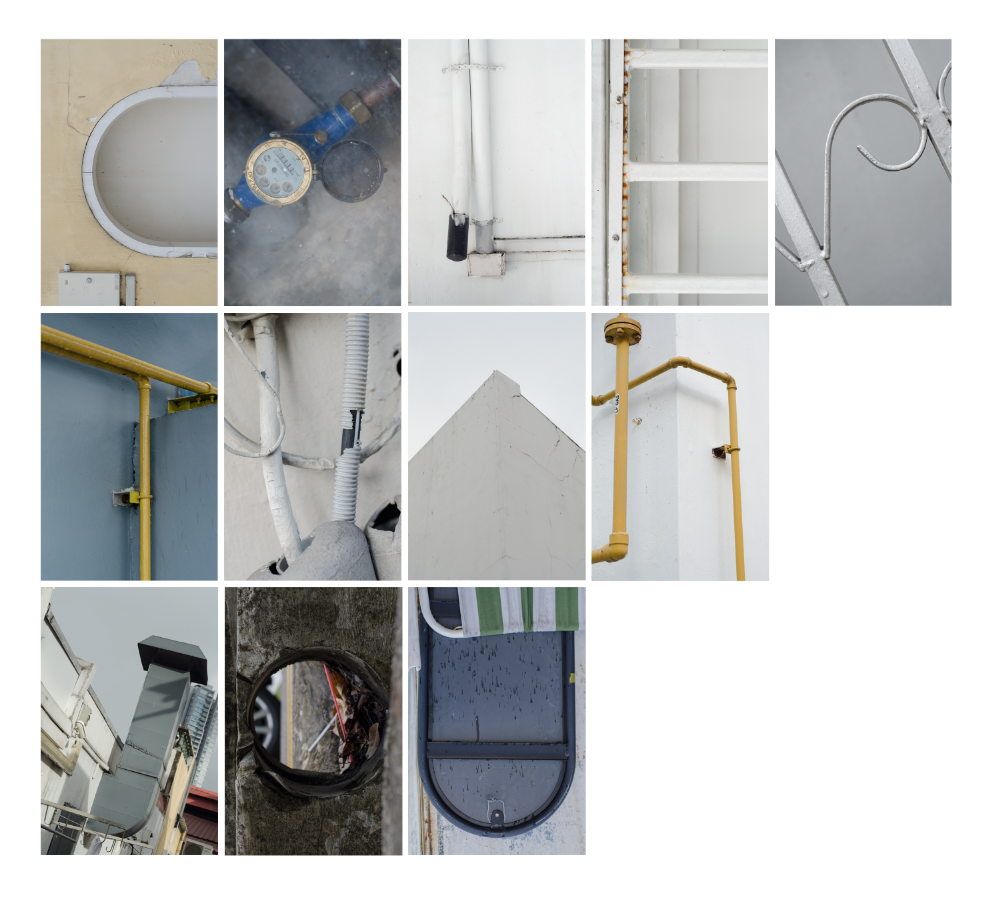
I reflected after my first shoot and reasoned with myself that perhaps I was having trouble visualising interesting frames because I was too familiar with my hall’s surroundings. On the next day, a rainy, cloudy Monday, I decided to venture out to Hall 1. Just next door to mine, I was suddenly very inspired and finally got excited by what I was seeing and shooting.
My artistic vision behind the photo series stemmed from the a few basic rules I set for myself:
- Elimination of objects or external motifs that were present on the walls
- An exploration on shapes, shades and tones and texture
- An overall cohesive colour scheme / colour grading during post-processing
I put these rules in place to ensure that the images didn’t fight for too much attention from the text and its typography.
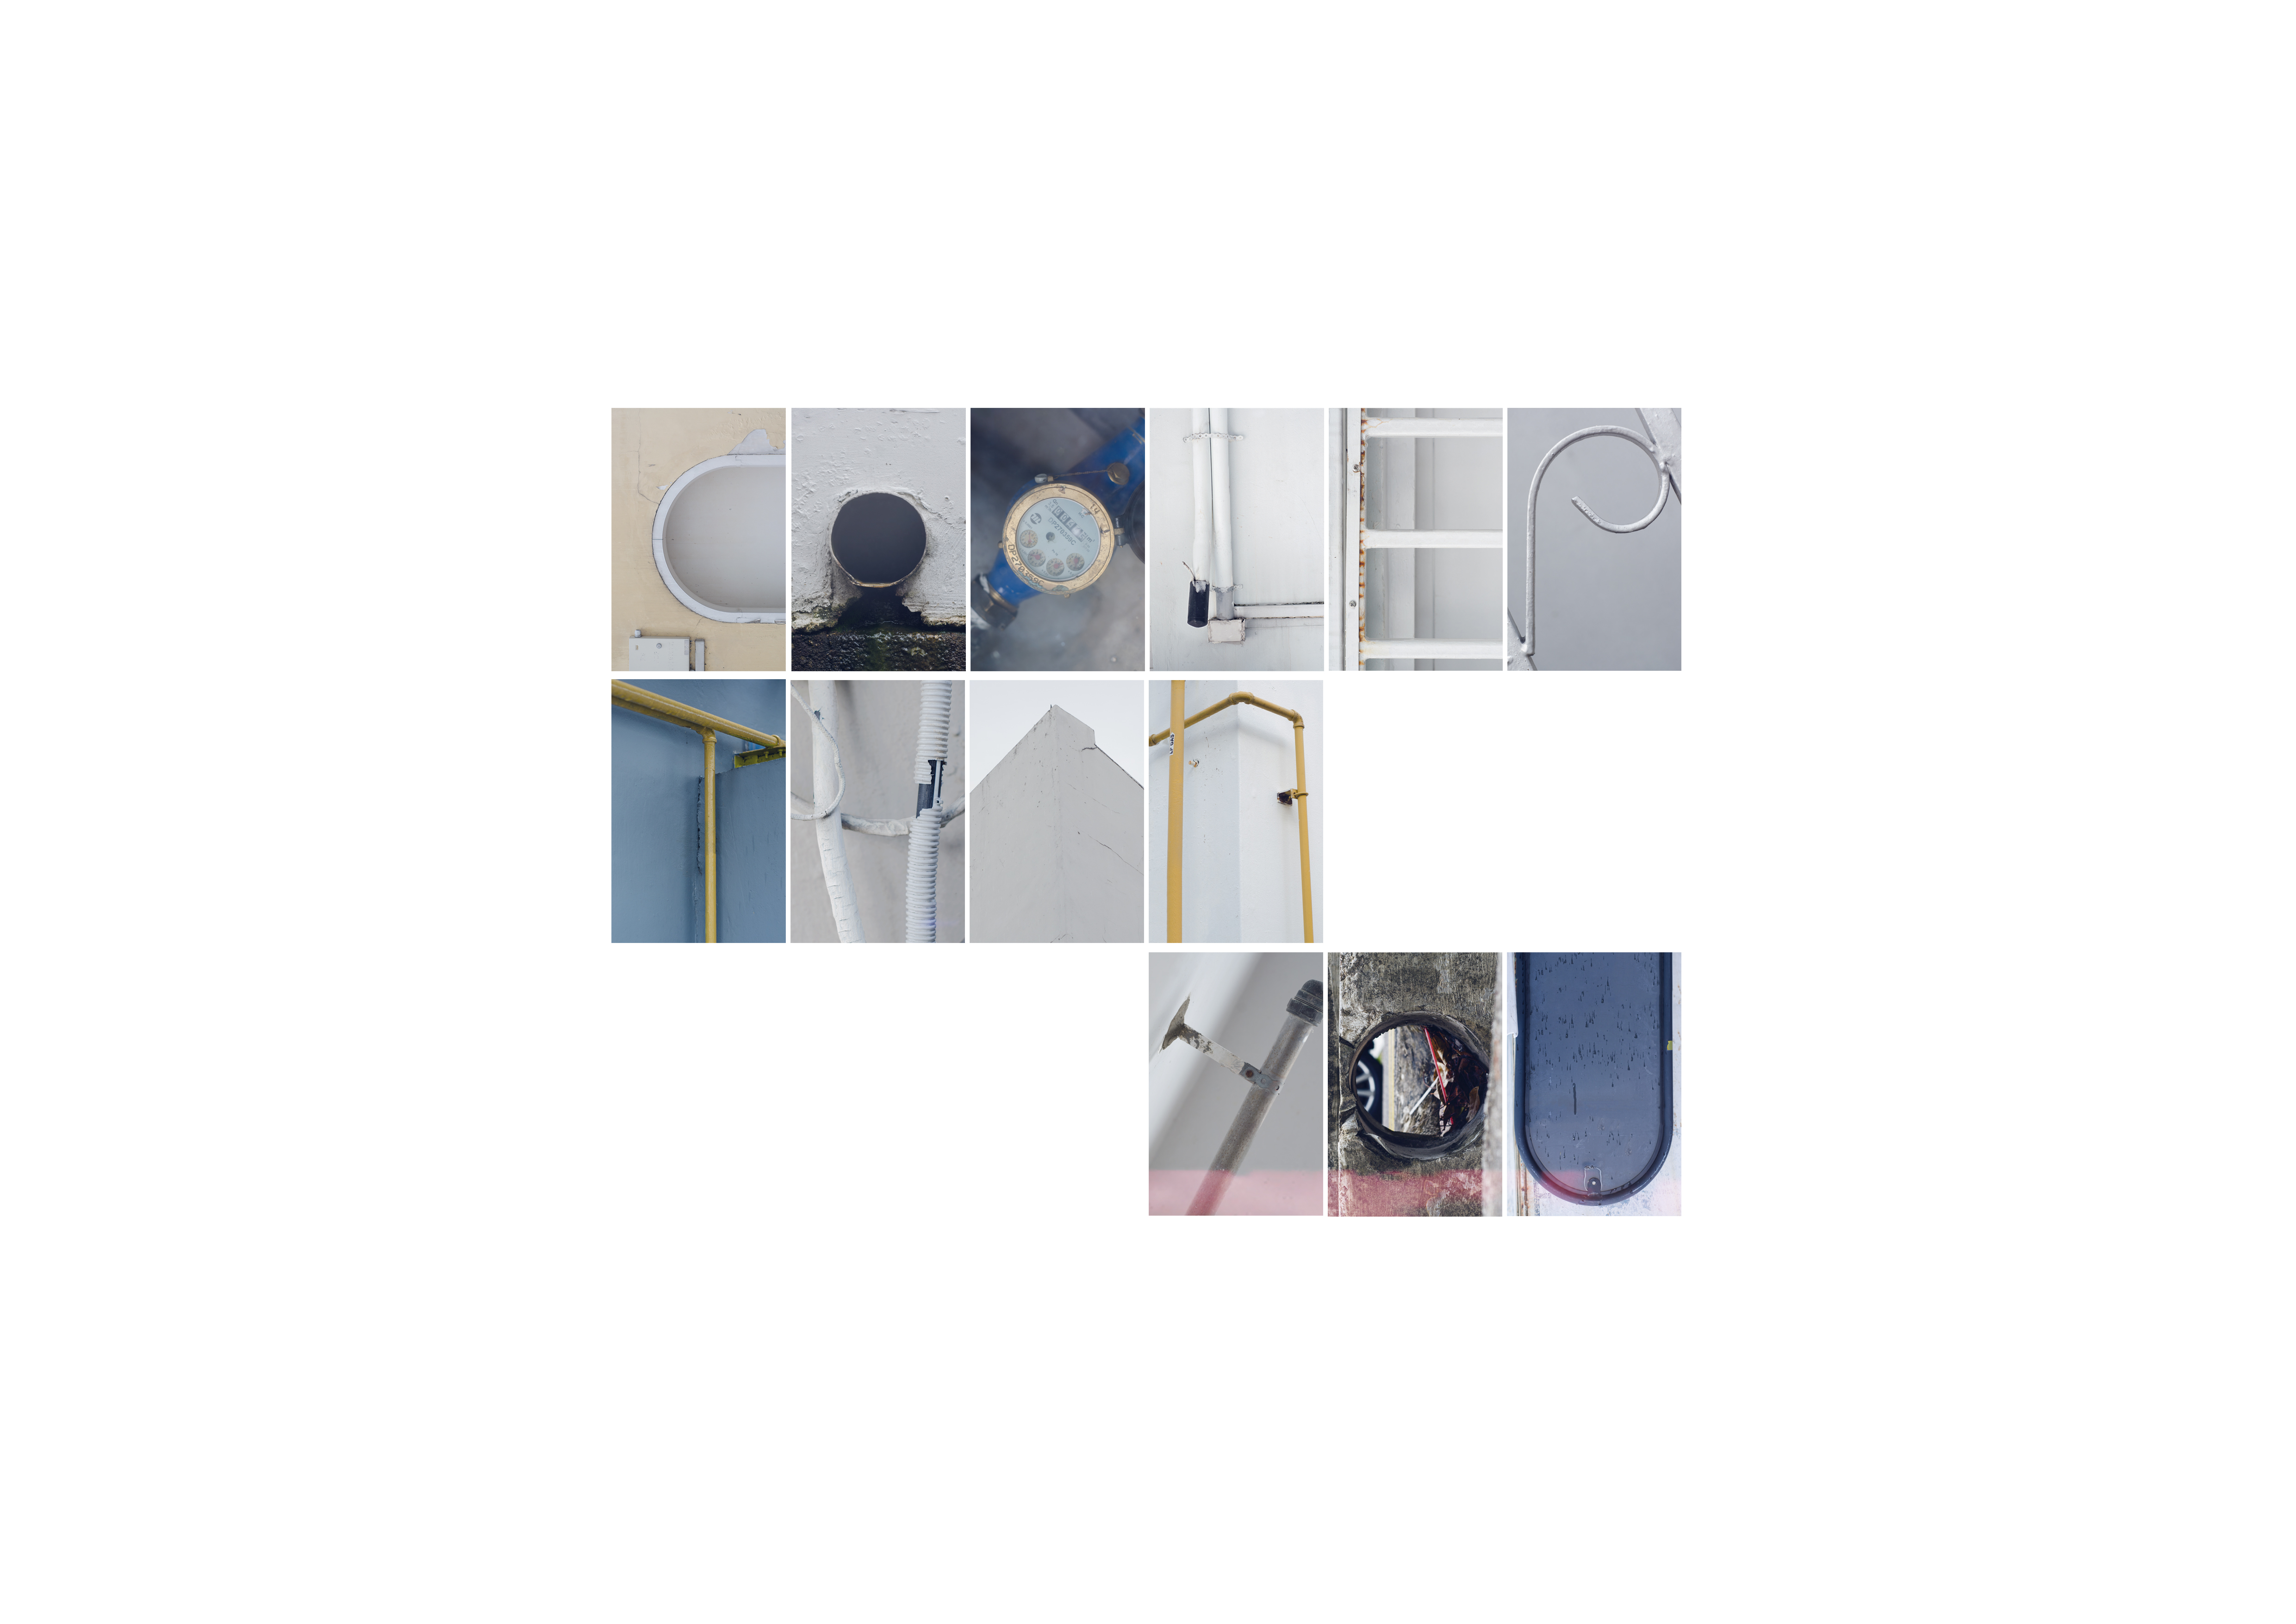
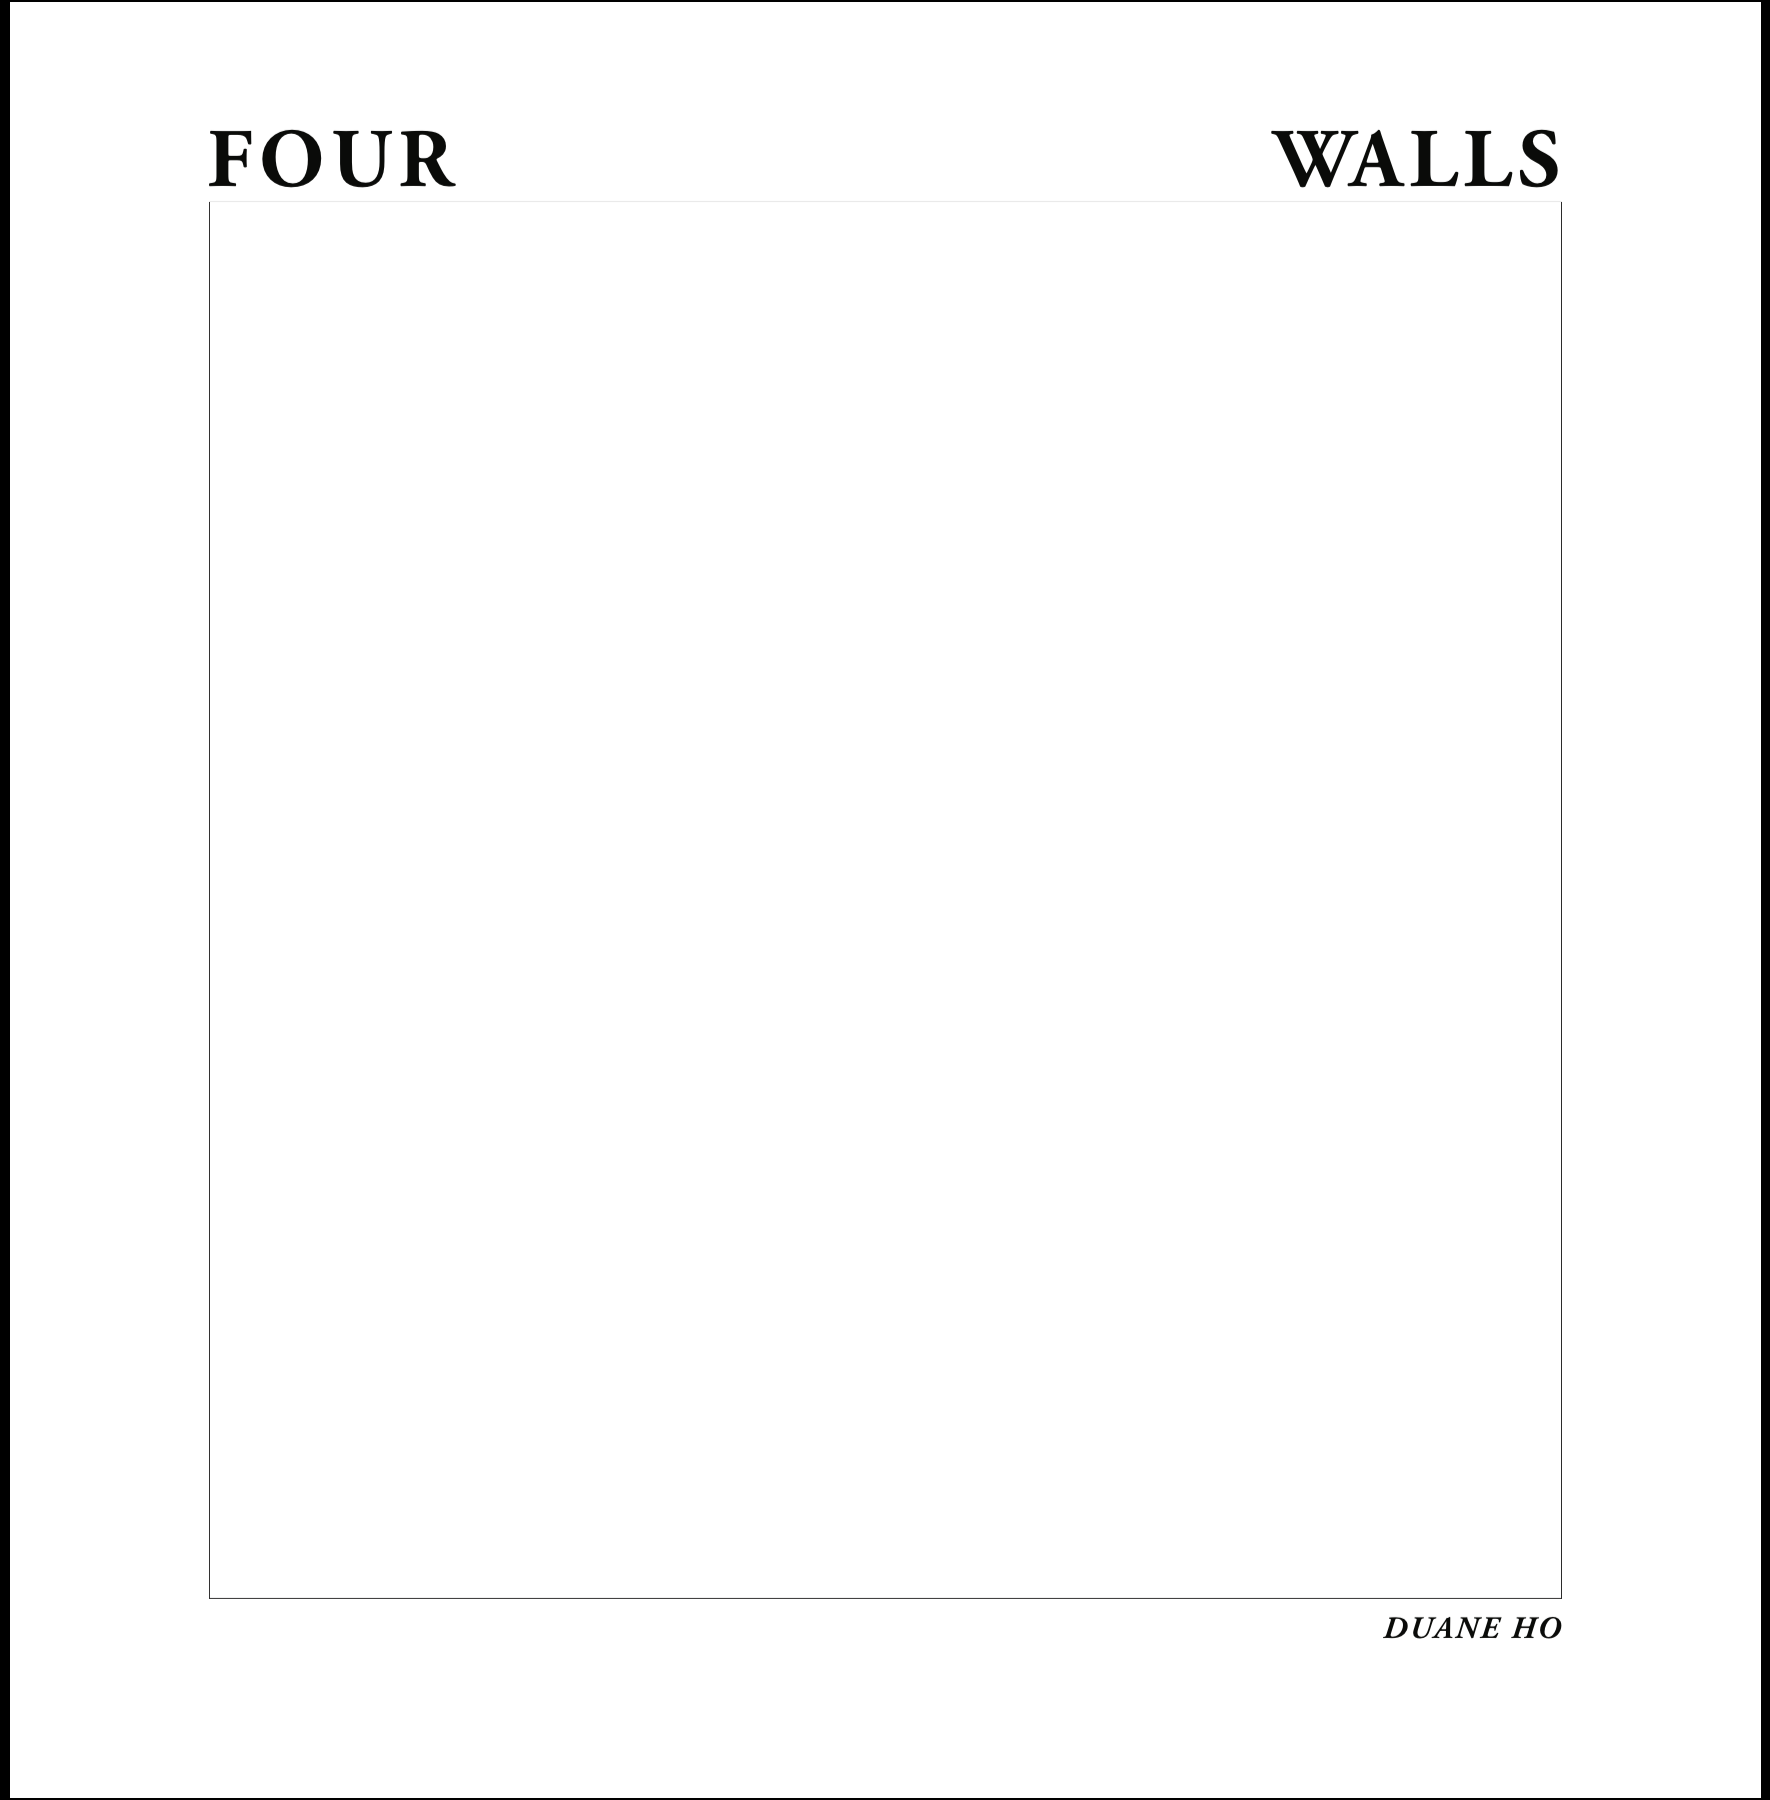
This was my first layout of text and image:
 \
\
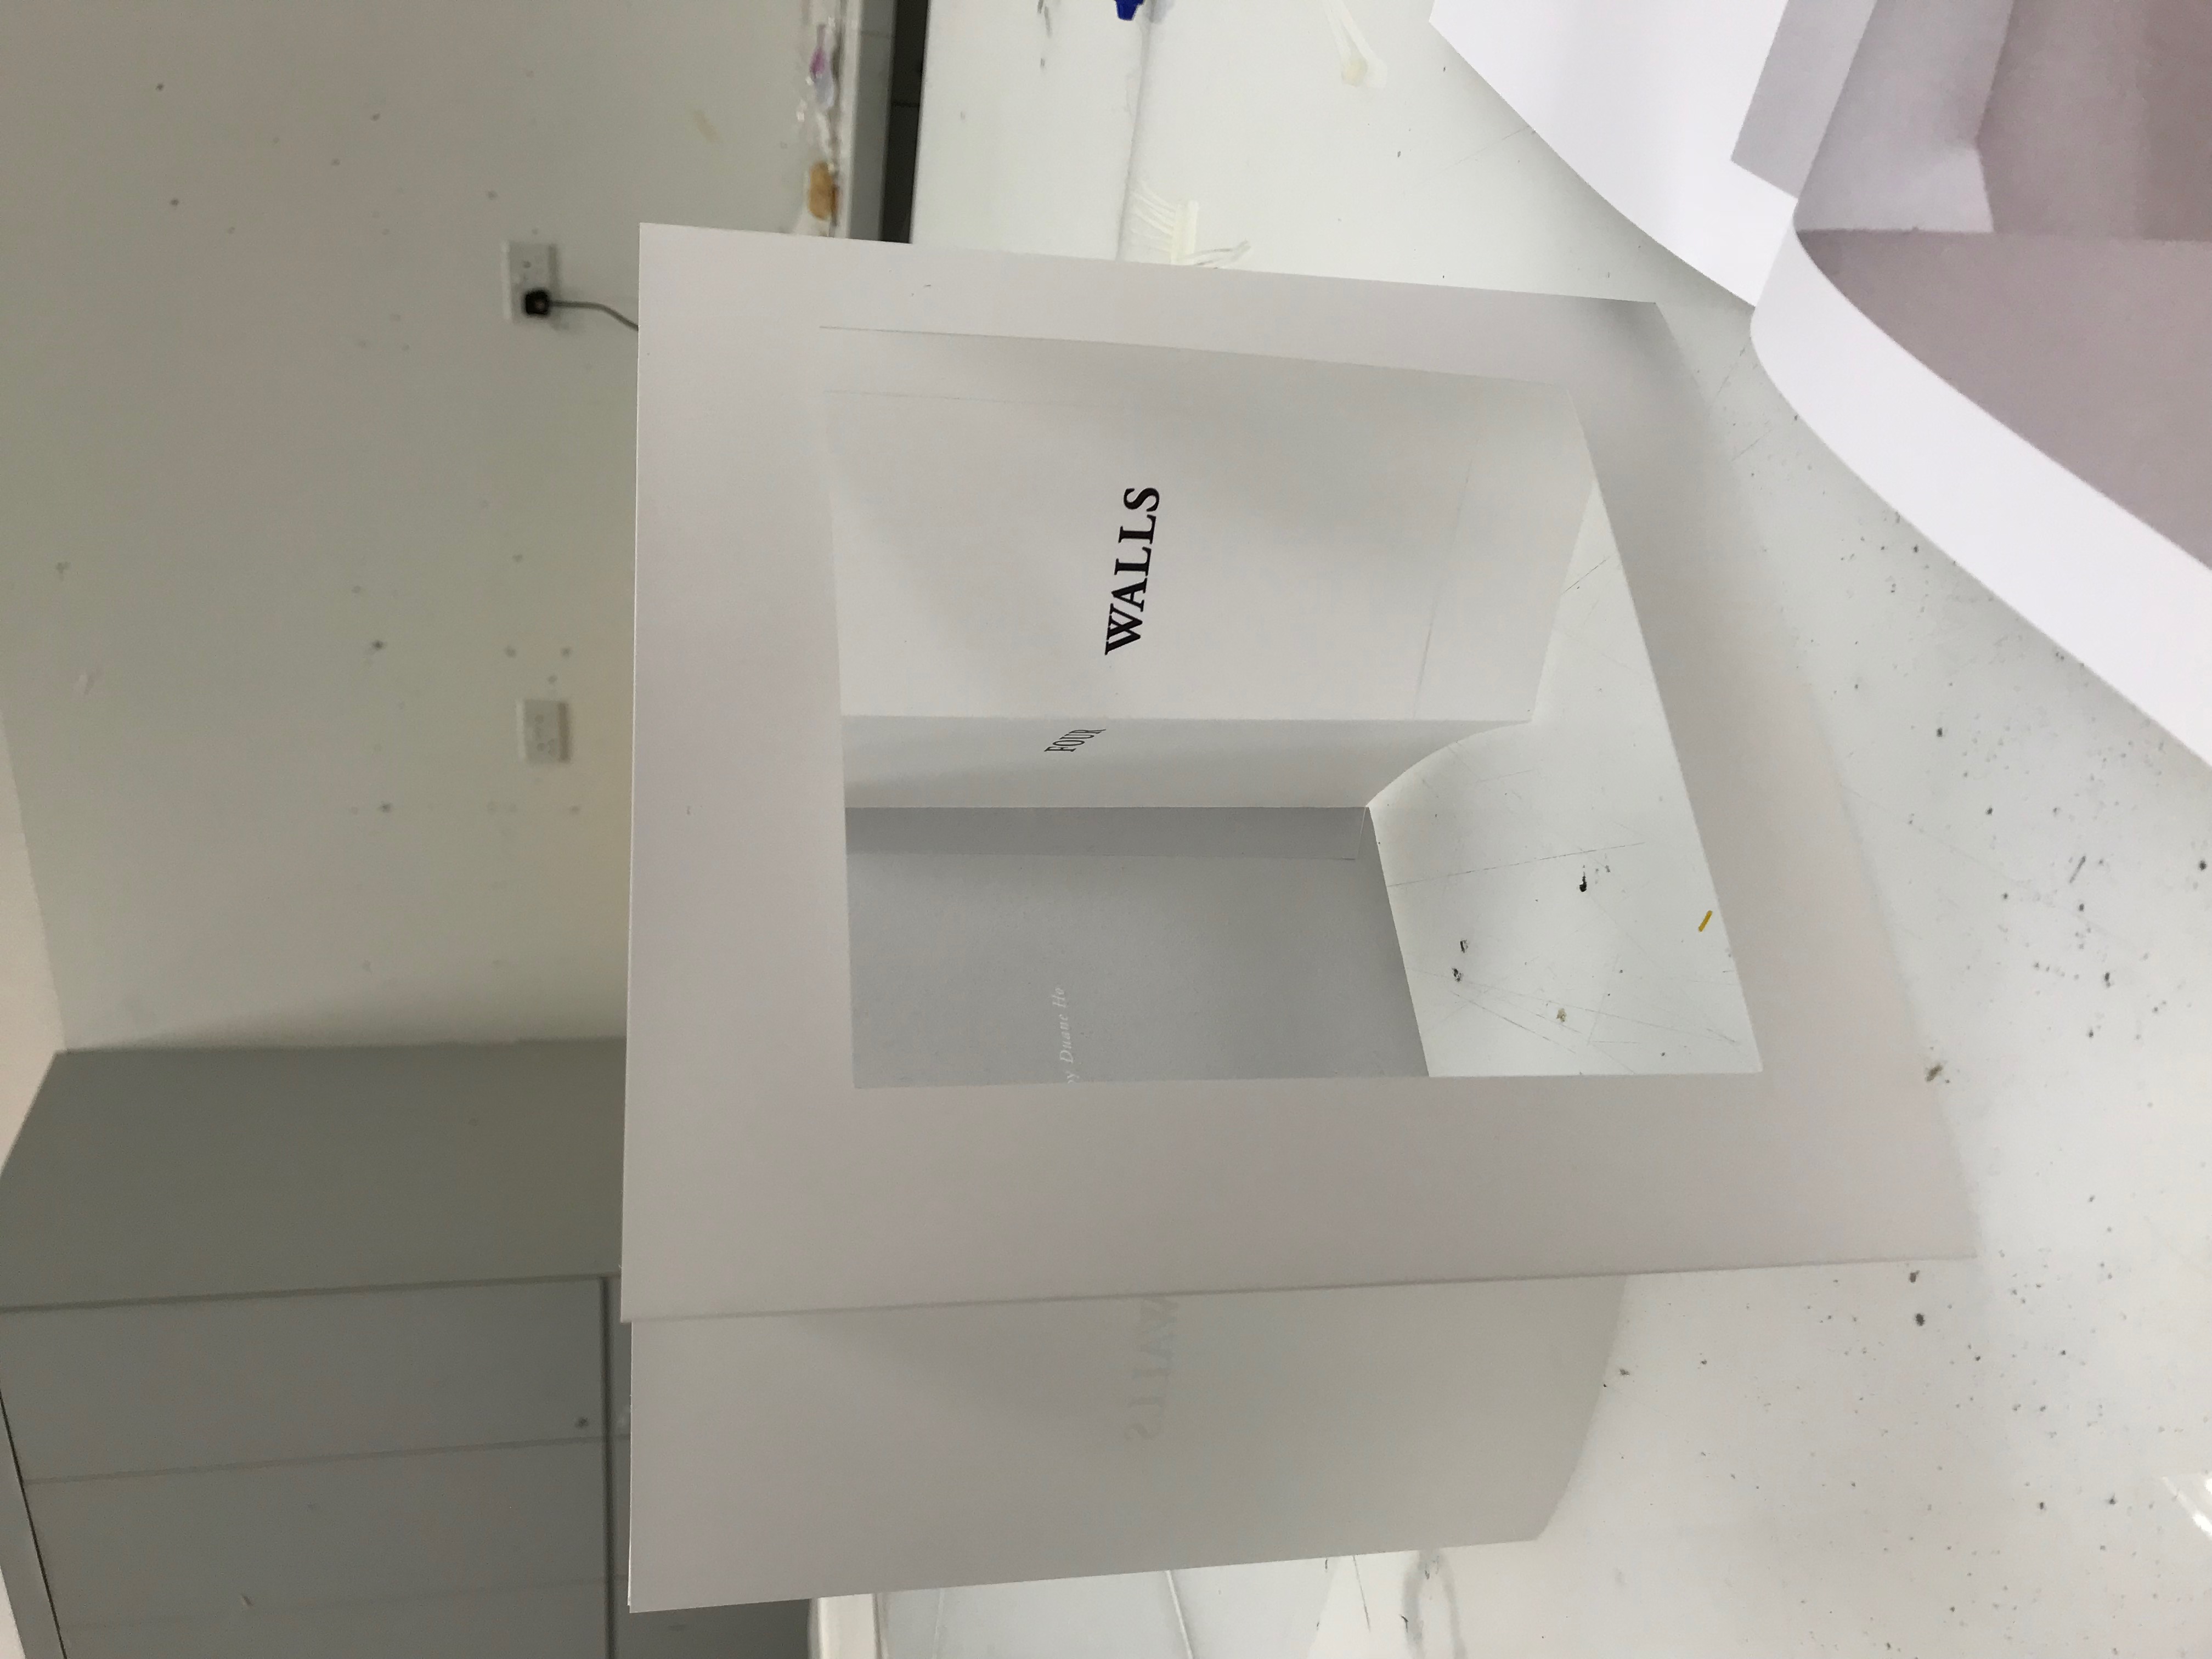
After the first consultation, I made some changes. For example, I edited the shape of the die cut on the front cover. I wanted the text to be more immersive and I also took the advice of my tutor to make the margins bigger to support the die cut more. I also stretched out the picture on the second spread. Other changes included changing the space between the different parts of the story to further invoke more meaning.
Another challenge I faced before print was figuring out that I had designed too little pages. Forgetting the rule where saddle-stitched booklets needed to have a number of pages divisible by 4, my existing book had only 22 pages. Because of this, the pagination didn’t add up and I had to add on 2 more pages.
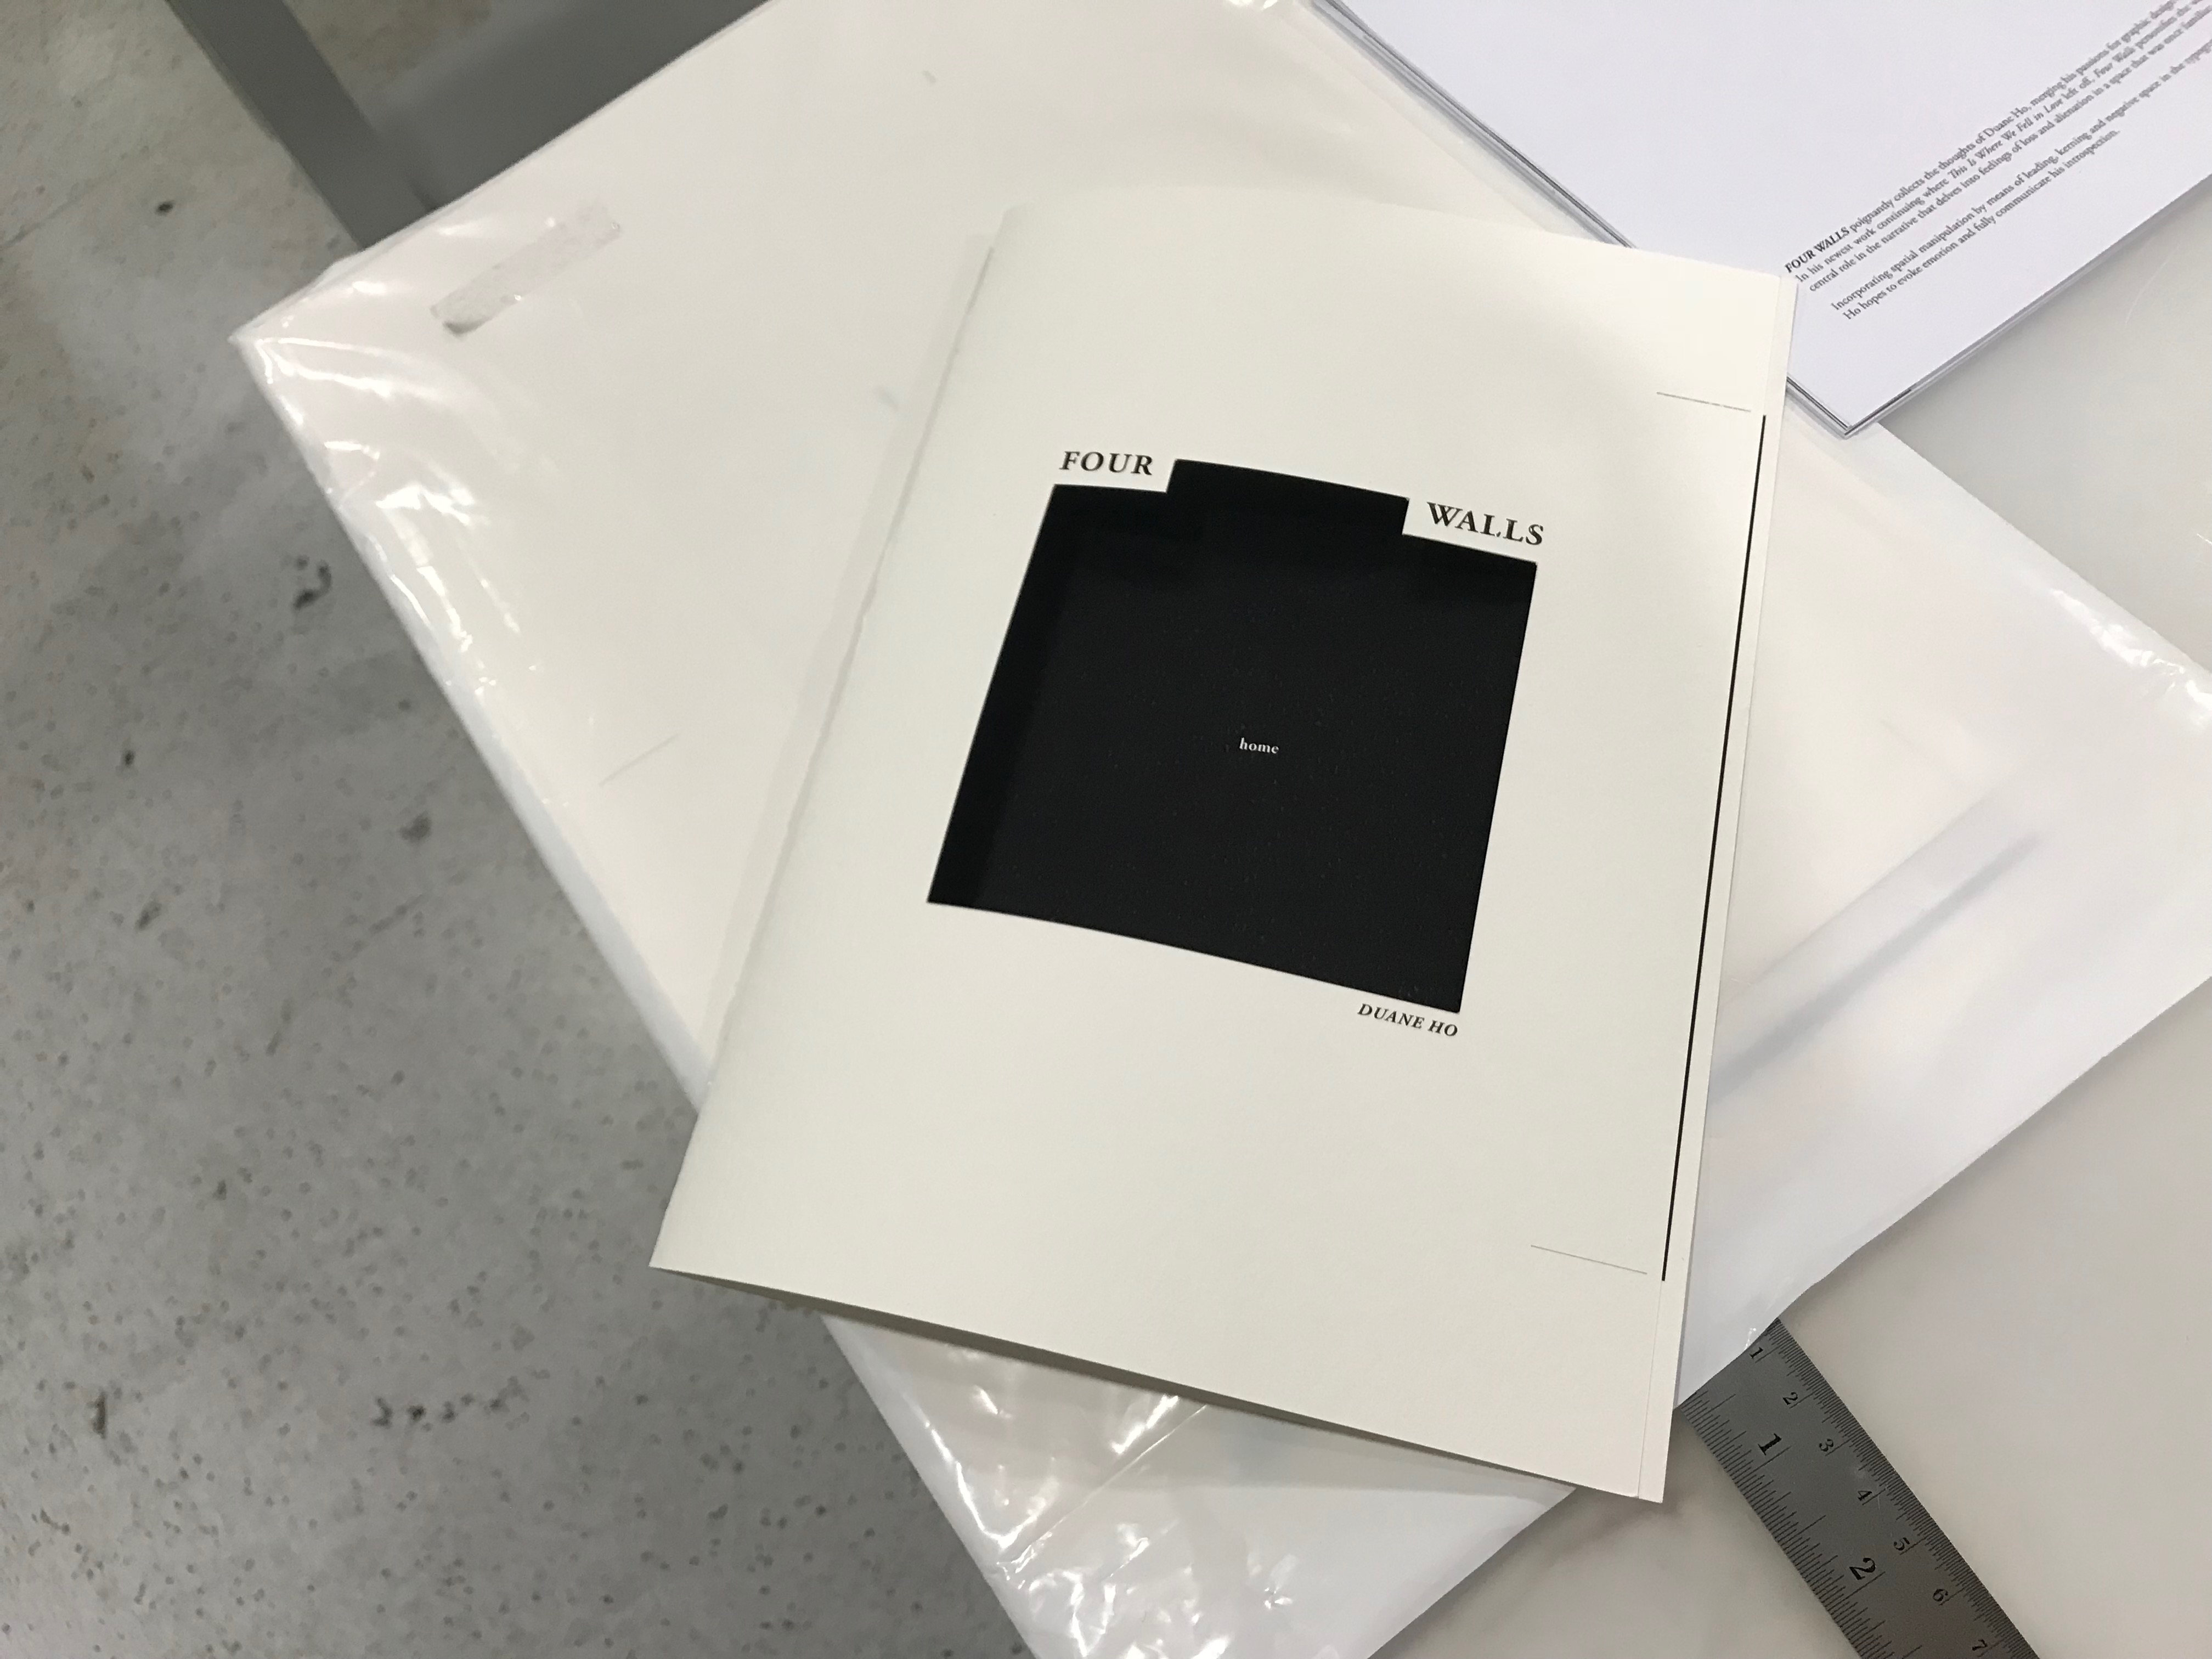
It was a blessing in disguise however because now I had extra space before my story started to add something. As I wasn’t about to add a liner that “dedicated” this book / photo series to anyone (much less my ex), I decided to add a quote that fir perfectly as a primer and interlude before my own prose. The quote was by author Han Suyin, which you will see below in my final layout.
This is my final layout with all changes and suggestions by my tutor added in:
Before proceeding to print it on quality paper, I did a black and white test print to ensure that the point size was suitable and pagination was correct.

I was super satisfied with how everything turned out and was confident to carry on with the printing.
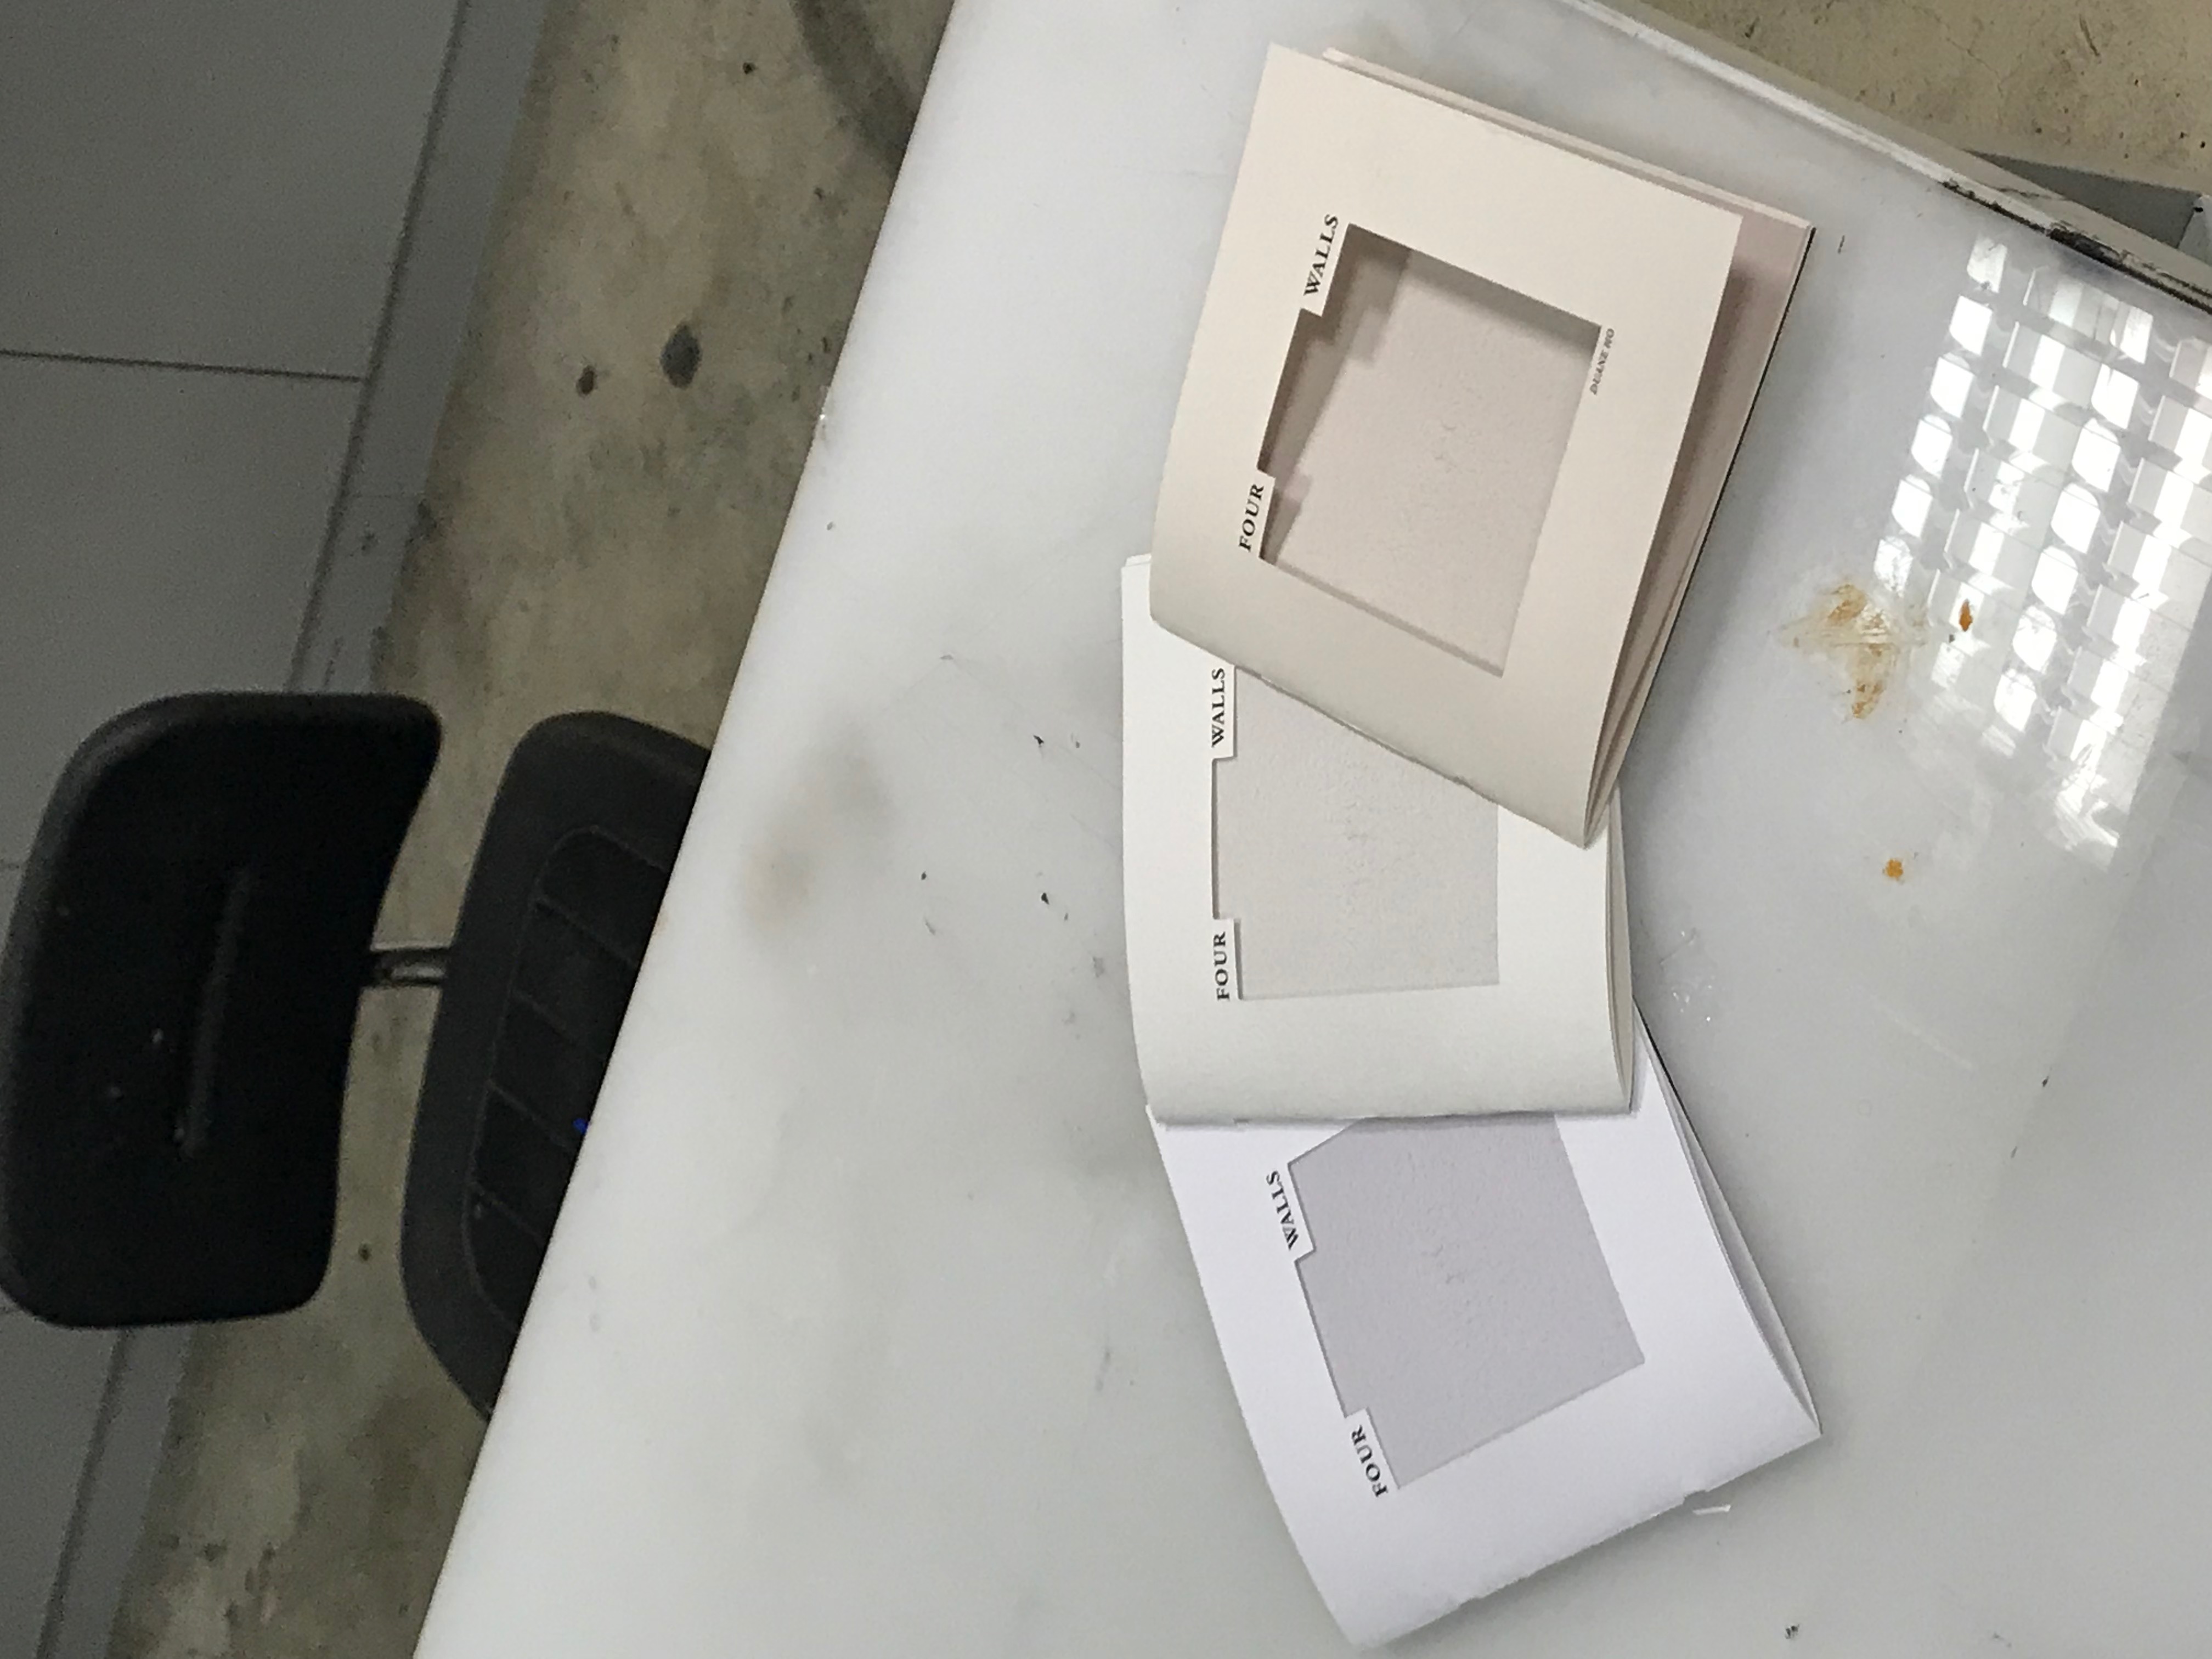
Before printing, I decided to come up with a sleeve for my book to tie everything together. I had toyed with the idea of making posters or postcards to accompany my book but after considering it, I realised that they were merely afterthoughts and did not add anything to my concept and artwork. I wanted to further amplify my four wall-ed narrative and after coming across this image on Pinterest, I was inspired and decided to make my own keyline and layout:

I was very pleased with the result but the challenge was finding a store that would print my very long single-sided print in A0. At last I found the suitable printers that would print all my collaterals and I also bought 3 different types of papers of varying whites to print on.

Reflections
All in all, I am very happy with the outcome of my project. I was happy that I followed my heart and did not use a typography style that I didn’t personally like. I was also thankful that I managed to merge my two passions together and create a body of work that I am very proud of. Truly, typography is a powerful tool to convey emotions and factoring the read-pause-read effect into the design was crucial in helping the whole design make sense.