PROJECT HYPERESSAY #2: The Final

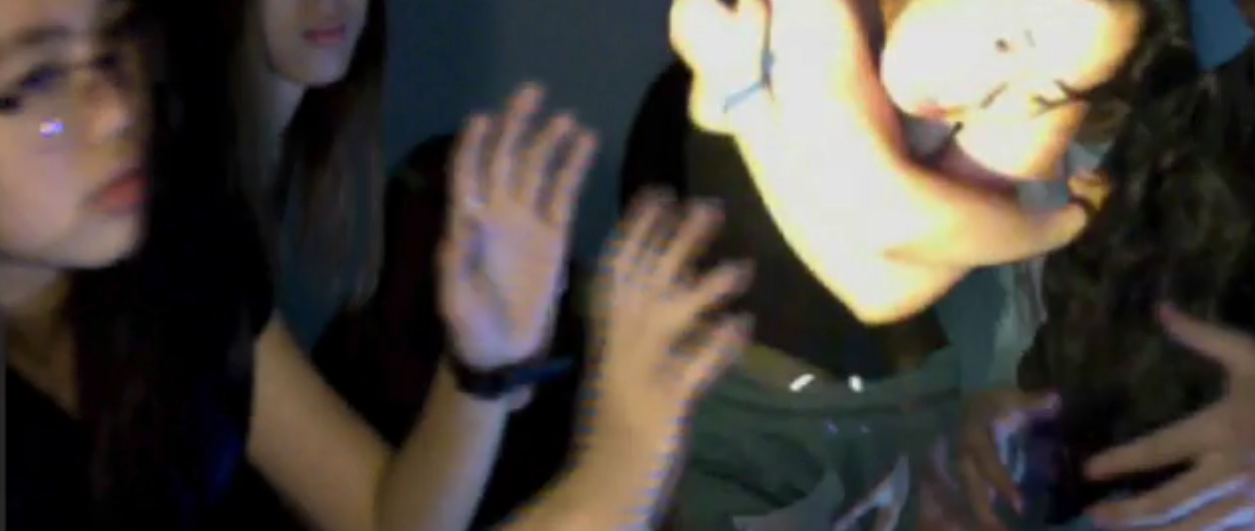
In this project called Touch, Angeline Young in the USA together with my classmates and I in Singapore were performing dance in live broadcast. What makes Touch different from other performances is Touch allowed performers in different geographical regions to perform together by ‘placing’ us in the digital world called the third space. The third space is created by Randall Parker, using Adobe Connect and other digital softwares, and to the audience, they would see an ‘unseparated screen’ having both the performers in Singapore and USA.

Screen Shot 2016-04-21 at 10.58.20 PM

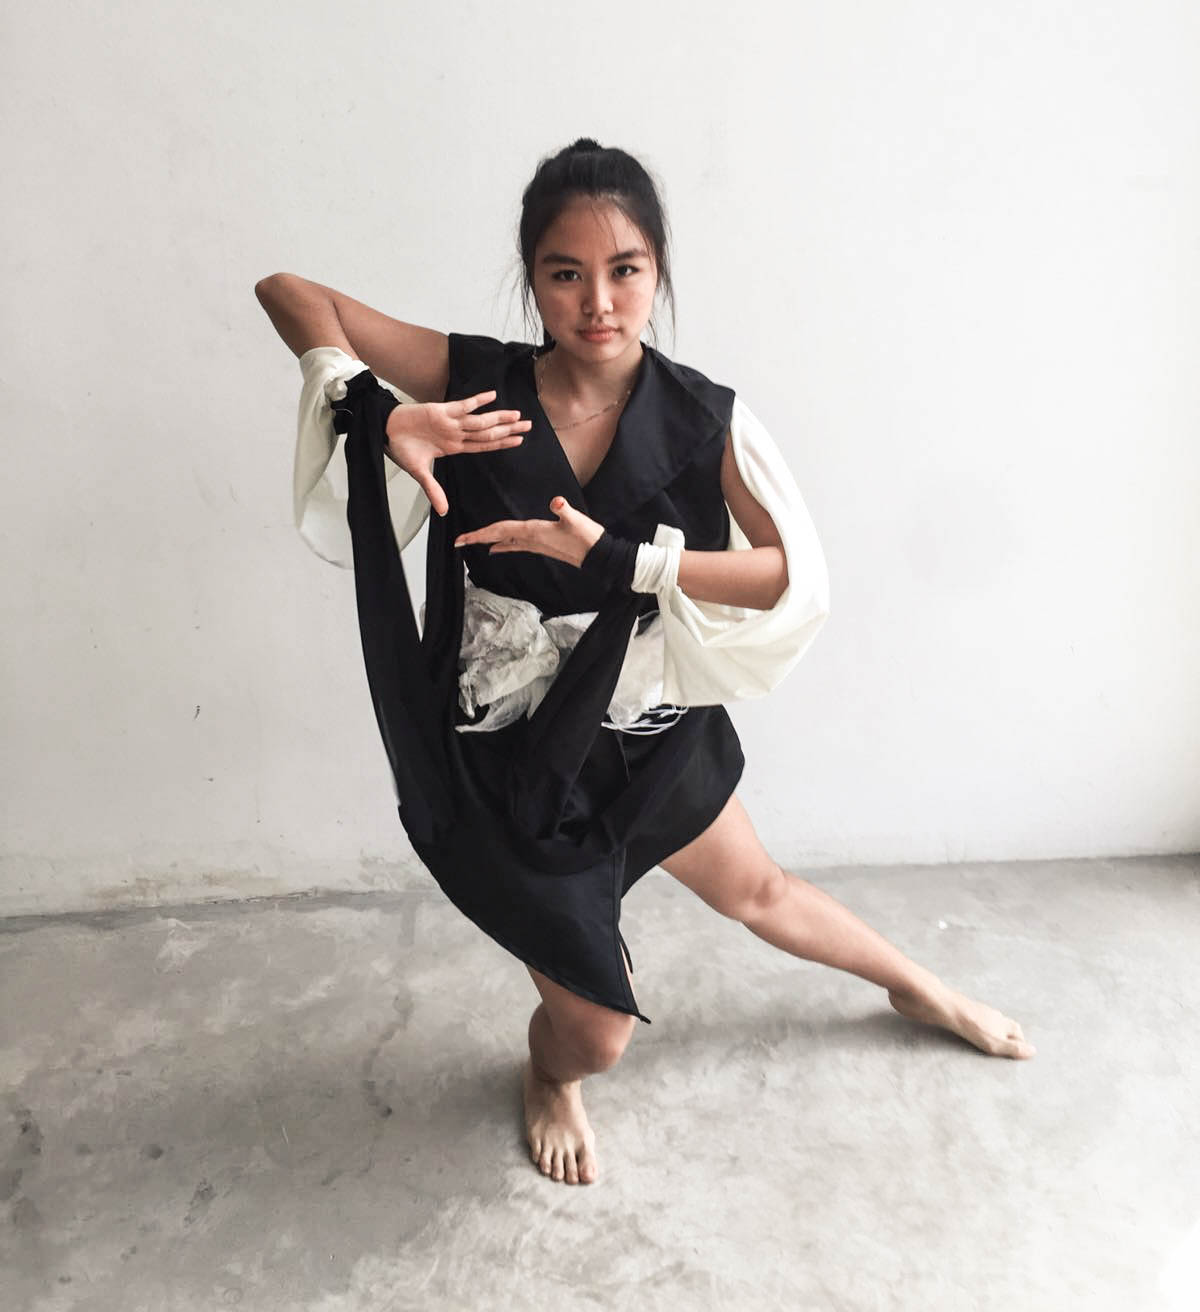
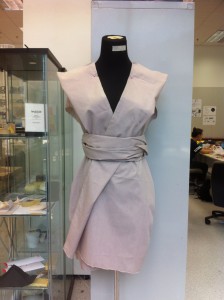
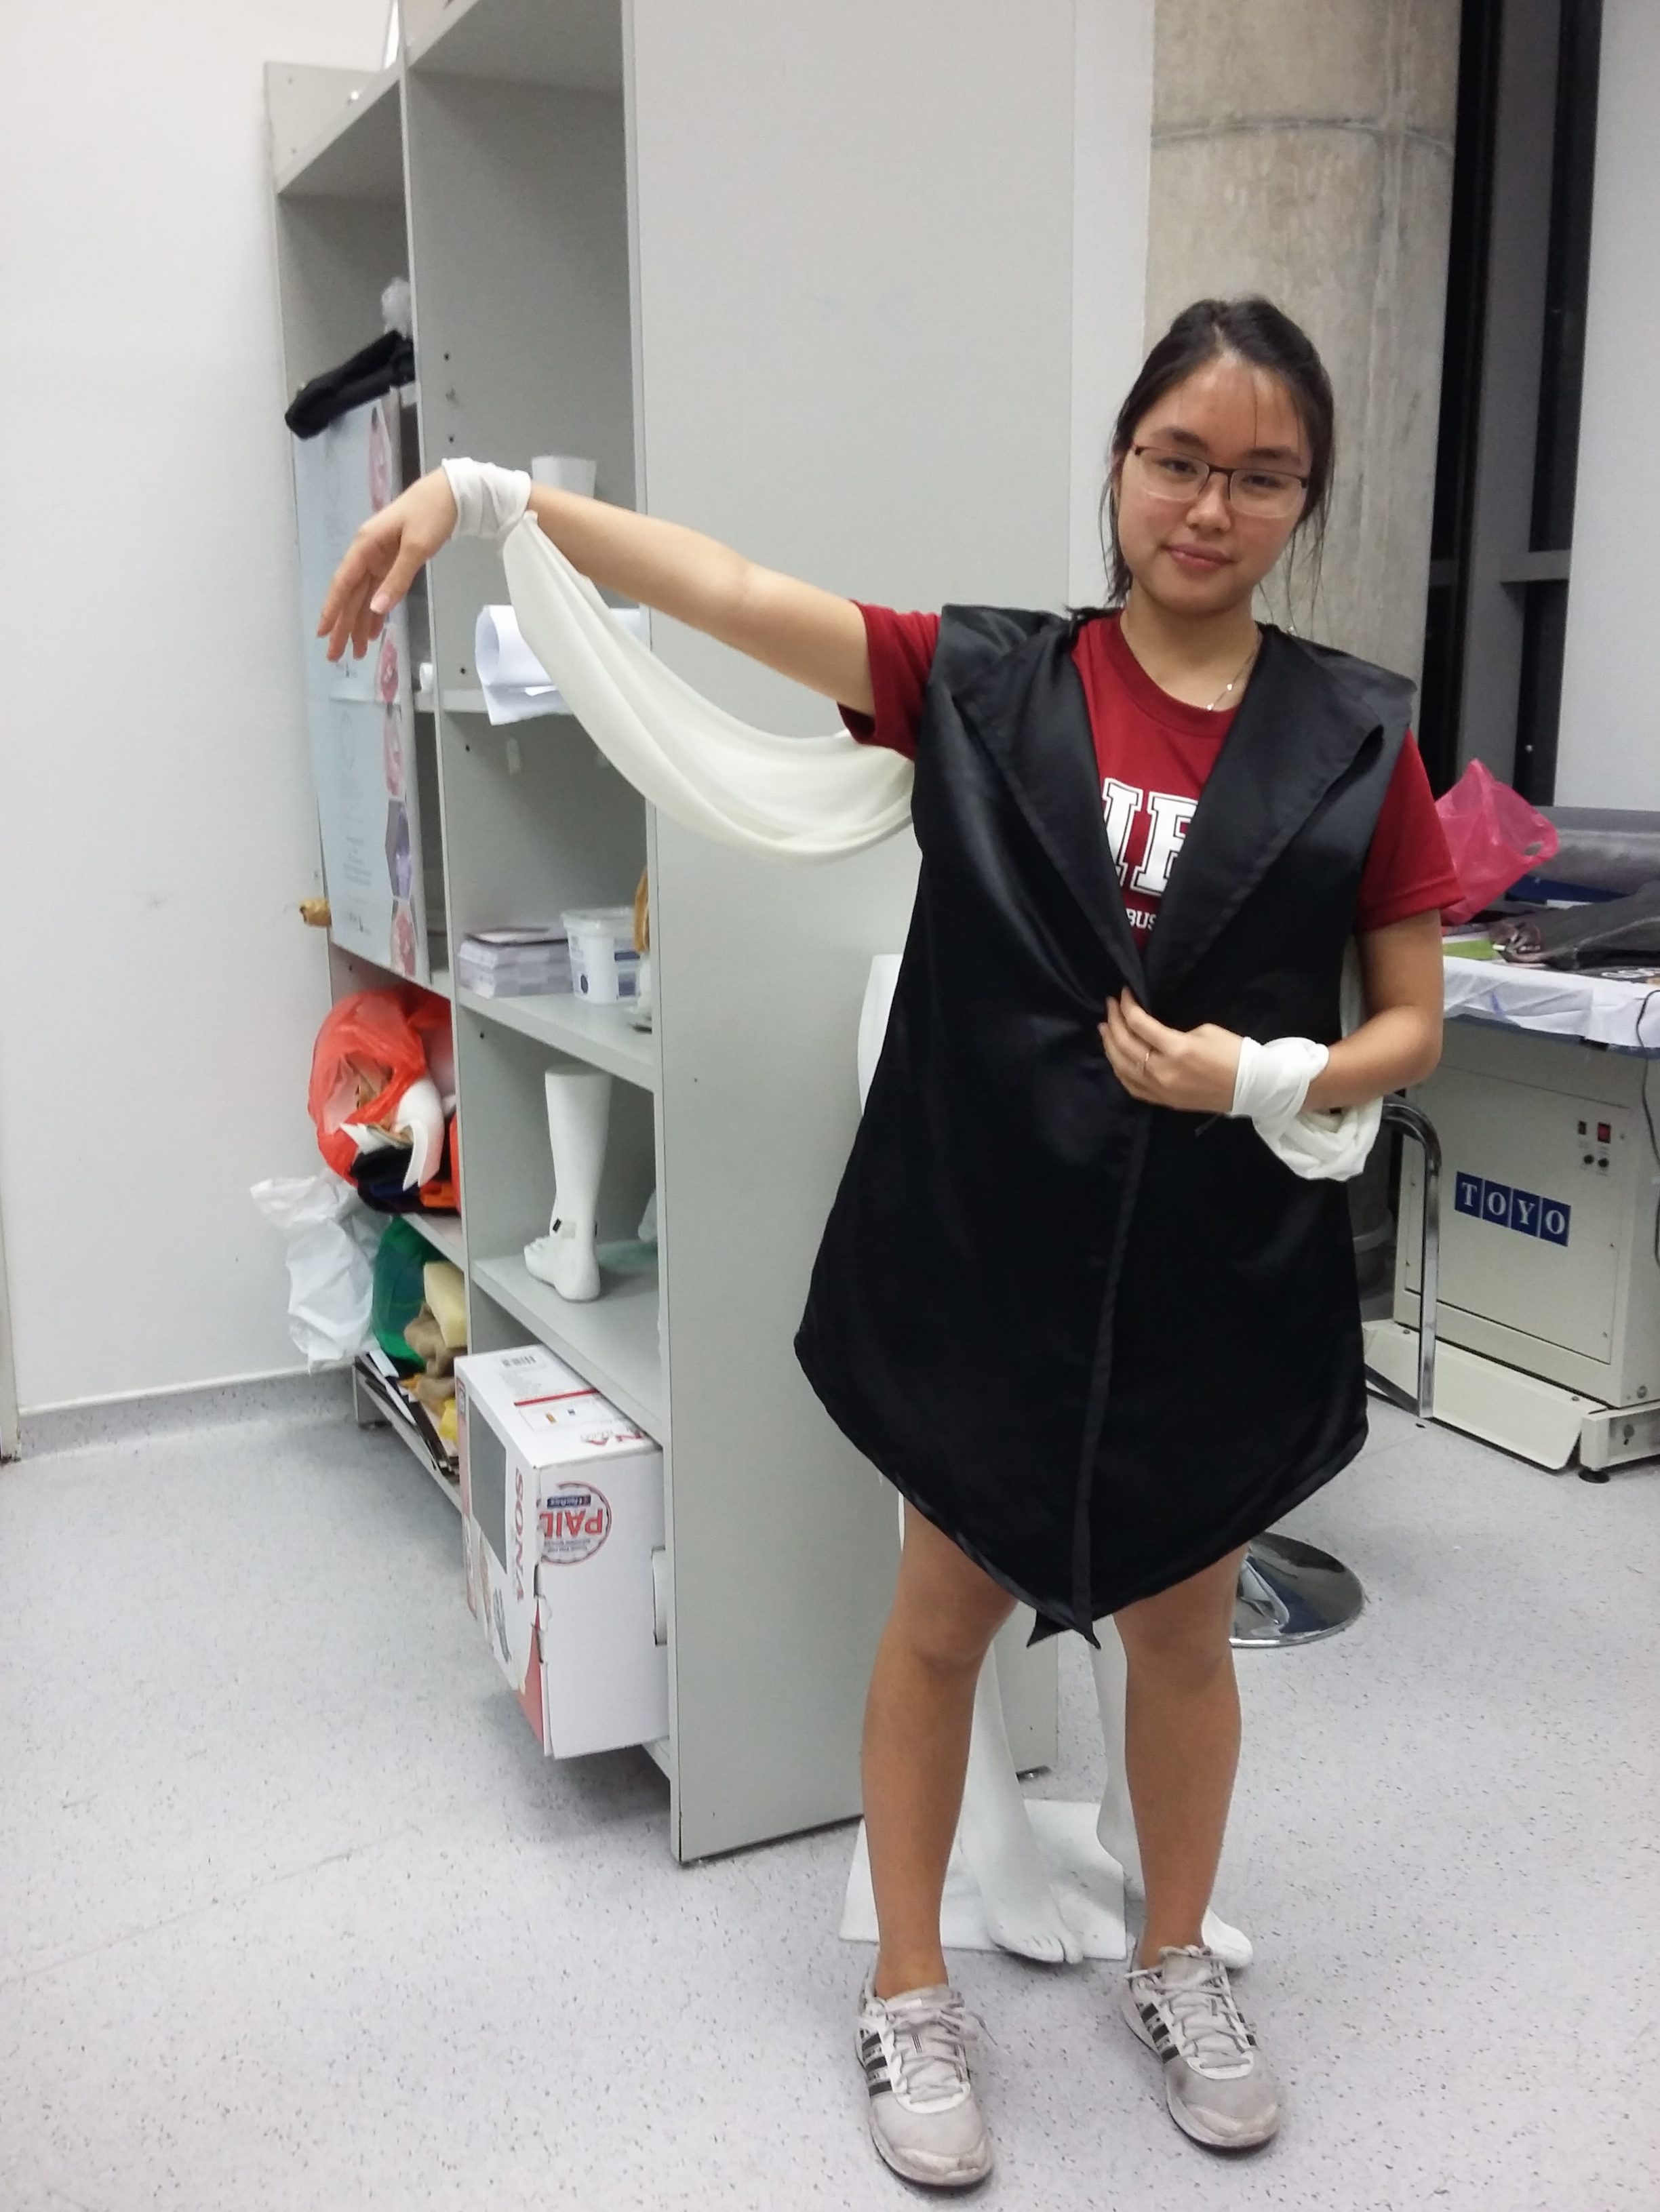
For this project, I played a role as a warrior in the narrative of the performance. She breaks the stereotype of warriors, who are usually males, and together with her troops, she defeats the evil.

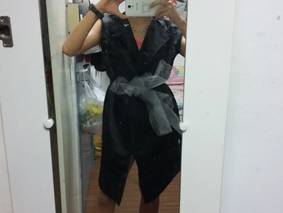
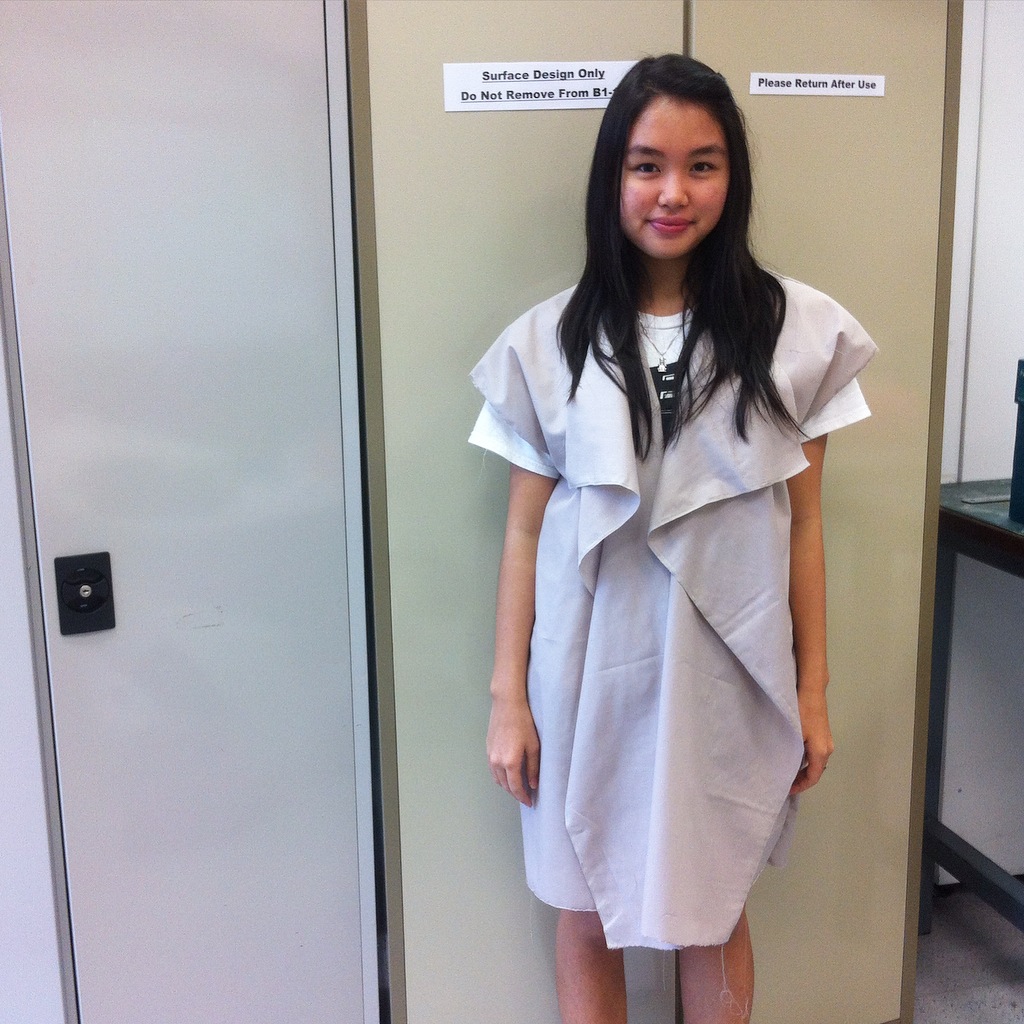
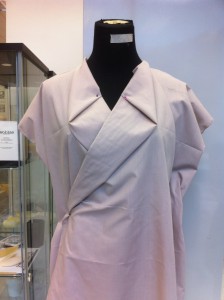
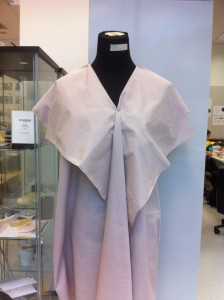
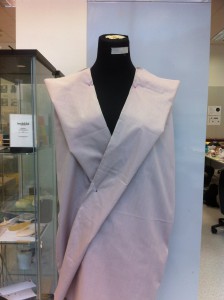
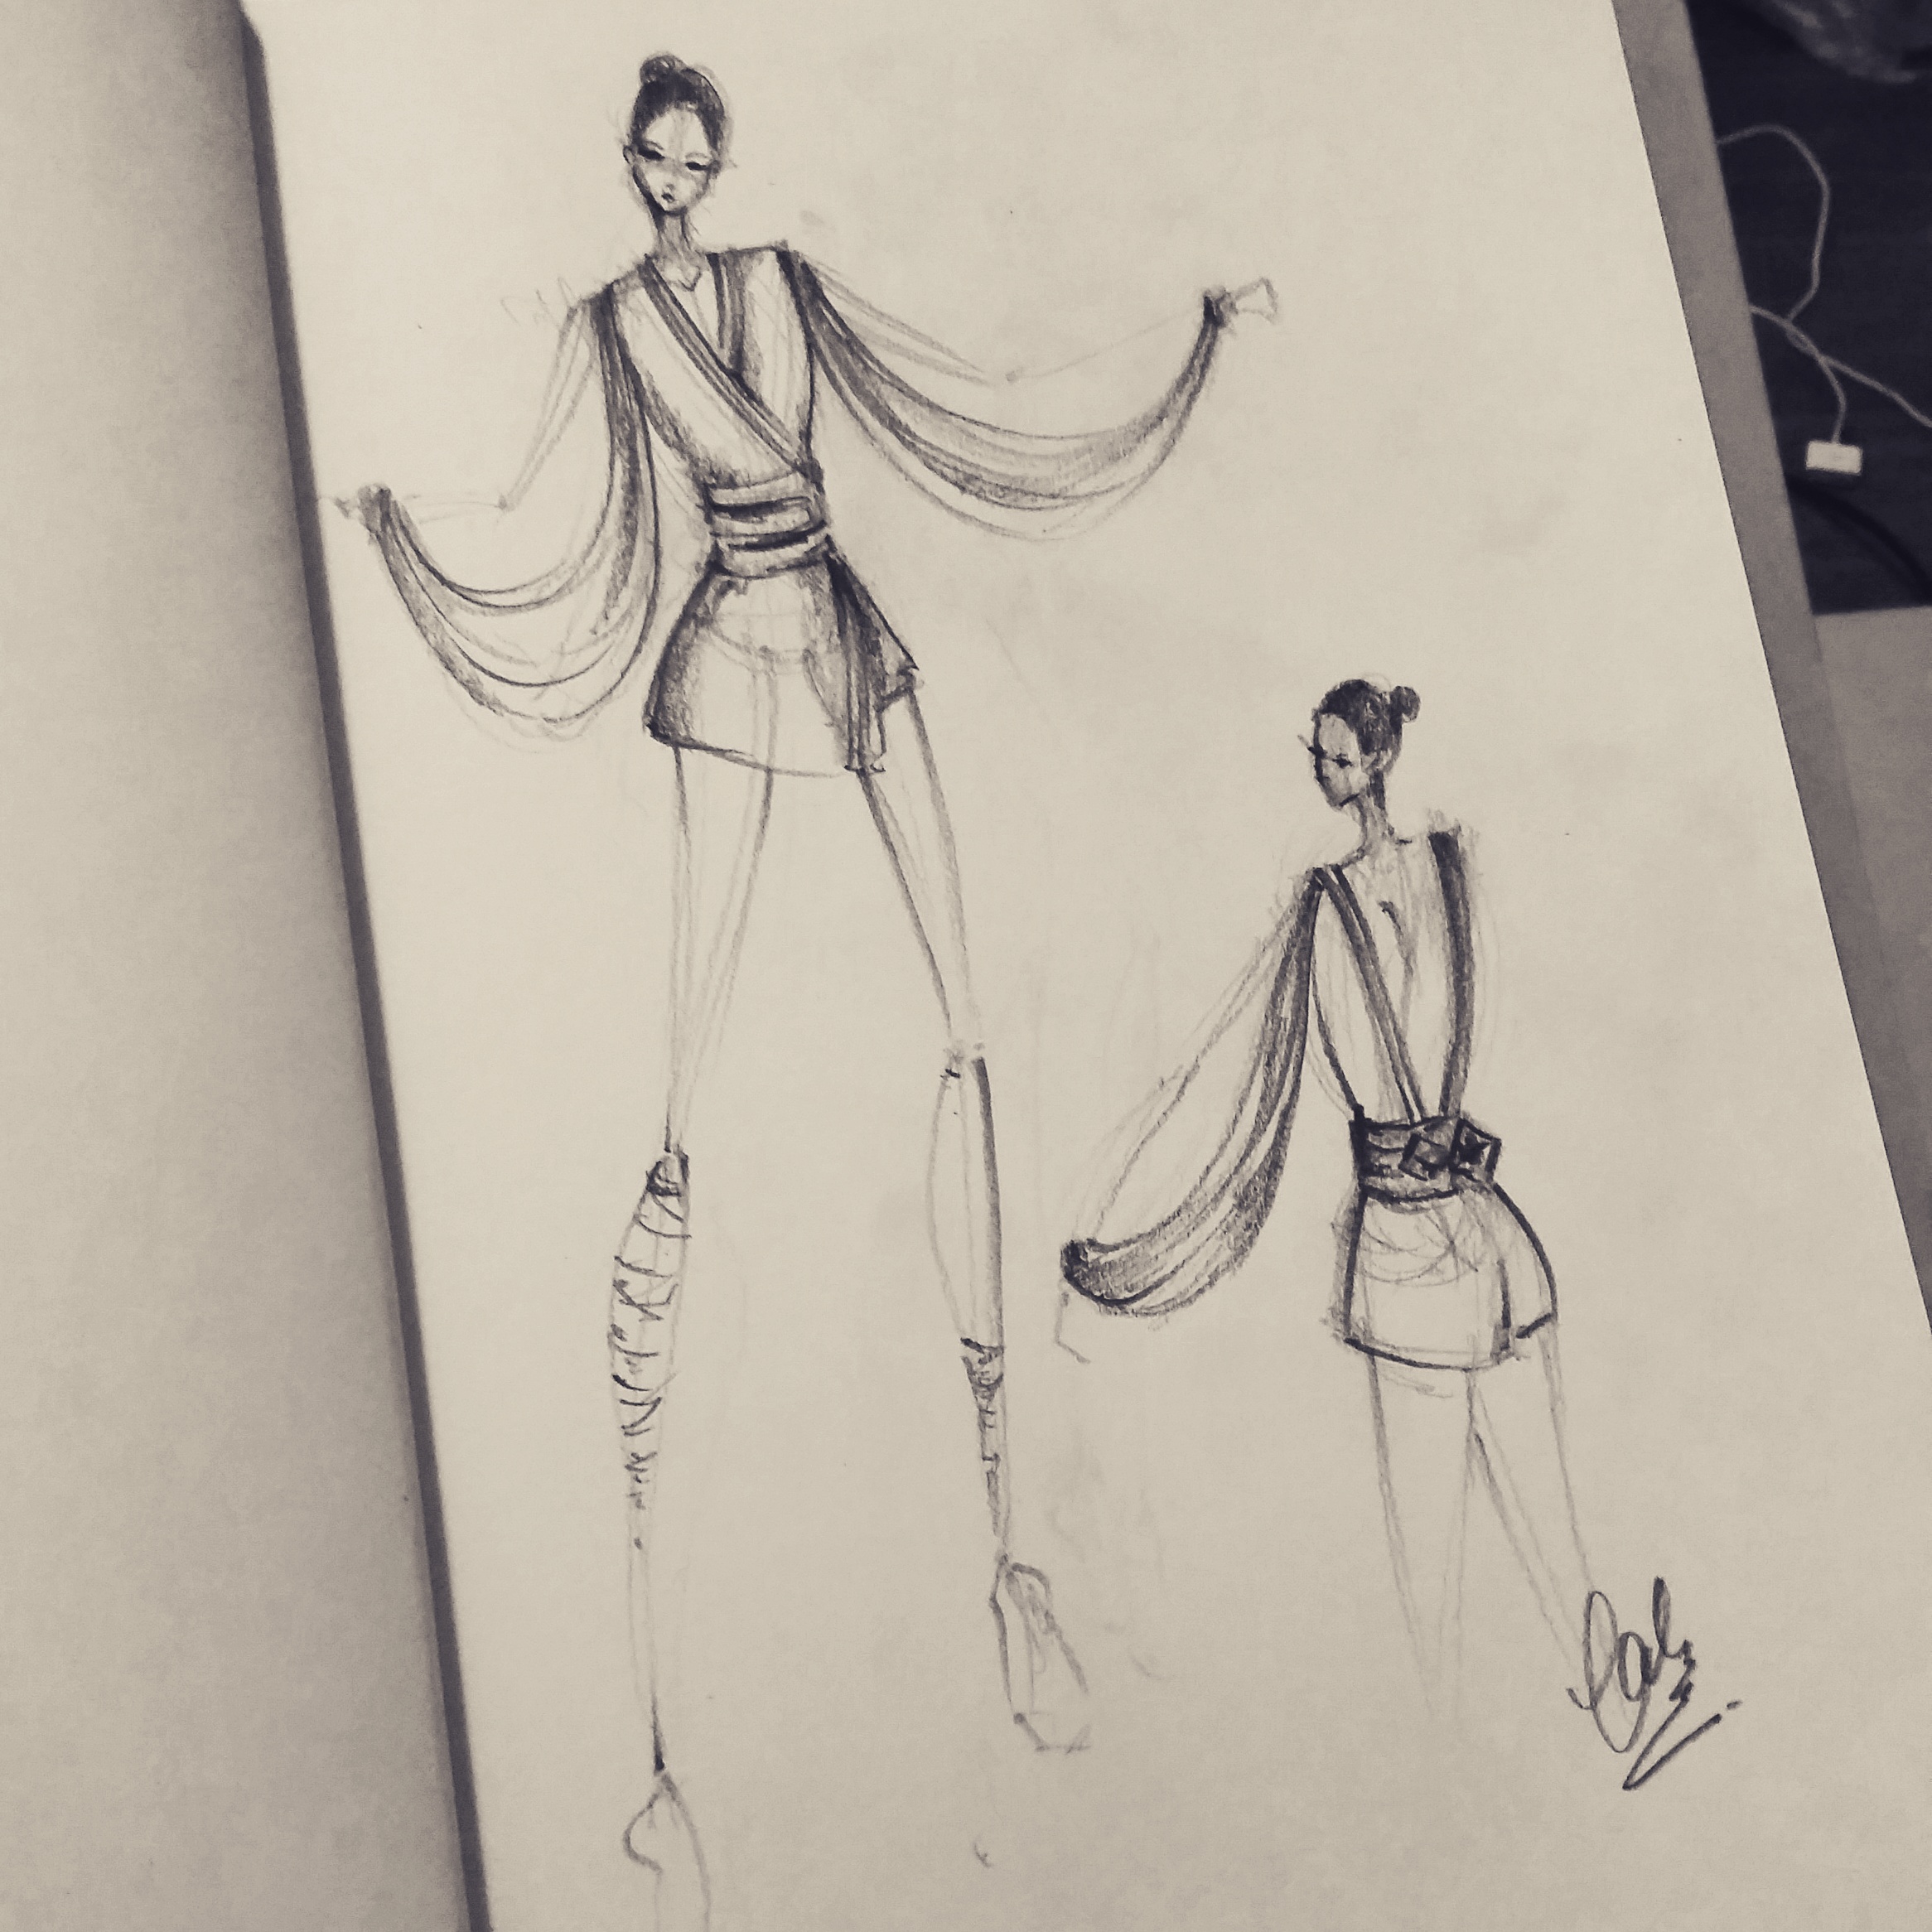
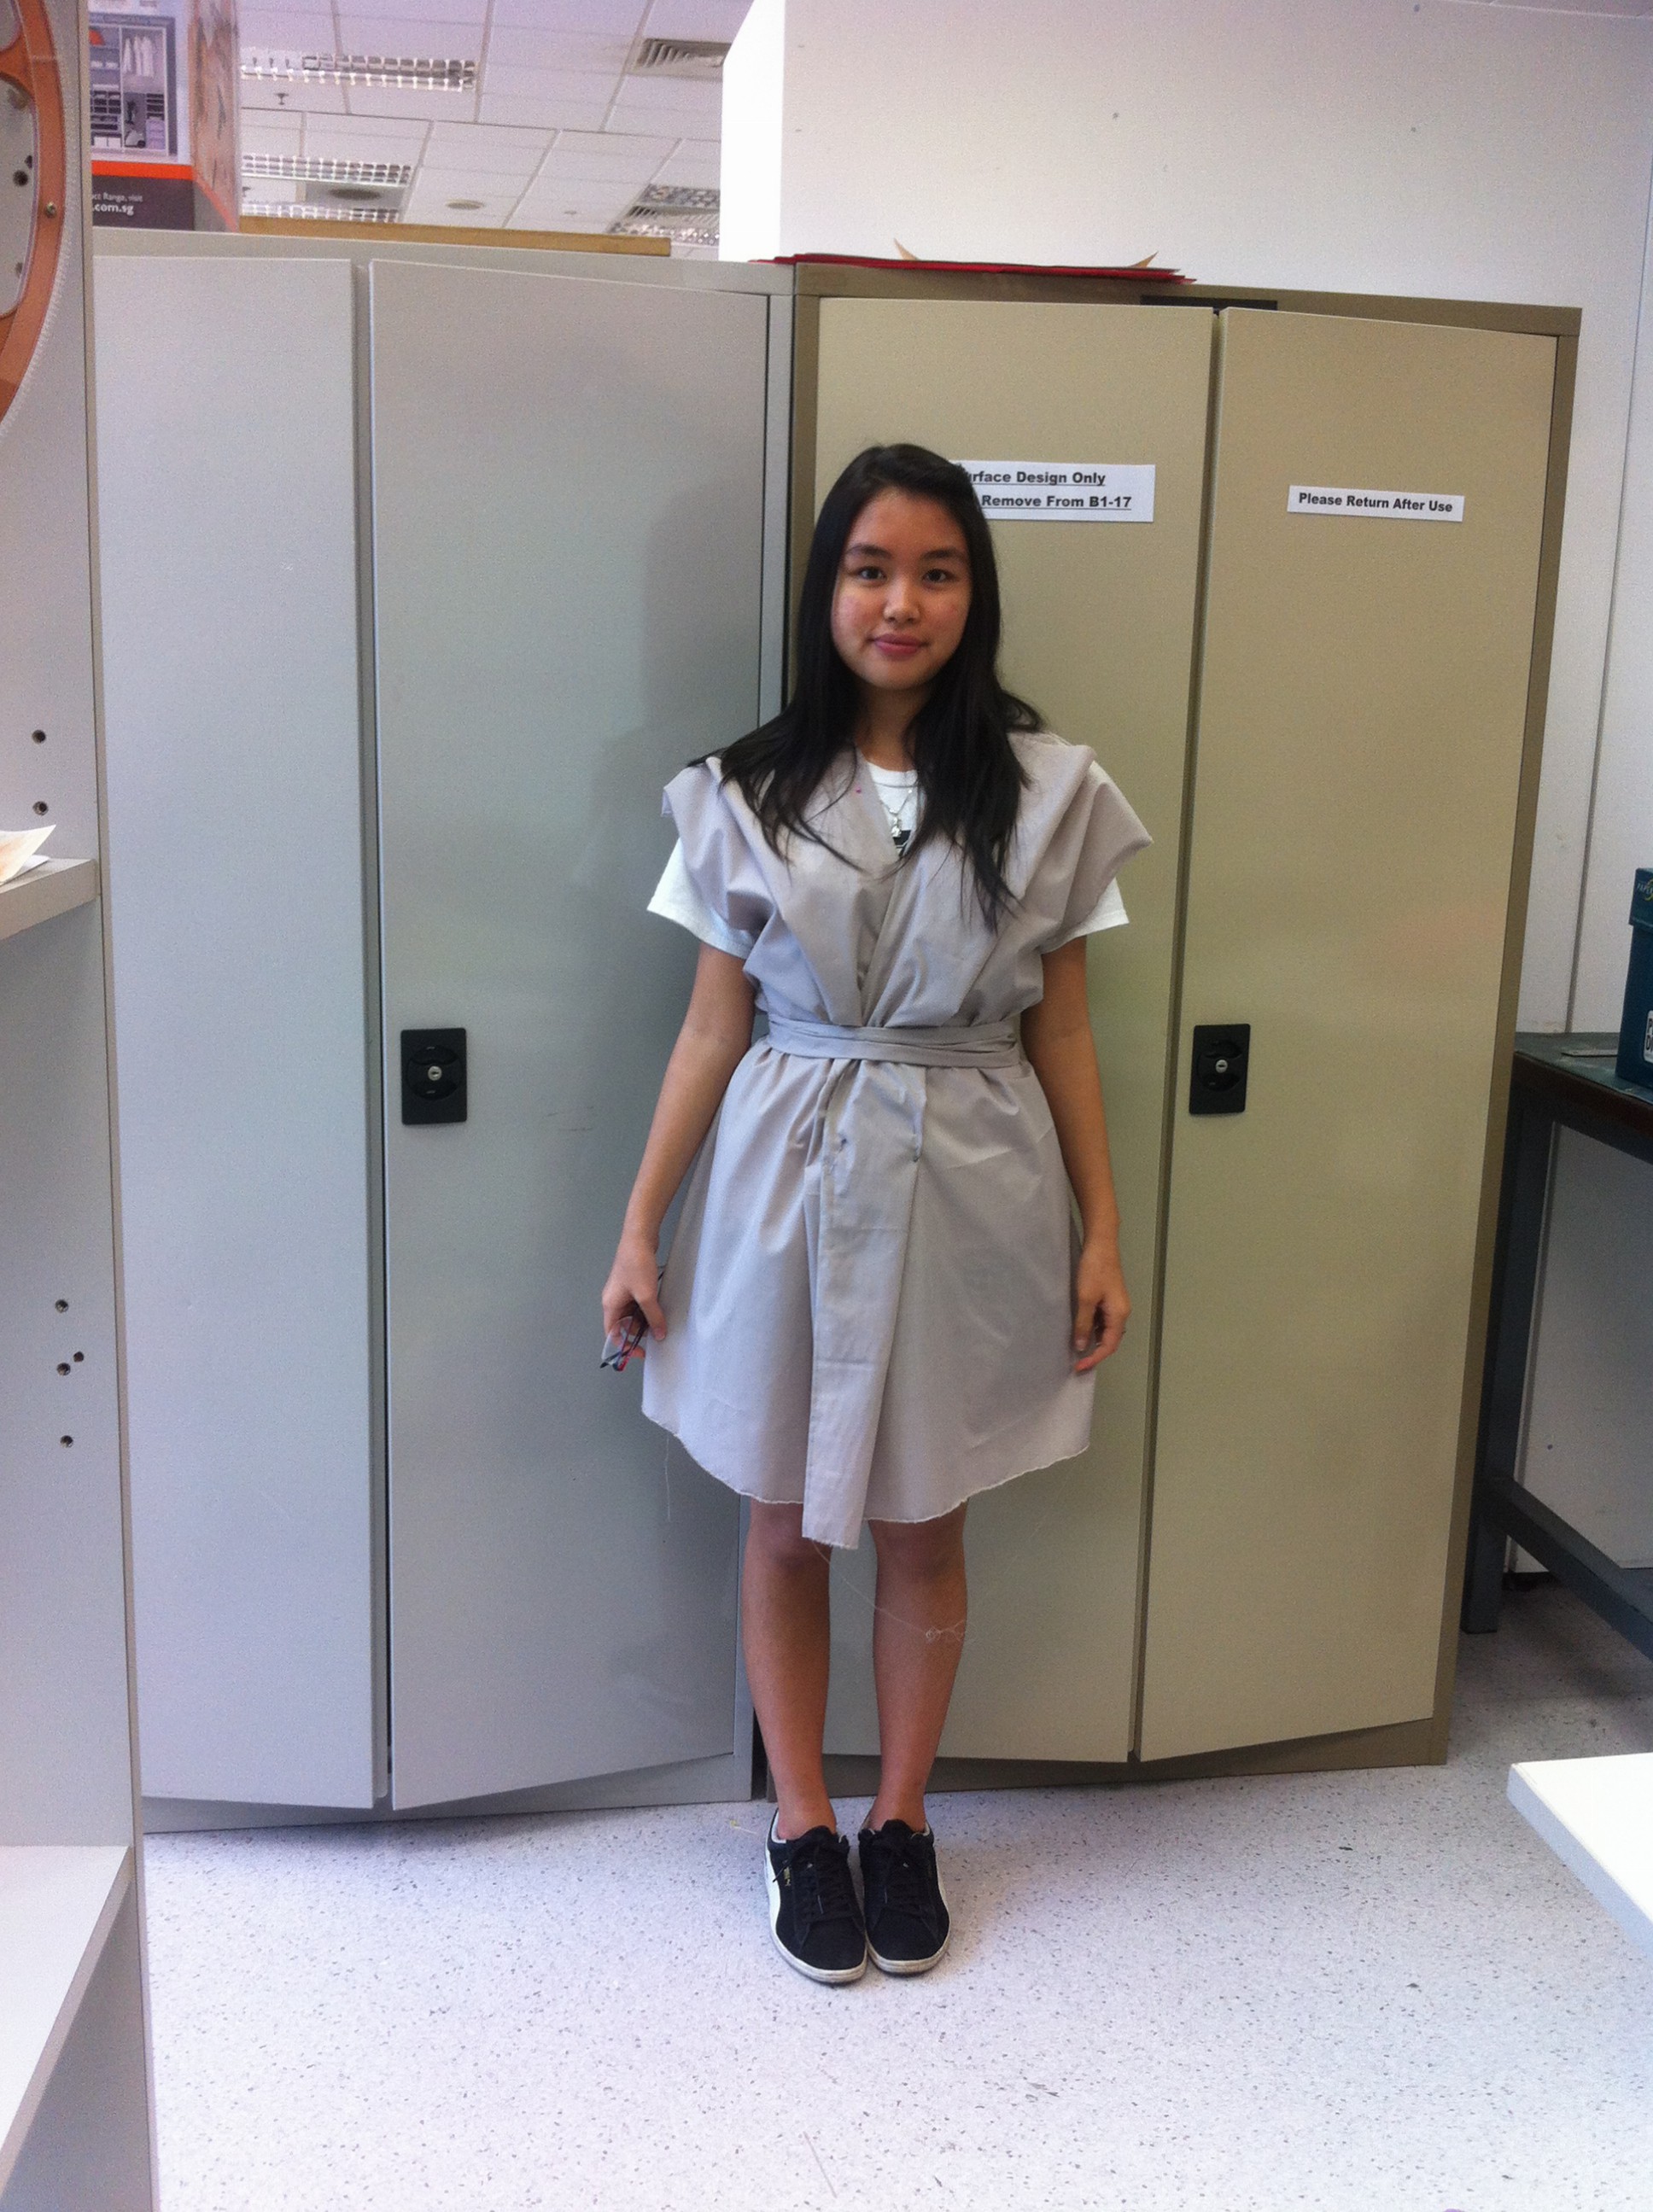
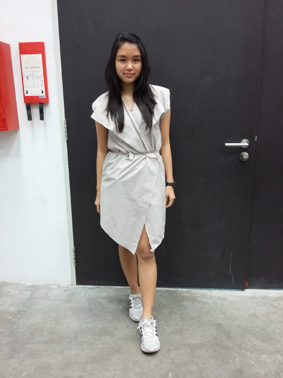
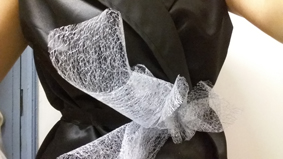
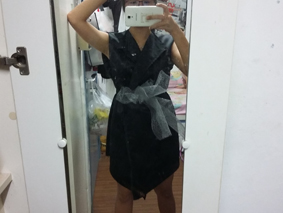
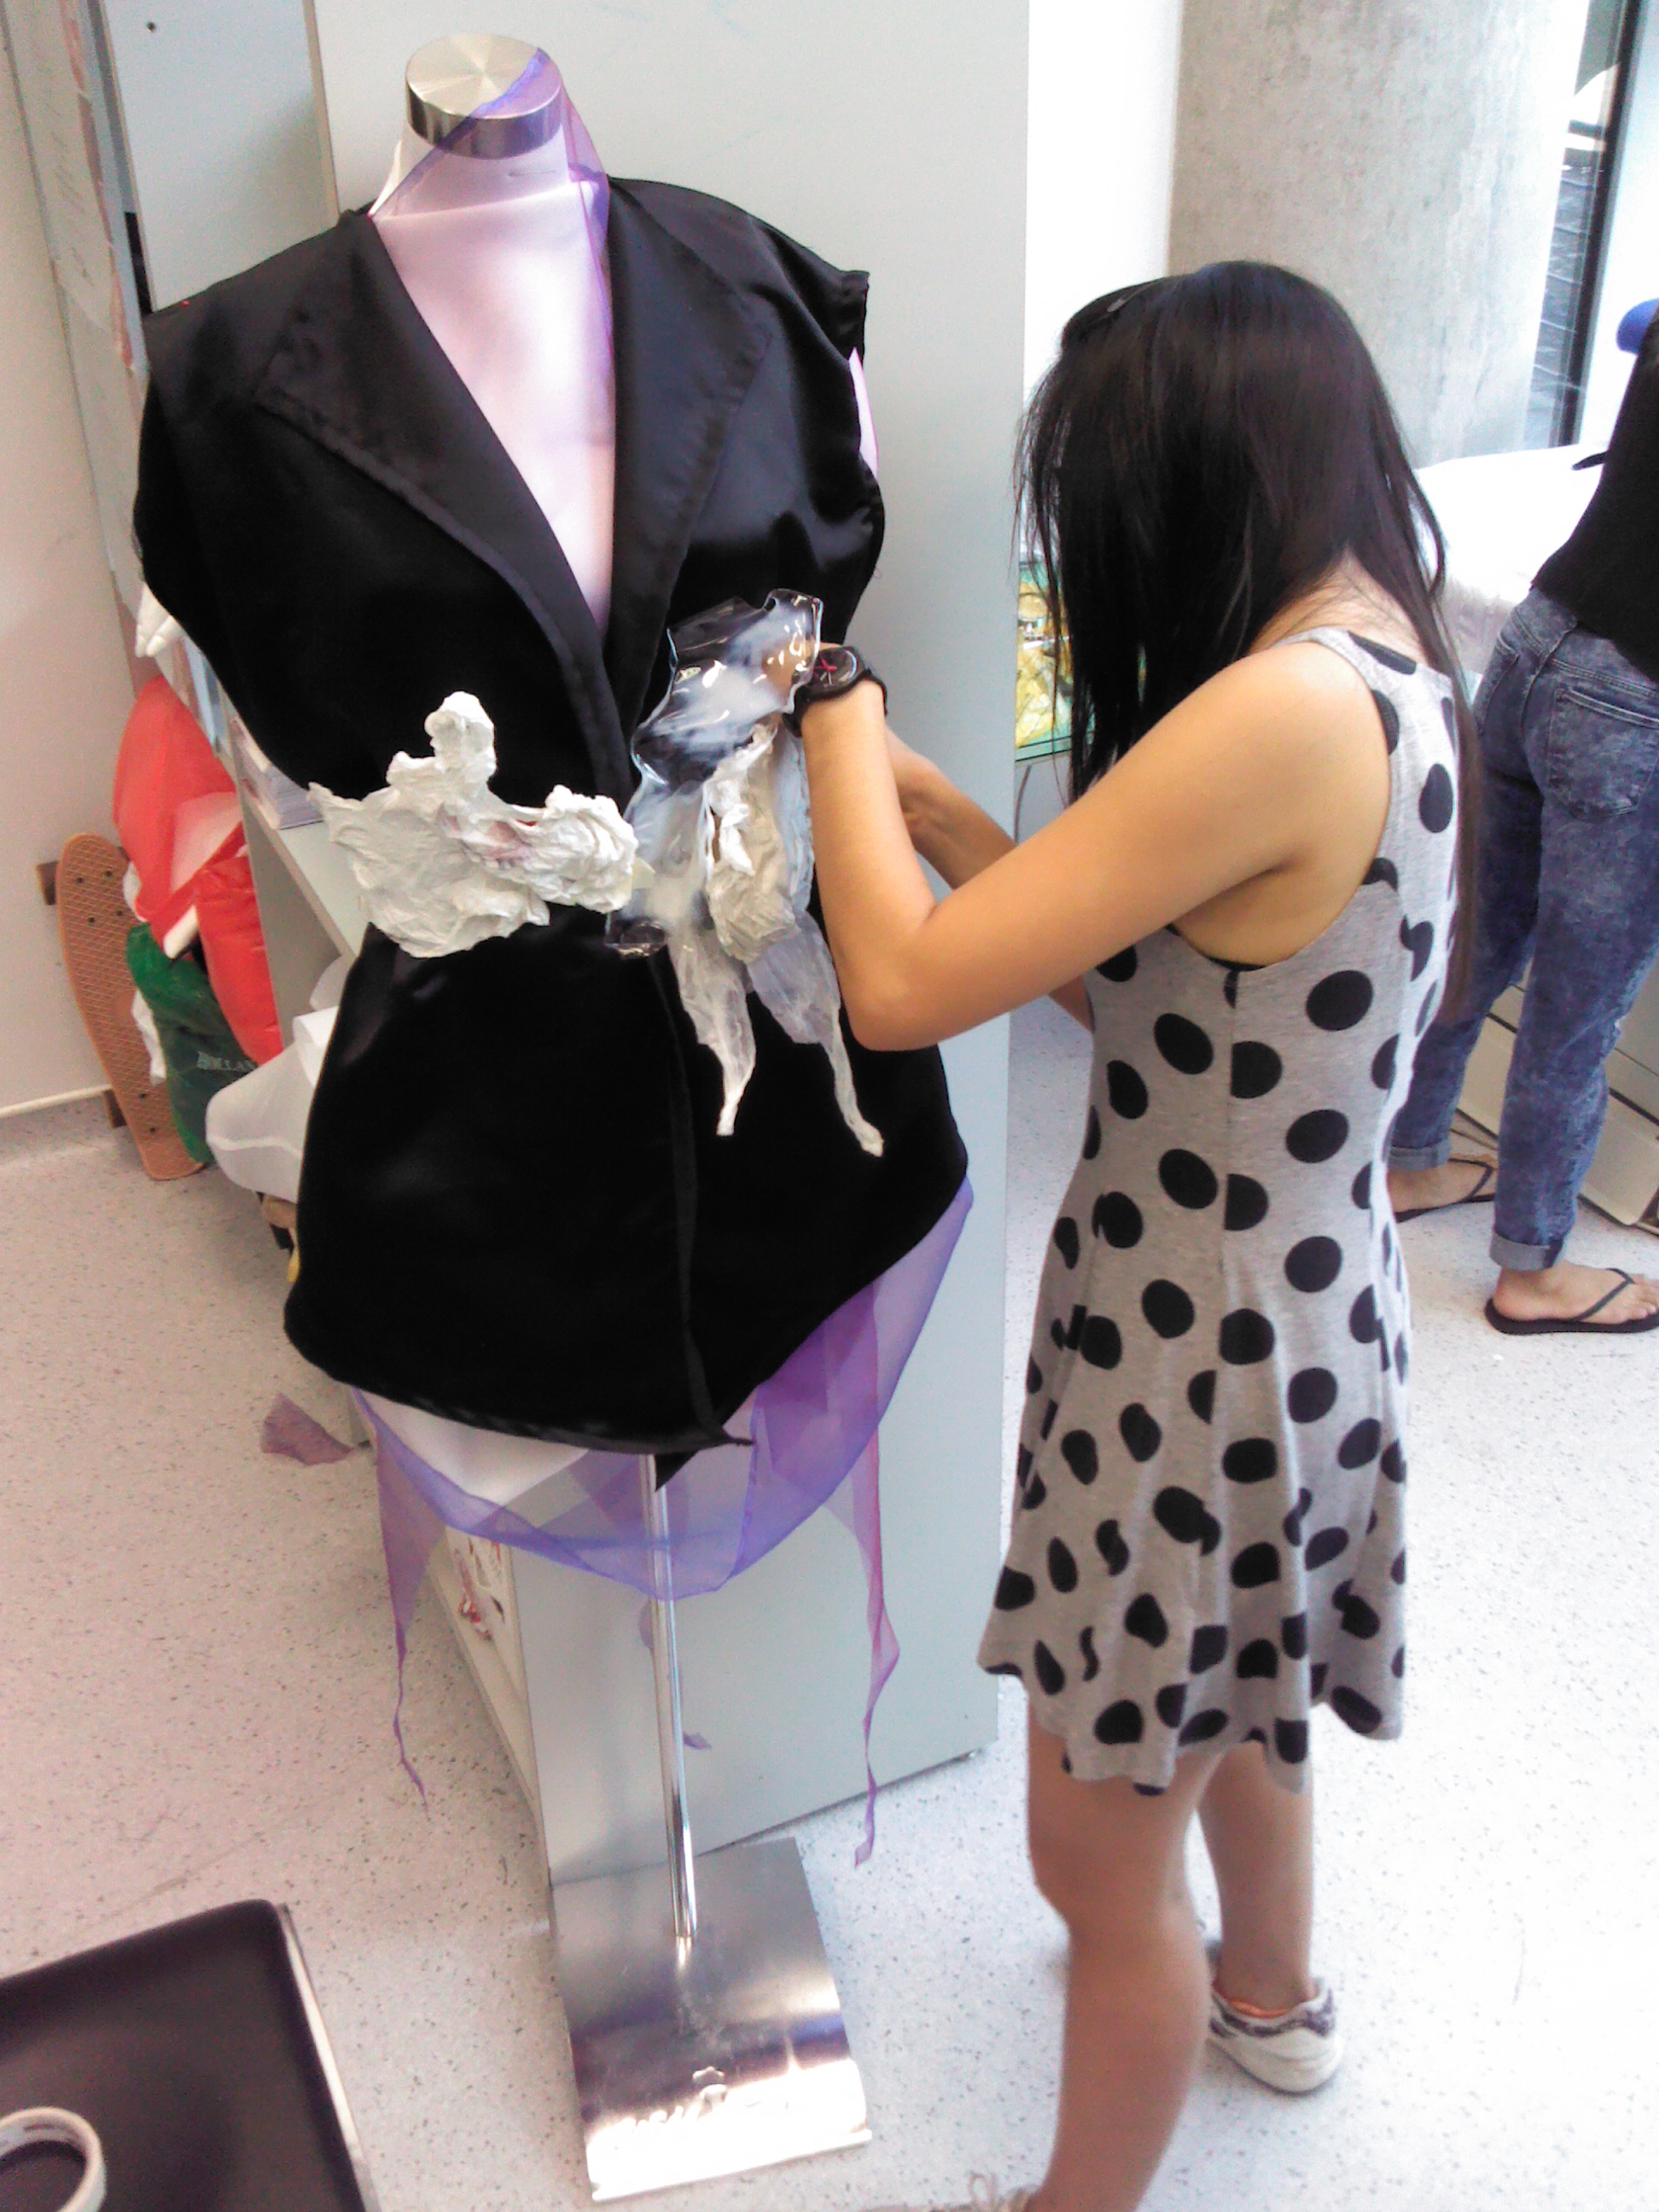
However, I was not just performing a choreography. I was involved in the making of the movements as well as designing, and making my costume from scratch.

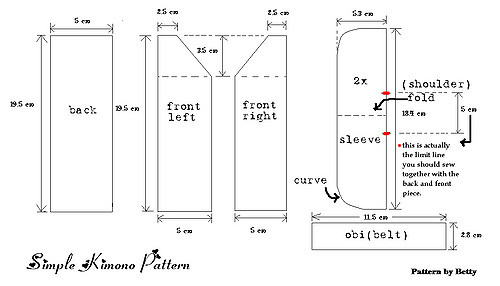
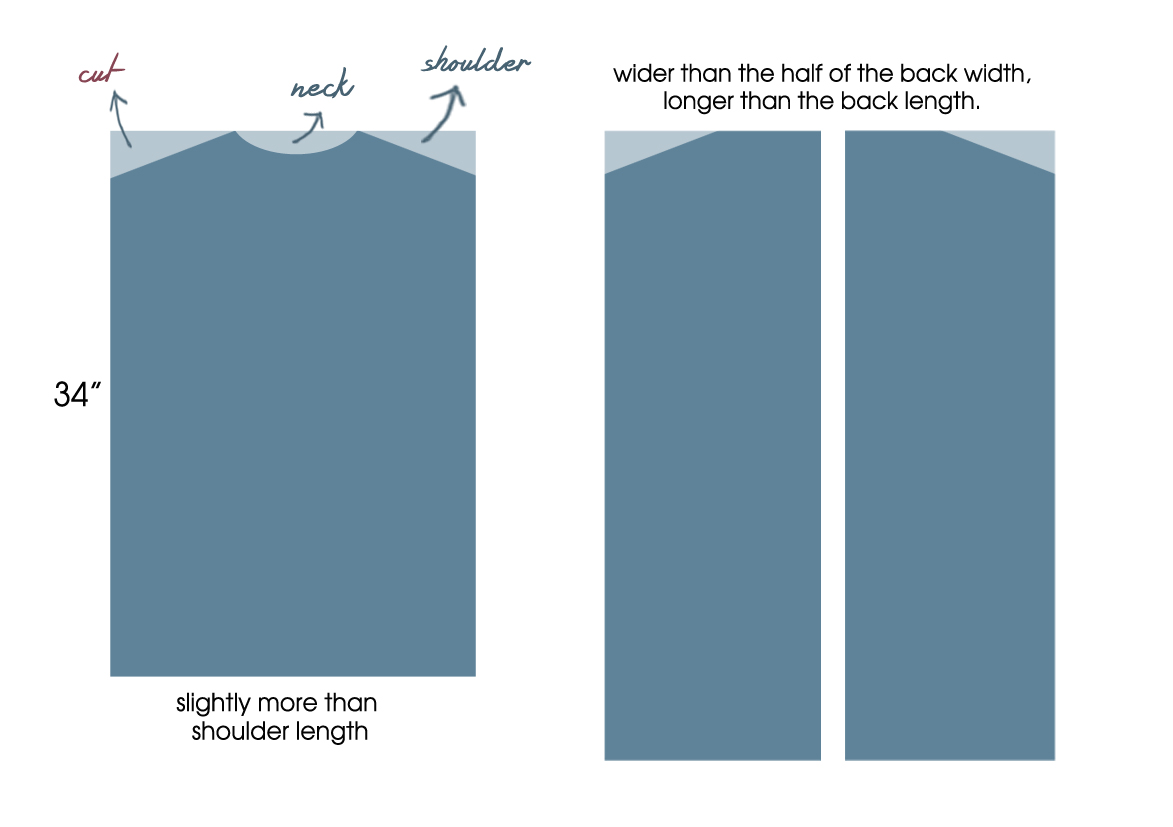
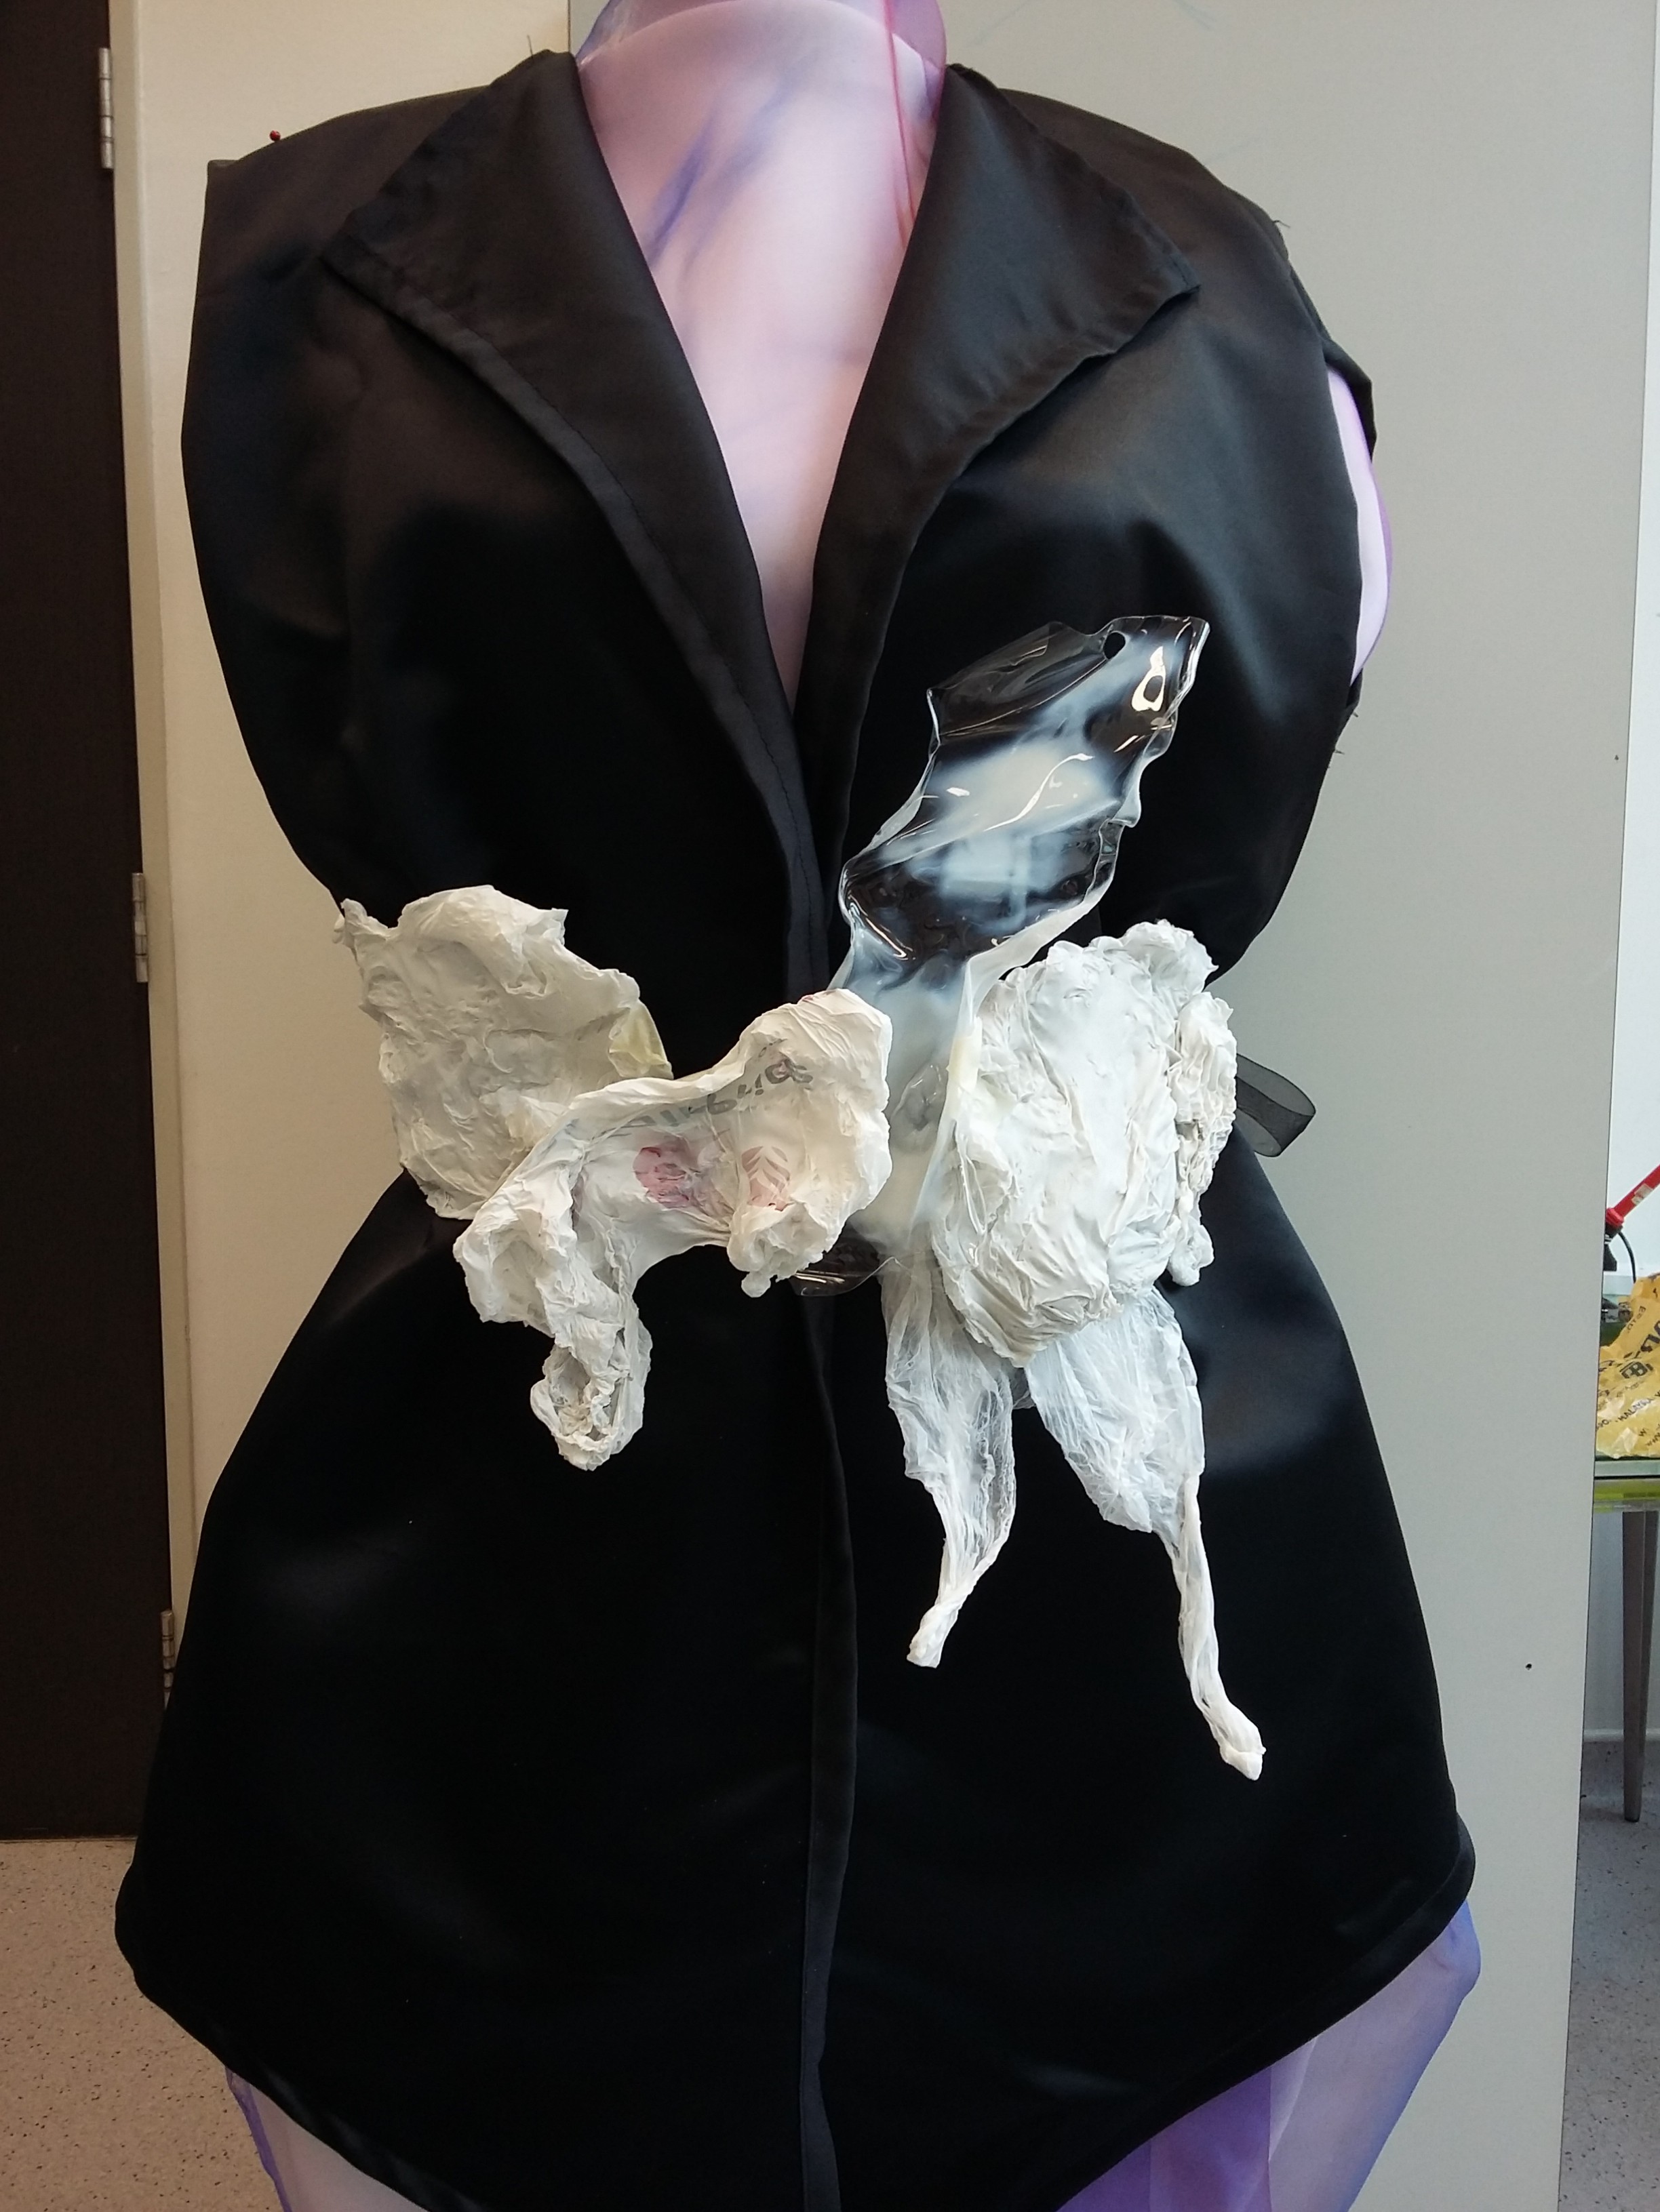
As the Touch plans were introduced to us, we were first assigned to write our own concept, or how we saw Touch in the form of a story. My concept was The Touch of Destruction, inspired from the idea of human’s optimism and pessimism as well as David and Goliath. In my narrative overview, a touch from the tiniest man could destroy the biggest enemy as long as he has the will. From these narratives, our teachers decided our roles, and I became the warrior. Hence, I designed my costume based on Japanese warriors – that is my own preference to choose Japanese culture – create the war-ready choreography together with Angeline. When the choreography and costume were ready, we had several full-dress rehearsal. In addition, , I am proud that during our process, the whole class once did an online workshop for a symposium in London.

A lot of researches have been done for Touch. Prior to this, we ought to learn and analyze the essence of digital performances and arts such as The Big Kiss by Annie Abraham, RIOT by Mark Napier, and Motion Control. From these, I learned how a manipulated visual, even glitch we saw the screen could affect the feeling of the viewer and could be a source of amazing creativity. It gives me the overview on how to ‘interact’ with the camera when I was performing.

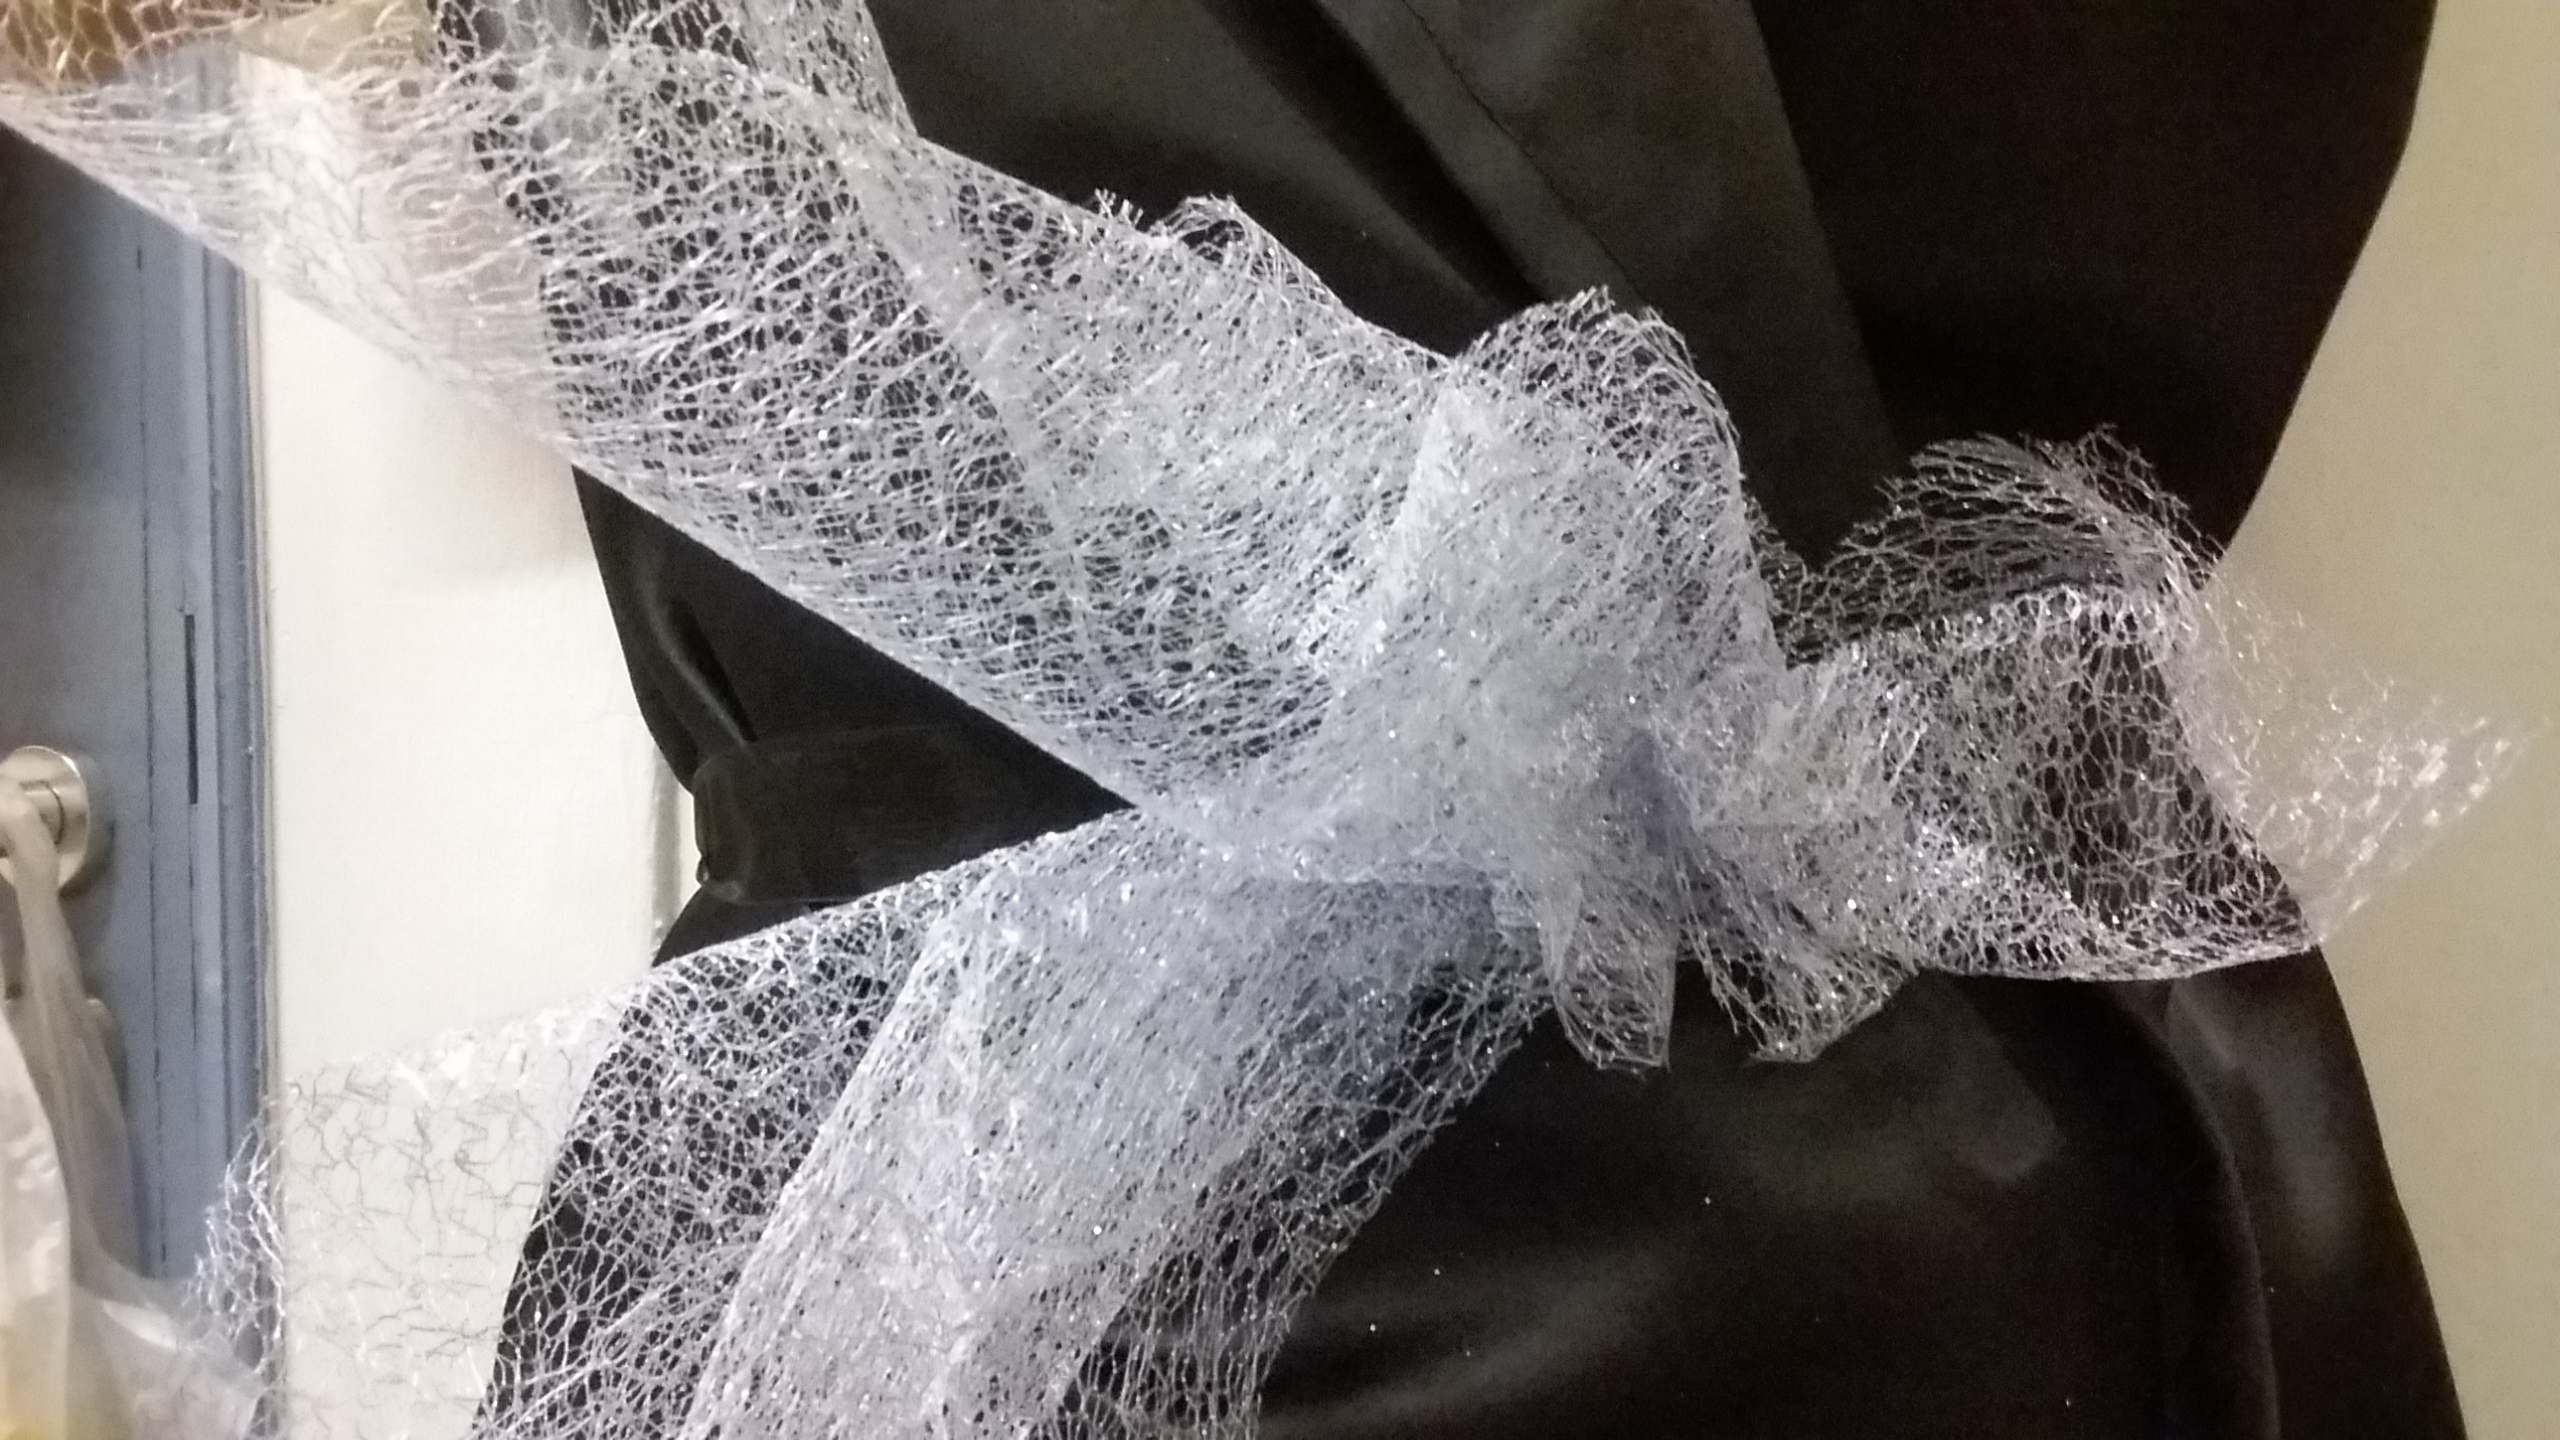
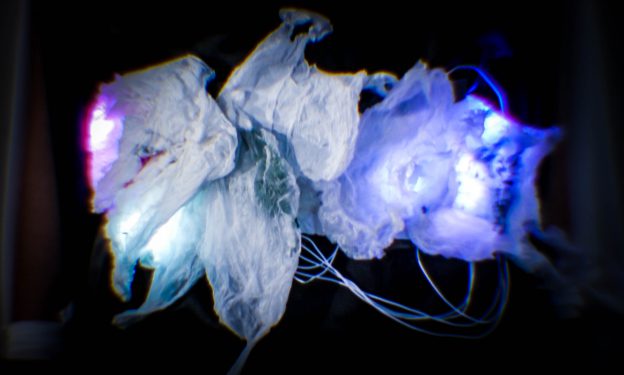
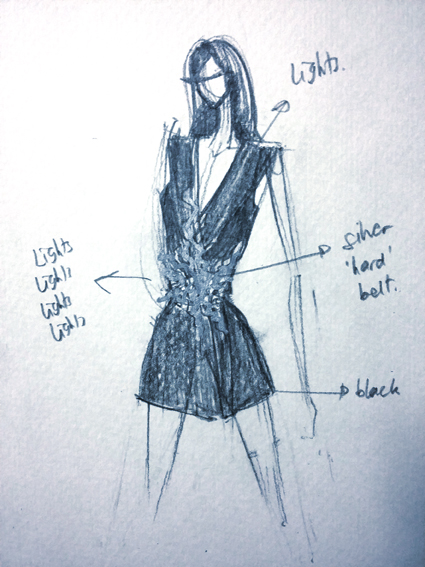
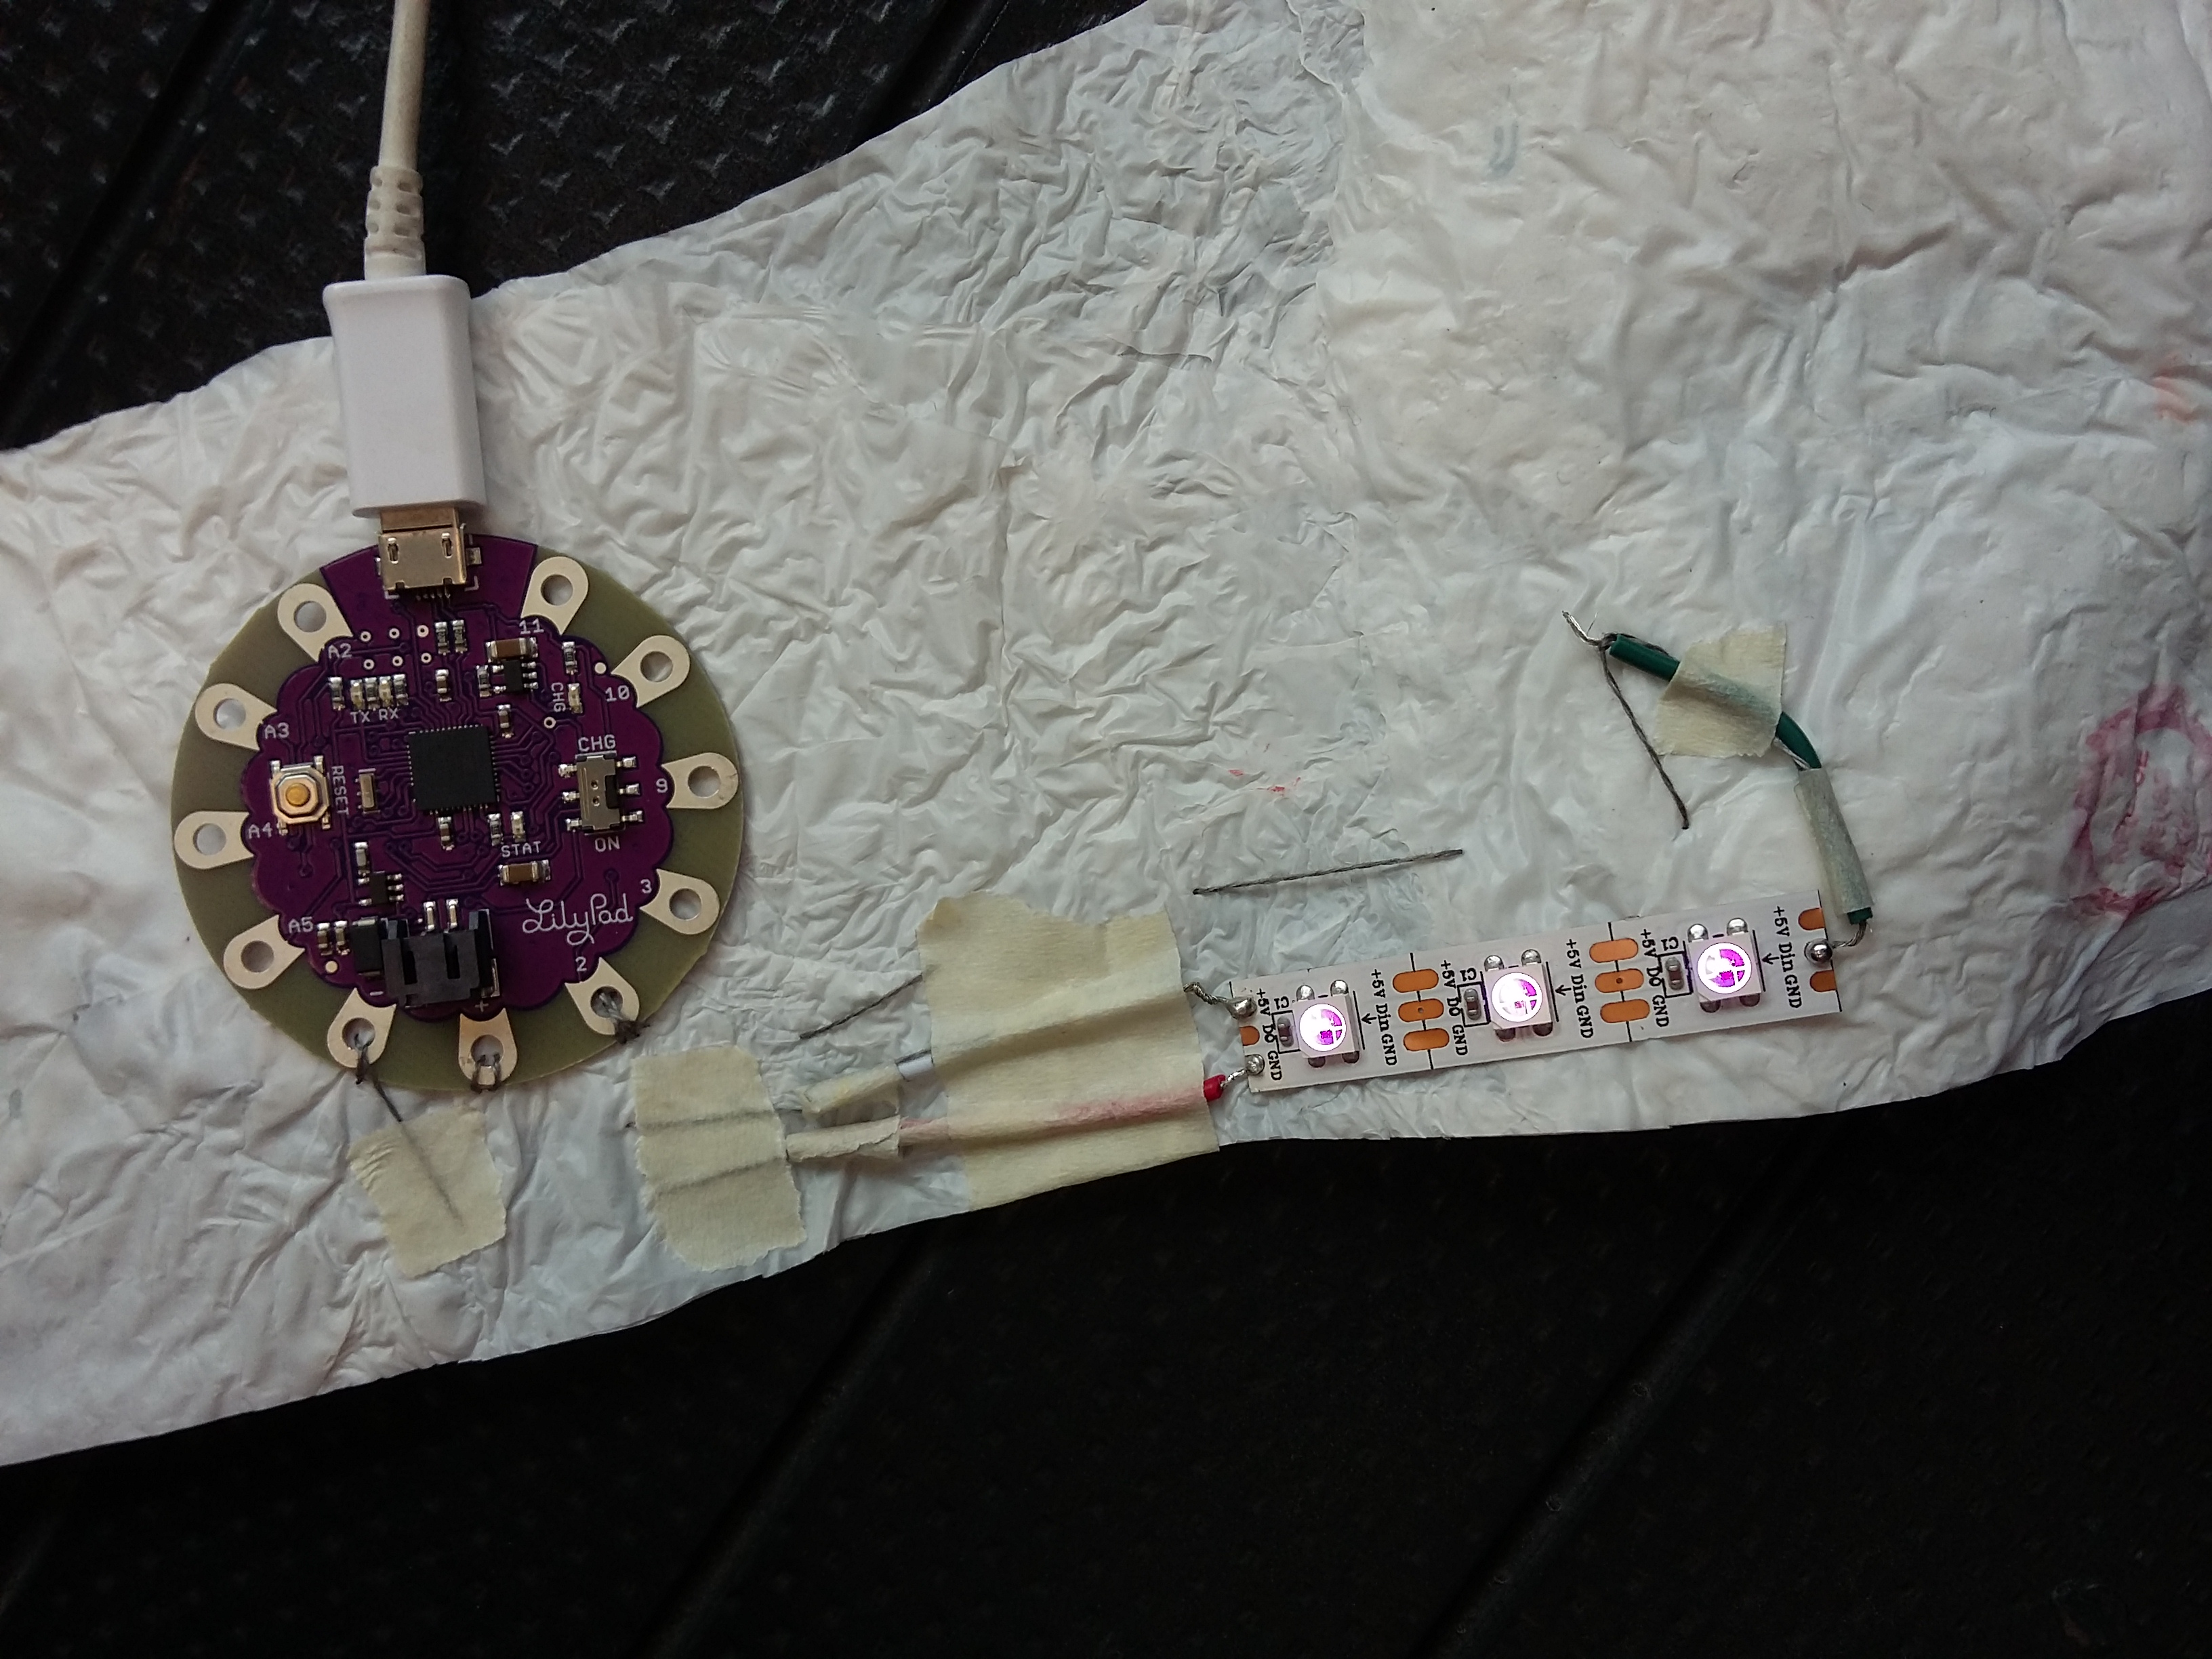
For the preparation of costume, we learned, through our researches (biometrics, sensing garments and smart textiles) how fashion is actually more than just a wearable. It is a breeding ground of innovations; fashion is not just to make you look good. As a result, my costume has technology in it: LED lights. However, the technology is not as innovative as the researches as I am still a newbie at doing fashion and technology at the same time.

M&P-2
Made of plastic bags and with lights underneath. The lights would fade or blink at different timings.

Uniquely, our, or at least my choreography, is not derived from an existing dance movements but myself. The movements were harvested from my natural maneuver when I express myself, tell stories and react to something/someone. What is really beneficial from making a choreography this way is it becomes easy to remember and immerse yourself in the character.

Well, however Touch is, seriously, not easy to produced. The first issue that I personally face is the making of the costume. How to turn on and prepare the sewing machine? How to turn these fabrics into my desired costume? How to code a Lilypad Arduino in order to make turn lights on? Lastly, how to arrange an electrical circuit on a piece of clothing without breaking them while dancing? To be honest, the costume-making is a gigantic challenge because I started from a big zero.

Another issue that we faced together is the interaction between us, the camera and Angeline. Different lighting and angles would affect what was shown on the screen. Different blend modes could either make or destroy the look and performance. Countless trials and errors were done to get the desired mode and mood of the screen. Sometimes, unfortunate technical faulty and delay would affect our tight schedules as well.

First rehearsing with the music

Eventually, we managed to examine and solve our challenges. We made challenges into priceless learnings.

In fact, this module is an Open Source Studio (OSS) class, where a lot of gradings, documentation and even teaching-and-learning activities were done via the internet. We posts our assignments: researches, essays, and projects on the school’s OSS site so that both teachers and fellow classmates can read and learn from each other’s work. And I am indeed surprised by how useful this learning process by reading other people’s work. I remember I learned how to write a good research ‘blogpost’ from Yuhao and Charlene’s, how to create unique colors on the LED lights from Tiffany’s, and how to boil fabrics from Gladys’ and Xin Hong’s. It was so surprising that “hey, our friends are so resourceful, awesome! I don’t have to google on myself anymore” as the useful contents in their posts are already ‘filtered’, and hence trust-worthy. So, yes OSS, if one knows how to make use of it, would learn a lot more things in a shorter time as well as form a stronger bond with other users. In fact, OSS somehow ‘taught’ me how to manage a blog/website, which is a fantastic bonus skill.

In conclusion, I had a lot of excitements, hardships, fun and lessons from this one module. There are still rooms for improvement for the class but it is definitely one of the most resourceful class I have ever taken.

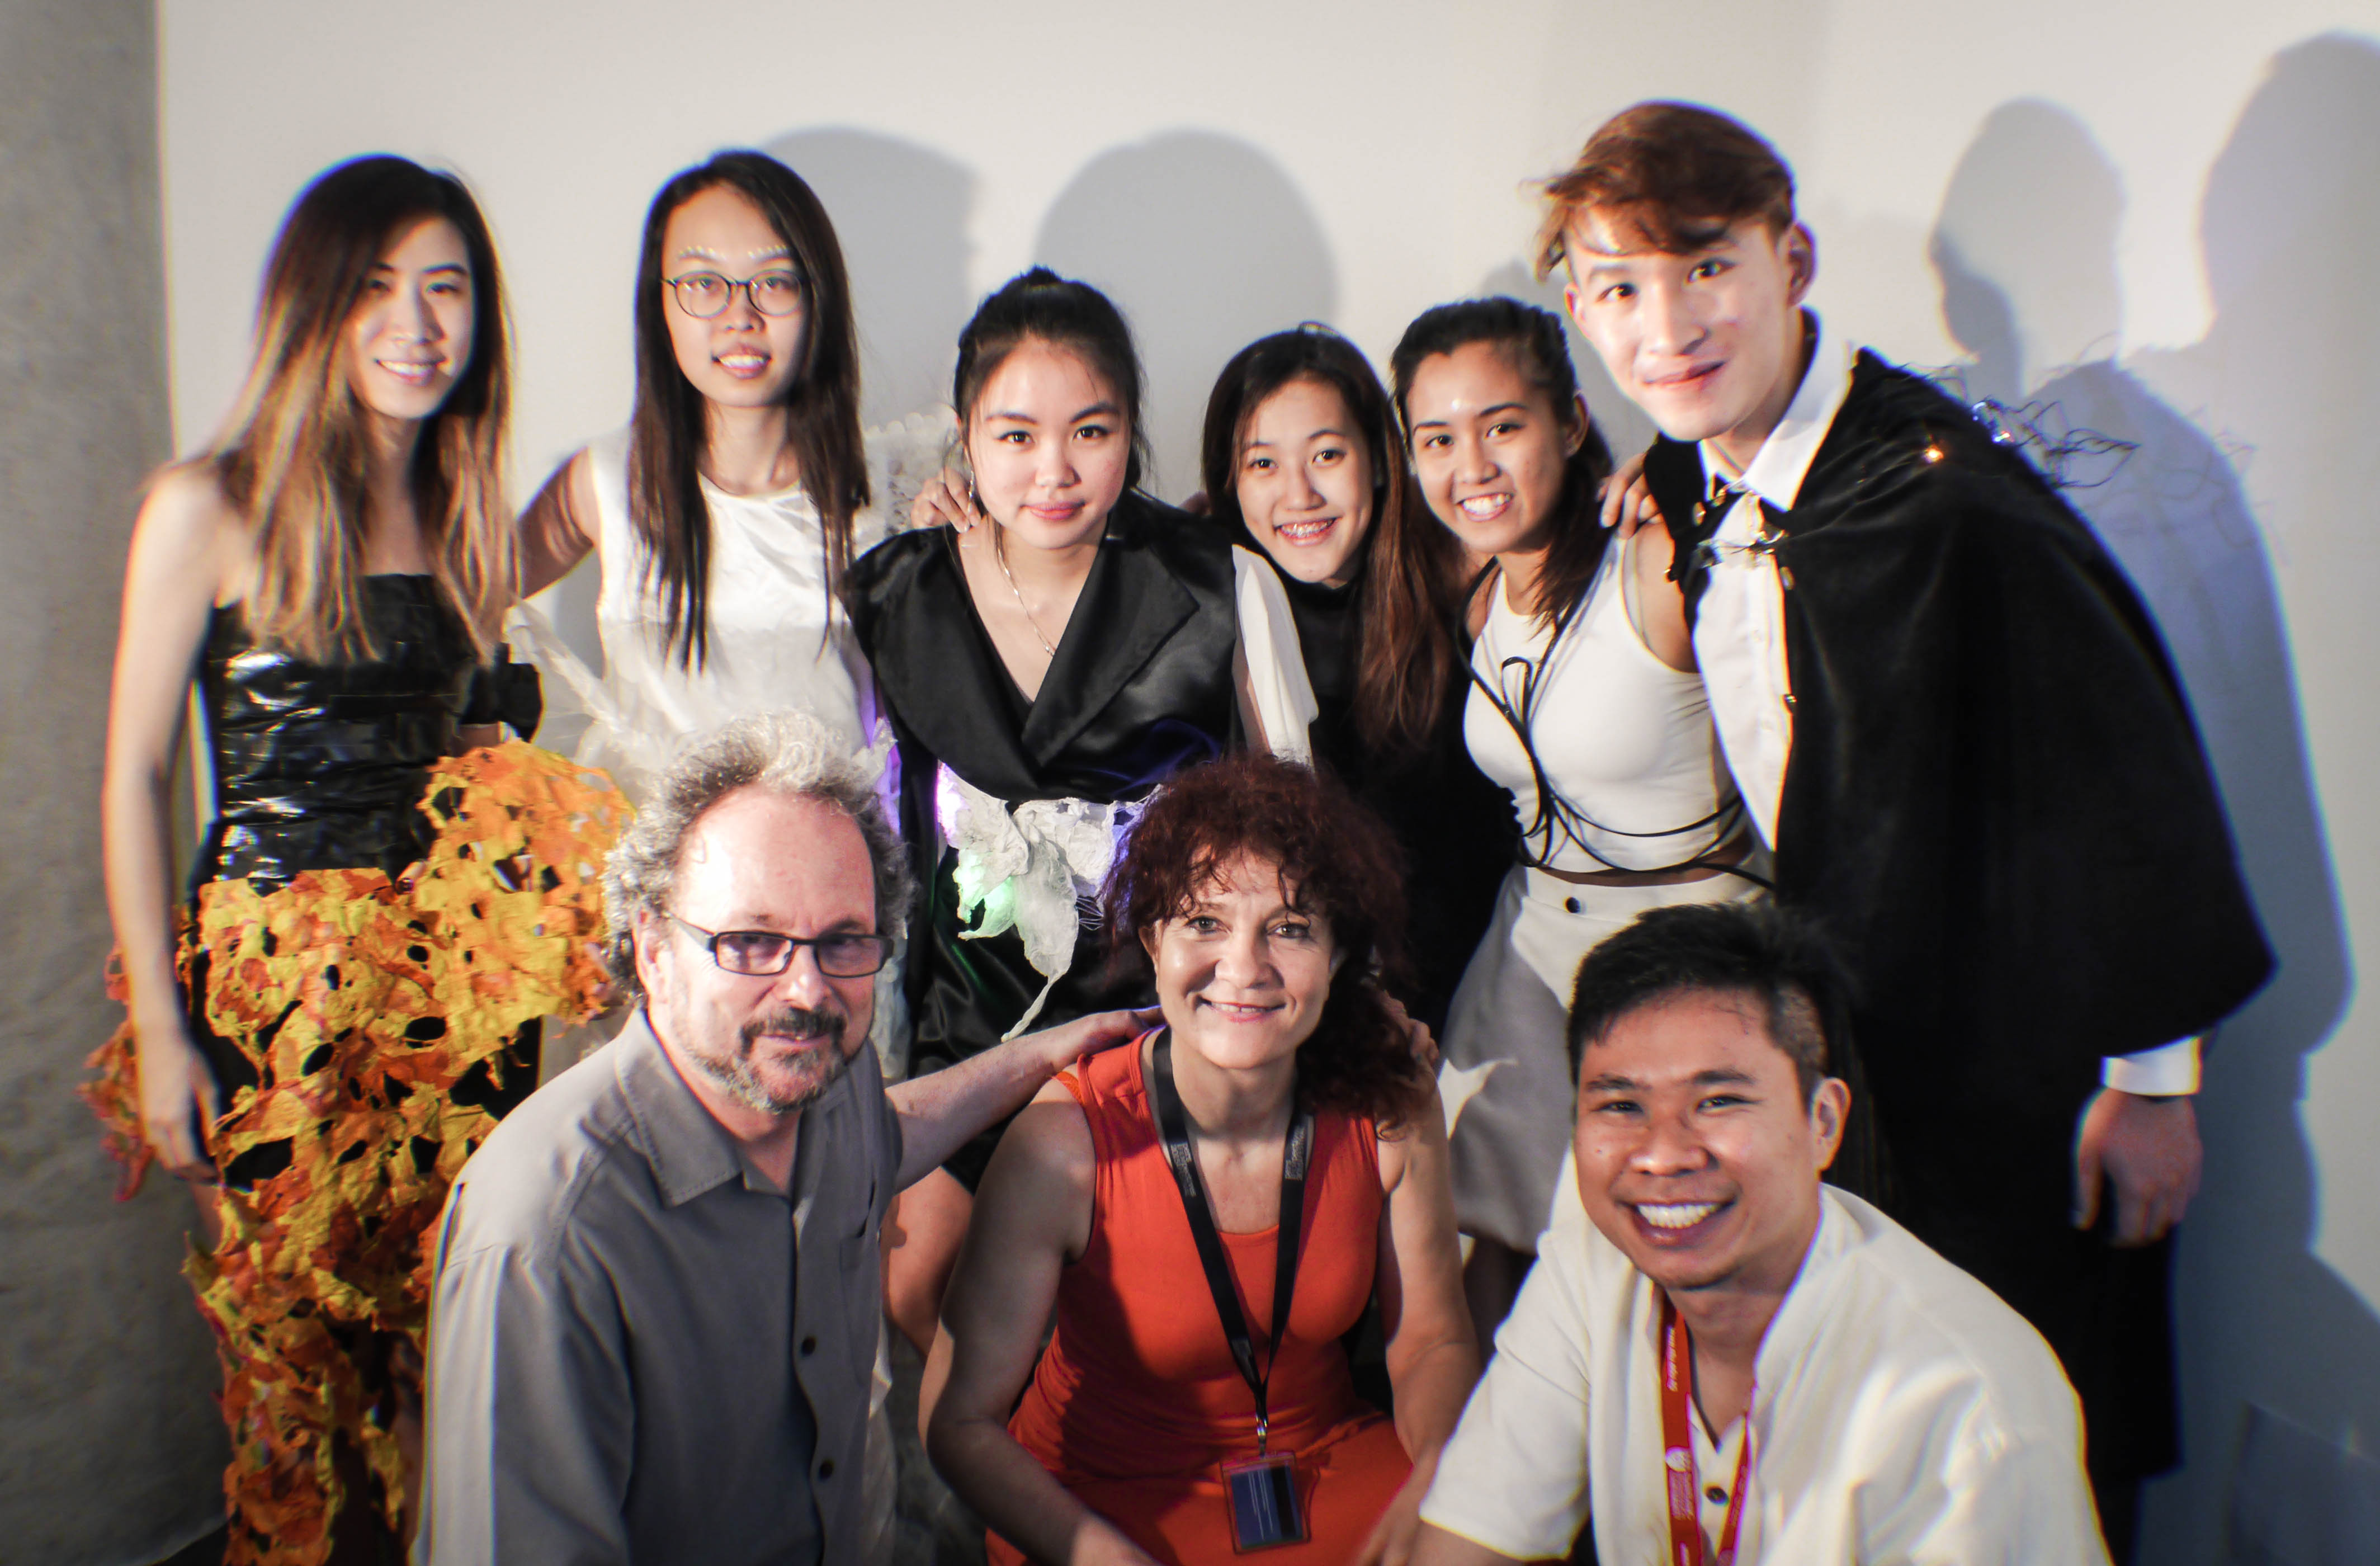
To end this hyperessay, I would like to say my gratitude towards Randall Parker, Galina Mihaleva, Angeline Young, Naga, Alvin, Cameron and Cooper for making this opportunity an unforgettable and precious experience. I am so addicted to fashion-making now!

M&P-7-2 M&P-11

PROJECT UPDATE 2: The Black Robe

What I keep saying about Media&Performances to other people:

Oh my God, my UE is so difficult. First, coding is a whole new thing to me. Second, fashion is a whole new thing to me. So, the module is a whole new world (sing Aladdin). But whoa, you have no idea how much I have learned…

No pain no gain B).

Second Prototype

Yeap I decided to make the second prototype, because I felt something can be changed from the first prototype. I wanted to try smaller back pattern and pointed end for the front. At the same time, I used this opportunity to practice sewing. I took 1.5h just to set up the whole machine on my own without guidance. I am proud…

20160322_120545 20160322_120537

I kinda like it more, and because of time constraint, I went straight to the real fabric material: bridal satin.

What is bad about this pattern is the back side is too narrow for my bottom, but it fits well for my shoulder. Sigh, fashion is complicated. I appreciate those fashion maker more now…

The Black Robe

YEAAAHHHH Not 100% done but surely can be worn already. The belt still needs more thinking process on how to attach the lights to it because I think I want the electronics to be on the belt instead on the robe.

20160323_222428 20160323_22235520160323_222320 20160323_222211

What I like about the robe is that

  1. Yeah it looks classy B)
  2. Adjustable. The measurement is legit All Size.
  3. Really adjustable: a kimono top, a coat, an asymmetrical kimono and dunno what.
  4. I think I can wear this as daily wear afterwards XD

For the belt, it happened to be like that as a result of pure experimental. So that ‘mesh’ is not really flexible but can be folded. Initially I wanted to roll each cut pieces, but I put the glue gun a bit too much and spread out. So the glued part is asymmetrical and all. So I just thought “yeah just put the glue gun anywhere and fold it randomly.” From this belt, I learn the beauty of imperfection :)).

I might change the belt but yeah this looks quite right for me.

BAD NEWS

I was able to change the colors of the lights and sequence of the lights I could even get pastel colors like baby pink, baby blue, light violet, salmon pink colors of lights BUT I DONT KNOW HOW MY BABY LILYPAD BROKE DOWN OR SOMETHING I DONT KNOW WHAT HAPPENED IT WAS SOO HOT AND ‘ELECTROCUTE’ ME AND THEN DIED *cry*

So I reset it, but the port can’t be detected by my laptop!!! I need Naga so badly now and if it cant be used anymore I will have to buy the board ASAP (so faraway hiks). I pray hard now the board still can be used so I can do the coding immediately!!!

Yeah bad things did happen, so i’m behind for the electronics sigh…

Playing with expensive electronics is a source of heart attack. Beware…

Overall…

The awesomeness level of this class IS ROCKETING <3 <3 I cant stop being grateful for all the guidance this week especially from Prof Galina and Naga. I think it was my first time to have a teacher who would stay with me and Xinhong up to 3AM in the morning T.T. Thank you so much Galina, I would do my best for my costume with all the energy I have.

And I feel that my passion is really in fashion :3, I really want to explore more <3


PROJECT UPDATE: First Encounter with Fashion-making

About

For the project Touch, I got the role of being the heroine. Hence, based on the initial design that I have made, the kimono-inspired outfit may fit a female warrior. Using $2/meter (the cheapest fabric available), I created a prototype of the mini kimono dress.


References

6072line 2675874026_590416f9a2_z

However, at the end of the day, Galina created a different pattern. I wanted it without sleeves first, so there is no sleeve patterns.


Mini Sleeveless Kimono Pattern


First Prototype

I made a prototype first in order not to waste expensive material. However, the downside is I can’t see the drapping of using such hard material. Still, I prefer to do this prototyping step so that I can keep the already cut pattern for future use (yeay I would be able to make my own clothes! one step at a time).

Photo Mar 17, 10 54 47 AM

Above was fresh from the sewing machine, and I tried to wear it. Pretty cool, I wouldn’t mind to make another ‘cardigan’ but not for this project. I like big collars tho.

Photo Mar 17, 11 05 06 AM Photo Mar 17, 11 10 36 AM

Above is the first drapping on a mannequin. Hmmmmm, no.

Photo Mar 17, 11 13 50 AM

Second drapping…Looks like my mom’s dress. no.

Photo Mar 17, 11 18 18 AM Photo Mar 17, 11 23 22 AM

FINALLY OKAY DONE. The next step is to pin them, try wearing it, and draw lines at all the folded part.

Photo Mar 17, 11 36 17 AM

Look fat here, wearing the kimono… i asked my mom why, and she said it’s probably because of the fabric type. Yeah, I need to buy the more flowy and thin fabric to really see the real piece. Rather than on the details and ornaments, I really pay attention to the cutting of an outfit. So, even if a dress is made of thousands of beautiful crystals/diamonds/whatever but it makes me look rounder/shorter/weird/off I wont wear it.

Reflection

Hmmm, my design is so simple compared to my other friends. There is no need for boiling fabric or anything, it kinda worry me…. But again, the character is a warrior, who didn’t know that she would be a warrior (yeah, inspiration came after my skype-ing session with Angeline), so she might be just a peasant before she fight with the ‘giant’.

However, I think I would need a second layer for my kimono.

I think I will re-design my first design to get better visualization of it.

Overall, this is a very valuable, precious experience :))))))) I’m so happy that finally I make a clothing!!! Didn’t see this coming because NTU has no fashion major :/

MICRO-PROJECT: Costume Design

Story

A heroine in the third space utopia would fight against the giant, the disturbance, despite her small size and limitation. She didn’t know she could, and would be a warrior.

Inspiration

Japanese Yukata is the inspiration. First is because, I am a practical person. Looking at my schedule and deadlines, I think I should come up with a feasible and ‘safe’ design first. Anything simple can be more detailed with for e.g. accessories. So I was thinking of a robe. But a mere robe will look like a peasant instead. So, something more war-like, and it’s the Japanese warrior who wears ‘war robe’, aka Samurai. But I want it to be short, because it would be easier for me to move around, and hence it would be yukata with a short length.

image236ok00773  1ced7caf0b3e233791a0b04b12ad763e

First Design

Inspired from the Yukata, the body part resemble Yukata. However, I was thinking of modifying the sleeves to make it more flowy. Yukata’s sleeves are squarish, my hand movement won’t be so clear to be shown in the performance. So, a drapping sleeves would be better I guess. It can be the spot where I can install stretch cord/sensor as well. In this design, I’m still confused about where should I install the lights.

IMG_20160307_012203

Second (Revised) Design

In the revised version, I have thought of more details and where I should put the electronics. The color would be black, because it is the color of Japanese warrior in the past. Initially I wanted to use red as a symbol of courage, but black is more classy and as a very very noob beginner in fashion-making, let me use safe color first.

BUT, not everything would be black. Black is only the ‘base’, aka the robe. I would like to make a ornamented belt instead of just the traditional Yukata belt. It would be silver (yeah I have the material since last year so it’s the right time to use it), and it would have lights underneath it. The lights will spread out, with the waist as the ‘source’. These lights would be the source of colors: sign that the warrior is ready to fight as her inner courage and faith are strengthened.

20160320_002140 copy2

Now, I’m confused about the sleeves material. The robe would be made of ‘bridal satin’ (which I have bought YEAYYYYY) but the sleeves I am still not sure.

I’m thinking of having canvas ribbon wrapped around my feet and arms for the accessories, but it is still tentative.

to be continued…