Week 2: Transfer Printing


Transfer printing is the transference of an image onto a material, via a substrate. The image is transferred using a combination of heat and pressure. The materials in which this method of printing can be applied to are fabric, wood, ceramics, plastic and glass. For our class, we mainly worked with fabric. 

Transfer printing techniques can be divided into three categories: dry transfer, wet transfer and digital transfer.
The dry transfer technique that we were taught in class required the use of a piece of paper, fabric crayons, an iron, baking parchment and fabric. The design is first drawn onto the paper. Then, place the piece of paper with the image facing down onto the fabric. Cover the paper and fabric with the baking parchment before going over it with an iron. Depending on the type of fabric used, adjust the heat setting on the iron accordingly. Evenly iron over the entire piece of paper, lifting the layers of baking parchment and paper at the corners to check if the design has transferred over.

Next, wet transfer. The wet transfer technique can be further divided into two categories – direct transfer and indirect transfer. The materials needed are paper, transprint ink, an iron, baking parchment and fabric. For indirect transfer printing, additional materials will be needed to create the design.

For direct transfer, transprint ink is used to draw the design onto the piece of paper. The ink is then allowed to dry before it is used to print. Similar to the dry transfer technique, place the paper with the design facing down, onto the fabric. Then, cover the paper with a layer of baking parchment before going over it with an iron. Constantly move the iron about to ensure that the entire piece of paper gets an even distribution of heat. This will allow the design to transfer over evenly. 

For indirect transfer, an even layer of transprint ink is painted onto a piece of paper. The ink will then be allowed to dry before printing. On top of your fabric, arrange your objects to form the desired pattern or design. Items used can be anything ranging from leaves, threads, yarns, paper cut-outs etc. Cover the objects with the paper with the inked side facing down before finally covering the entire thing with a layer of baking parchment. Similar to the above techniques, iron the whole project area, making sure to move the iron around constantly to ensure that the entire piece of paper receives an even distribution of heat. Additionally, with the iron held down on one side, lift the corners of the layers to check if the ink has been transferred from the paper to the fabric evenly. 

Finally, digital transfer. This is made possible through the use of transfer paper. The brand that our class uses is from Magic Touch and can be purchased from Bencoolen. There are two different types of paper for transferring onto soft surfaces (e.g. fabric) or hard surfaces (e.g. acrylic, wood and metal). Depending on the material that you wish to transfer the print onto, you either have to peel the transfer paper immediately (or while the paper is still warm) or when the paper has cooled. The following is from Prof. Galina’s notes:

• Printing on t-shirt Fabric (TTC 3.1) – 400°F (approx. 204°C) for 30secs, hot peel
• Printing on wood (CPM 6.2) – 350°F (approx. 176°C) for 30 secs, hot/warm peel
• Printing on metal (CPM 6.2) – 350°F (approx. 176°C) for 2mins, cold peel
• Printing on tiles/ceramics (CPM 6.2) – 350°F (approx. 176°C) for 40secs, cold peel 

Additional things to note!
• Designs will show up better on shiny and smooth fabrics! The colours will appear brighter and more vibrant.
• The design that you’ve drawn onto the paper will be flipped when printed so take note of that when drawing the design.
• Polyester fabrics are not able to withstand high heats and will burn very easily due to the large amounts of plastic used to create the material. Take note of the heat settings on the iron!

CUE TERRIBLE MONTAGE OF HORRIBLE PHOTOS OF SAMPLES:

Dry transfer using fabric crayons. The print on the right is the failed first attempt :’)
Direct transfer using the transprint inks
My favourite of the bunch. Indirect transfer using transprint inks, a plant and some cotton wool.
My failed attempt at doing indirect transfer. The print on the right had too many things in it while the print on the left was not complete.
Failed digital print

Supernatural | Research & Moodboard

research

It’s been years since I thought about physics a subject, let alone go on a mad scramble down the rabbit hole, which is link-hopping in wikipedia, to try to attempt to understand the theory of quantum physics. 

Here is what I have so far (almost everything is from Wikipedia sorry)
Quantum physics (otherwise known as Quantum Mechanics or Quantum Theory, amongst a bunch of other names) is a “fundamental theory in physics which describe nature at the smallest scales of energy levels of atom and subatomic particles”. Quantum physics differs from classical physics in that:
• Energy, momentum and other quantities of a bound system are restricted to discrete values (I honestly still don’t really understand this portion but okay I will read more about it and try to process it as we go along on this project I guess)
• Objects have characteristics of both particles and wave (wave-particle duality – a pretty interesting concept)
• There are limits to the precision with which quantities can be measured (uncertainty principle – another part that I do not really understand and might not ever understand because based on the wikipedia page, there is so much math my brain cannot process).

Here is another link that I was looking at as well, to try to further understand quantum physics. The article covers some pretty basic information about quantum physics on a whole and is good if you are just trying to get a general idea of the whole thing. 

Based on what I’ve read so far, I feel that quantum physics is very much based off on the concept of superposition, where any two or more (!!!) quantum states can be added together and the result will be another valid quantum state. And because of that, you can say that every quantum state can be represented as a sum of two or more other distinct states. This brings to mind stories of myths and legends of gods and deities, where they are able to appear in different guises or like how in Buddhism, there are so many different forms of the Buddha. I kind of link this to the idea of monotheism, which is the belief of there being only one god, while recognising the other various gods and seeing the unity between all of them. 

Another key concept in quantum physics is Quantum Entanglement. A physical phenomenon which occurs when pairs or groups of particles are generated or interact in ways such that the quantum state of each particle cannot be described independently of the state of the other(s), even when separated at a large distance. And that any measurement of a property of a particle performs an irreversible collapse on the particle, thus changing its original quantum state. To me, essentially, entanglement is like cause and effect. To me, it brings to mind the whole idea of the threads of fate in Greek mythology. In the Chinese culture, there is a similar belief about the threads of fate but it is often tied to the concept of marriage or relationships instead. It also brings to mind the whole idea of karma and how every action has its consequences. 

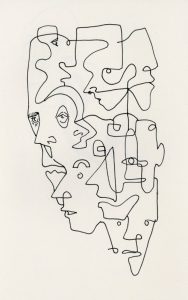
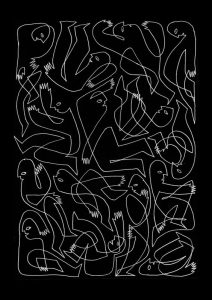
moodboard 1: Monotheism


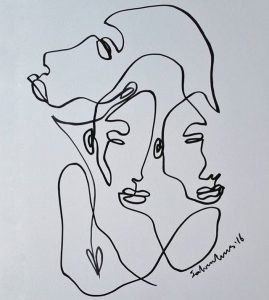
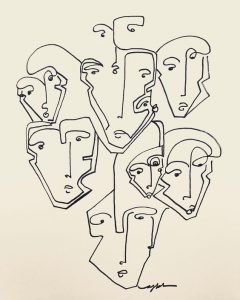
I thought of using the continuous line drawing technique to express this concept, whereby something is linked to everything, expressing how they are actually all the same thing at the end of the day.

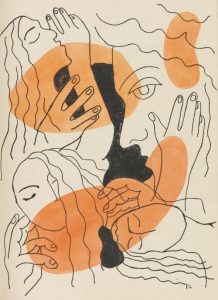
moodboard 2: The Fates & the thread of fate

I link the idea of cause and effect to that of the concept of threads of fate. From there, I arrive at The Three Fates from Greek mythology.

*UPDATE*
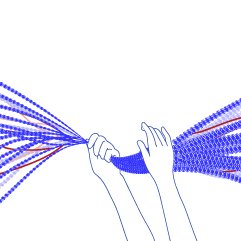
So I decided to go with concept 2 and use the theme of The Three Fates as the basis behind my patterns. I decided to base my motifs off threads, scissors and the drop spindle to represent the Three Fates. Additionally, I plan to include hands and strings mimicking the DNA structure in the banner as well. We shall see how it goes. 

Enso | FINAL

Kindly click here for the final video!
Enso draws parallels between the seemingly paradoxical concepts of Ensō and our interpretation of music; where Enso represents both the universe and the void while we interpret music as the culmination of both sound and silence. In this work, Enso is used to symbolise music, with the movement of the particles representing the movement in the melody.