some updates…in the mist of my messy schedule trying to balance school, FYP, job applications, exams and relationships :((((


my next step is finish CAD all designs and make them 3D printable…
some updates…in the mist of my messy schedule trying to balance school, FYP, job applications, exams and relationships :((((
my next step is finish CAD all designs and make them 3D printable…
Traditional metal sculpturing methods such as grinding, machining and milling are known as subtractive metal manufacturing. Metal 3D printing however, is additive metal manufacturing. By layering the material to slowly form the complete shape of the design, it magnificently saves metal material.
While we have seldom heard about metal printing, it is actually been used in many areas such as space exploration, aerospace, and healthcare. For example:(see also : renishaw.com)
“In space exploration, for example, industry leaders such as Elon Musk’s SpaceX and NASA have fully embraced metal 3D printing as a way to produce rocket ship parts that have drastically lowered costs while highly improving performance. SpaceX, for example, relied heavily on the custom metal parts for the combustion chamber of the SpaceX SuperDraco engine.
NASA was able to develop a turbopump for their rocket engine that was put together with 45 percent fewer parts than pumps made through conventional manufacturing processes. It seems like it’s only a matter of time before an entire rocket engine is capable of being 3D printed.”(from TechCrunch, last access 9th Feb 2017)
In healthcare:
“the American Food and Drug Administration has approved the use of 3D-printed metal implants for medical procedures.
Recent successful applications of metal 3D printing in the medical sector include a titanium 3D-printed skull implant and a 3D-printed rib cage — both of which were custom tailored for cancer patients using digital scans after tumor removal surgeries.”(From TechCrunch, last access 9th Feb 2017)
3D metal Printing is a rising trend:
“Still, even marginal improvements in speed might give the right company a toehold in the growing market for metal 3D printers. While the numbers of printer sales are paltry—just 348 metal 3D printers were sold in 2013, according to Wohlers Report 2014—metals, and the concomitant printers, are the fastest growing sector of a 3D-printing field expected to be worth more than $17 billion by 2020.” (from FORTUNE.COM, last access 9th Feb 2017)
As the trend grows, metal printing would be more prevalent and the cost for it is very likely to reduce further in the future. As such, metal 3D printing can be a possible way to cut cost and save materials.
Beside the conventional way of sanding surface of 3D printed parts with sand paper or sanding machines(large or handhold turning machine), there is an alternative way–Bead blasting, or bead abrasive blasting, sand blasting.
“Sandblasting is an effective cleaning process for hard surfaces with the use of high pressure air. The sandblasting method can be used for smoothing, shaping and cleaning hard surfaces, debarring, blending and stress relieving of any part that is hard. This process also removes slag, rust, and imperfections in steel as a preparation for various coatings. The effect of sandblasting is similar to that of using sandpaper, but provides a more even finish.
The sandblasting process can be used effectively on steel, iron, copper, brass, aluminum and glass. Sandblasting can be used to clean up fabricated parts, structural steel, castings, pipes (inside and out) pipe fittings, auto body parts and machine parts. This process can also be used on new materials to remove rust, paints, stains and glues. Sand blasting works for automotive restoration. It helps avoid a lot of hard labor, especially when working with deeply convoluted surfaces like a rusty wheel rim.”(from CompetitiveEdgeCoating ;ast access 9th Feb 2017)
“Glass bead blasting is a metal cleaning process that creates a clean, bright, uniform matte texture. The glass beads are applied to a surface using low air pressure. This process removes paint, rust and corrosion from all types of metals, from autos, trucks, equipment, machinery engine blocks, heads and intakes. Using the bead blasting process a surface can be cleaned without any damage. The beads come in a variety of sizes. The smaller the glass beads, the smoother the surface, larger beads produce a more textured finish.
Glass Bead blasting can be used on a wide range of materials including aluminum, stainless steel, copper, steel, brass, titanium, sterling silver, bronze, metal, glass, plastic and rubber. It can be used in the restoration processes of cars and trucks. Glass bead blasting is also an effective cleaning process on equipment, machinery engine blocks, heads and intakes. Bead blasting is a low cost process and can be used on decorative parts including: custom auto parts and custom motorcycle parts.” (from CompetitiveEdgeCoating last access 9th Feb 2017)
Bead blasting is not necessarily manual. It can be done automatically with machines. (Guyson.com last access 9th Feb 2017)
reference video:
https://youtu.be/3sMhRP3Awnw from Youtube Channel Jeffrey Santo
posted on 3rd April 2013
last access 9th Feb 2017
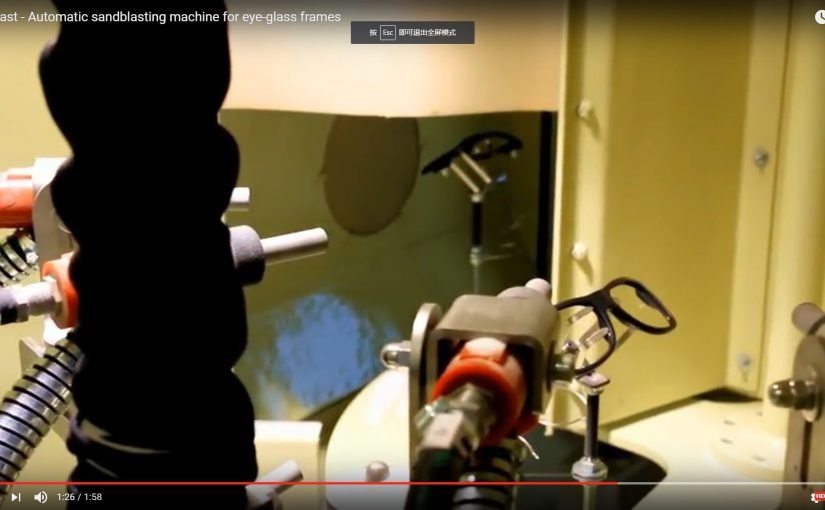
here is another video showing automated sandblasting machine for glass frames, which can relate to jewelries
from Youtube Channel norblastsrl, posted on 5th April 2016, last access 9th Feb 2017
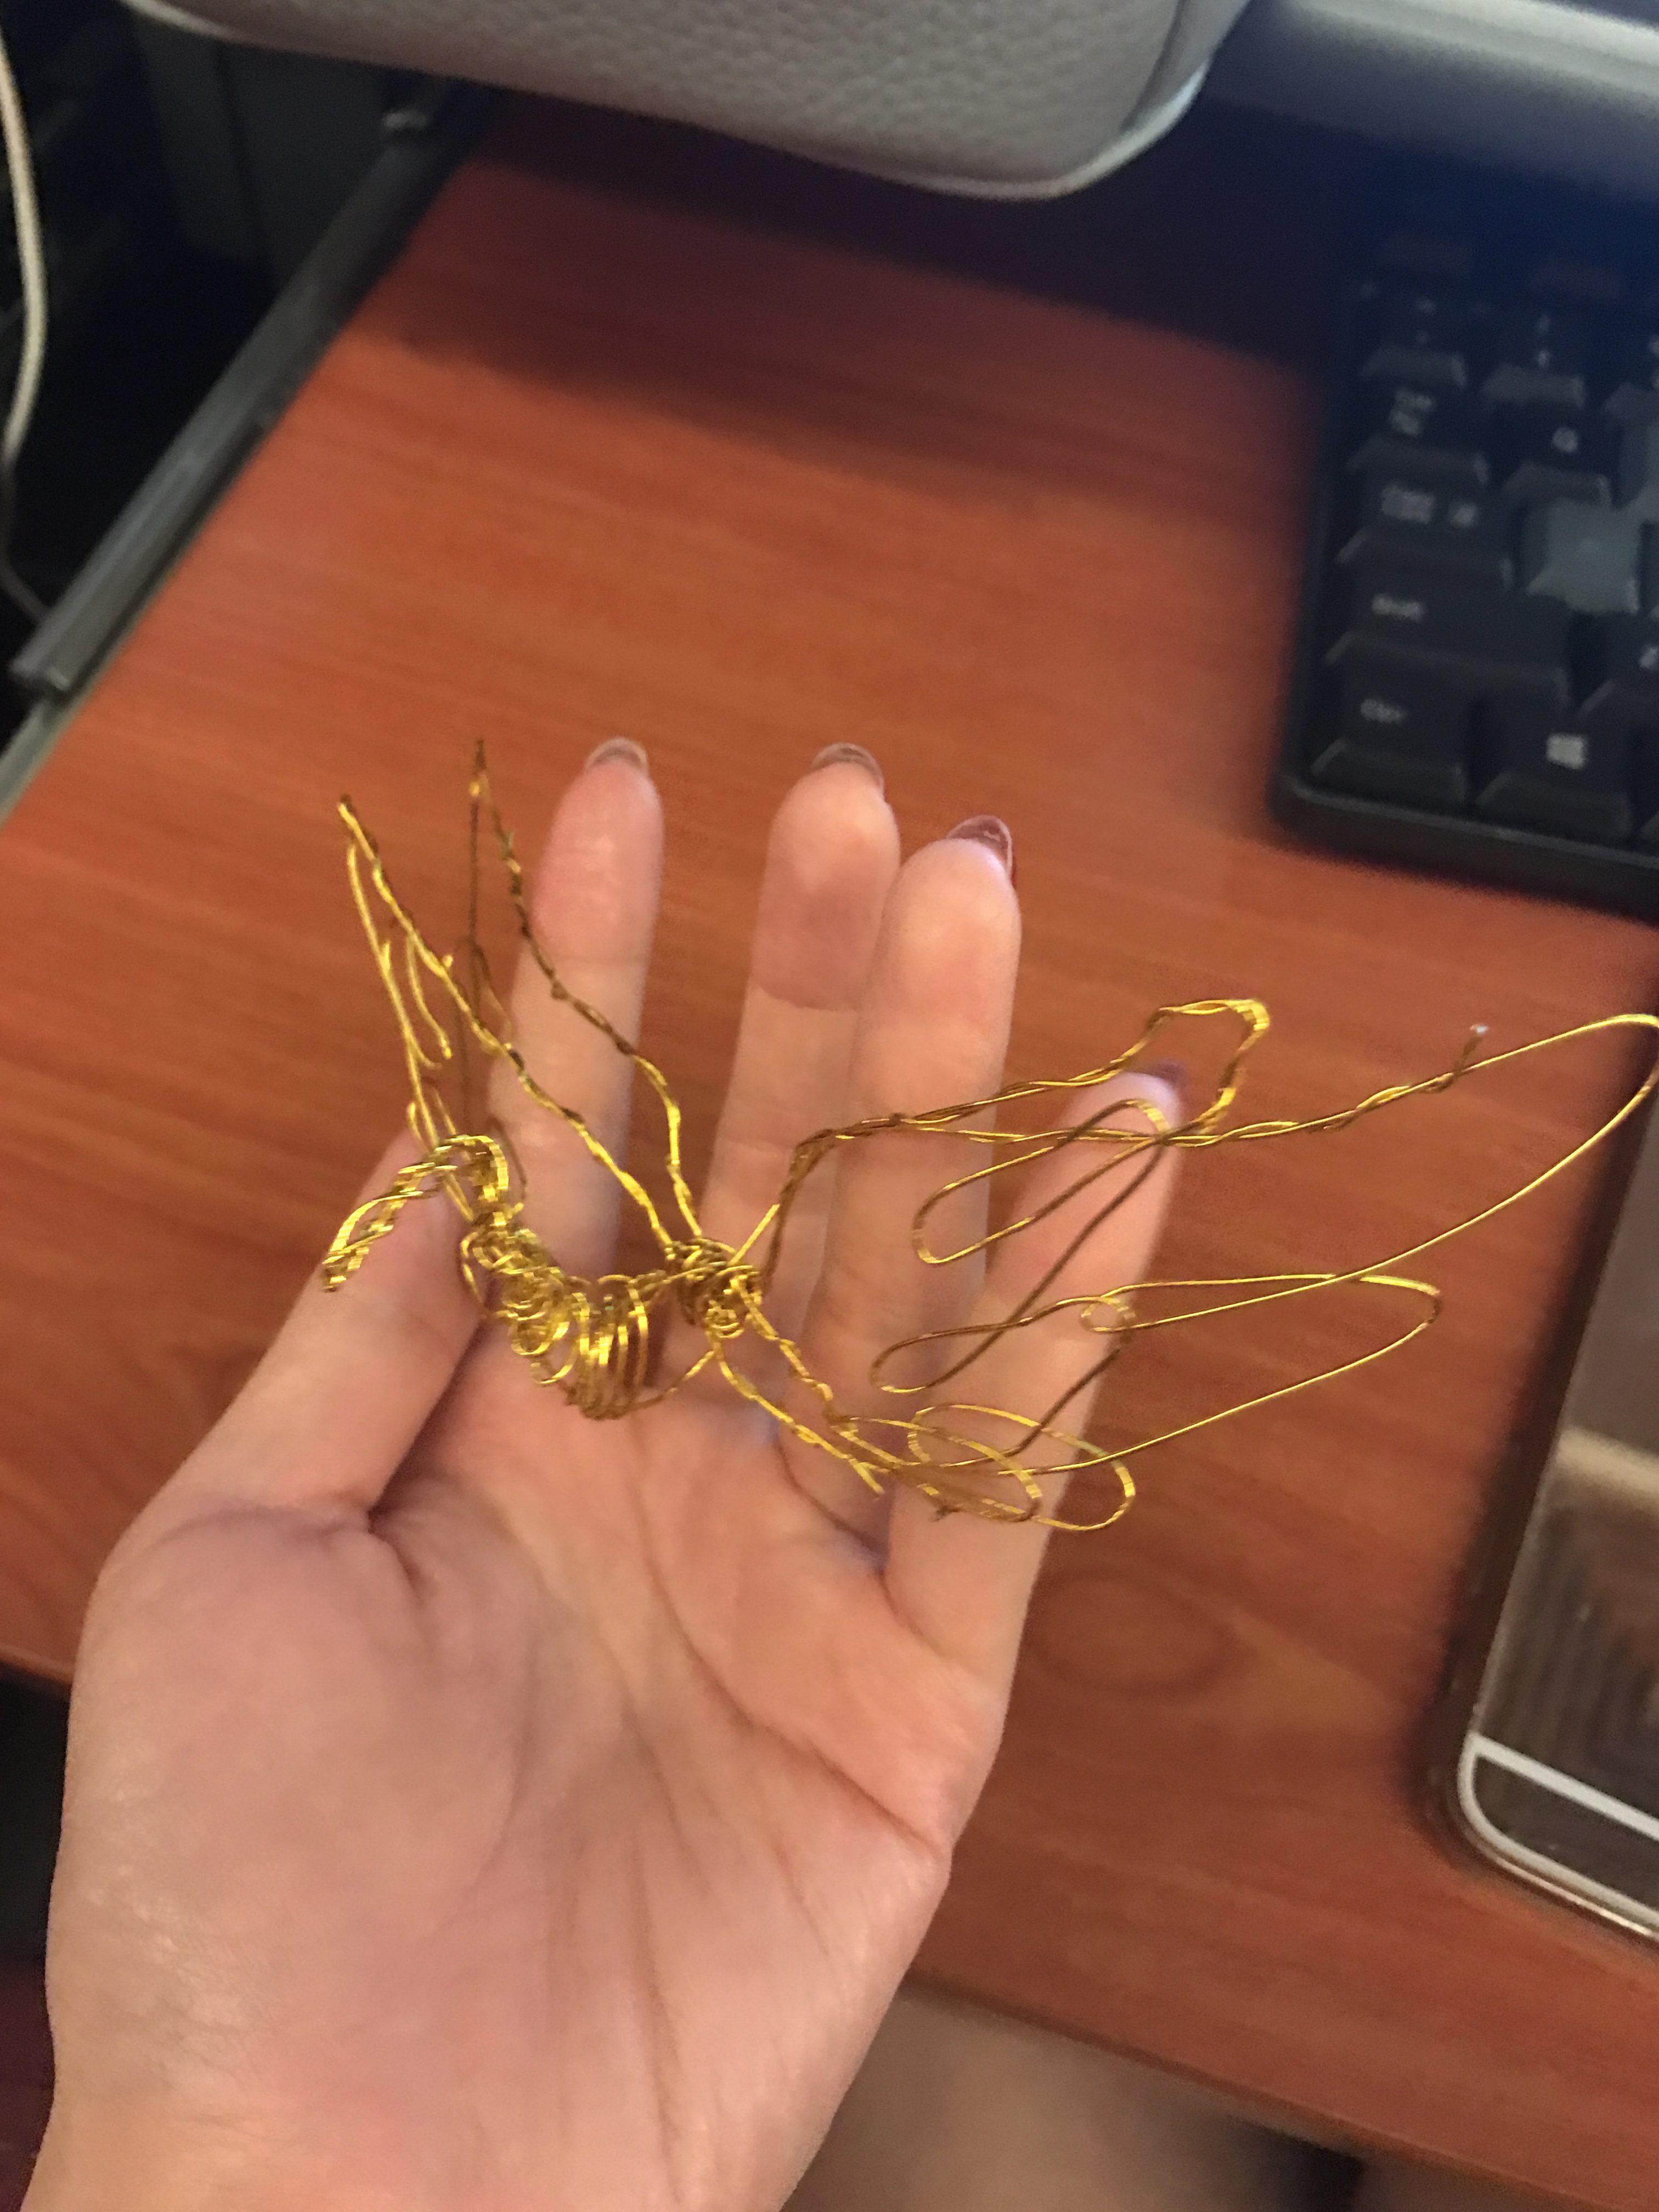
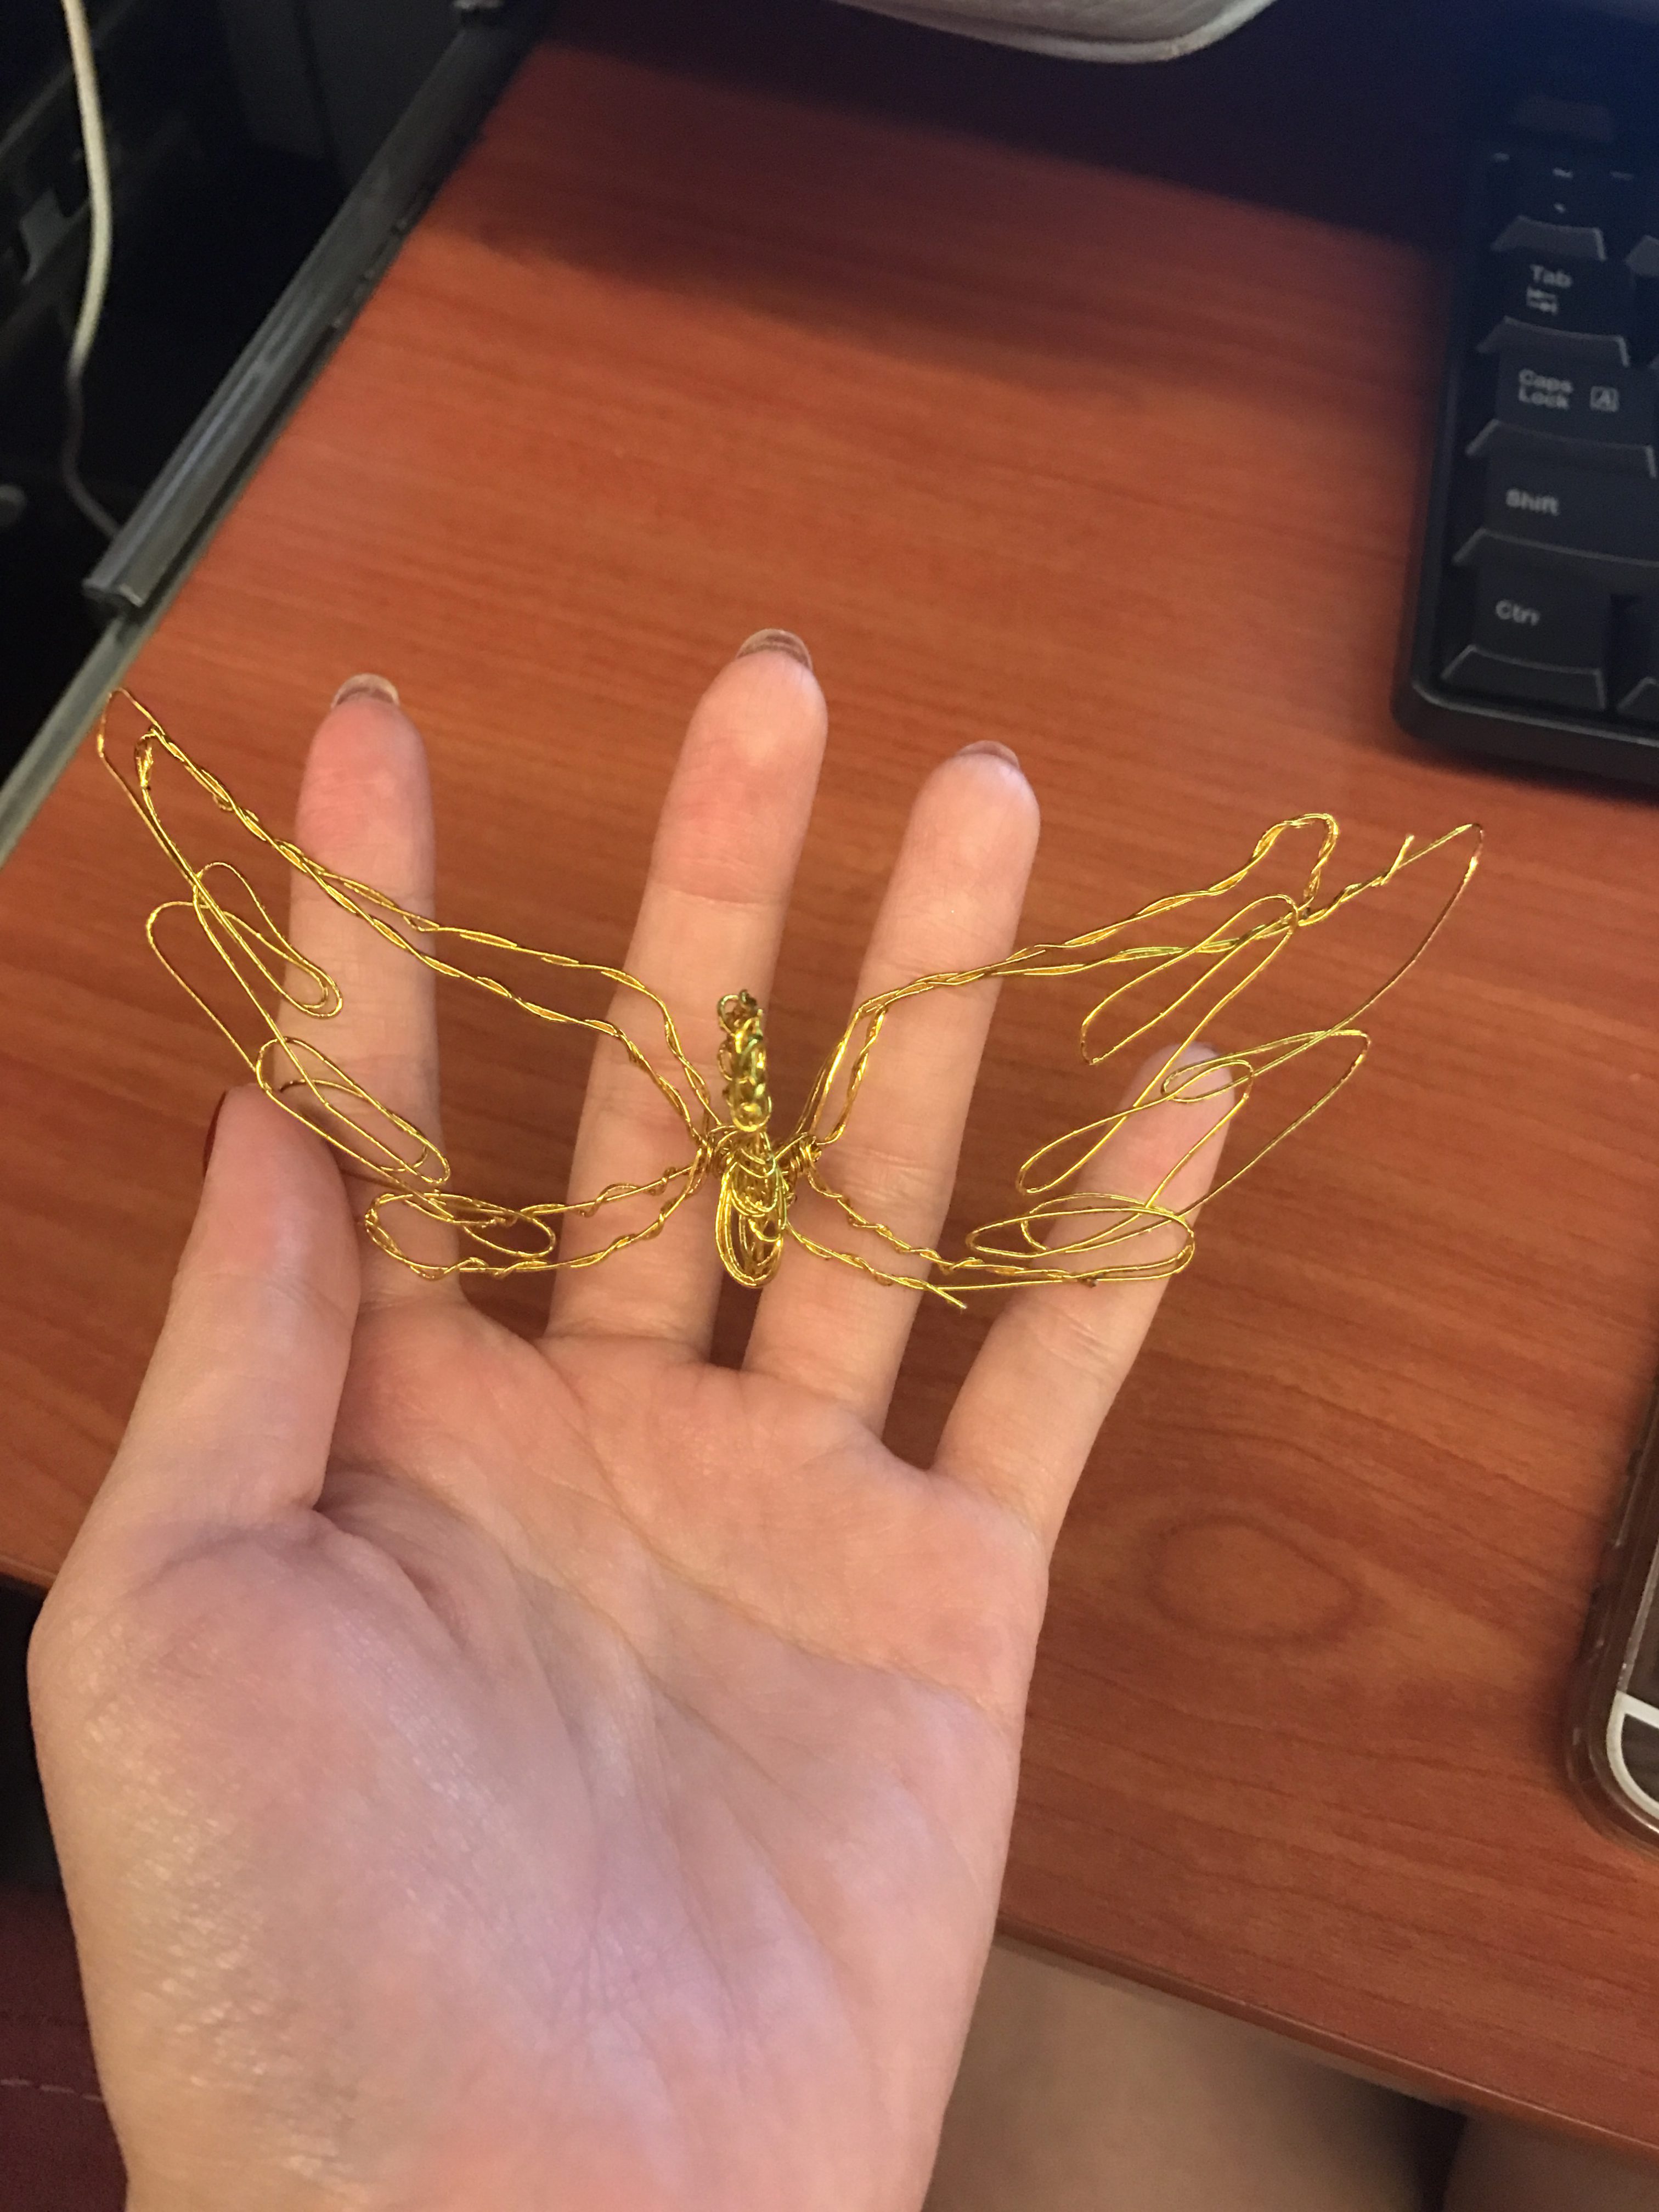
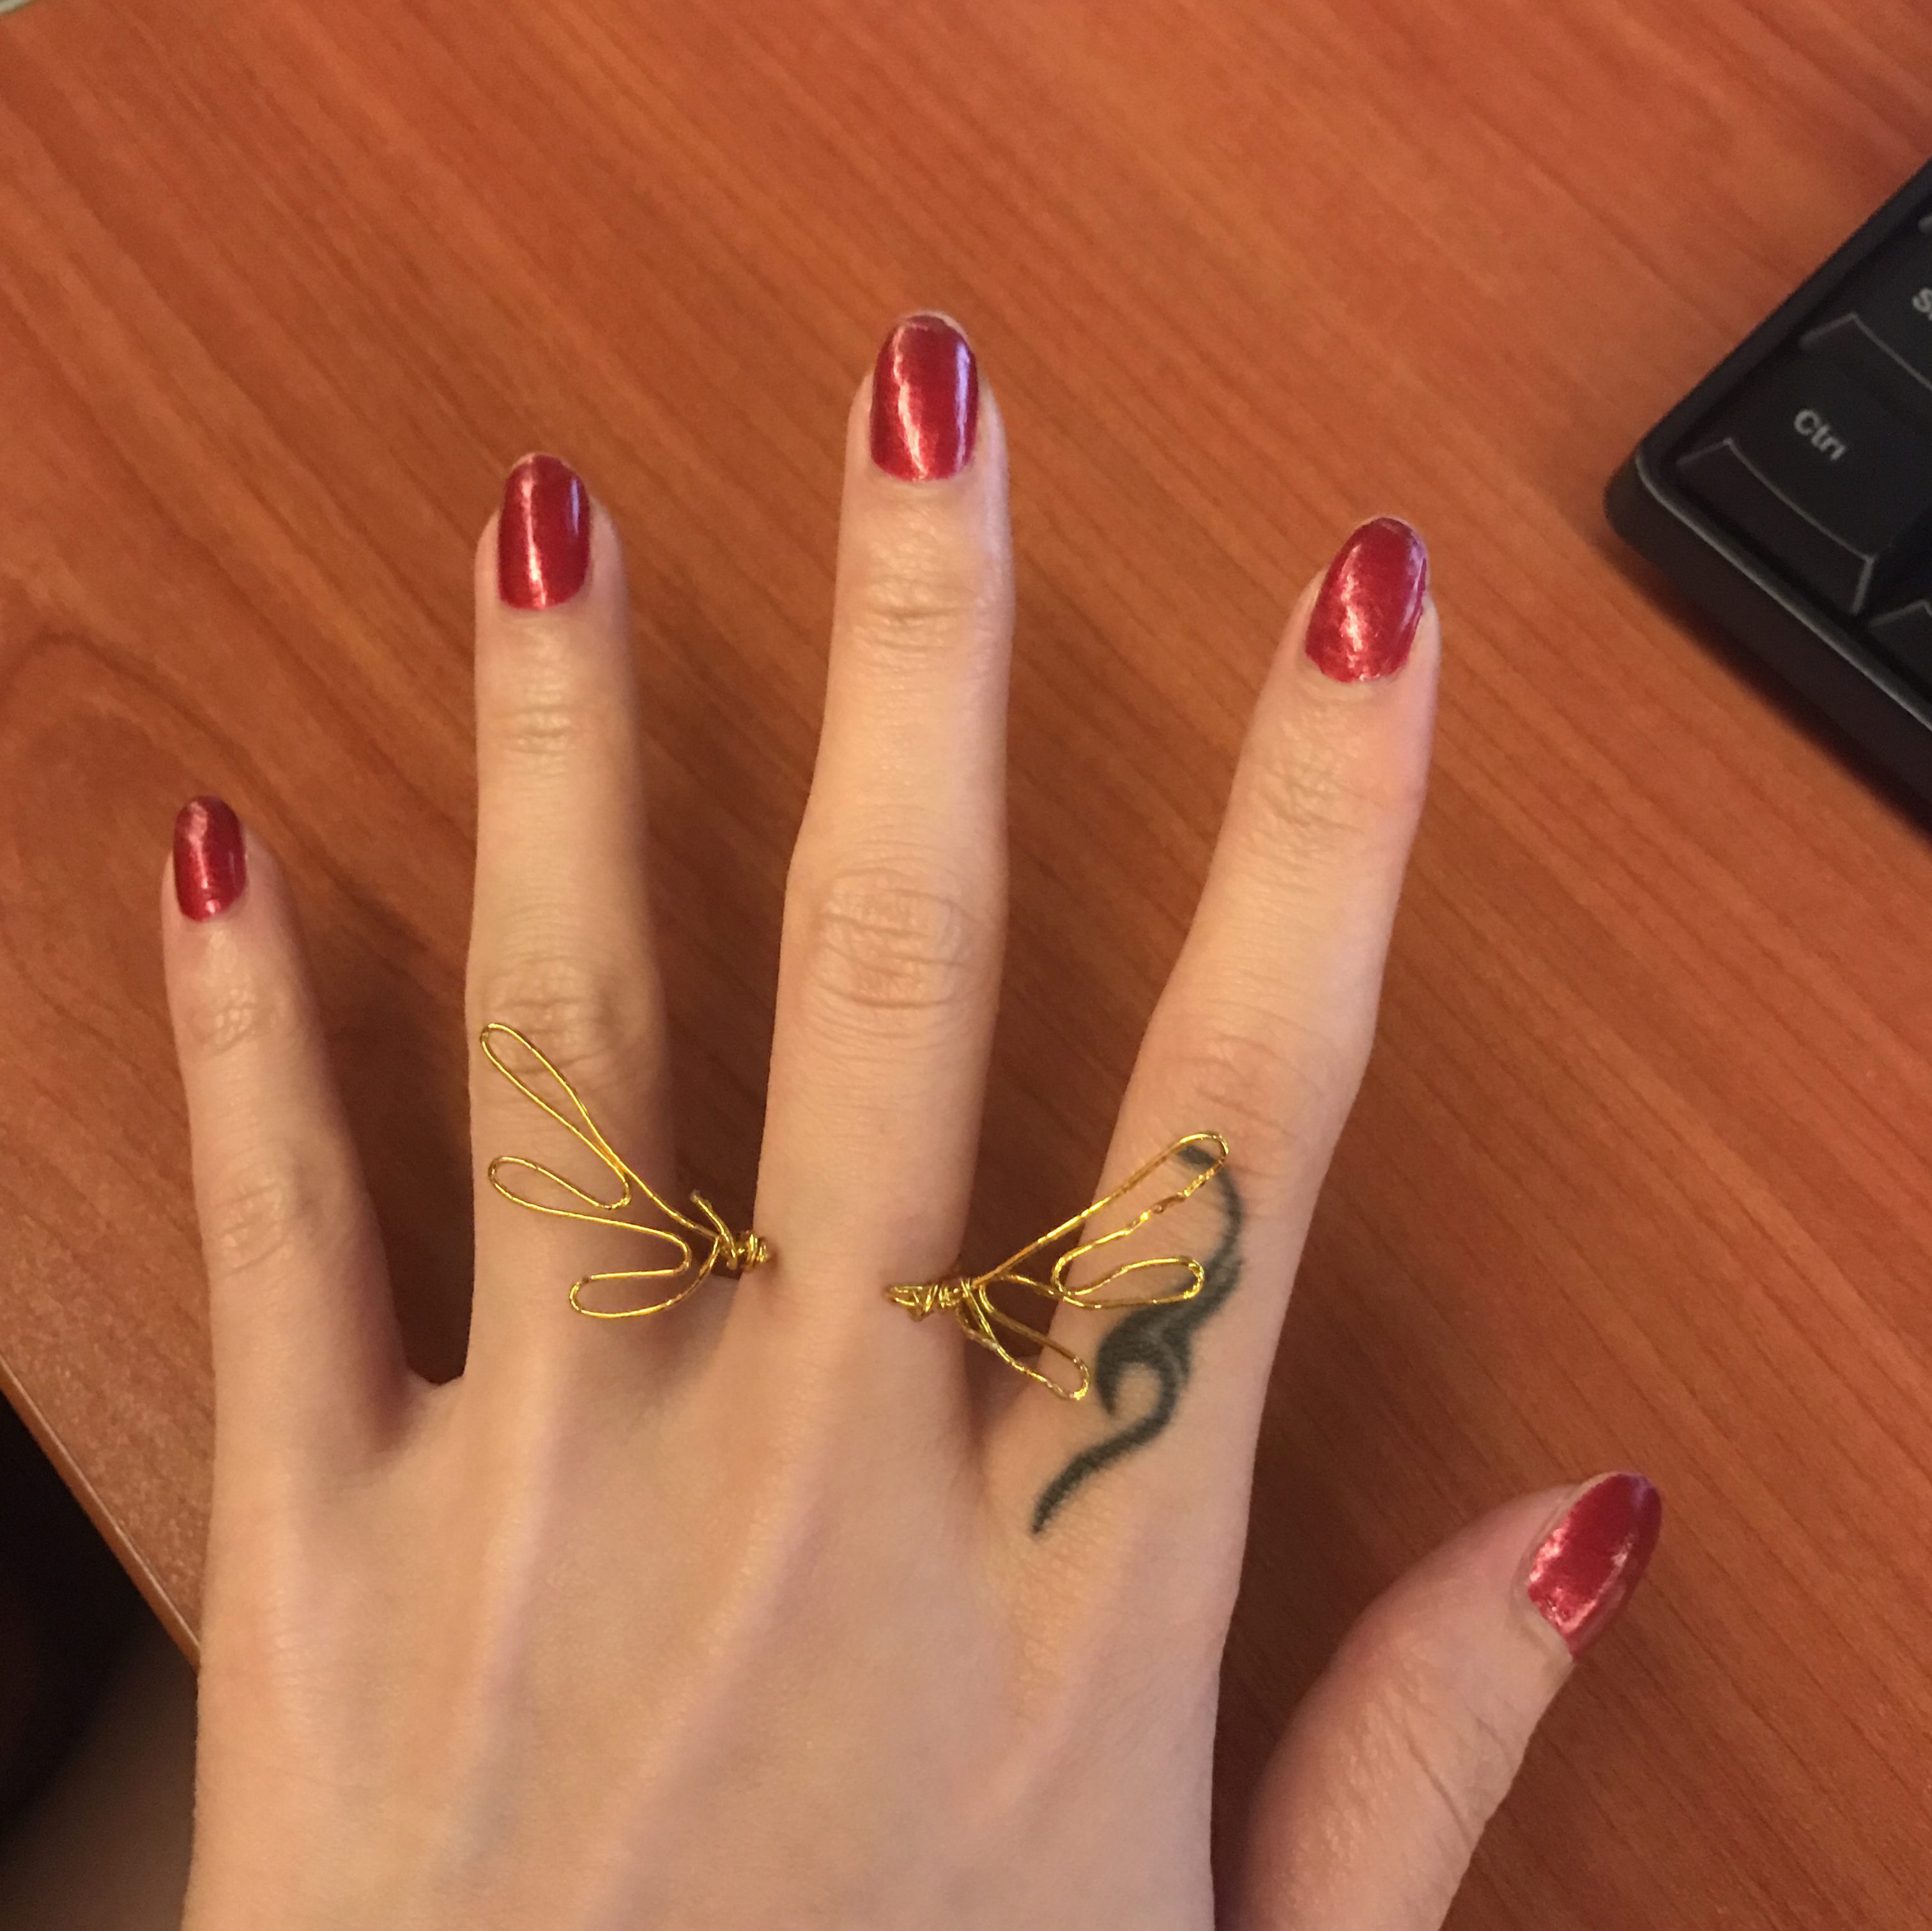
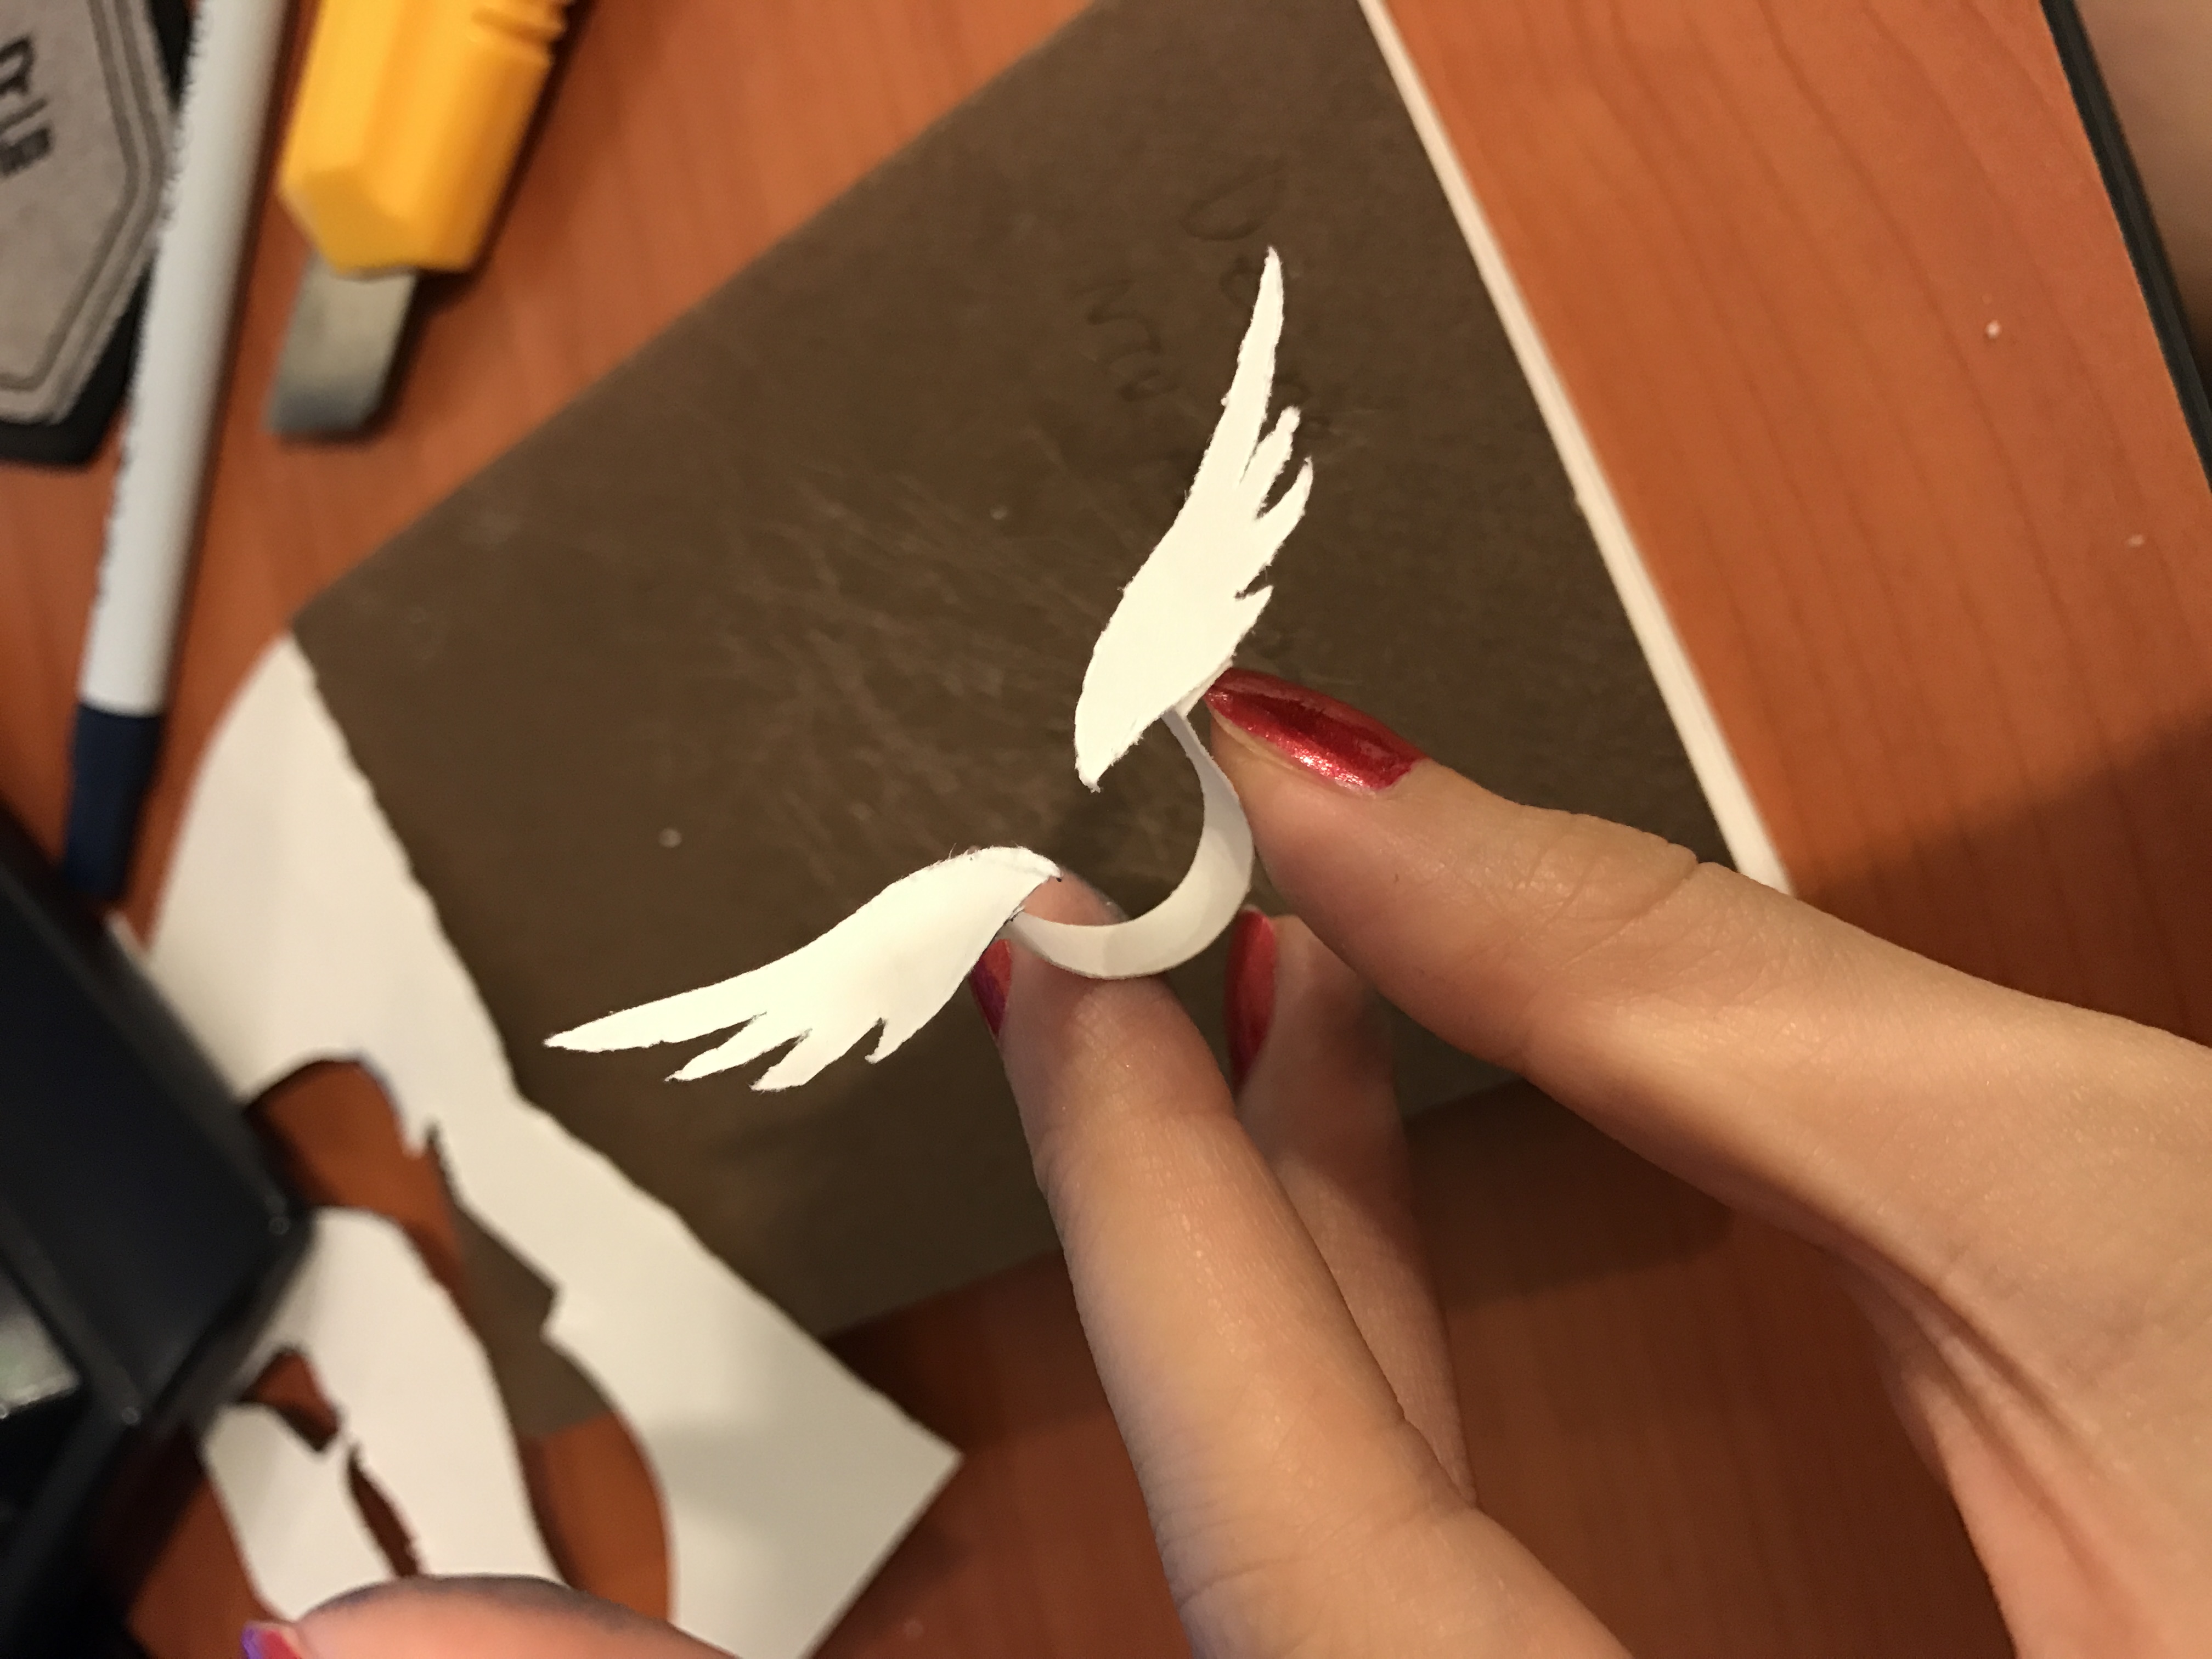
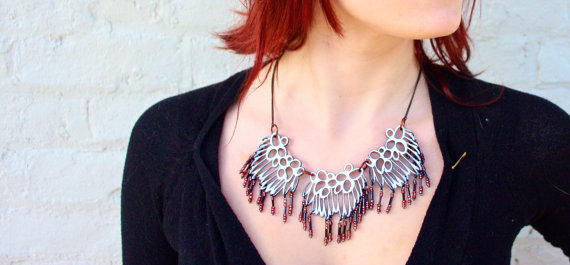
Previously, I had my choker mockup done from wire:
After which I proceed to drawing them out in computer, 2D. The form was further simplified.


I drew them in group-from top down, 3 in a group. The first of the three is the first layer, second is the second layer, third is the layering of 1st and 2nd layers, to explore the possibility of layering.
I also drew the variations of design, some has cut out, some have holes for tassels or dangling details. Some have wings more angled than the rest.
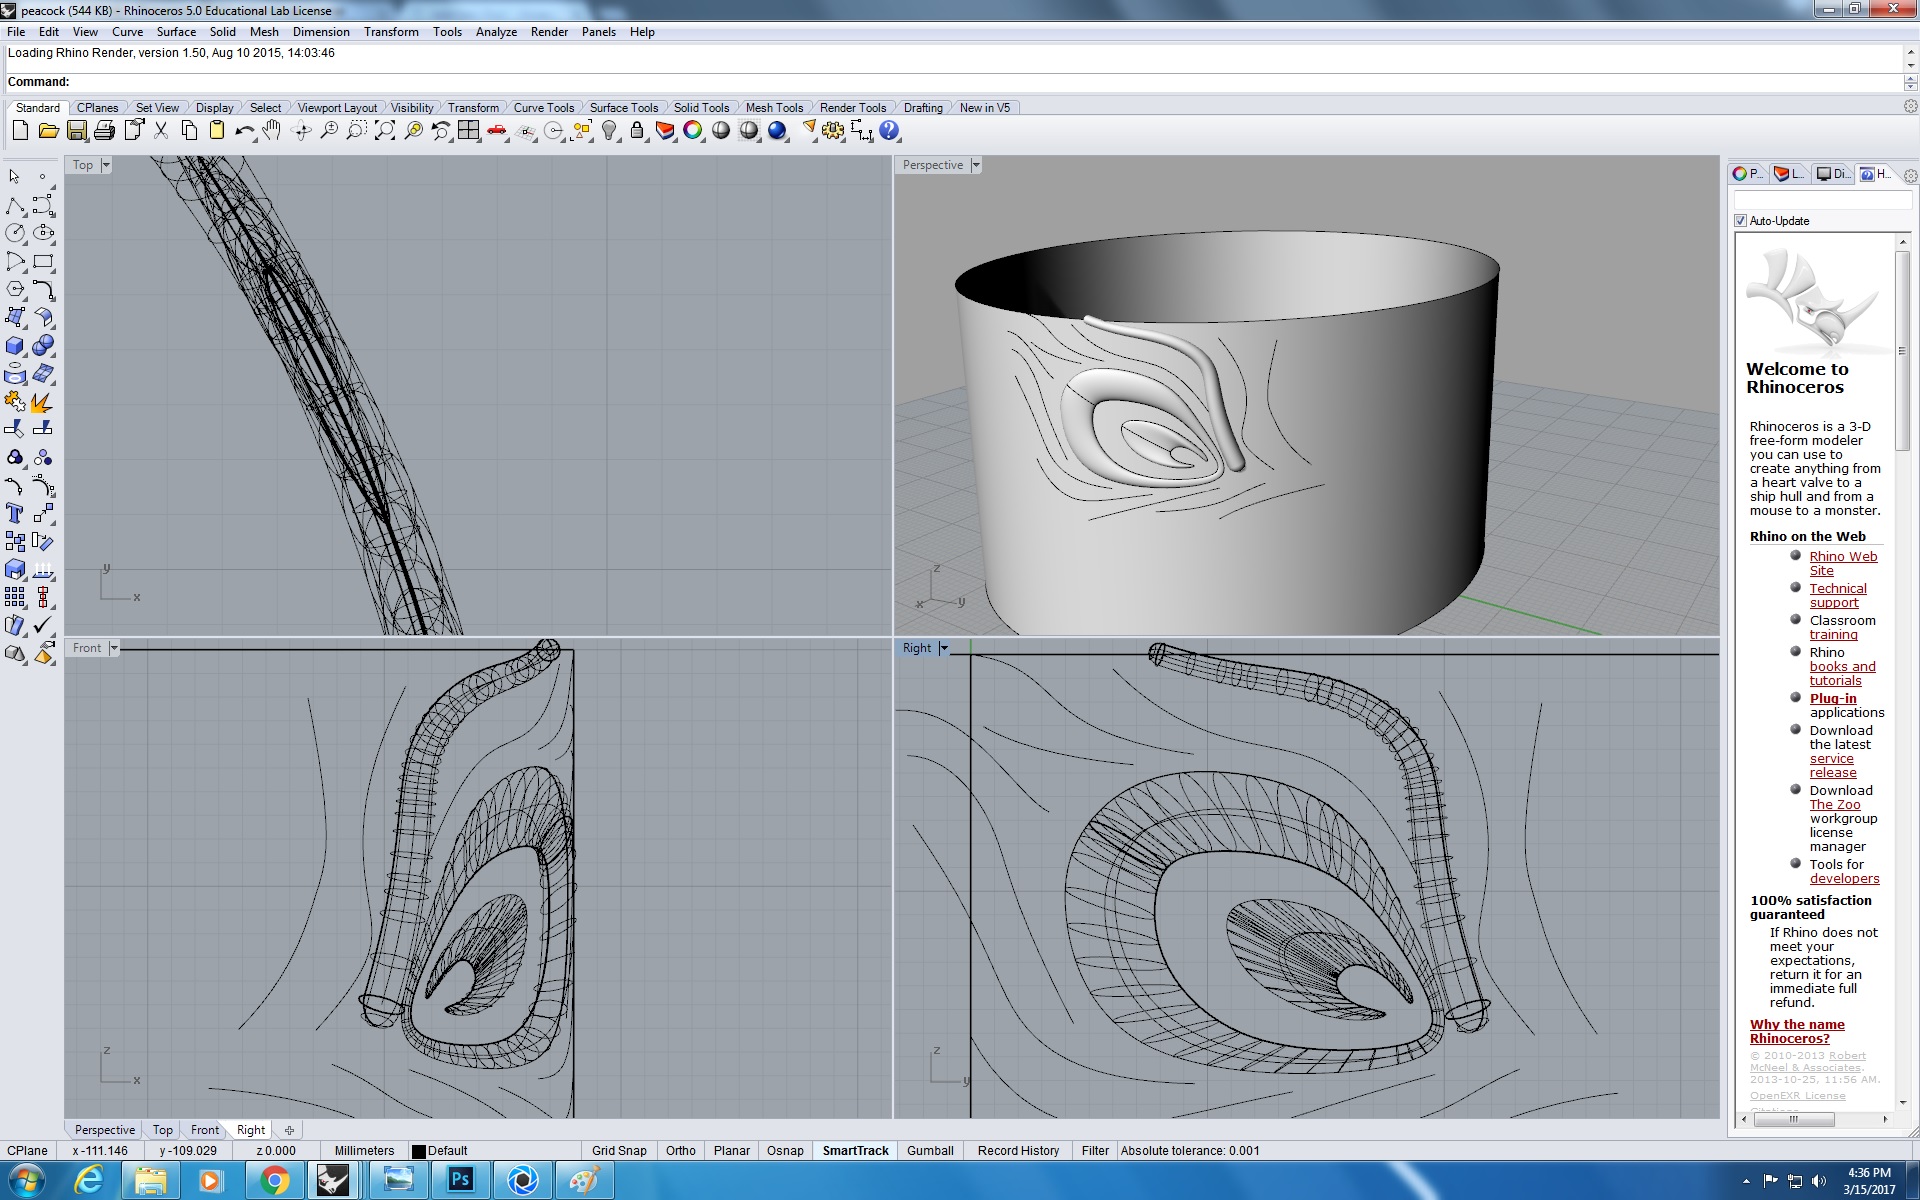
Following the 2D design, I drew the choker in 3D rhino.


As you can see from the image on the left, this choker is ergonomically not feasible. Our neck is not a standard cylinder but rather a cone shape. As this choker is pretty wide, it should be designed with a slight angle. If not, it can only be wore at a very high position on neck(right image) and would be really uncomfortable to wear. In addition, the pointed edges and spikes can be dangerous for people to wear on neck.
side profile of the product . In addition, the bulky design needs a lot of printing materials, at the same time, reducing the flexibility of the choker.

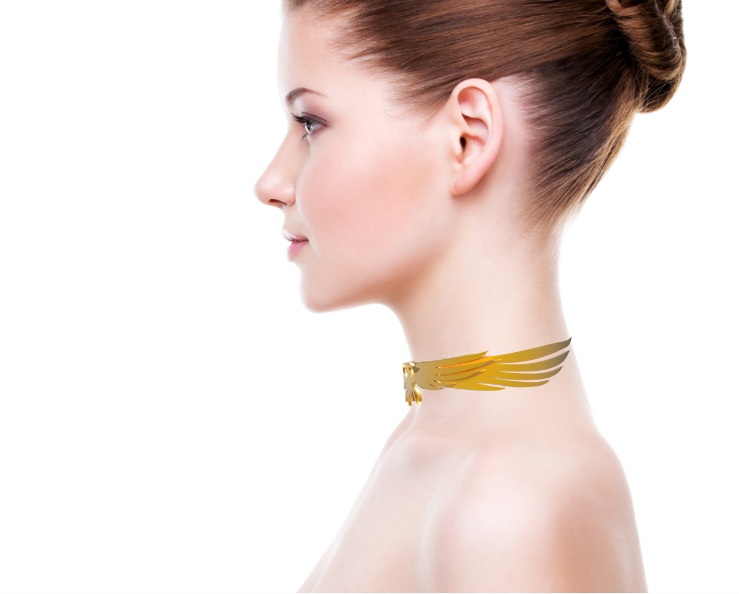
After slight adjustment of the angle of the wings, the choker sits better on the neck. Nevertheless, it still doesn’t solve the problem of safety. AND after all it doesn’t look so appealing aesthetically.
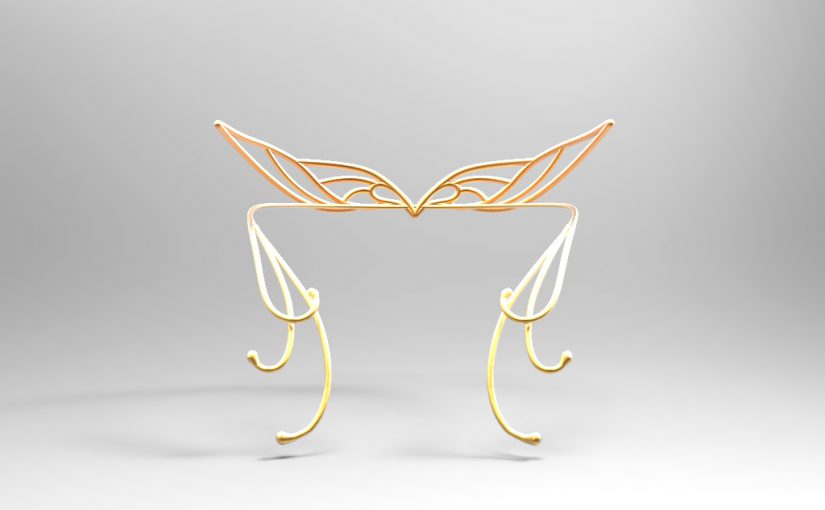
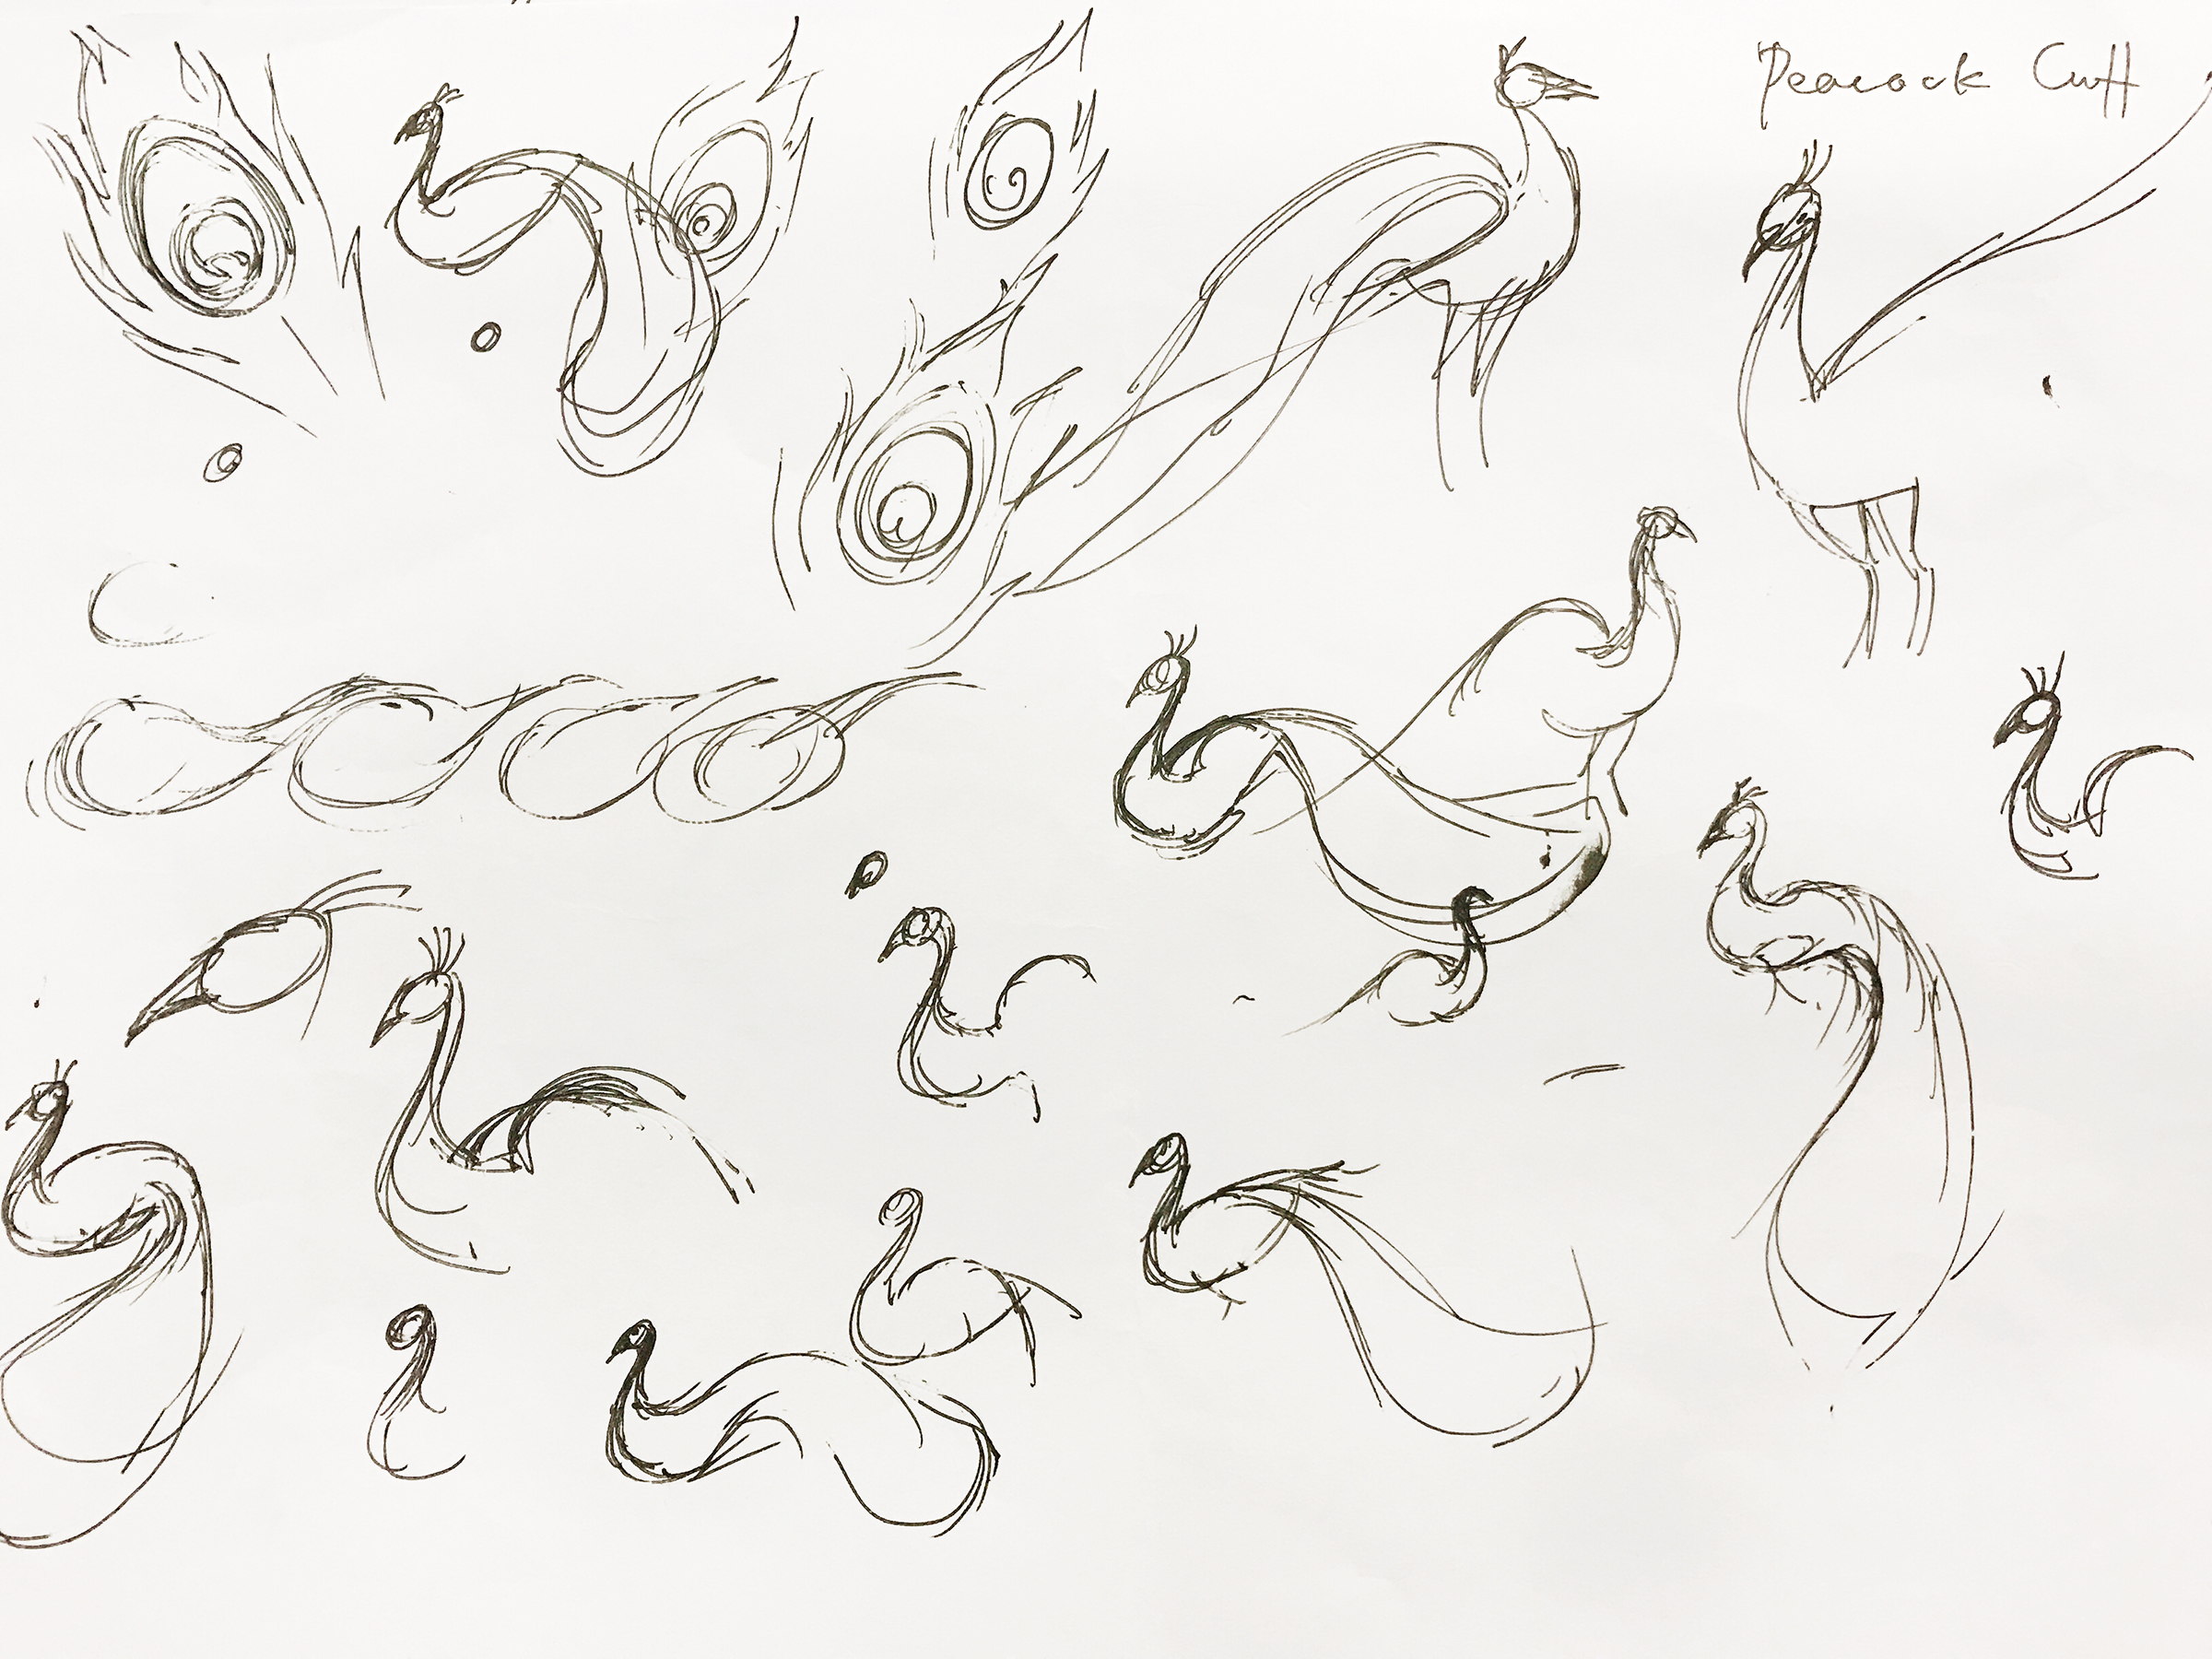
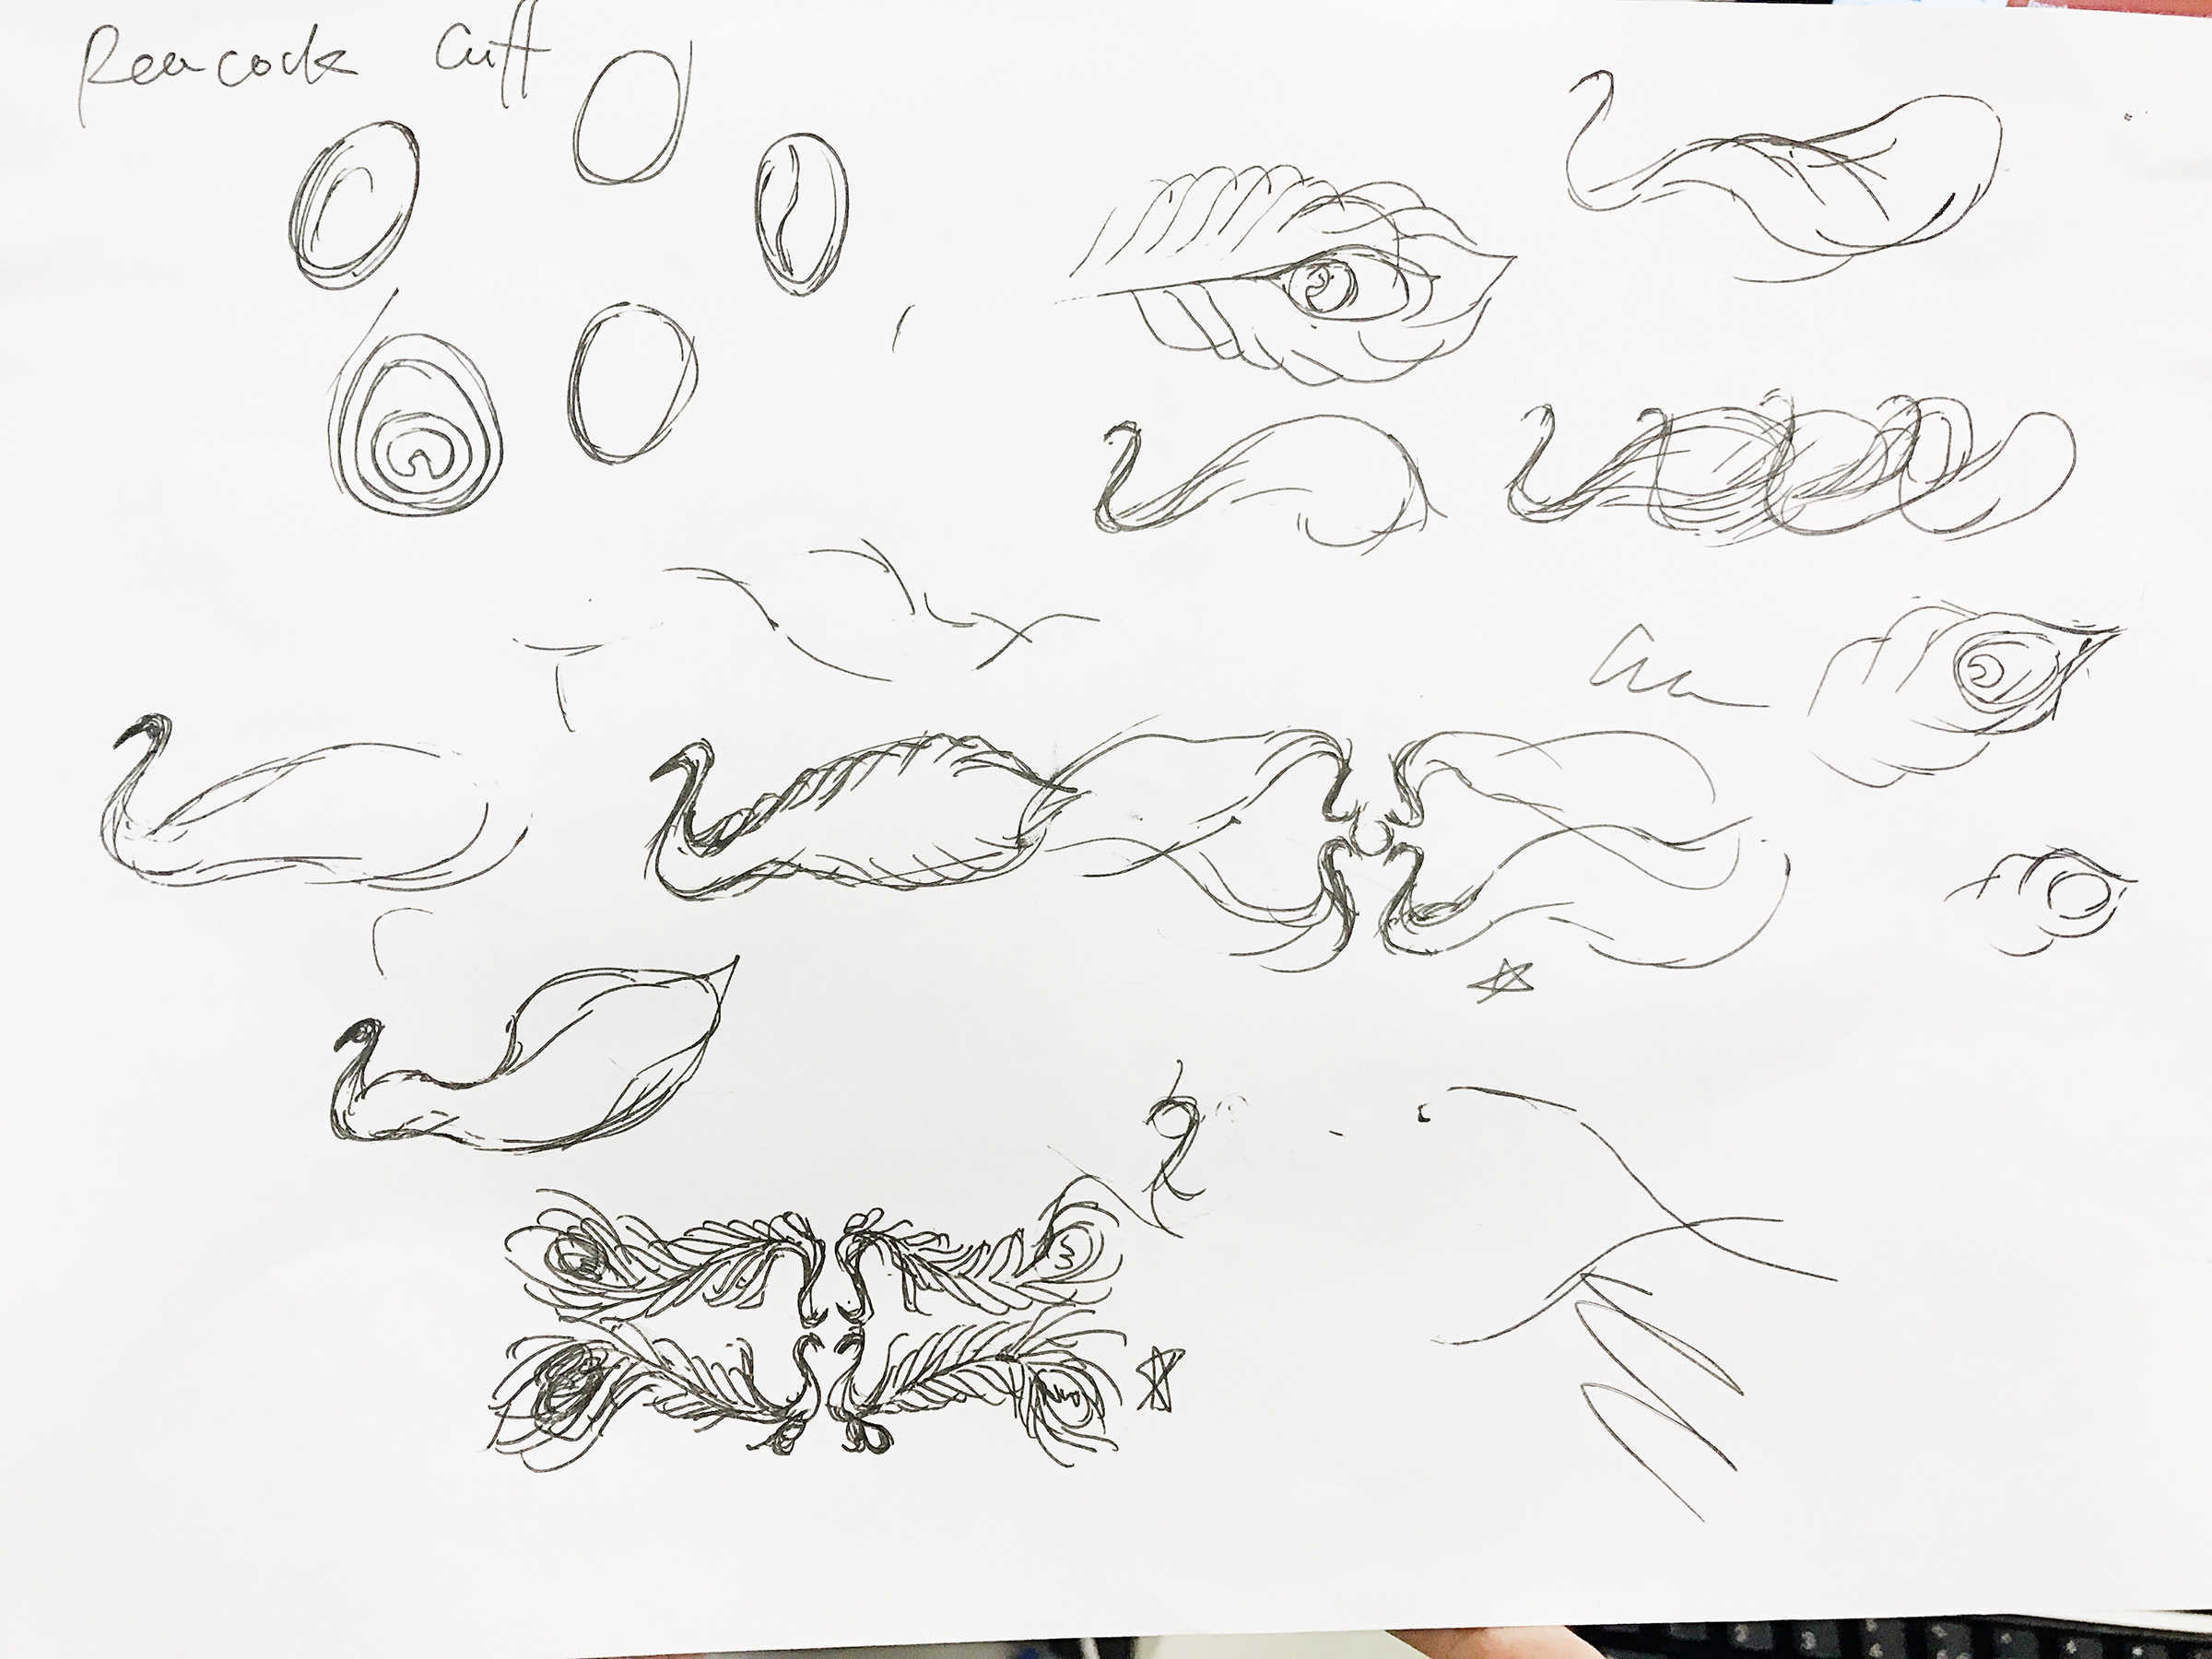
I started to review my design and think of other possibilities. As we have learnt in Studies in Forms module in year 3, depicting an animal does not necessarily depicting the entire feature. It can be just representation of certain traits. Take phoenix for example, to me, the most symbolic part pf phoenix is the flamboyant tails and the proud even arrogant gestures. Starting from there, I simplify my design into something more representative.


I personally like this idea a lot although I wouldn’t say it is perfect. It is physically and visually much lighter, more versatile and modern.
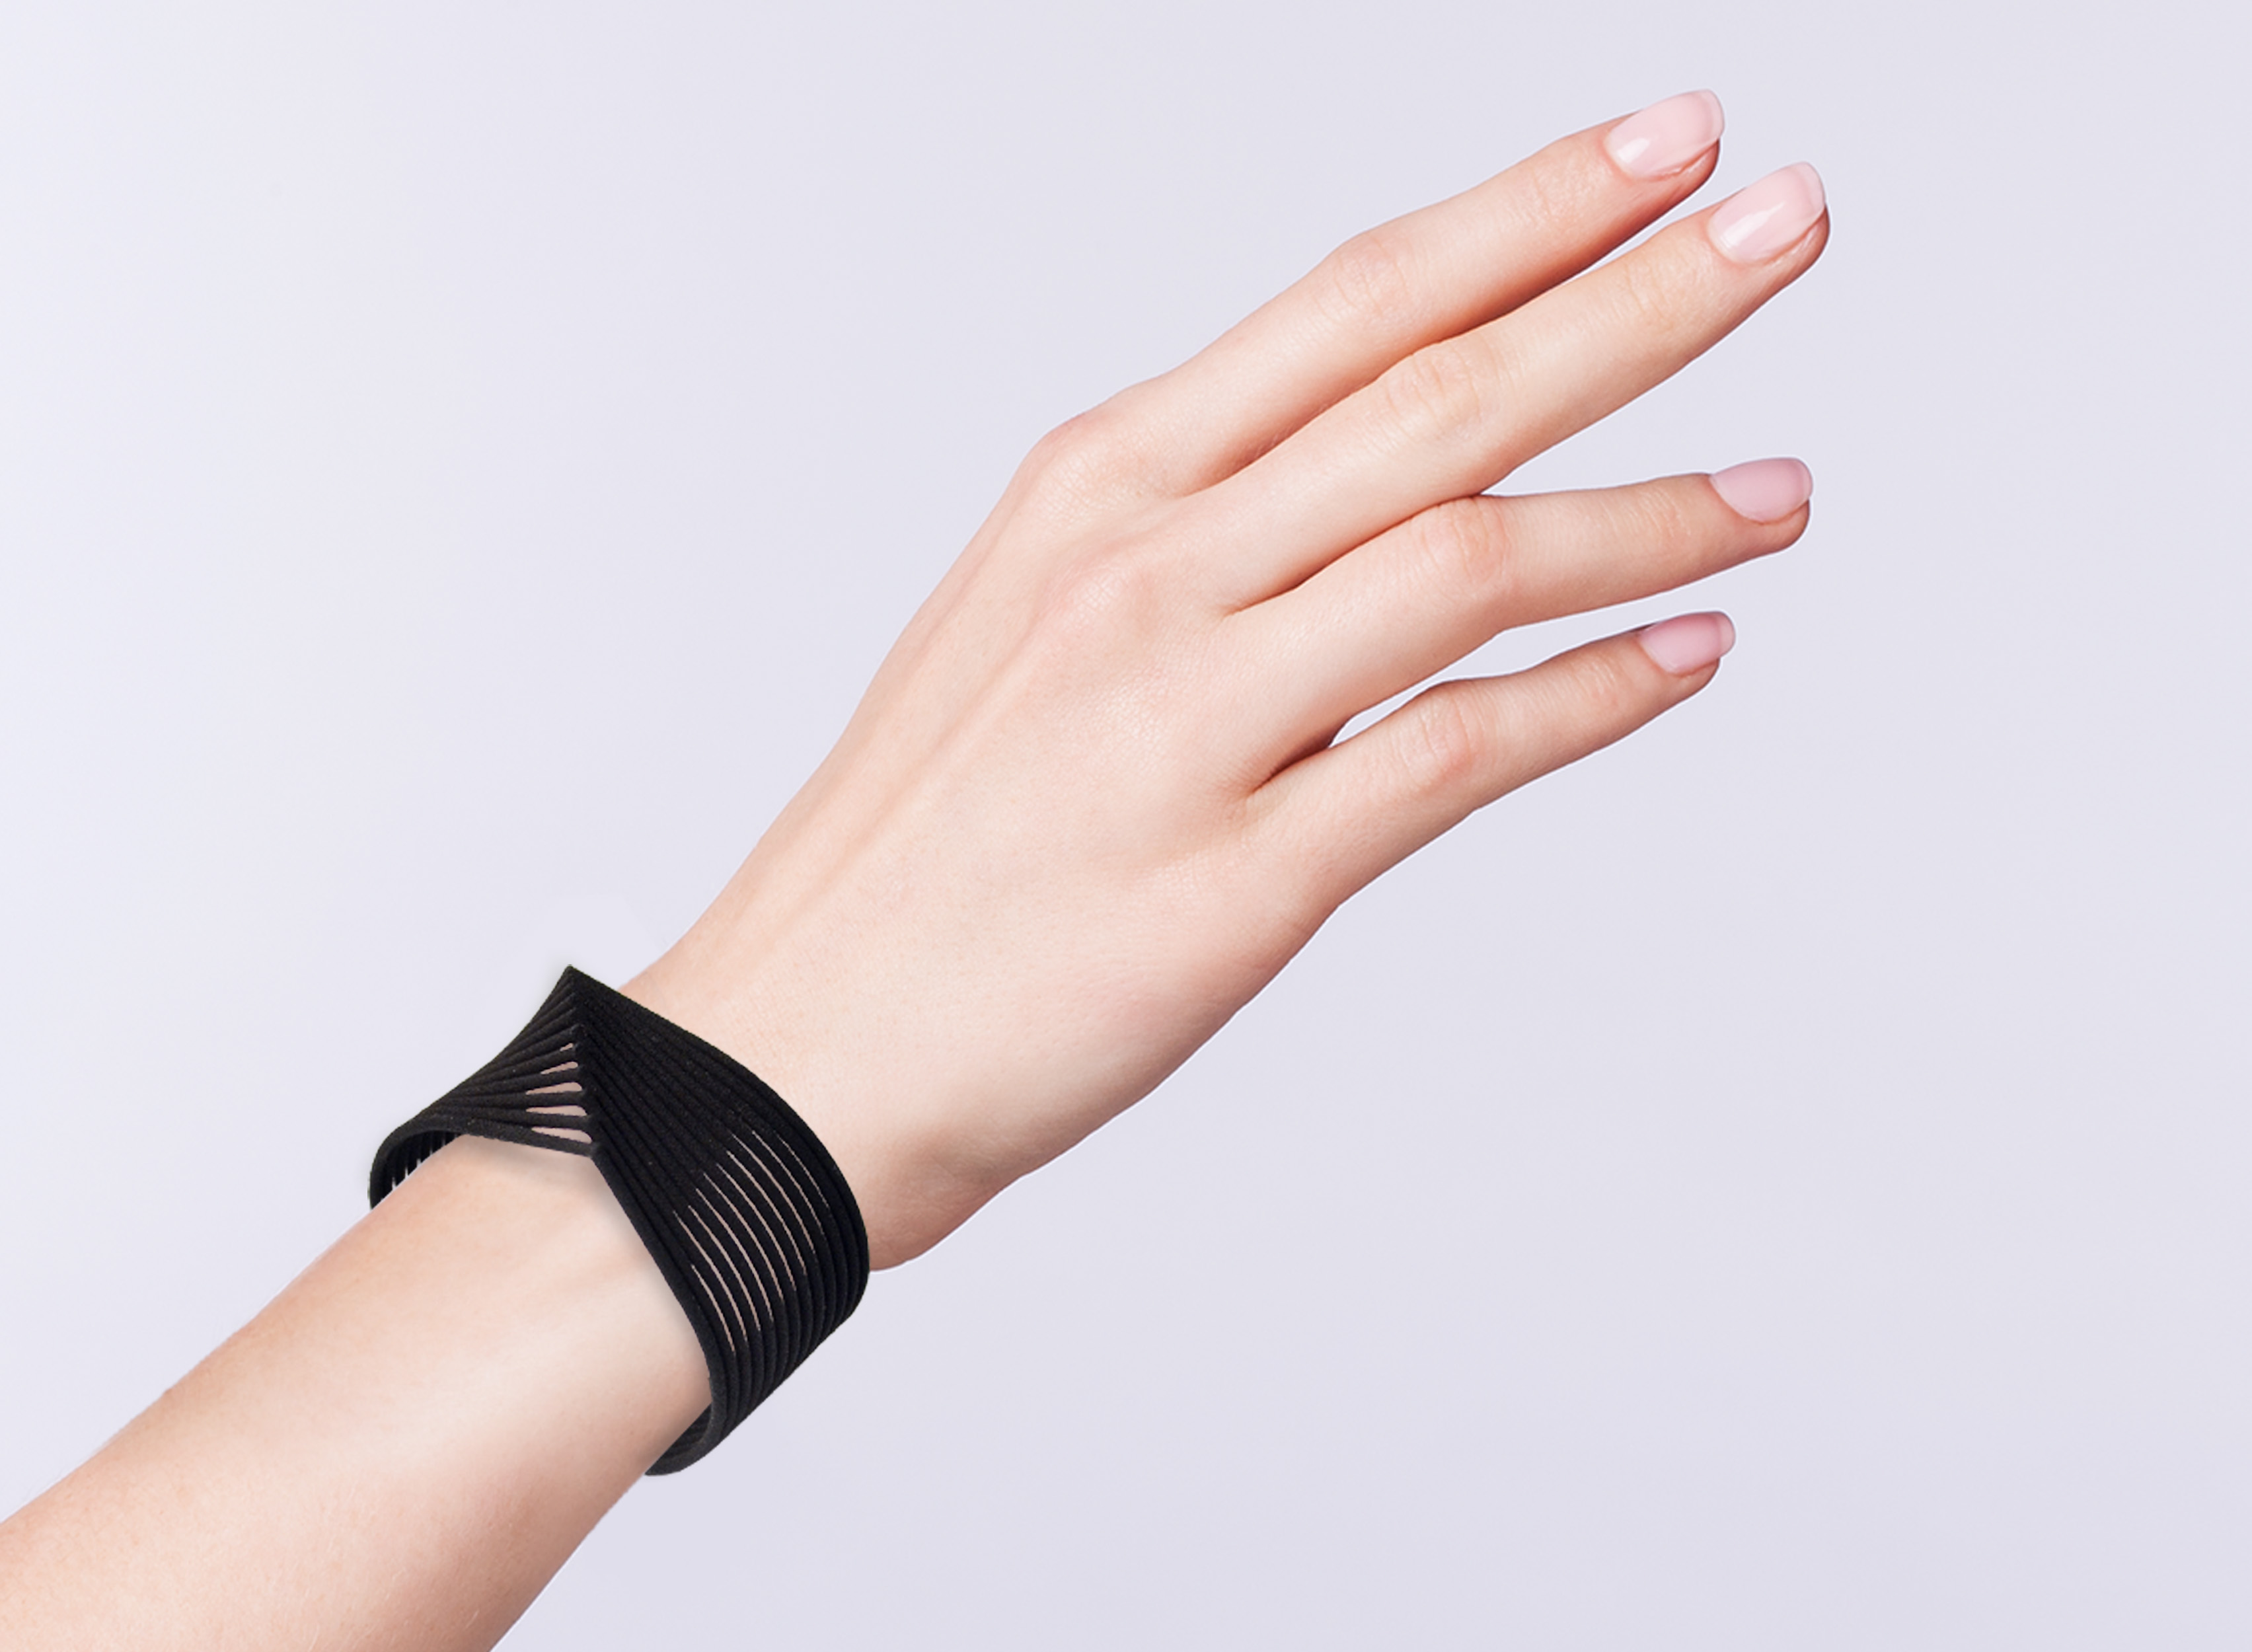
Based on similar design I drew out a wrist cuff.


previously I have done my ring mock ups like these
After last presentation, I did CAD models and 3D printed them out.


The printing quality isn’t good. The ring sizes are reasonable and fits me well. As rings are very particular in sizes the products will come in S M L sizes which is US 6 7 8, the most common female ring size.
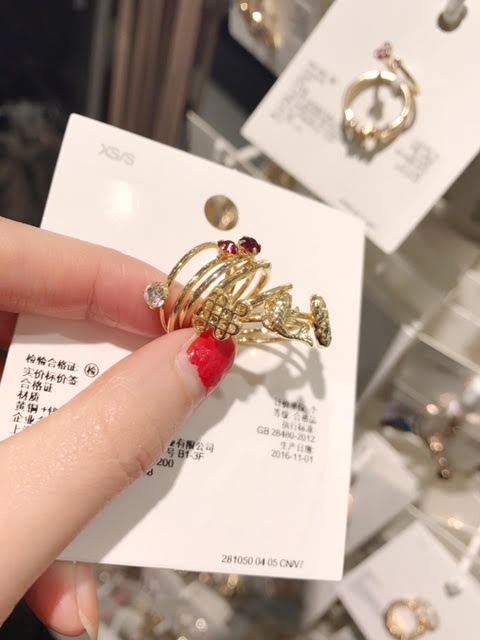
Then I CAD out the matching ring design with previous choker and cuff.


And alternative design with a lotus. A such the series will not seem boring with wings wings and wings.

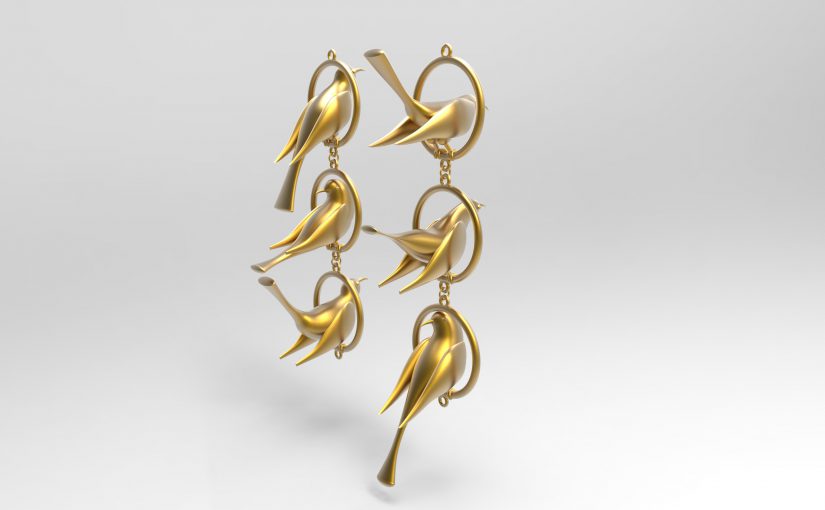
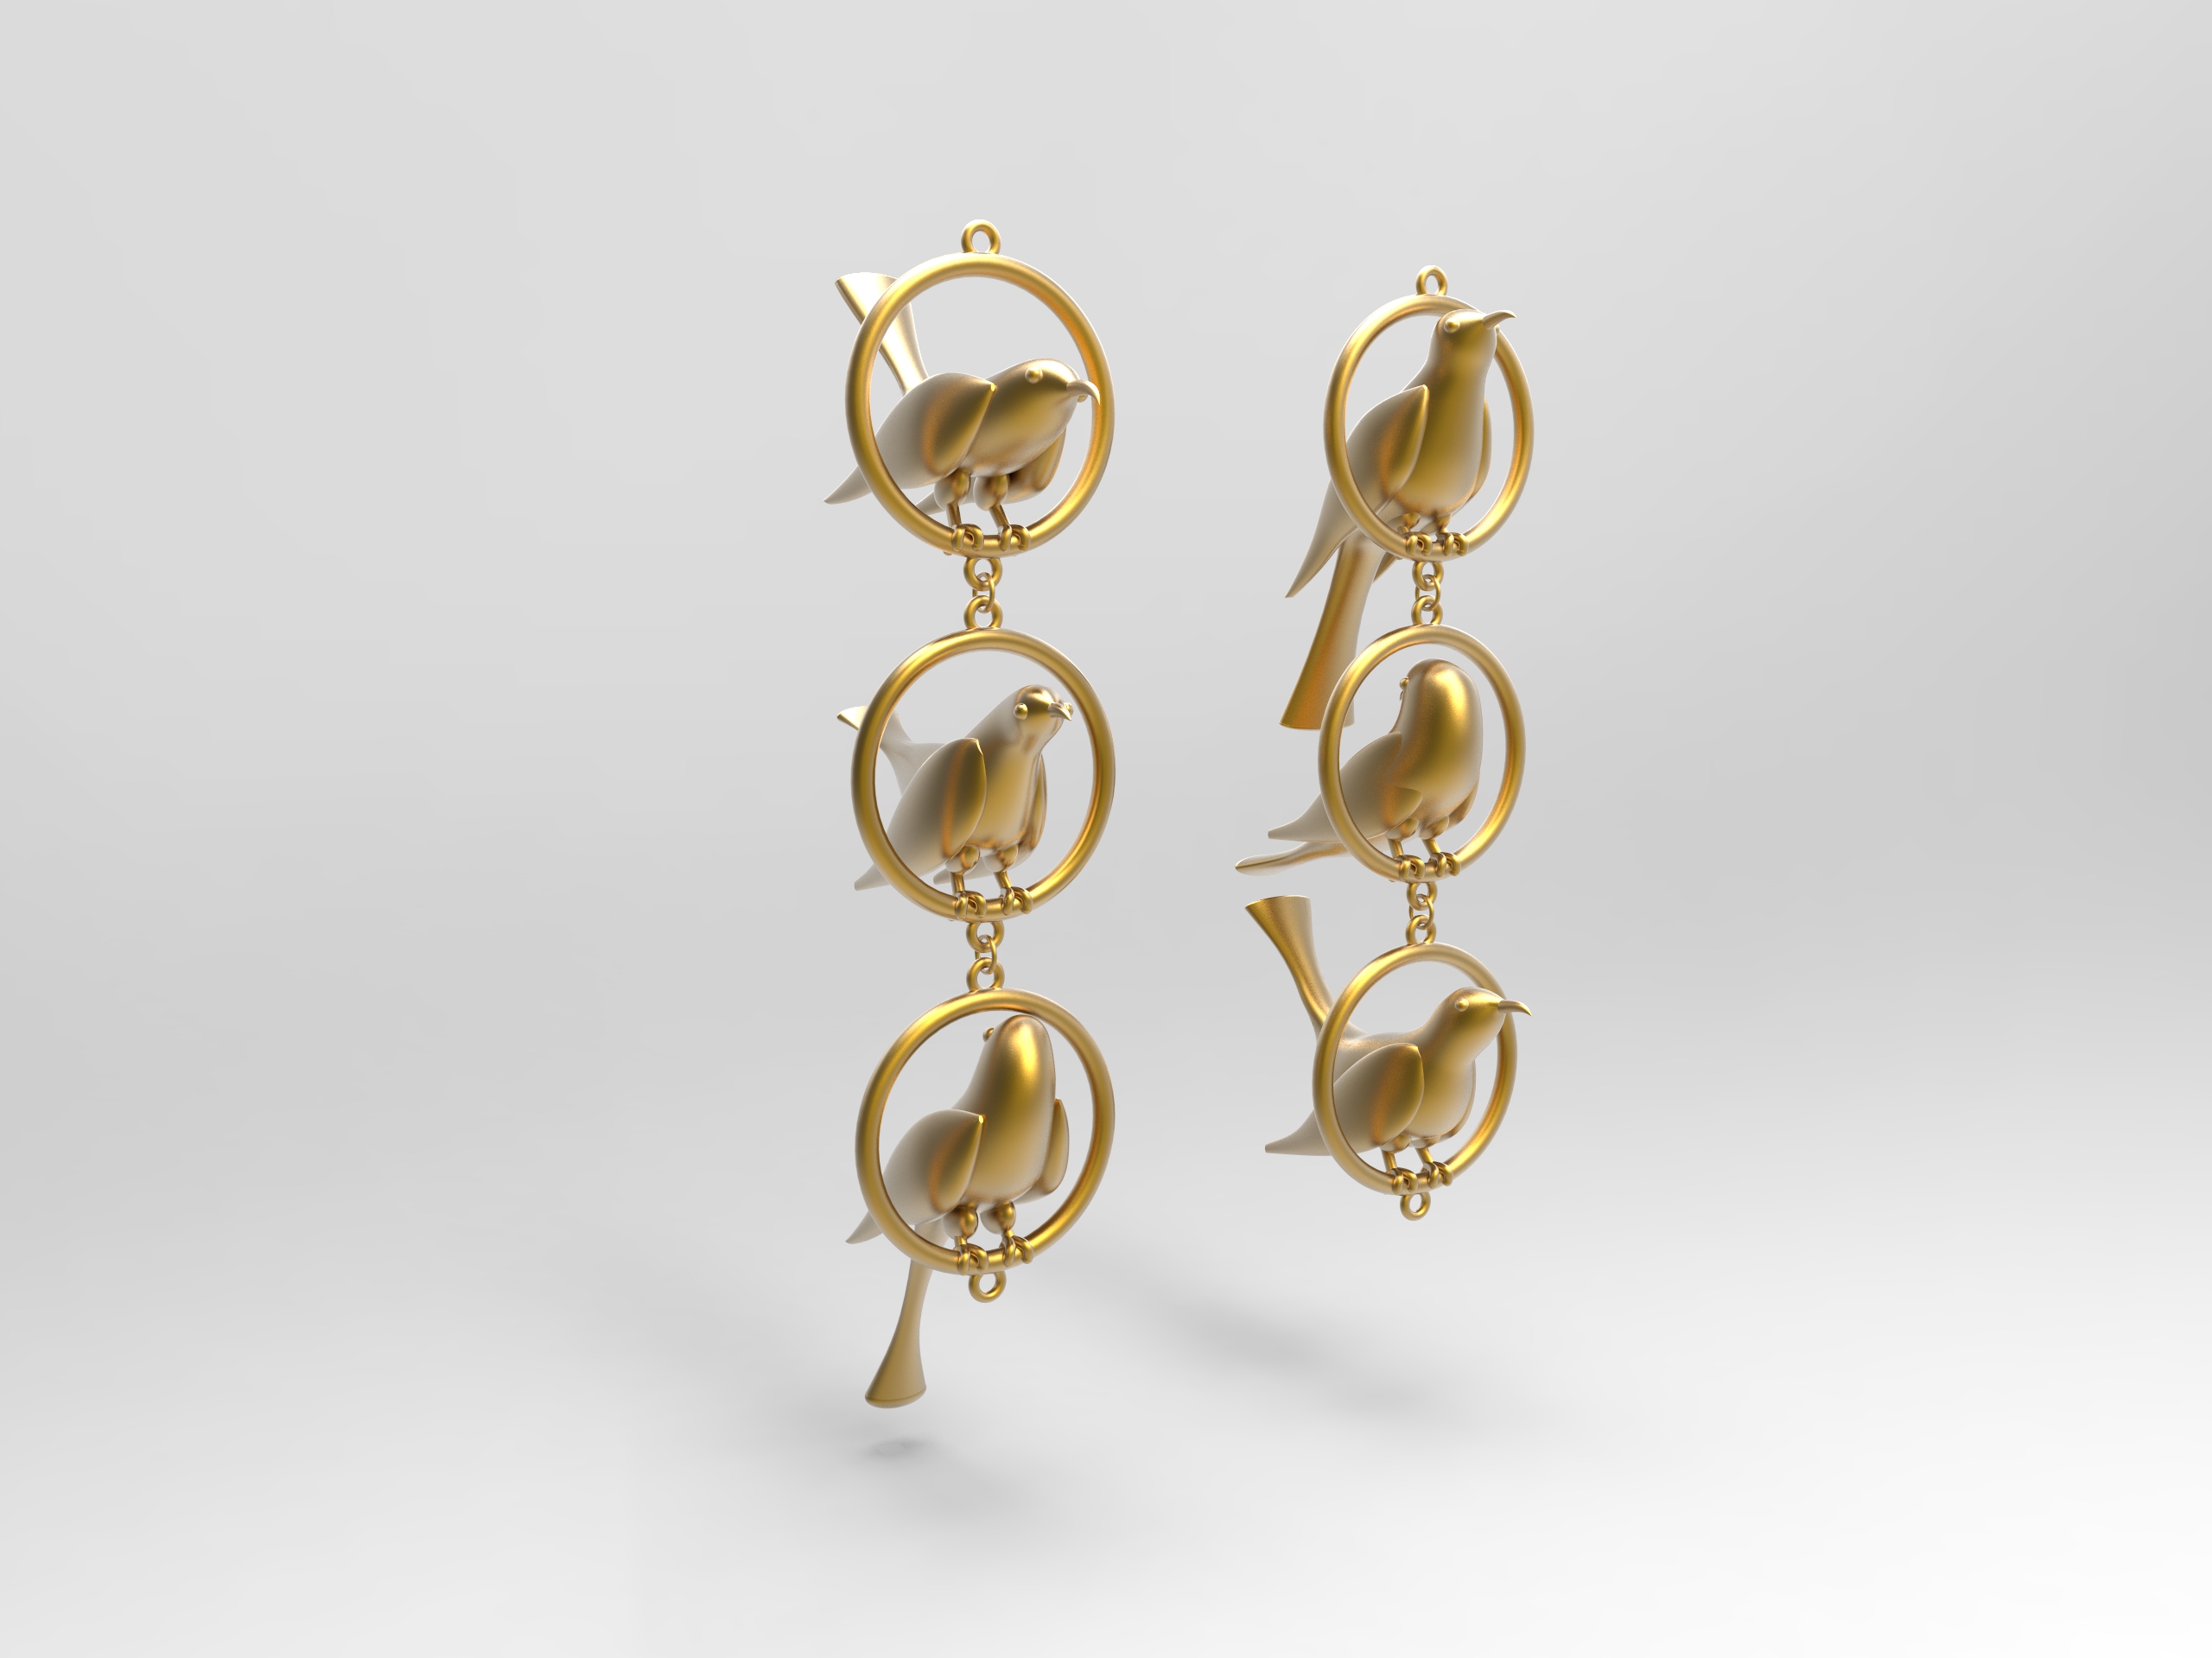
Lotus is an element I consider to add into other pieces such as glass chain, earrings, necklace pendant.
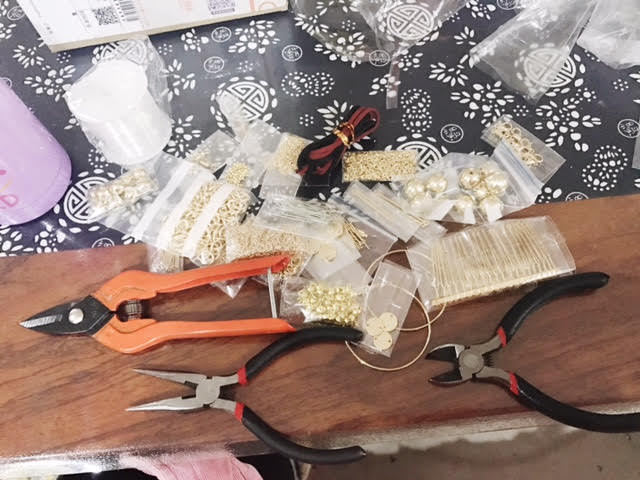
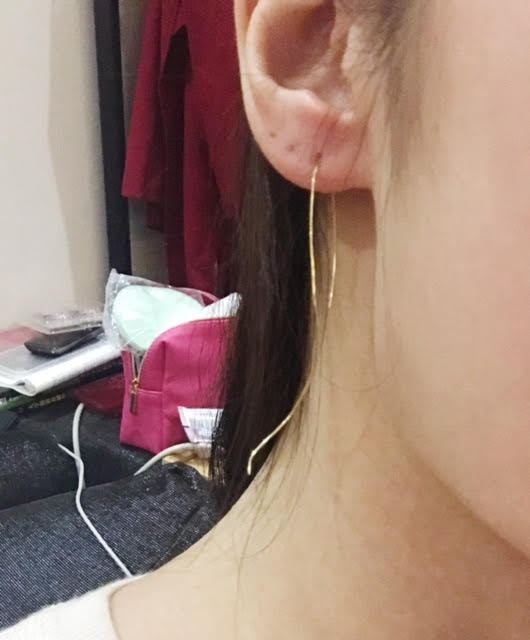
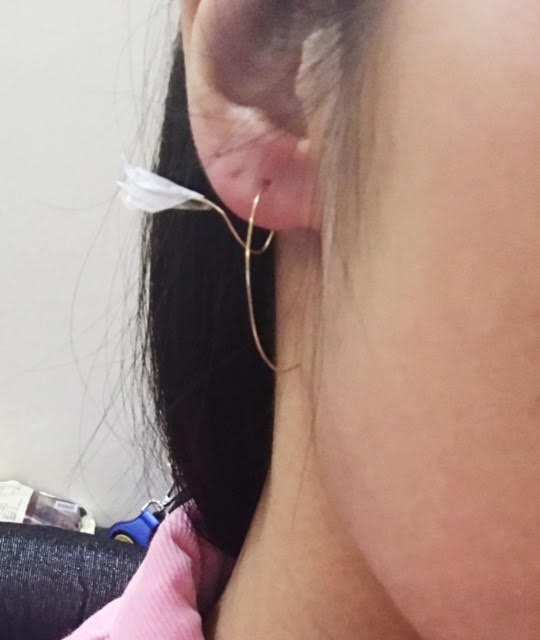
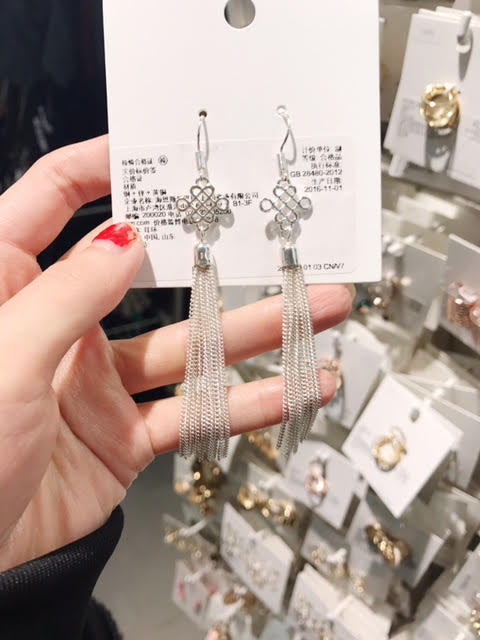
I bought some DIY jewelry parts and practice to assemble them into wearable pieces. The problems I found out during the process are
1, The details of the jewelry, i.e. links, thickness of the chain, size of the lobster claps, affect the overall look as well as the comfort of the user much more than I expected
2, The design is limited and boring as all the parts are readymades.
3, When I am considering the customizing parts of my design, be it replaceable/changeable beads, pendants, how they can be linked onto the jewelry piece without disrupting the overall look.
4, If I want to combine 3D printed parts with readymades, such as wire, how can they be combined together(glue?claps?) and the what colors should it be.
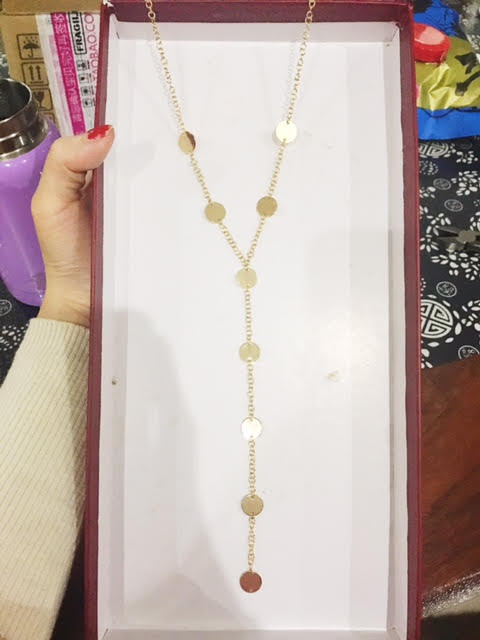
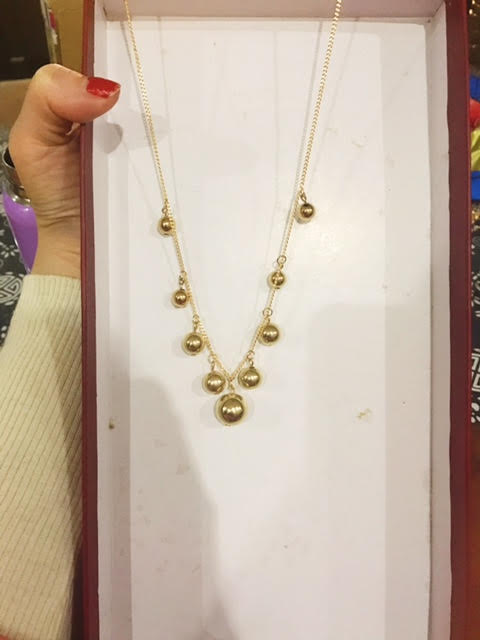

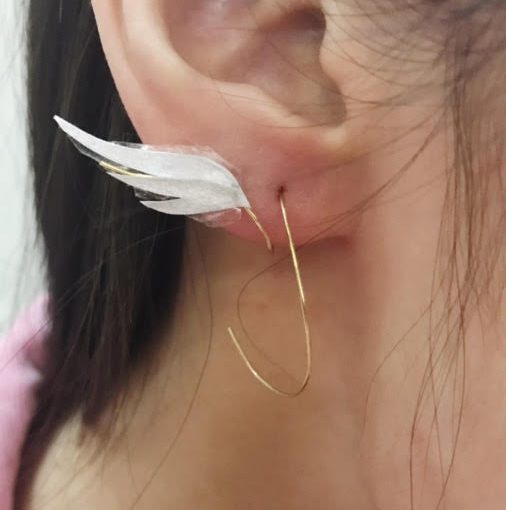
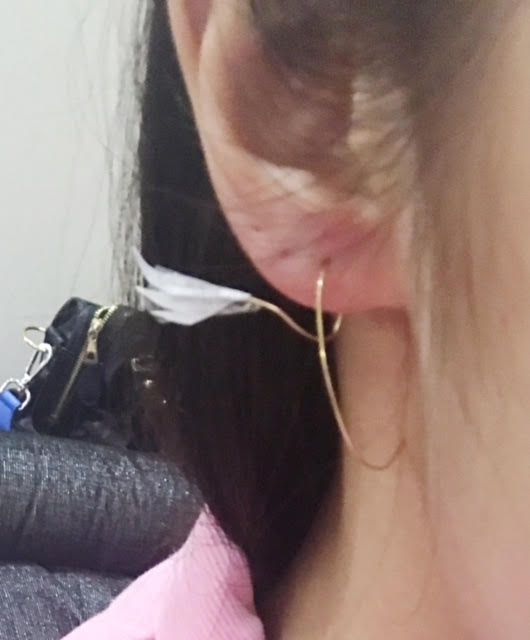
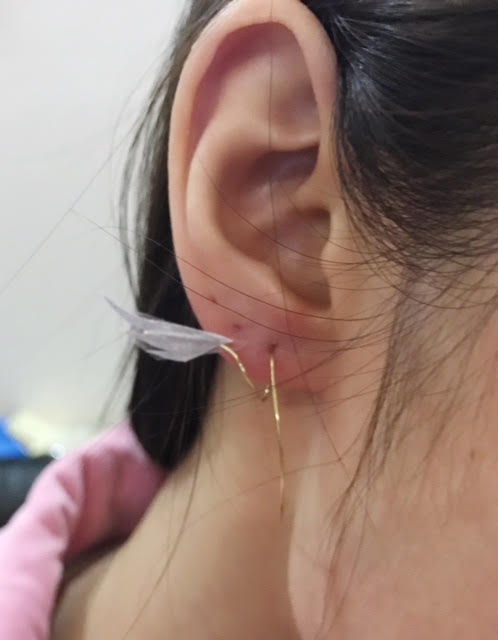
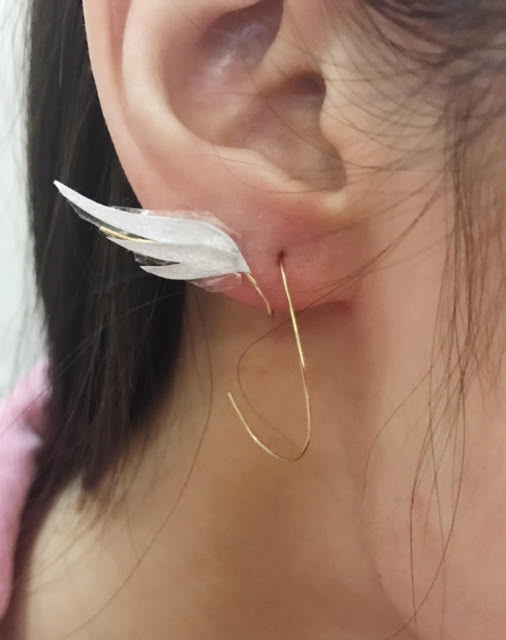
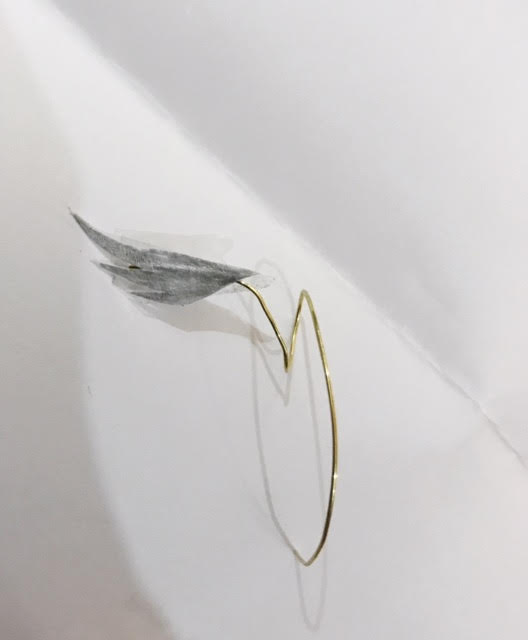
I came across this piece of jewelry on instagram and it reminds me of the lightness of feather, the movement of phoenix tails. So I did some wiring to try out the possible looks. However, there is a big issue regarding 3D printing the design, which I will elaborate in my next part 2 post.
More sketchings of my designs of earrings and chokers will be in next part 2 post as well.
Also, I took some photos of the CNY and Chritmas editions in shops.
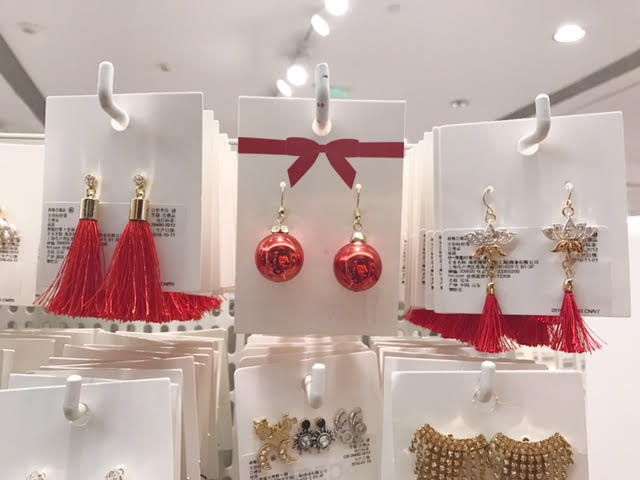
They look festive but cliche to me. They are very straightforward in representing “Chinese””Auspicious””China””Happiness”, and they look cute, but also boring to me because there is nothing new about them.
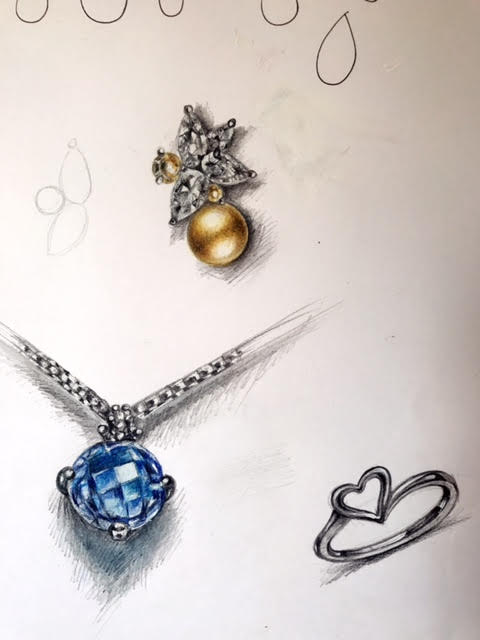
Here is a random practices I did to get a felling of how jewelry designers sketches dine jewelries.
In part 2 there will be some 3D printing experimentation failures, sketches of chokers and new ideas. Basically I feel that, like what we learnt from Product Design year 2, to represents a animal doesn’t need to draw the entire feature out. I refined my designs into a simpler direction. For example, my previous idea of the phoenix choker can be further simplified to the gesture of the phoenix wings or tails, It is not a MUST to add a bird head onto the piece to tell people this is a phoenix or this is a bird.
The choker can also be designed in a way that can be worn two-way, i.e. there isn’t strict front and back, each side has its own beauty.
to be continued hmm…
There are many different types of materials for 3D printing, each has its owe characteristics, pros and cons. Here are some of the more common options:
reference: blog.tinkercad.com
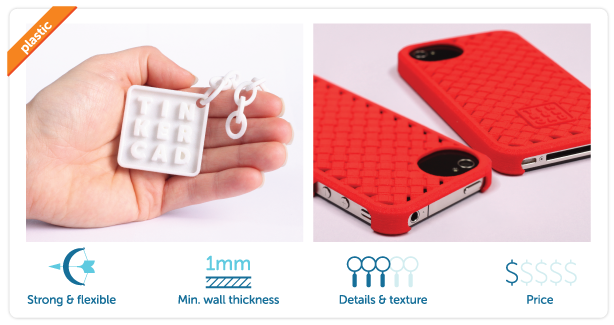
Nylon:(Polyamide)
-Also called White, strong & flexible/ Durable plastic/ White plastic
-Strong and flexible plastic
-1mm minimum wall thickness
-Naturally white, but you can get it colored
-About 10 layers per 1mm
-Made from powder
-Alumide=Polyamide + Aluminum
-Interlocking, moving parts possible
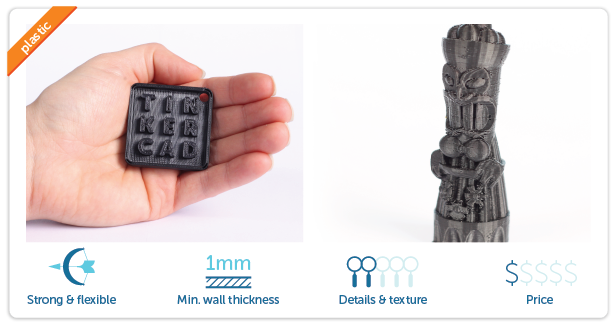
ABS:(Home printers)
-Strong plastic like legos are
-Made from spaghetti like filament
-Many color options
-about 3 layers per 1mm
-1mm minimum wall thickness
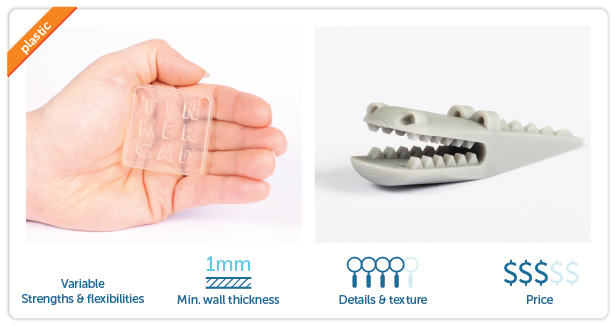
Resin:(Multiple options)
-Also called White resin, Black resin, Transparent detail/ White deail resin/ High detail resin, Transparent resin, Paintable Resin
-Rigid and a bit delicate
-Liquid Photopolymer cured with UV light
-White, black & transparent most typical colors
-About 10 layers per 1mm
-1mm minimum wall thickness
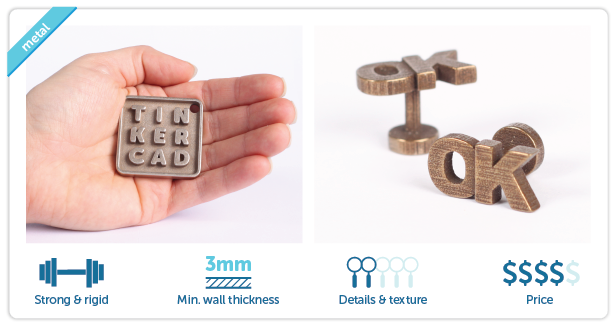
Stainless Steel:
-Very strong material
-Made with multiple steps or from powder directly
-Coloring options like gold and bronze plating
-About 6 layers per 1mm
-3mm minimum wall thickness
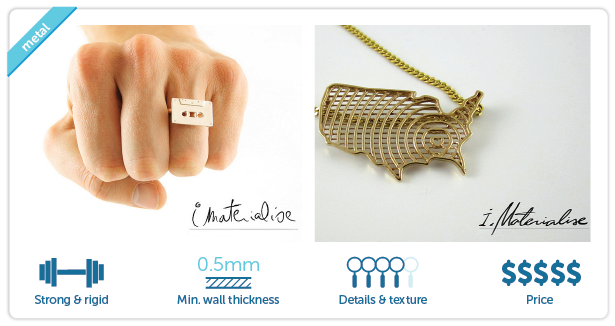
Gold & Silver
-Strong materials
-Made from wax and then casted/processed in powder form
-About 10 layers per 1mm
–0.5mm minimum wall thickness
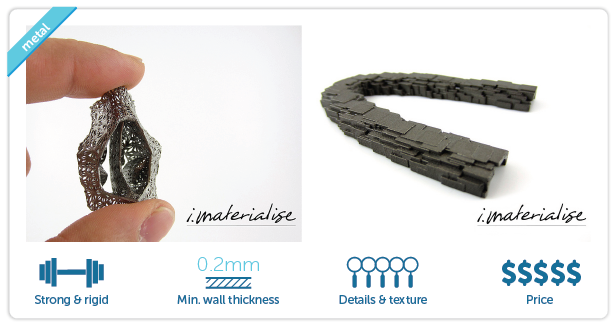
Titanium:
-Strongest material
-Direct metal laser sintering
-About 30 layers per 1mm
-o.2mm minimum wall thickness
*note: sintering is the process of compacting and forming a solid mass of material by heating or pressure without melting it to the point of liquefaction(lose strength and behave like a liquid). Sintering happens naturally in mineral deposits or as a manufacturing process used with metals, ceramics, plastics, and other materials.

Ceramic:
-Rigid & delicate
-First ceramic is printed then surface is glazed
-Ceramic White, glaze typically white
-About 6 layers per 1mm
-3mm minimum wall thickness
-After printing , firing and glazing is still required
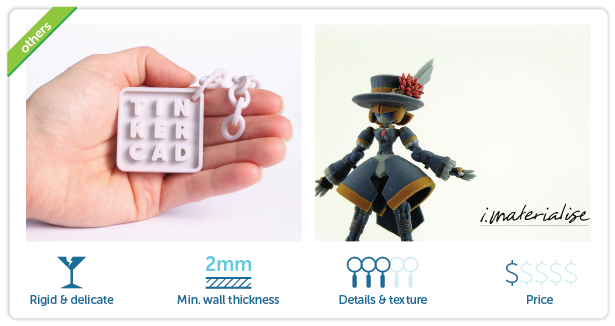
Gypsum:
-Also called Sandstone/ Rainbow ceramics/ Multicolor
-Rigid & delicate made from powder
-Naturally white, but you can get it with colors
-About 10 layers per 1mm
-2mm minimum wall thickness
Other materials includes Laywood, PLA, Aluminium and Cobalt derivstives(industrial grade 3D printing), and even paper.
For my jewelry product, it is obvious that metals are the best material for the appearance. They are strong and can be made into intricate designs as the minimum thickness is comparably small, and the layers per 1mm is comparably large.
However, in ADM, metal 3D printing is currently unavailable. As such, I would carry out my modelling in alternative material available that is best suitable to present my design.
Another aspect is the cost of the printing. Using silver and gold can be costly, and resulting in the high retail price of the product. Stainless steel is lower in cost, but the product would be more rigid.
CNC is also possible. As far as I know, ADM have metal cnc.
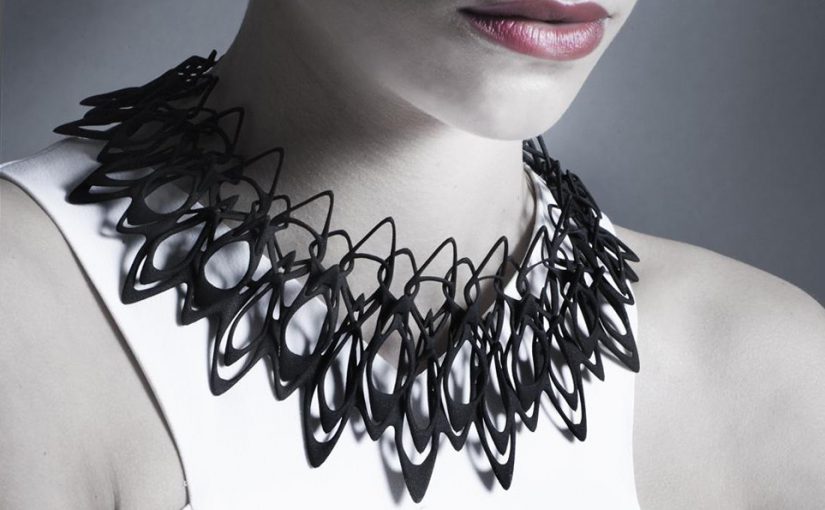
I collected some images to inspire my own design, these designs are all 3D printed.
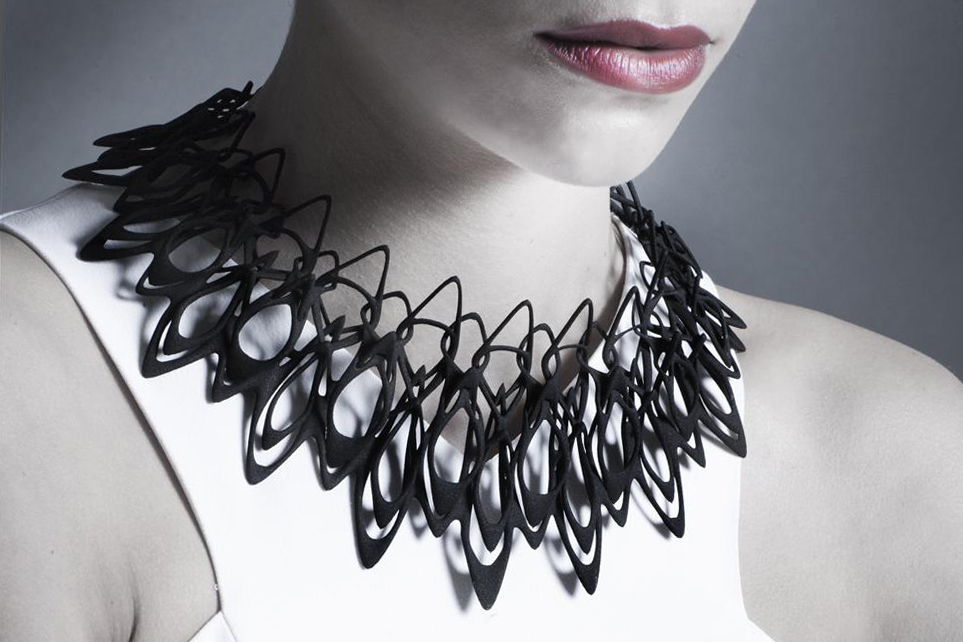
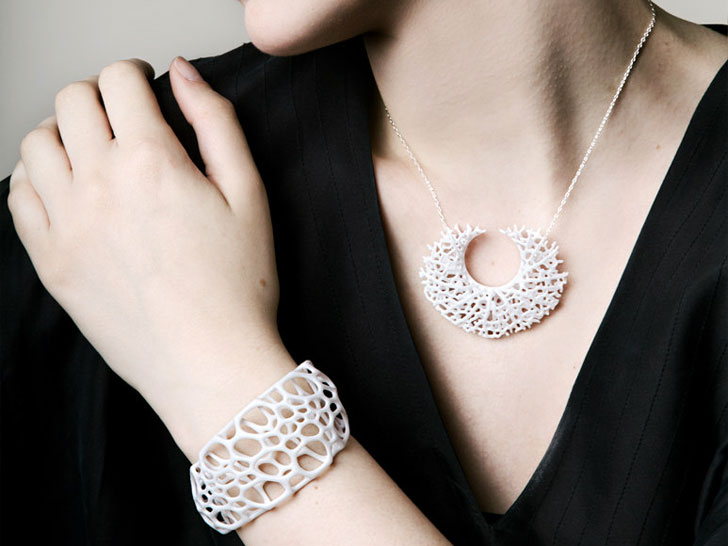
The use of repeated or similar pattern can save the time during CAD as well as create visual rhythm.
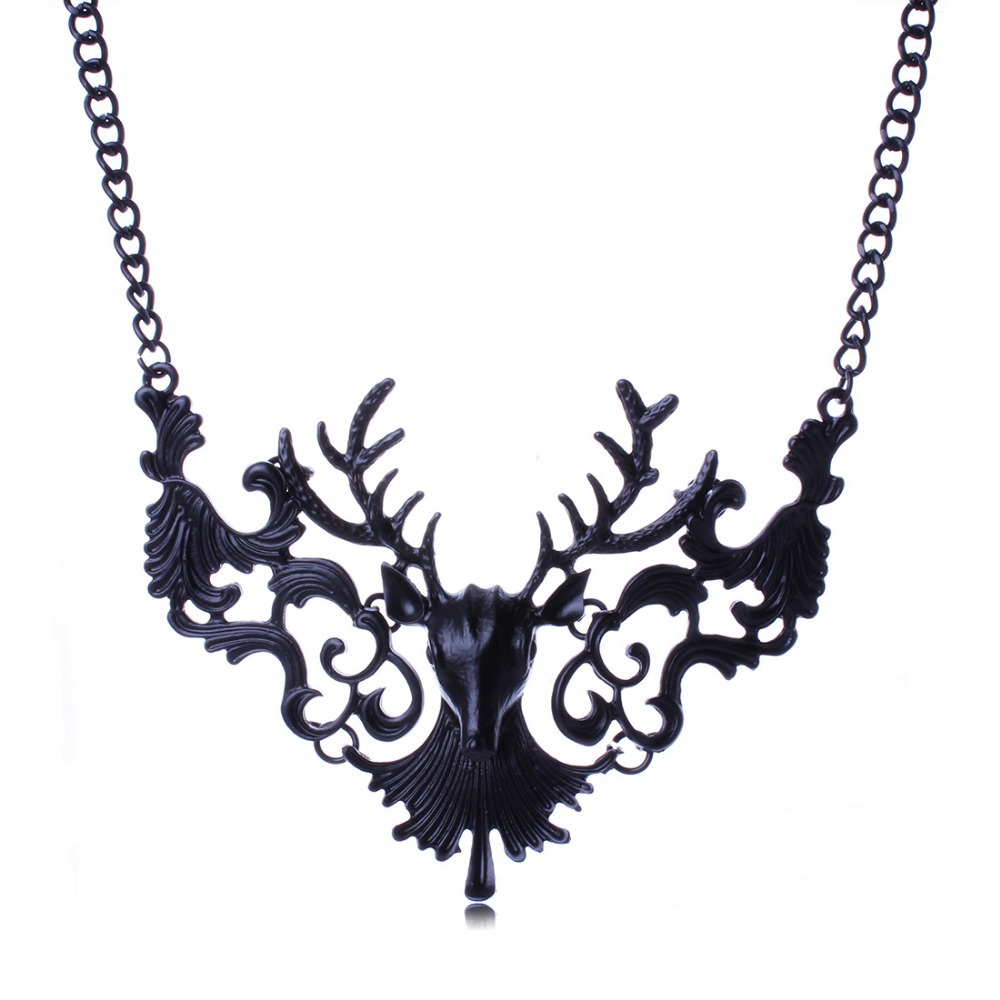
The above two designs have some gestures and patterns that I can relate to my project. Moreover, the shape of the deer necklace can be a direction how I am gonna construct my Qitou necklace.
Adding dangling elements in the design.
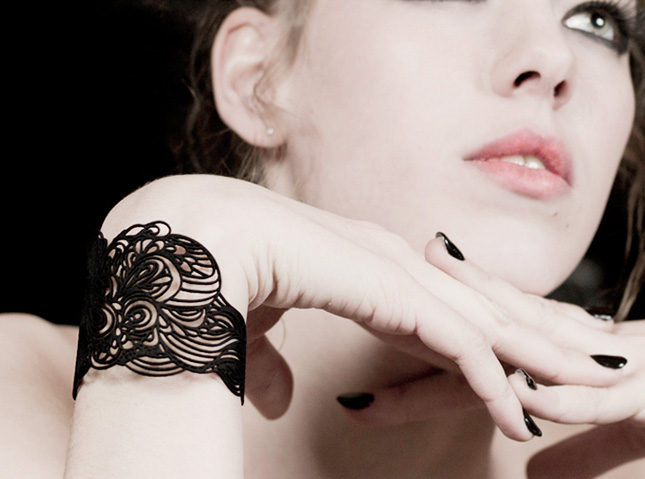
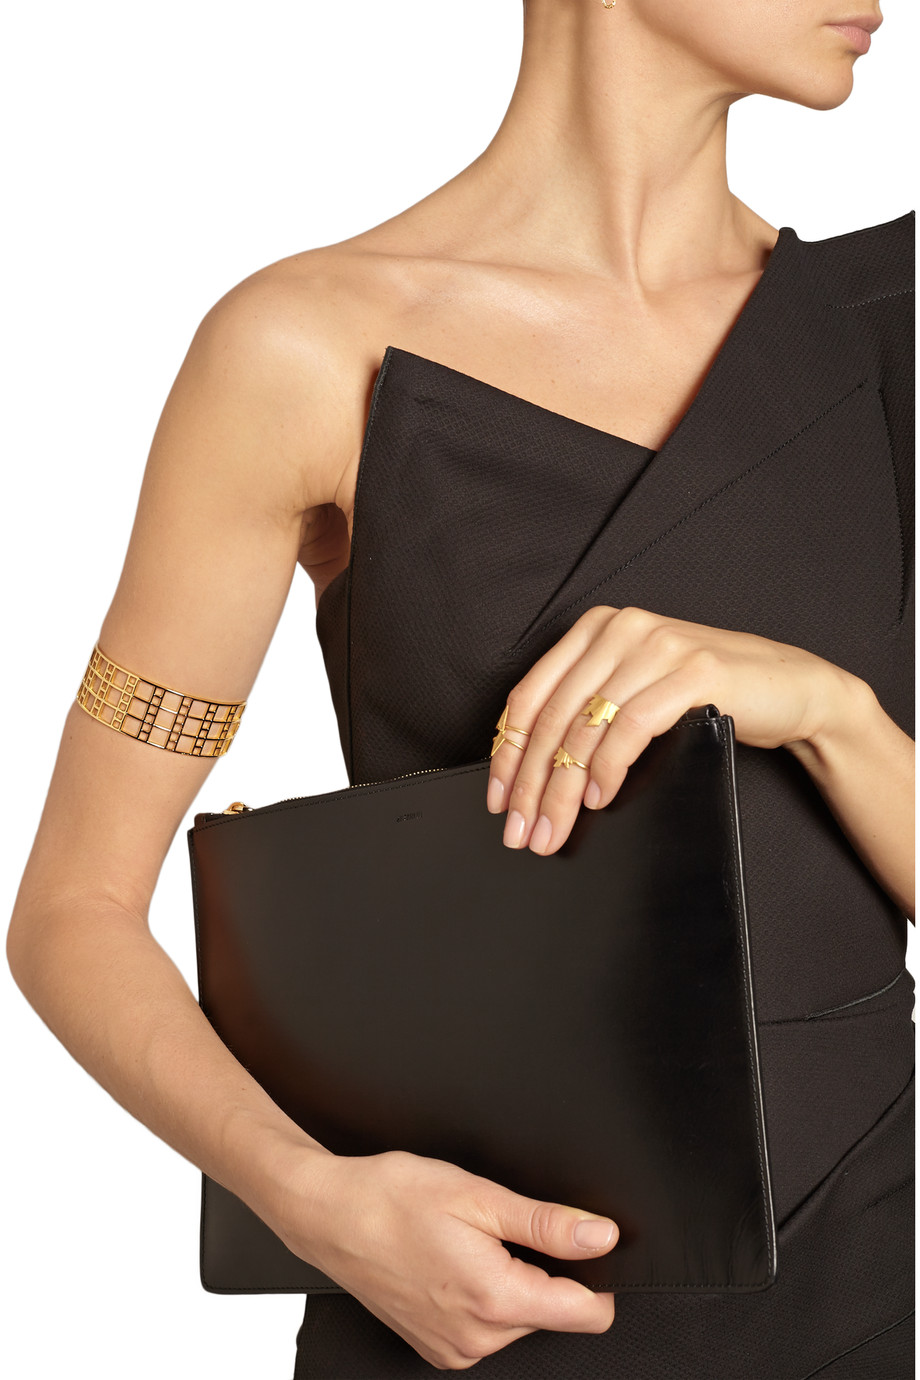
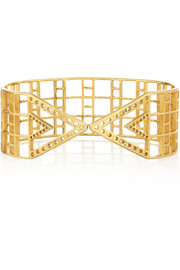
The arm cuff below, by Arm De L’amour, suggest that bracelet/bangle can be used as arm cuff as well. I have bought this piece from outnet.com 2 years ago, BUT I couldn’t find it at the moment.. The design reminds me of Chinese windows and wooden structures.
Pandora also gives me the idea that the flexibility of a pendant. I mentioned in my previous post that I wantto make pendant for the non-important characters in the story. In fact the pendant can be used as earrings as well. Pandora allows people to mix and match the pendants with necklace chain or earring hooks. I can use this method as well to make the jewelry more versatile and flexible. Personally I would want something that can be worn as both necklace and earrings.

This idea is also used in Cartier high jewelry:
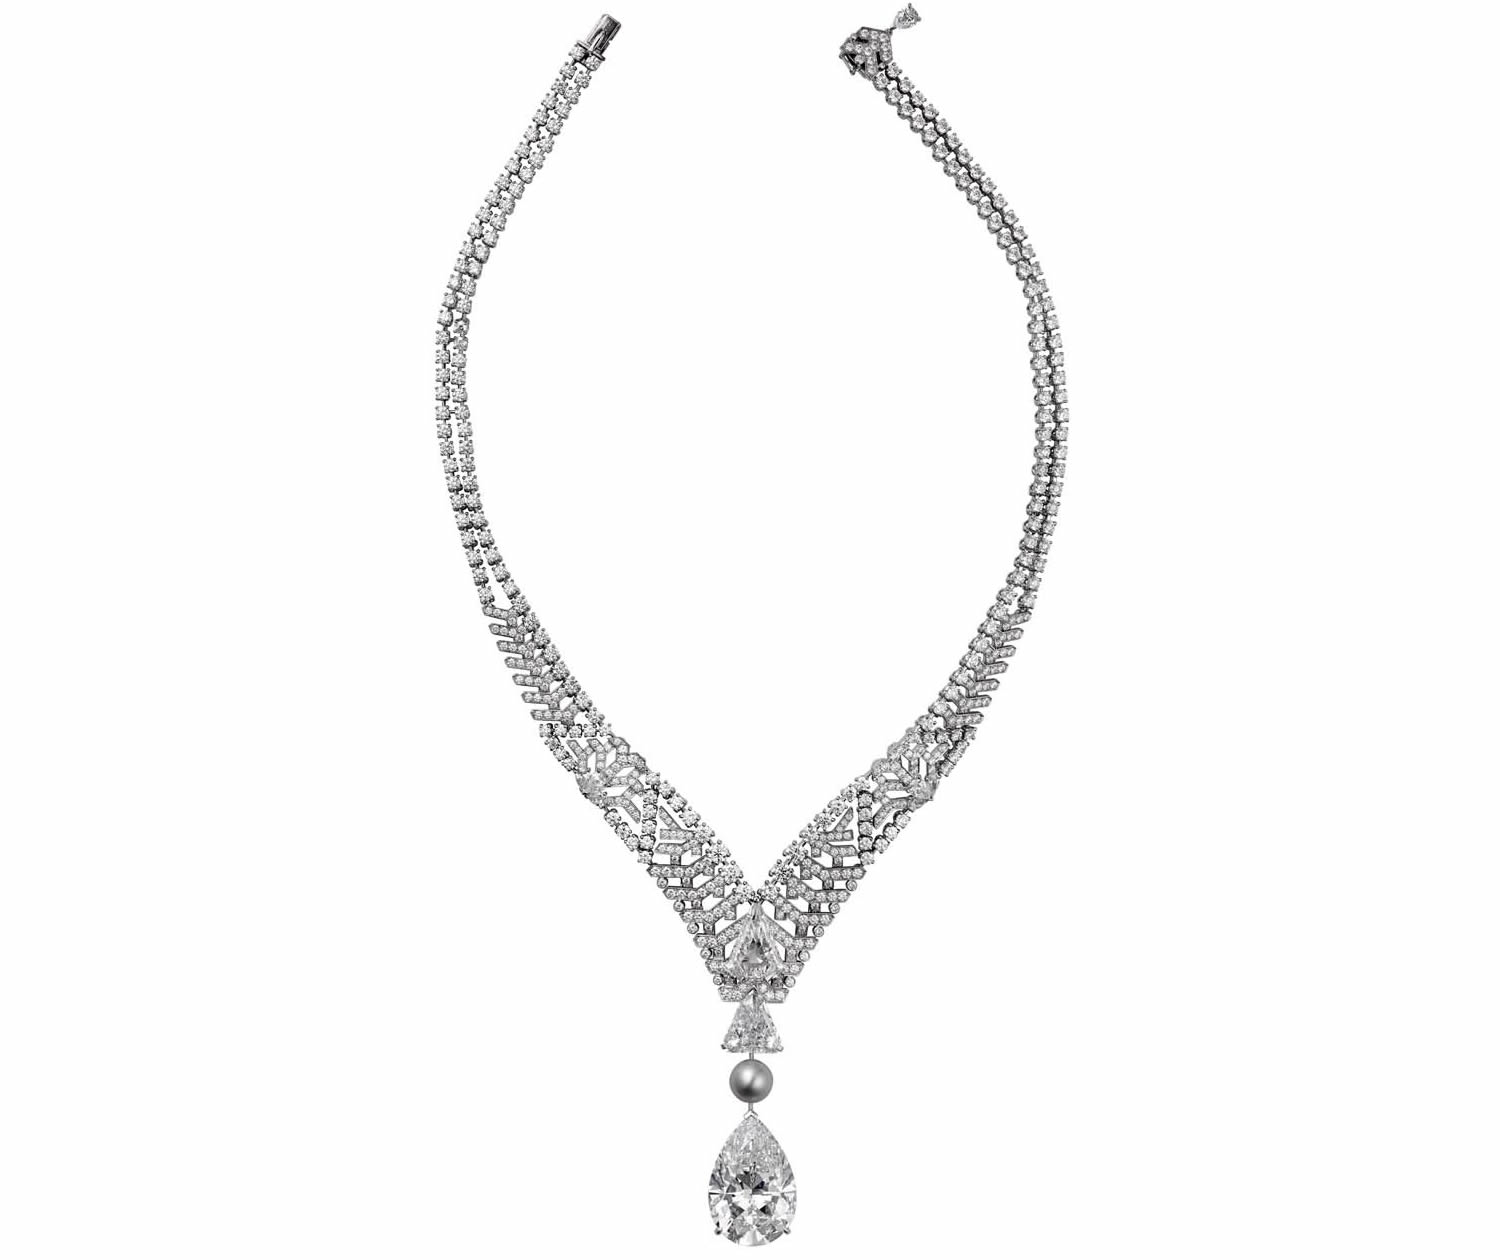
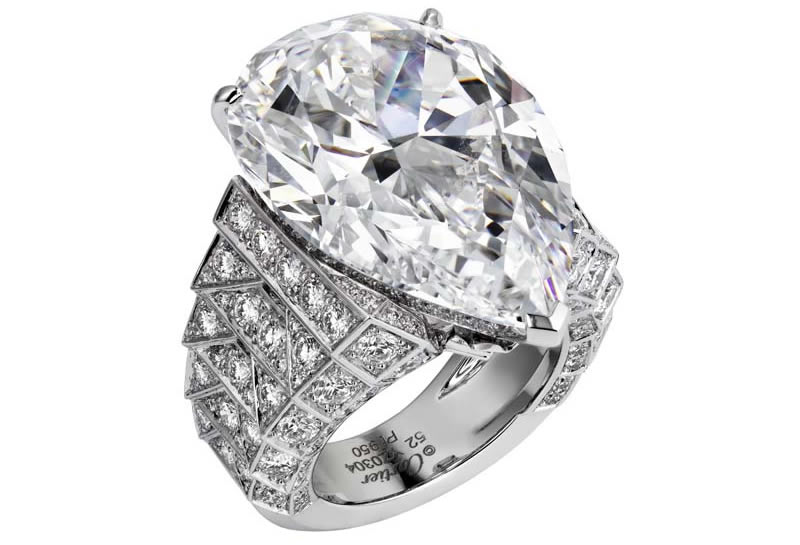
The huge pear shape diamond can be taken down and alternate between the necklace and the ring.
more details refer to: http://pursuitist.com/cartiers-30ct-diamond-alternates-between-a-necklace-and-a-ring/
I believe the client would appreciate it when they can flaunt the diamond twice.