Face of the New Generation
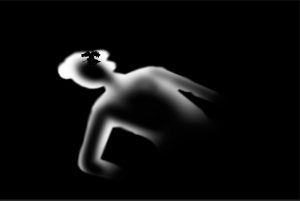
For my self portrait, I wanted to make use of shadows to create a silhouette of myself as the main focus point of my image.
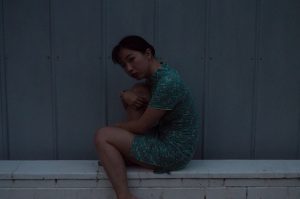
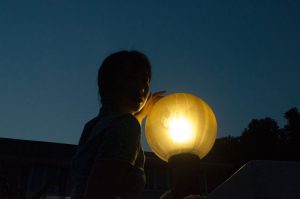
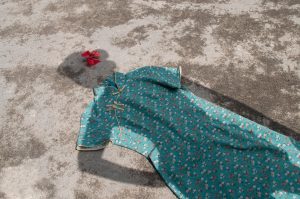
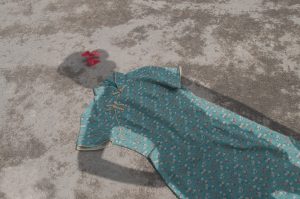
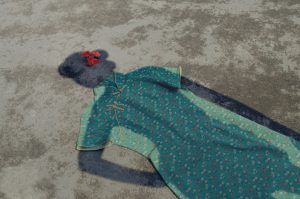
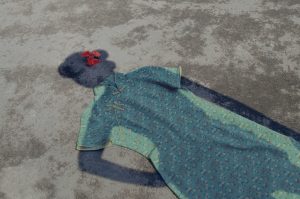
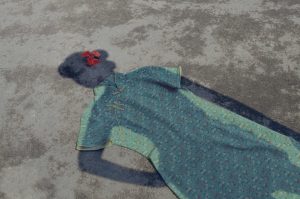
Here are some of the images I had taken.
I gained inspiration from John Arsenault’s Italian Stallion. I really like how the shadow of his silhouette is so carefully casted over the model’s body and I wanted to emulate a similar idea.

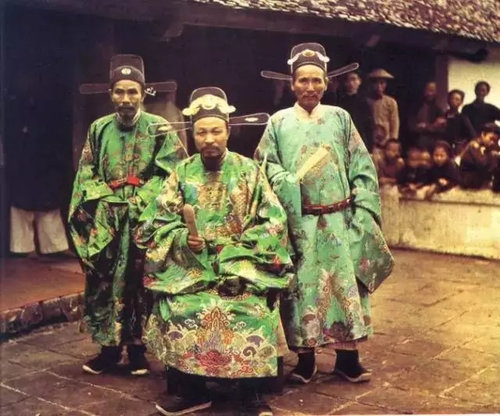
While researching, I was very attracted to old coloured chinese photographs taken by Albert Kahn. These images were taken in olden day China. I really liked how even though these photos were grainy, it still managed to capture the vibrancy of the reds, greens and blues while the rest of the photos were rather desaturated. Hence, I had a vision in mind to accentuate these tones while editing.


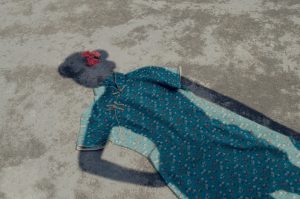
In the end, I didn’t like the other 2 shots so I retook it and decided to use this one instead.
Growing up, I always felt the pressure of being yellow-skinned chinese. I could never really understand why we were taught to follow certain “rules” and “traditions” that are outdated in our time. However, looking back, I realised that many children in our generation are so detached from our own roots that it is a sad reality to many, including myself.
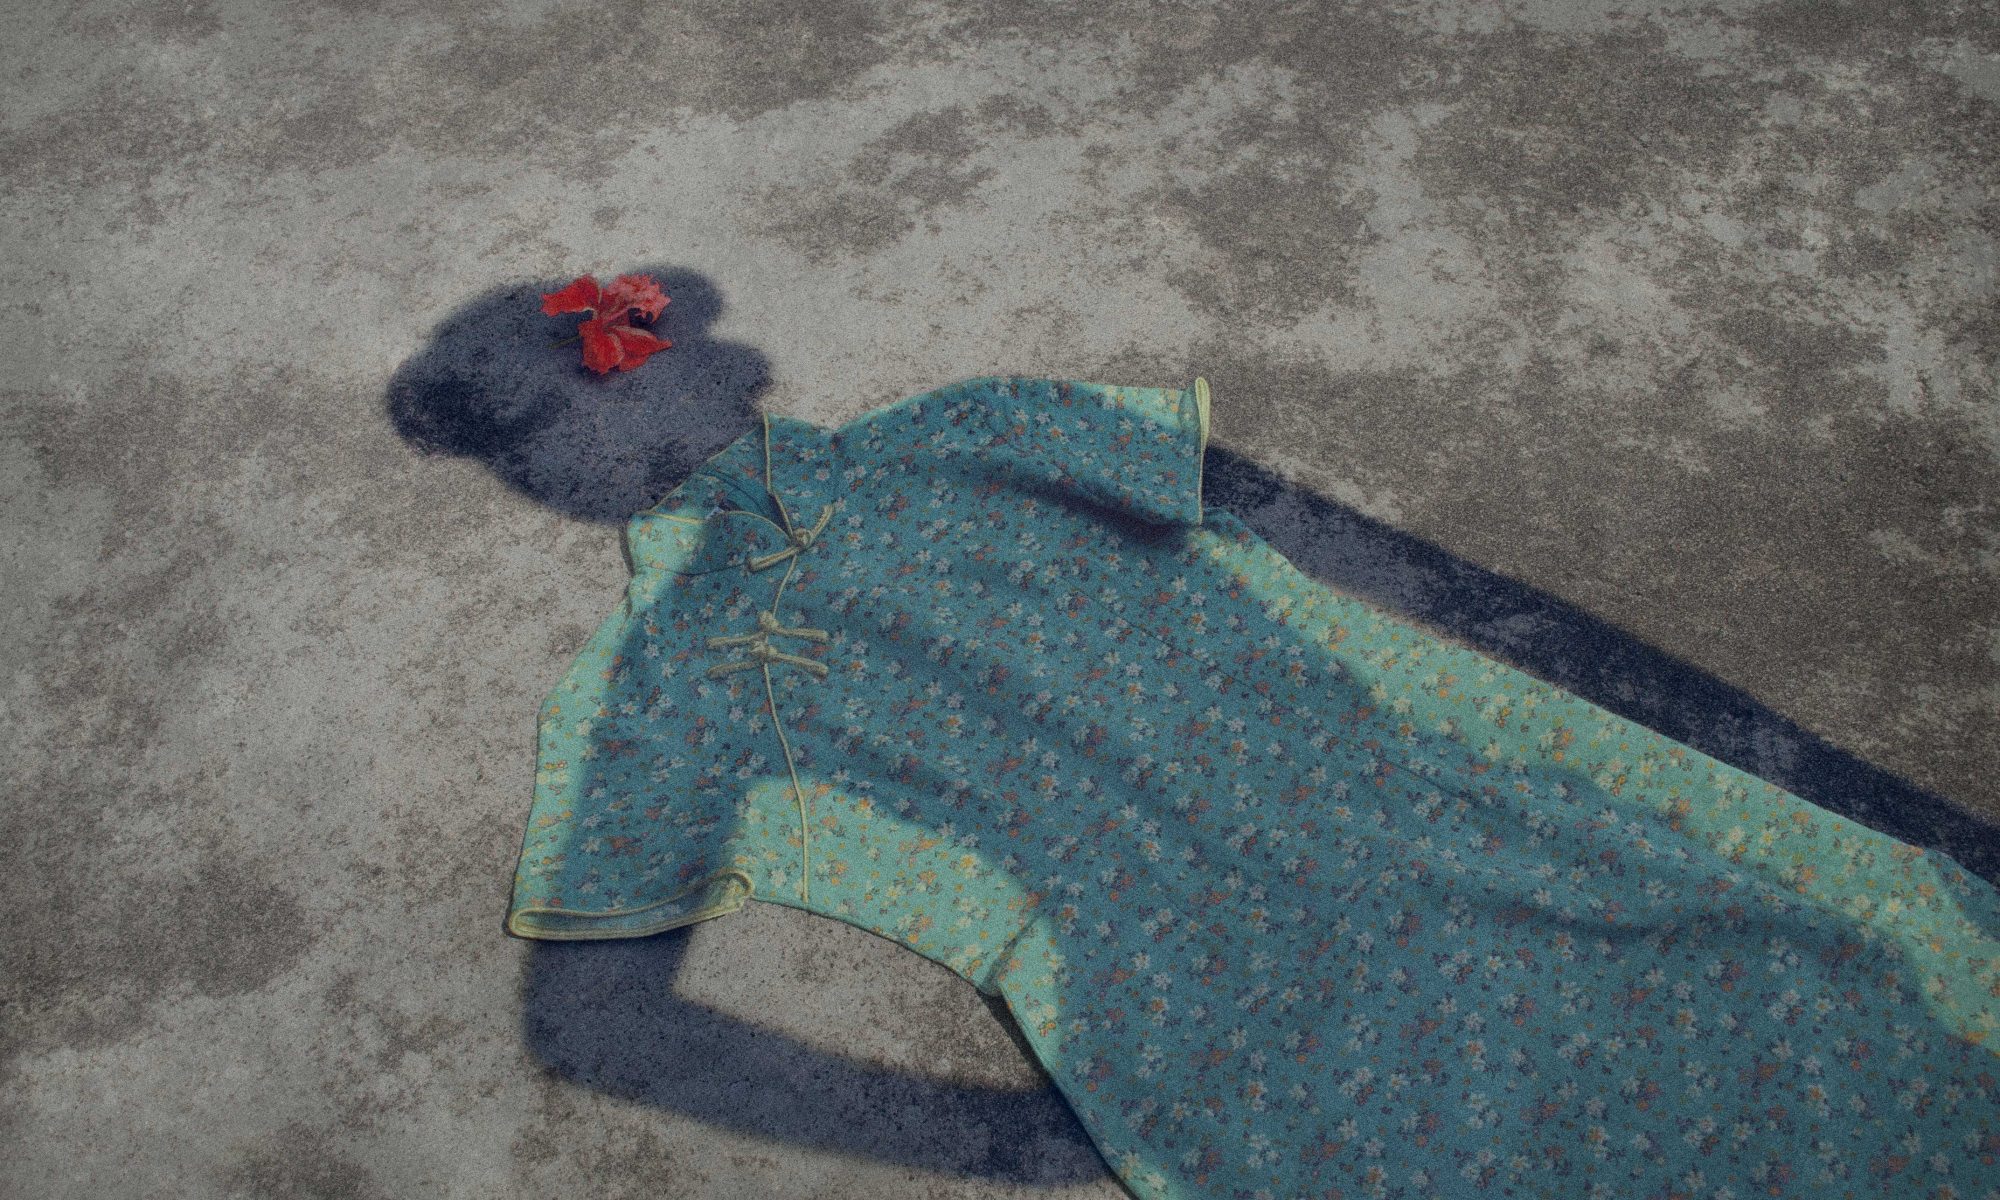
The Cheongsam was a dress that was often worn by chinese ladies in the past. With the westernisation of our current generation, the culture of wearing cheongsam in daily life is slowly being diminished and it is is no longer the norm. The cheongsam represents the chinese tradition and culture that is slowly left behind, thrown onto the floor like any regular trash.
I chose not to reveal myself in the shot as I wanted my silhouette to fit into the cheongsam, showing how I do not feel comfortable in my own tradition and culture, even though I am authentically “chinese”.
I used only 2 props in my shot, a hibiscus flower and a cheongsam dress. I had to angle my camera such that it would capture strong shadows under the 3 pm sunlight. My camera was set to auto as it was bright enough to take the shots that I wanted.

(1) I cleaned up the image. I used a combination of the Clone stamp tool and the Healing Brush tool.
(2) I desaturated the whole image using curves to decrease the contrast.
(3) I masked out the shadow and darkened it using curves.


(4) Using the same shadow mask, I added more blue by using a colour balance adjustment layer

(5) I cleaned up the shadow mask such that only the edges were masked and made it darker with curves.

(6) Next, I masked out the ground and desaturated it using curves.


(7) I added more yellow tones to the ground with a colour balance adjustment layer as it was too reddish. I darkened the bottom right corner of the ground with a curves adjustment.

(8) I masked out the hibiscus and proceeded to lighten it and saturate it.


(9) I masked the whole dress and lightened it with curves. I added more green into the dress with a colour balance adjustment layer and further refined it with a selective colour adjustment layer to tone down the green.

(10) I colour corrected the image as it was too yellow.
(11) I added some grain to imitate the graininess of Albert Kahn’s olden images.
(12) I proceeded to finish off the image with a slight vignette.

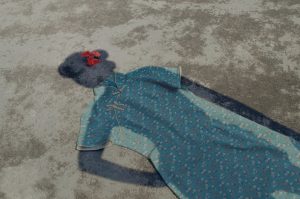
Here is a comparison of the Original (Top) and the Edited (Bottom).


Thank you for reading!
Here is the link to my files 🙂
https://drive.google.com/drive/folders/1SYS2KltUHo_DMOtwxW-T3YL6wuXghPTV