My word for Project One was Counter-Balance and for me, I really struggled with coming up with variations for this idea as all of it just seemed to be similar to the rest. Another challenge was also making sure that regardless of the angle my model was to be viewed from, all three of my boxes would still be in view. Thankfully, after asking Cheryl loads of questions and with the help of the wedging and cradling techniques, I was able to come up with something a little more different, as seen below:


From this, we were tasked to create our final product with different materials while still staying true to this form. We were also told to think about the micro and macro implications of which our model could be used for. With all that in mind, the following model was created:


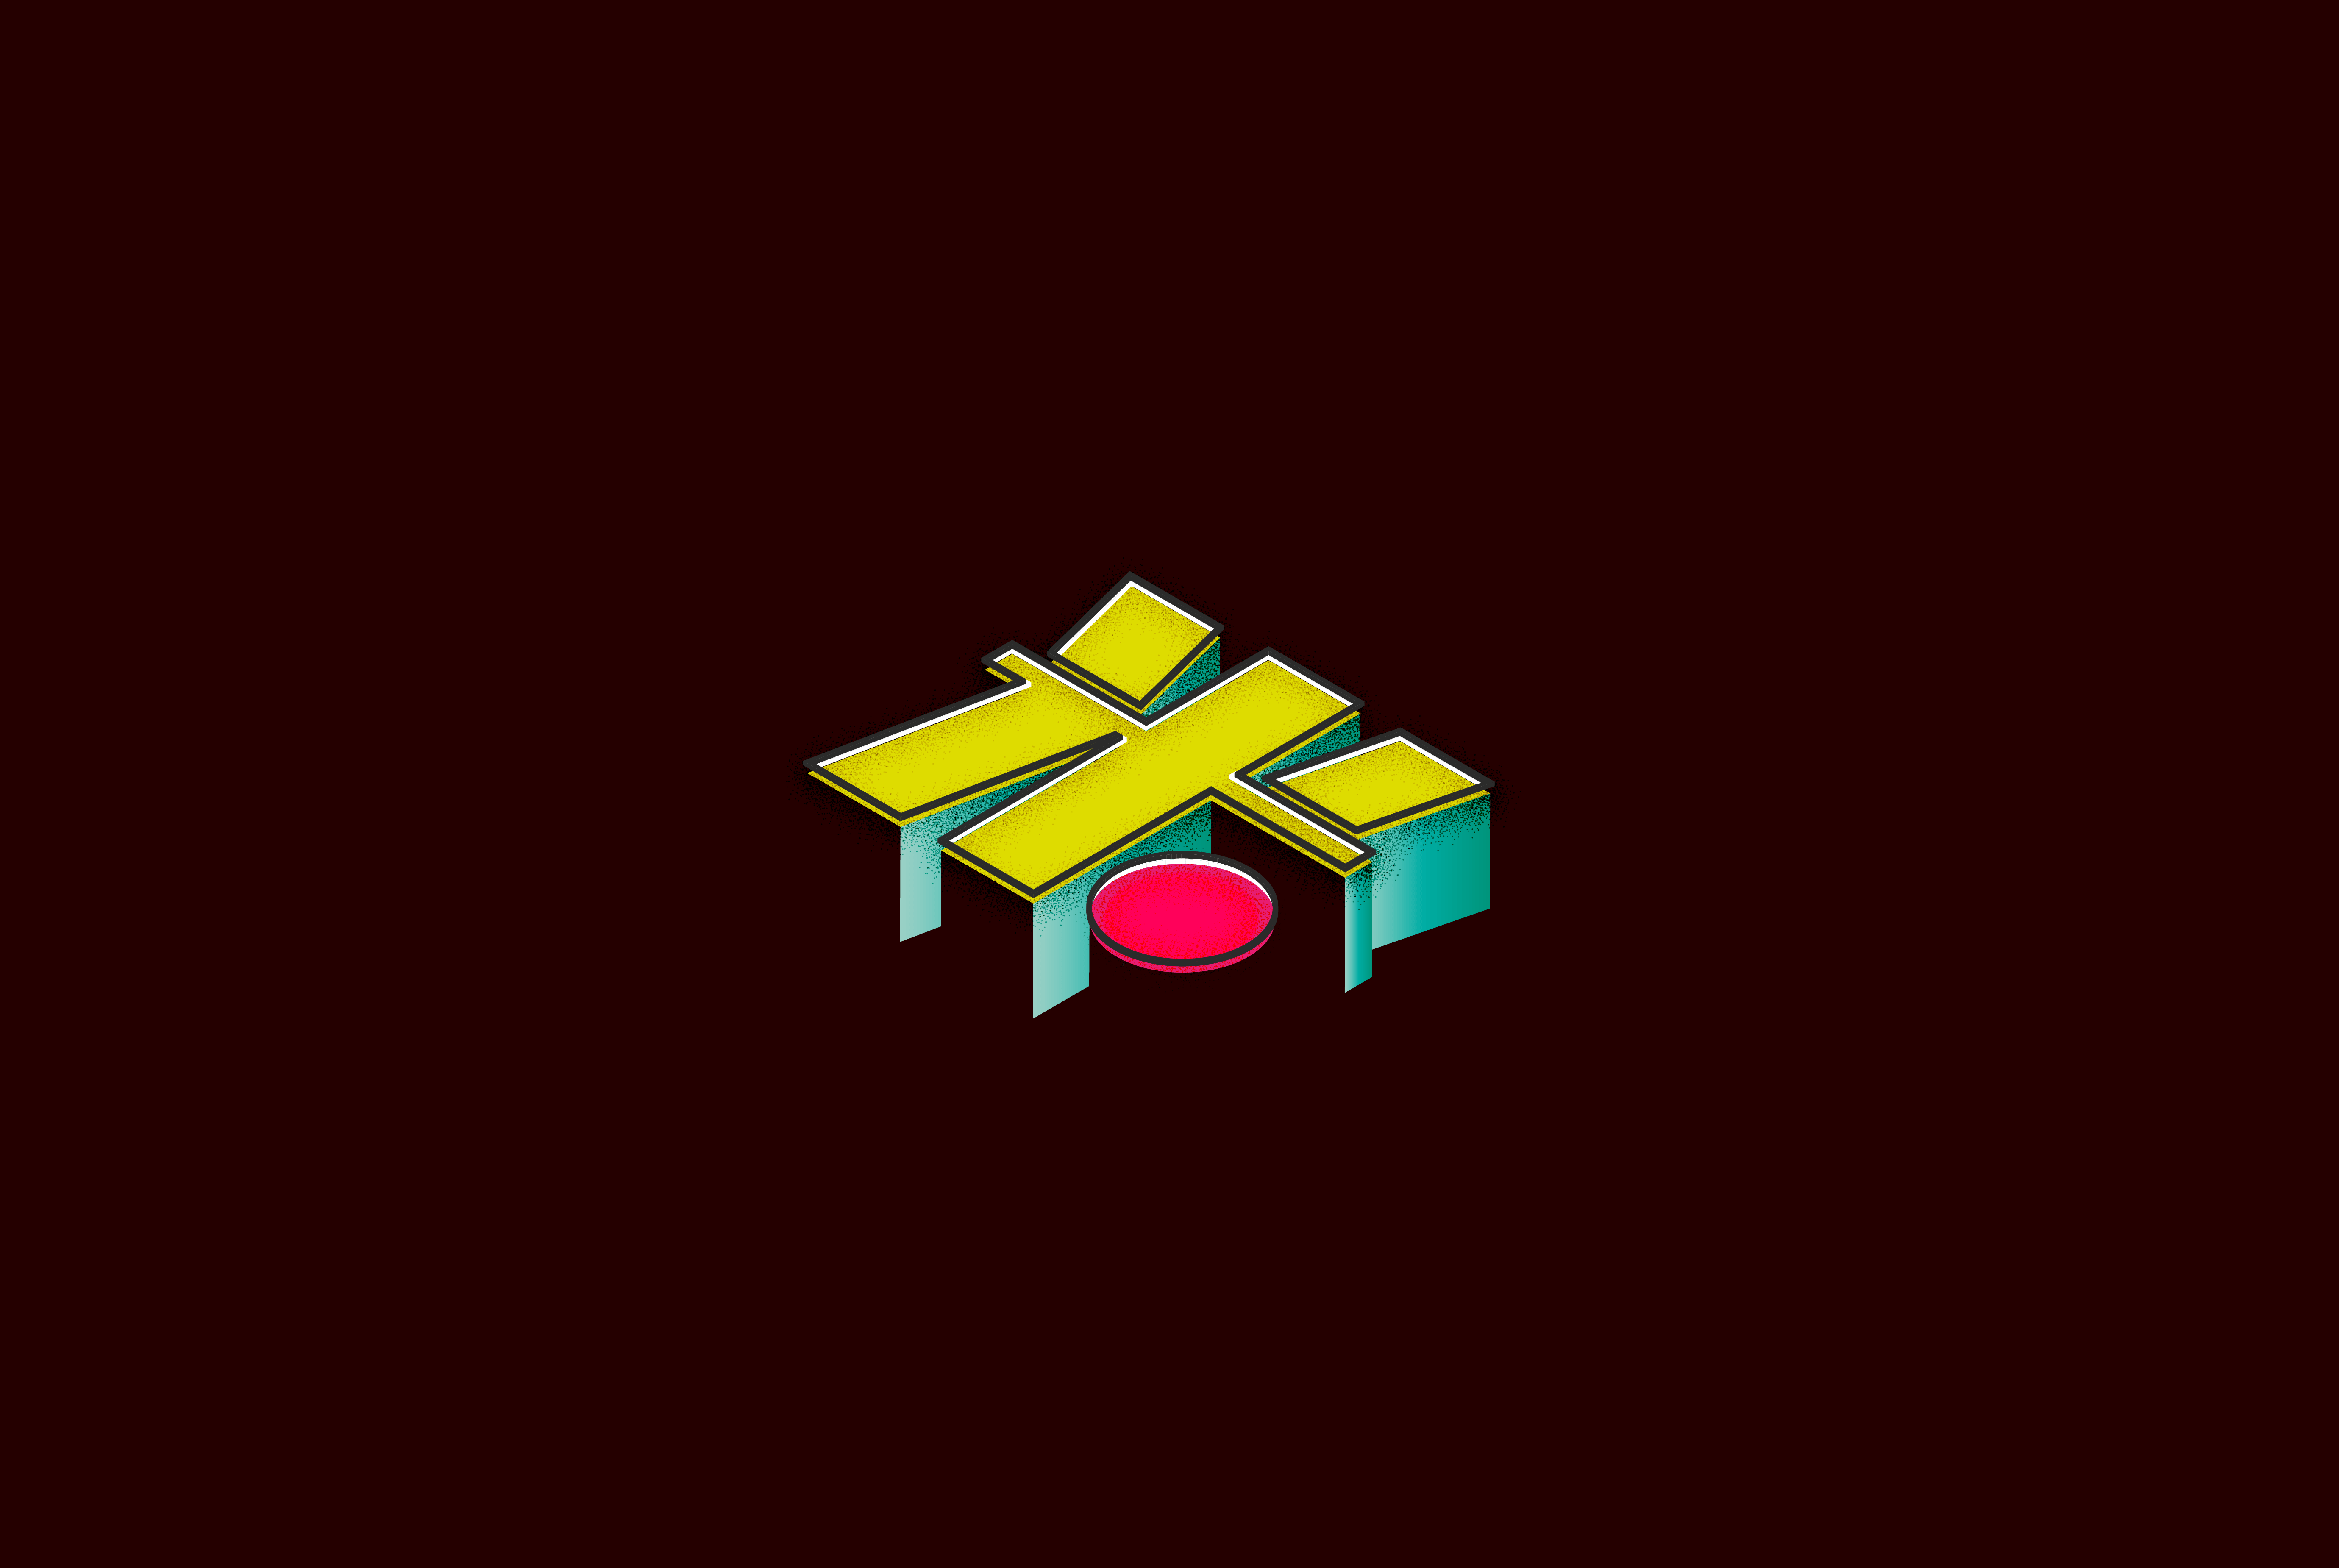
Model Analysis:
- Dominant, subdominant and subordinated volumes can be viewed from all angles

- Cluster of contrasting volumes

- Rule of thirds
Feedback
After showing my model to Cheryl, she actually gave me a few interesting ideas as to what else I could do in order to take my final model another step further. One particular one I really liked would be the installation of a fan while also filling up my dominant volume with something so as to make use of the see through lenses.
Other suggestions she made also include:
– Remove one of the lenses for a cleaner, more aesthetic look
– Lessen the width of the subordinate as the width is slightly too similar to the height of the subdominant
– Bling up my subordinate
Due to time constraints and heavy duty superglue however, I was only able to make the changes digitally (thank goodness for Photoshop) so, voila:

I actually really like this suggestion as I’ve always liked including a sort of interactive element in my works, so perhaps someday, should time permit, I may go back and revise this model or even find some way to implement it should there be another similar project in the future.
PROGRESS


Challenges faced:
– Making sure the measurements were right as I had limited materials so I didnt have much room for mistakes.
– Making sure my wood was cut as accurately as possible with minimal mess ups as the wood cutting machine was out of order and I had to manually saw (I’m not exactly the best craftsman unfortunately)
– Getting the glue to be as neat and clean as possible (failed quite badly around the lenses)
– Remembering to take progress shots as I went along (got too caught up with making my model way too many times which explains a lot of missing in between shots)
OTHER 3D MODELS THAT DIDN’T MAKE THE CUT


2 comments for “3D – Project One: Pandora’s Box”