Initial Ideation
To guide the common theme of my jobs, I thought of using the four natural elements: Water, Earth, Fire, and Air, as the main component of each job.
Then, I combined it with jobs that I have worked before which adds a twist/special element to the original jobs.
Initial job ideas/sketches:
1. Burnt Toast Scrapper
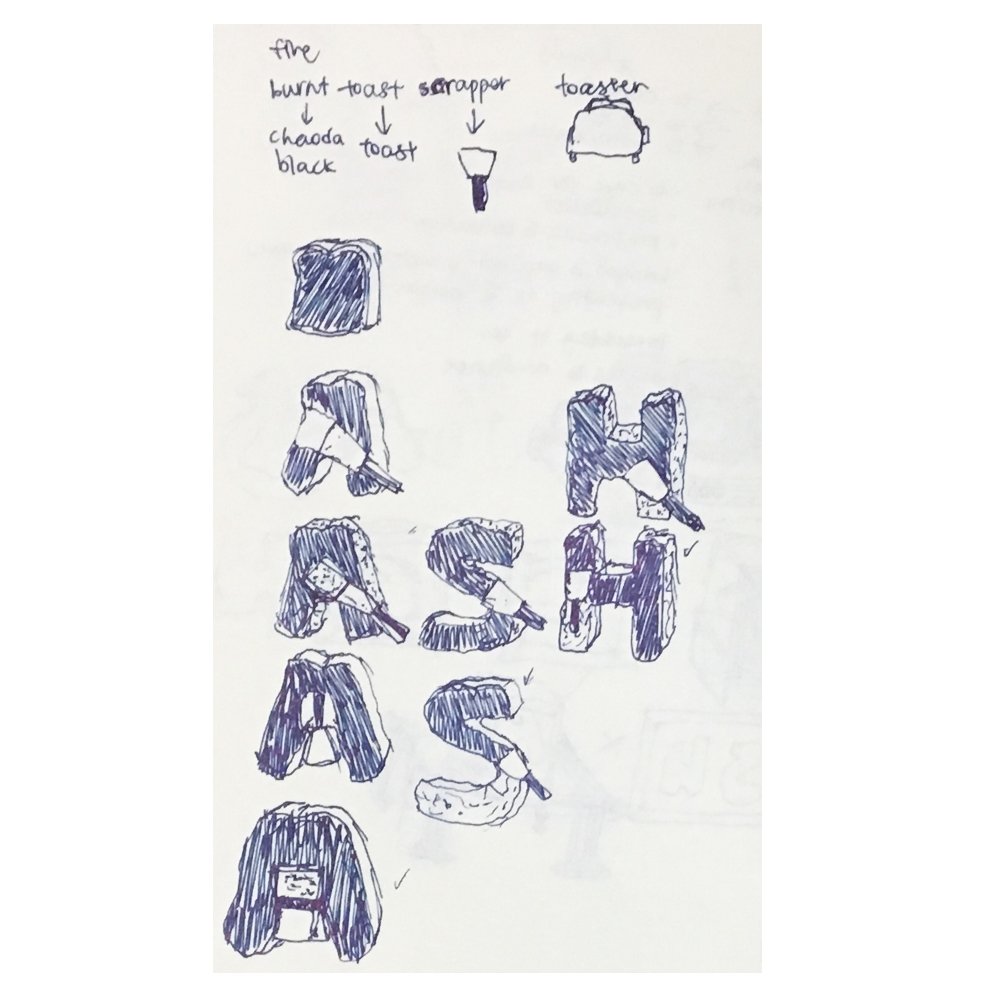
I combined the element of Fire and the job of working at a bubble tea shop that also sells toast.
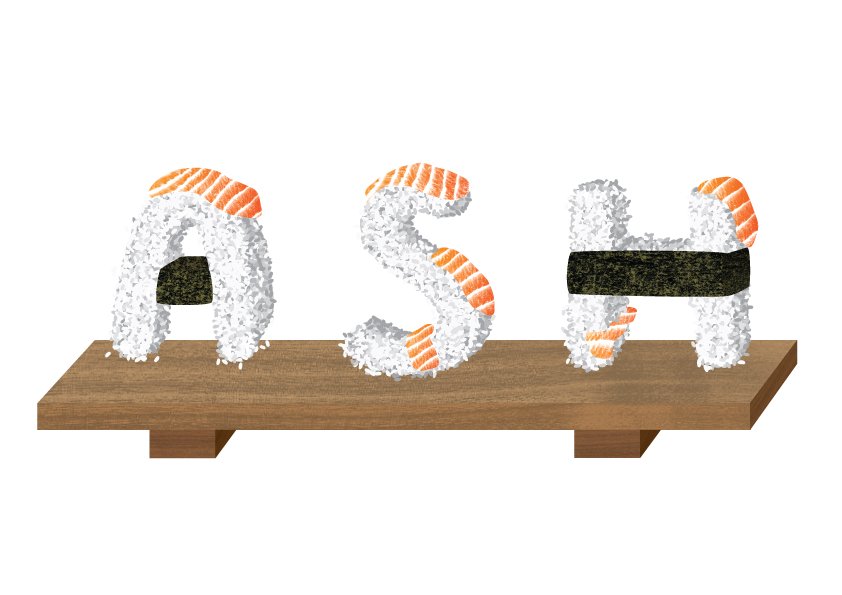
2. Frozen Sushi Chef
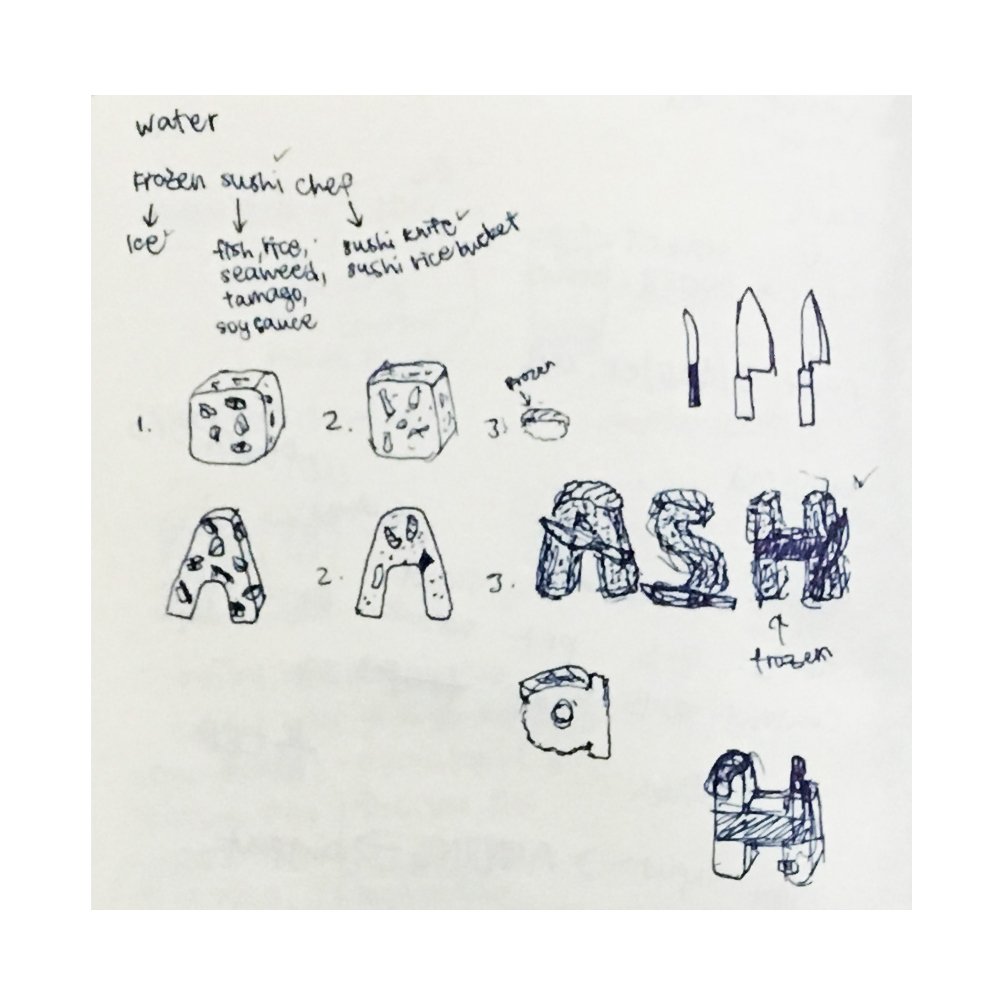
I combined the element of Water (Ice) and the job of working at a sushi restaurant.
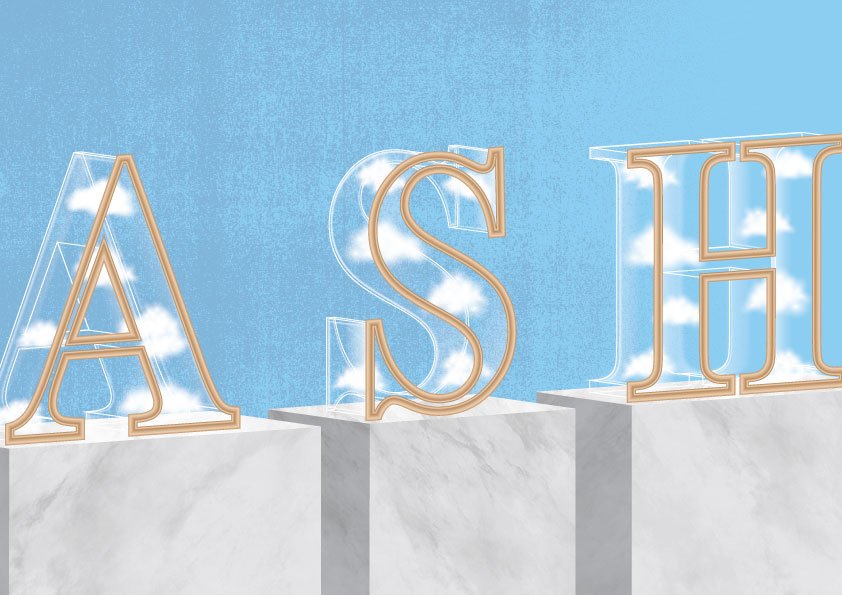
3. Cloud Curator
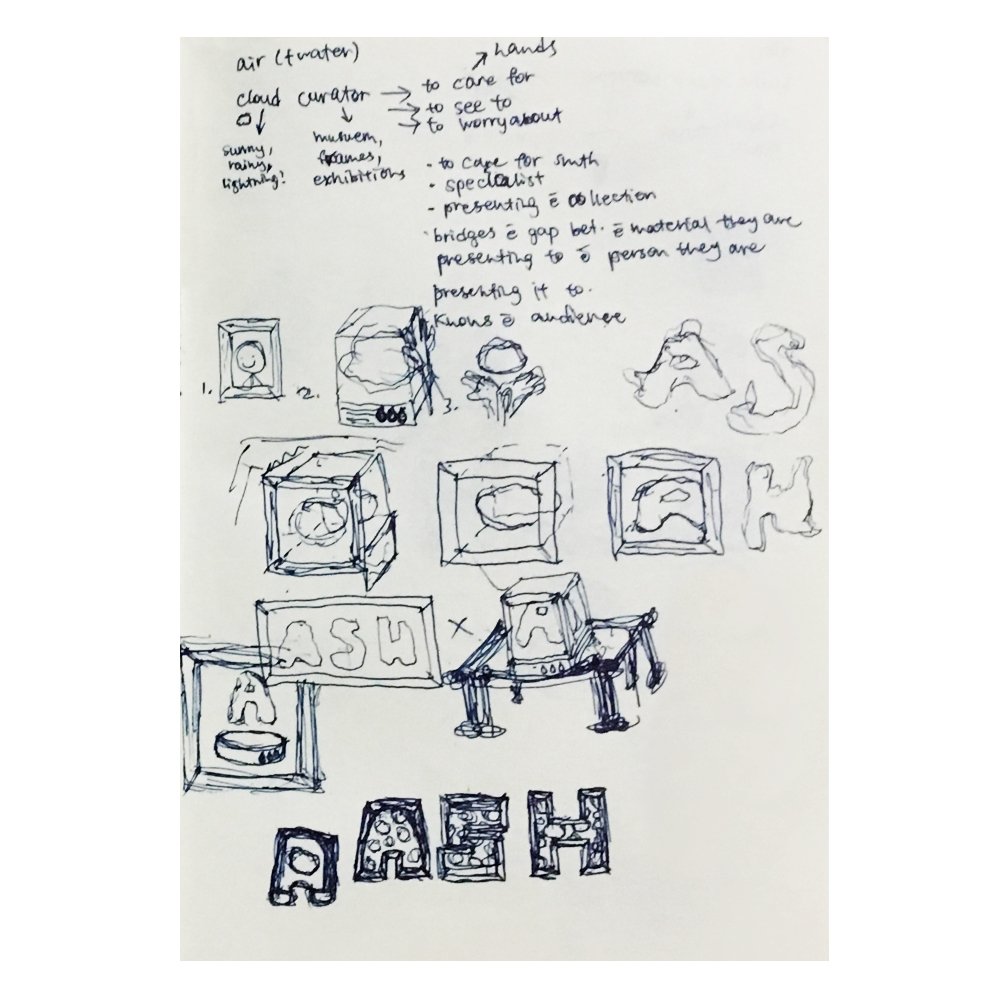
I combined the element of Air and a job that I have never worked as.
4. Floriculturist
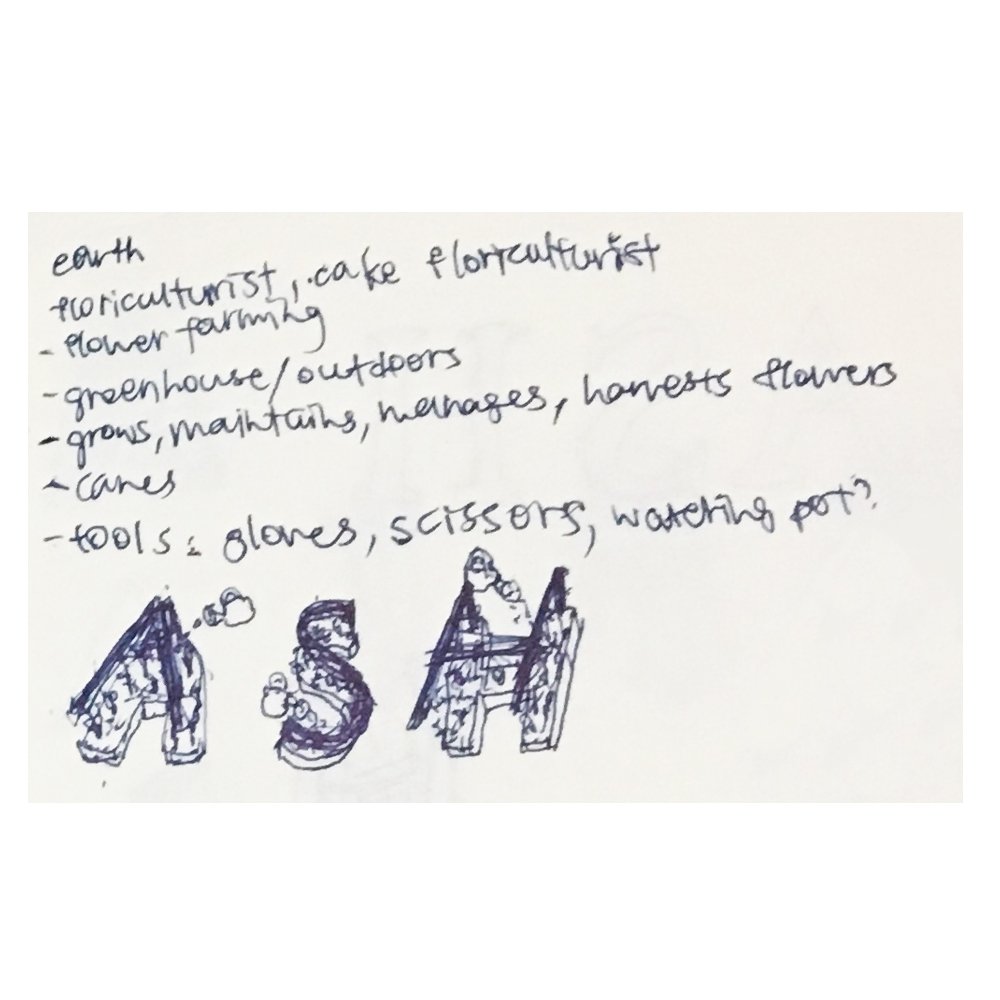
I combined the element of Earth and the job of working at a florist.
However, I did not manage to follow the theme of using the four elements as it didn’t work out as well as I thought it would be. I will be explaining the ideation and thought process below.
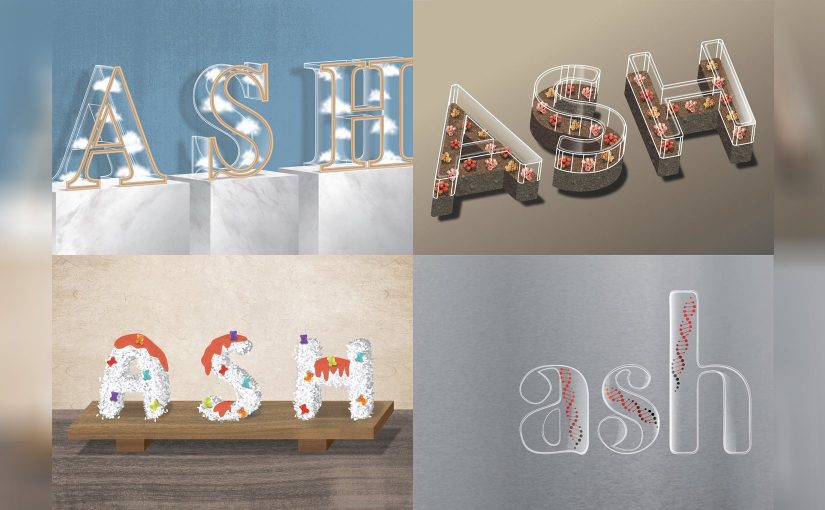
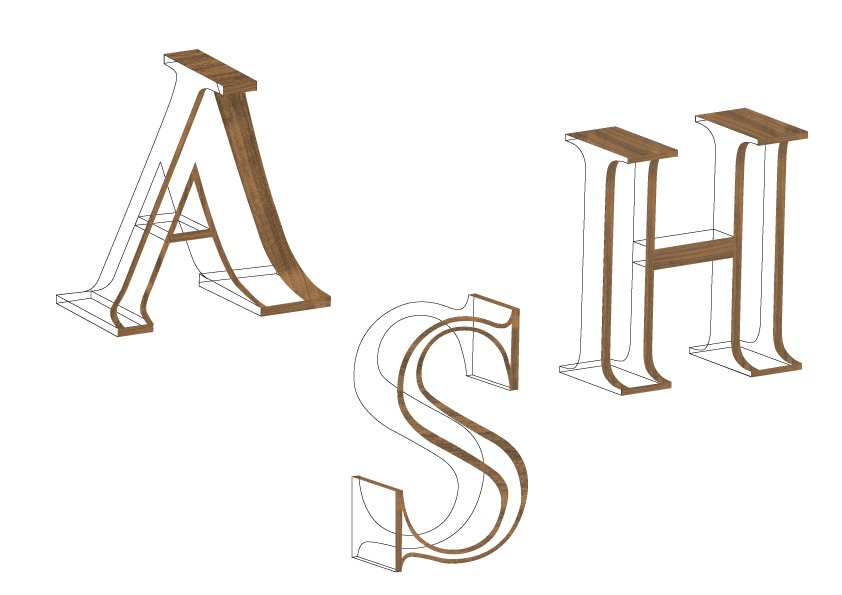
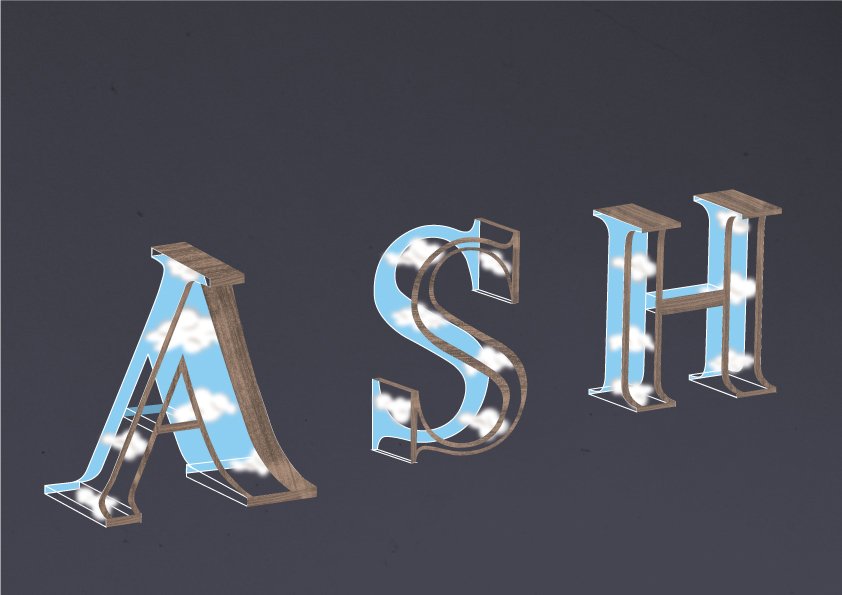
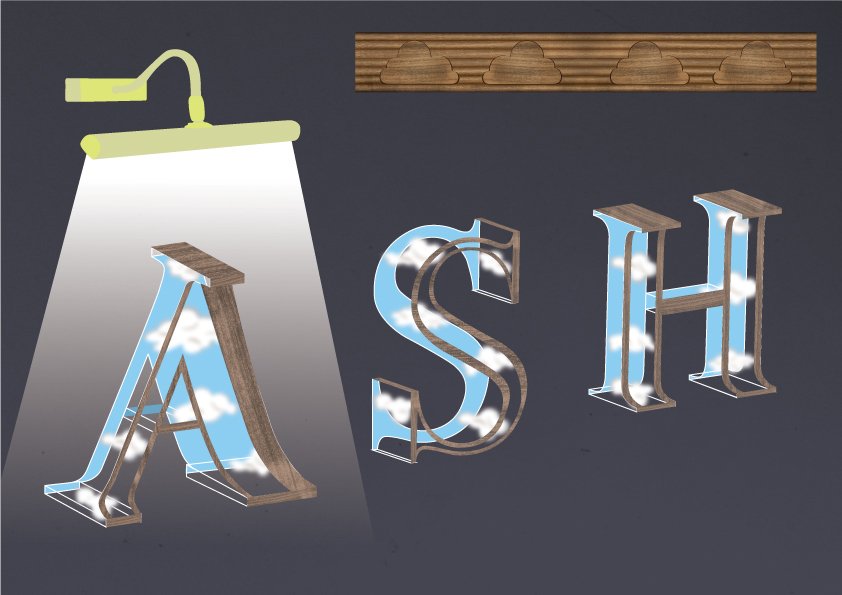
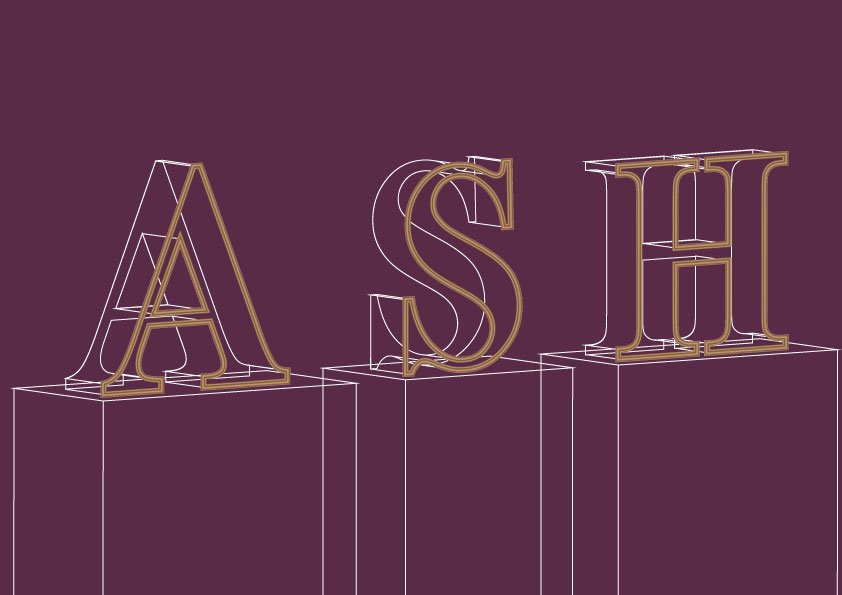
Cloud Curator
I decided to use the elements of a picture frame, glass display, and clouds in my typeface.
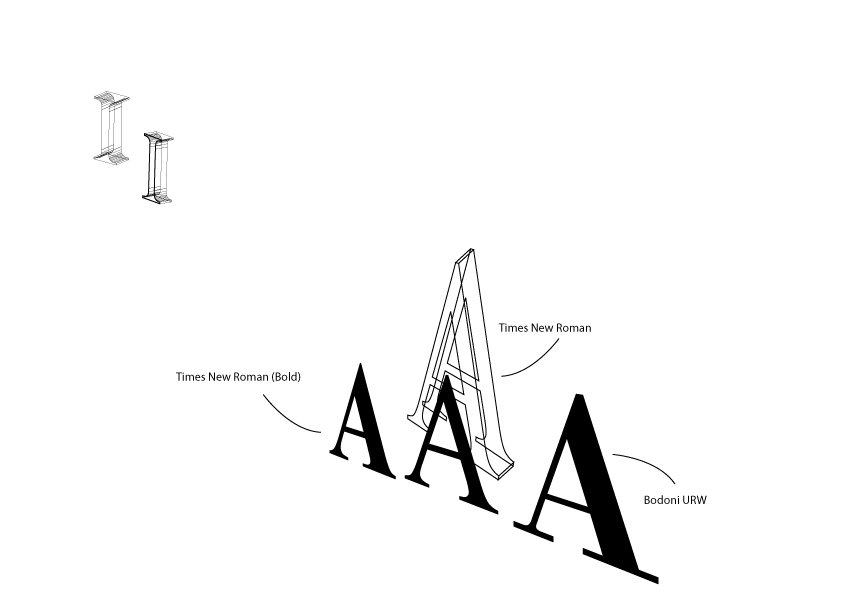
As mentioned in the research post, I wanted to use the style of this typeface for my Cloud Curator font. Initially, I was choosing between Times New Roman, Times New Roman (Bold), and Bodoni URW. Serif fonts look professional and stable which reflects the job of a curator. I decided on Times New Roman in the end and adjusted the width of the stern/stroke of the font according to my preference.
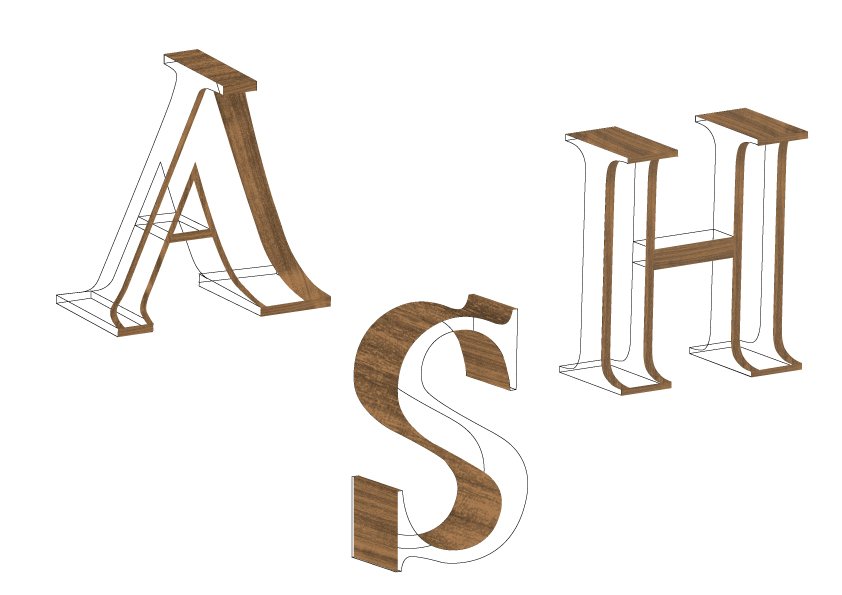
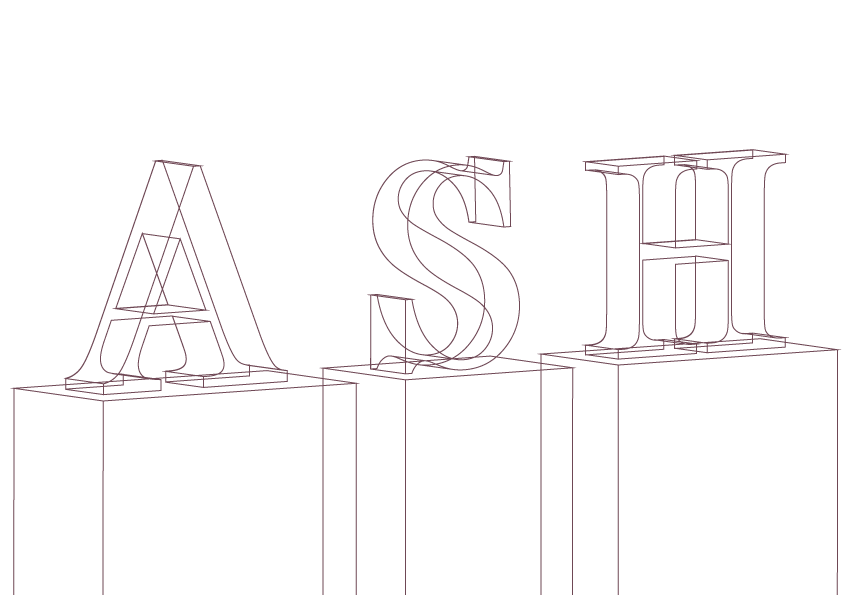
The glass tutorial which I used for 3 of my typefaces.
Clouds tutorial: http://www.gtpdesigns.com/design-blog/view/tutorial-create-realistic-clouds-in-adobe-illustrator

I decided to cut off a small part of the “A” and “H”, and the pedestal using the principle of gestalt (closure). The viewer will perceive the letter as a whole by filling in the information.
I decided to use a darker tone of sky blue to show that the environment is darker, to show that the light is only shone on the displays. The colour of the frame is also yellow-toned to complement the blue background.
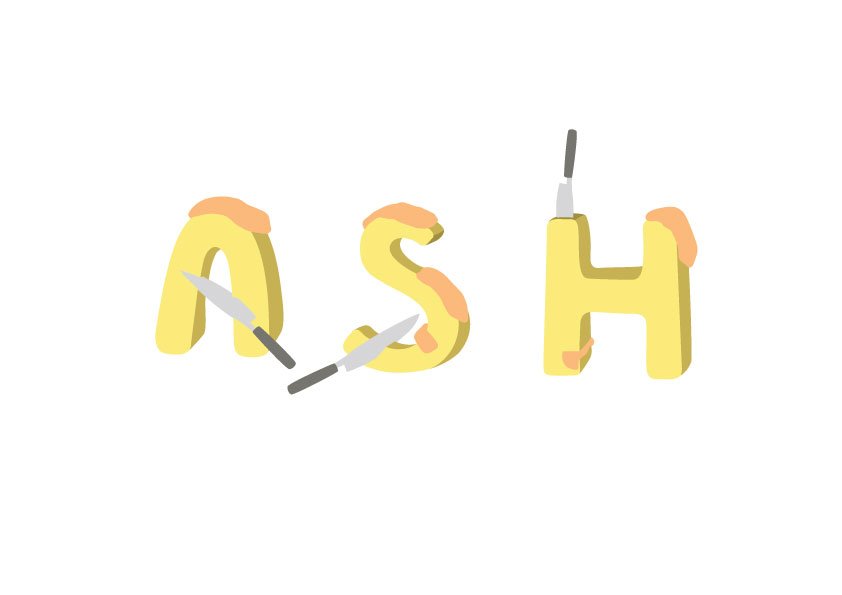
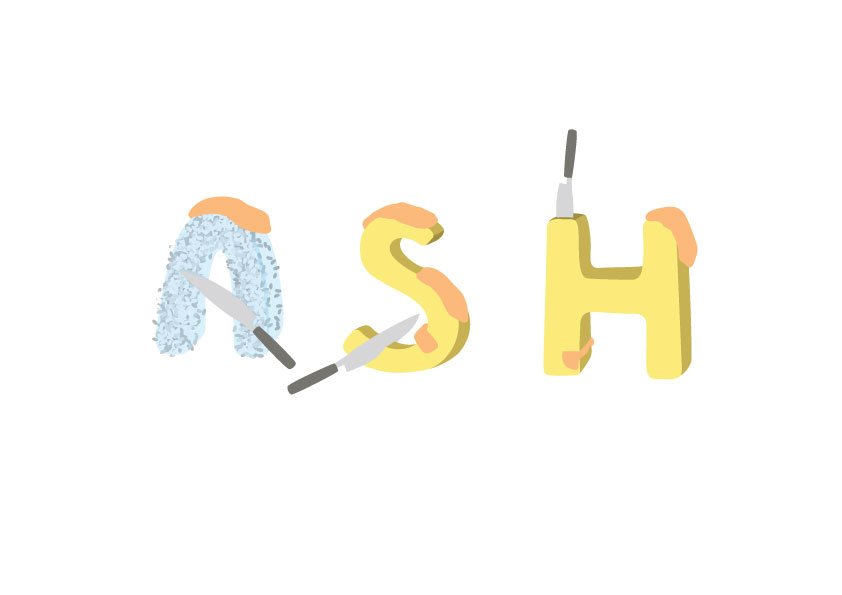
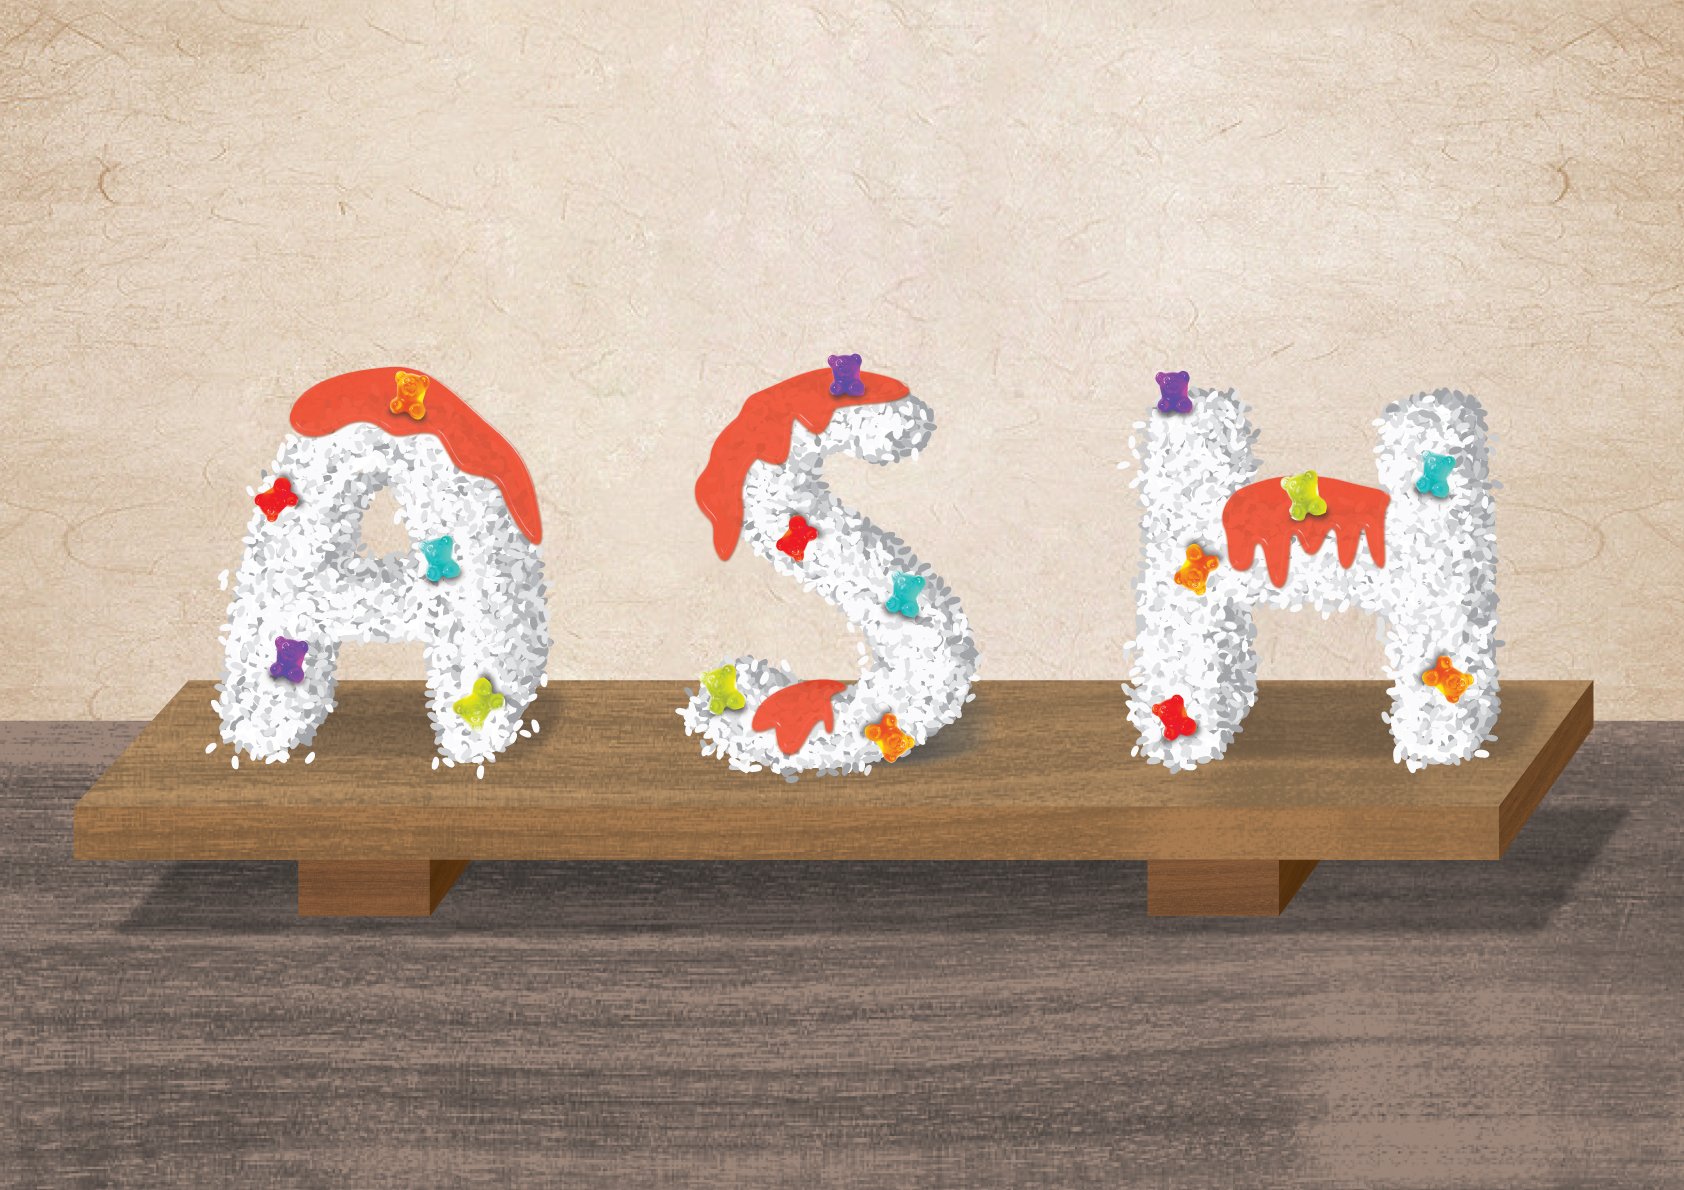
Sweet Sushi Chef
I decided to use the elements of rice, sweets, and jelly in my typeface.
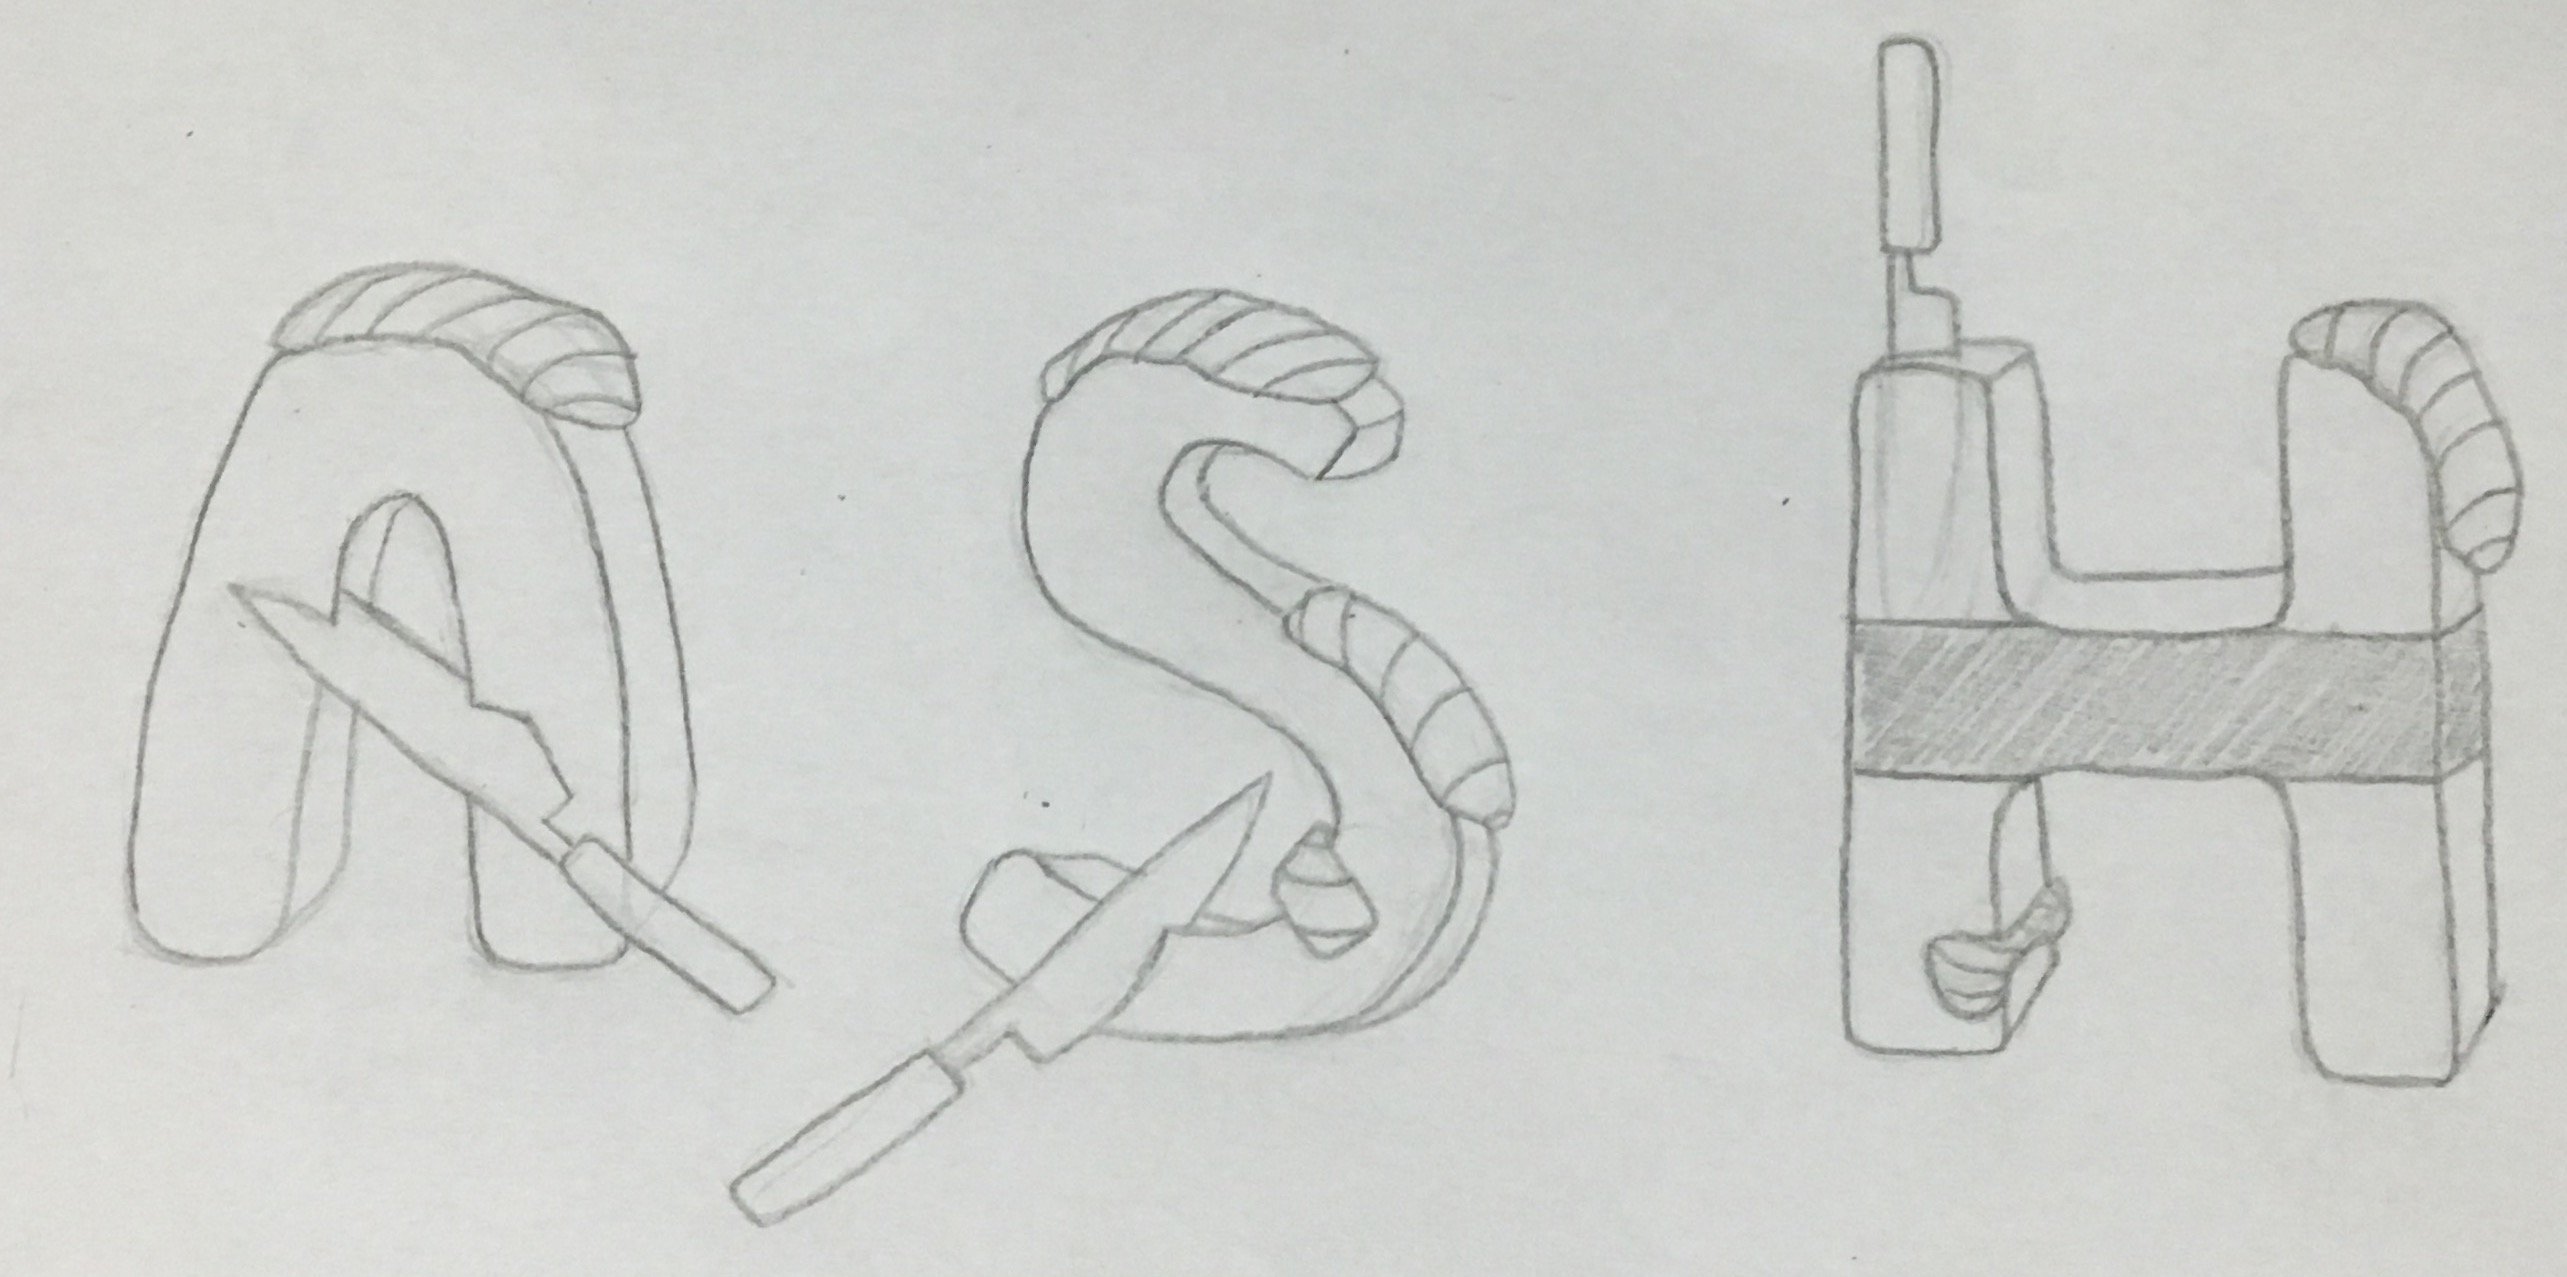
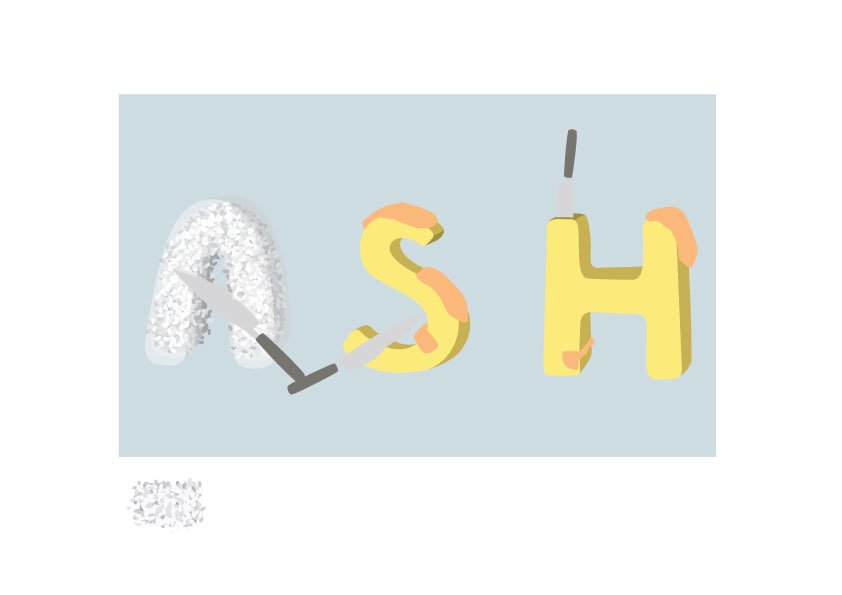
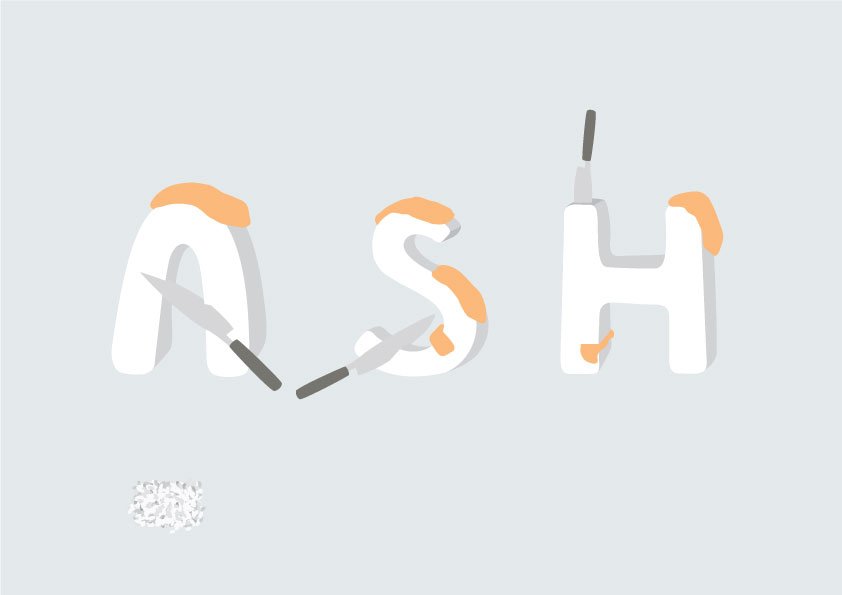
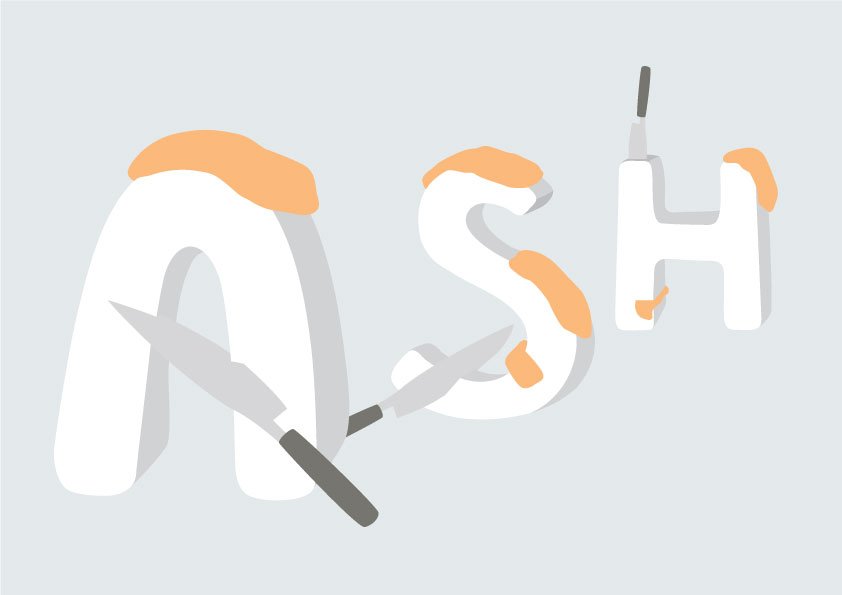
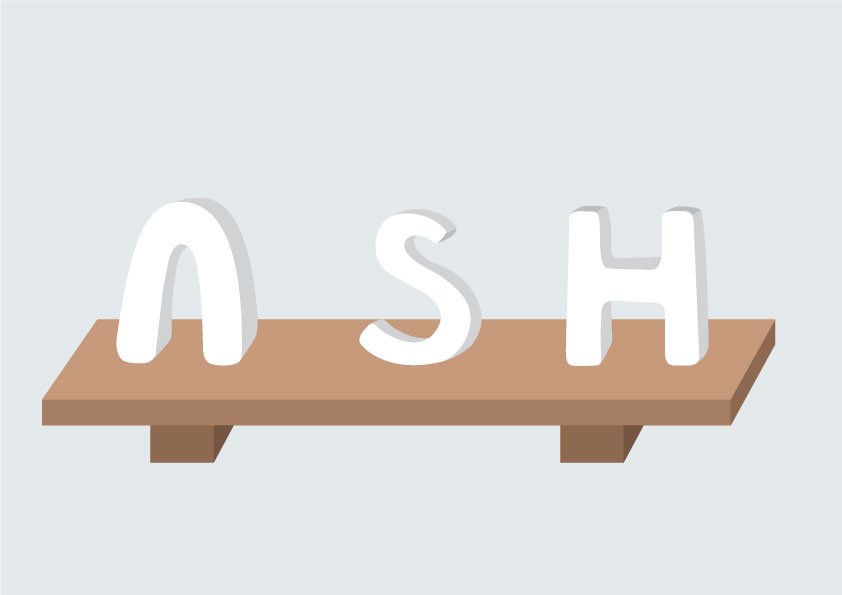
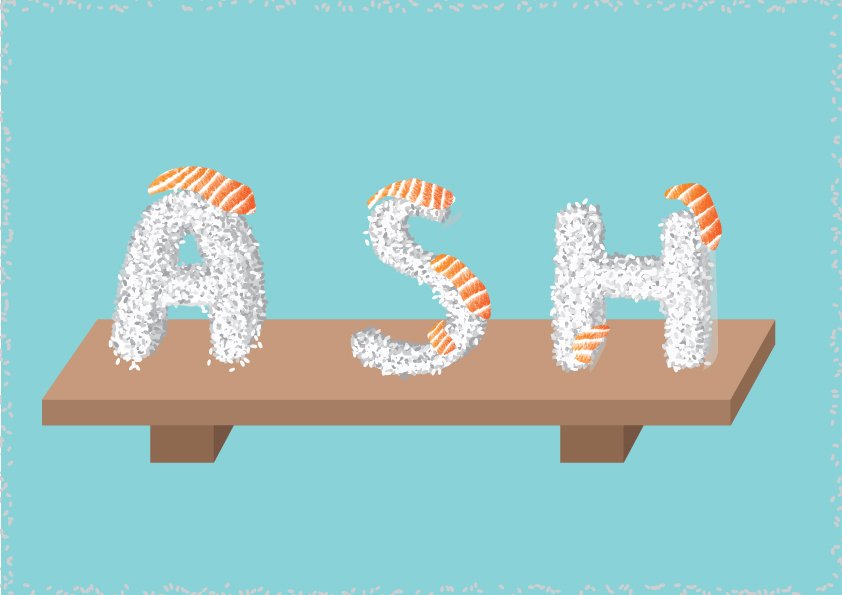
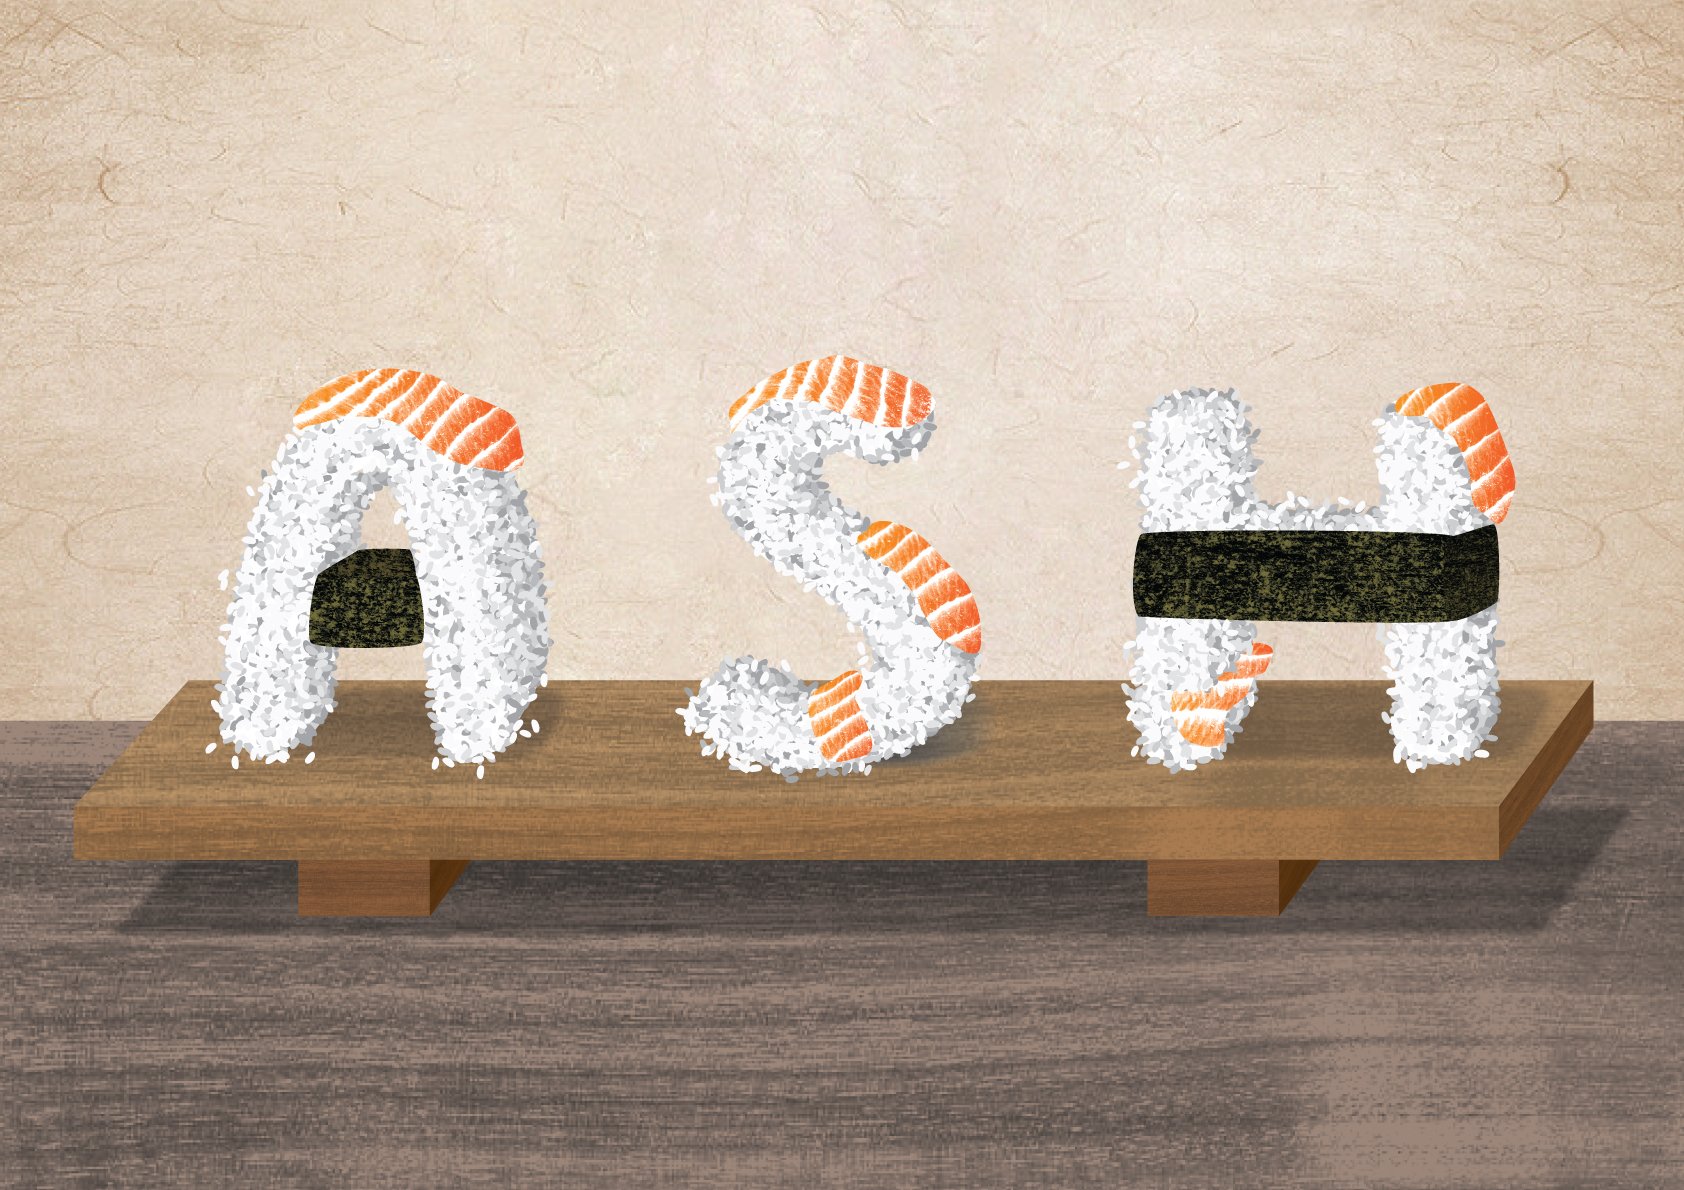
I decided to place the letters in the centre to emphasise on the fonts, and to balance out the three letters. Referring to version 5, I tried to put the A in front of S, and S in front of H to create distance between the letters. Even though it does guide the viewer’s eye from A to H, I feel that it does not balance out as a whole as A is too big compared to H. Another solution to that is to add more elements on the right side of the image, where H is placed at, to balance out the image.
I used a mixture of bright colours with saturated hues to signify playfulness and evoke a childlike feeling.
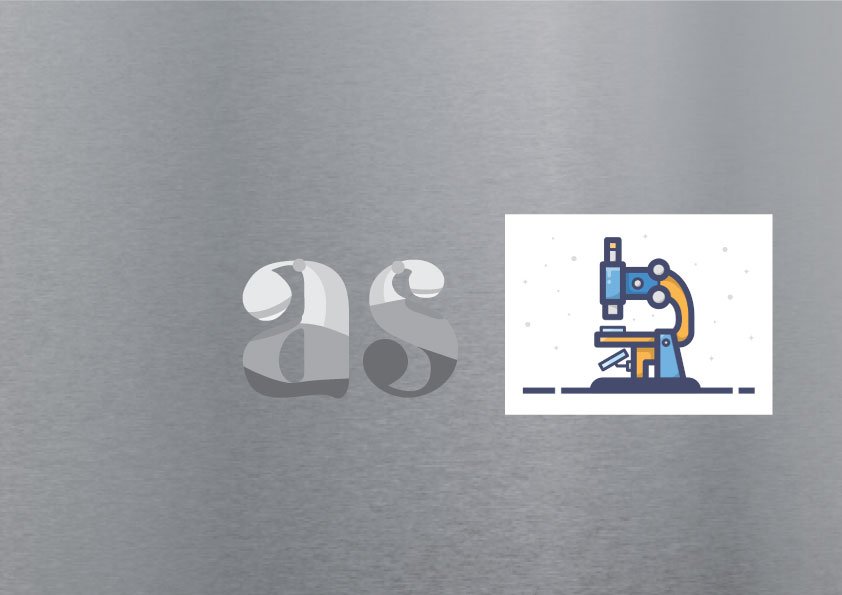
Genealogist
I decided to use the elements of a petri dish and DNA (genes) in my typeface.
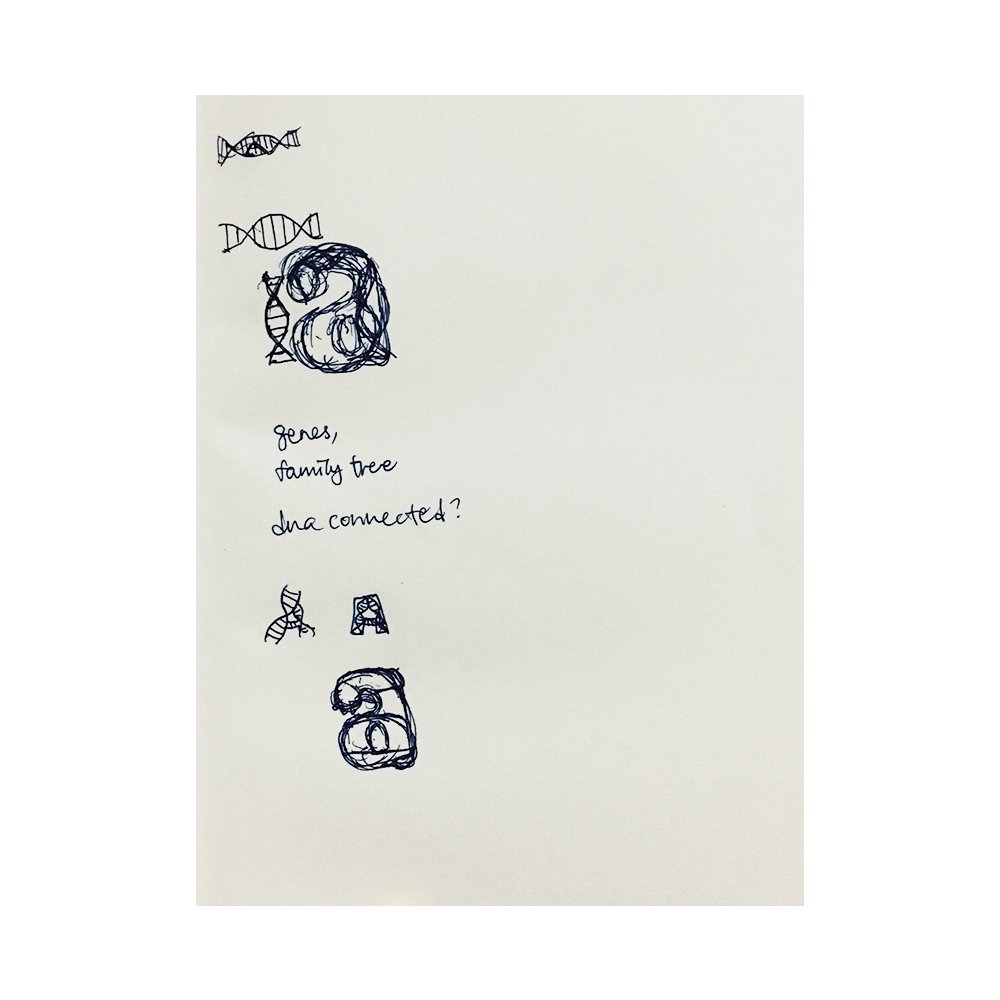
I changed my initial idea of being a Burnt Toast Scrapper to a Genealogist as I wanted to see how I can create a typeface about a job that I am completely unfamiliar with.
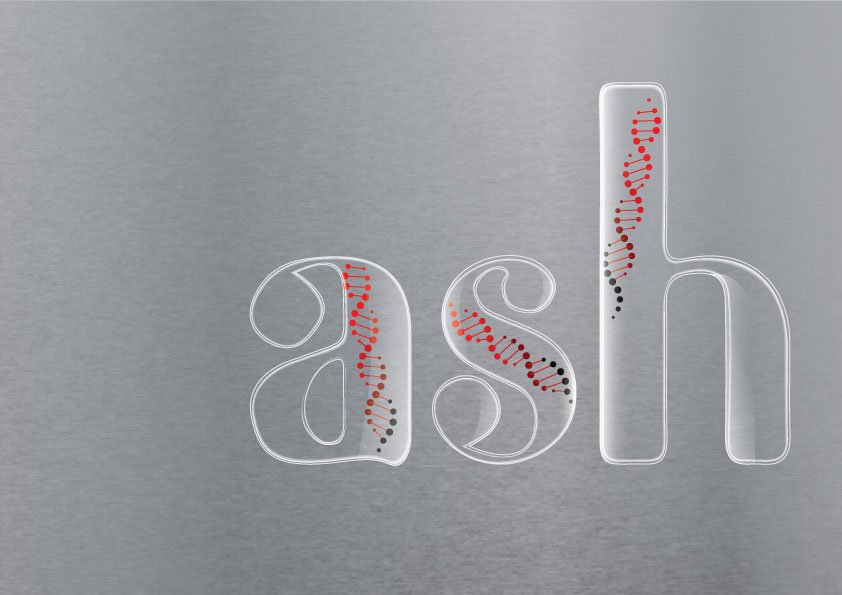
I decided to place the letters on the right, leaving negative space on the left. Cutting off my name at “h” gives the viewer a feeling that there could be more to the letters presented here. (Gestalt)
I decided to increase the tonal value of red from the bottom up to show the relation of the ancestry component of the job. The gradient symbolises the decrease of DNA inherited from their ancestors.
Floriculturist
I decided to use the elements of flowers growing, soil, and greenhouse in my typeface.
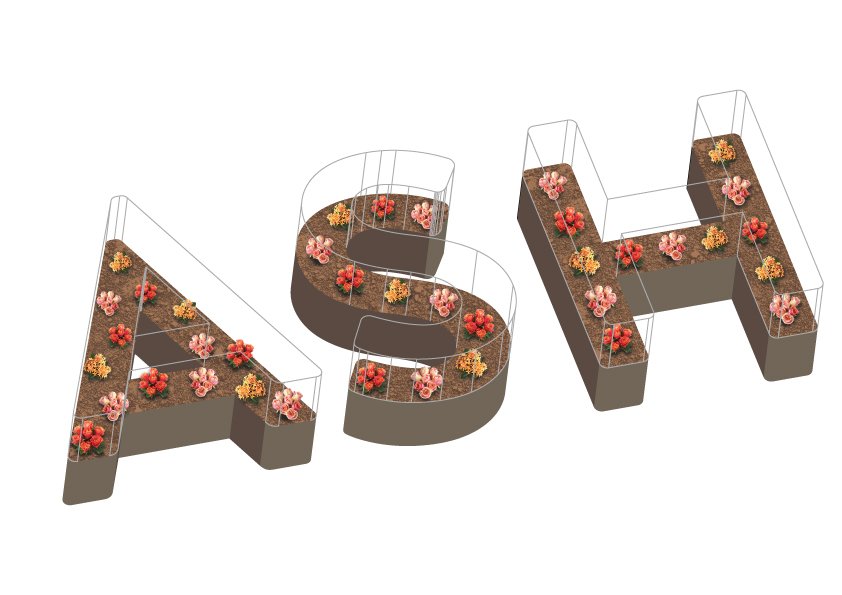
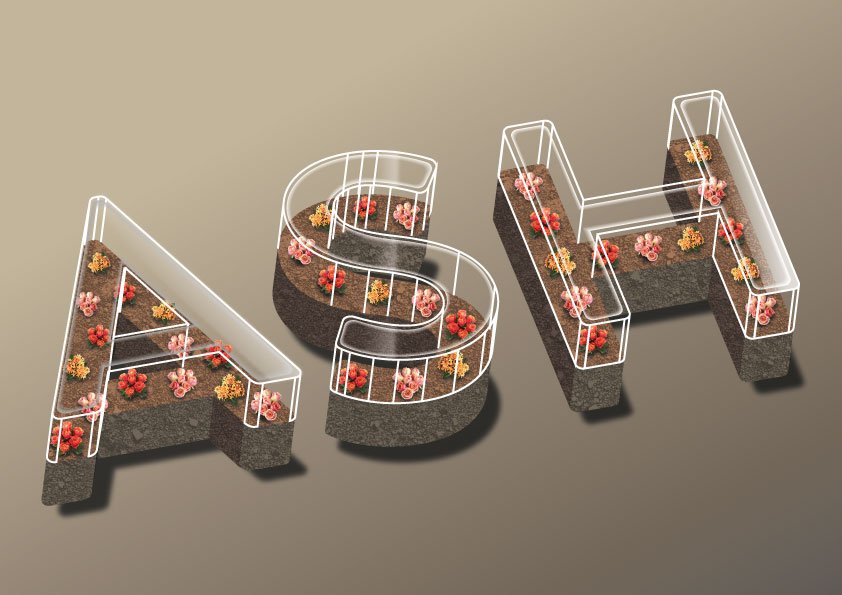
Contrast is shown in this image in terms of the bright colour of the flowers and the dull soil base. The shadow is also used to show contrast.
It is also dynamic as perspective is shown by tilting the angle, leading the viewer’s eye from a nearer point to a further point
An anagalous colour scheme is used for this image. Red, orange and pink flowers with red toned soil. It looks more natural as a whole.
Reflection
Although this project is challenging in terms of the ideation and executing it, I feel that I have learned a lot in terms of how I think (deconstructing objects to their basic elements) and also improving my technical skills. My greatest takeaway is to always ask for feedback and accept positive criticism to improve your work. Sometimes we are so drawn into our own work that we don’t see it objectively. For example, I was thrilled to learn about creating rice using the scatter brush. However, I did not realise that the letter that I have created is not as realistic as I thought. Feedback from a friend made me improve on my work, and I am always grateful for that.
My research is shown here: https://oss.adm.ntu.edu.sg/a180062/project-1-image-making-through-type-research.
The final outcome is shown here: https://oss.adm.ntu.edu.sg/a180062/project-1-image-making-through-type-final