Legs, Feet and Hand Drawings
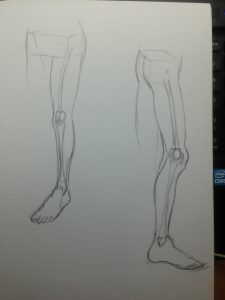
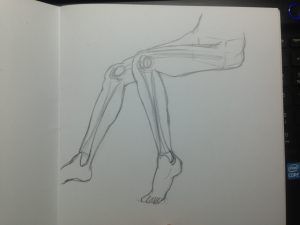
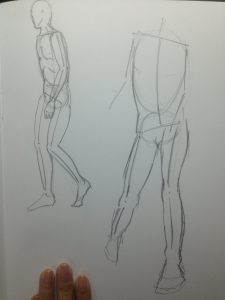
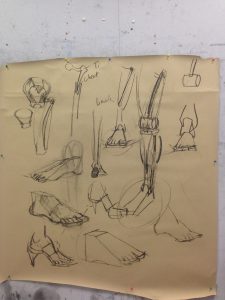 During the lesson, we were taught how to draw legs. Legs are attached to the pelvis at an angle, pointing slightly diagonally downwards. The thigh bone slants inwards towards the center. The knee joint is like the rounded cylindrical side of a mallet. This gives us our bendy knee movement. Slightly below that is a flat plate. A slightly curved bone(which gives our knees the frontal curve shape) sort of connects this two pieces together (although in actual fact it doesn’t touch the bone but is rather held up by tendons). The shin bone is relatively perpendicular to the ground, with a slight degree of bent to the center. The muscles are that the muscles on the inner thigh are lesser than that on the outer thigh, although they are almost the same volume. The muscles at the calf area are such that there is barely any muscle on top of the bone, most of the muscles are found at the back. From the front view, the back muscle closer to the center of the body is positioned lower while the back muscle closer to the side of the body is positioned higher.
We were taught how to use draw feet. The important thing about drawing toes is that for the big toe, after the big joint for the toe, we are to draw 2 lines in a L shape, whereas for the rest of the toes, we draw three connected short lines.
I feel that my drawing of feet is still very ugly, I didn’t quite manage to understand what was taught and apply it. I think I better understand the concept after Jebra re-explained step by step. I’ll try again some other time. Also, it is observed that the inner ankles are smaller and higher than the outer ankles.
 For the hands, Prof showed us that the palm area is actually not in line with the arm bone, it is slightly lower. The thumb starts at the bottom for the palm and ends at the mid area of the first section of the index finger. The thumb is made of 3 sections with the mid section circumference smaller than the other two sections, while the other fingers sections are in descending order.
Quick Stickman Sketches
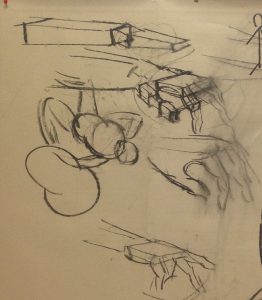
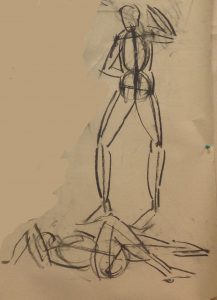 To do this, we first pinpoint and the draw the lines for the shoulders and trocanther. Use a vertical line, this need not be straight, it can curve to show movement(twist or bending of the body), to depict the torso. From the ends of the trocanther, draw the thigh bone, dot the knee and draw the shin bone. From the shoulder, draw the arm bones, similar to the way the legs are drawn. From here, add volume/muscles to finish off the stick man.
 I thought that this method was quite fun. It’s a more consolidated method than the box method(which I find myself to quite like because it is easy to use and it helps me a lot). Will probably try this more often since there’s less planning of boxes(which I take veryyyy long to do).
Tonal Studies
Last part of class was learning about tonal studies with reference to Adolph Menzel’s concept of 9 tones. We were taught how to proportionate the tones in our work, especially to evoke moods. We used photocopied pictures of building sceneries, and used black and white chalk to colour over to create moods.
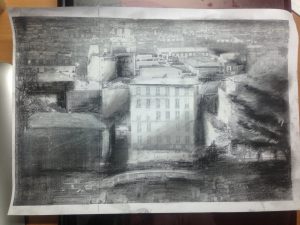 This is my sunlight-mood piece.
 This is my rainy day mood piece. The tones are all way too similar. I was having difficulty with the white chalk, it kept giving me muddy grey tones instead of pure white. :/ I wasn’t sure how to depict light from circular bulbs along the streets so I coloured halo like circles around it too.