Piano System
Brief
For this project, Peter told us to design and construct a 3-dimensional sculpture/device that makes a record of its own movement. We had to synthesize the relationships between material form and movement.
The device should have at least 3 of the following movements:
Free Fall
Rising
Falling
Spiralling
Arc
Penetration
Extraction
Rotation
Pushing
Displacement
Stepping
Bouncing
Transformation
Important Considerations
– The system must be able to repeat its drawings
– Mark making needs to be visible
– No applied colour onto the machine itself
Preliminary Ideas
Instead of basing my system around a certain movement, I decided to construct a foundational idea that I could slowly build upon. This would remove any pre-conceived notions on what my machine would do.
IDEAS
-Musical Box
-Piano System
-Musical Box + Piano System
I knew I wanted to play around with an idea that could create/recreate “music”. As ‘sound’ wasn’t of paramount importance, I decided to substitute the sound aspect with colour; with each colour representing a different note. Here are some sketches of me playing around with the above ideas:
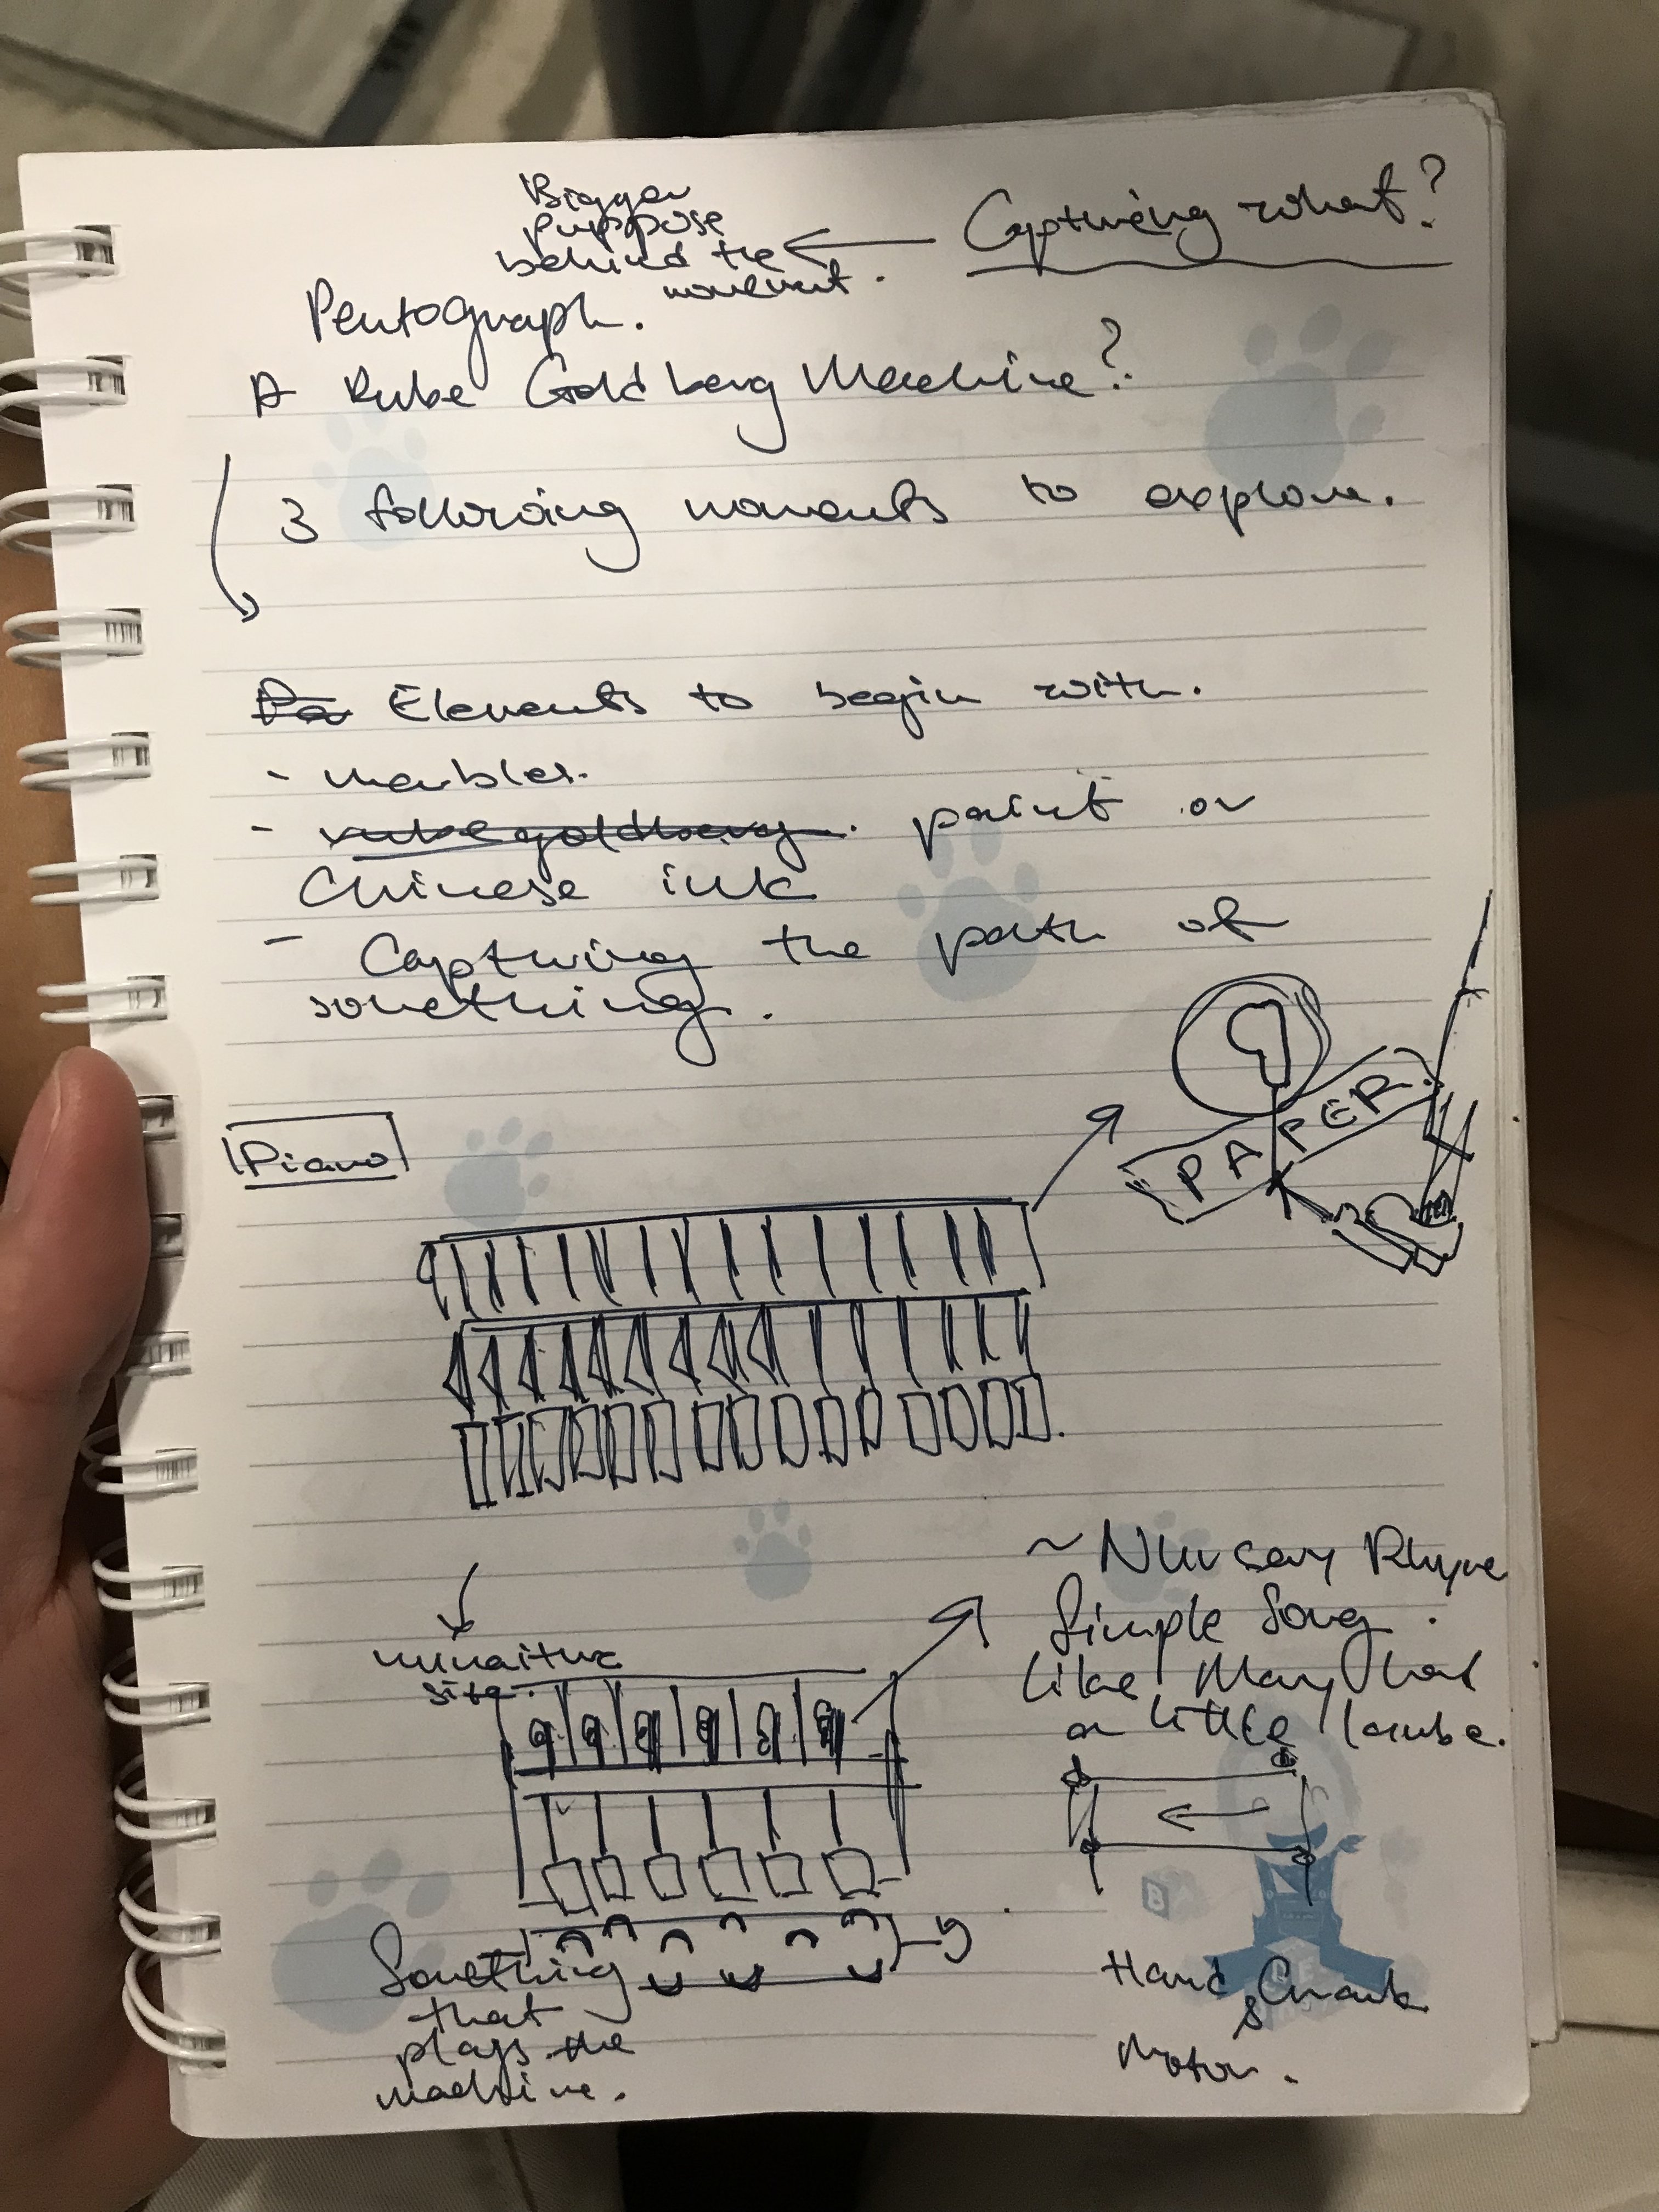
Ultimately, I decided to focus down onto the piano system alone as I wanted a degree of interaction the player would have with the machine; the musical box would not achieve that as it would probably be a fully automated system.
The Piano System (Process)
For the piano system to even work, I needed to figure out a way to recreate the internal hammer system of the piano as seen below.
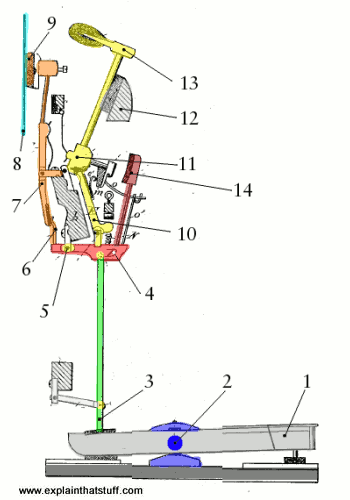
Credit: explainthatstuff.com
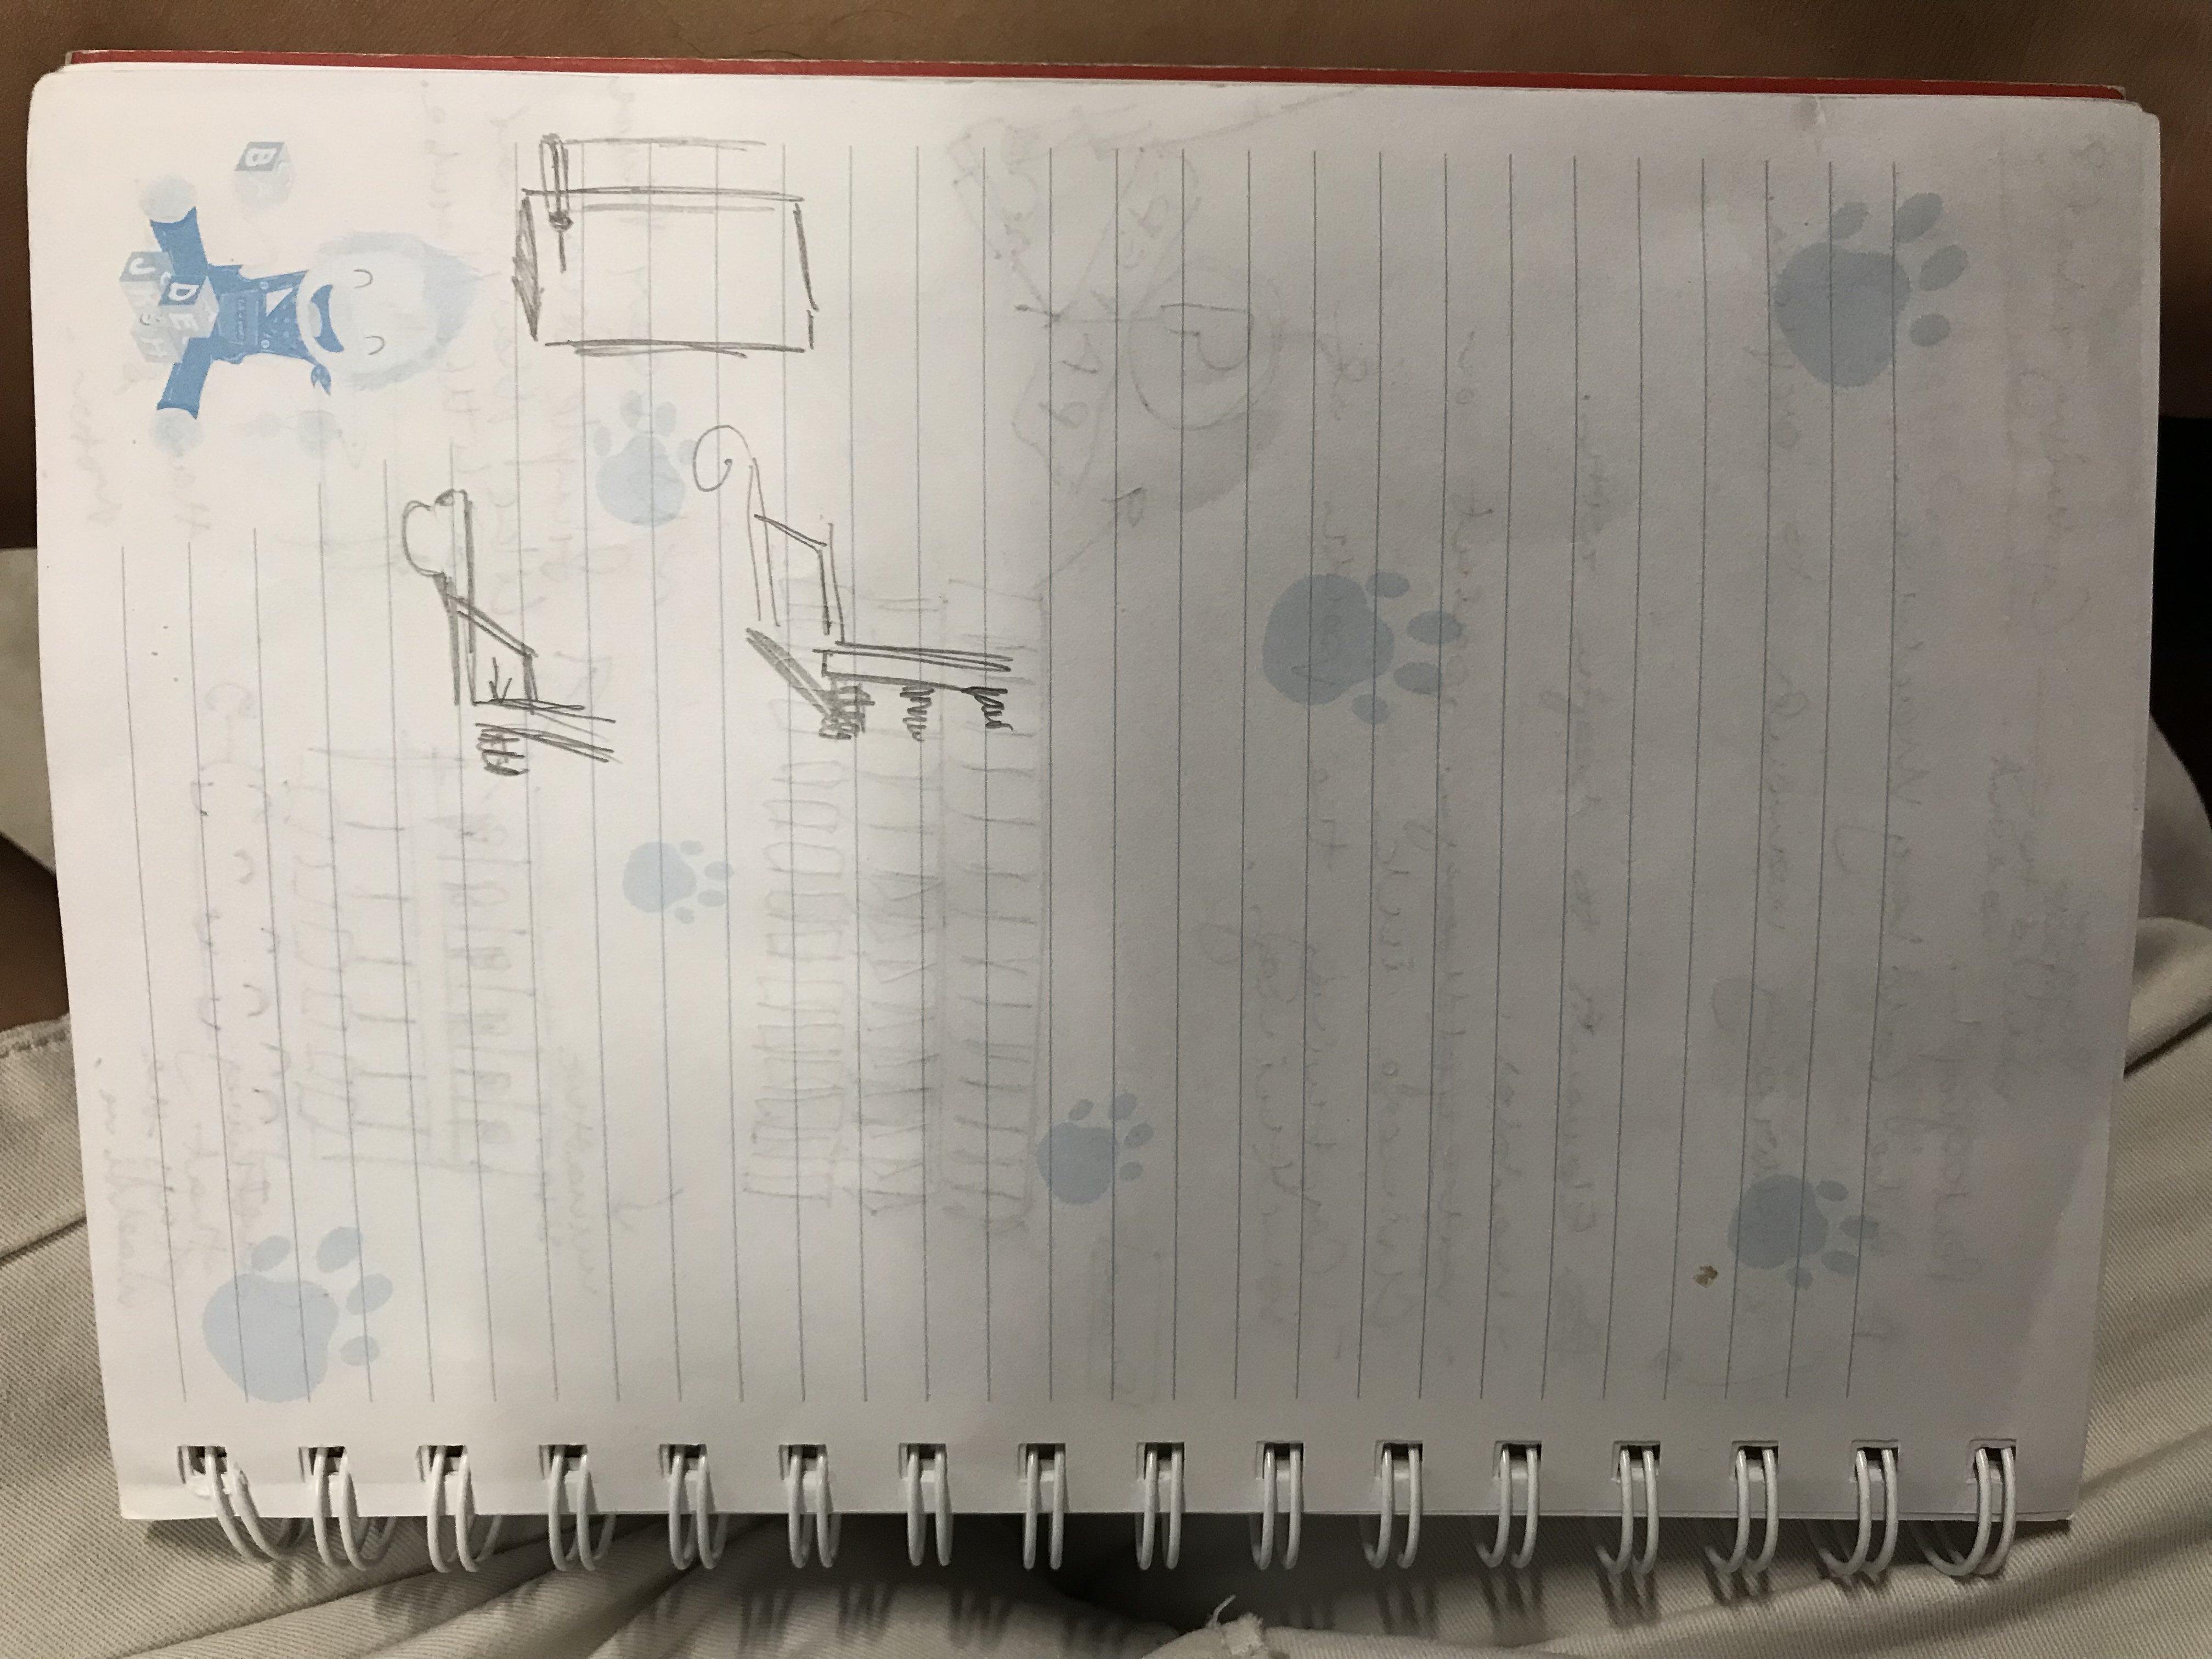
This would prove to be the most daunting part as the entire system working hinged upon how functional I was able to create this “hammer”. Here are some draft mockups:
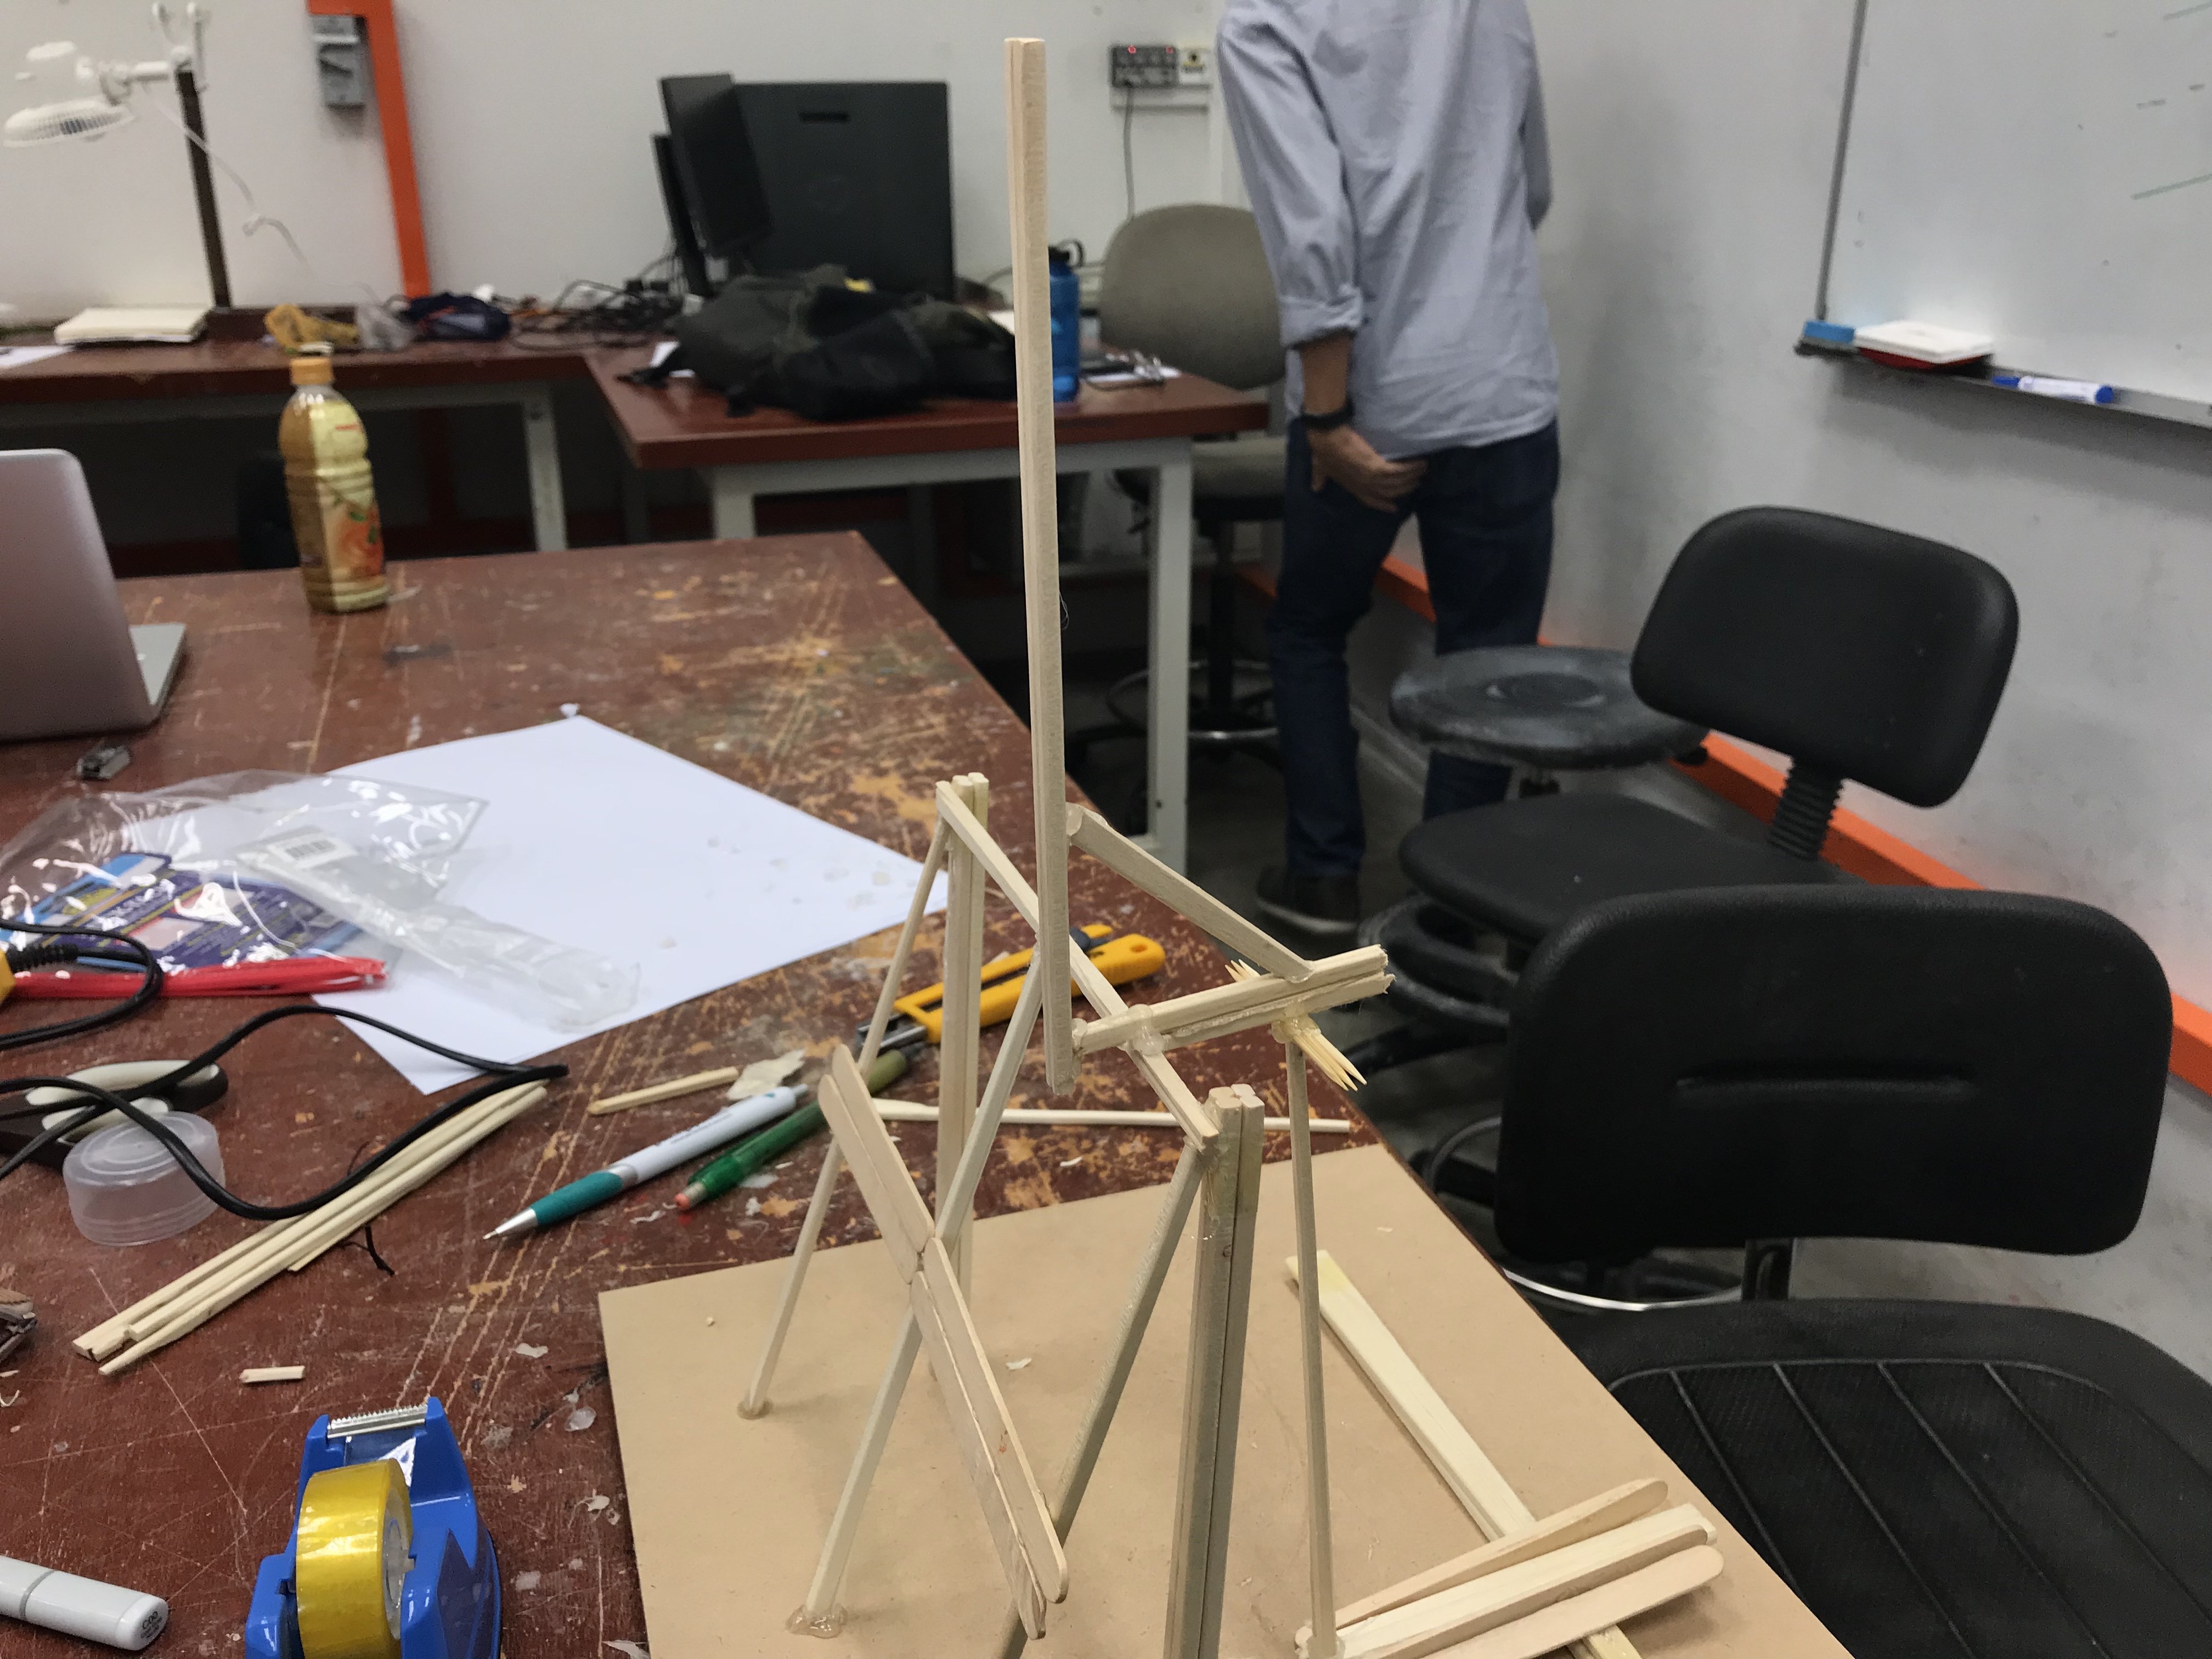
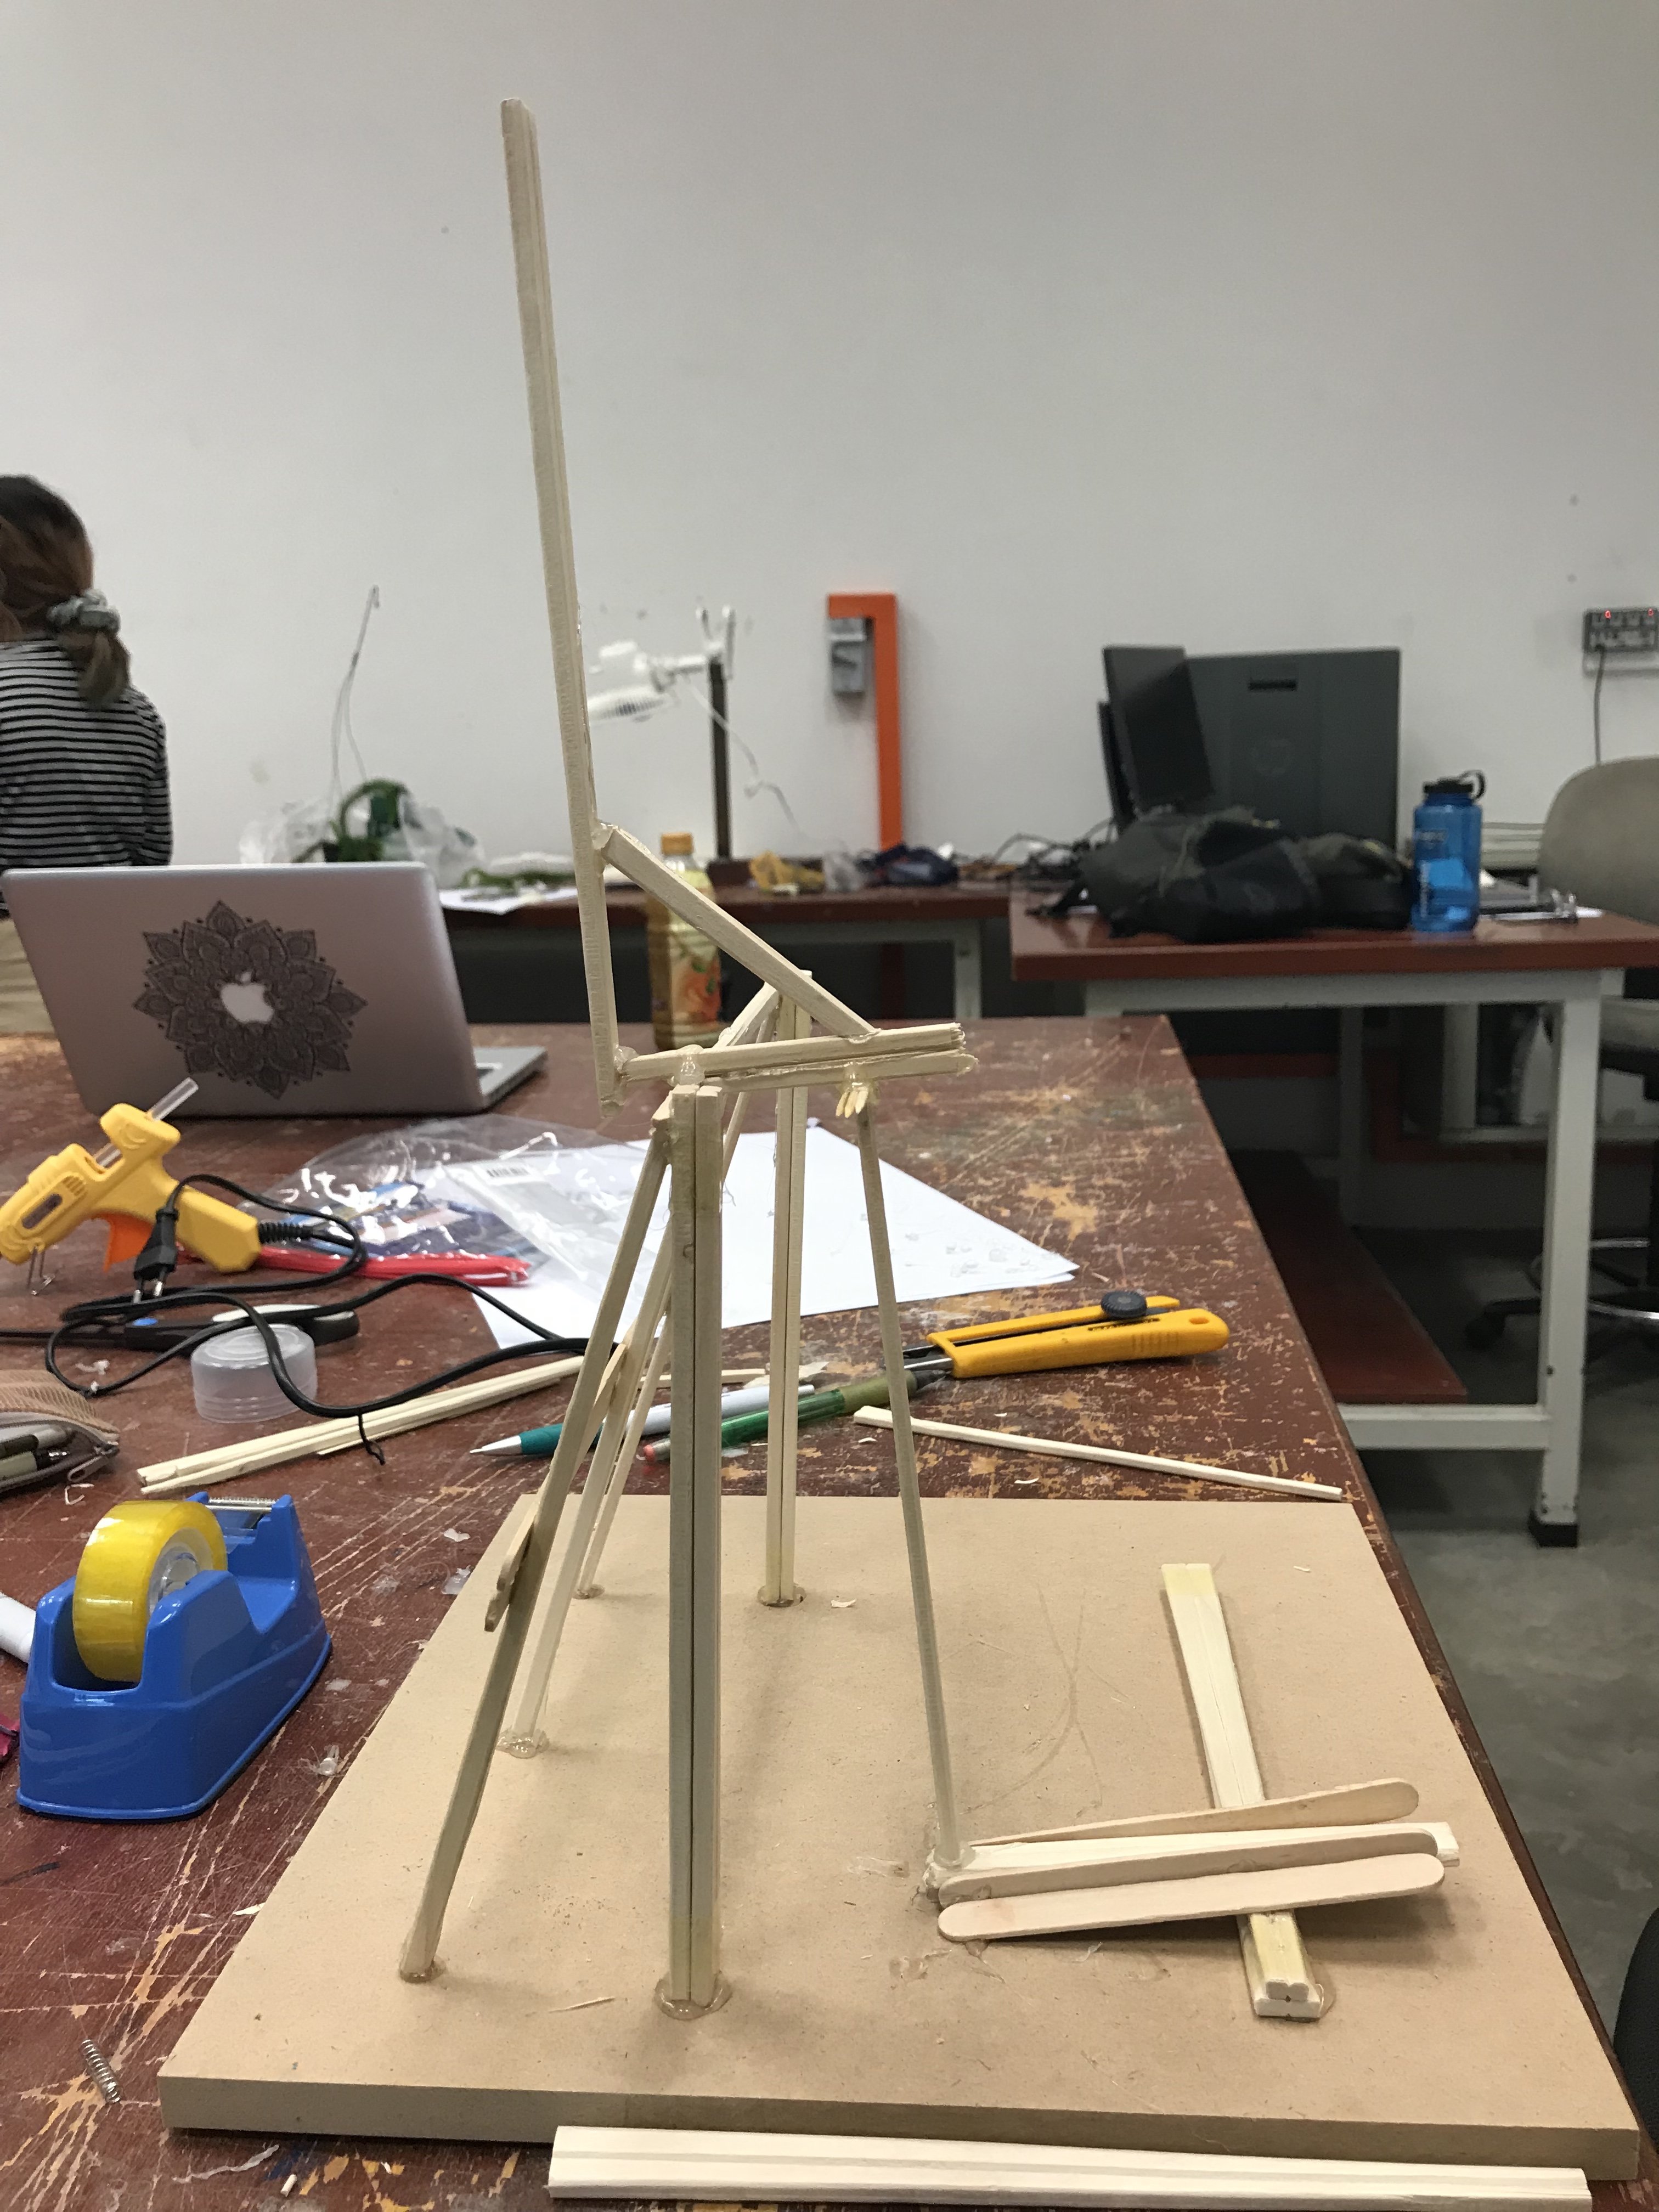

Video of how it works: IMG_4176
Although this version worked out, it was unreliable as the hammer hinges upon hardened hot glue (had a bit of flexibility to it) and was aesthetically pathetic:
Consulting Peter, we came up with a solution to improve the fulcrum ability.
Broken down into 3 parts:

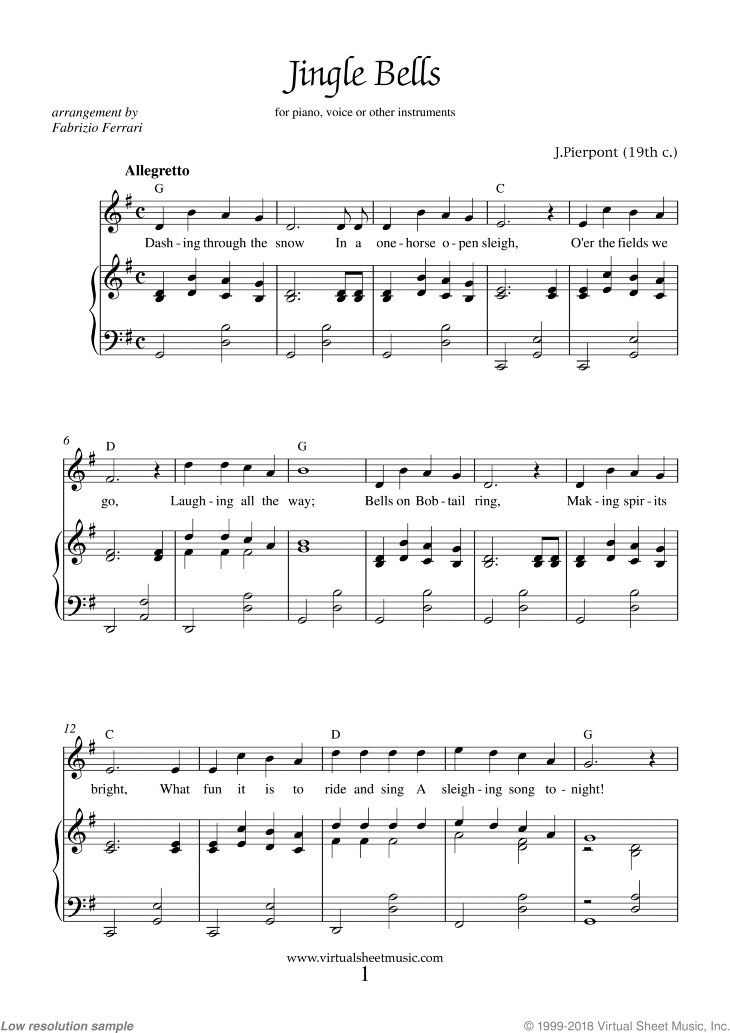
Pressing Mechanism
Instead of using hot glue as the cement, a thin aperture would be drilled through a wooden dowel and a thin metal wire would pass through. The wire wines tightly around a giant wooden clothe pegs (used to retain height and size consistency across all keys). This allows for less pressure on the turning points of the wooden dowel
Rotatory/Fulcrum Mechanism
The supporting structure holding up the hammer portion would be made out of two tubes, one large wooden dowel and a larger hollow acrylic tube. This enables a rotating feature (acrylic tube) about a fixed axis (wooden dowel).
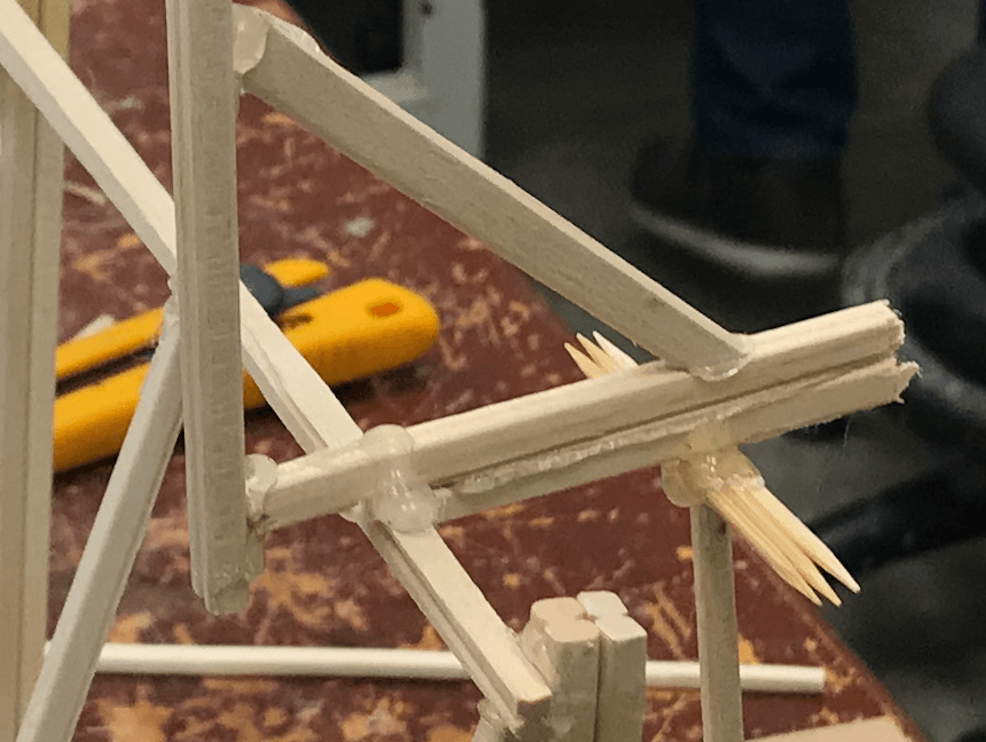
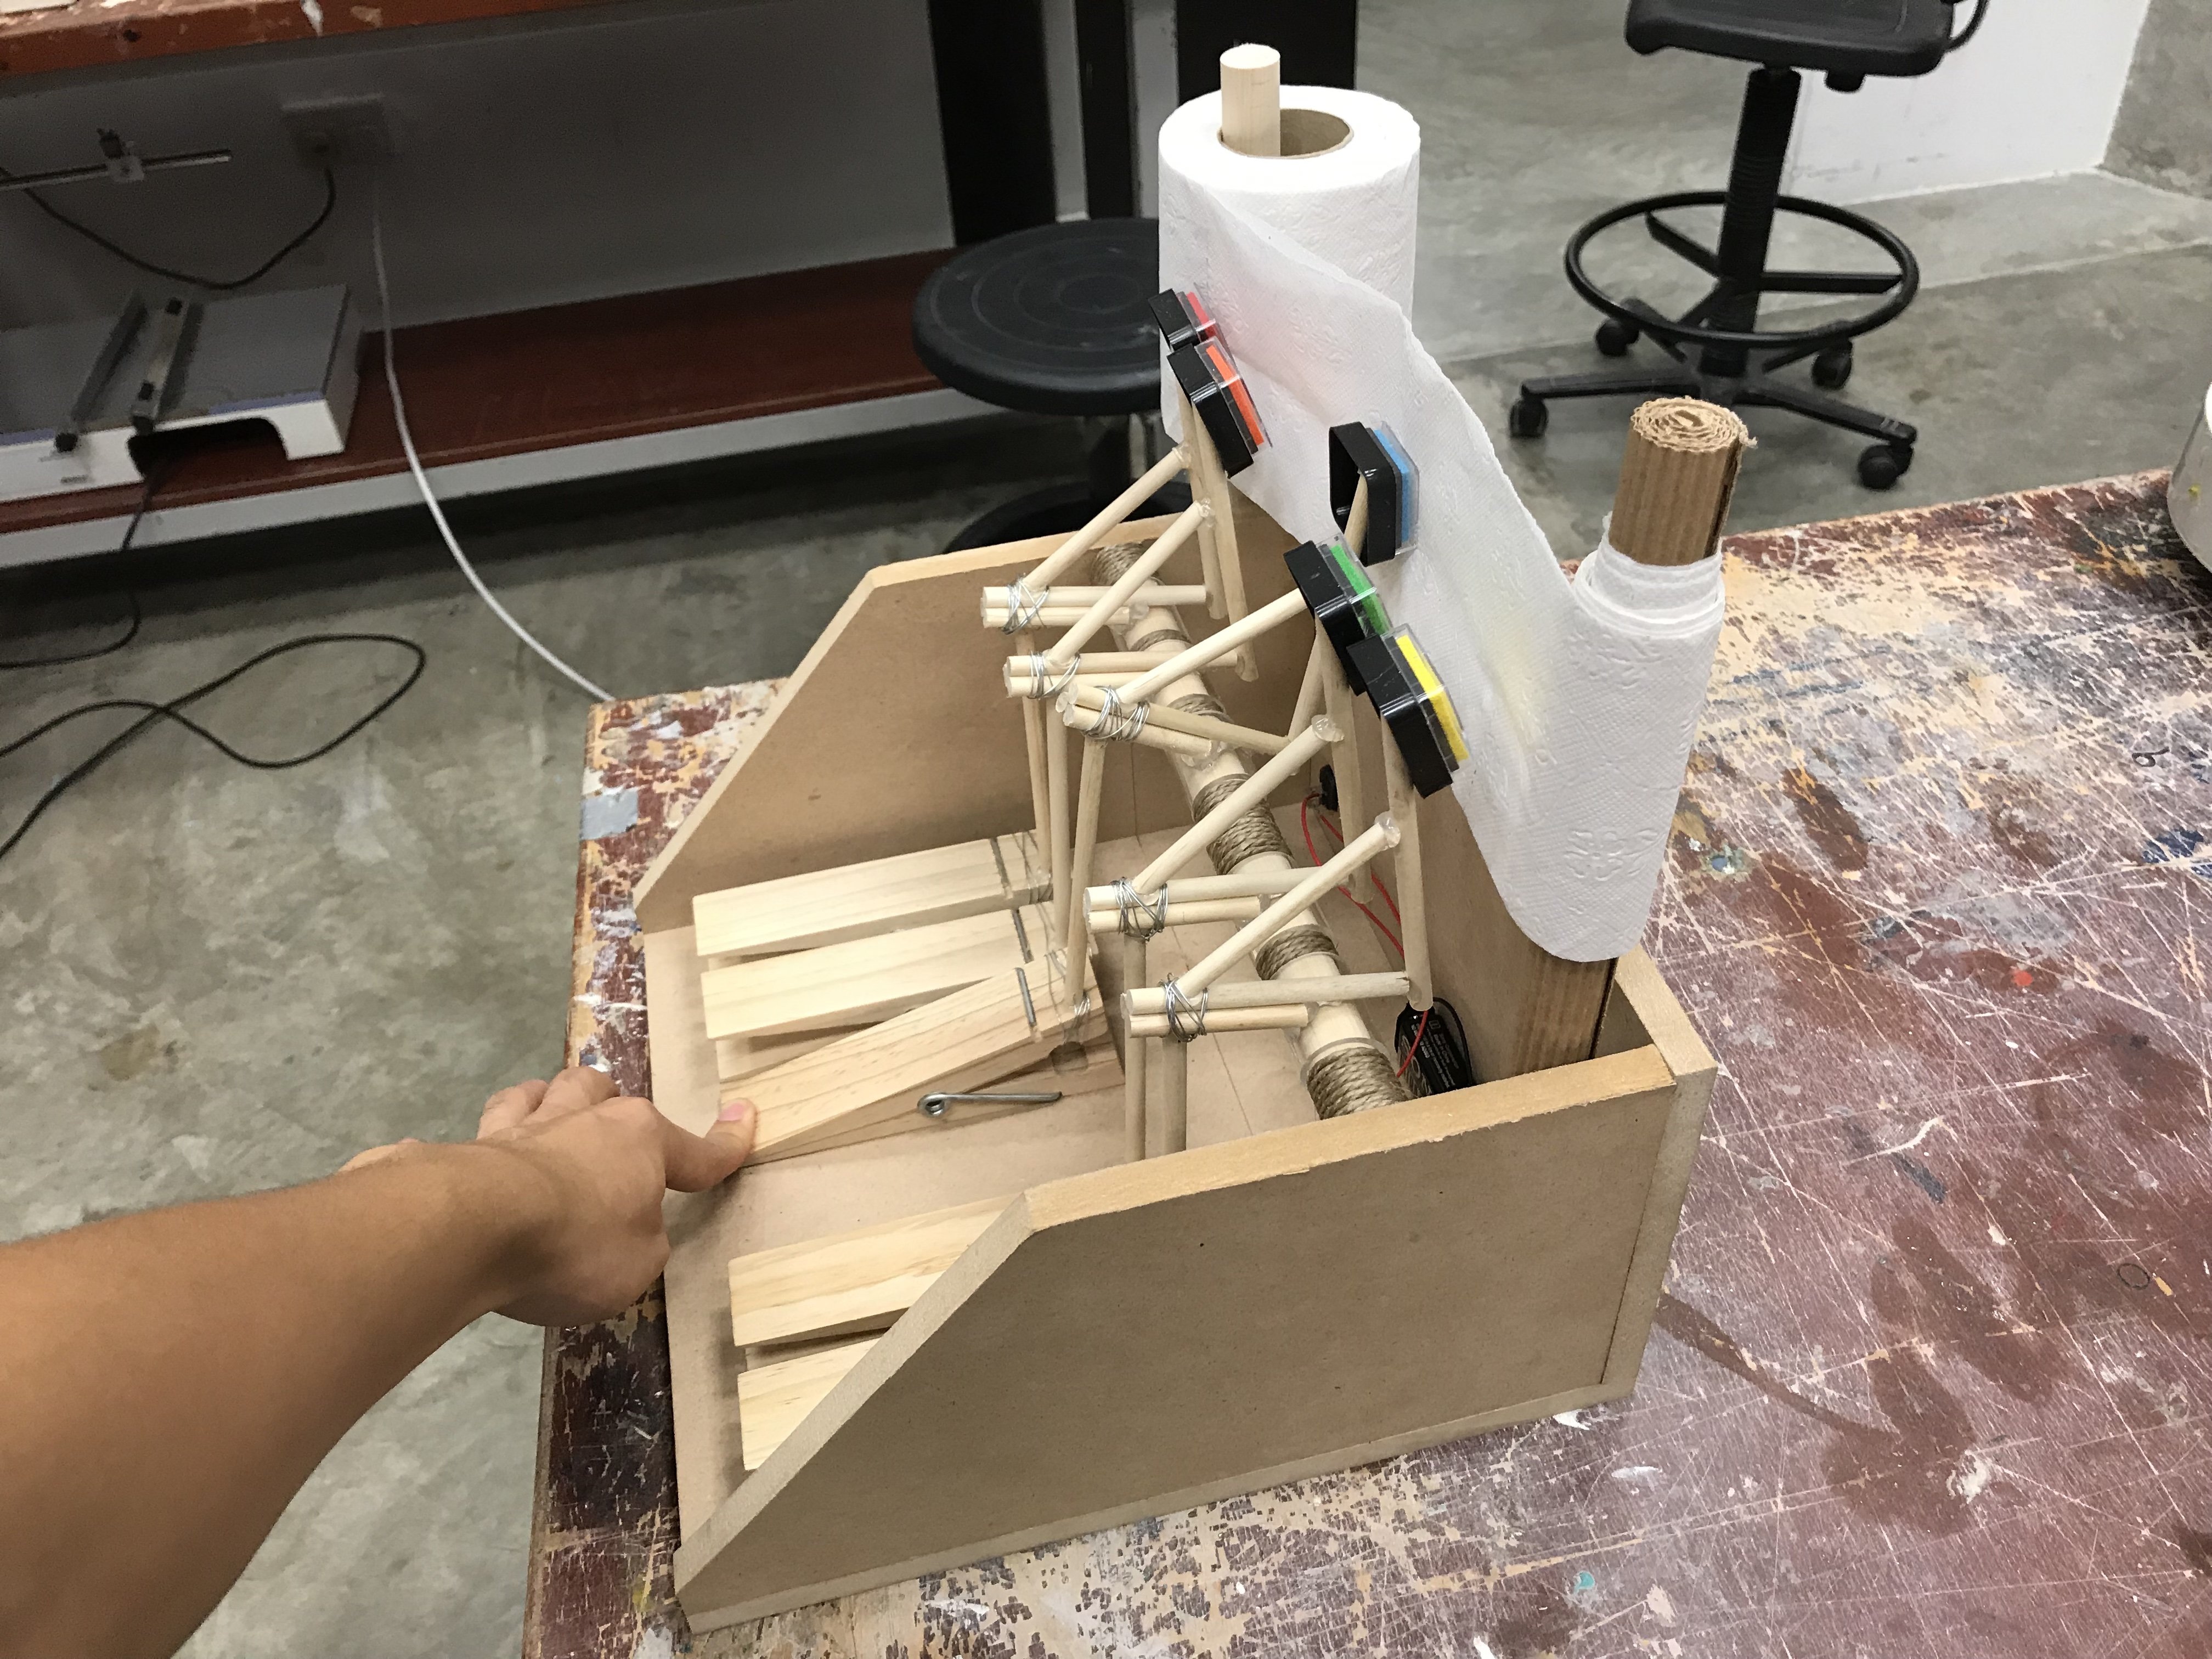
Hammer System
Put both mechanisms together and you get the hammer system. Fitted with an ink pad at the very end; when the key (clothe peg) is depressed, it activates a series of connections that causes the hammer to strike down onto the mark making surface.
Video to illustrate the descriptions: IMG_4320
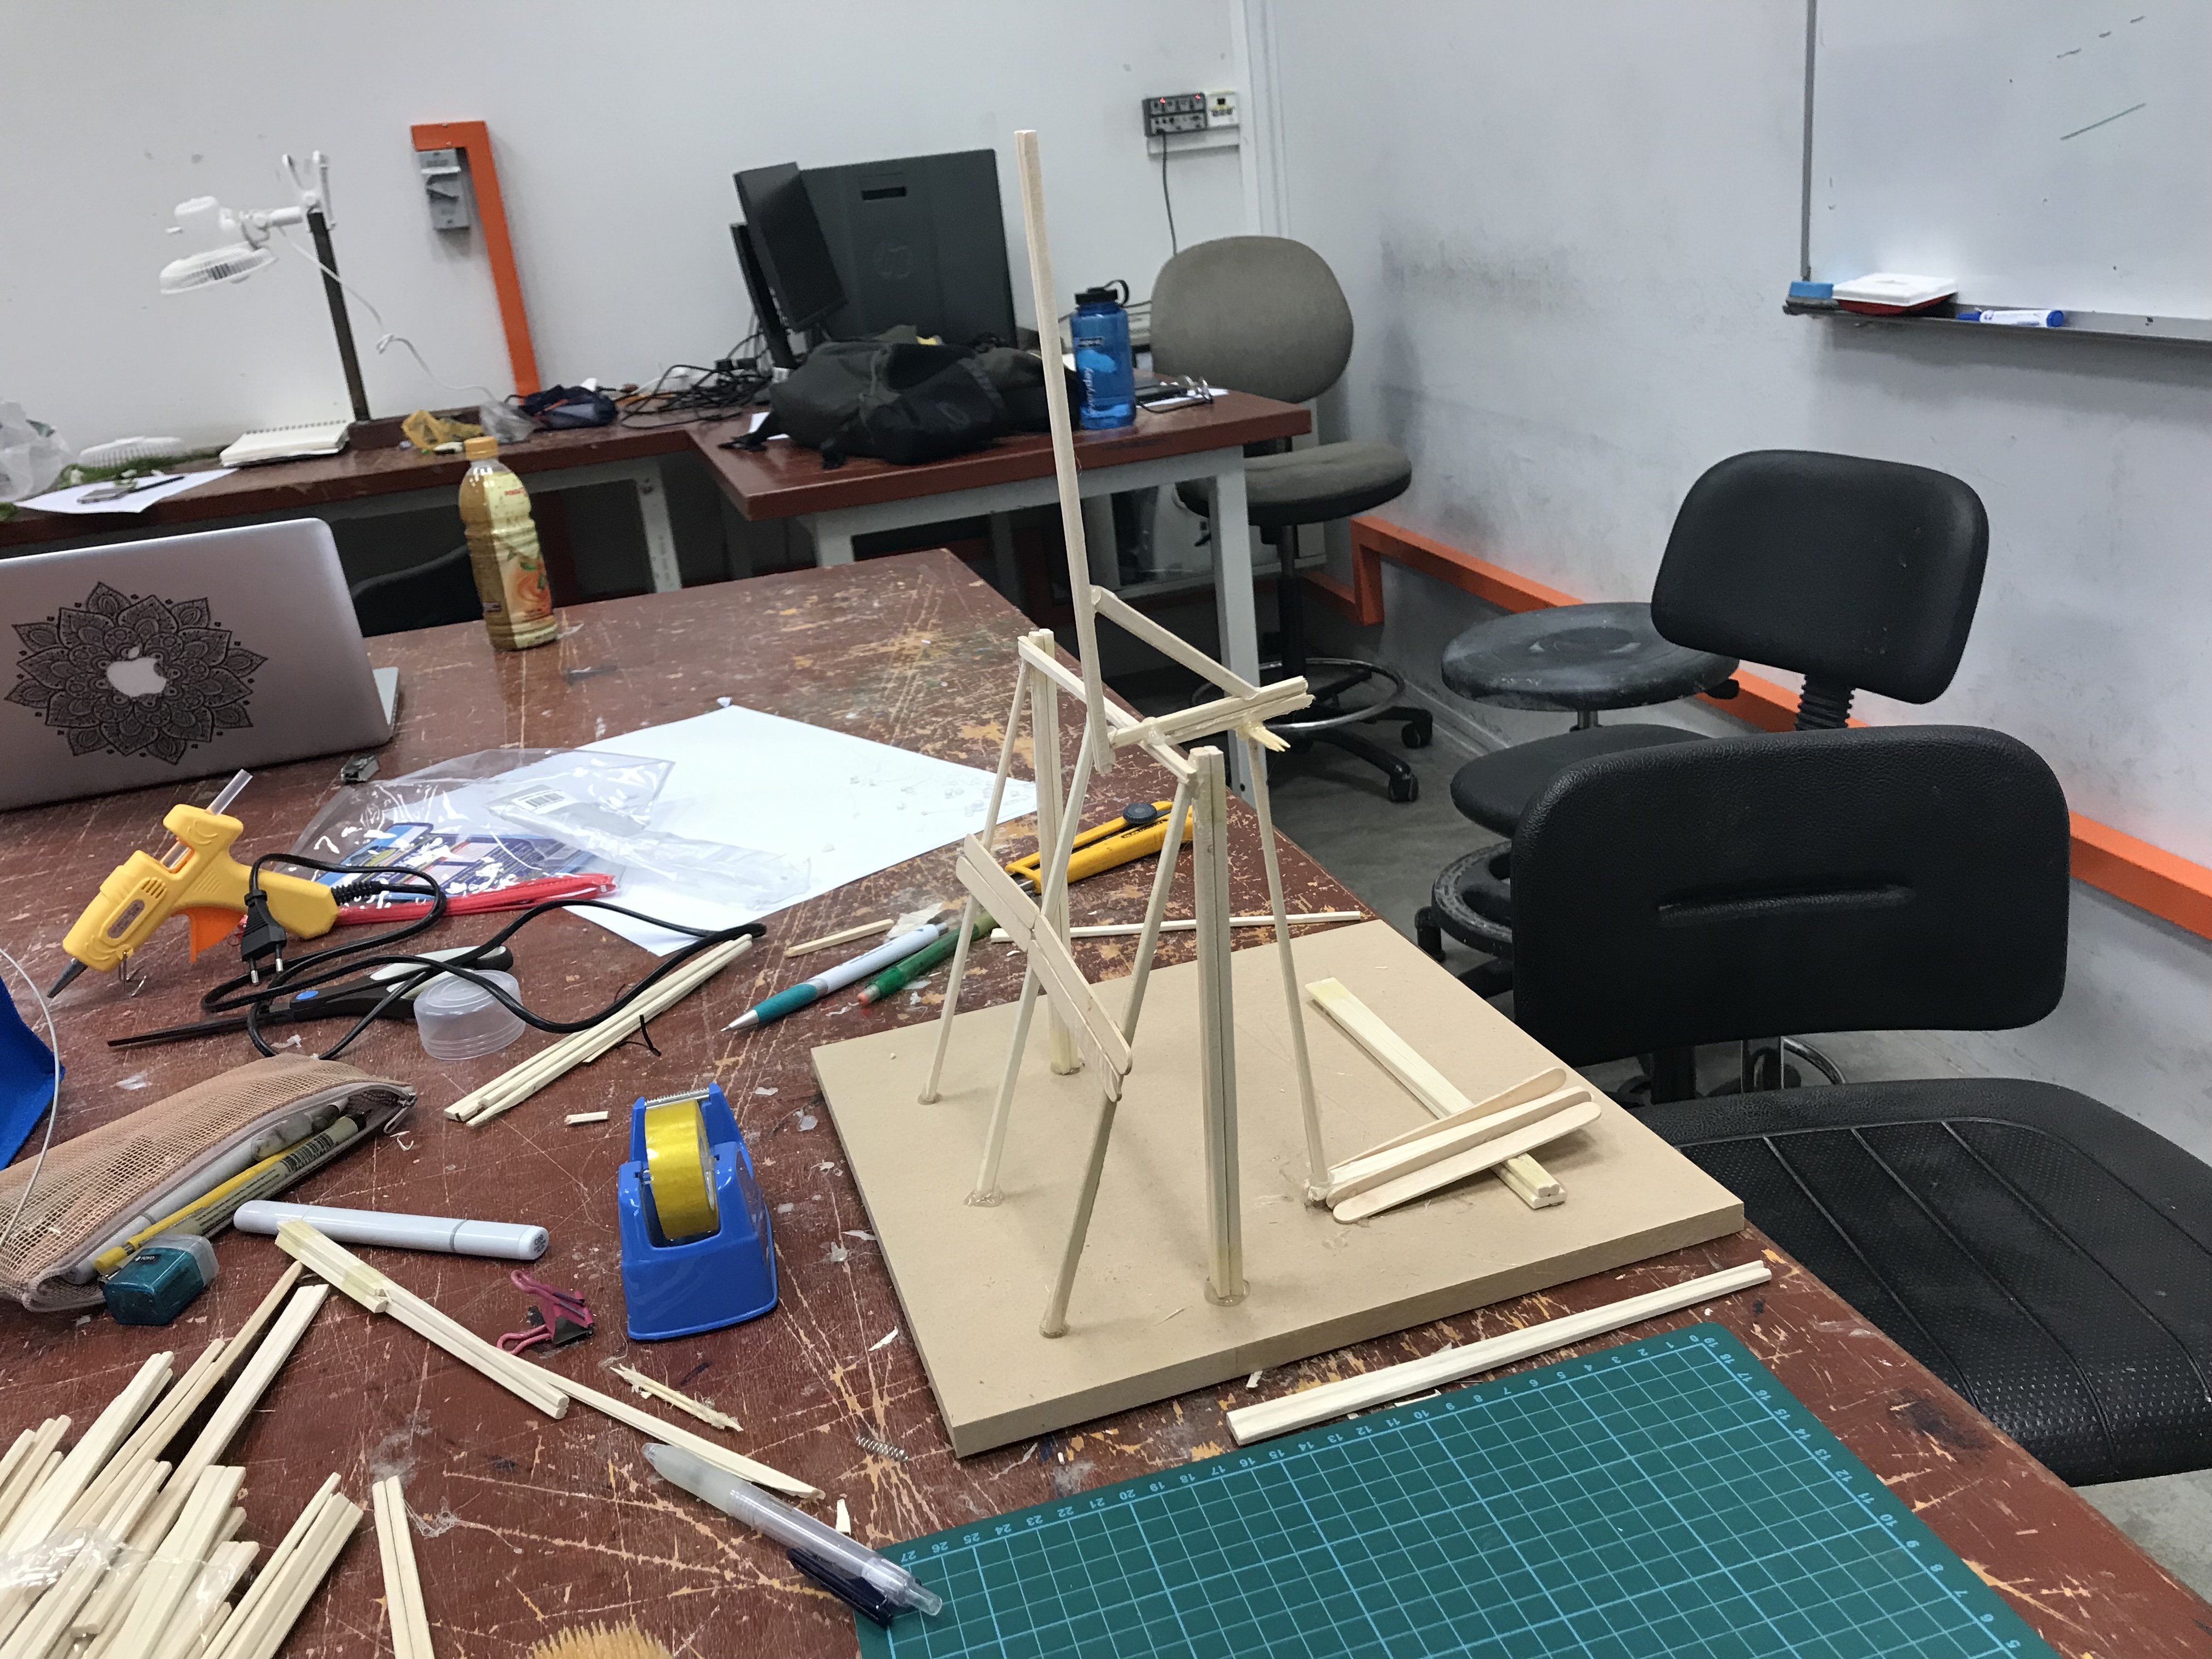
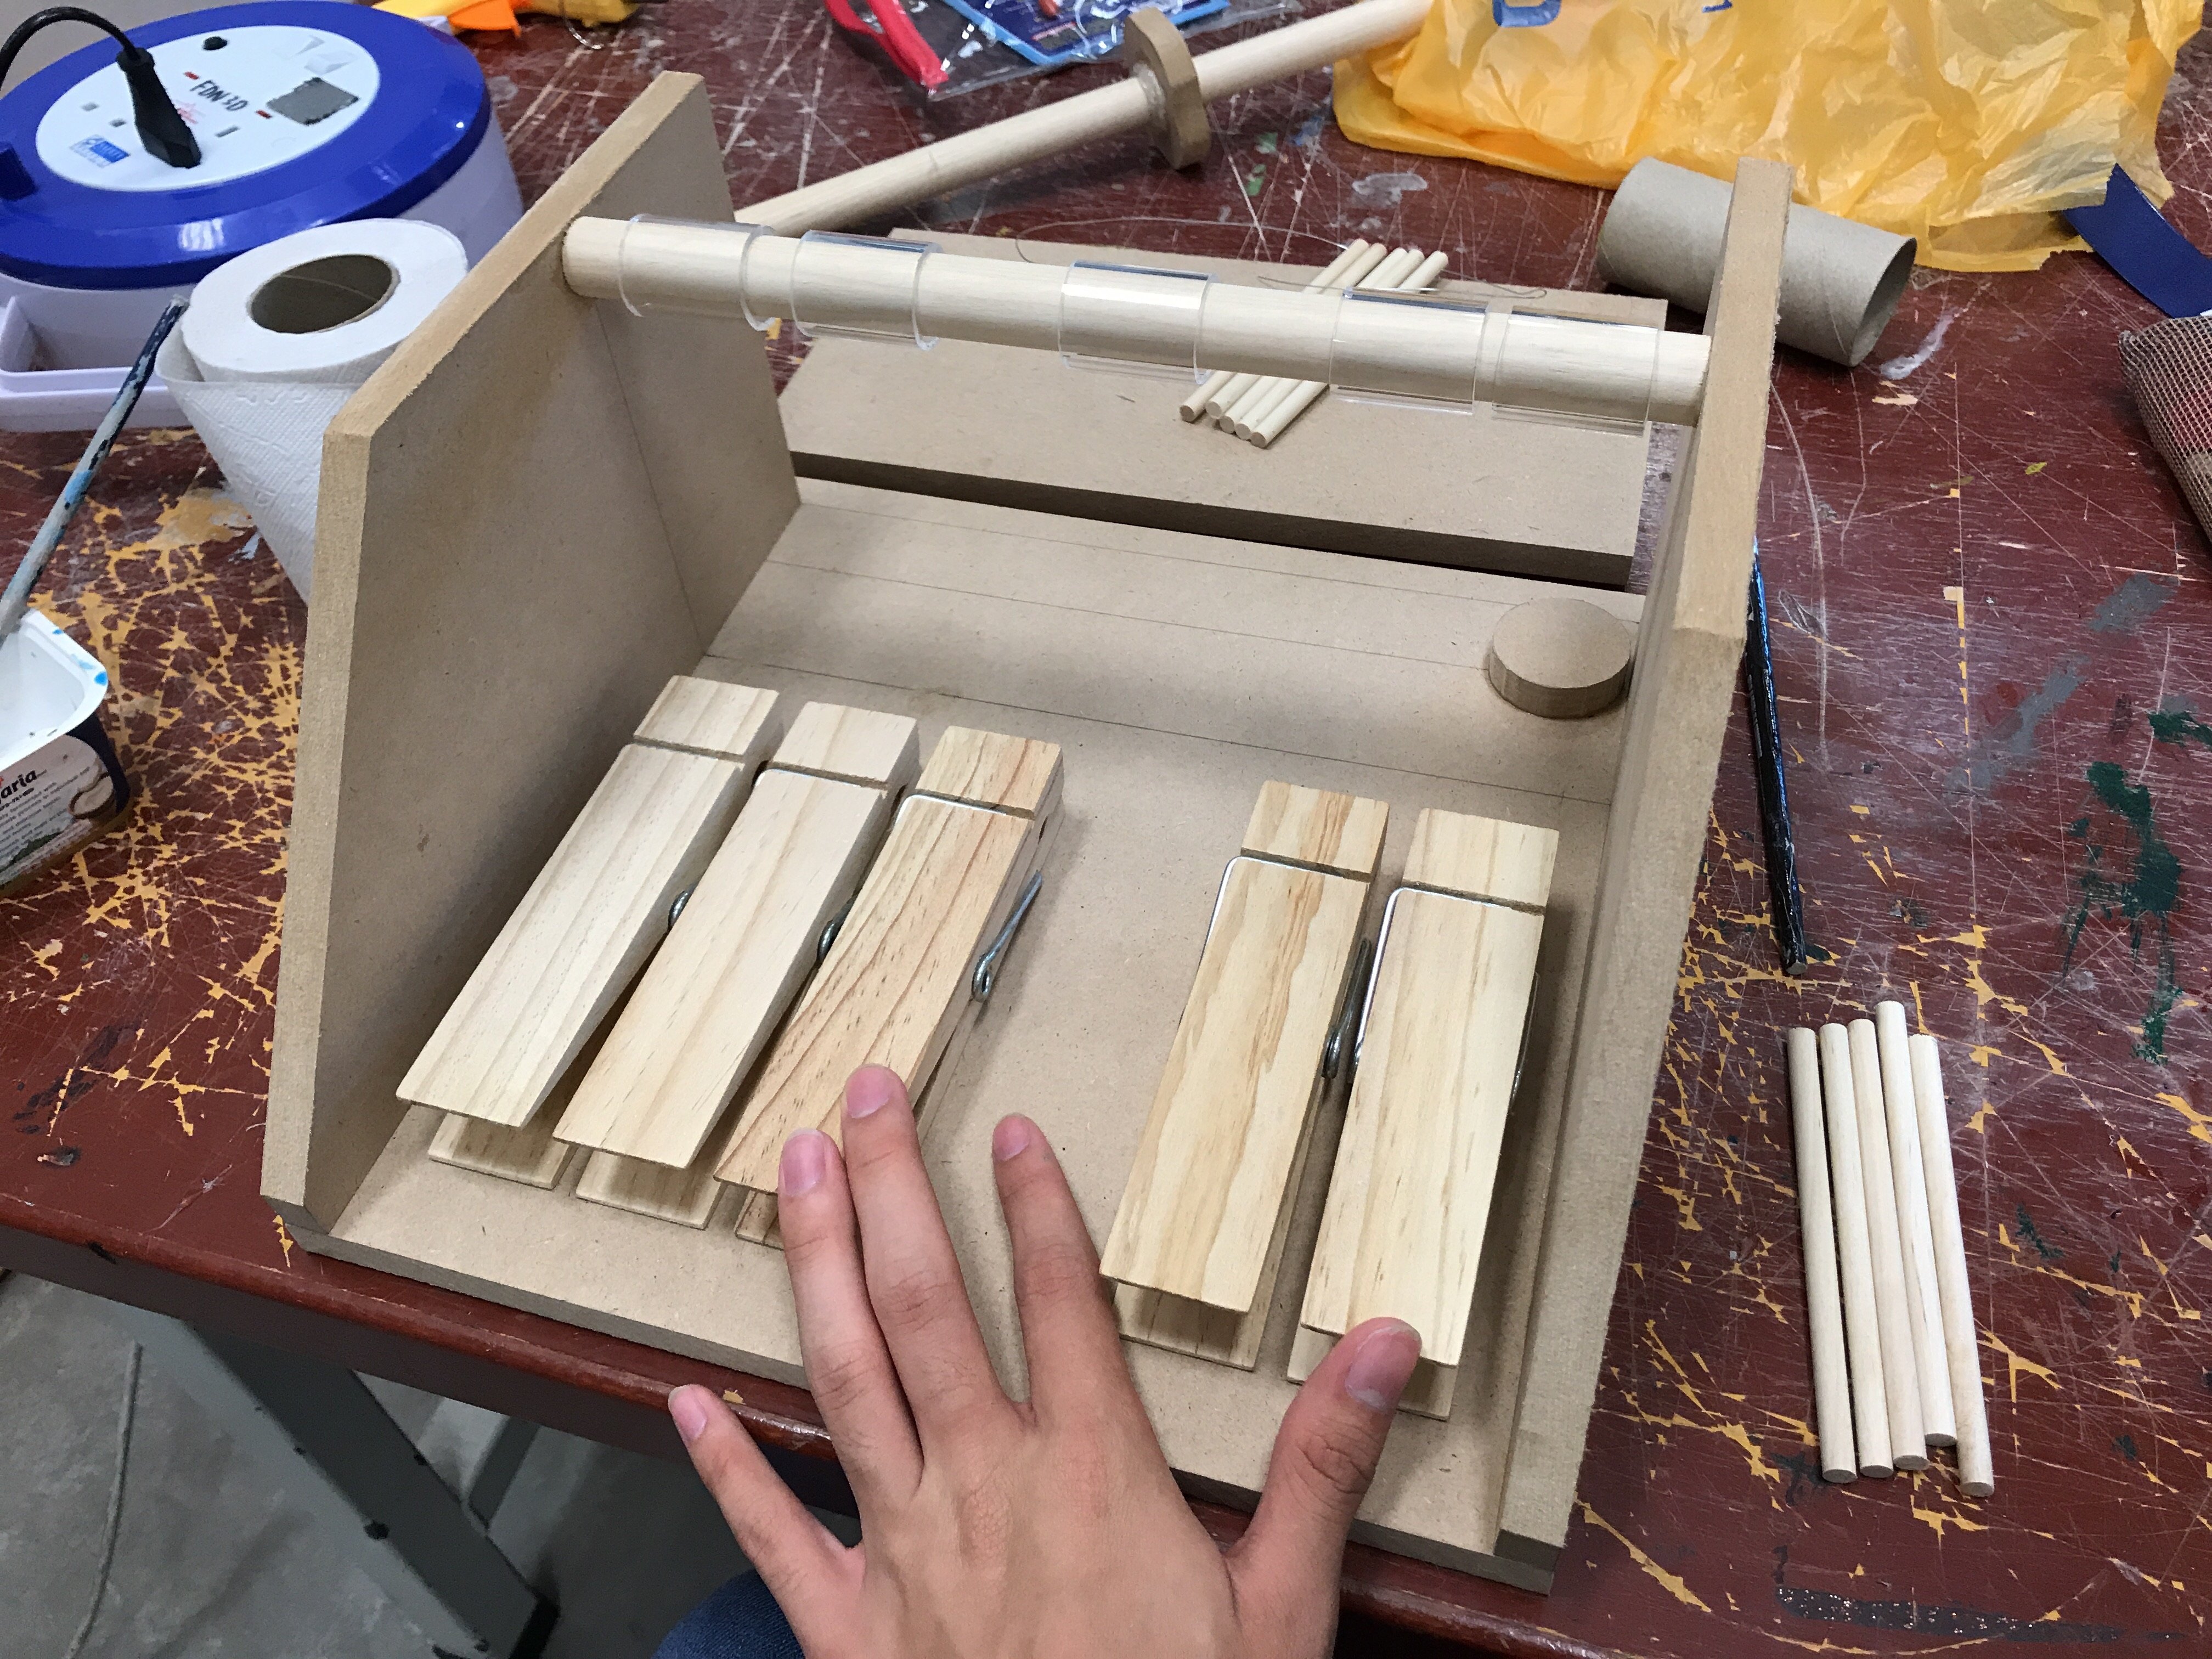
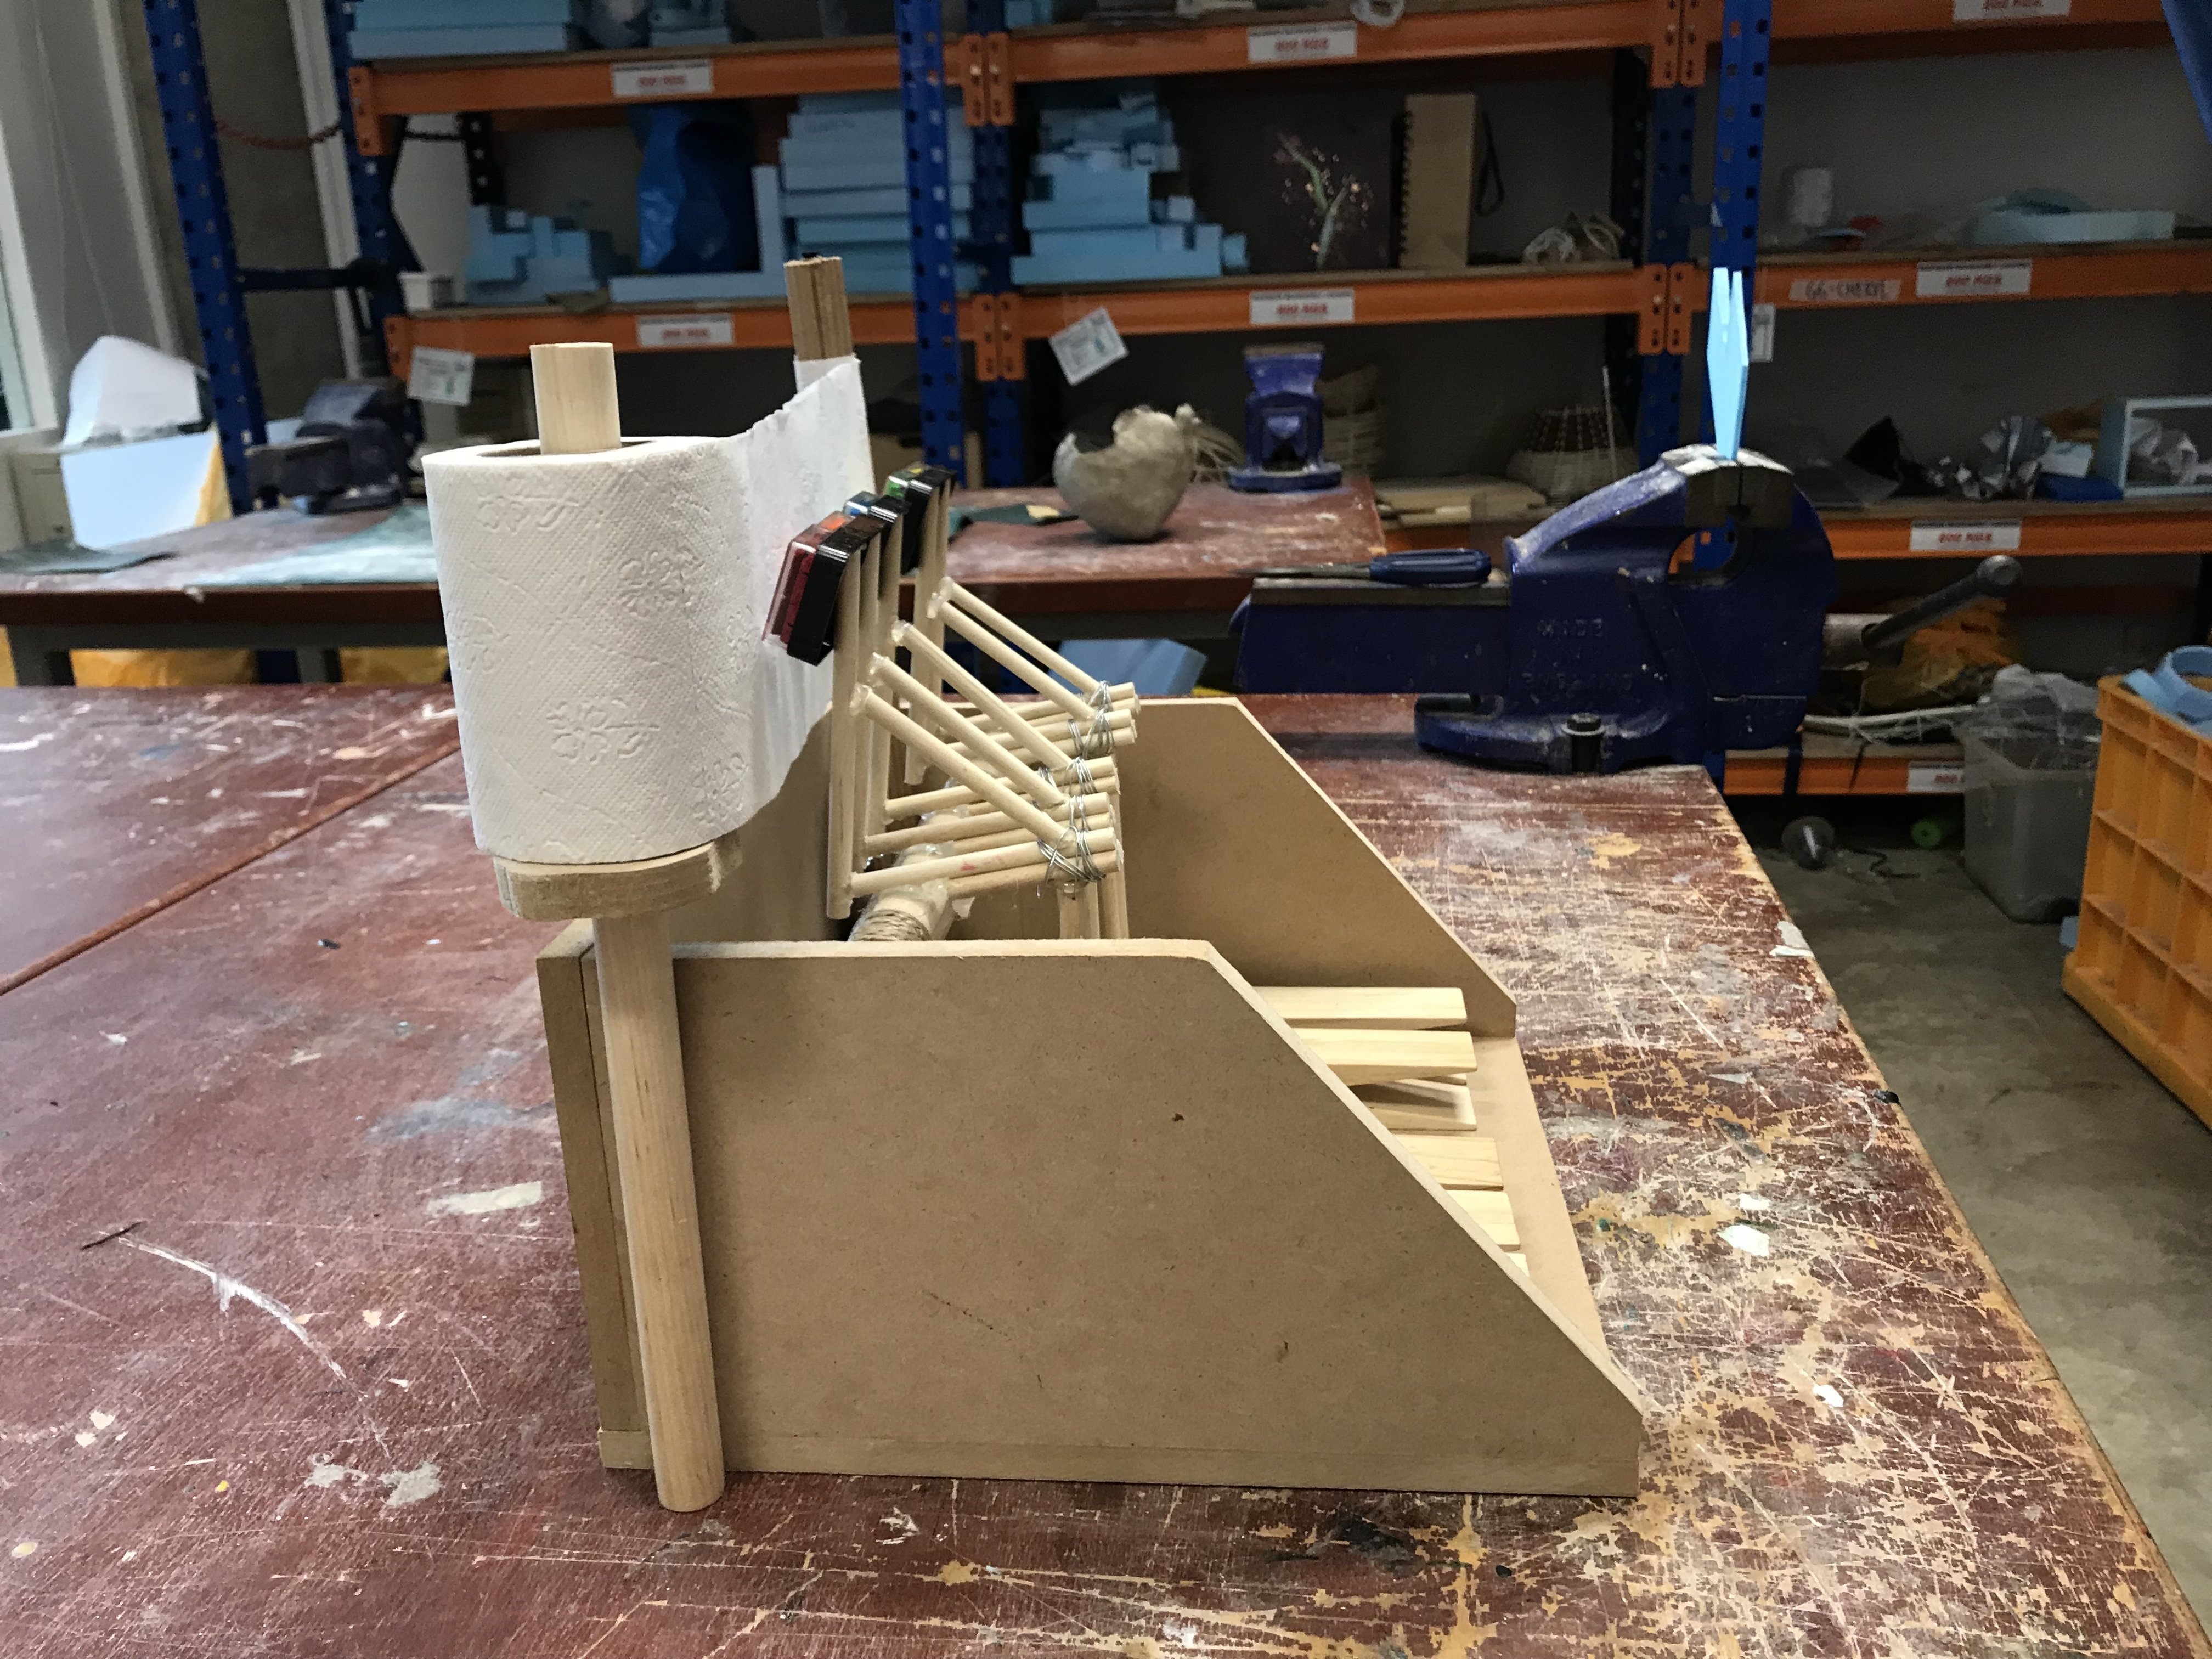
With the essential hammer system out of the way, I proceeded to build the main body of the piano system:
1) Fitted all the piano keys in the position that I wanted.
2) I jigged-sawed two identical sides and backboard for my piano system.
3) Added in pivoting bar (wooden dowel and acrylic tube)
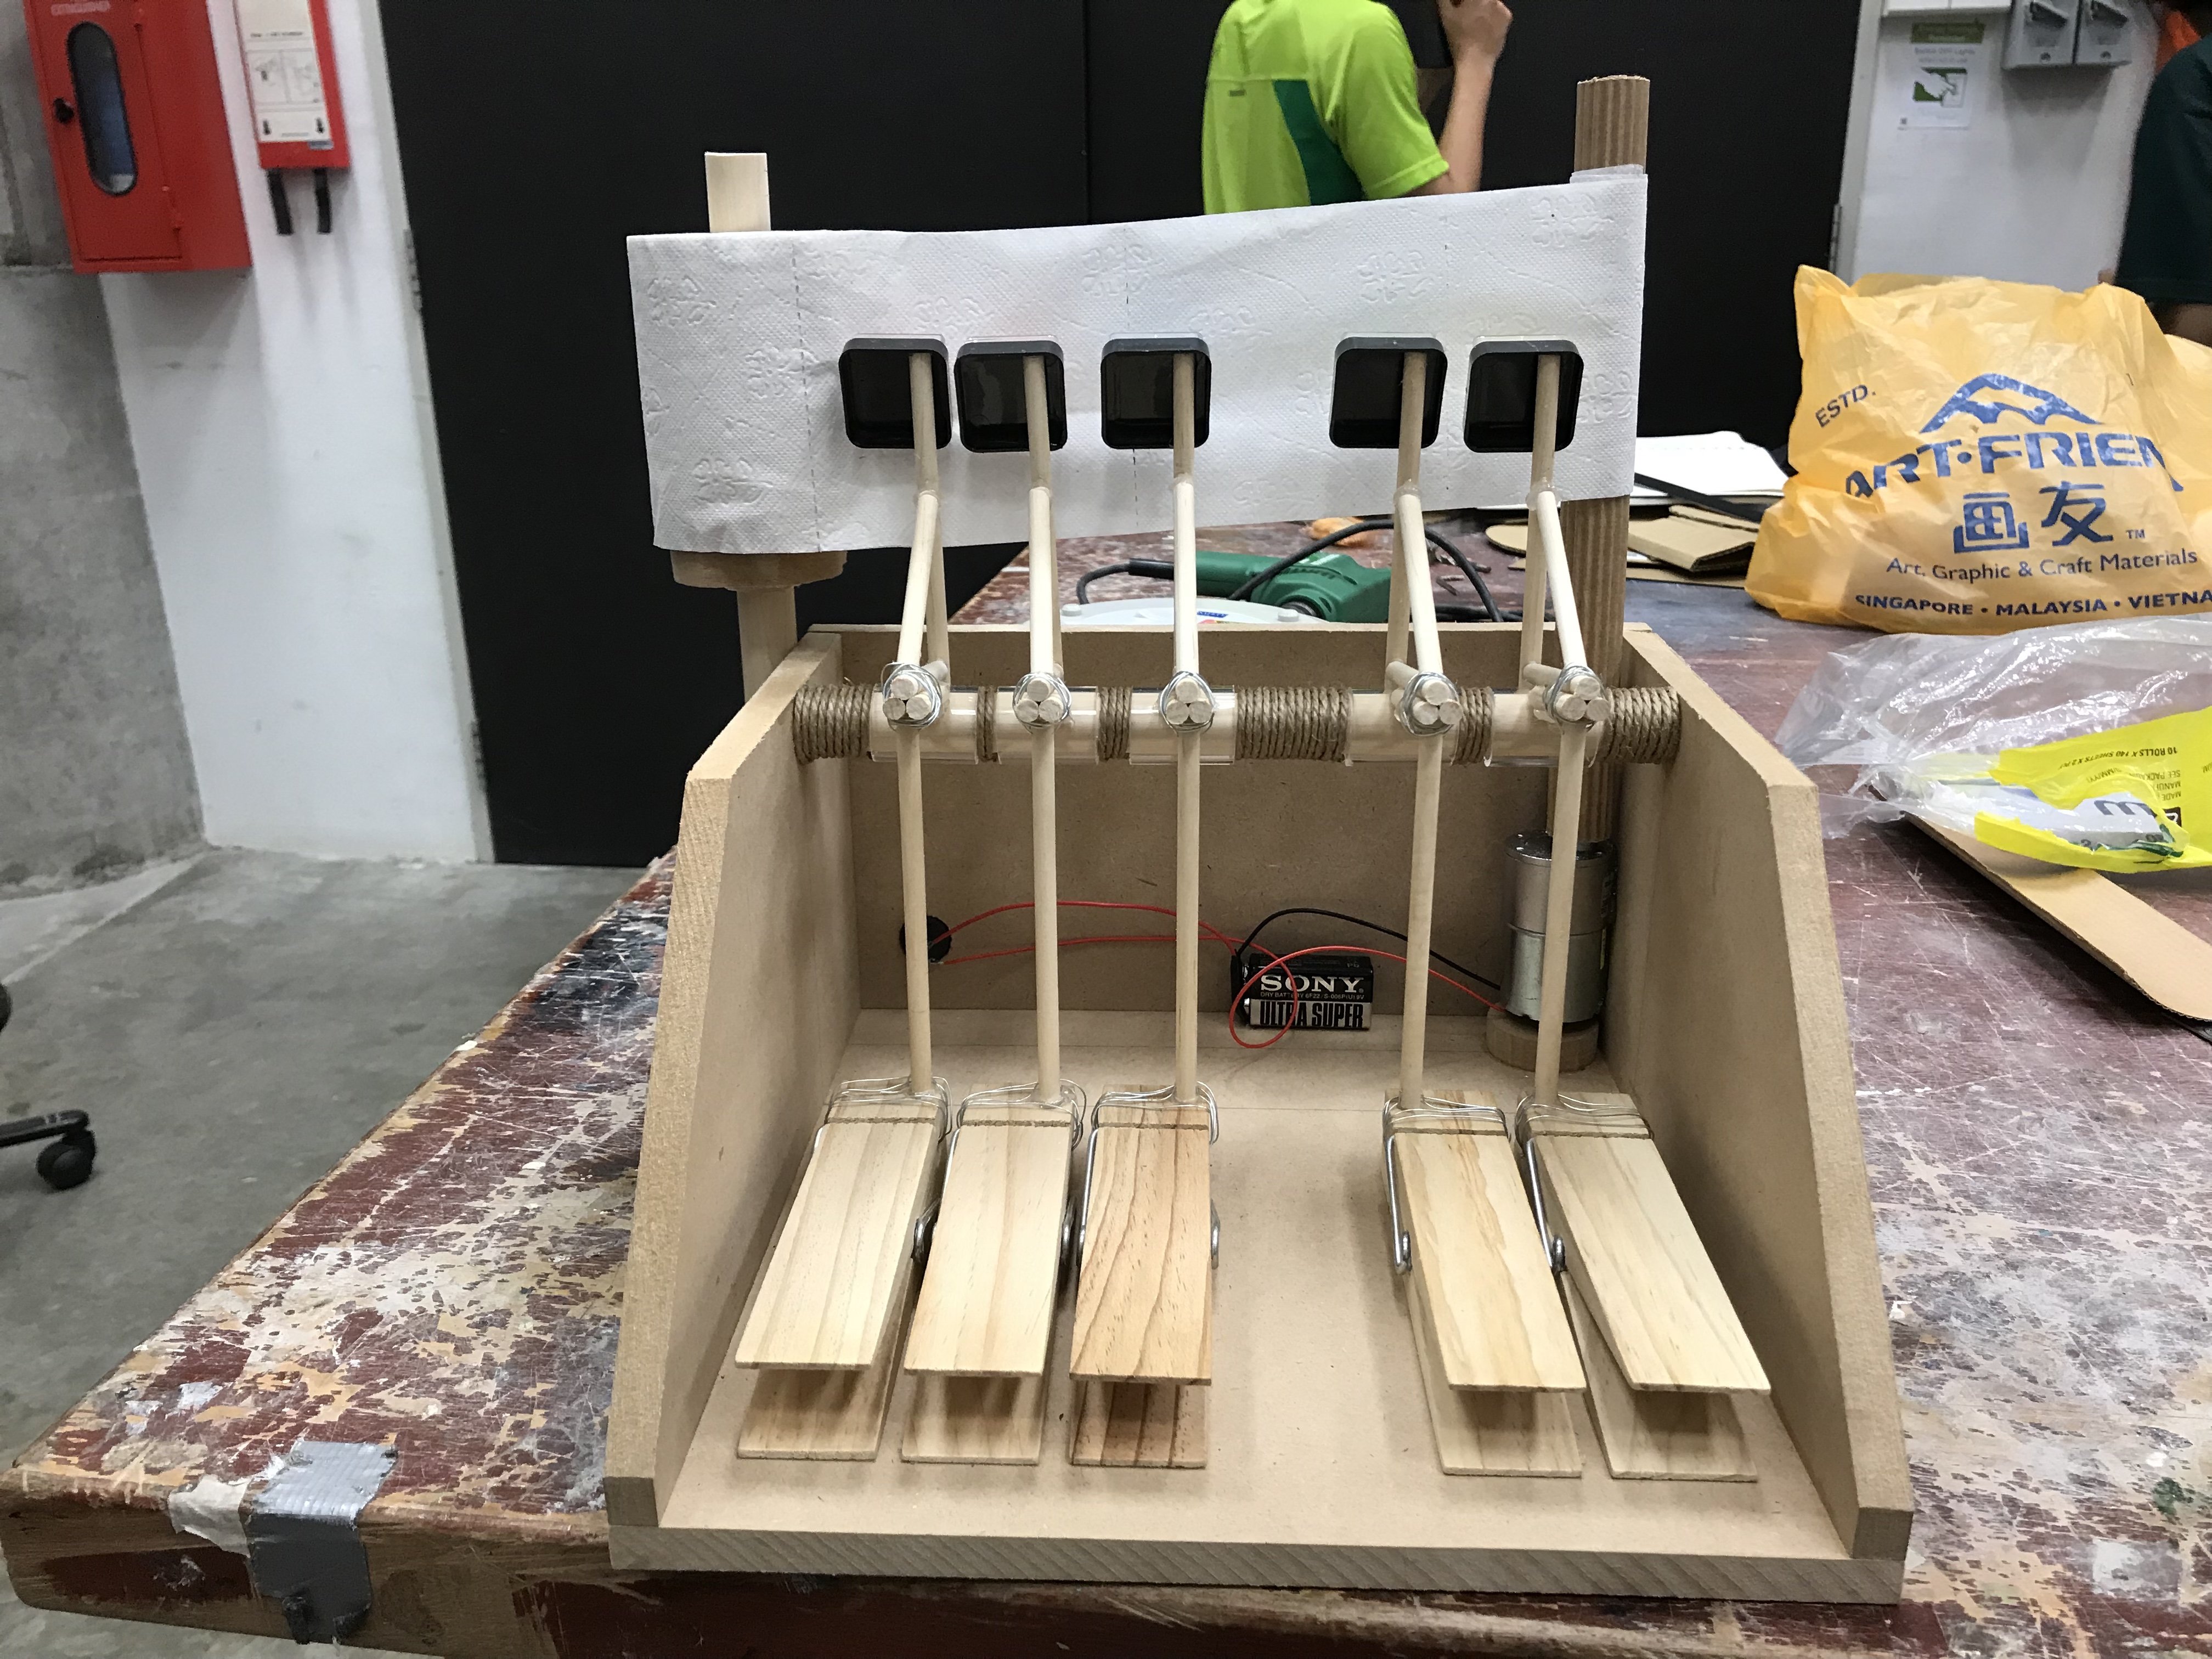
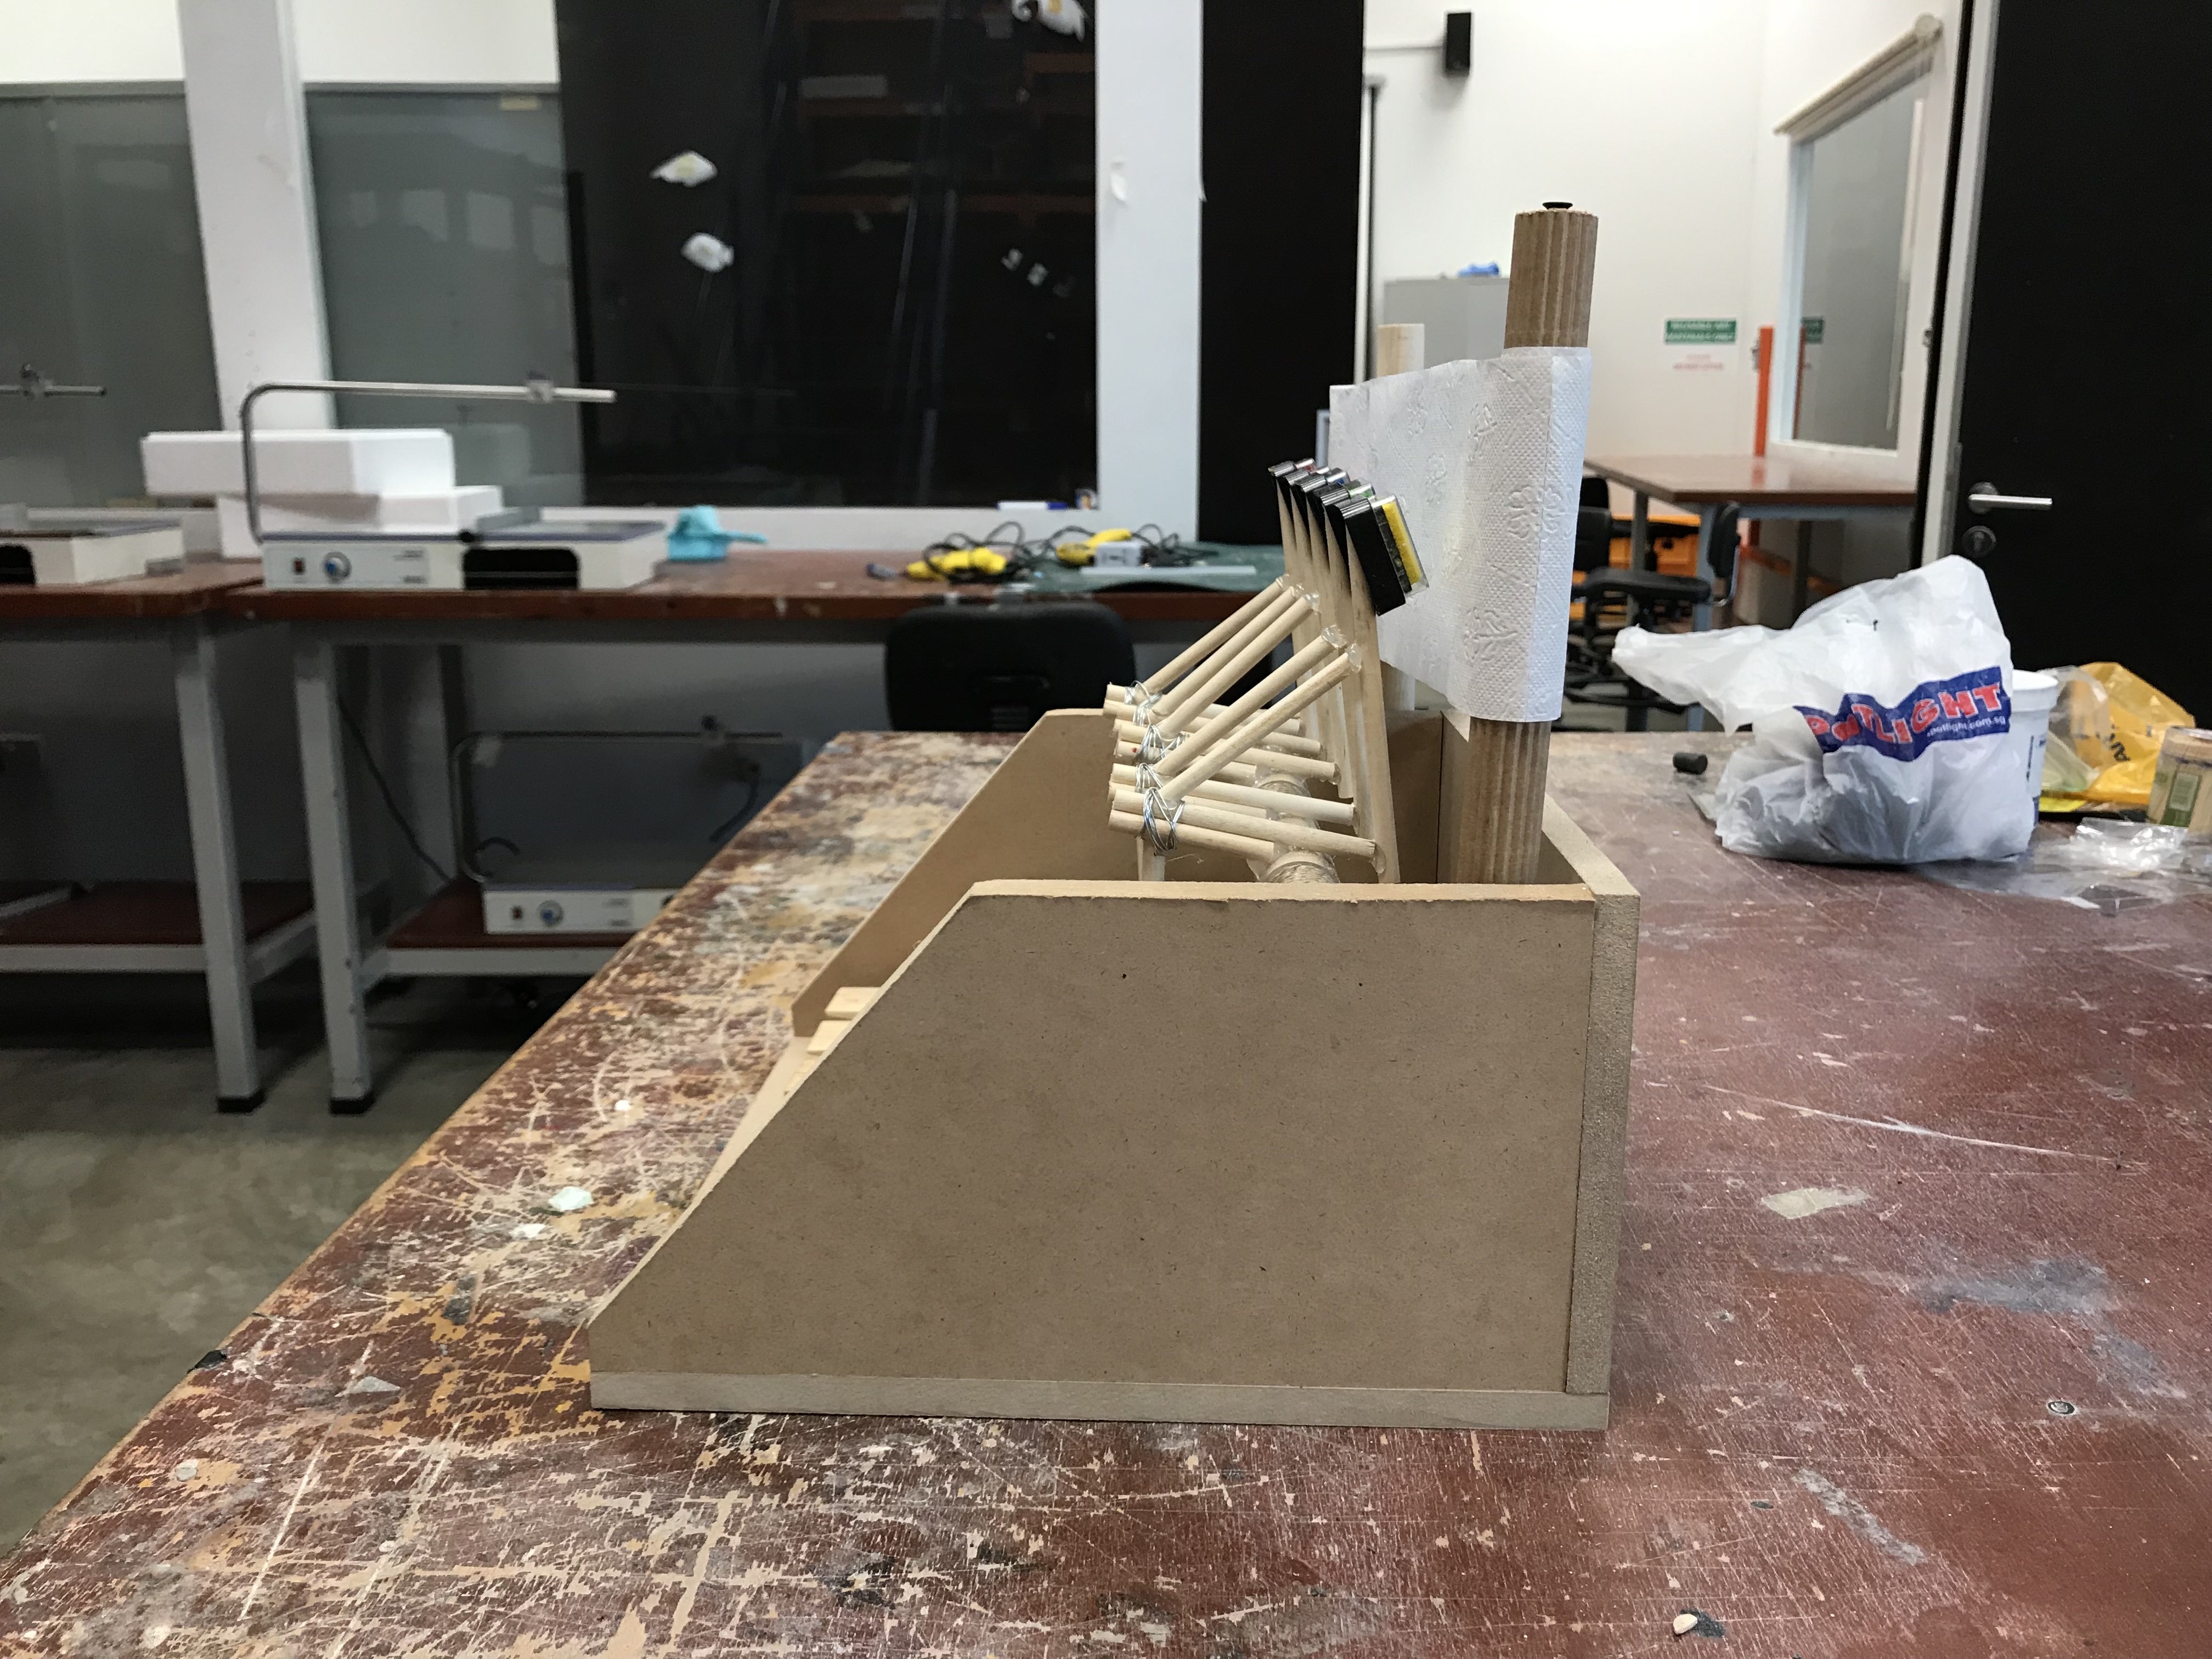
As the hammers are stationery, a stationary mark making surface would not be ideal as it would just be the hammer striking the same spot over and over again.
Credits: Virtualsheetmusic
Inspired by the idea of a piano manuscript; I decided the best way to capture the movement and flow of a song would be for the manuscript to be in constant motion (left to right). My mark making surface was going to be a roll of toilet paper as apart from it’s cylindrical shaped that enabled for rotation about an axis, it was cheap, easily replaceable and the more absorbent surface would collect much more ink, making for a clearer mark.
Learning basic electronics was going to be necessary as a motor would be needed to pull the manuscript. I tested with two motors procured from Sim Lim Tower:
1) a weak, fast and cheap motor
2) a strong, slow but incredibly expensive motor.
Unfortunately, after much testing, I realise the latter was needed as the cheap motor would be too fast much less powerful enough to pull the toilet paper. As a result, I had to settle for the expensive motor as there weren’t any alternative solutions to troubleshoot the situation.
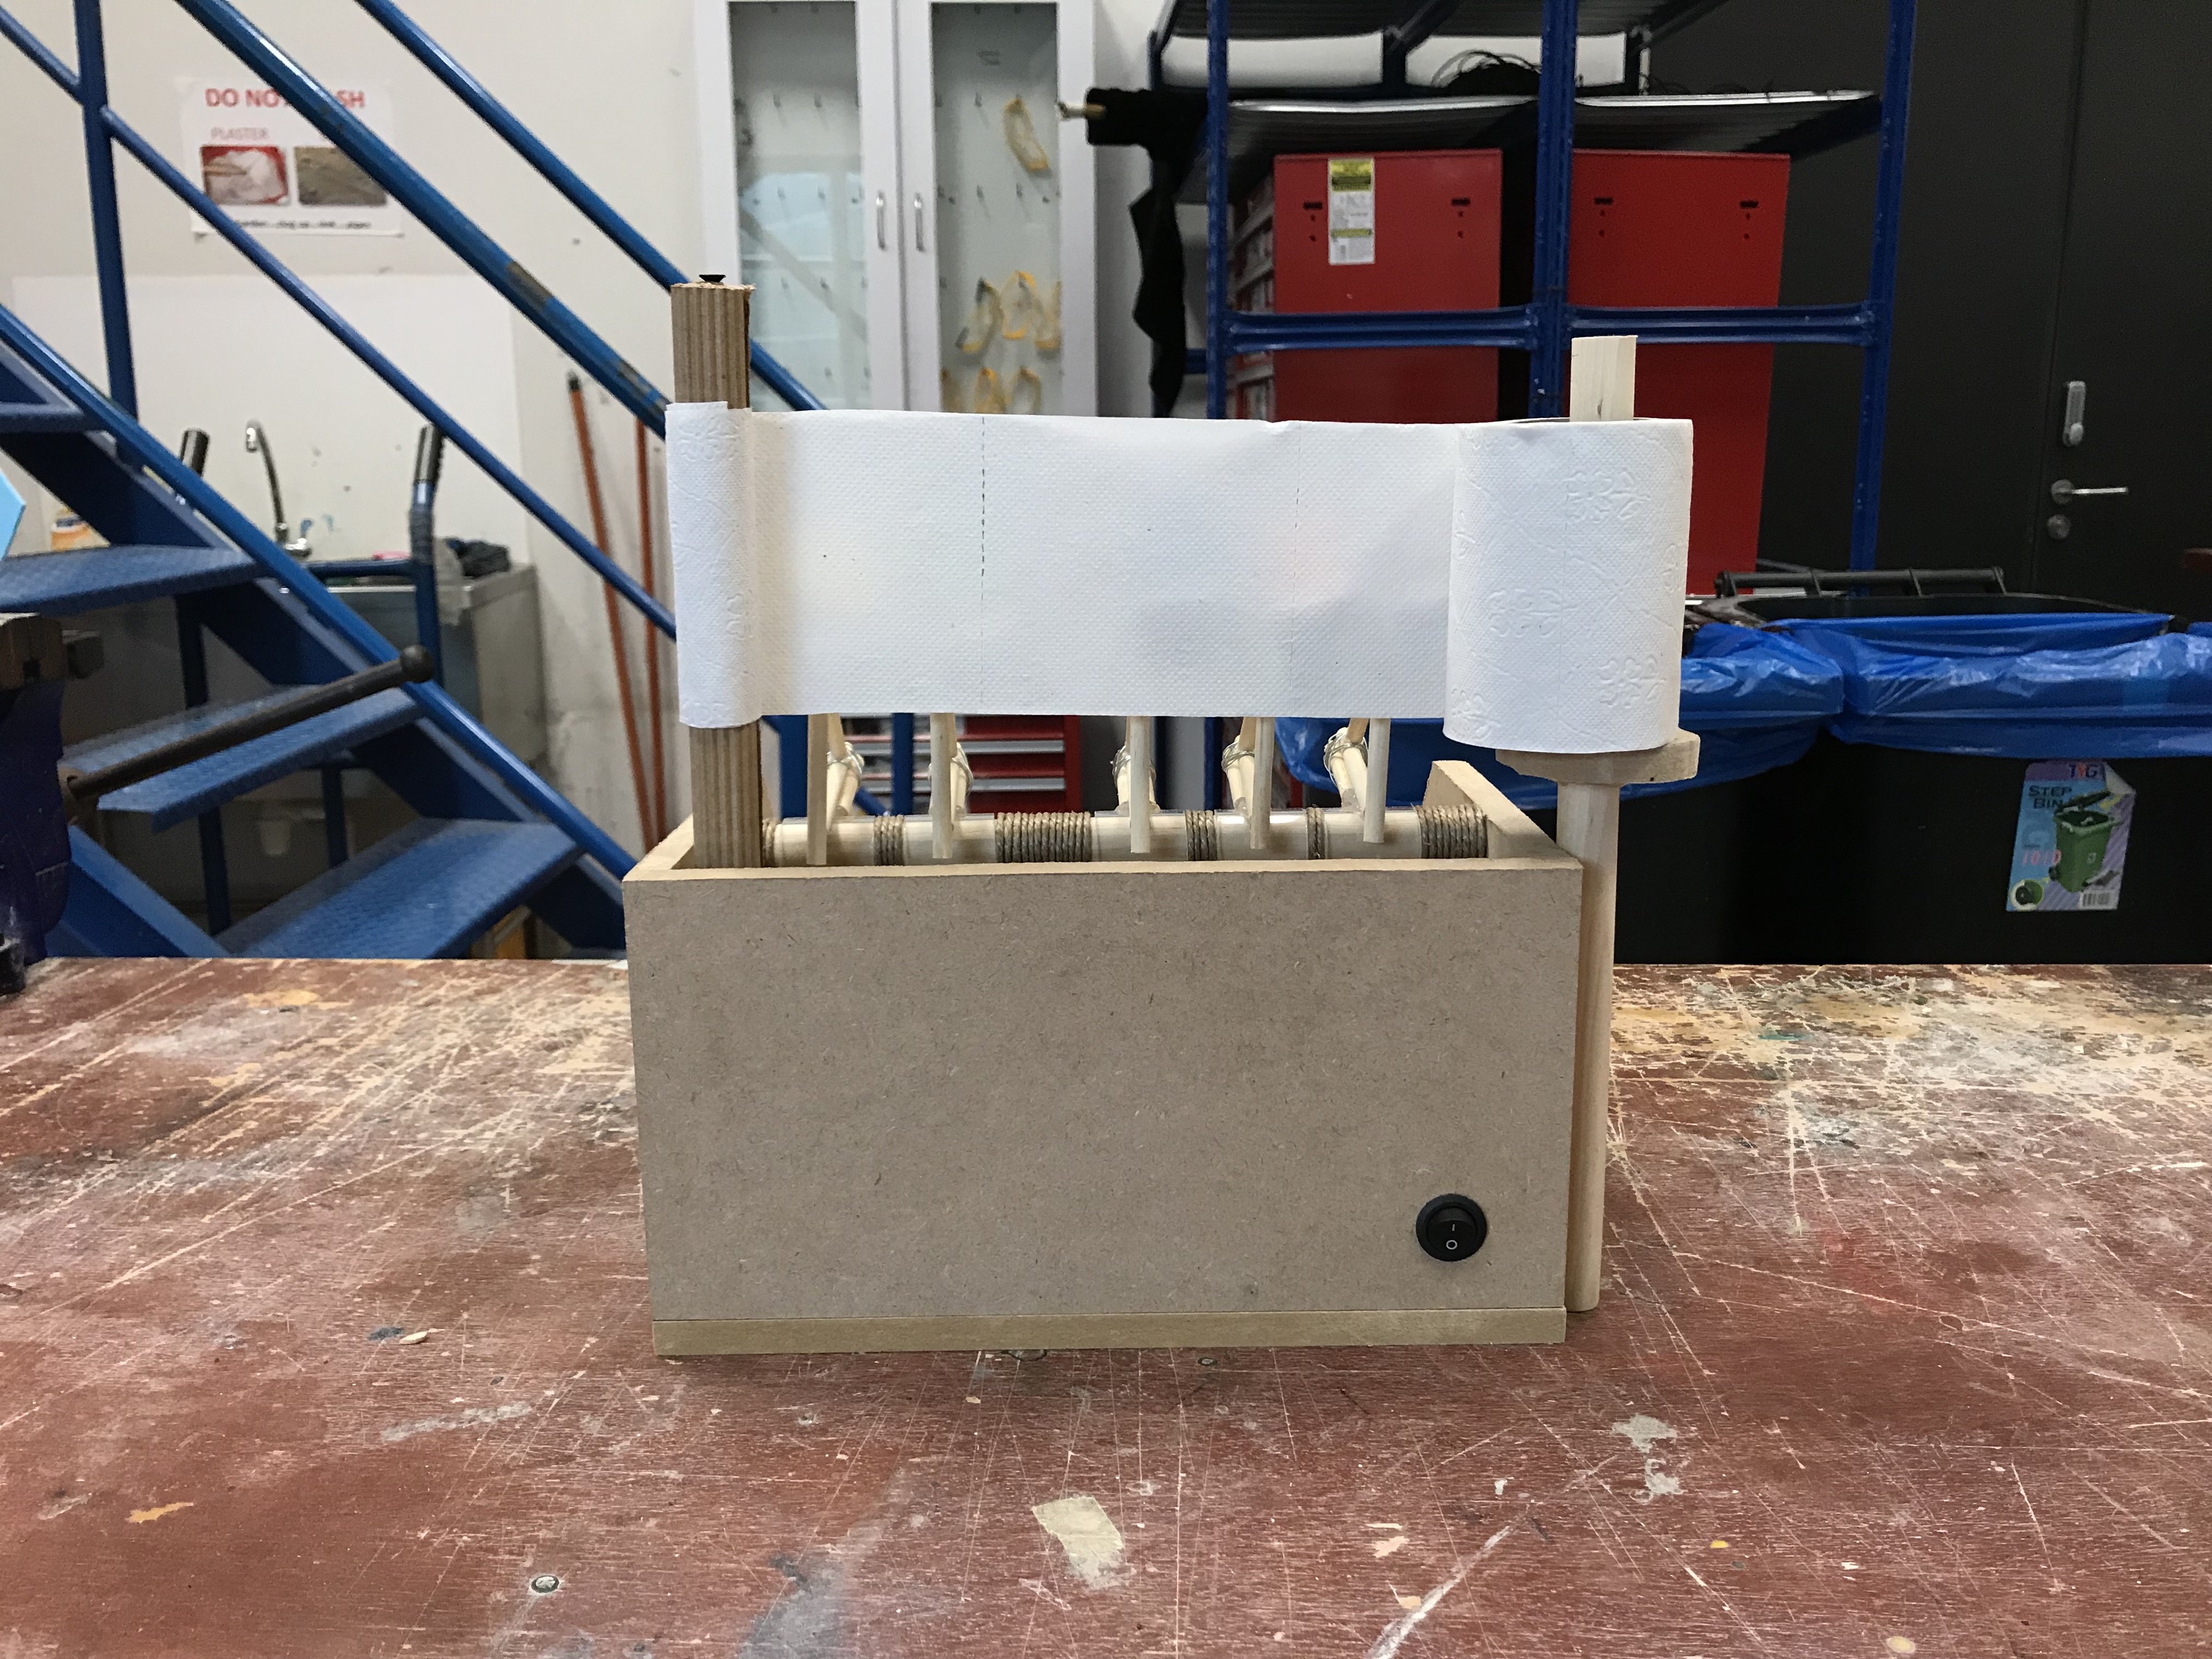
At last, everything was coming together. After fitting all the components together, I soldered the electronics and added an on/off button to activate the machine by.
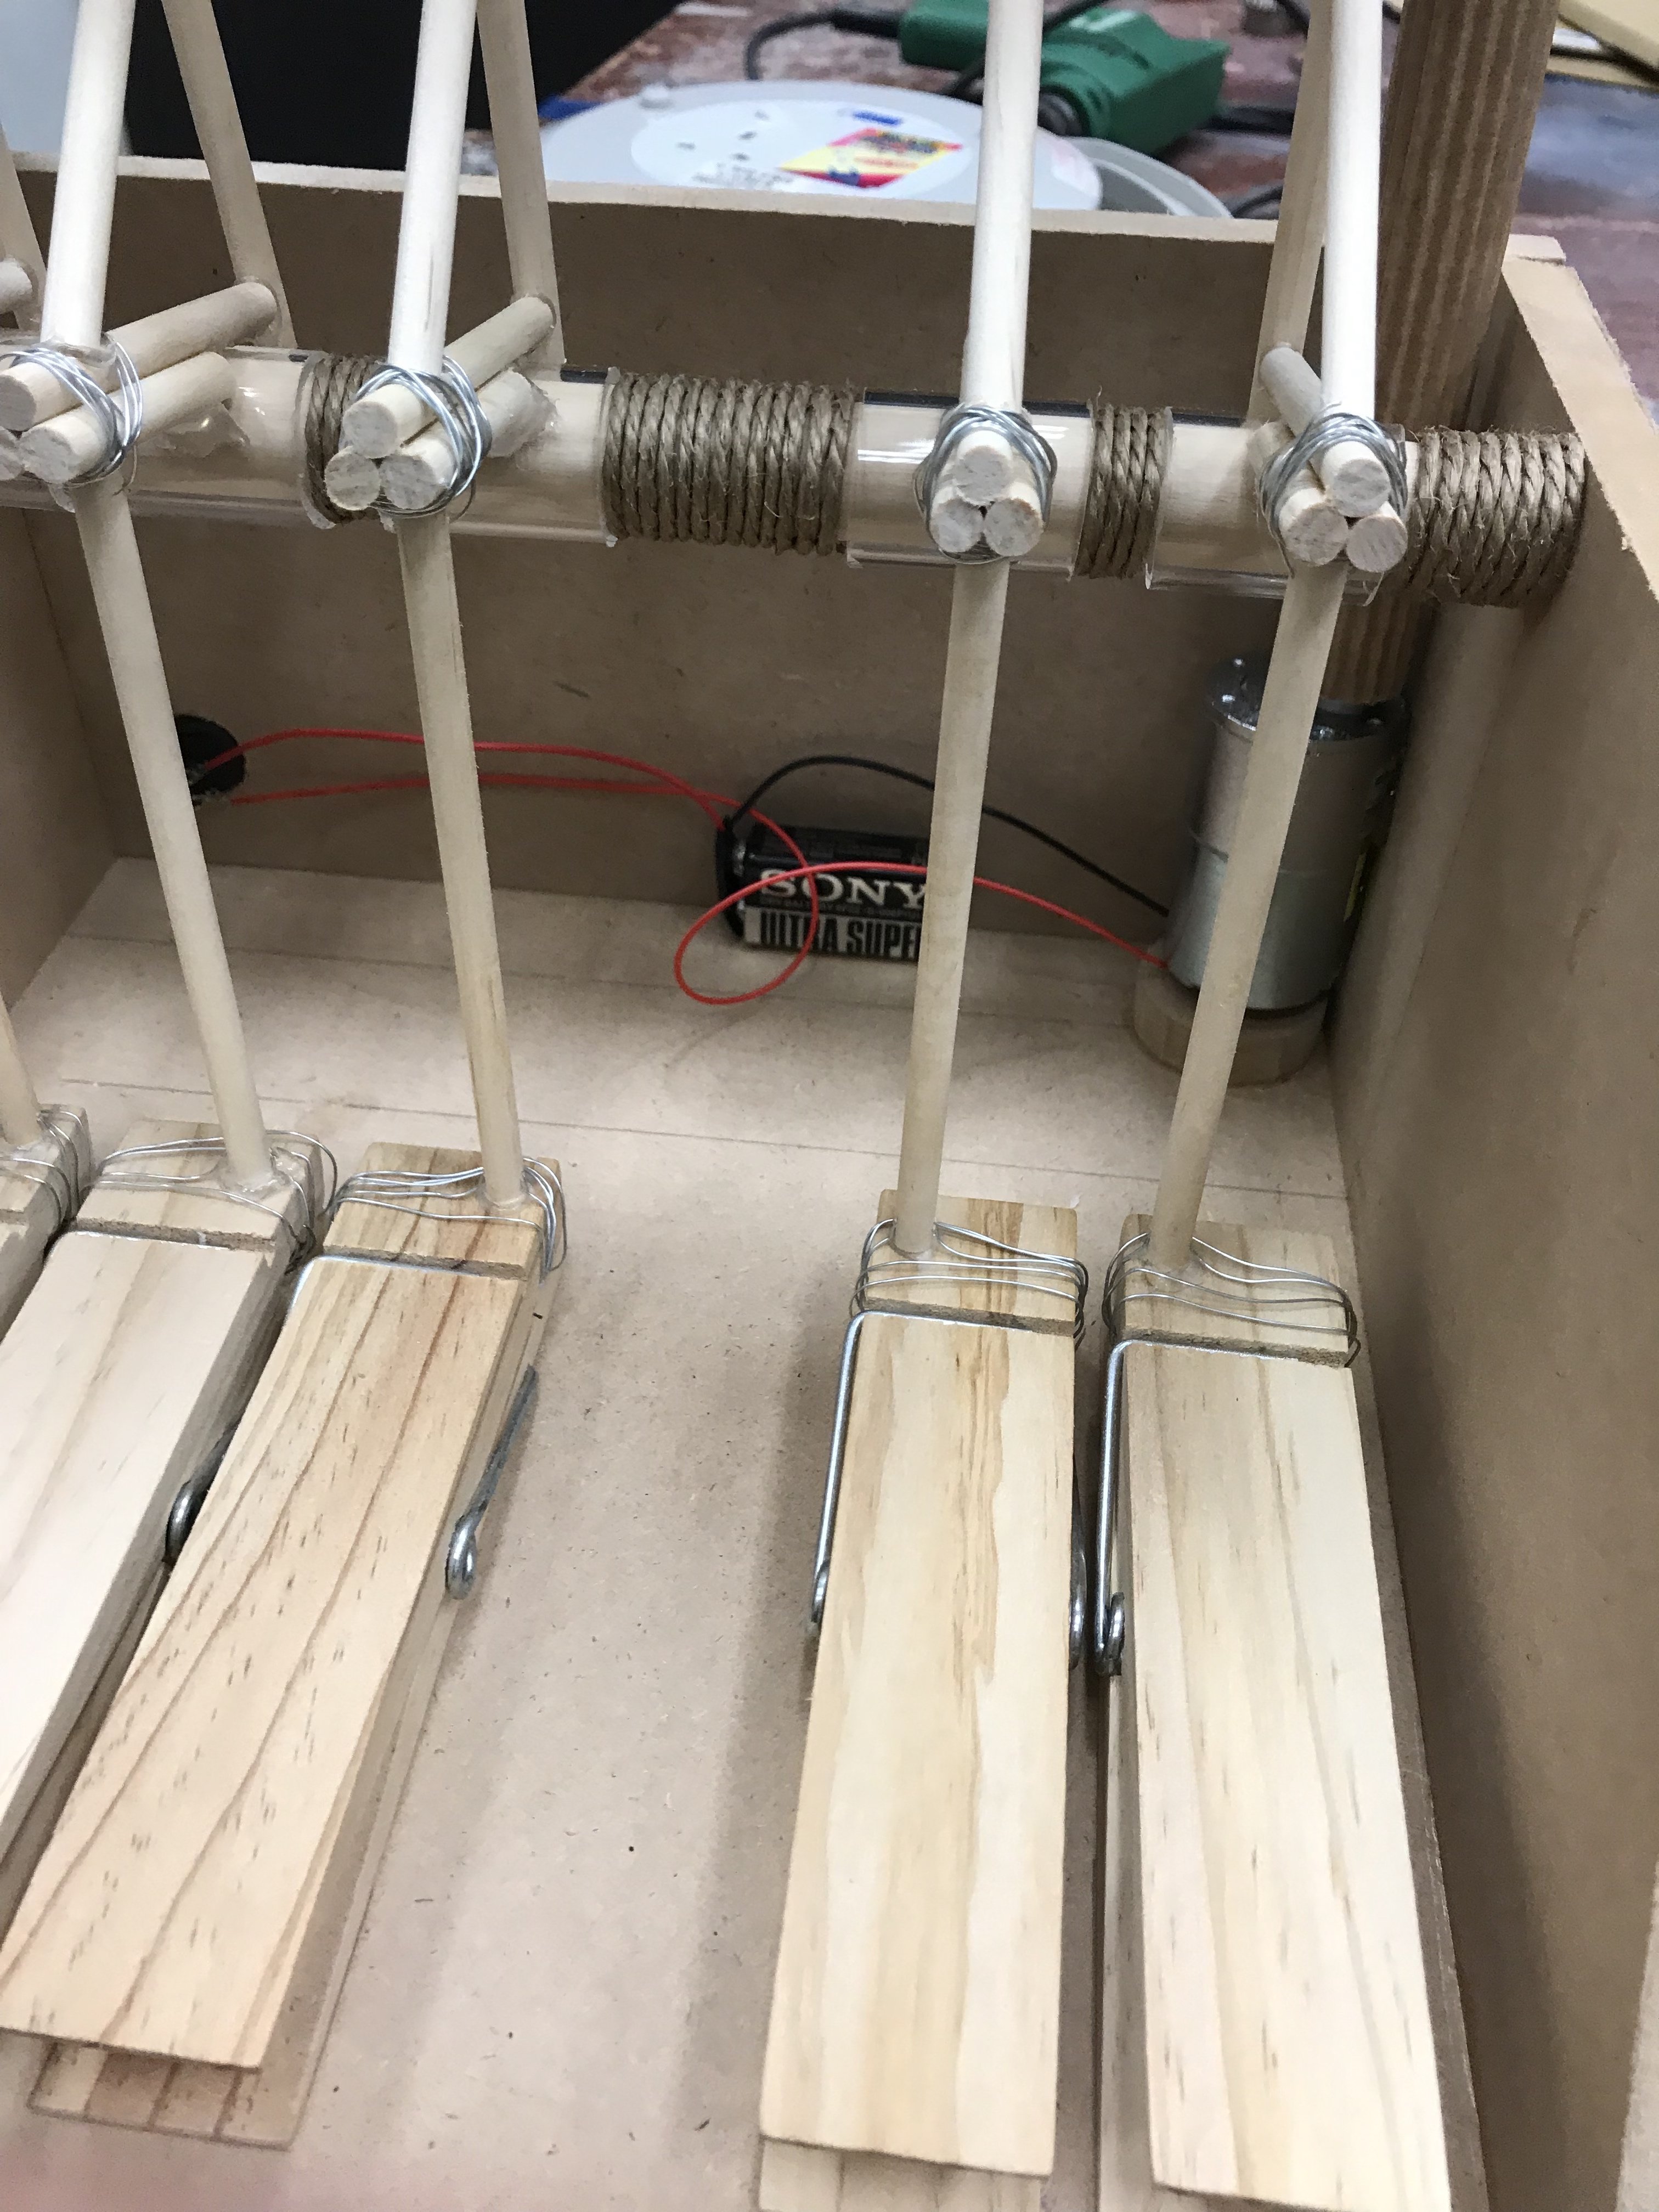
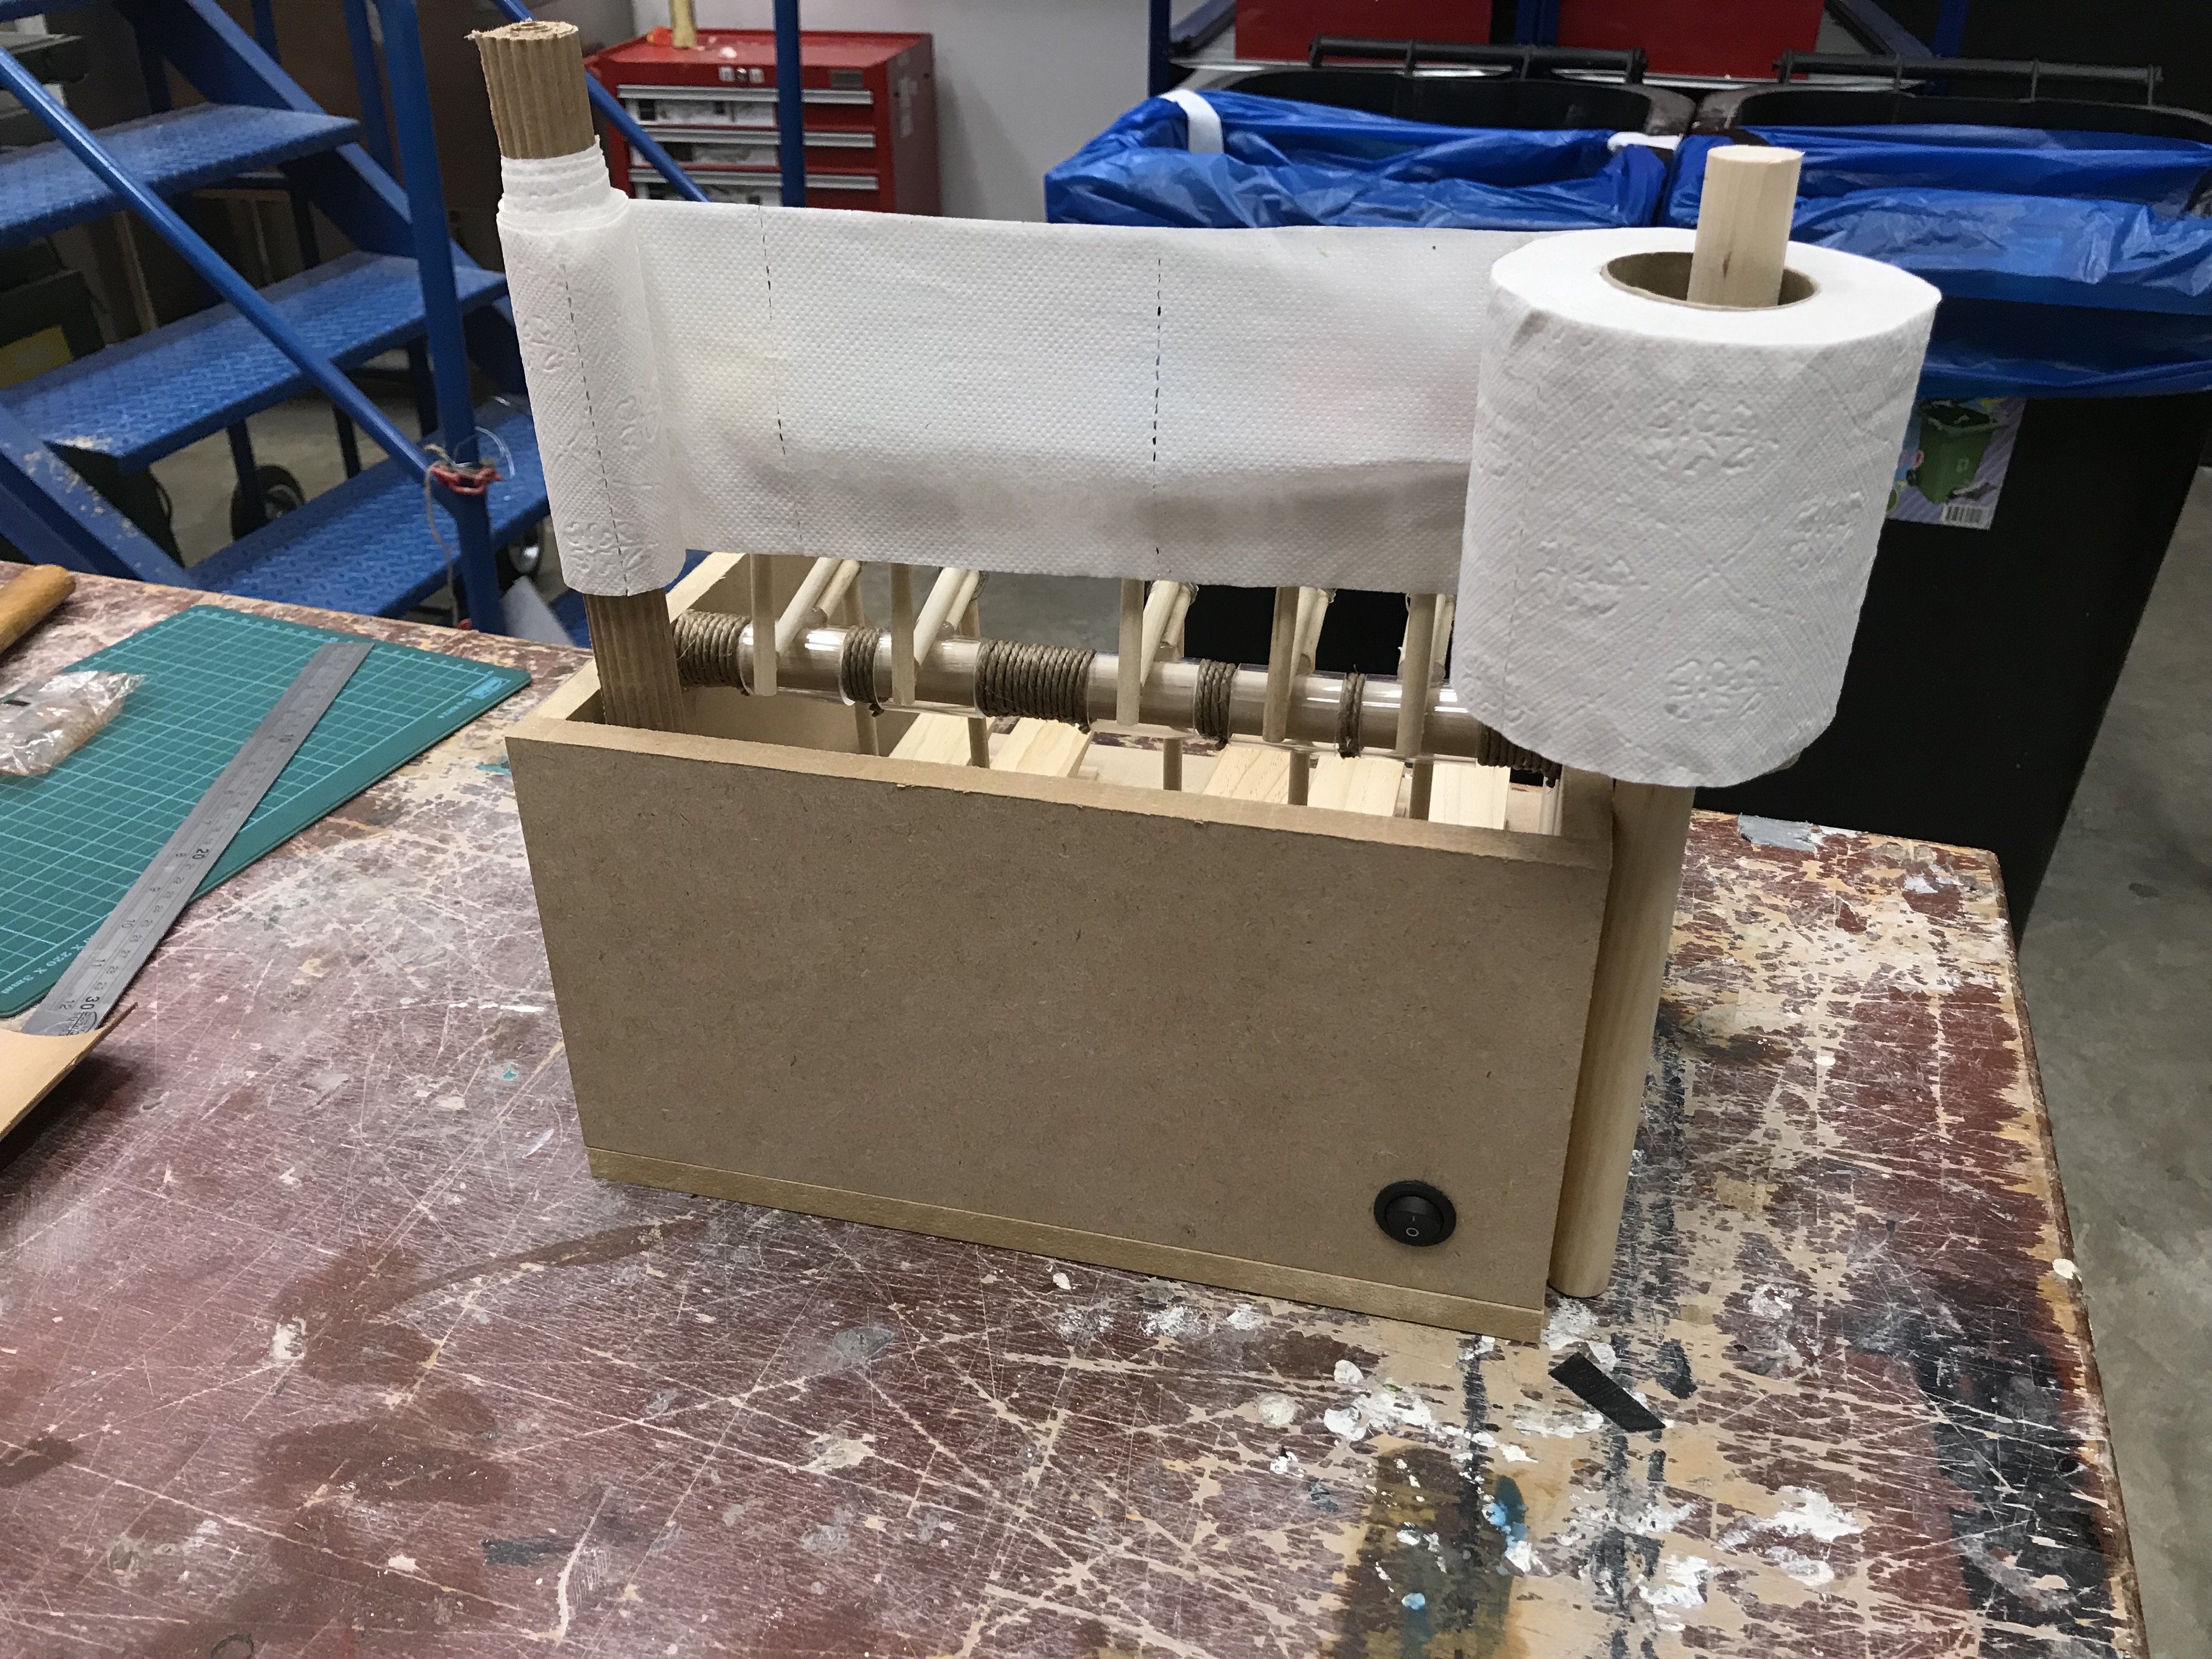
Functioning piano system with implemented manuscript motor function.
Then, I met with another issue. The inkpads were not translating the ink well enough, the resulting marks were thin and lacklustre. I thought of a few solutions to this problem such as adding a solid surface backing behind the mark-making surface and using a more expensive toilet paper that would hopefully absorb even more ink. But nothing seemed to be working. Eventually, I decided the best way forward would be to saturate the inkpads with food colouring.
Video to illustrate: No Ink Video
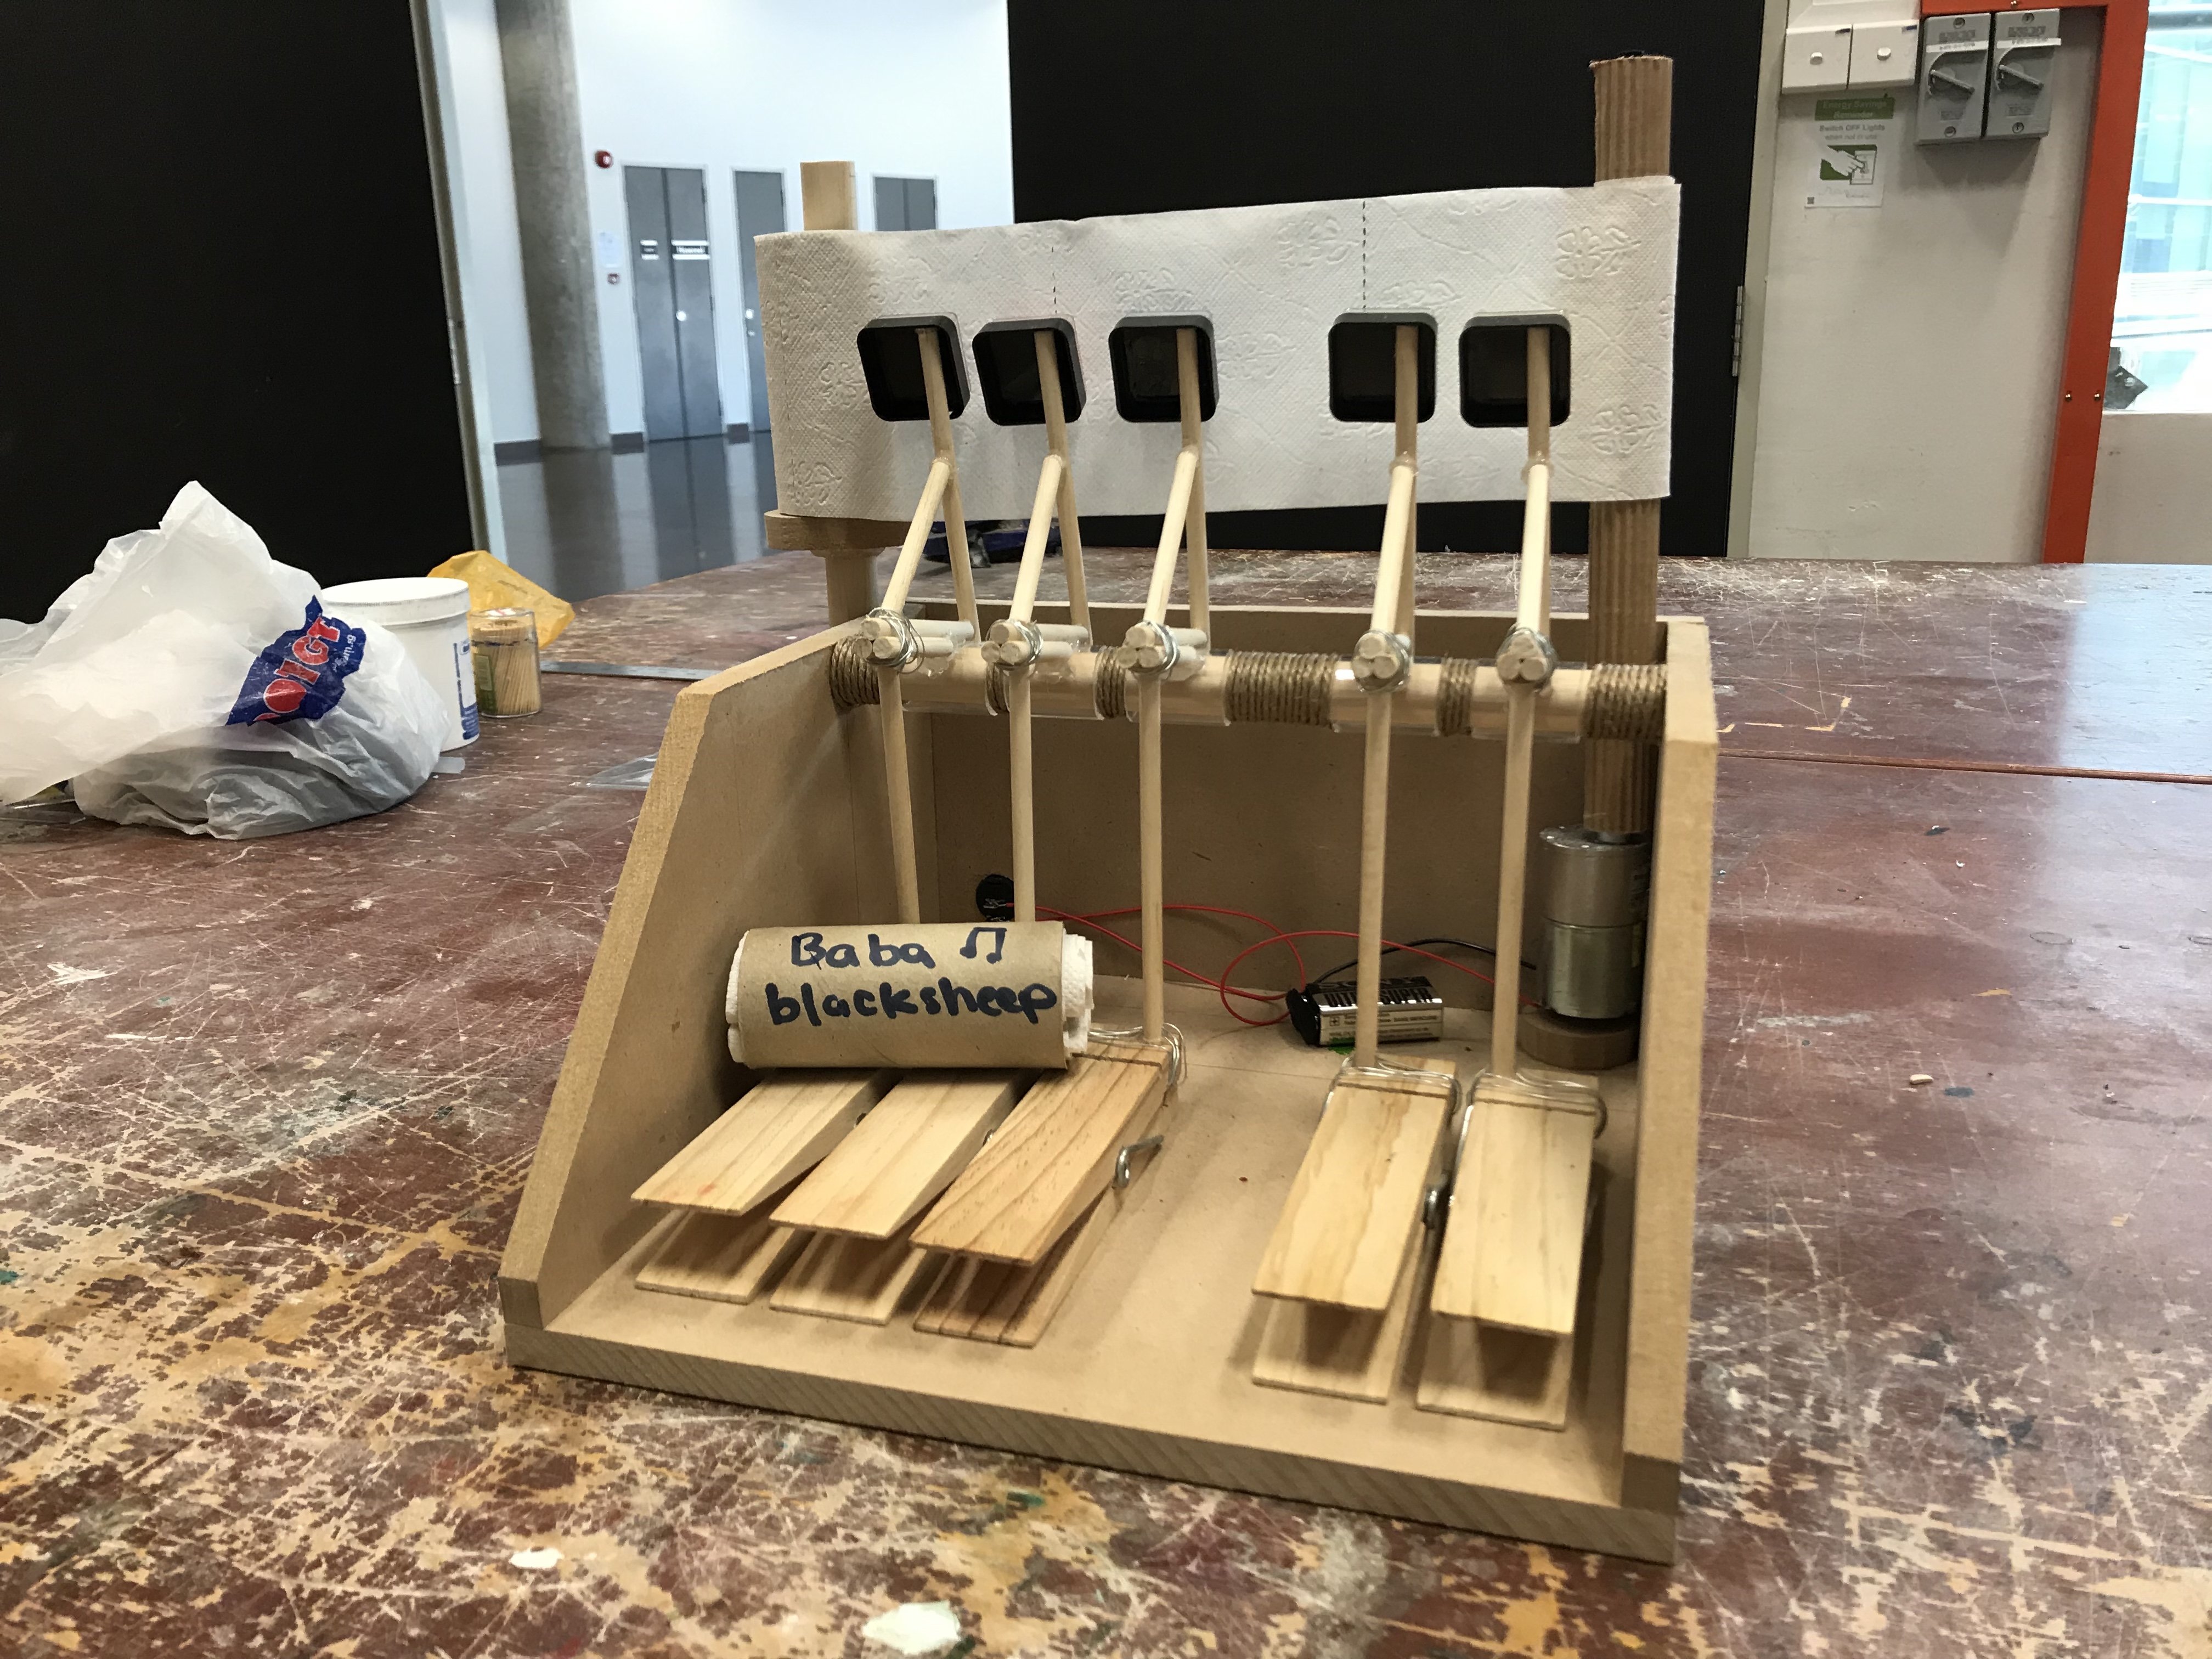
The Piano System (Final)
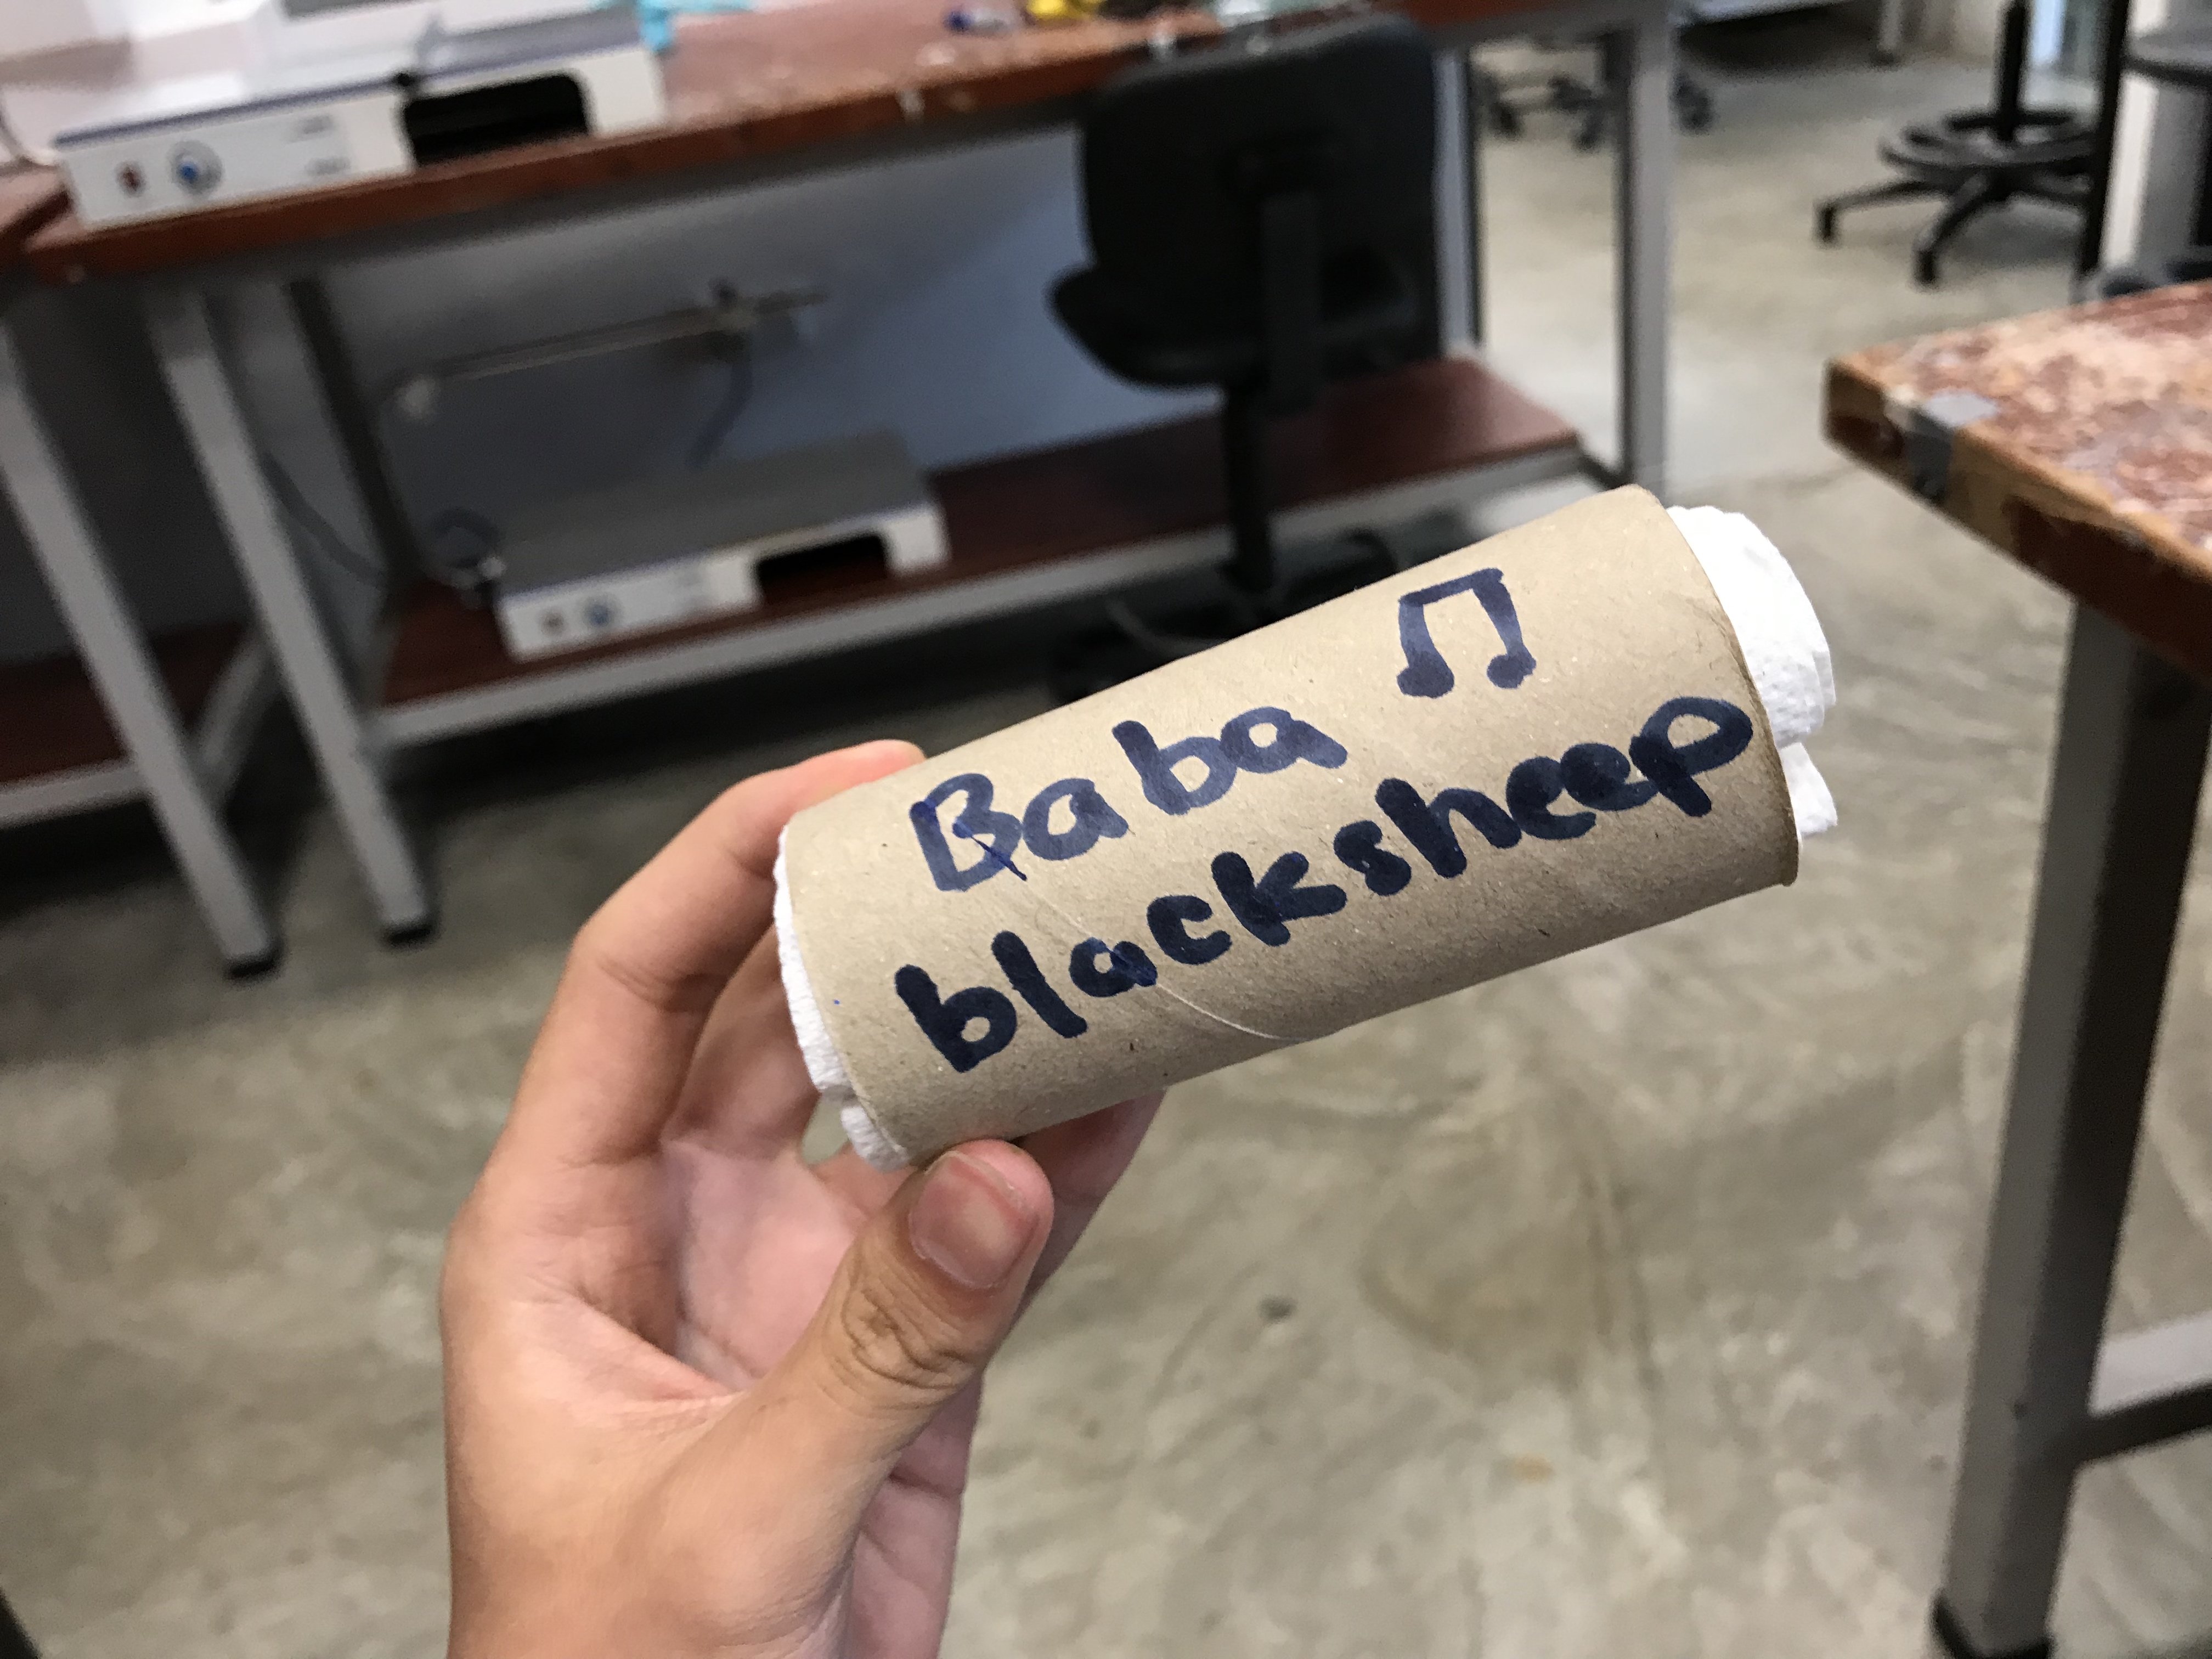
The piano system captures music in colour instead of actual musical notes and sounds. The idea of this work is to capture and reflect the tune of any song into beautiful colour patterns. Upon completion, the ink pads can be capped back on to reserve ink and the “manuscript” tears easily for safekeeping (as seen in pictures below).
Video of me playing ba ba black sheep : Ba Ba Black Sheep
Samples of Marks
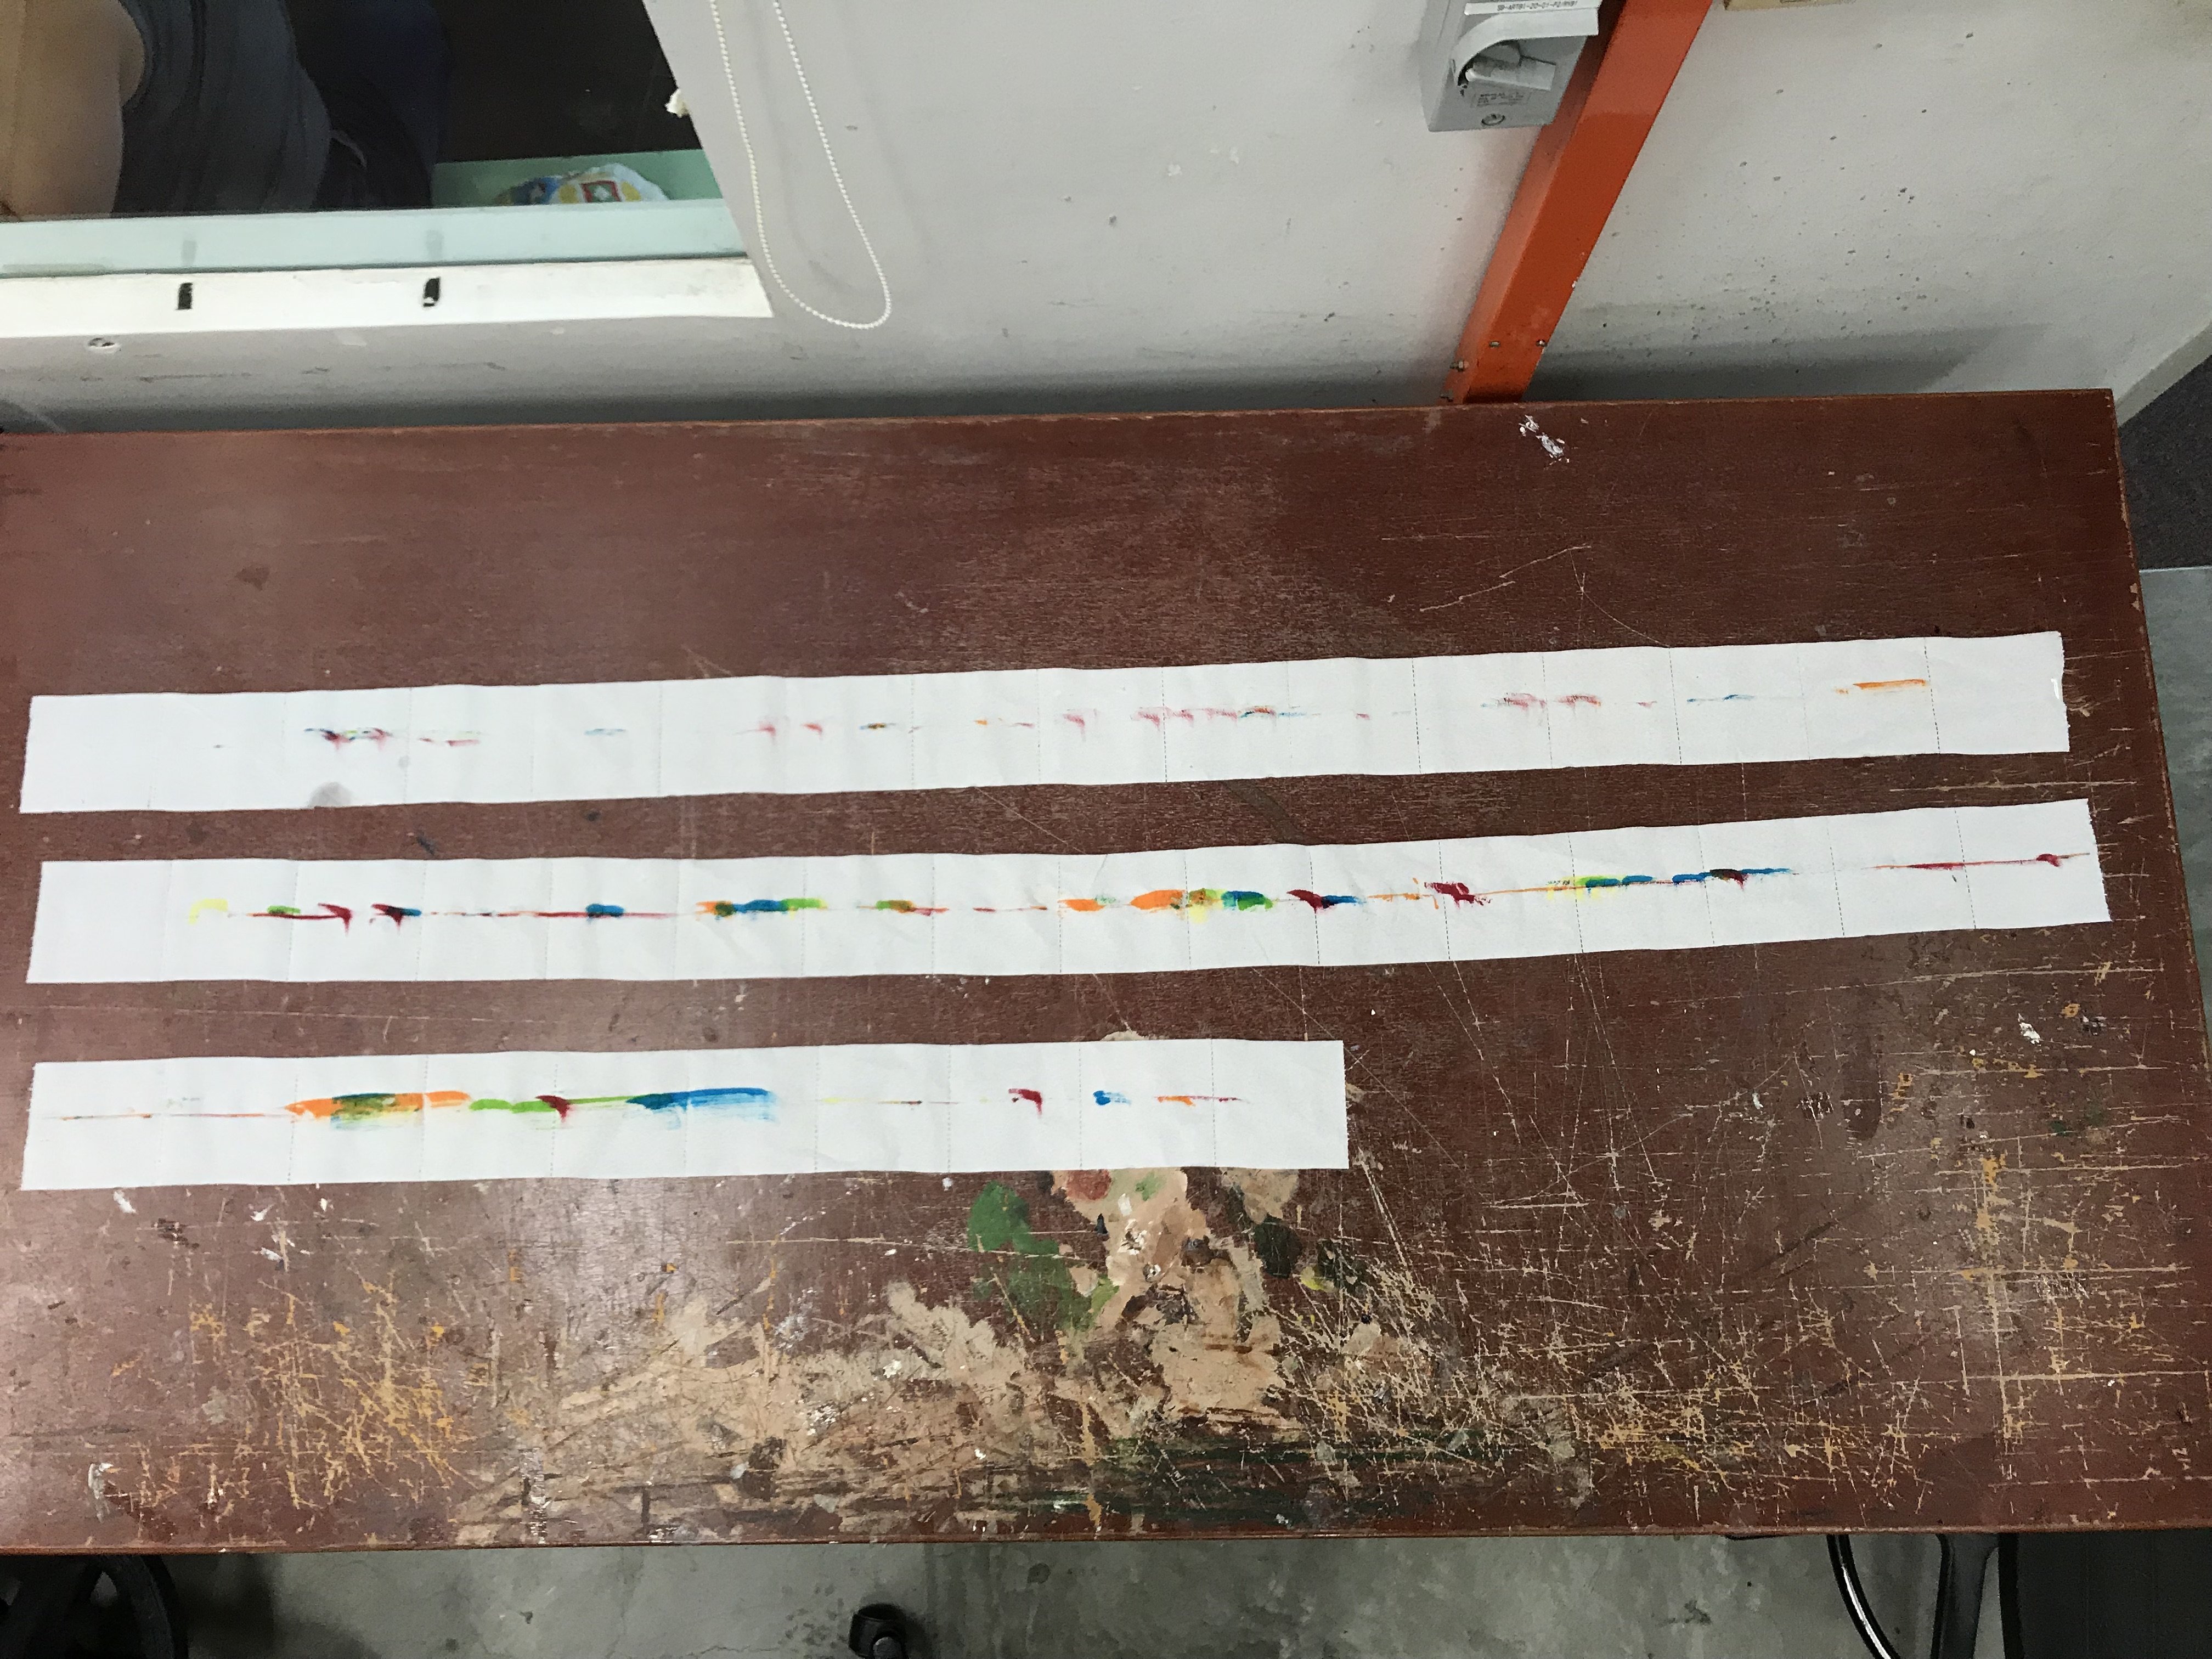
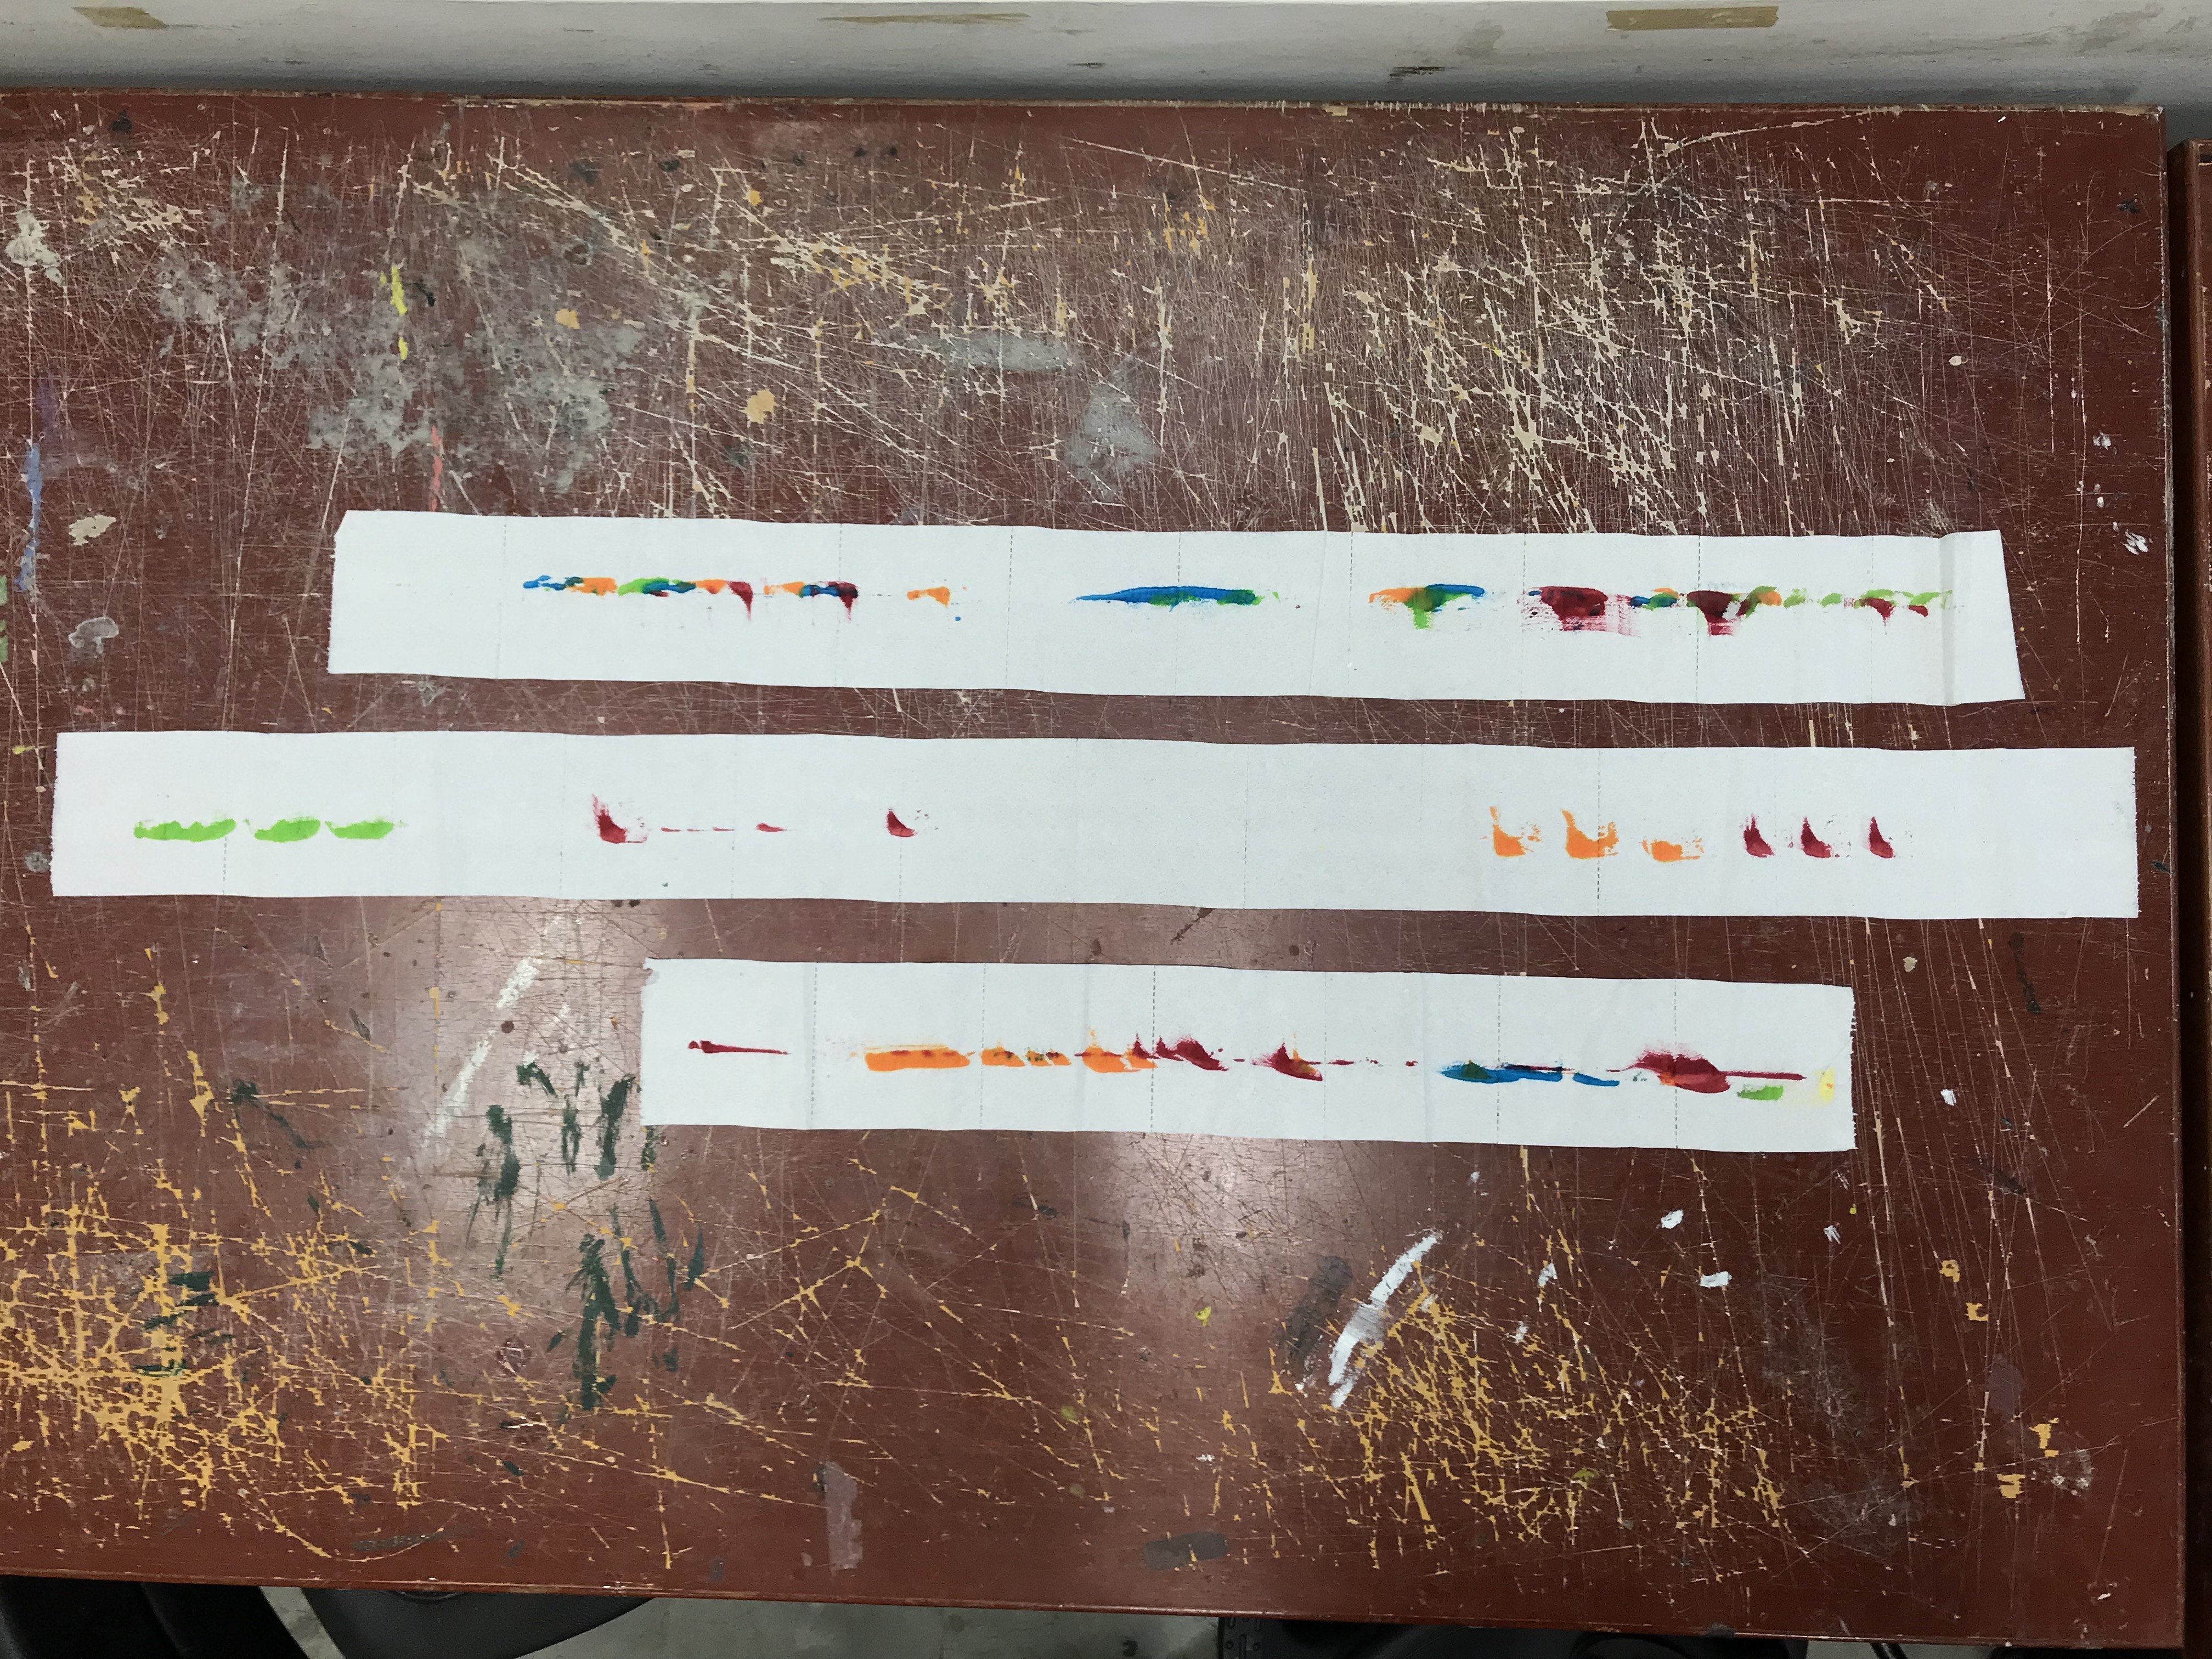

Something Cool
Although I didn’t plan for this, if you look close, you will see that some strokes are longer while others are short, this is not because the machine ran out of ink but reflects how long each key is being pressed for. Longer depression results in stronger, bolder marks while short depressions result in light staccato repetitions.
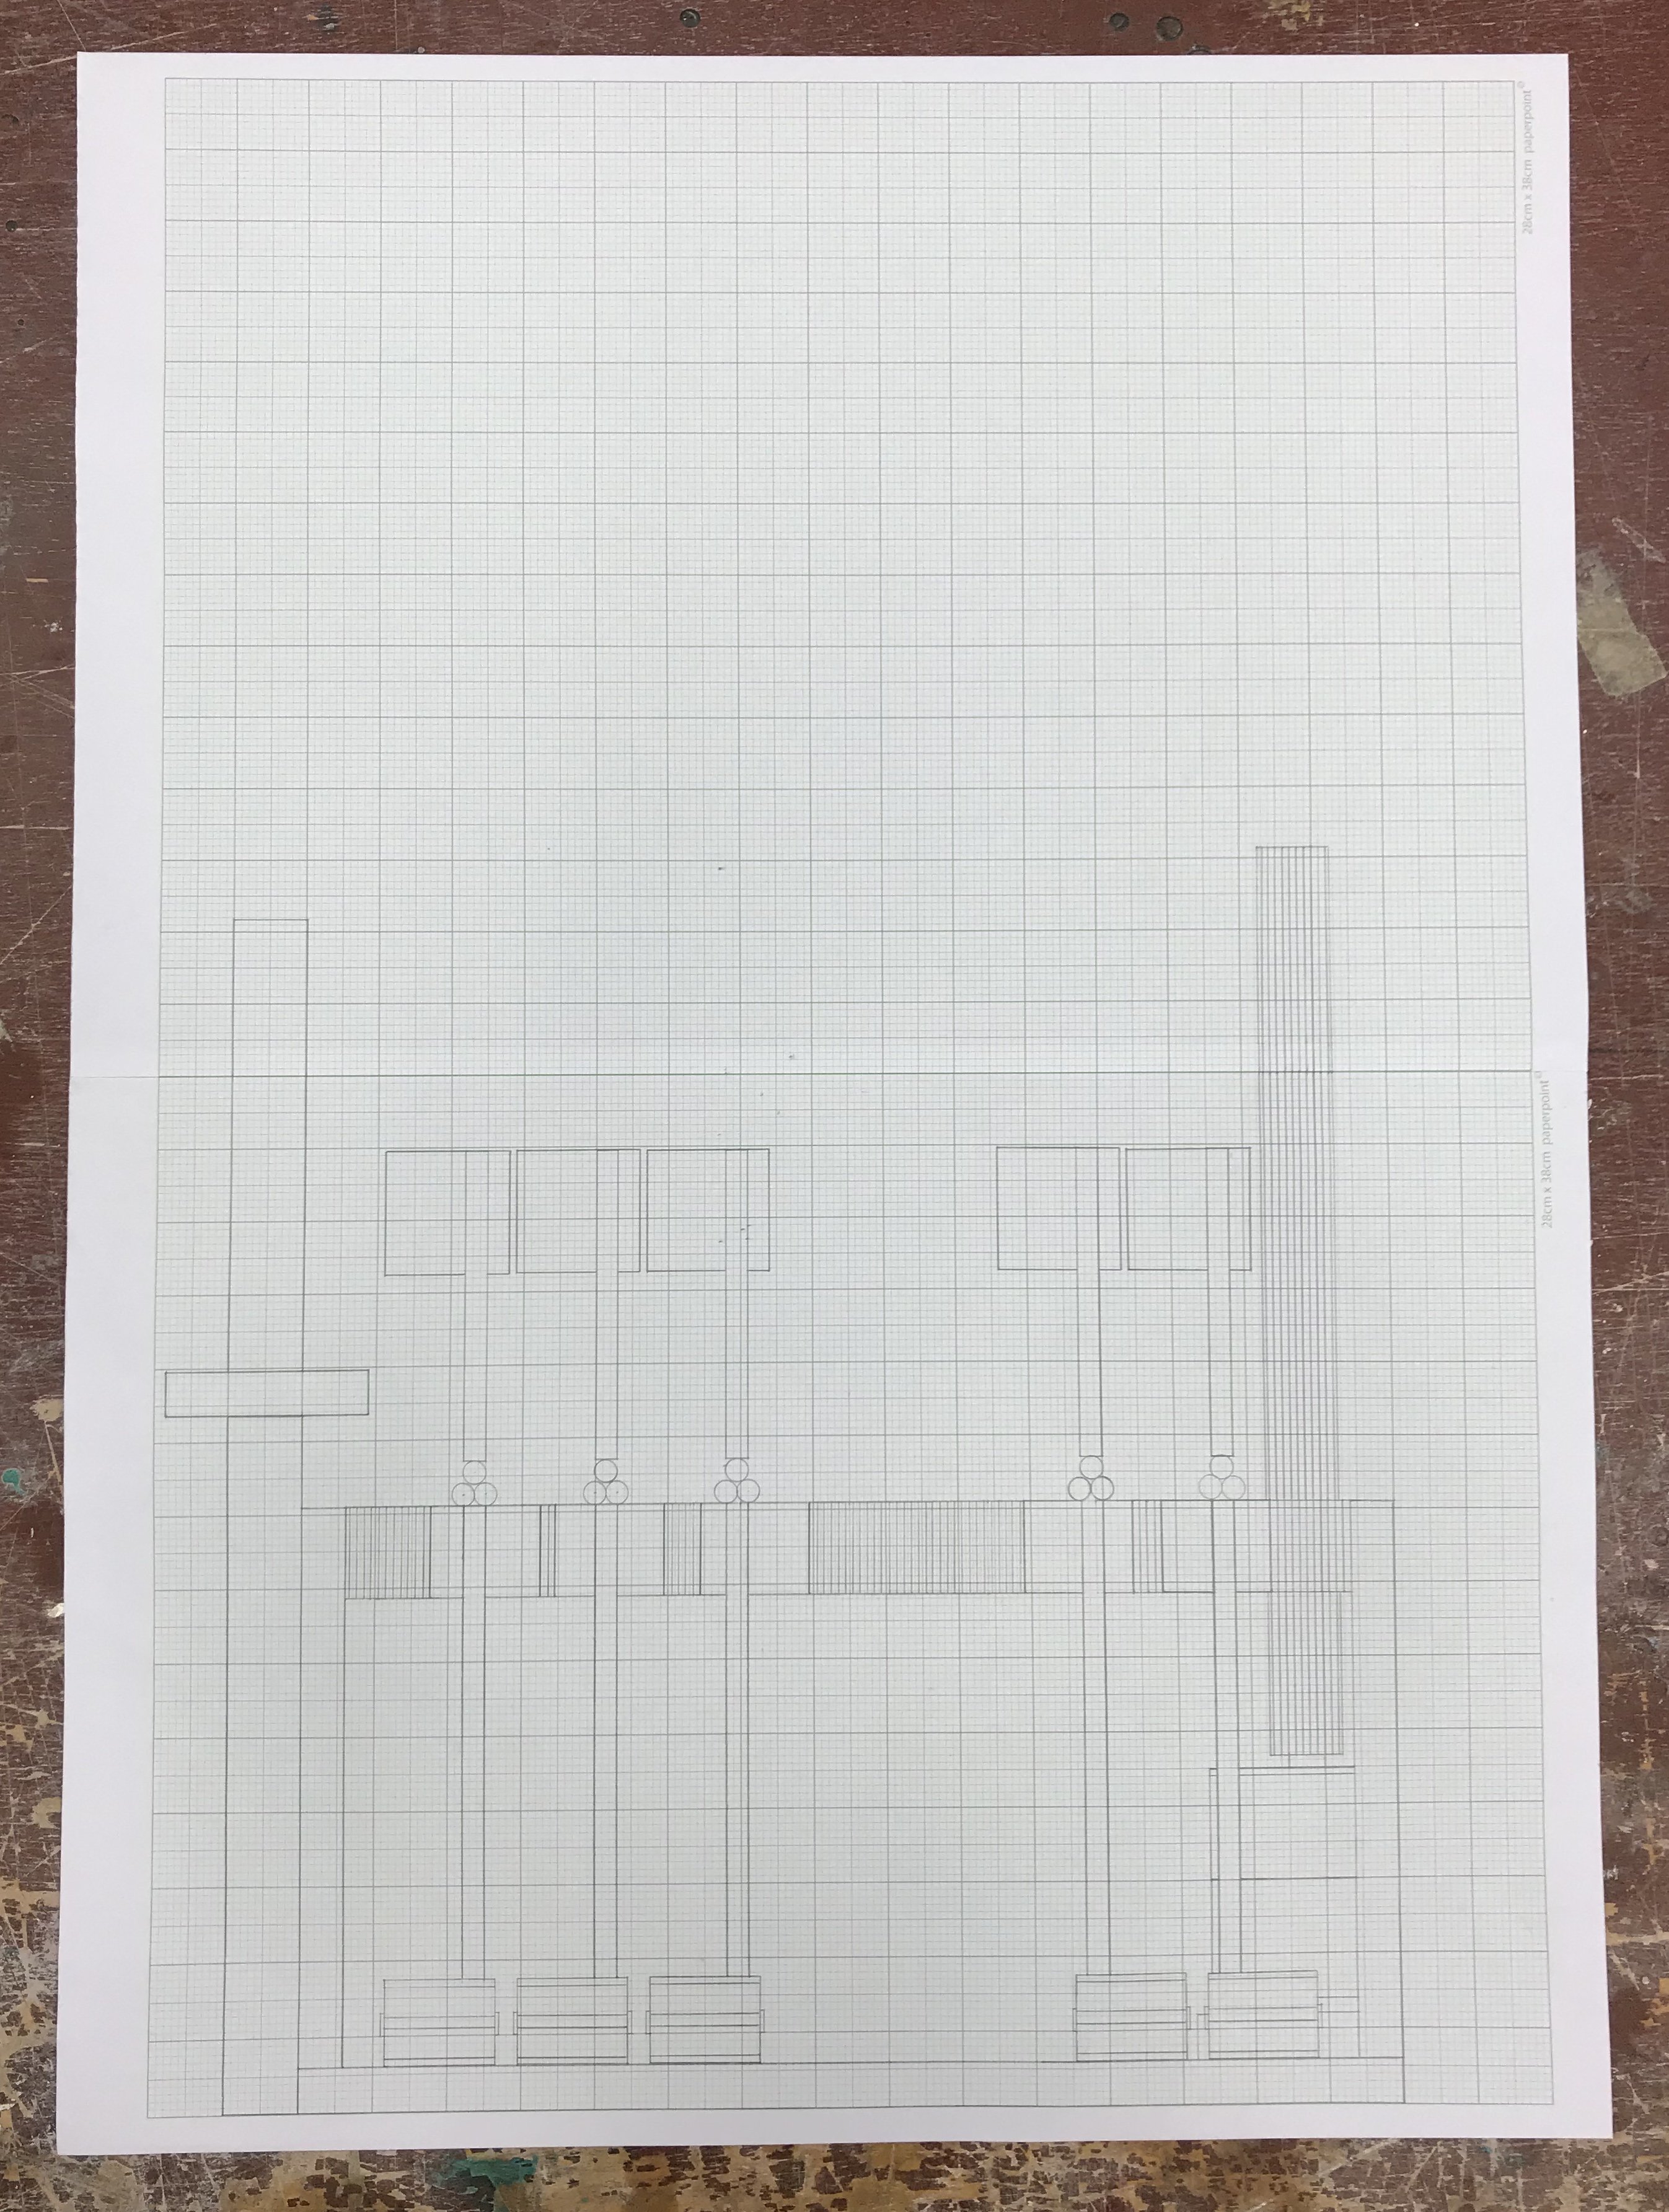
Orthographic Drawing