
Part 1 – Designing through details
I was quite worried when I heard we had to weave again for this assignment as I had trouble weaving for assignment 2A. For part 1, we had to choose a minimum of 2 verbs and try to express them using the weave and another material with a larger surface area in 4 study models. I thought that ‘cradle’ was the easiest so I thought of two ideas using that — a phone cover and bottle holder.

As I was trying to think of ideas for another verb, I thought of including ‘grab’ and ‘slide’ in the phone cover.

After working on the phone cover using rattan, I realised it didn’t work the way I wanted as the rattan was too thick. The ‘slide’ didn’t work and the ends didn’t close up well. In the end, I had the cover to ends with cardboard and the grabbing part was permanent.


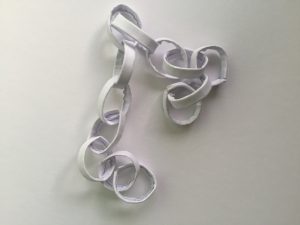
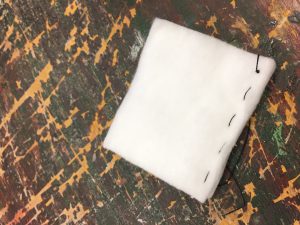
As I spent too much time to make the phone cover, I decided not to do the bottle holder but something simpler next. I tried making ‘bind’ using ice cream sticks and string in a way that it can flip continuously.
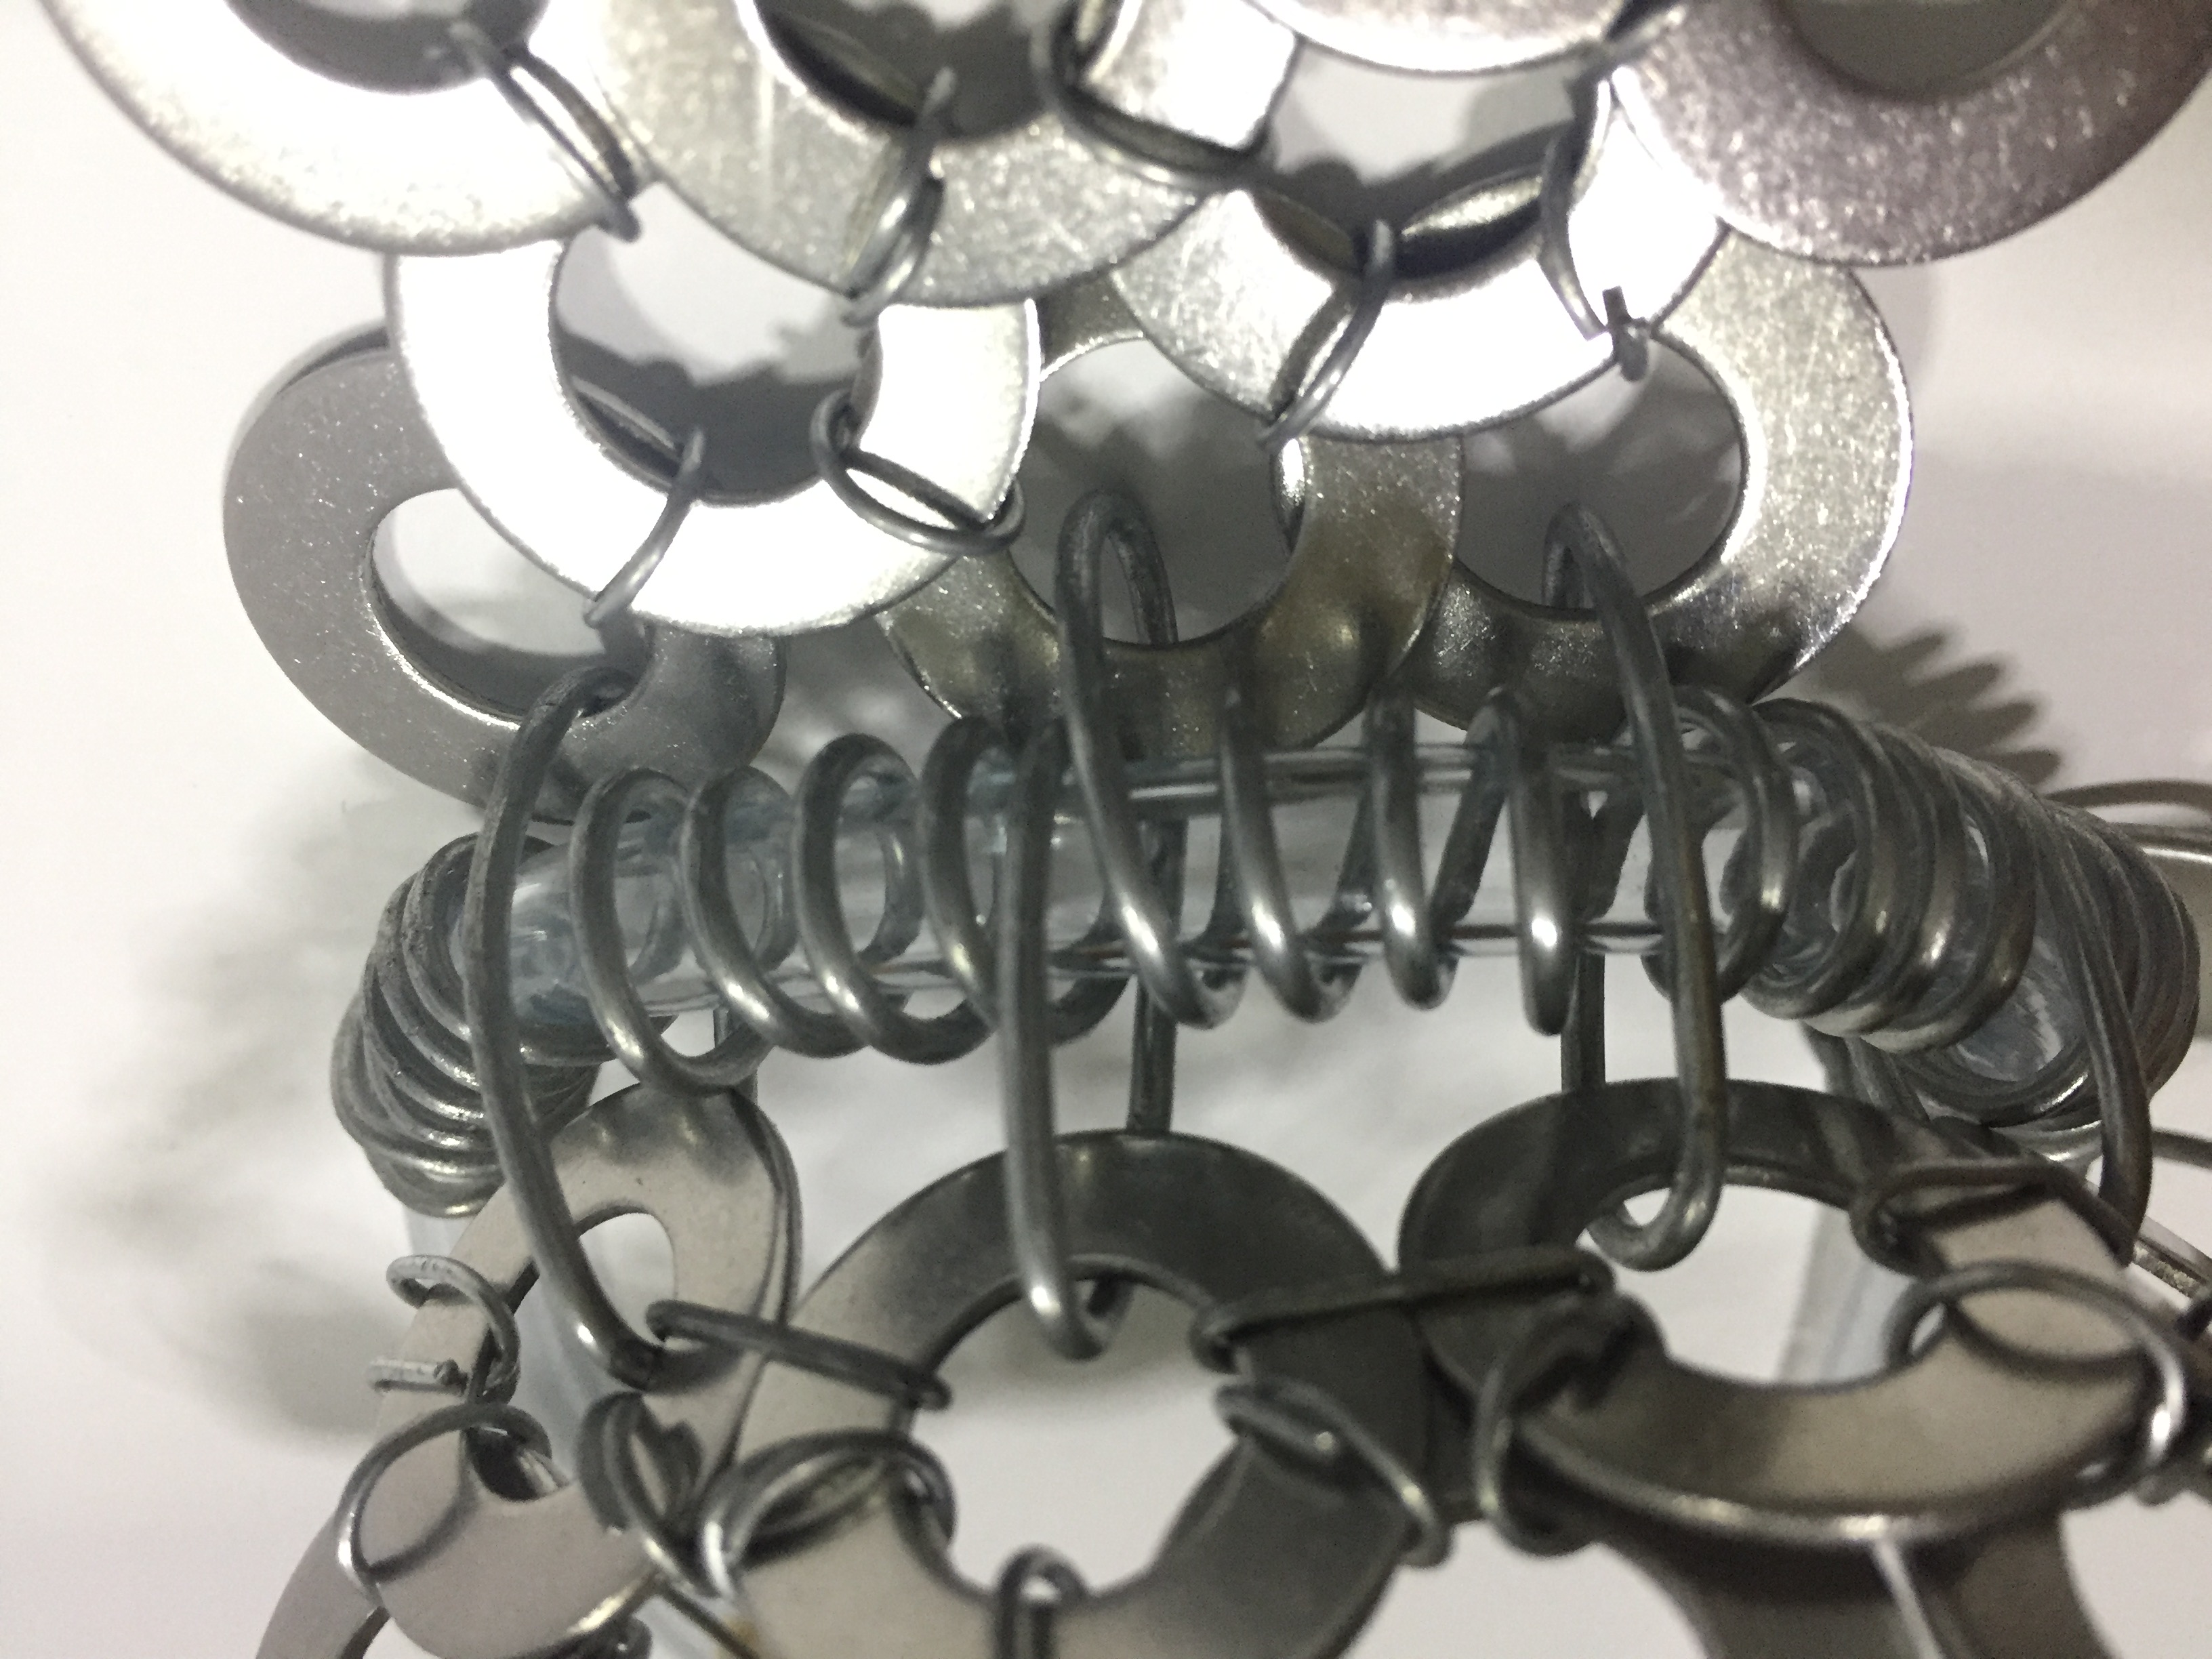
 IMG_1539
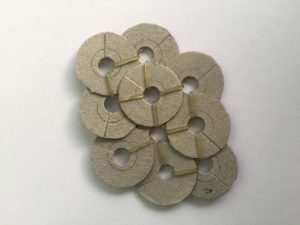
As I was thinking of what the do for the 3rd study model, Wei Lin suggested that I could replace the sliding lid of a box that I made with a weaved pattern to make ‘slide’. I tried it out and it was quite nice so I replicated it and made a larger box to fit the 10cm requirement. The box was made out of ice cream sticks and satay sticks + weaved cardboard strips.


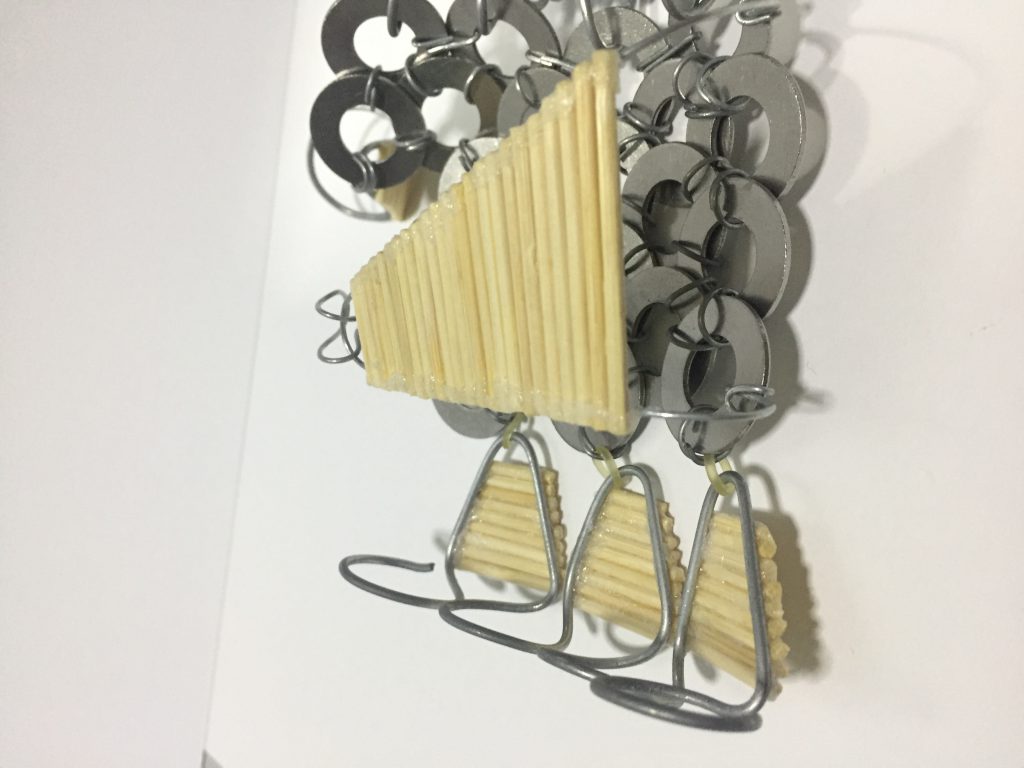
After consultation, I was told to try out ‘puncture’. My idea of ‘puncture’ would be something sharp emerging from the weave pattern so I made a “sharp” structure using cardboard.

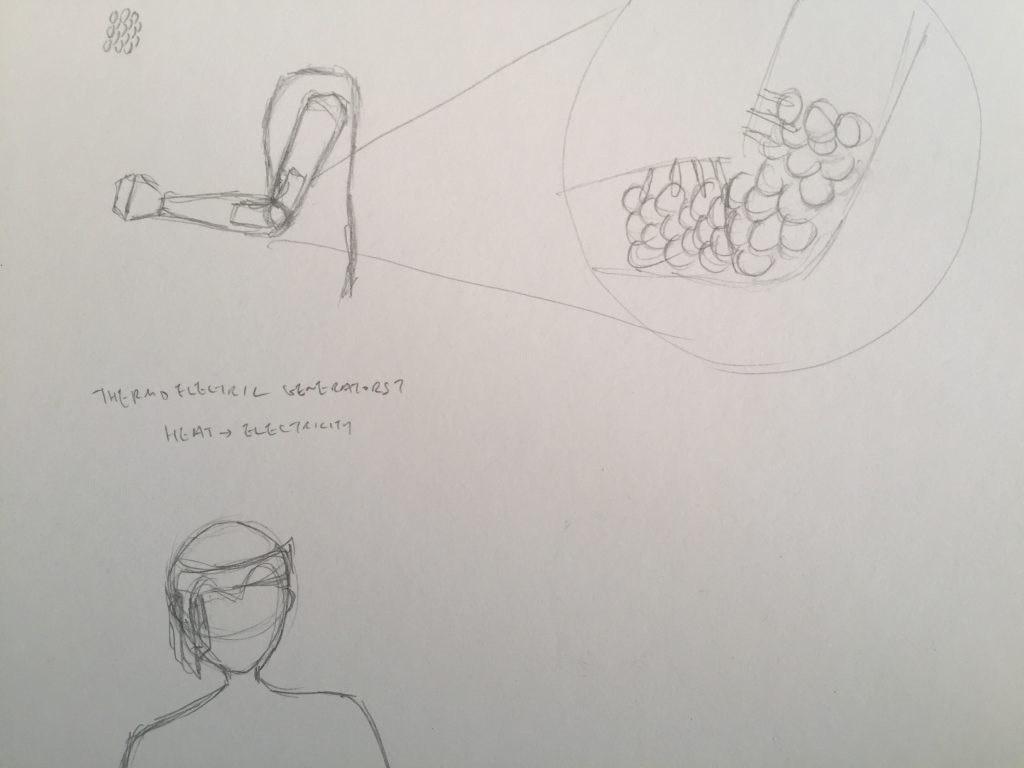
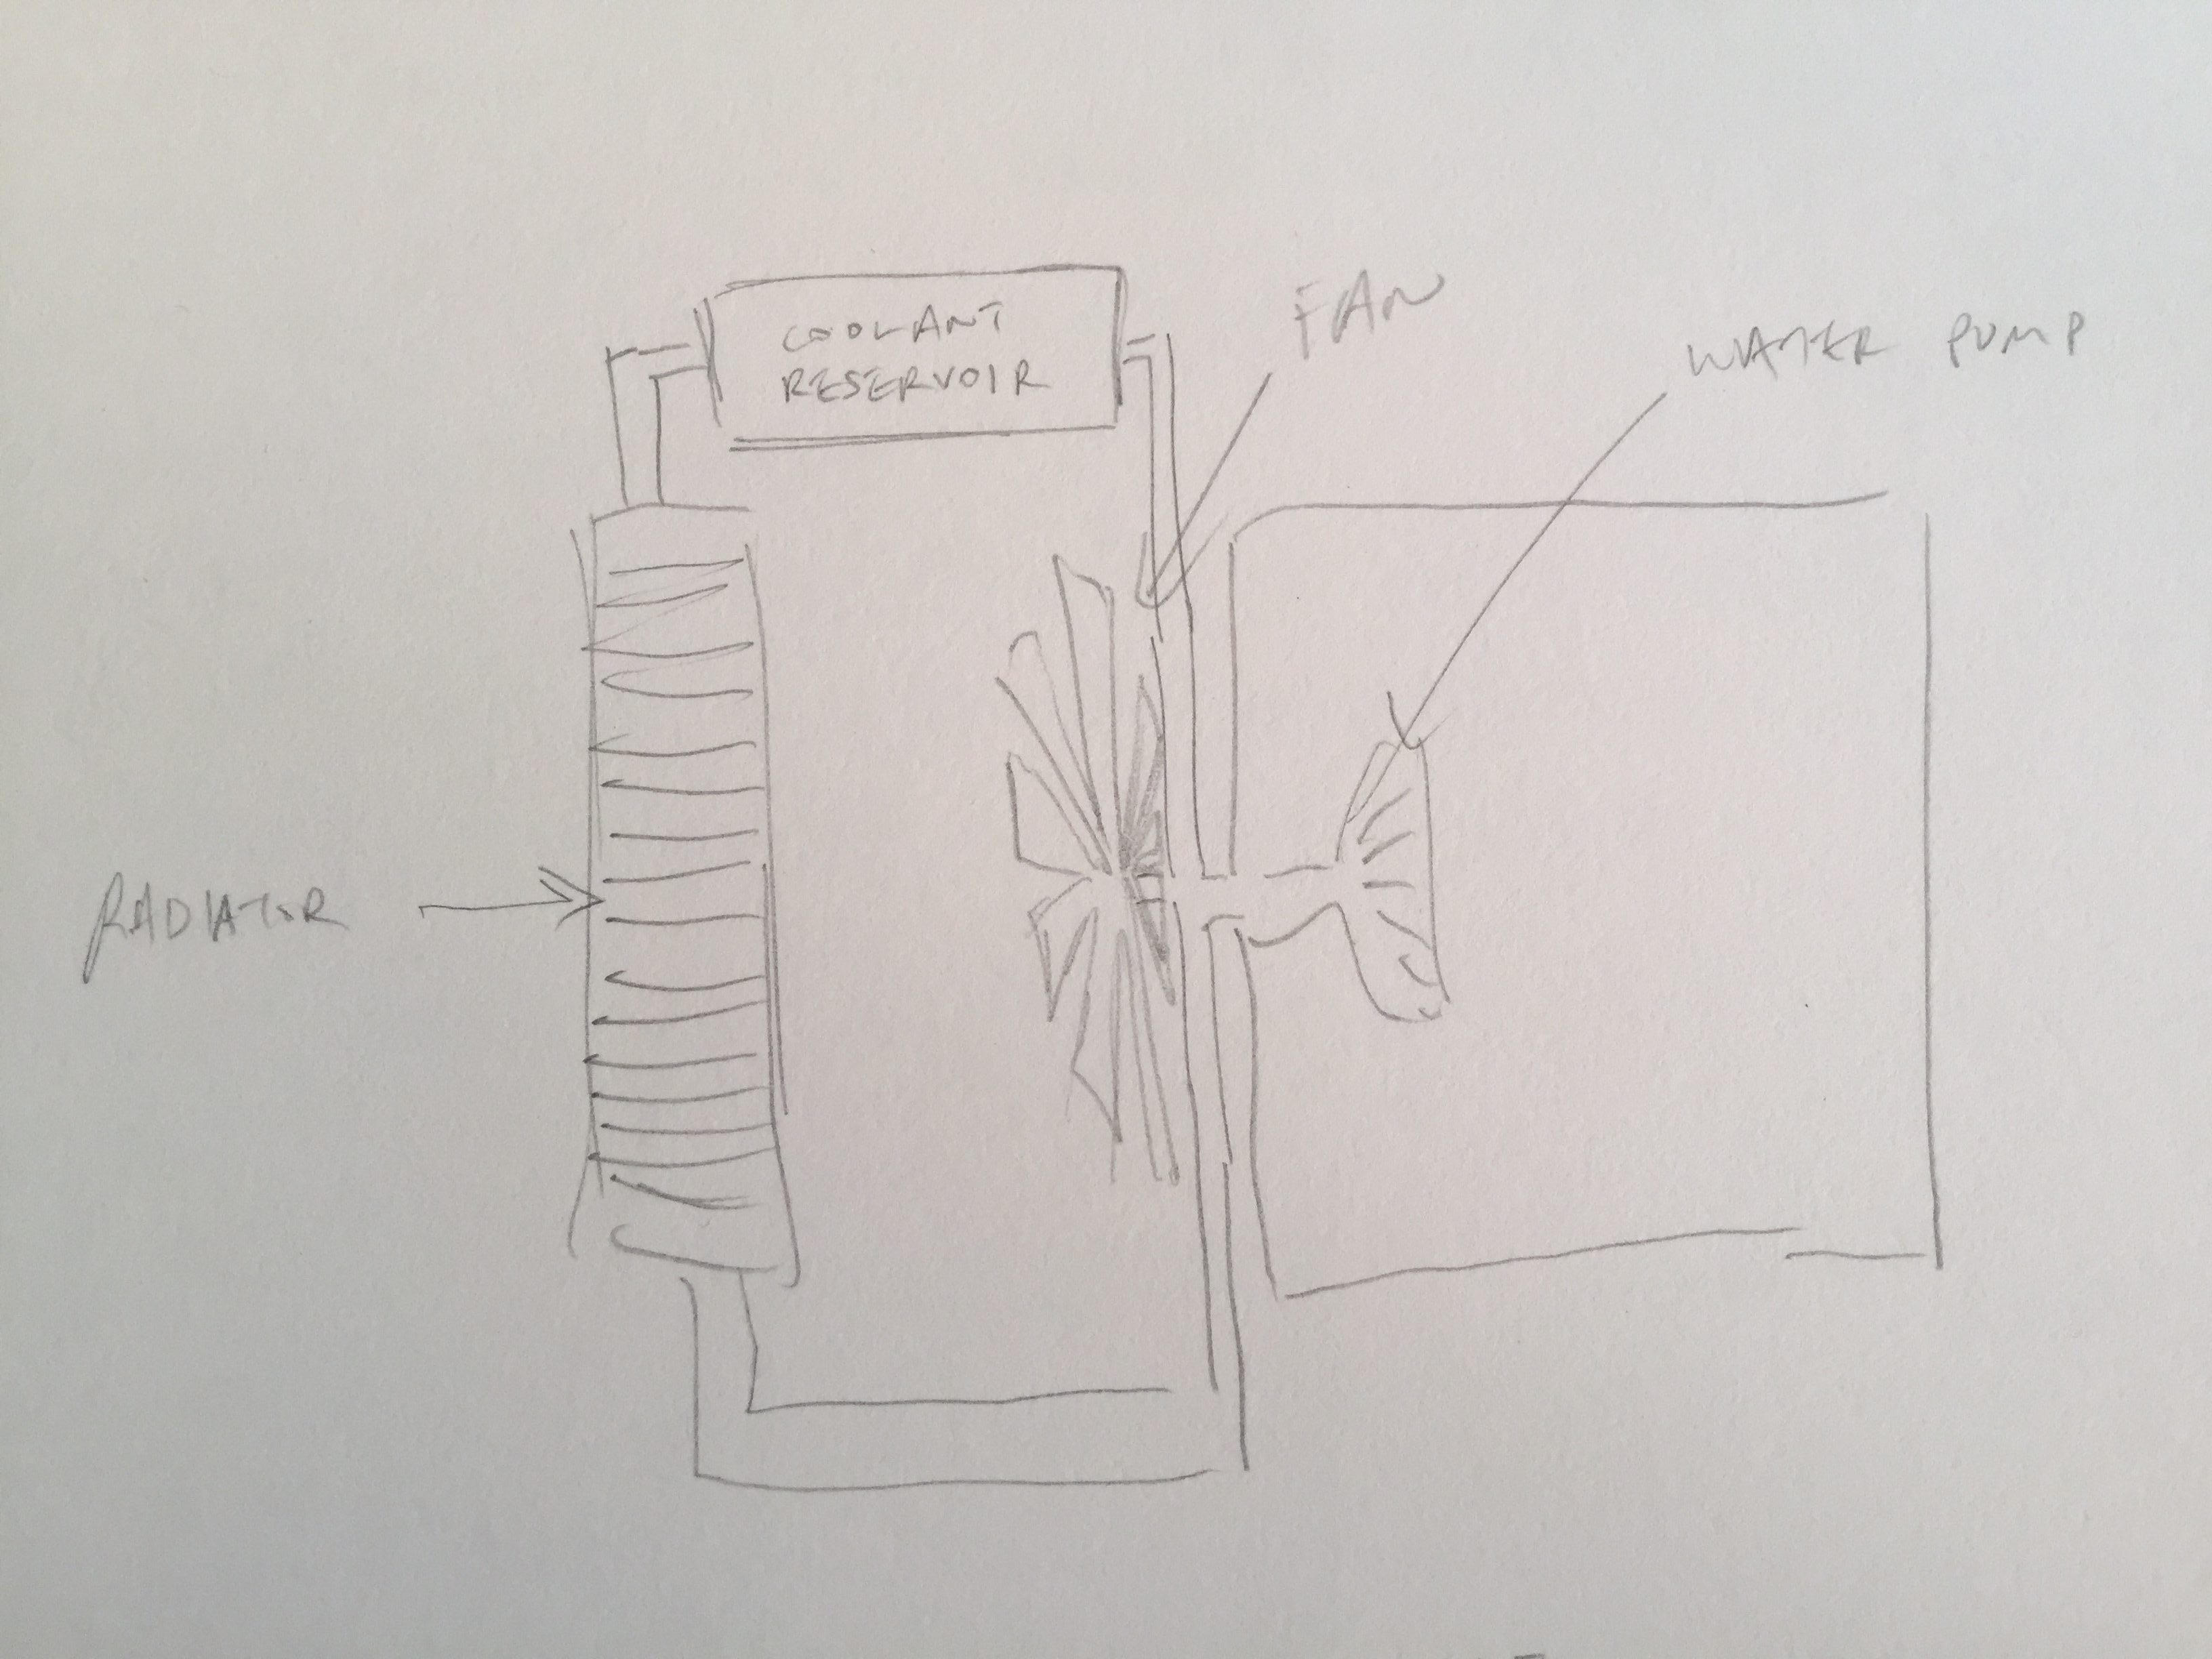
Drawings for study object:

Part 2 – Vessel to be Held, Worn or Carried
For this project, I wanted to make something that I can actually use so I decided on making a bag. My original idea was a squarish 3 in 1 bag that can be used as a bagpack, sling bag and hand-carried bag. The verbs I wanted to include were bind (for the lid) and slide (for the handle).

However, I thought that a 25cm x 22.5cm x 6cm bag couldn’t hold a lot of things so I changed it to 32cm x 24cm x 10cm so that it could hold A4 sized things. I also realised that it would be difficult to make the handle slide and the handle should not be attached to the lid as the lid come off if the bag is too heavy (the lid is only binded on one side so the bind is not very strong) I also wanted to add a buckle-like thing in front to make sure the lid is bounded more tightly when it’s closed.

I first made a tiny prototype of the bag using cardboard strips and foam to see how it would look like. I was satisfied with the dimensions so I decided to go with it.

Due to the way I’m weaving, I had to start with the bind part first. I used leather cord and metal wire since it is stronger and keeps it’s shape better. I used the same pattern as my ‘bind’ study model and replicated it on the other side as well. I spent a lot of time trying to bind it as the space for the cord is quite small.


I continued with the frame using rattan and started weaving.


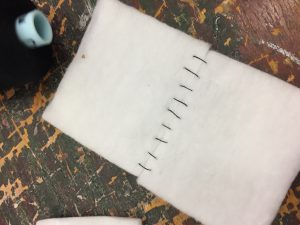
For the lid, I used a rattan frame with cardboard and covered it with 2 pieces of foam. I tried stitching the foam together but I failed so I ended up using uhu glue to stick them together. I added a nother layer of foam on the underside to make it stronger and it ended up forming a catch for the lid so it doesn’t open easily (so I didn’t need a buckle anymore).

As the dimensions for this bag fits a bagpack more, that was what I had in mind when I made it. But since there were holes (lack of materials + too tight to weave) on the bag, I realised I could hook the handles there and still make it a 3 in 1 bag.


More photos of final product:


Orthographic drawing:


Isometric drawing:


2 point perspective drawing:


