DN1011 Form & Visualisation Assignment 2B: Thinking Through Making

Part 1 Designing through details

I was quite worried when I heard we had to weave again for this assignment as I had trouble weaving for assignment 2A. For part 1, we had to choose a minimum of 2 verbs and try to express them using the weave and another material with a larger surface area in 4 study models. I thought that ‘cradle’ was the easiest so I thought of two ideas using that — a phone cover and bottle holder.

As I was trying to think of ideas for another verb, I thought of including ‘grab’ and ‘slide’ in the phone cover.

After working on the phone cover using rattan, I realised it didn’t work the way I wanted as the rattan was too thick. The ‘slide’ didn’t work and the ends didn’t close up well. In the end, I had the cover to ends with cardboard and the grabbing part was permanent.

As I spent too much time to make the phone cover, I decided not to do the bottle holder but something simpler next. I tried making ‘bind’ using ice cream sticks and string in a way that it can flip continuously.
IMG_1539

As I was thinking of what the do for the 3rd study model, Wei Lin suggested that I could replace the sliding lid of a box that I made with a weaved pattern to make ‘slide’. I tried it out and it was quite nice so I replicated it and made a larger box to fit the 10cm requirement. The box was made out of ice cream sticks and satay sticks + weaved cardboard strips.

After consultation, I was told to try out ‘puncture’. My idea of ‘puncture’ would be something sharp emerging from the weave pattern so I made a “sharp” structure using cardboard.

Drawings for study object:

Part 2 – Vessel to be Held, Worn or Carried

For this project, I wanted to make something that I can actually use so I decided on making a bag. My original idea was a squarish 3 in 1 bag that can be used as a bagpack, sling bag and hand-carried bag. The verbs I wanted to include were bind (for the lid) and slide (for the handle).

However, I thought that a 25cm x 22.5cm x 6cm bag couldn’t hold a lot of things so I changed it to 32cm x 24cm x 10cm so that it could hold A4 sized things. I also realised that it would be difficult to make the handle slide and the handle should not be attached to the lid as the lid come off if the bag is too heavy (the lid is only binded on one side so the bind is not very strong) I also wanted to add a buckle-like thing in front to make sure the lid is bounded more tightly when it’s closed.

I first made a tiny prototype of the bag using cardboard strips and foam to see how it would look like. I was satisfied with the dimensions so I decided to go with it.

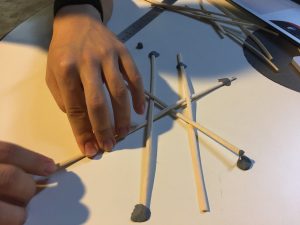
Due to the way I’m weaving, I had to start with the bind part first. I used leather cord and metal wire since it is stronger and keeps it’s shape better. I used the same pattern as my ‘bind’ study model and replicated it on the other side as well. I spent a lot of time trying to bind it as the space for the cord is quite small.

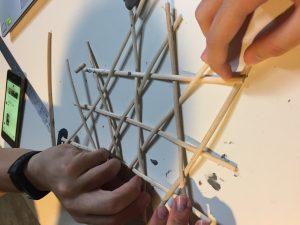
I continued with the frame using rattan and started weaving.

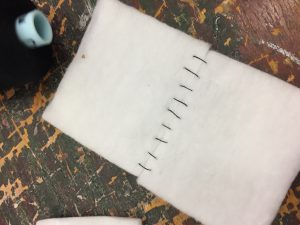
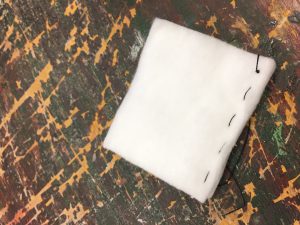
For the lid, I used a rattan frame with cardboard and covered it with 2 pieces of foam. I tried stitching the foam together but I failed so I ended up using uhu glue to stick them together. I added a nother layer of foam on the underside to make it stronger and  it ended up forming a catch for the lid so it doesn’t open easily (so I didn’t need a buckle anymore).

As the dimensions for this bag fits a bagpack more, that was what I had in mind when I made it. But since there were holes (lack of materials + too tight to weave) on the bag, I realised I could hook the handles there and still make it a 3 in 1 bag.

More photos of final product:

Orthographic drawing:

Isometric drawing:

2 point perspective drawing:


DN1011 Form & Visualisation Assignment 2A: Object & Weave Technique Studies

Task 1 – Object Studies

For this task, we had to bring a personal item that is held, worn or carried to be studied.

I ended up bringing a wireless mouse.

We had to draw the top, front and side view of the object so I did a sketch before drawing on the graph paper. I also added the measurements on the sketches.

The drawing I did in pencil wasn’t very clear so I went over it with a pen.

Then, we had to draw the 2 point perspective of the object. I also did some sketches of it (shown above) before I did the actual drawing. Once again, I went over the drawing with a pen.


Task 2 – Weave Technique Studies 

For task 2, we had to weave a 2D and a 3D pattern as a pair work. Chien Ping and I decided to work on the 2D component together. We didn’t have any tape or water so it was really hard to weave the pattern we chose — hexagonal pattern. We tried the method from this video: https://www.youtube.com/watch?v=psHmWNielcw but there was too much tension between the rattan strips so we experimented with different methods and ended up just weaving by looking at the picture of a hexagonal pattern.
I decided to try the pattern again at home using tape and the method from the video. I also did it using 5mm cardboard strips. It works better with cardboard as it is thinner and there’s less tension.

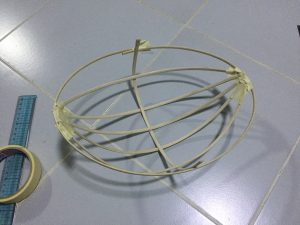
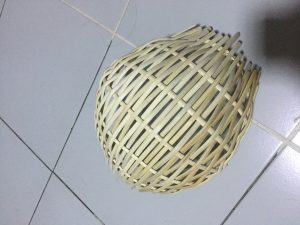
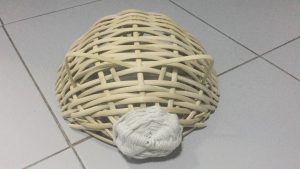
For the 3D component, we decided to split it into half, each of us doing 20x20x10 then combine them together. Chien Ping suggested making it look like a pig since it’s Chinese New Year, so I did the top while he did the bottom of the pig.

Before I started making the actual structure, I experimented with a few patterns.

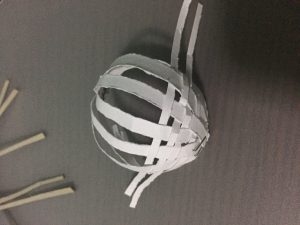
I think the hexagonal pattern looks better but it would be difficult to replicate it with the rattan strips so I used the mat pattern instead. I liked how the sepak takraw ball turned out but I couldn’t put in in my 3D structure.

In order to make it look like a pig, I also added the ears and nose. I tried different materials and sizes on the chrysanthemum bottom pattern for the nose. I also made sure the structure could stand.


Afterwards, we just combined our parts together. For the details of the bottom of the structure, please refer to Chien Ping’s post.


DN1003 Foundation 3D Assignment 3: For Emiko’s Kind (Part 2)

A Bio-radiator for Emiko’s Kind

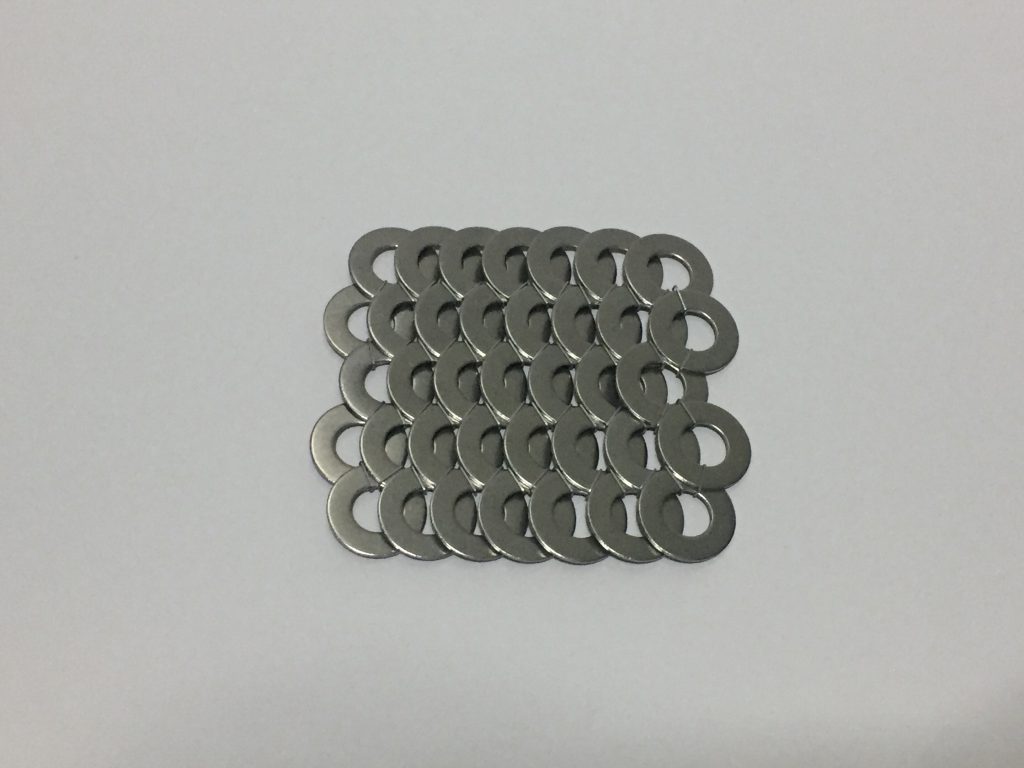
After working on part one, I was thinking of what I could make with the material.

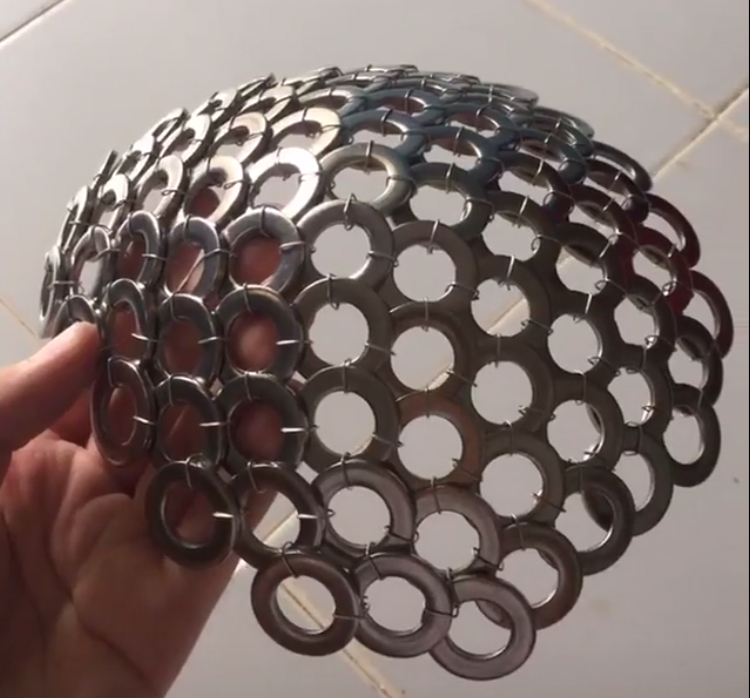
Because of the way it can curve, I wanted to make a cap or head gear but I felt like it would look like a torture device. I also thought of making it an arm piece.

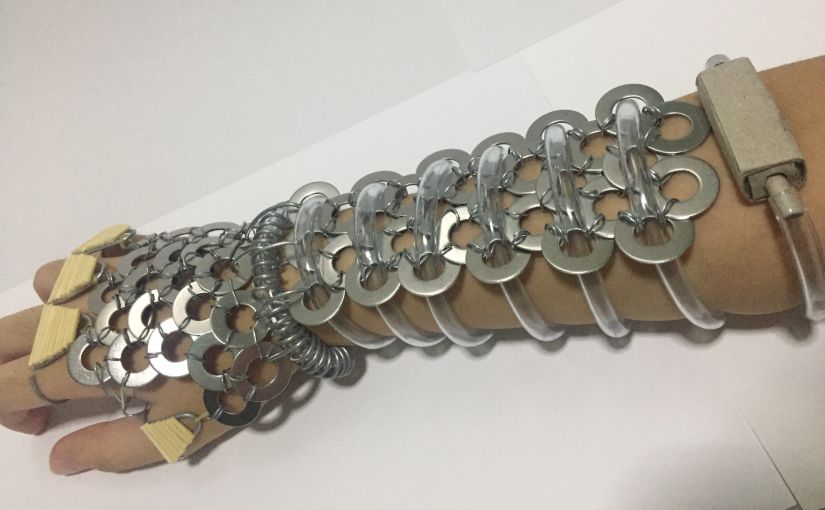
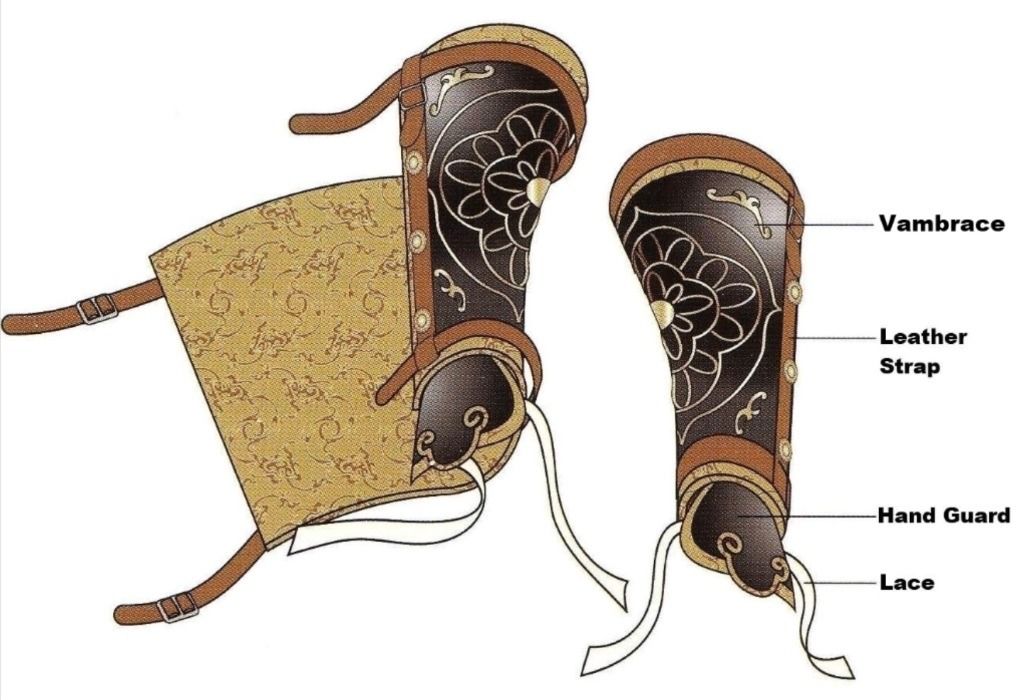
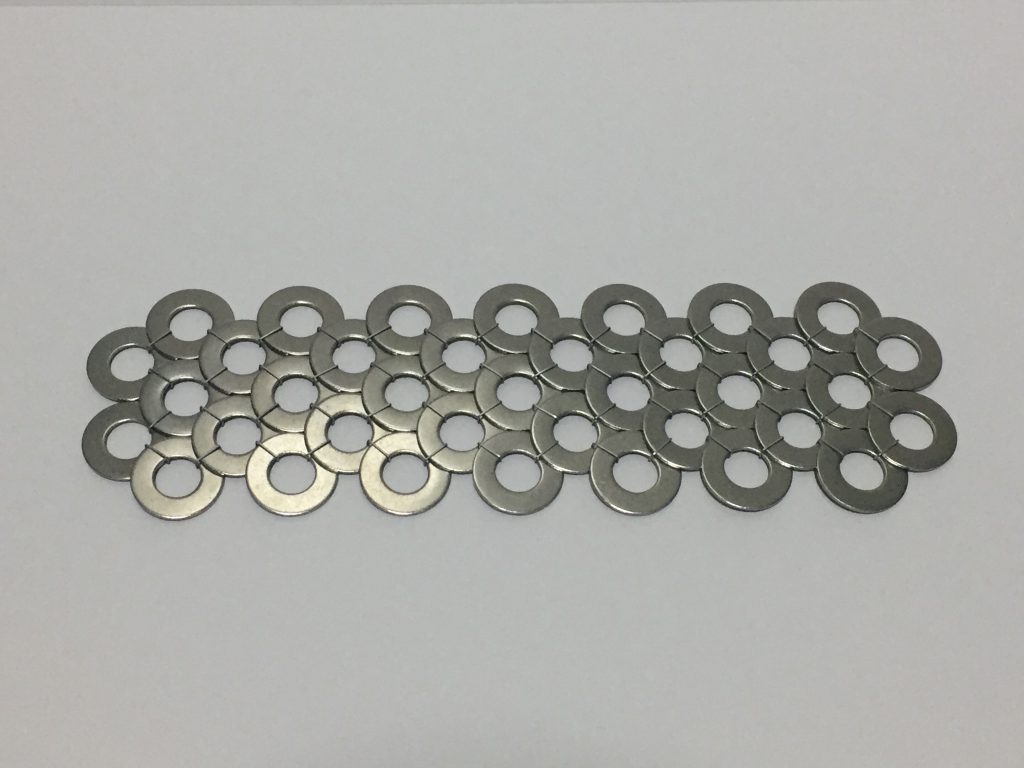
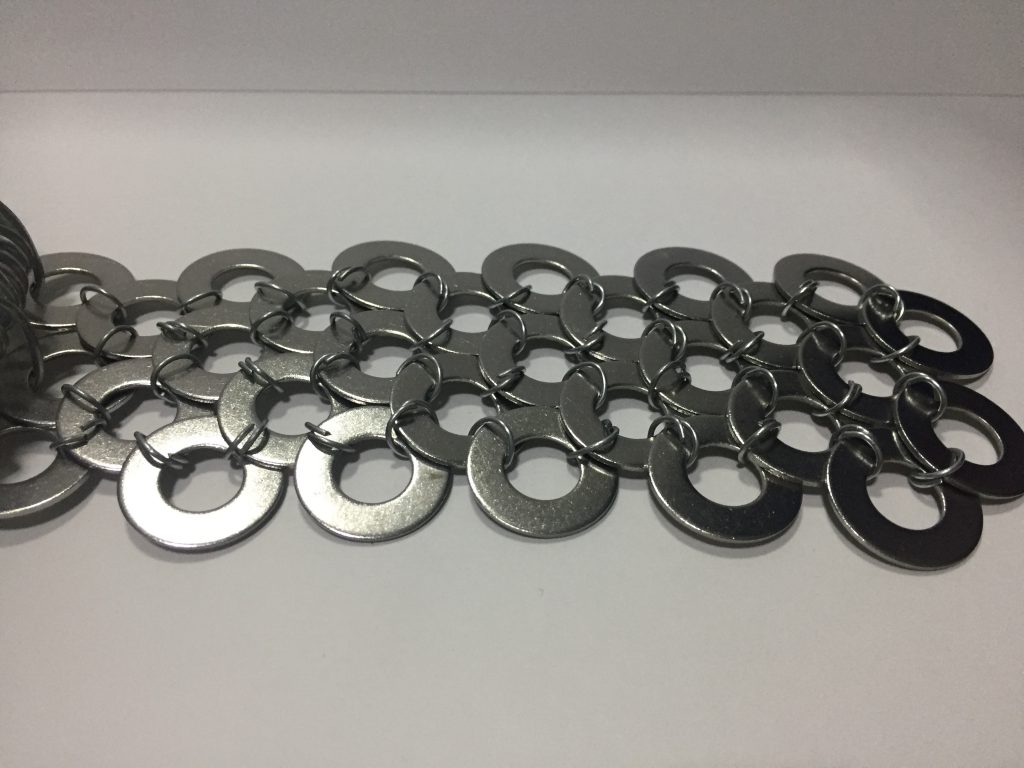
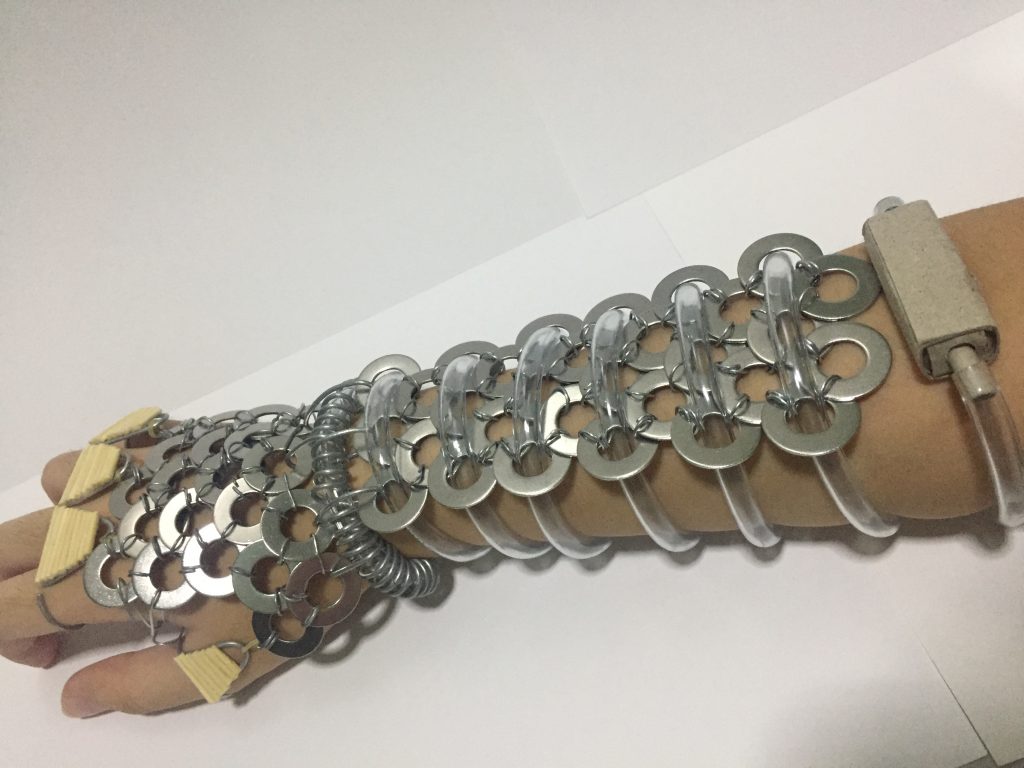
I ended up choosing to make a vambrace (arm guard).

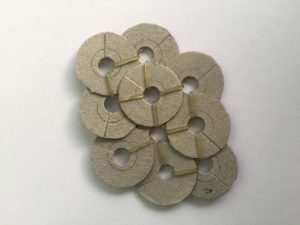
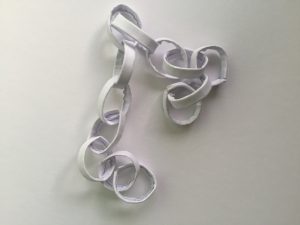
I struggled with the organic material so I tried changing the material of the washers to cardboard and making rings out of paper to connect it to the metal washers but they look weird and out of place.

I also wanted to use cotton, but I realised they trap heat instead of cooling down the body.

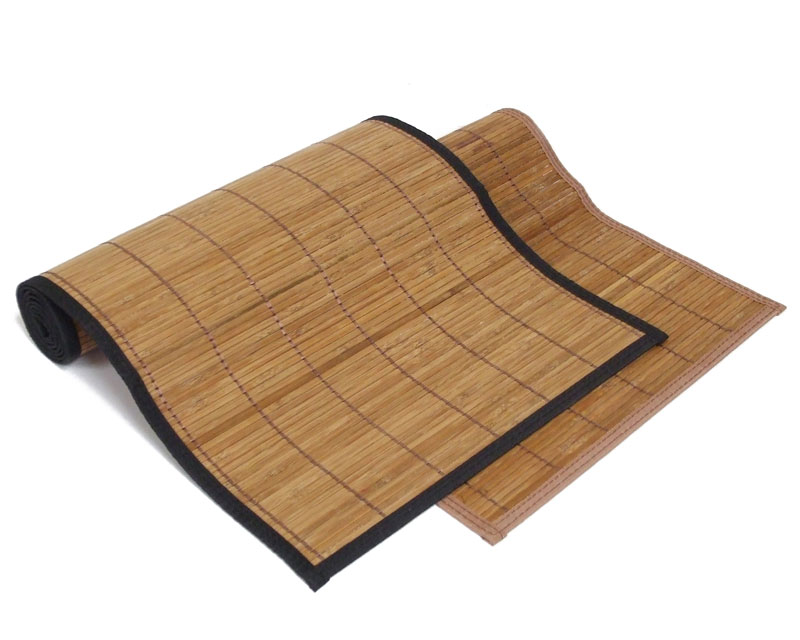
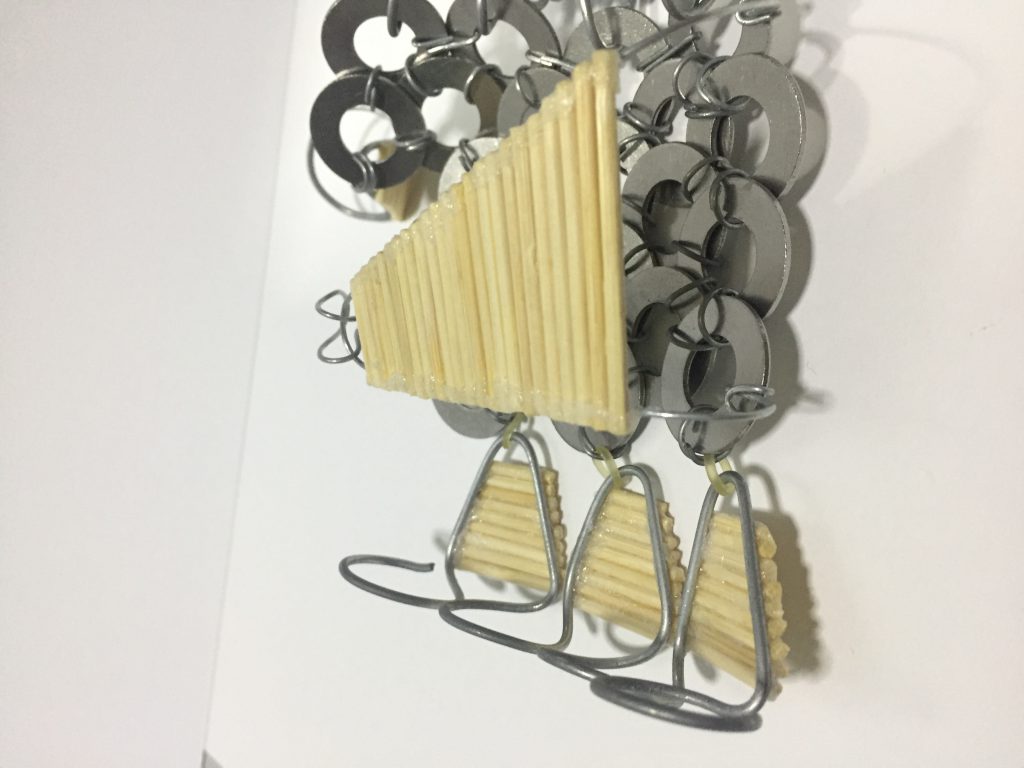
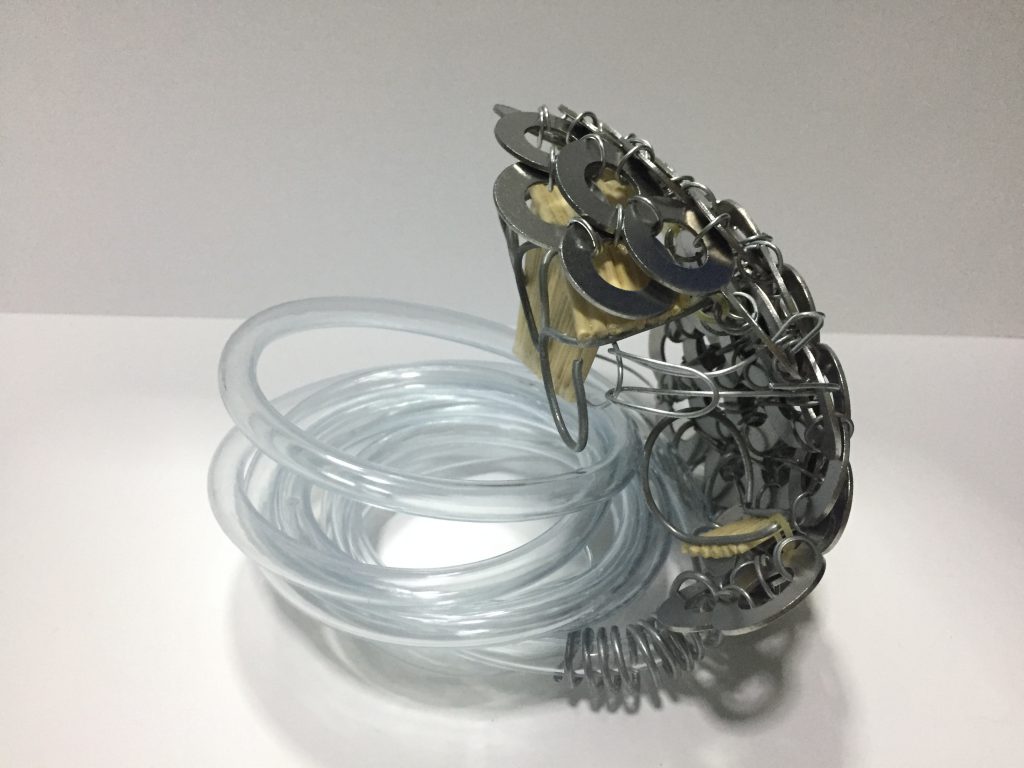
In the end, I decided to use bamboo tooth picks to mimic bamboo mats that absorb heat and regulate the body temperature.

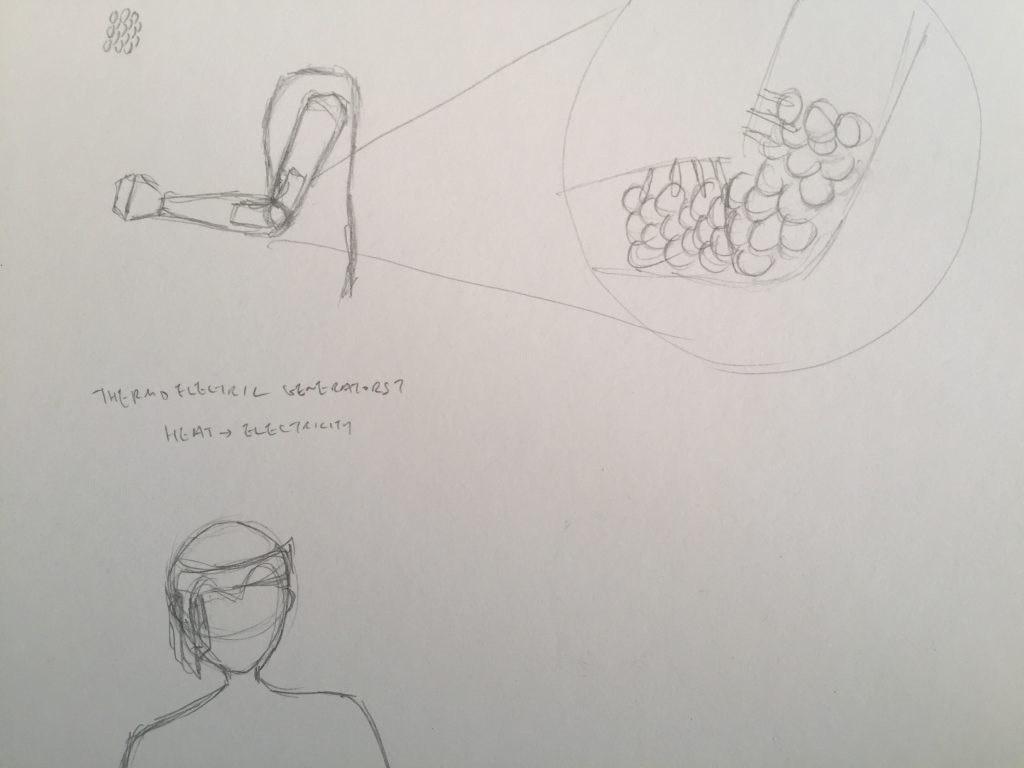
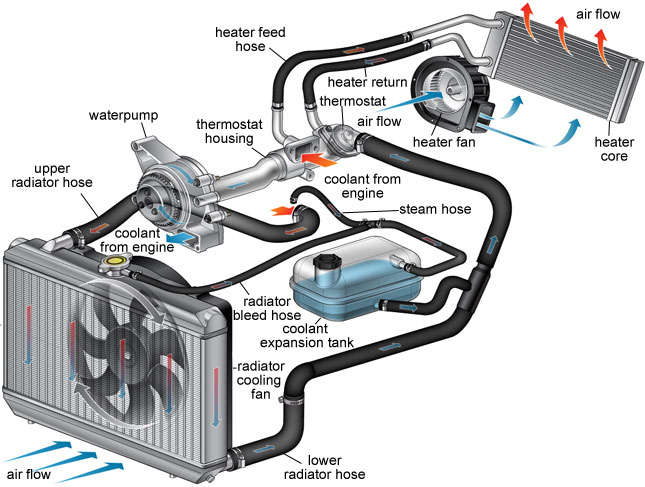
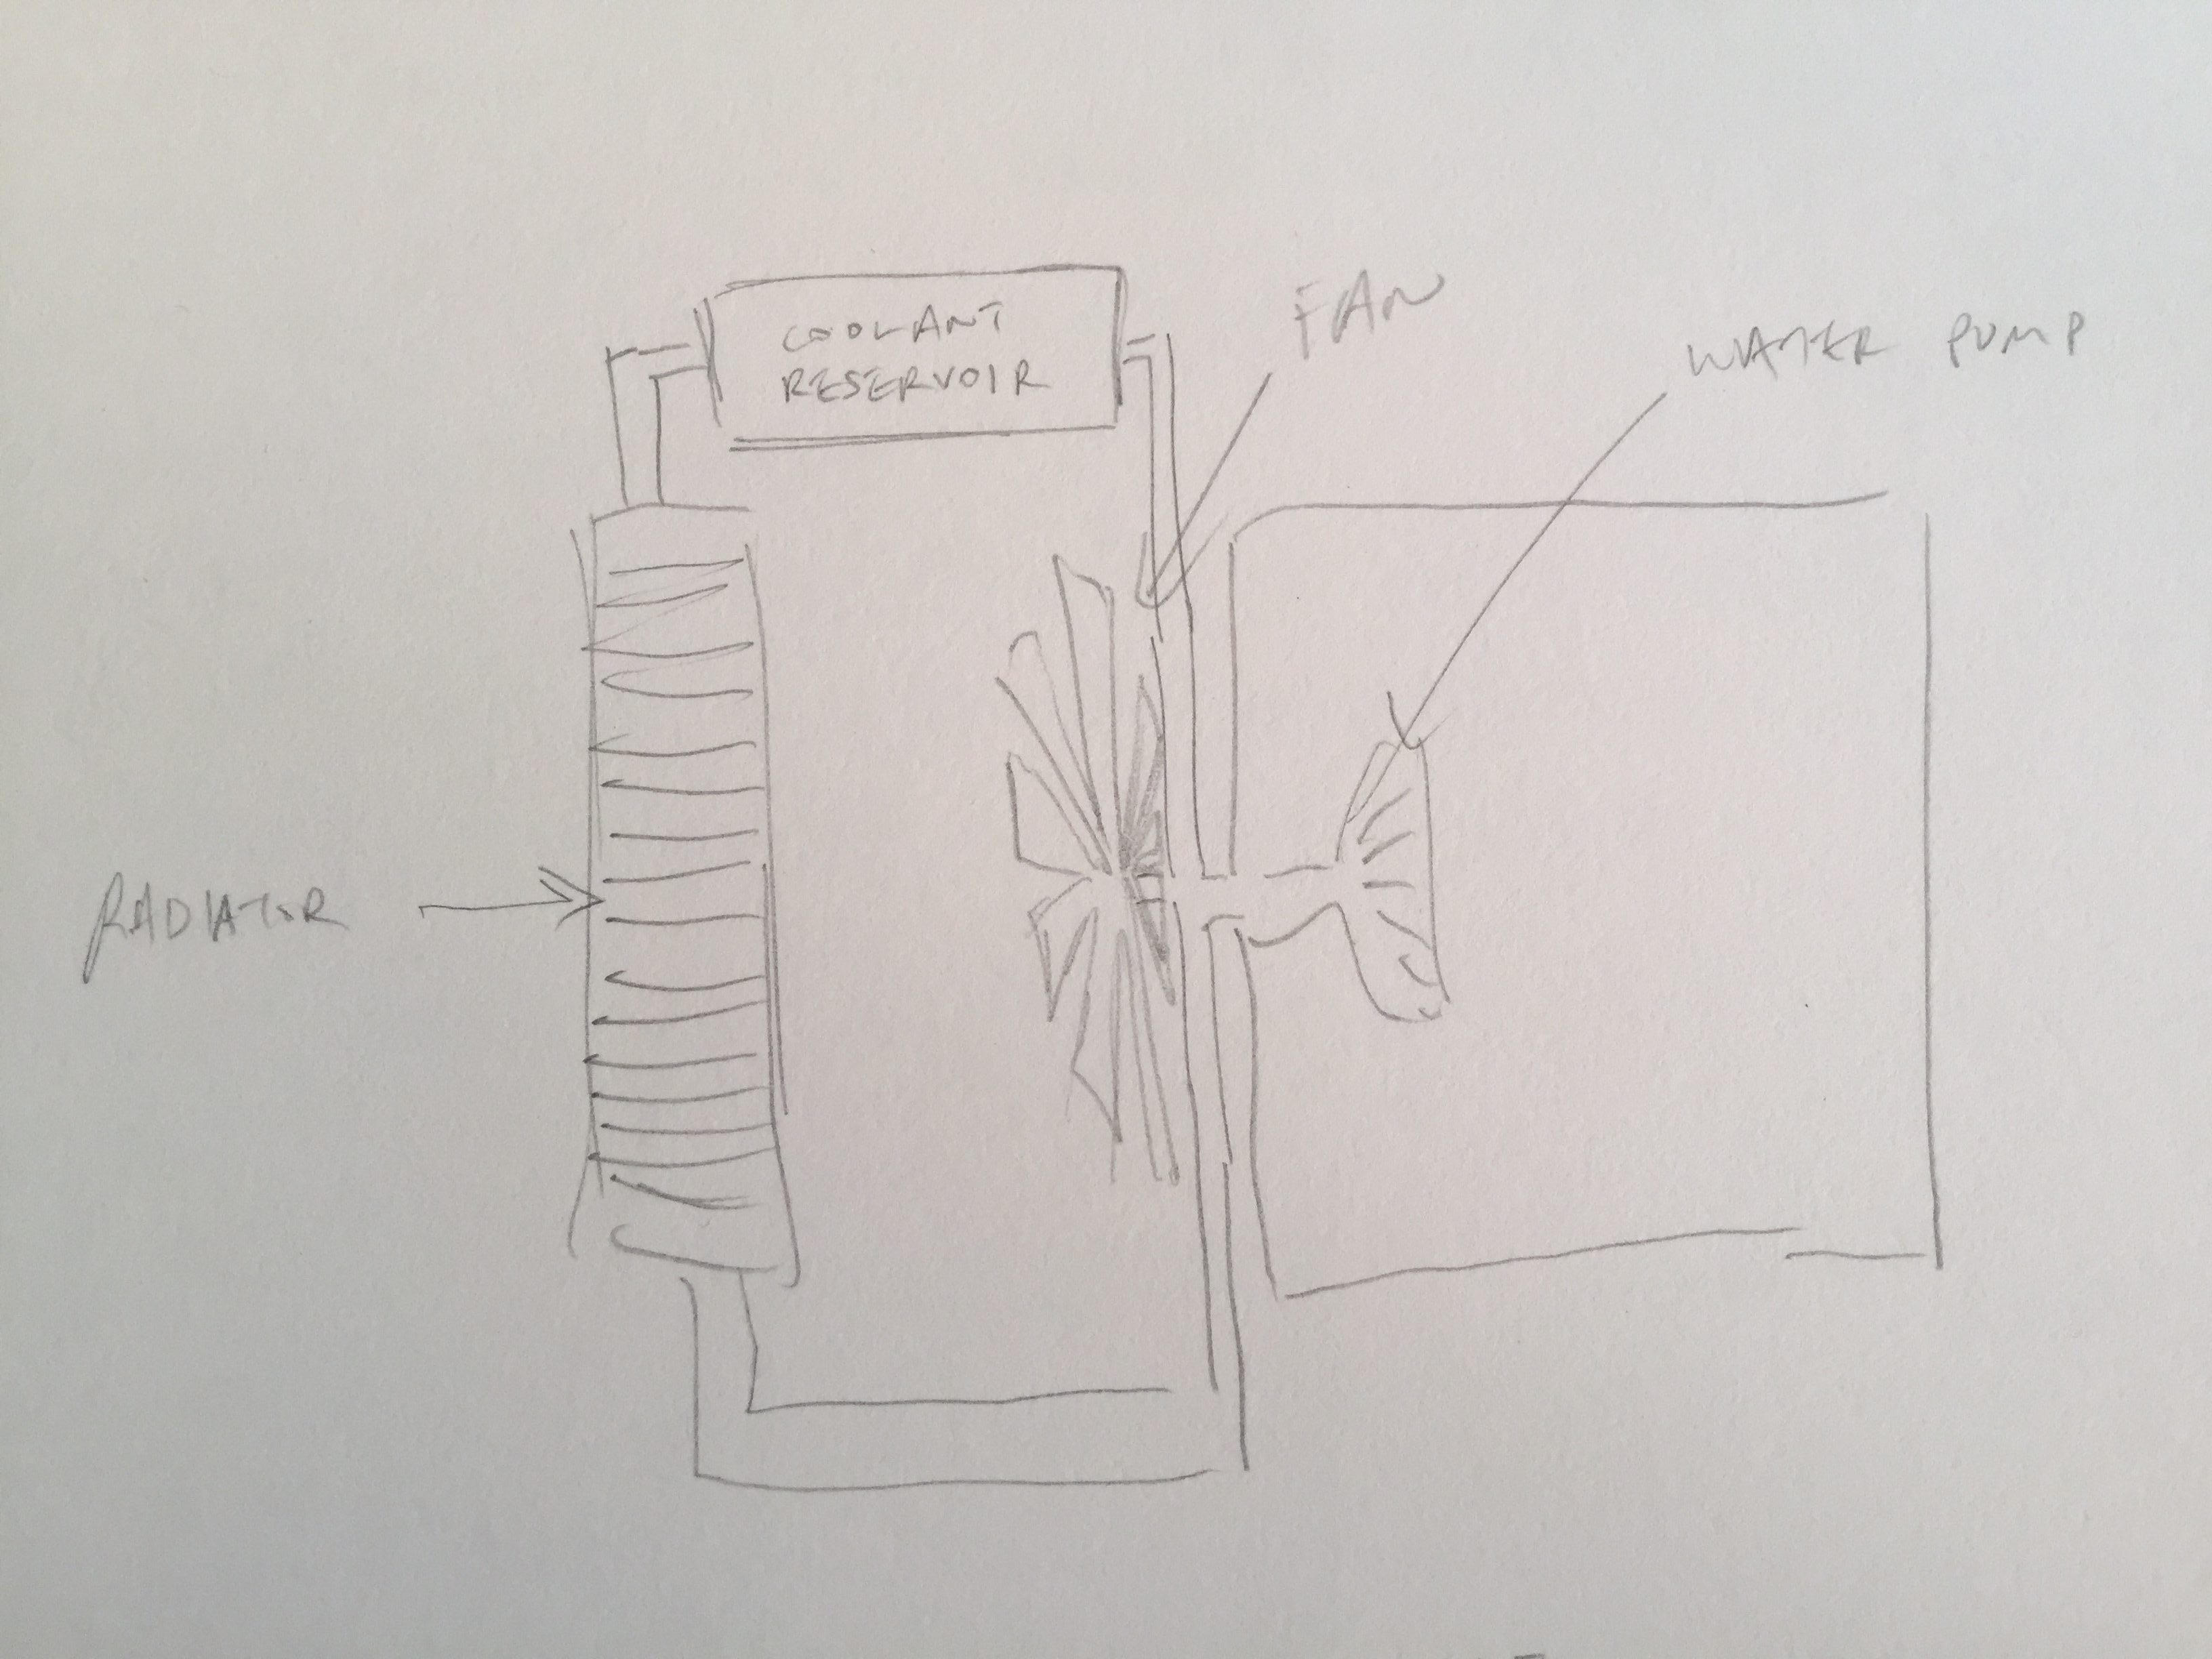
We also had to do research on bio radiators and I sketched out the main components of a bio radiator

I decided to use the water pump system and mimic the large surface area of the radiator by coiling wires and rubber tubing

Because of the properties of the washers, the vambrace is also collapsible.

The Final Work

References:

“Song Dynasty Commander Armor.” Digital image. Accessed November 21, 2018. https://i.pinimg.com/originals/f4/8c/b7/f48cb7937bf98dfea3bcf021b38892ae.jpg.

Digital image. Accessed November 21, 2018. https://www.setadirect.com/images/images_big/ mats/cm713.jpg.

“How a Radiator Works in Automobile.” Digital image. Accessed November 21, 2018. http://www.mechanicalbooster.com/ wp-content/uploads/2017/12/how-radiator-works.jpg.

DN1003 Foundation 3D Assignment 2A: Polyhedron Dreams

RESEARCH

Planes

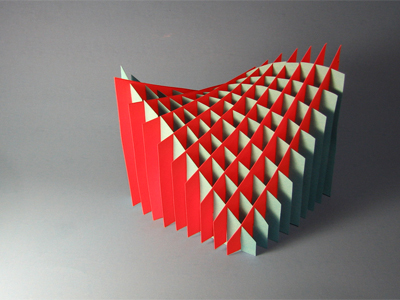
After knowing we had to use basic geometrical planes for the model, I tried searching for planar sculptures and found this interesting sliceform planar sculpture.

In class, we learnt that the planes don’t have to be flat. The sculptures made by Naum Gabo and Antoine Pevsner are some examples that consist of curved planes.

Lines + Planes

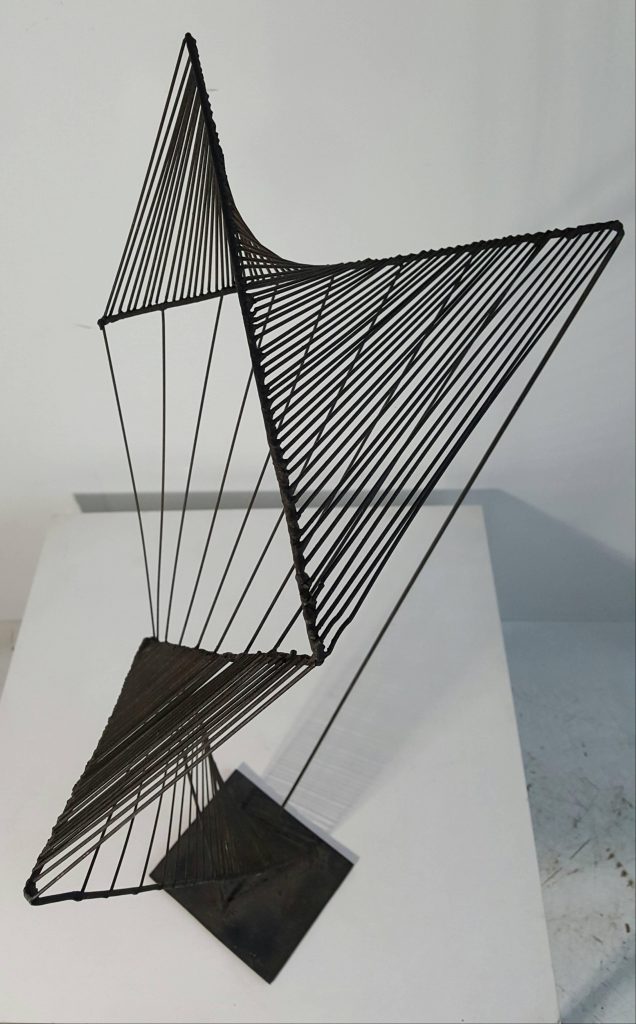
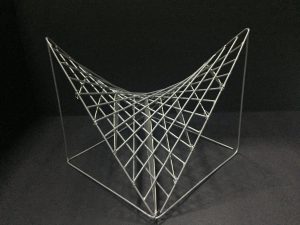
I thought that the idea of using straight lines to form a curve was interesting. There was a picture of a sculpture similar to this being shown in class but I couldn’t find a picture of that sculpture.

References:
https://sculpturecourse.files.wordpress.com/2011/11/v-sliceform-color1.jpg
https://i.pinimg.com/originals/15/97/95/159795ec2662ada1d8ad38e5ce9745e2.jpg
https://dg19s6hp6ufoh.cloudfront.net/pictures/613064517/large/The_Black_Lily_%28Spiral_Construction%29__1943_Bronze_by_Antoine_Pevsner.jpeg?1470823148
https://a.1stdibscdn.com/archivesE/upload/f_10624/f_59992931479599137307/20161119_124320_master.jpg


PROCESS

Planes

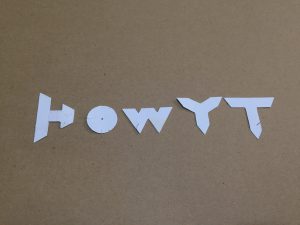
At first, I wanted to use the letters from my name to form the model.
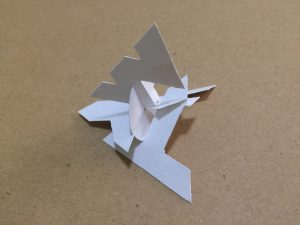
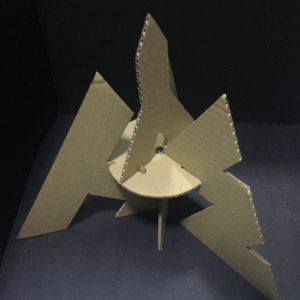
I made a small model using paper to see if it works, then I did a larger model with cardboard.
 

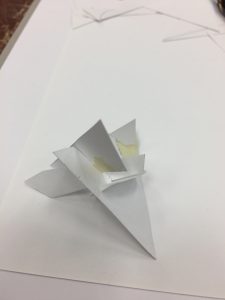
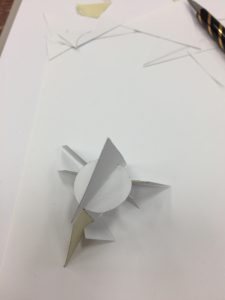
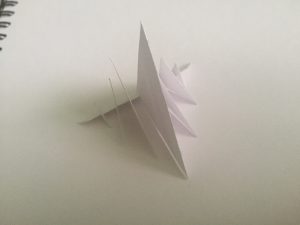
After I realised that we were suppose to use basic geometric shapes for the planes, I tried experimenting with the different shapes and arrangement using paper.

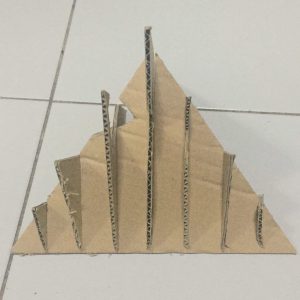
I wasn’t satisfied with what I made and since it wasn’t done with proper measurements, it would be difficult to replicate it with cardboard. After researching, I decide to make a sliceform model so I tried it using paper again.

The model ended up looking symmetrical and boring so I thought of making it look different from every side. I wanted it to show a square, circle and triangle on each side. It was difficult to do this with the small model so I made a larger one with cardboard.

As I had to make sure the model only took up the volume of the tetrahedron, I couldn’t really vary the shape of the model so I decided to cut up the shapes instead. I also tried to include a curved plane into my model.

Lines + Planes

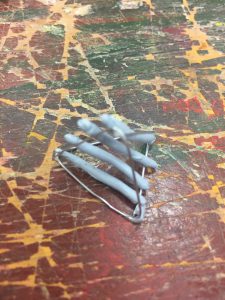
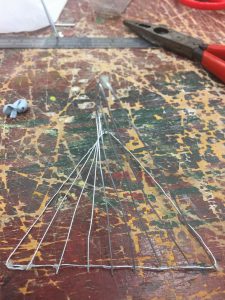
I tried to use blutack on a small wire model to figure out how to make the curve using straight lines as blutack can stick on to the wire without glue. When it worked, I did it with wires on a slightly larger wire model.

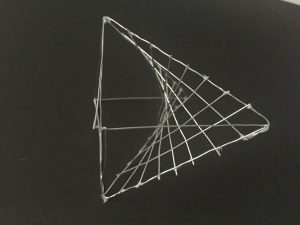
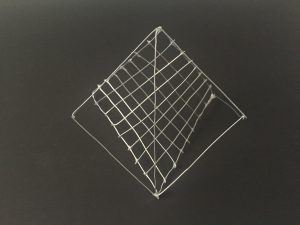
I wanted to use the idea of making the model look like a square, circle and triangle on each side since I could break free from the tetrahedron structure for this model. I found out that a tetrahedron can fit into a cube and decided to work on that idea and extend the tetrahedron.

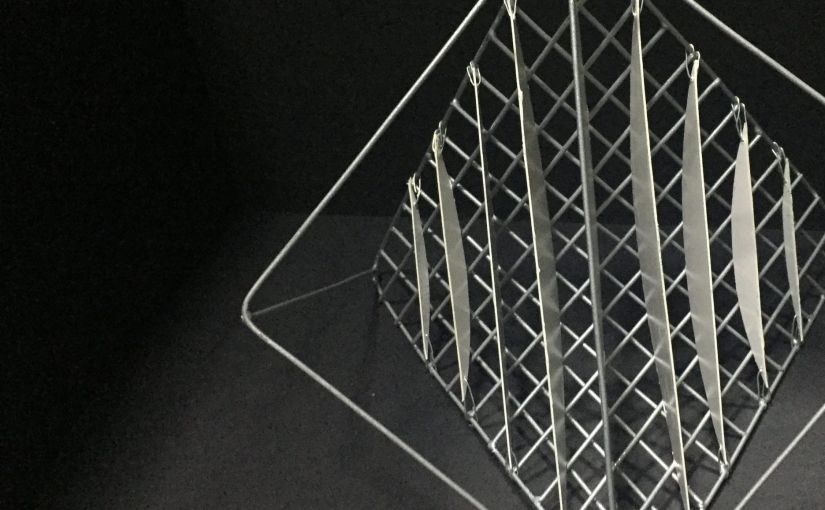
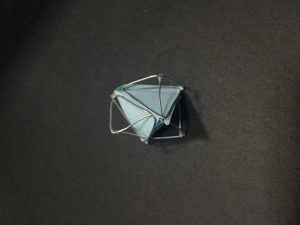
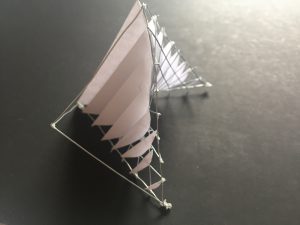
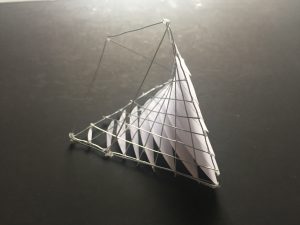
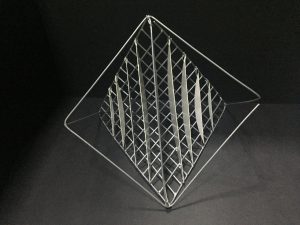
I liked how it looked so I decided to make a larger wire model and soldered to wires together. Then, I realised that there weren’t any planes so I added so planes that were similar to that of my sliceform model but tried it on the smaller model first. I found that it kind of puts emphasis on the curve made by the straight lines. I tried putting the planes on the outside and inside of the model but it didn’t look as interesting when the planes were outside.

As I felt that there wasn’t a disintegration, I tried making smaller models to add on to the larger models but they didn’t seem to fit and looked like there was too much going on.

In the end, I just left it as it was and didn’t add the smaller models.


FINAL

Planes


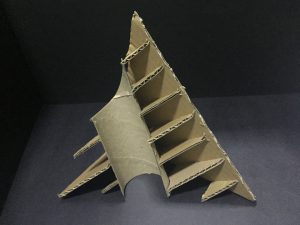
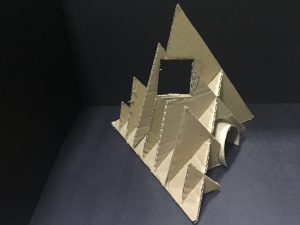
The final model is a sliceform model of a tetrahedron with cutouts that form a square and a circle. It also includes a curved plane.

Lines + Planes


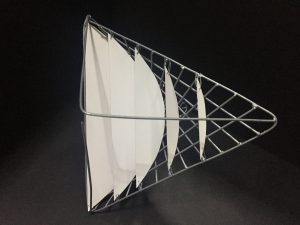
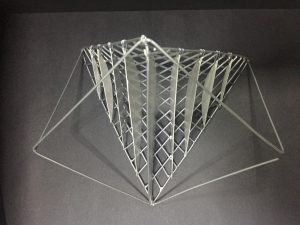
The final model looks different from every angle and still uses the idea of the sliceform from the planar model. It is breaking away from the tetrahedron structure.