Foundation 2D – Today, we brought our mark-making tools that we prepared to class. I wasn’t too sure what to prepare, so here’s what I brought:
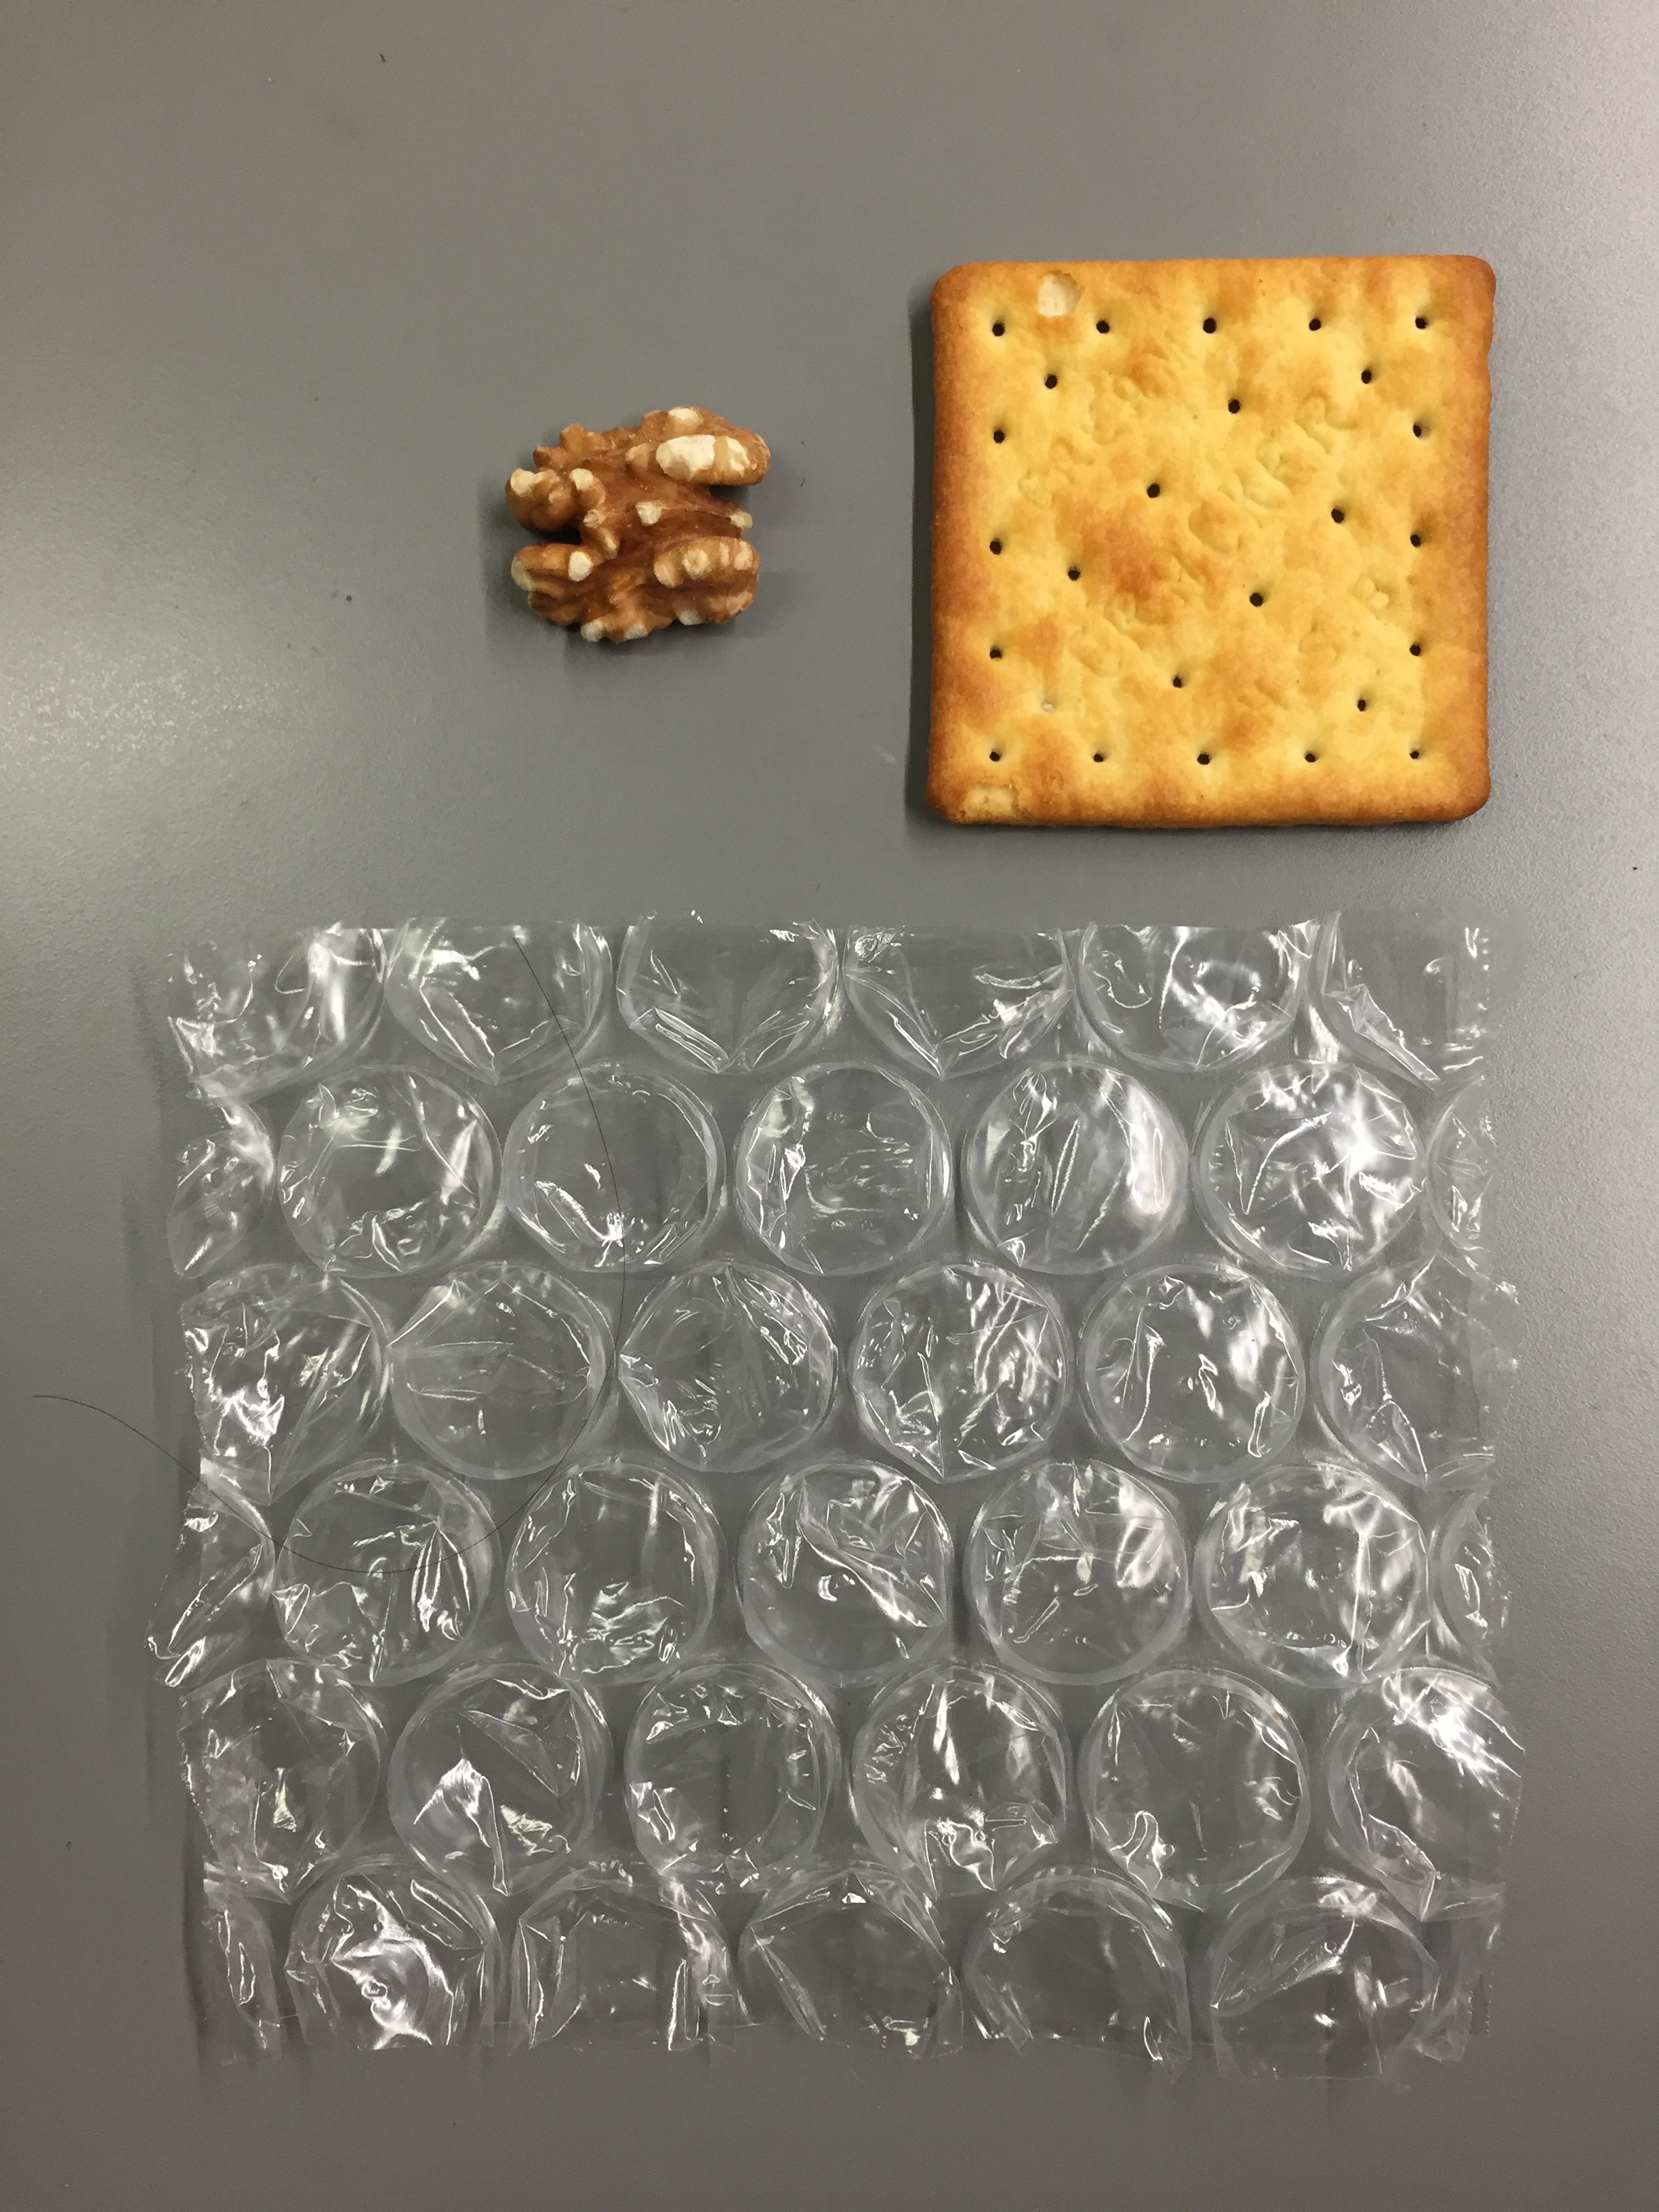
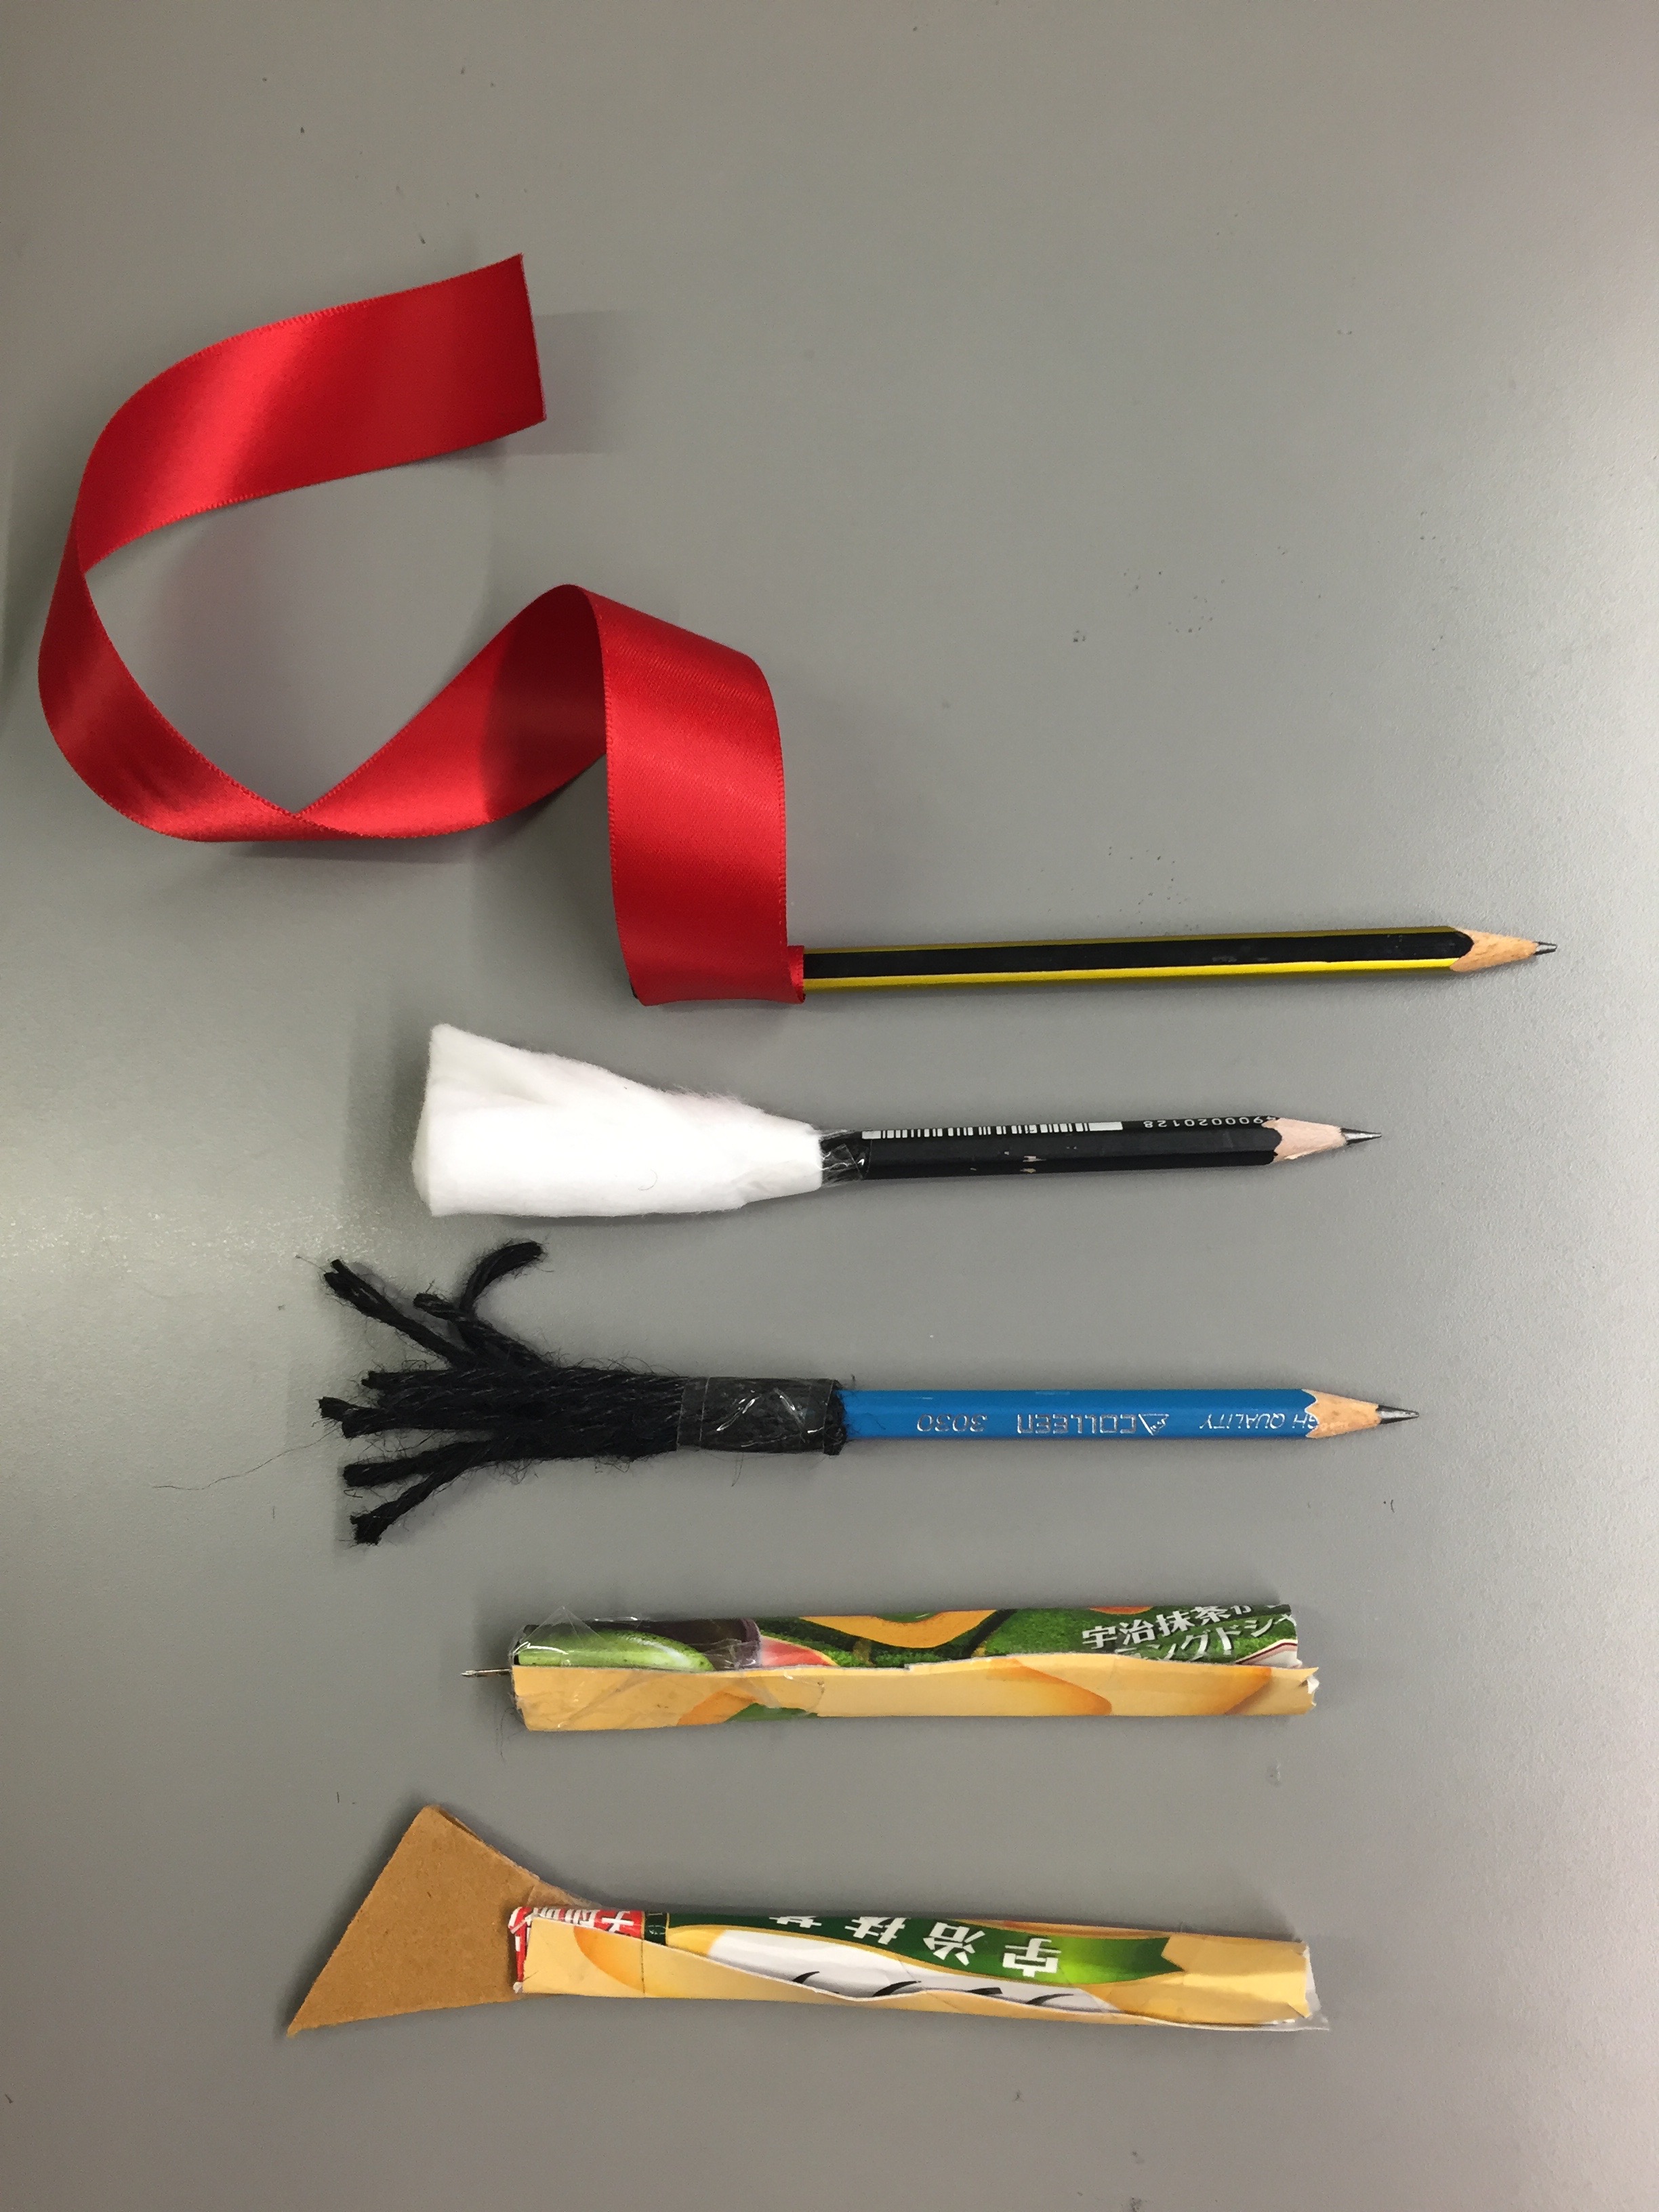
Picture 1: a cream cracker, the most perfect walnut in my entire walnut stash, bubble-wrapPicture 1: From left to right: ribbon, cotton, synthetic rope, thumbtack, cardboard
I wasn’t too sure what to expect, but class did not disappoint: automatic drawing!
Expressionistic gestures come quite naturally for me. Of course, given that it’s difficult to apply formalistic language to expressionistic works, it’s difficult for me to benchmark myself and compare one gesture to another. Someone wise once said that we are our own worst critic, something that is particularly true to me as I hold myself to high expectations. It’s quite liberating to turn off the critical voice in my head, just create and enjoy the process.
Below are the things that I did during class today. I hope that you enjoy it as much as I did!
First venture: exploring with the brayerMore with Brayer, looks a bit like wavesMarks made with Brayer – if drawn right, you get this calligraphic effect…Marks made with Brayer: love the dry paint effectMarks made by splashing wet hands – action painting?Marks made with nettingMarks made with leafMarks made with tissue paperClose-up of marks made with folded paperMarks made with folded paperMarks made with crumpled newsprintMarks made with crumpled newsprintMarks made with foam squareMarks made with long, dried leavesMarks made with long, dried leavesMarks made with hands
Interesting tool made by Yu Qing!Marks made with ribbon
Marks made with cotton woolMarks made with cotton woolMarks made with ribbon – always did love the effectMarks made with bubble-wrap, my favourite out of everything so far!Marks made with cotton budMarks made with… oh my, I can’t quite rememberMarks made with Cream Cracker – accidentally crushed it in the process, oops!Marks made with Walnut – Walnut printMarks made with BrayerMarks made with BrayerMarks made with fork
The print that I made! I just wanted to try out because I’ve never made cuts in linoleum before, so I went with a simple design that made use of the properties of the tool I had in hand… Turned out quite well!The class was buzzing!
And at the end…
In Junior CollegeNow!
Despite everything, it’s still me.
It was really fun, looking forward to the next 2D lesson! See y’all soon!


Thanks Natasha. Your experimentations with the tools, especially the brayer, have revealed really cool outcomes!