
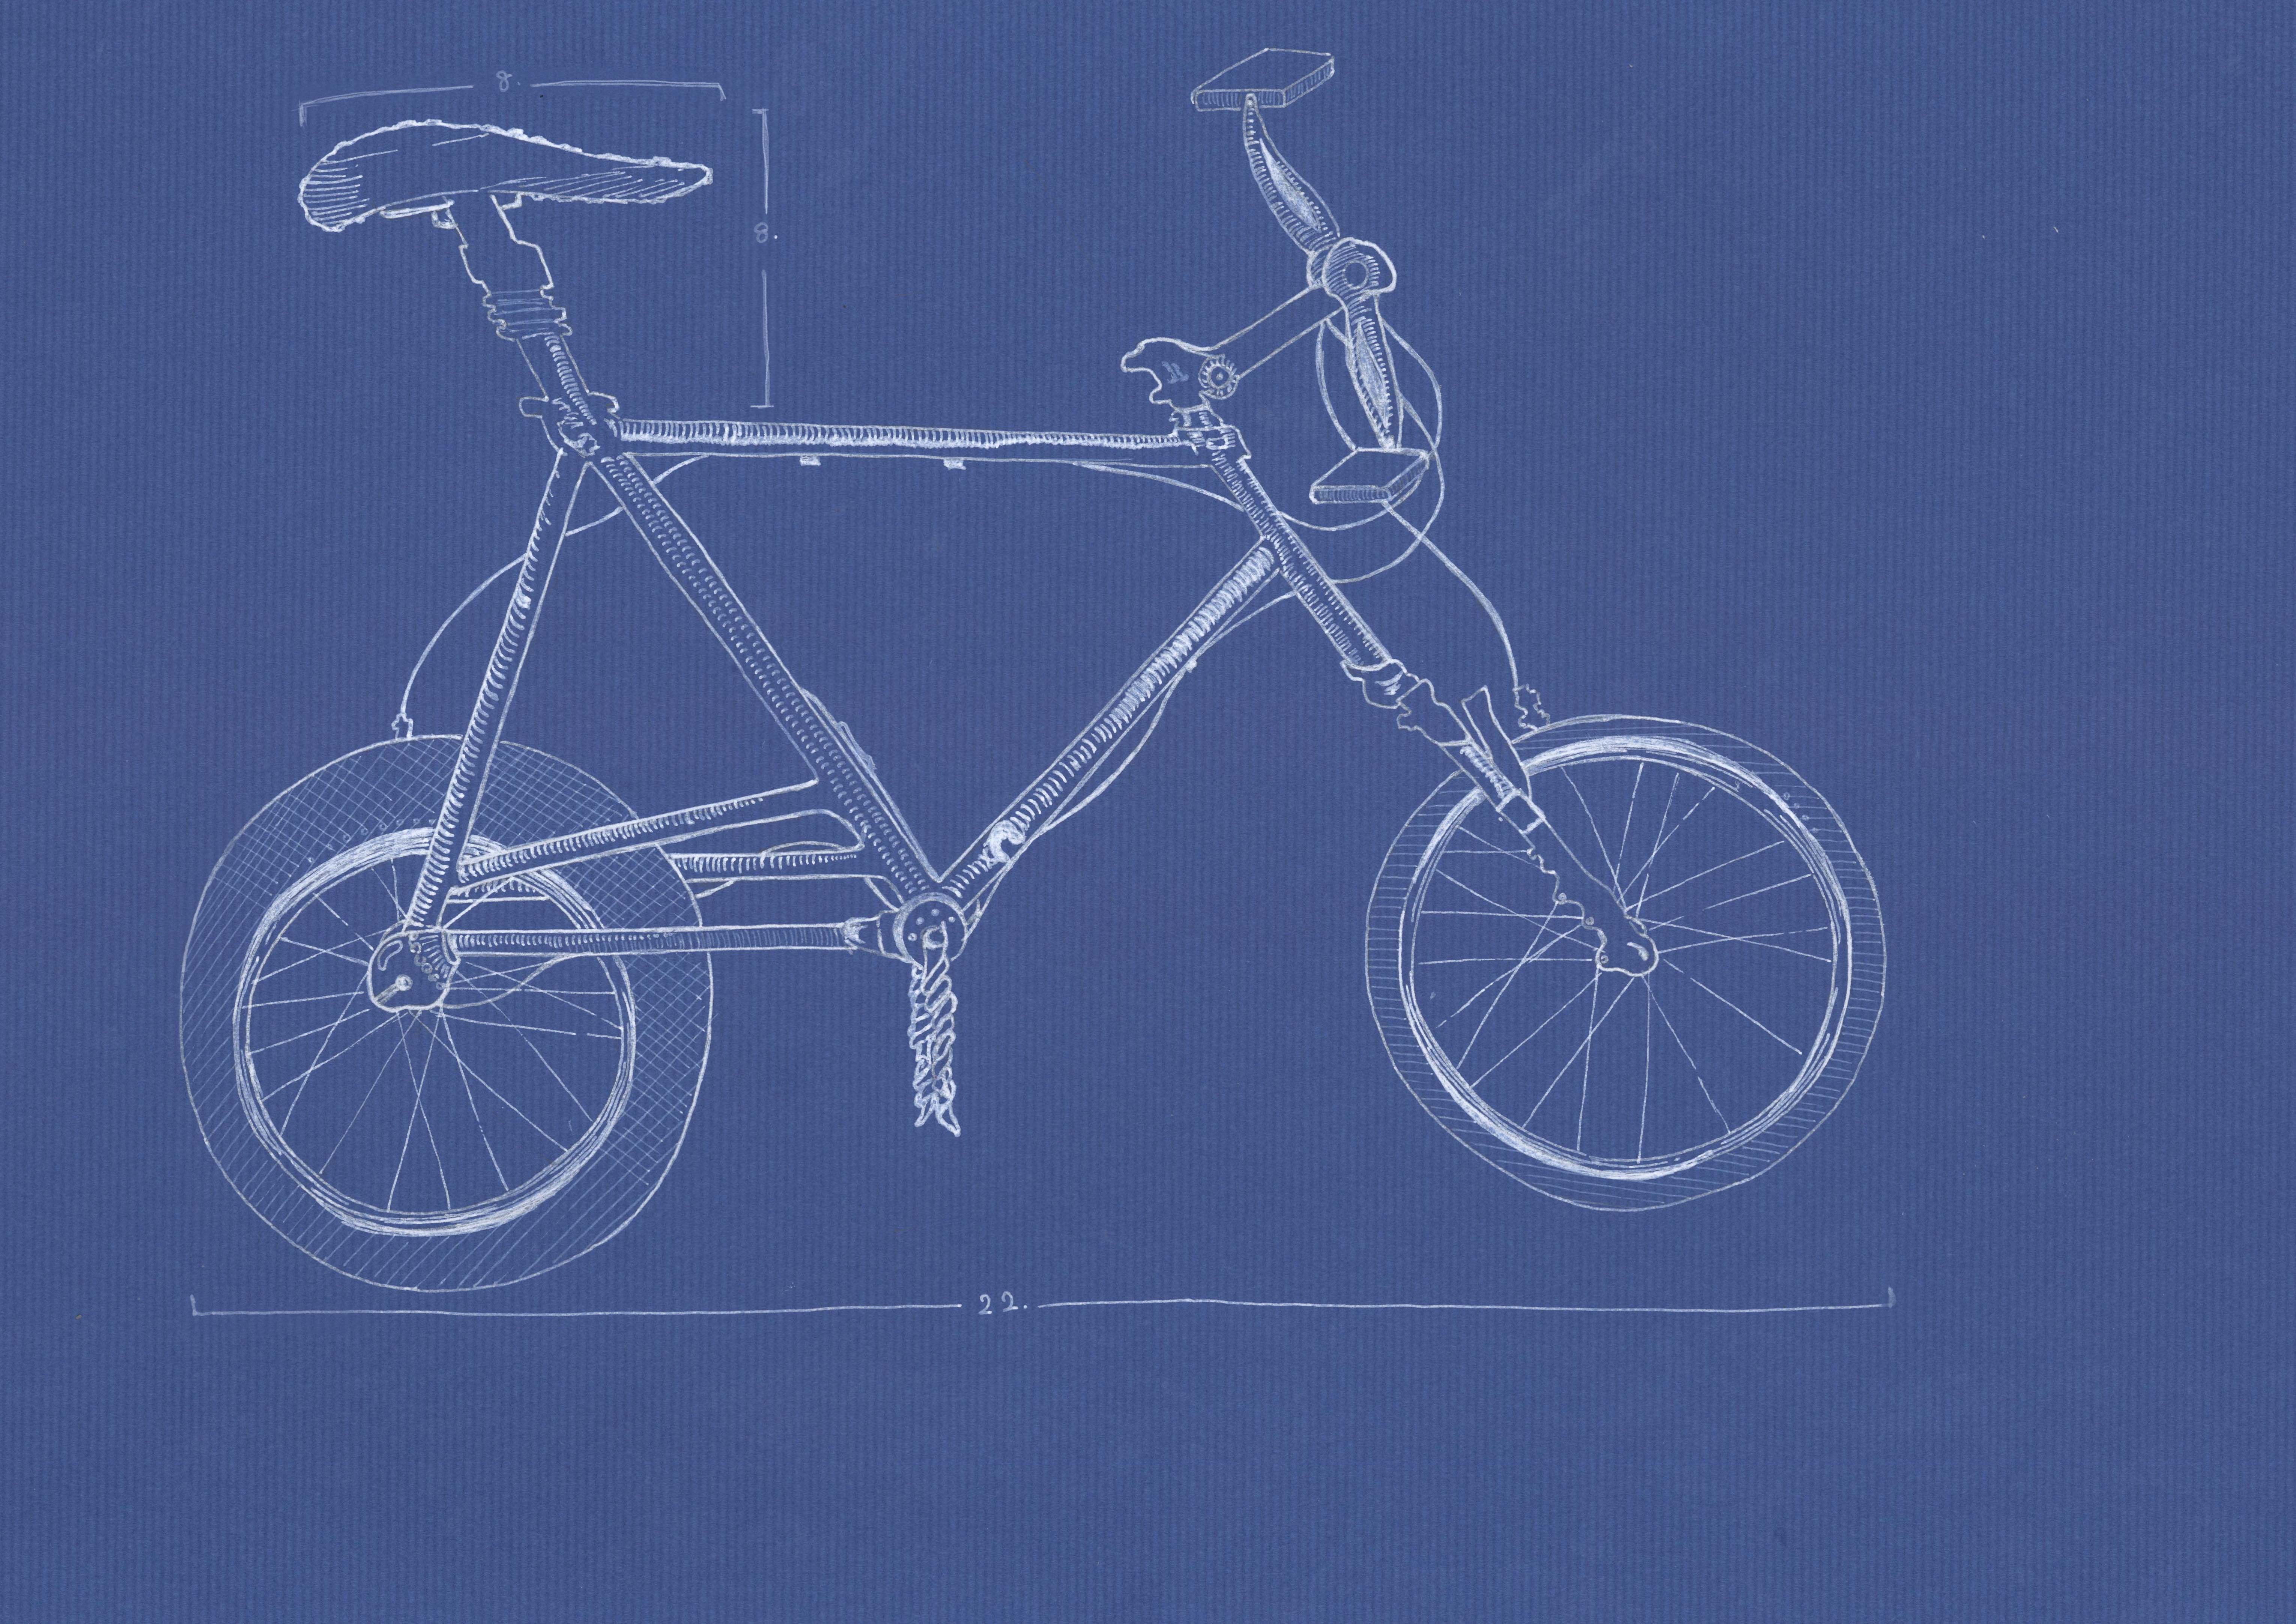
After researching and drafting, I then move on to draw out the products on an a3 size blue paper. To me, drawing big allows more space for details. Click on the images below for a more detailed view.


Although the stapler is one of the first few designs I drew, I did not include it in the final art piece as the product itself does not fit the idea of transport device and excitement. Furthermore, the concept I wanted to bring across was not distinct enough in this product. I was really sad to give up on this drawing…. 🙁


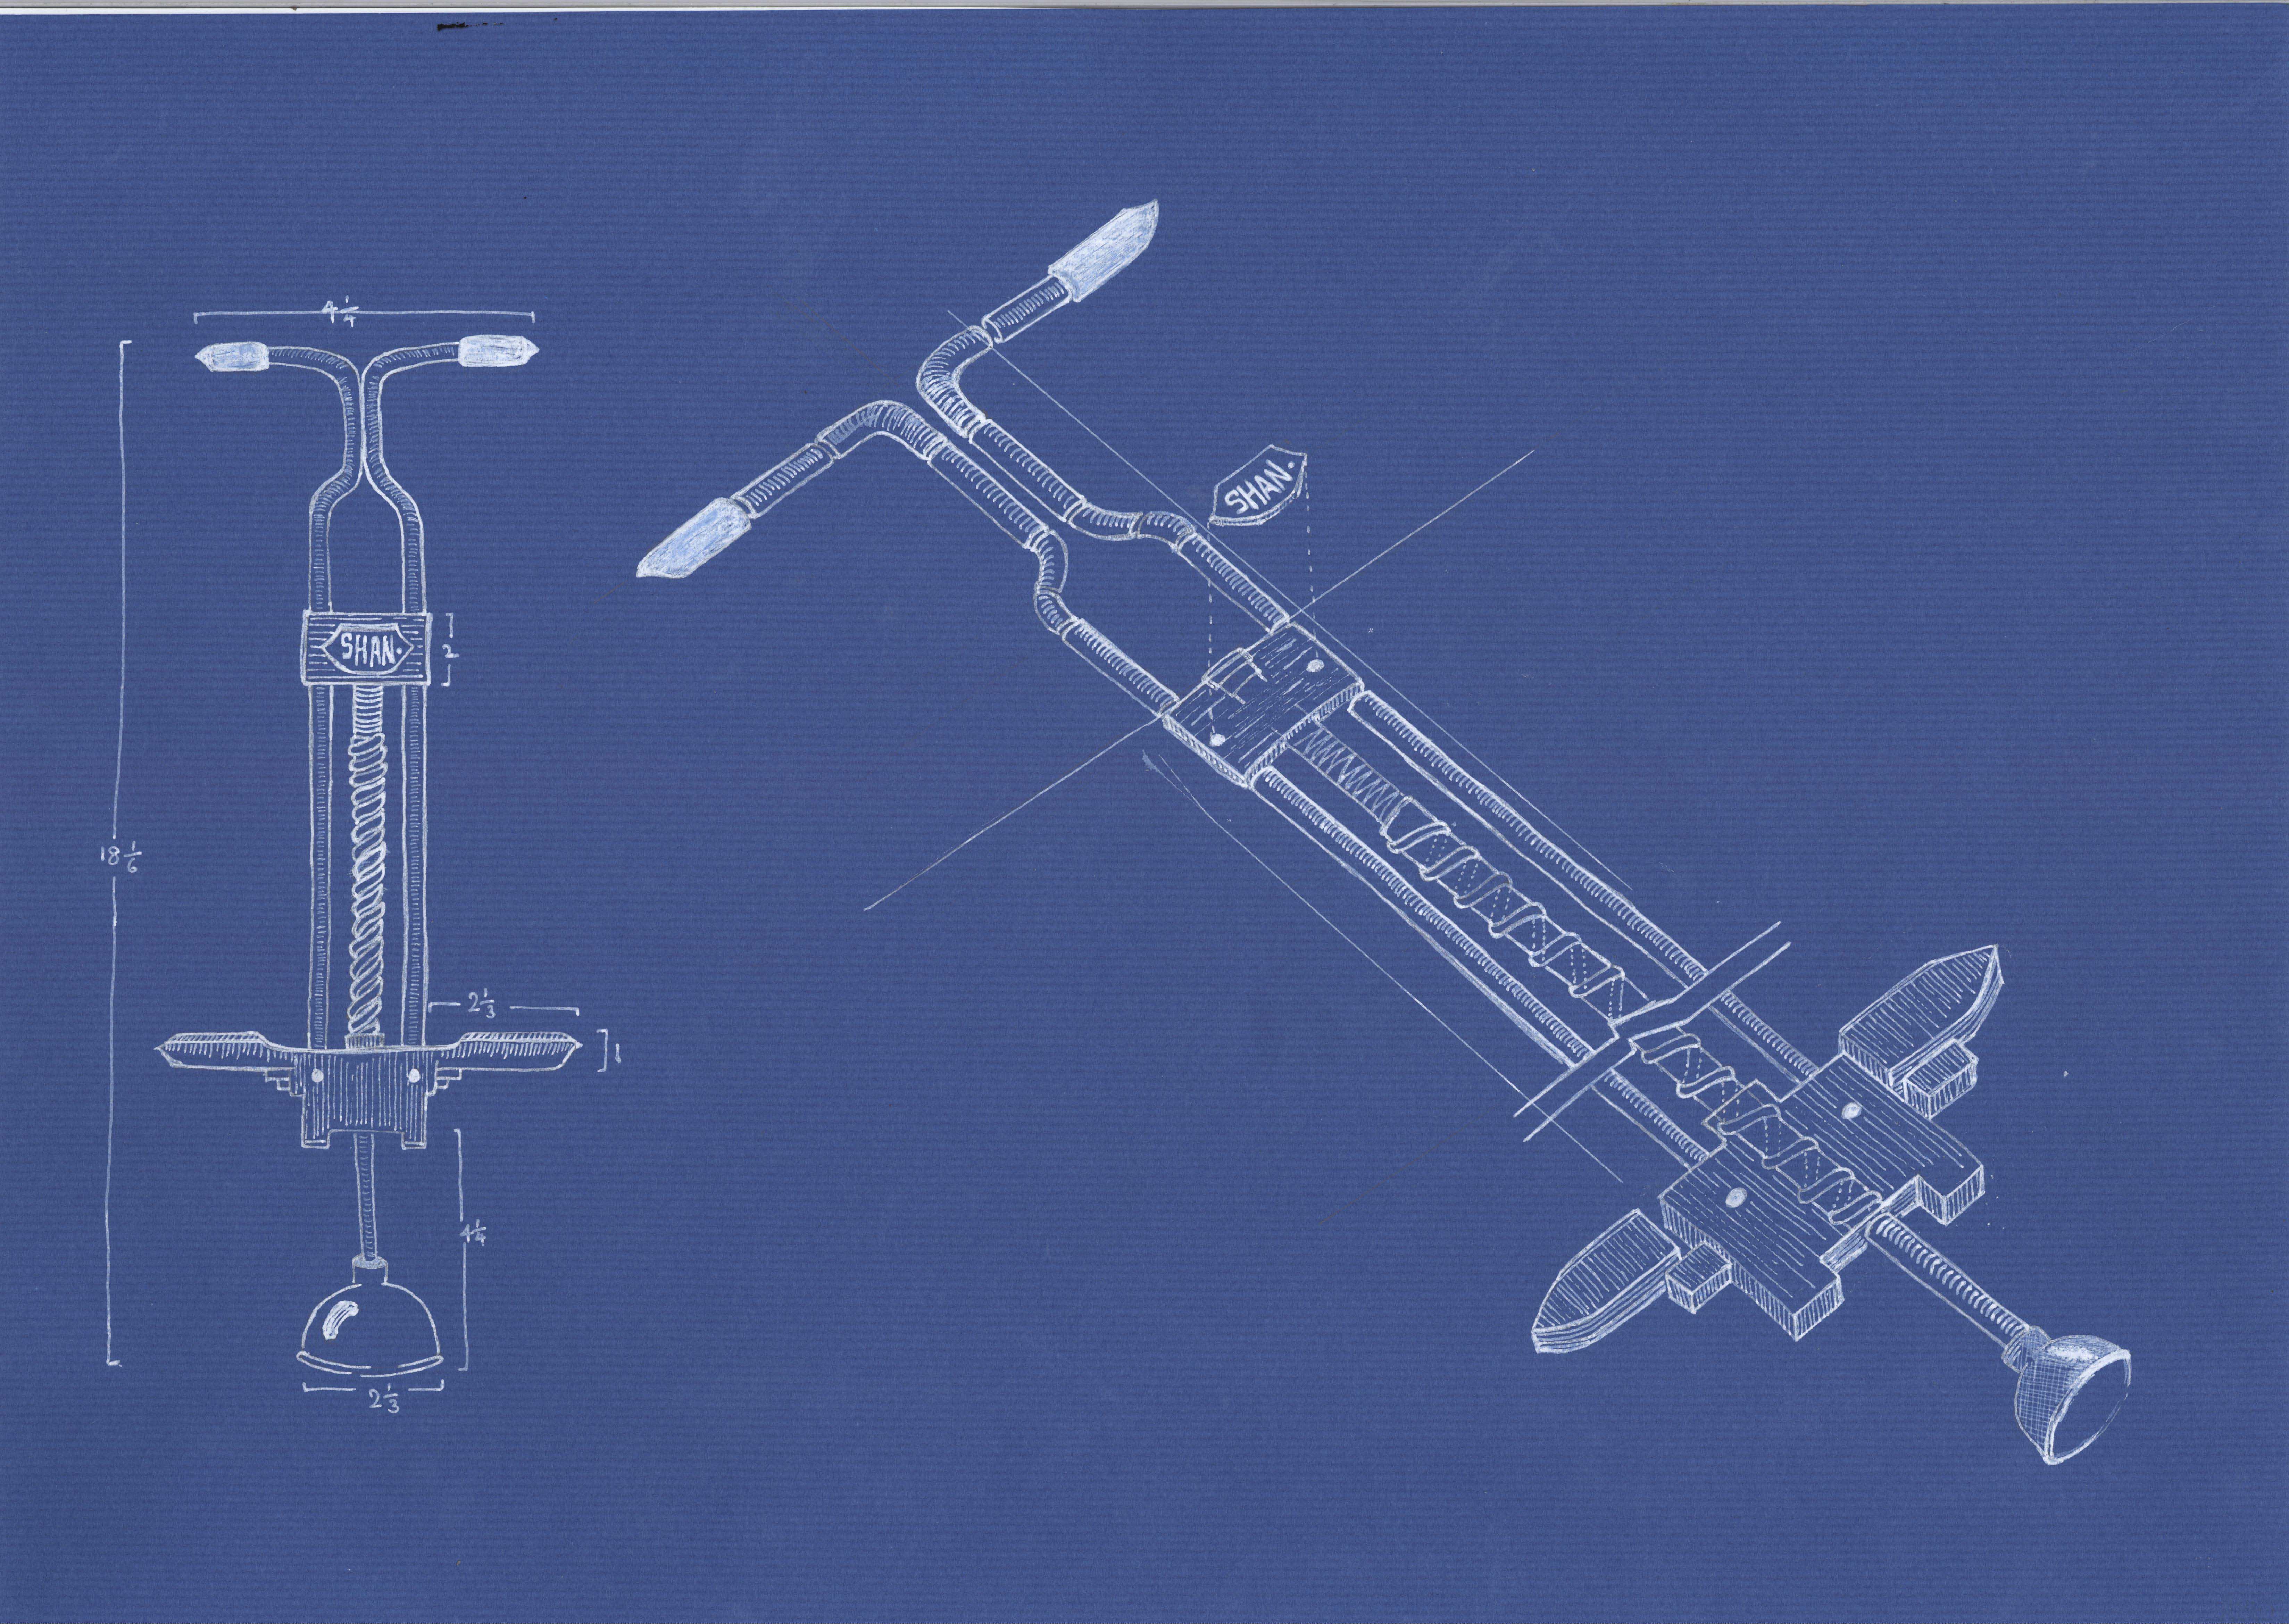
After drawing and scanning in the drawings, I went on to edit the drawings digitally and add in the typography. I wanted the overall design to look like a clean and professional blueprint and hence I chose to use 2 types of simple font: Myriad Pro and SquareFont. The SquareFont helps to give the blueprint a technical look.


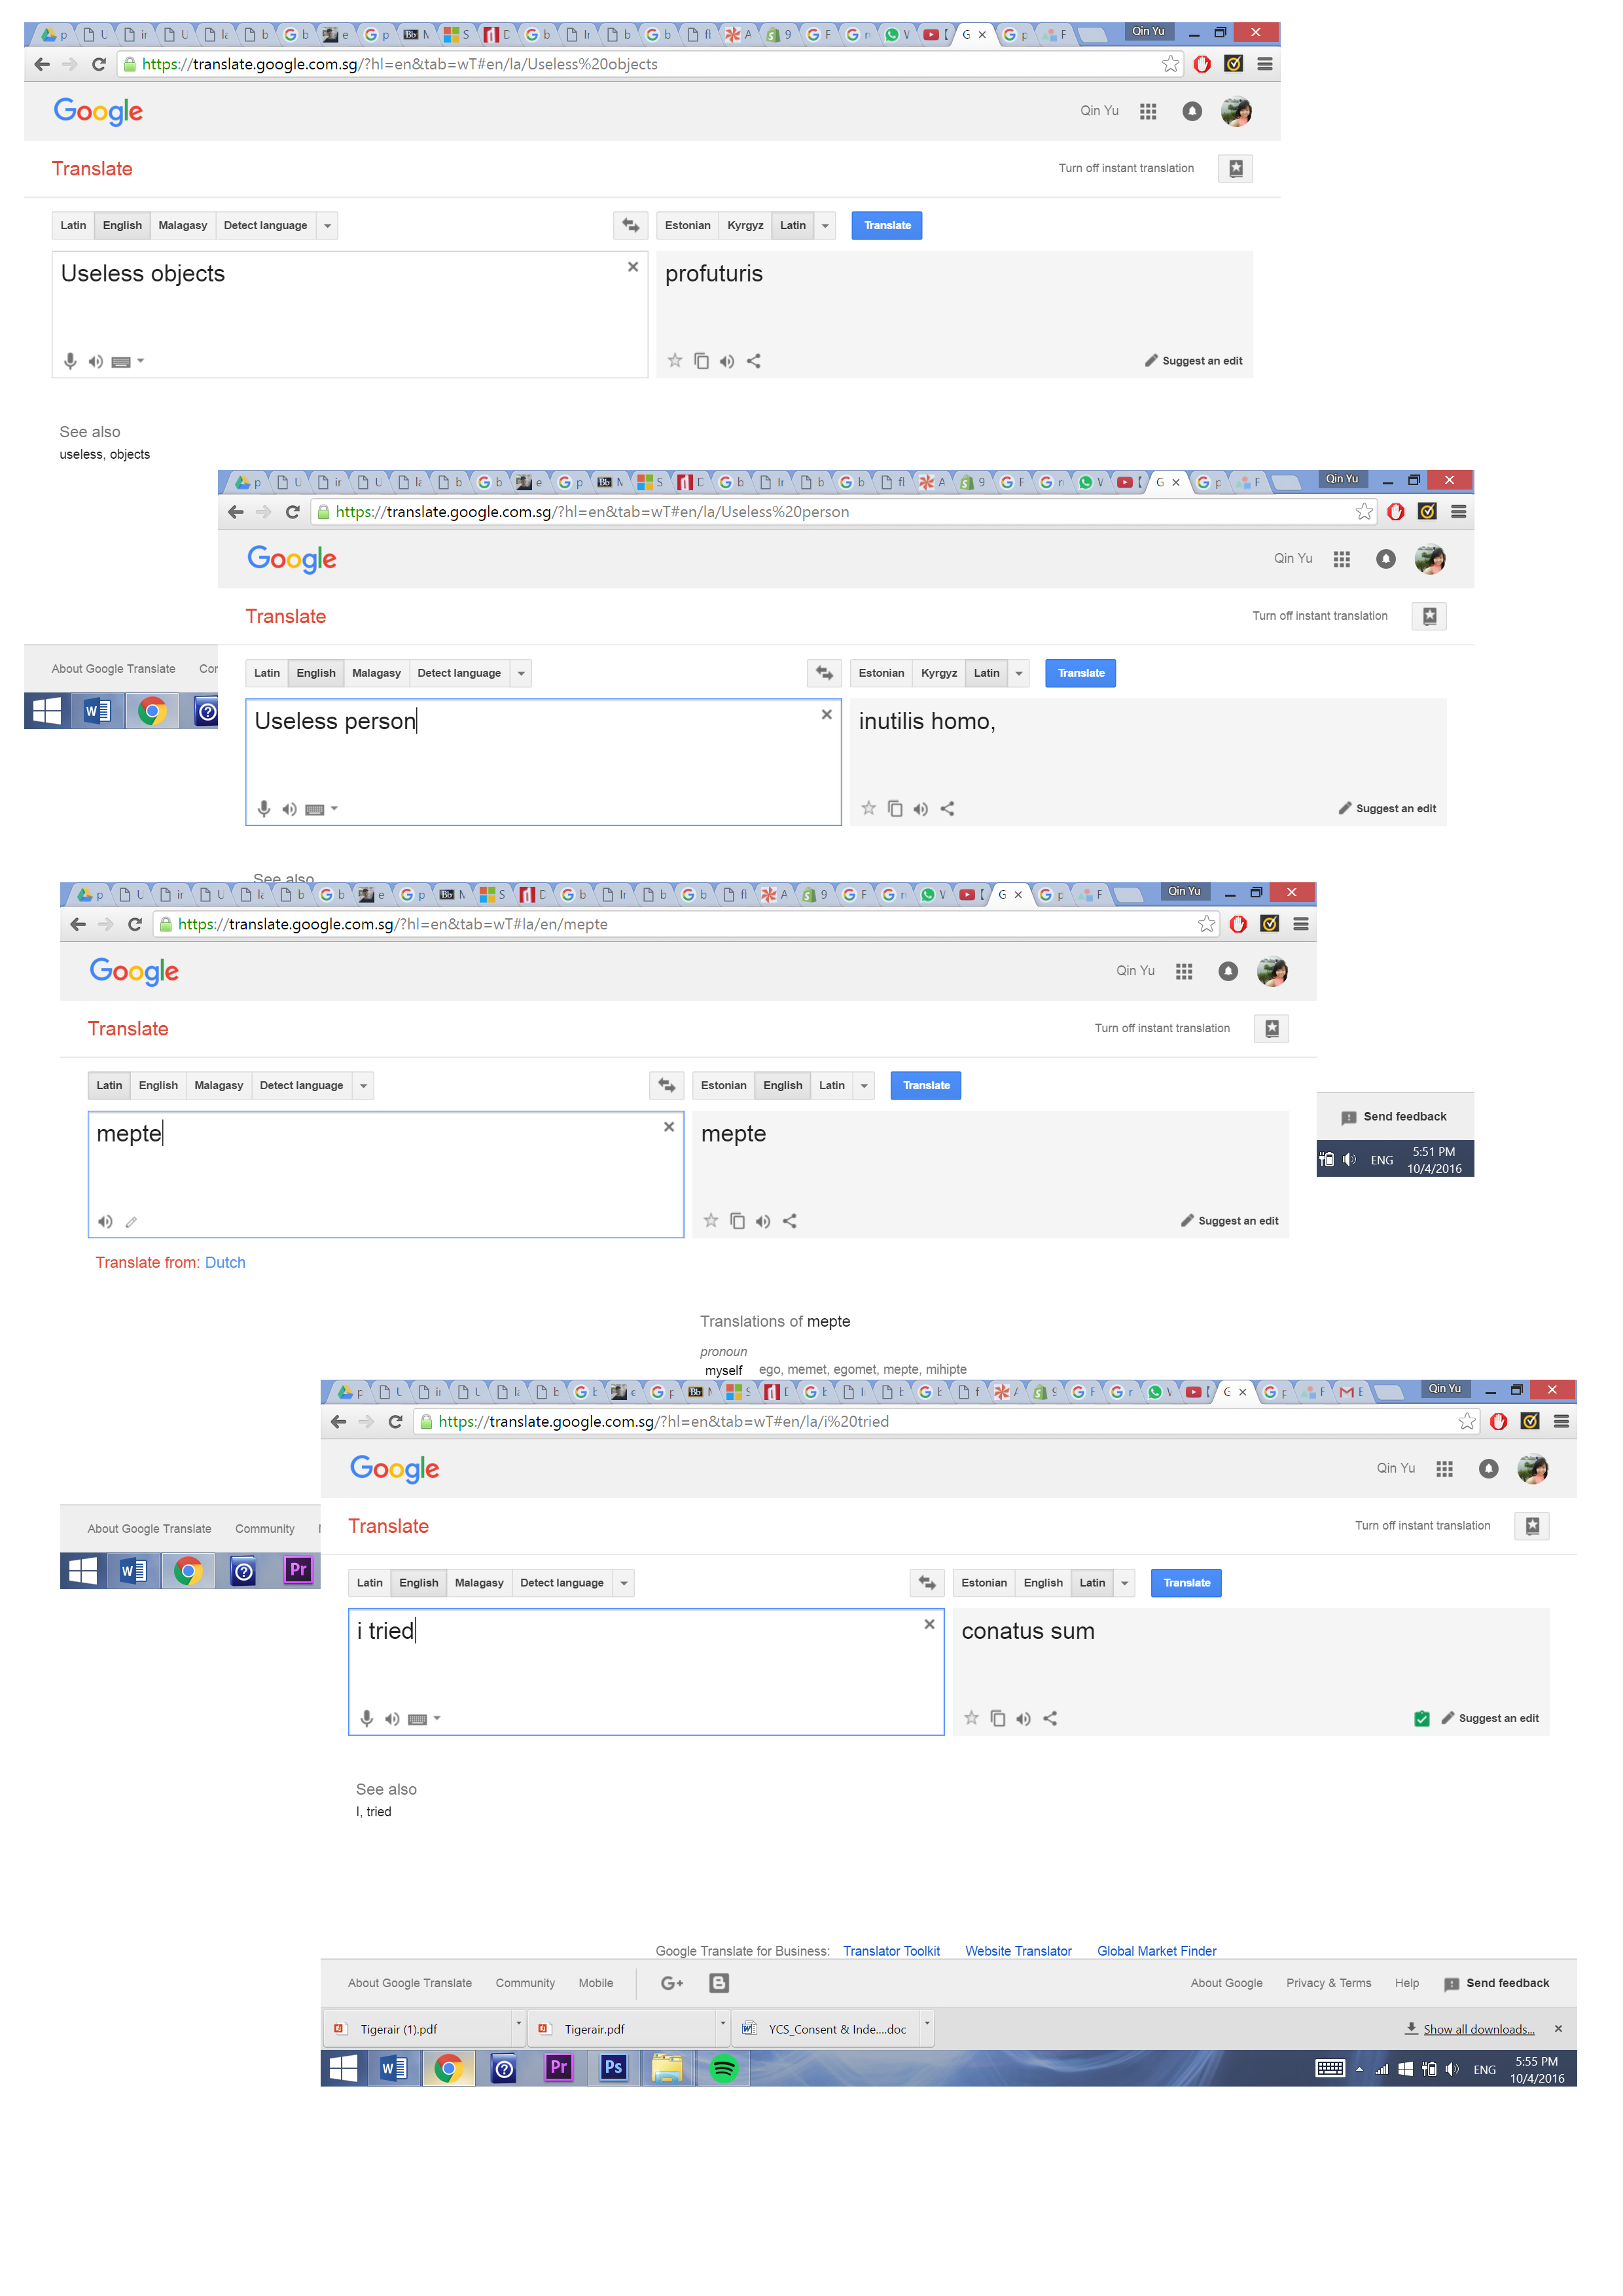
Fun fact! The names of the owners are all in latin!
Here’s a translation:
After designing how the blueprint looks like, I went on to create the write-up for the 3 products. This, to me, is the most challenging but fun part, because I had to make it sound funny but at the same time, professional. I did some research as well, on how to write a professional product description and learnt that I should think about the client’s benefits as I write. Hence, with some help from google and my friends, I came up with these 3 write-ups. XD
Feel free to click on the images to have a clearer view!


