In this Final Assignment, we were tasked to create art based on social issues.
RESEARCH
I brainstormed a few ideas and consulted with Harry.
Here are some of my ideas:
Issue 1. Mental health and social construct
Idea 1:
Interview victims in crime-doer-like fashion where their identity is not revealed to show that people view those with mental illness with such a weird notion and treat them differently.
Idea 2: Set up a situation, put up photos and let classmates decide who they would hire just based on what they see and hear. (Photos and audio recording of interview). Then once they have chosen
Then, take a survey with classmates asking them if they would hire people with mental illness if they had their own firms.
Reveal those who had mental illness and perhaps a recording to summarise.
Idea 3: Photography
Photo series/manipulation: How it feels like to be depressed?
Drowning in the water, Blurry effect
Issue 2: Racism/Social inclusion/Ignorance
Idea 1: Social experiment:
Get a group of people from different races to sit together and write down on a piece of paper what racist comments have they heard that was passed to them.
Pair them up (different races, preferably minority + majority?)
Get them to exchange the papers and read to each other the comments on the paper.
Idea 2: Draw lines and get people to stand on one line each.
Ask a series of questions and those who experience it step back and those who don’t step forward.
At the end of it, see who is the most front.
Interview participants?
Idea 3: Are we subconsciously racist?
Questions:
– Where do you live?
– What kind of house do you live in?
– What is your or your parents’ bracket income?
– What’s your highest qualification?
– What is your ambition?
Get people of different races to ask each other questions but have them facing the back from each other. Then get them to write down the race they think the other person is.
They can only answer with one word (to reduce accent detection)
Issue 3: Mixed Marriages
Photography:
People from completely different ethnic backgrounds, taking a photo. they will be in colour the people at the back
Photo light turn on then people at the back is shown. Crowd of people.
Eg. Auntie holding money, Lady holding papers (financial documentation),
Lightbox with cutouts of the above
LED LIGHTBOX
Issue 4: Sexual Harassment on internet
Idea 1: Having the sexual harassment the man did to come back to his daughter
Features real life text messages/DMs/PMs from girls who were sexually harassed online
a guy, two girls and a child
Black background – Girl and guy facing each other’s back, texting, text appear on screen of the guy harassing the girl with dirty texts.
Camera moves over and follows the guy where he carries a little girl, puts her down and the little girl runs and camera pans together with her, transitioned into an adult woman, being sexually harassed
_____________________________________________________________________
This was the outcome of the discussion I had with my lecturer, Harry, during consultation:
Idea: getting people to make choices of outfits or what wedding they want like christian and muslim , eg different background
or
a card game: stack of cards have different race, different gender : Wedding planner
PROCESS & REALISATION
However, after consultation, I realised that I was reading and thinking too much into the issue. I decided to scrap all of the ideas above and start a new.
I started with picking an issue that was most relatable to me which was Depression and Social Construct.
I started listing out the reasons as to why there is such a negative social construct regarding people with mental health problems, specifically depression.
People tend to disregard this problem as something that doesn’t exist or something secondary. It is viewed very lightly.
Next, I decided the medium into which I wanted to portray this issue. I narrowed it down to either Video Art or Performance Art.
Video Art Version:
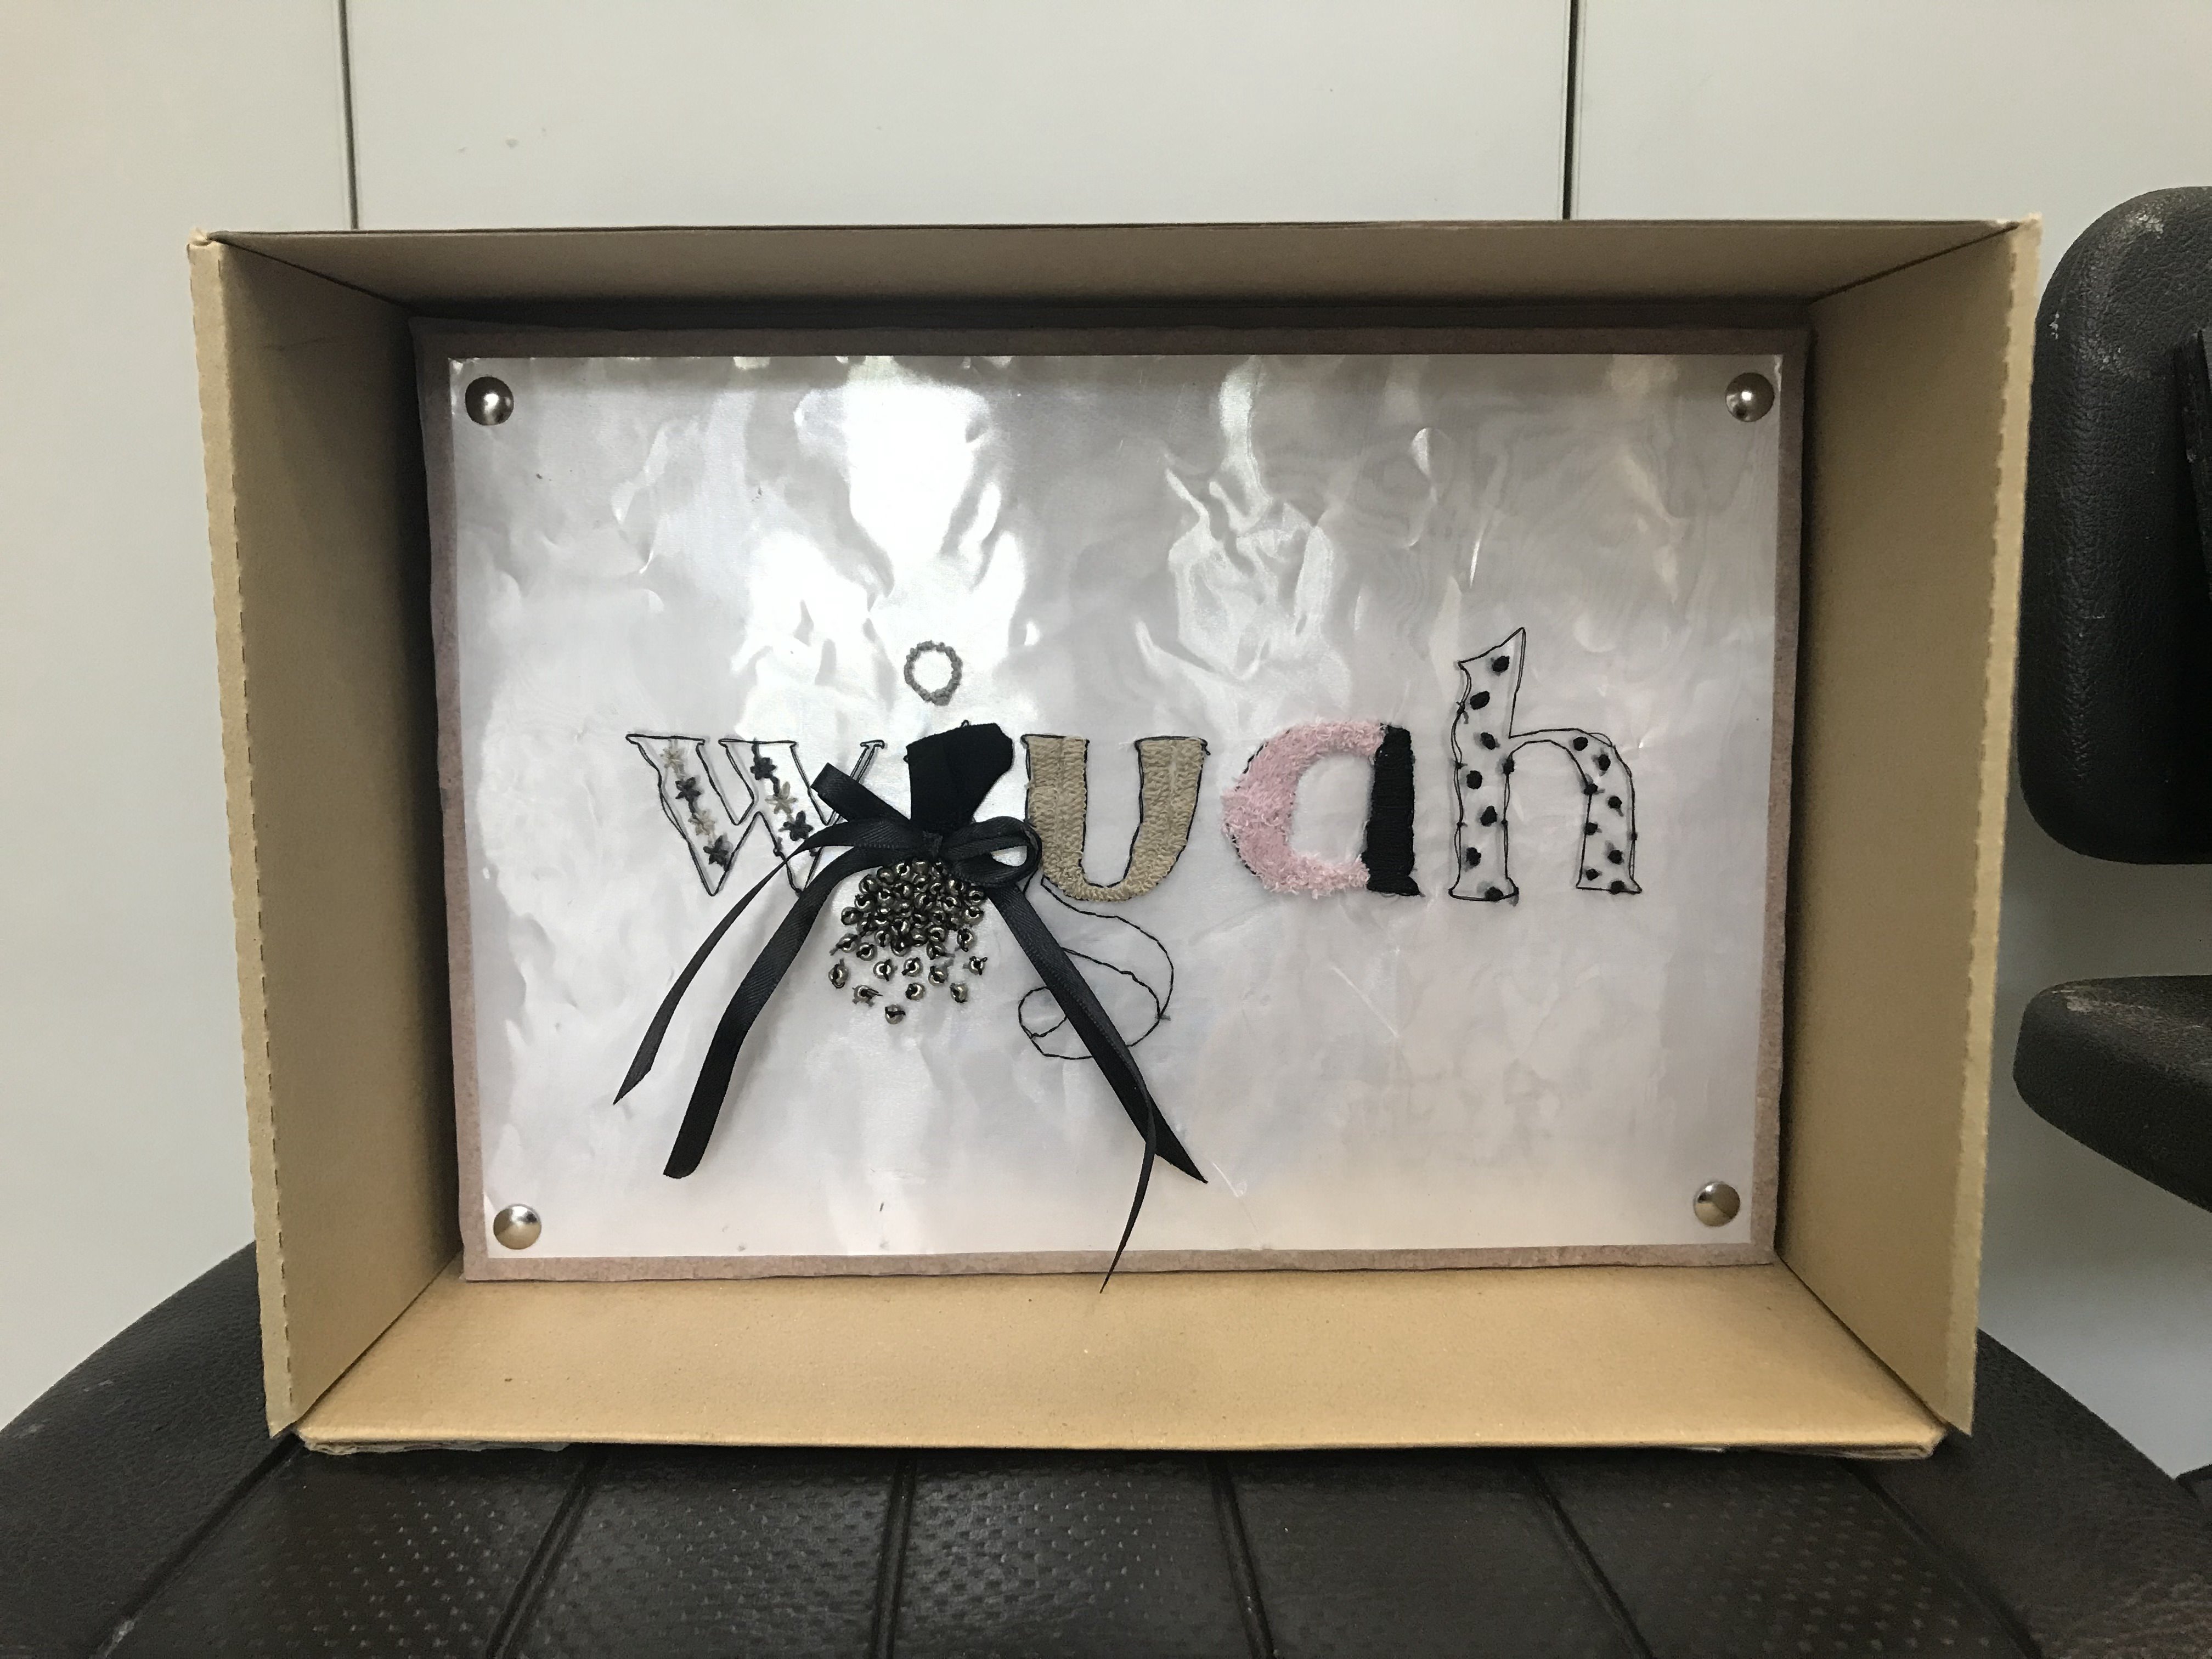
Visual of Sound trapped in box in a dark room [sound of girl screaming, banging on the door, wind, crying].
Verdict: This version is not strong and does not convey any particular message except depicting the feeling of someone who is depressed. This was not my only intentions.
Hence, I decided to do a Performance Art as follows:
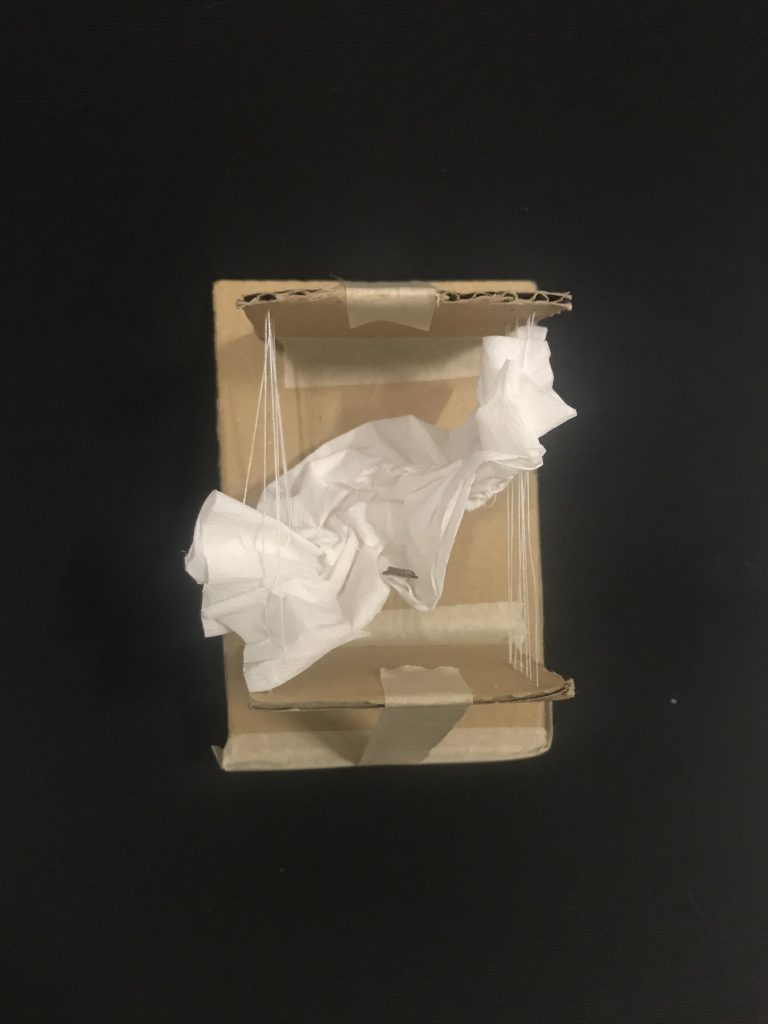
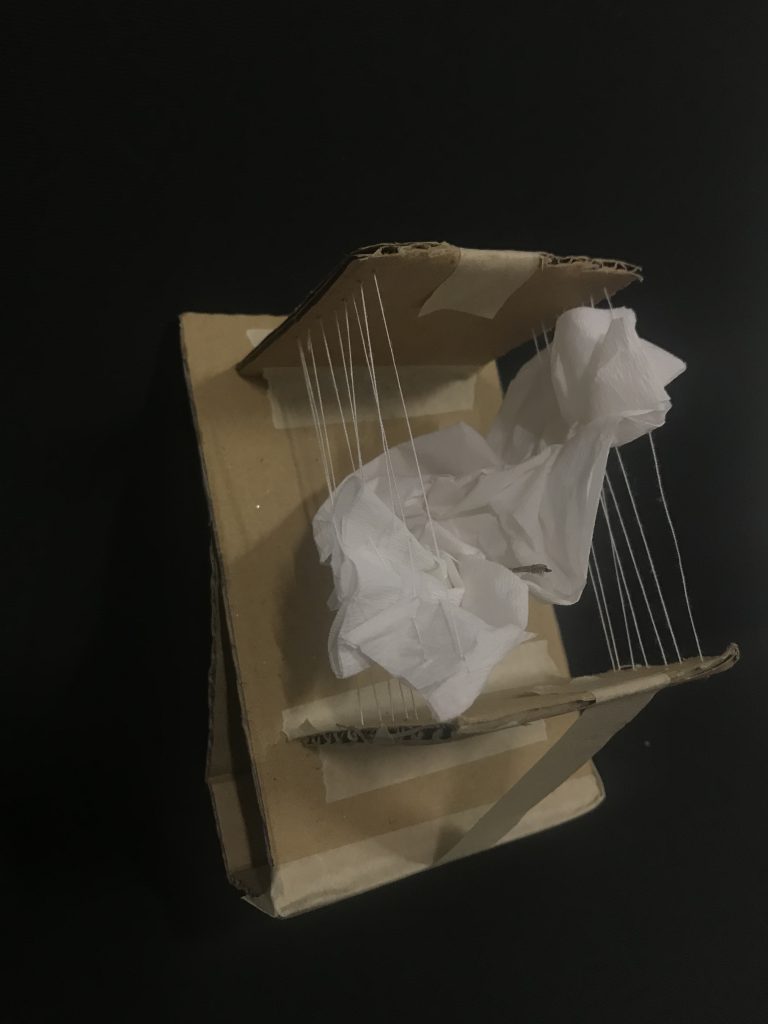
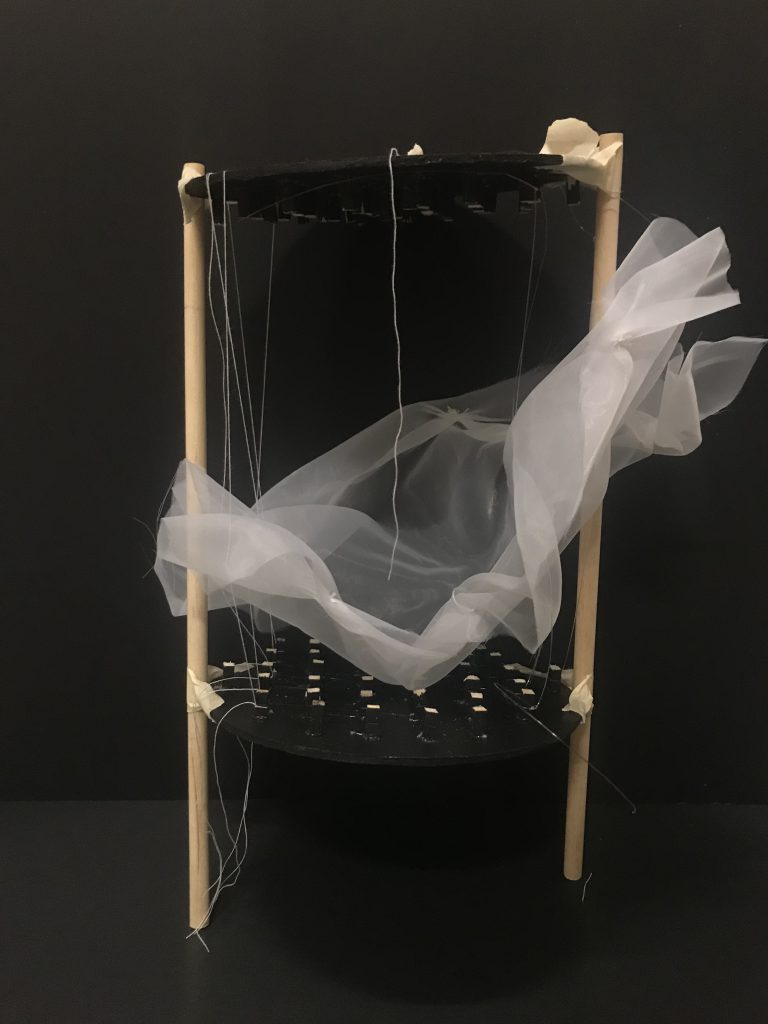
There will be a sound box, trapped within a cage, within another cage, within another cage.. until you reach the layer of the sound box.
Box will be from bigger to smaller sized – to show how minute the big problem of depression versus how it is viewed in society.
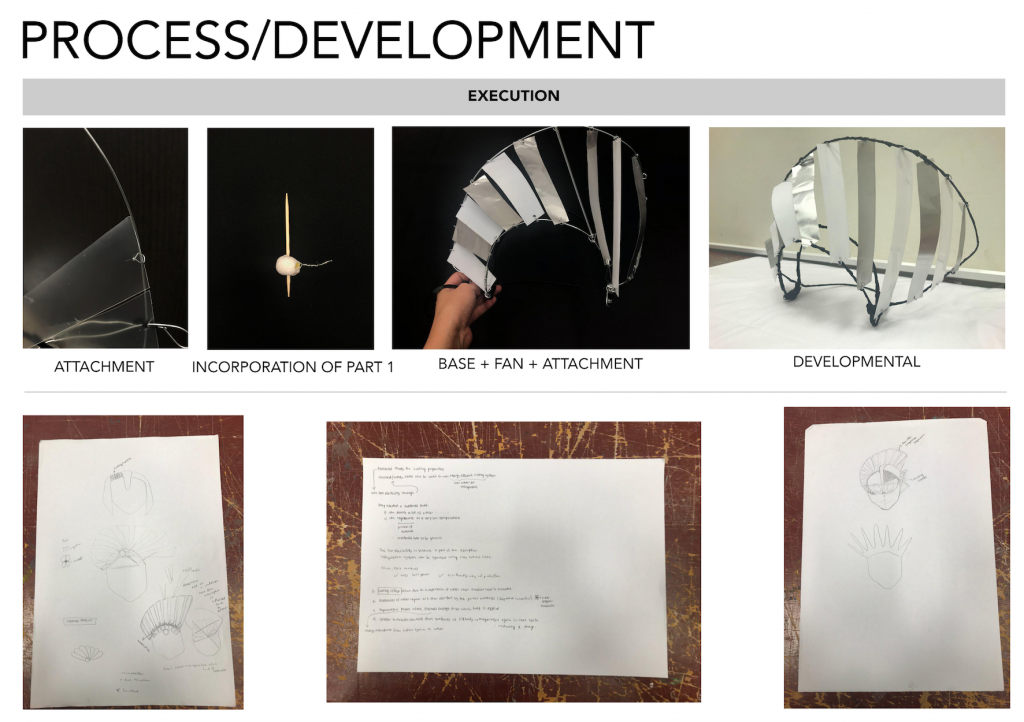
EXECUTION
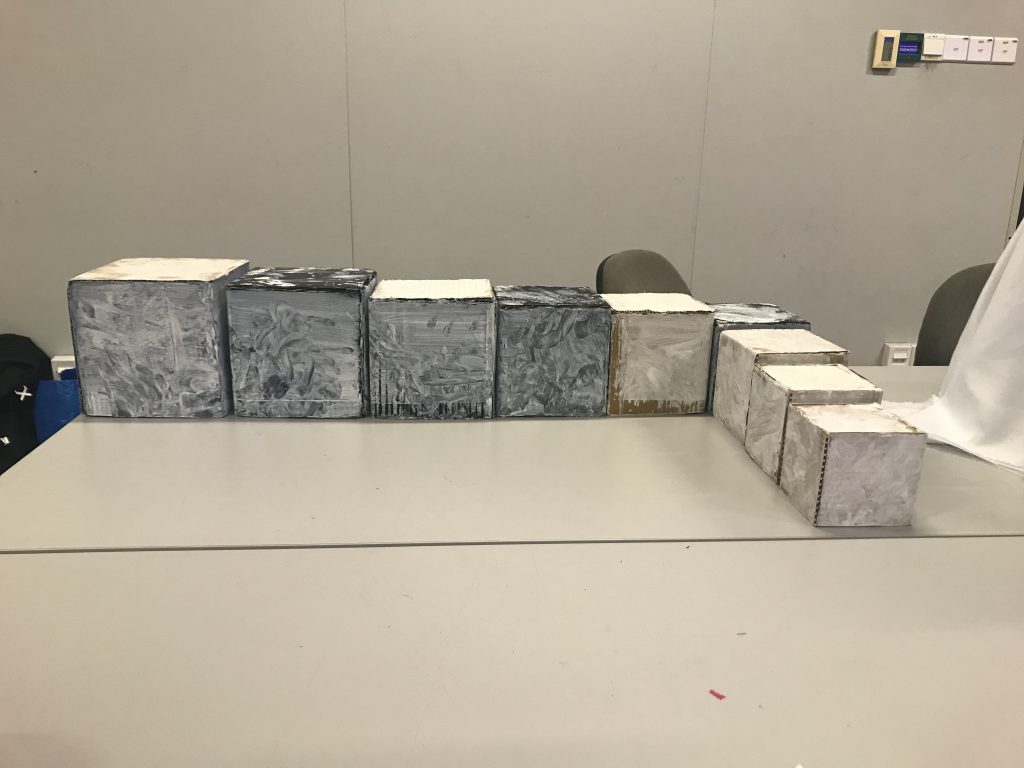
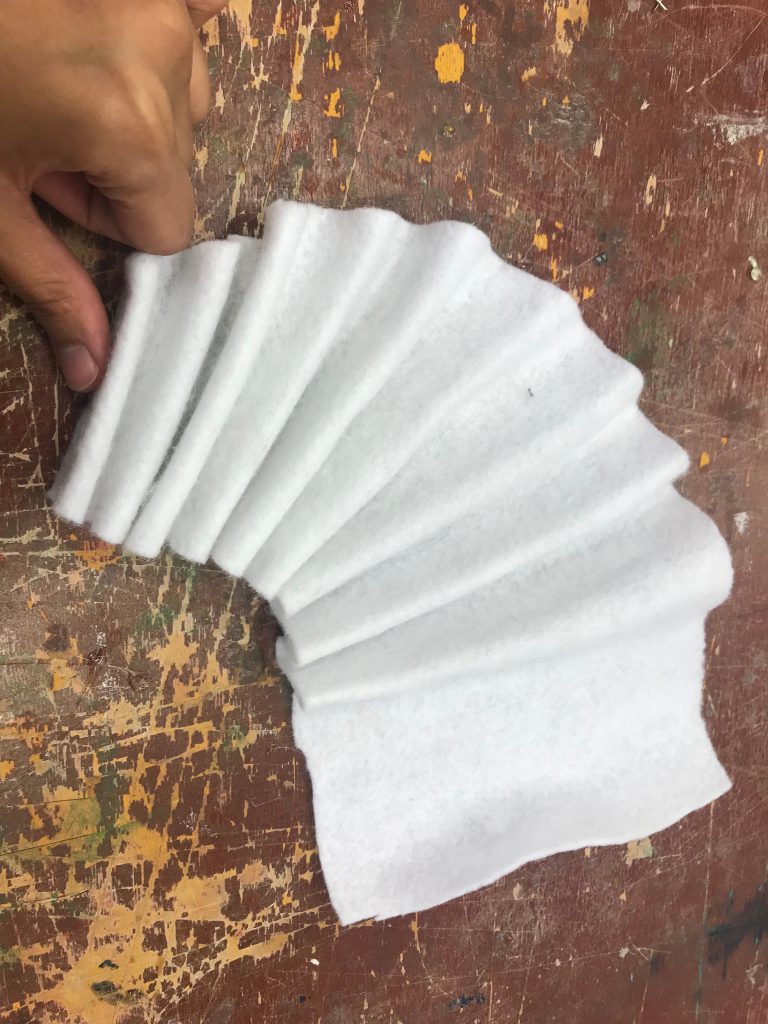
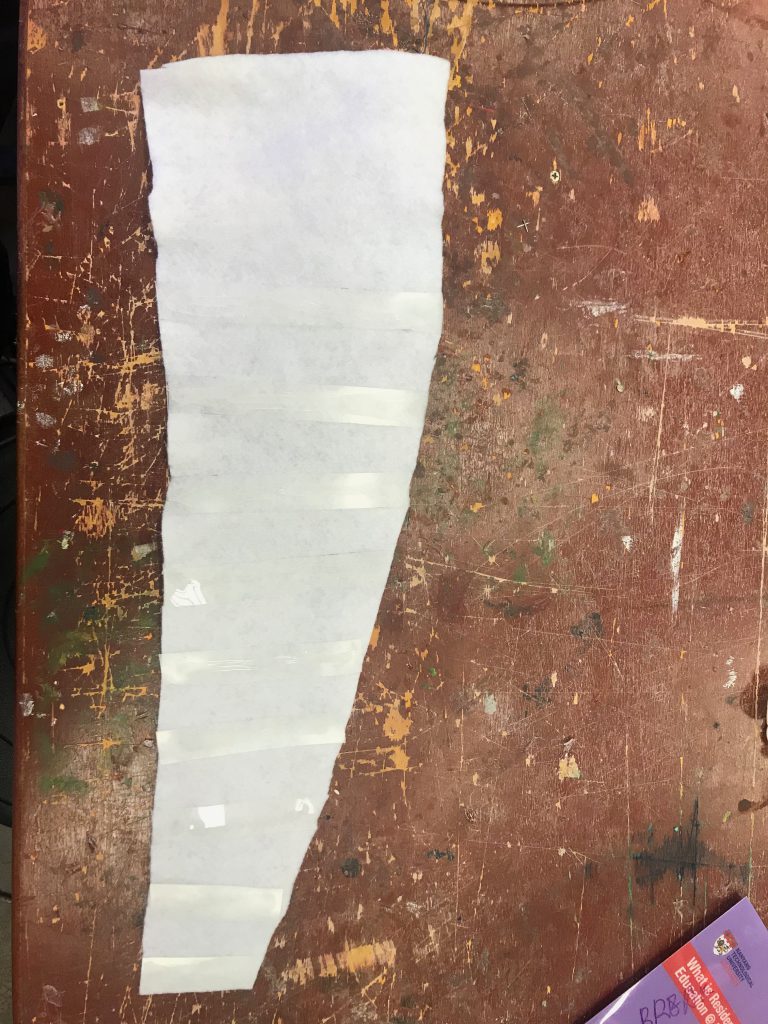
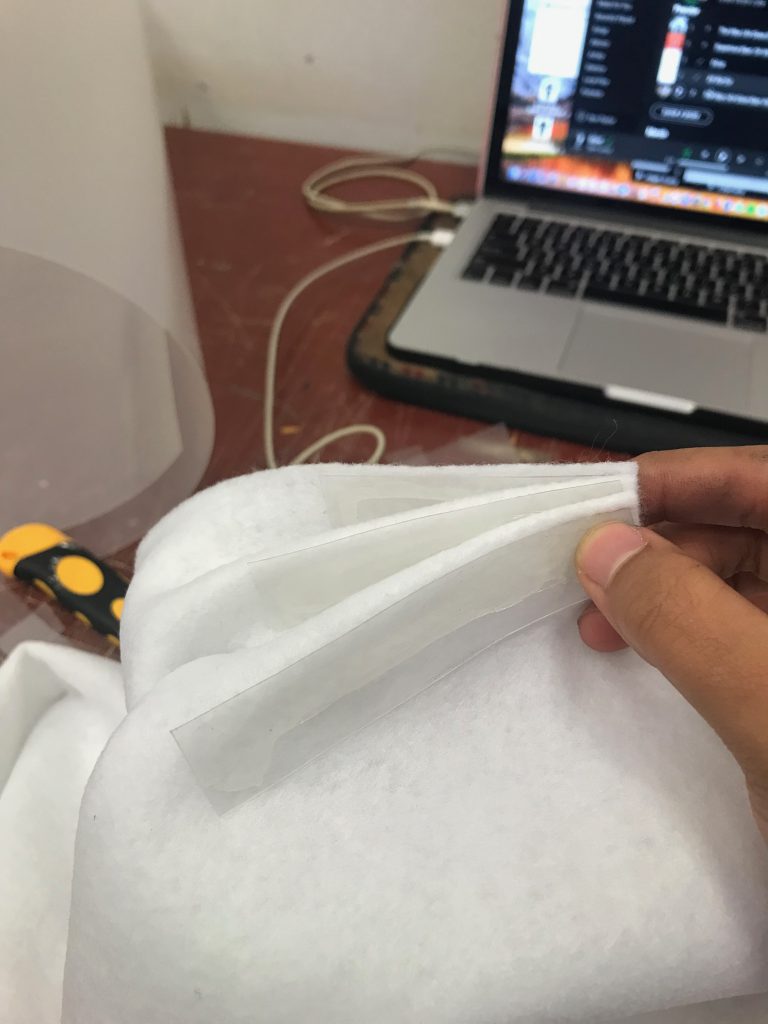
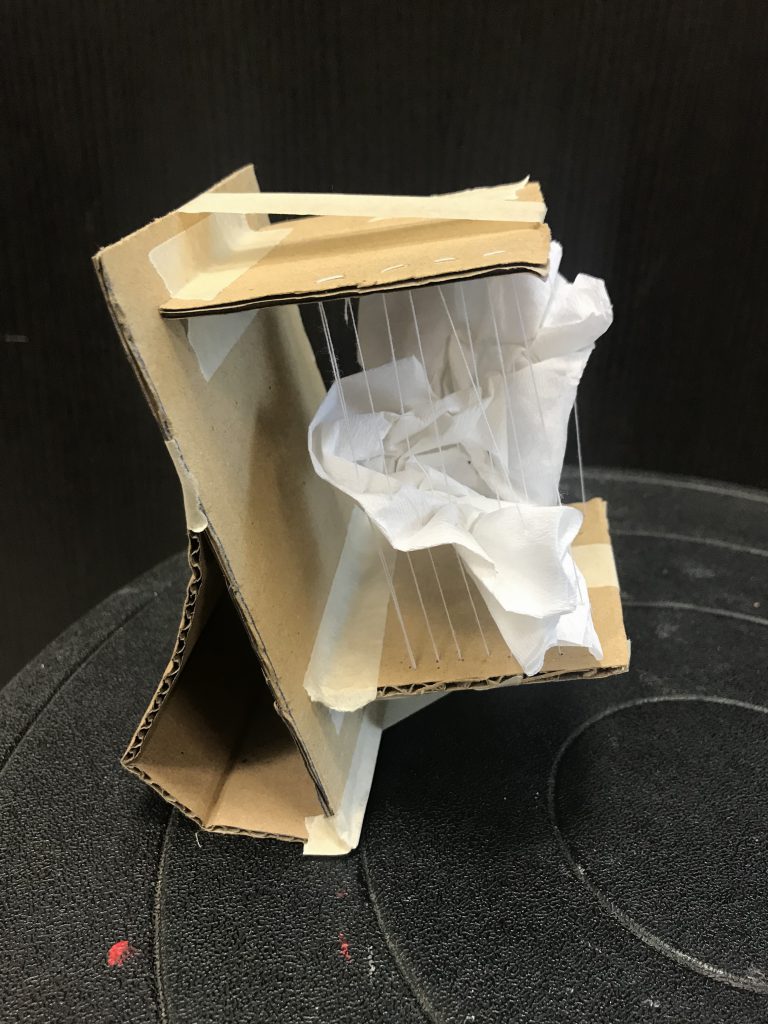
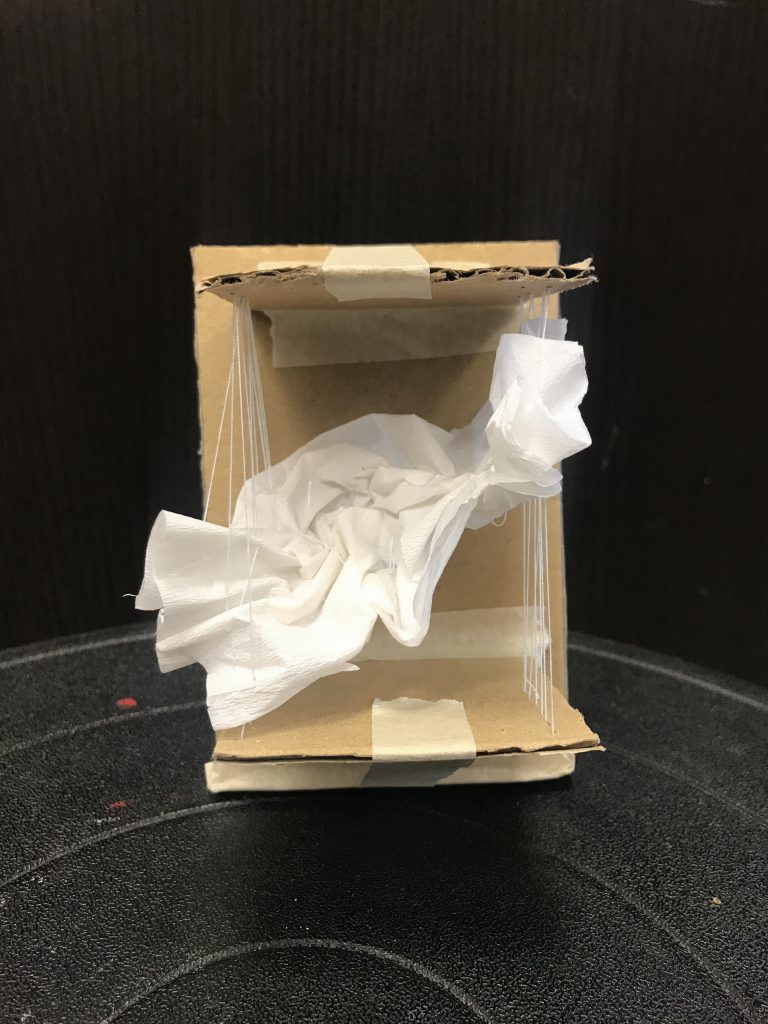
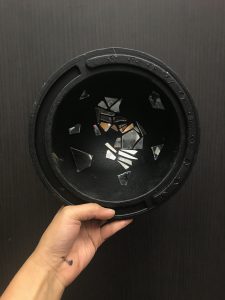
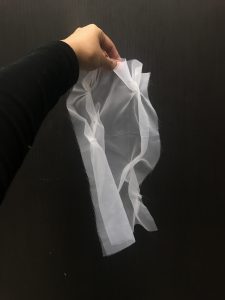
Performance is called ‘Caged’. I measured boxes out of cardboards and glued them together to form boxes with only one opening. This was measured carefully so that at first, the person who would be experiencing it will struggle to take the boxes out of each other. As it progresses, it gets easier to remove the boxes.
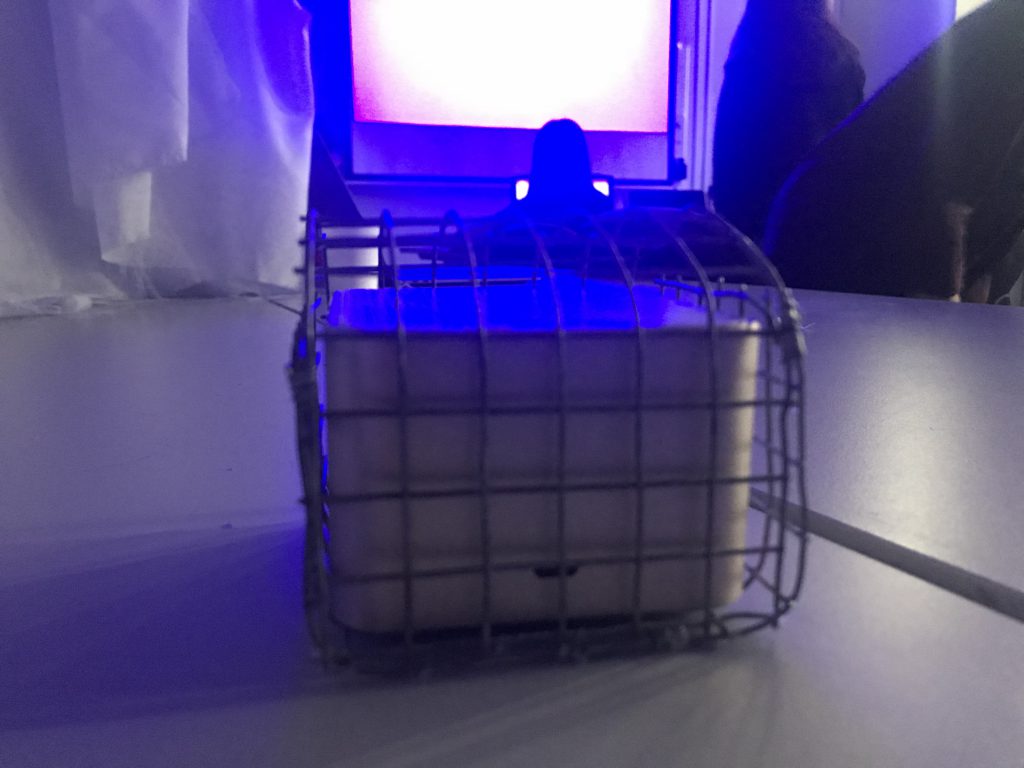
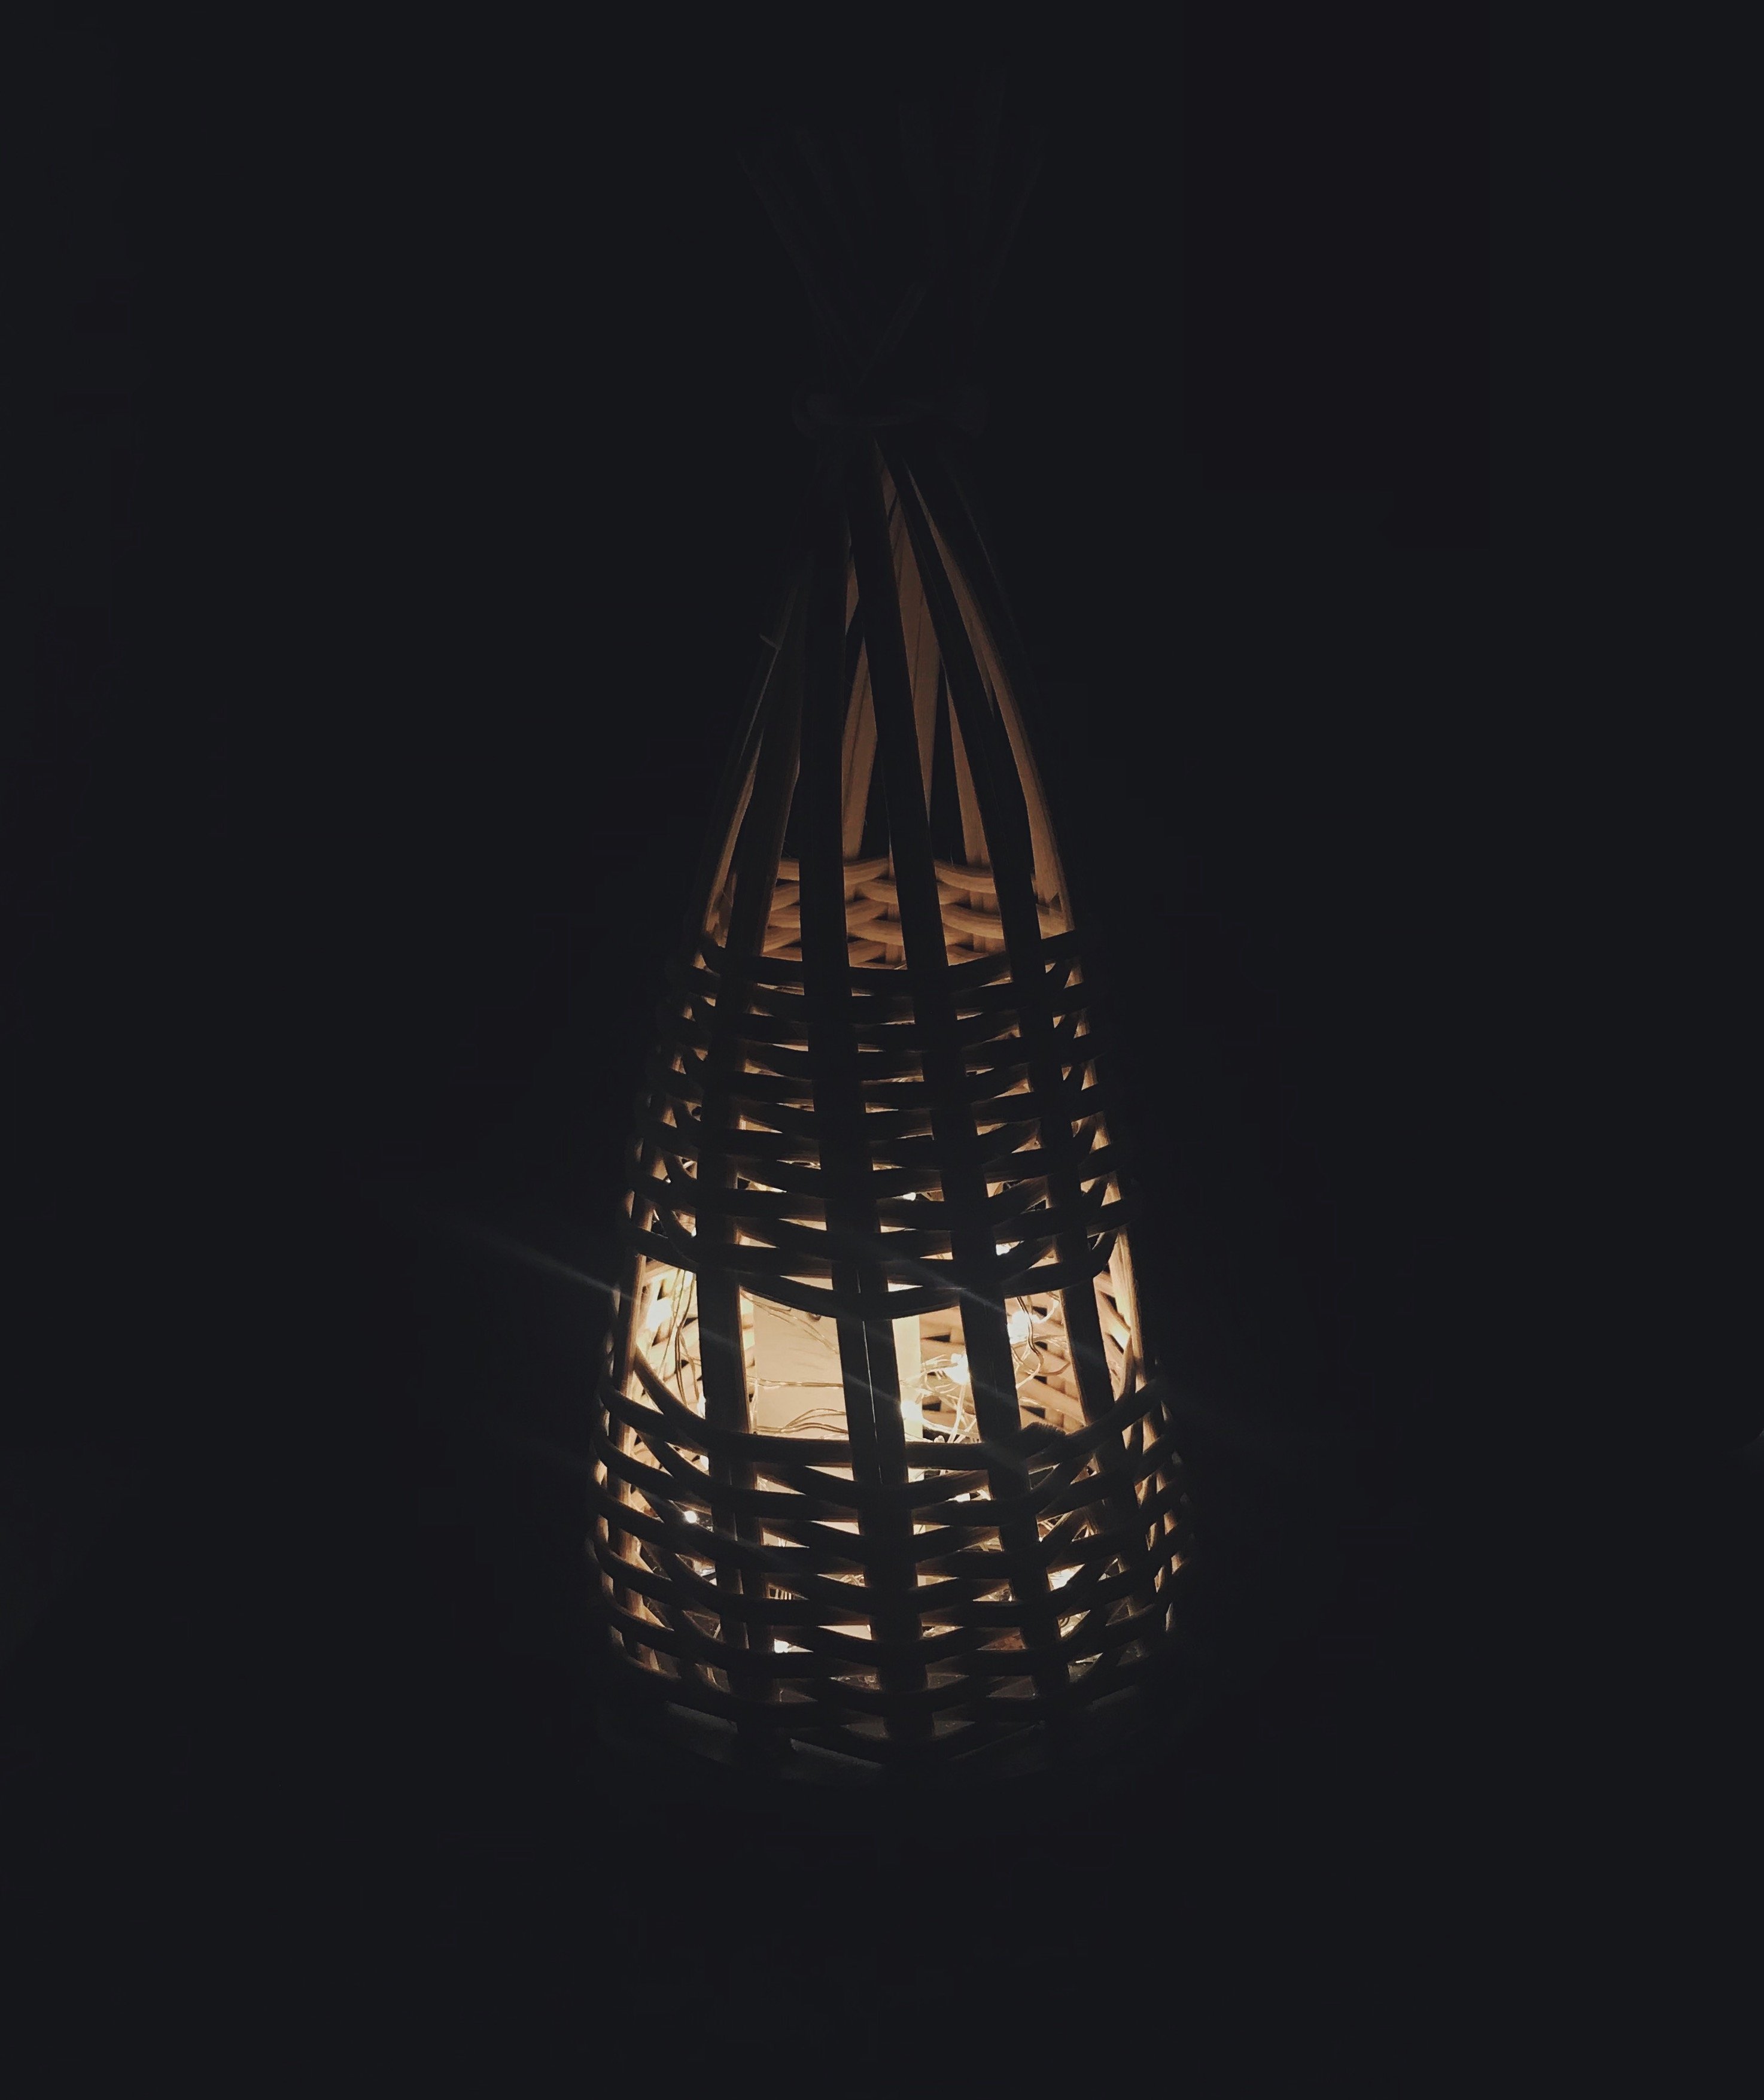
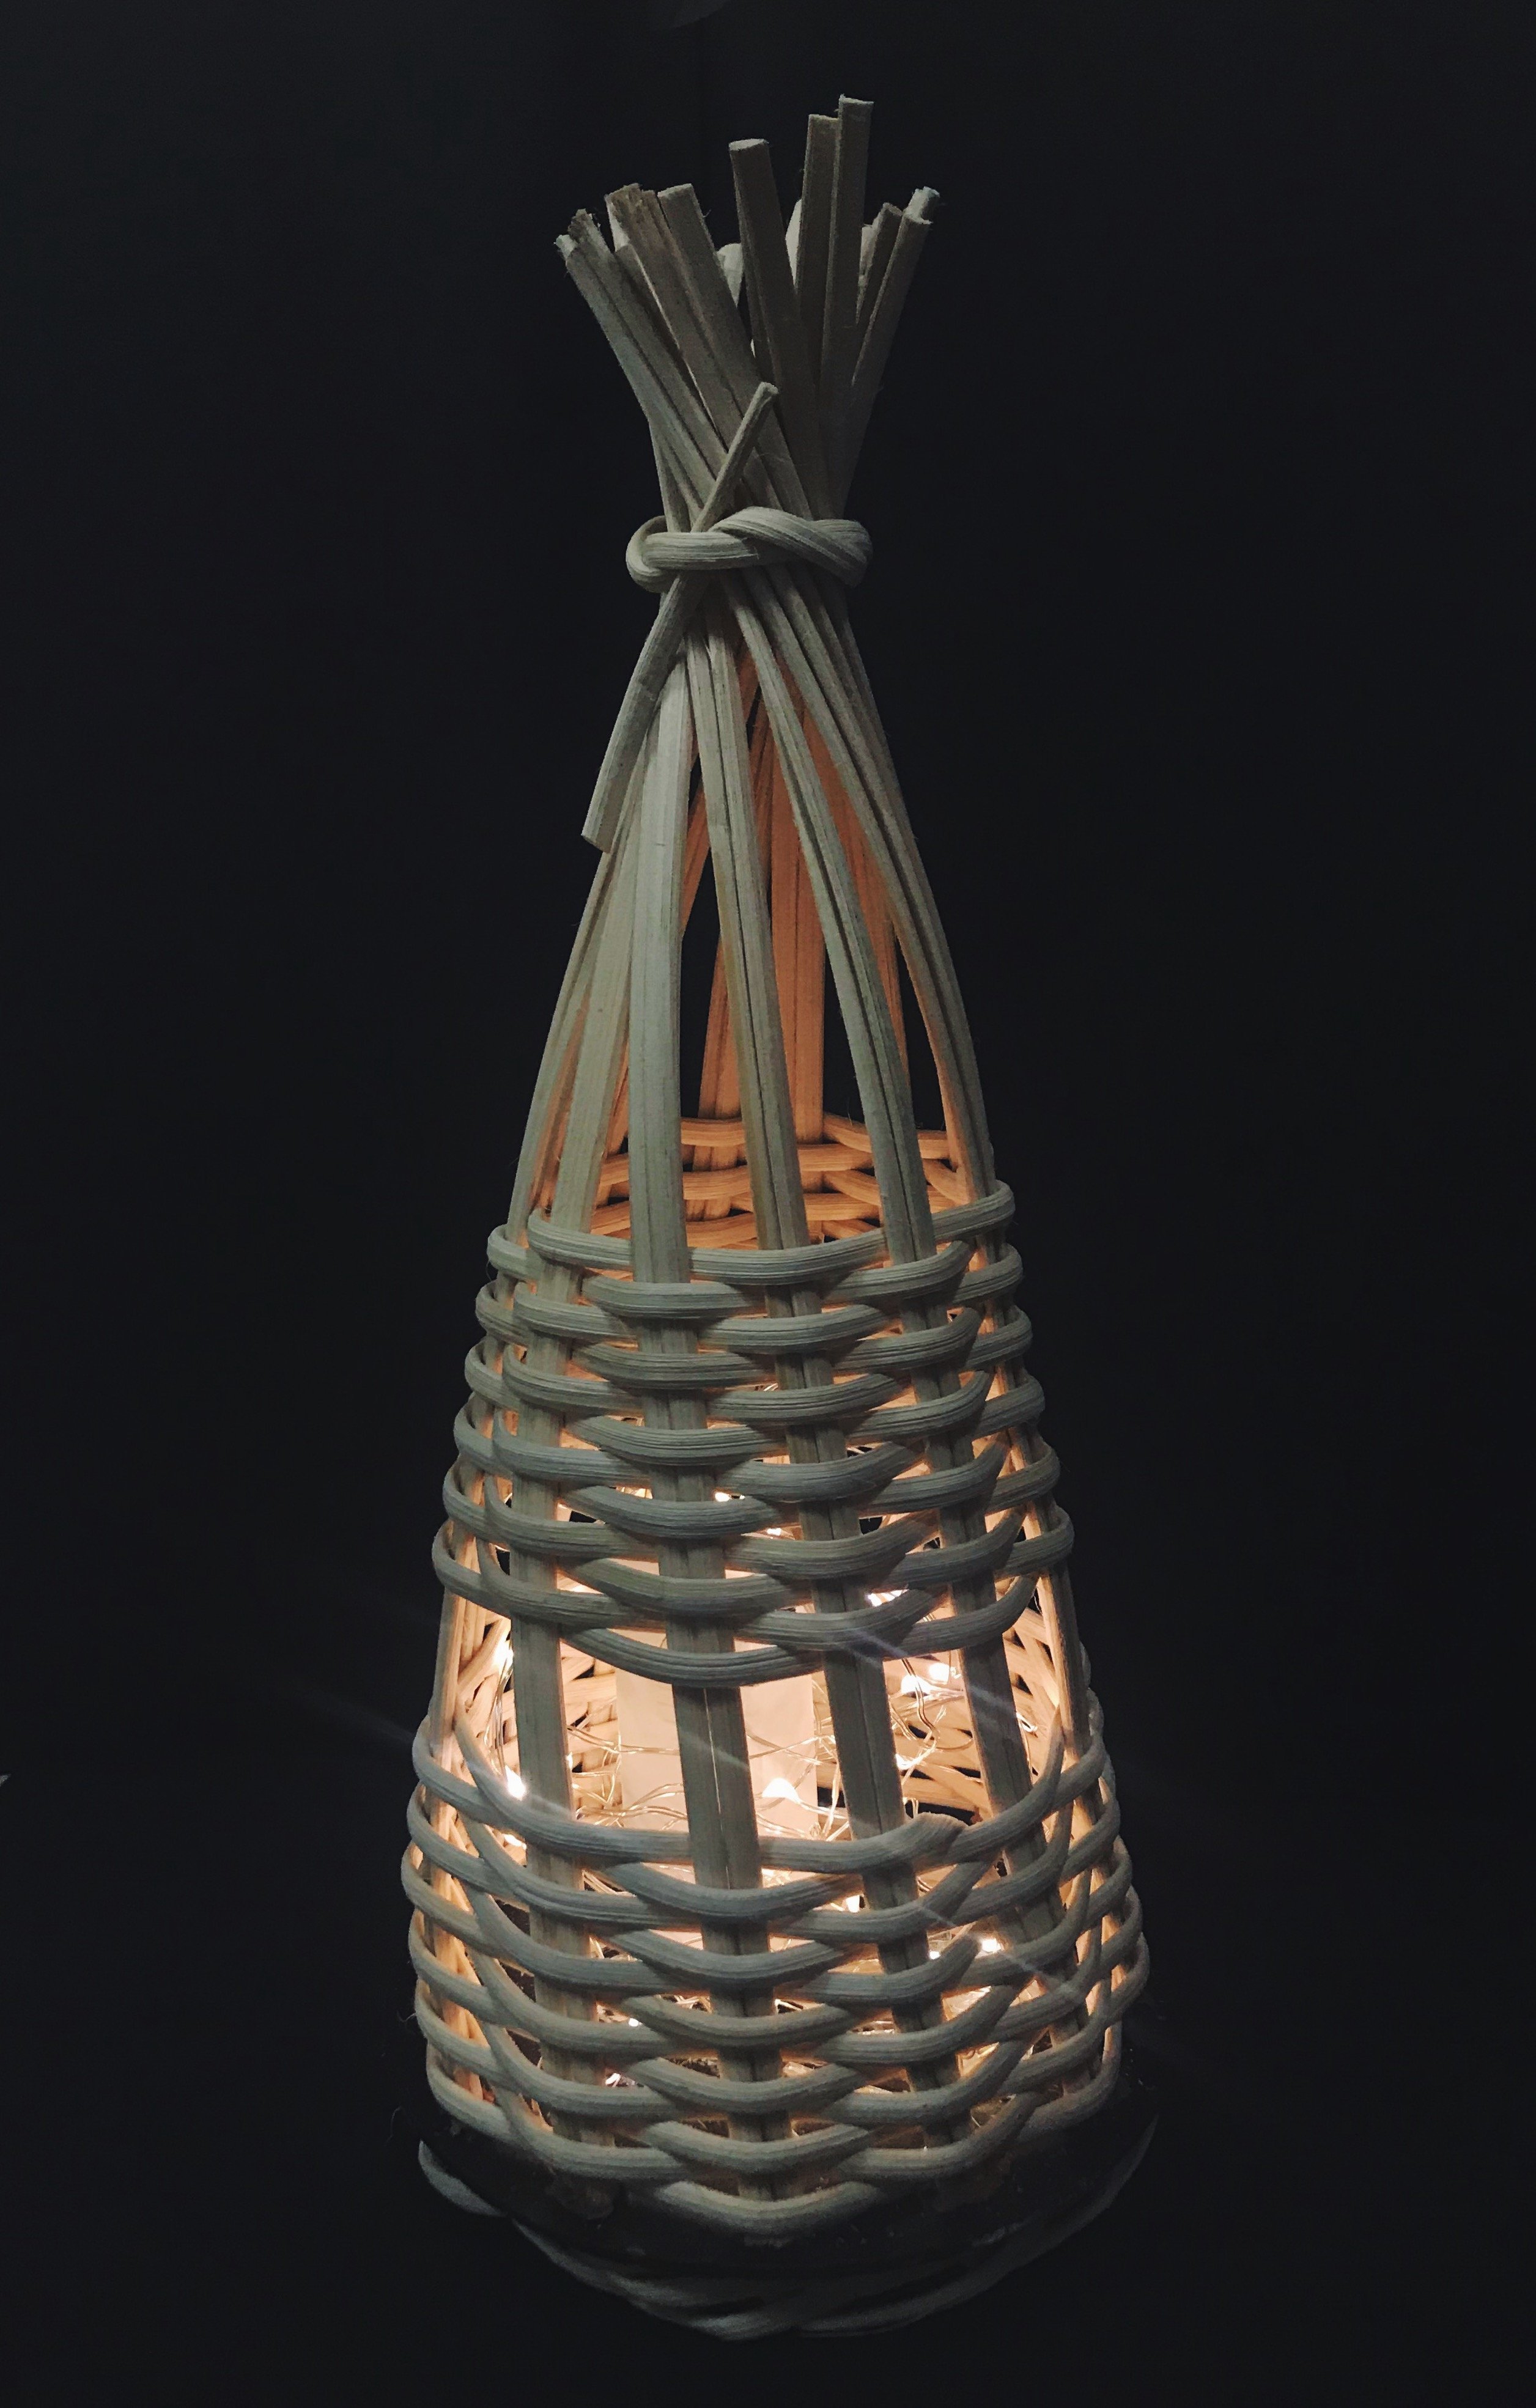
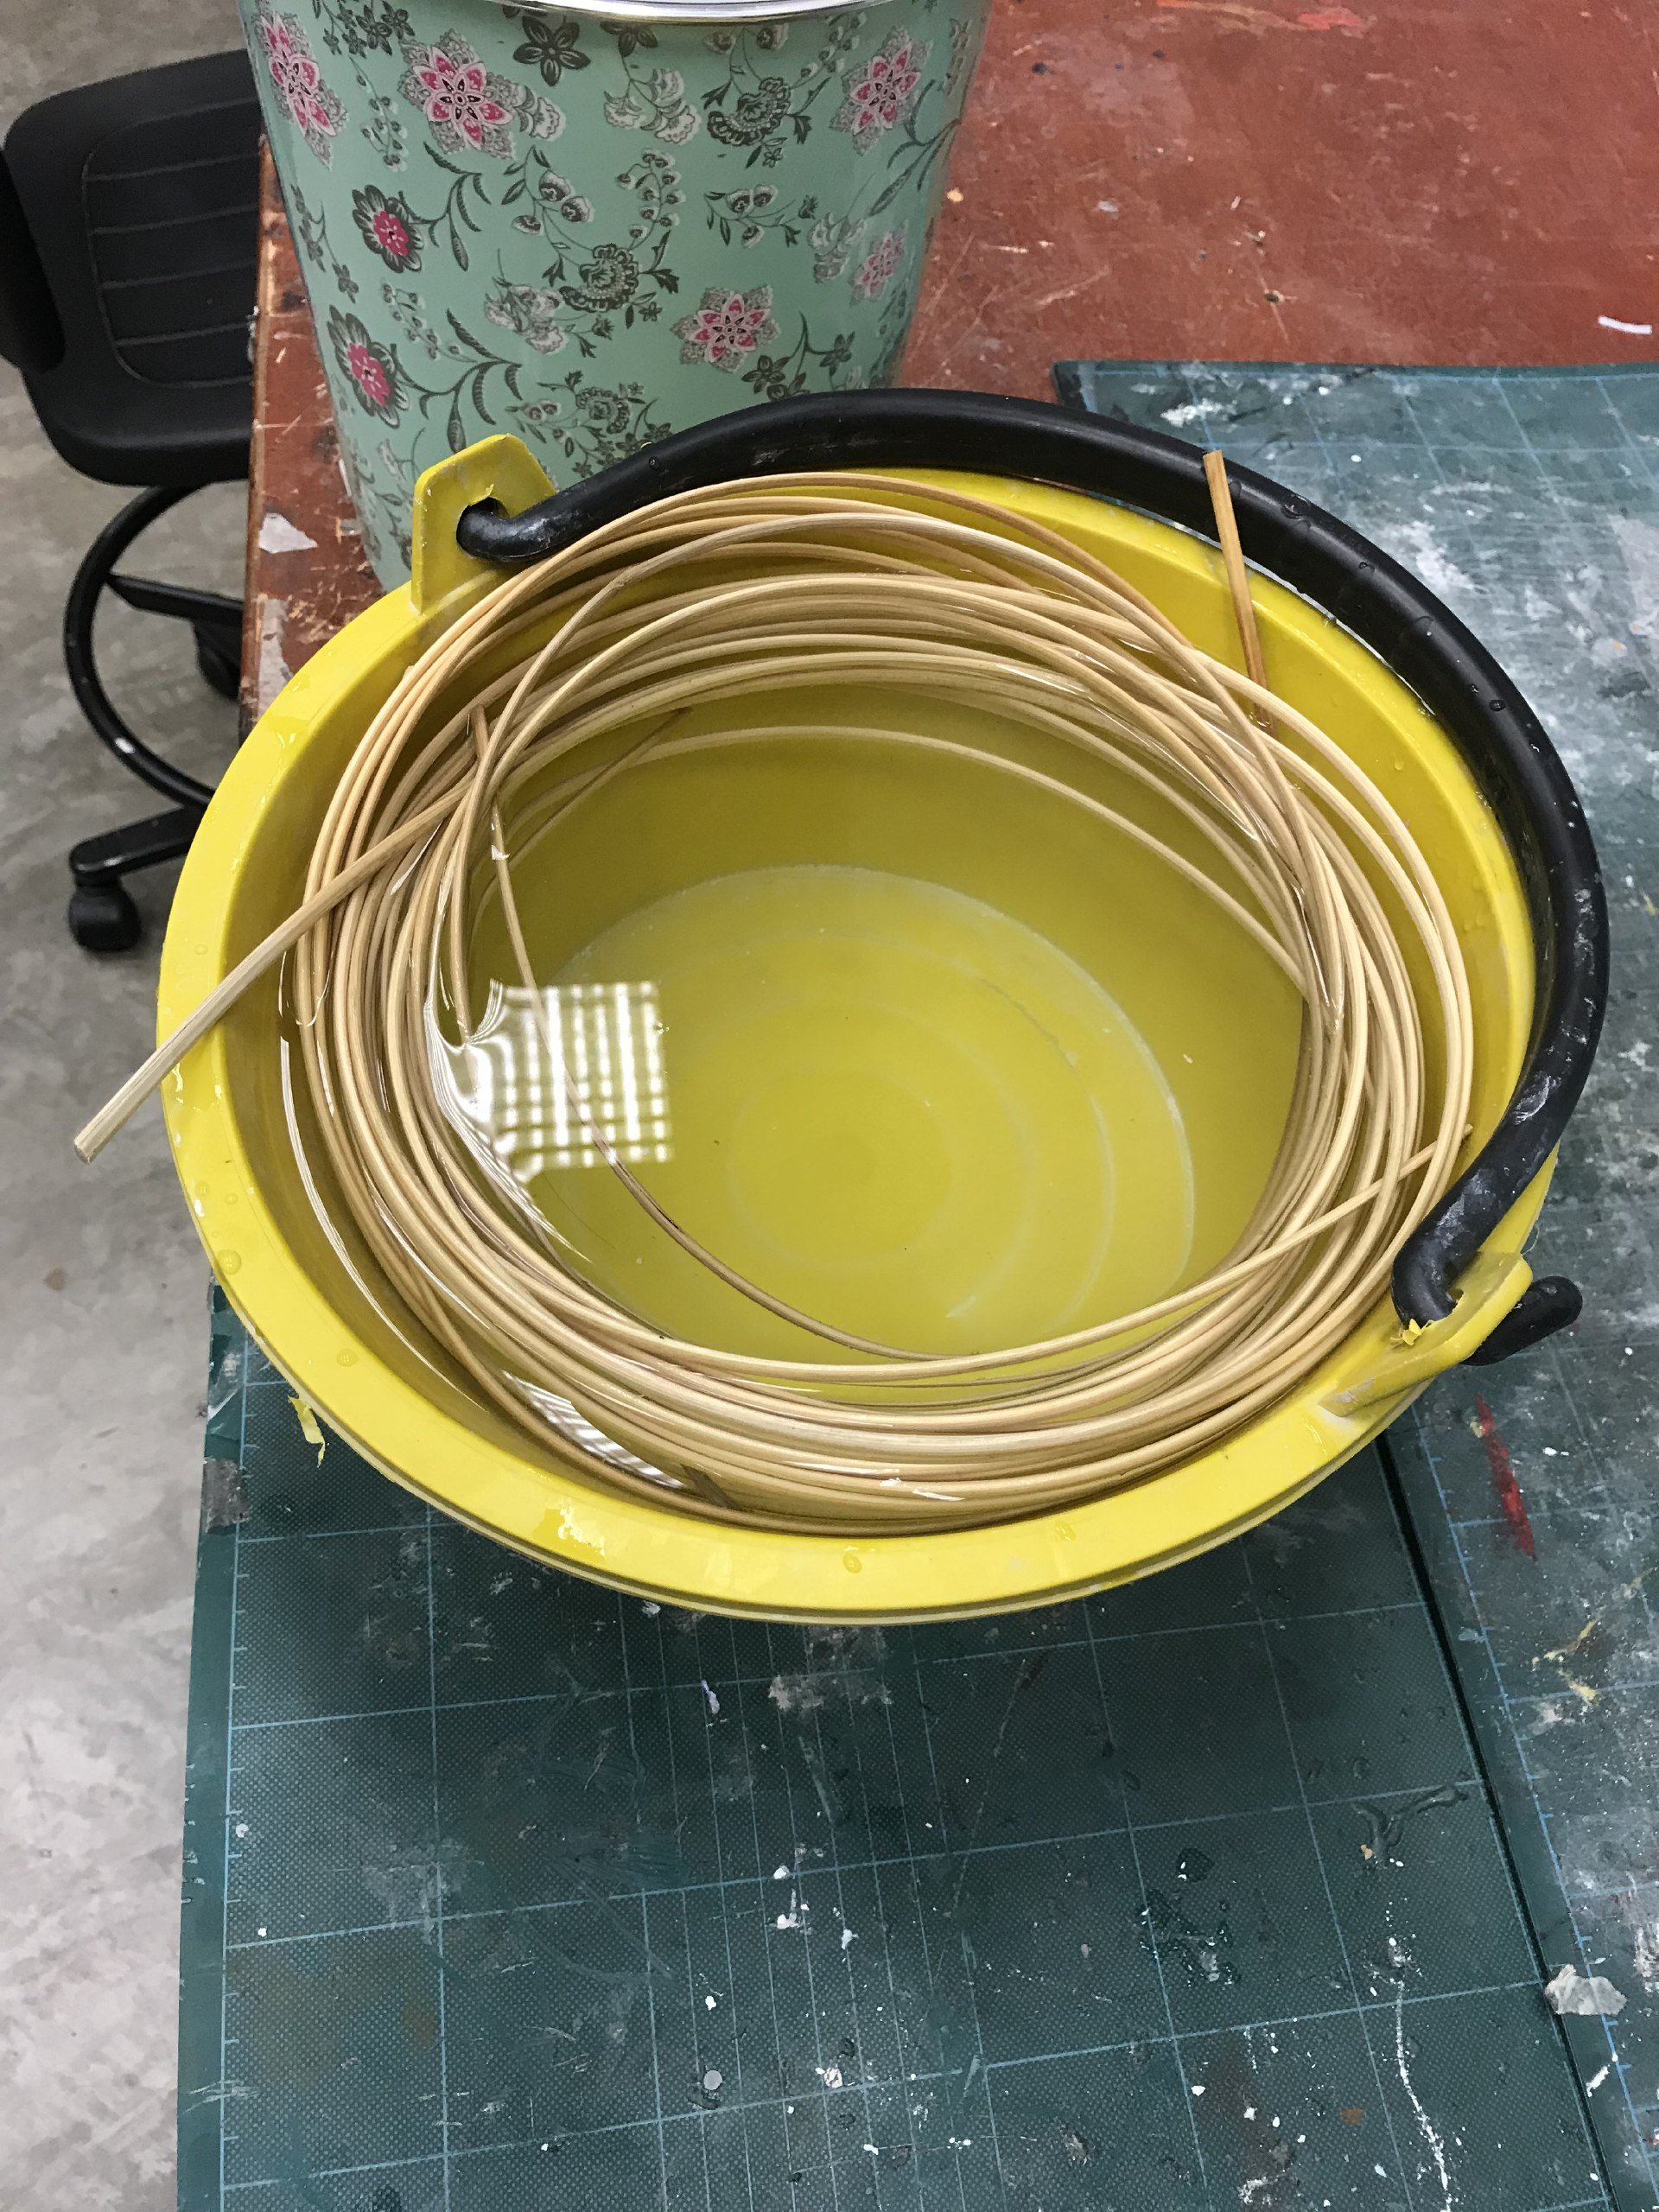
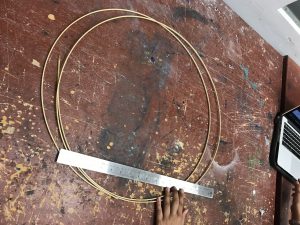
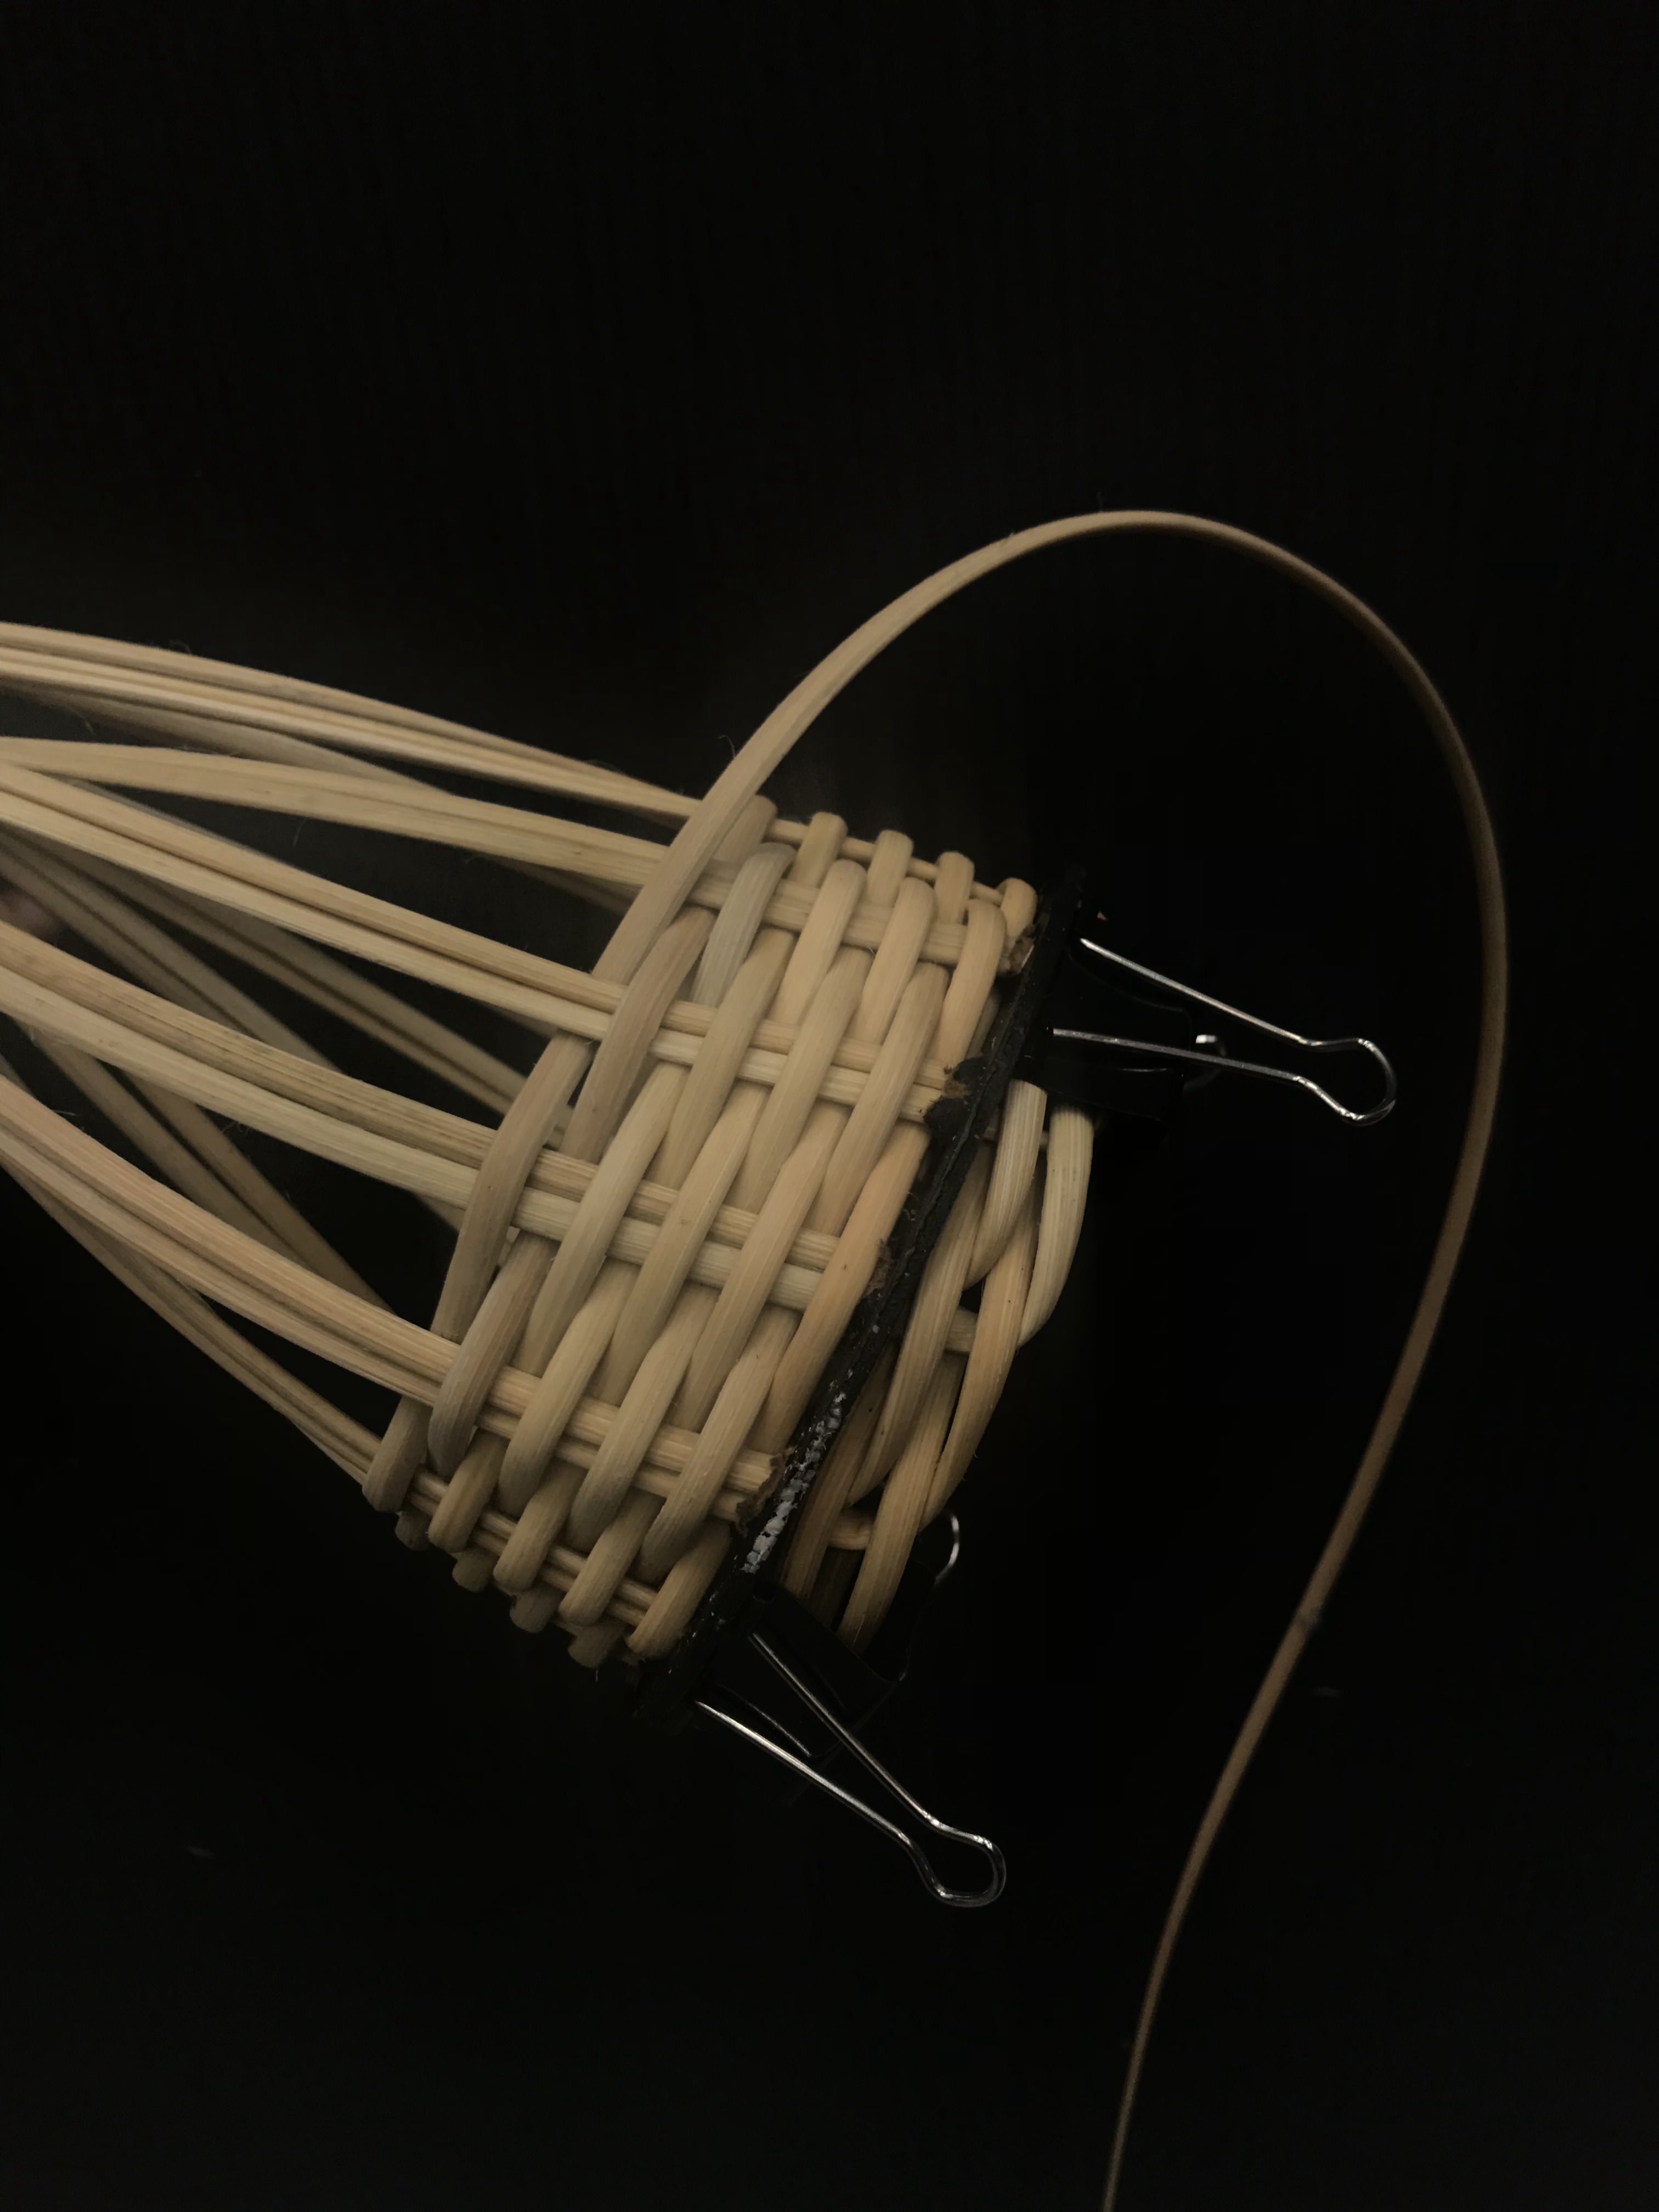
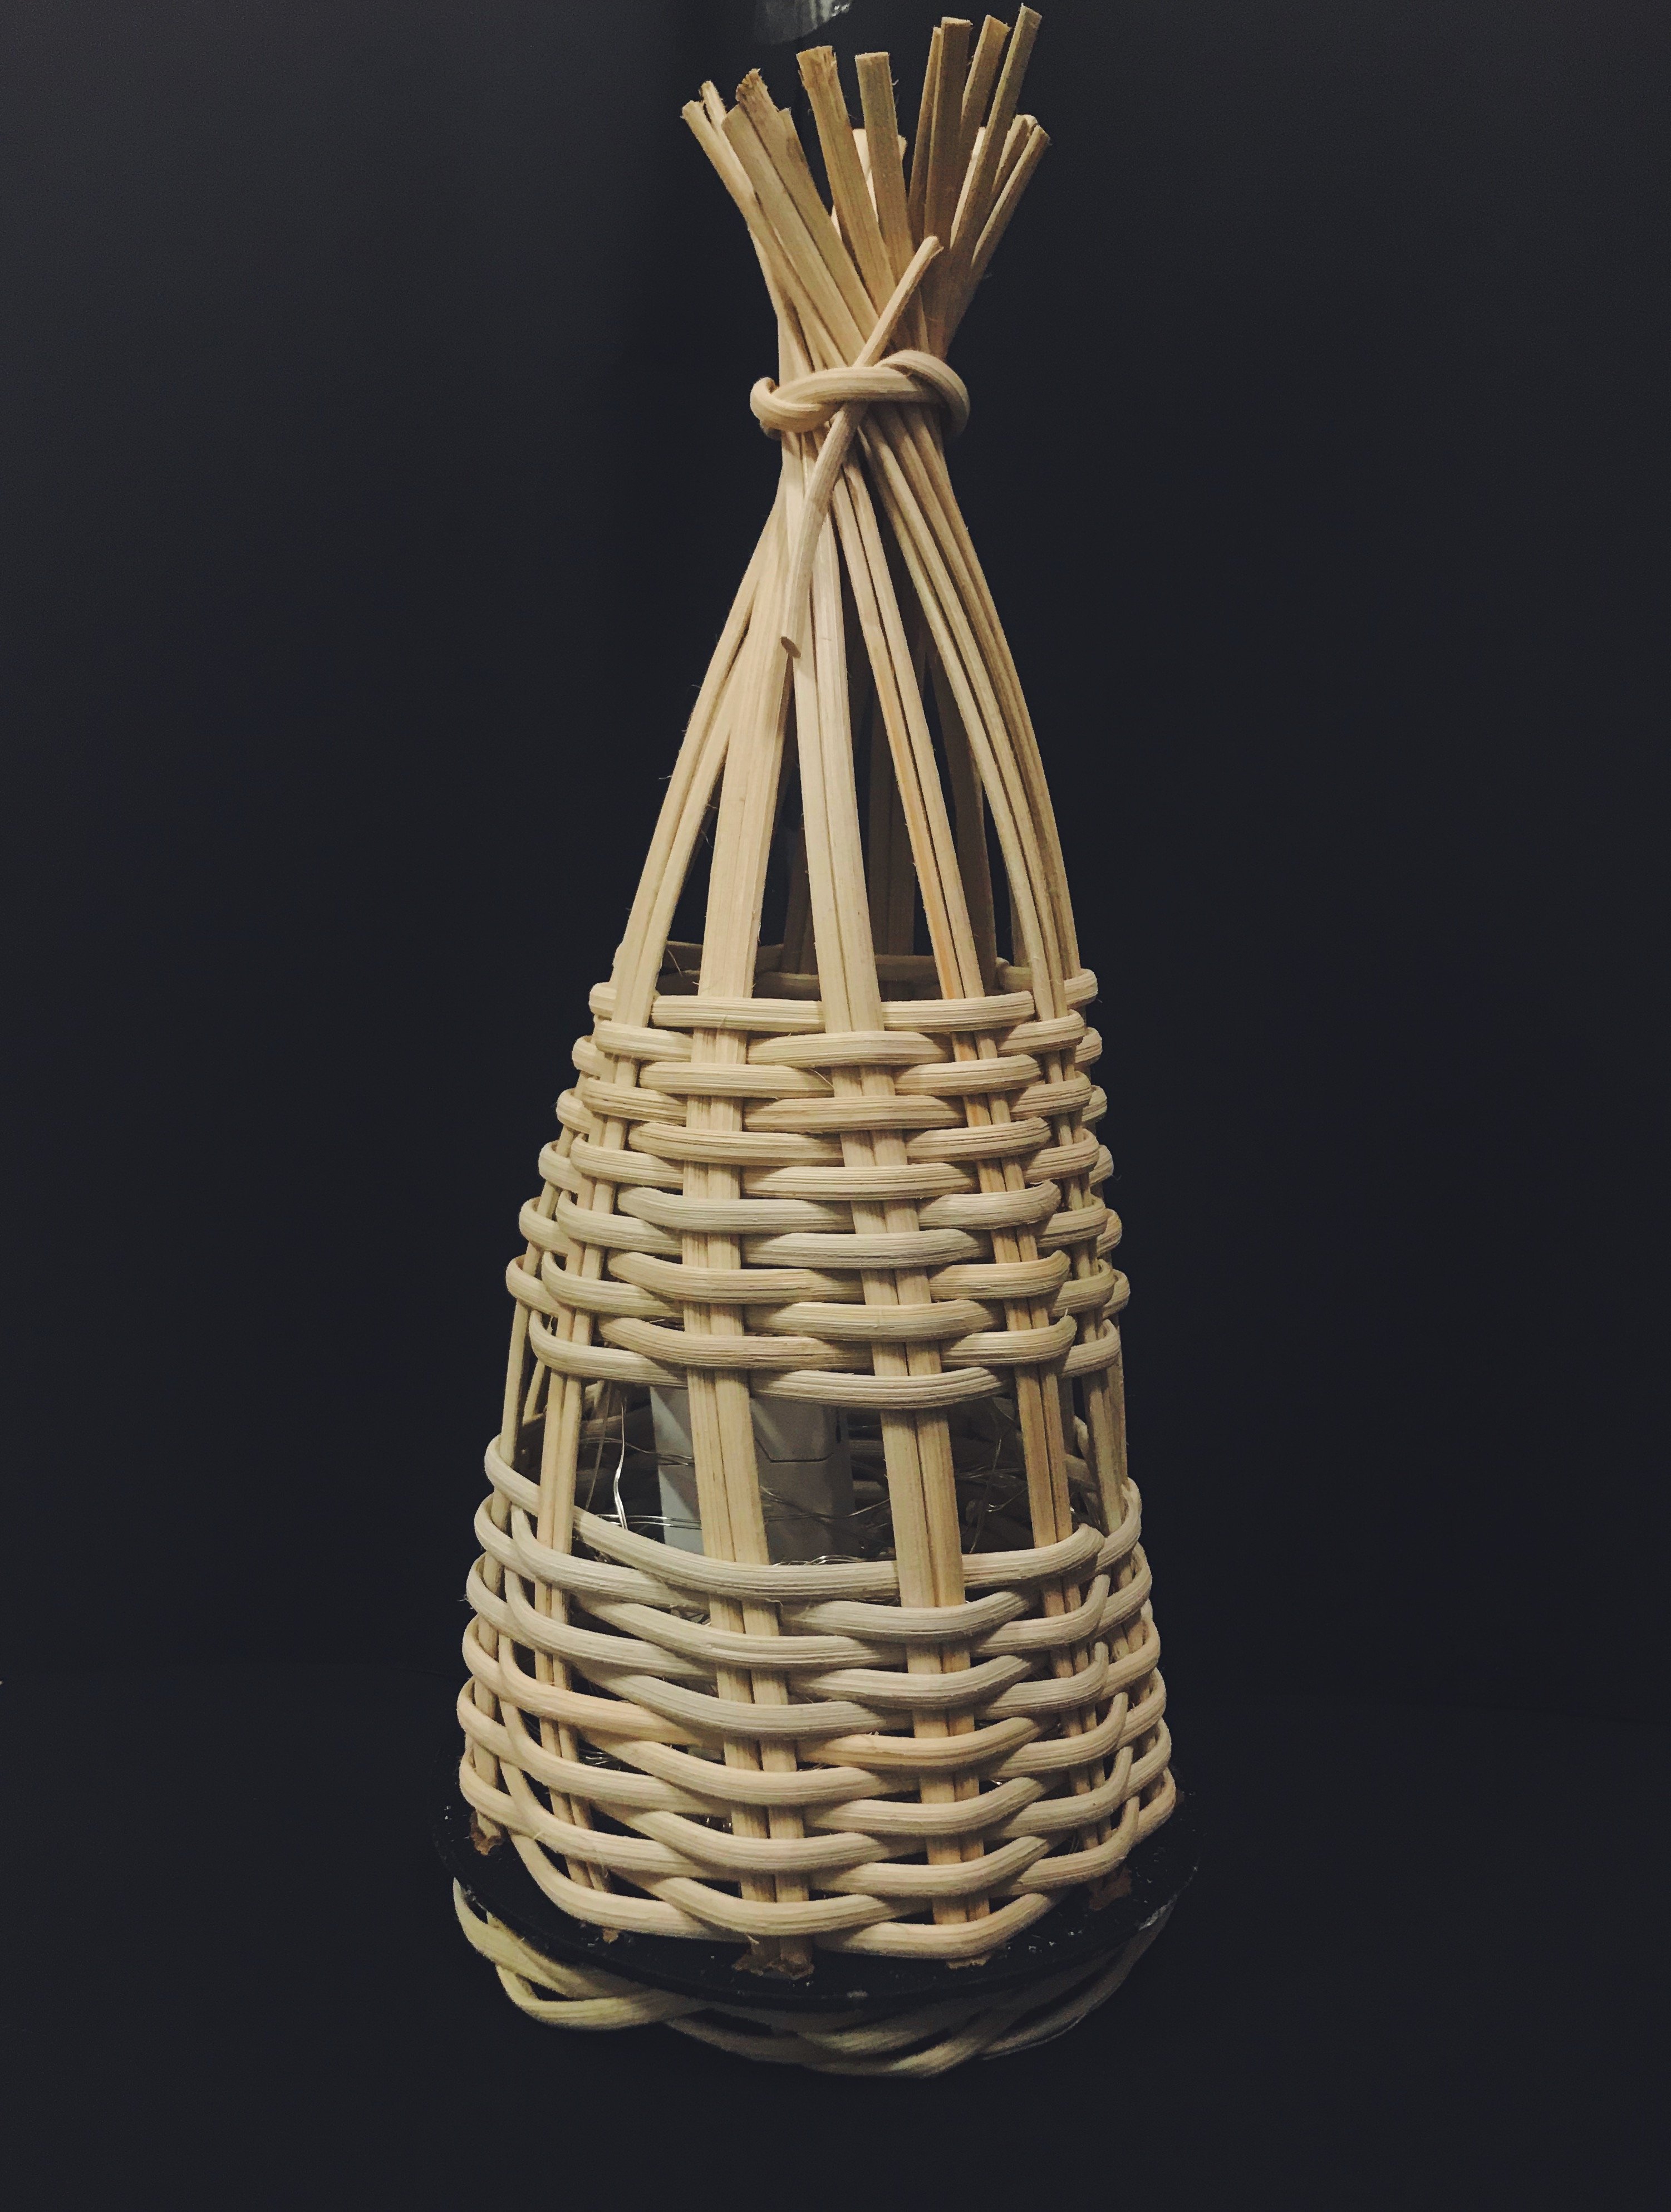
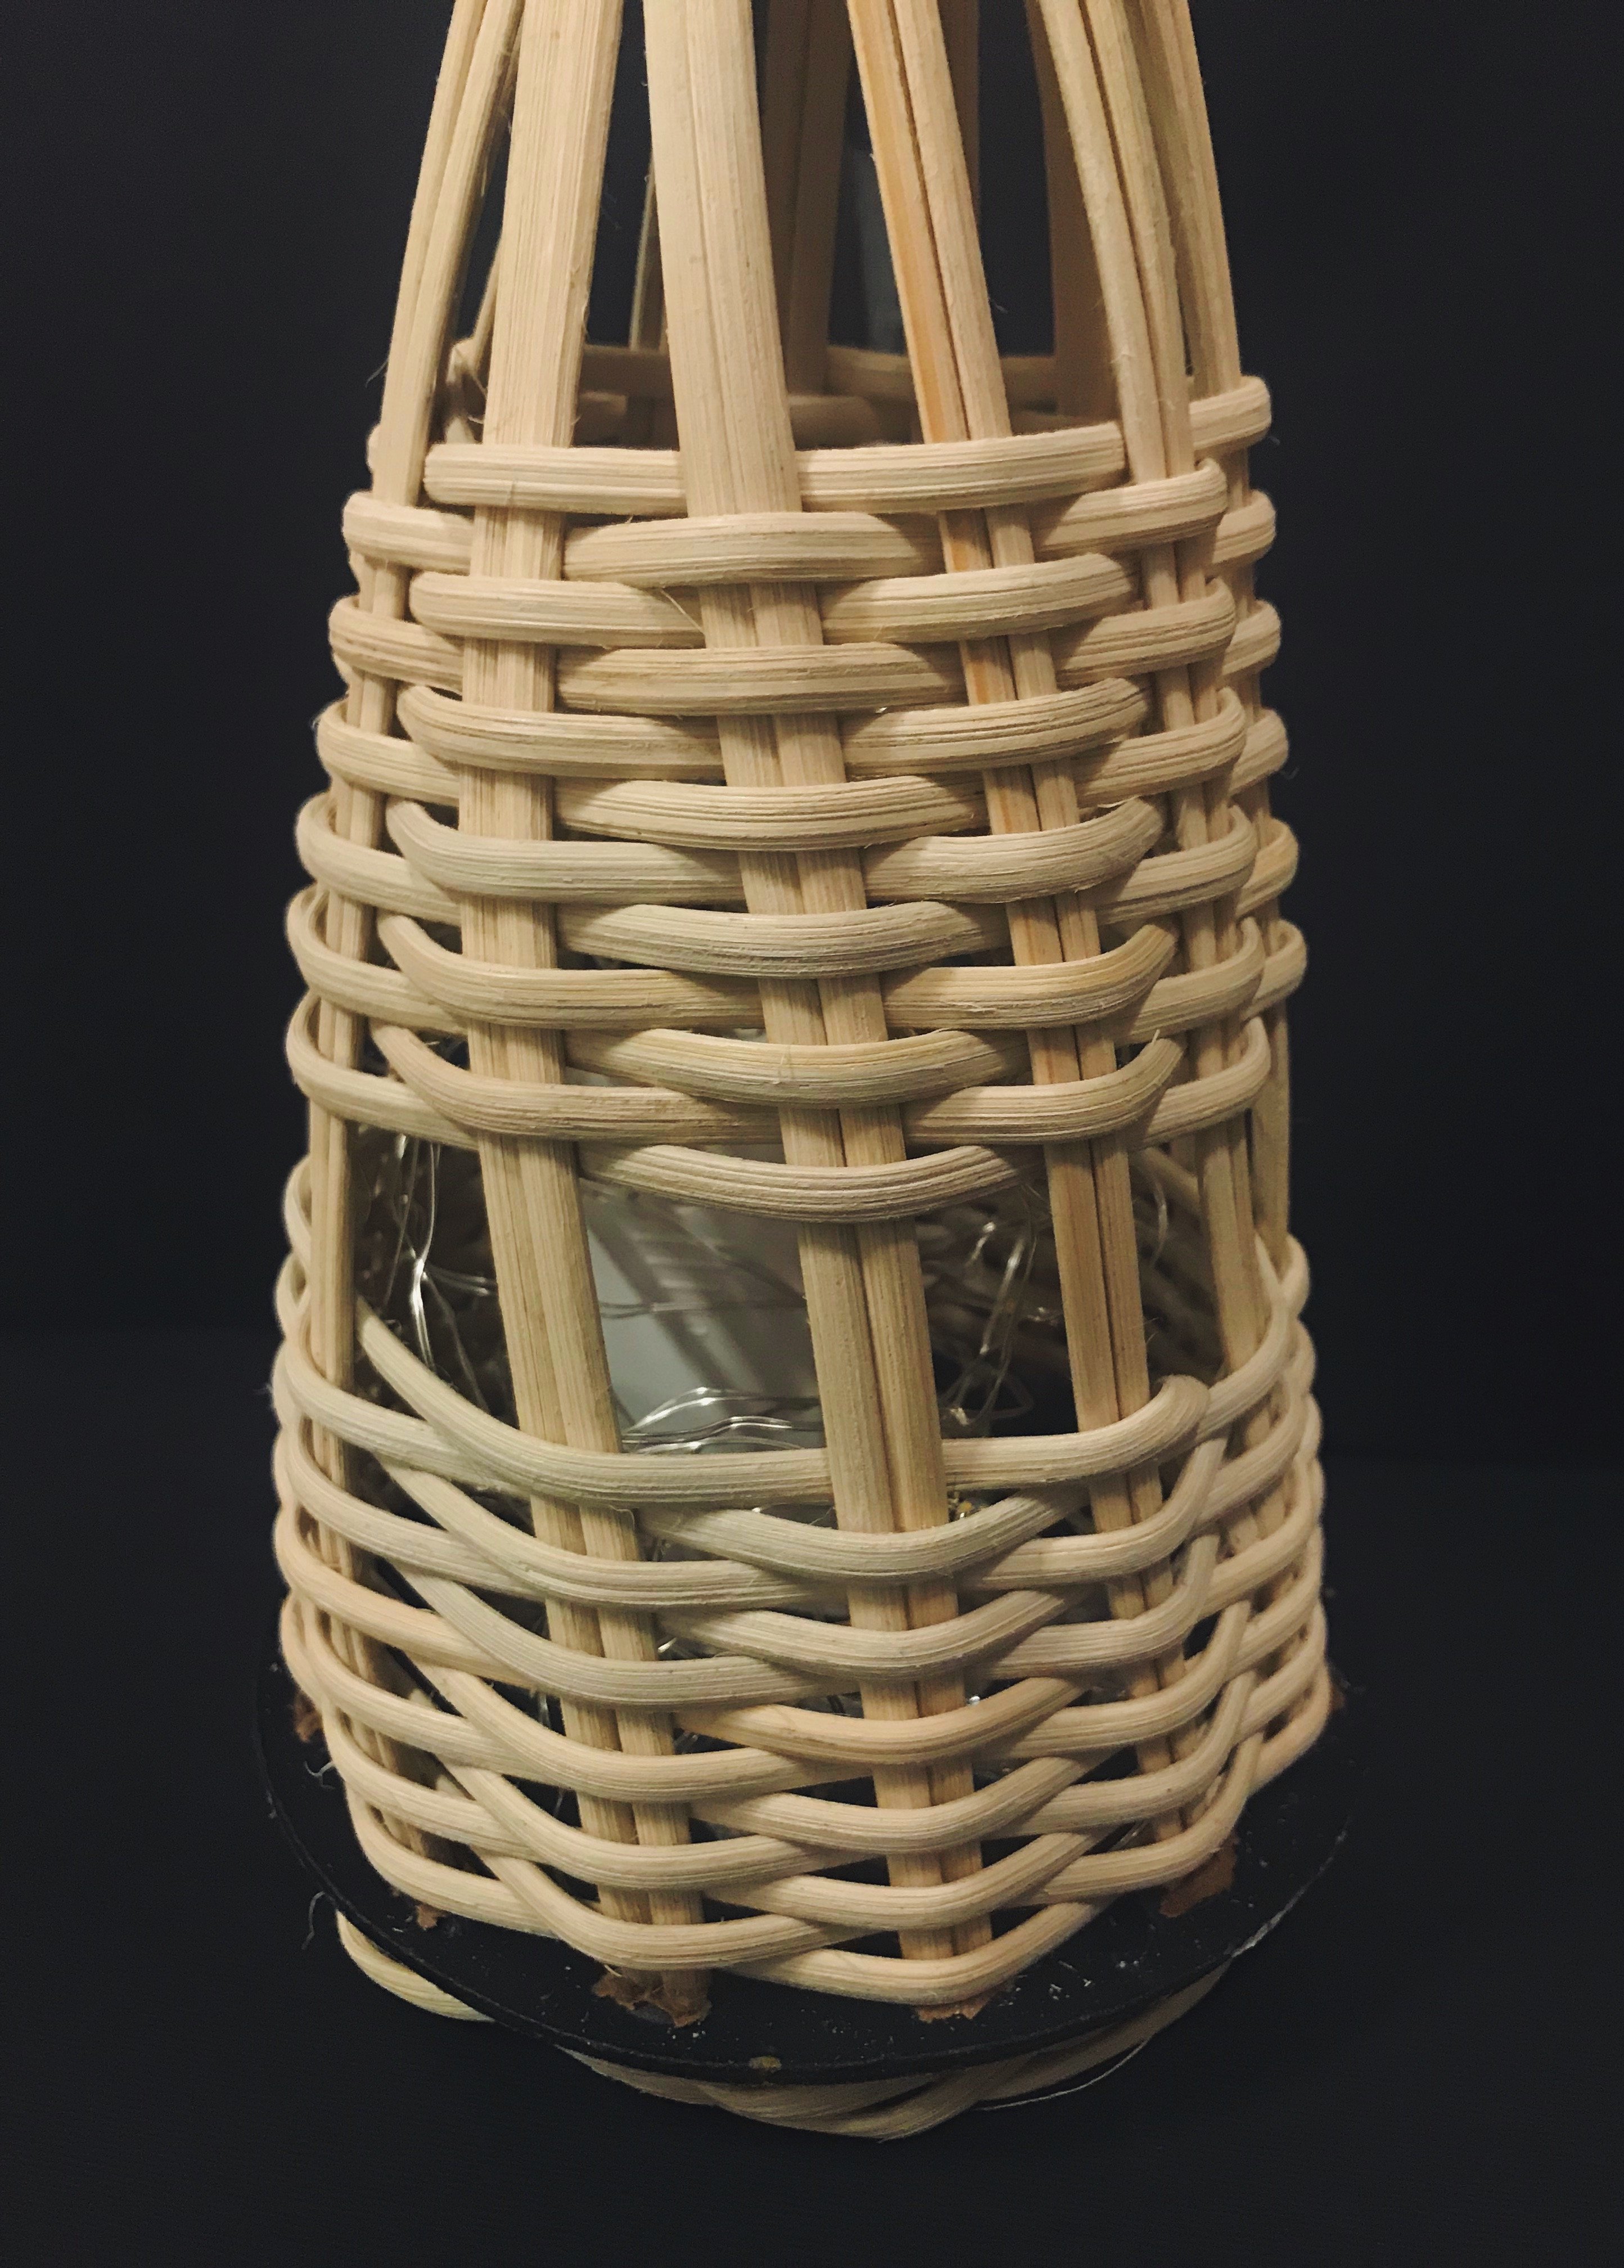
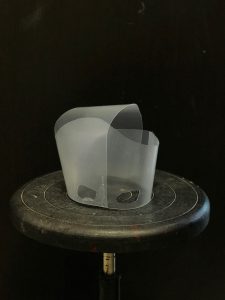
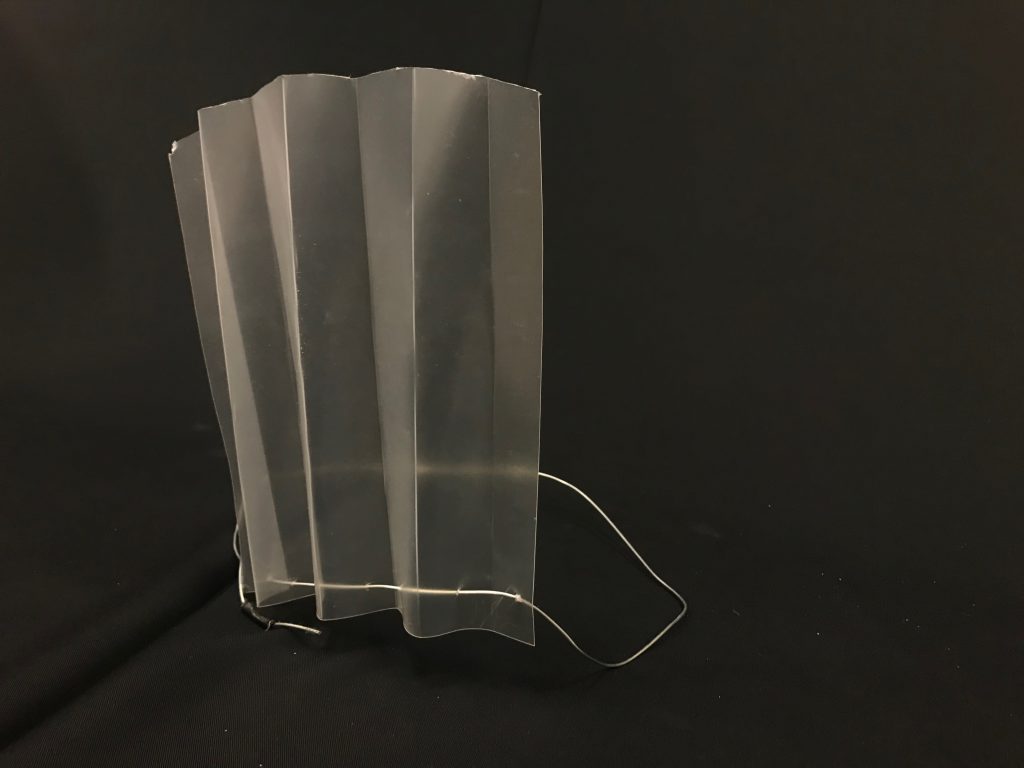
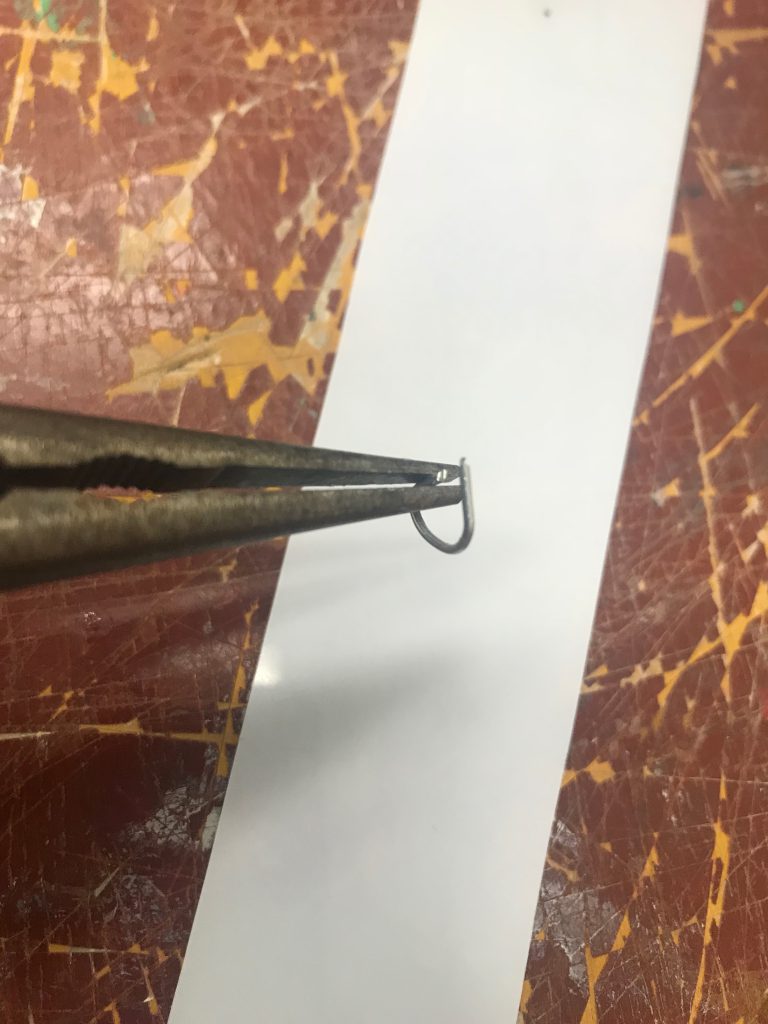
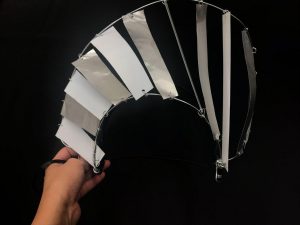
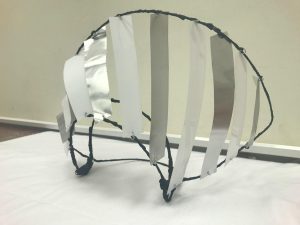
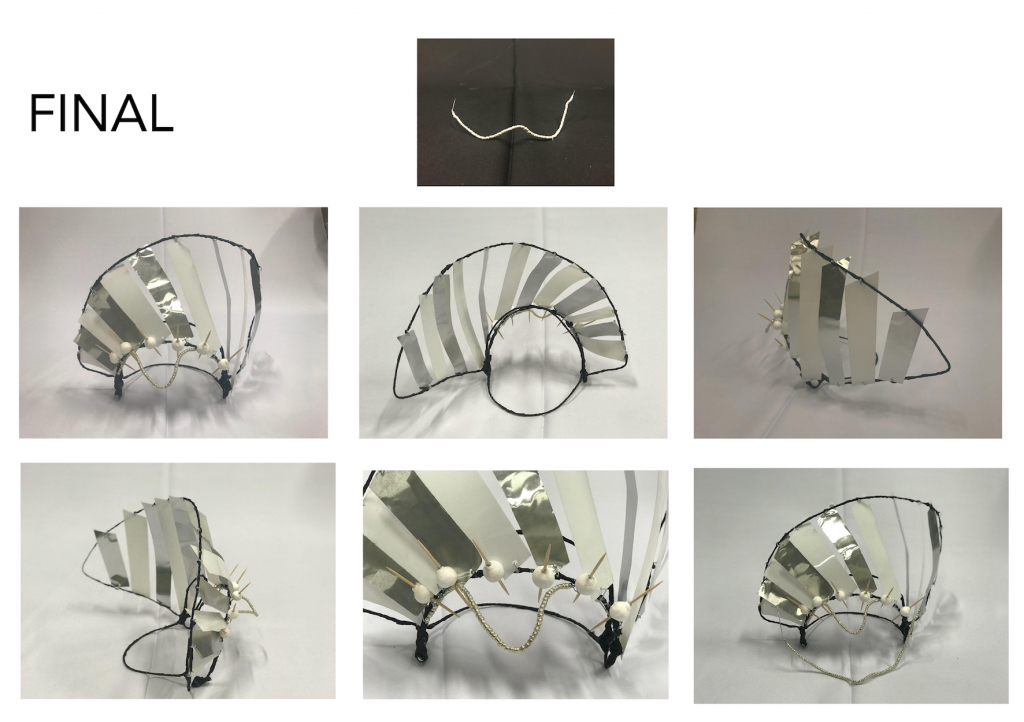
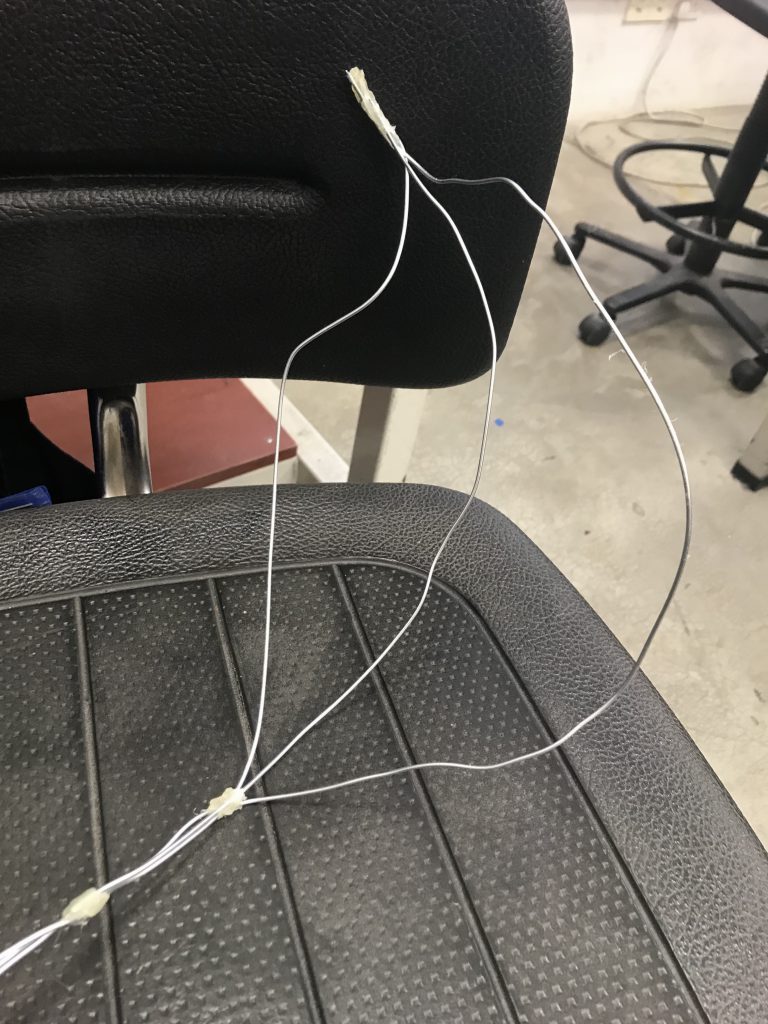
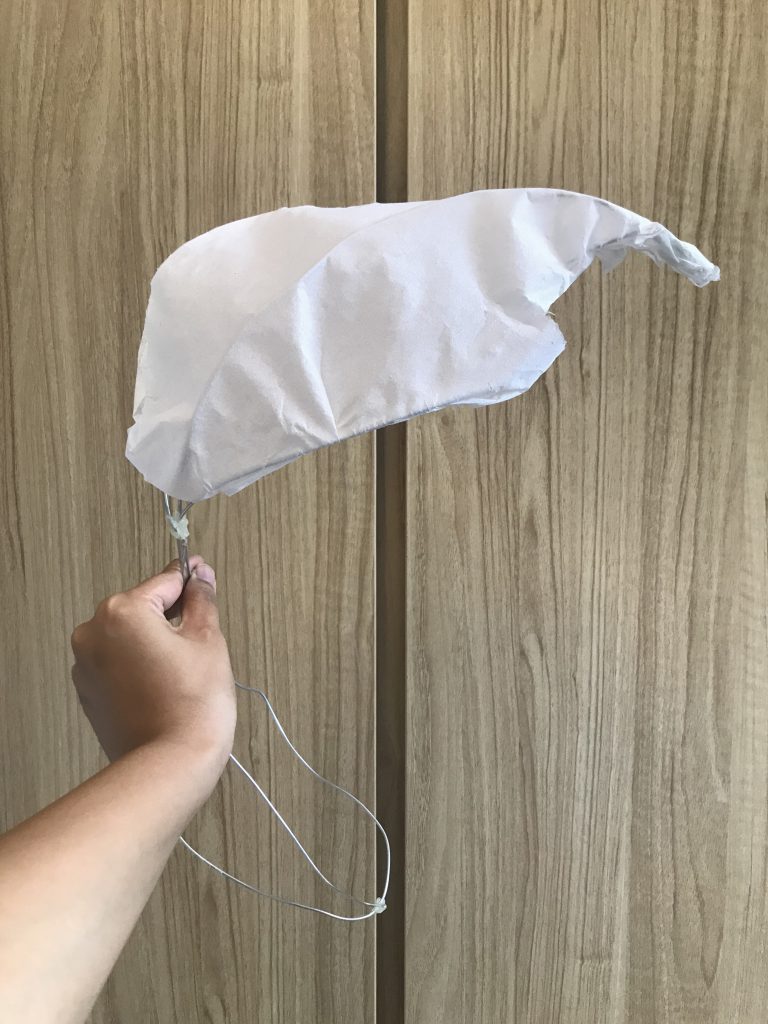
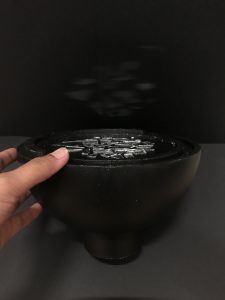
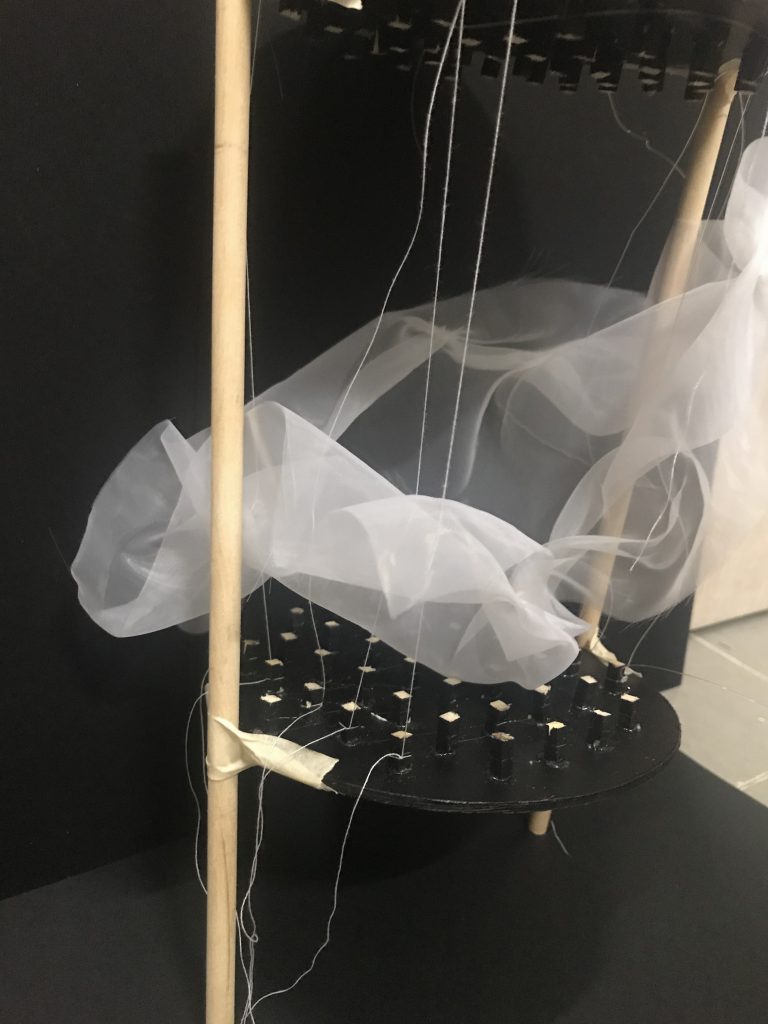
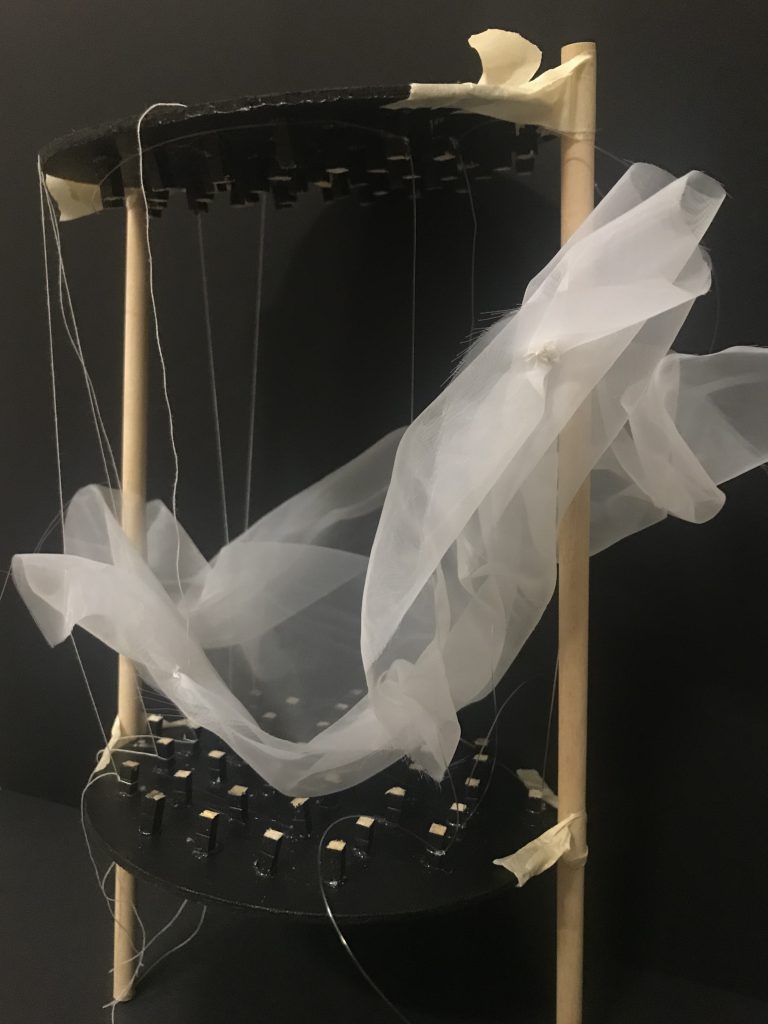
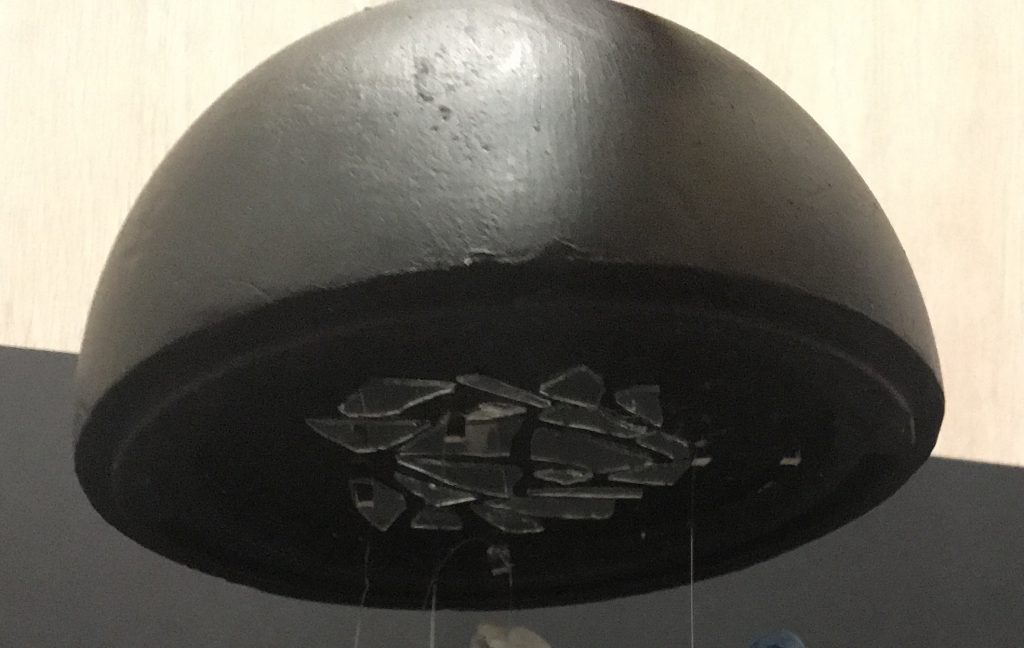
I then created a cage made out of wires and fitted a sound box into the cage.
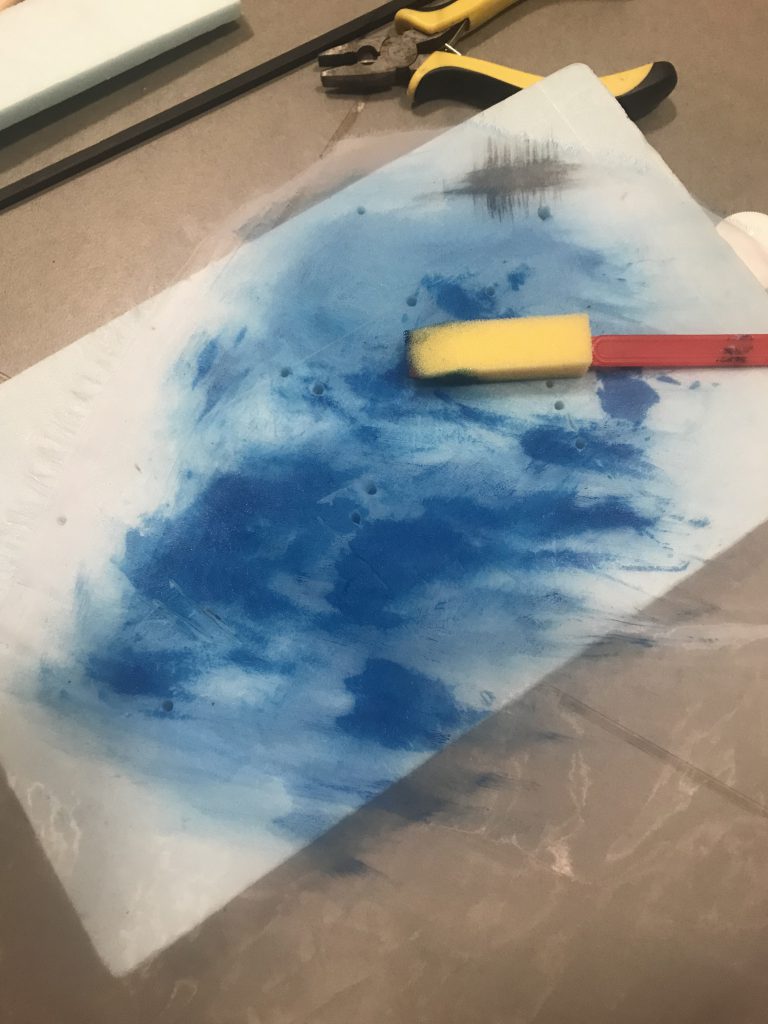
I also hand painted the boxes to with white acrylic paint. The purpose why this was hand painted was so that it seemed organic and raw. If you look closely, the boxes actually have unintentional handprints on it.
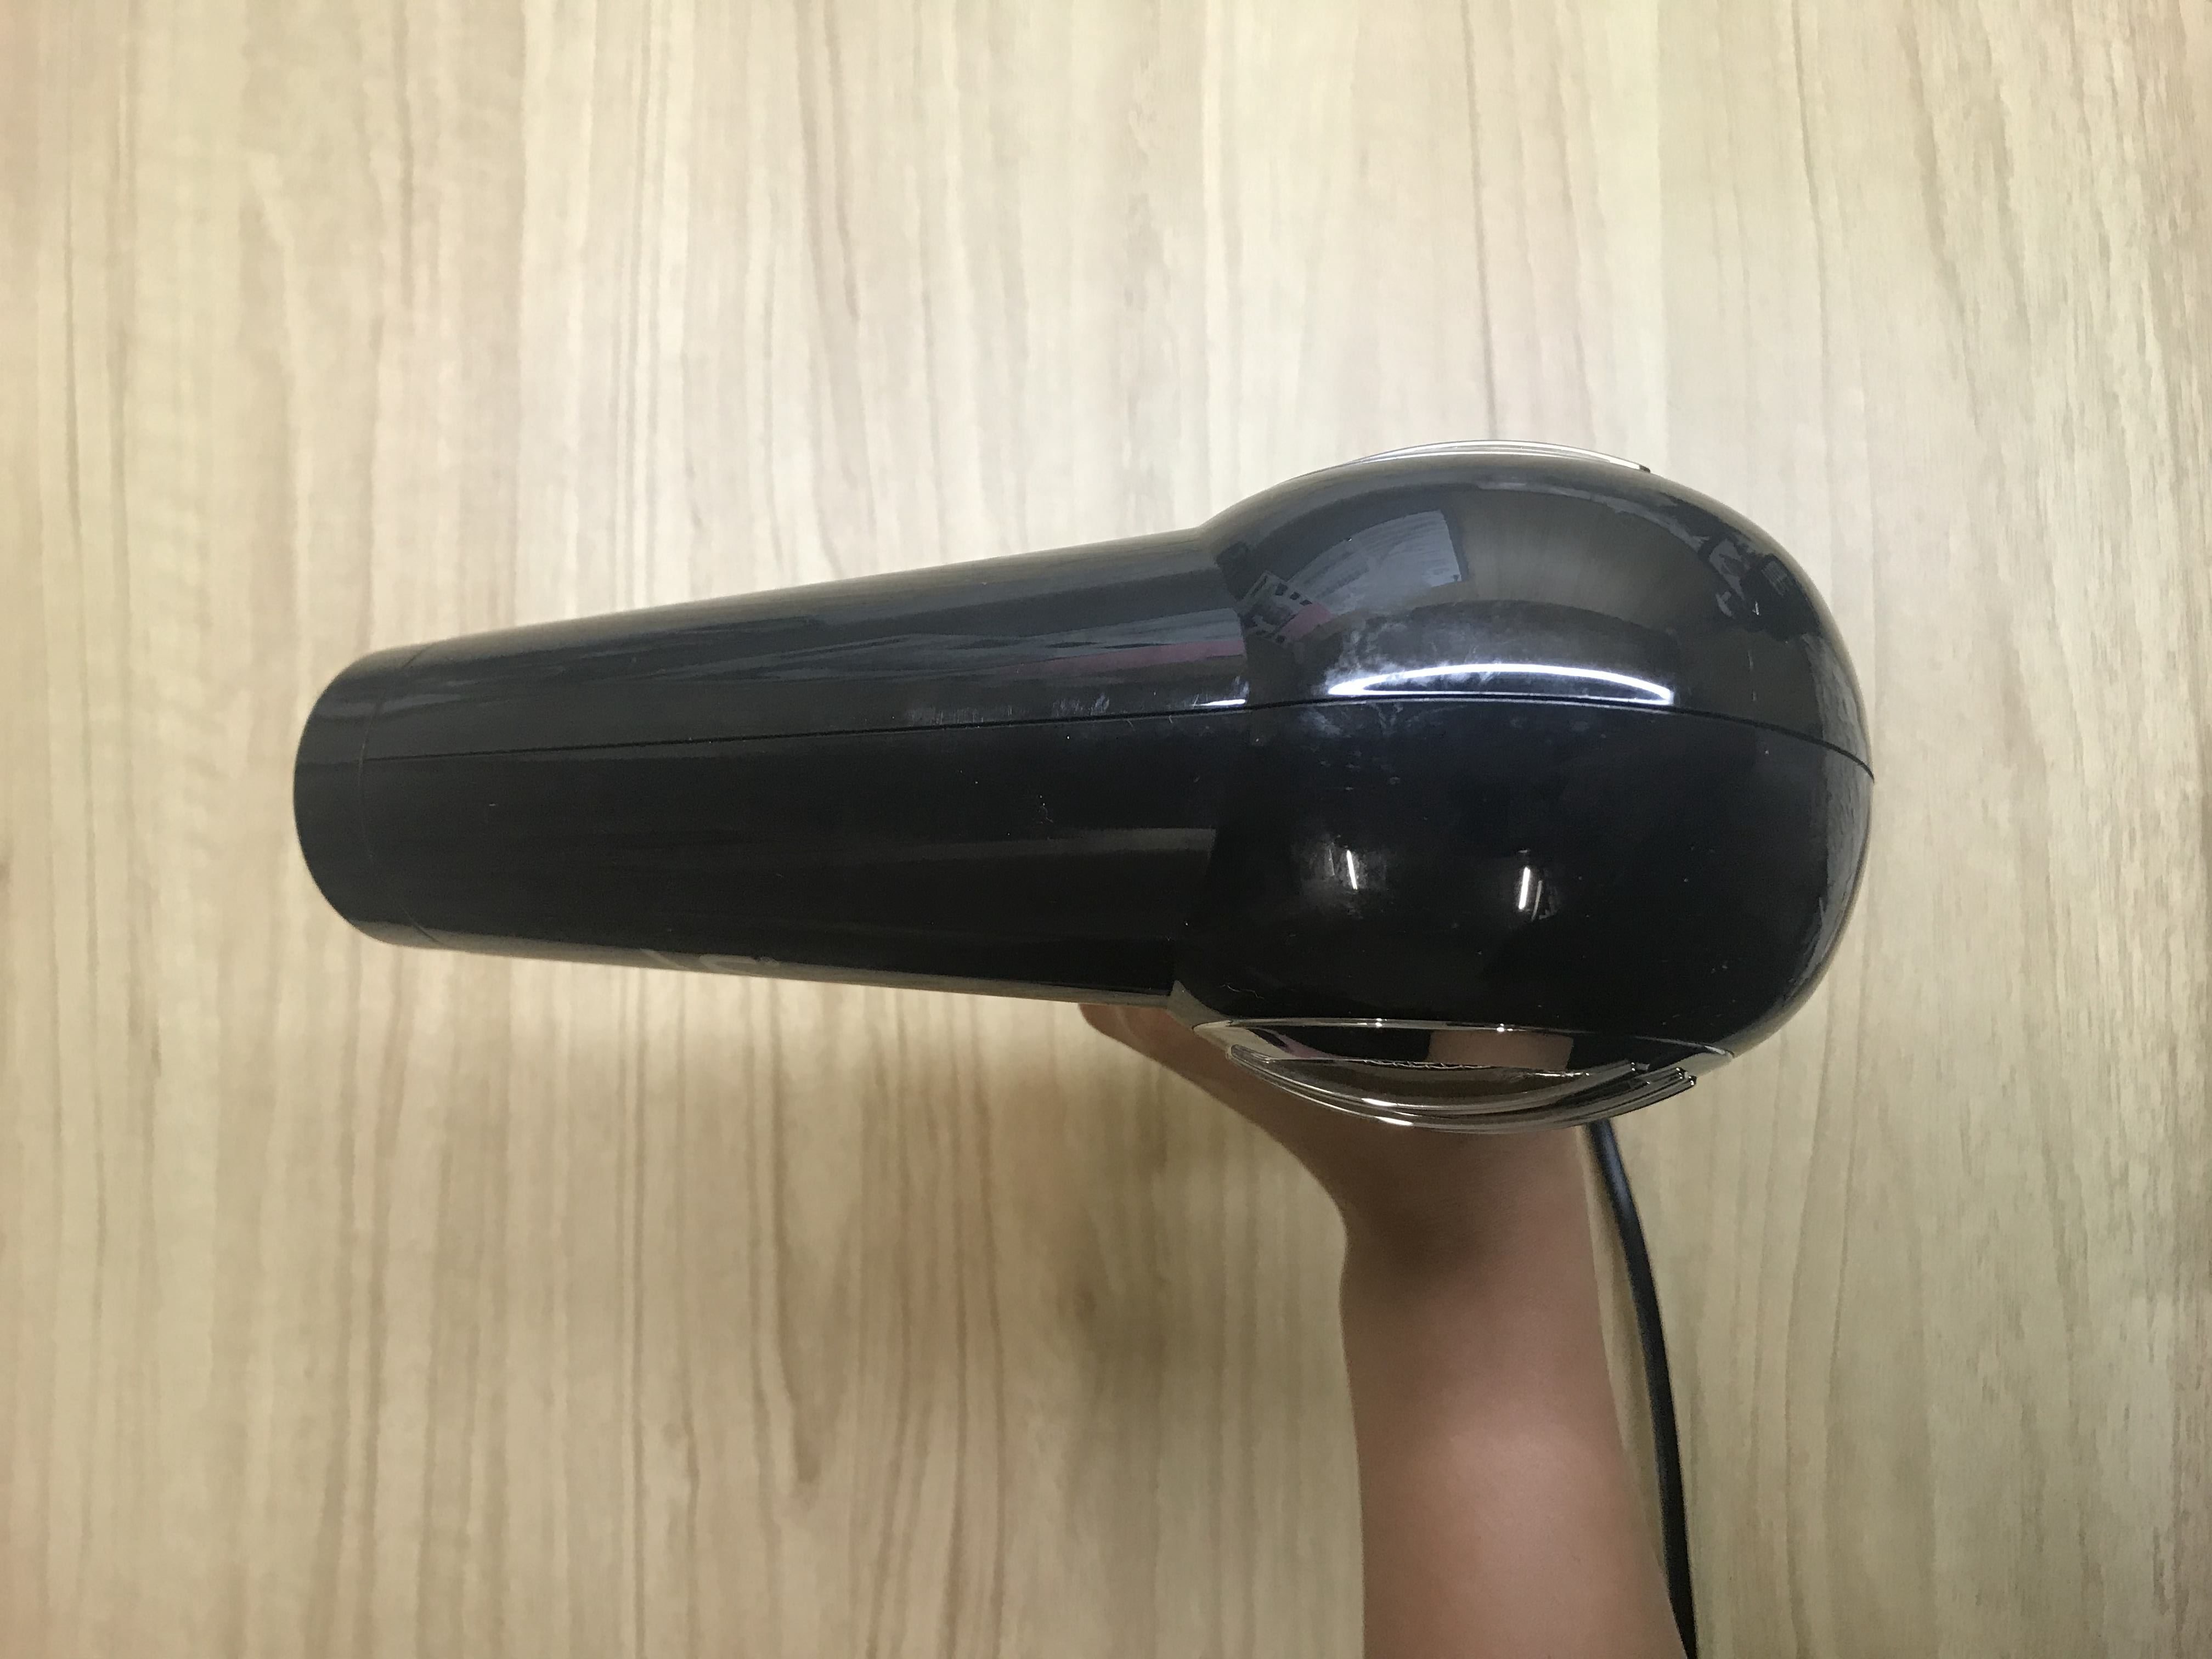
For the sound box, this was to represent the mental breakdowns that a depressed person might be experiencing. The sounds I put together were meant to portray that. The sound gets more and more intense as it went along. The purpose for this was to increase the intensity and anxiety of the participant.
THE SET-UP
-
-
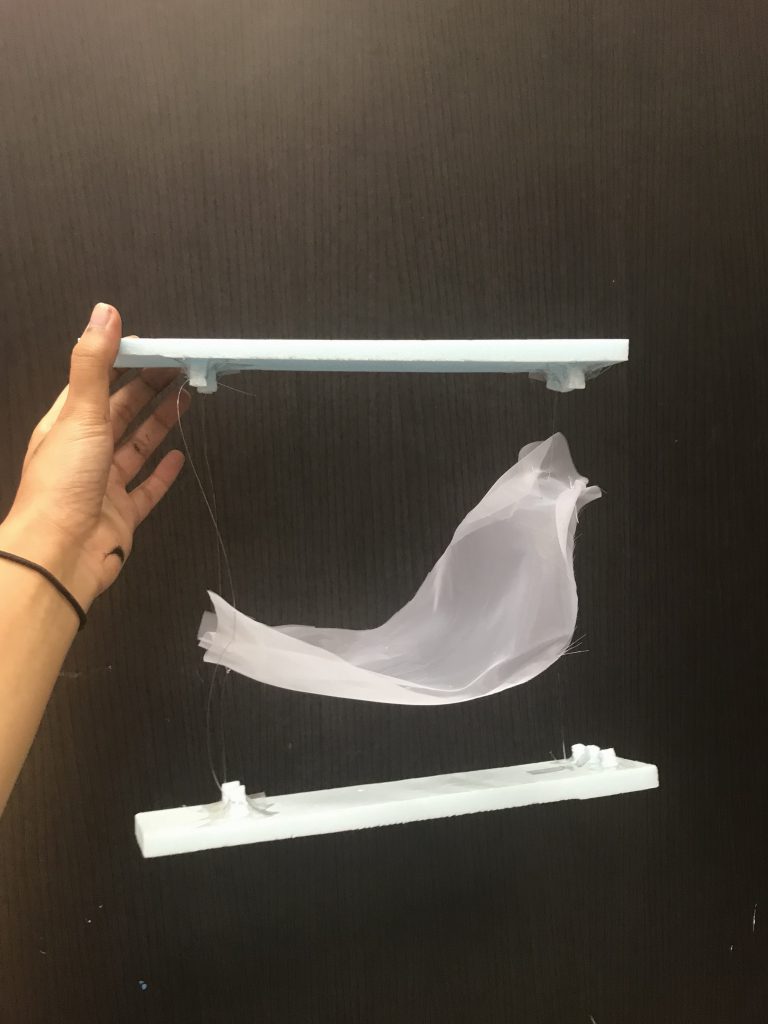
Handpainted boxes in decreasing sizes
-
-
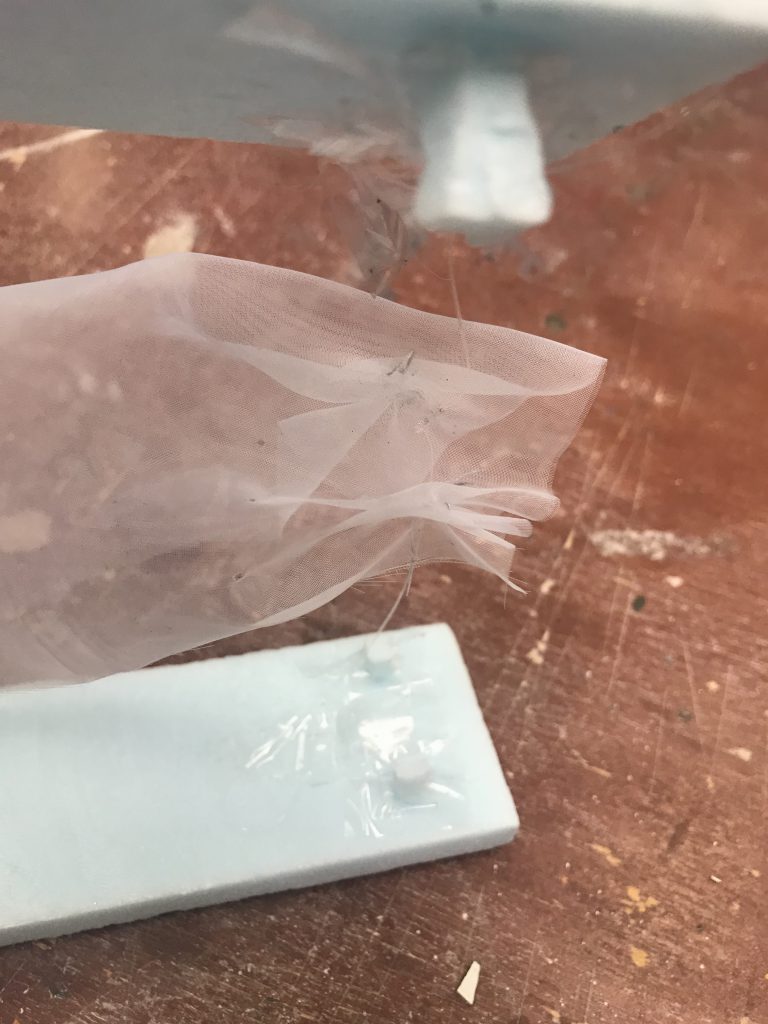
Sound box trapped in cage
On the day itself, I needed the room to be dark and a spotlight shining on the participant.
I gave conditions to the participant as follows:
1. Remove the boxes, one by one till you get to the end.
2. Make sure to be careful not to destroy the boxes as you remove them.
3. You have a time limit of 6 minutes (I tested out the whole experiment on my own multiple times and it was around 5 minutes on average)
The purpose for the condition to remove the boxes carefully was to avoid the participants from ripping the boxes apart. It also meant to portray and allow the participants to experience the difficulty in facing this problem.
The time limit was meant to focus on the urgency of accepting depression and changing the society’s mindset and attitude towards it.
The intensity of the sound increases as the participant struggles to open the boxes. The purpose is to allow the participant experiencing it to feel increasingly anxious as it goes on. They would also be the one that hears the sounds coming from the box the clearest.
The sounds include layers of girl crying, sobbing, wailing, rain, water from shower head etc.
Here’s the audio that I put together. Some were organic and others were extracted from non-copyrighted sources.
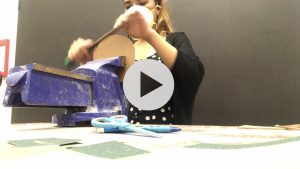
Audio and Video of in-class performance
After the whole performance, I described what the piece is about. What I said were as follows:
This piece is called “Caged”.
Take note that the boxes represents society & the cage + sound box represents mental health, specifically, depression.
Depression is a mental health condition that has been shan’t or frowned upon when being brought up.
The time limit and the intensity of the piece was a way to portray the urgency needed to deal with this alarming spike in the number of people dealing with Depression.
The delicacy that was instructed when removing the boxes depicts the fragile issue of mental health since it is a sensitive or taboo topic, especially amongst the older generation.
If you noticed, the first box was the hardest to remove and it gets easier as the boxes get smaller. This depicts the difficulty of the first few steps in dealing with this social construct on mental health.
The scale of the boxes, from biggest to smallest, represents how minute the big problem of depression is viewed in our society. (compare the two)
It also represents the obstacles that will get smaller and therefore, easier to deal with
The cage at the end, enclosing the sound box shows the feeling of trapped & suffocation of the people suffering with this all alone.
I guess what I am trying to say here is that tolerance of this issue is needed and the normality of this will allow more people to come forward and seek help.
The audio is meant to depict the periodic breakdowns that could be experienced by people suffering from mental health.
REFLECTION
This performance was a particularly tough and draining one as it was something that was personal. It was created with the purpose of awareness, provoking a thought to the audience and especially, the participant. It is also meant to resonate with those experiencing depression.


Recent Comments