Project 2 was definitely more fun to work with, to be honest. Mainly because there wasn’t much manual work to begin with and there’s complete freedom. From choosing movies to picking quotes and googling images that fit, I couldn’t be happier! I didn’t have any trouble in selecting movies, thanks to all the great movies shown in recent years and all the books adapted into movies. Therefore, the quotes kinda stuck in my mind.
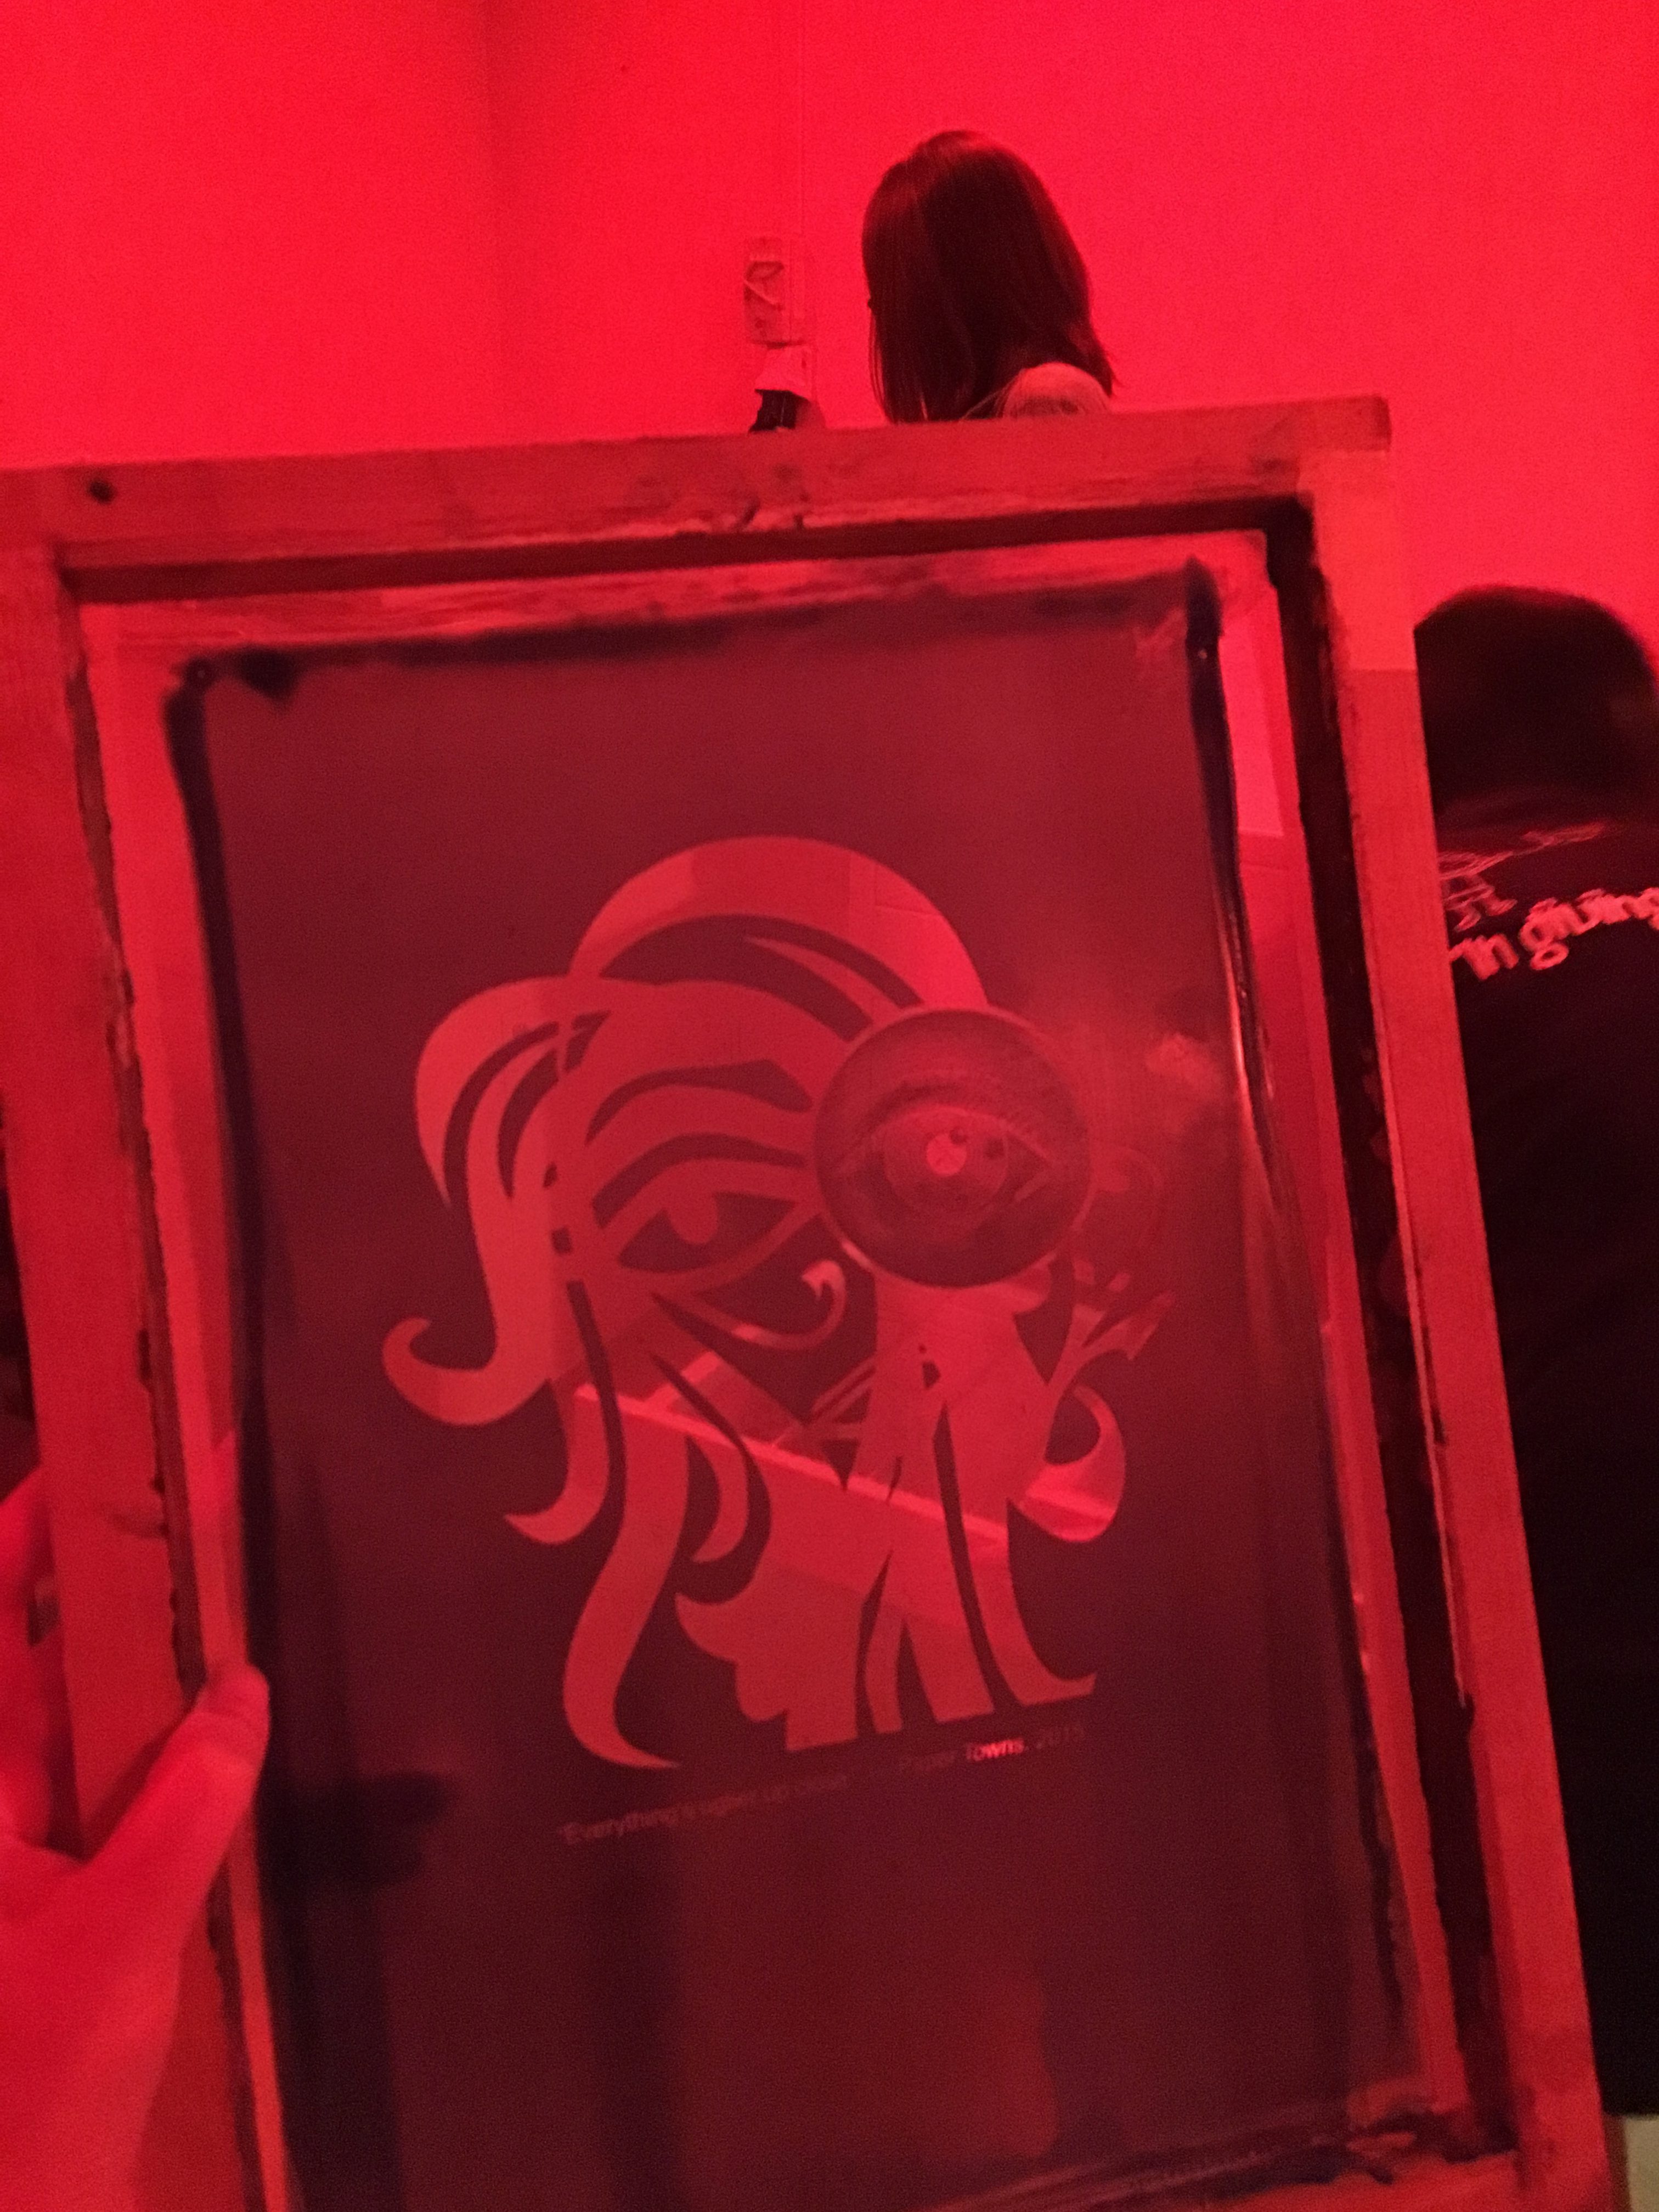
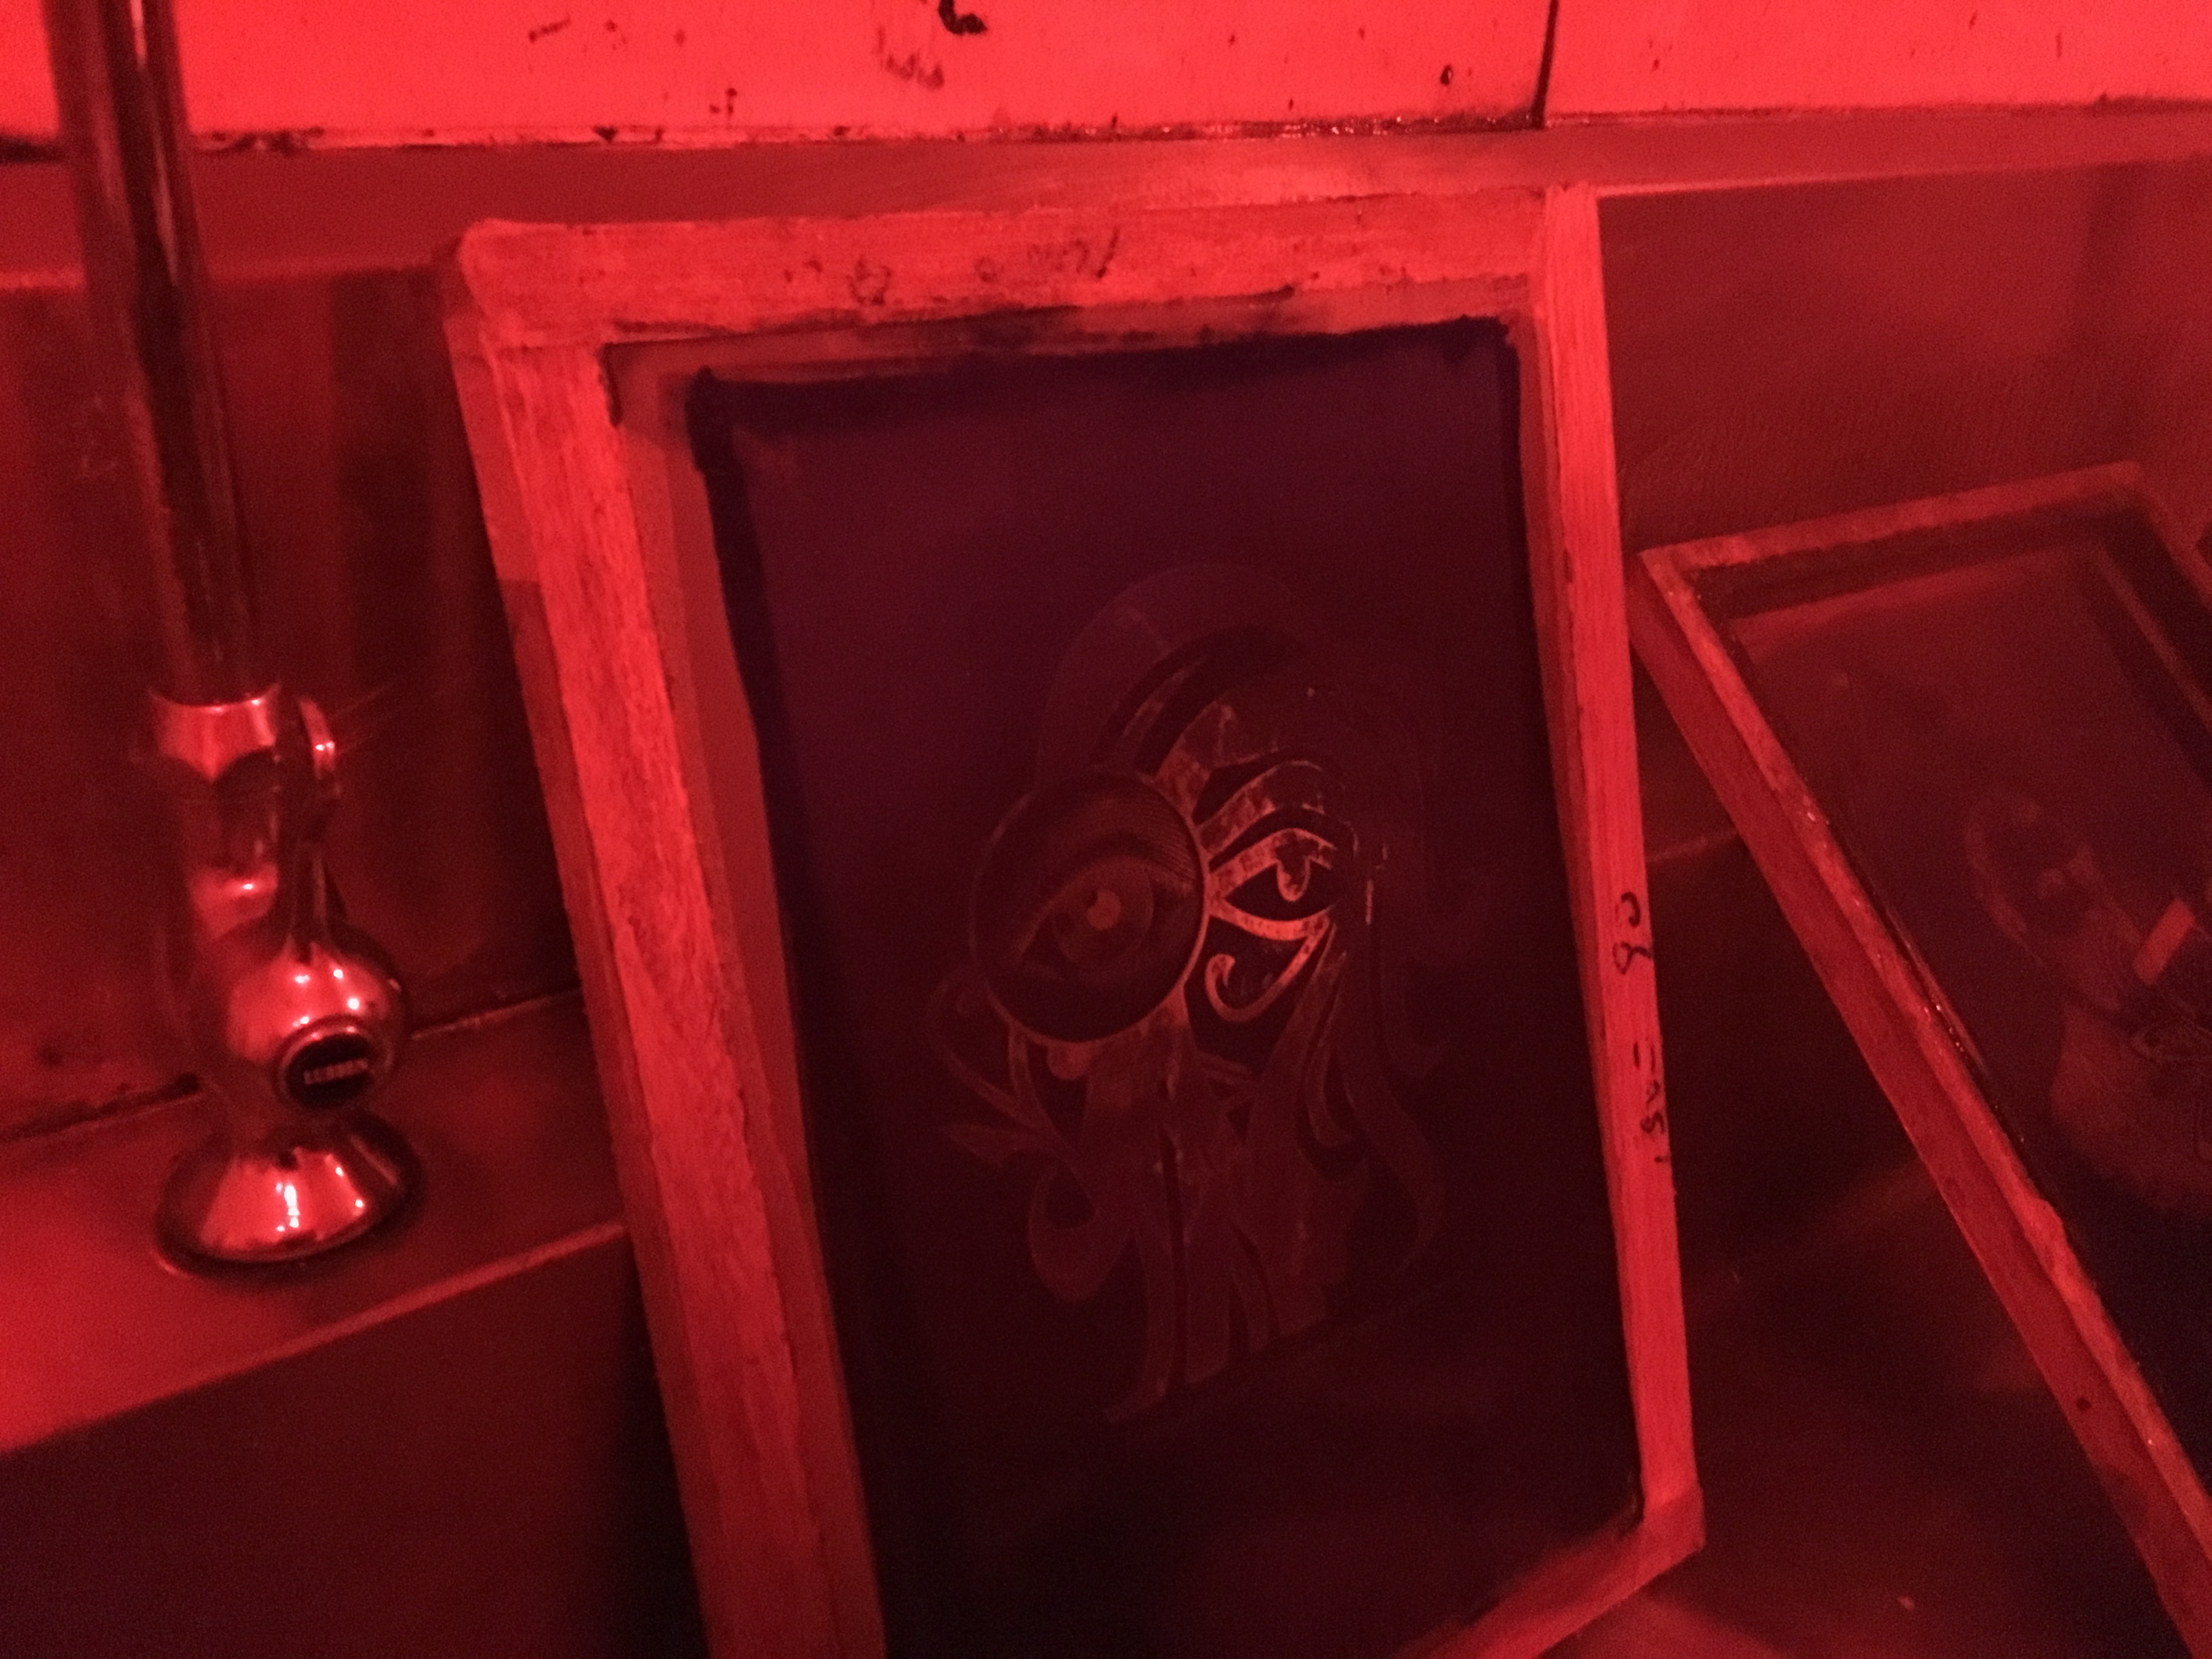
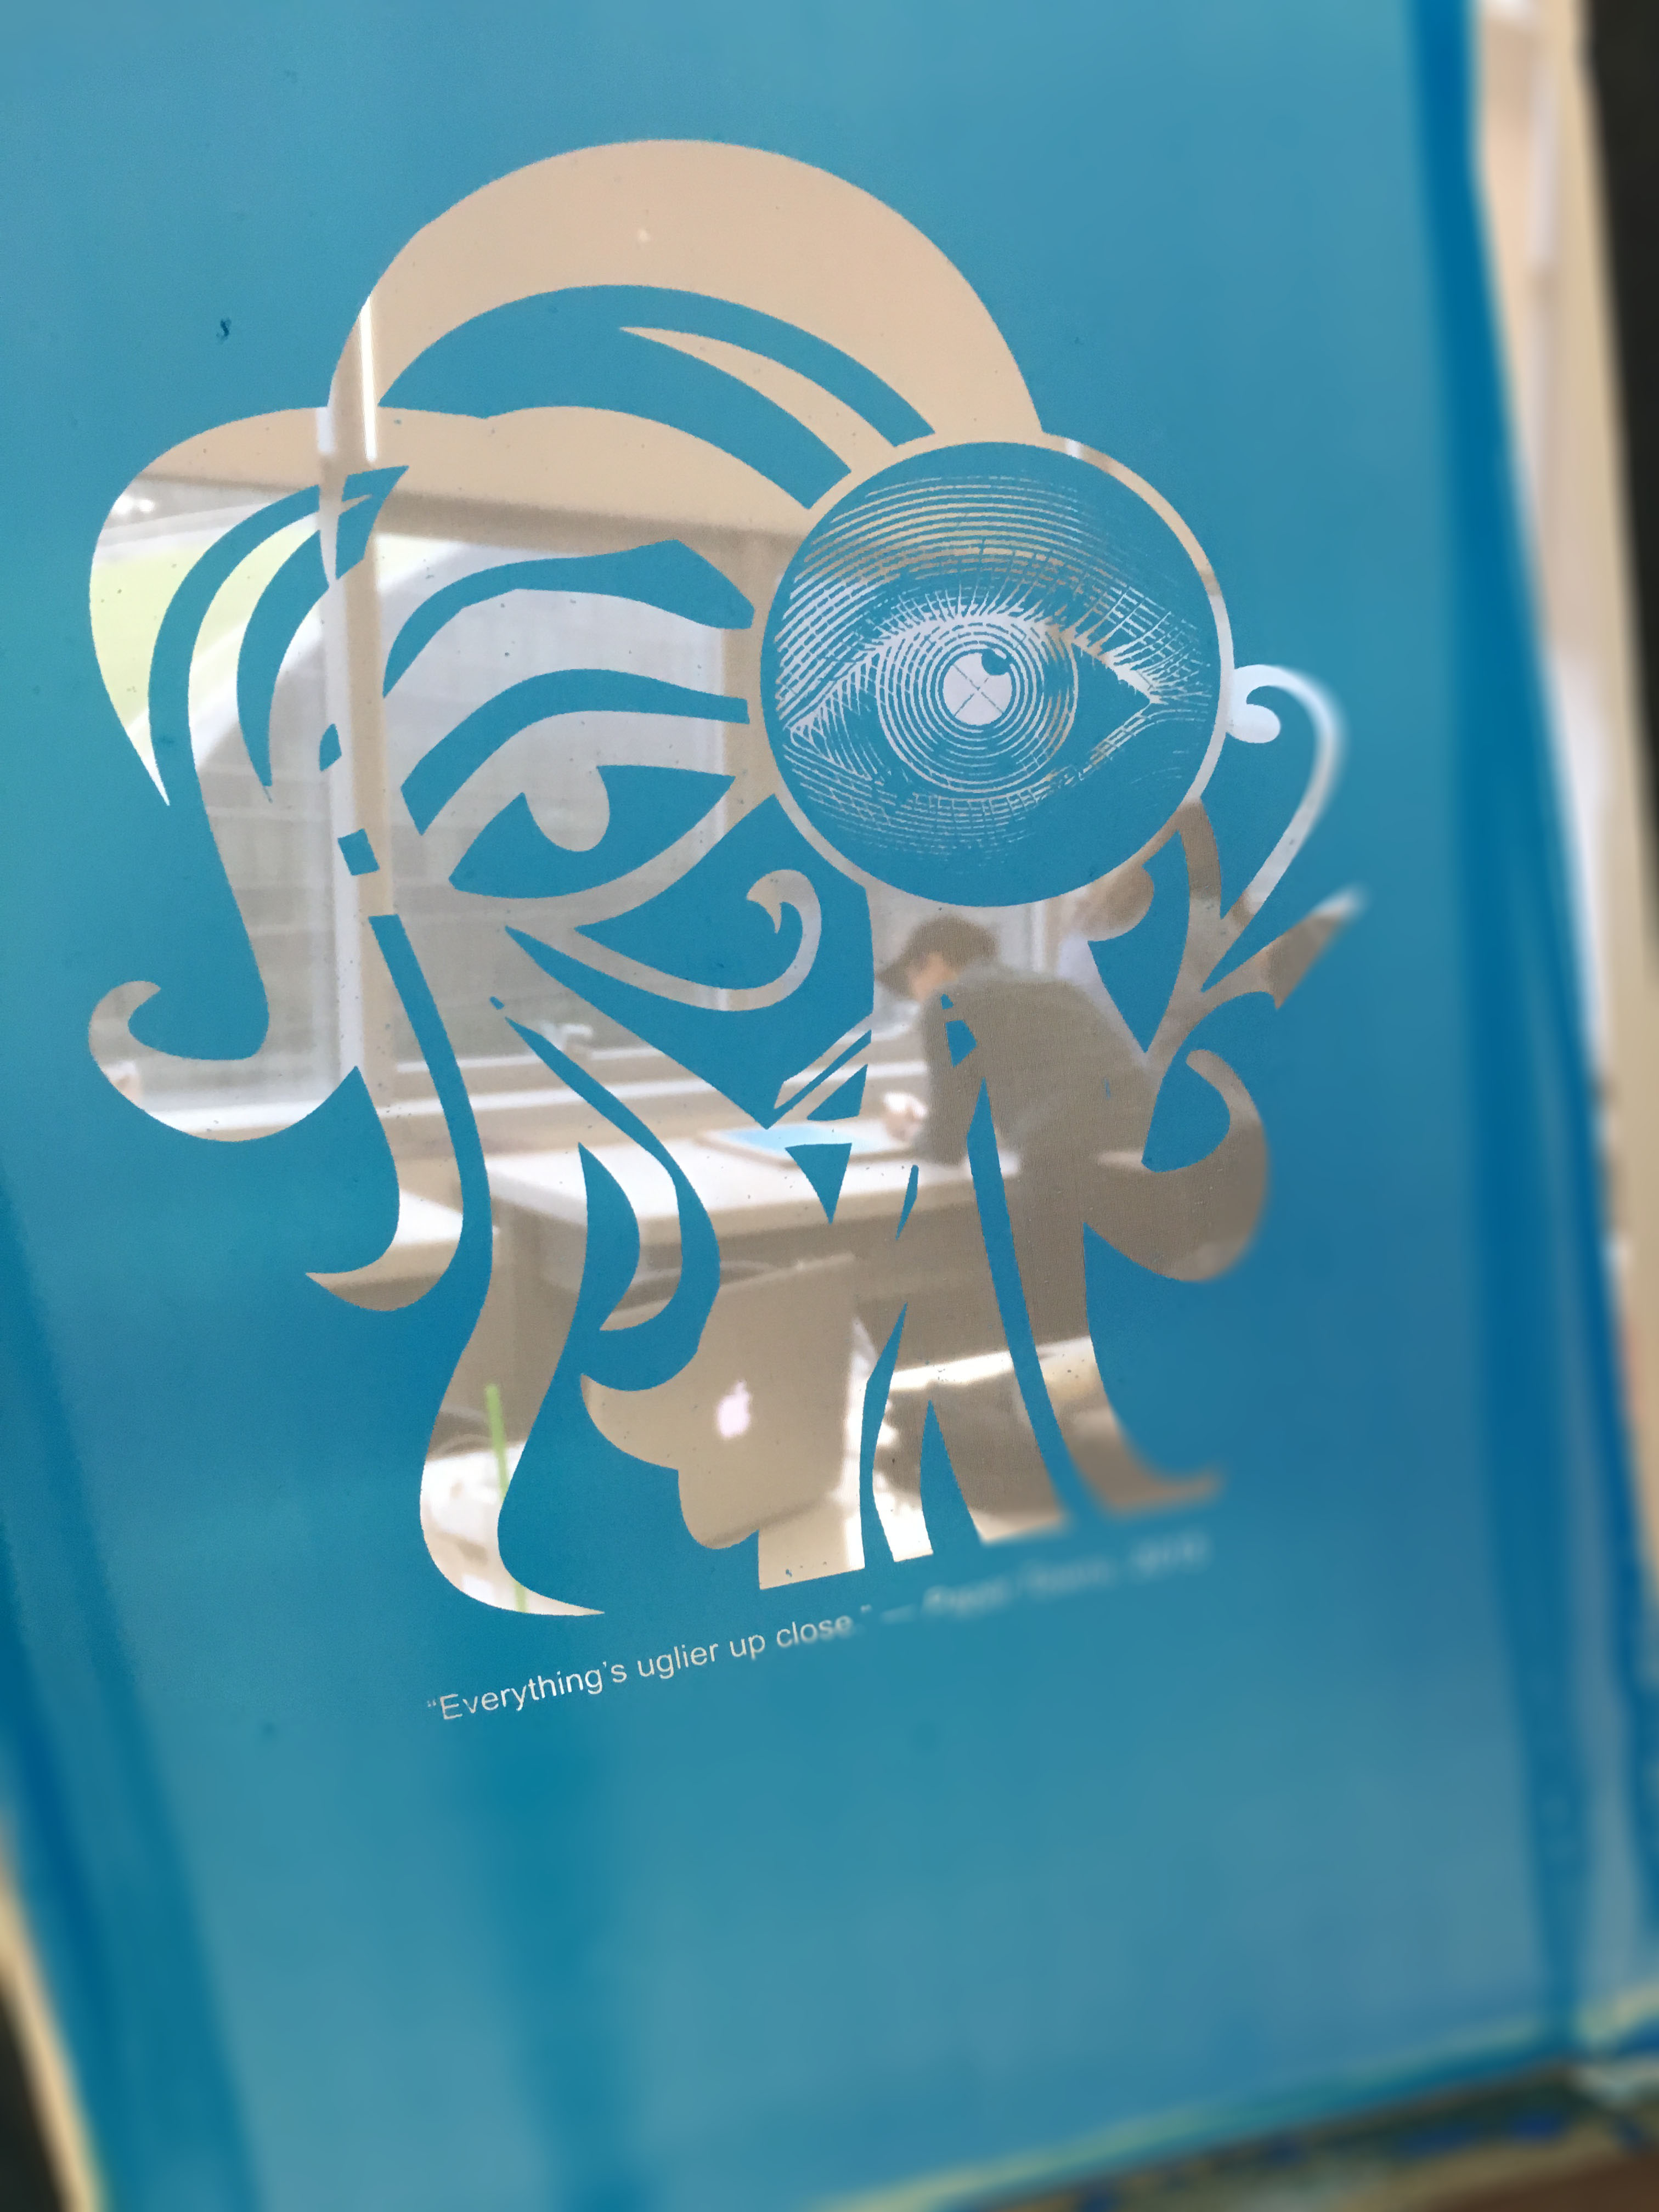
However, the conceptual phase wasn’t THAT easy as I thought it would be. Sometimes I have this image in my head of how the whole composition should work out. But finding the right elements wasn’t an easy task. For instance, I wanted this guy to look sad with just a side profile, but that alone probably takes a few pages of Google images to finally get the right one. You are in luck if the image is in high resolution, or else Illustrator comes into the picture.
Apart from that, I tend to look at the quote as a whole sentence and tried too hard to figure out a narrative for it, which I felt overwhelmed and restricted in many ways. Later, I learnt that I could do better if I break up the quotes into words, which made my life so much easier! Each word branched out into something else, which became my sources of inspiration.
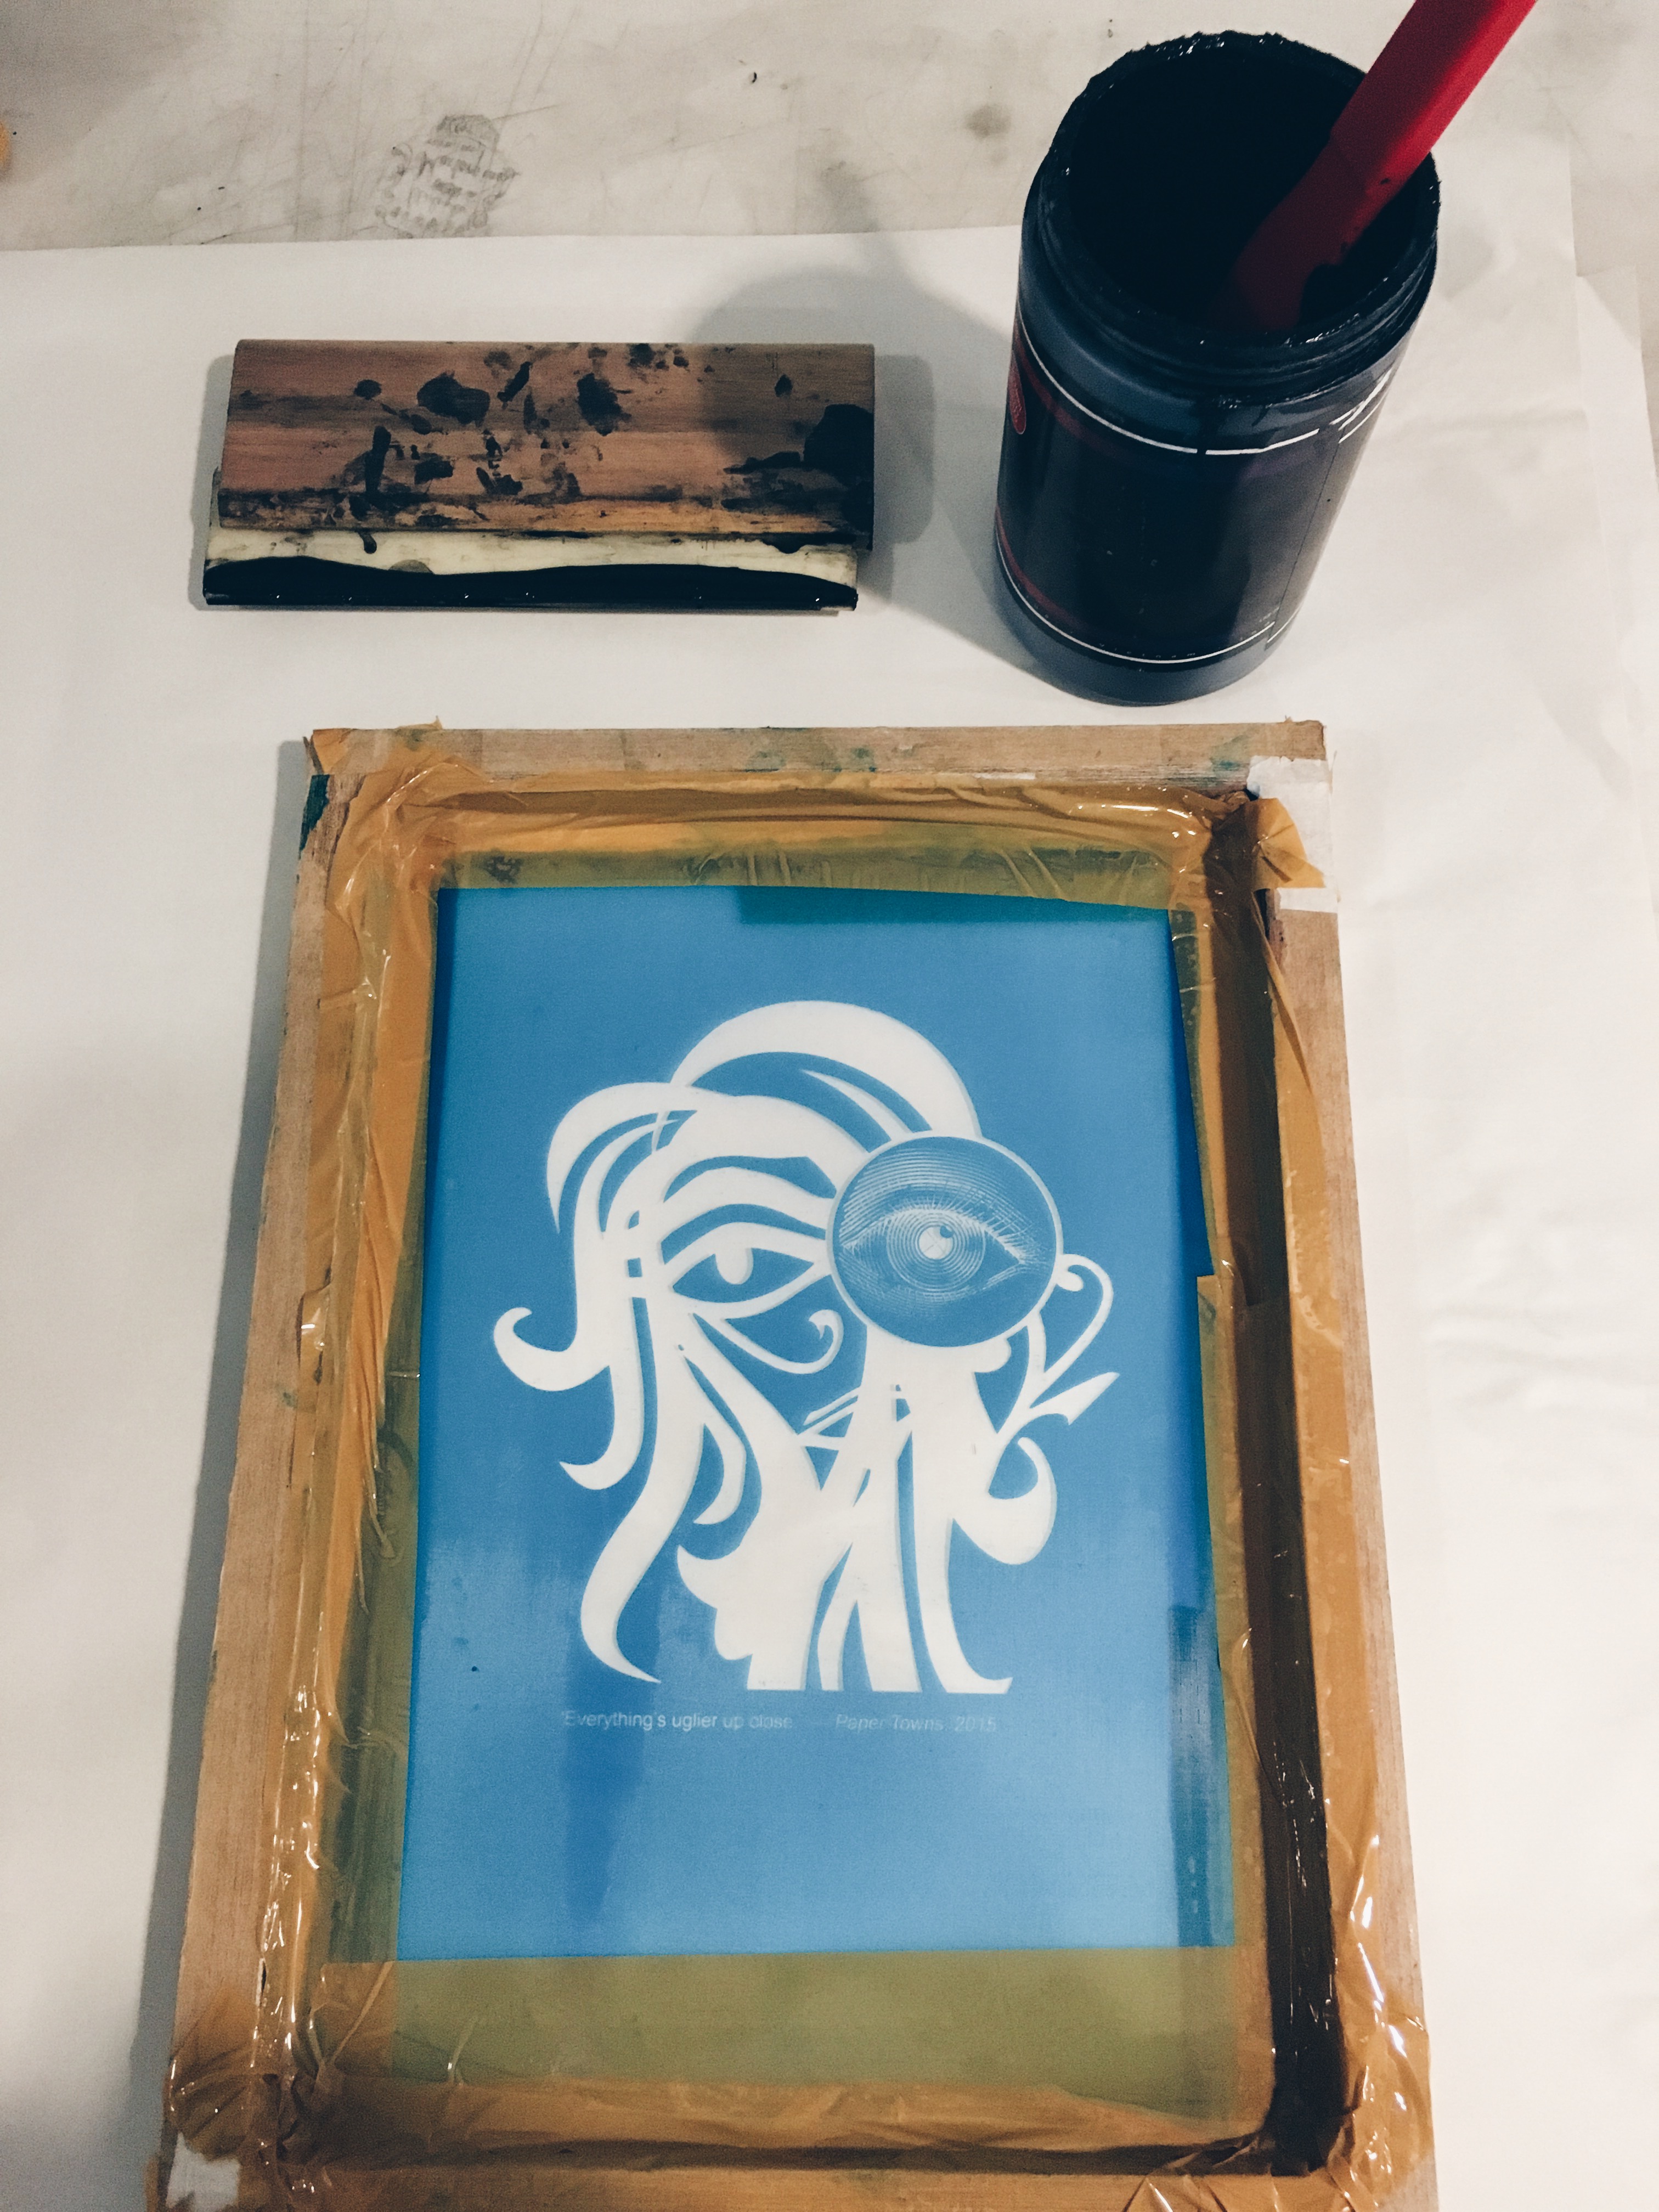
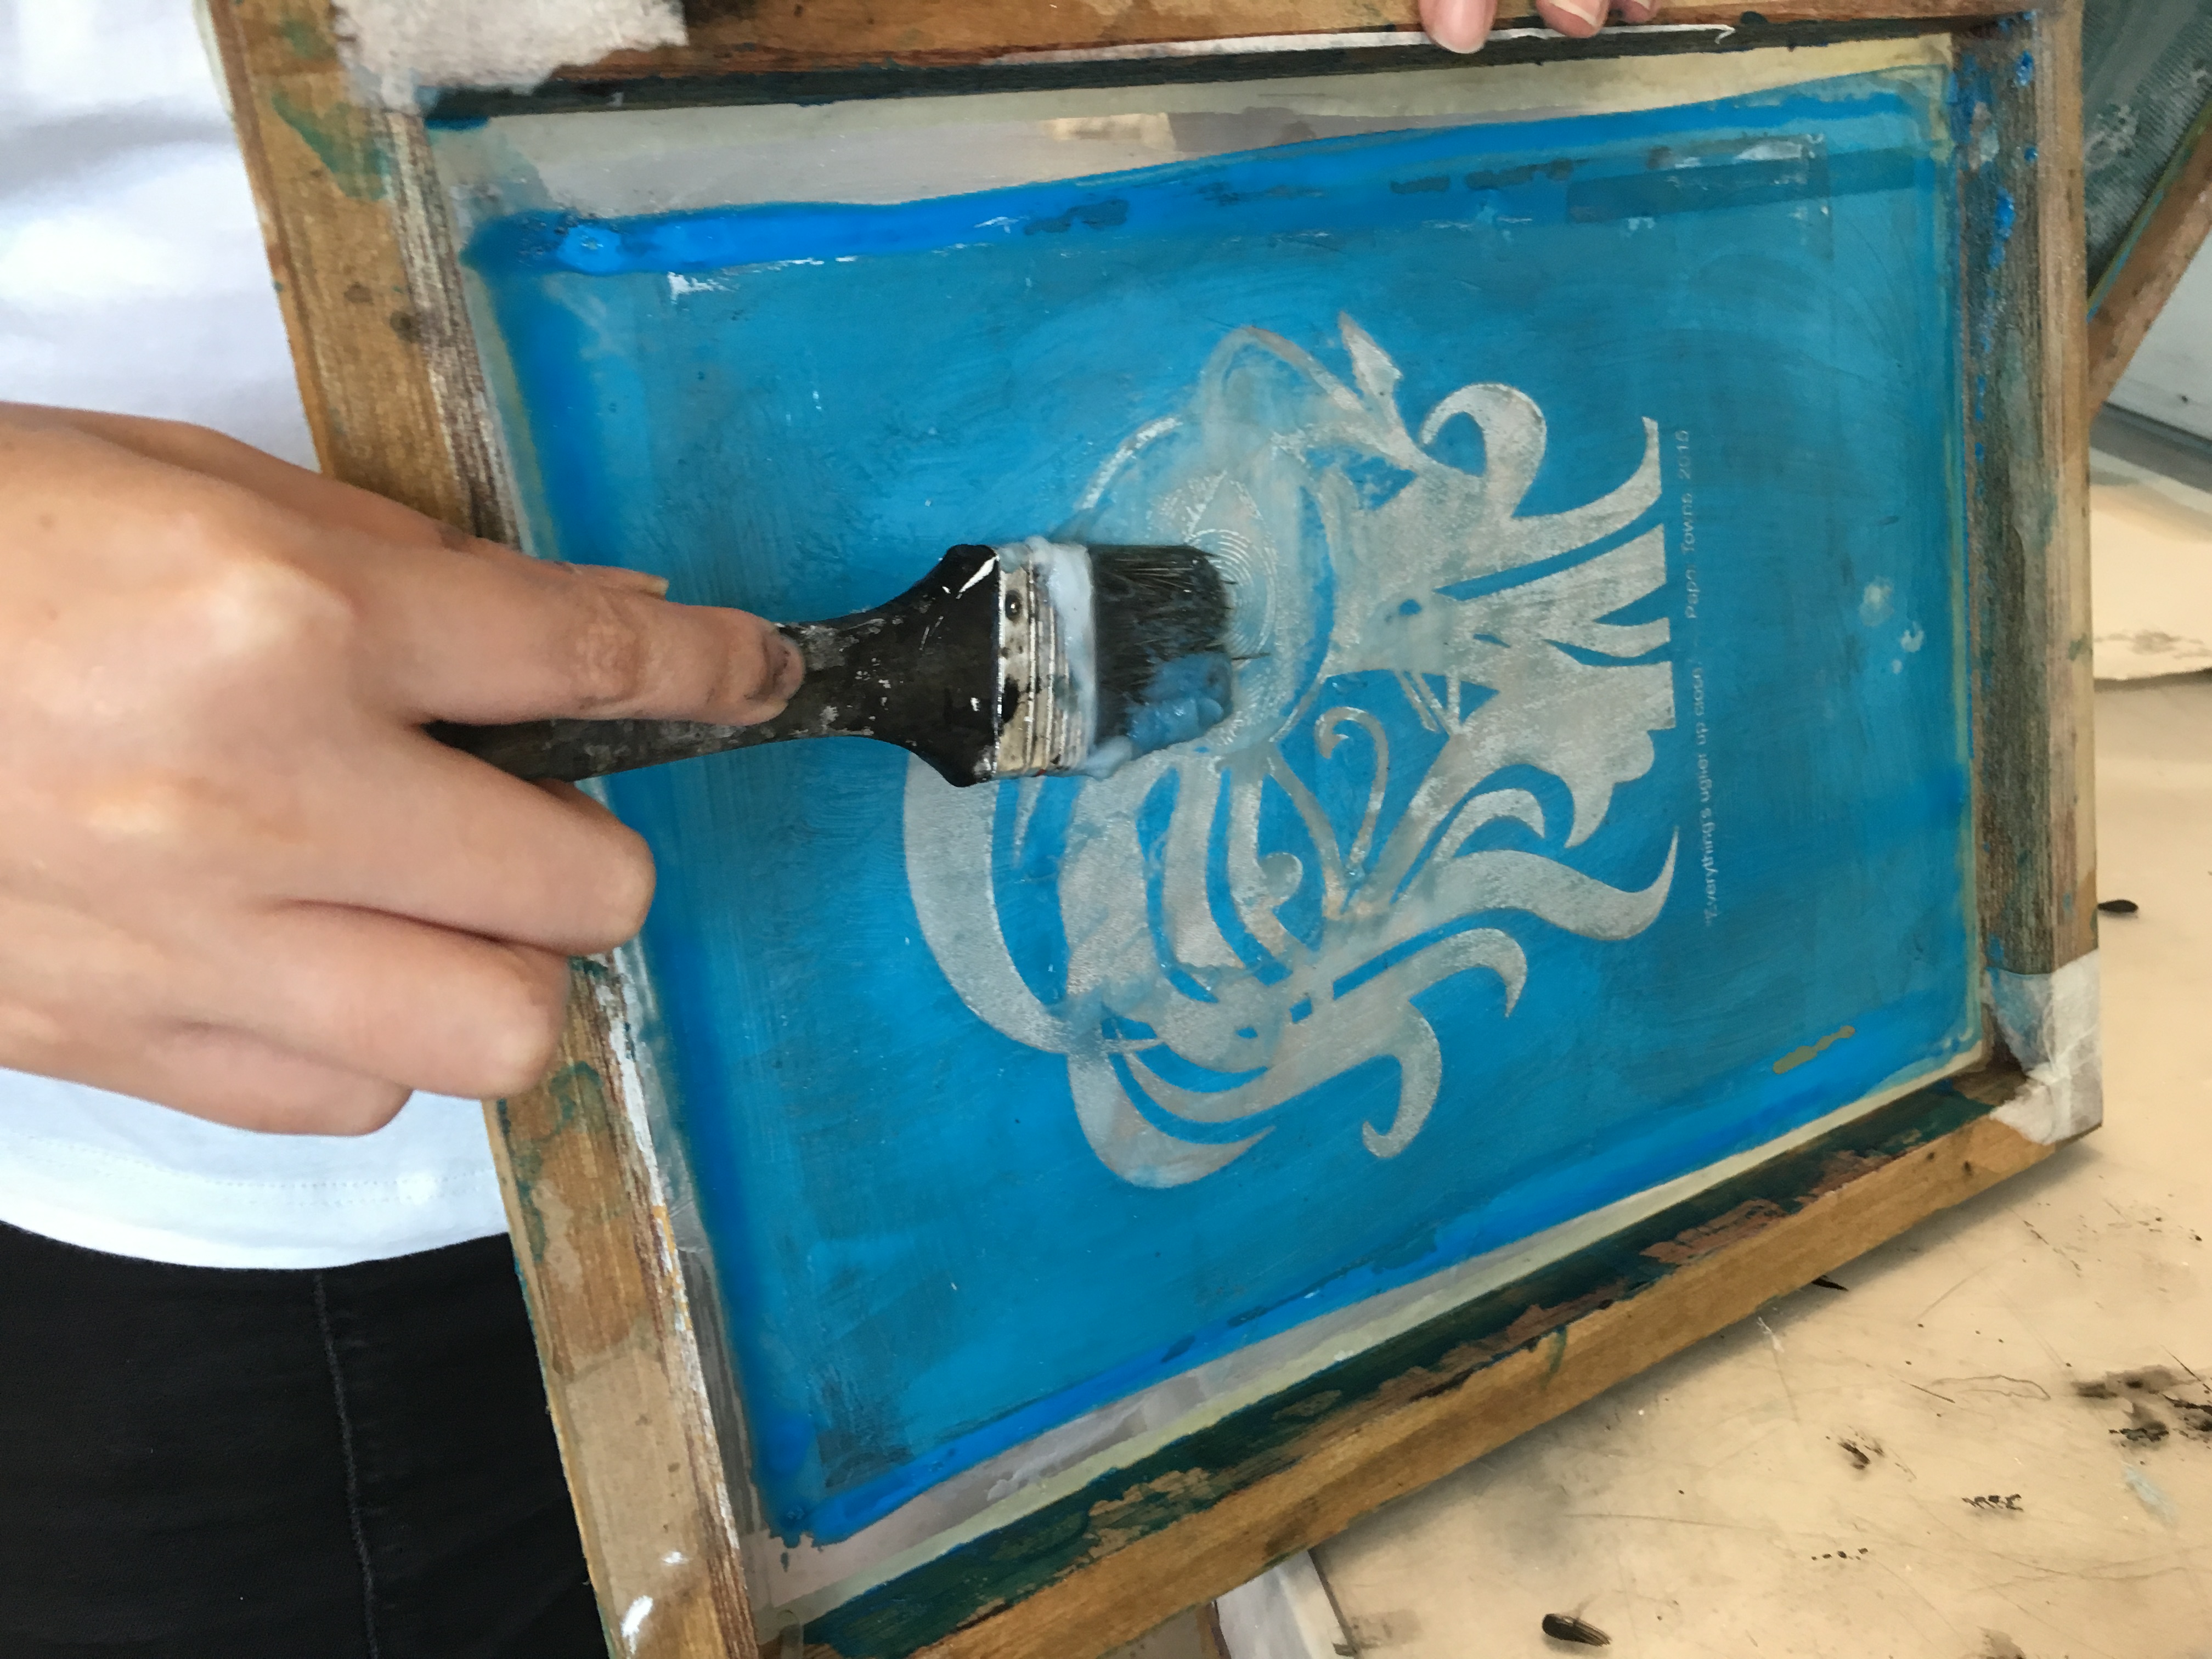
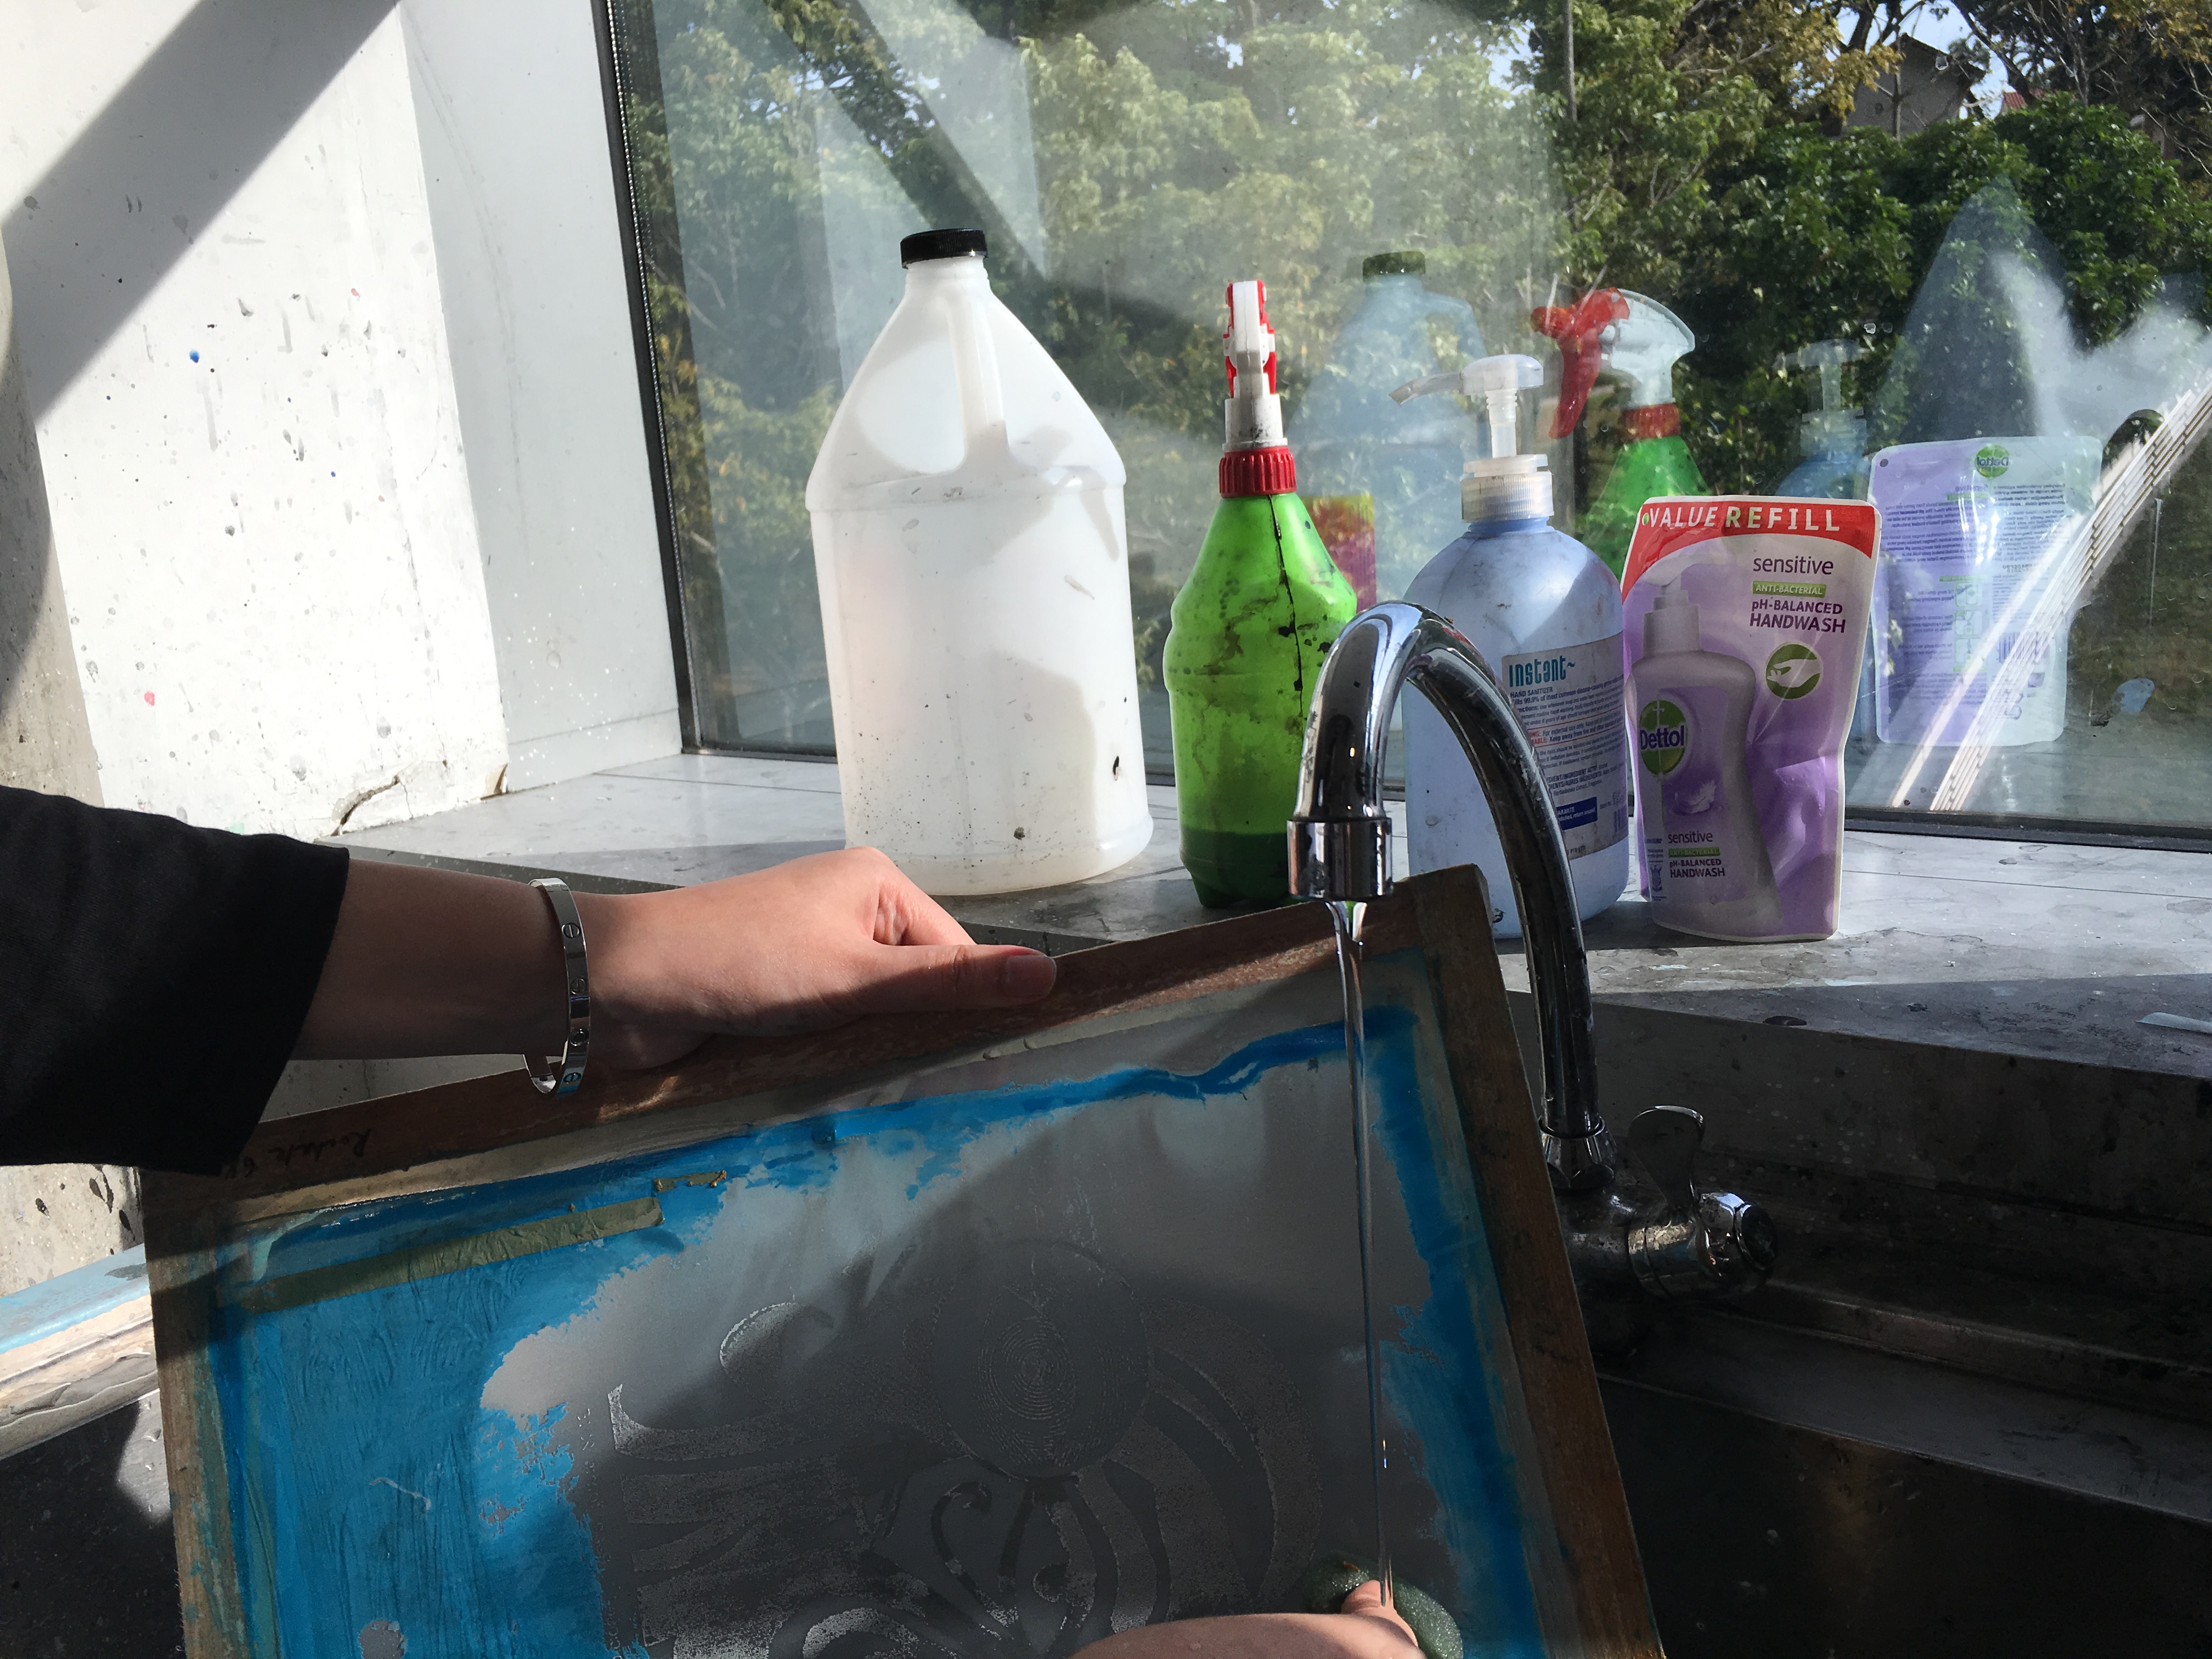
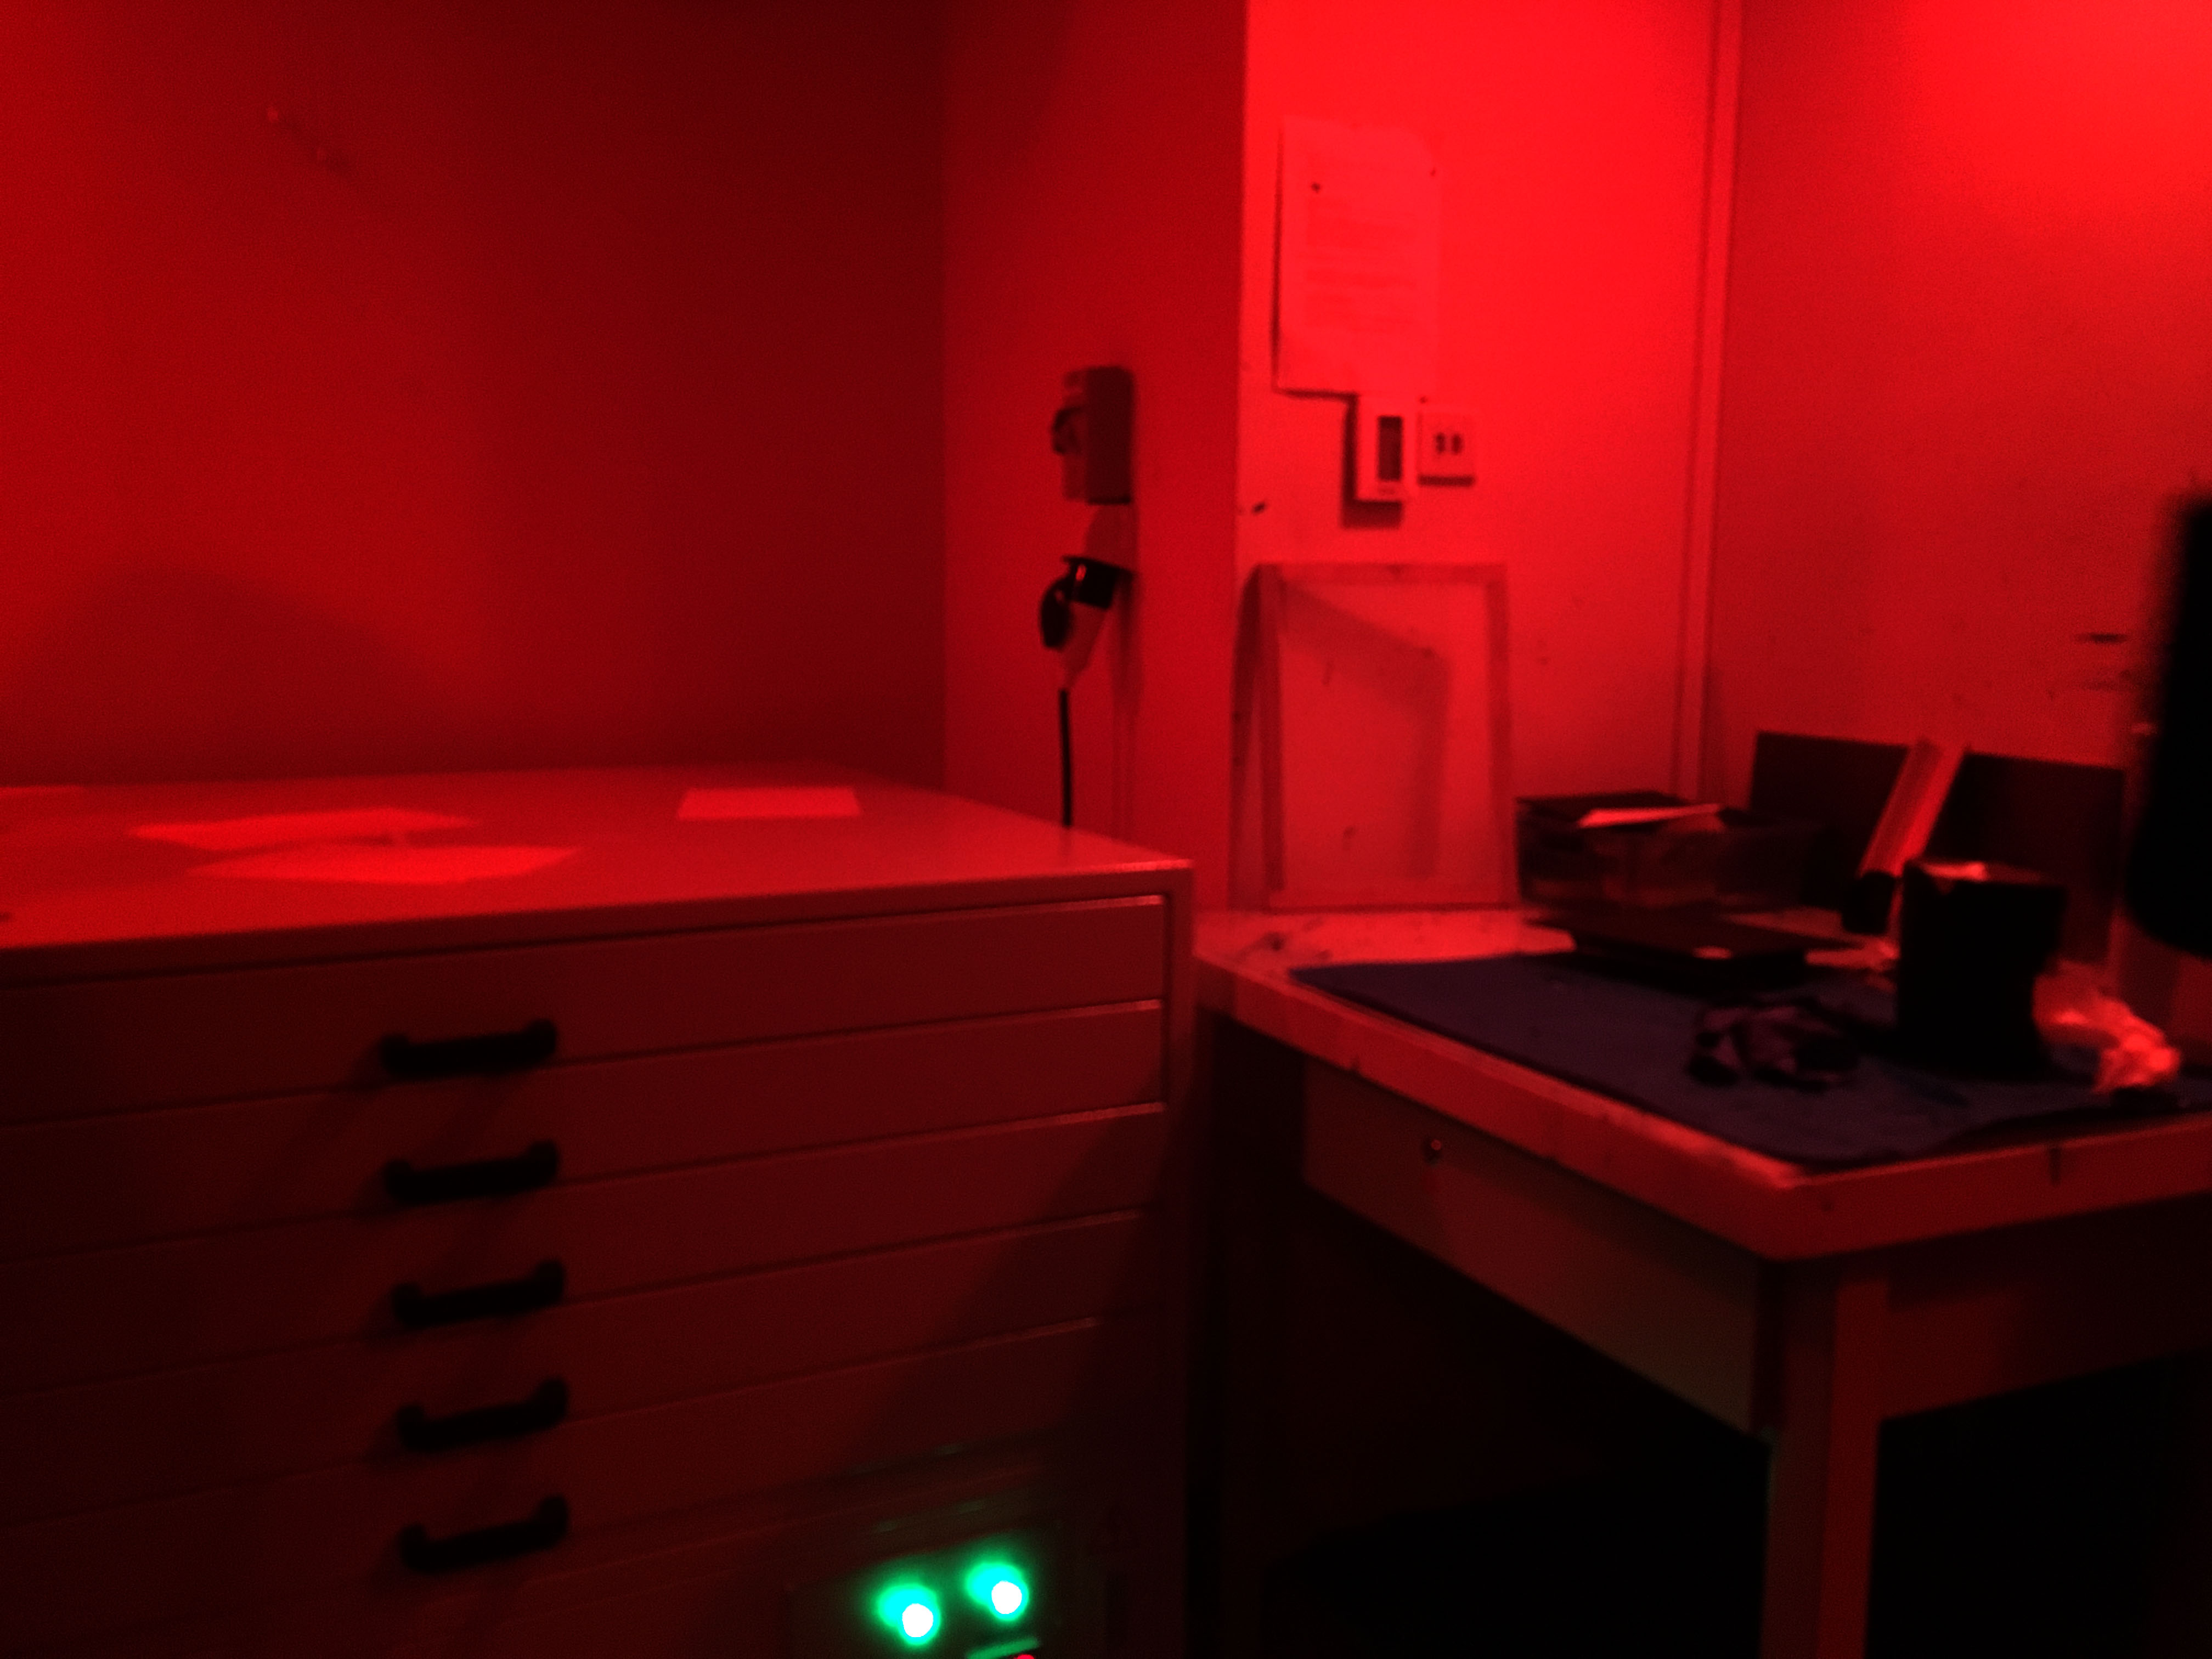
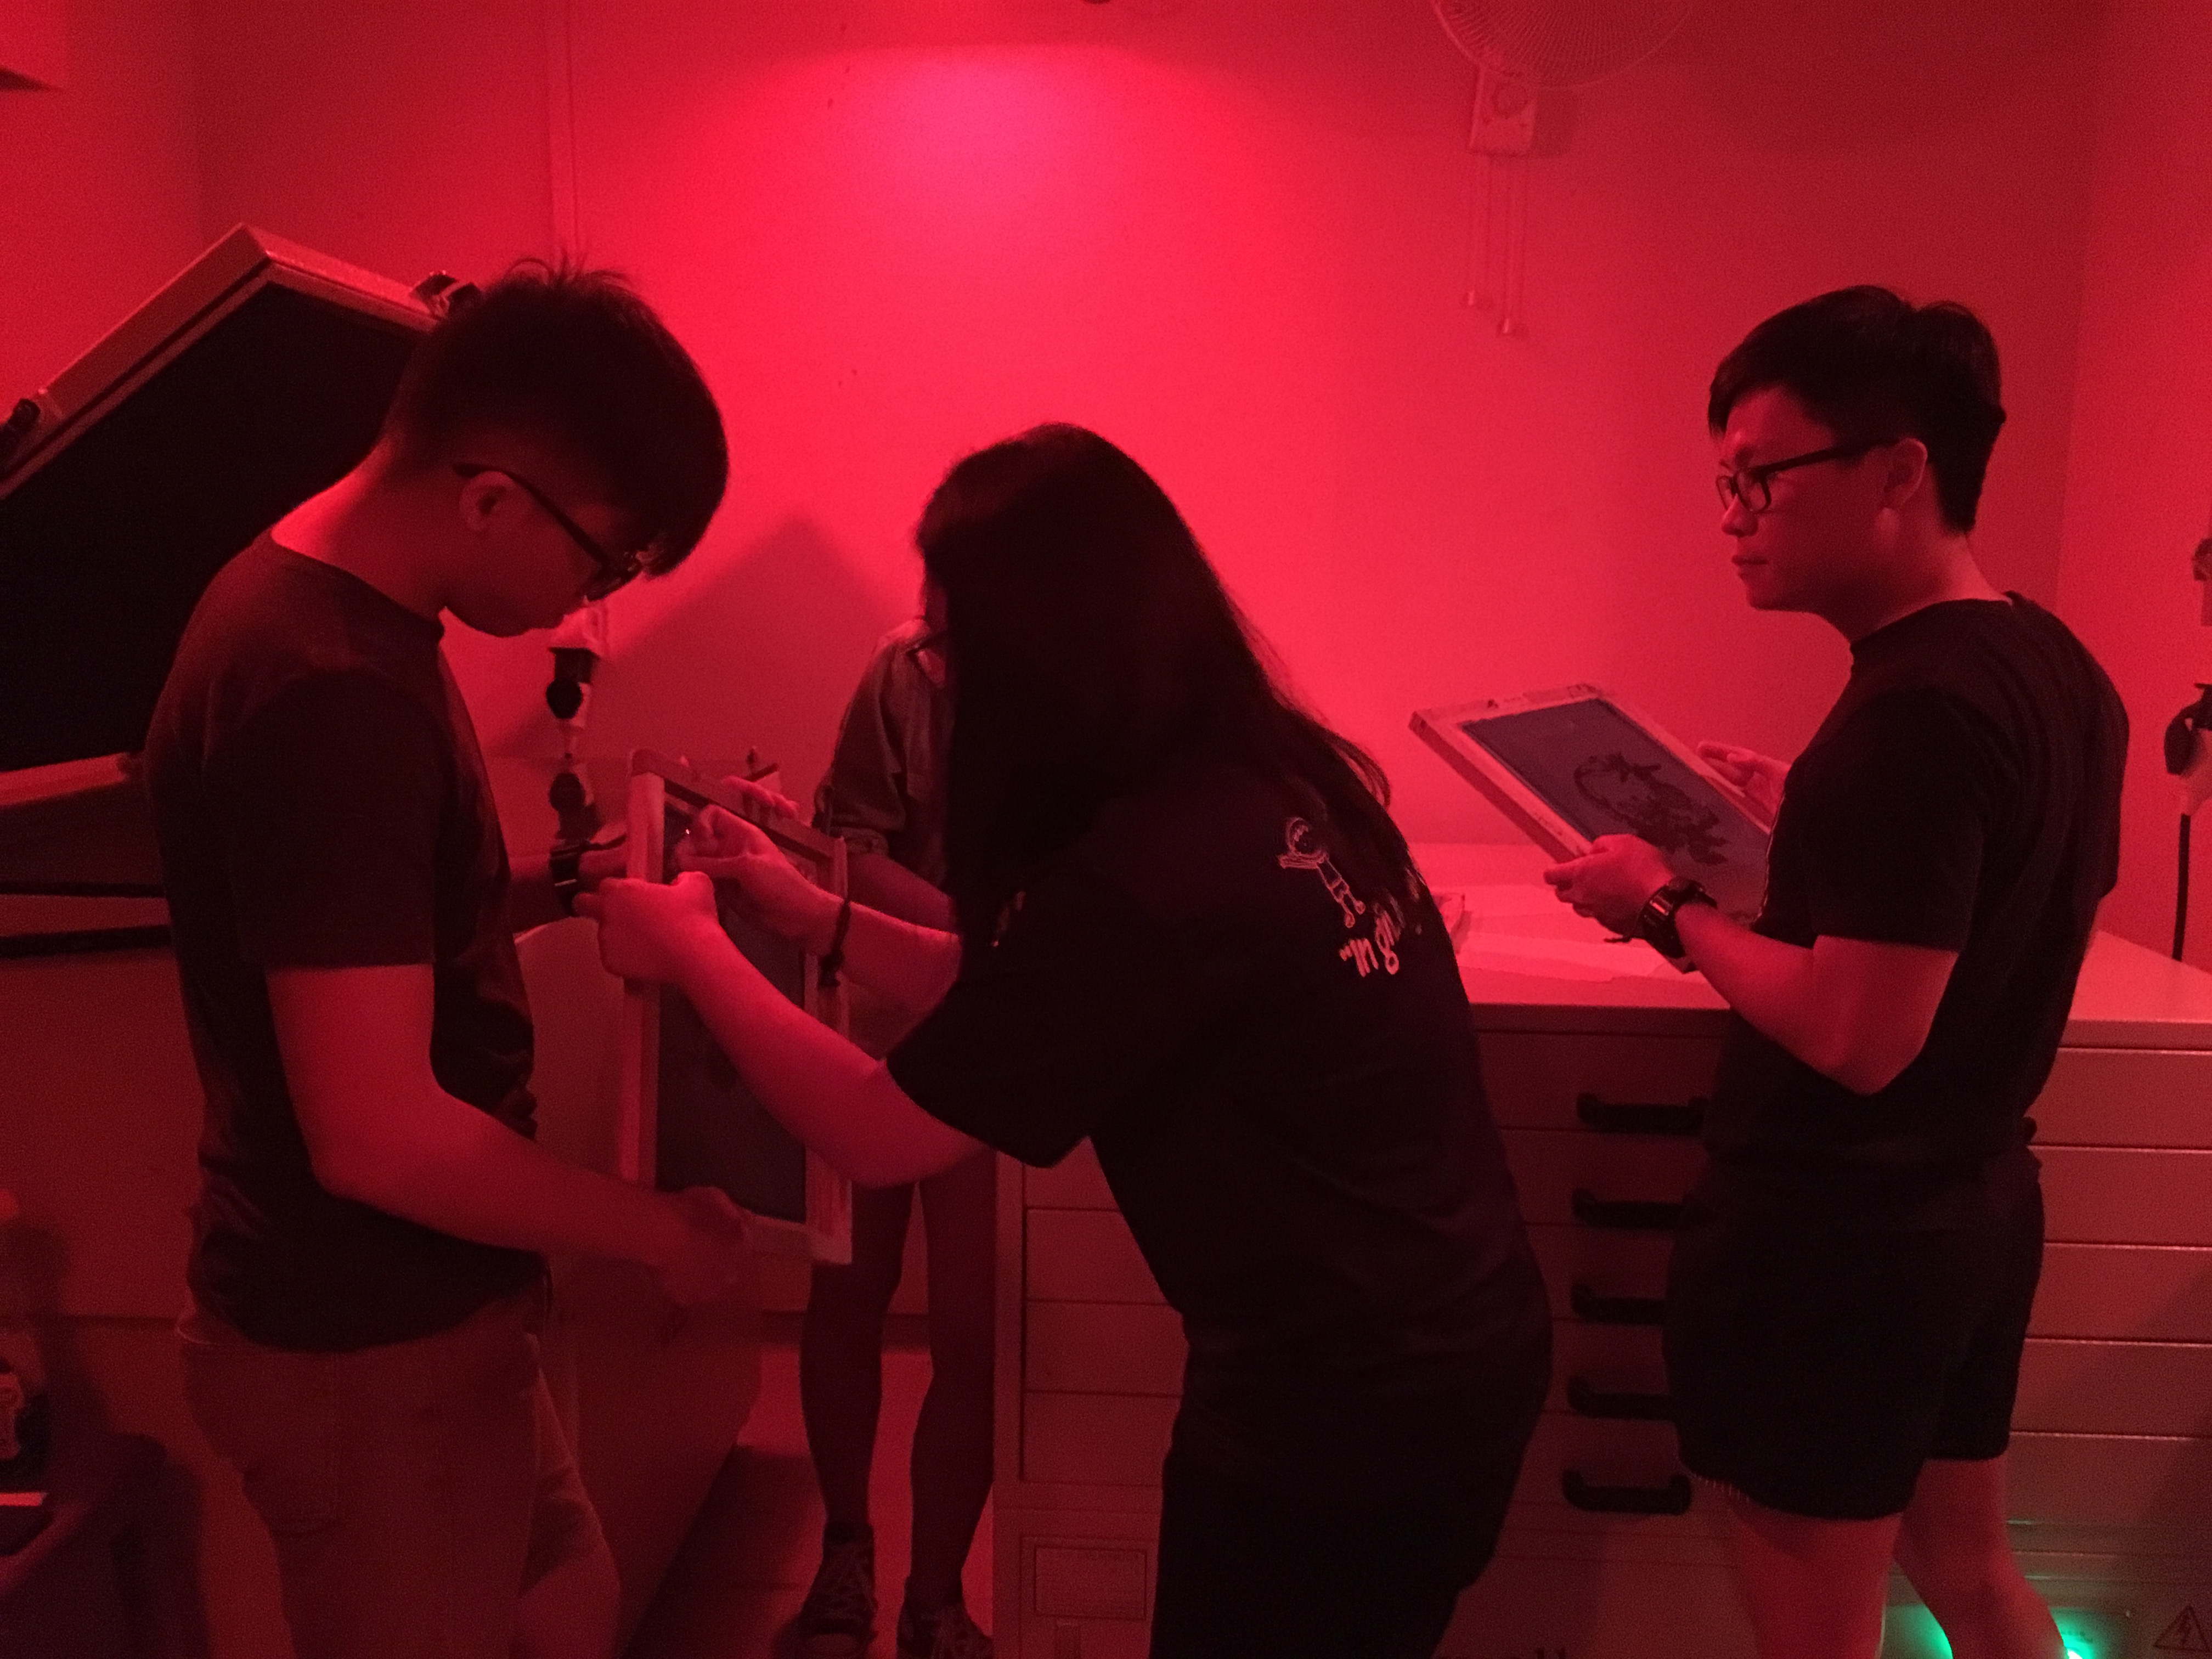
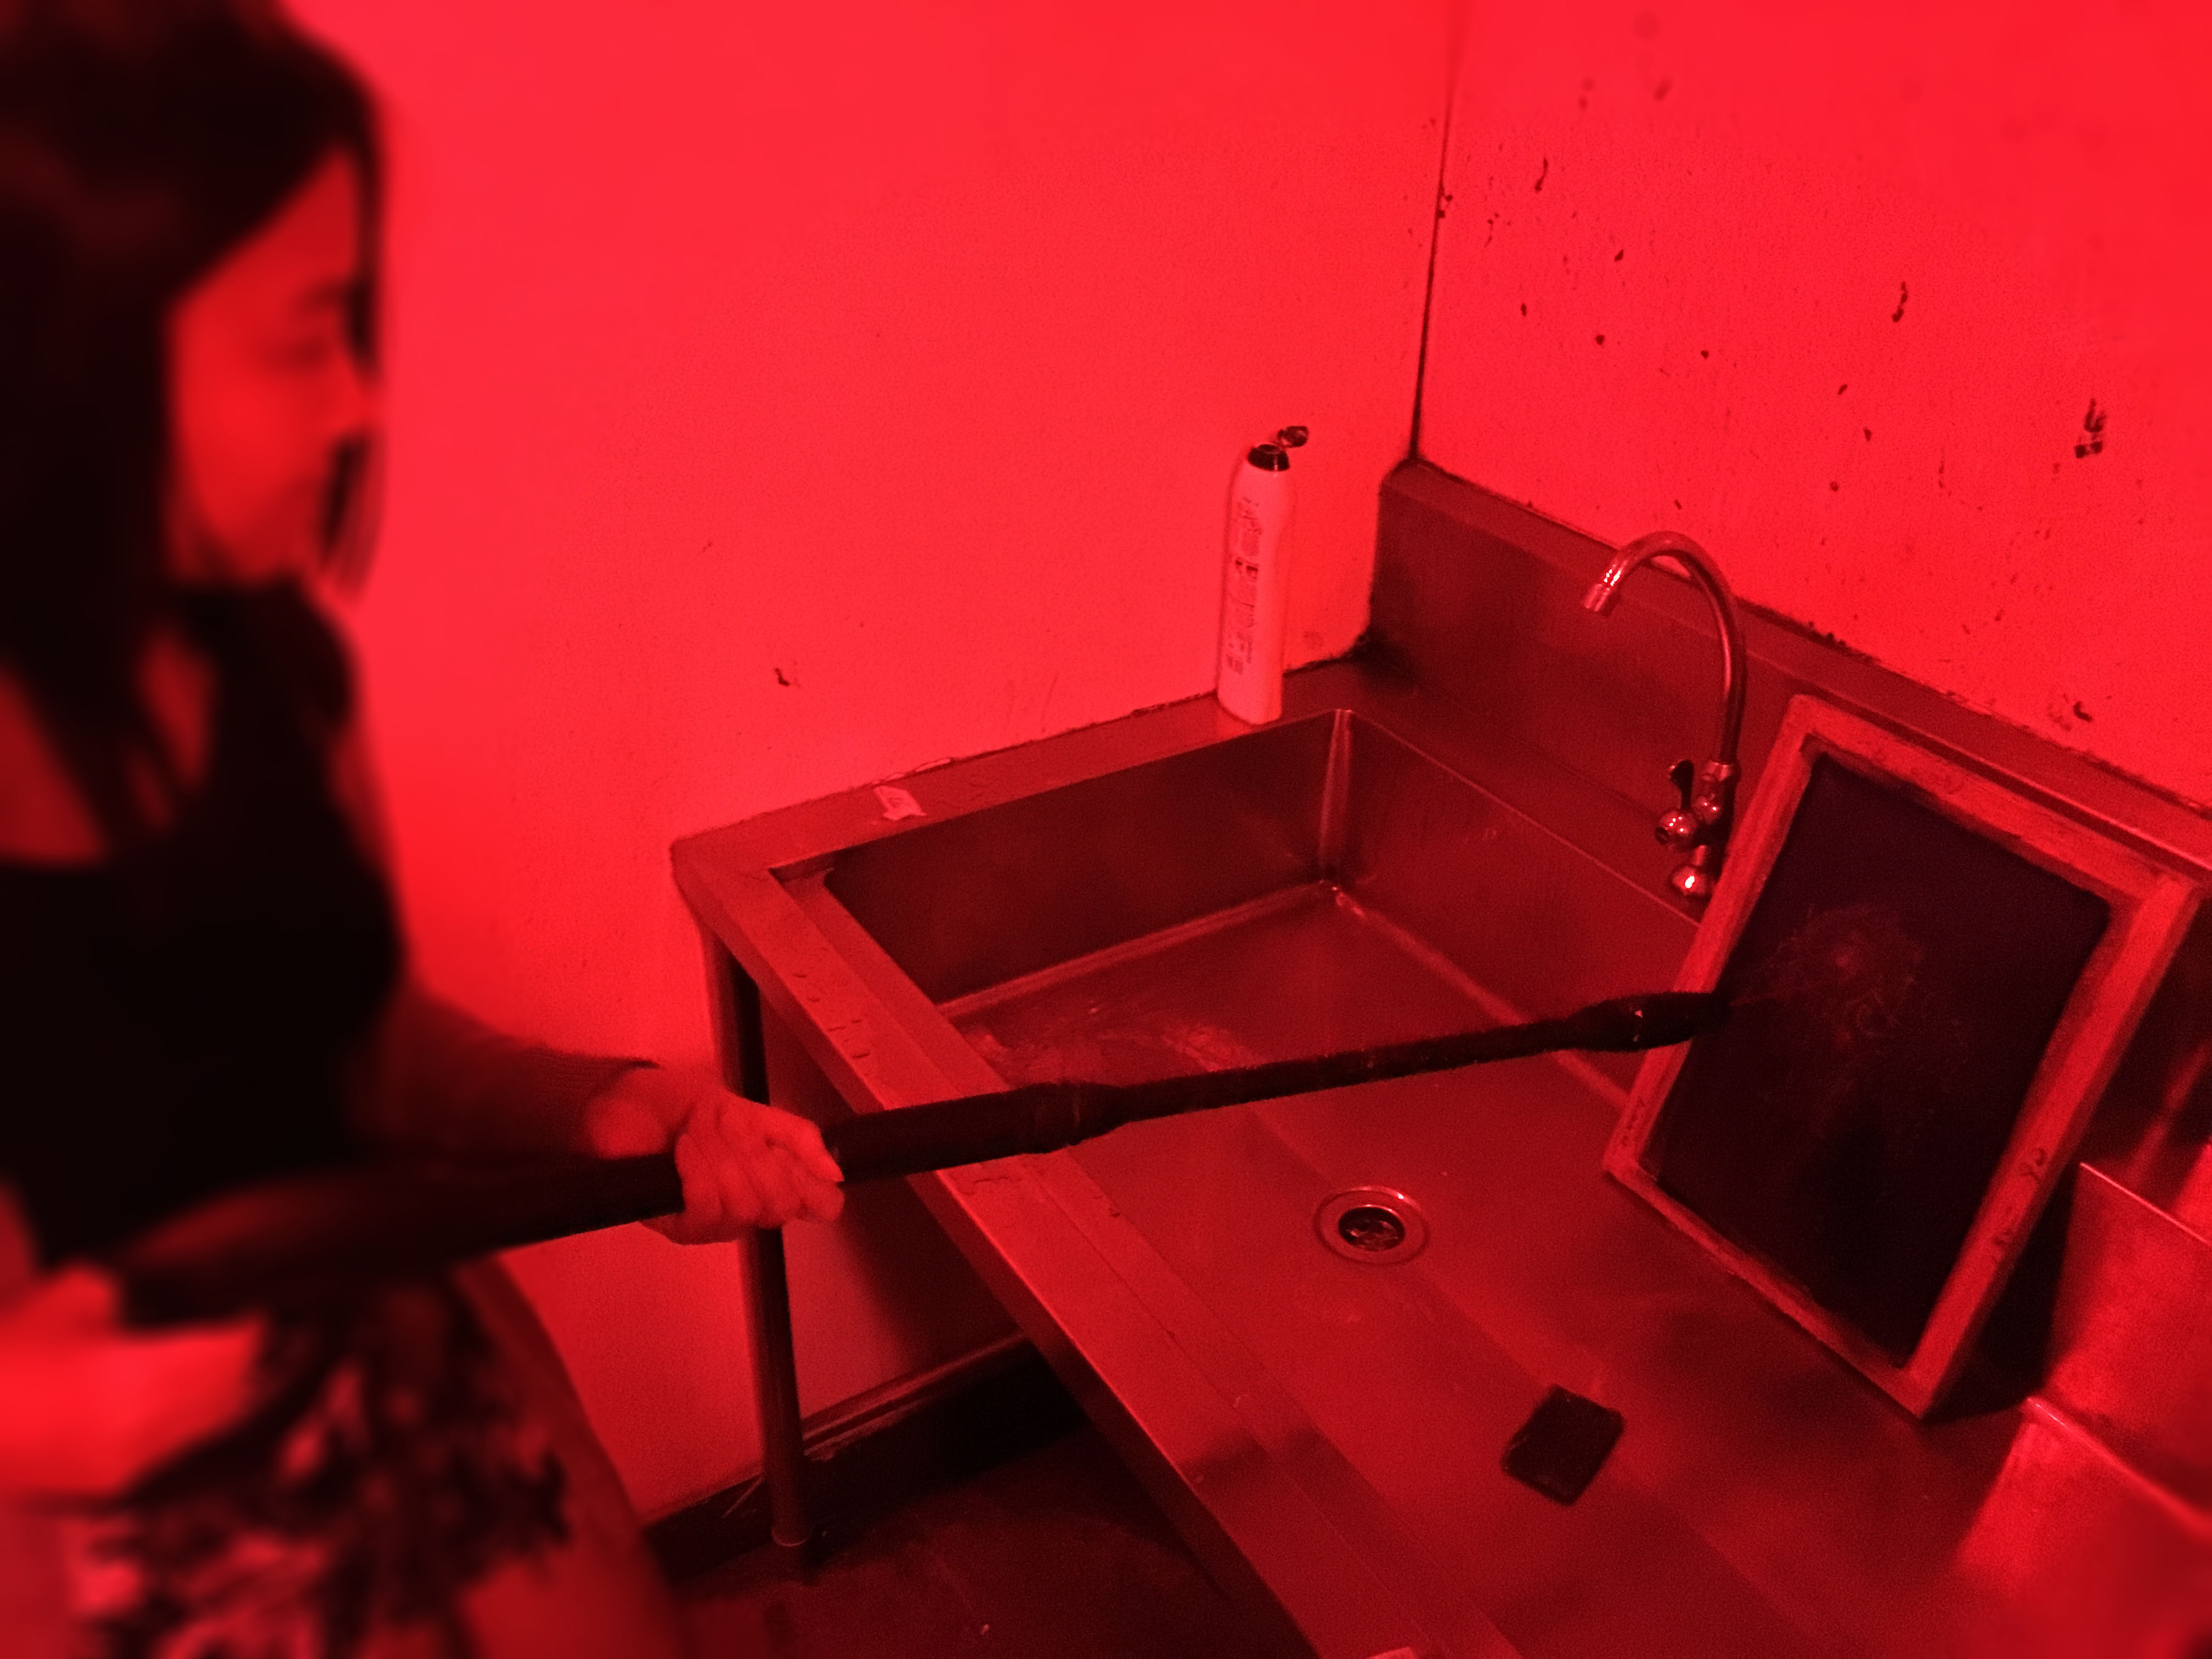
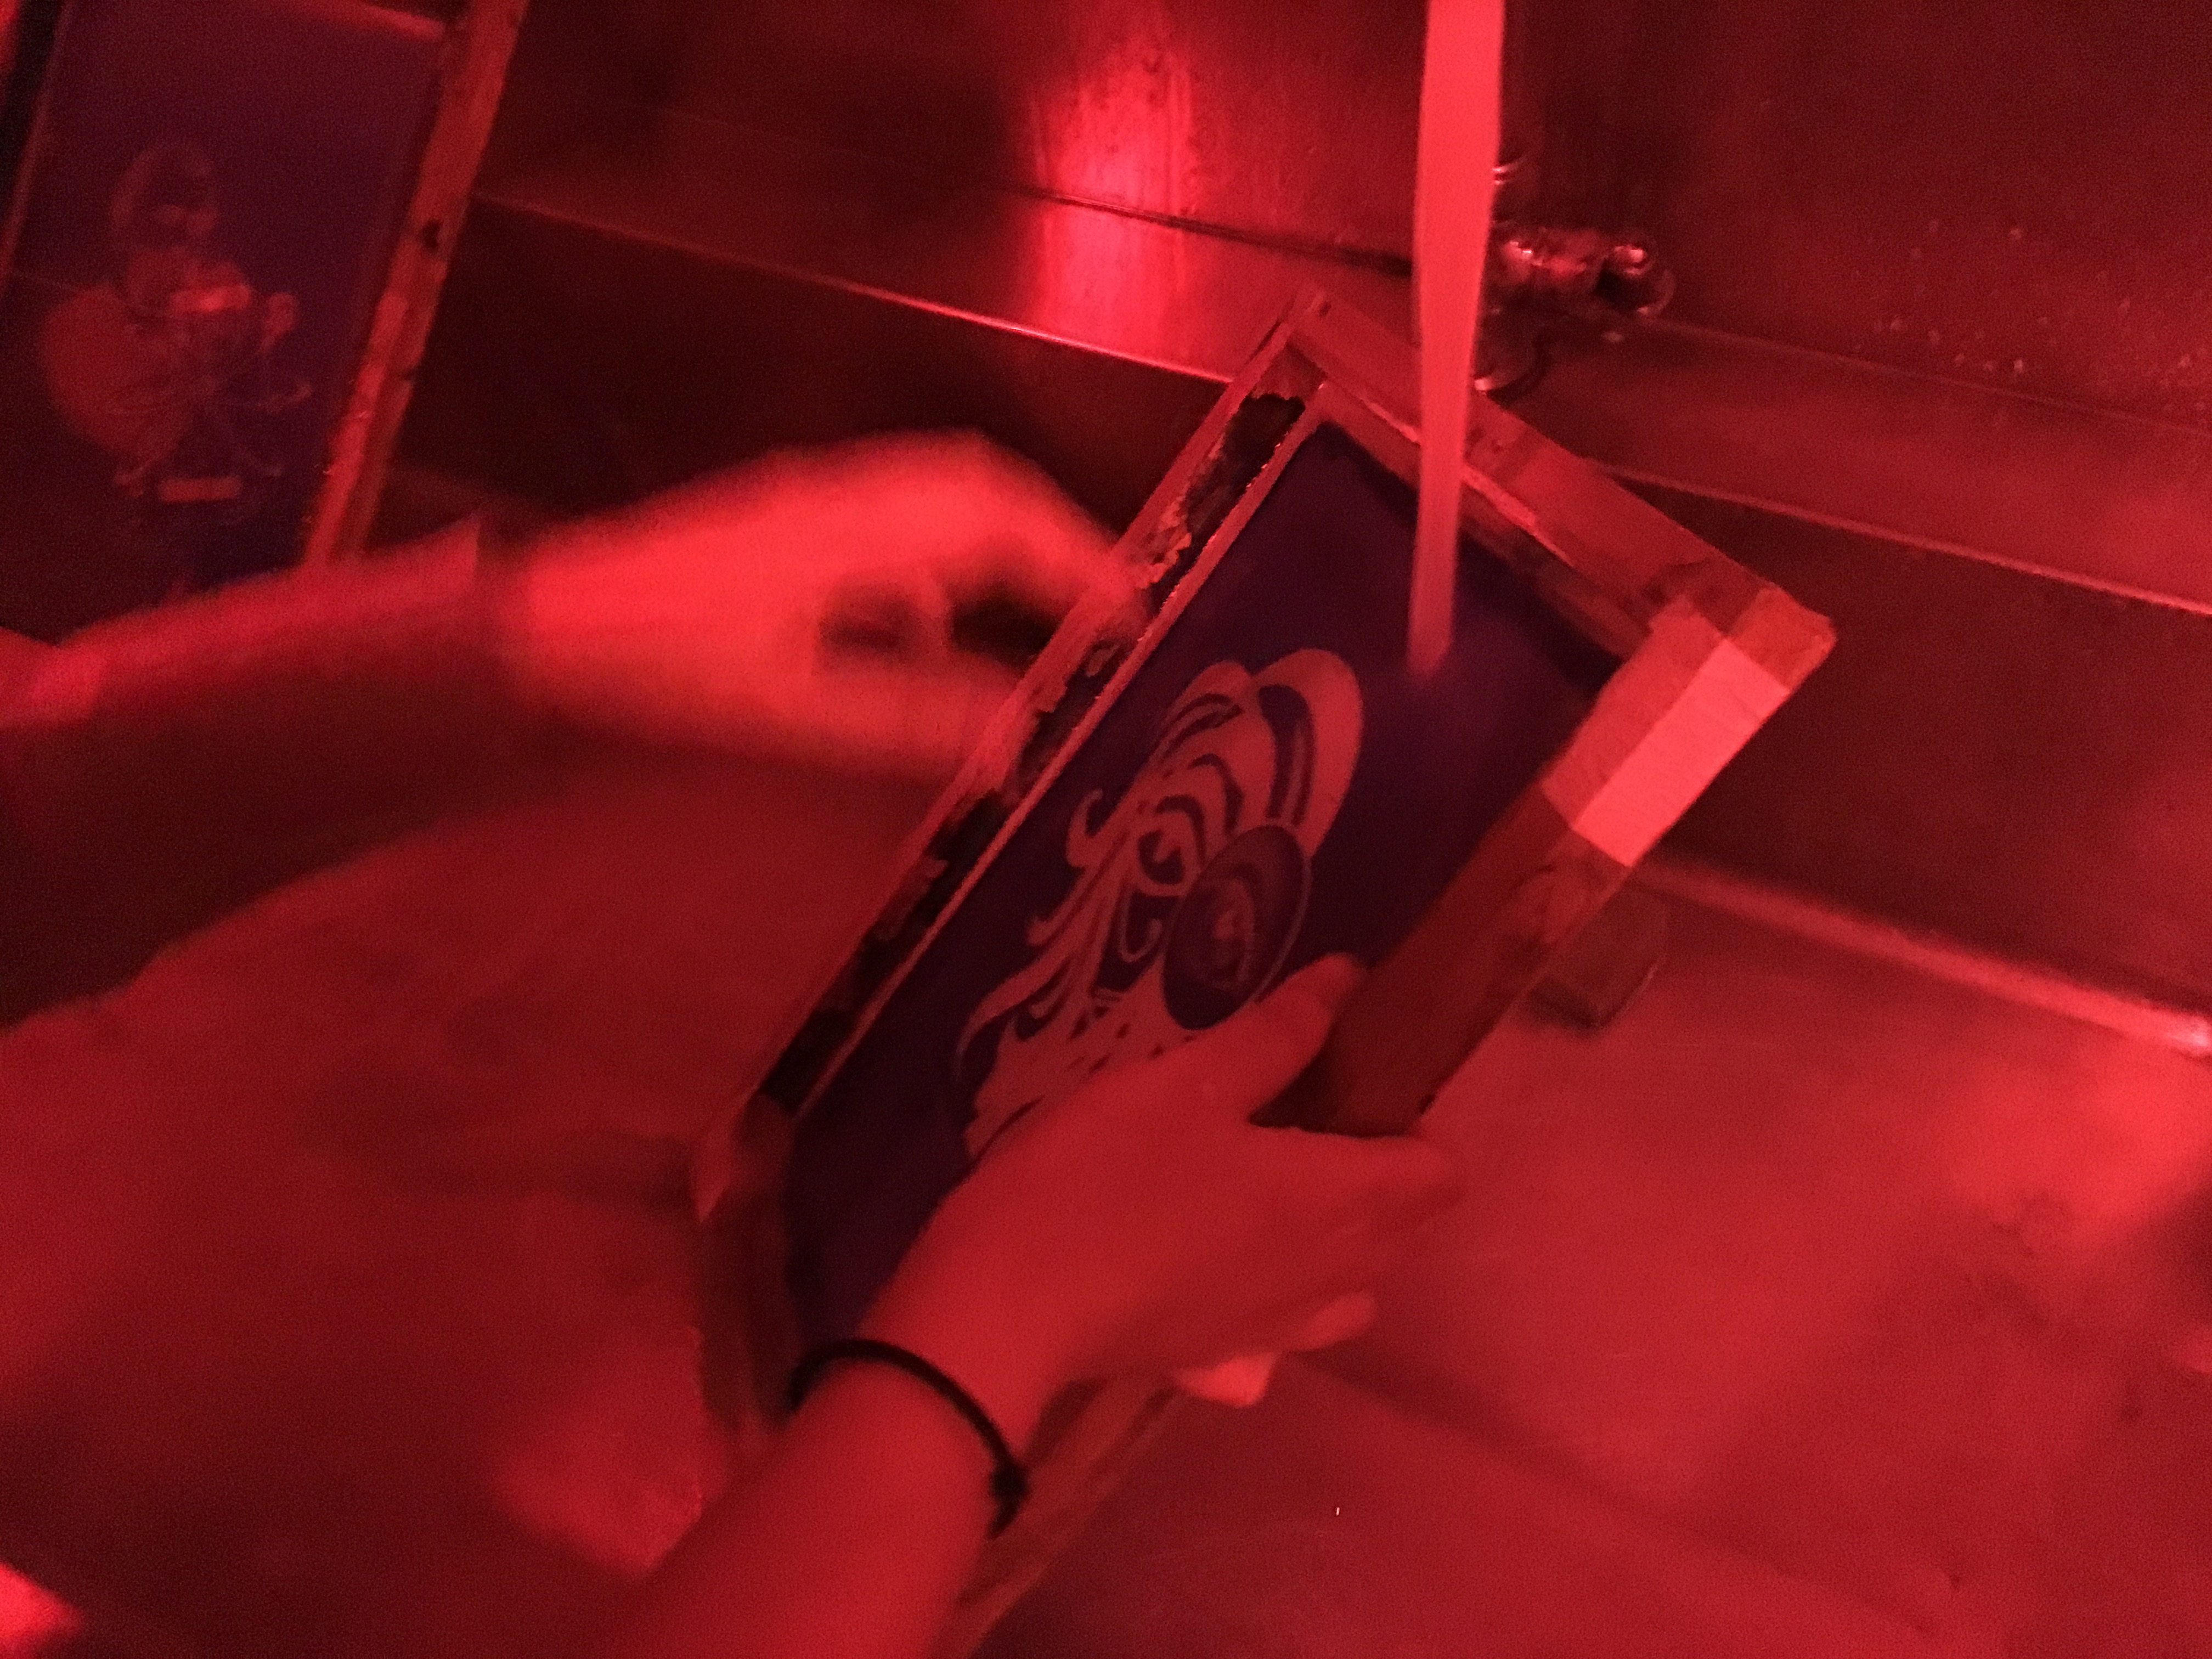
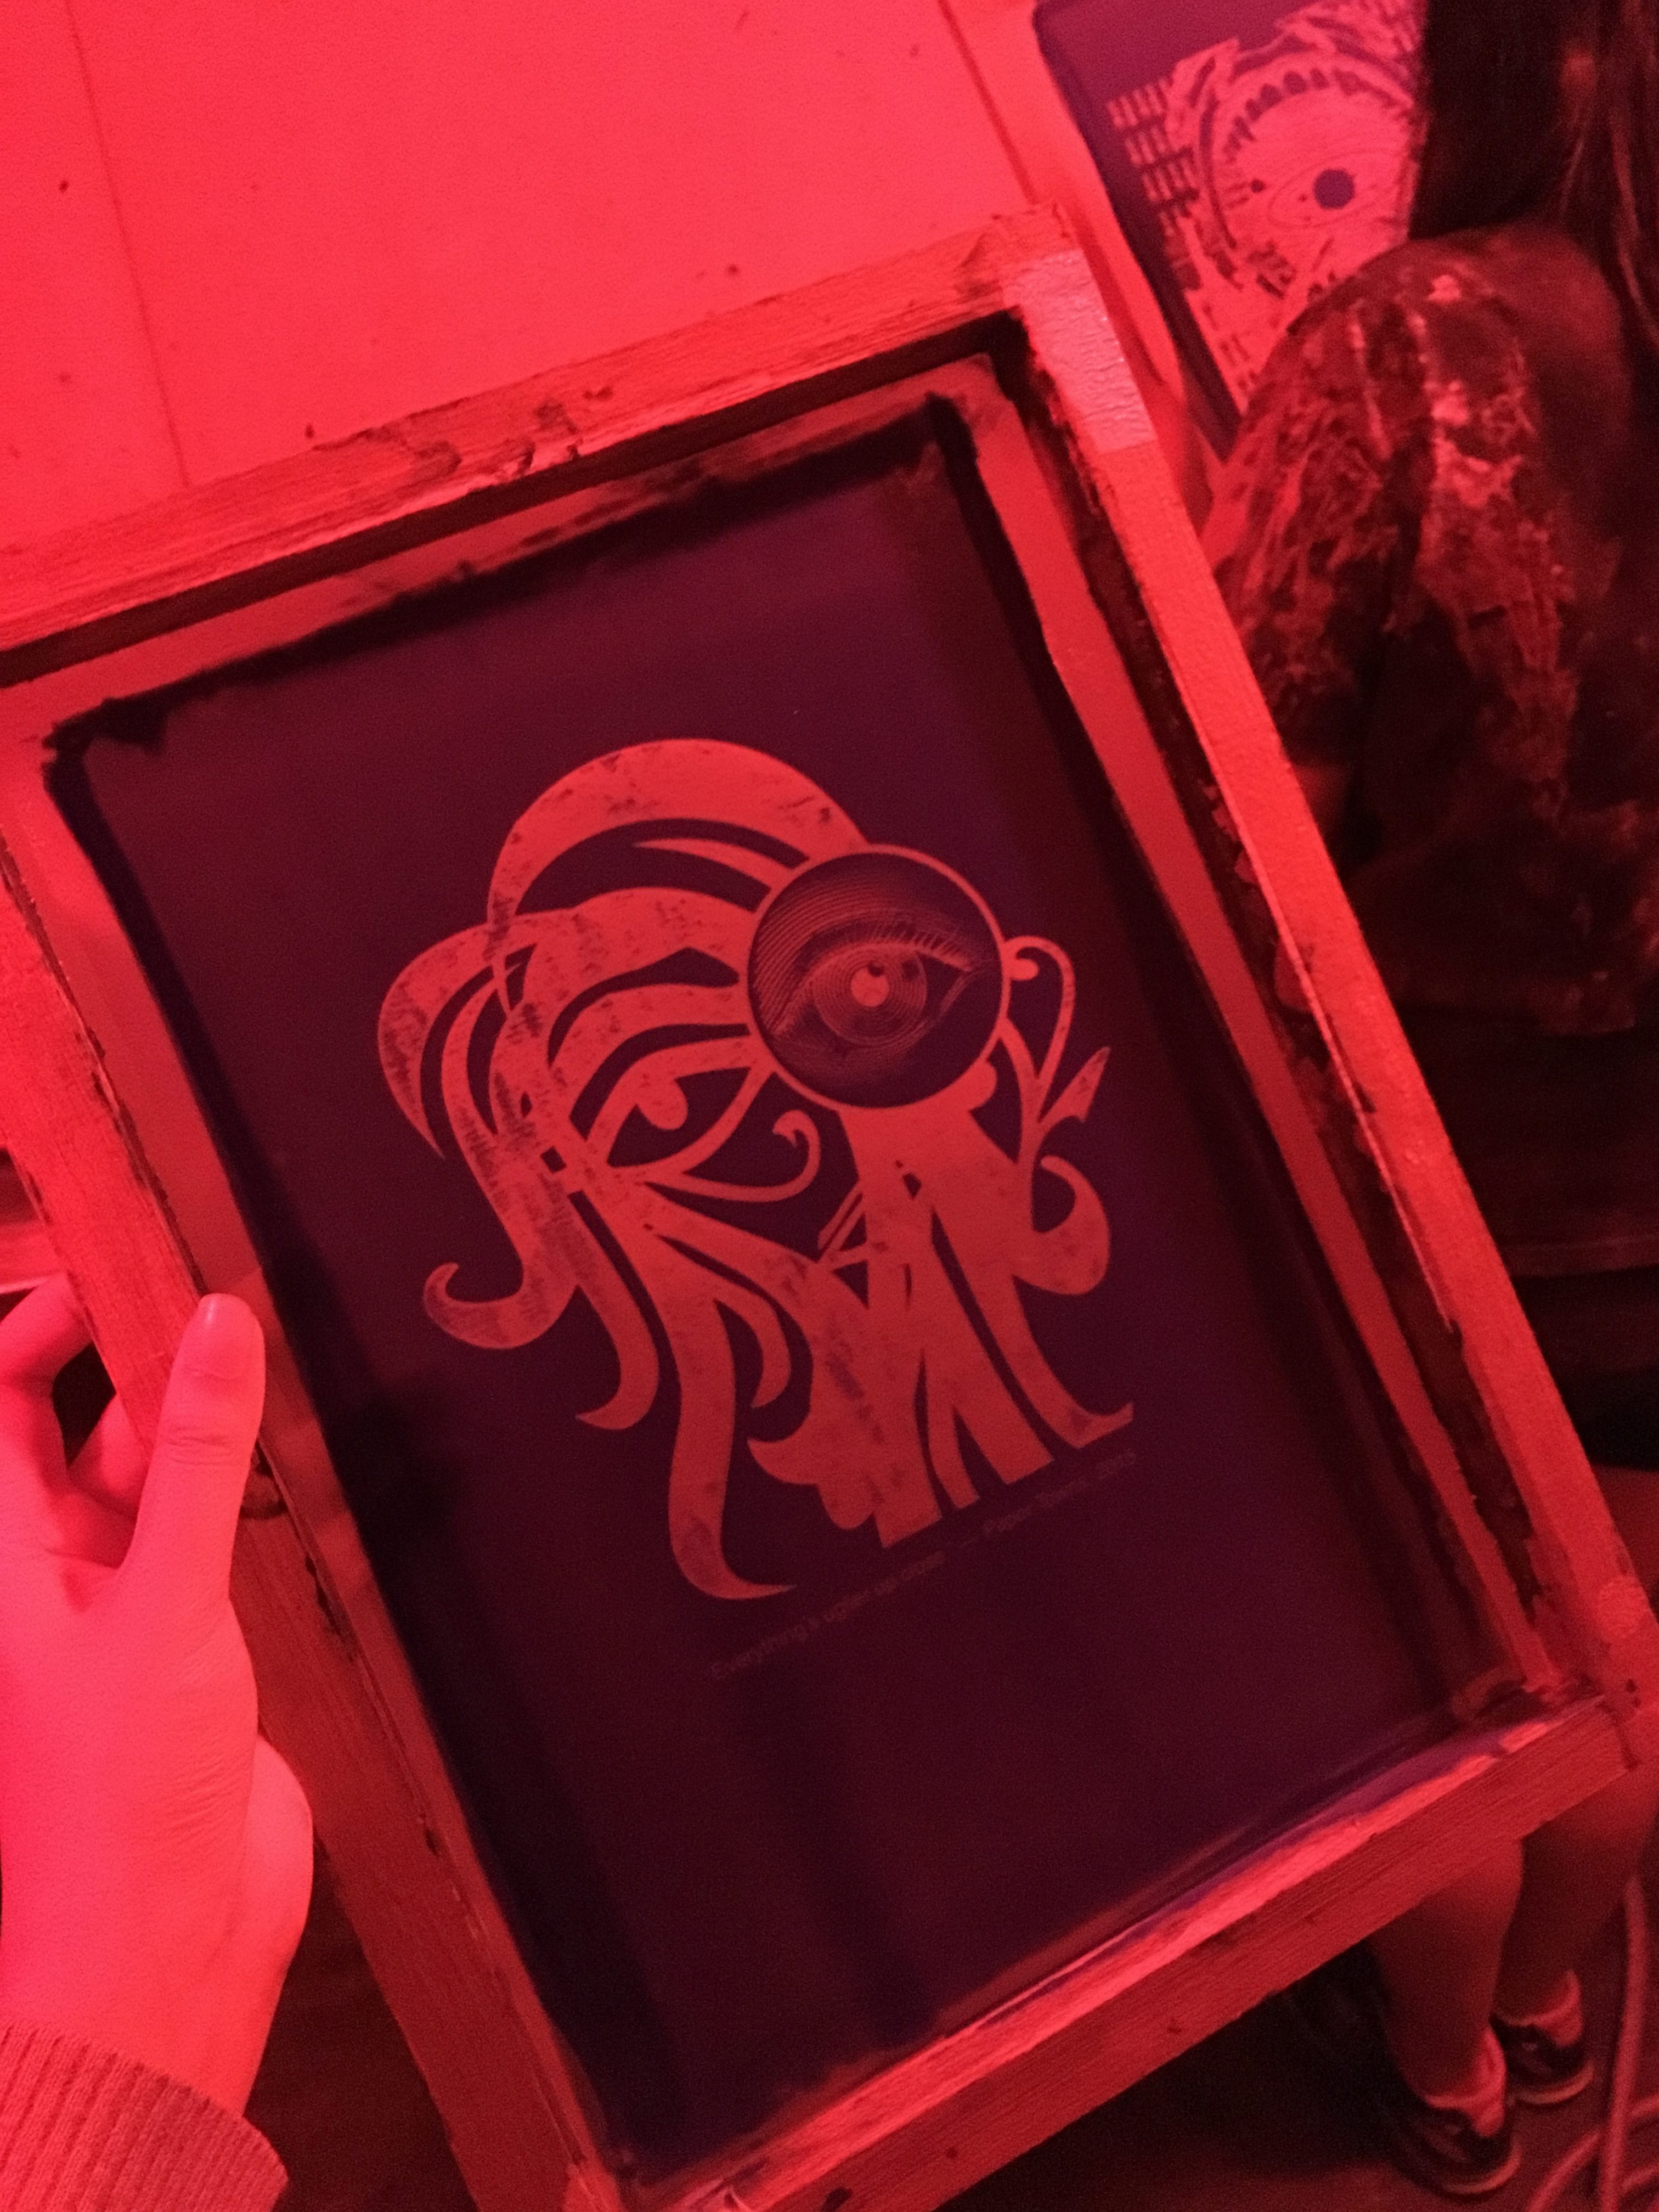
The production stage aka silk screen printing was quite the challenge for most of us or maybe it’s just me (?) But thanks to our work-study mentor for guiding us every step of the way. Also, I realized that no matter how many trials we had on newsprint, printing on tote bag was a total different story. (Wish I found out earlier) We only need to take note of the amount of ink used when printing on newsprint, while strength is an important factor during tote bag printing due to different materials.
Given only one tote bag made everything incredibly stressful! And yeah the more careful you try to be, you are more prone to mess things up, which explains my failed attempt in producing a perfect tote bag print. As I have quite a bit of fine lines in my image, I didn’t do another round of printing. Opportunity cost guys!! Smudged image with complete quote or nice image with faint quote. I chose the latter.

All in all, this project is very fulfilling as I get to see the start to end of the whole process – conceptualizing and getting my prints out. In addition, I get to improve my technical skills. Most importantly, I learnt that it is always better to work on something you have a personal connection with, such as movies that you actually watched and quotes that you can relate to instead of googling “top 10 movie quotes”. Because the more emotionally invested you are, the more likely you will put in the efforts to follow through.
Anyway, I have a new found respect for this screen printing! It’s such a practical medium for small artists and I hope we could do more in the future because practice makes perfect!!
P.S I finally understand why a simple T-shirt design can be really pricey… just look at the amount of time and effort in printing one design..