
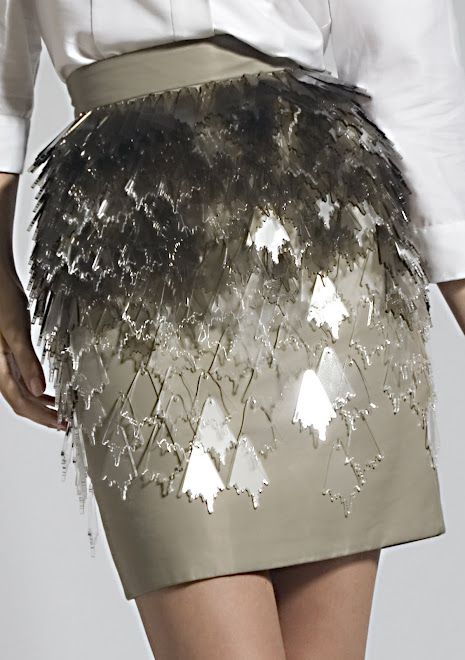
Fabric Etching
What is fabric etching: Fiber etching through a Fibre remover, removes fiber from fabrics, creating decorative patterns. Fiber Etch removes plant fibers: cotton, linen, ramie, rayon and paper. It is also very effective on fabric blends (and most noticeable on blends containing at least 50% plant fibers.
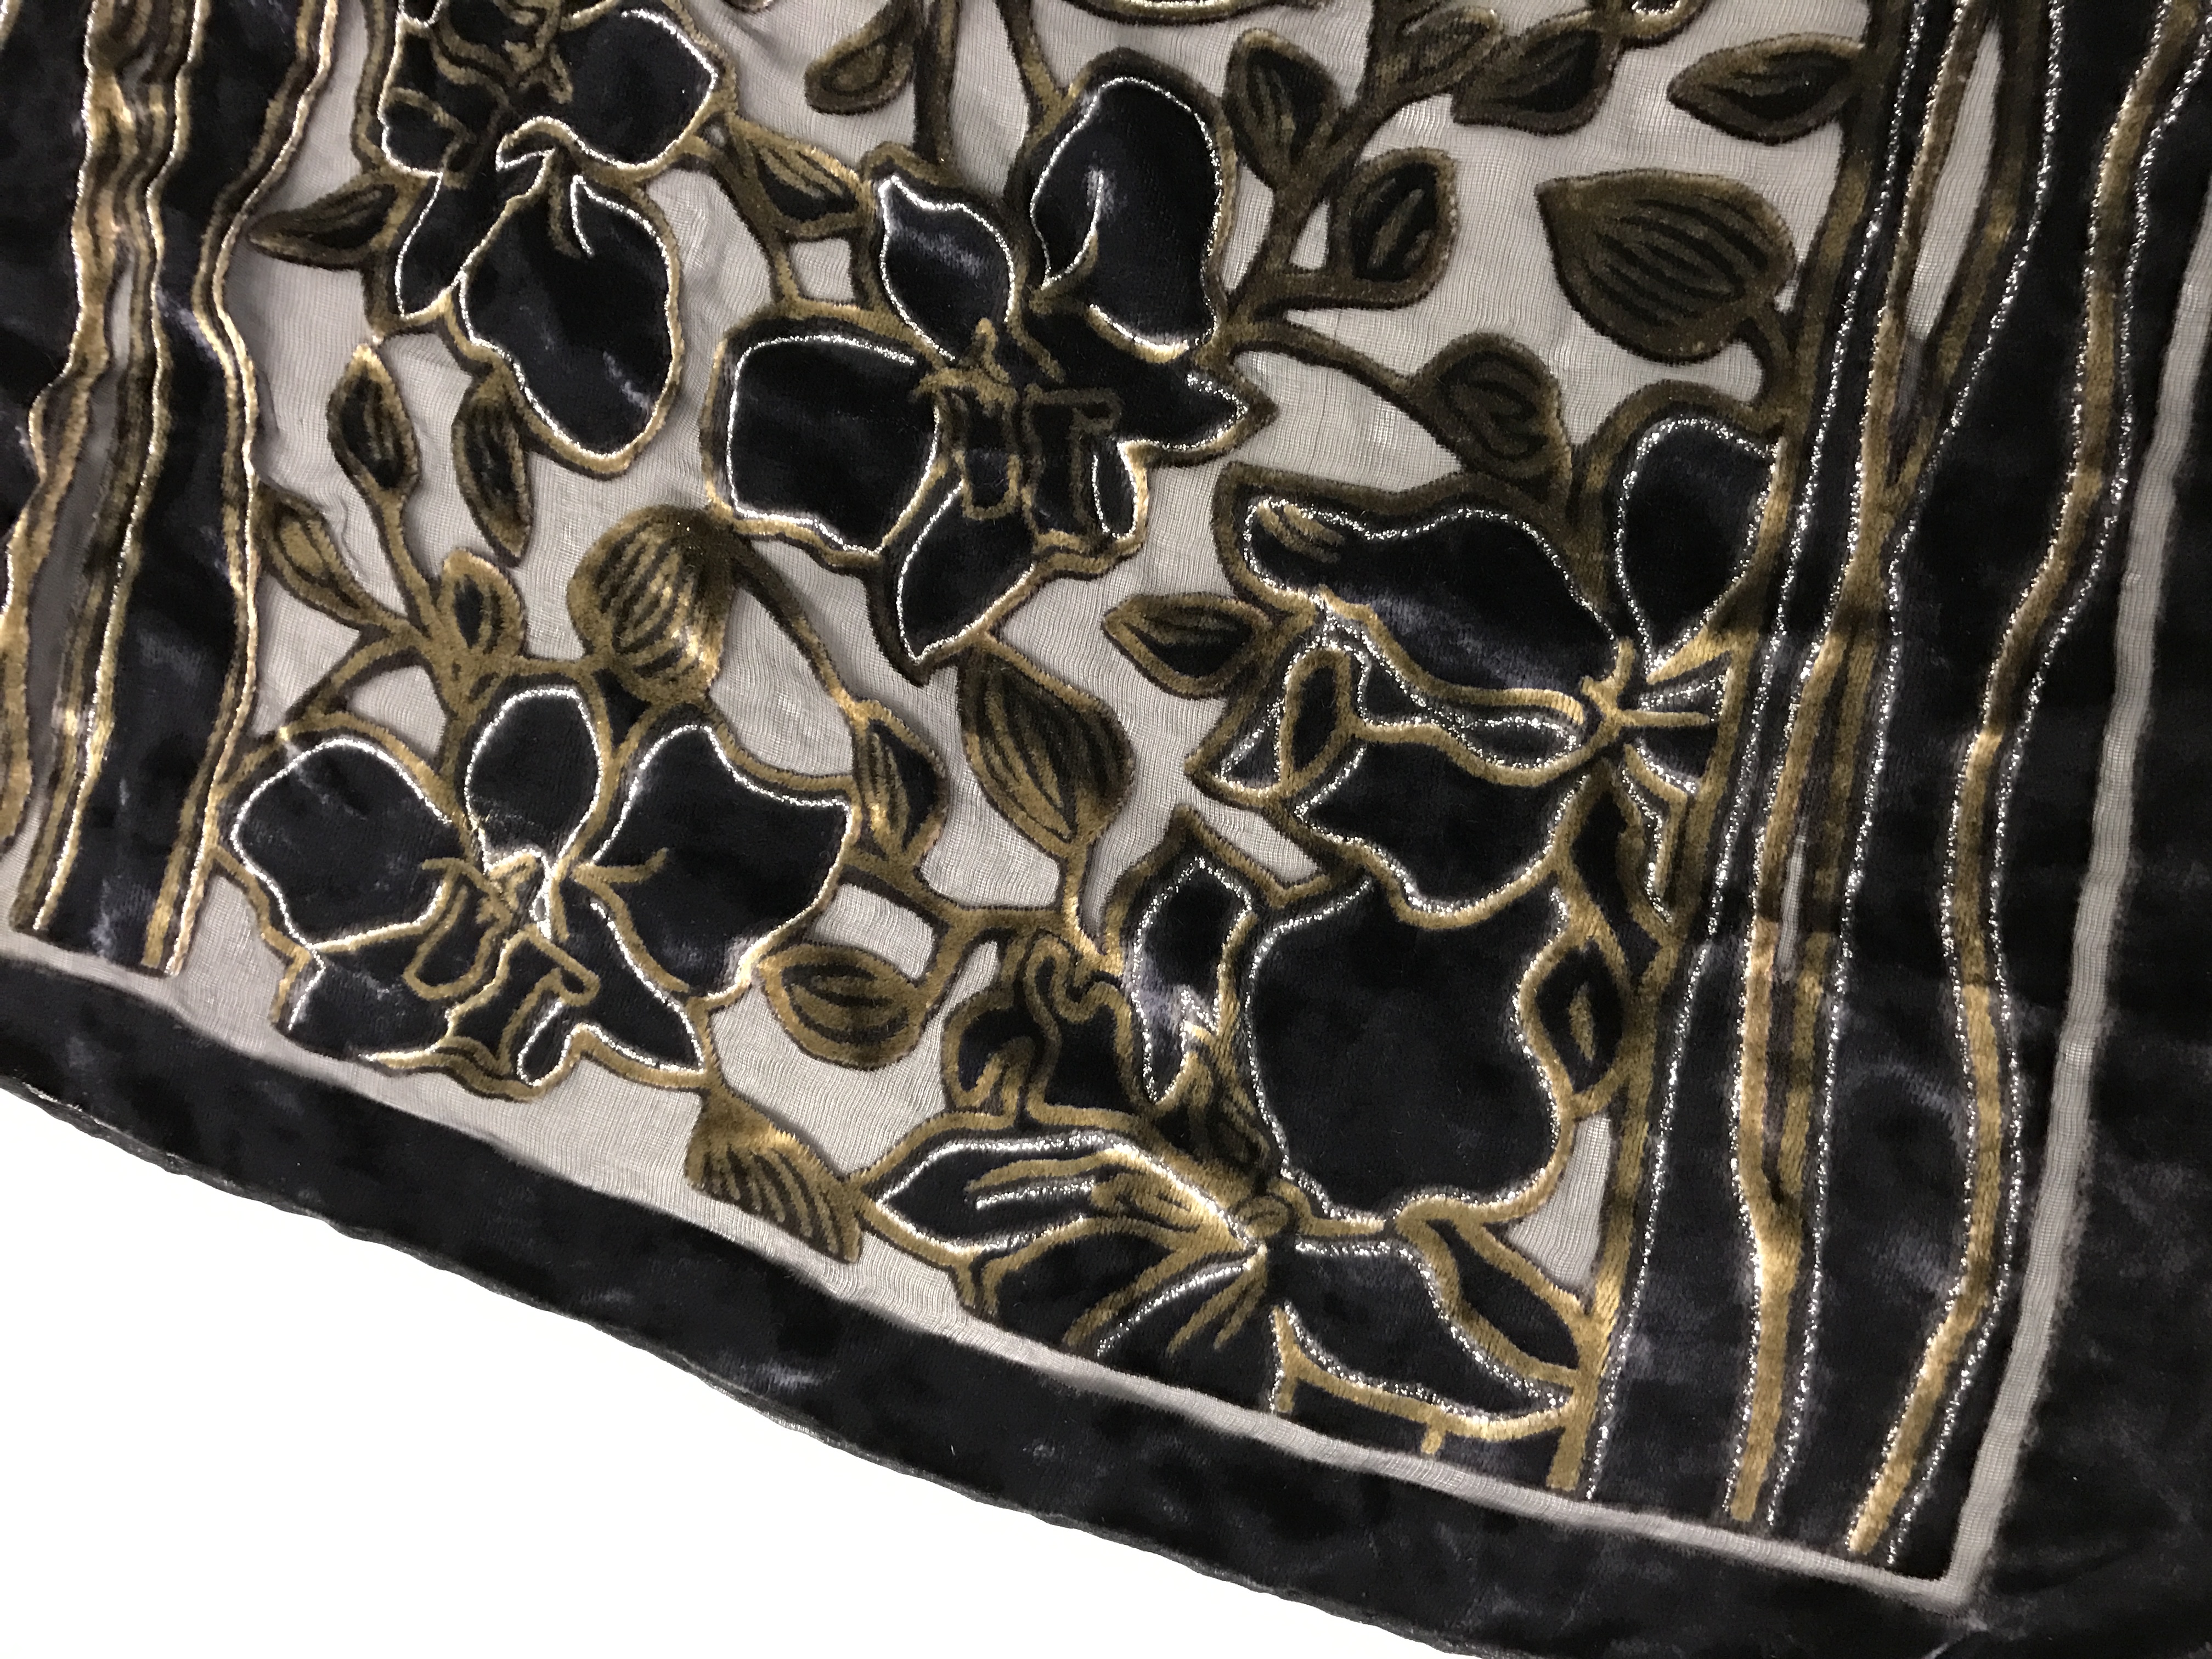
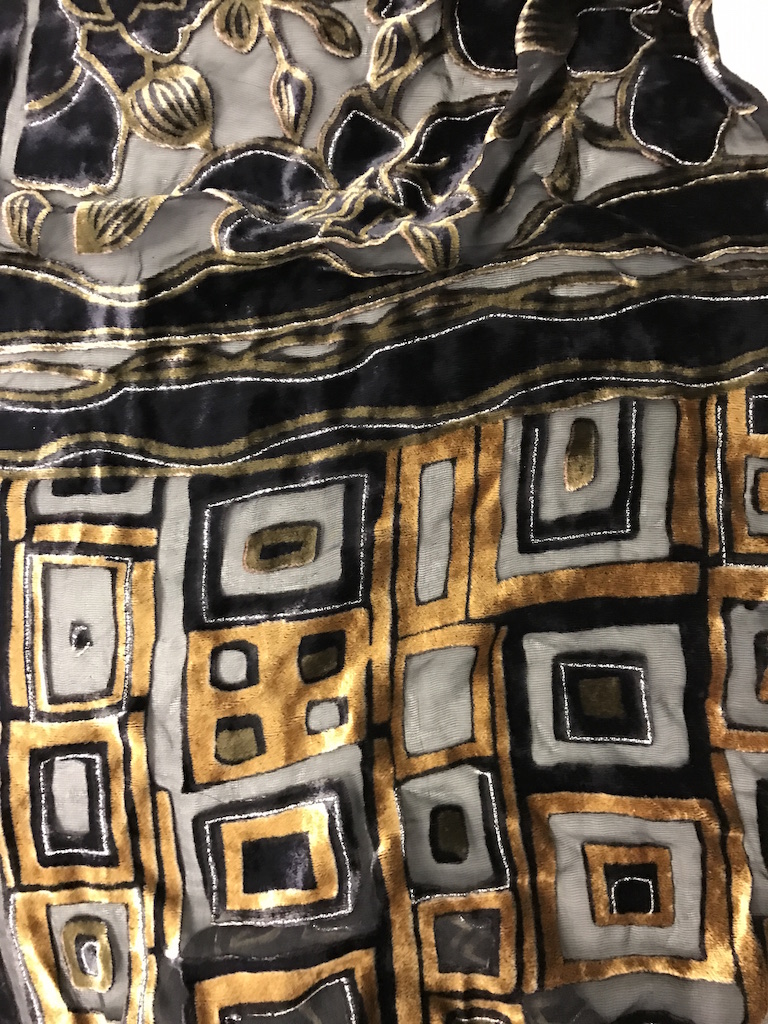
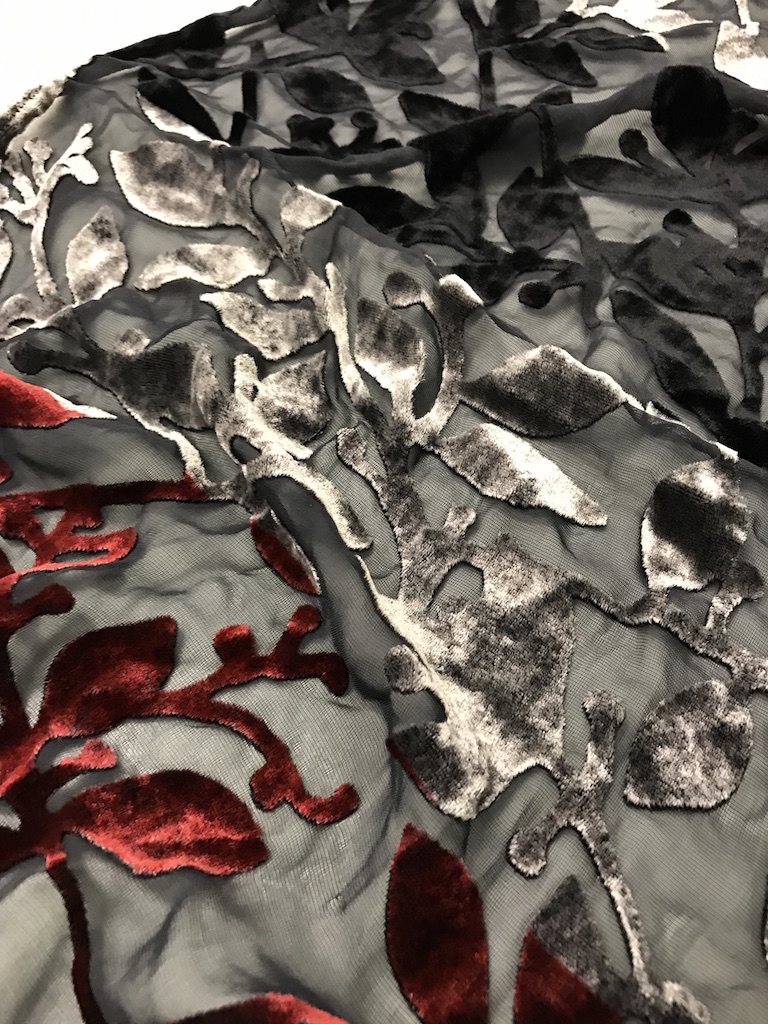
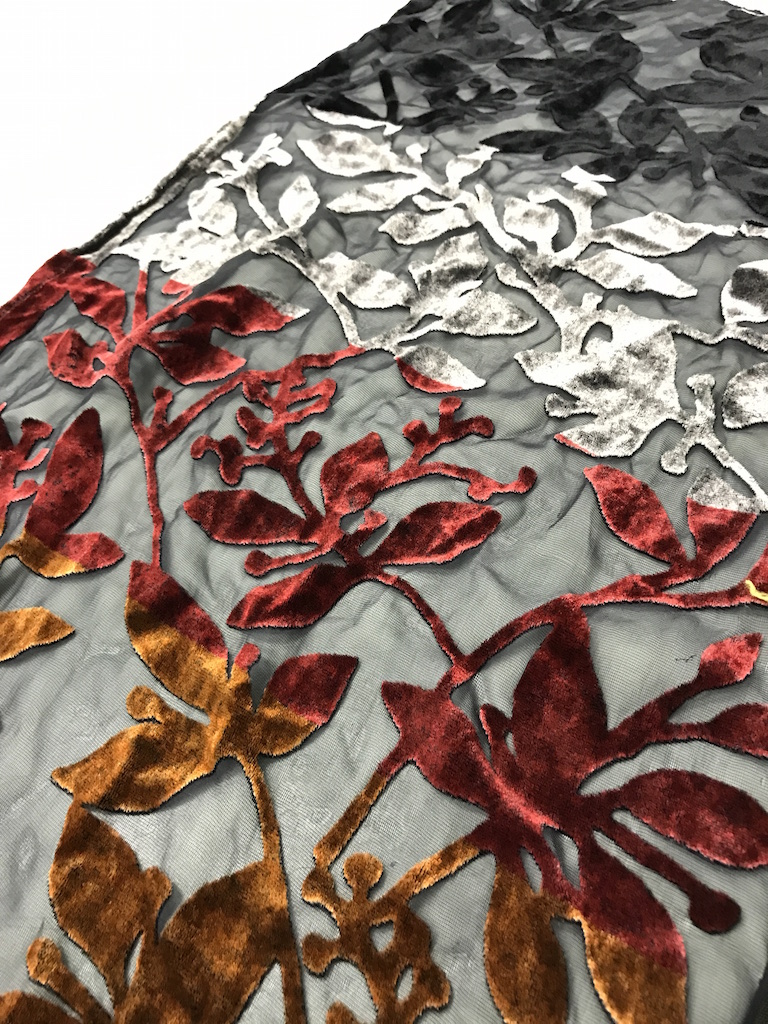
Materials needed: Velvet with silk back, Fiber Remover, Paintbrushes, Silkscreen, Squeegy, Iron
How it is done:
- Apply the fiber remover to the areas that you don’t want the design
- Let the liquid dry onto the fabric
- Iron the fabric until the design (silkscreened area) hardens
- Scratch the fabric to remove the fibers
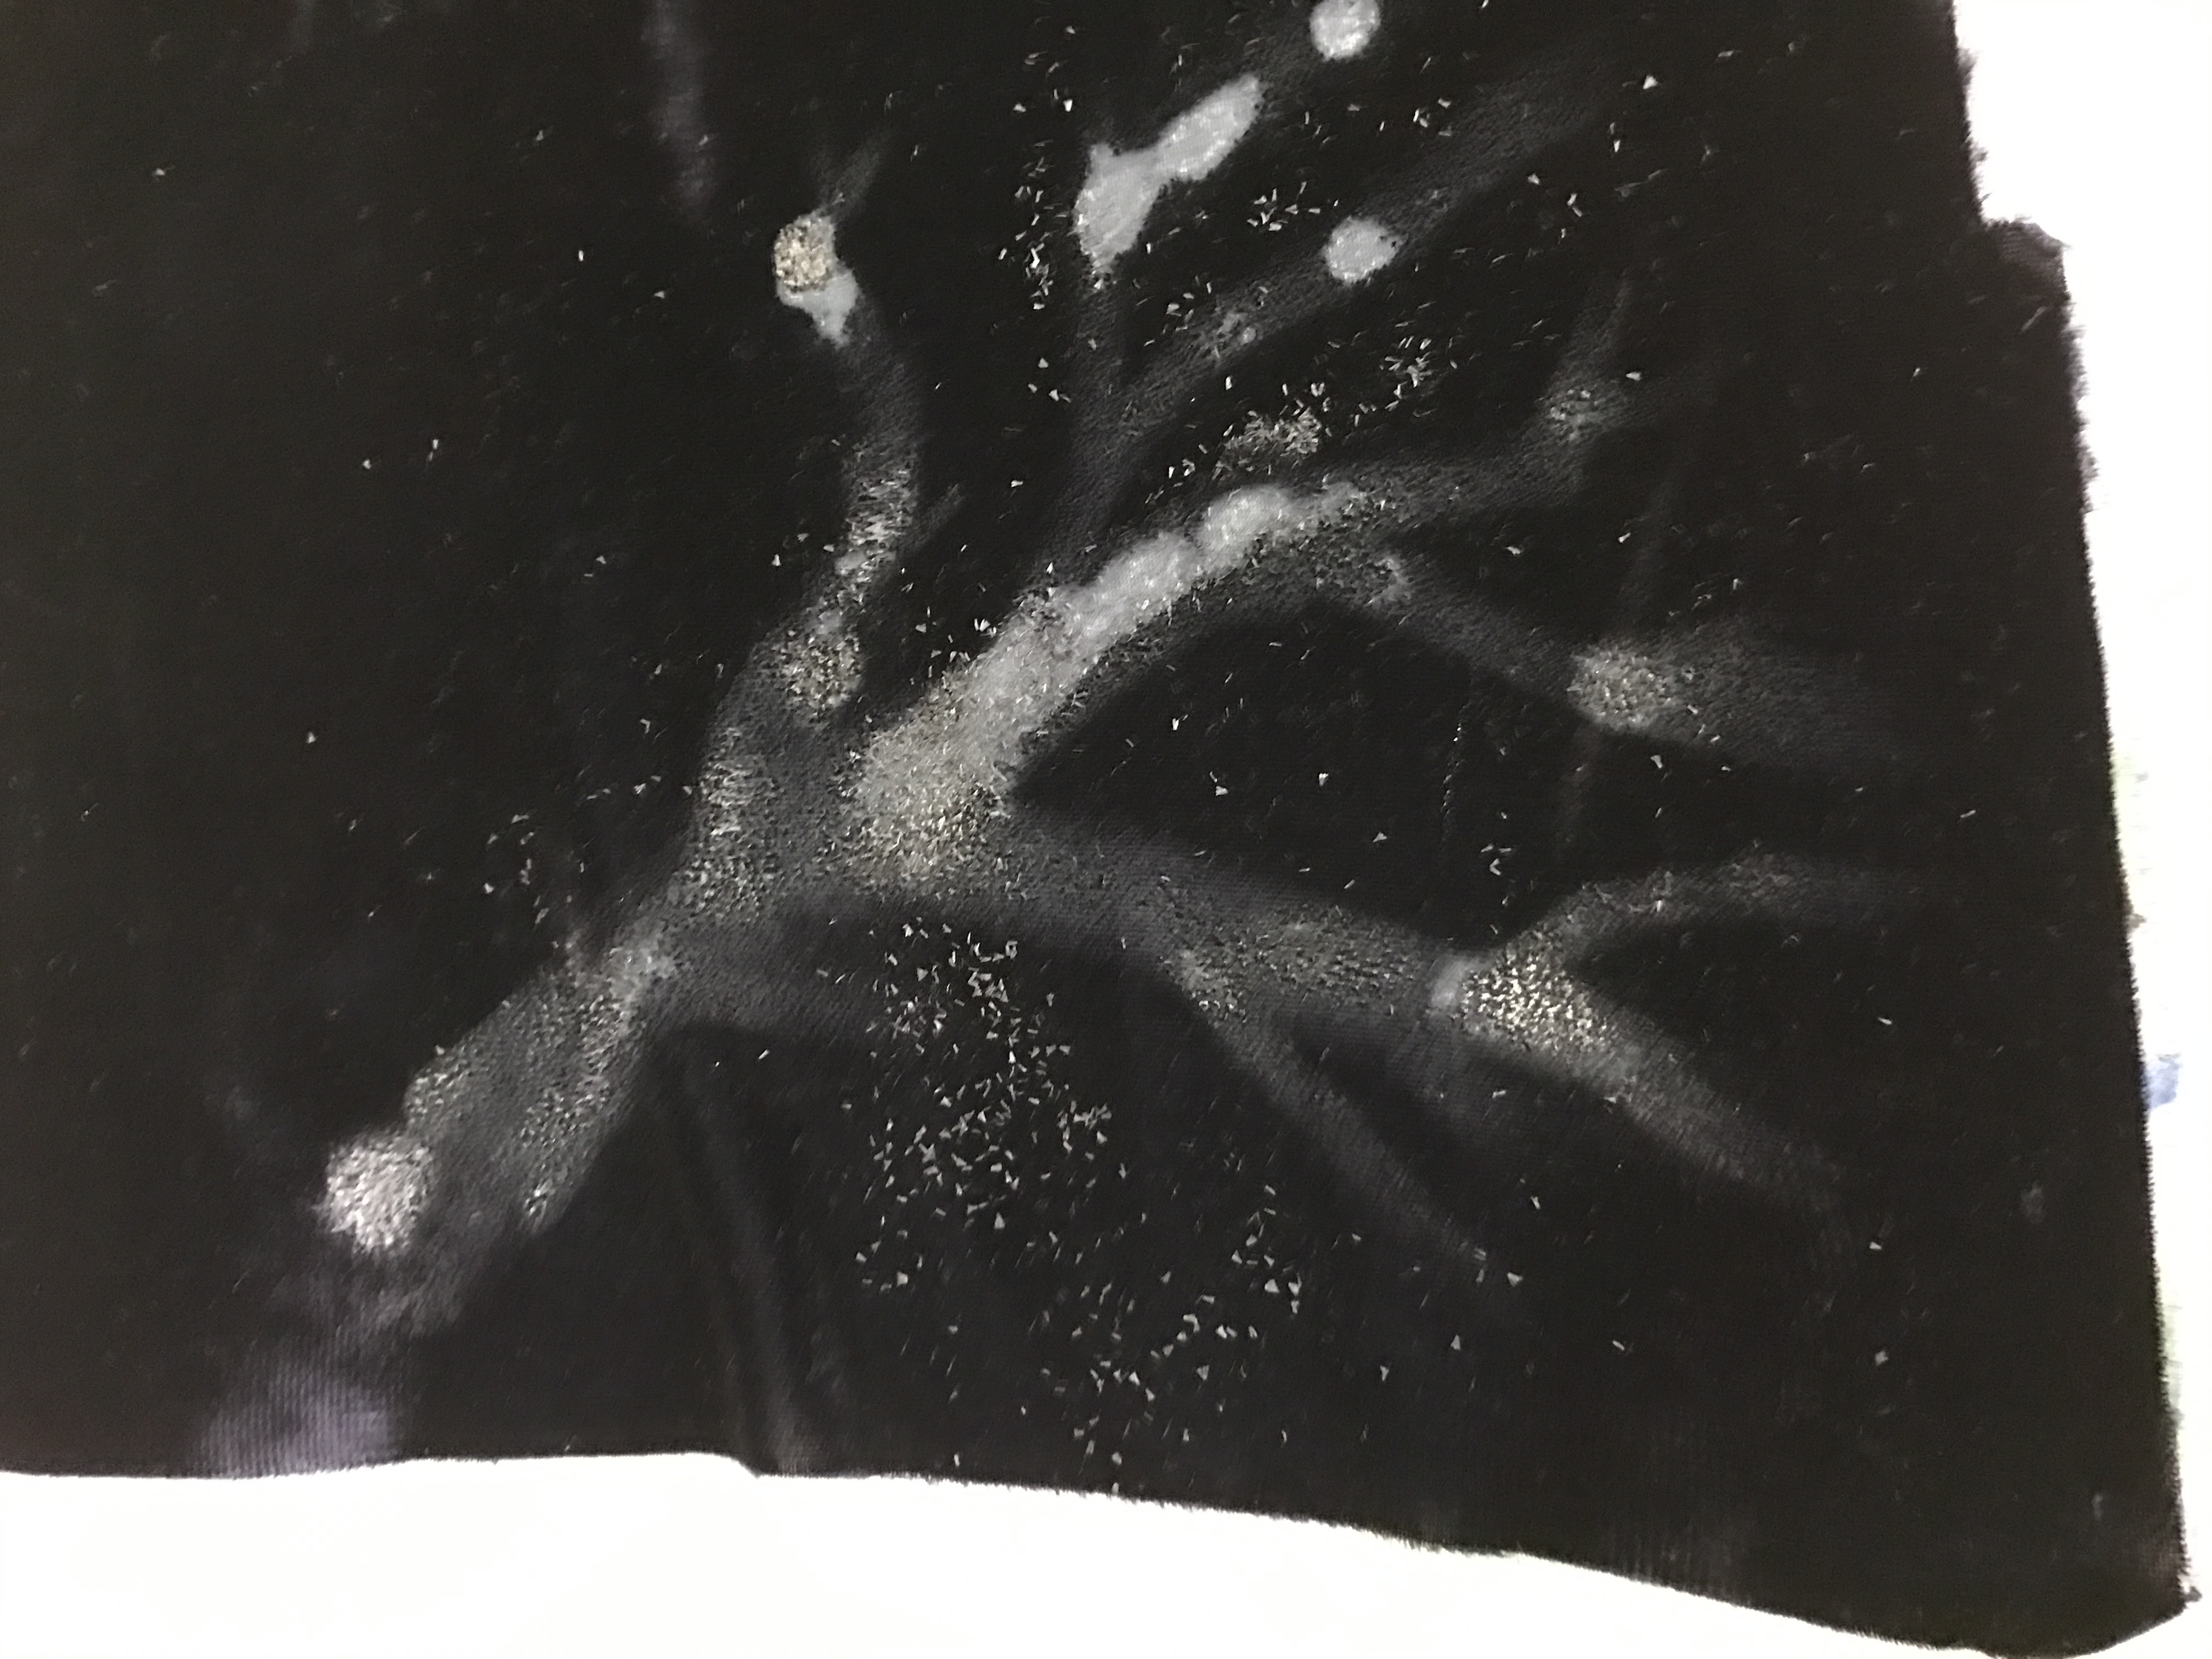
My own attempt: Drew a tree but the effect didn’t come out as well as the samples in class. Probably because I didn’t add enough of liquid. This is the outcome after removing the fibres once it has dried. *** I found out that we have to wash the fabric once ironed… oops
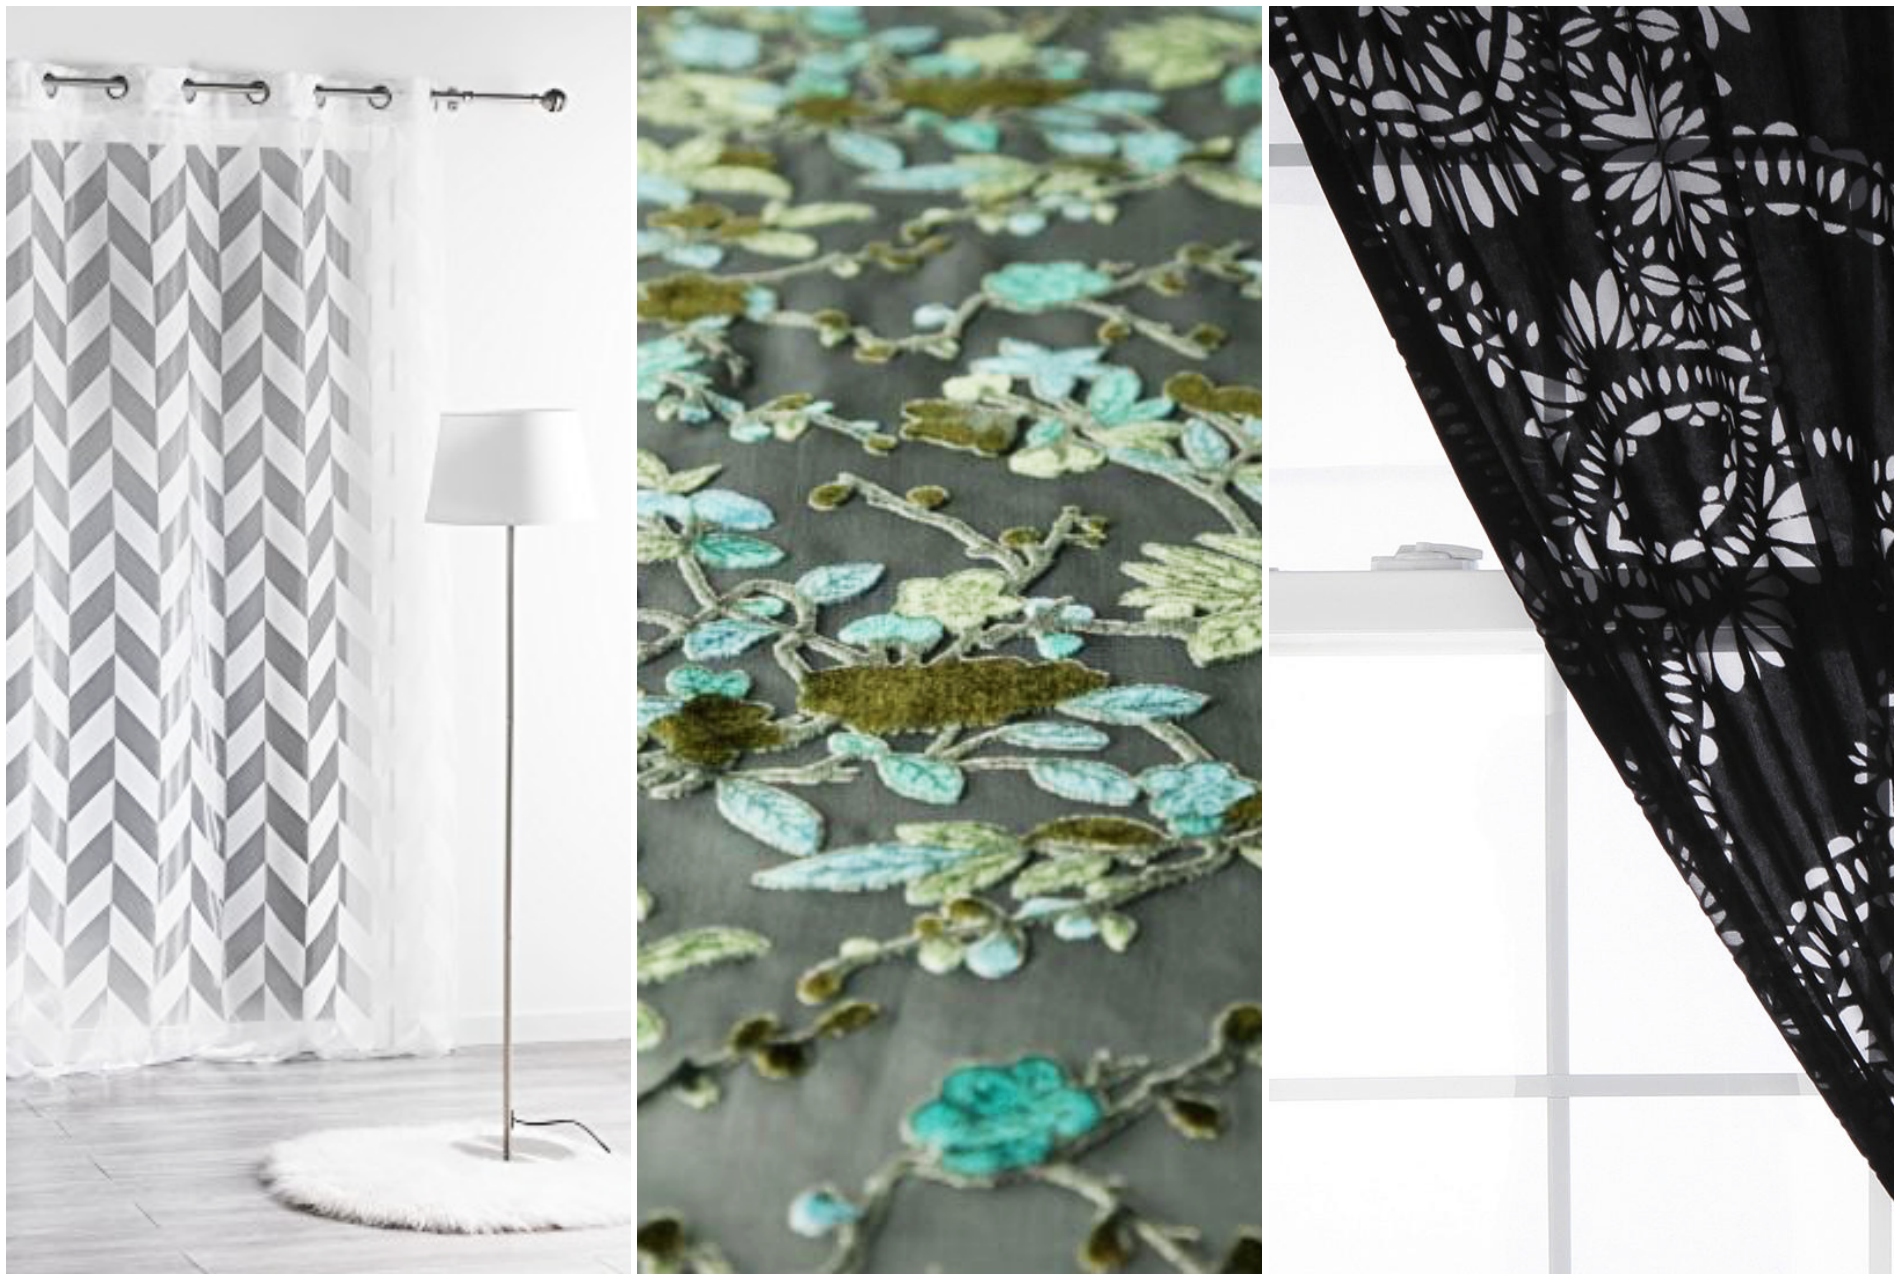
Applications:
________________
Bleaching
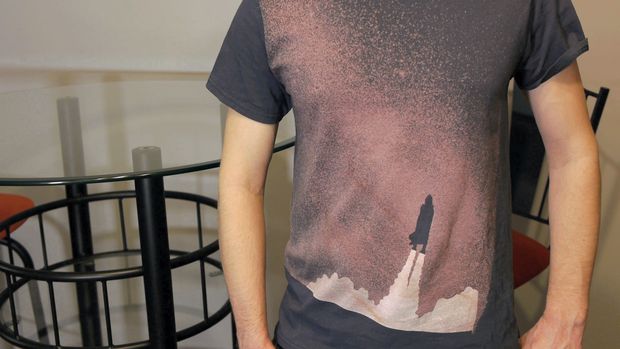
What is bleaching: Bleaching causes a material such as cloth, paper, or hair to become white or much lighter by a chemical process or by exposure to sunlight.
Materials needed: Bleach, Fabric, Spray bottle, Water
How it is done:
Step 1: Fill the spray bottle with water and bleach, water to dilute the bleach (Alternatively, you can also tie up the fabric using rubber bands to create different bleaching patterns once the fabric is dried)
Step 2: Lay the fabric flat and spray it with the bleach
Step 3: Leave it in sunlight and the colour will start changing
Step 4: Wash and dry
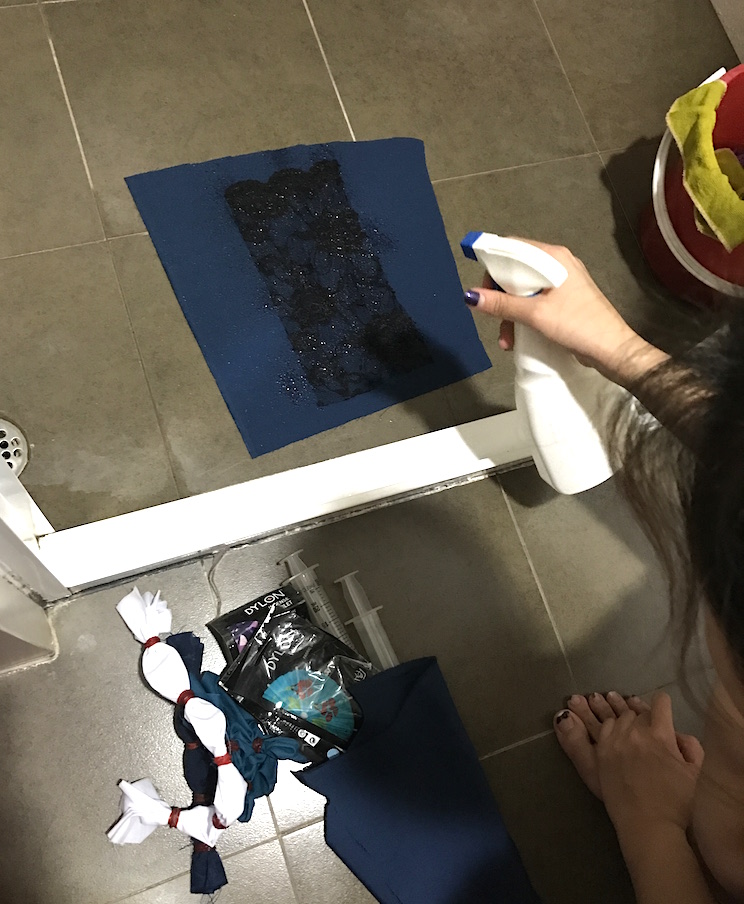
Spraying bleach onto lace

Spraying bleach onto tied up fabric
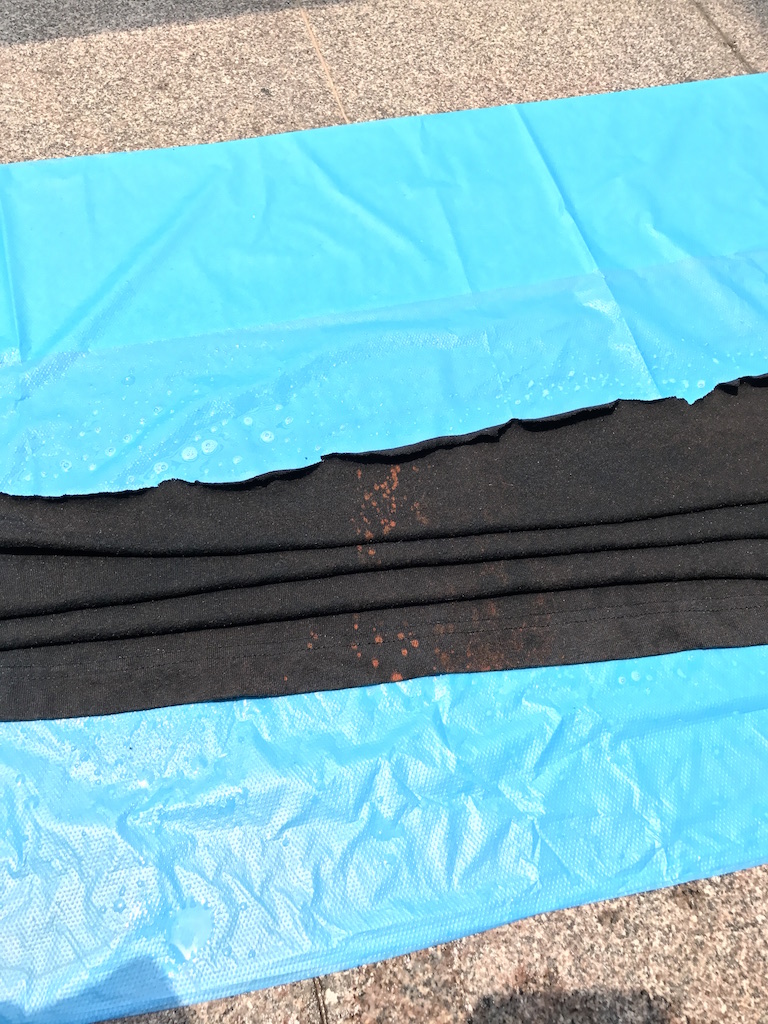
Bleach sprayed on fabric
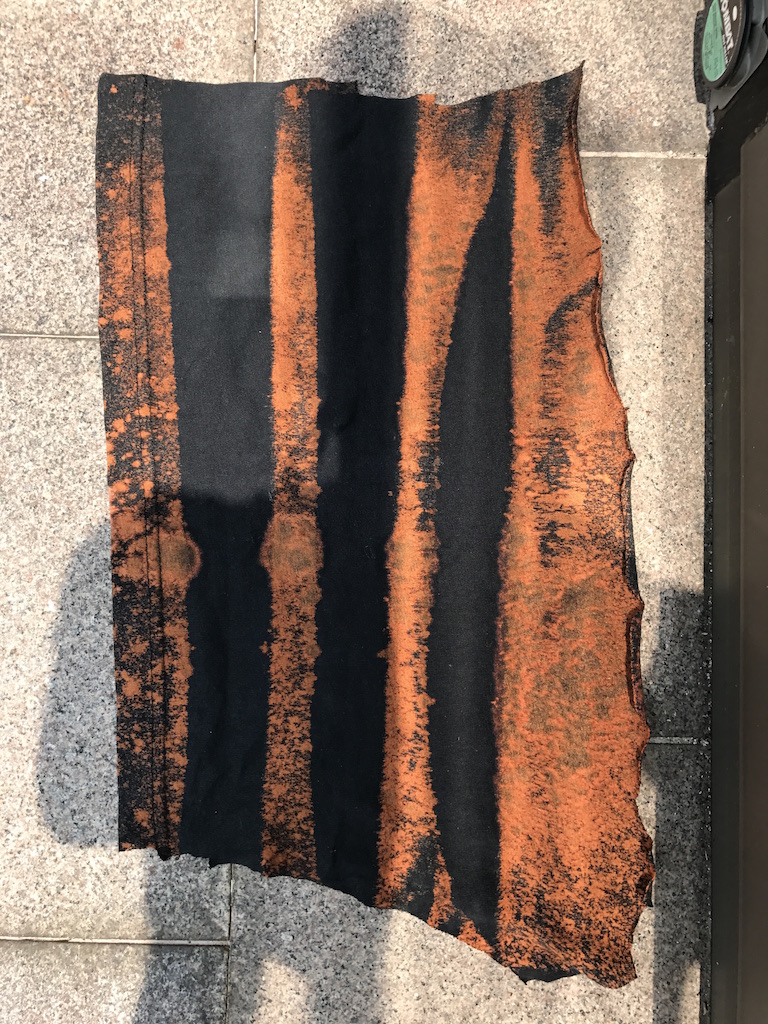
Fabric after a few mins in the sun
Applications:

________________
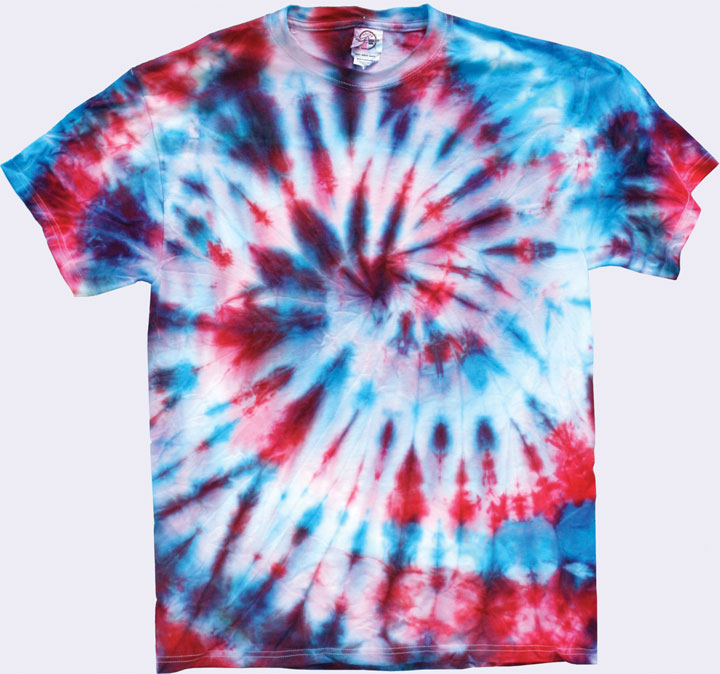
Tie Dyeing
What is Tie Dyeing: The process of adding/ changing colours of a fabric. Works best with cotton fabrics.
Materials needed: Fabric, dyes, syringes, containers for mixing (1 per colour), warm water, rubber bands, plastic sheet
How it is done:
Prep fabric
Step 1: Damp your fabric with water. Lay your fabric onto plastic sheet.
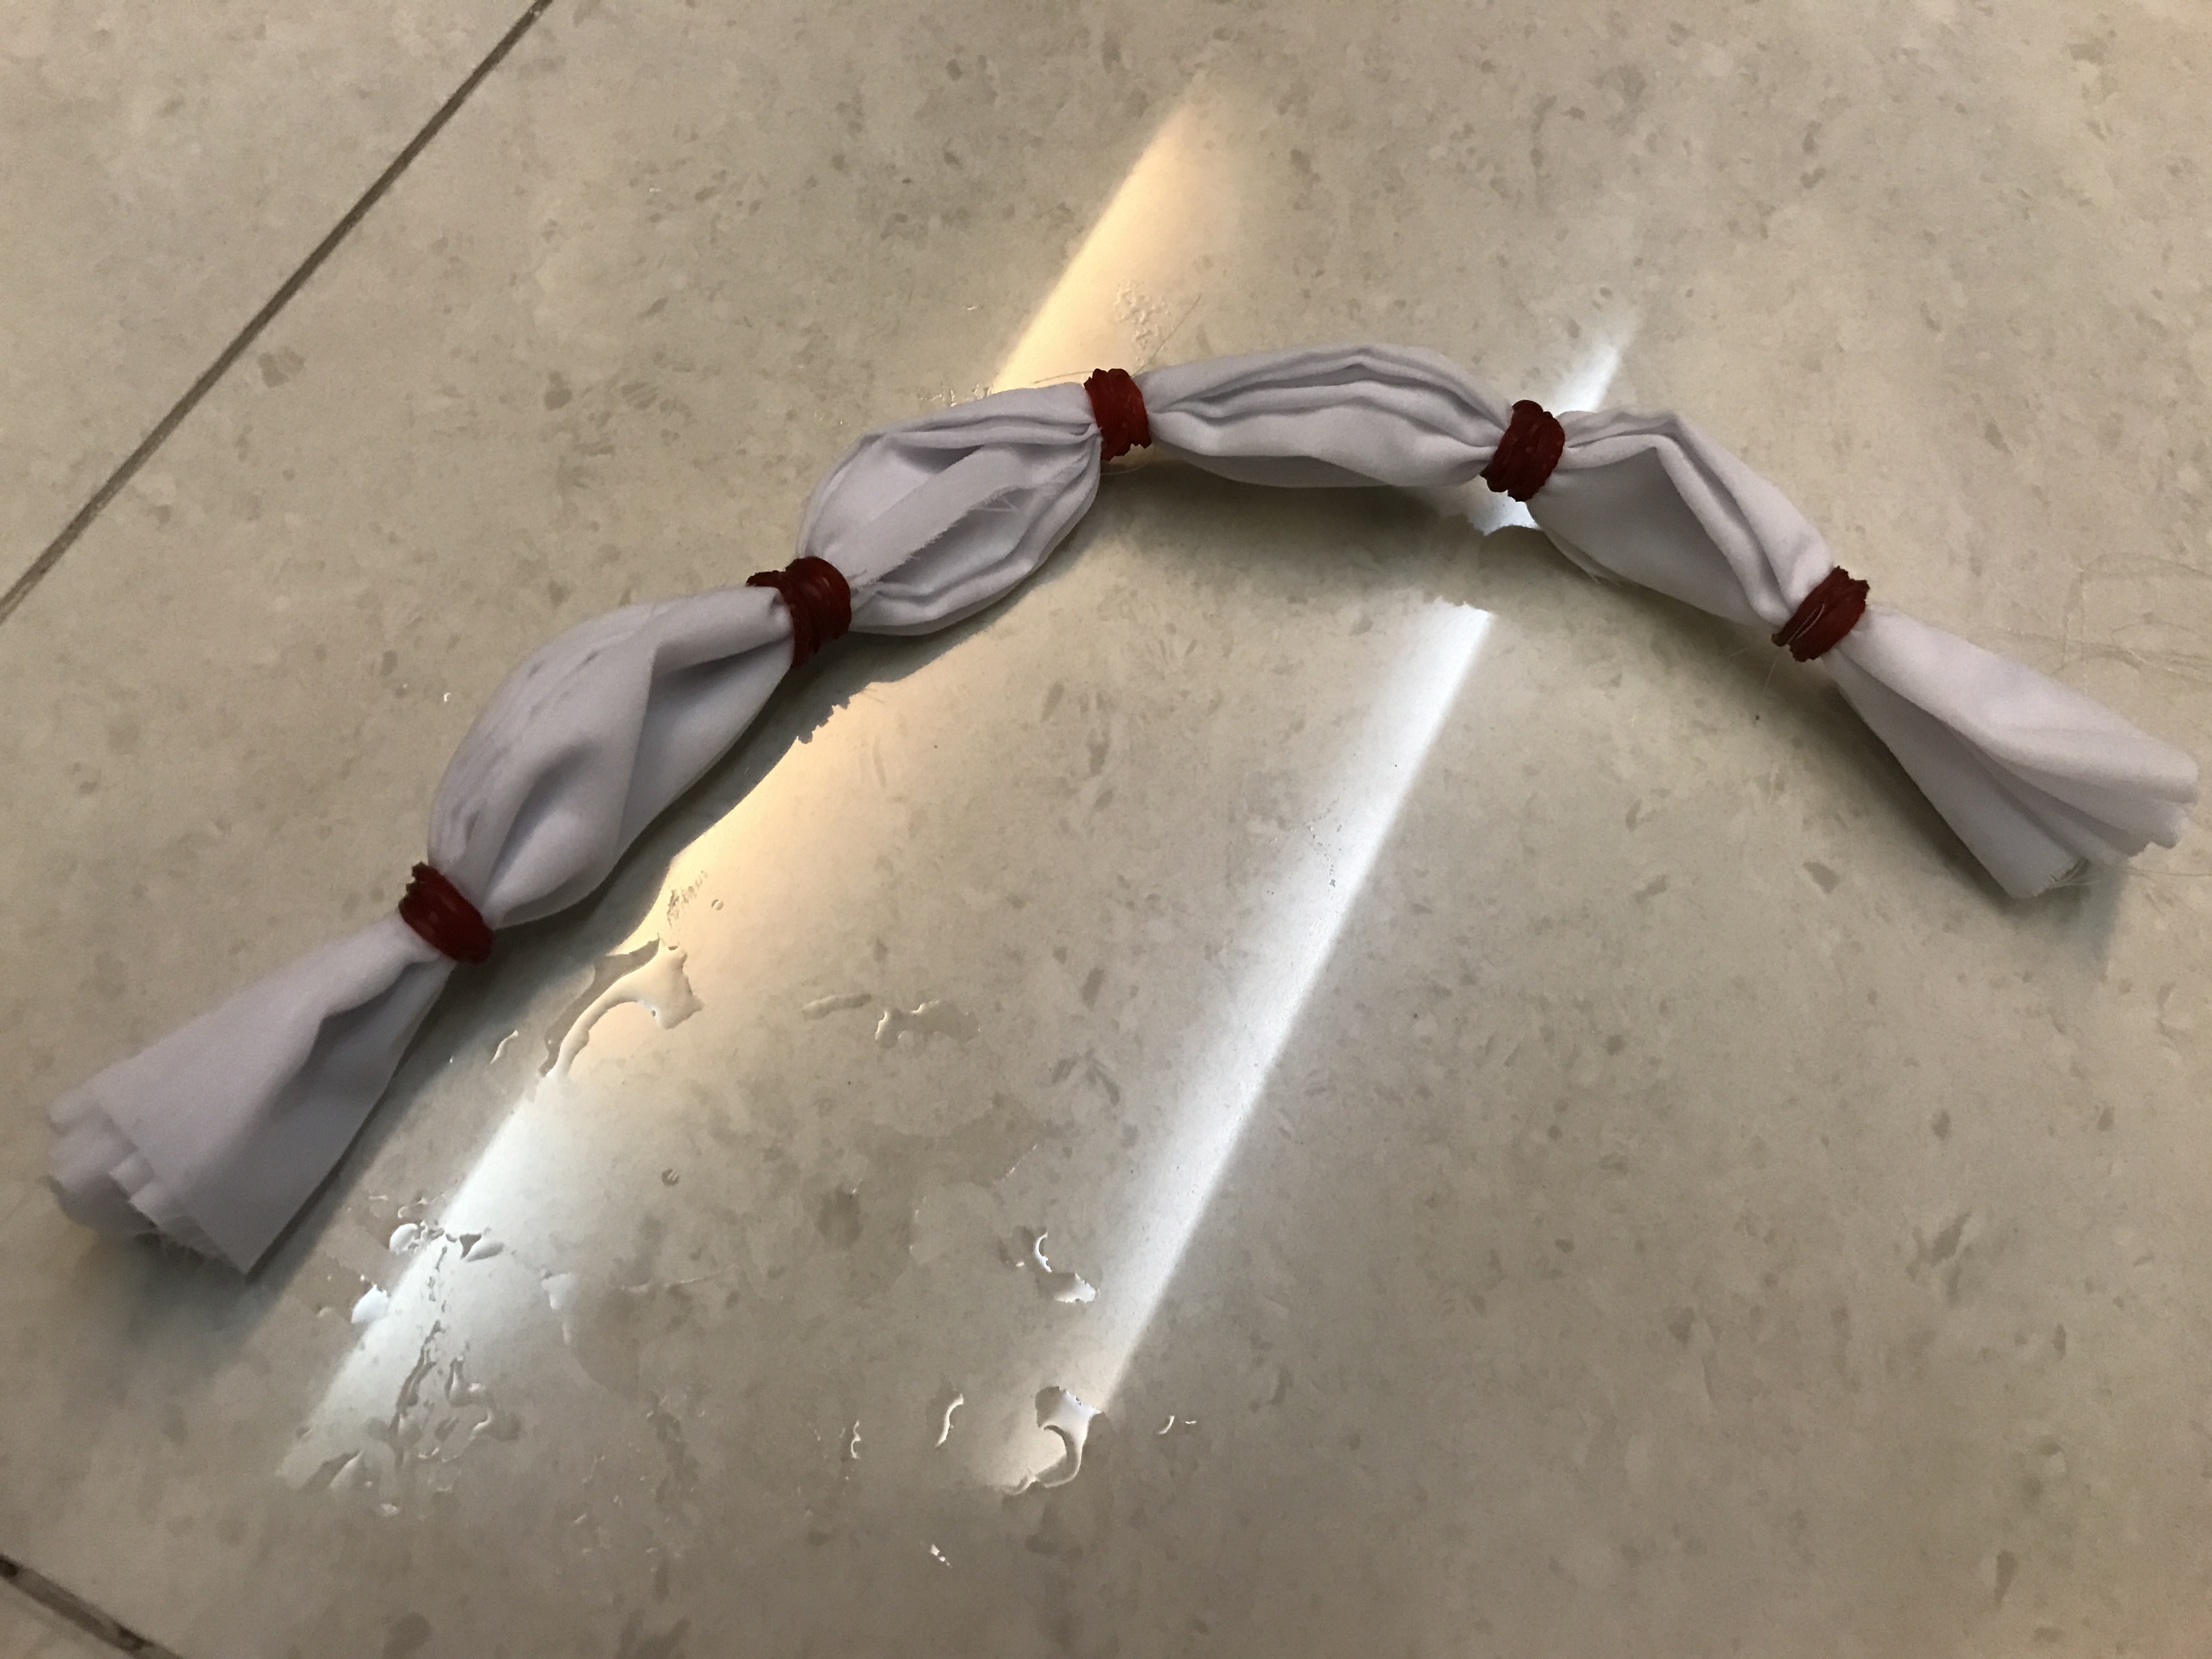
Step 2: Start tying fabric up with rubberbands. Here, I folded the fabric into a fan like shape and tied it with 4 rubberbands in equal spaces.
Mix the dyes
Step 3: Fill your bowls with warm water and pour the dye mix. Stir well.
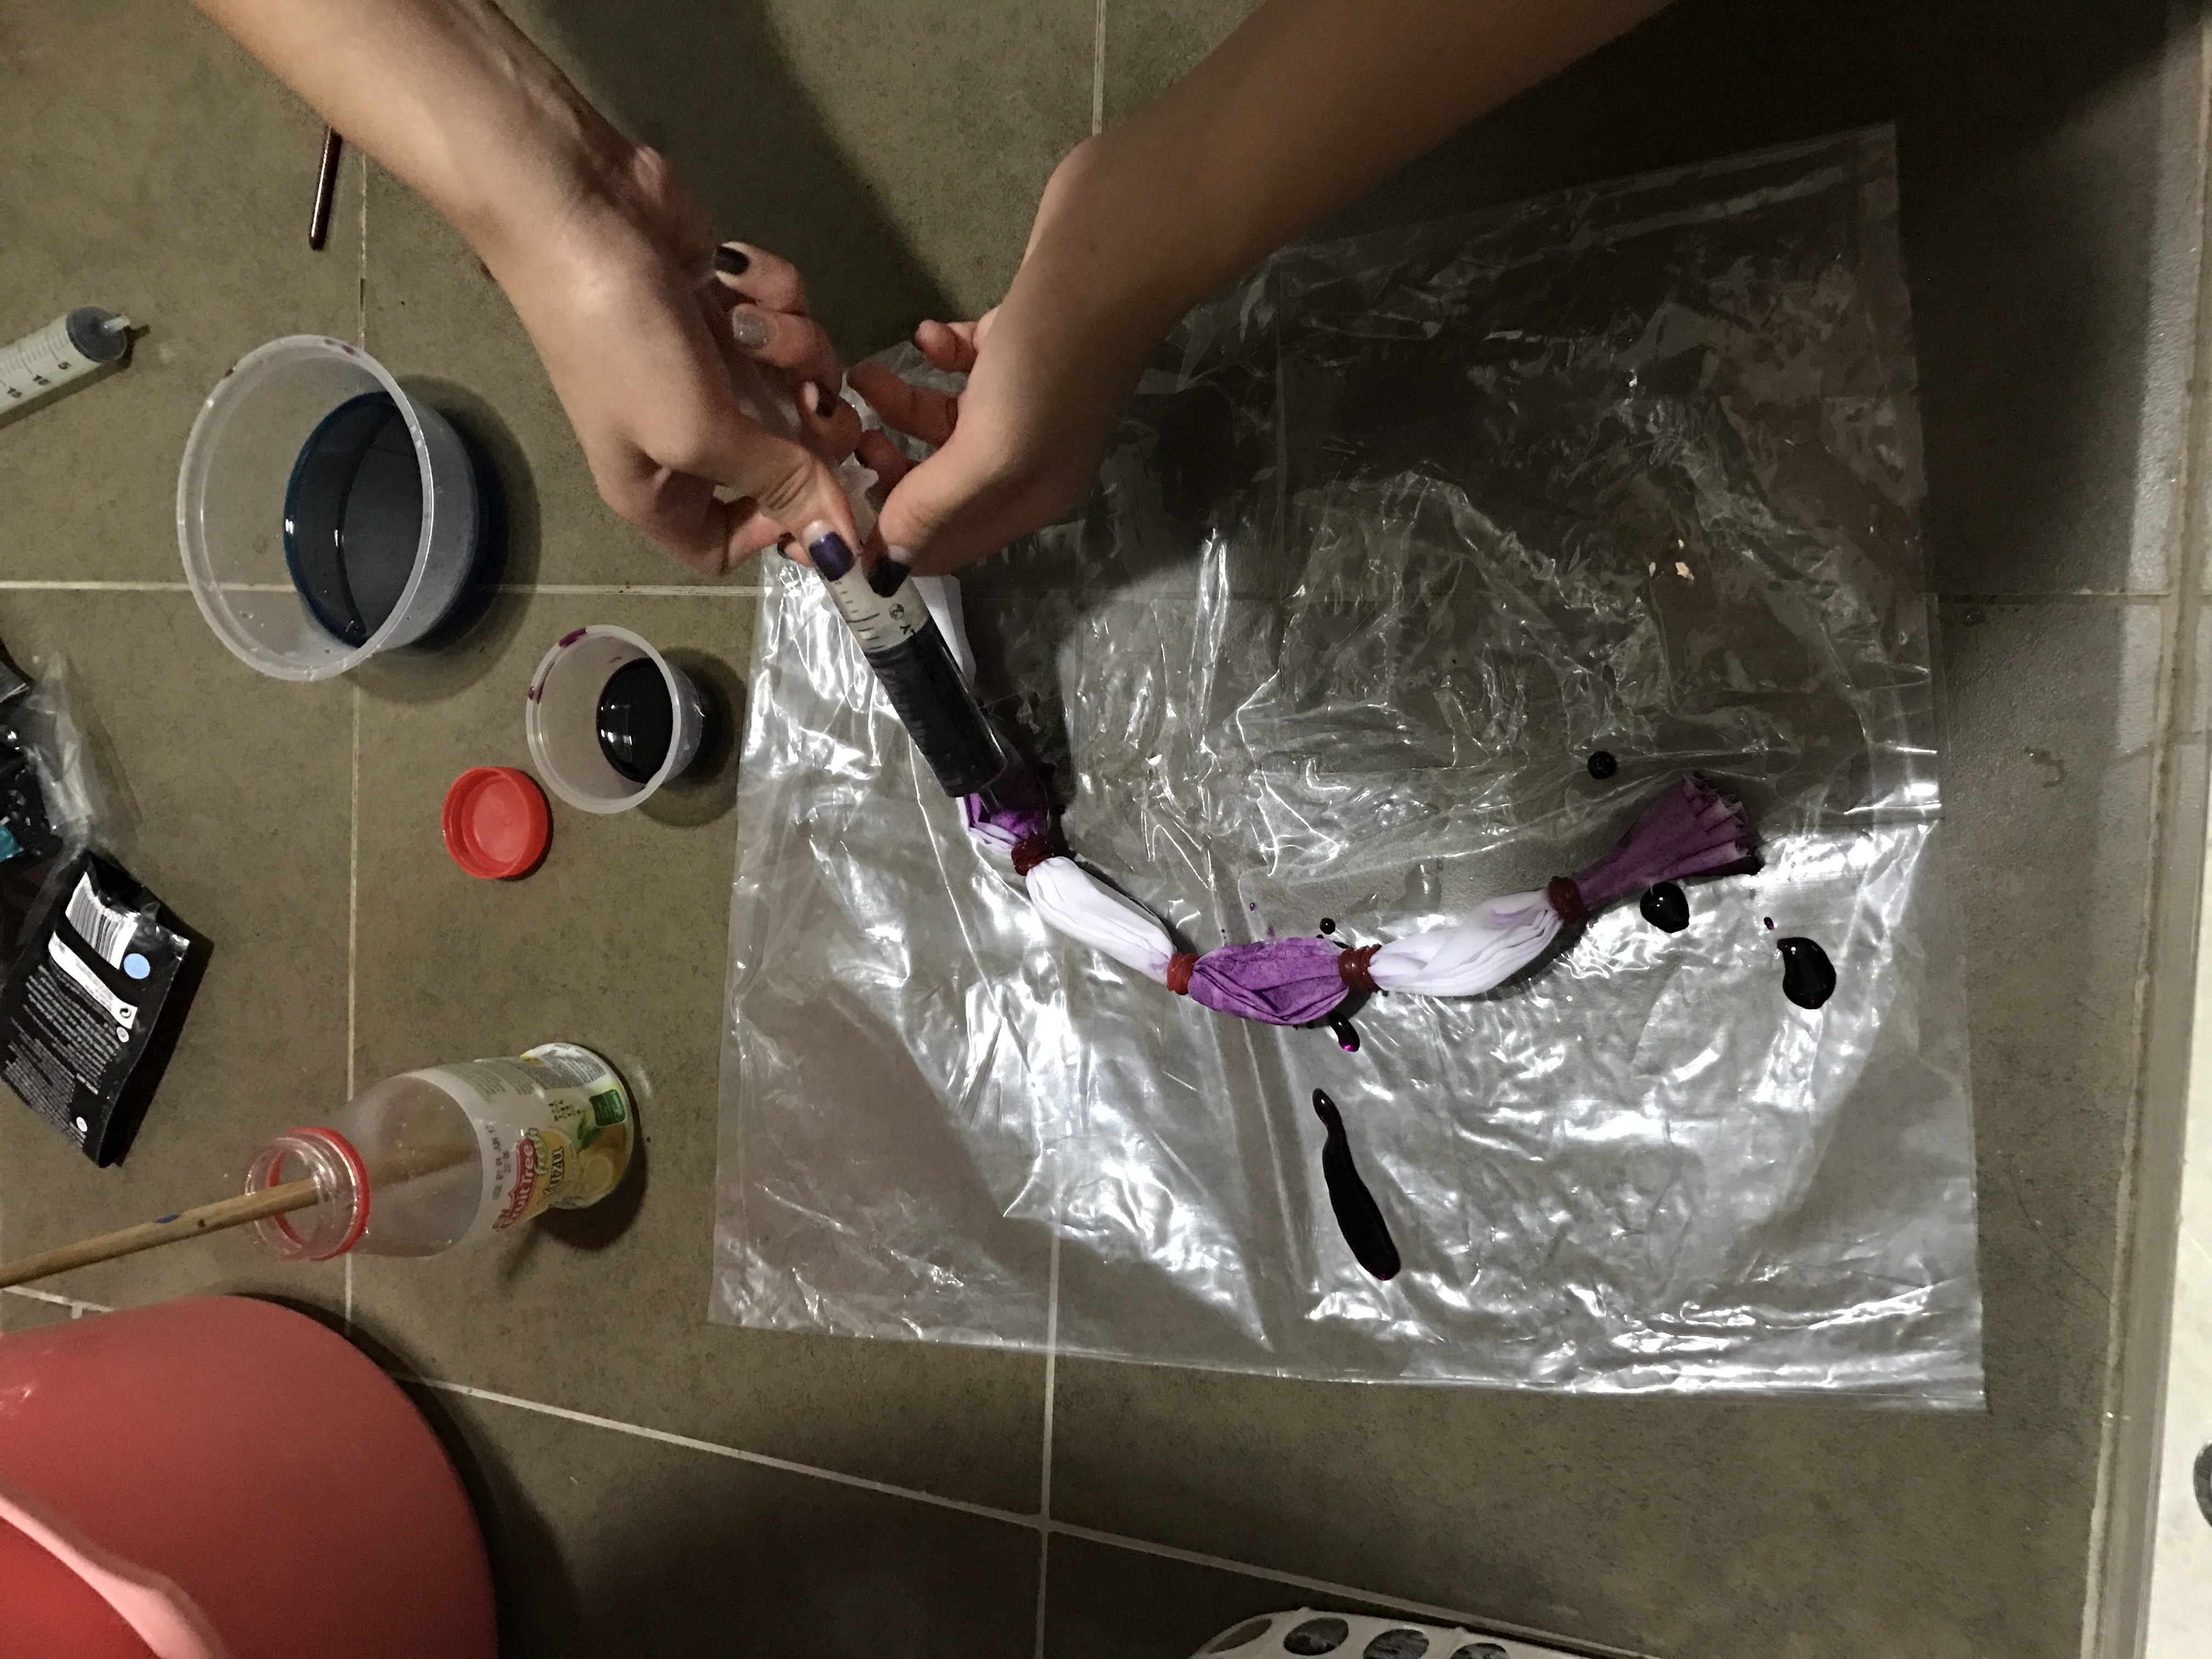
Step 4: Once done, fill the syringes with the dyes.
Tie Dyeing
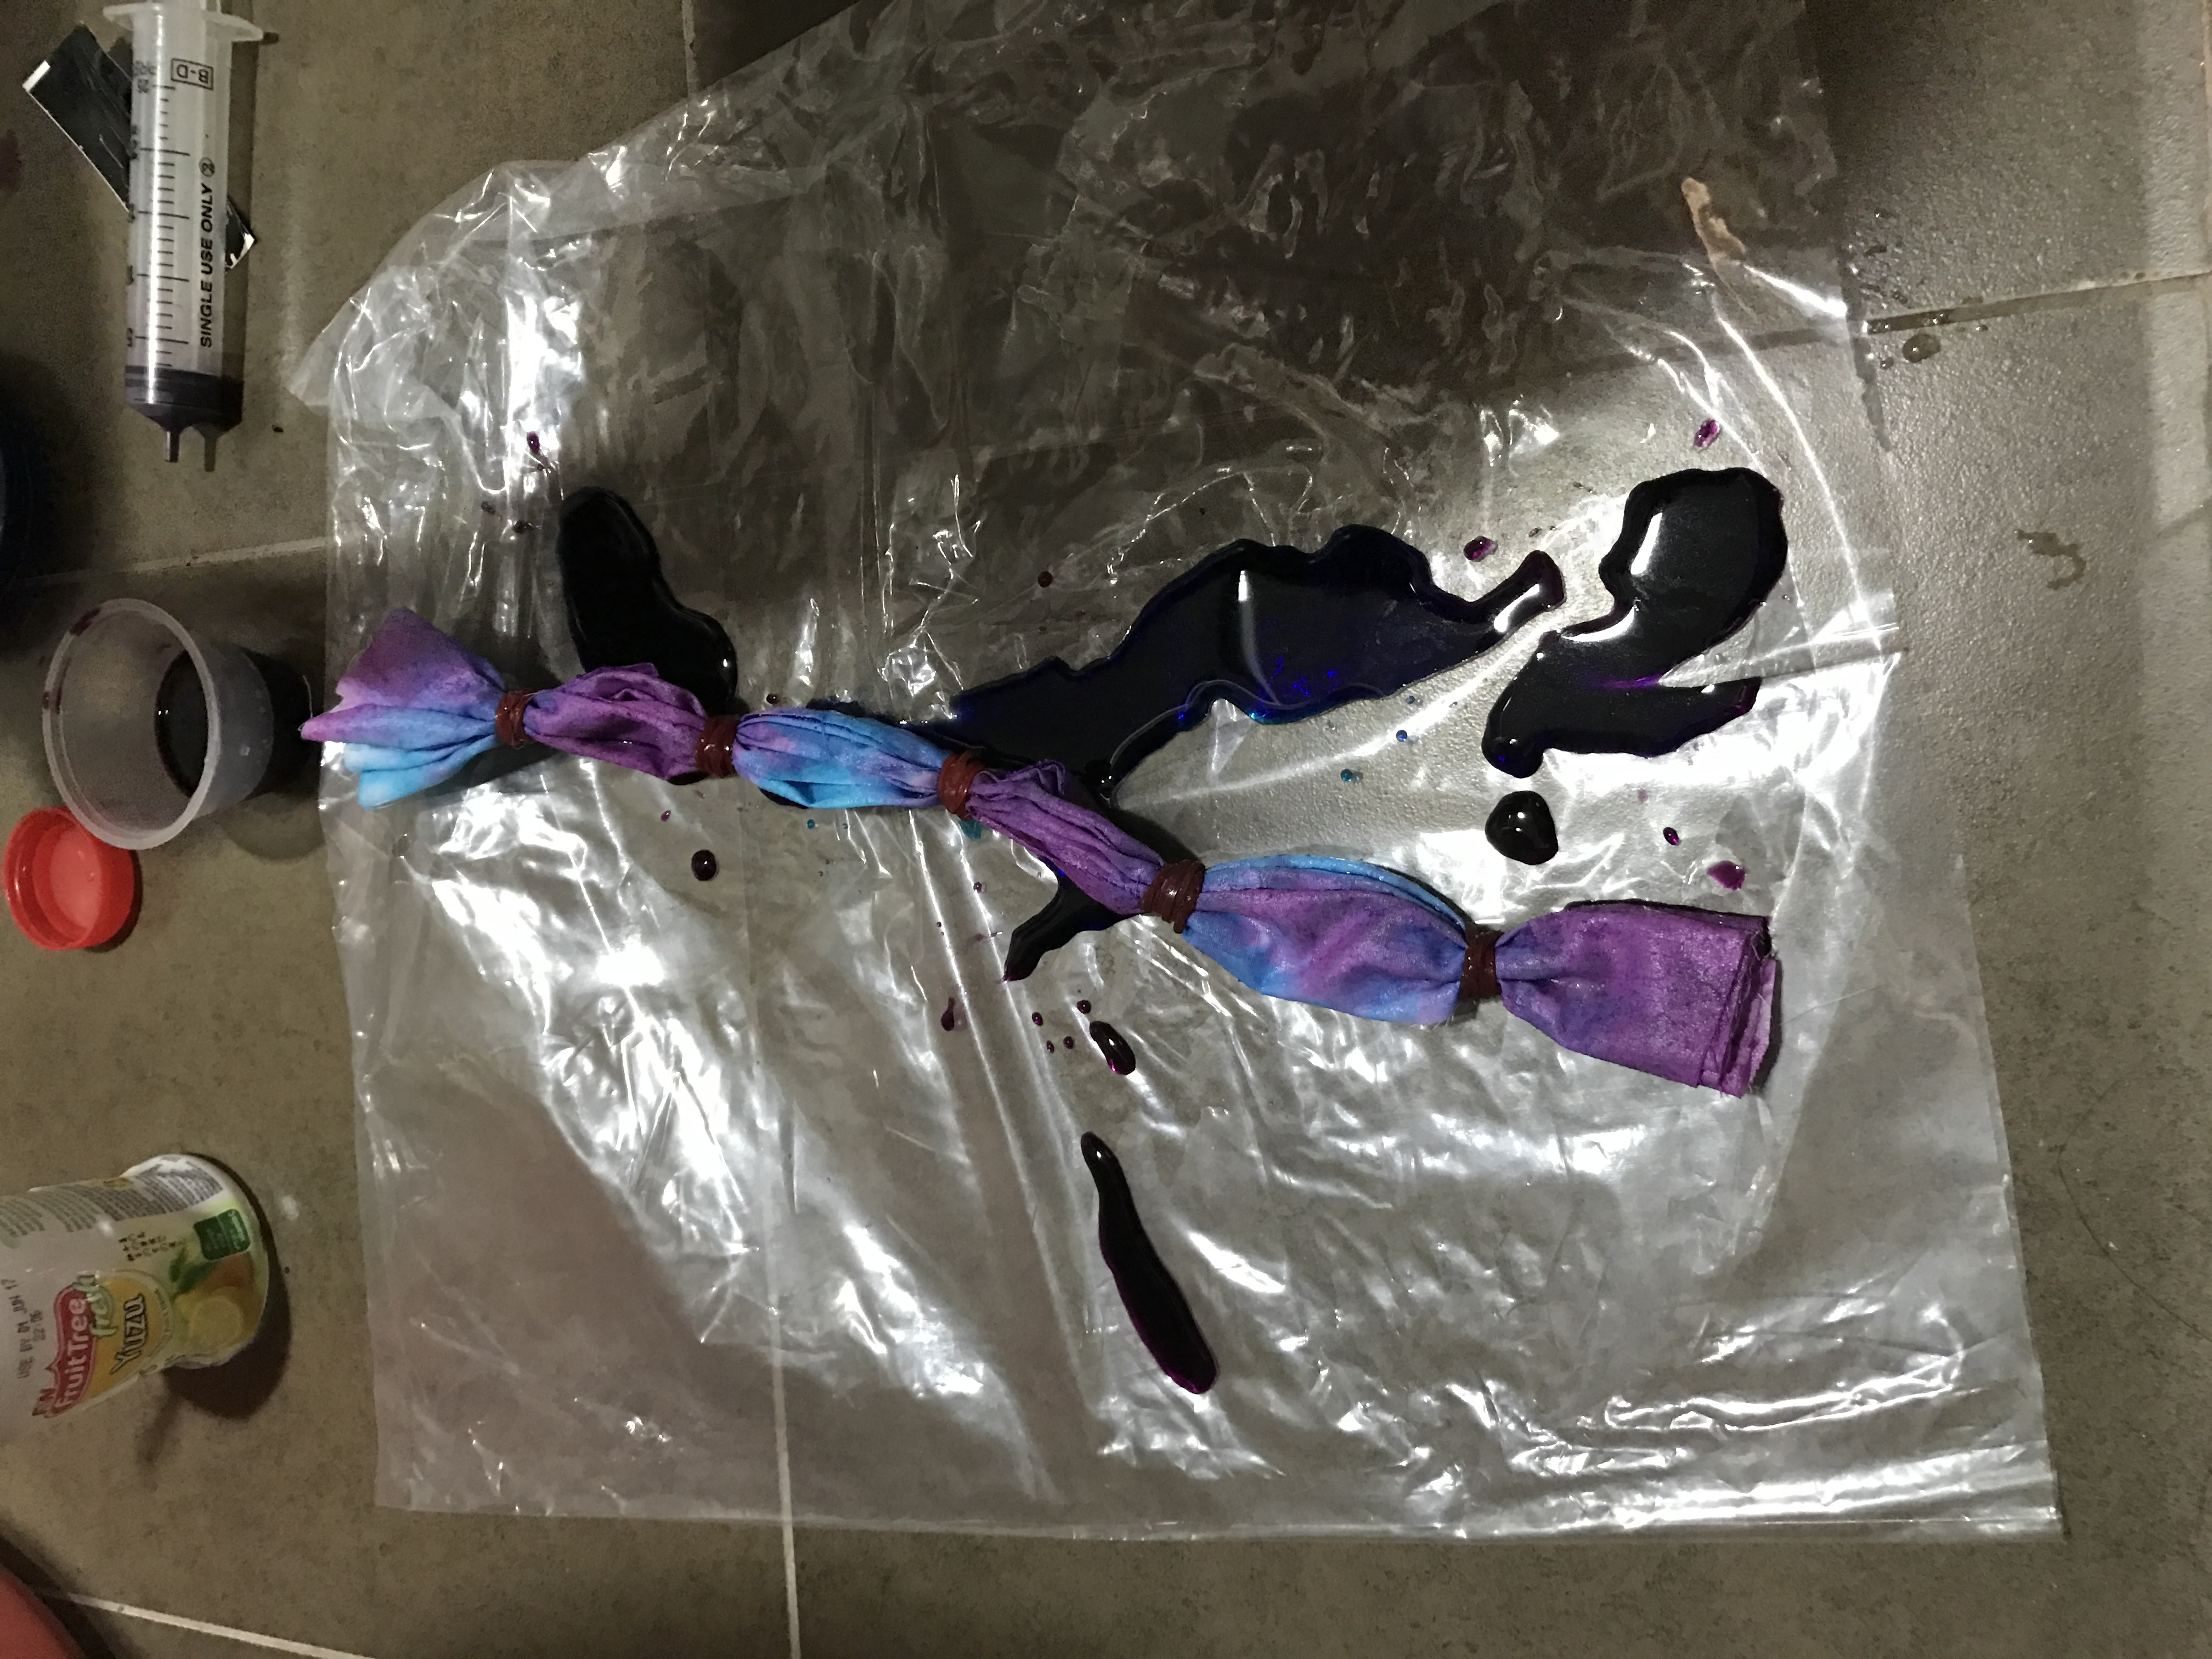
Step 5: Release one colour of the dye onto each alternate space on the tied fabric. Hence, the colours will be alternating on the fabric. (e.g. blue, purple, blue, purple)
Step 6: Spray salt water. This is to make sure the fabric dye retains it’s vibrancy and stays put on the fabric when washing.
Step 7: Leave it to dry for 8 hours. Once dried, rinse the fabric in warm water and leave it to dry again.
Step 8: Remove rubberbands
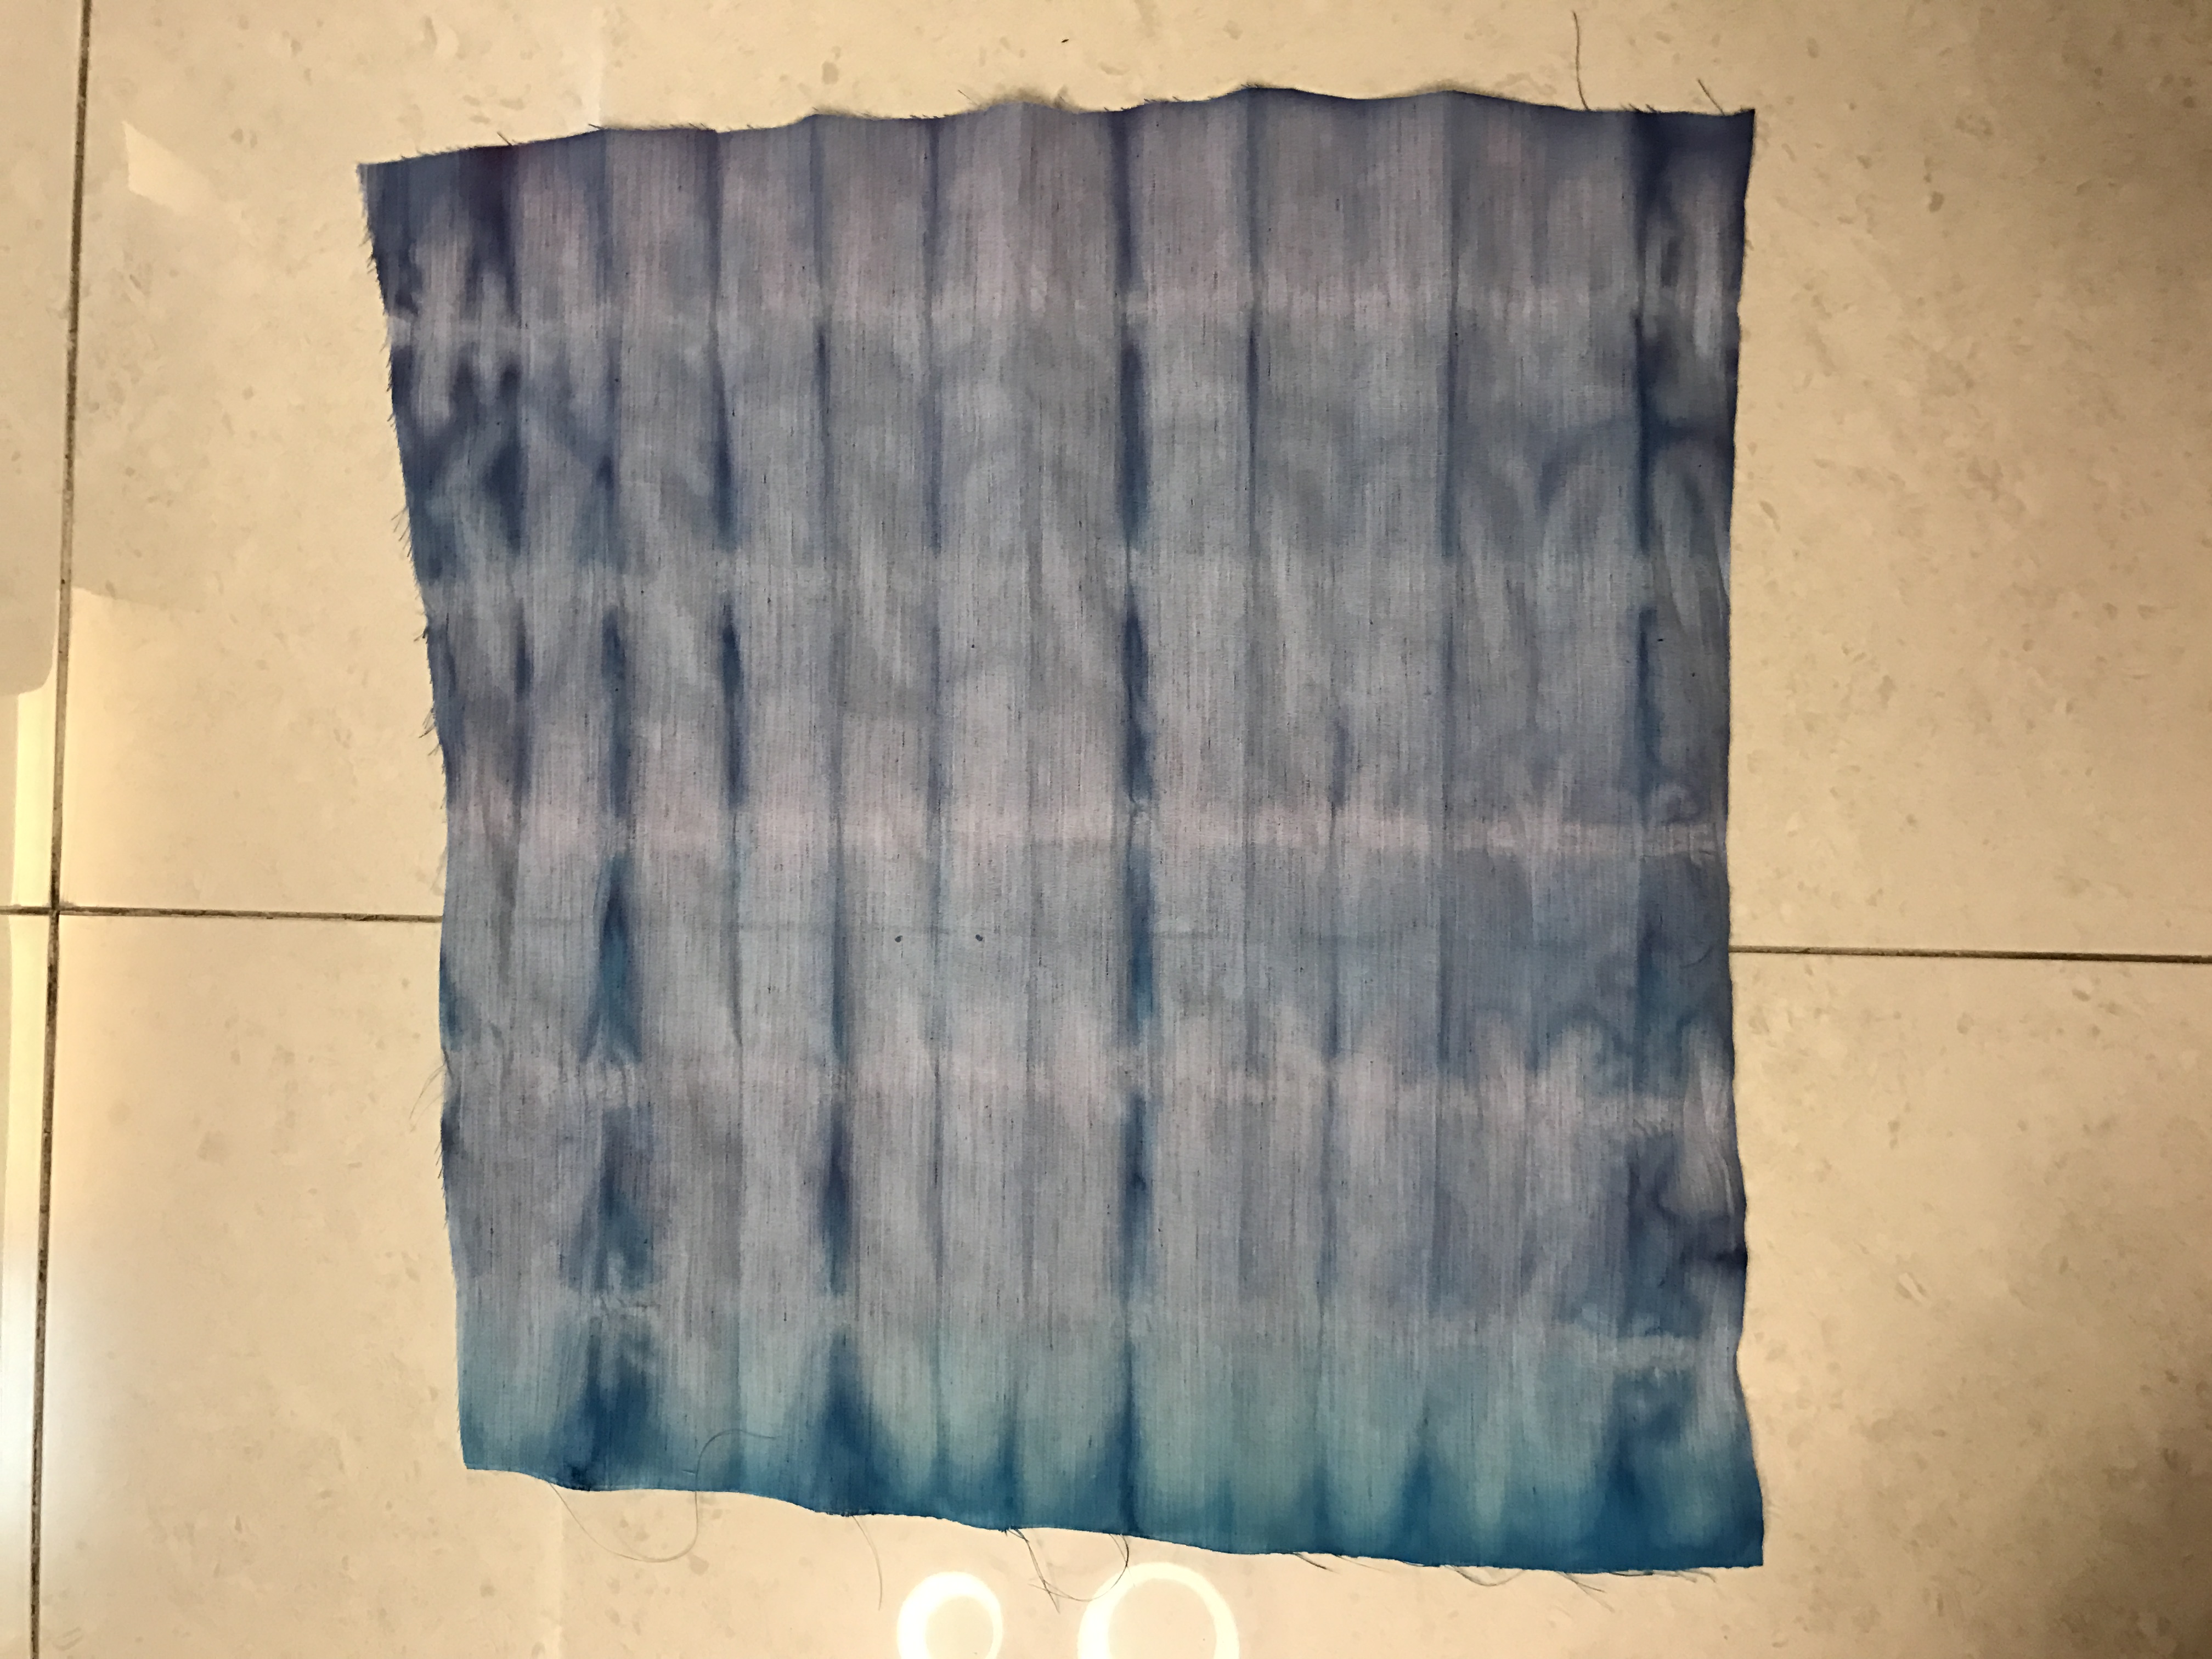
Completed product
Applications:
________________
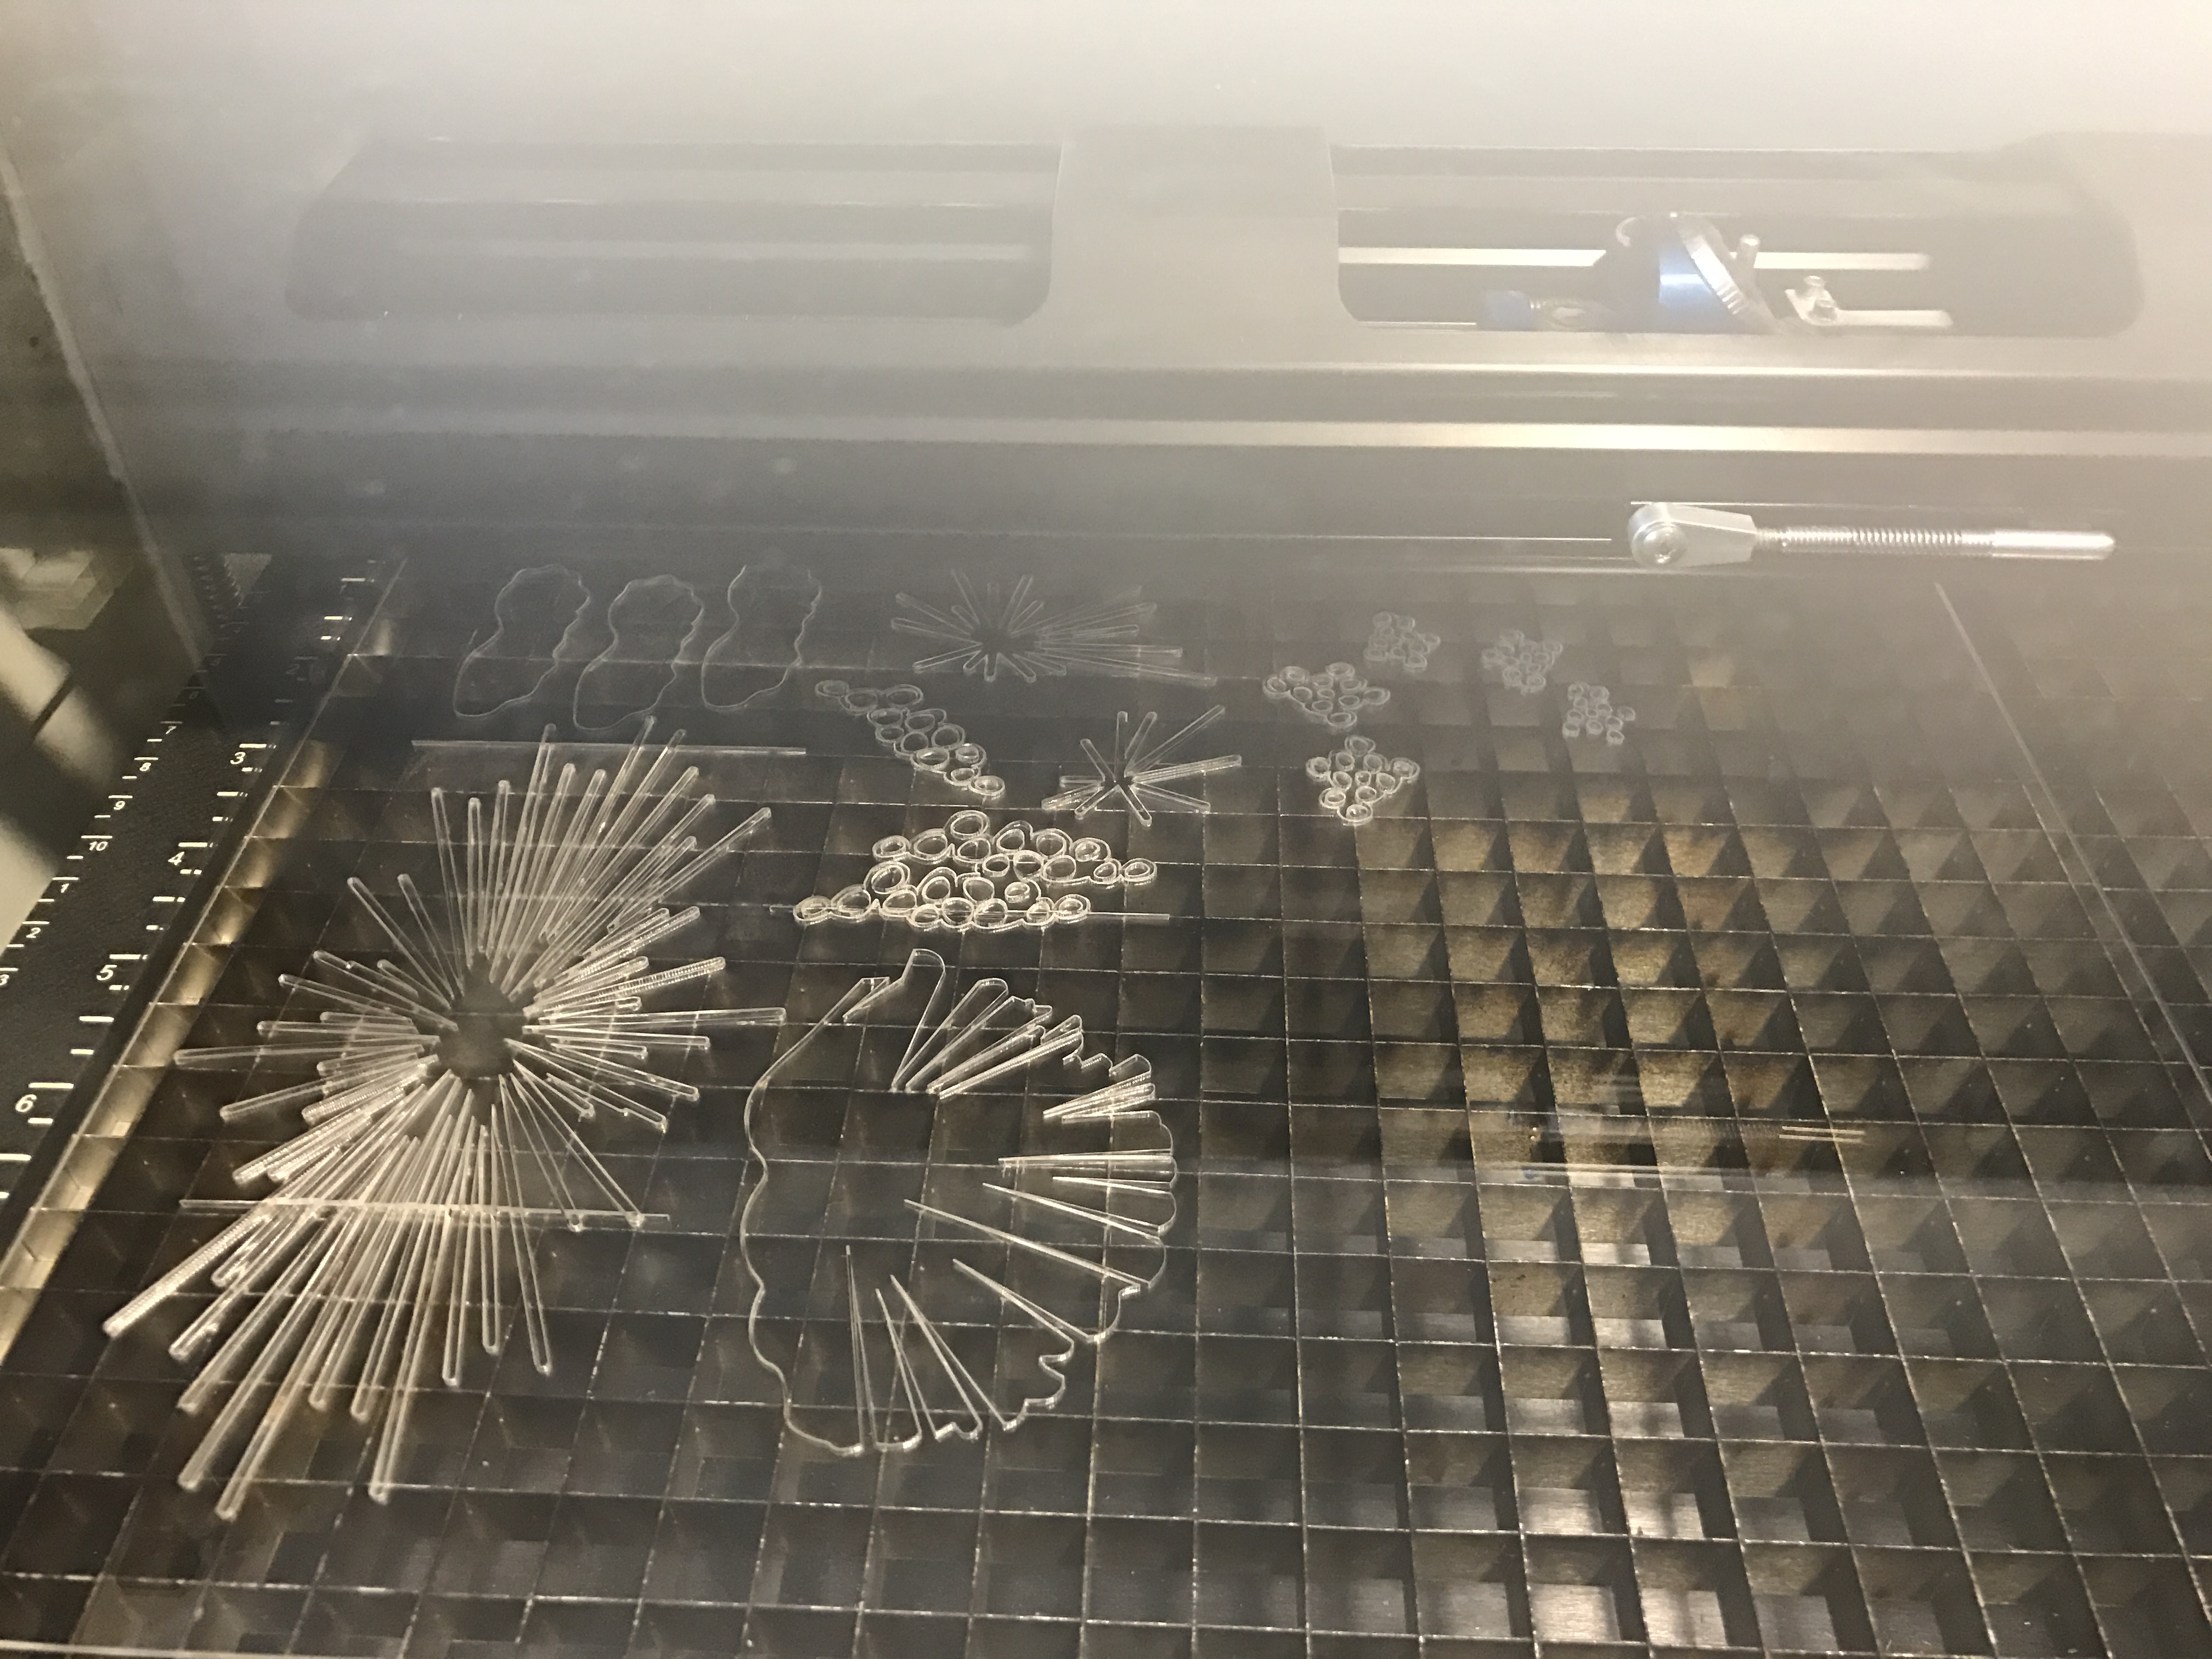
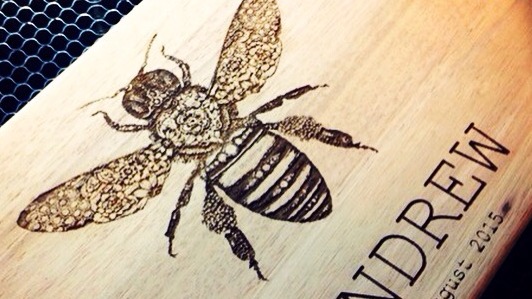
Laser Cut
What is laser cutting: Laser cutting is a technology that uses a laser to cut materials, and is typically used for industrial manufacturing applications, but is also starting to be used by schools, small businesses, and hobbyists. Laser cutting works by directing the output of a high-power laser most commonly through optics.
Materials needed: Acrylic sheets, Vector illustrator file with design on it (do note that the design has to be in hairline stroke of 0.01mm for the machine to recognise cutting)
How it is done:
When using the school’s laser cut machine, do take note of the rules attempting laser cut.
Step 1: Upload file onto the computer, adjust your vectors to contain within the space of the template file
Step 2: Reference the sample board in the room to adjust settings accordingly. ** Different thickness acrylics will have different settings for cutting AND rasterising
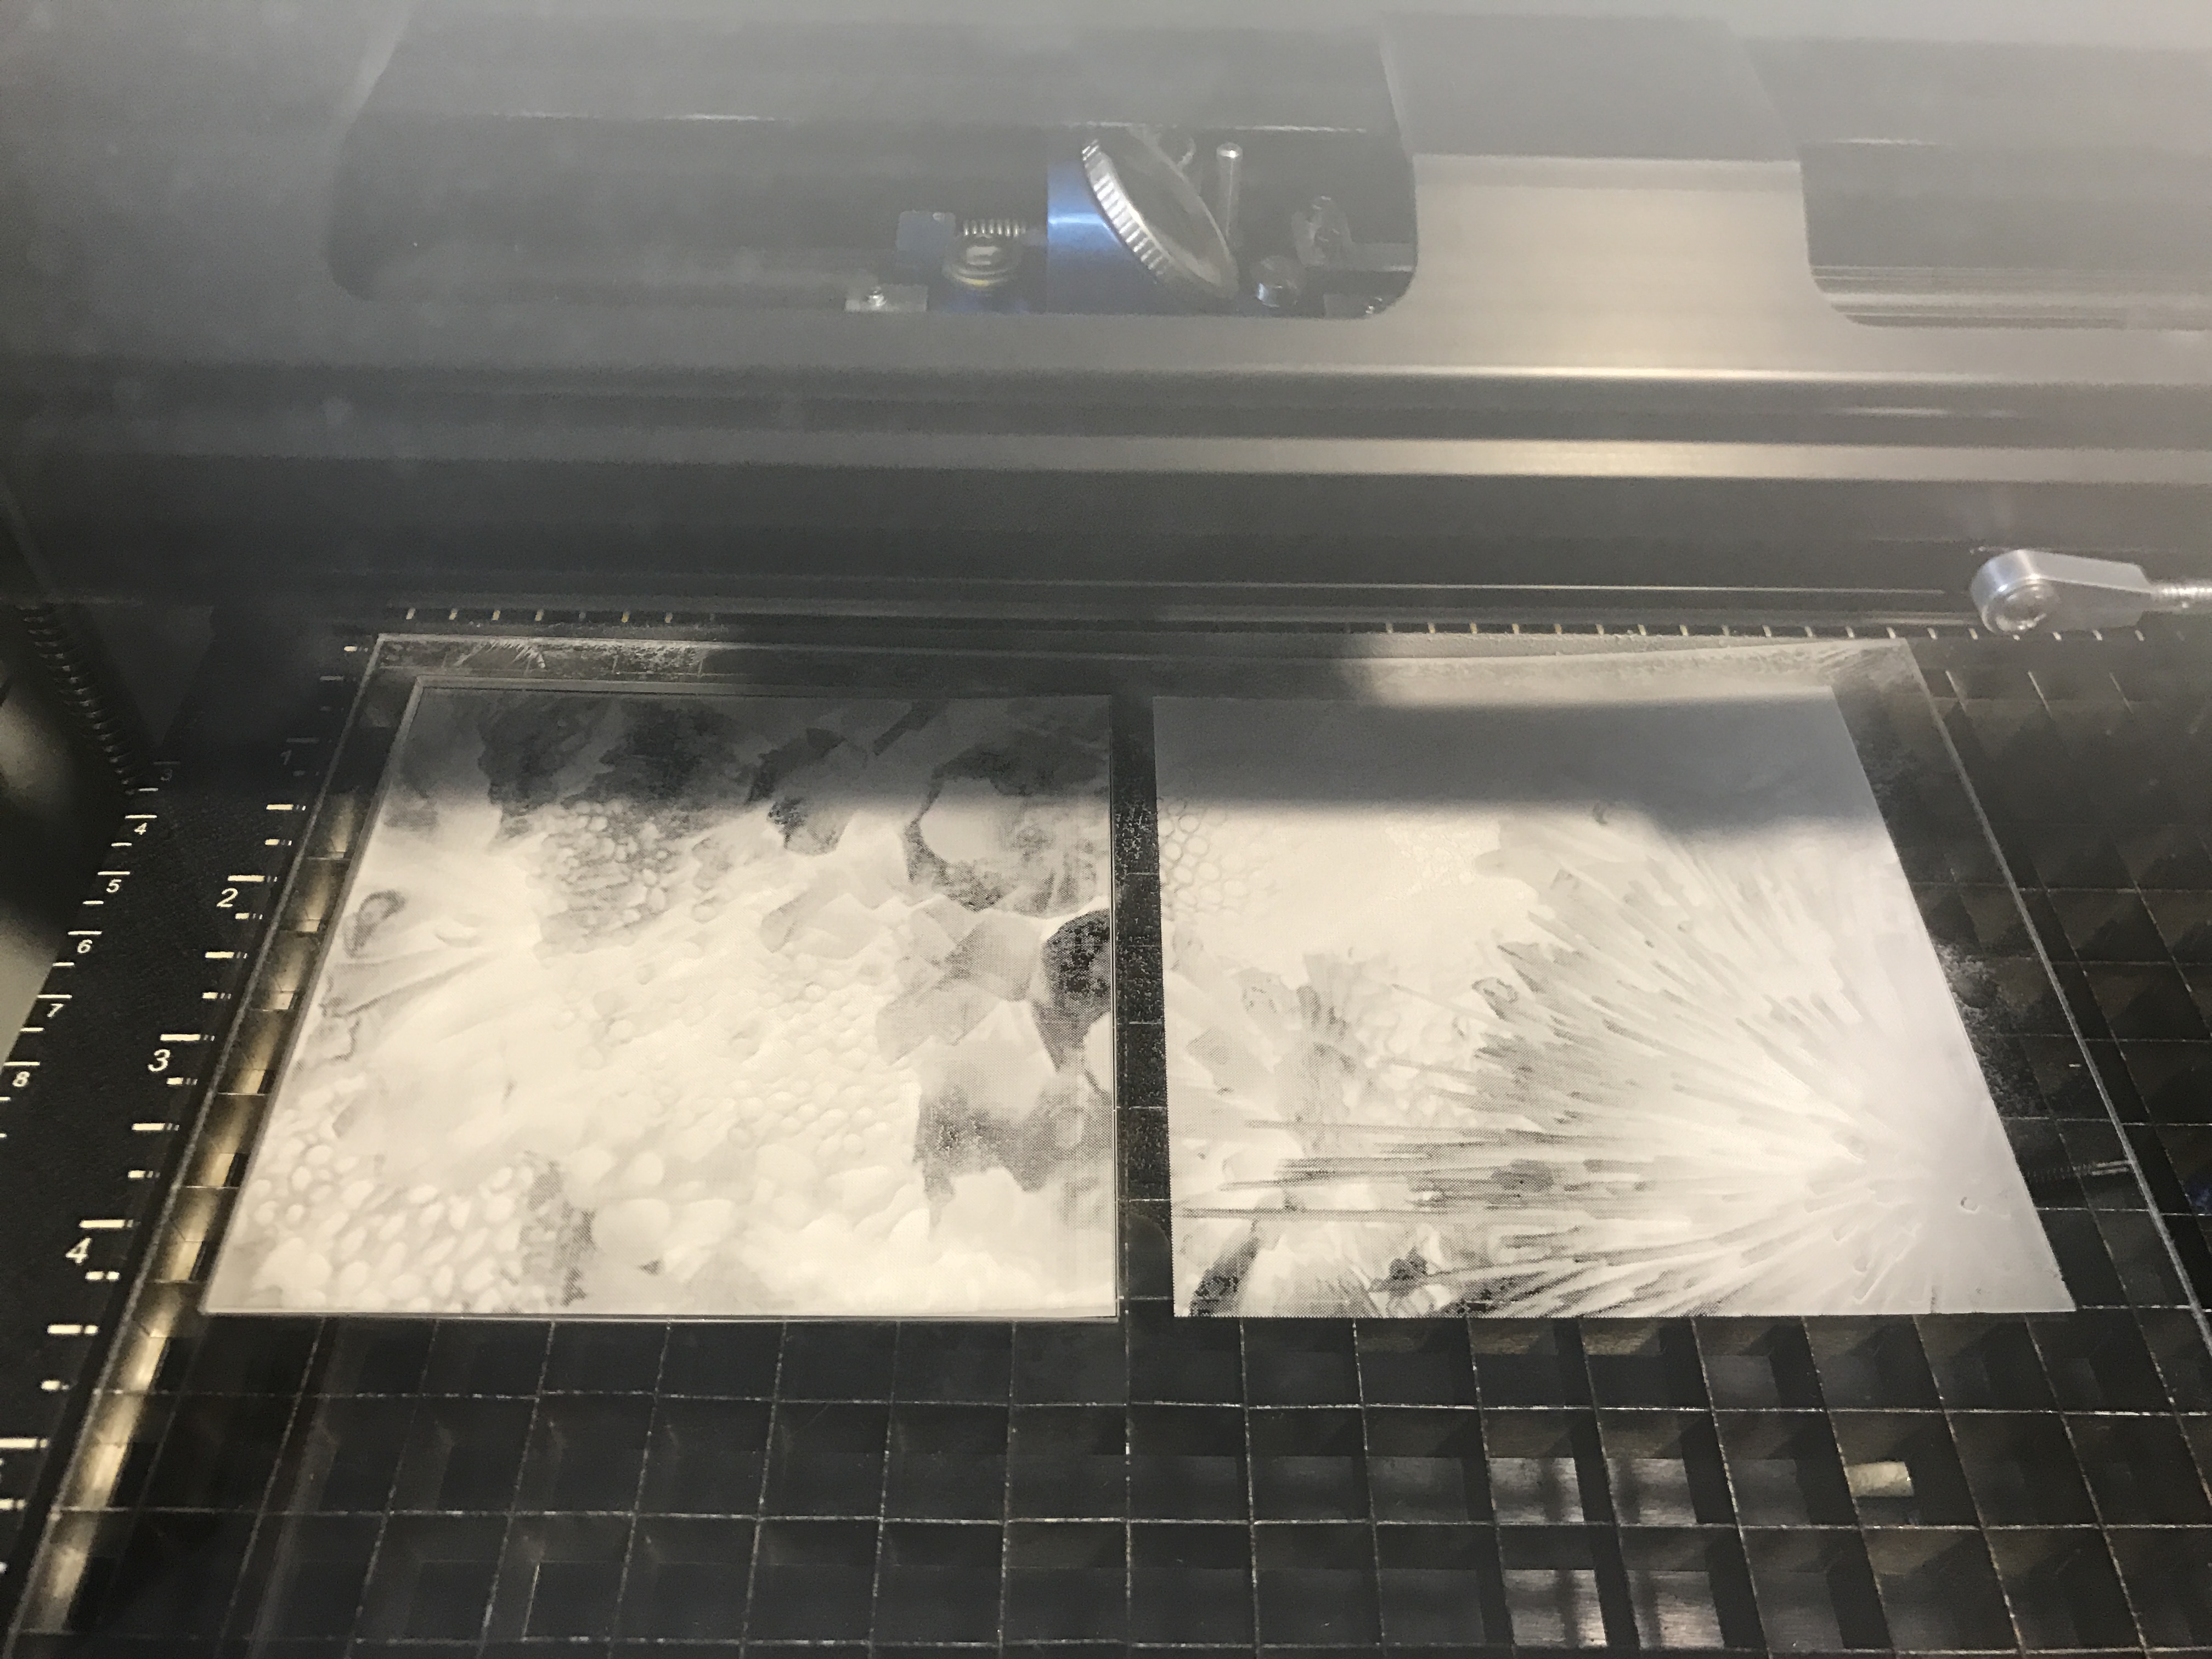
Step 3: Open the lid of the machine and place your acrylic sheet in. You can use the metal object to gauge whether the laser is at the right height (Ask a work study student to help if you’re unsure)
Step 4: Turn on the vacuum. Press “print” on the computer.
Step 5: Press start on the machine and the laser will start cutting.
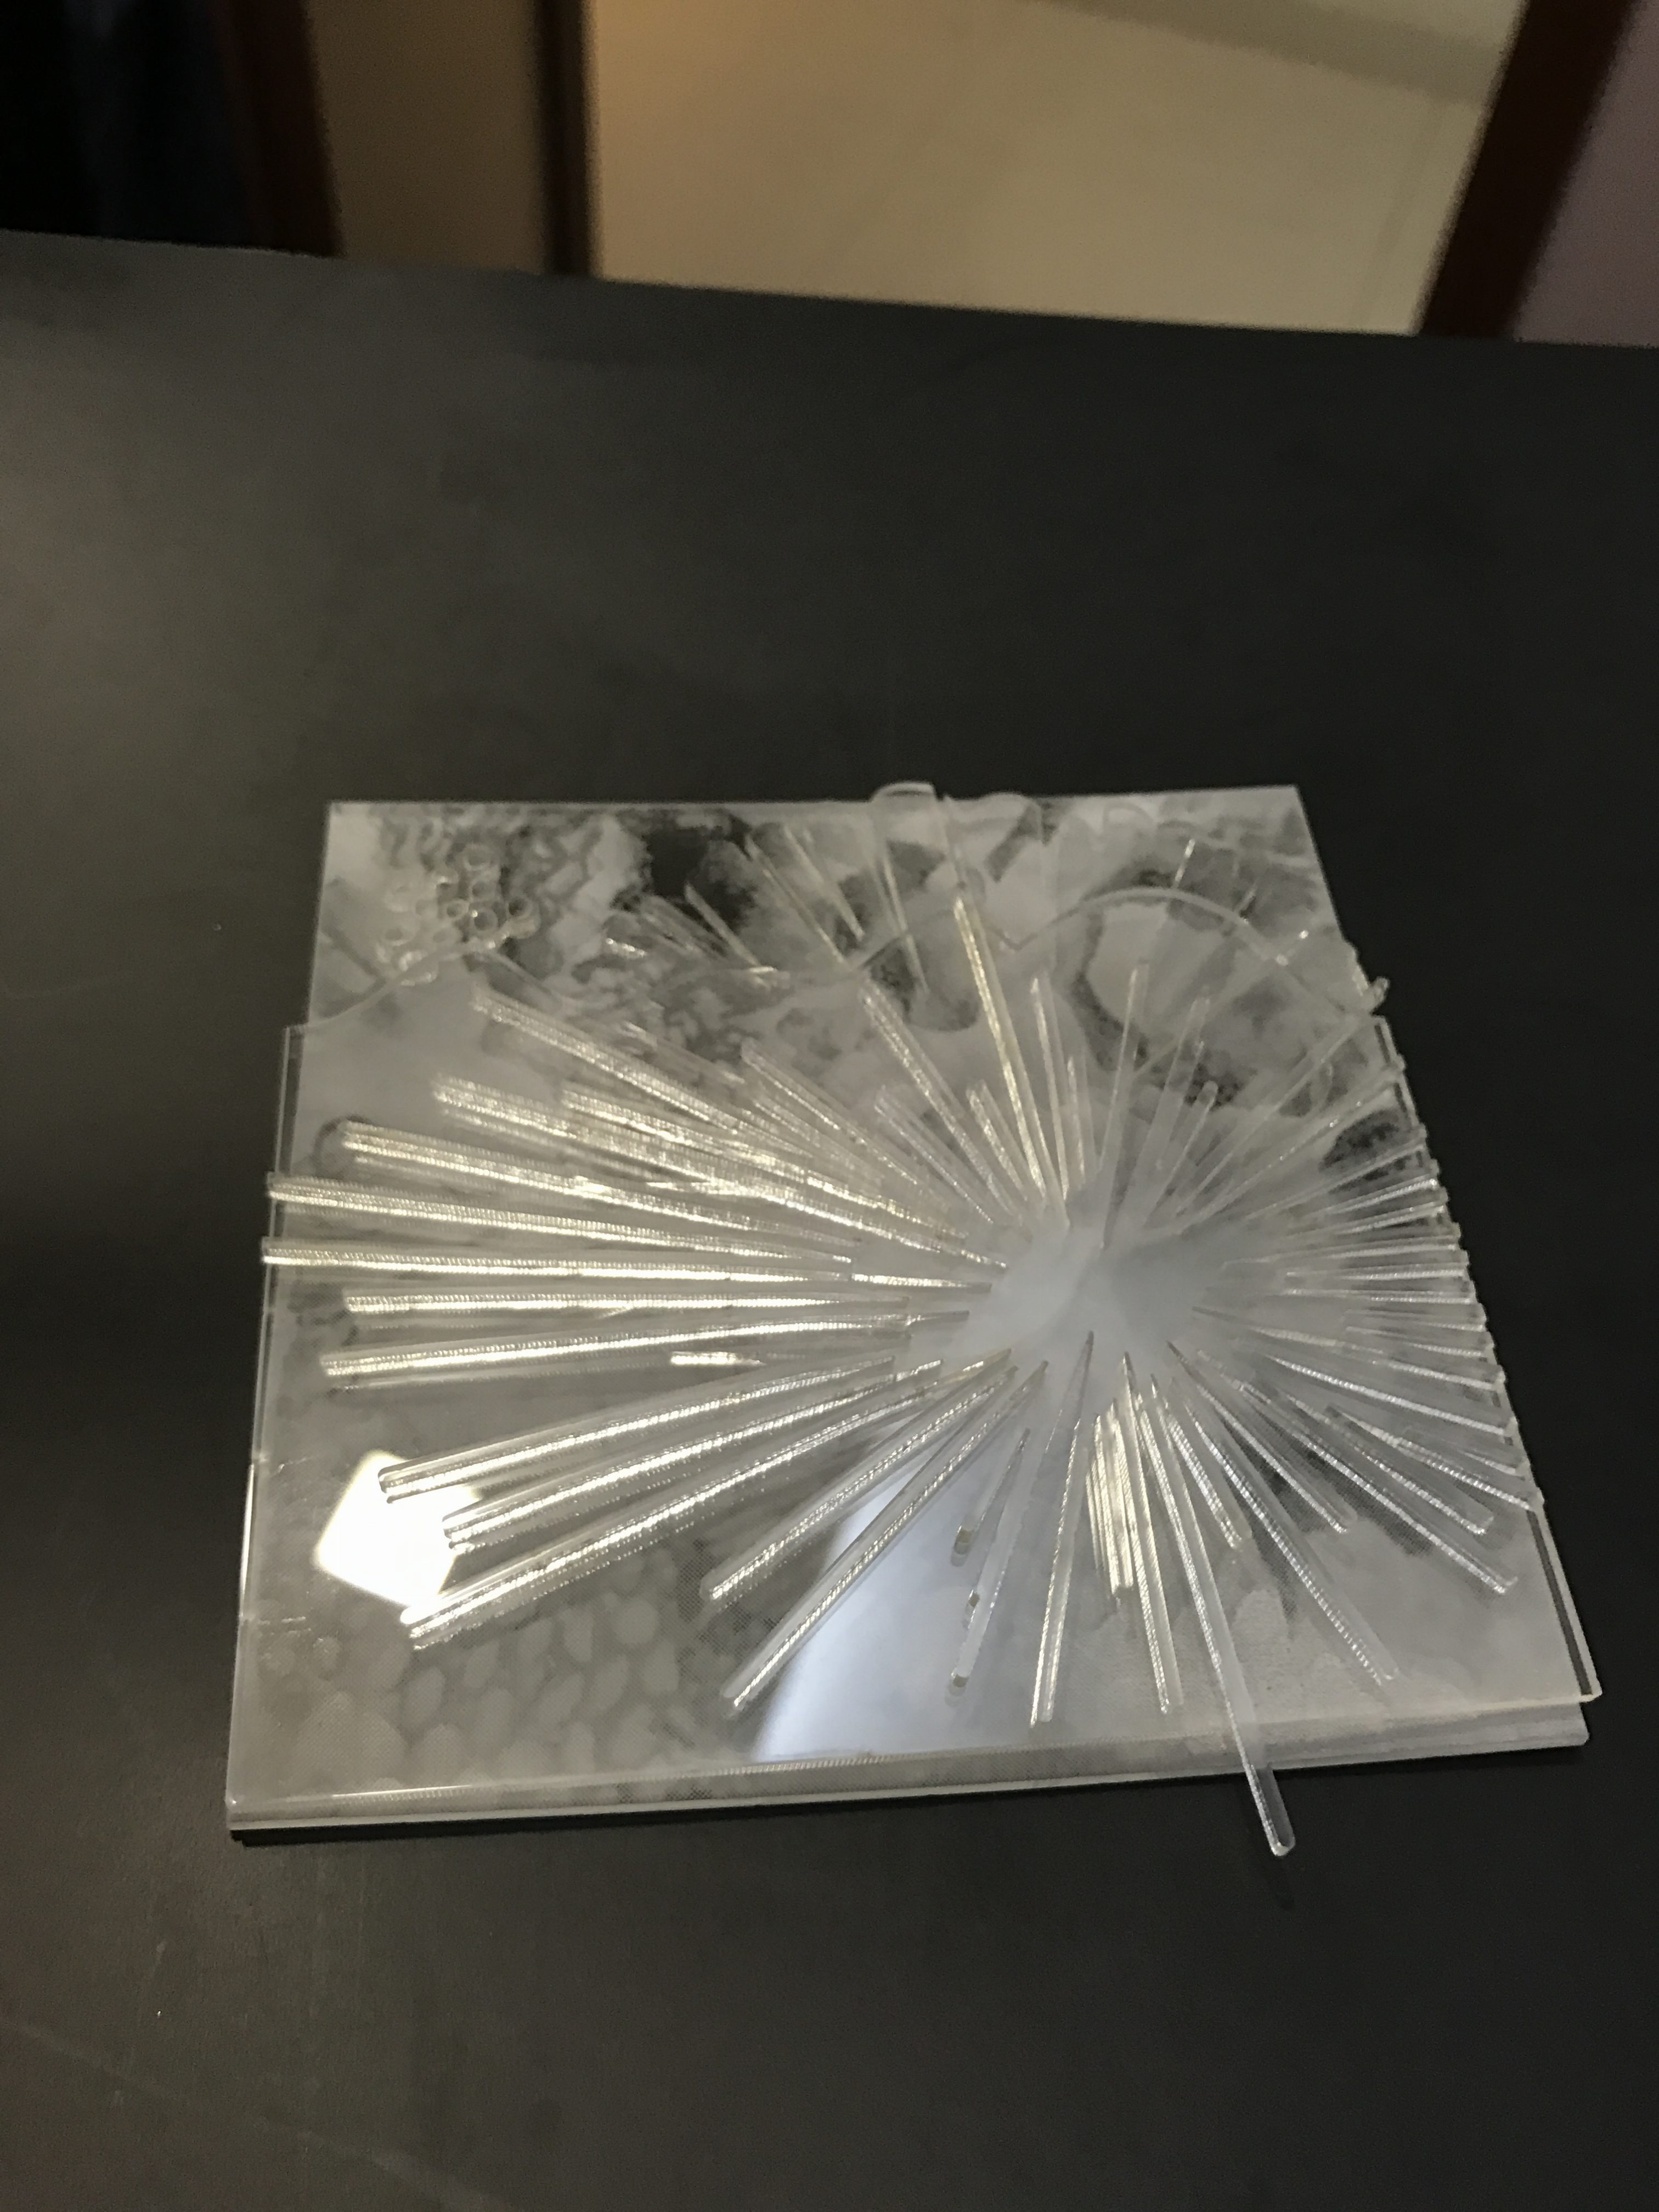
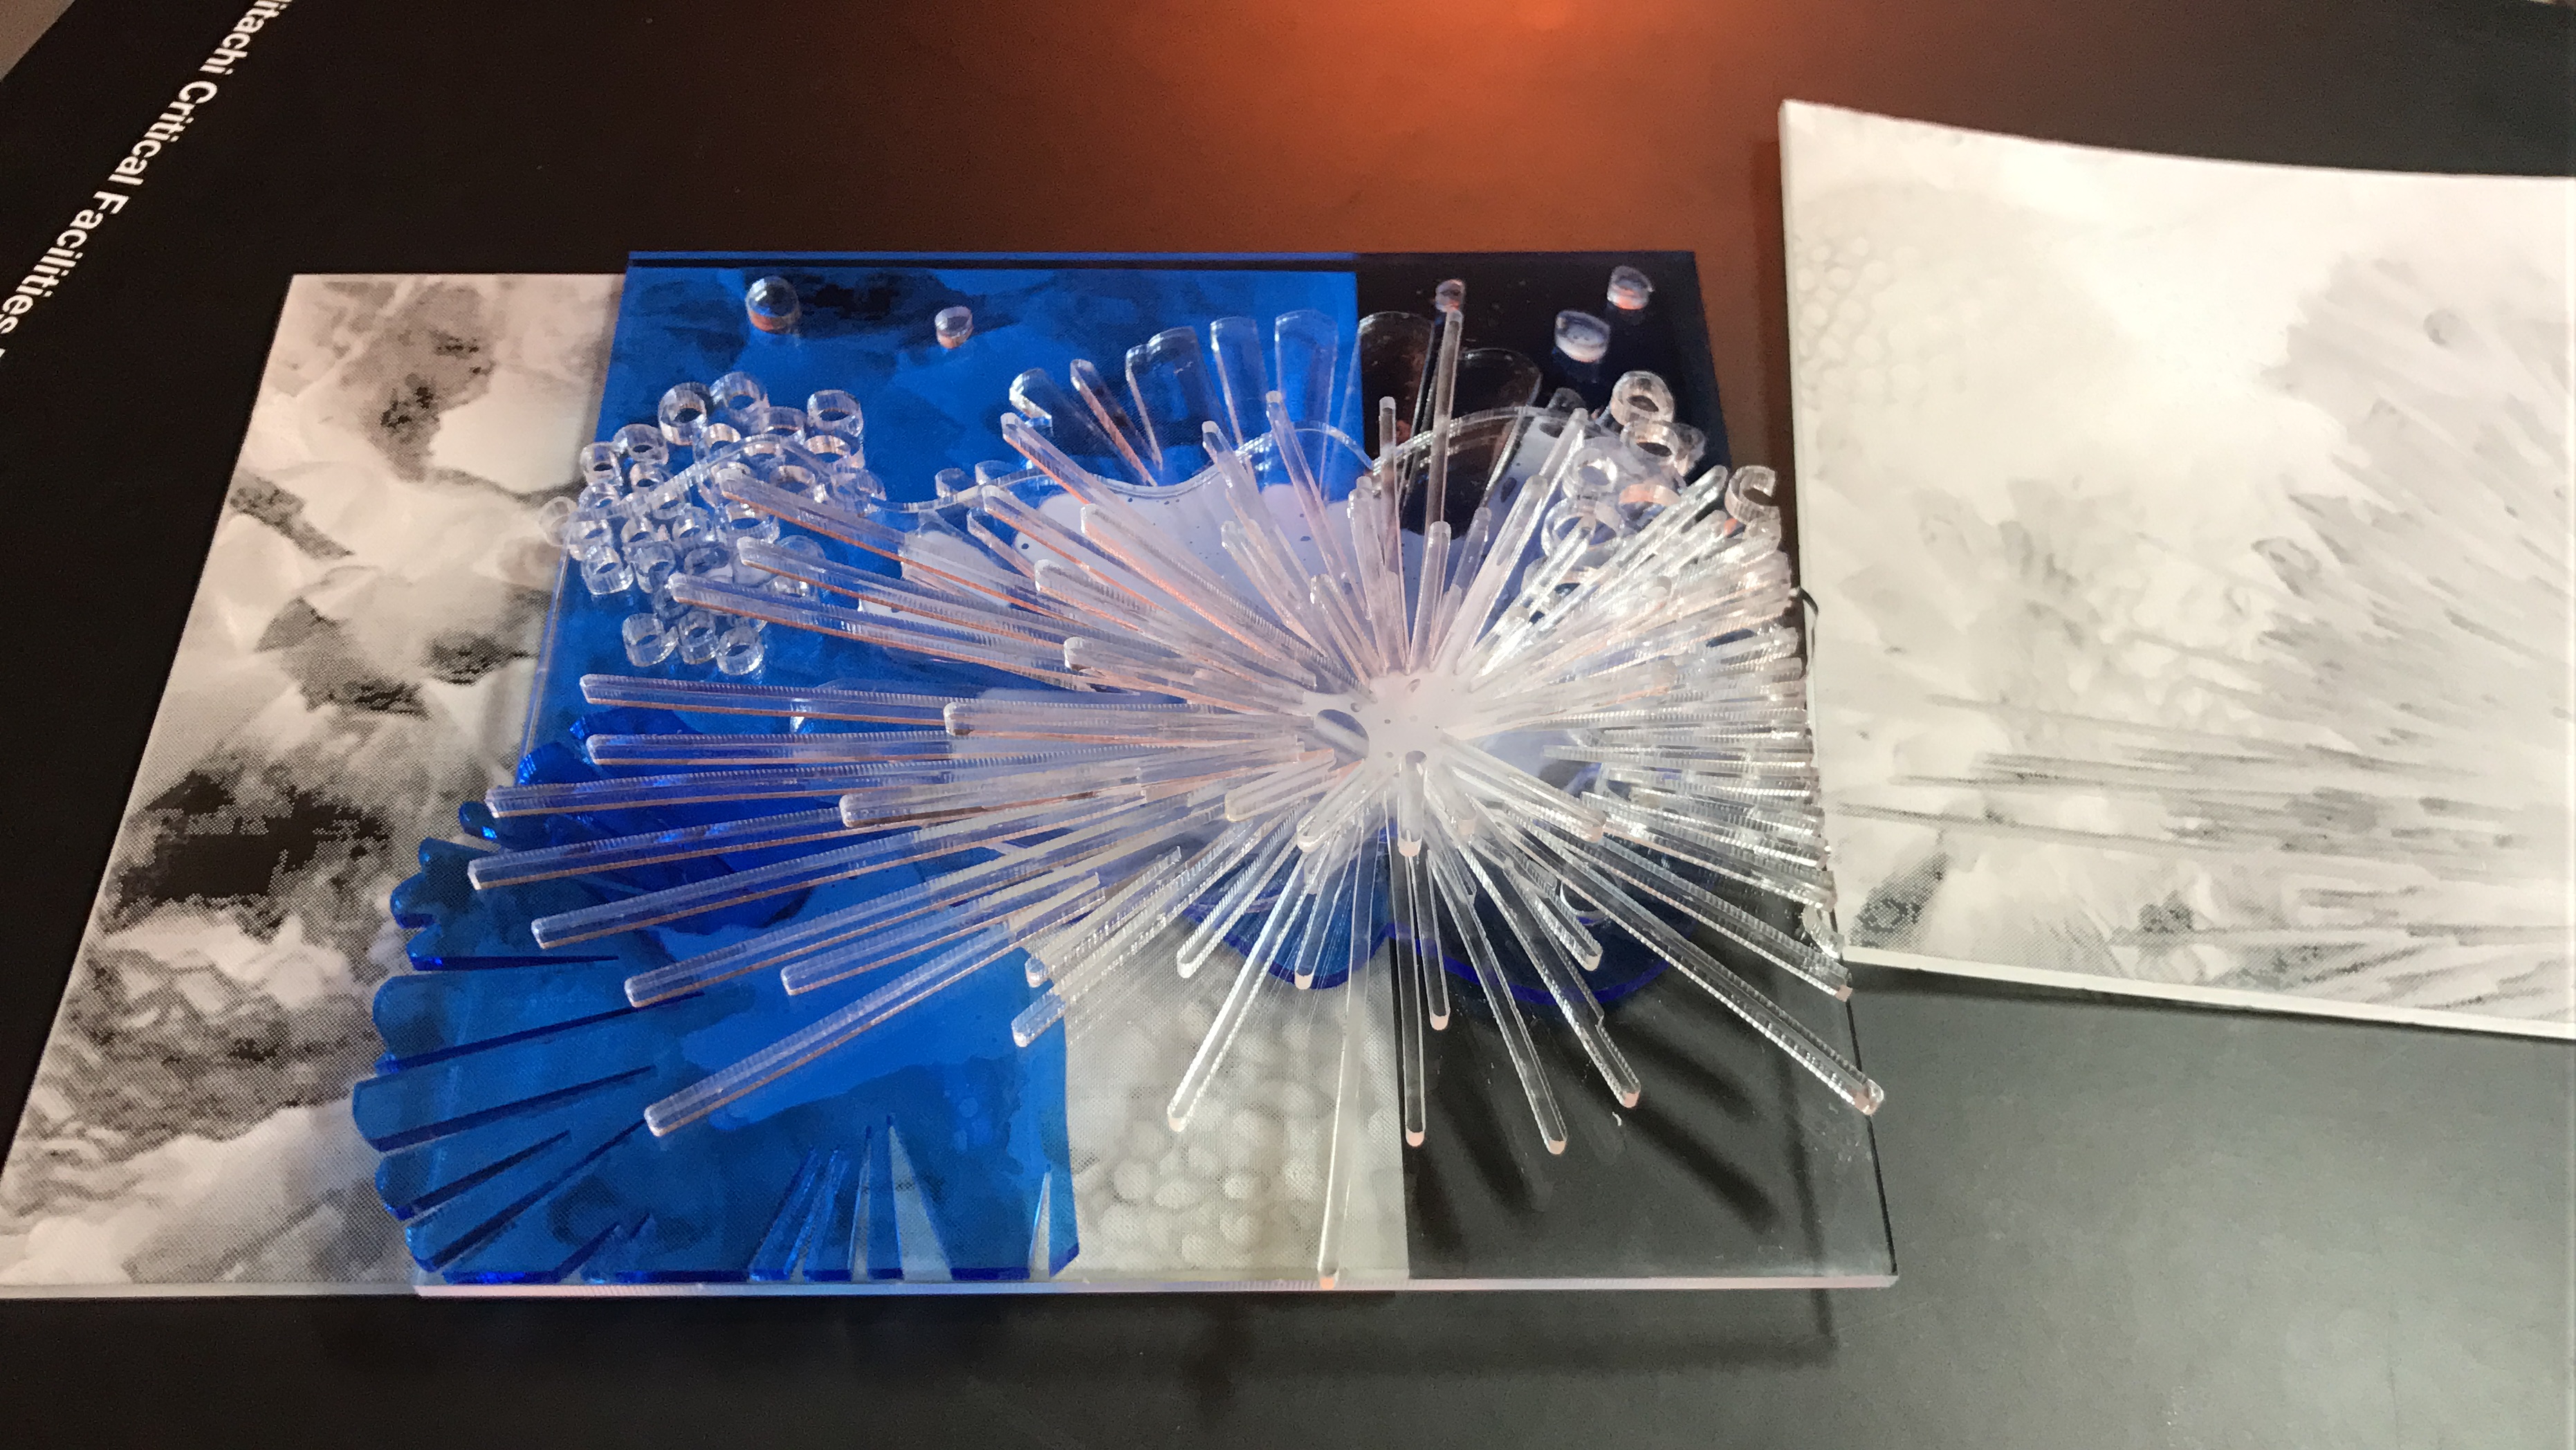
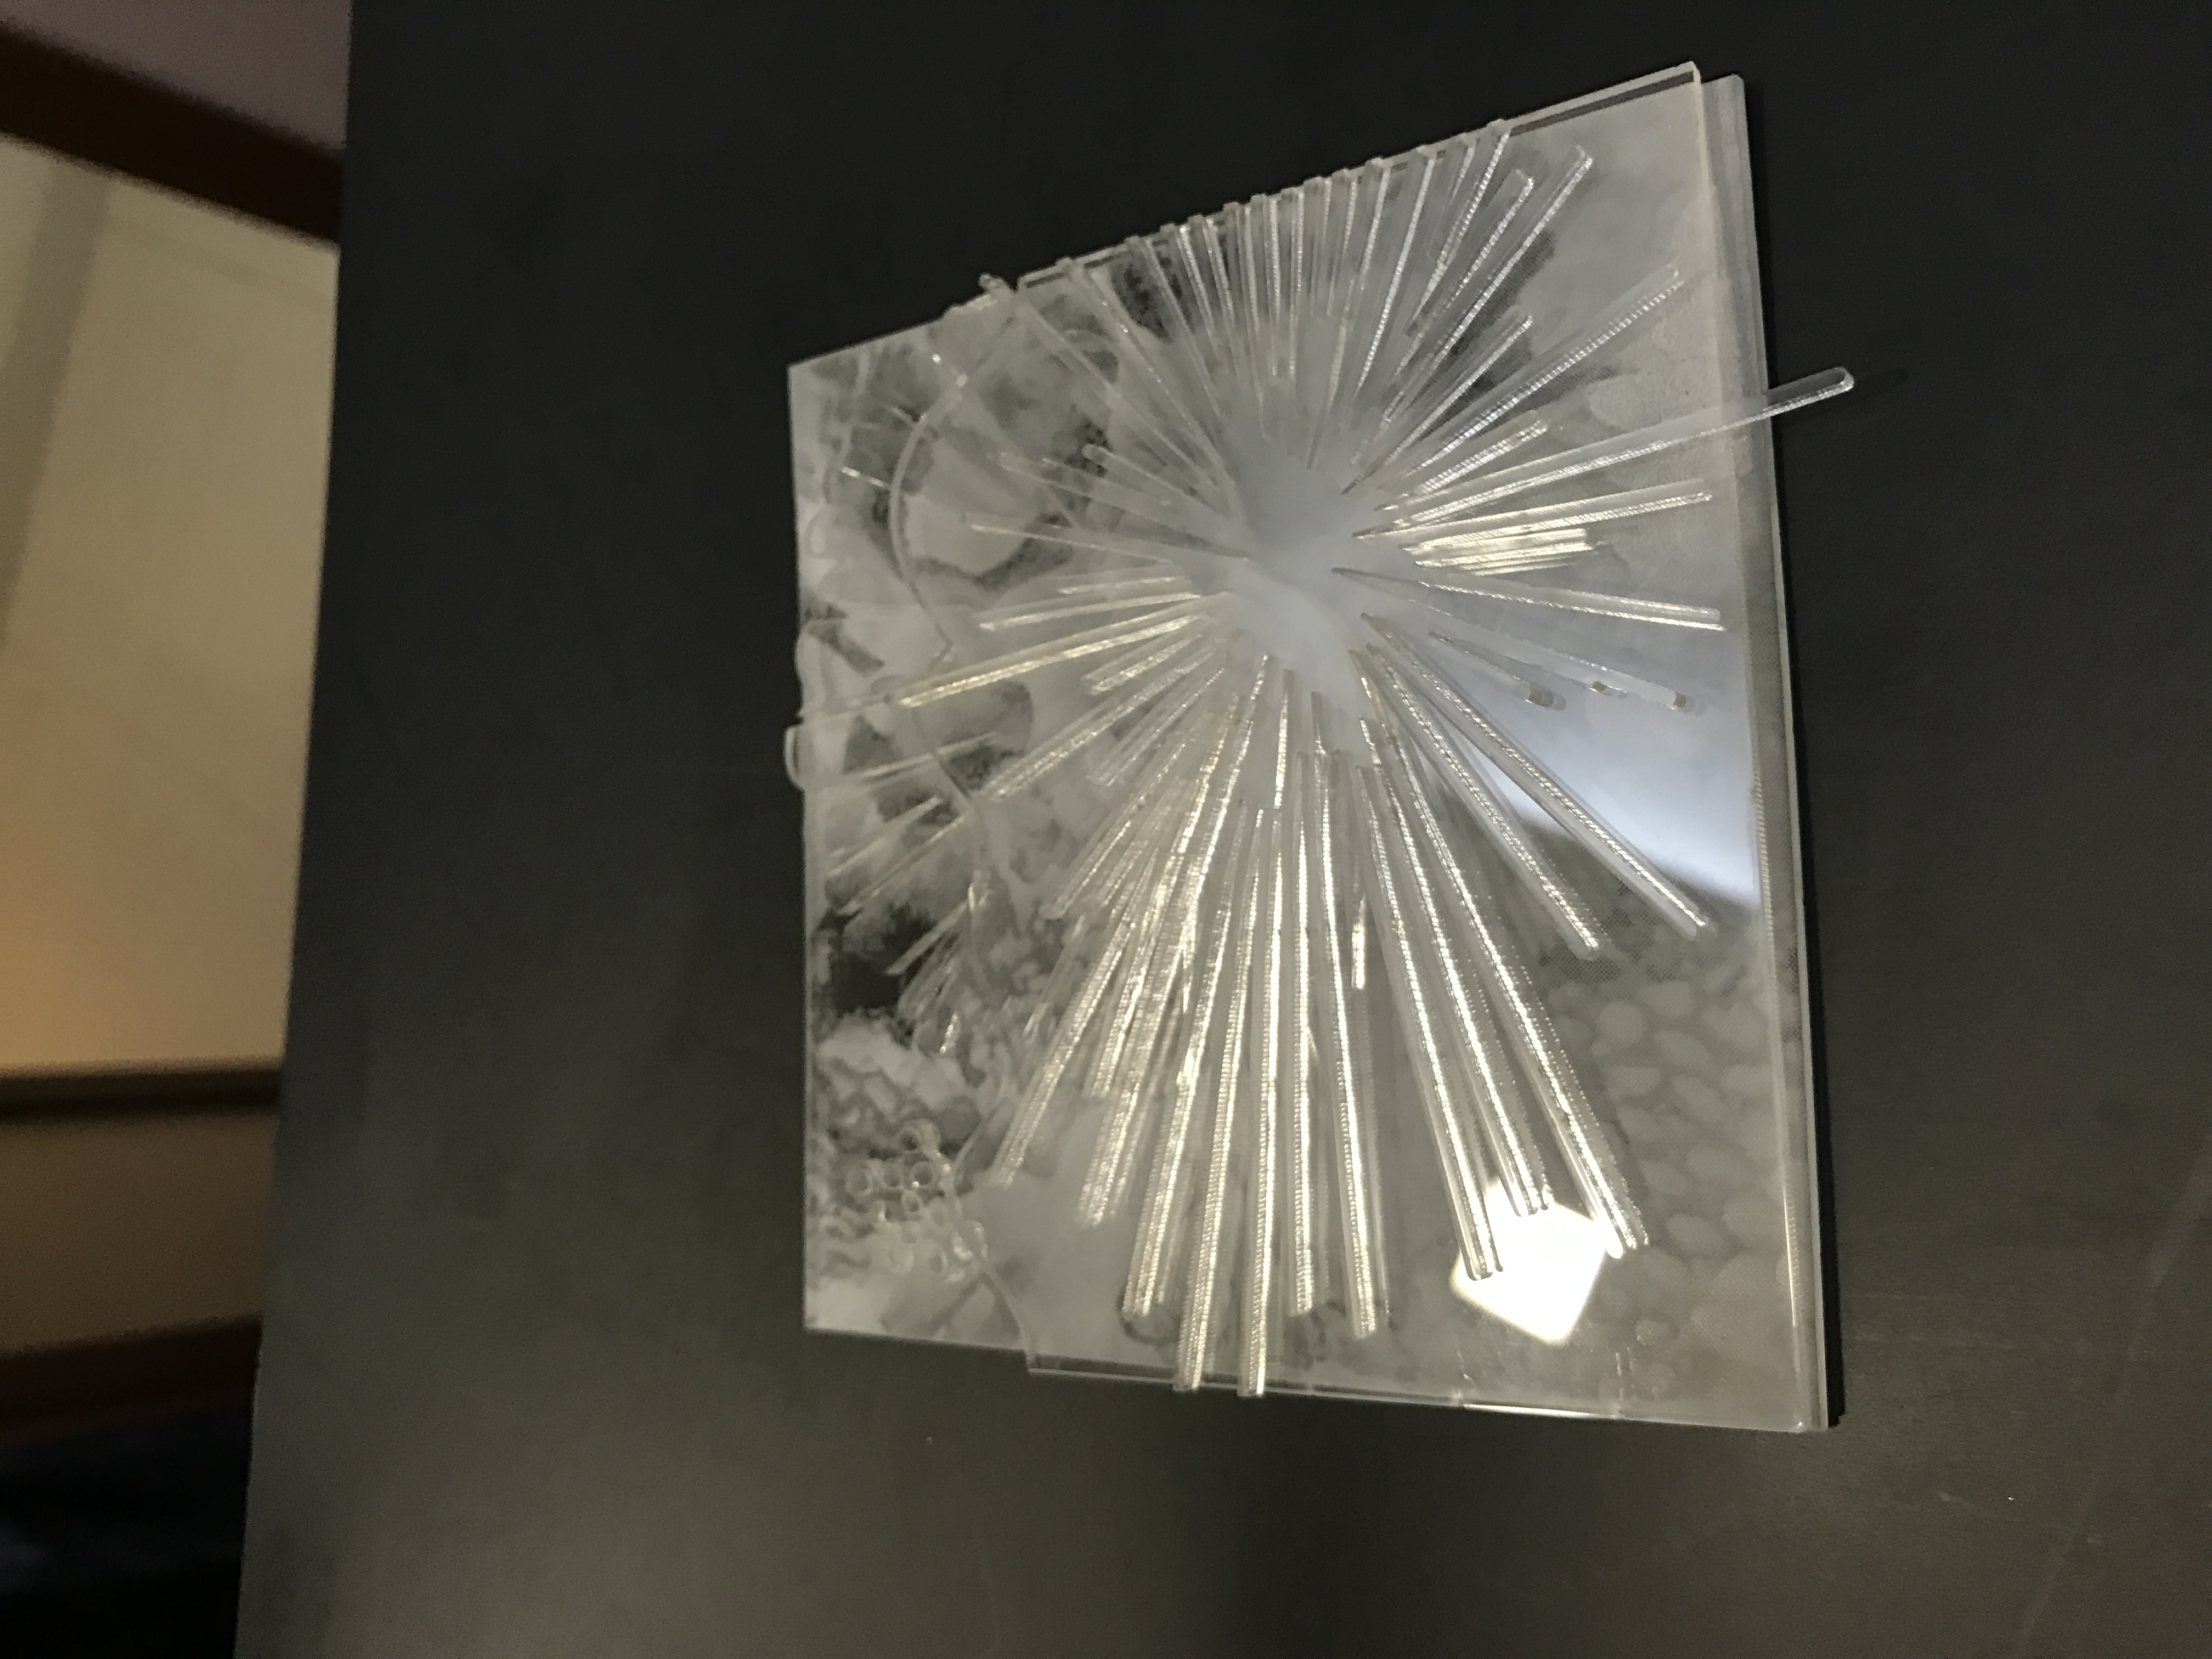
Step 6: Once the machine has completed the job, lift the lid and collect your laser cut acrylic pieces.
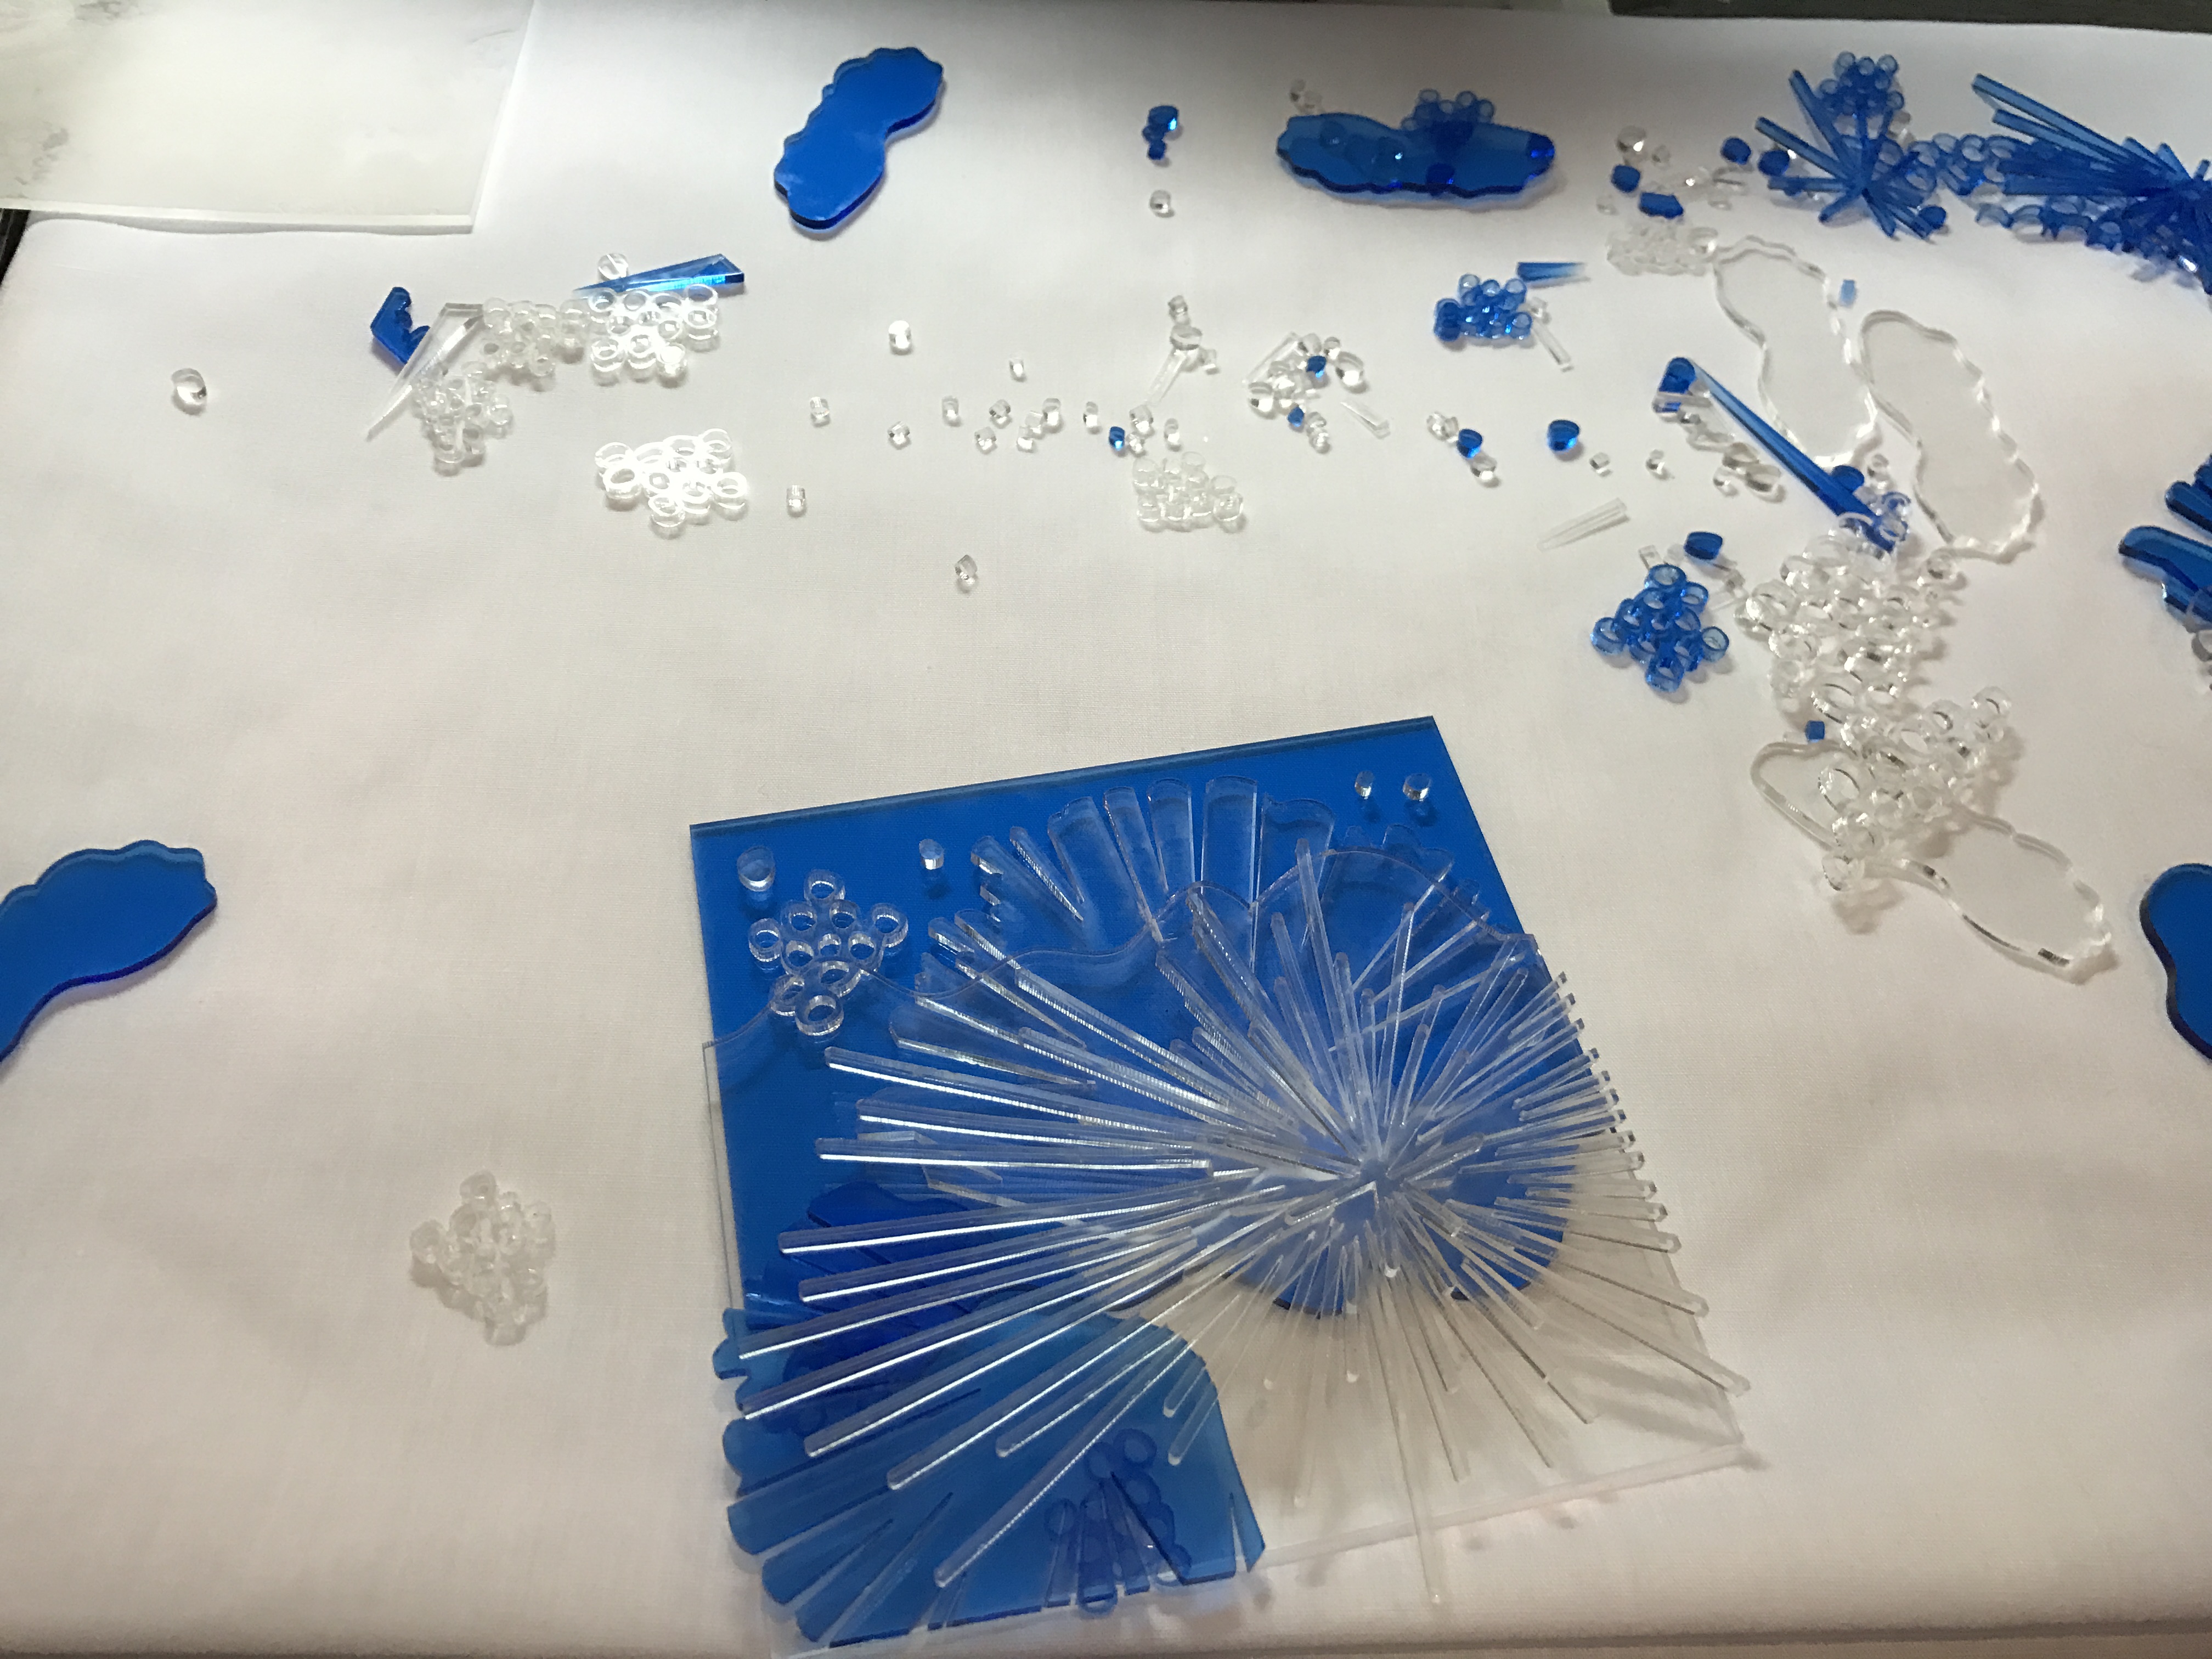
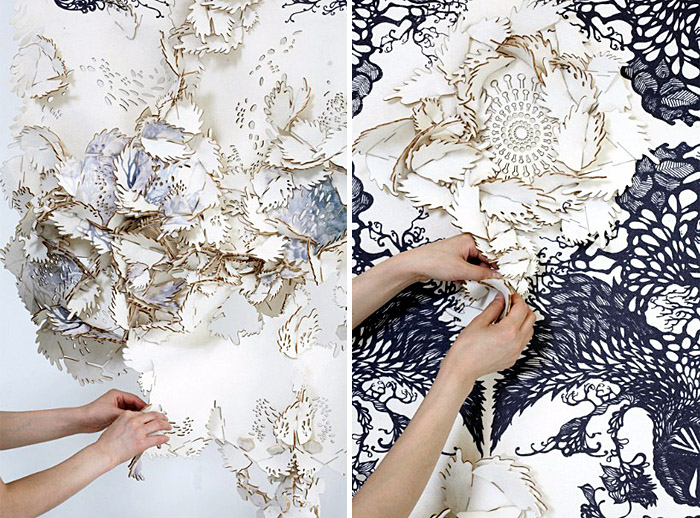
Assembling the pieces together using a layering effect
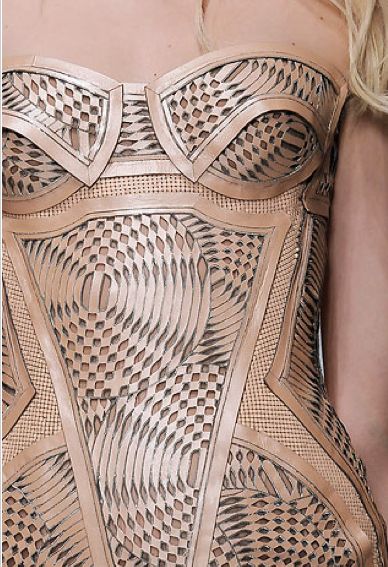
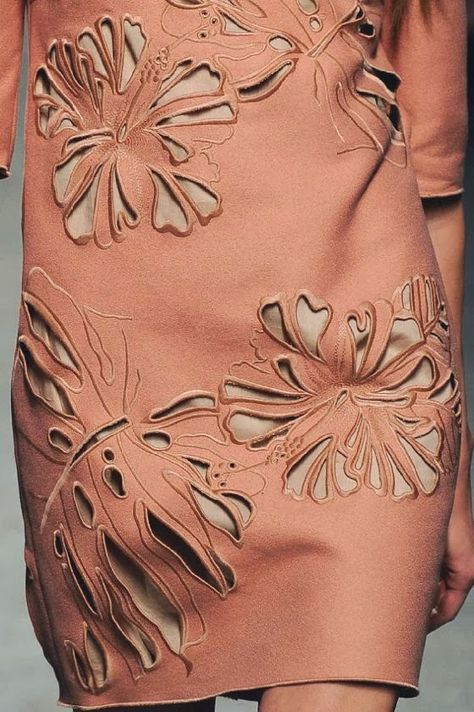
Applications:
Do not attempt to cut fabric/ leather with the school’s machine! Cutting leather and fabrics uses a different kind of laser cutter.
Reflection:
Out of all the techniques here, I enjoyed laser cutting the most because I love how intricate the patterns can go. The machine is such a wonderous invention and if I can, I would buy one to use at home!! What I like about laser cutting is that it is a “controllable” technique unlike the rest of the more organic techniques, where you can’t control the flow of the inks/ bleach. There are many uses to laser cutting and whatever the surface, the outcome of are just beautiful!