For the making of the spoon, I started out with firstly trying out the spoon used in magic tricks.
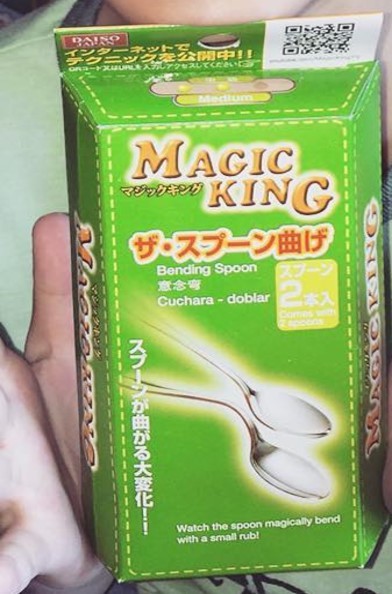
and so I had to research into magic tricks and find out how the spoon bending trick works
Then i decided to try to make one that bends with a kind of mechanism.
I realised that to hide the strings I need to make my own spoon. So I made one out of air dry clay first to learn how it looks like in 3D.

Then I proceeded to learn how to use a 3D software to print it out to see how it works. I first used google sketch up but then I realised that it had certain limitations so I decided to settle on using TinkerCAD which was a really good software for beginners.

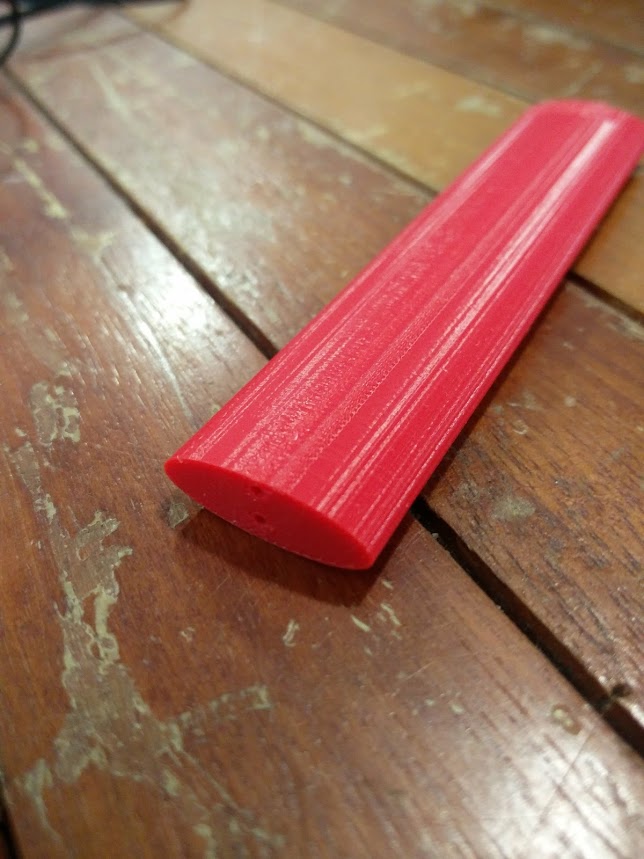
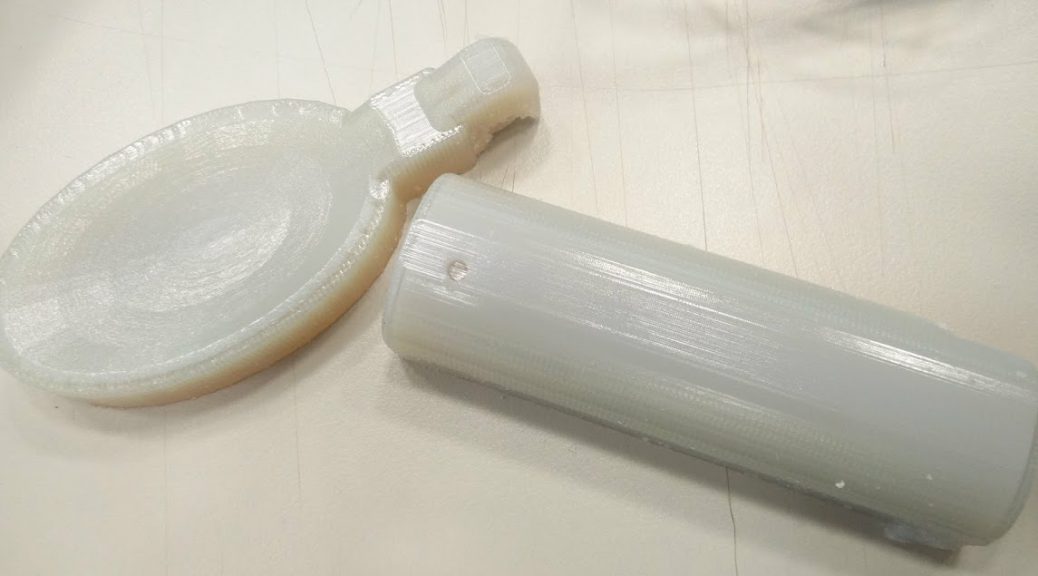
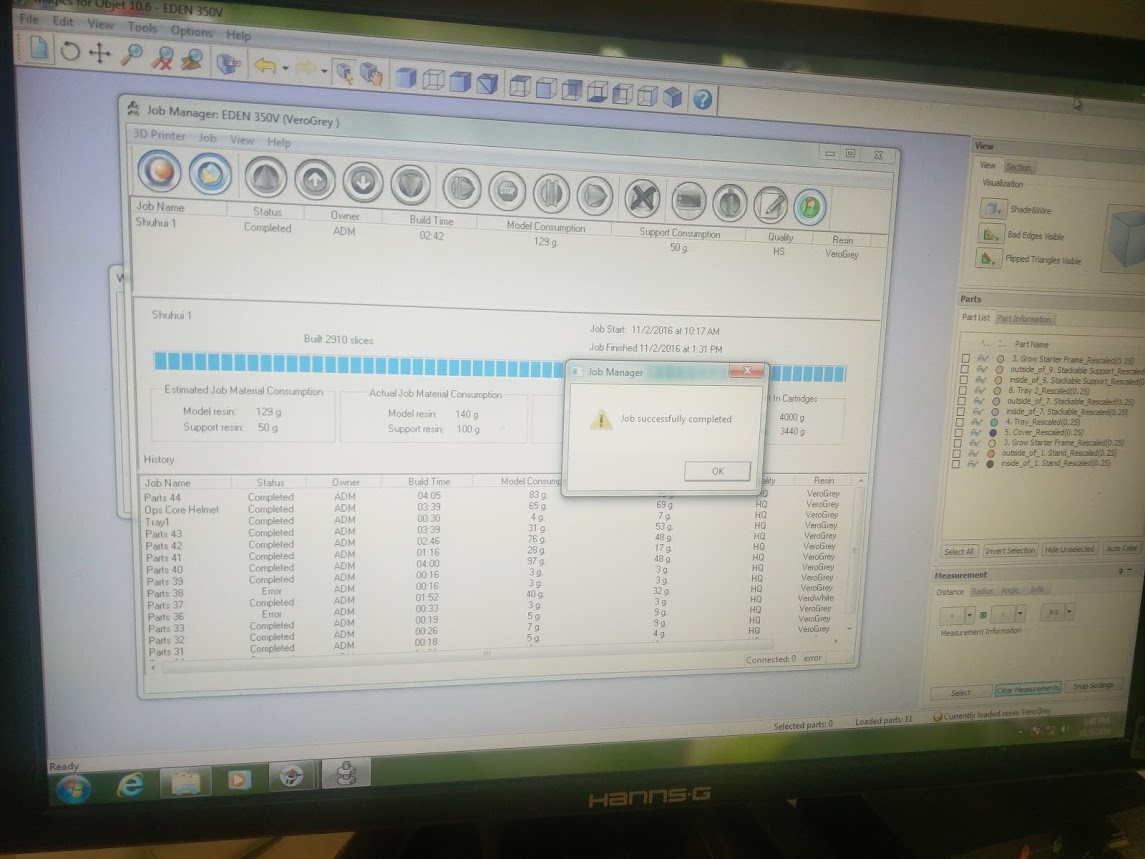
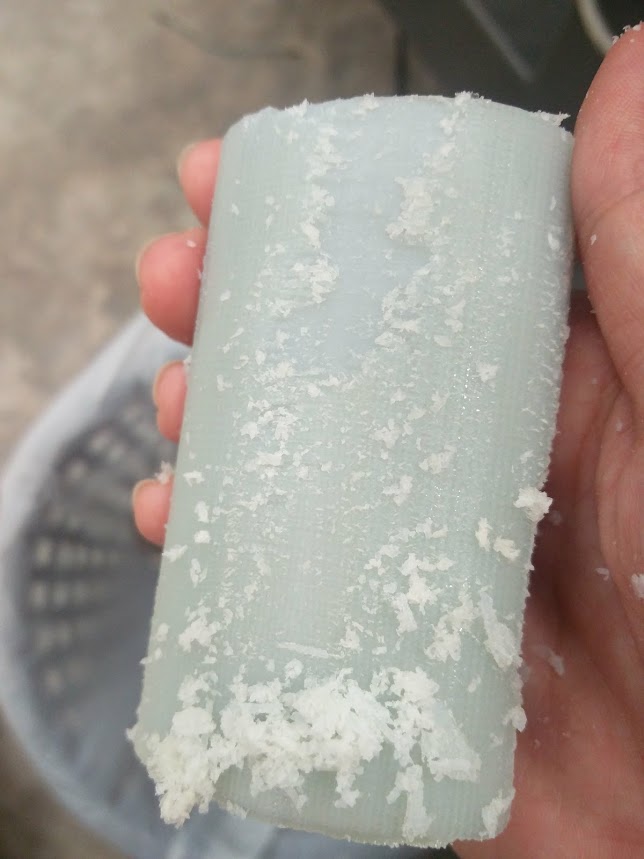
Then I realised that joints were way too small to get printed and I had to find a way to put the joints inside. So, I made a new 3D model and got it printed on a better 3D printer using resin.
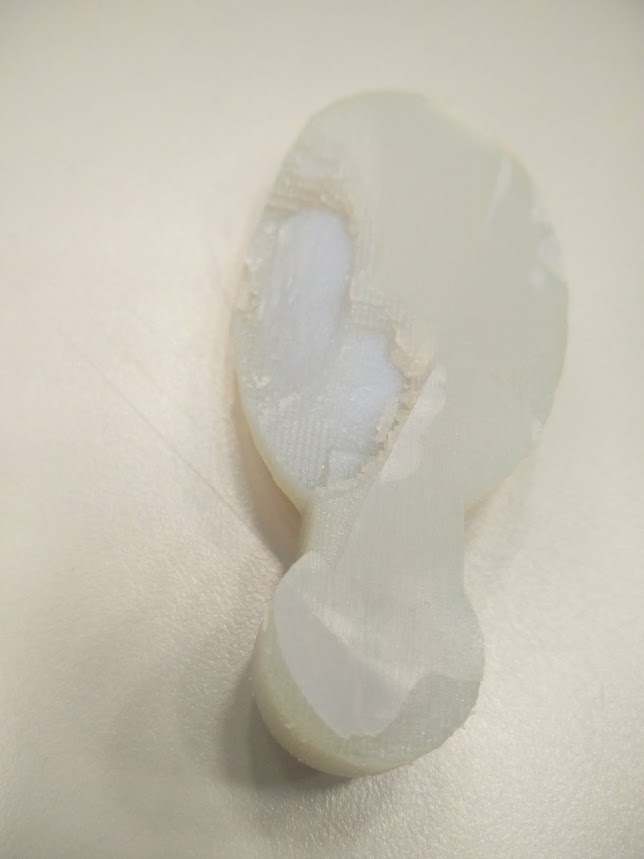

I then made the joint smaller and improved the entire spoon to become smaller.

The next biggest problem was concealing the joint. I needed a joint which was flexible and yet easy to conceal.

So i experimented with a lot of different materials.
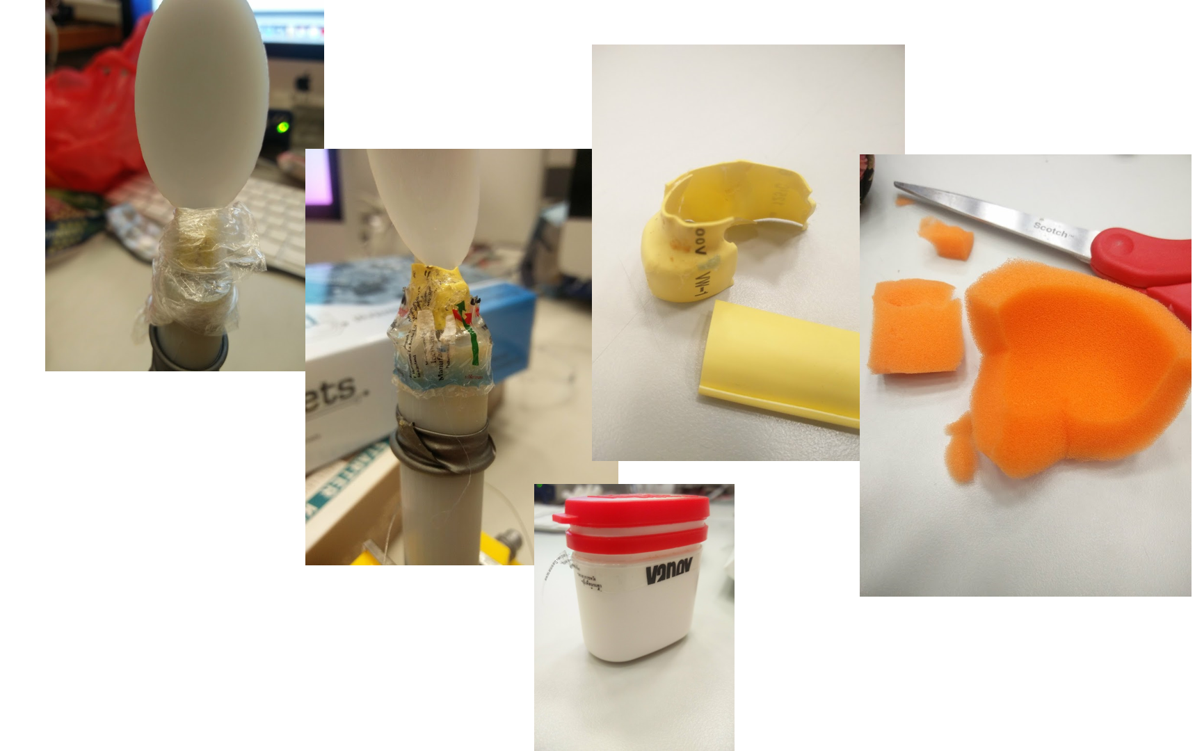
Most of the materials were either too hard to be bent or hard to conceal or caused the spoon to not look like it’s bent.

The nest solution that I could come up with was to use a piece of leather as a joint cover. I got the inspiration from the cover for the gear sticks in cars
So I then bought chrome nail powder and then coated the whole spoon to at least look a bit more complete
If I had more time, I would most probably print the joint out in silicon or made the joint in leather and also reconstruct the whole spoon.
For the coding part, the difficulty came when the spoon was way to responsive to the user. The solution was to put the threshold higher and also a delay that holds the spoon in place for 3 seconds before going back into its original position.
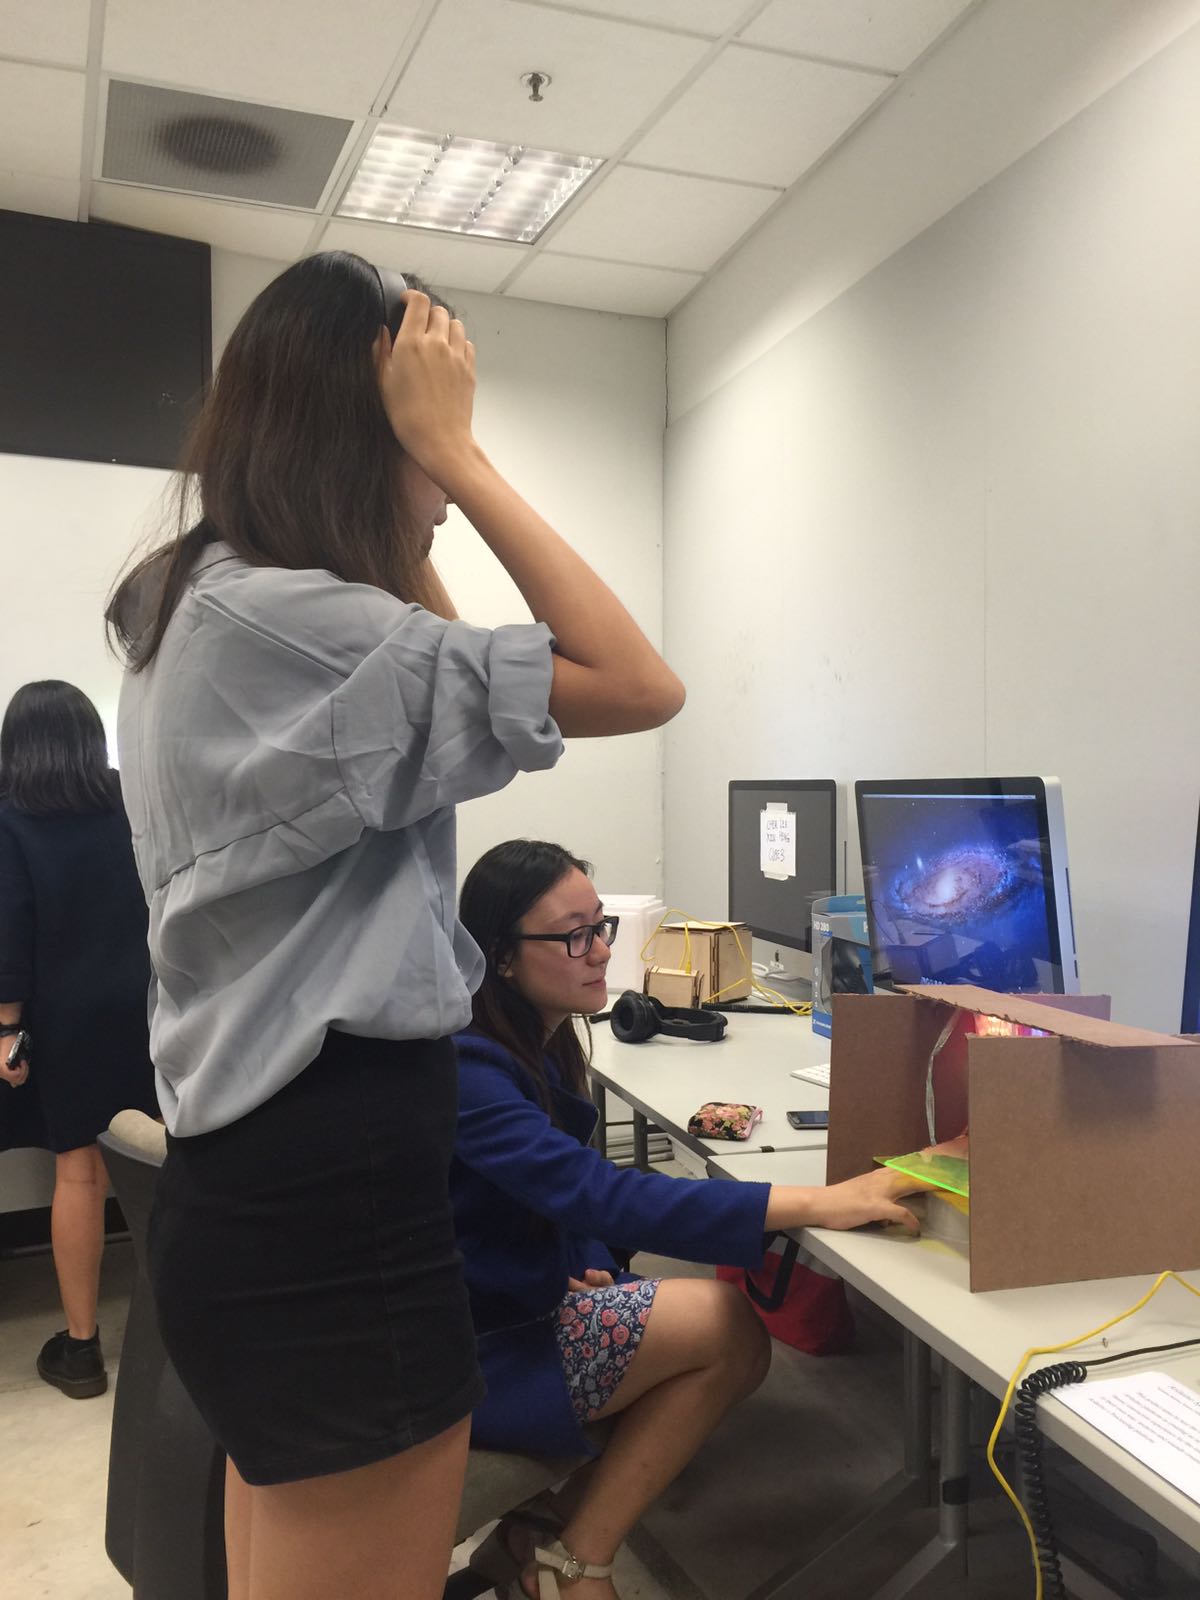
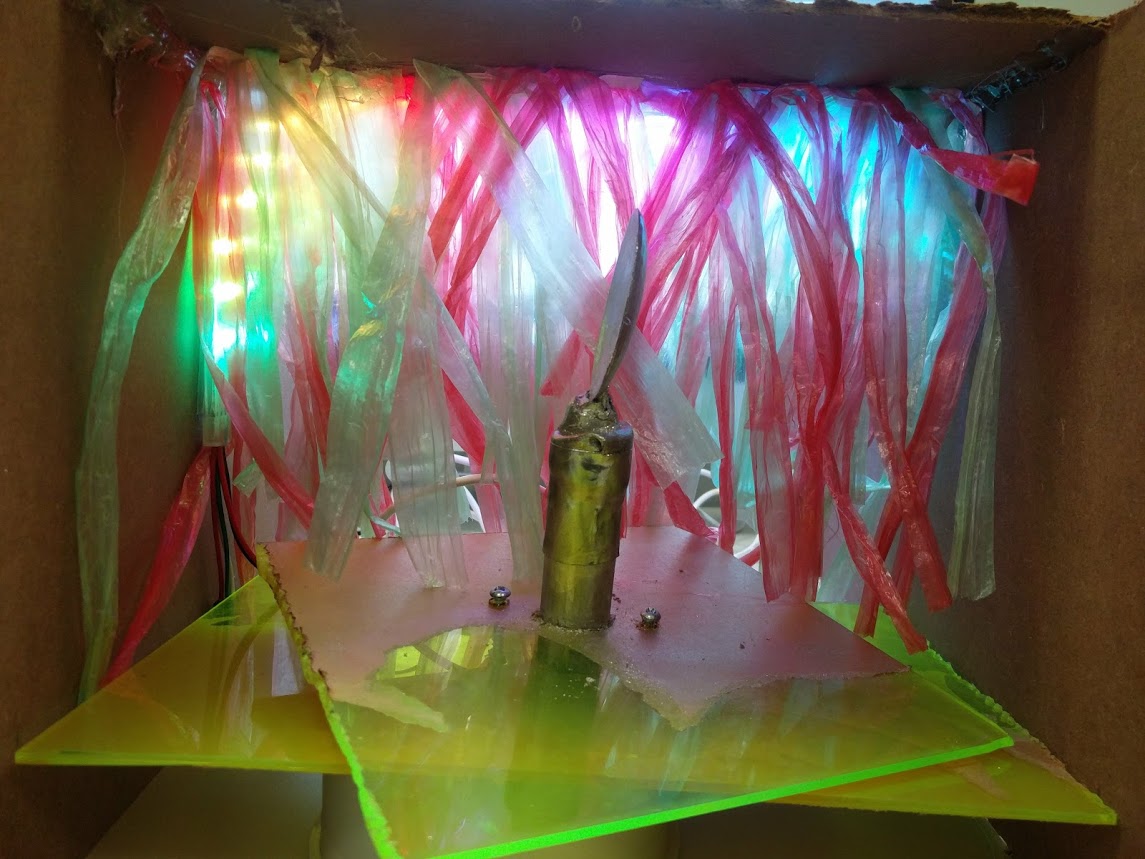
Having a meter there that tells people in real time their brainwave levels was also very helpful in giving users a feedback to let them know that the installation is responsive as the spoon does not immediately move till they reach a certain level of concentration.

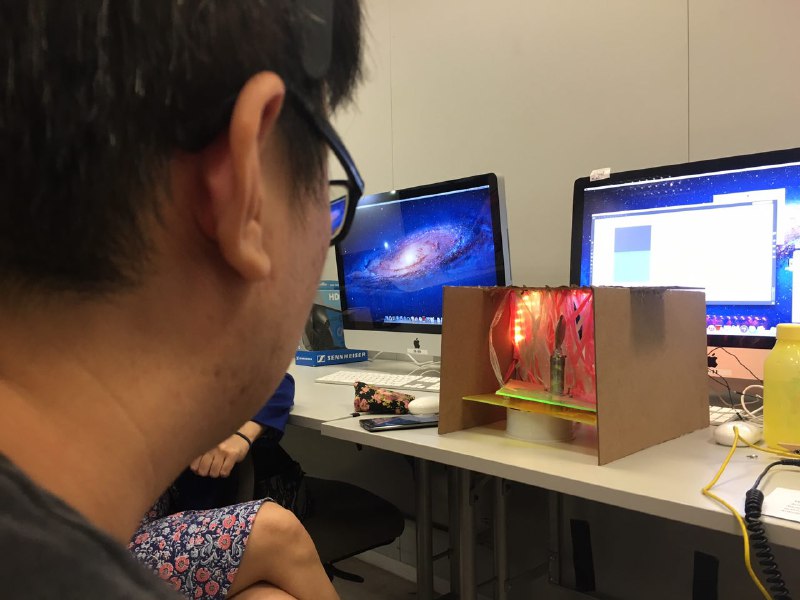
Some of the technical difficulties was that I had to be physically there to ensure that the users know how to wear the mindwave headset. Next, the mobile app would crash quite often so I had to keep restarting it. Then, the calibration with the user’s brainwaves took some time also. Some users also would not even have any reading of their brainwave.
I think the improvements that I would need to make is
- make the spoon look more convincing
- making the calibration of the mindwave faster and more sensitive
- find a way to teach users how to wear the device without a person physically being there to teach them.
I also did a video to document some of the process of making the spoon happen.