
What is knitting?
Knitting is a method of forming fabric from a single strand of yarn, using two needles. The resulting fabric has more give than woven fabric. When you look closely at knitted fabric it is made up of rows of loops that interlock with neighbouring rows, that is what gives the fabric its stretch.
This method allows fabric to be shaped for the intended purpose, unlike woven fabric which is flat and needs to be cut to shape.
Of course there are advanced techniques that use multiple needles, or a pair of needles attached by a cord, that allow tubes to be knitted, or textural and multicoloured effects can be created by using multiple strands of yarn.
Knitting materials
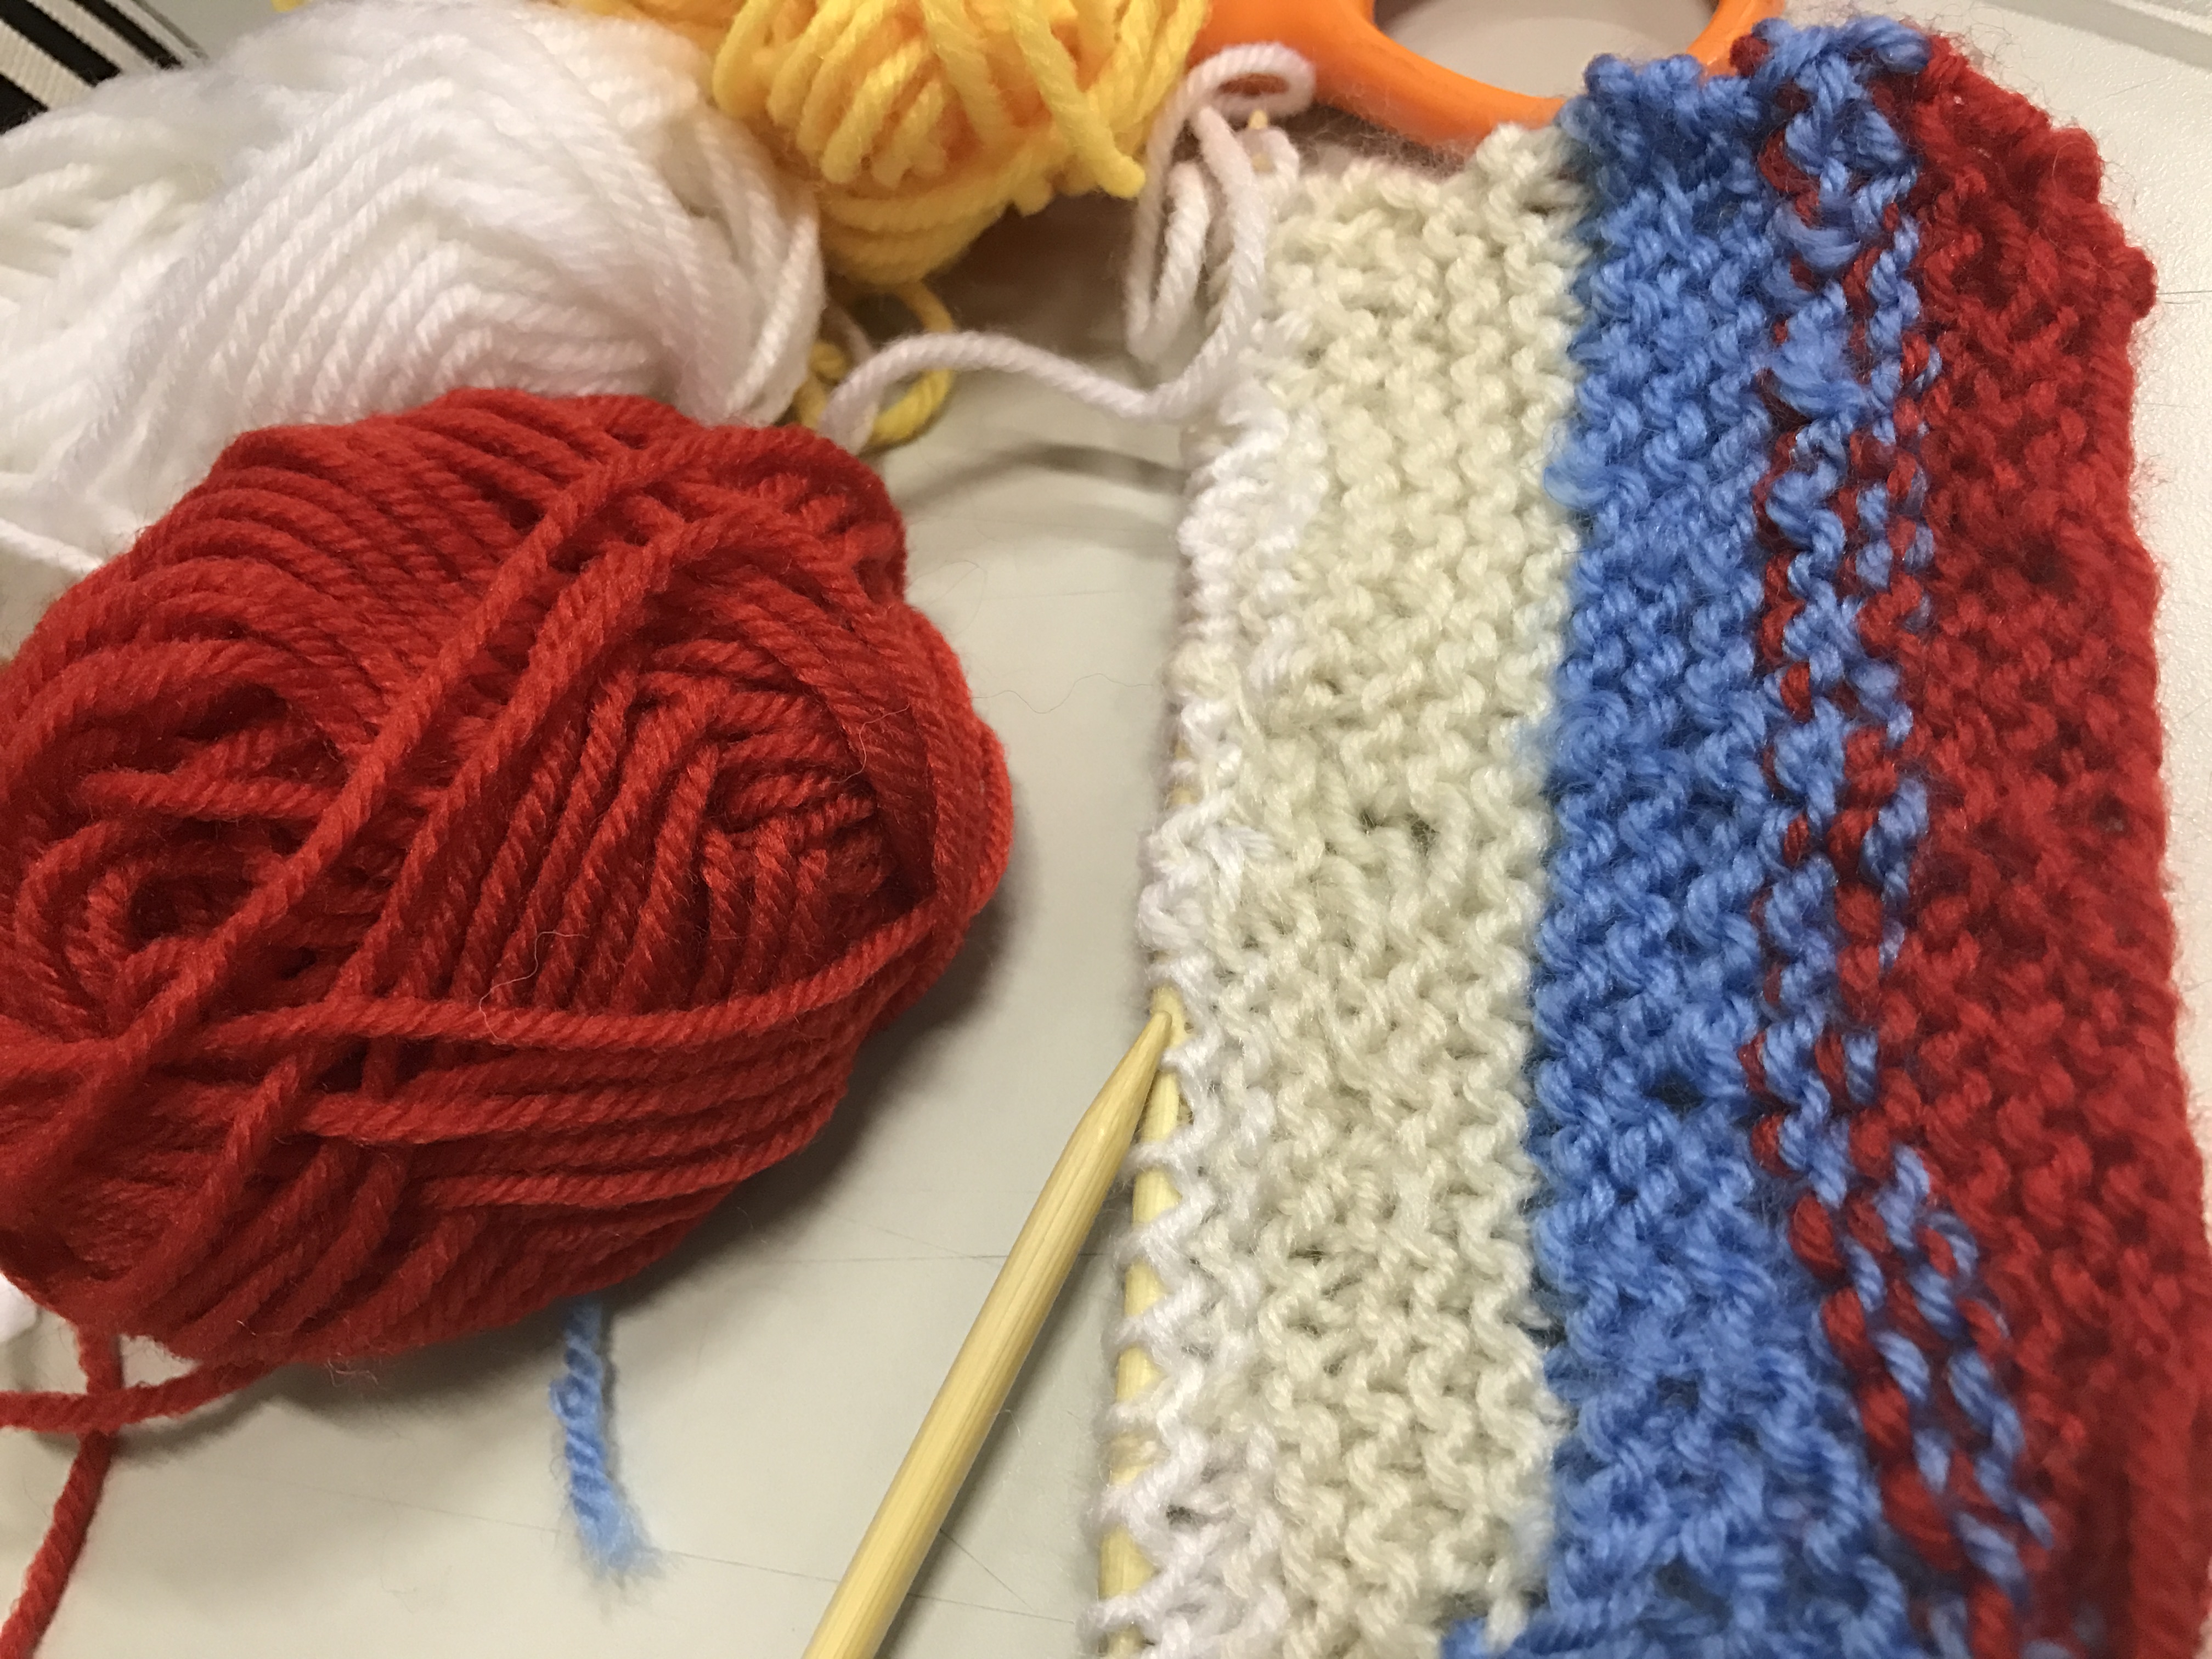
The knitting material are very simple. You just need the knitting needles and different kind of yarn, for example wool yarn or plastic yarn.
Here is some examples being shown in class:


How to achieve the techniques
For the beginner, we need to start from the basic step for knitting. It is good to handle if you know that how to hold the knitting needles, how to make a slip knot or even knit a row or purl a roll.
1) Hold the knitting needles
There are a number of ways to hold the needles depending on where in the world you have been taught and what feels comfortable. There is no right or wrong way just choose which is most comfortable for you.
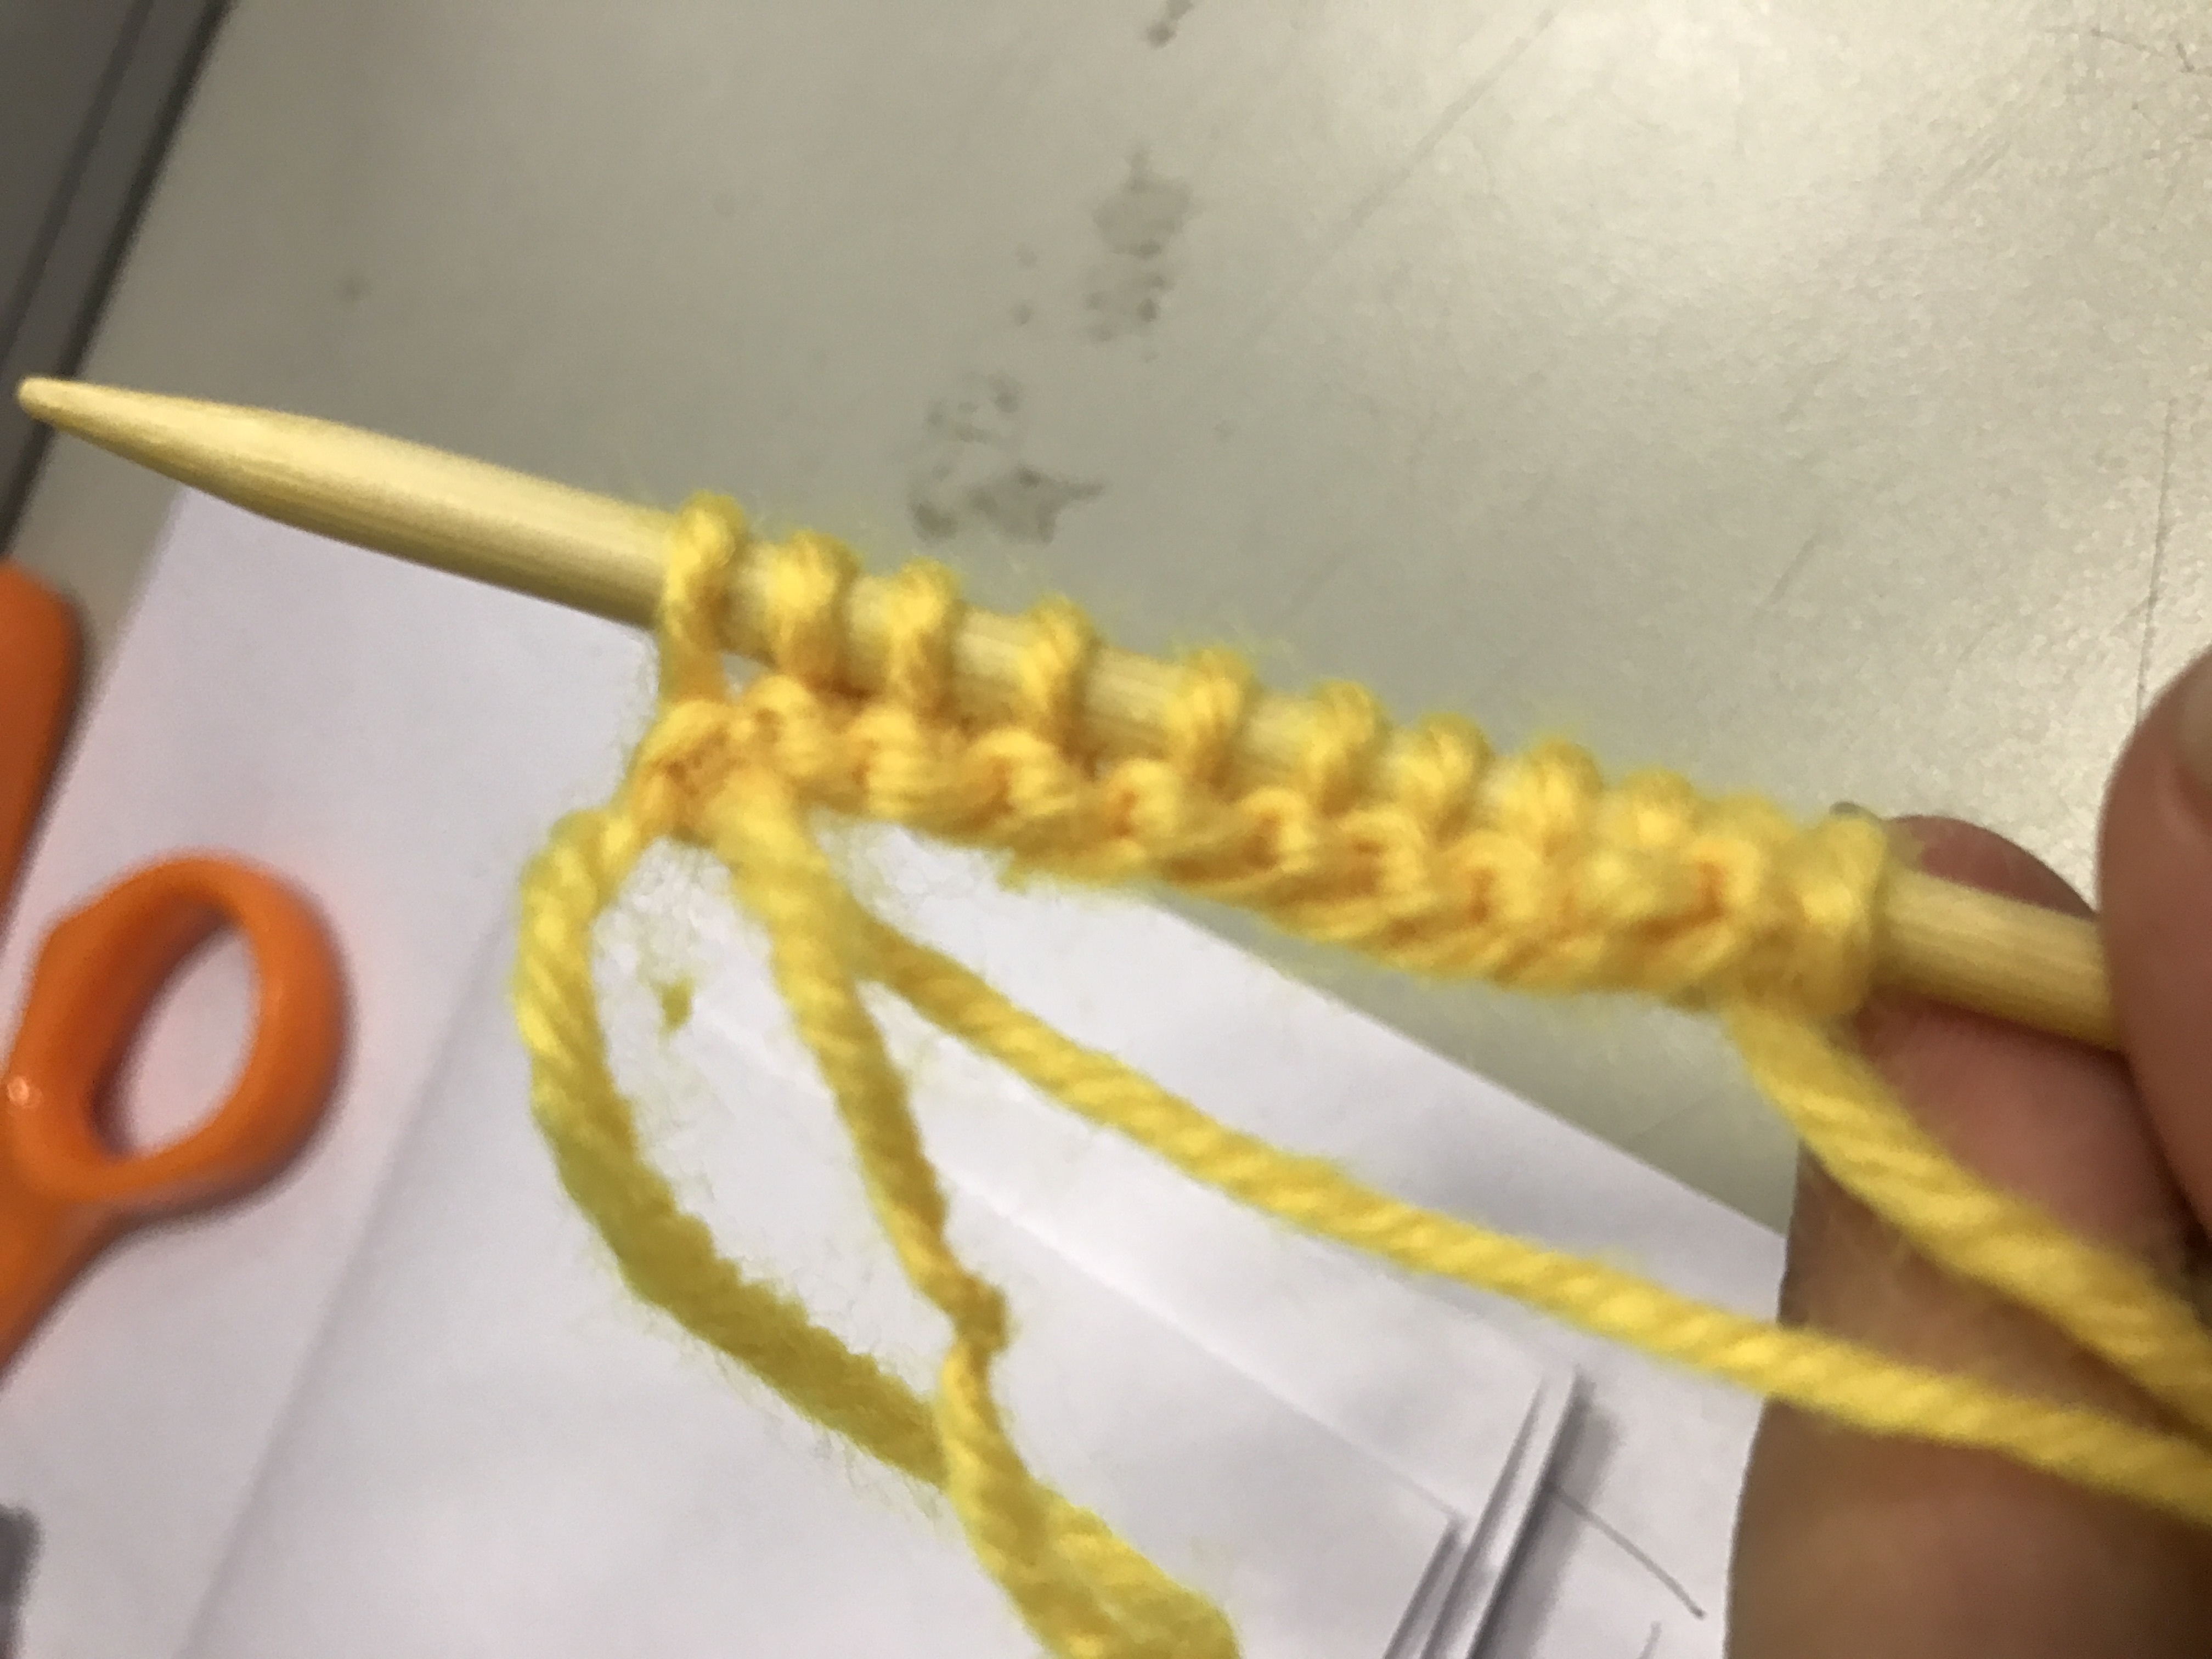
2) Make a slip knot
There are also several ways to do this when I was watching to the Youtube tutorial, each of the tutor actually had their own way to make a knot.
3)Cast on the yarn
4)Start knitting or purling
To knit a row:
Insert the tip of the right needle into the stitch on the left needle, from front to back.
Take the yarn in the right hand holding the needles where they cross, take the yarn forward to the tip of the right needle.
Wrap the yarn around the right needle from back to front.
Draw the tip of the right needle back pulling the looped yarn.
Slip the left hand stitch off the left needle. You have now completed a knit stitch.
To purl a row:
Insert the tip of the right needle down and through the loop, then pull it up so it crosses in front of the left needle, from back to front.
Hold onto the needles where they cross with the left hand needle.
Take the yarn forward and wrap it behind the front right needle.
Draw the tip of the right needle back through the stitch on the left needle, together with the looped yarn.
Slip the original stitch off the left needle. You have now completed a purl stitch.
Repeat, in and up, round, down and off.
Complete the row purling each stitch.
5) Cast of the yarn
When you knit until the size you want and you can end your pieces by casting off.
The examples of how the knitting being used in our daily life.

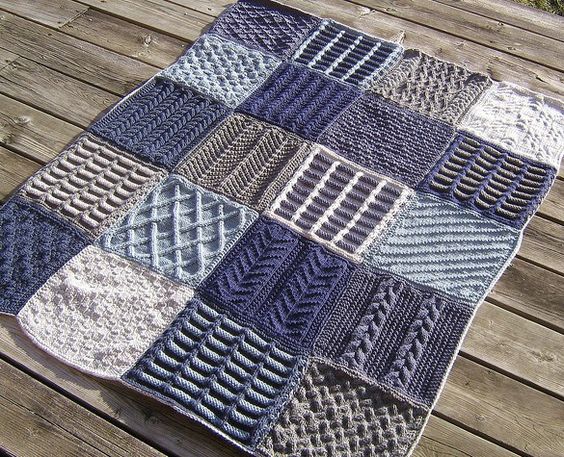
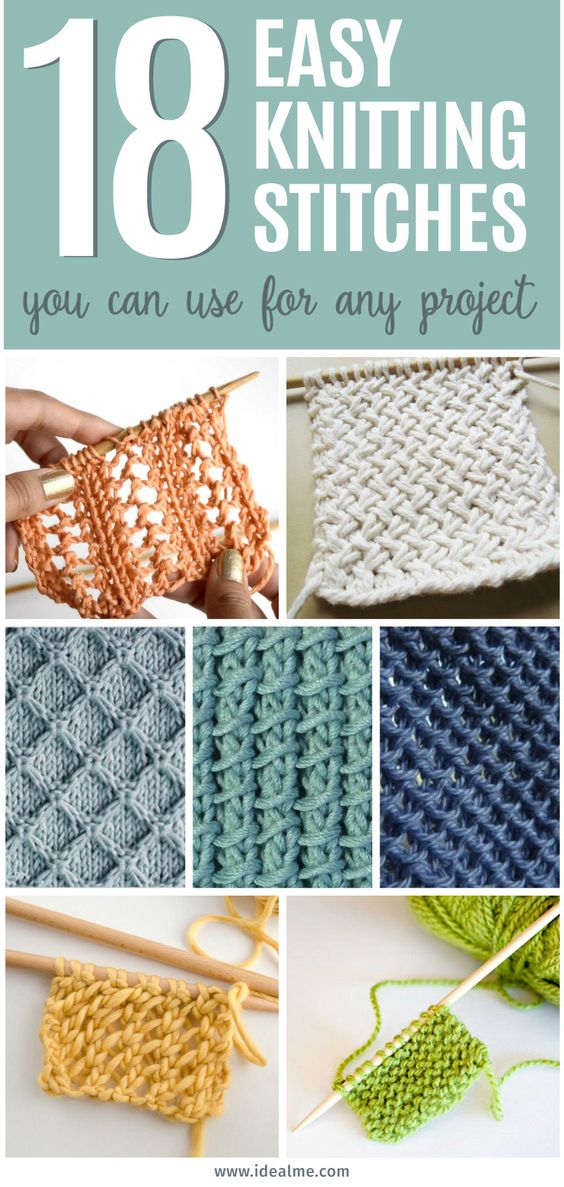
I found these different types of knitting stitches and they all are so beautiful. If I have enough time I will be interested to explore more!
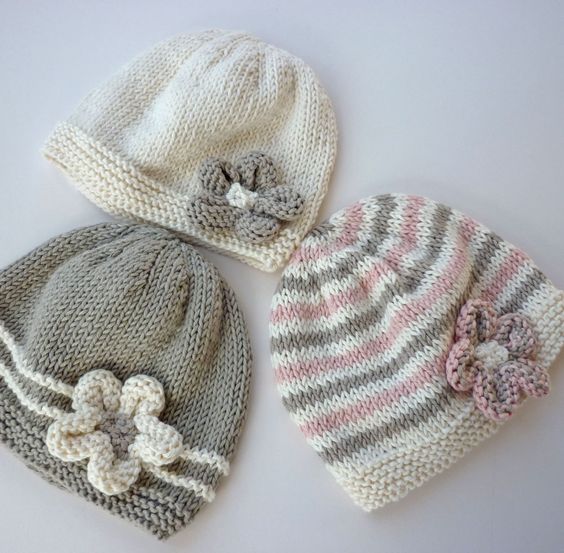
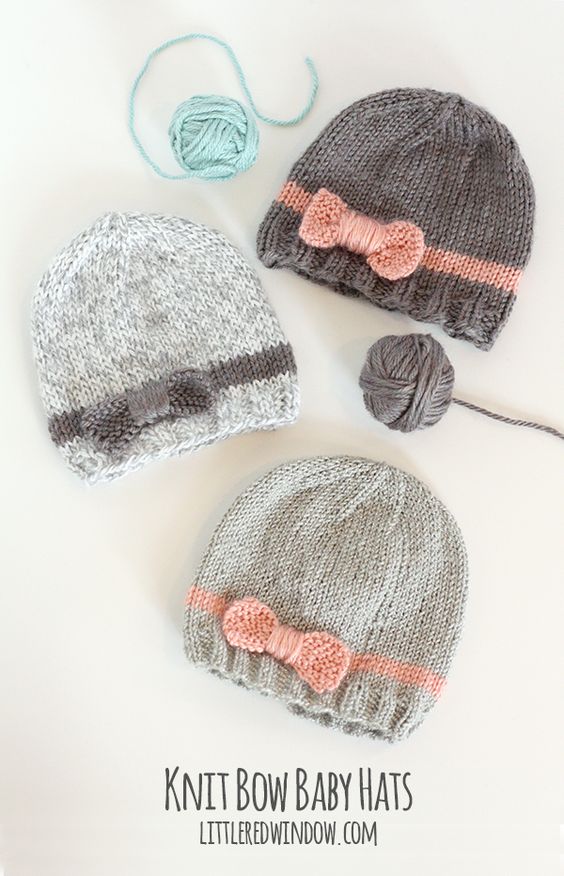
The tiny baby knitting hats and so cute!


Knitting process
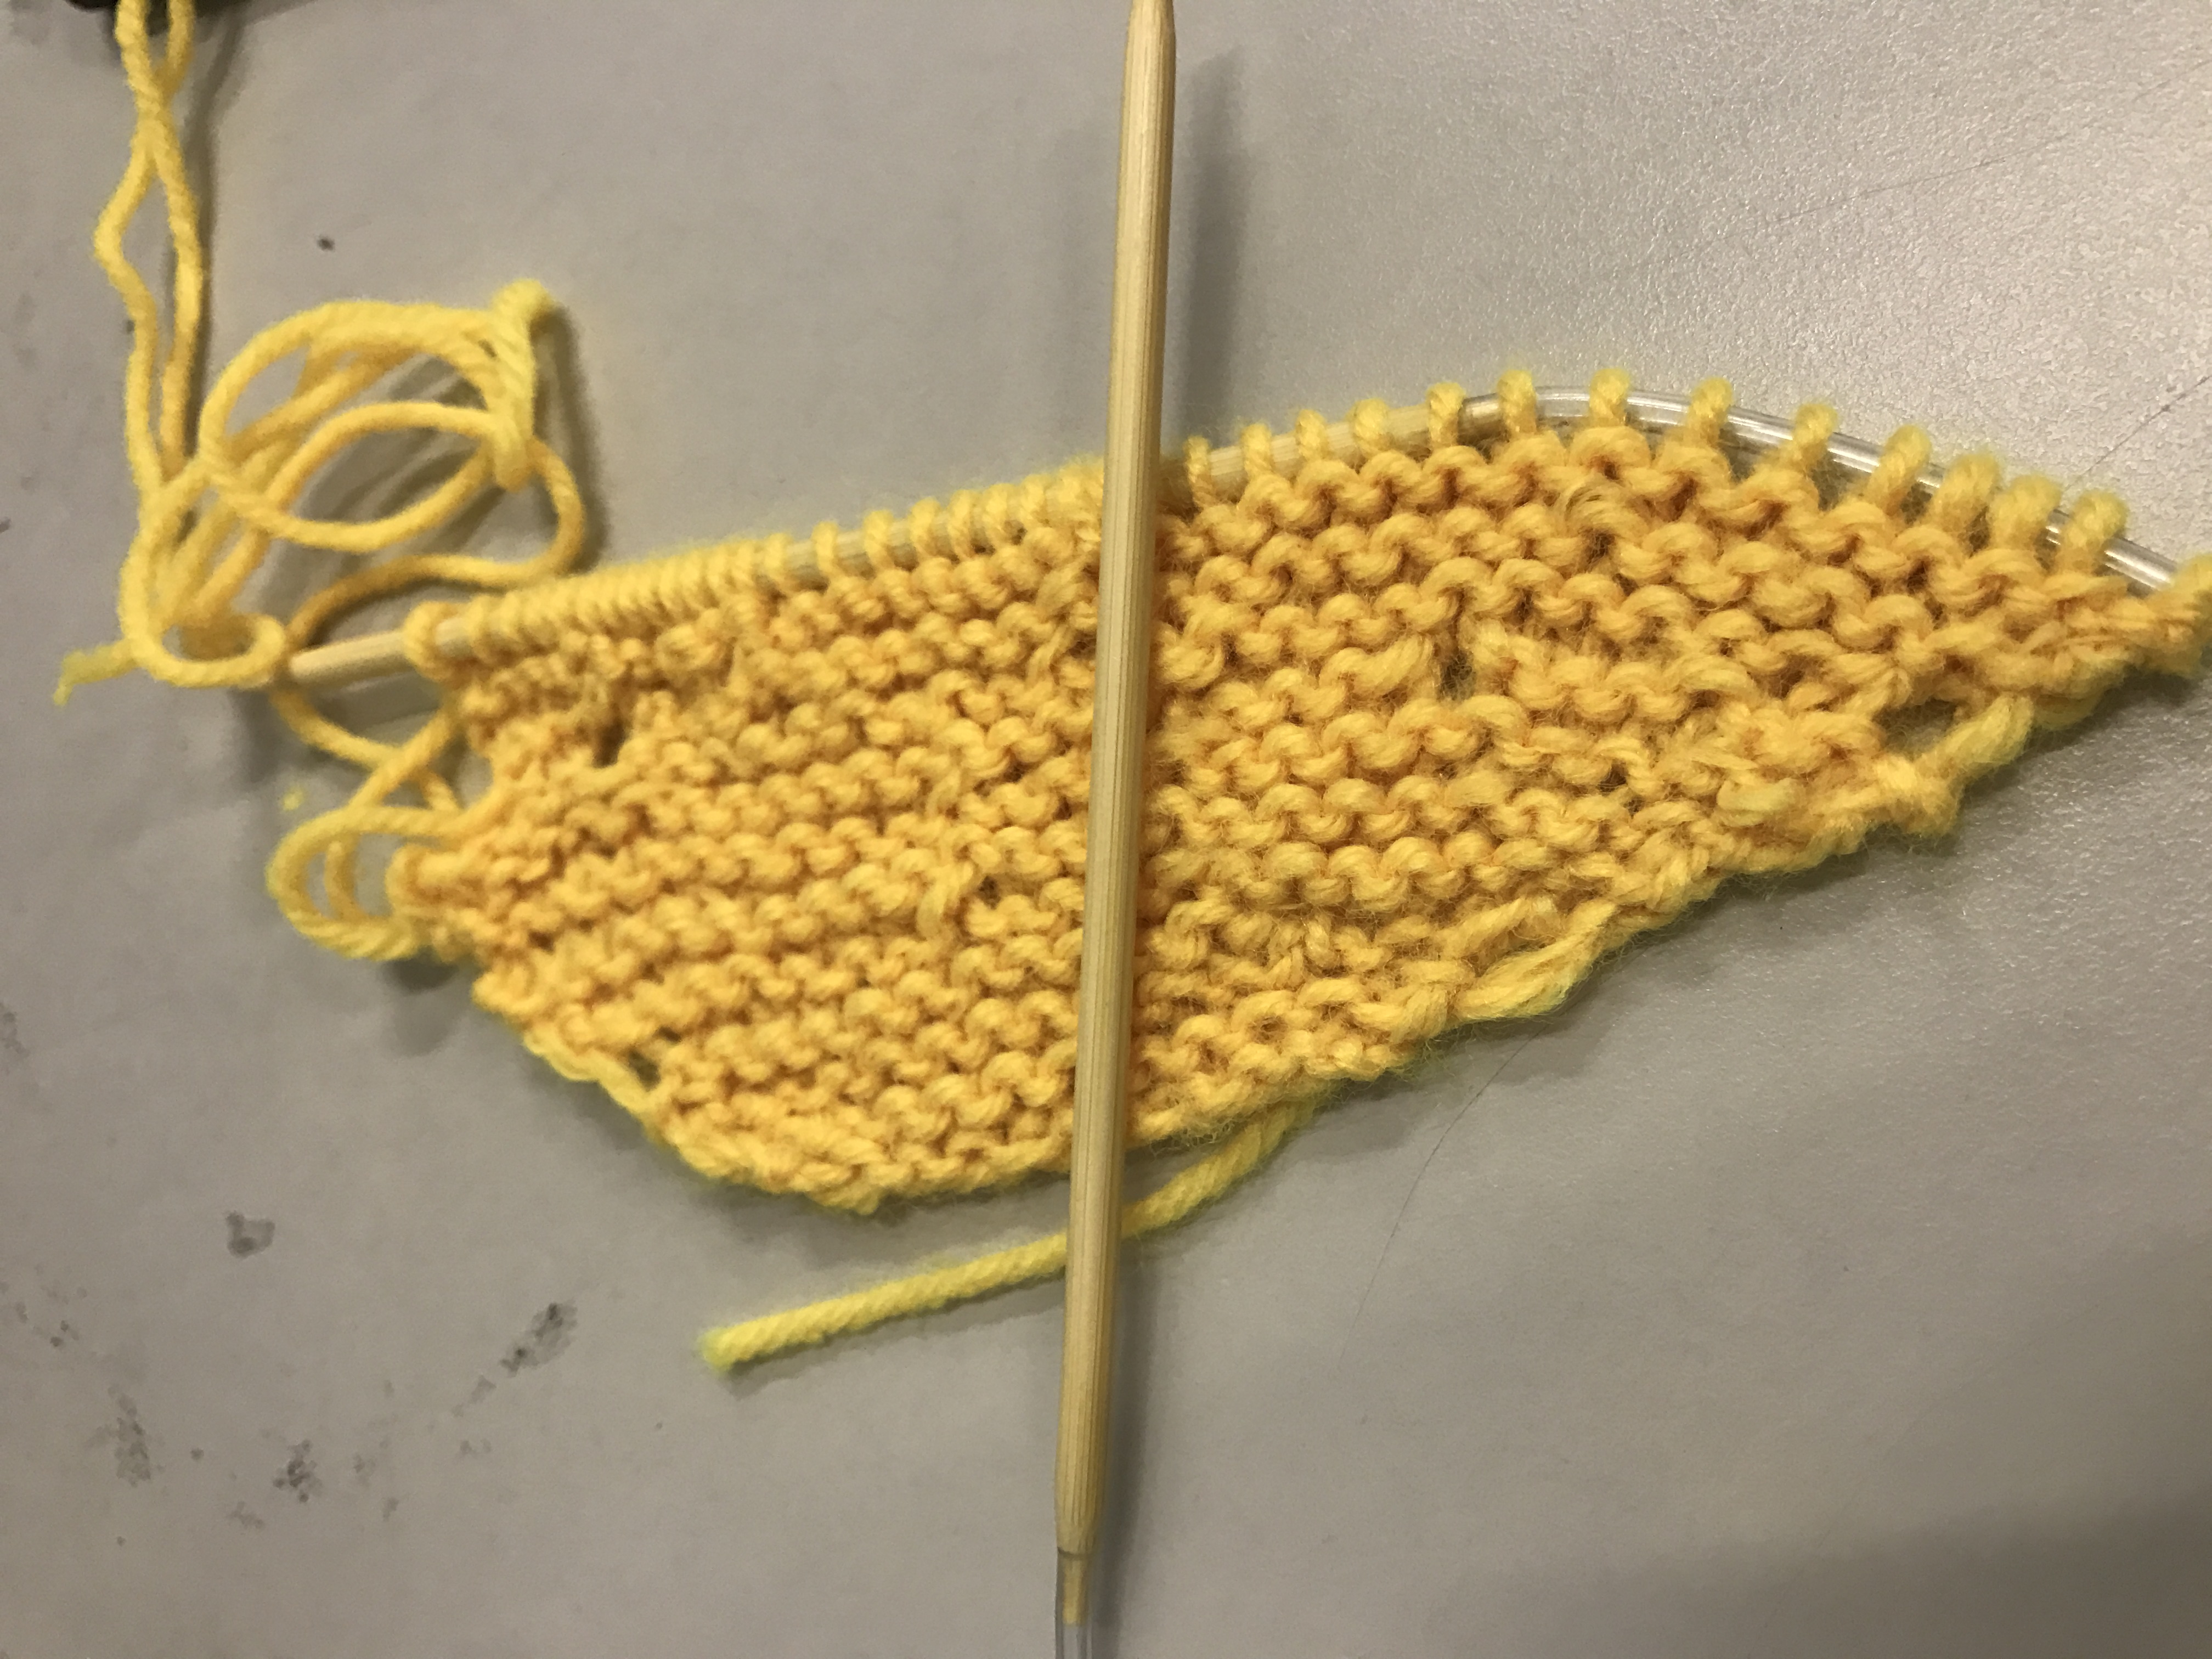
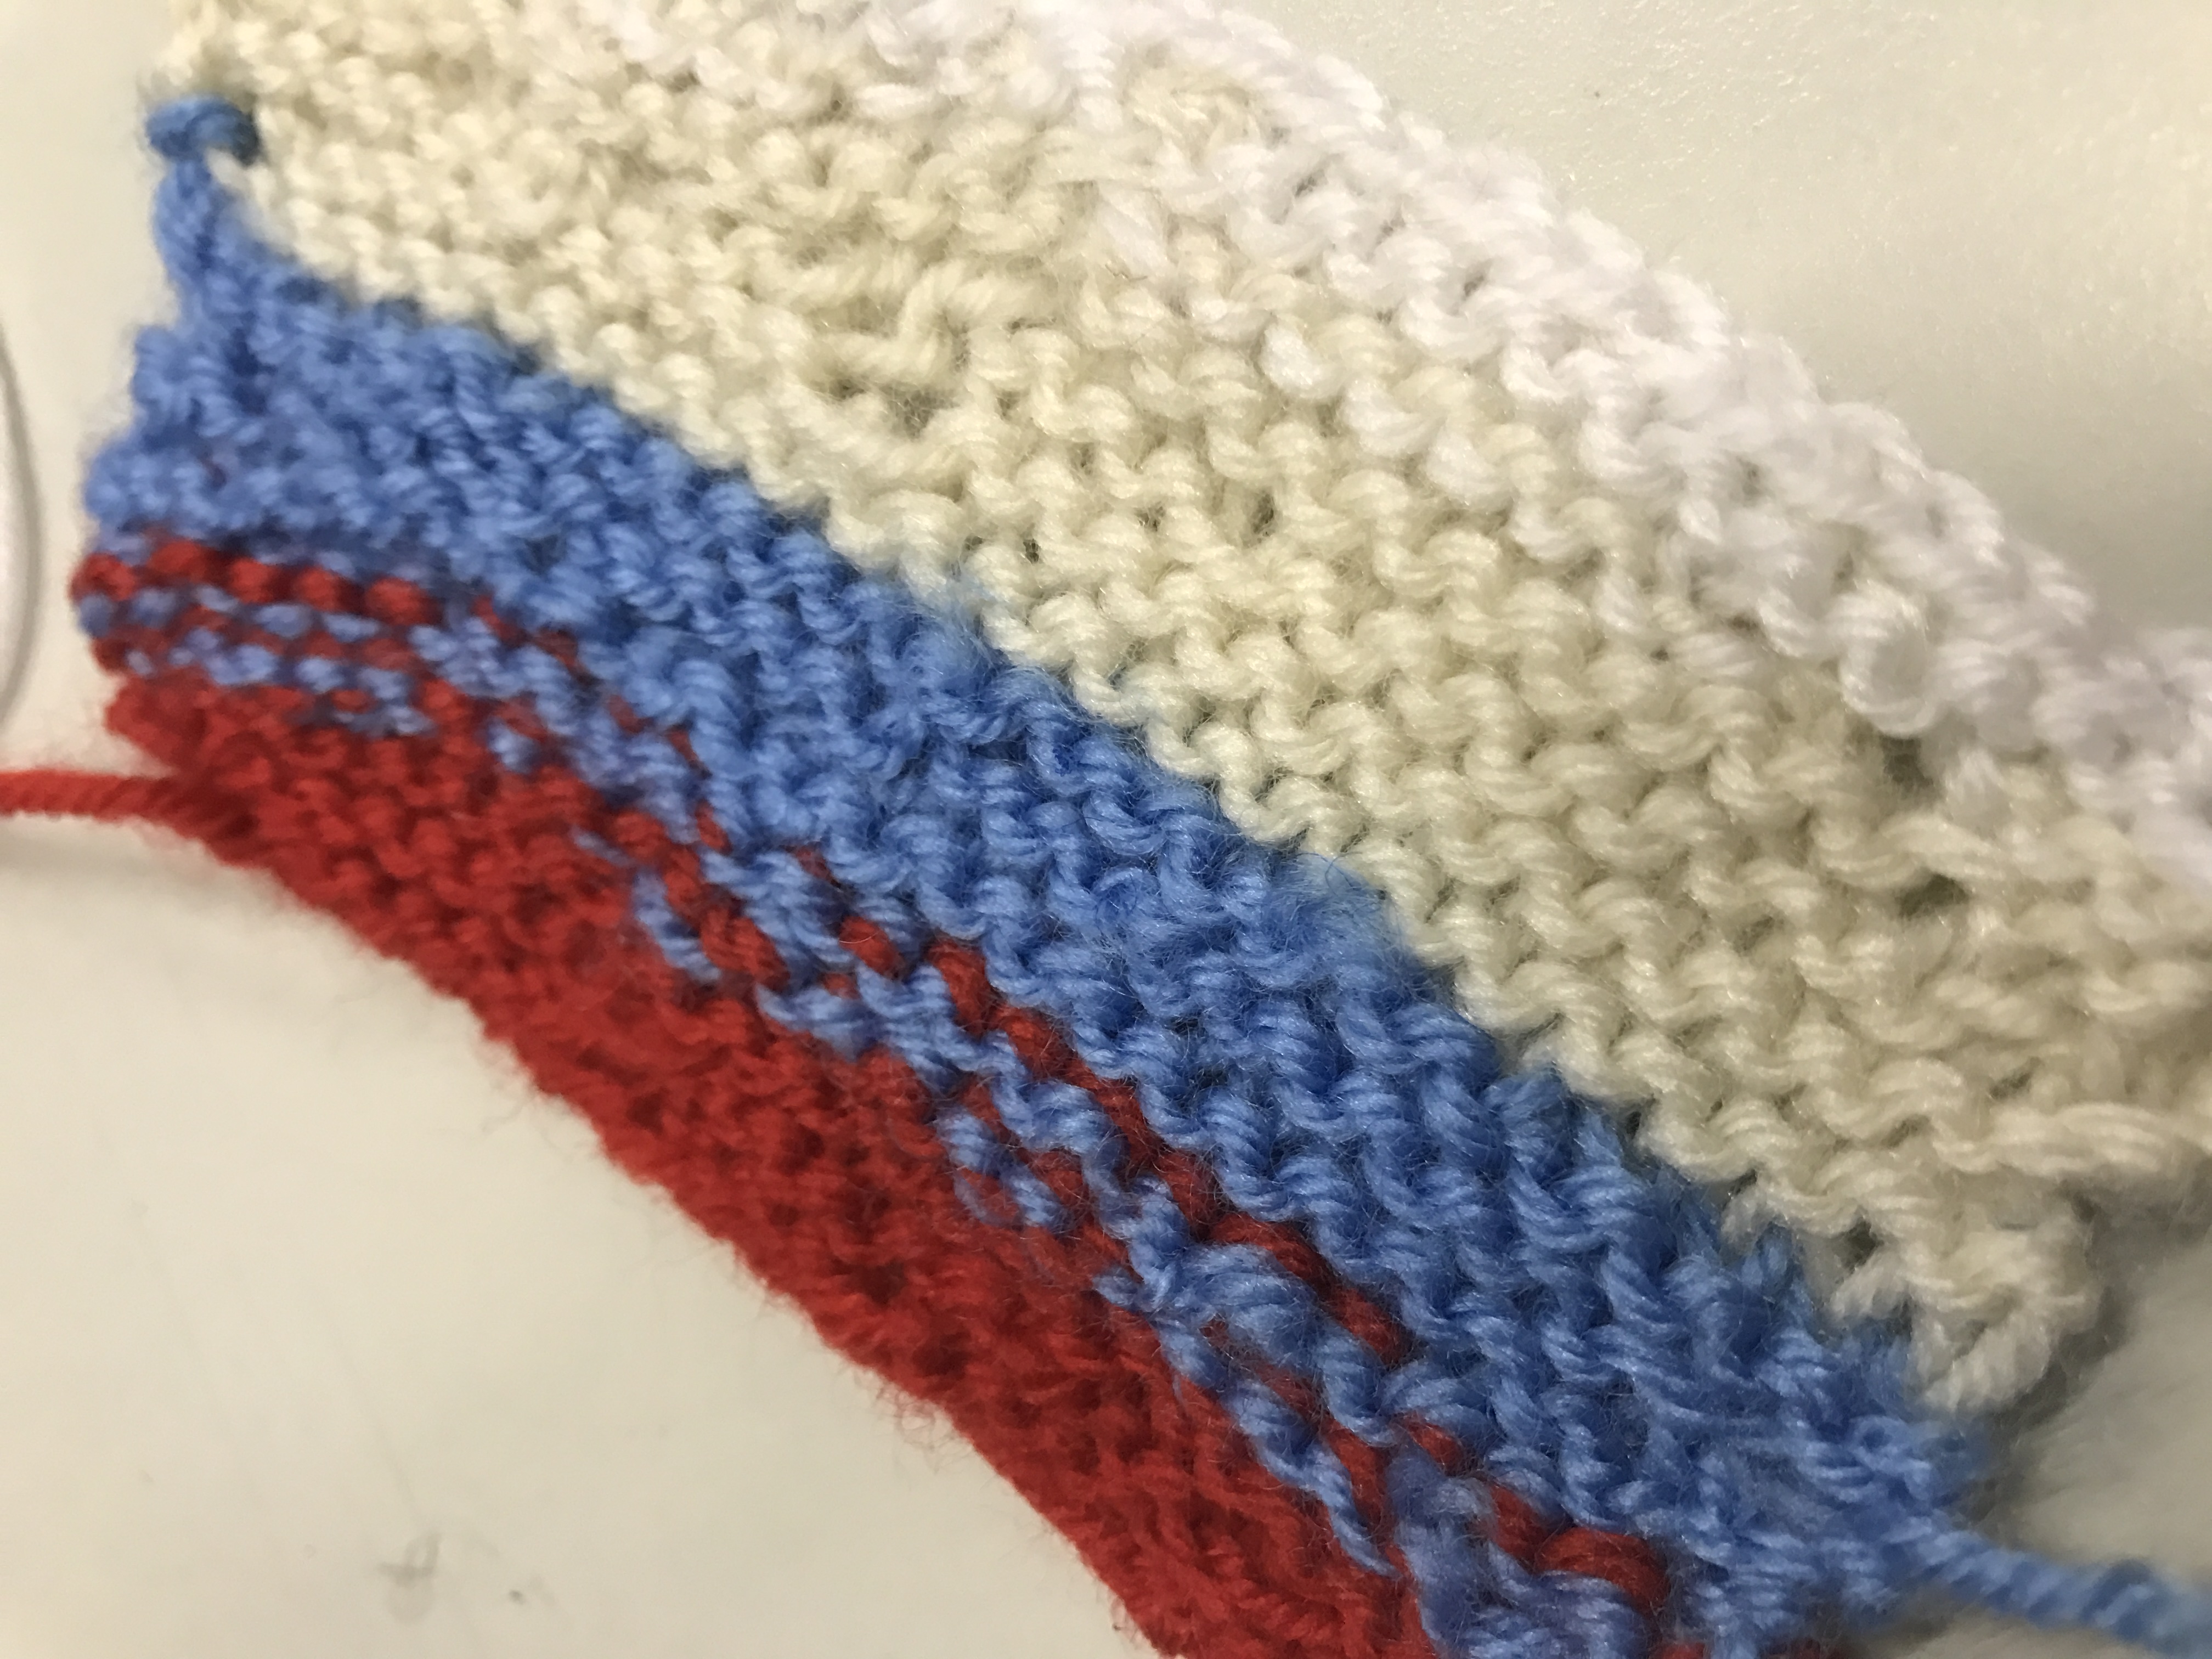
Okay the knitting process starts! Basically what I had done in class is just exploring different material to knit. I started with clumsiness and went lots of trial and errors throughout the process.

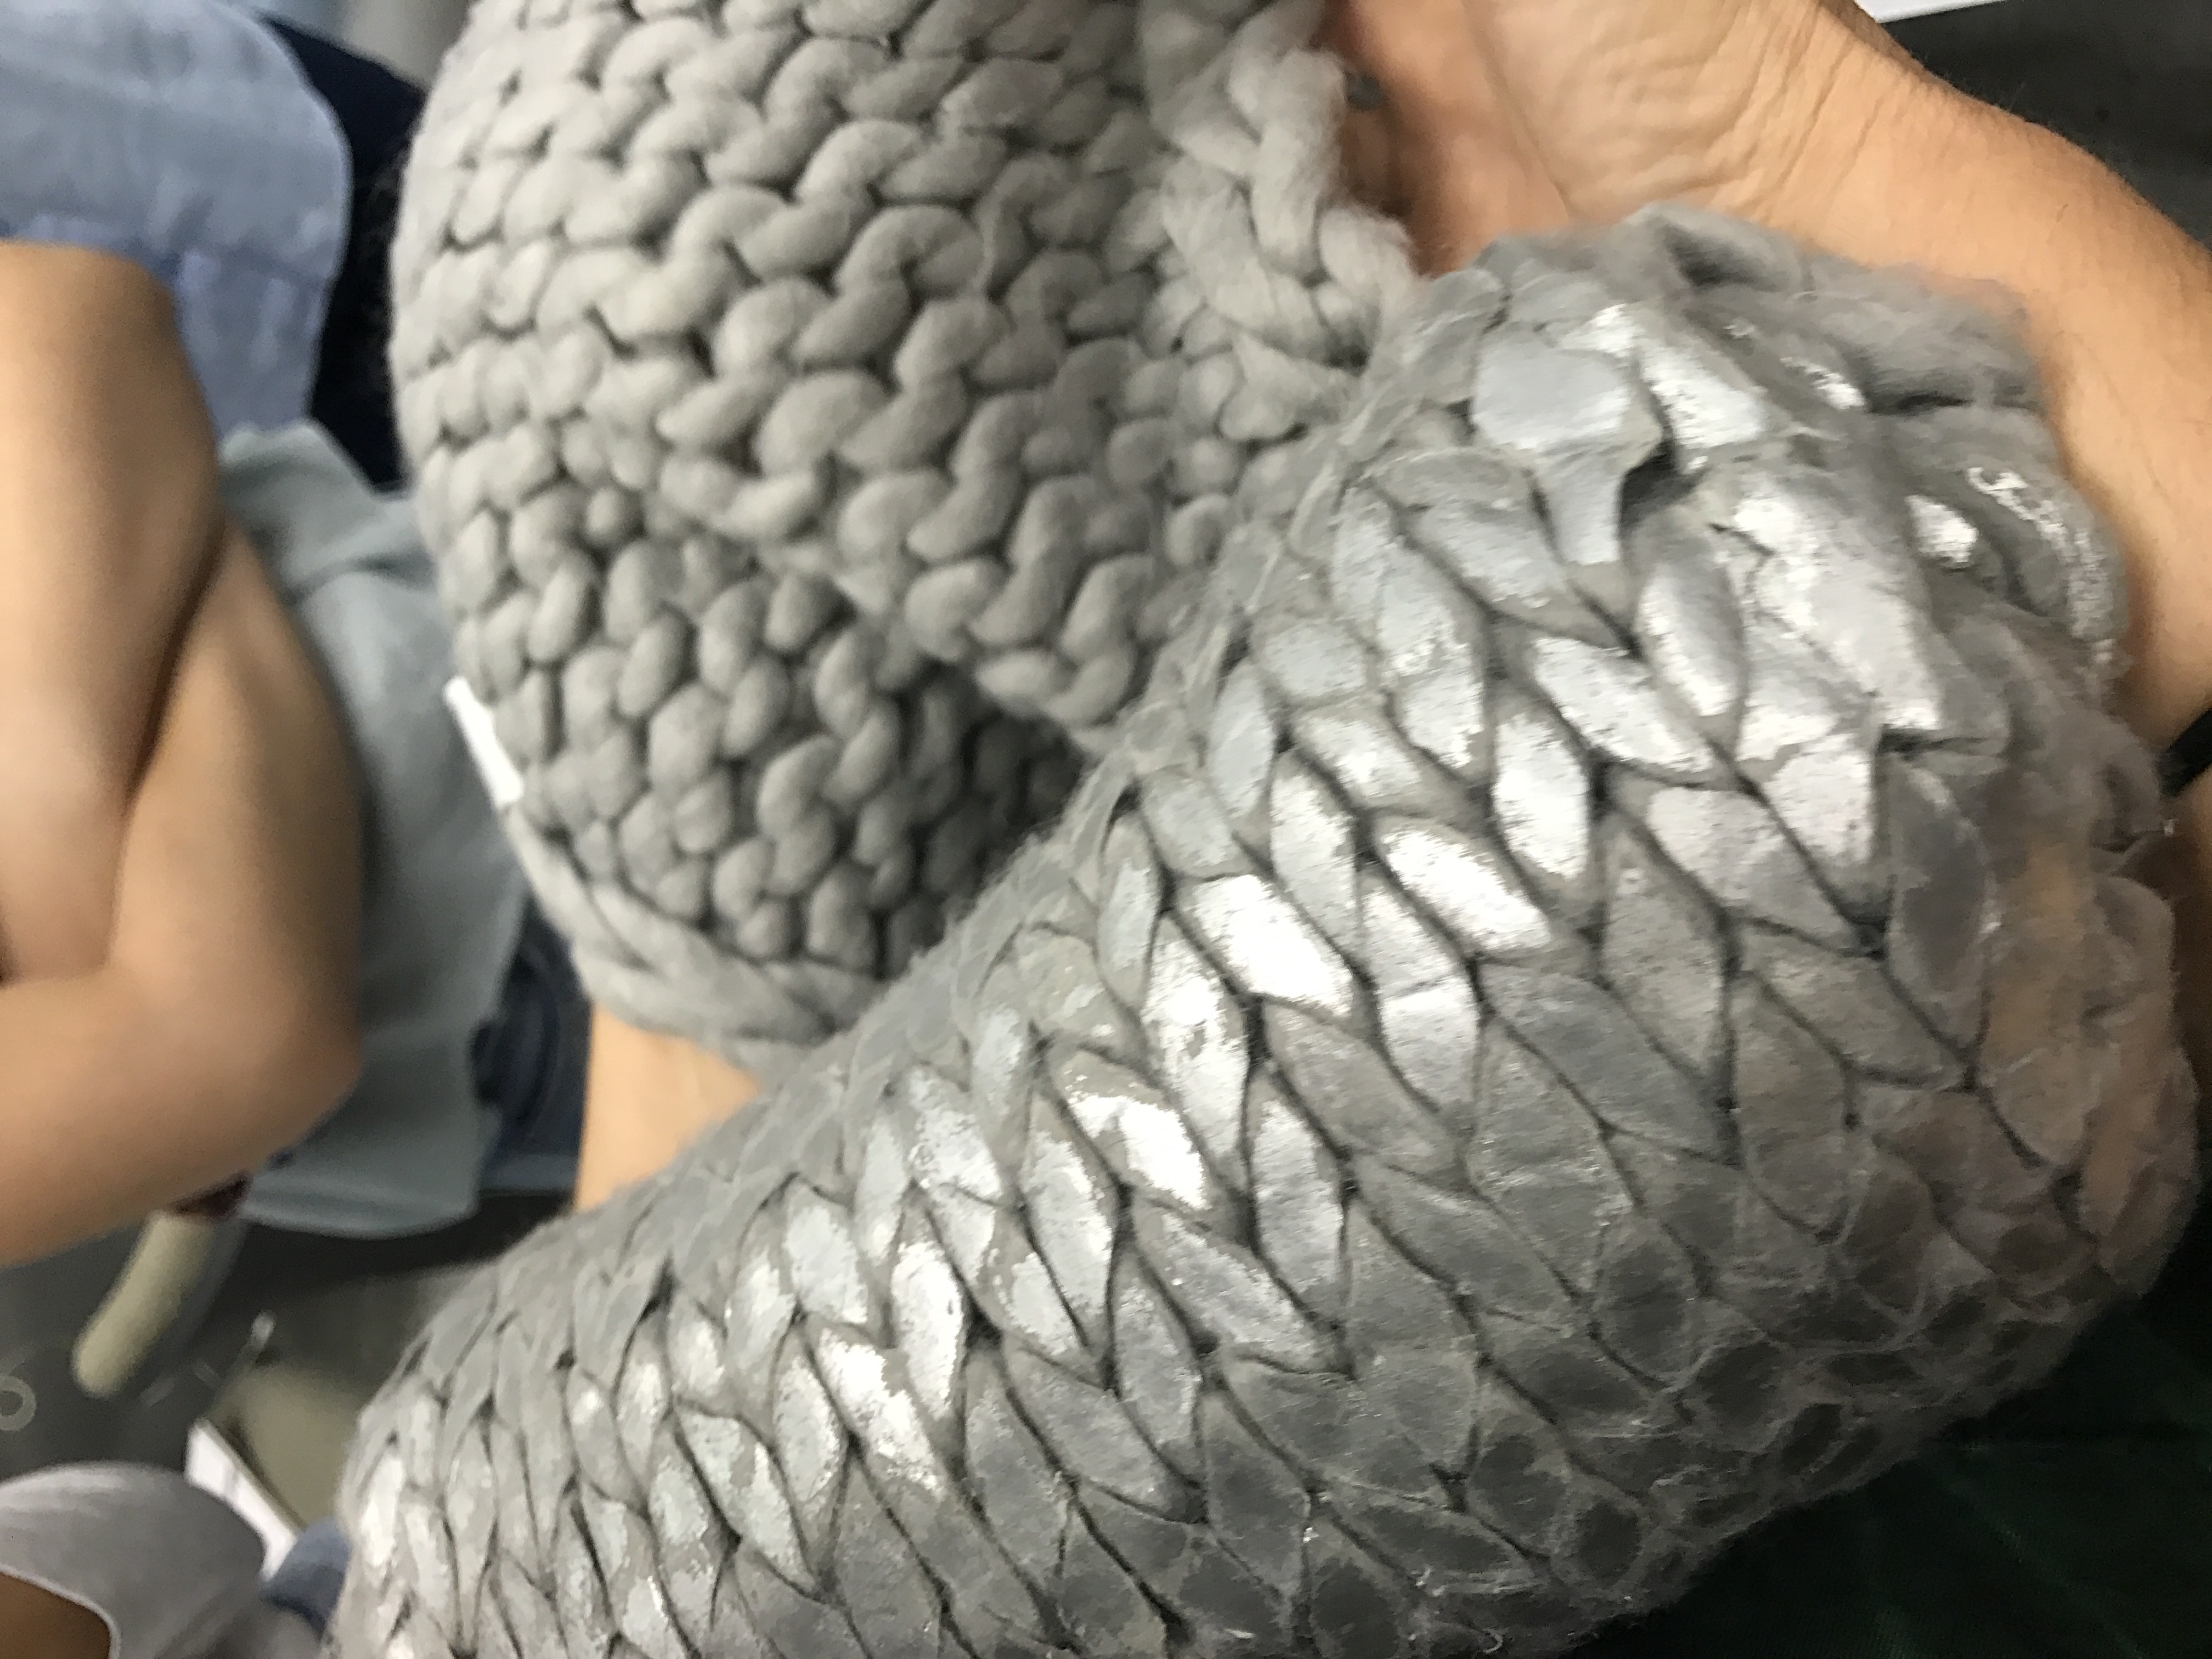
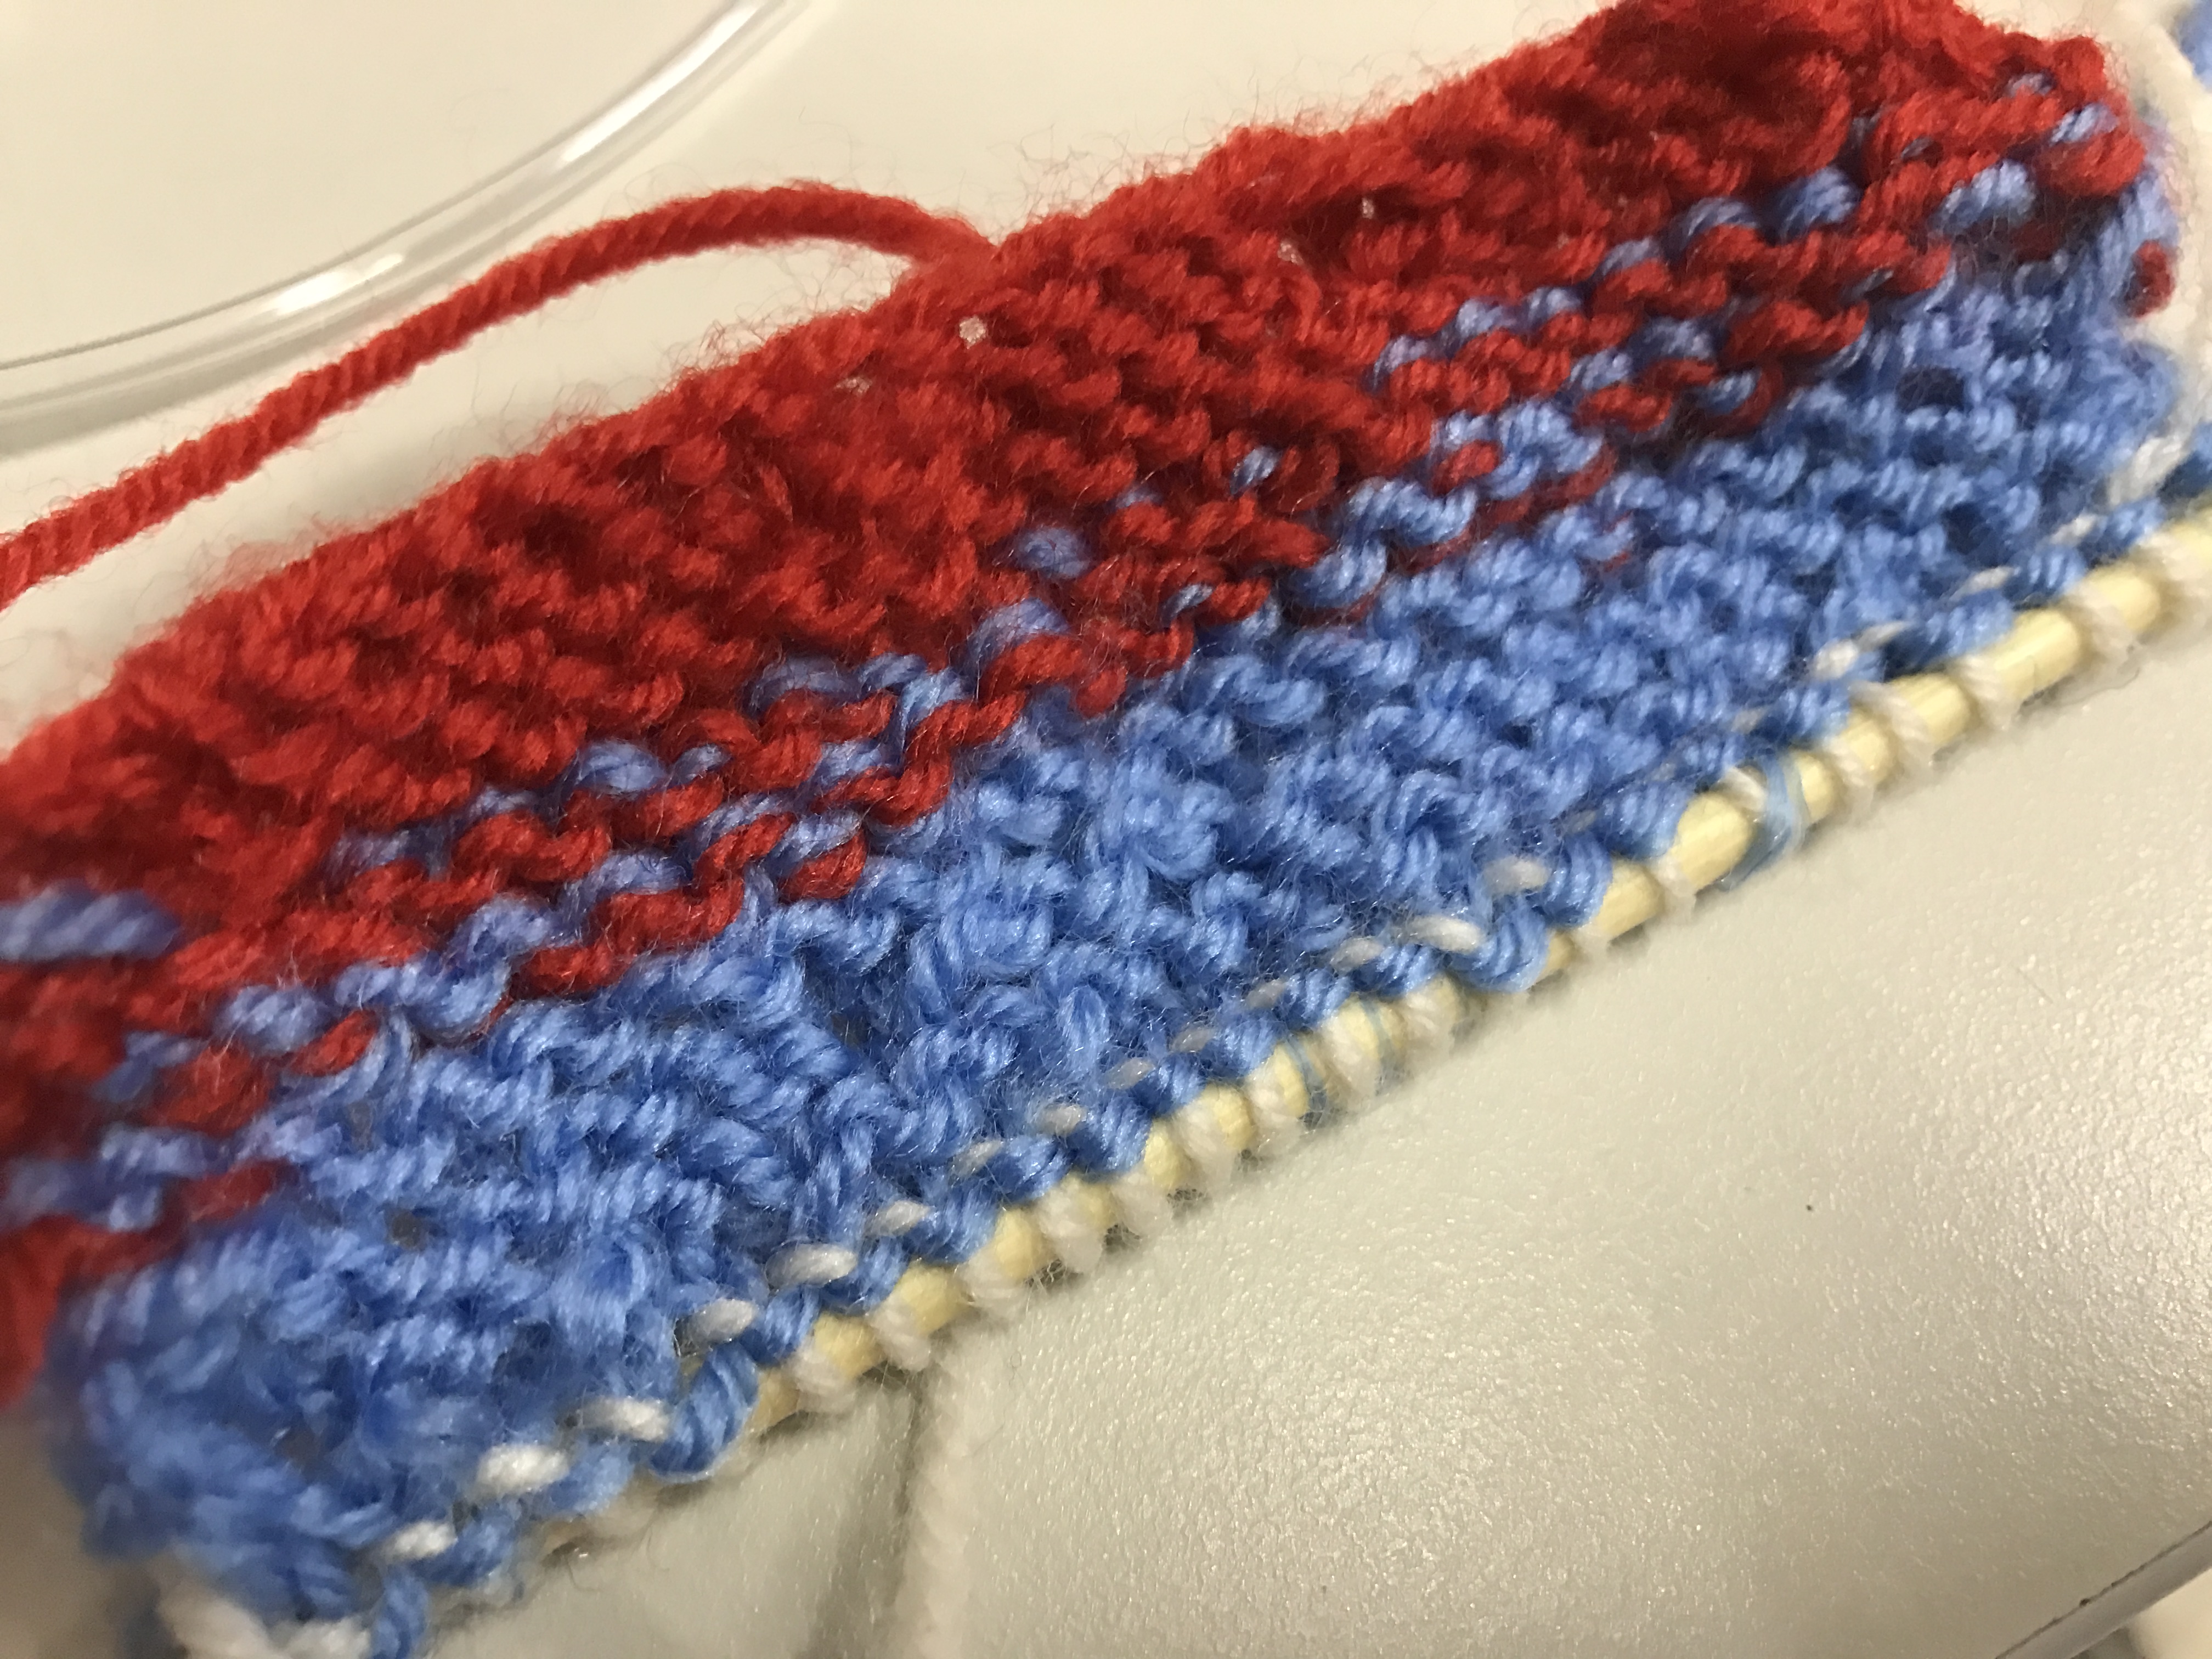
It is my first more completed pieces but it doesn’t come out very nice because I didn’t well manage to the strength for each knot. Some of the knots I knit it too tie but some of them just very loose so thats why the pieces look like an irregular shape. BUT this is what I learnt to create special shape towards your pieces, you actually can manage the strength while knitting. For example, if you want the part be smaller, the you can make the knots tighter.
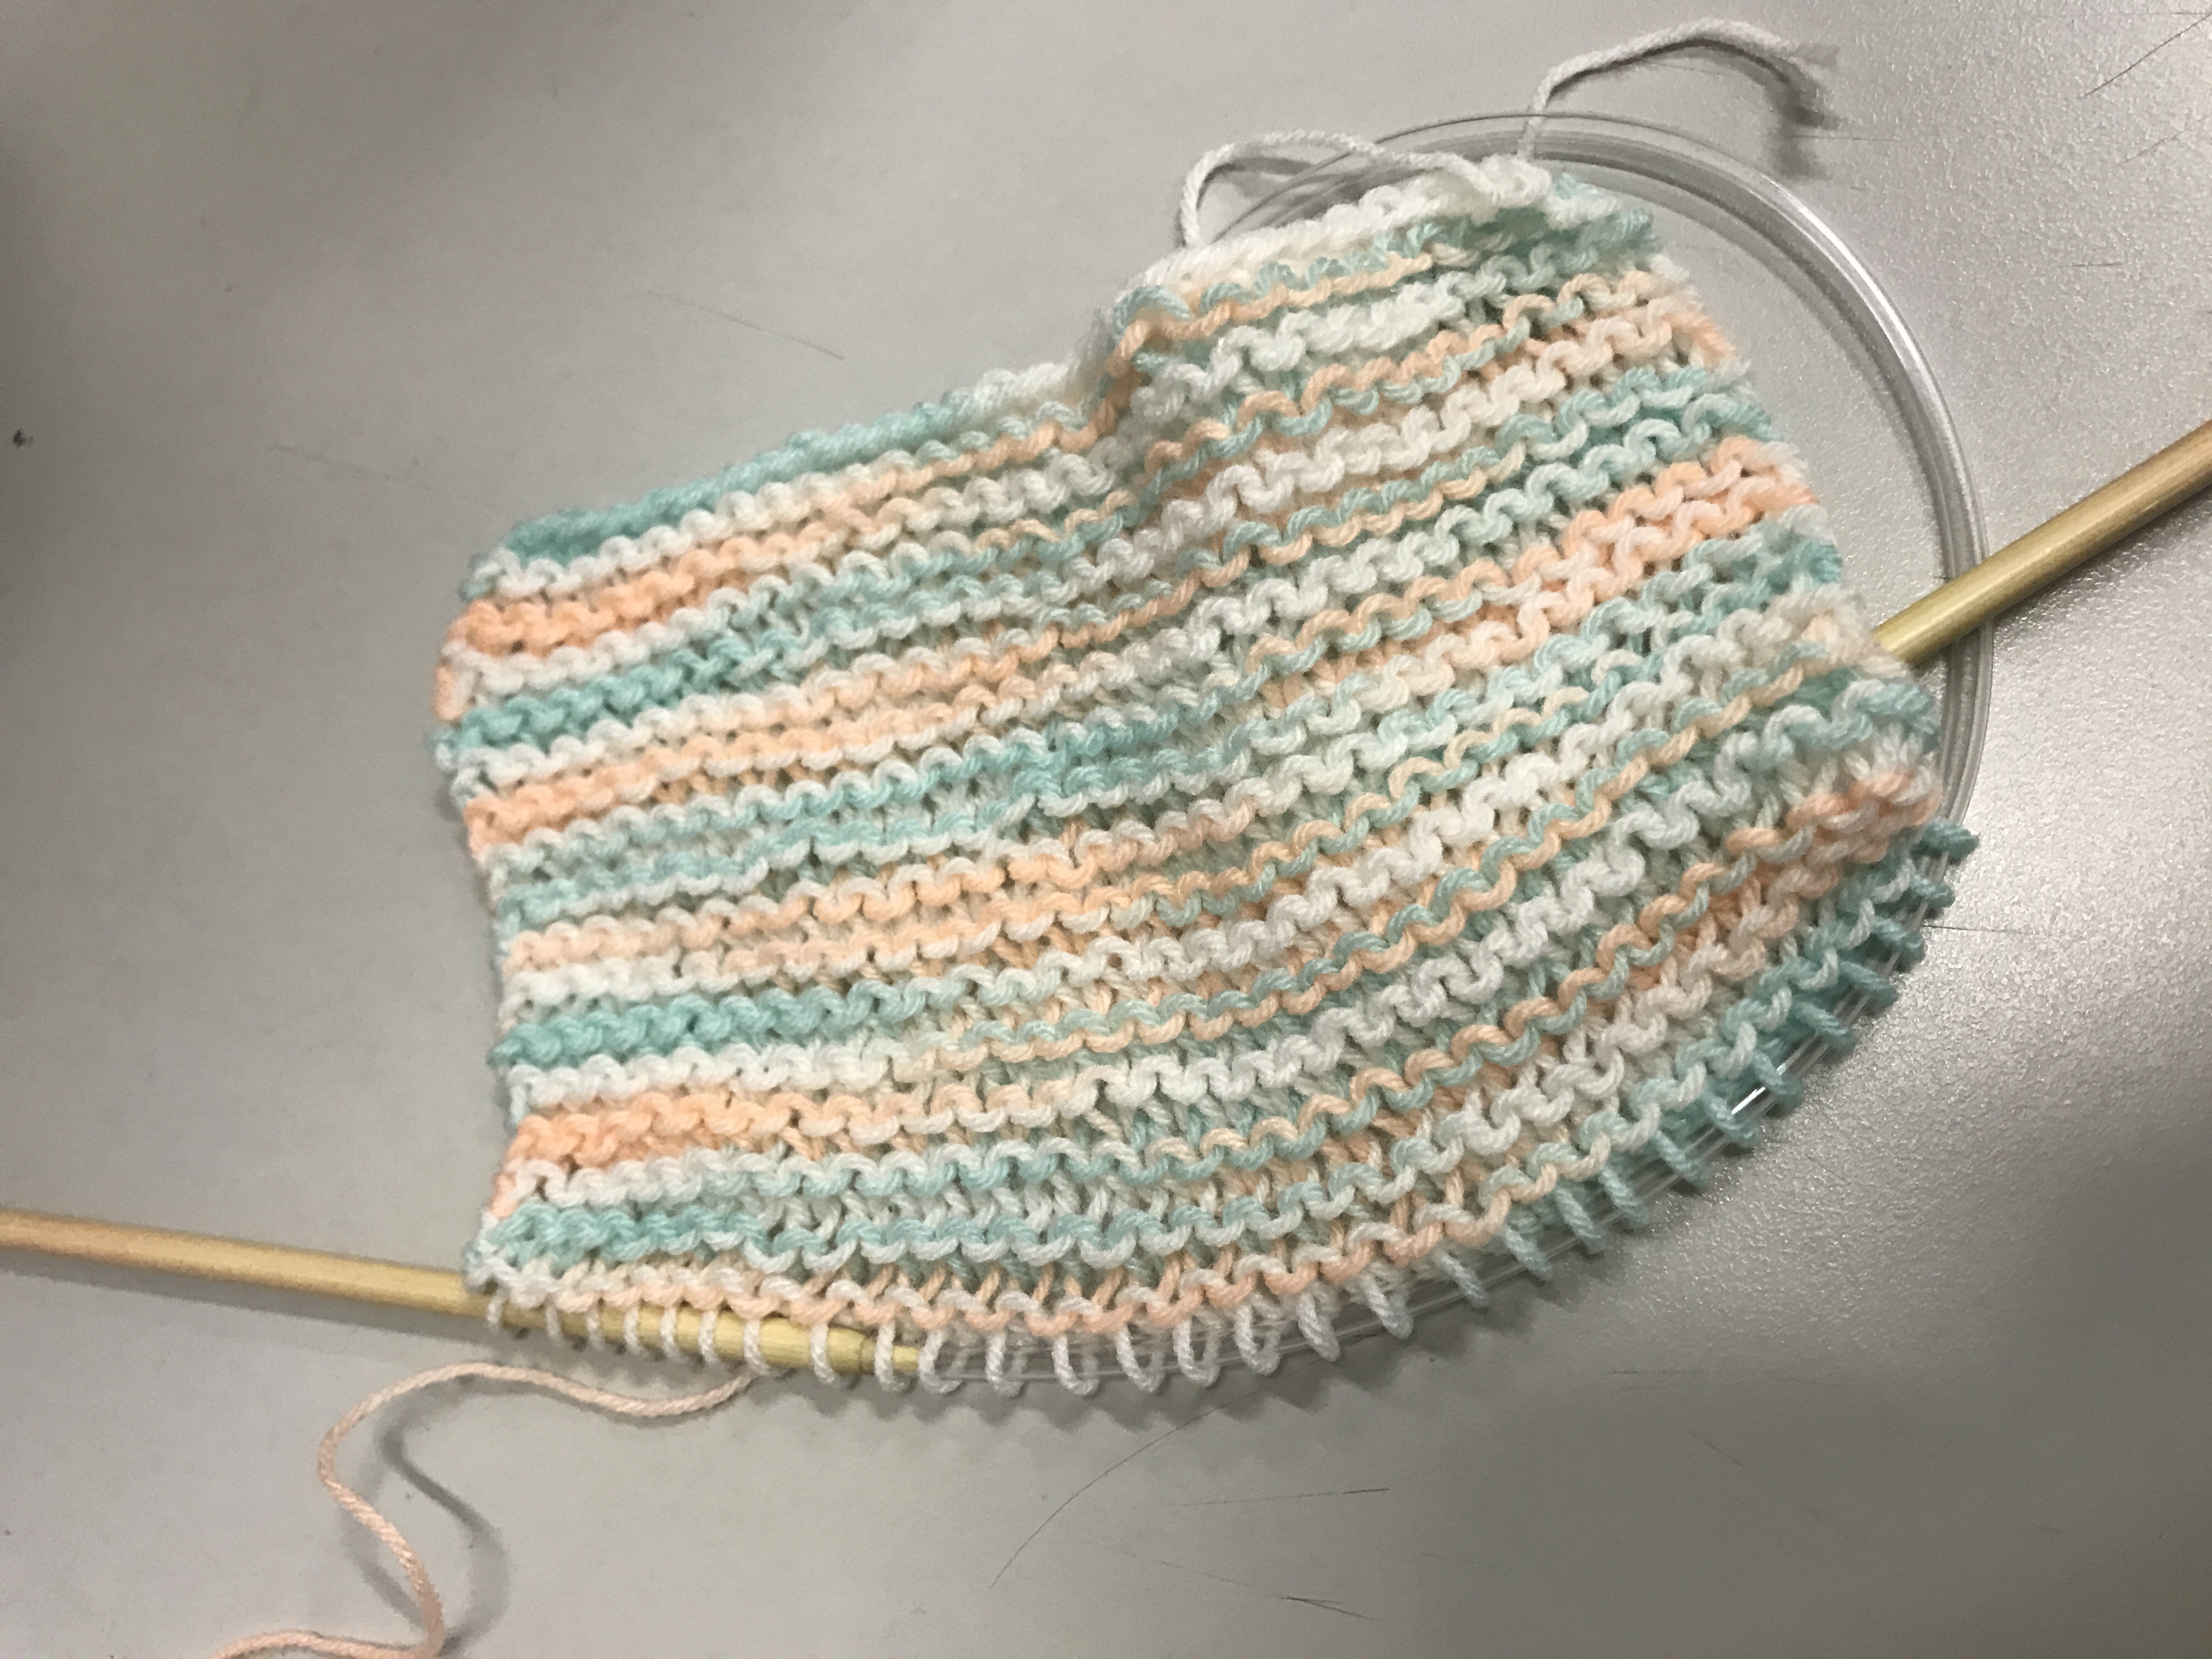
When I were more familiar with the basic steps of knitting, I try to replace different color of yarn to make the gradient effect. Although it is still look clumsy but I will completely keep it up!

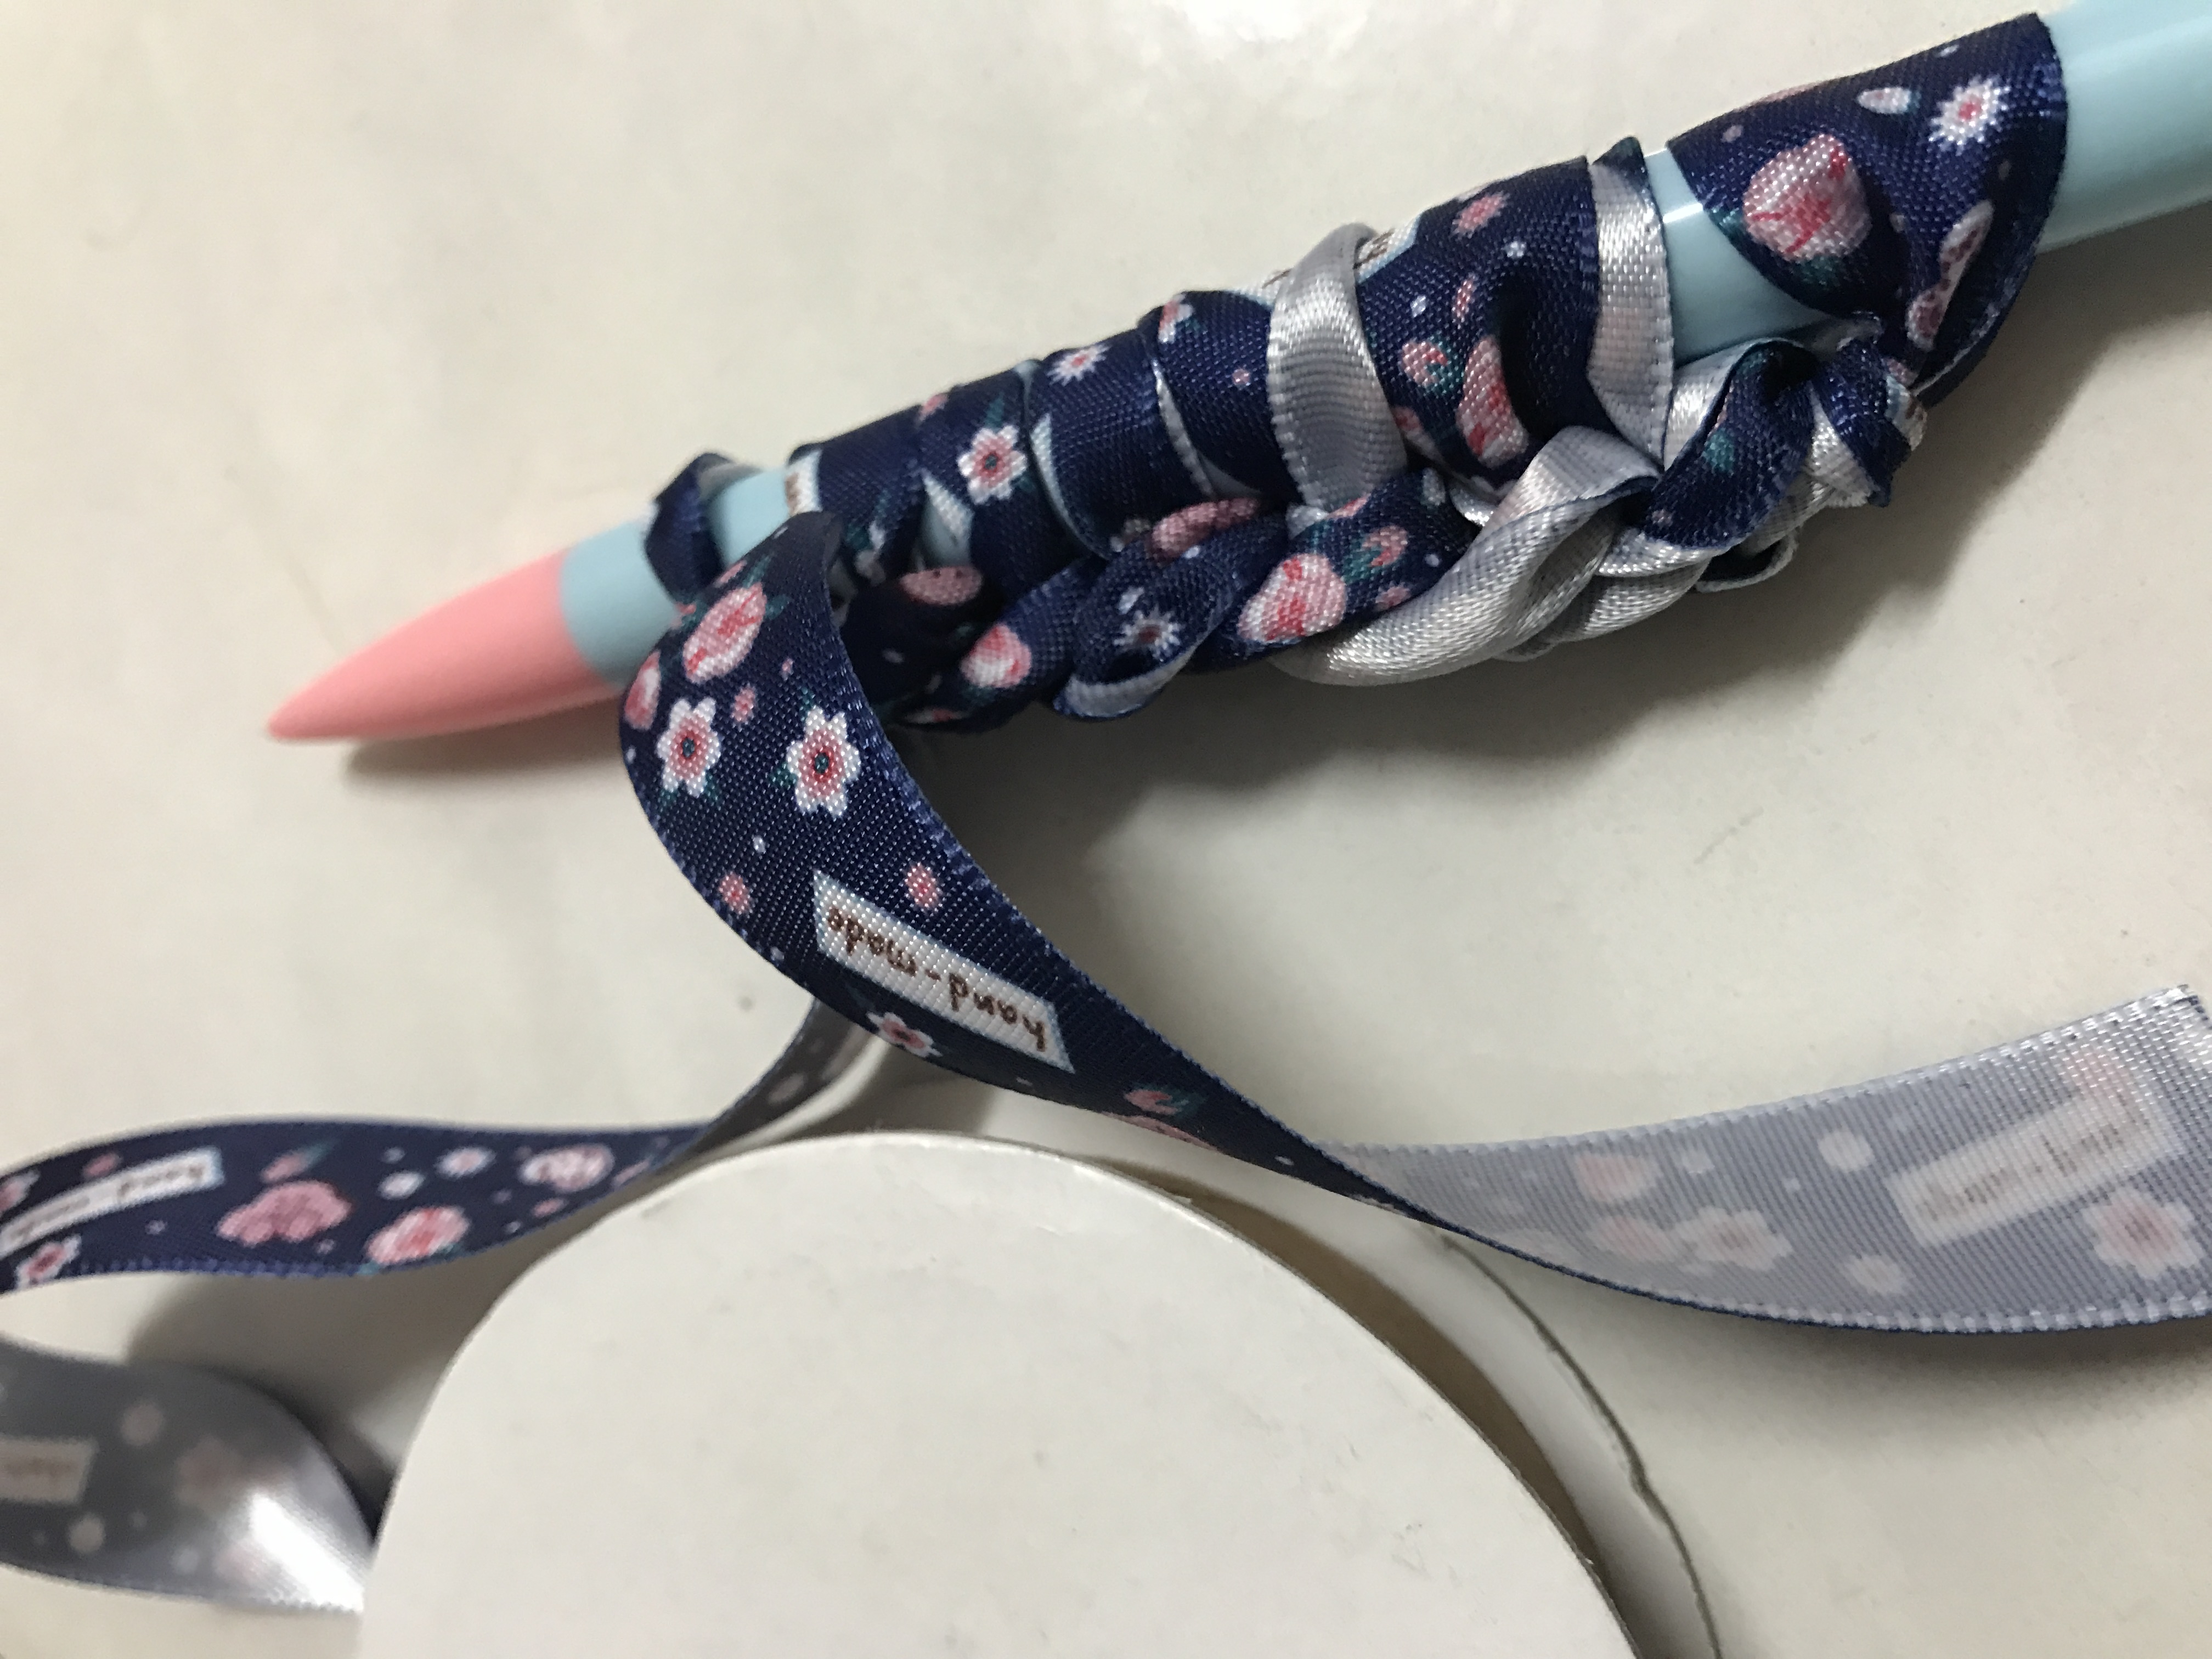
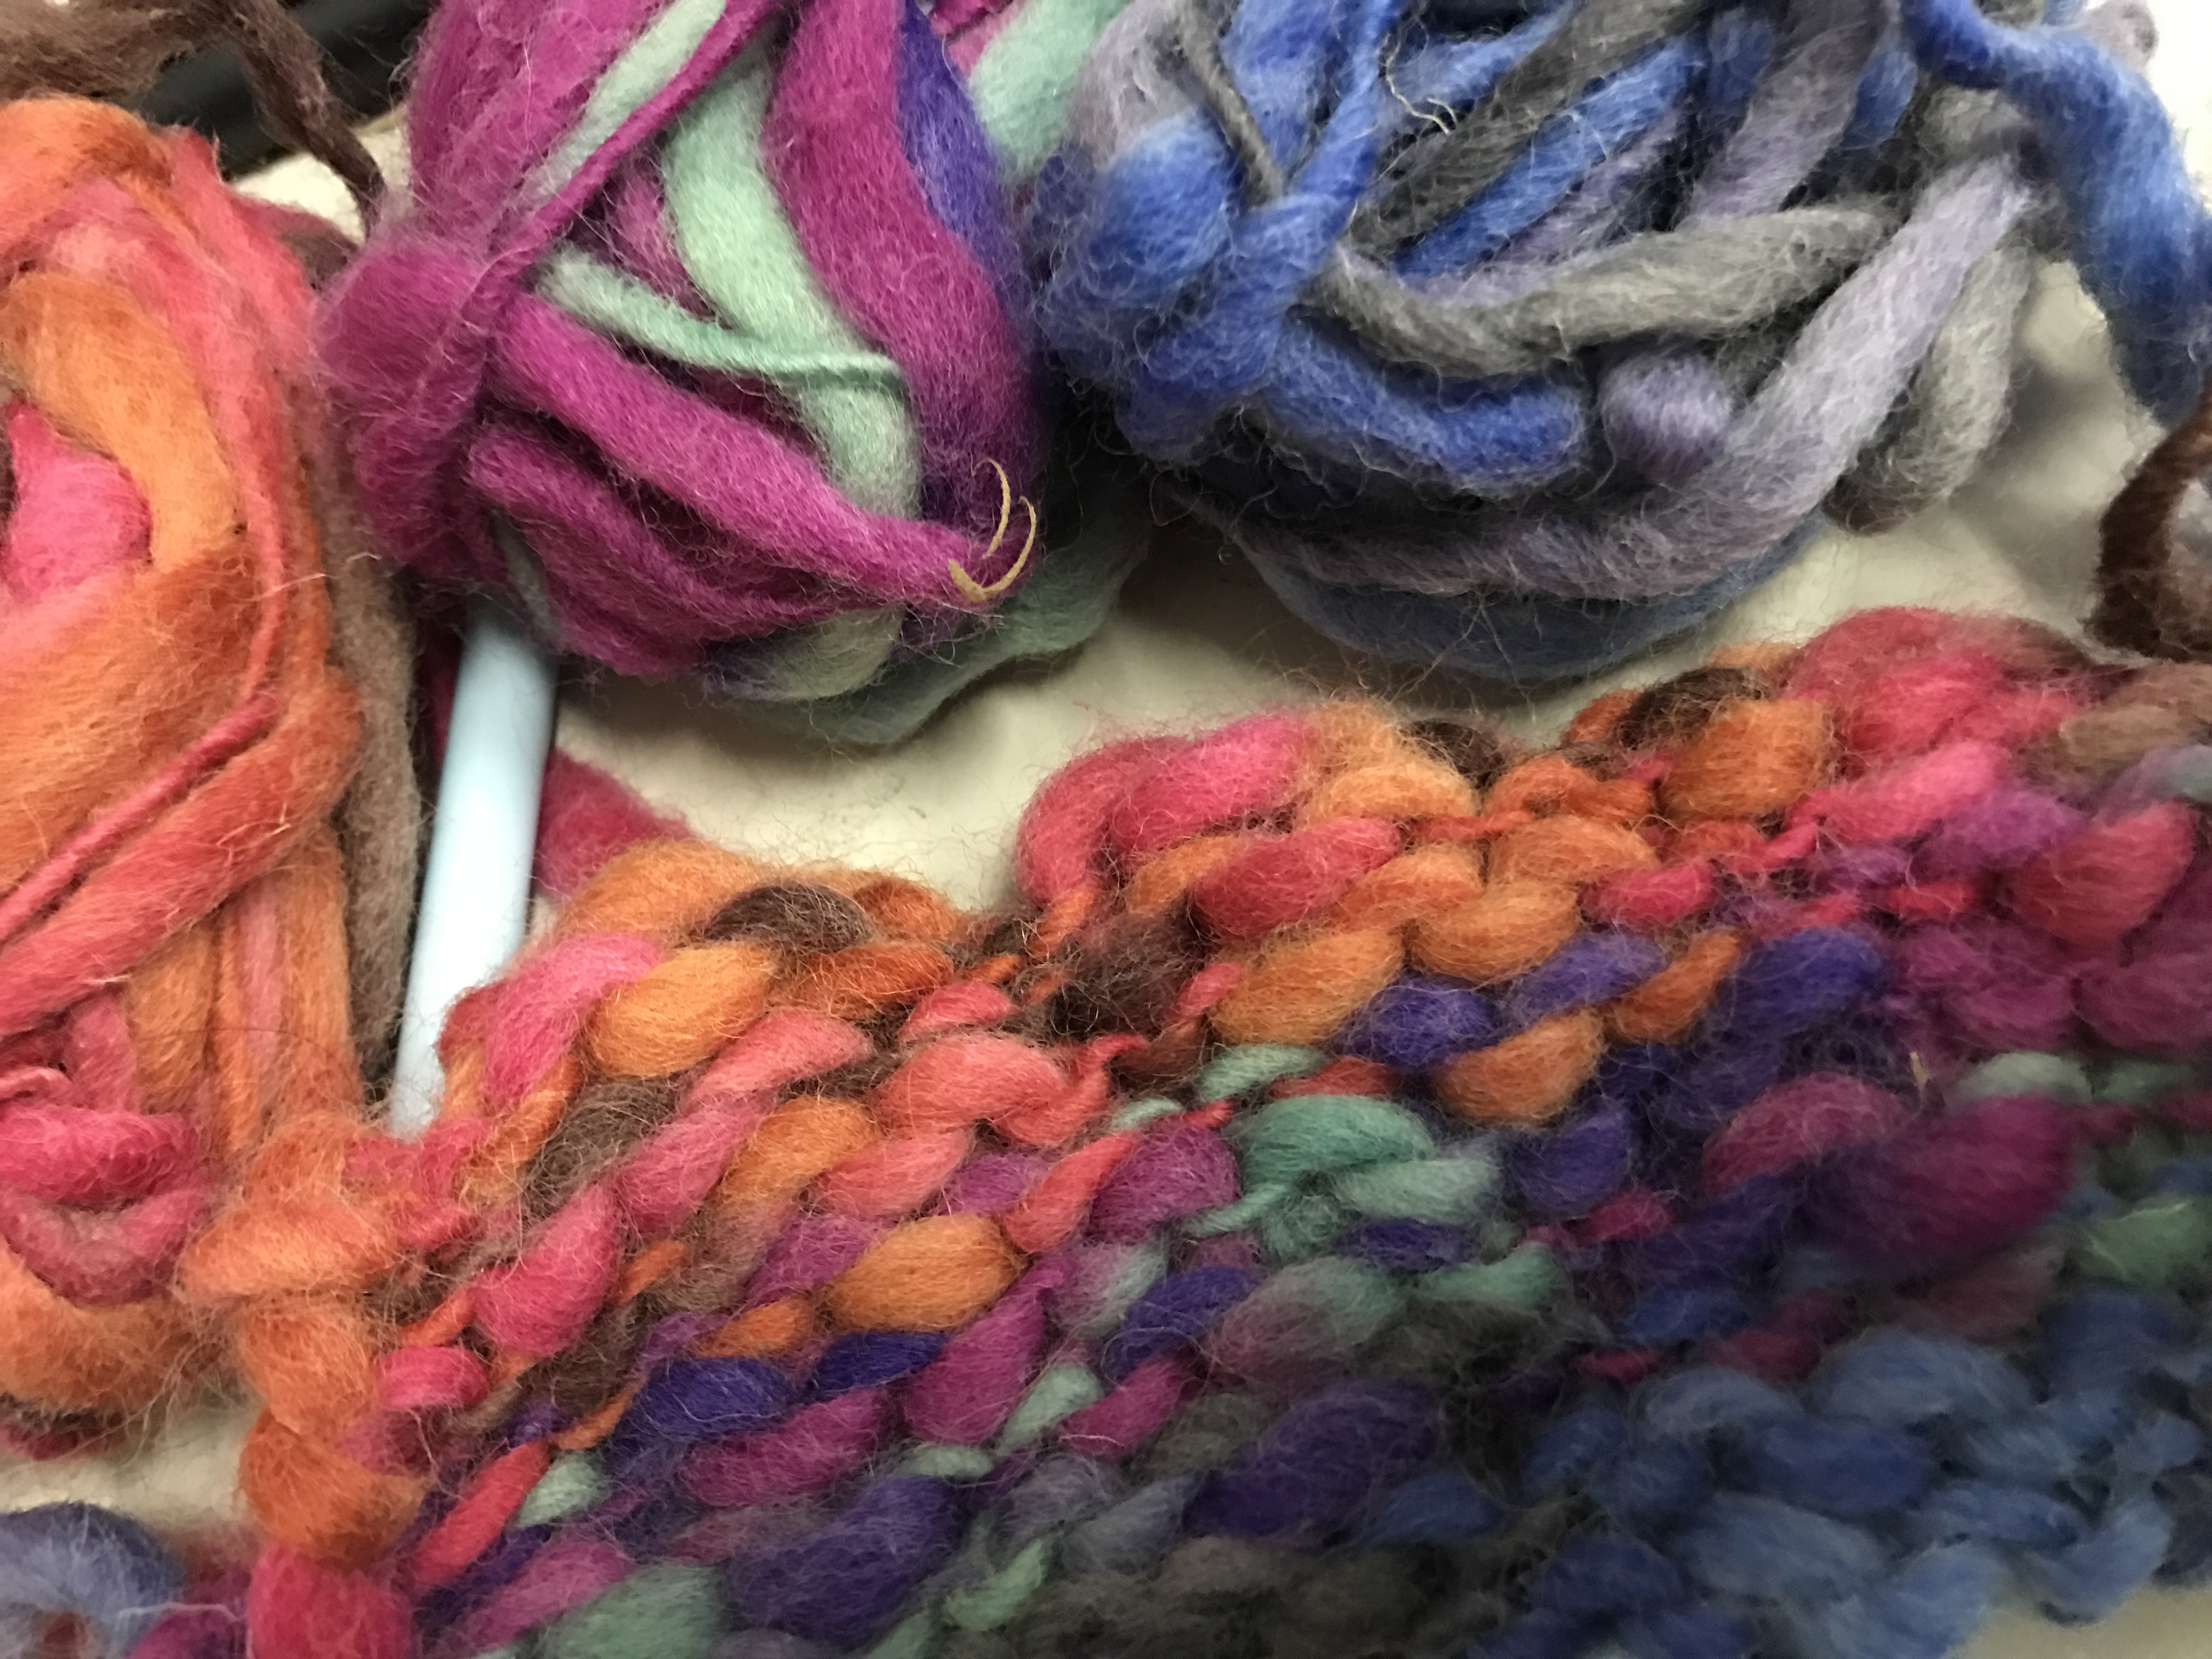
When I went to shopping at Daiso, I saw these attractive yarn. They are so beautiful and I can’t wait to explore them!
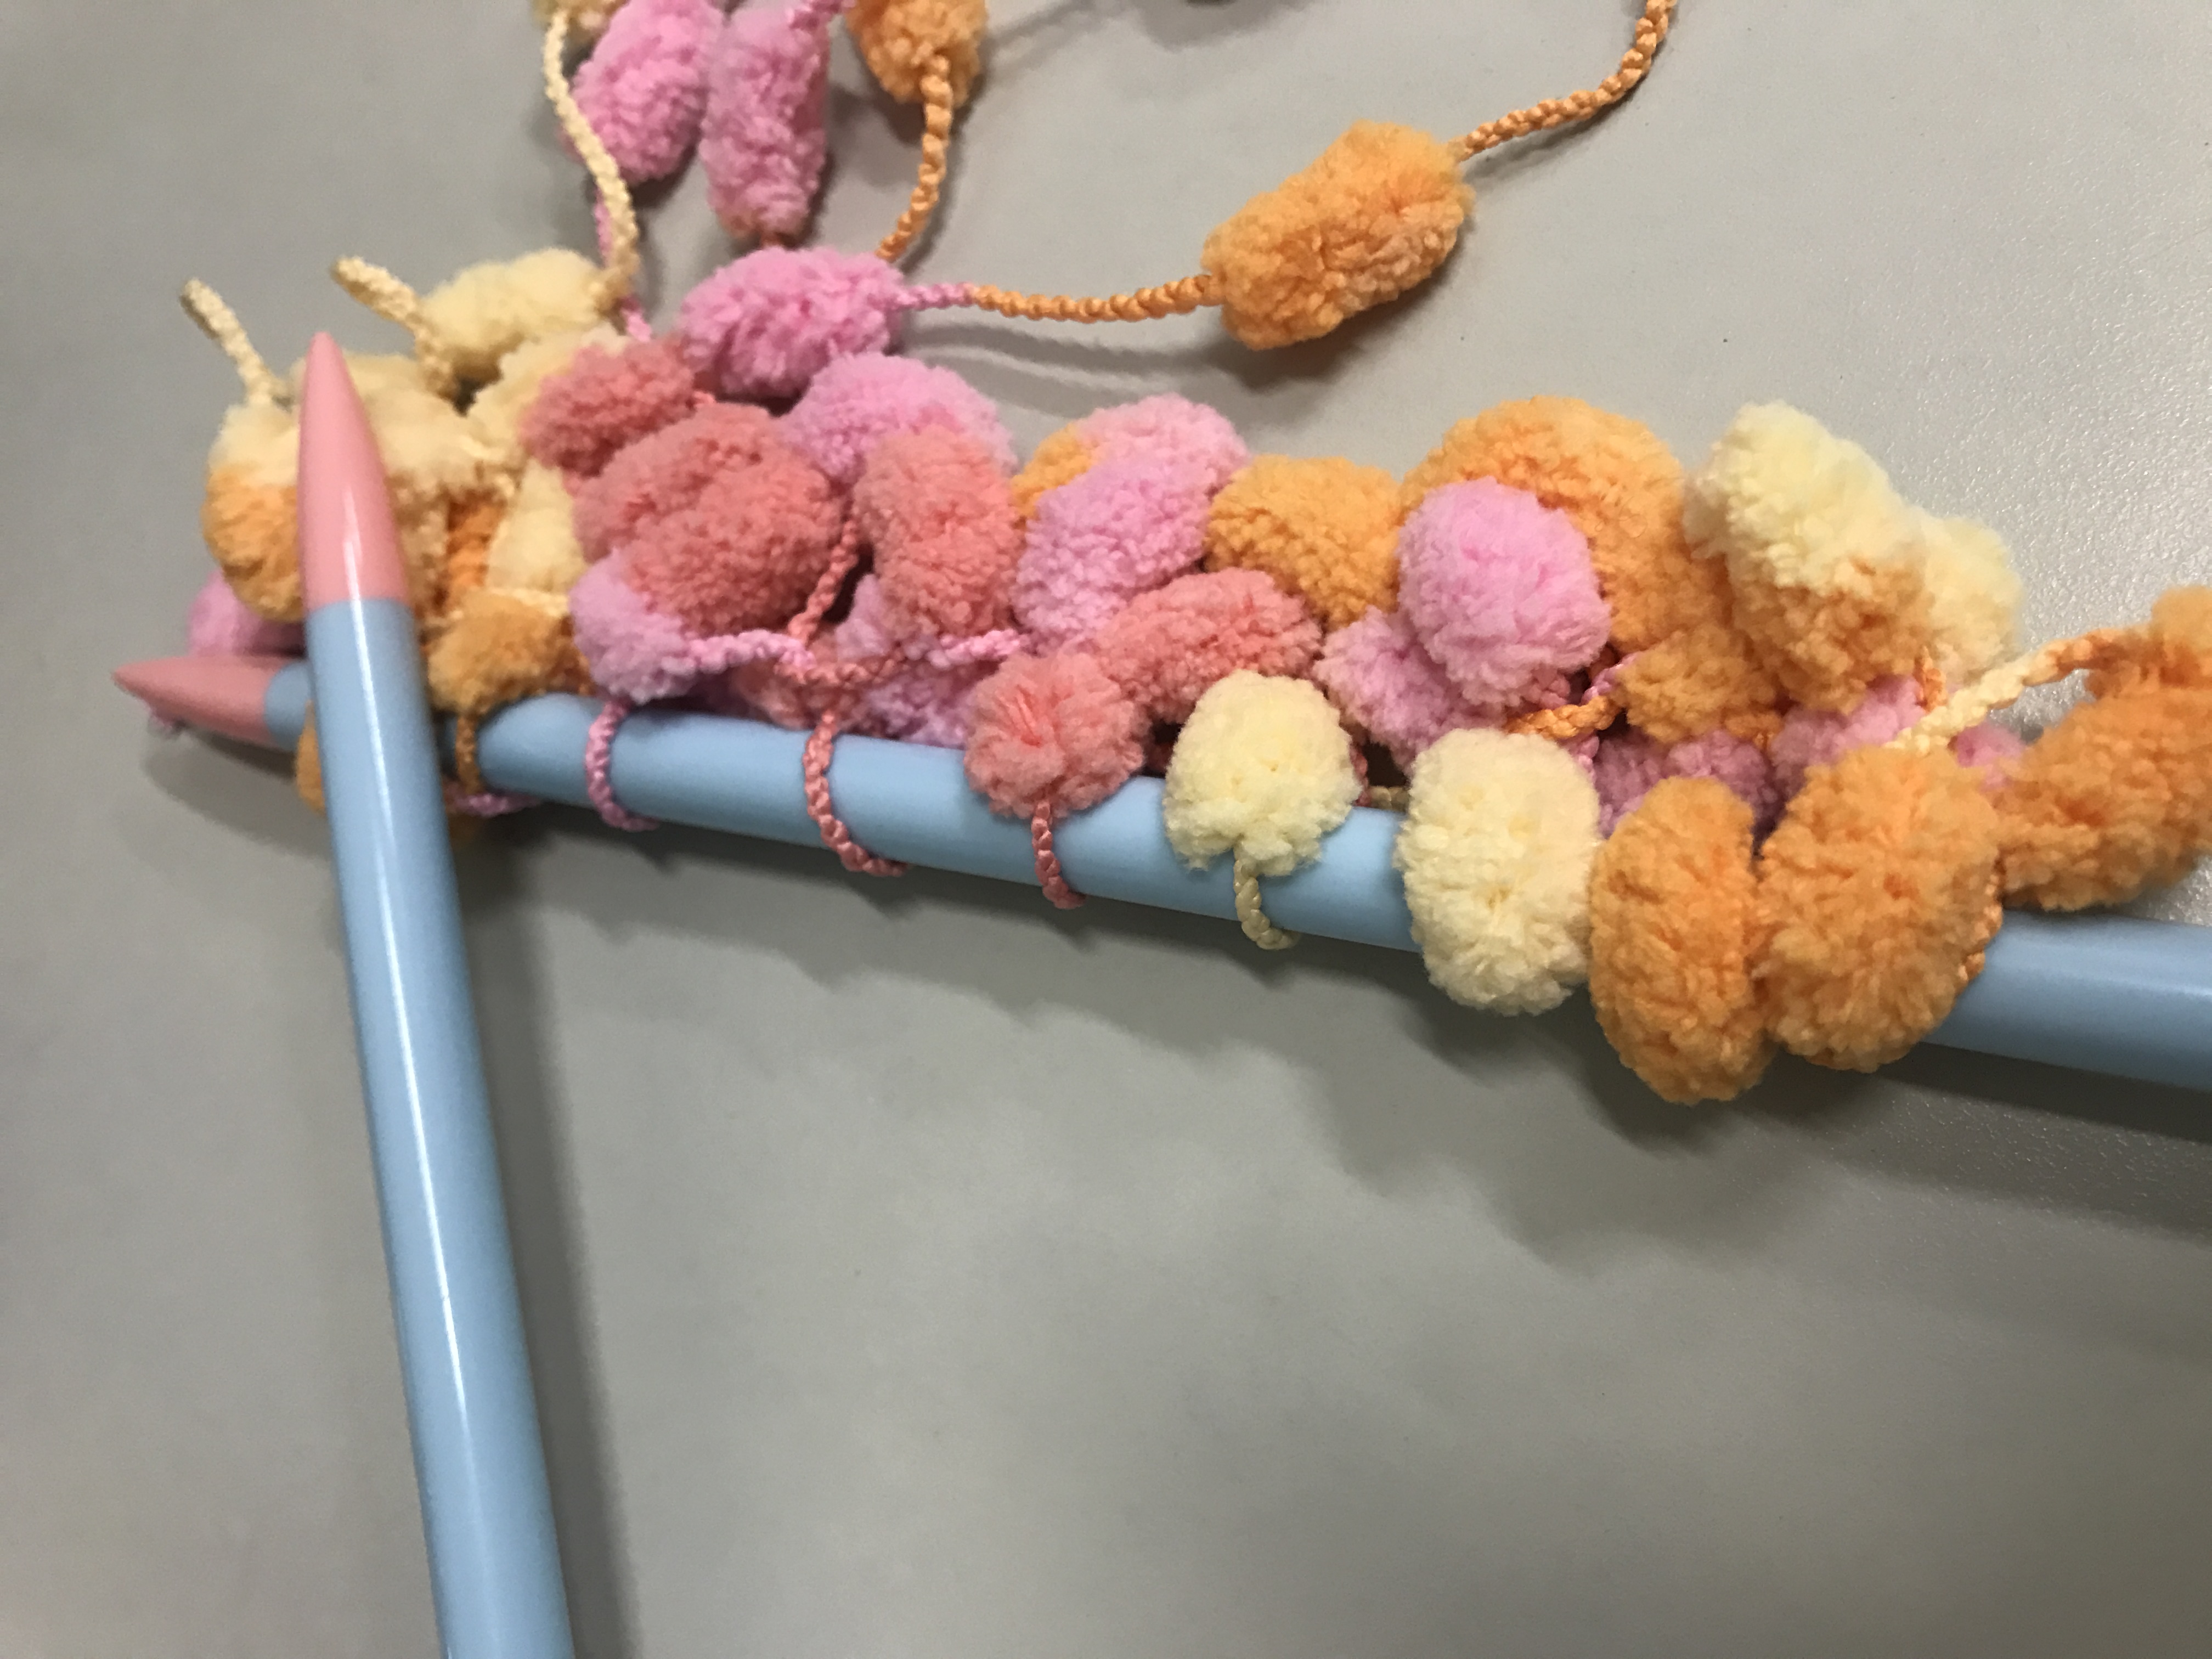

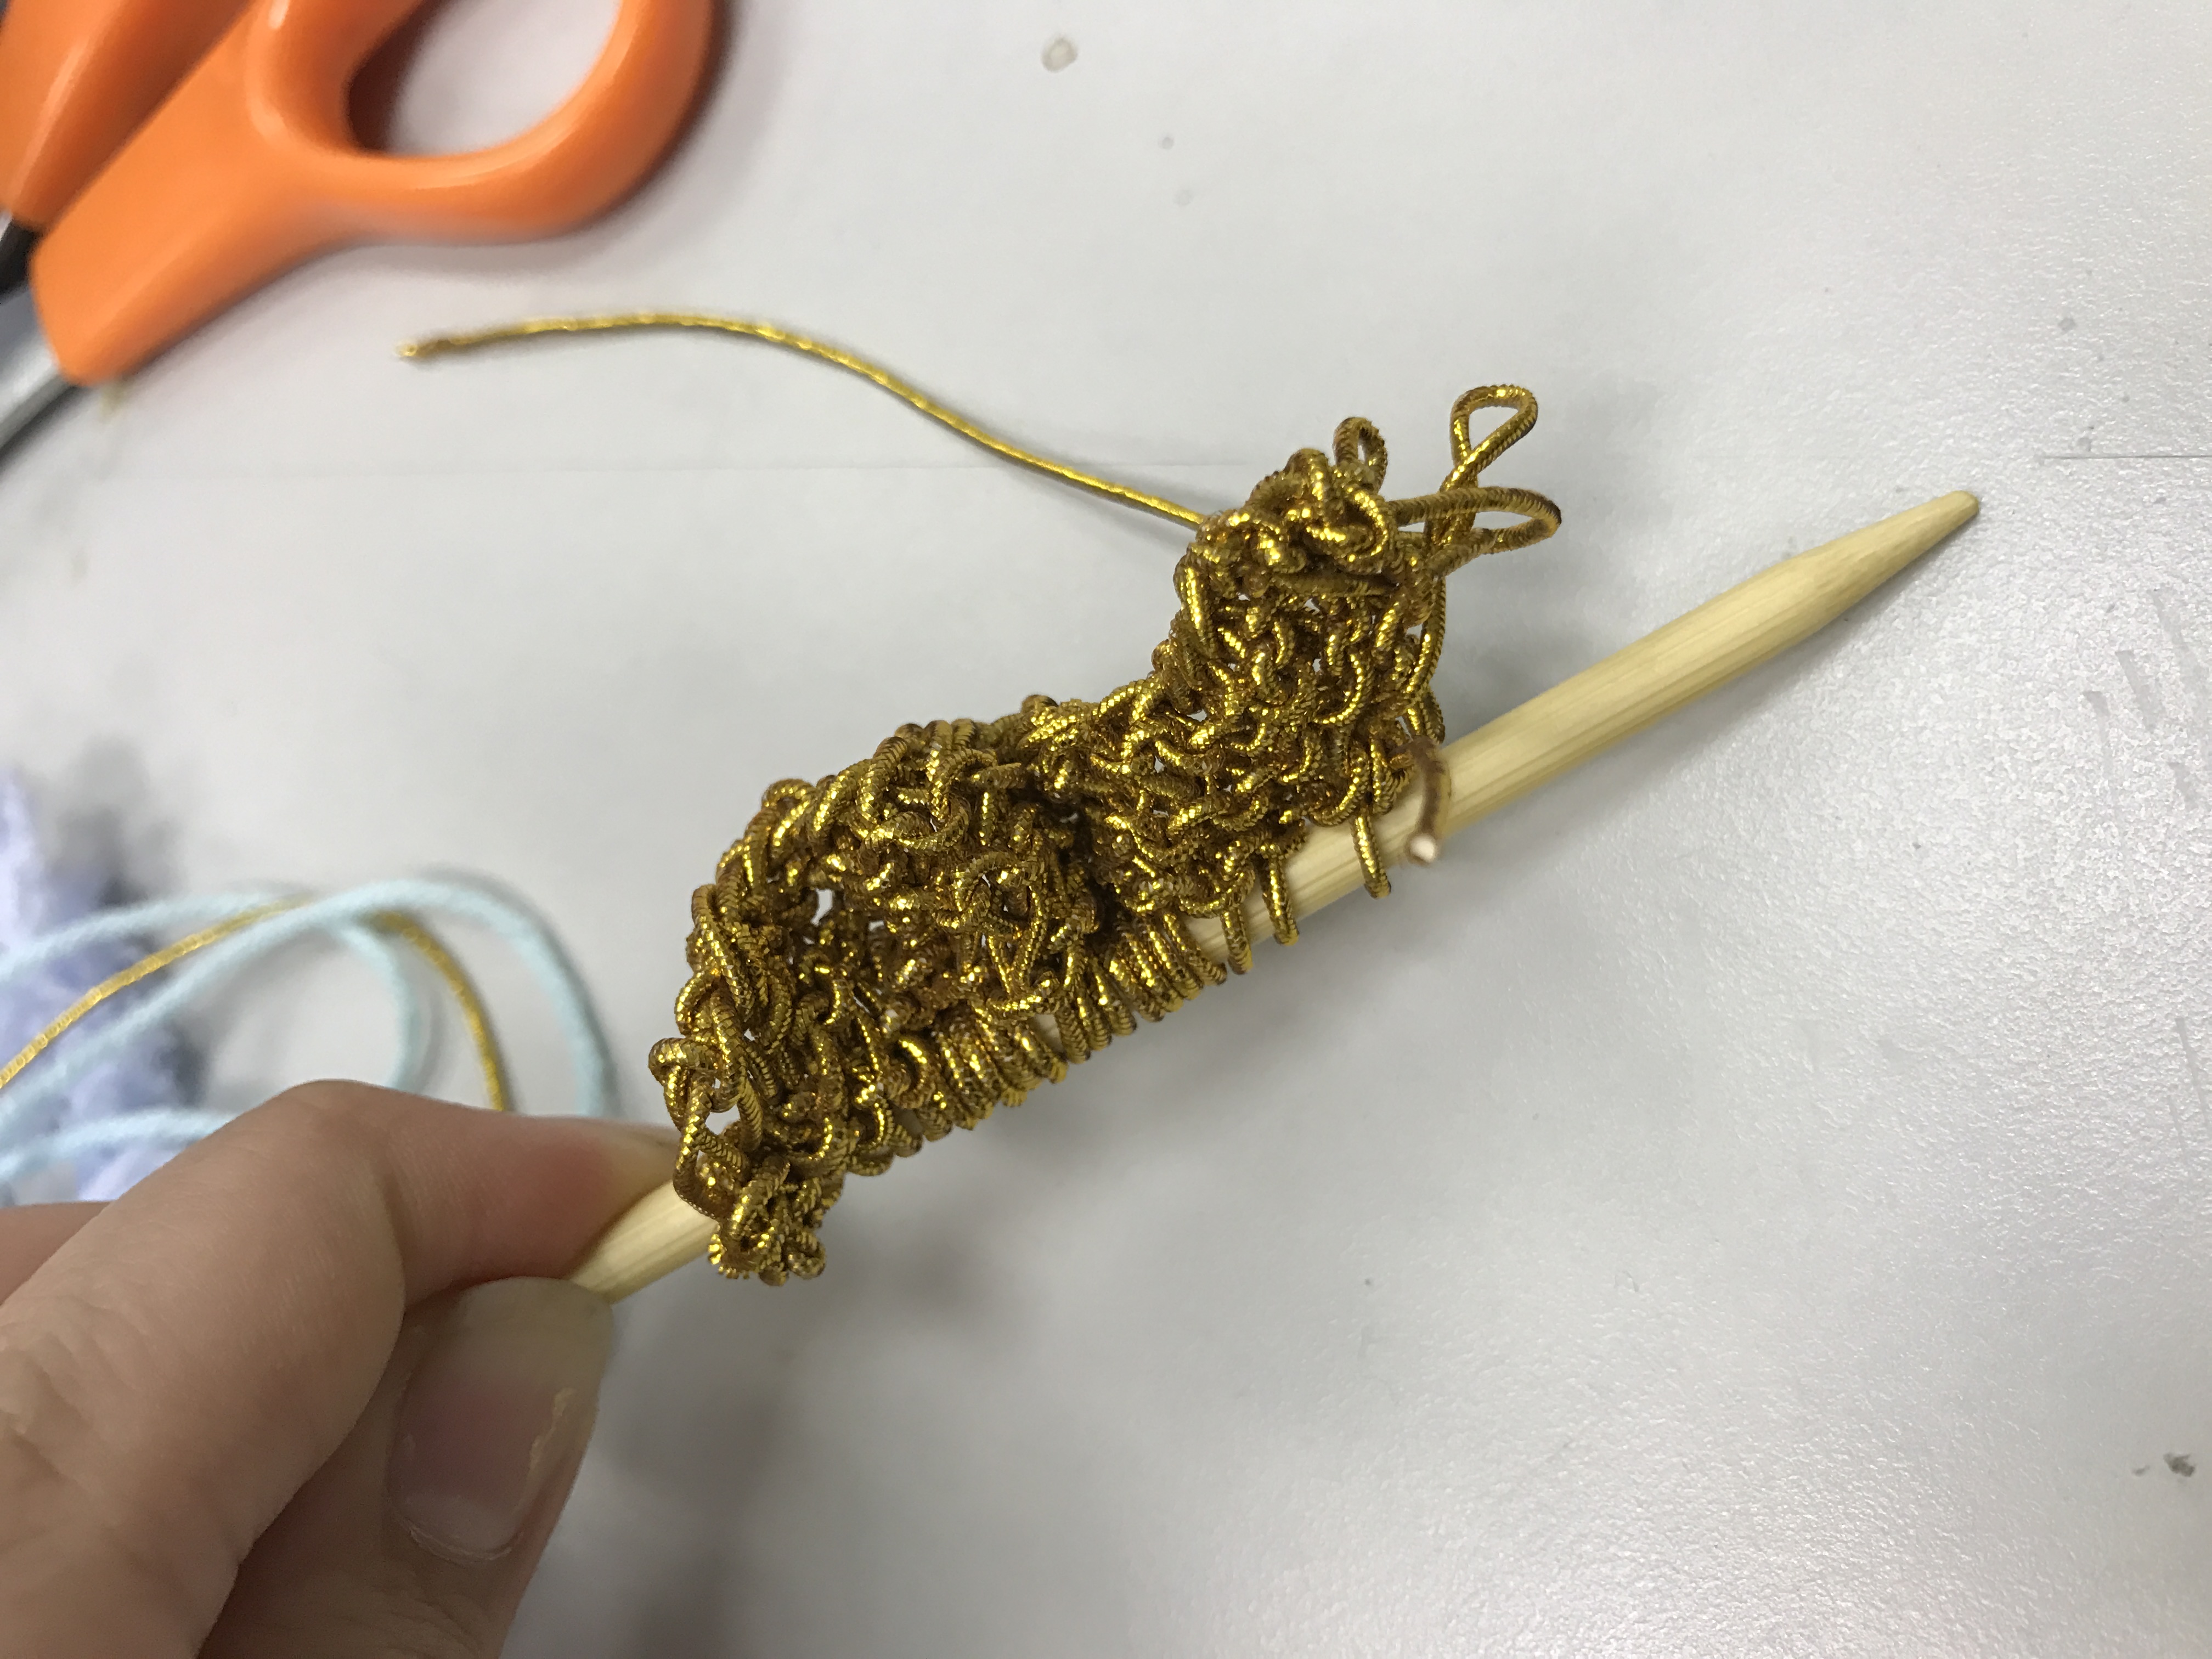
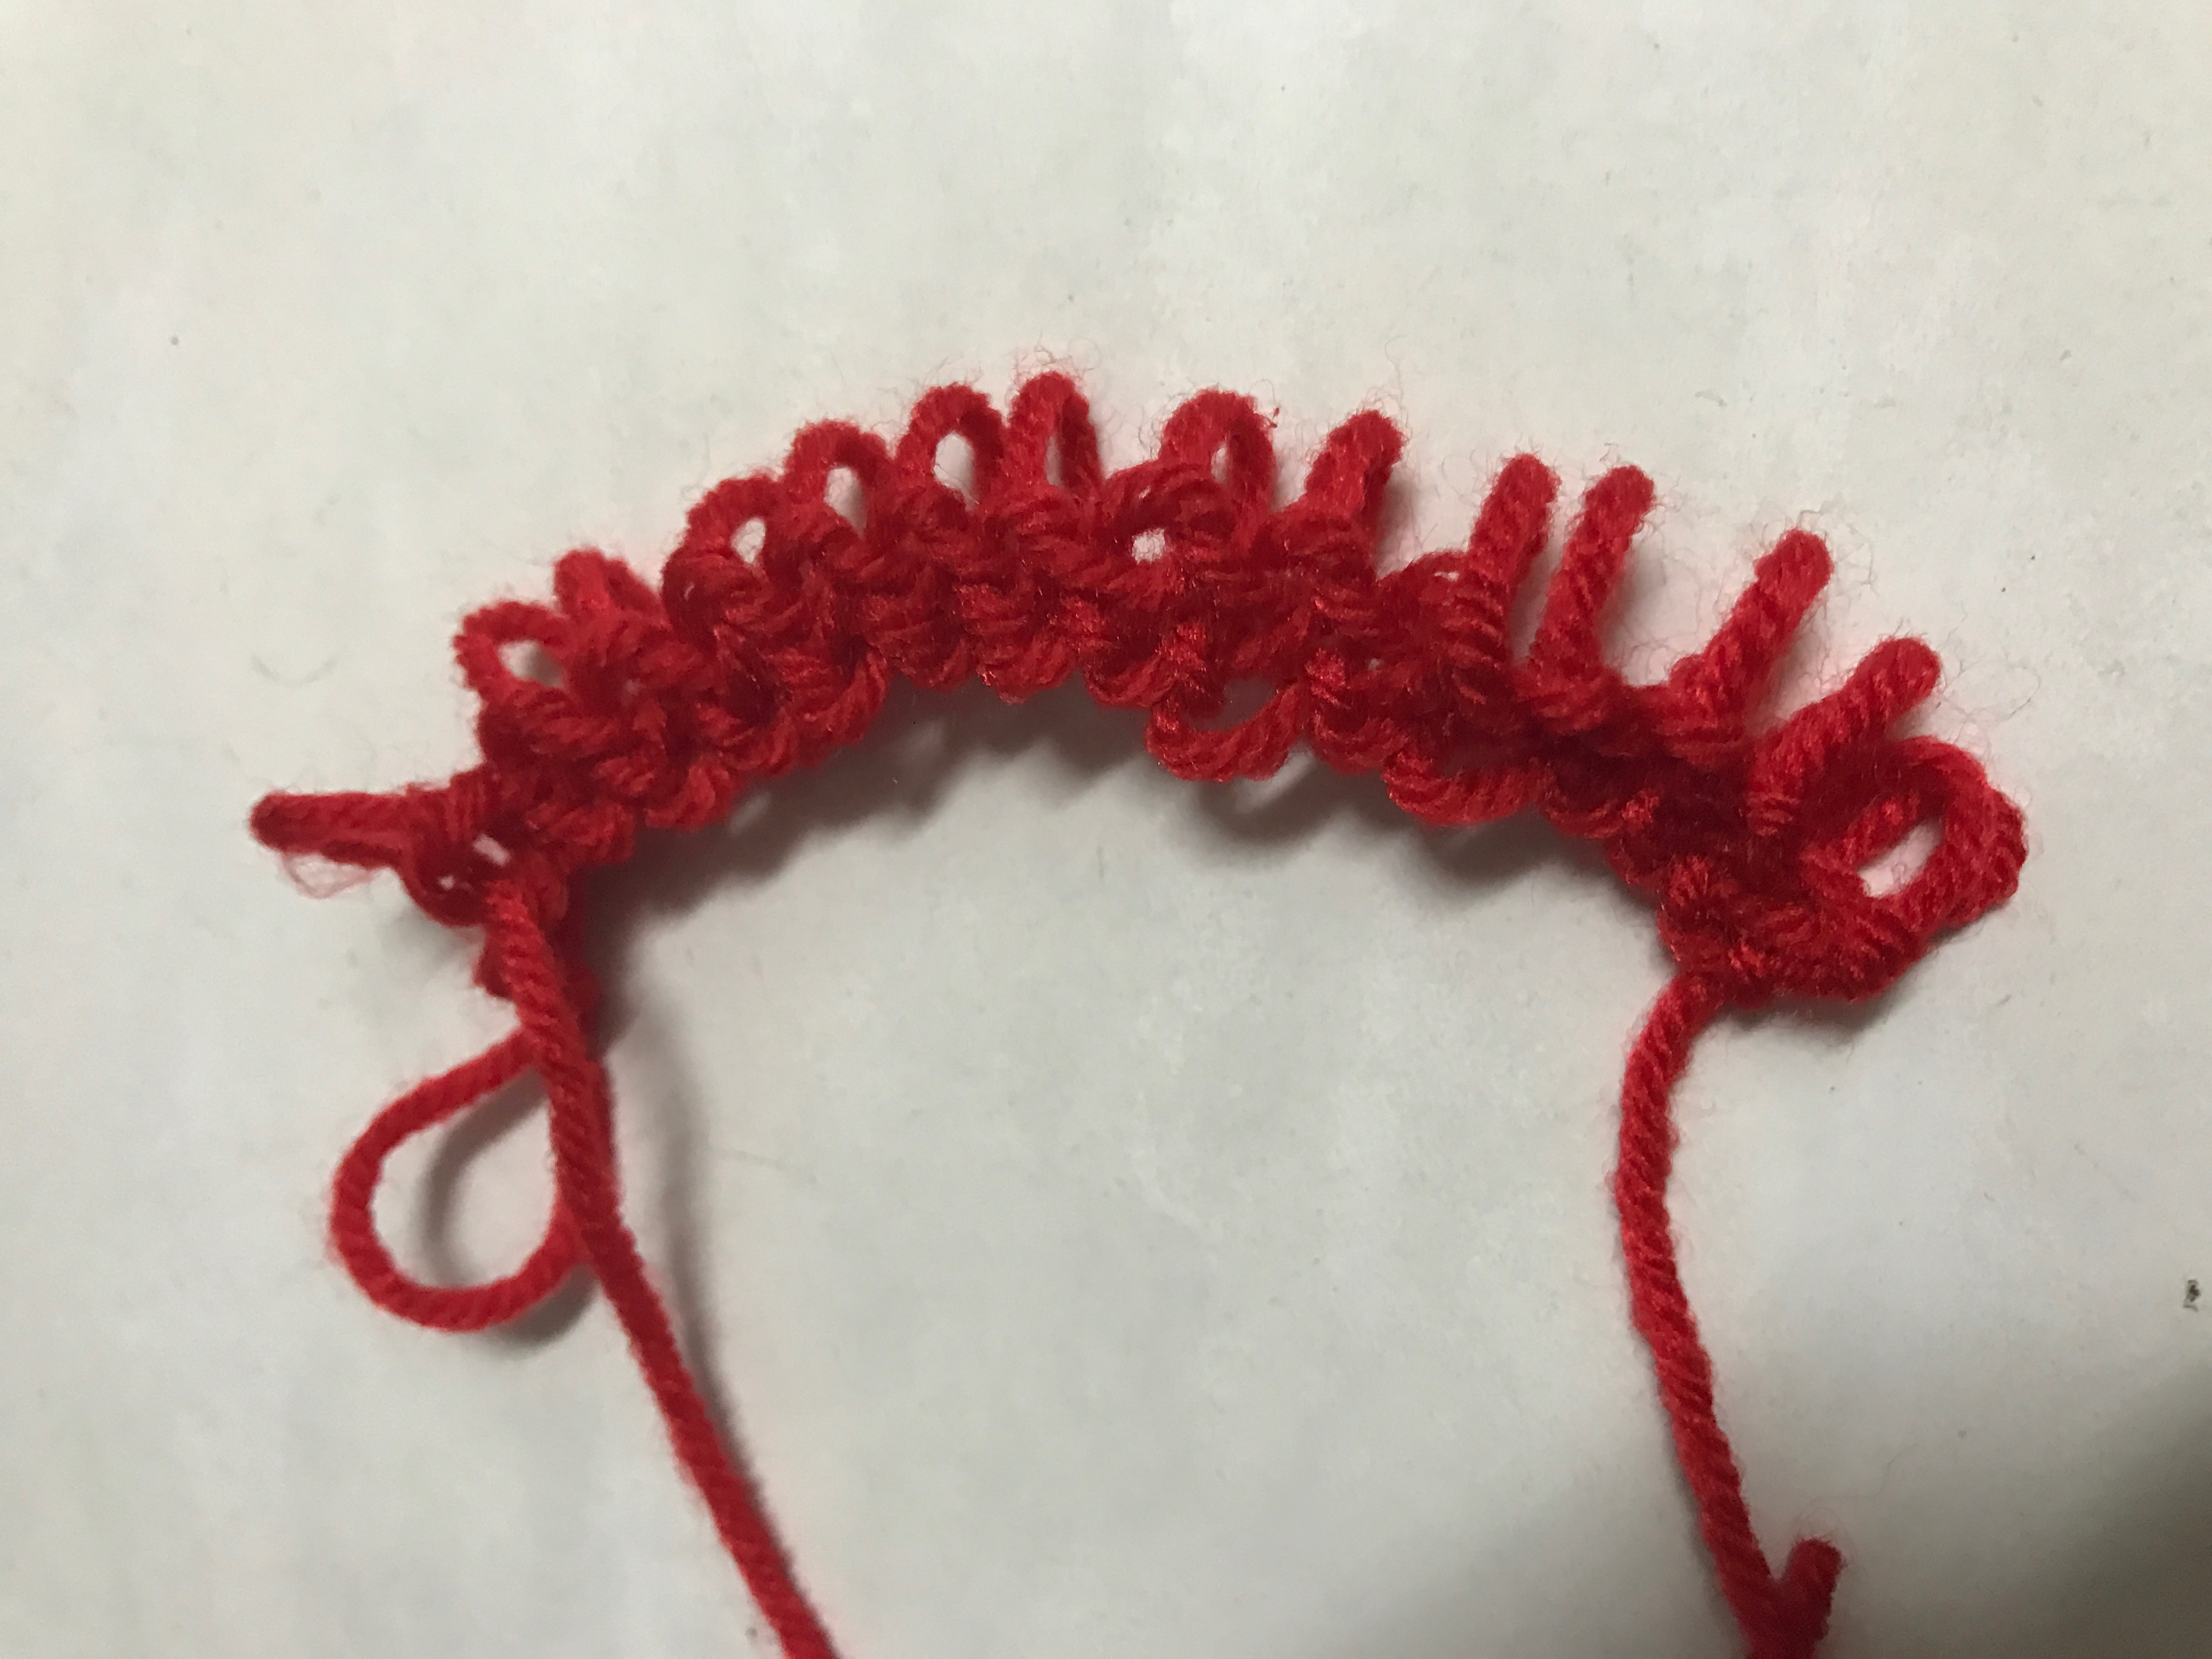
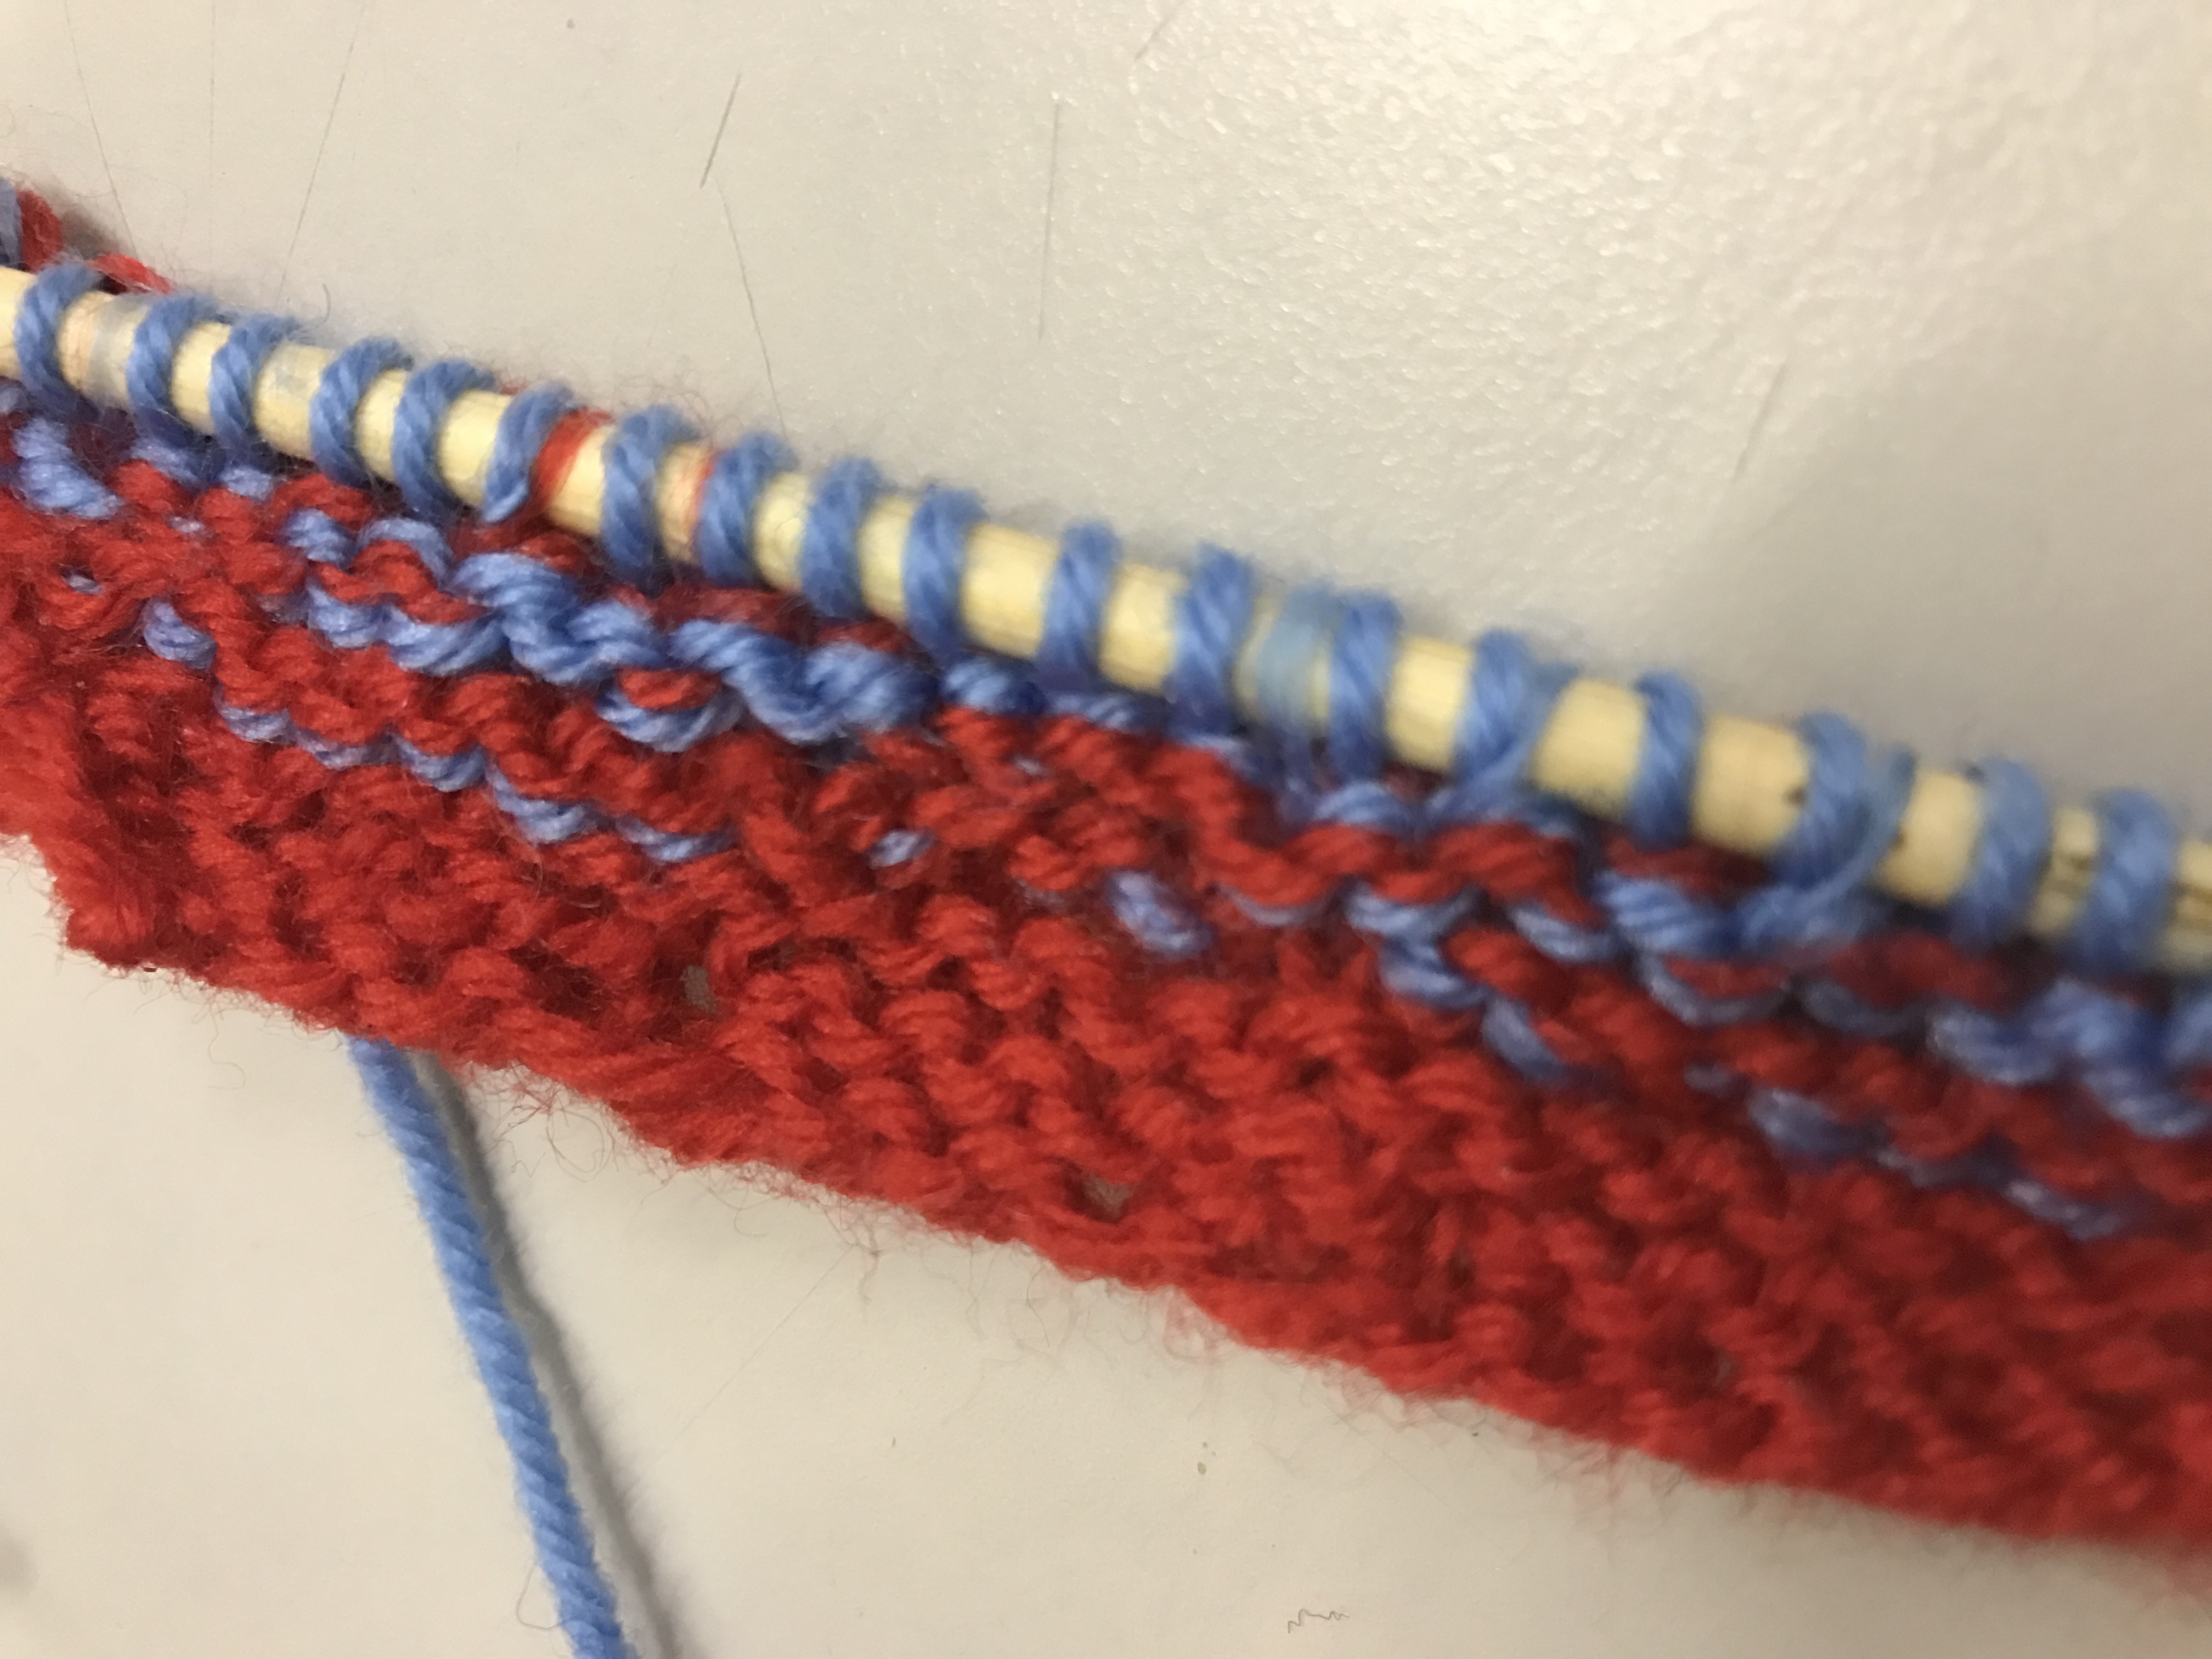
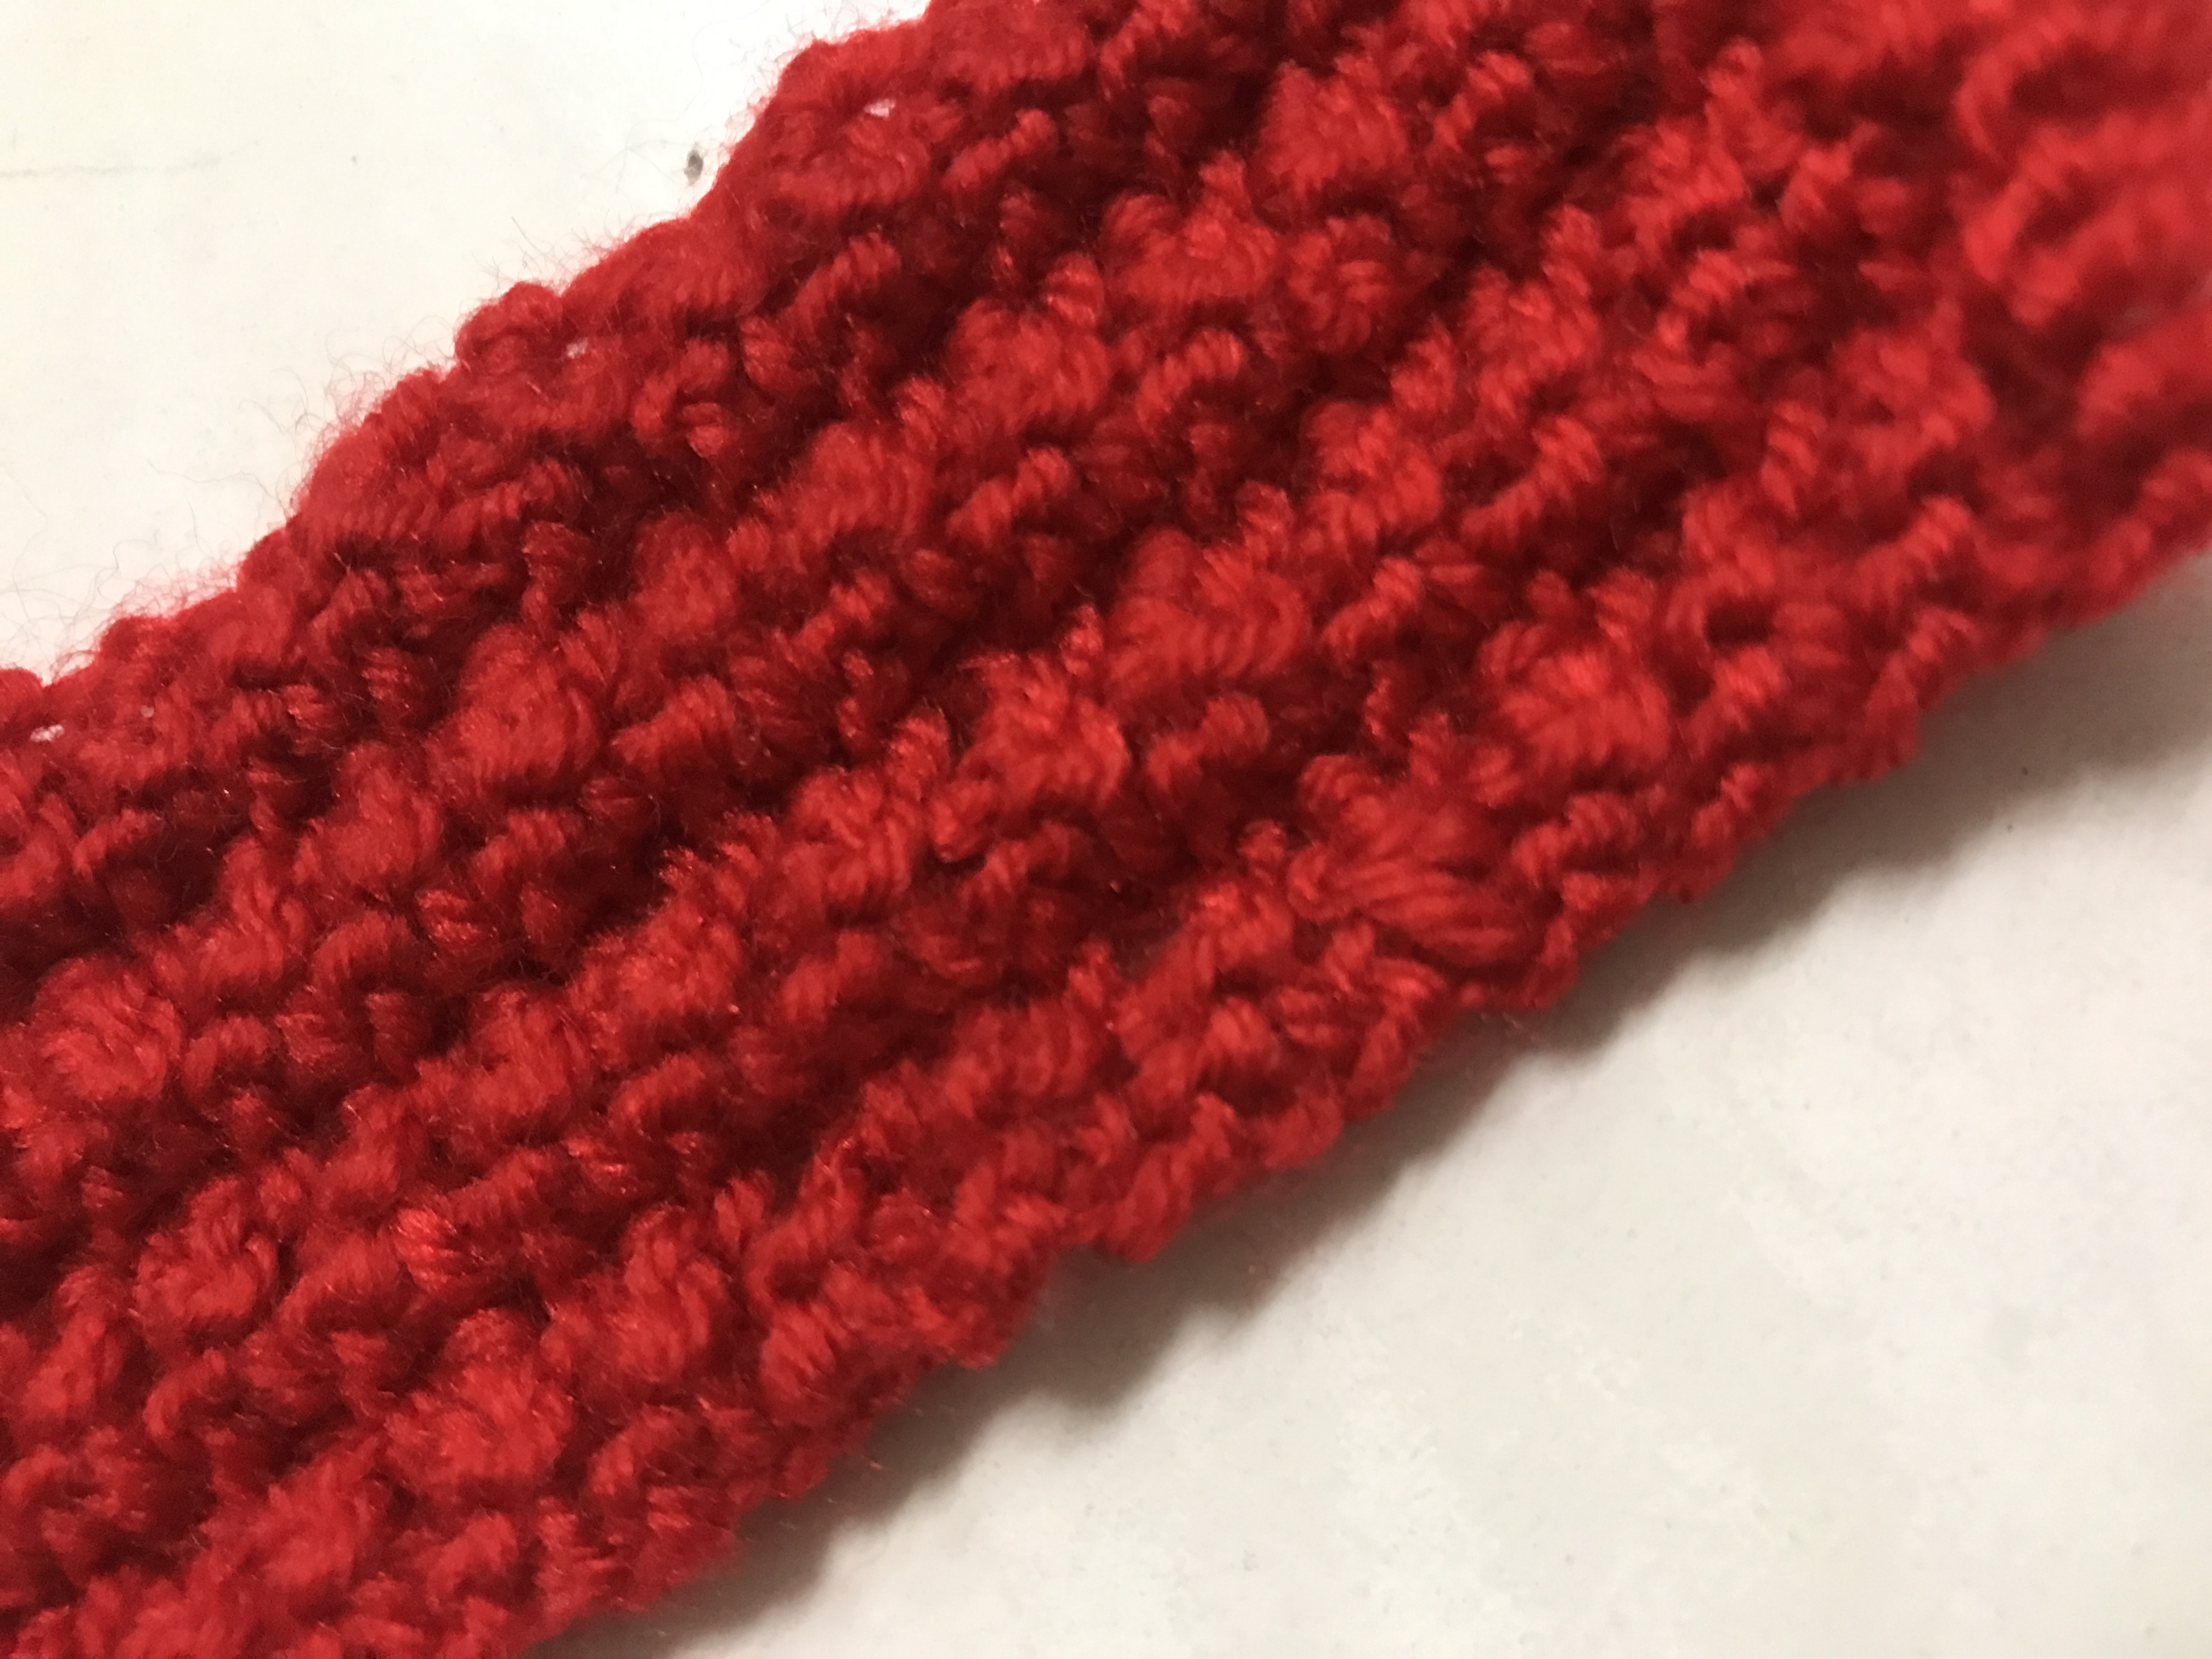
When I got bored with the basic stitching, I went to research the different stitches and I decided to go for the raspberry stitch which I found this techniques via youtube.
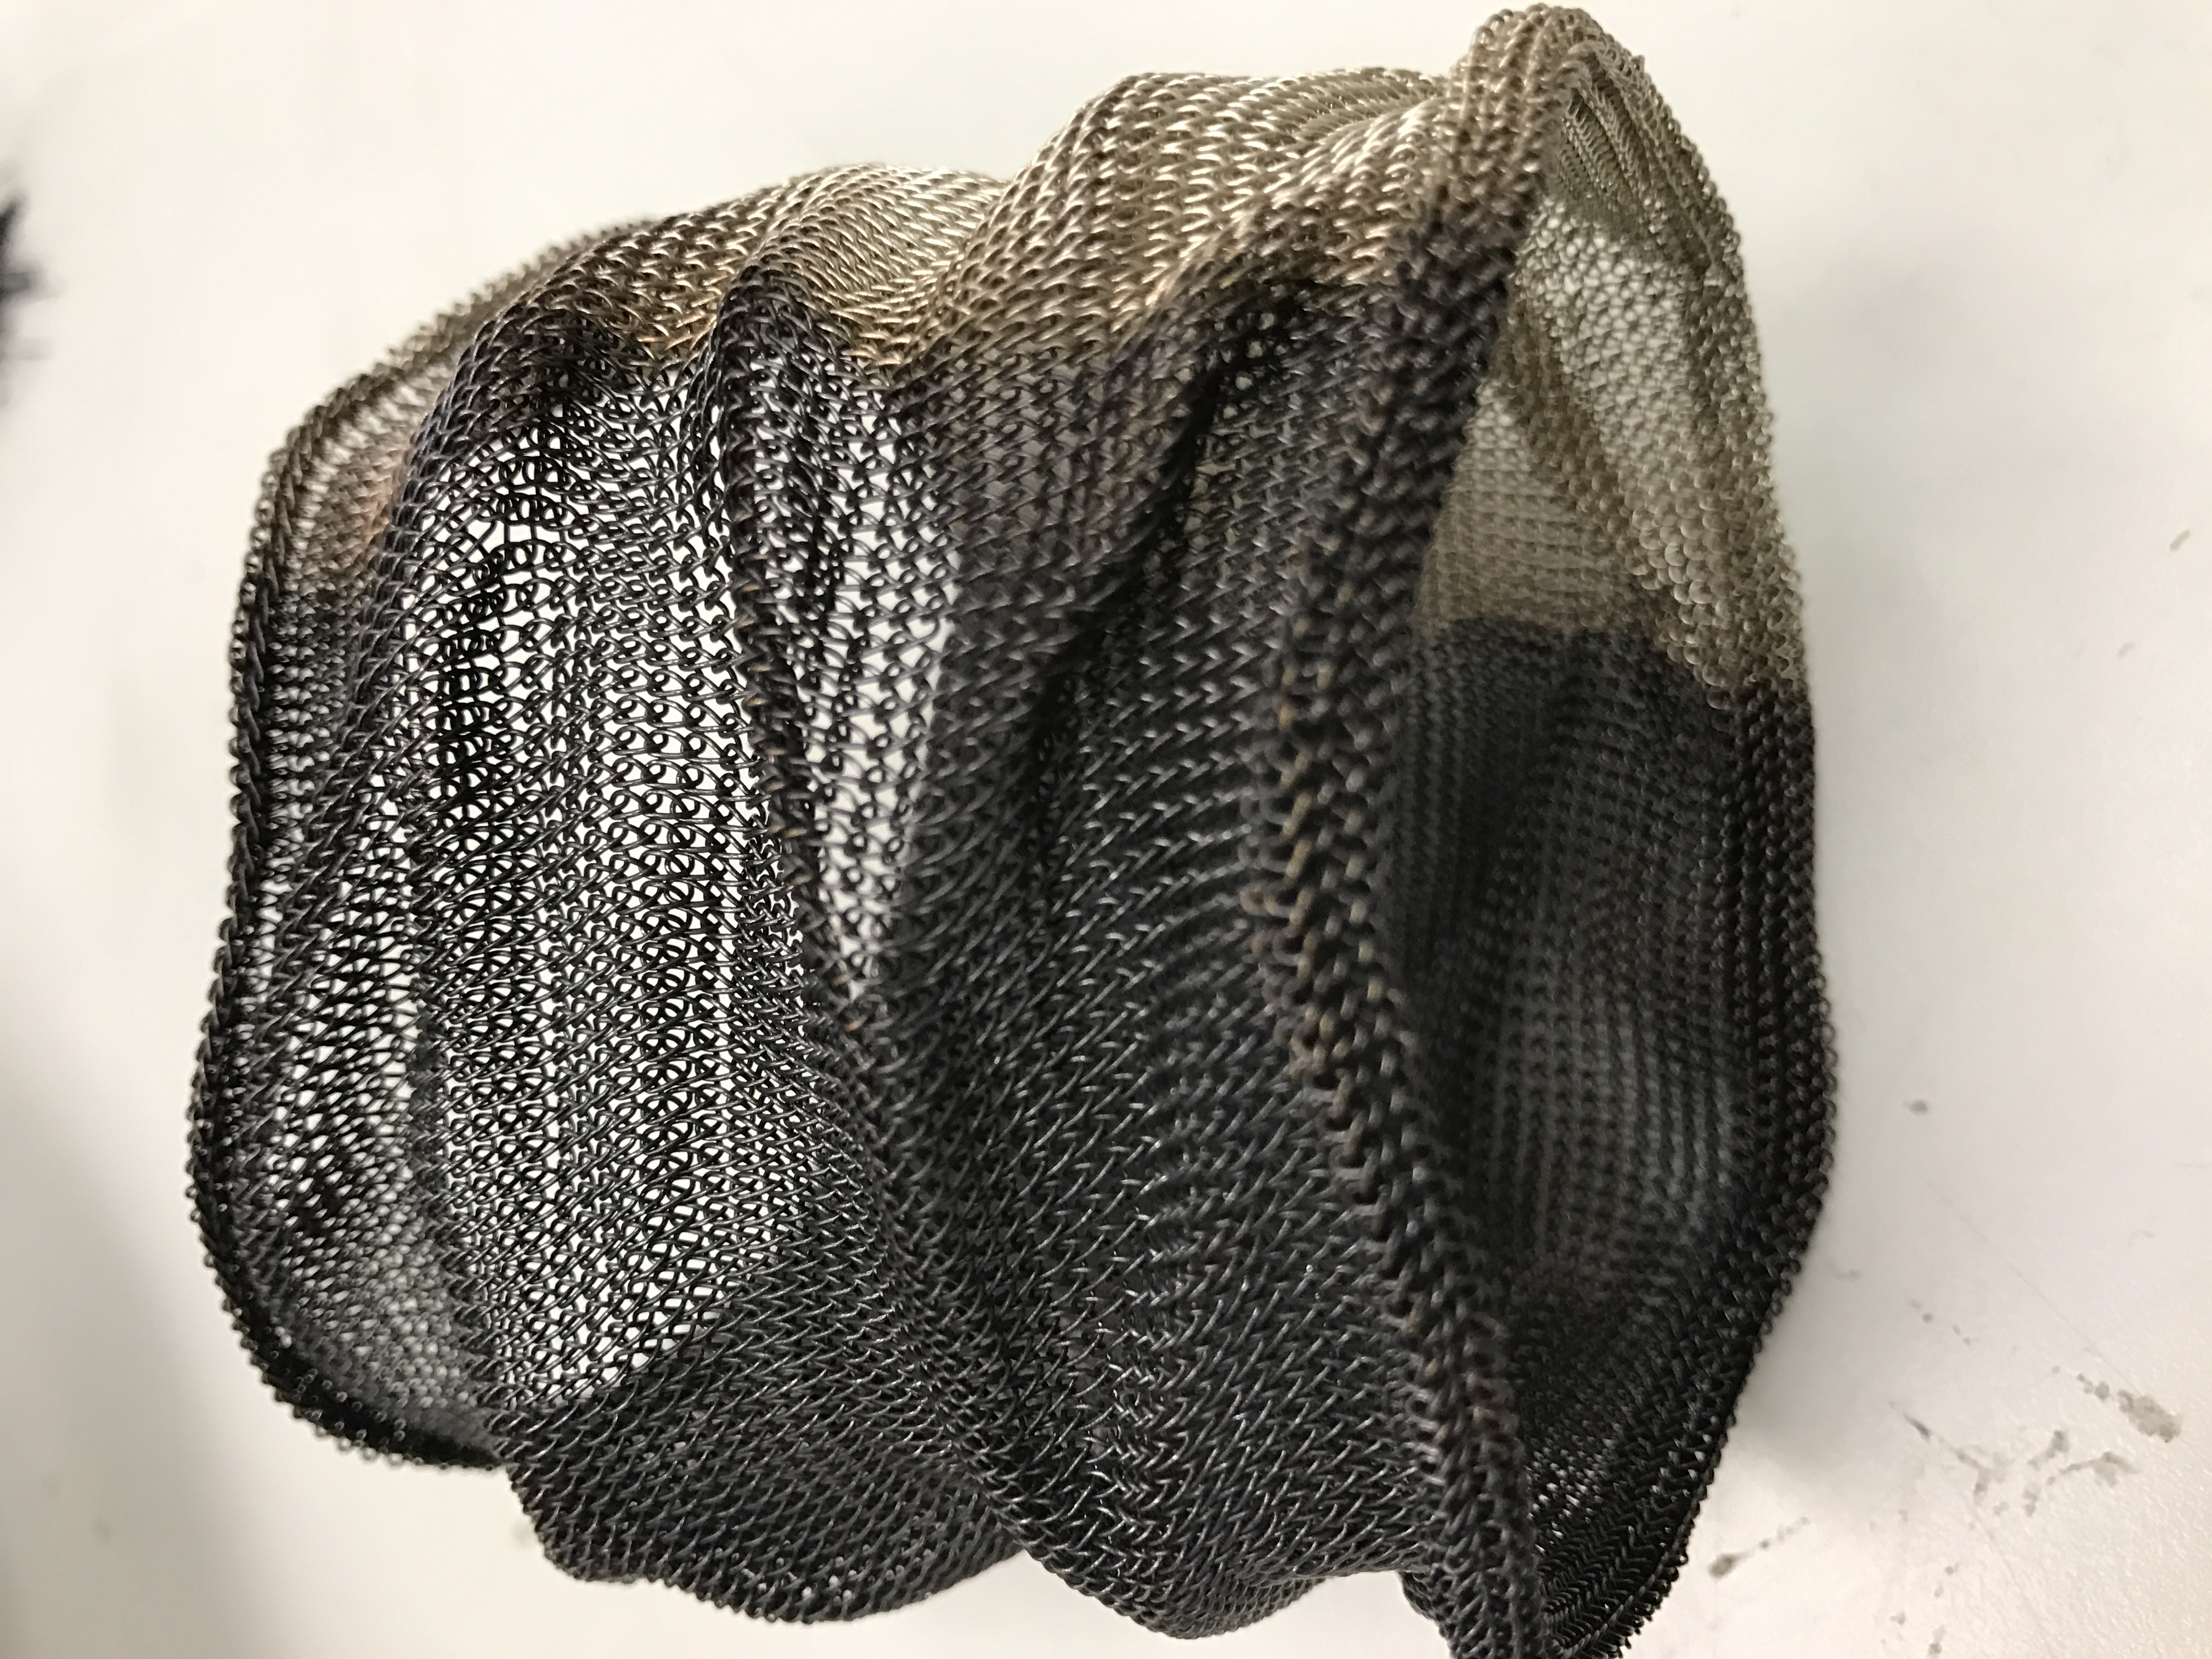
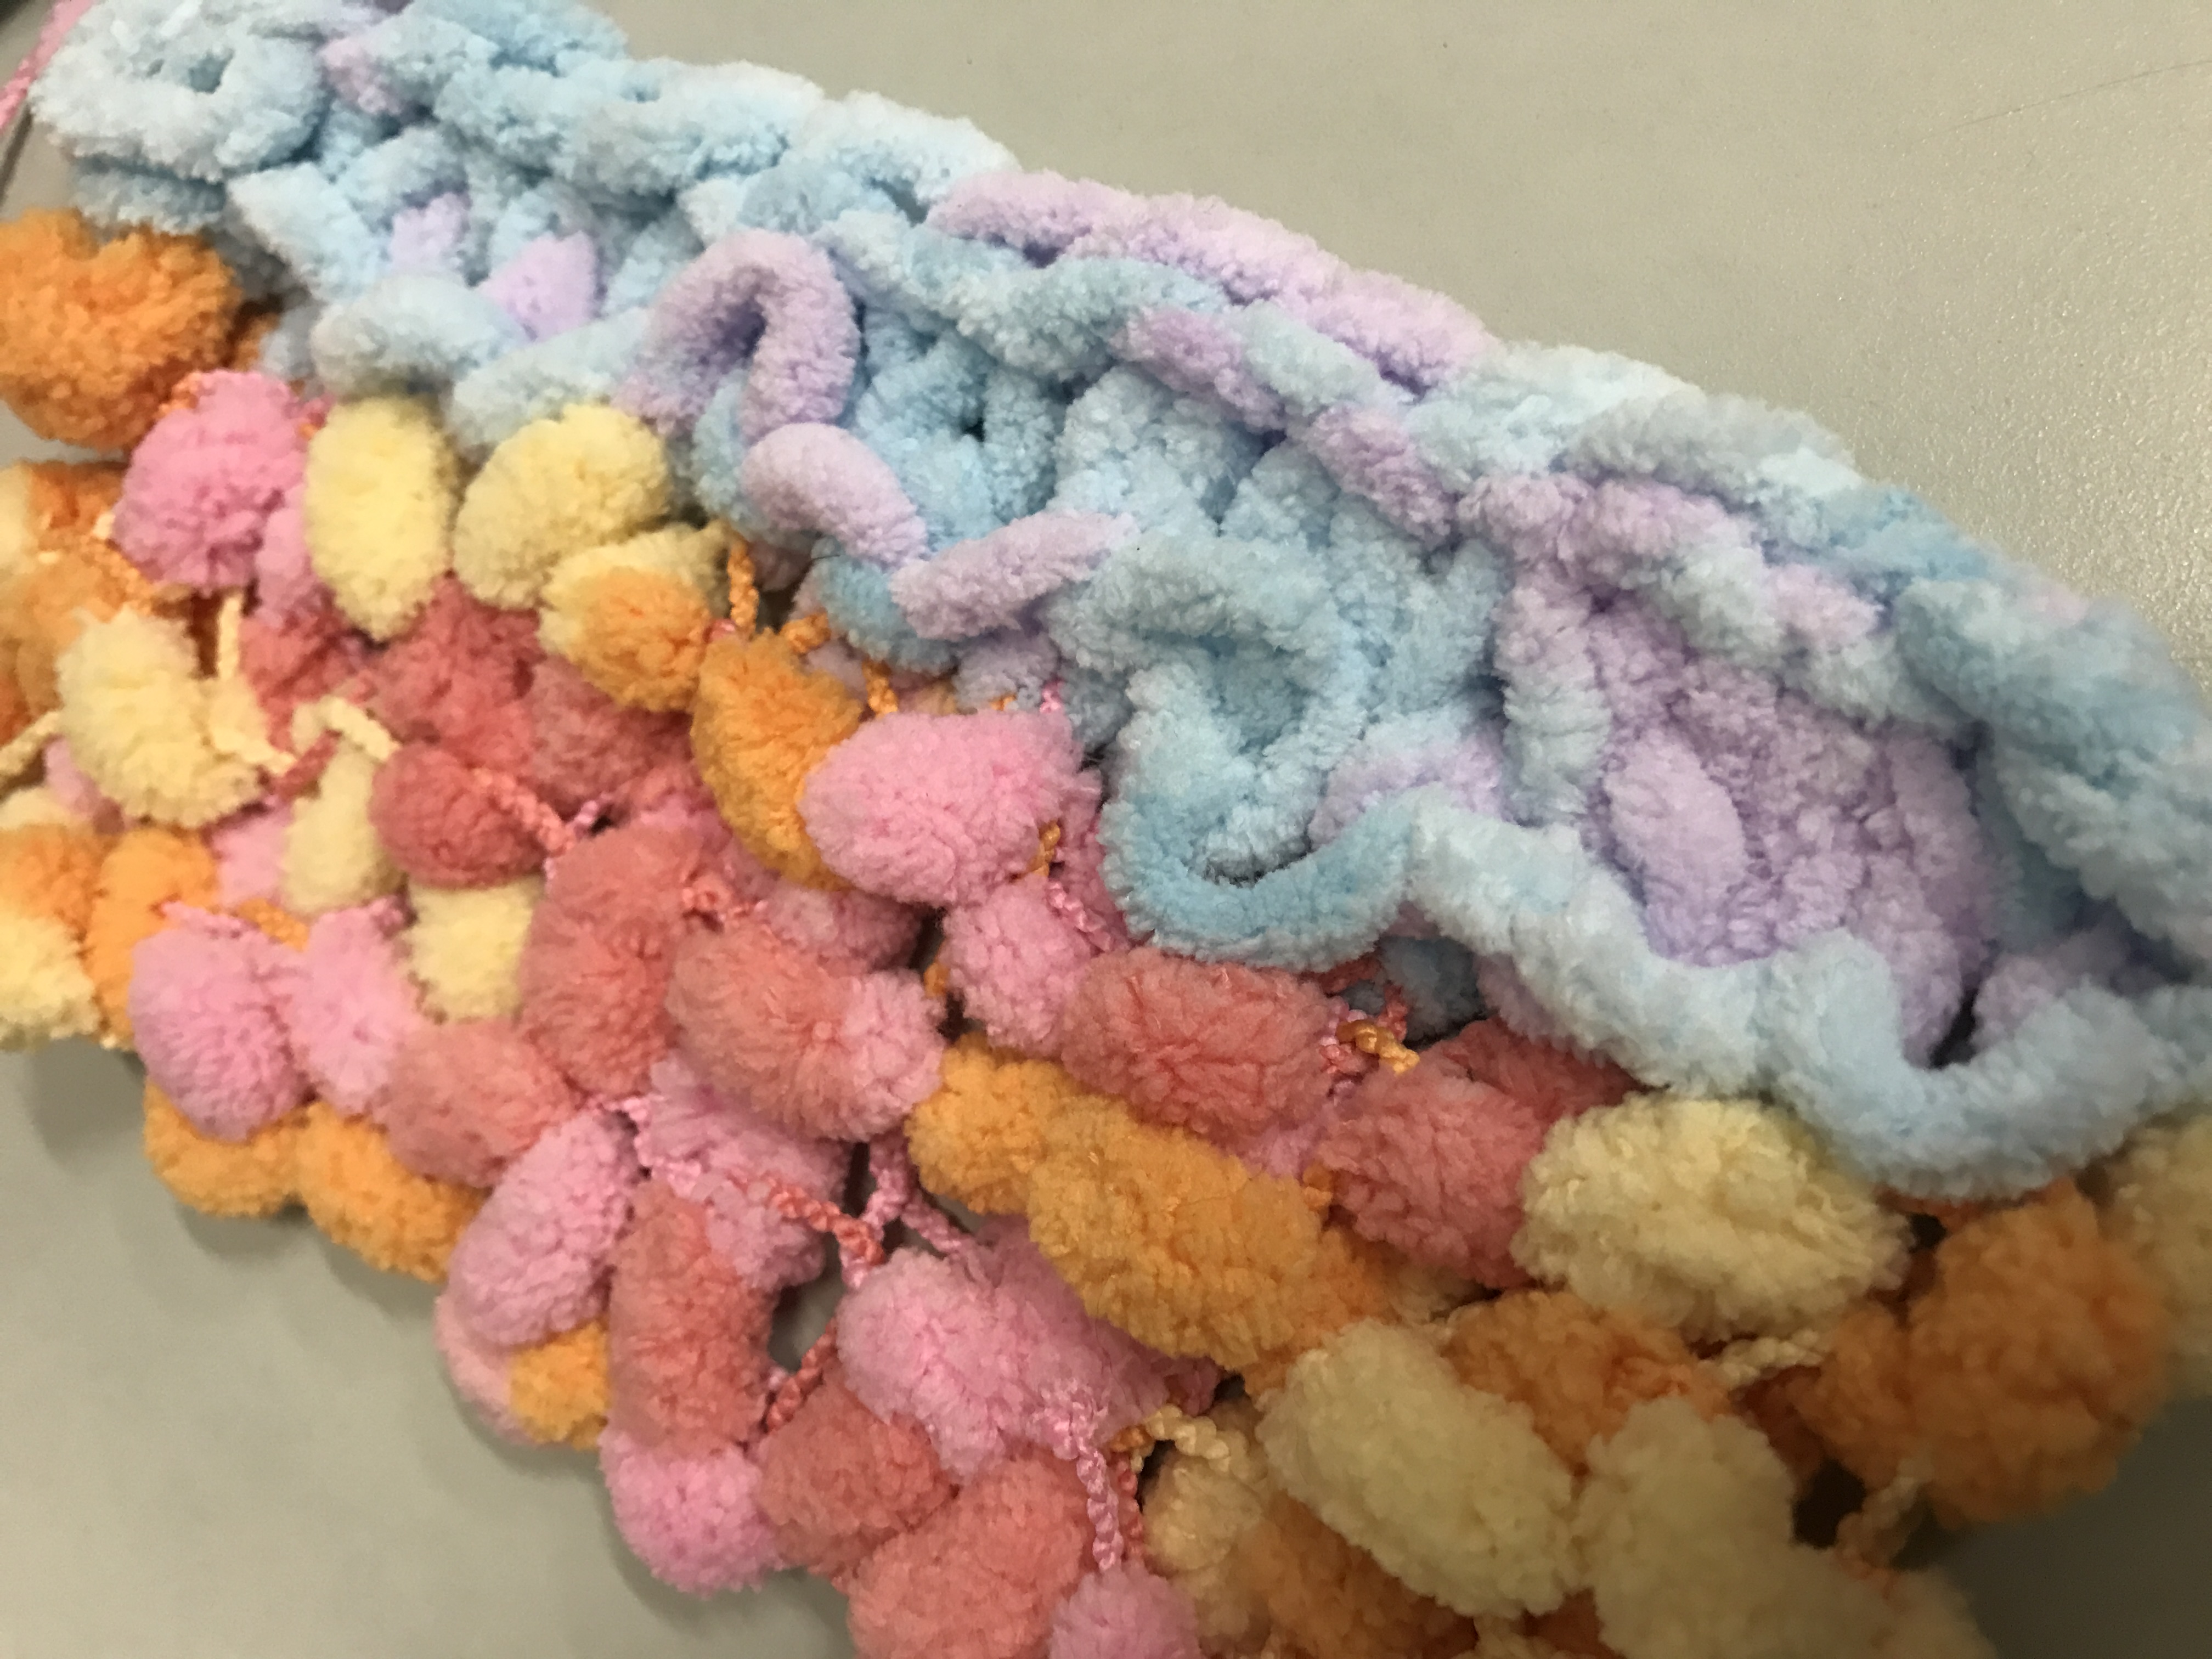
When I first saw the video I thought it will be very easy but throughout the knitting process I found that this technique is challenging to me as it still have a lot of things need to consider of. I started with small example before and it was a thinner yarn. The yarn will bifurcate into more loops while this stitch needs to have the accurate loops. So I tried with the bigger yarn which is the yarn below but I found that when I knitted with the bigger yarn the raspberry surface doesn’t come out very nice.
I was inspired by the yarn color changing techniques so I bought this gradient string to knit.

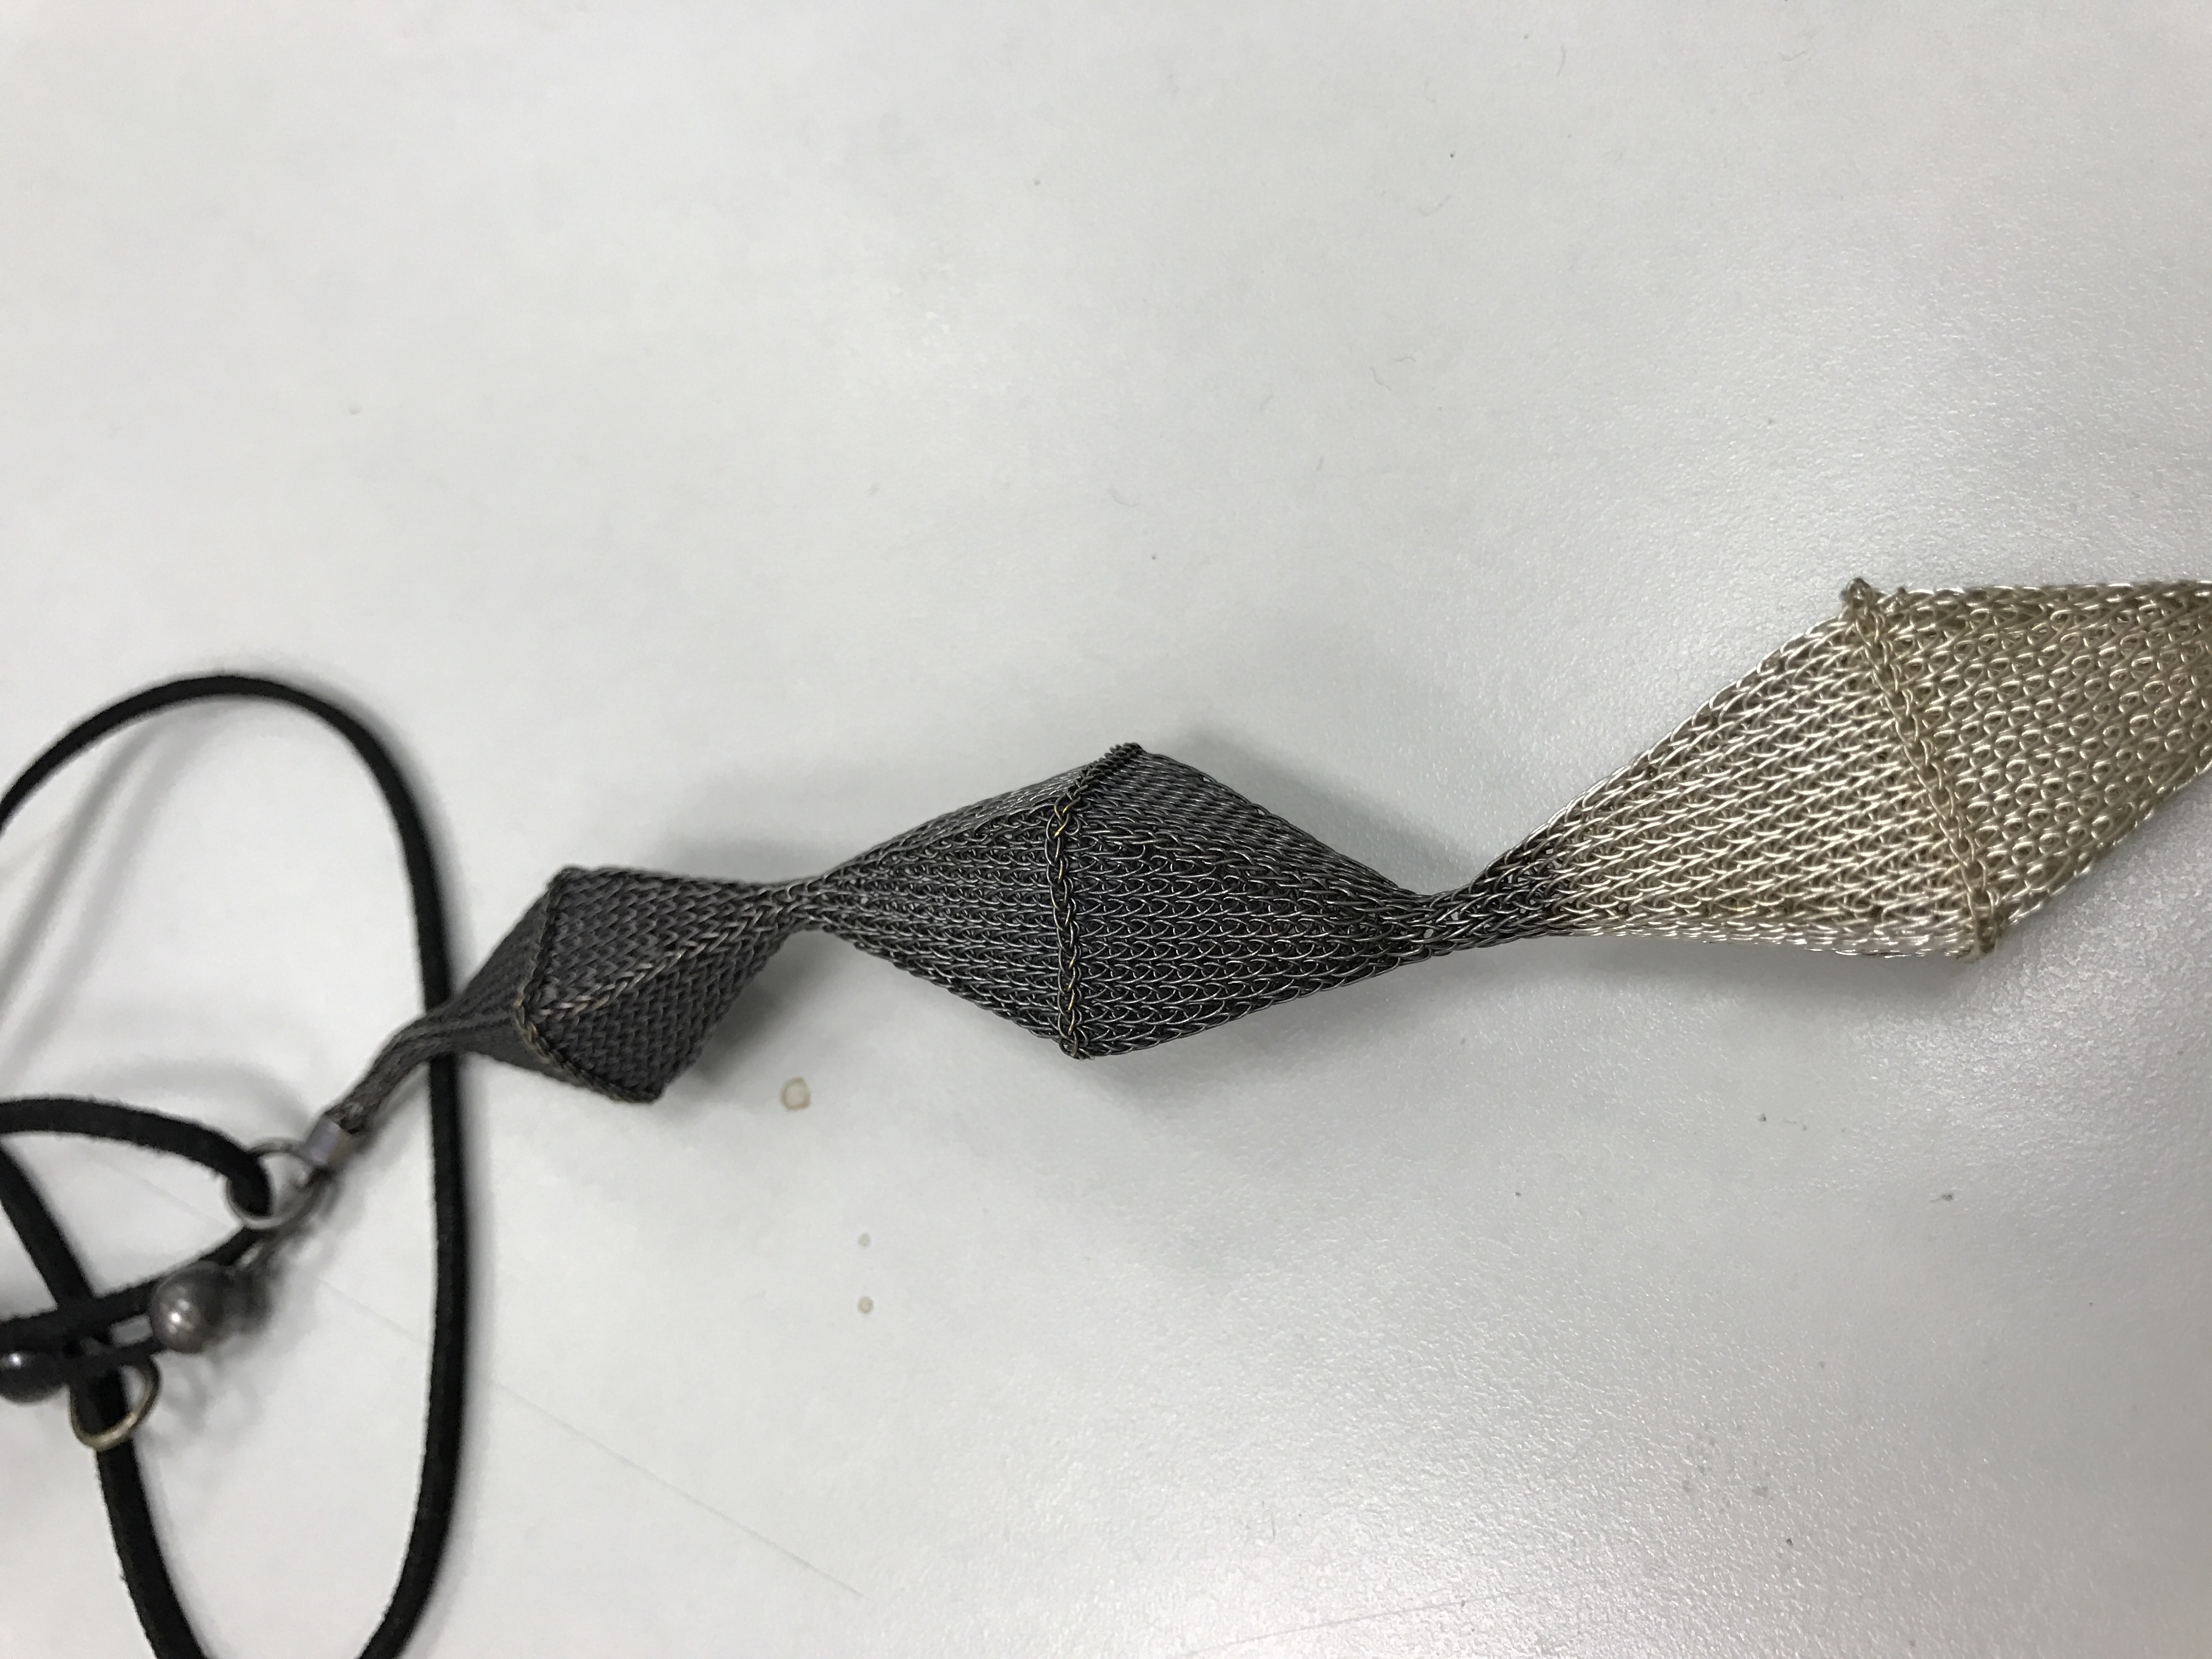
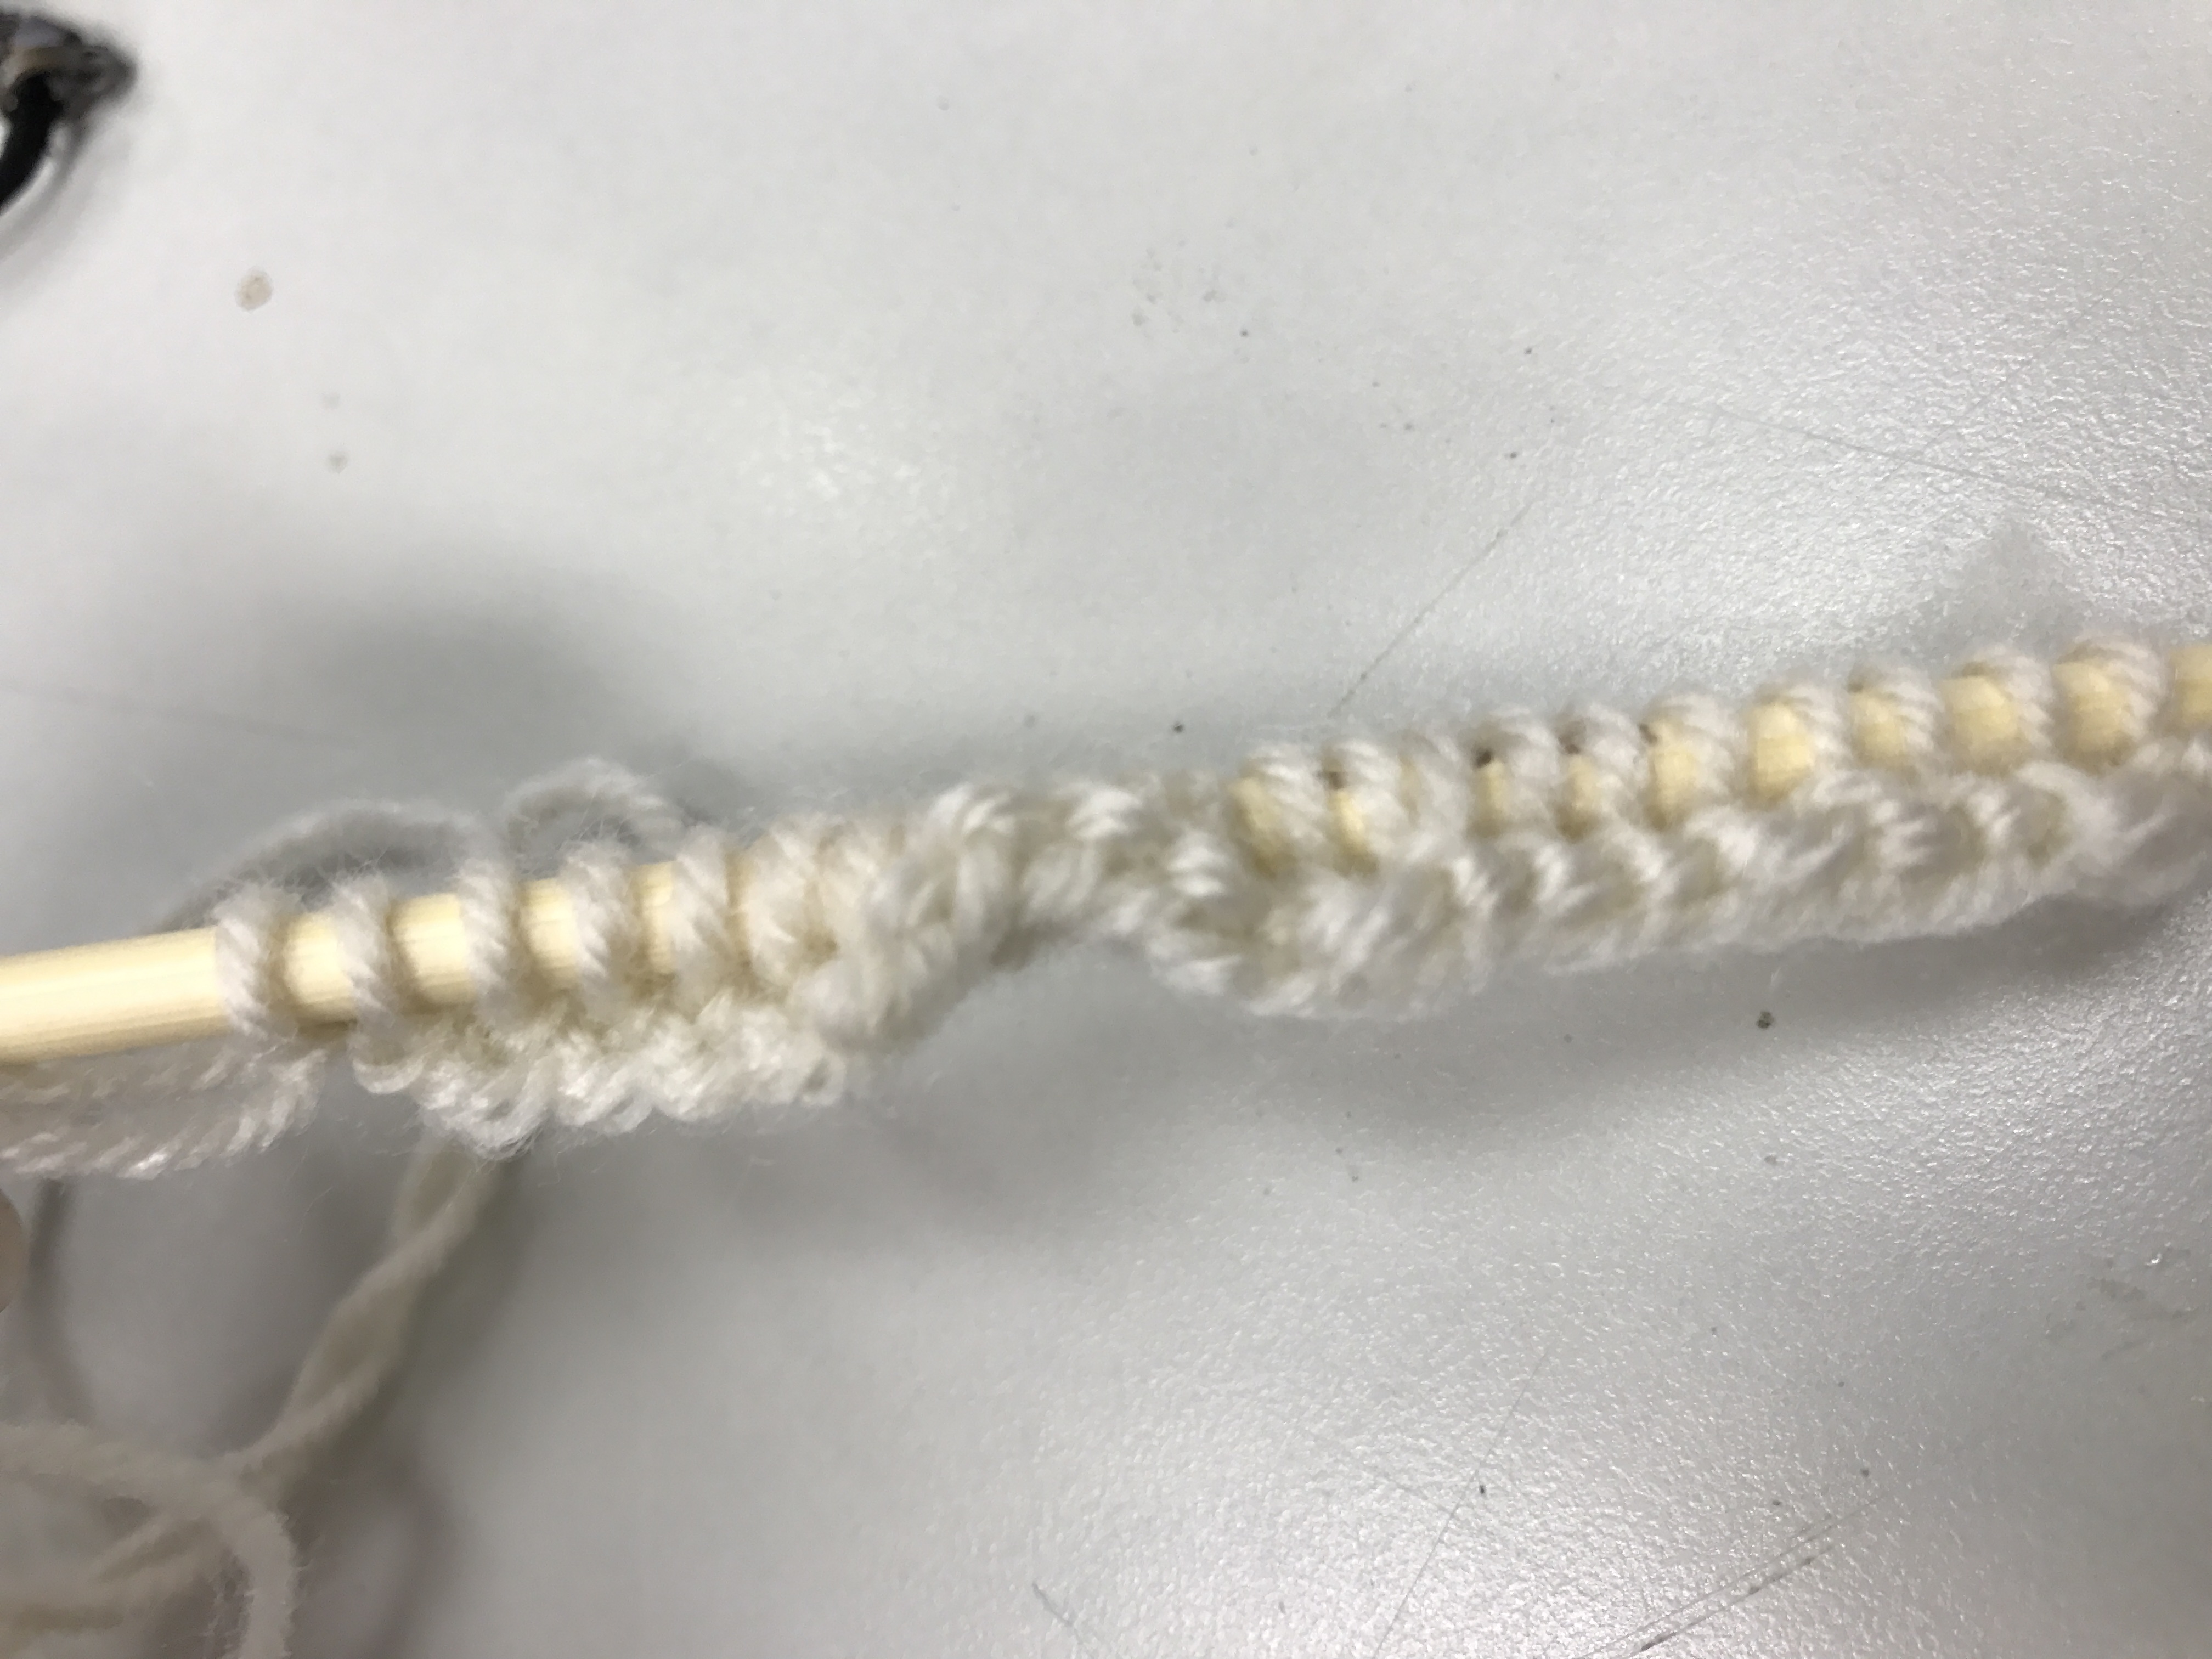
As I really like the raspberry stitches which I mentioned earlier, I went to tried more to get a better outcome. I was very careful for every stitch as if I missed any one of the steps then the knitting will be failed. Finally, it looks more completed!

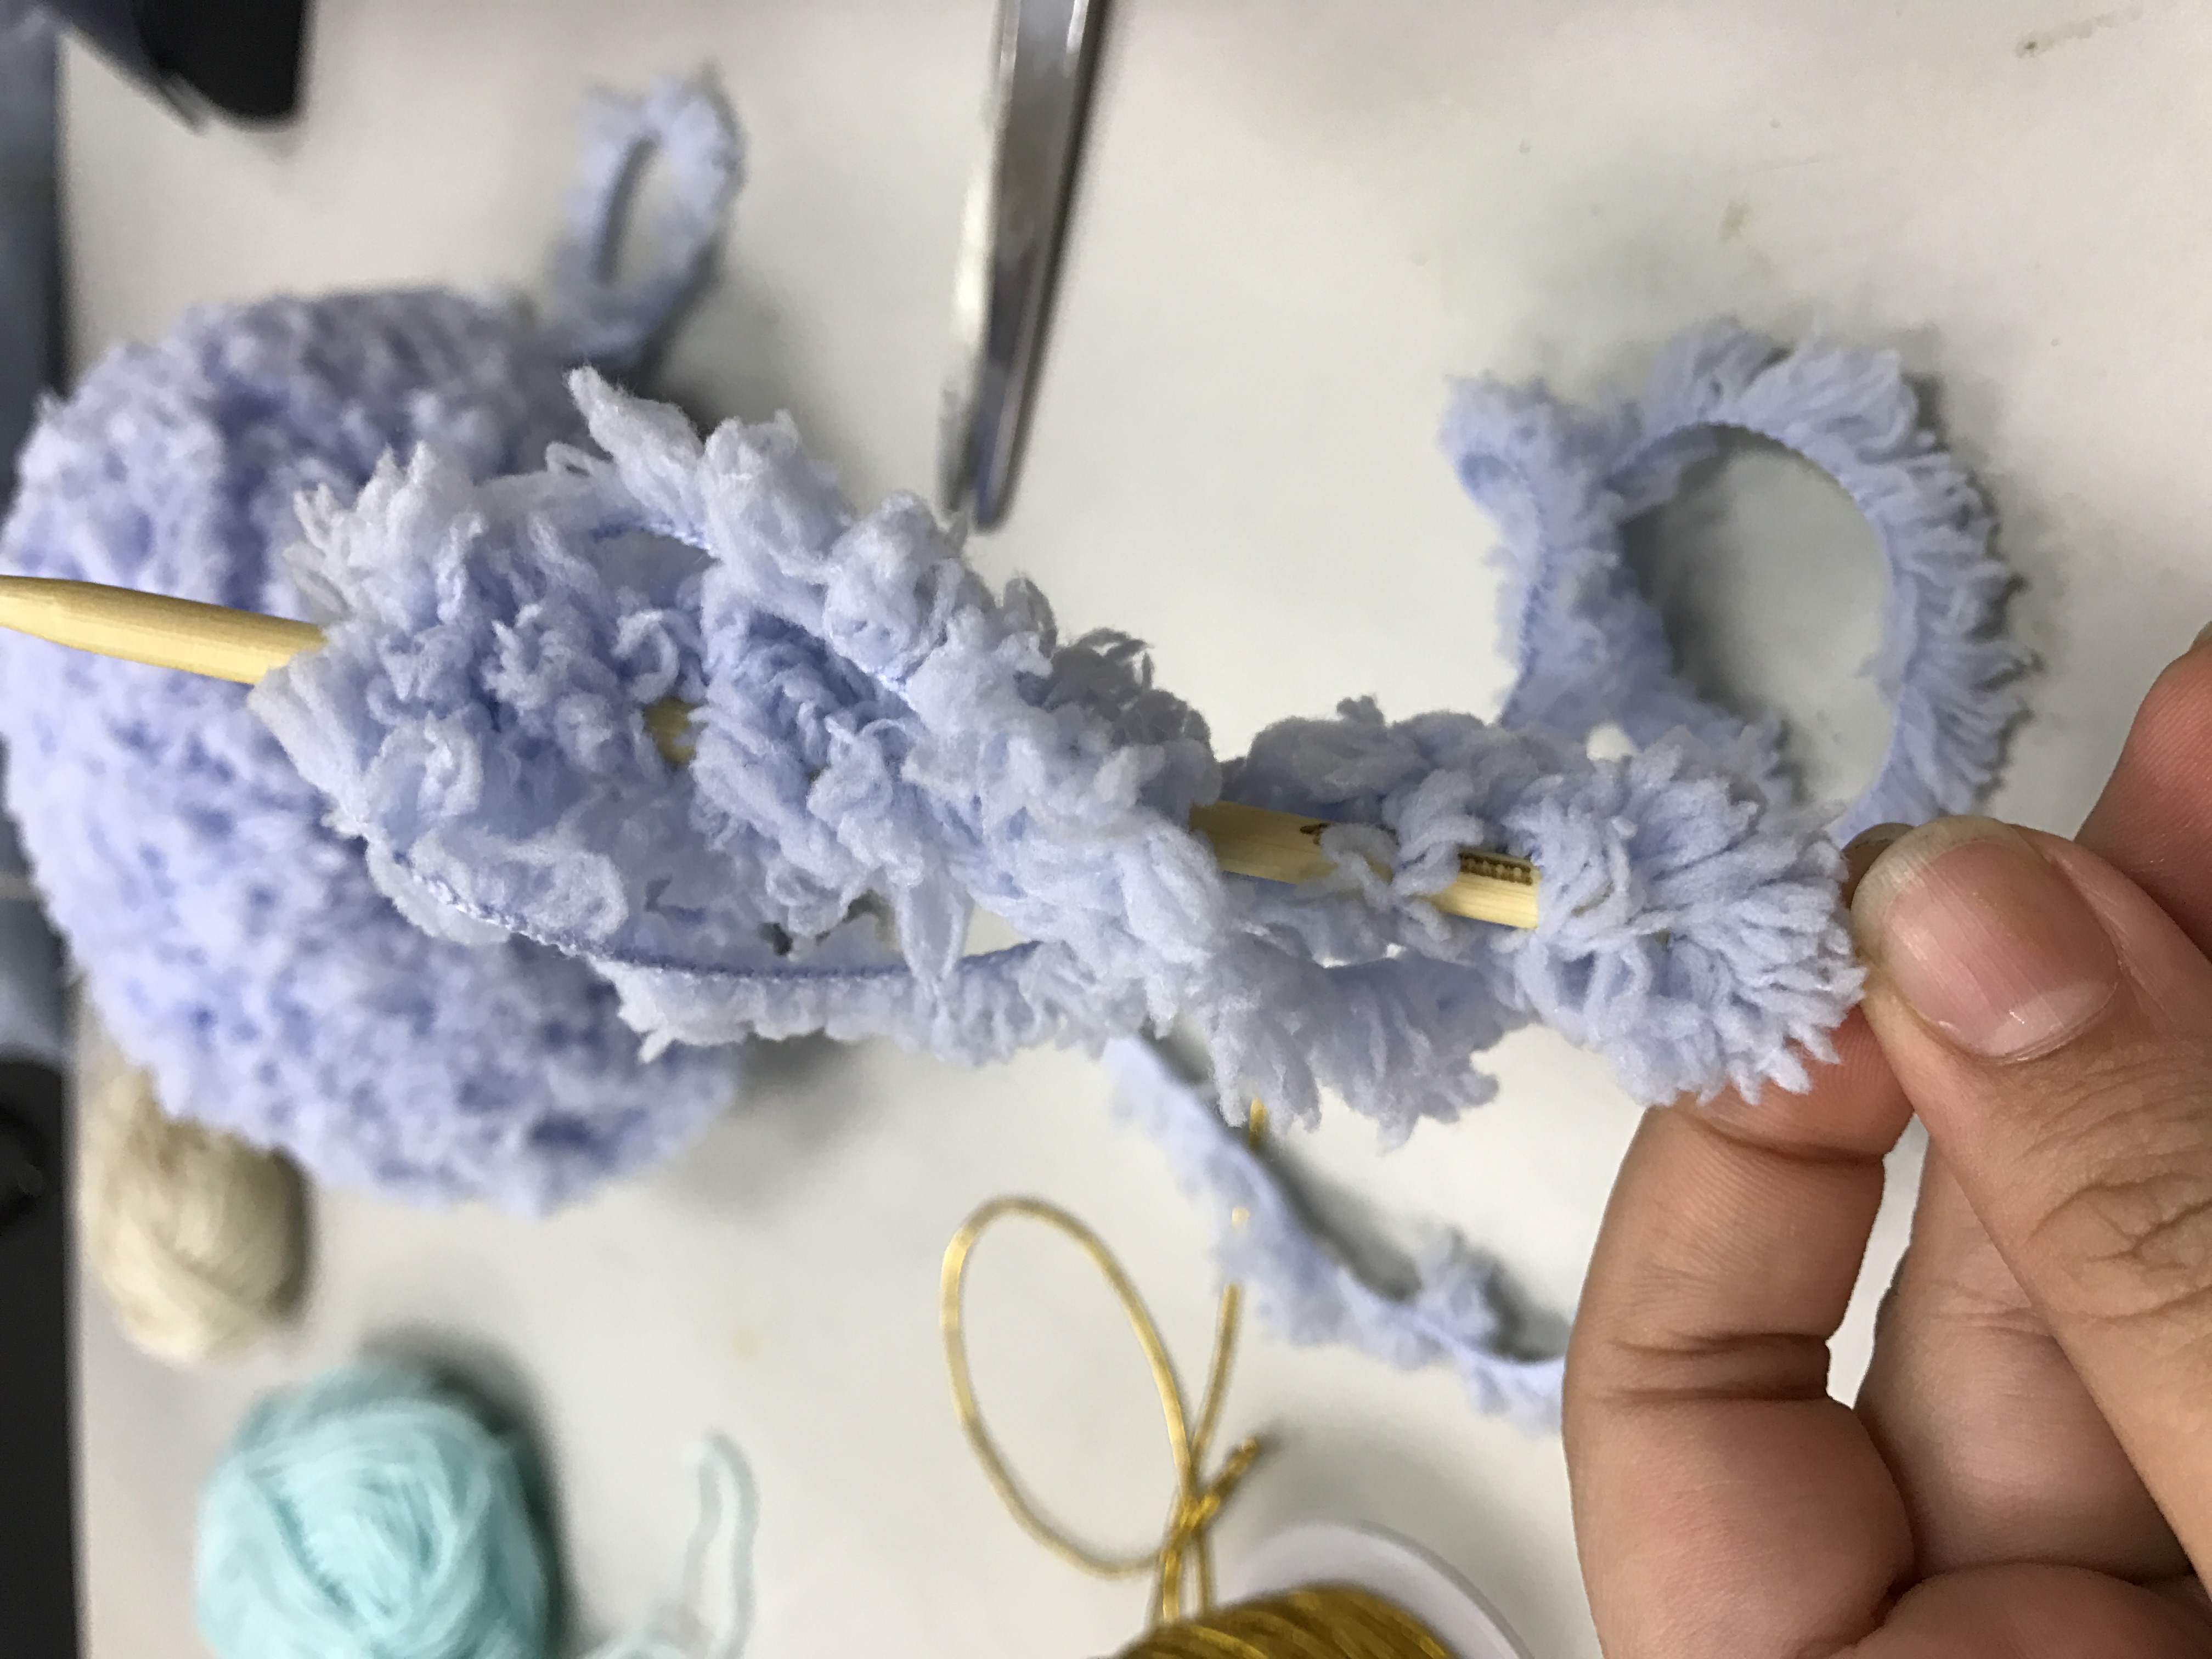
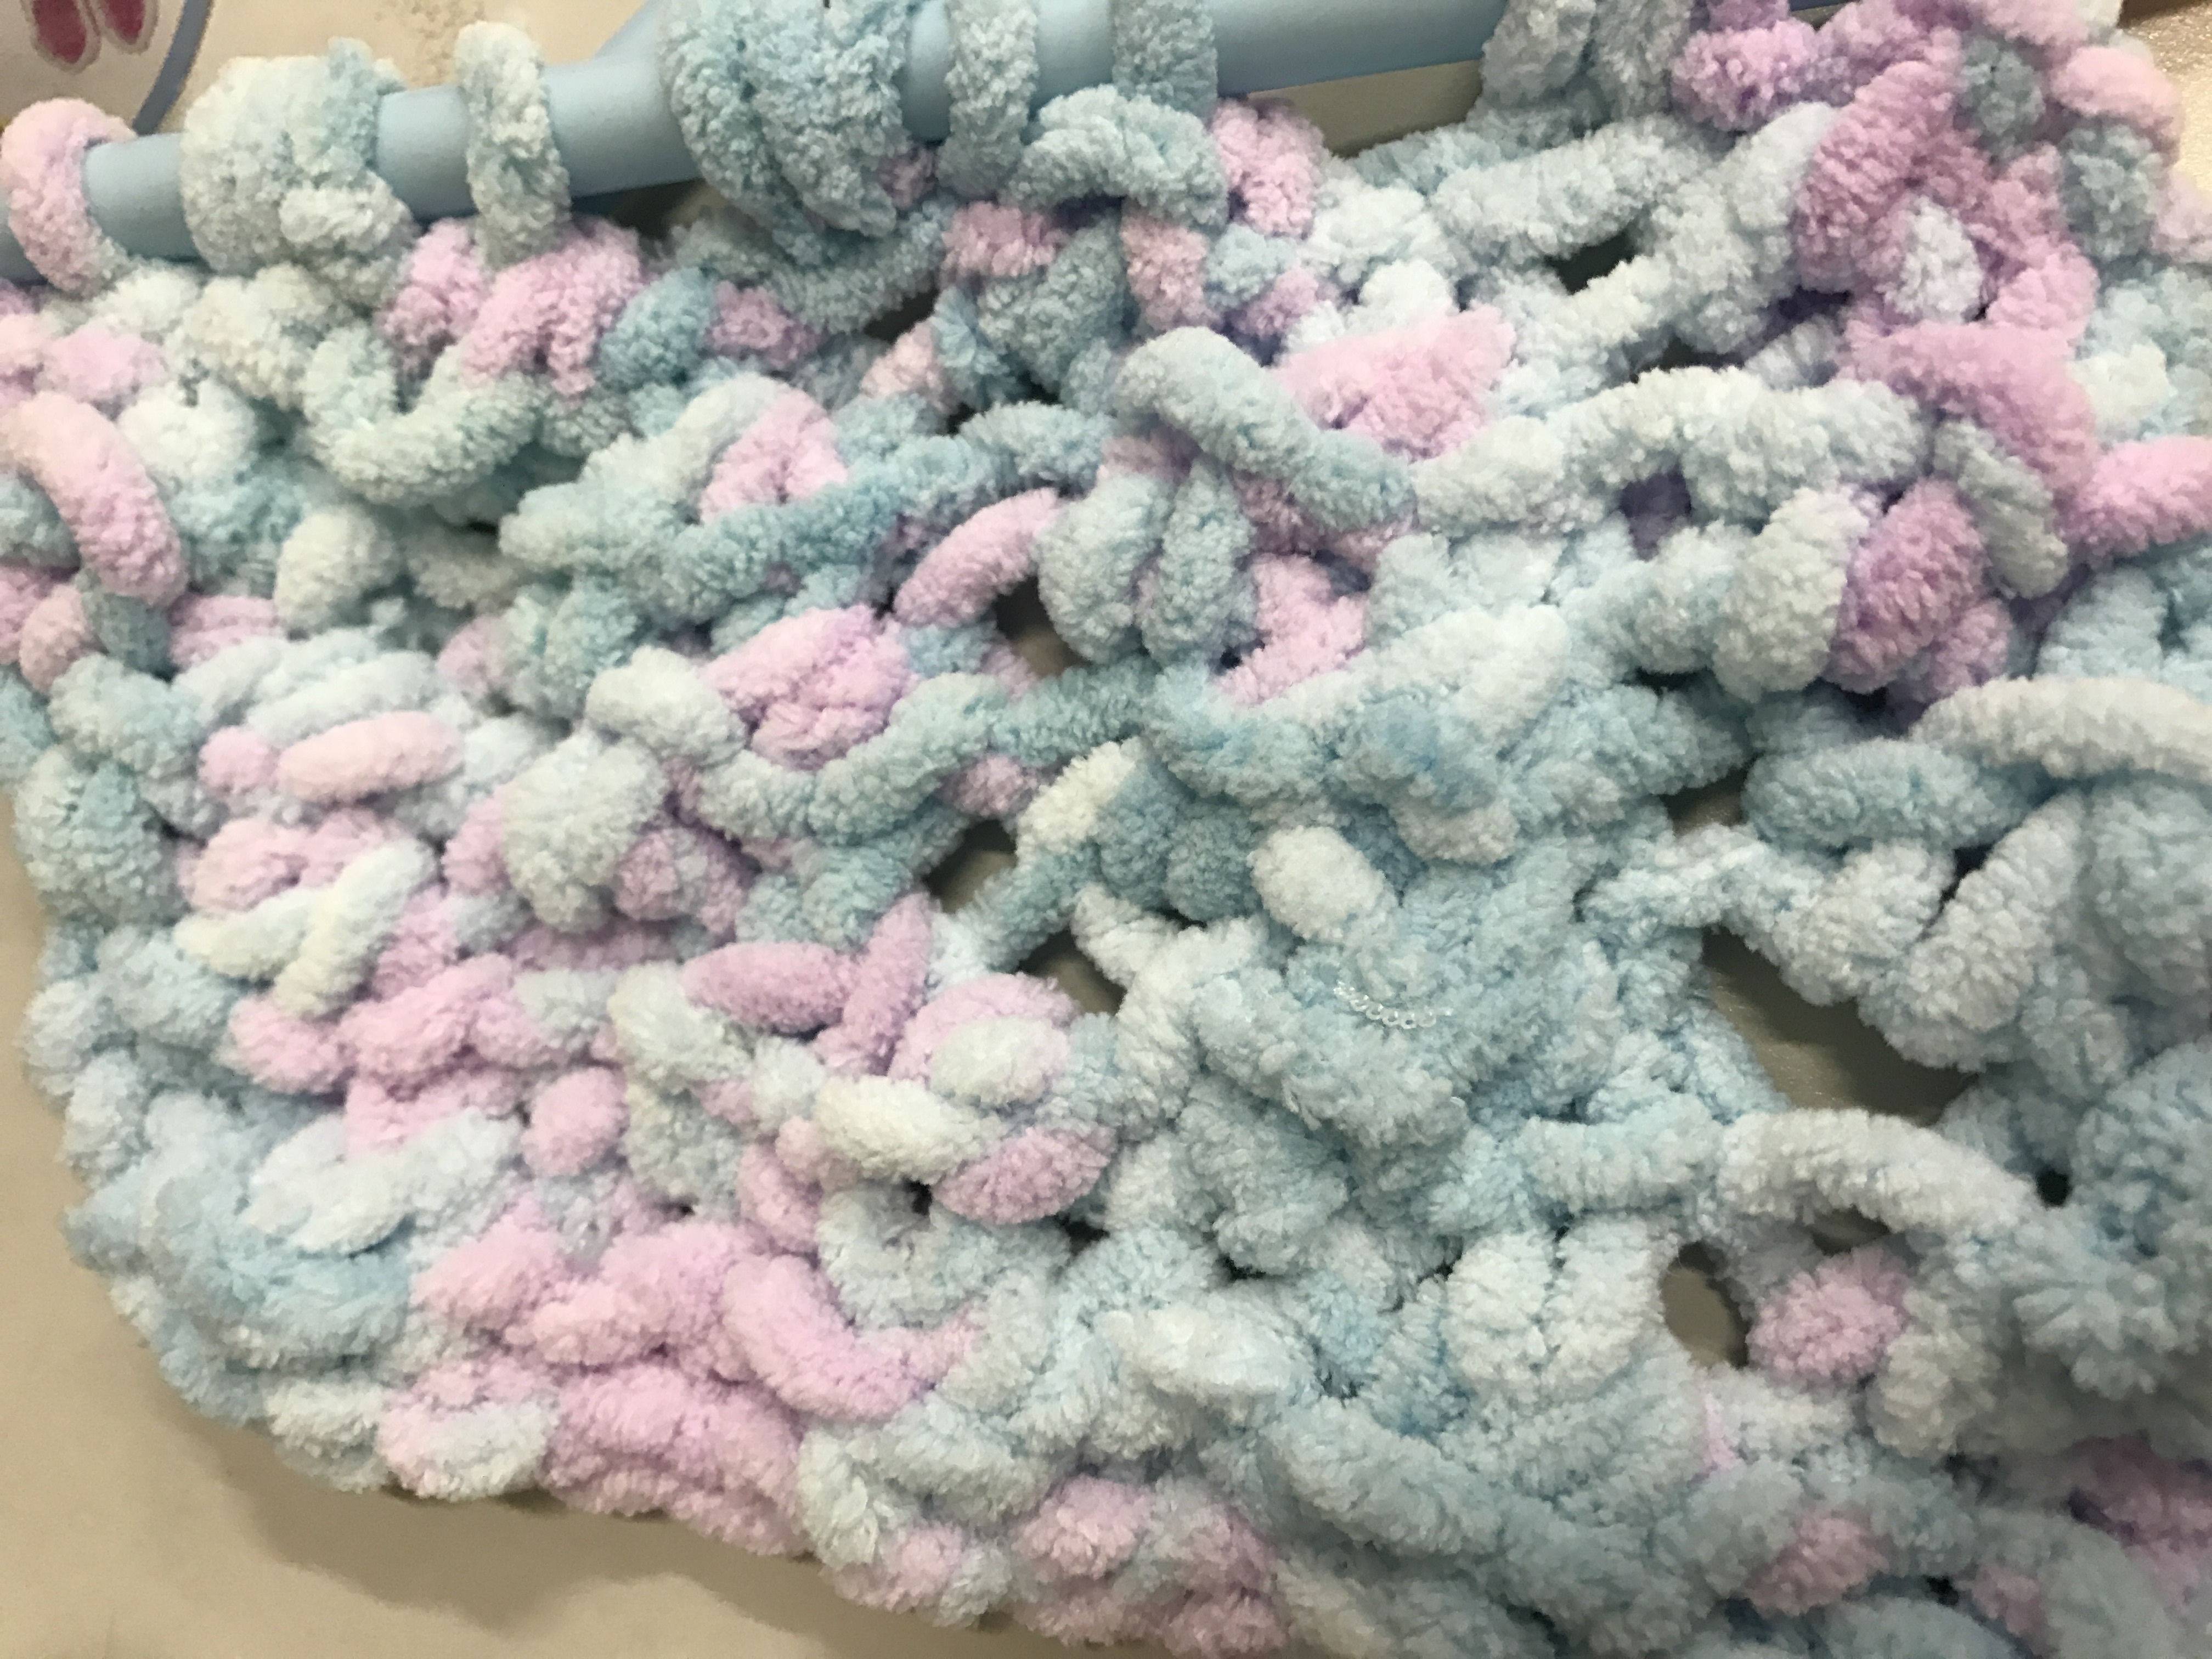
I like knitting but the previous pieces I not really felt the joyful to them so I decided to knit a random pieces to relax myself. I was addicted with knitting as it really can destress even though I had a lot of project need to work on. This piece is actually bigger than the picture shown as I just spent my free time like I knitted while waiting bus and knitting is so fun!
My learning point for this cool techniques is although the steps to knit looked complicated at first but when you are proficient to the process, you will feel very satisfied and can’t stop knitting.