Resin casting
Resin casting is a method of plastic casting where a mold is filled with a liquid synthetic resin, which then hardens. It is primarily used for small-scale production like industrial prototypes and dentistry.
Resin casting is an exciting and fun craft that allows you to embed or encase almost any object in crystal clear plastic. Coins, shells, rocks, dried flowers, butterflies and insects are just a few of the examples of embedment possibilities.
Materials:
1) Resin
2) Mold
3) Hardener
4) Things to cast
5) The release agent spray to make the resin cast easily take out
Latex
Liquid latex rubber is a very versatile art material that can be used for a range of purposes. Derived from rubber trees, liquid latex is inexpensive, tough, tear-resistant and long lasting. In fact, it emerges as the most economical mold making and casting product in the market.
Vacuum foaming
The process involves heating a plastic sheet until soft and then draping it over a mould. A vacuum is applied sucking the sheet into the mould. The sheet is then ejected from the mould. In its advanced form, the vacuum forming process utilizes sophisticated pneumatic, hydraulic and heat controls thus enabling higher production speeds and more detailed vacuum formed applications.
Materials:
1) PVC sheet
2) Mould that can resist heat
3) Vacuum forming machine
In-class demo
Done in the class!
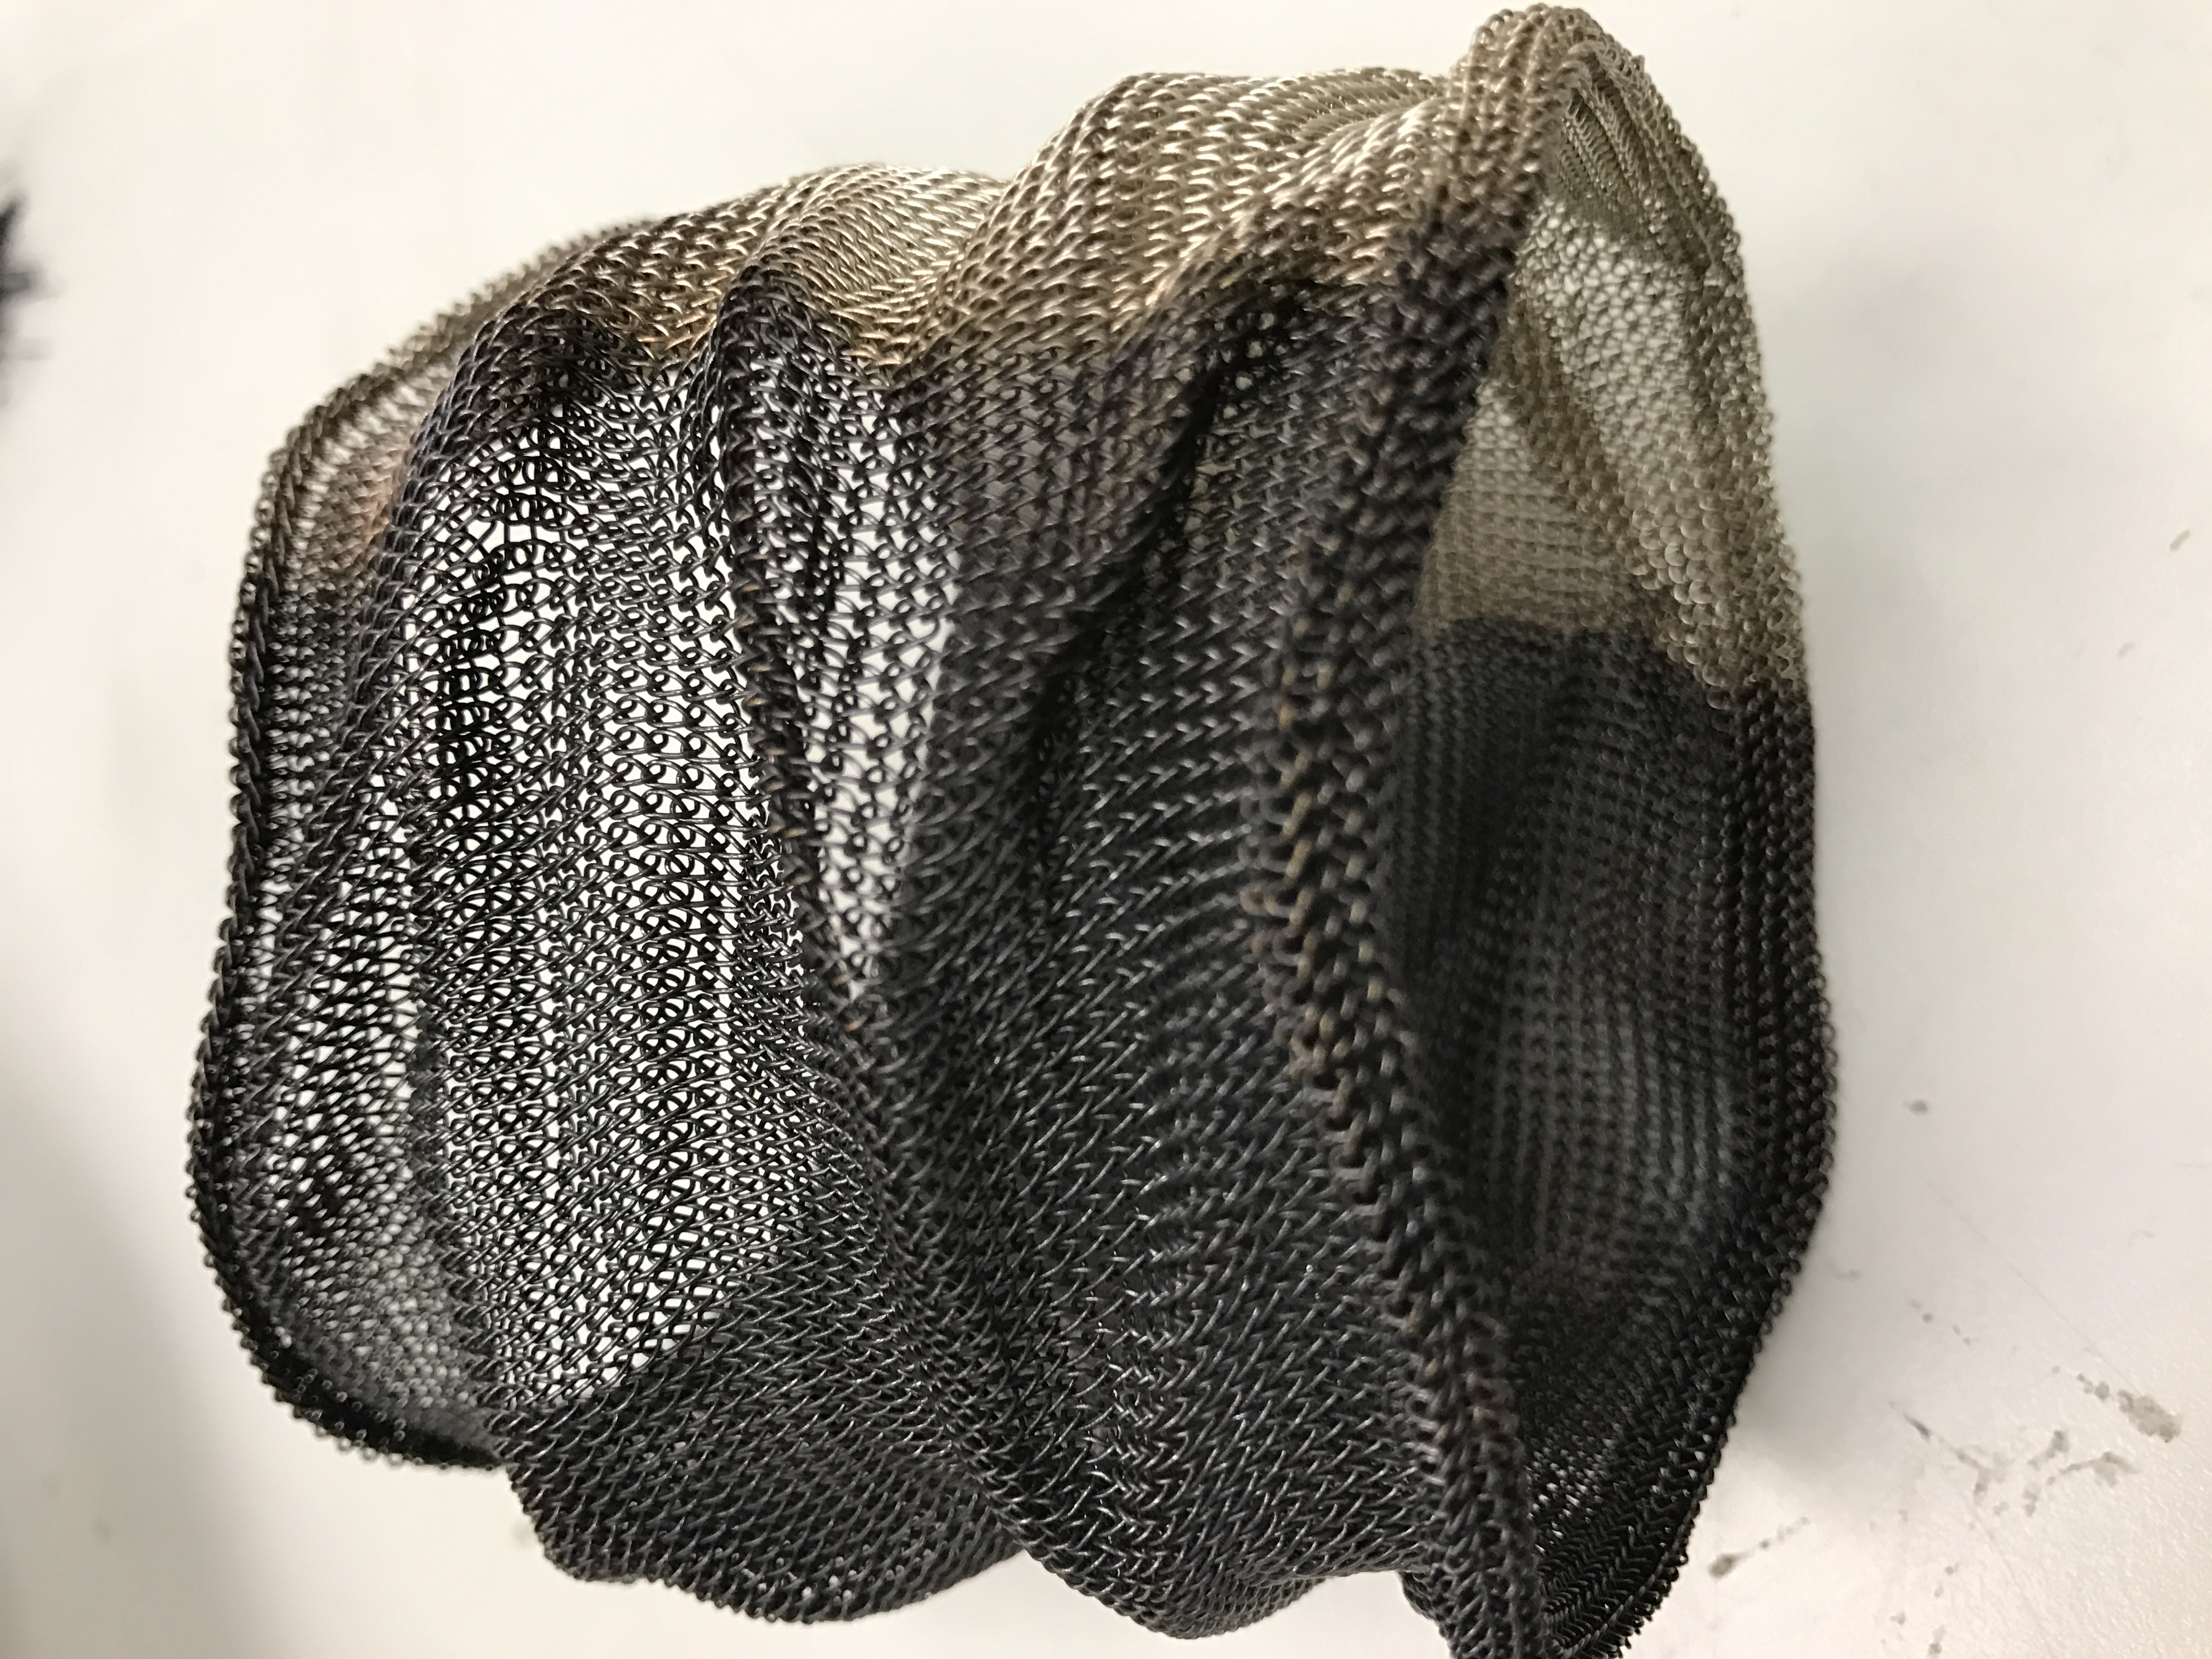
Vacuum foaming doesn’t work with some materials as it will hard to take out after forming the shape. The object that you have chosen must be have a bigger base than the body.
Materials:
1) 100% polyester
2) Marbles/ Anything can form the shape and will not melt after heat
3) Aluminum Foil
4) Rubber band
In class demo
Galina showed me how to make the durian thorns. How cool of this technique and this is really surprised me the most as I like this technique very much! I never thought that fabric can be boiled and the combination of marbles and fabric made the cool texture. Even my father was curious about what module I am taking!
Etching
Fiber etch is a liquid gel which comes ready to use for devore’. You may etch designs into fabric and paper to produce elaborate devore’ techniques on cotton, linen, or rayon fabric blends. Fiber Etch also removes fabric within embroidered or painted areas for ‘cutwork’ effects. Apply or silk screen Fiber Etch gel and allow to dry after that use the heat to activate and lastly rinse the fibers away.
Fiber etch is also formulated to work on paper and wood! It actually etches into the surface of paper and wood.
Material Silk Viscase Velvet
Fibre etch remover gel
Screen Print Stencil
Squeegee
Paintbrush to paint with remover gel
Iron
Baking paper
Examples that have been shown in class.
The fiber remover which allows us to make the etching effect.
This is the example of how etching was failed.
The gel remover works on color paper also!
Fiber etching starts!
I use the tissue paper to apply the remover onto the fabric to create irregular shape.
The magical technique made the amazing outcome that I had never expected. Love this technique so much!
It was a failed piece when I think that I didn’t iron enough and I increase the heat of the iron which burnt the fabric. Besides, I found that the area I applied the remover with tissue will have the hole after I scratched lightly. For this problem, I still haven’t solved out the reason whether is I applied too much remover to the fabric or is the iron issue.
The trip to Touch and Print was really impressed me with the introduction of different printing techniques. At first, the printing in my knowledge is something very vapid and flat which I thought it will be very stiff if I printed the images on a object or fabric. However, I gained the new knowledge about transfer printing.
The person in-charge not only gave us the technical knowledge about transfer printing but also showed us the process to let us know the steps how to make a successful printing.
He showed us this master pieces done by his friend which can be the inspiration of our final project for those using cardboard for final.
This trip was focus on the transfer printing. Transfer printing can do full color prints, it has no set up time or minimum quantity and lastly the repeat prints are the same. This technique is distinguish with the screen printing which is the technique needs long setup time. It has the minimum quantity but the repeated prints are very cheap and fast. They are also different types of transfer printing which are laser/toner, inkjet, cutting and also sublimation. For example, the laser transfer can do fabric and non-fabric printing and it is the only kind that can do non-fabric printing.
The examples he showed us the printing on different medium for example, fabric, cardboard and leather.
Moreover, we also known that how a design transfer to the t-shirt by using the heat transfer with special paper and laser printer. We are introduced by the difficulty for transfer printing is actually getting rid of the unwanted area.
Another learning point for this trip is the white toner technology. The special transfer paper which allows to transfer which color from the images.
Lastly, I am interested in this technique which is printing on wood actually can done by the matte gel or acrylic paint. The big tube can buy from Artfriend while the small one can get from Daiso.
This field trip is completely worthy while getting out of the pulau NTU. It is impressive when we visit a printing shop that introducing different techniques and the person in-charged shared his own experiences with us!
Raster engravings
Raster engravings can be created with a high level of detail and customization with a relatively low programming cost.
A raster image is made up of many pixels, or dots that make up the design. The laser creates the design by scanning over the material and fires a laser pulse for each black dot in the image. The process works with the same concept as a printer does, meaning designs than can be printed in black and white can also be laser engraved with the same clarity and detail.
The examples that have been shown in class:
I was very lucky to meet Eugene such a coincidence in the product design workshop and he is so kind to help us through the process.
The failed piece when the outline need to be cut doesn’t align correctly to the border of the image.
Bleaching Bleaching is a technique that you can get the unexpected effect which the process is quite easy to work on. The part you bleach will be lighter in color and create the amazing texture. How does the bleaching works on fabric is at first you never cover the part you want it to be in original color. After that, you need to spray the beach on the fabric and leave it dry under the sun.
The bleaching doesn’t work with wrong fabric selection. I have a successful pieces of fabric but I forgot to take a picture!
What is thermochromic ink? They come in a range of colours and they change colour as the temperature goes up or down. It is expensive compared to normal inks to buy. However, they can be applied to most surfaces.
Materials 1) Fabric Paint
2) The thermochromic Pigment
3) Screen Print Stencil
4)Squeegee
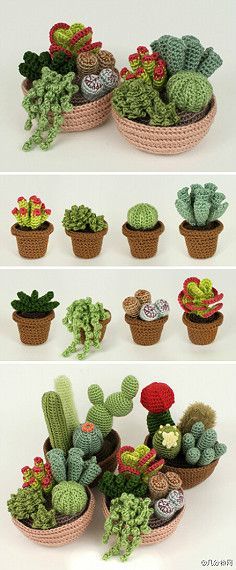
Crochet
Crochet is a needlework technique performed using a crochet hook plus fiber or other similar material. Most typically, this material is yarn or crochet thread, but it might also be fabric, wire, twine, or other innovative material.
Materials:
1) Yarn
2) Crochet hook
The basic crochet stitches are as follows:
1) The chain stitch
2) The slip stitch
3) The single crochet stitch
4) The double crochet stitch
5) The half double crochet stitch
6) The treble crochet stitch
7) The double treble crochet stitch
8) The triple treble crochet stitch
The similarities between knitting and crochet
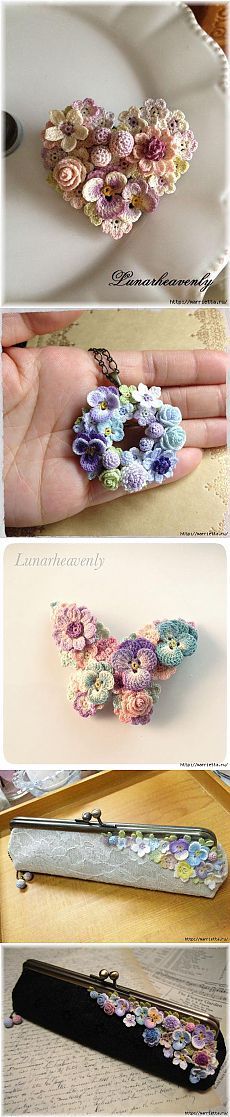
Both crafts utilize yarn or fiber, and you can make the same sorts of projects– sweaters, shawls, wraps, blankets, afghans, scarves, hats, mittens, socks – with either technique.
The differences between knitting and crochet 1) The supplies
Knitting: We use pointy knitting needles for hand knitting, this pointy needles can appear in several different types of configurations they often exist in sets of two, although this is not always the case.
Crochet: Crocheters don’t use pointy needles or machines to make their projects; they use a single crochet hook. The hook can be small or large, or any size in between.
2) The yarn
The yarn we use they can all be used equally in knitting as in crochet, although some fidgety yarns lend themselves better to one craft or the other. For example, thread is typically reserved for crochet which will spent a lot of time if we need to knit it.
3) The structure
Knitting: The loops will build on each other which requires multiple active loops to be held on the needles. Each stitch depends on the support of the stitch below it.
Crochet: There usually only one loop, or possibly a few loops. The stitches build on top of each other, but the active loop is the only spot from which the fabric is susceptible to unraveling.
What is knitting?
Knitting is a method of forming fabric from a single strand of yarn, using two needles. The resulting fabric has more give than woven fabric. When you look closely at knitted fabric it is made up of rows of loops that interlock with neighbouring rows, that is what gives the fabric its stretch.
This method allows fabric to be shaped for the intended purpose, unlike woven fabric which is flat and needs to be cut to shape.
Of course there are advanced techniques that use multiple needles, or a pair of needles attached by a cord, that allow tubes to be knitted, or textural and multicoloured effects can be created by using multiple strands of yarn.
Knitting materials
The knitting material are very simple. You just need the knitting needles and different kind of yarn, for example wool yarn or plastic yarn.
Here is some examples being shown in class:
How to achieve the techniques
For the beginner, we need to start from the basic step for knitting. It is good to handle if you know that how to hold the knitting needles, how to make a slip knot or even knit a row or purl a roll.
1) Hold the knitting needles
There are a number of ways to hold the needles depending on where in the world you have been taught and what feels comfortable. There is no right or wrong way just choose which is most comfortable for you.
2) Make a slip knot
There are also several ways to do this when I was watching to the Youtube tutorial, each of the tutor actually had their own way to make a knot.
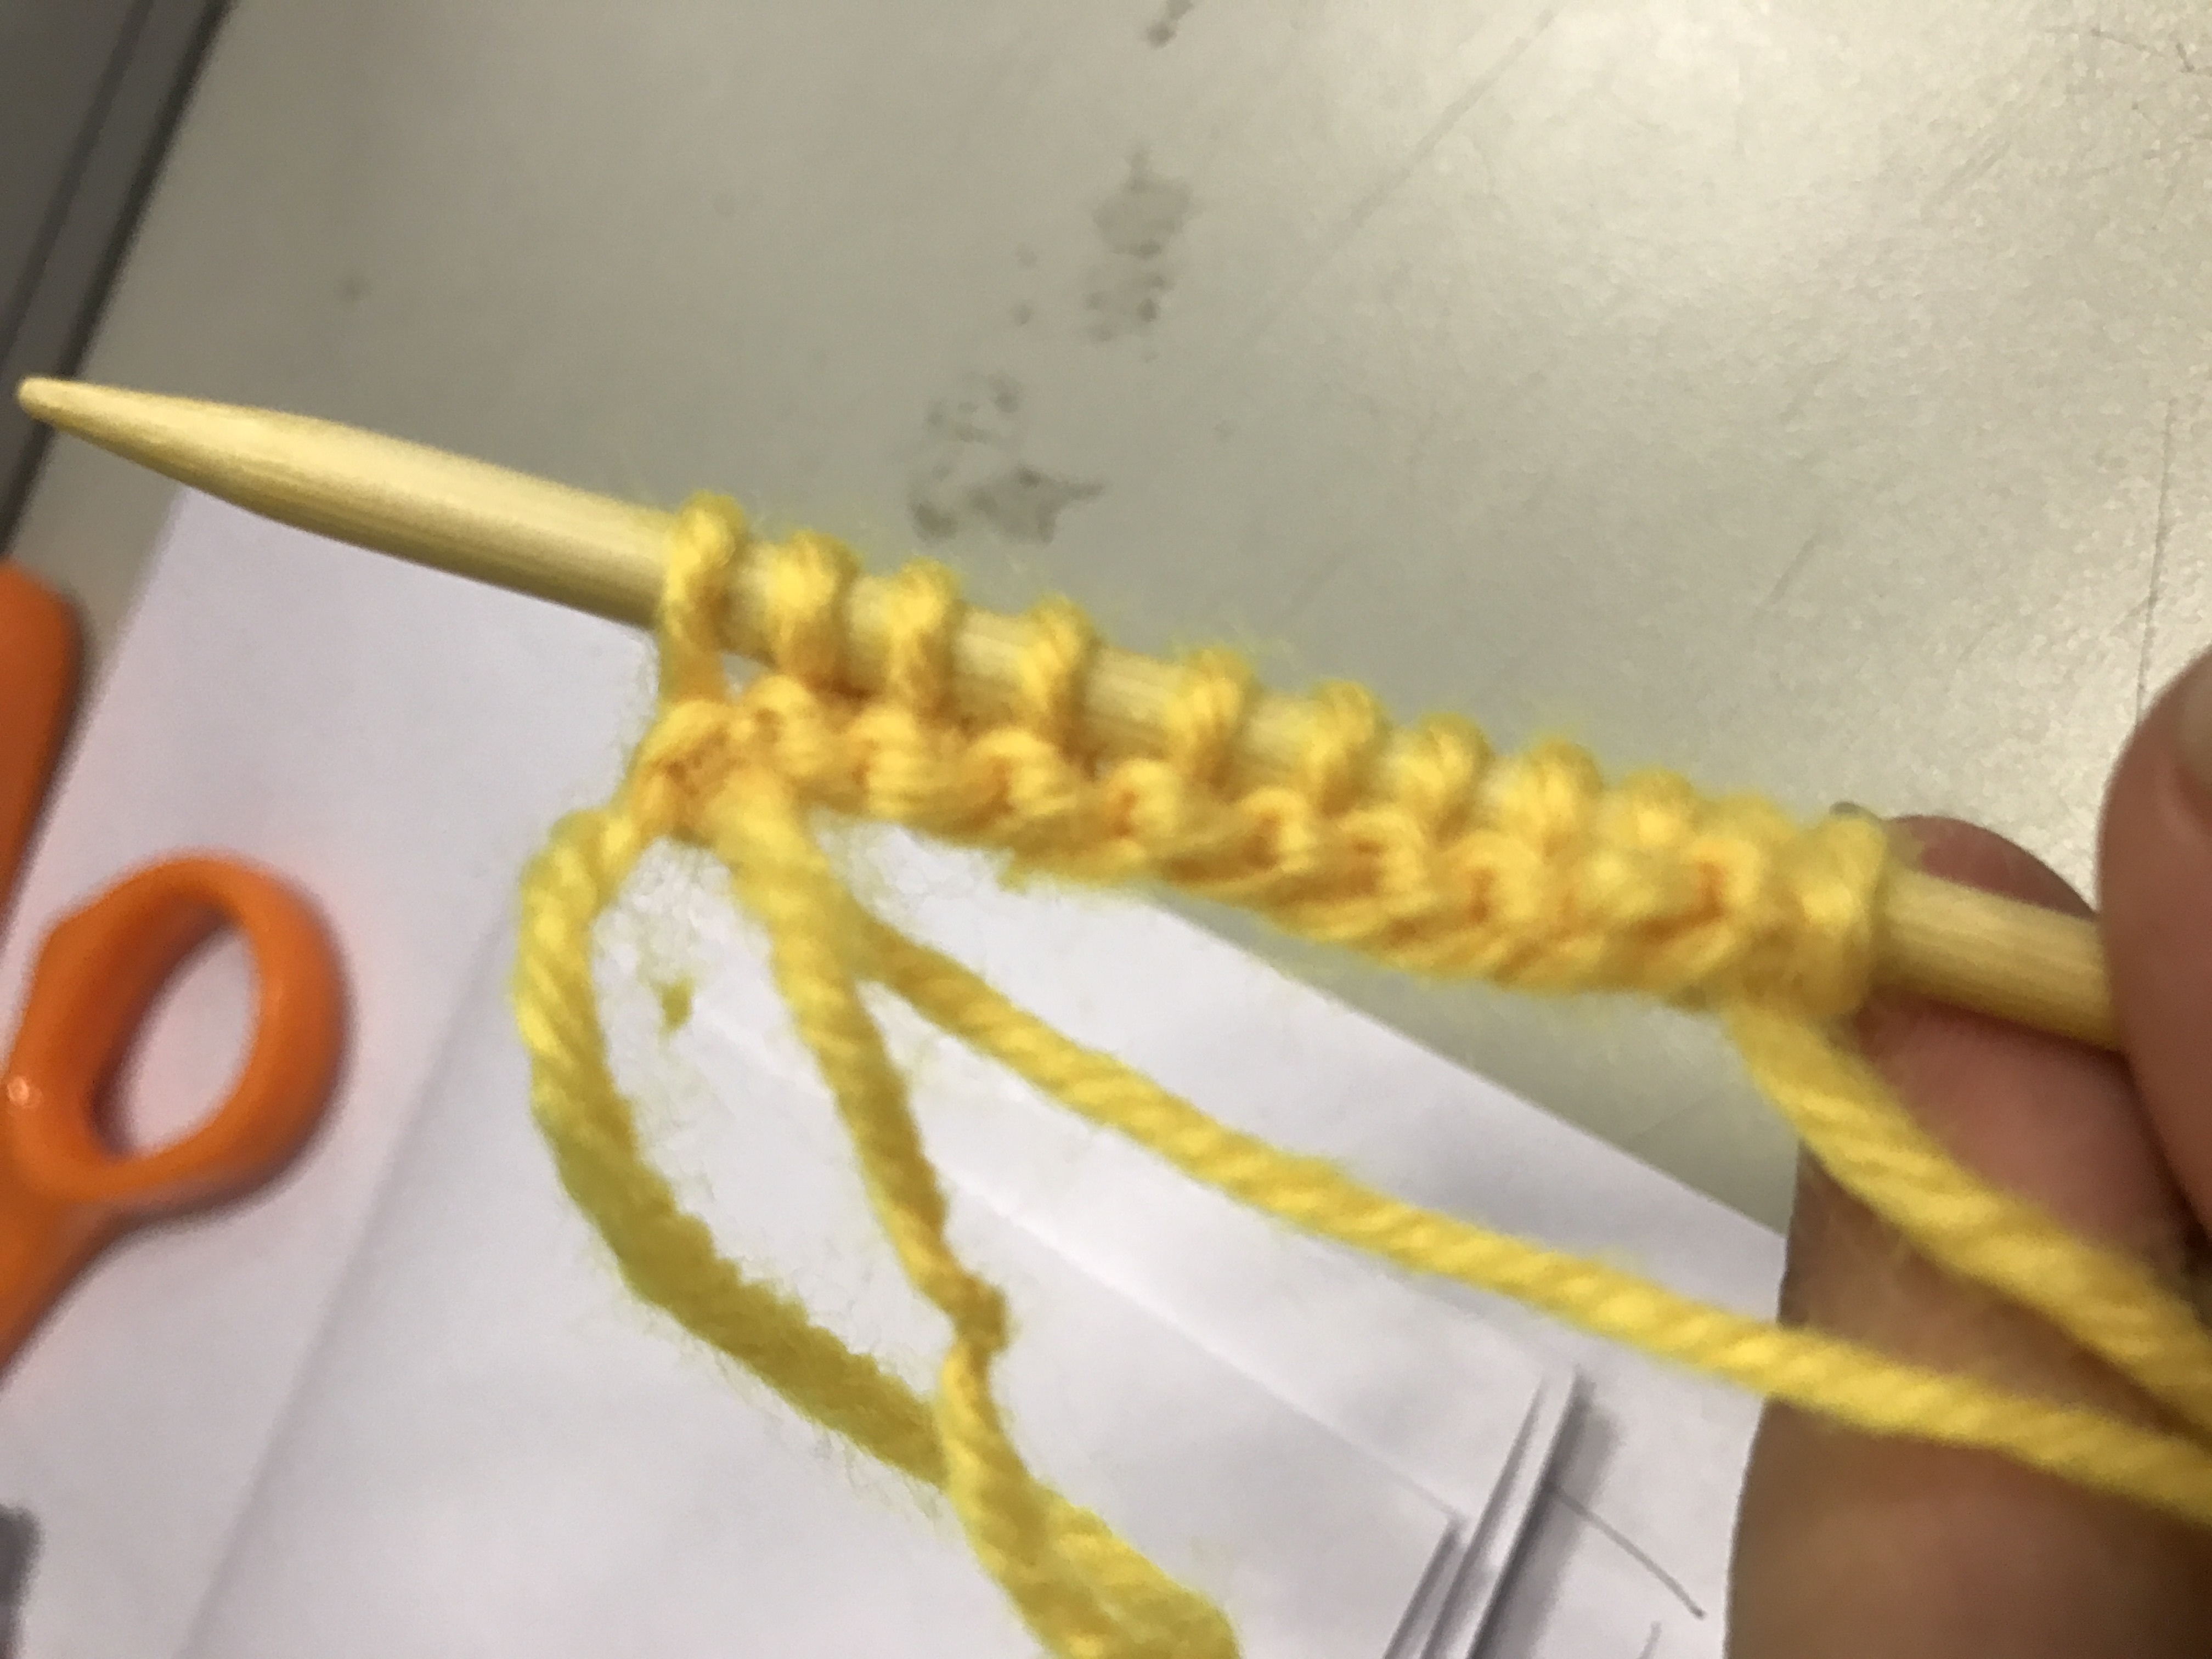
3)Cast on the yarn
4)Start knitting or purling
To knit a row:
Insert the tip of the right needle into the stitch on the left needle, from front to back.
Take the yarn in the right hand holding the needles where they cross, take the yarn forward to the tip of the right needle.
Wrap the yarn around the right needle from back to front.
Draw the tip of the right needle back pulling the looped yarn.
Slip the left hand stitch off the left needle. You have now completed a knit stitch.
To purl a row:
Insert the tip of the right needle down and through the loop, then pull it up so it crosses in front of the left needle, from back to front.
Hold onto the needles where they cross with the left hand needle.
Take the yarn forward and wrap it behind the front right needle.
Draw the tip of the right needle back through the stitch on the left needle, together with the looped yarn.
Slip the original stitch off the left needle. You have now completed a purl stitch.
Repeat, in and up, round, down and off.
Complete the row purling each stitch.
5) Cast of the yarn
When you knit until the size you want and you can end your pieces by casting off.
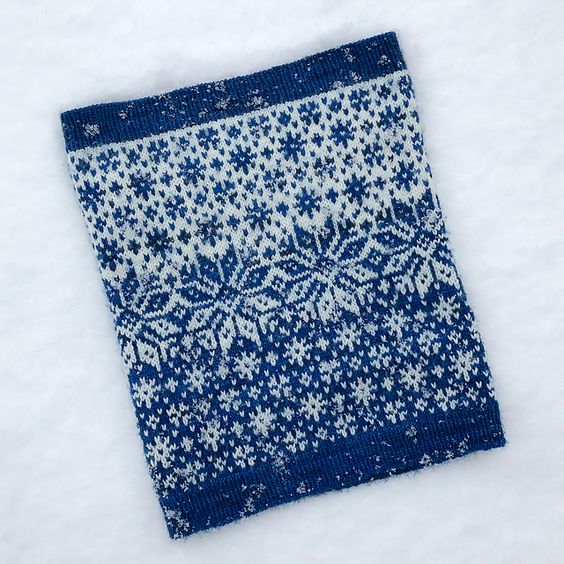
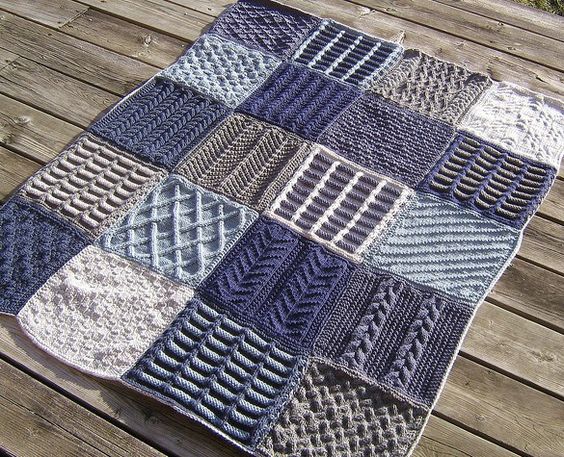
The examples of how the knitting being used in our daily life.
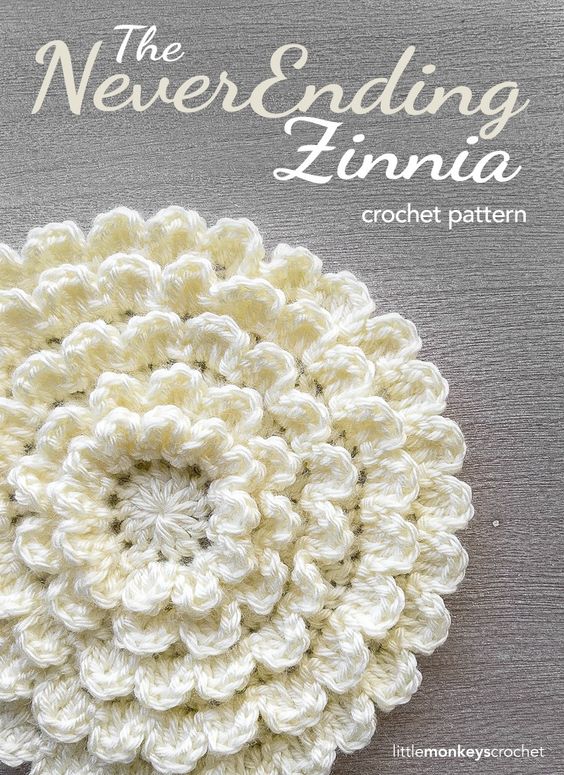
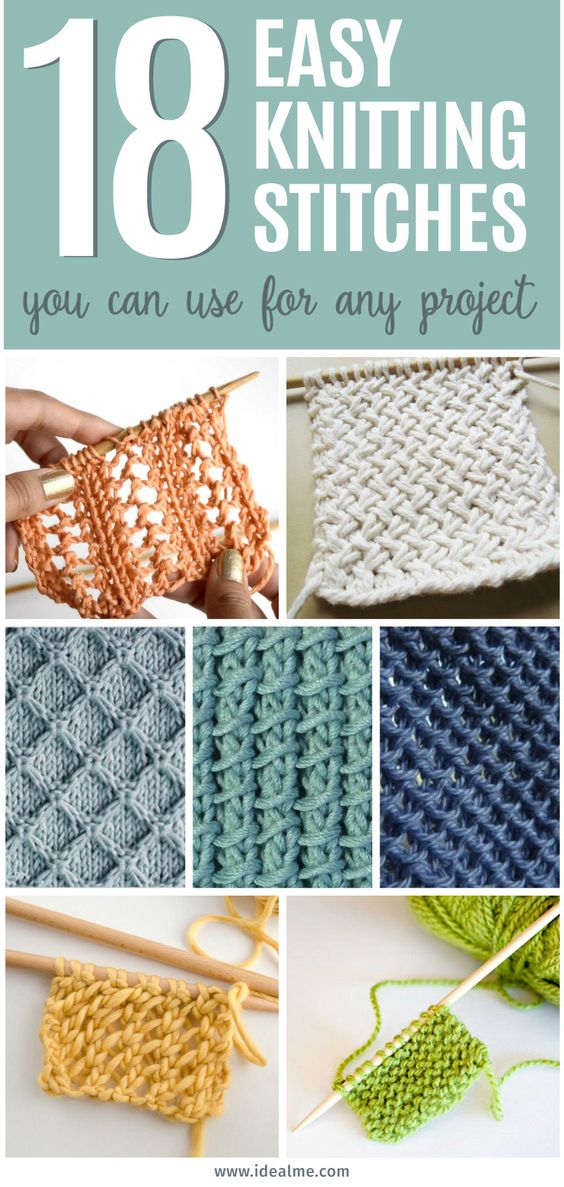
I found these different types of knitting stitches and they all are so beautiful. If I have enough time I will be interested to explore more!
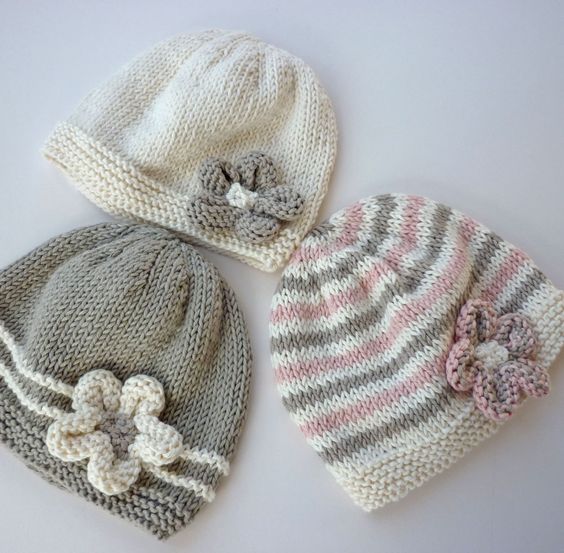
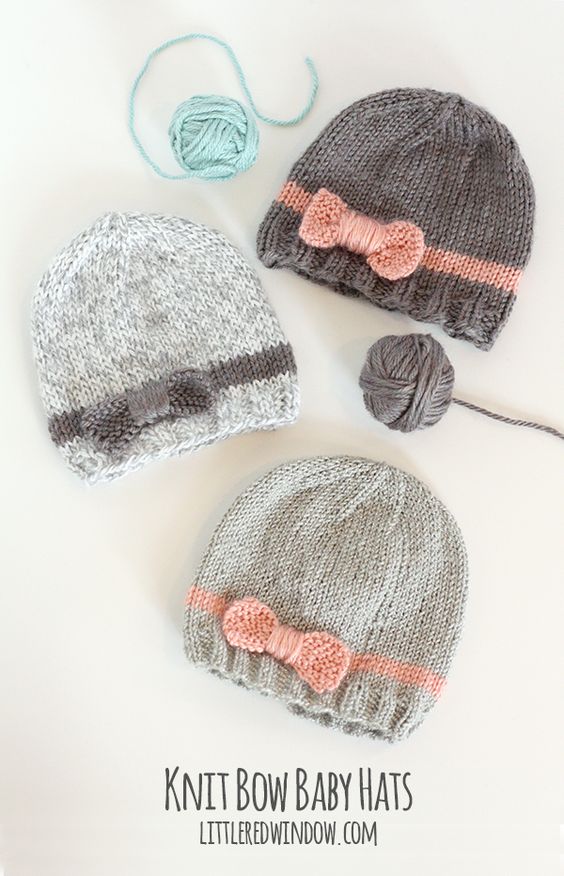
The tiny baby knitting hats and so cute!
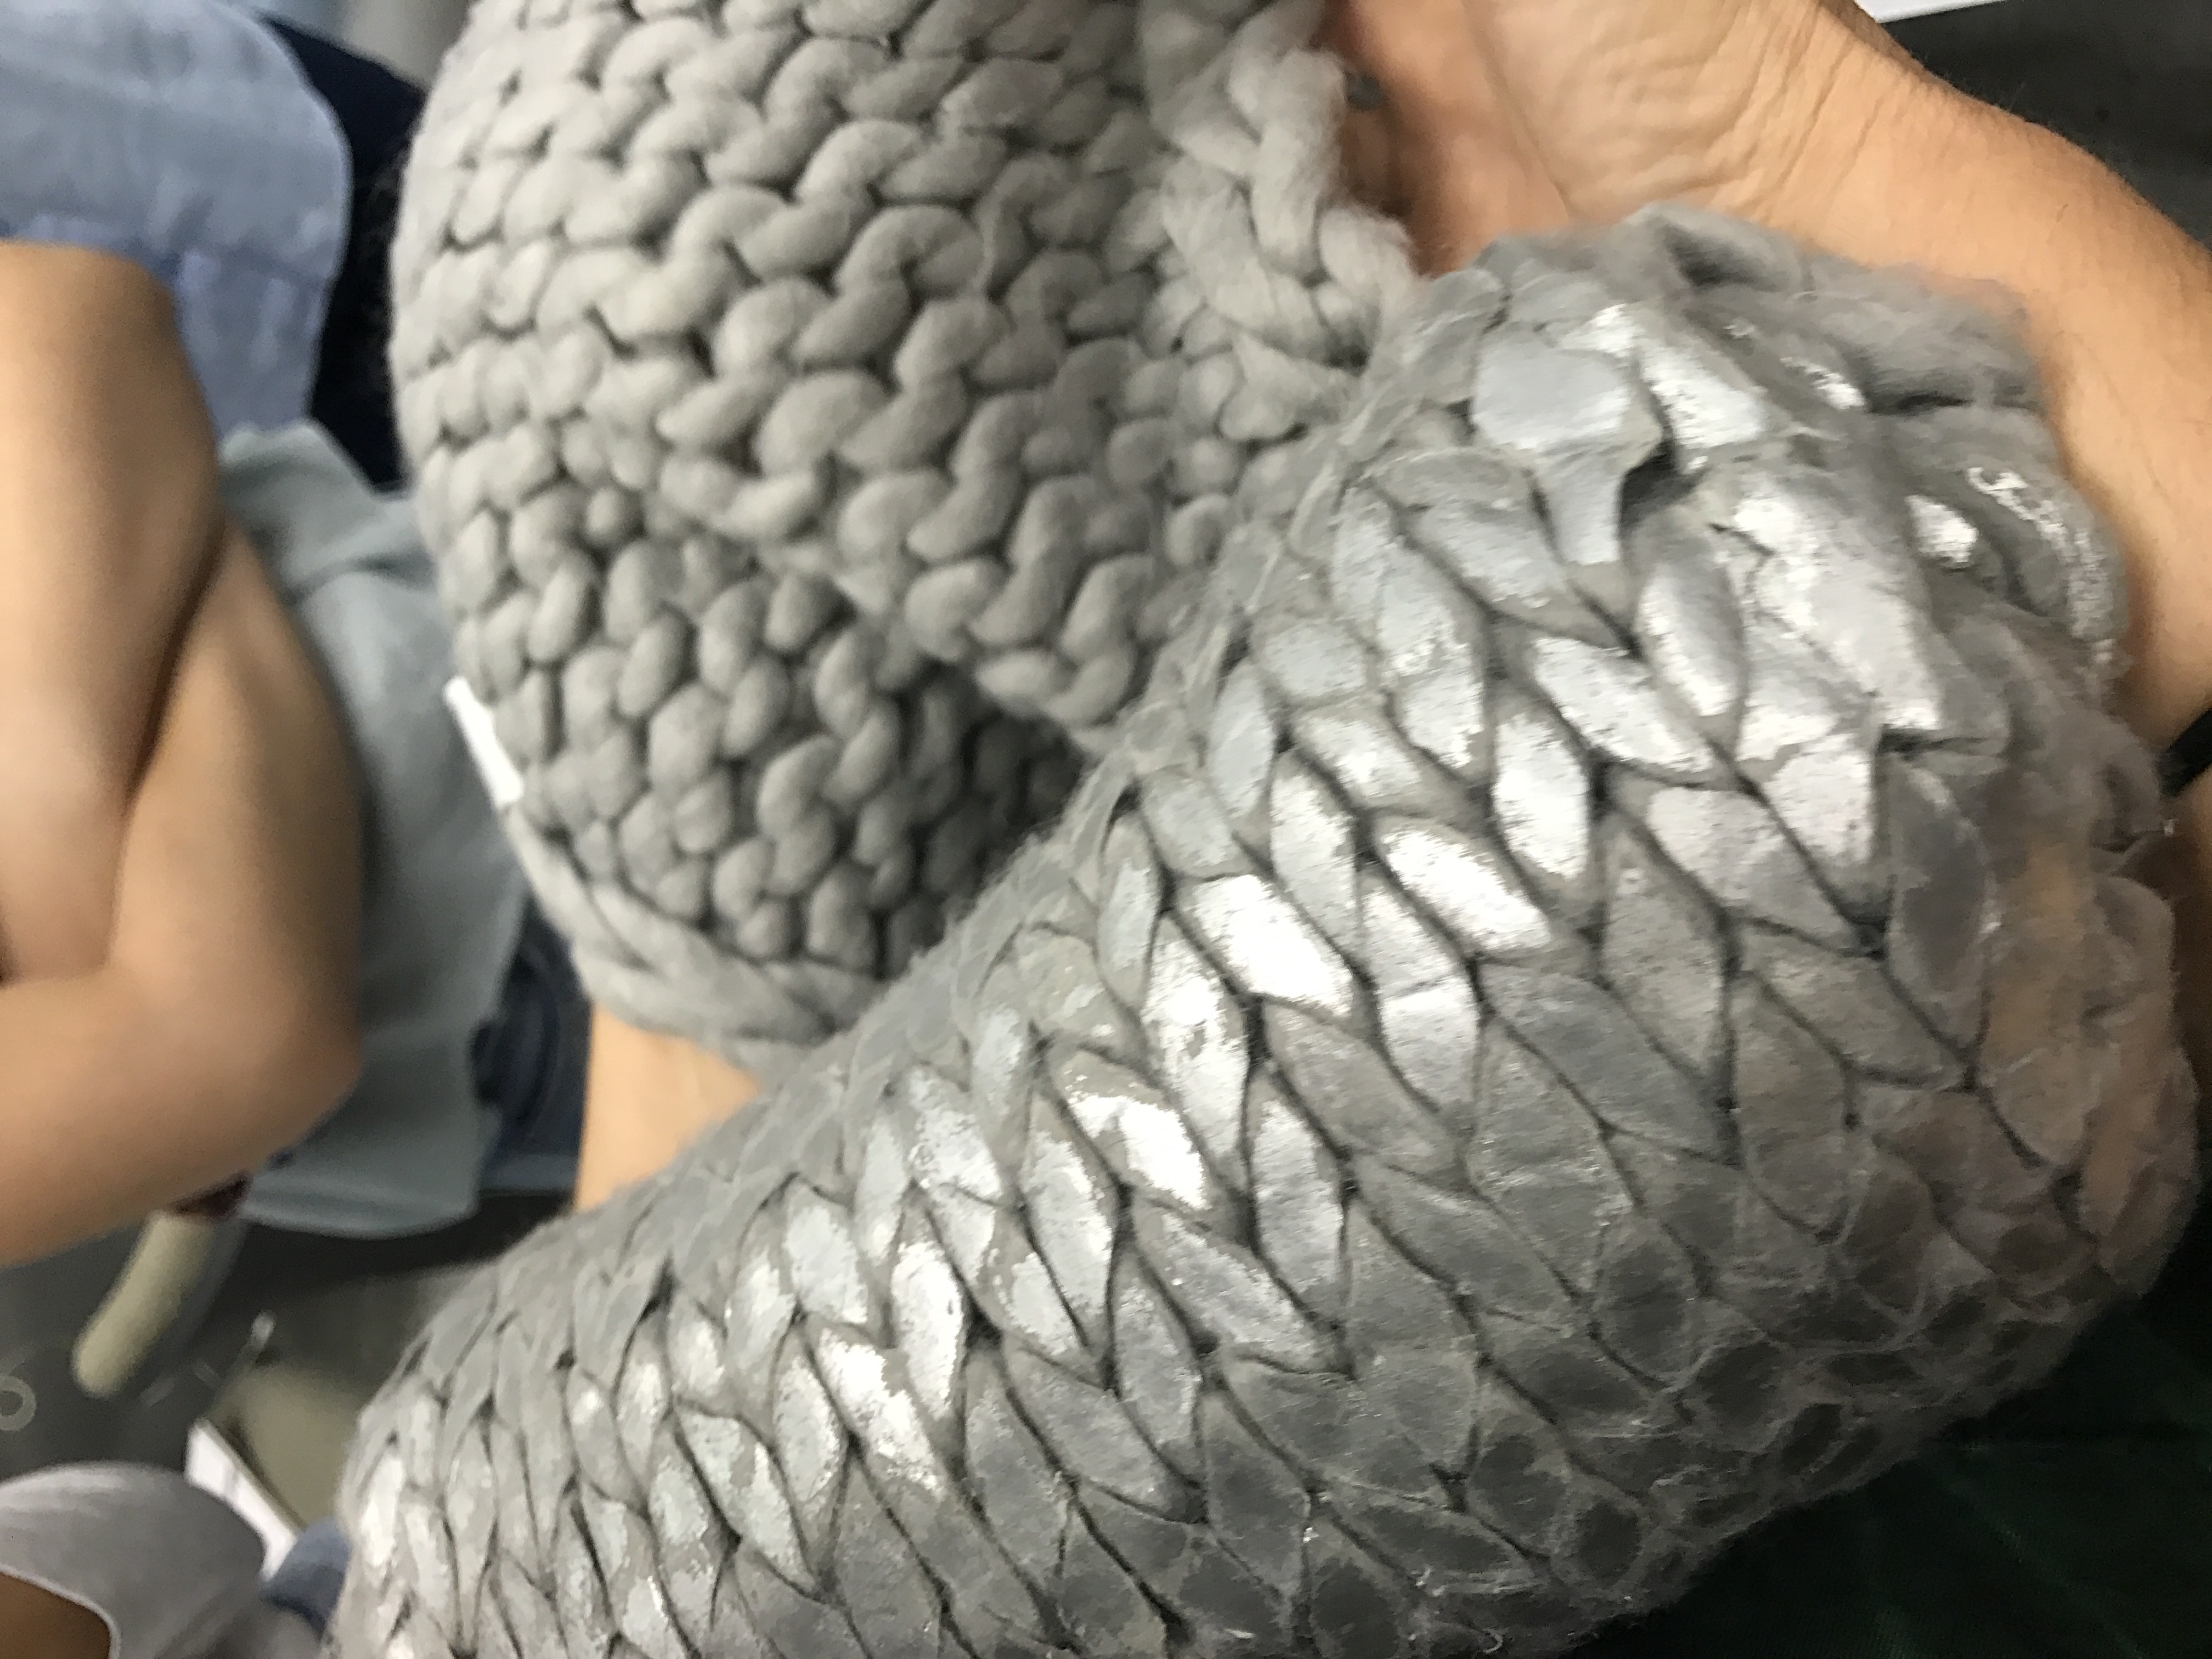
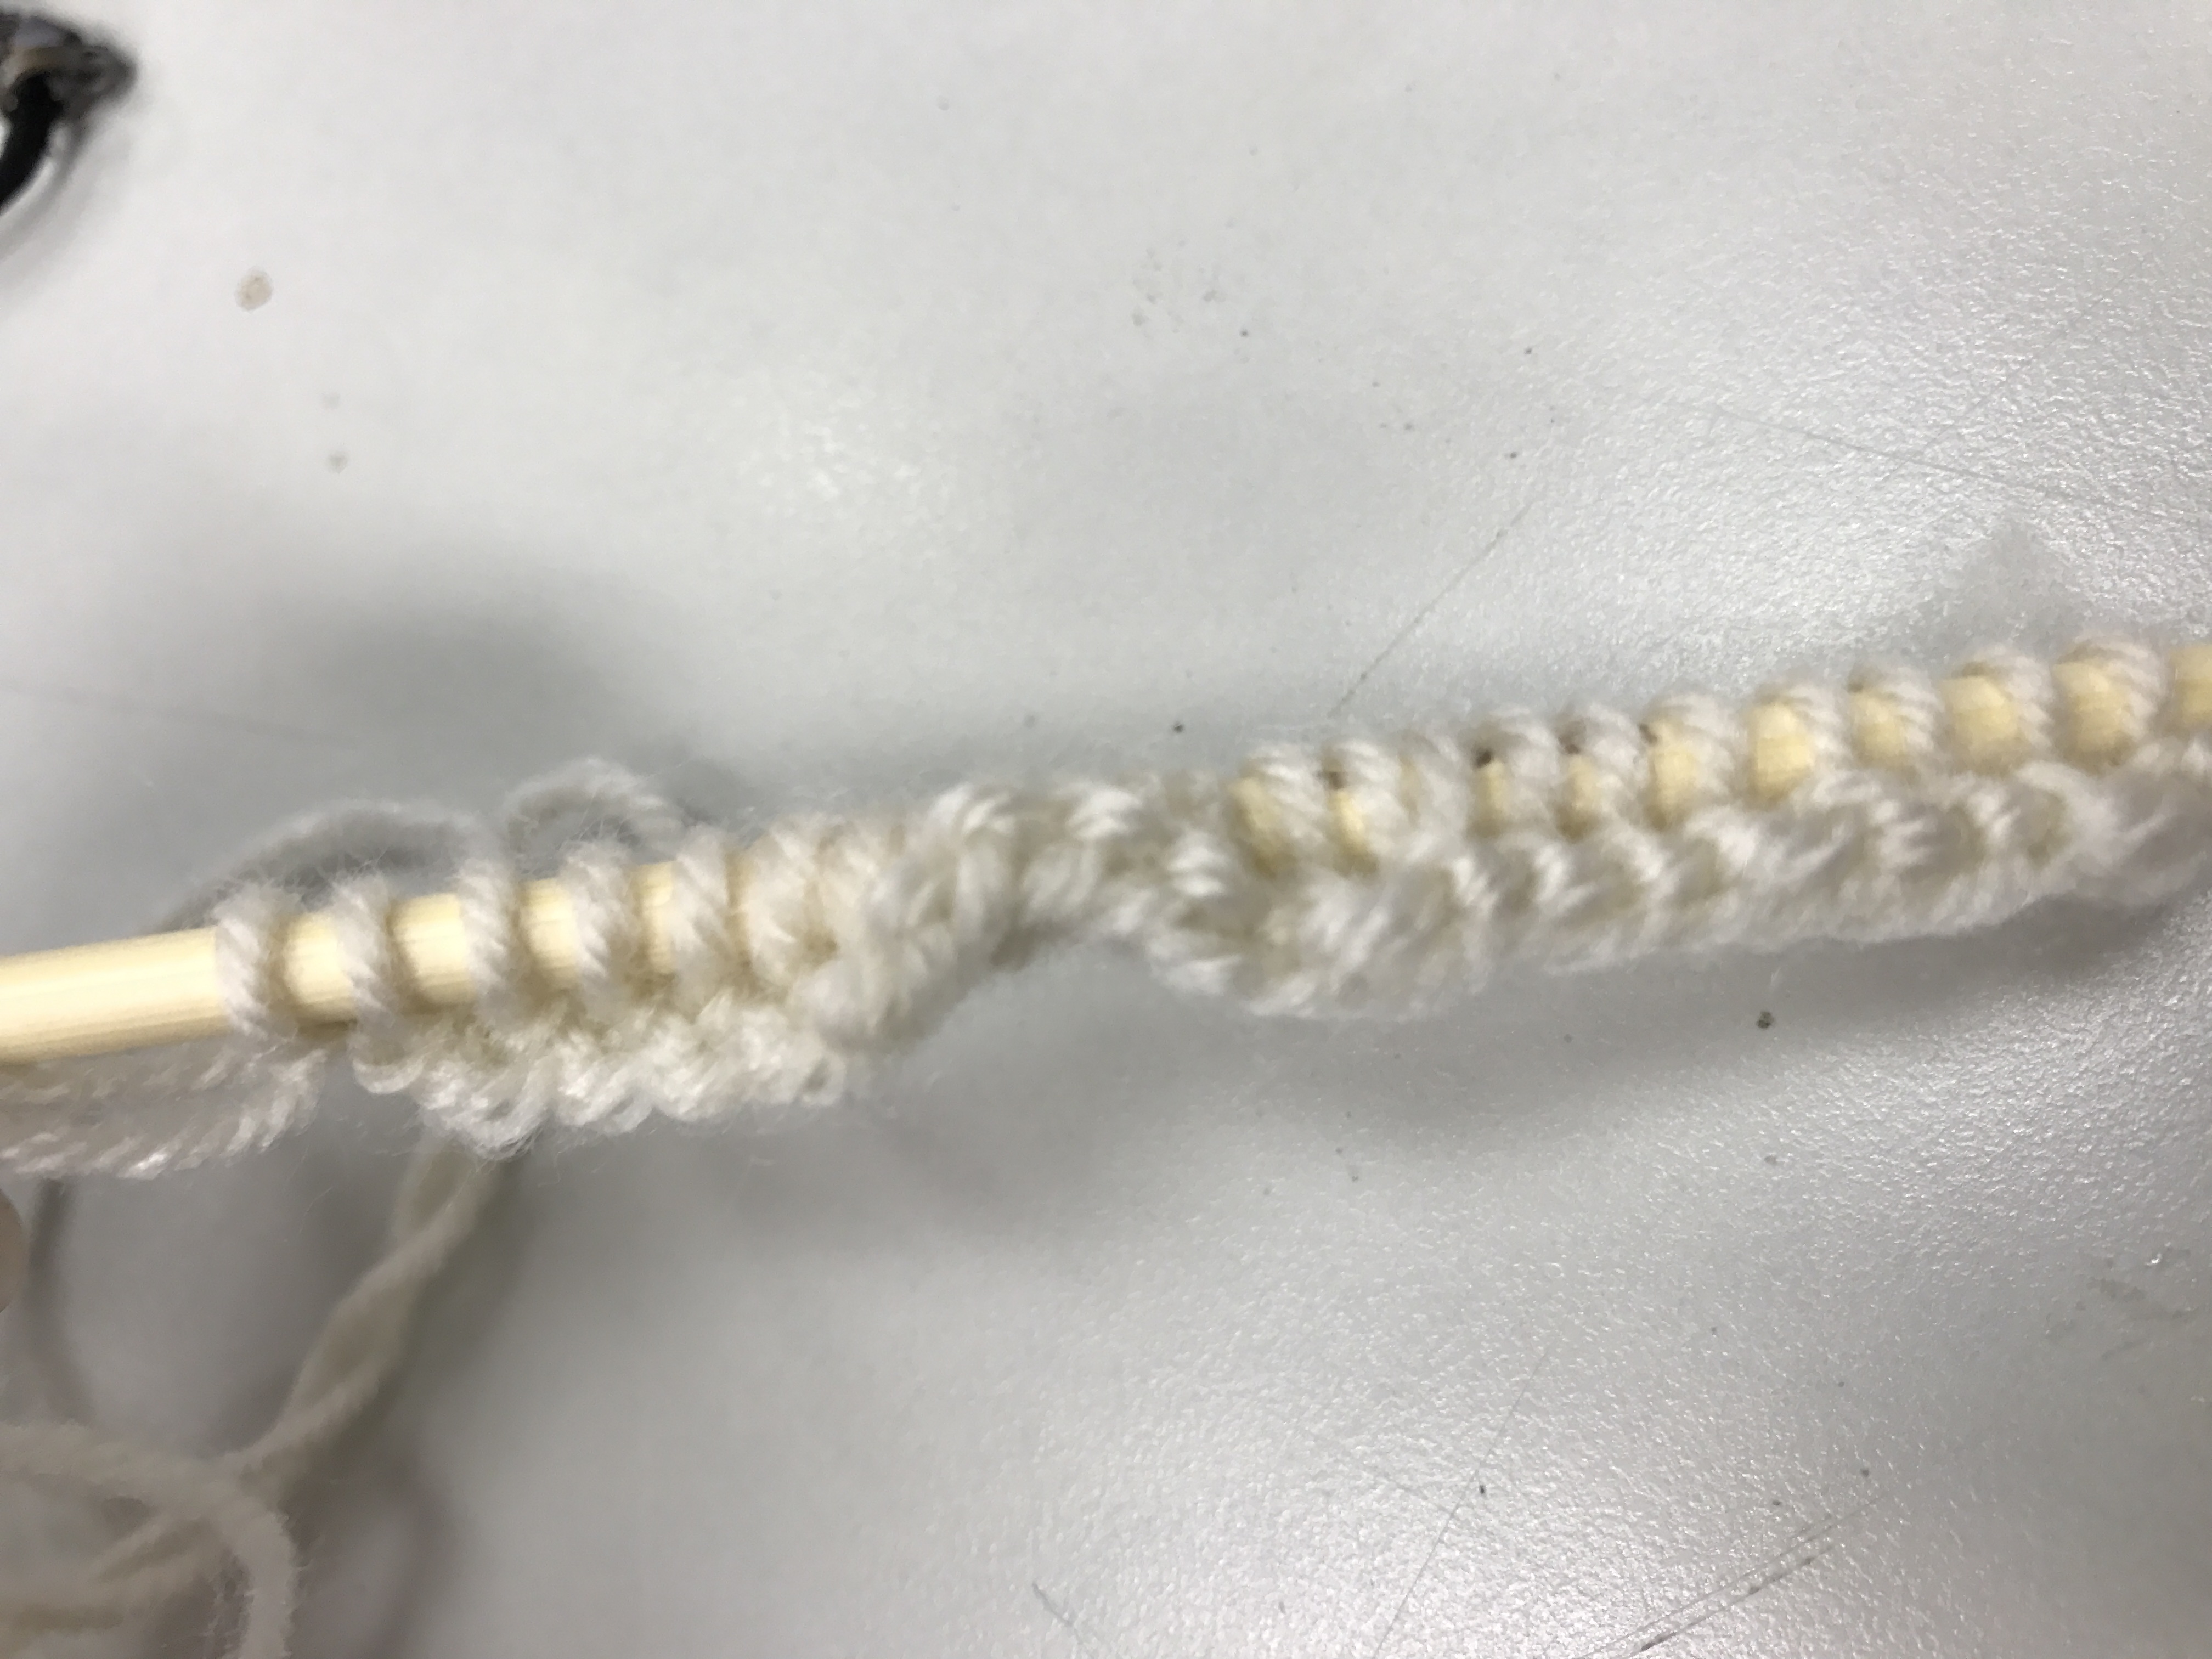
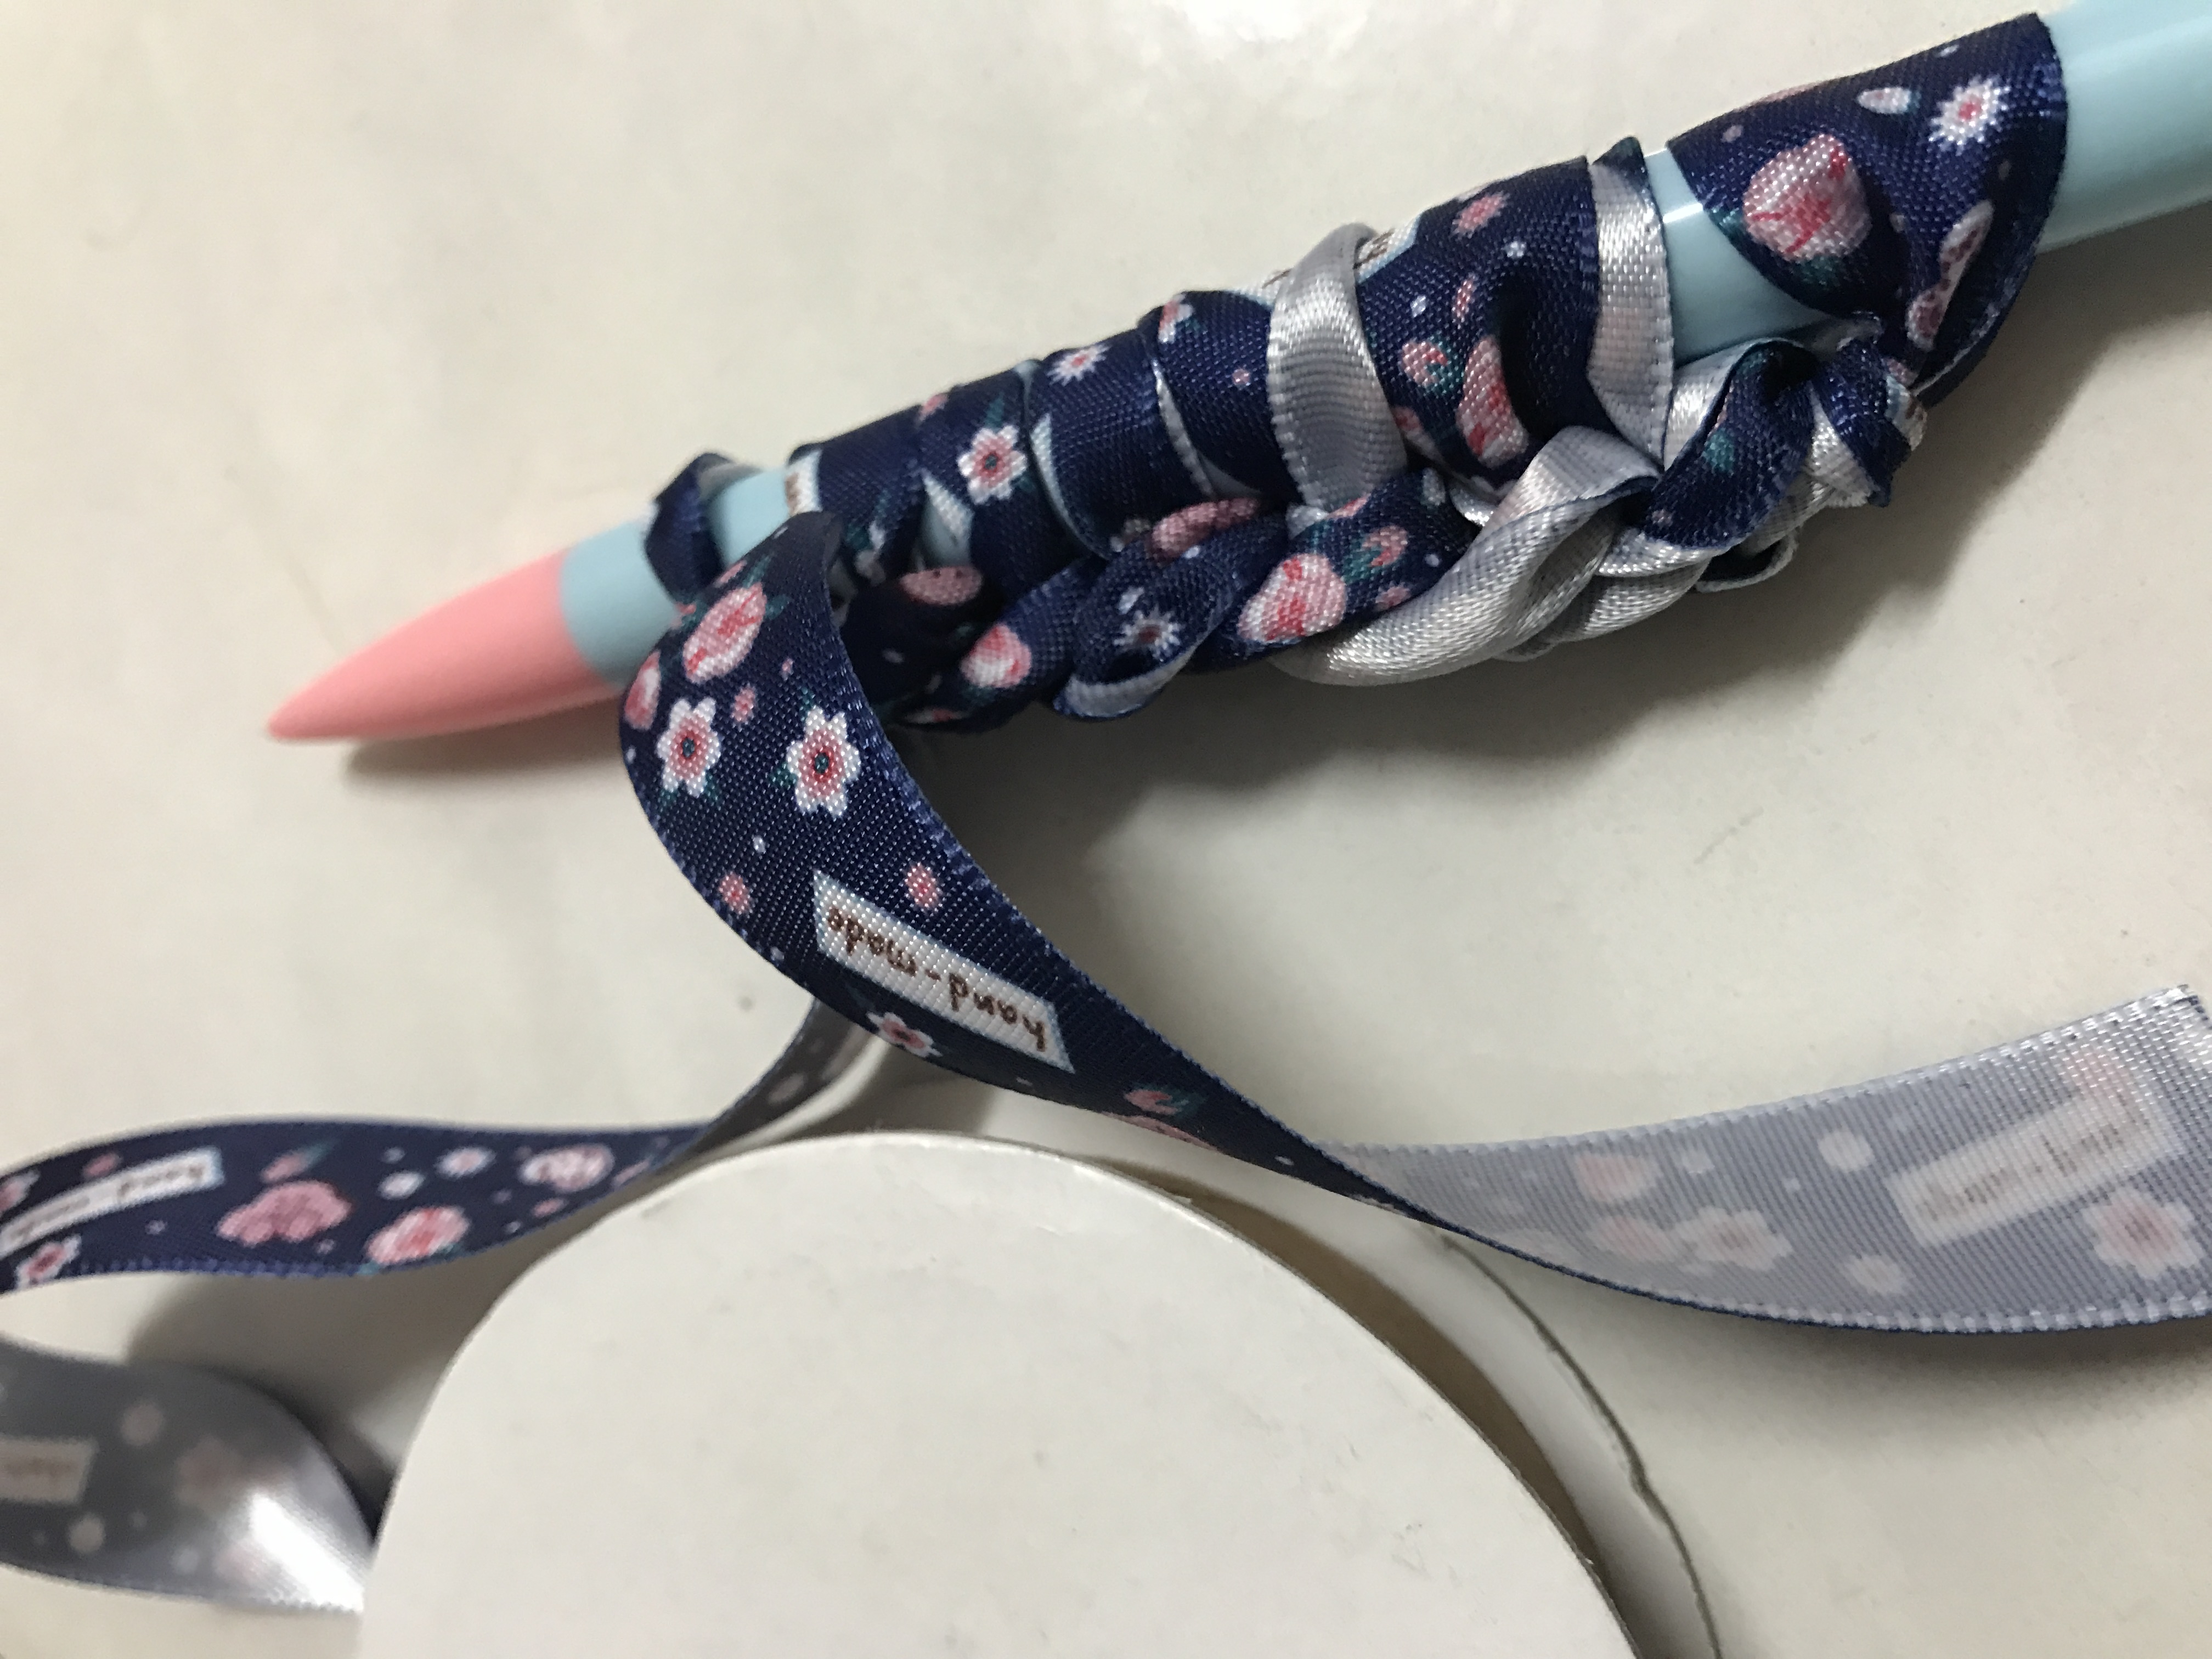
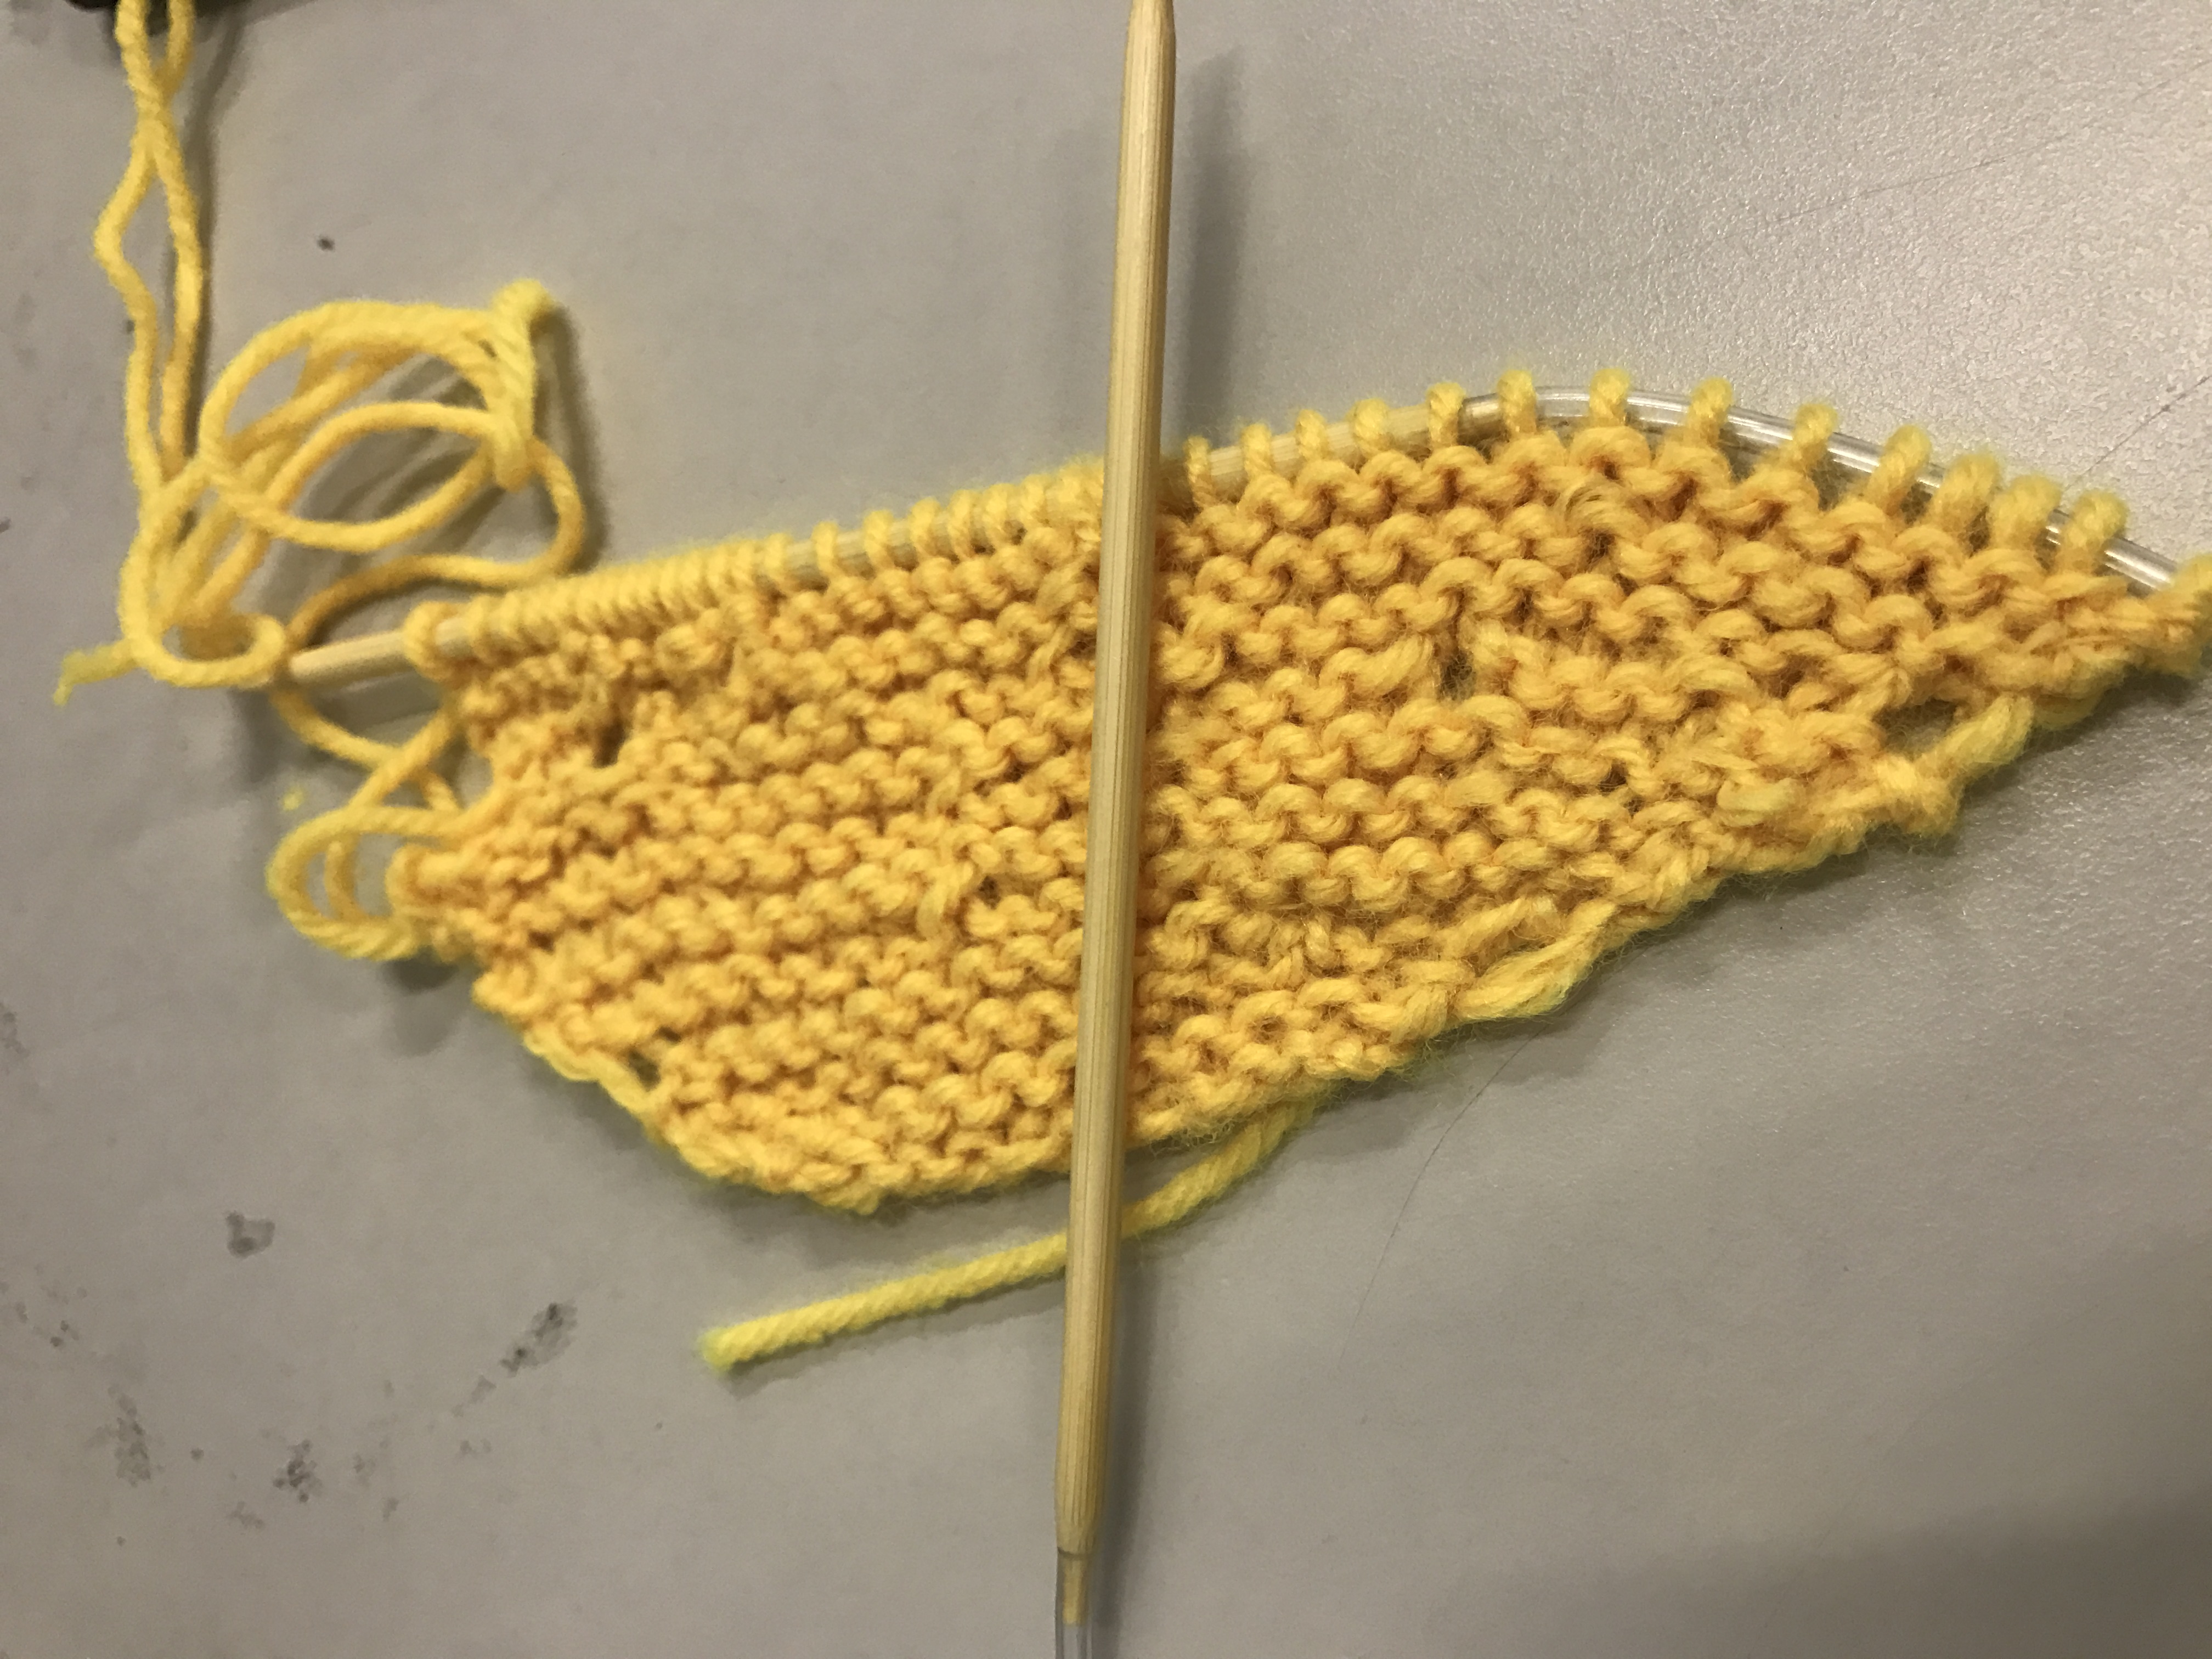
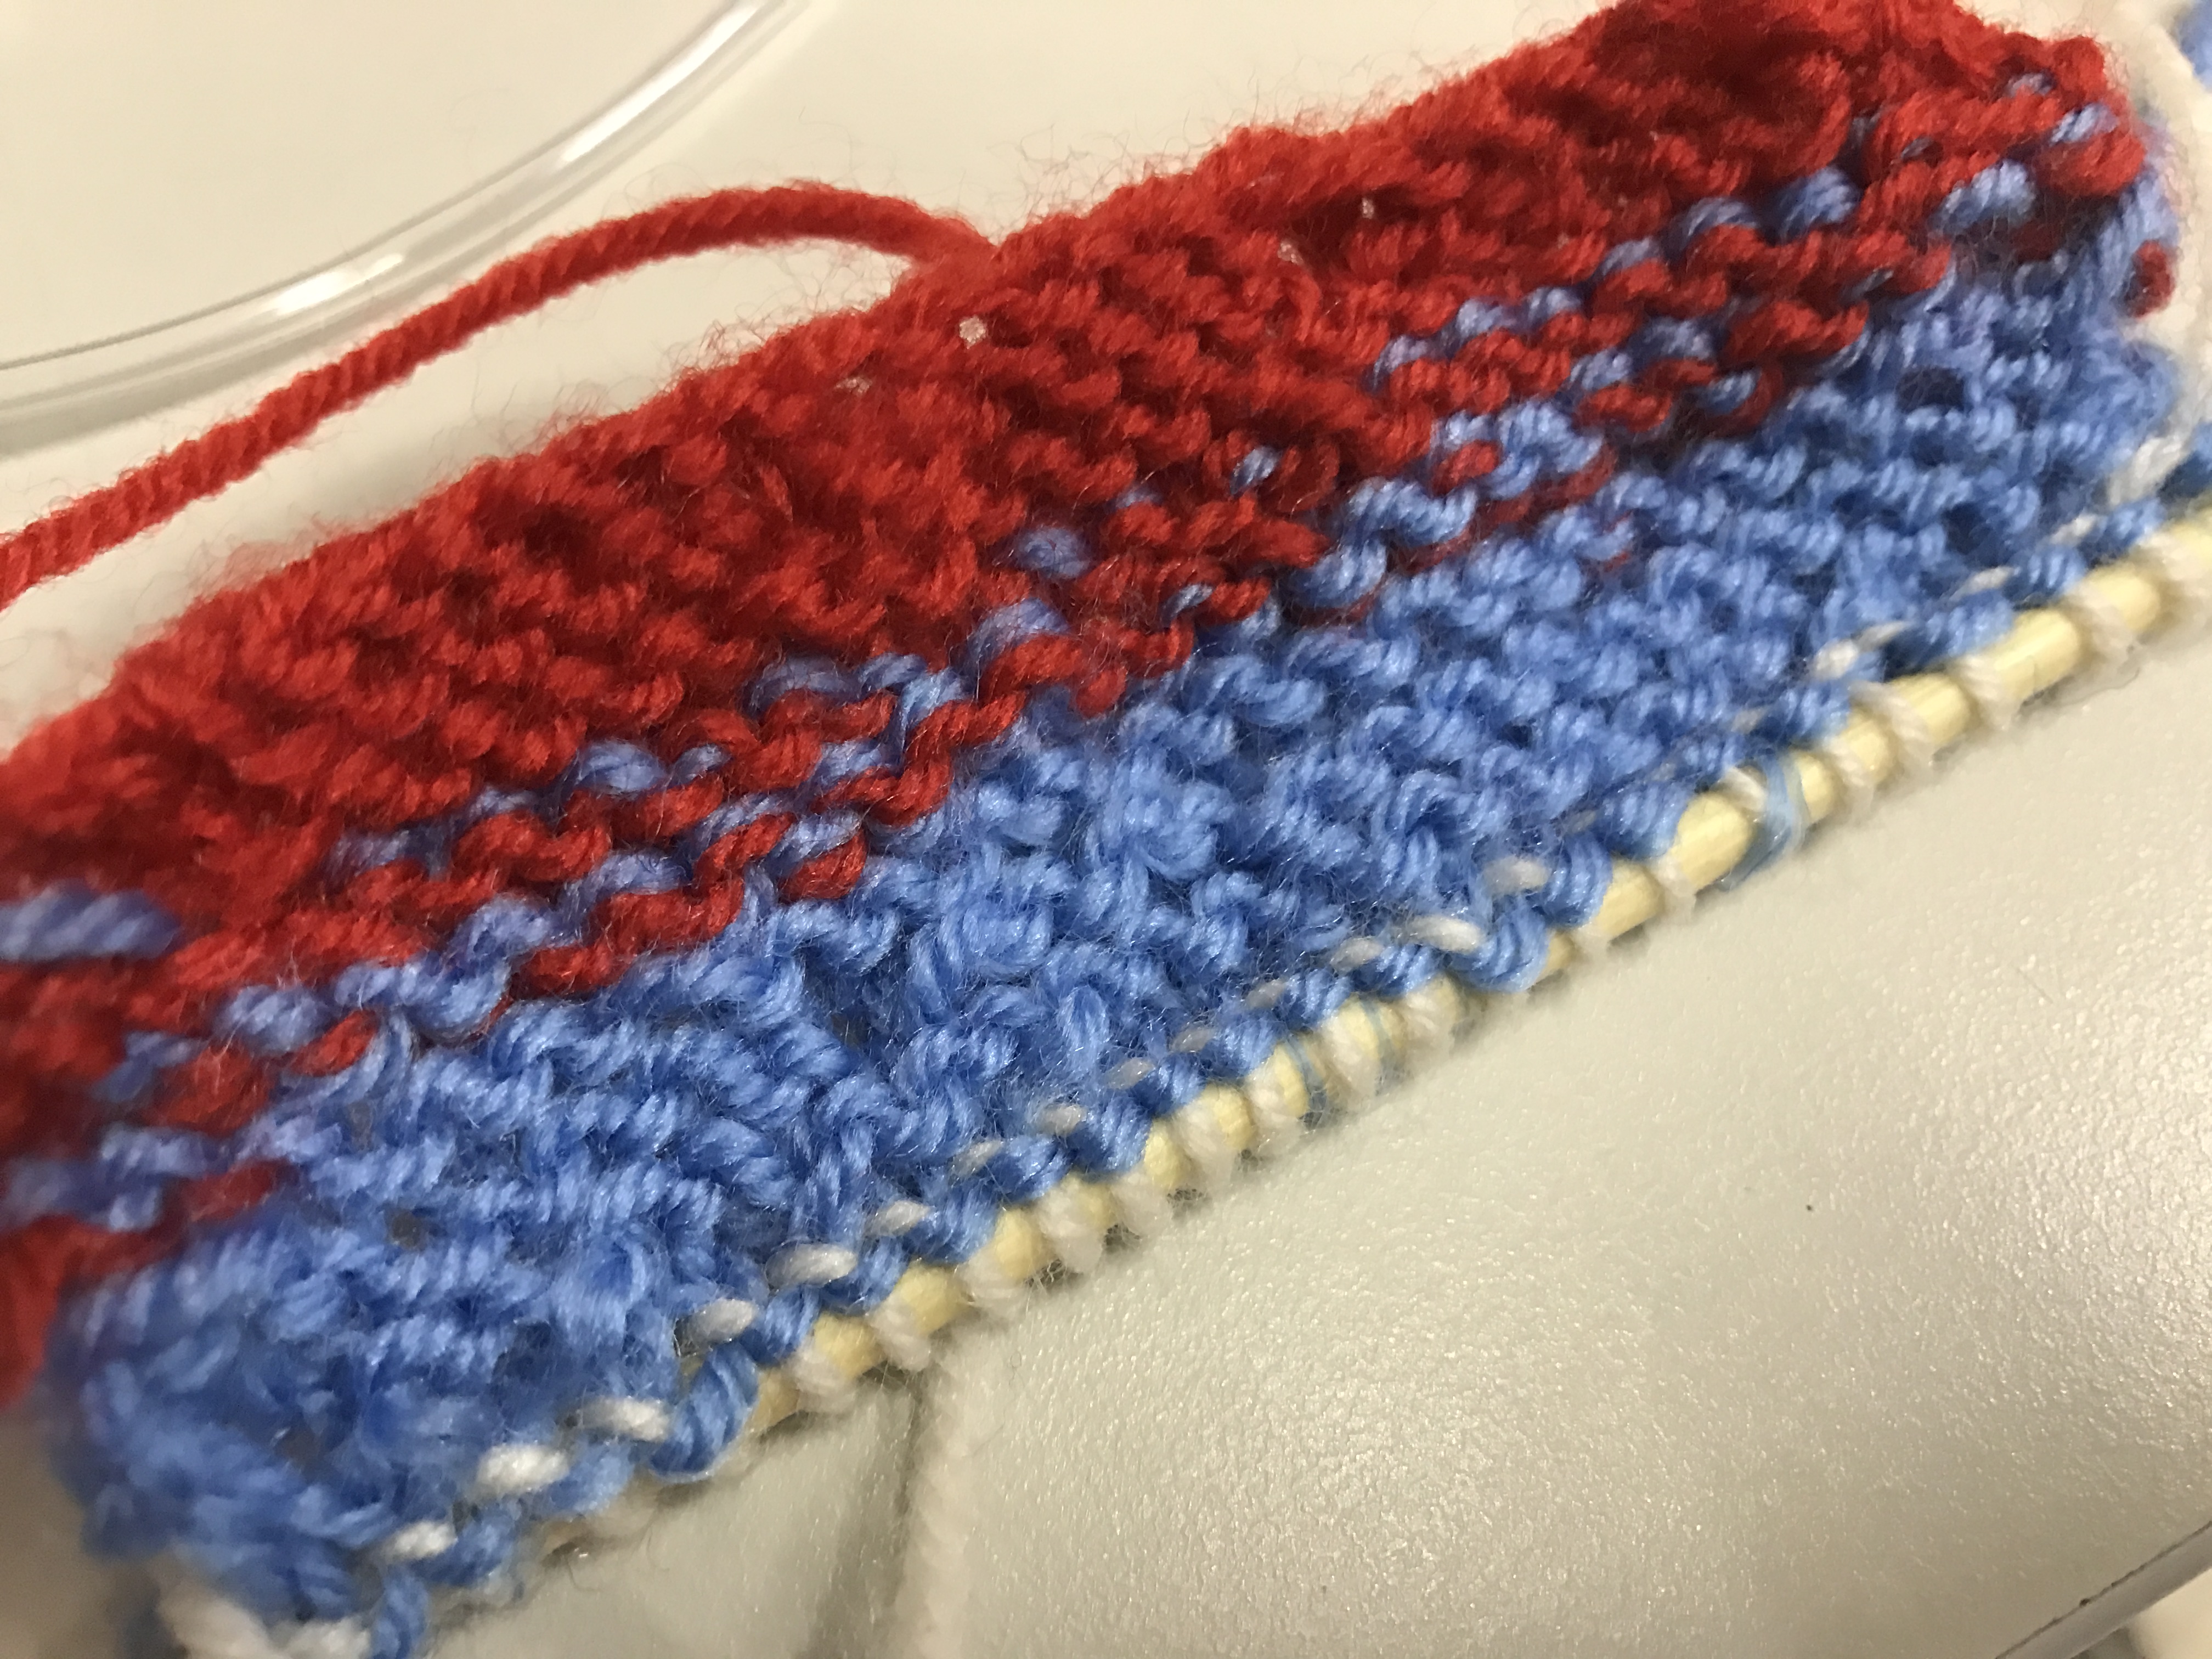
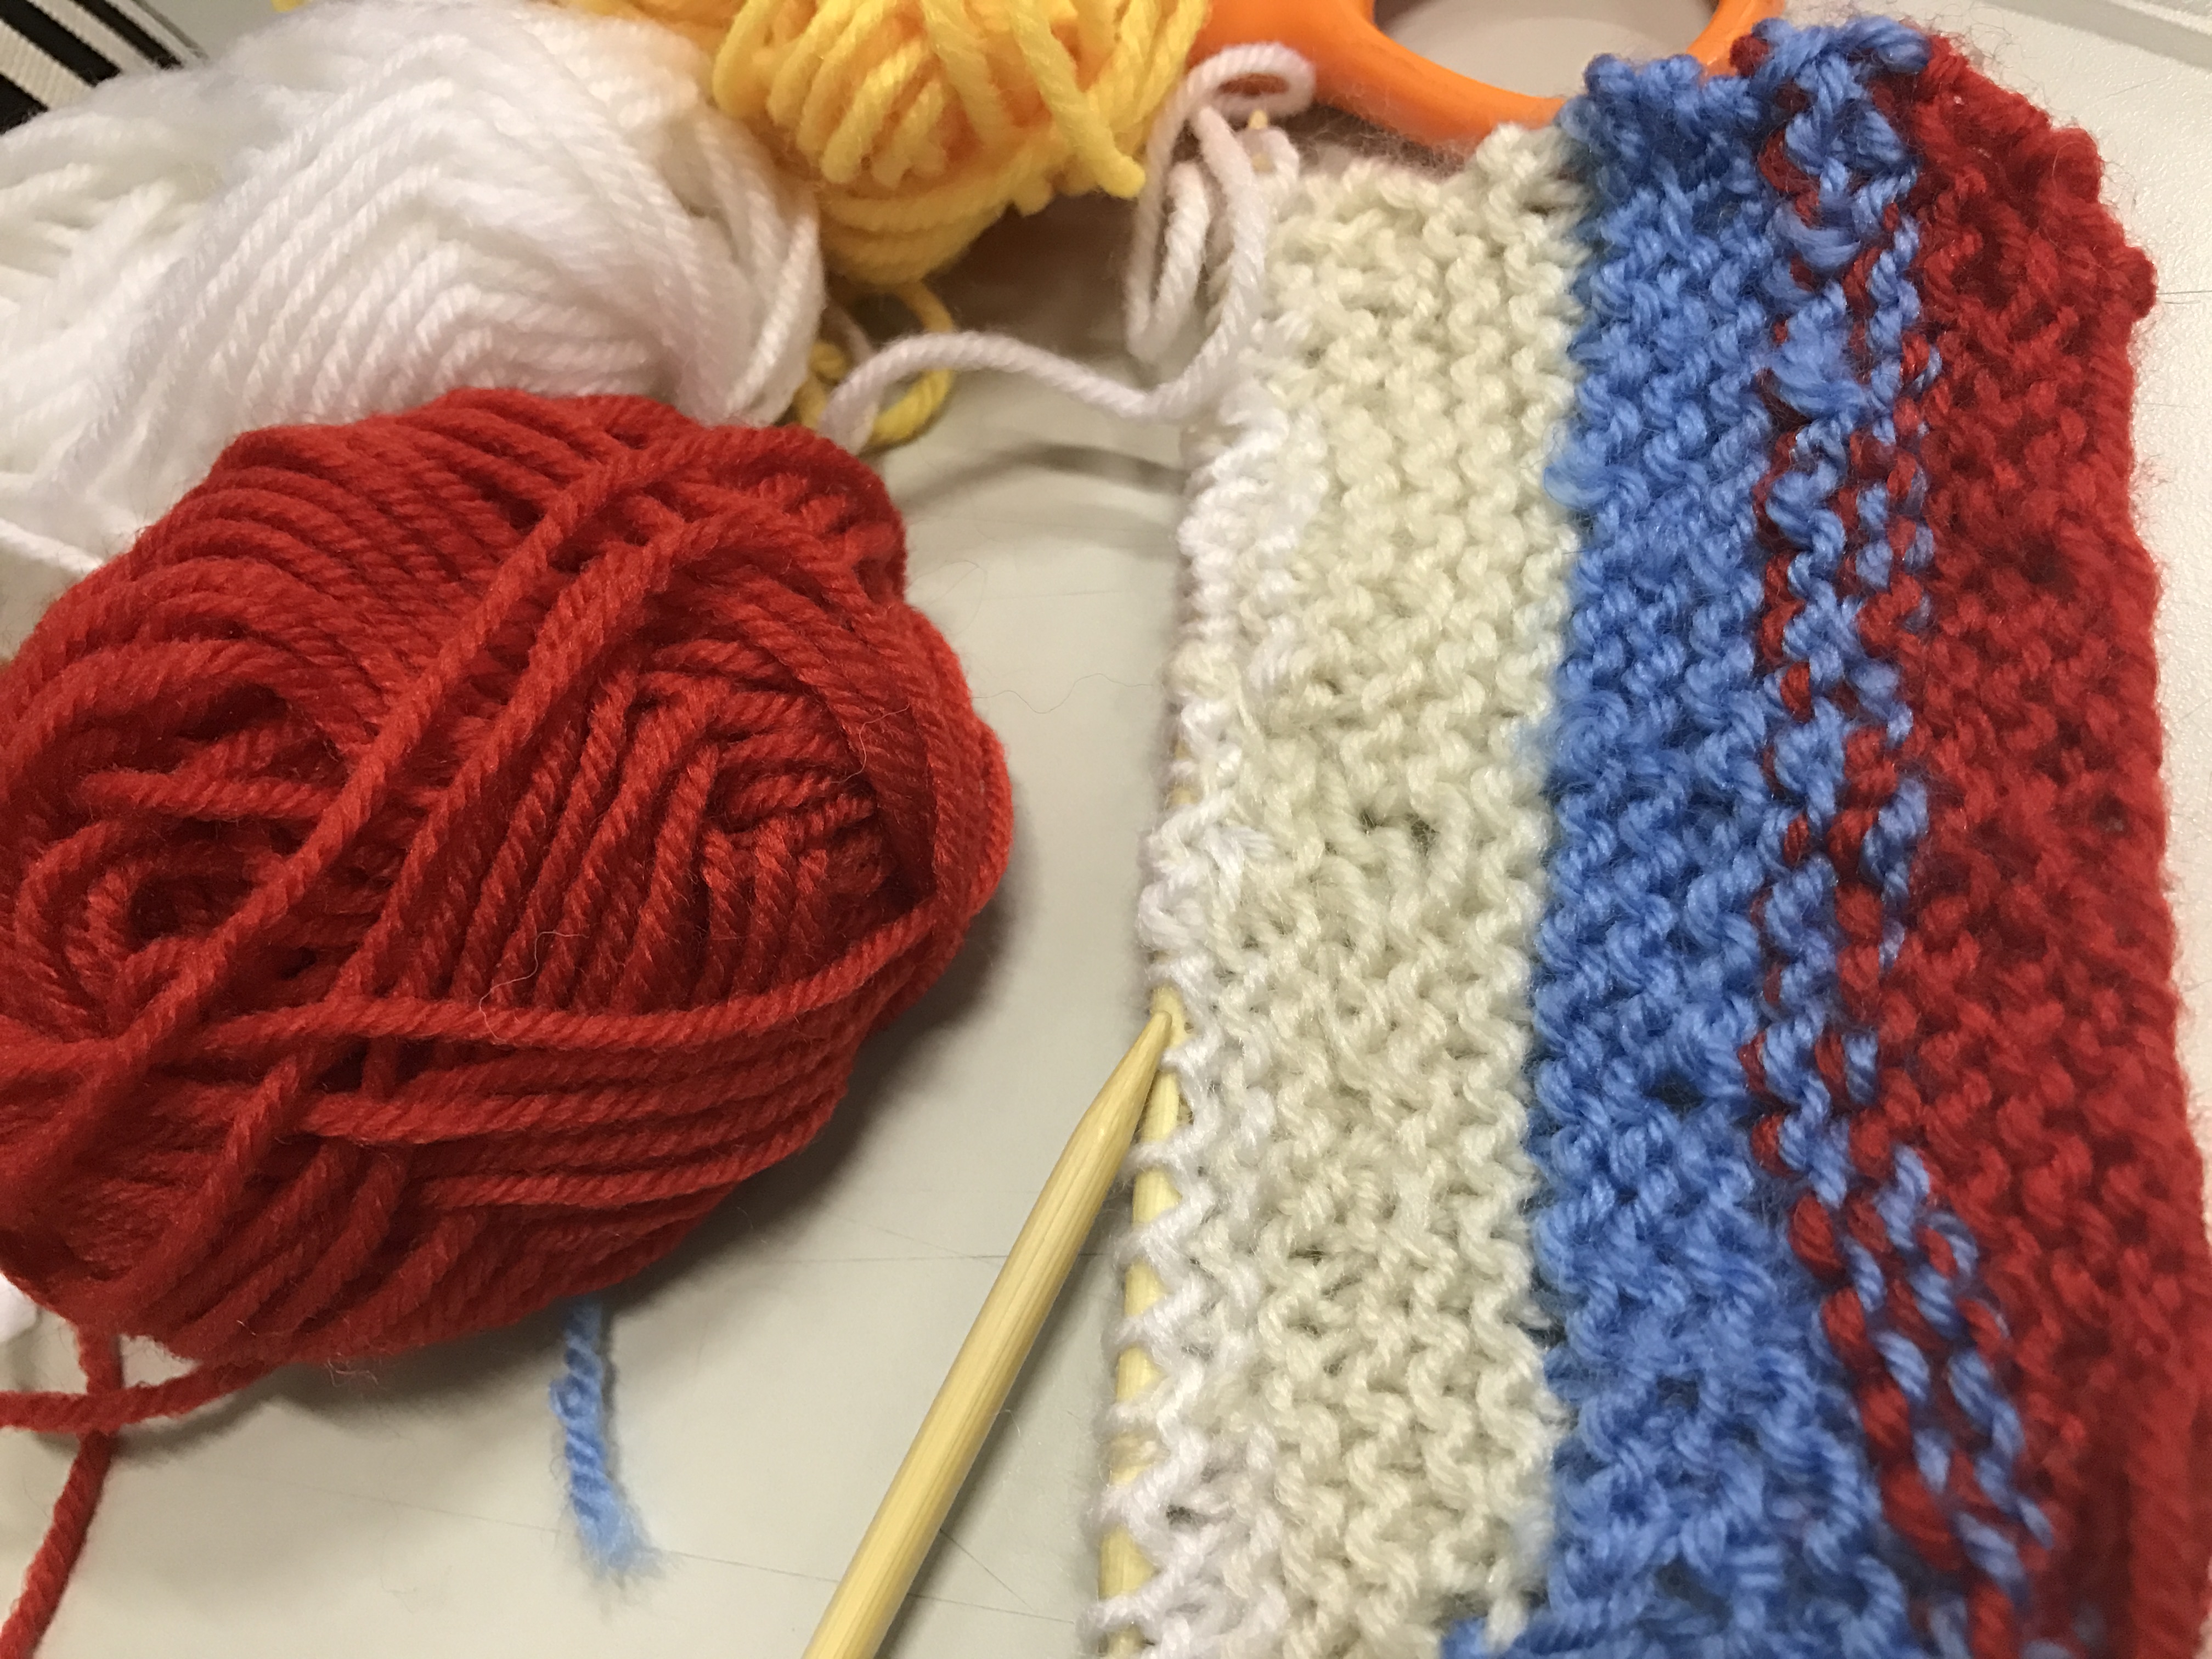
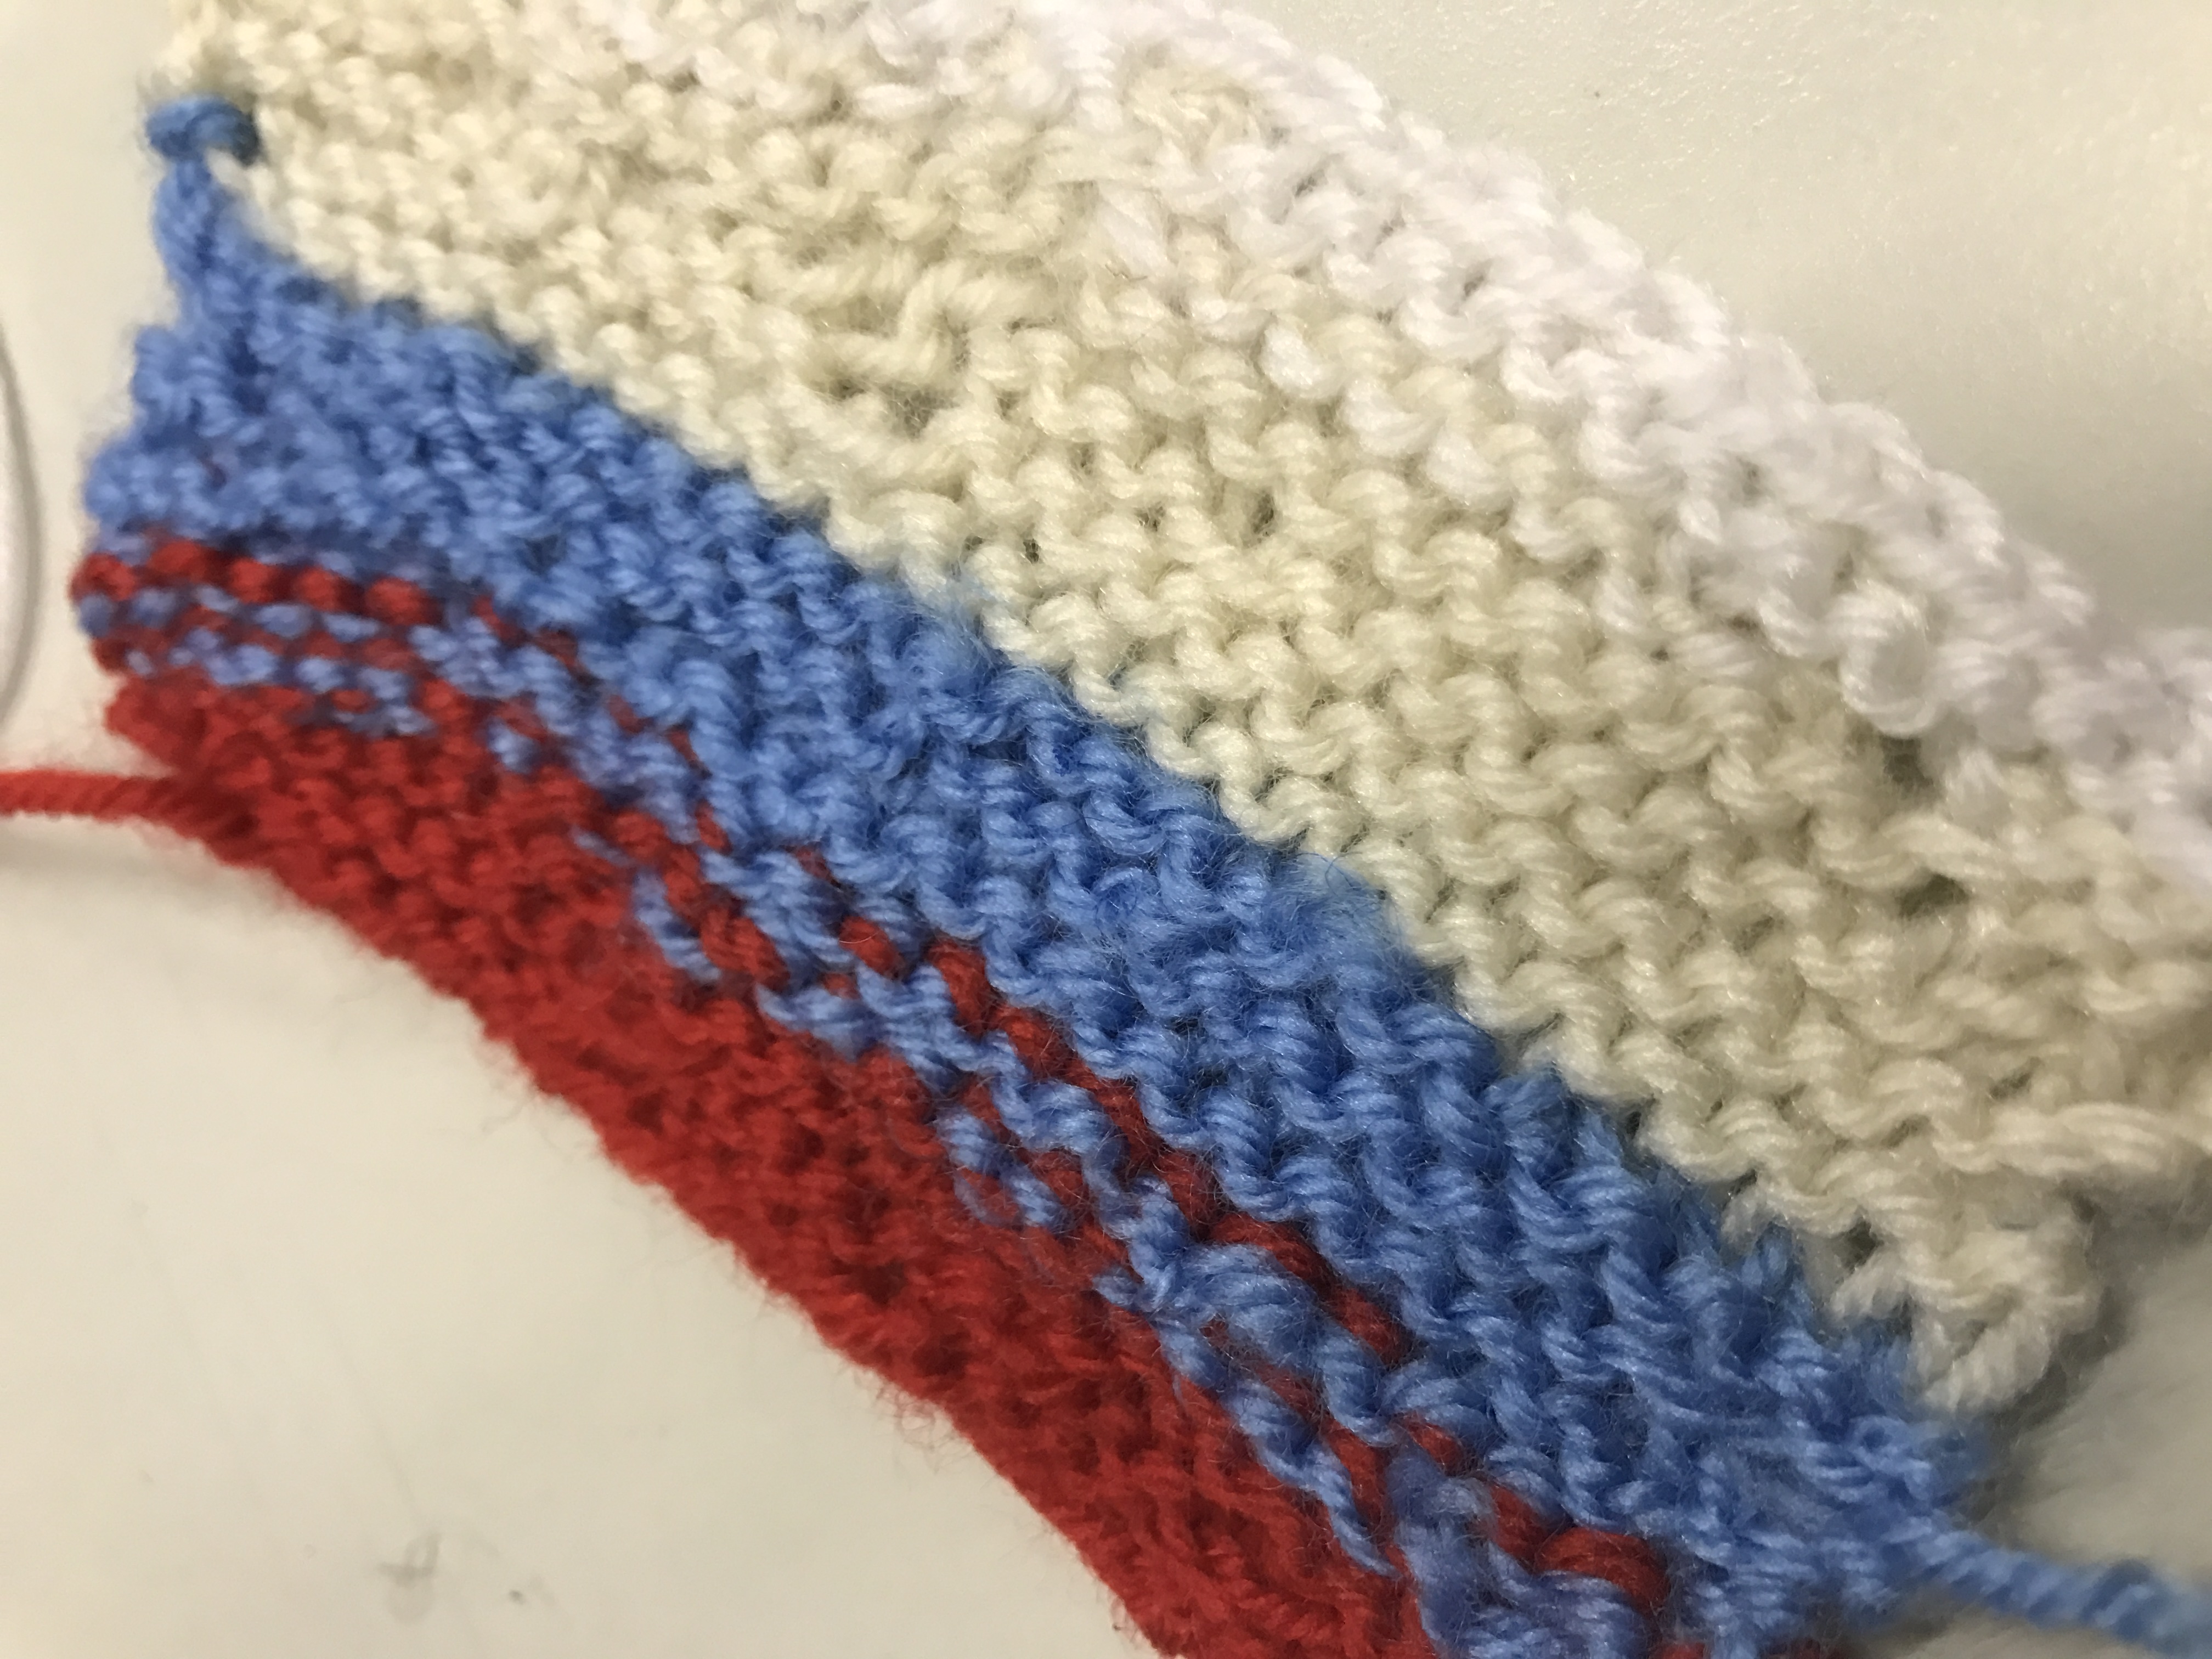
Knitting process Okay the knitting process starts! Basically what I had done in class is just exploring different material to knit. I started with clumsiness and went lots of trial and errors throughout the process.
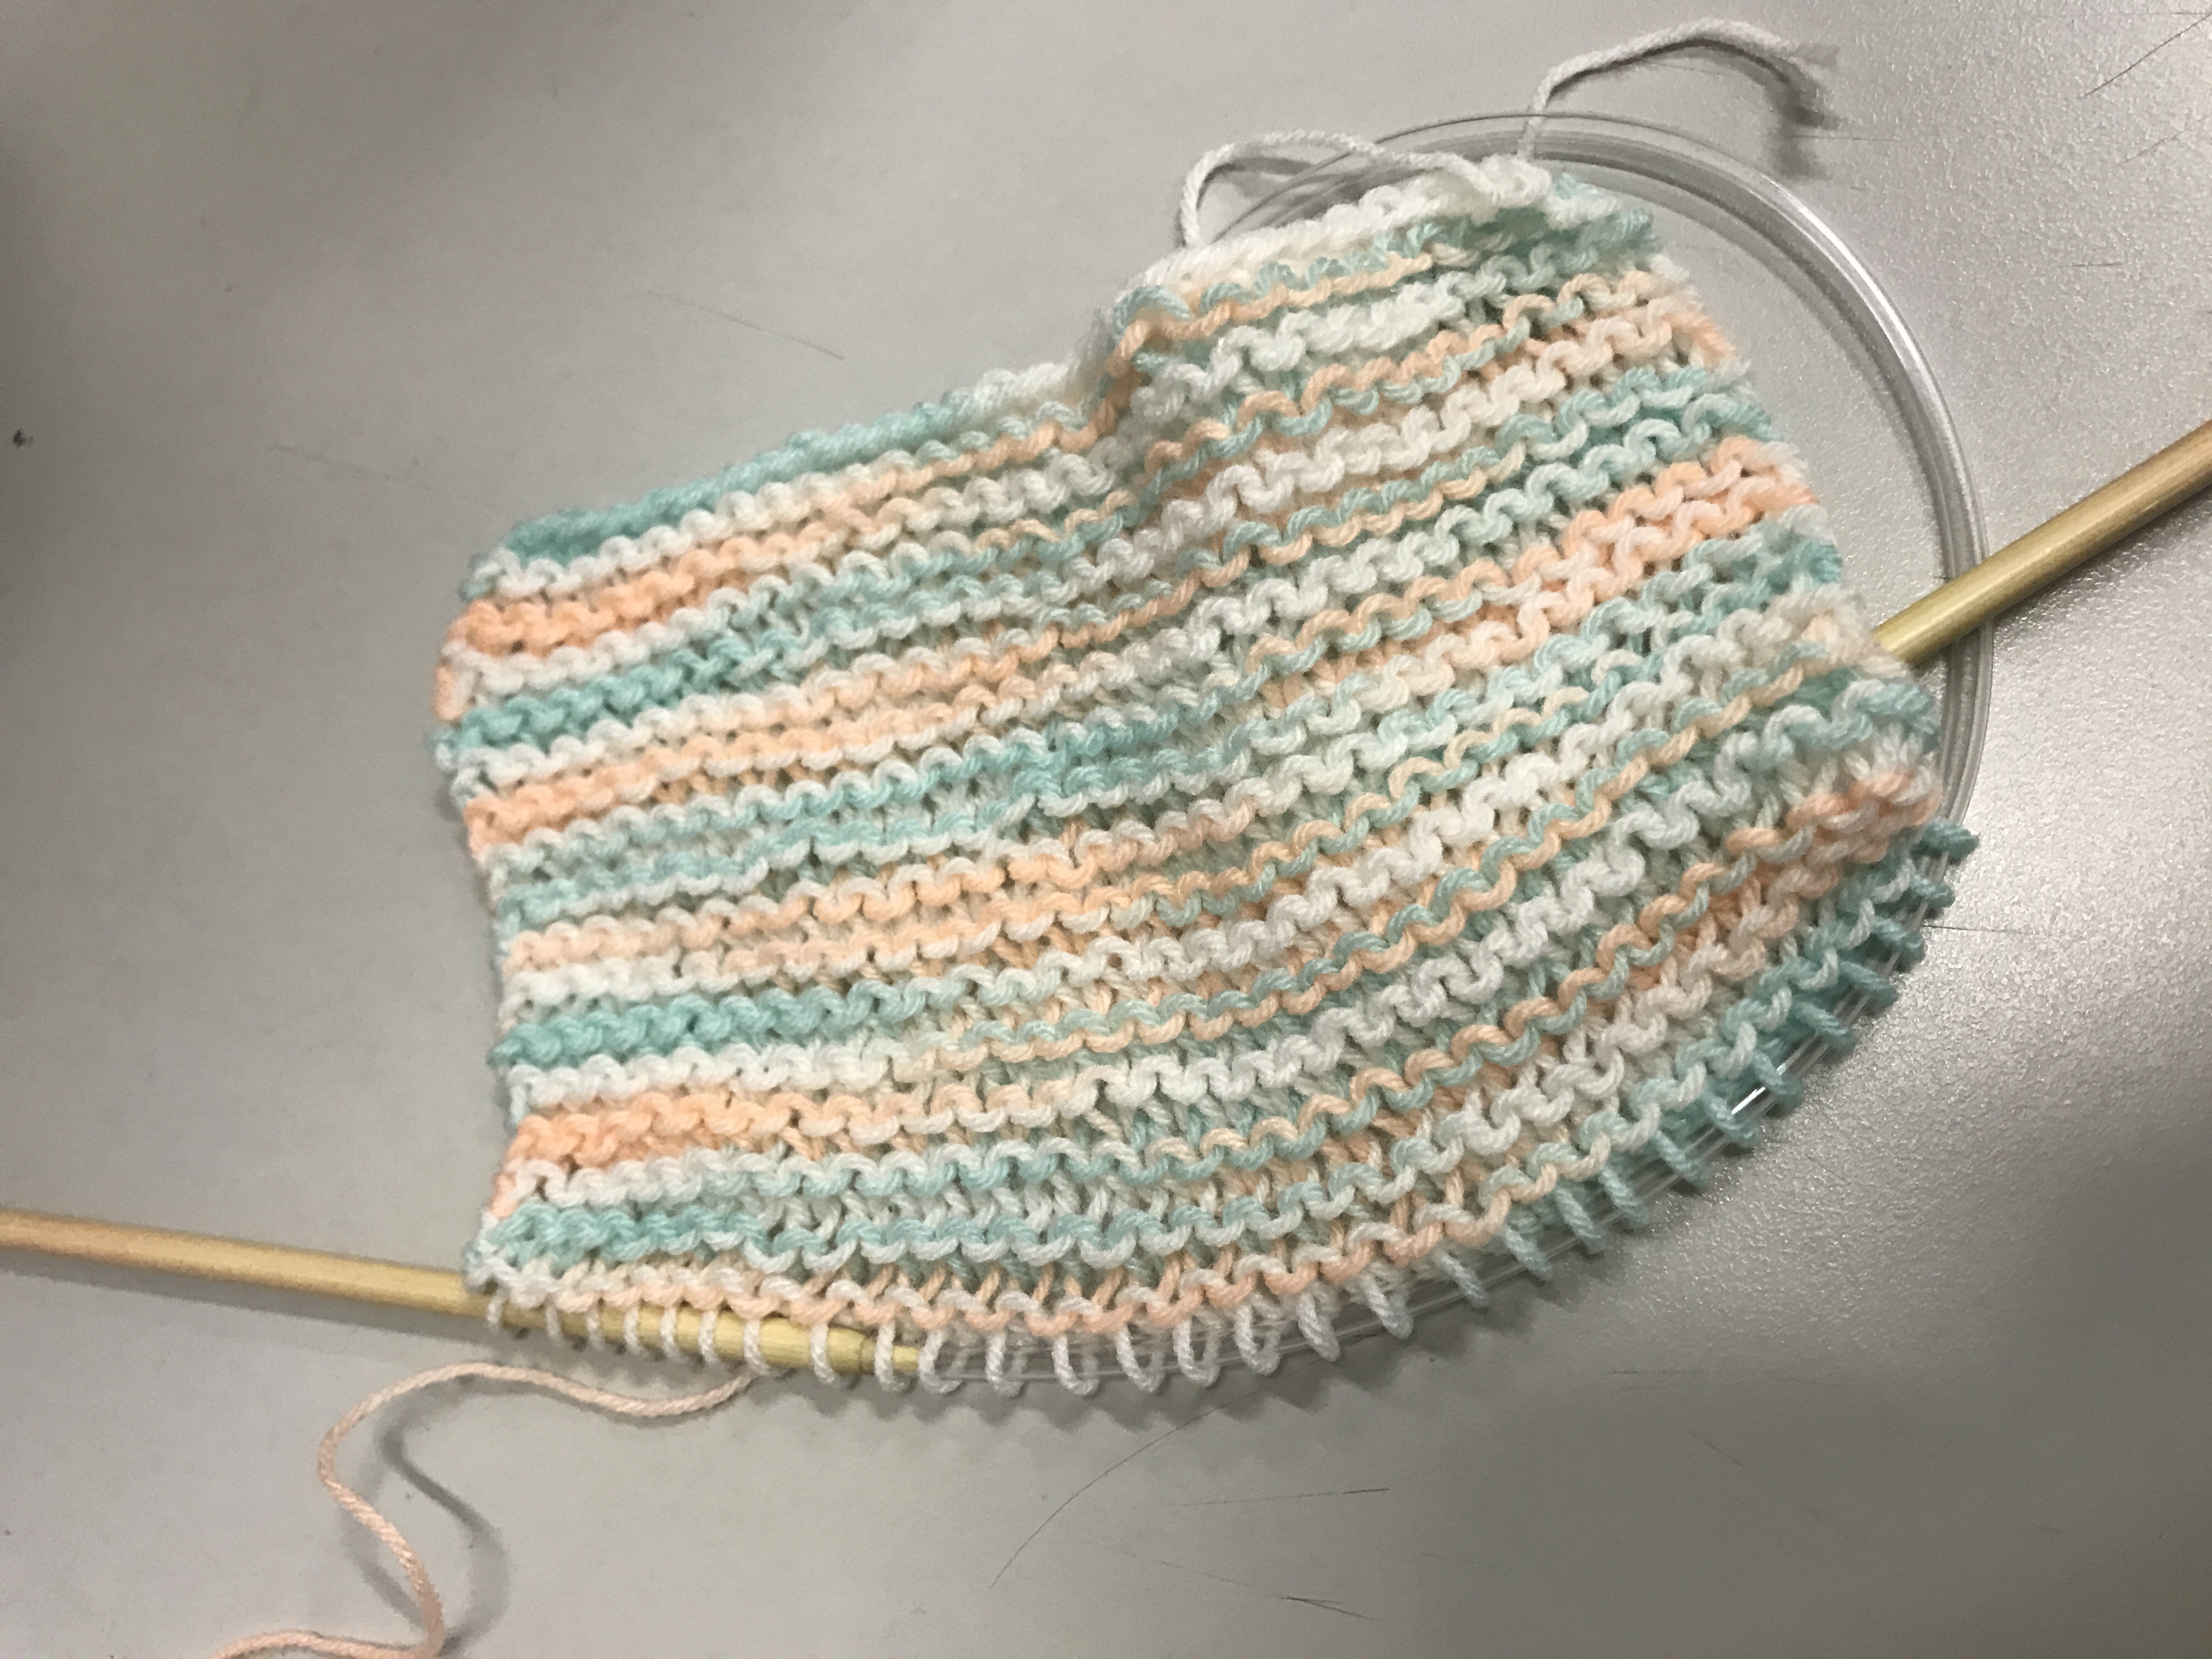
It is my first more completed pieces but it doesn’t come out very nice because I didn’t well manage to the strength for each knot. Some of the knots I knit it too tie but some of them just very loose so thats why the pieces look like an irregular shape. BUT this is what I learnt to create special shape towards your pieces, you actually can manage the strength while knitting. For example, if you want the part be smaller, the you can make the knots tighter.
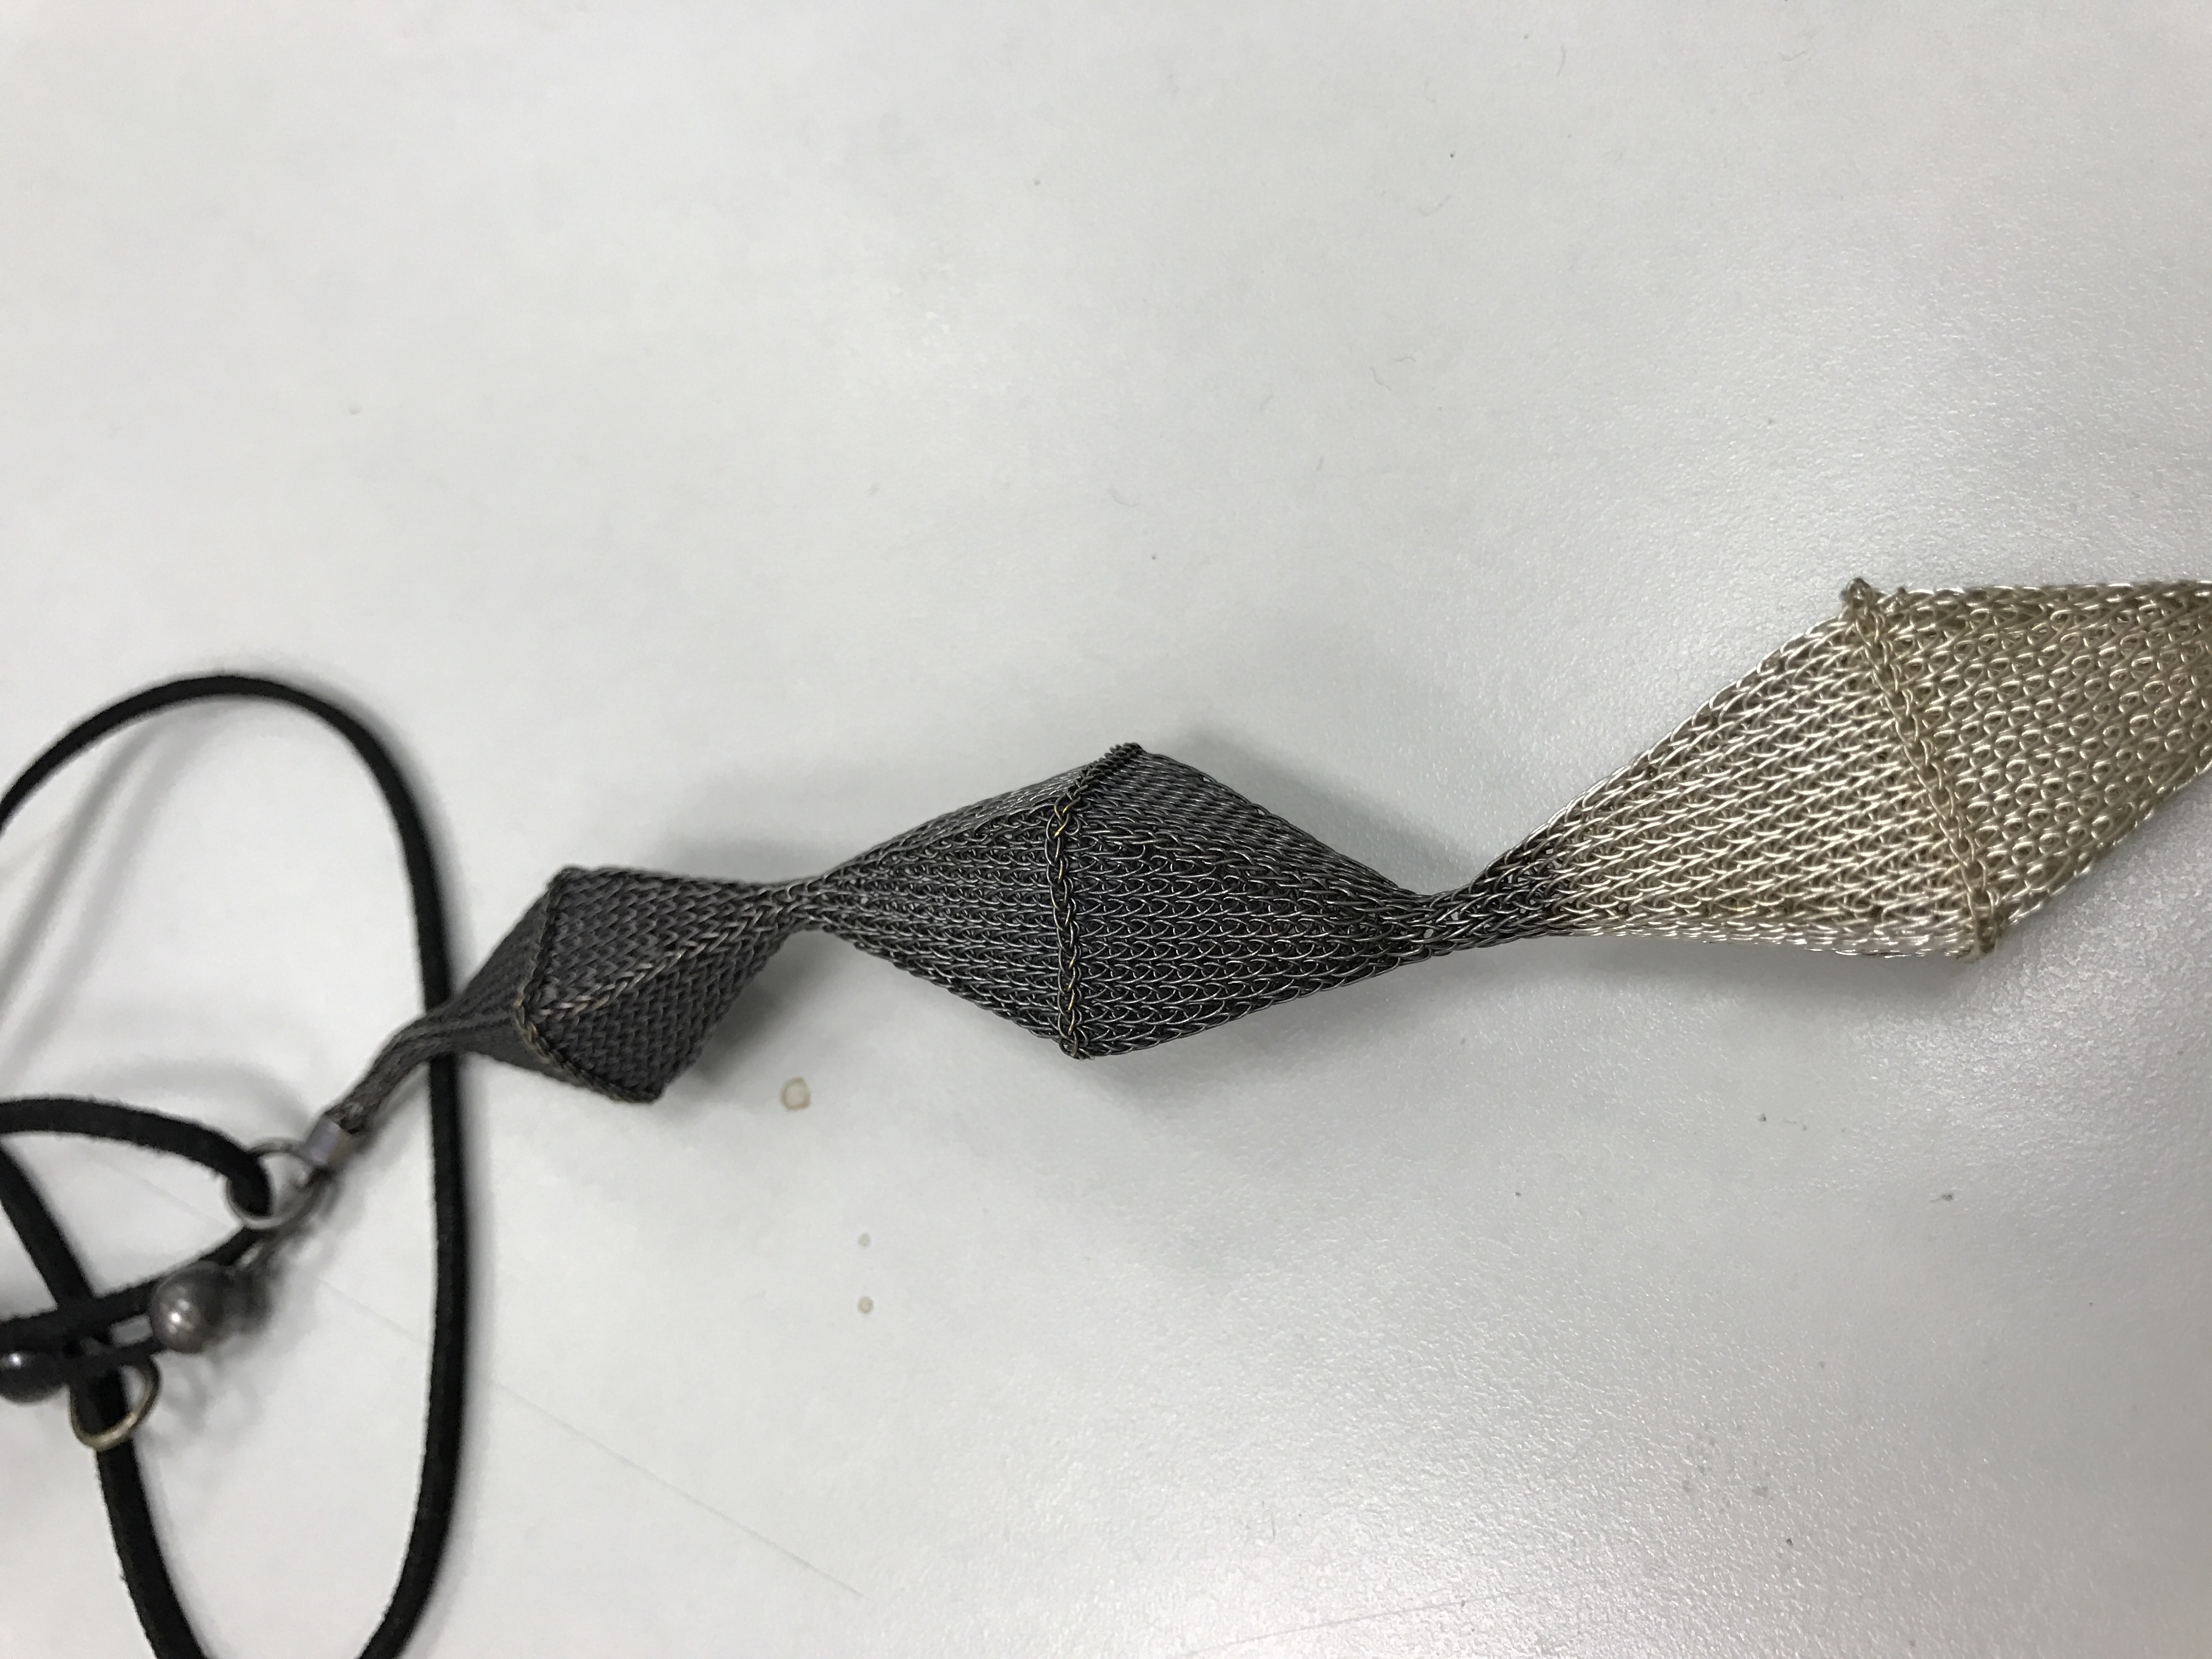
When I were more familiar with the basic steps of knitting, I try to replace different color of yarn to make the gradient effect. Although it is still look clumsy but I will completely keep it up!
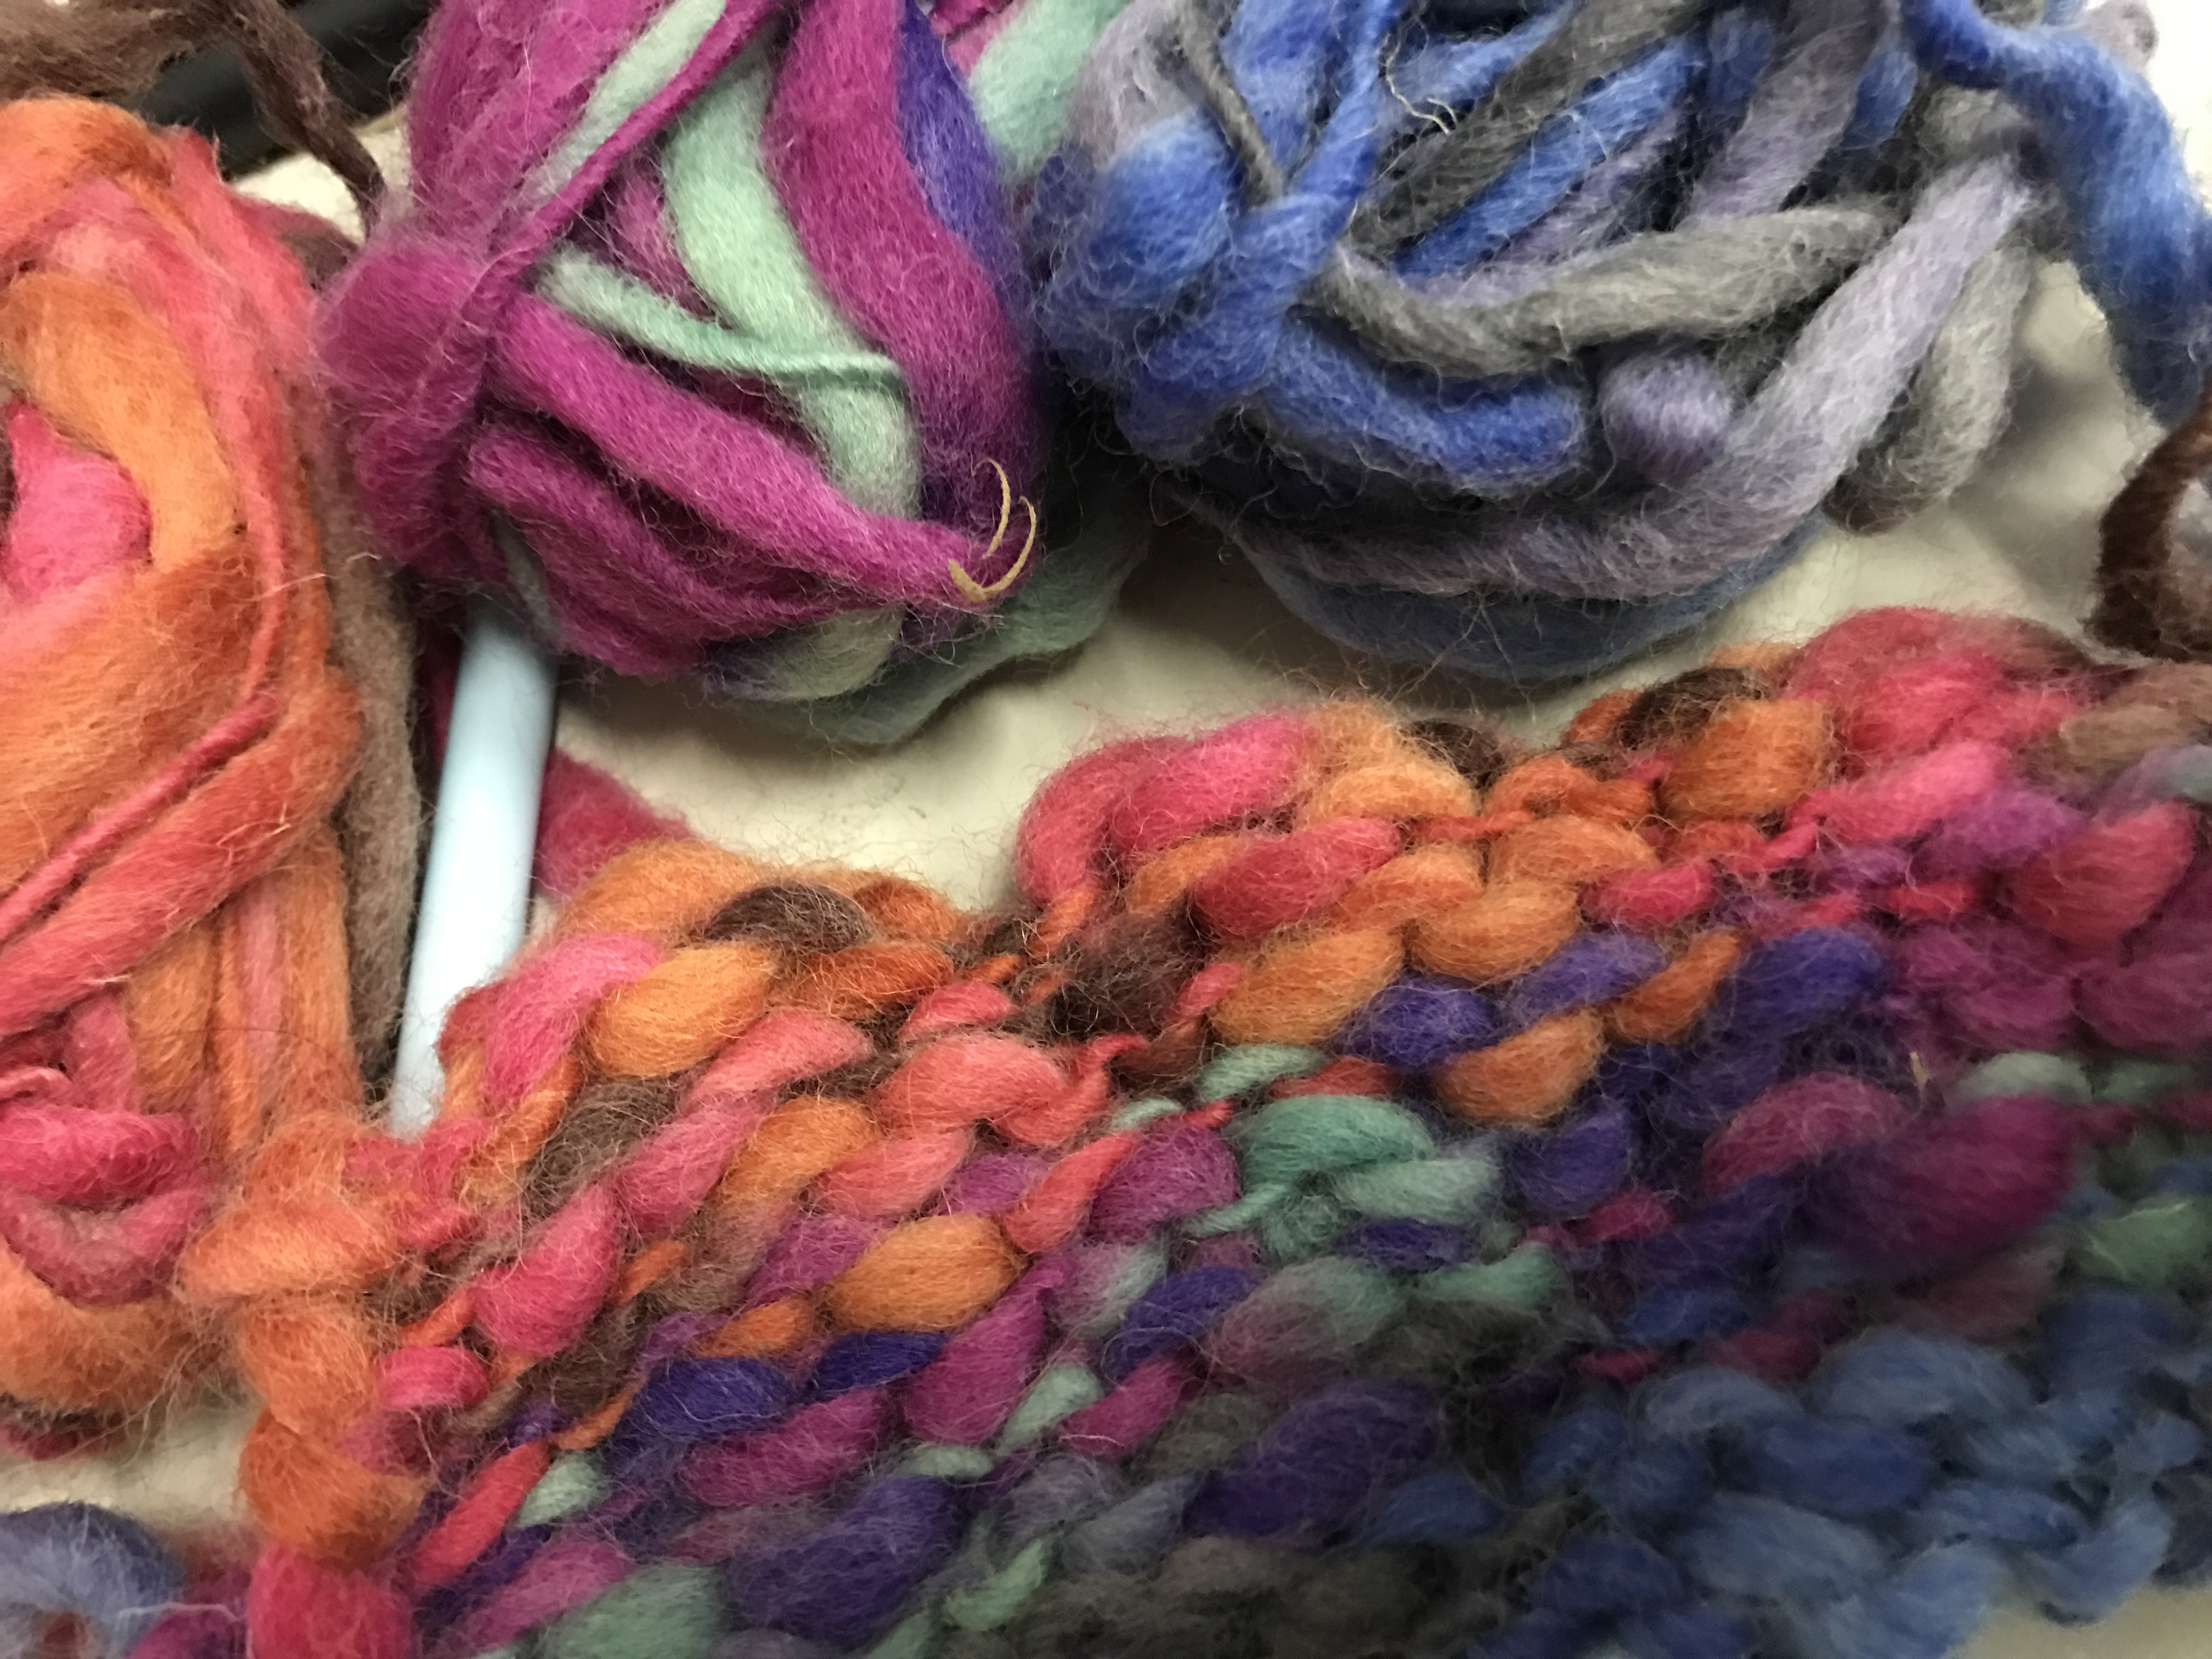
When I went to shopping at Daiso, I saw these attractive yarn. They are so beautiful and I can’t wait to explore them!
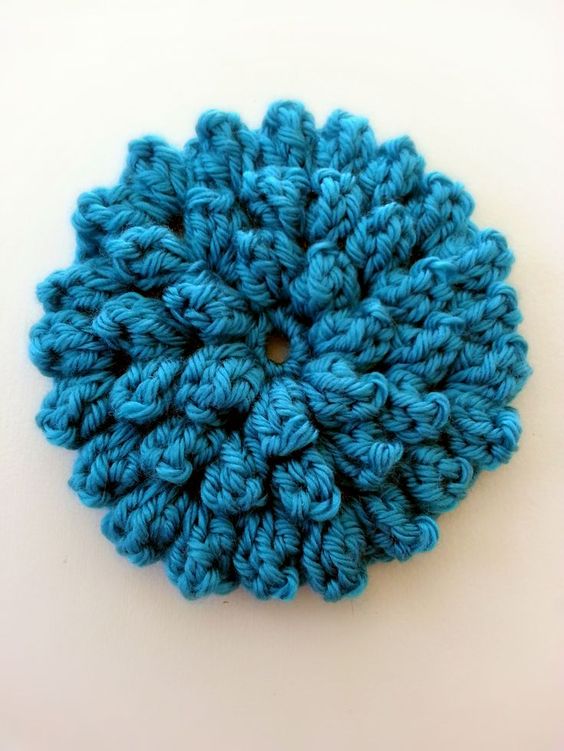
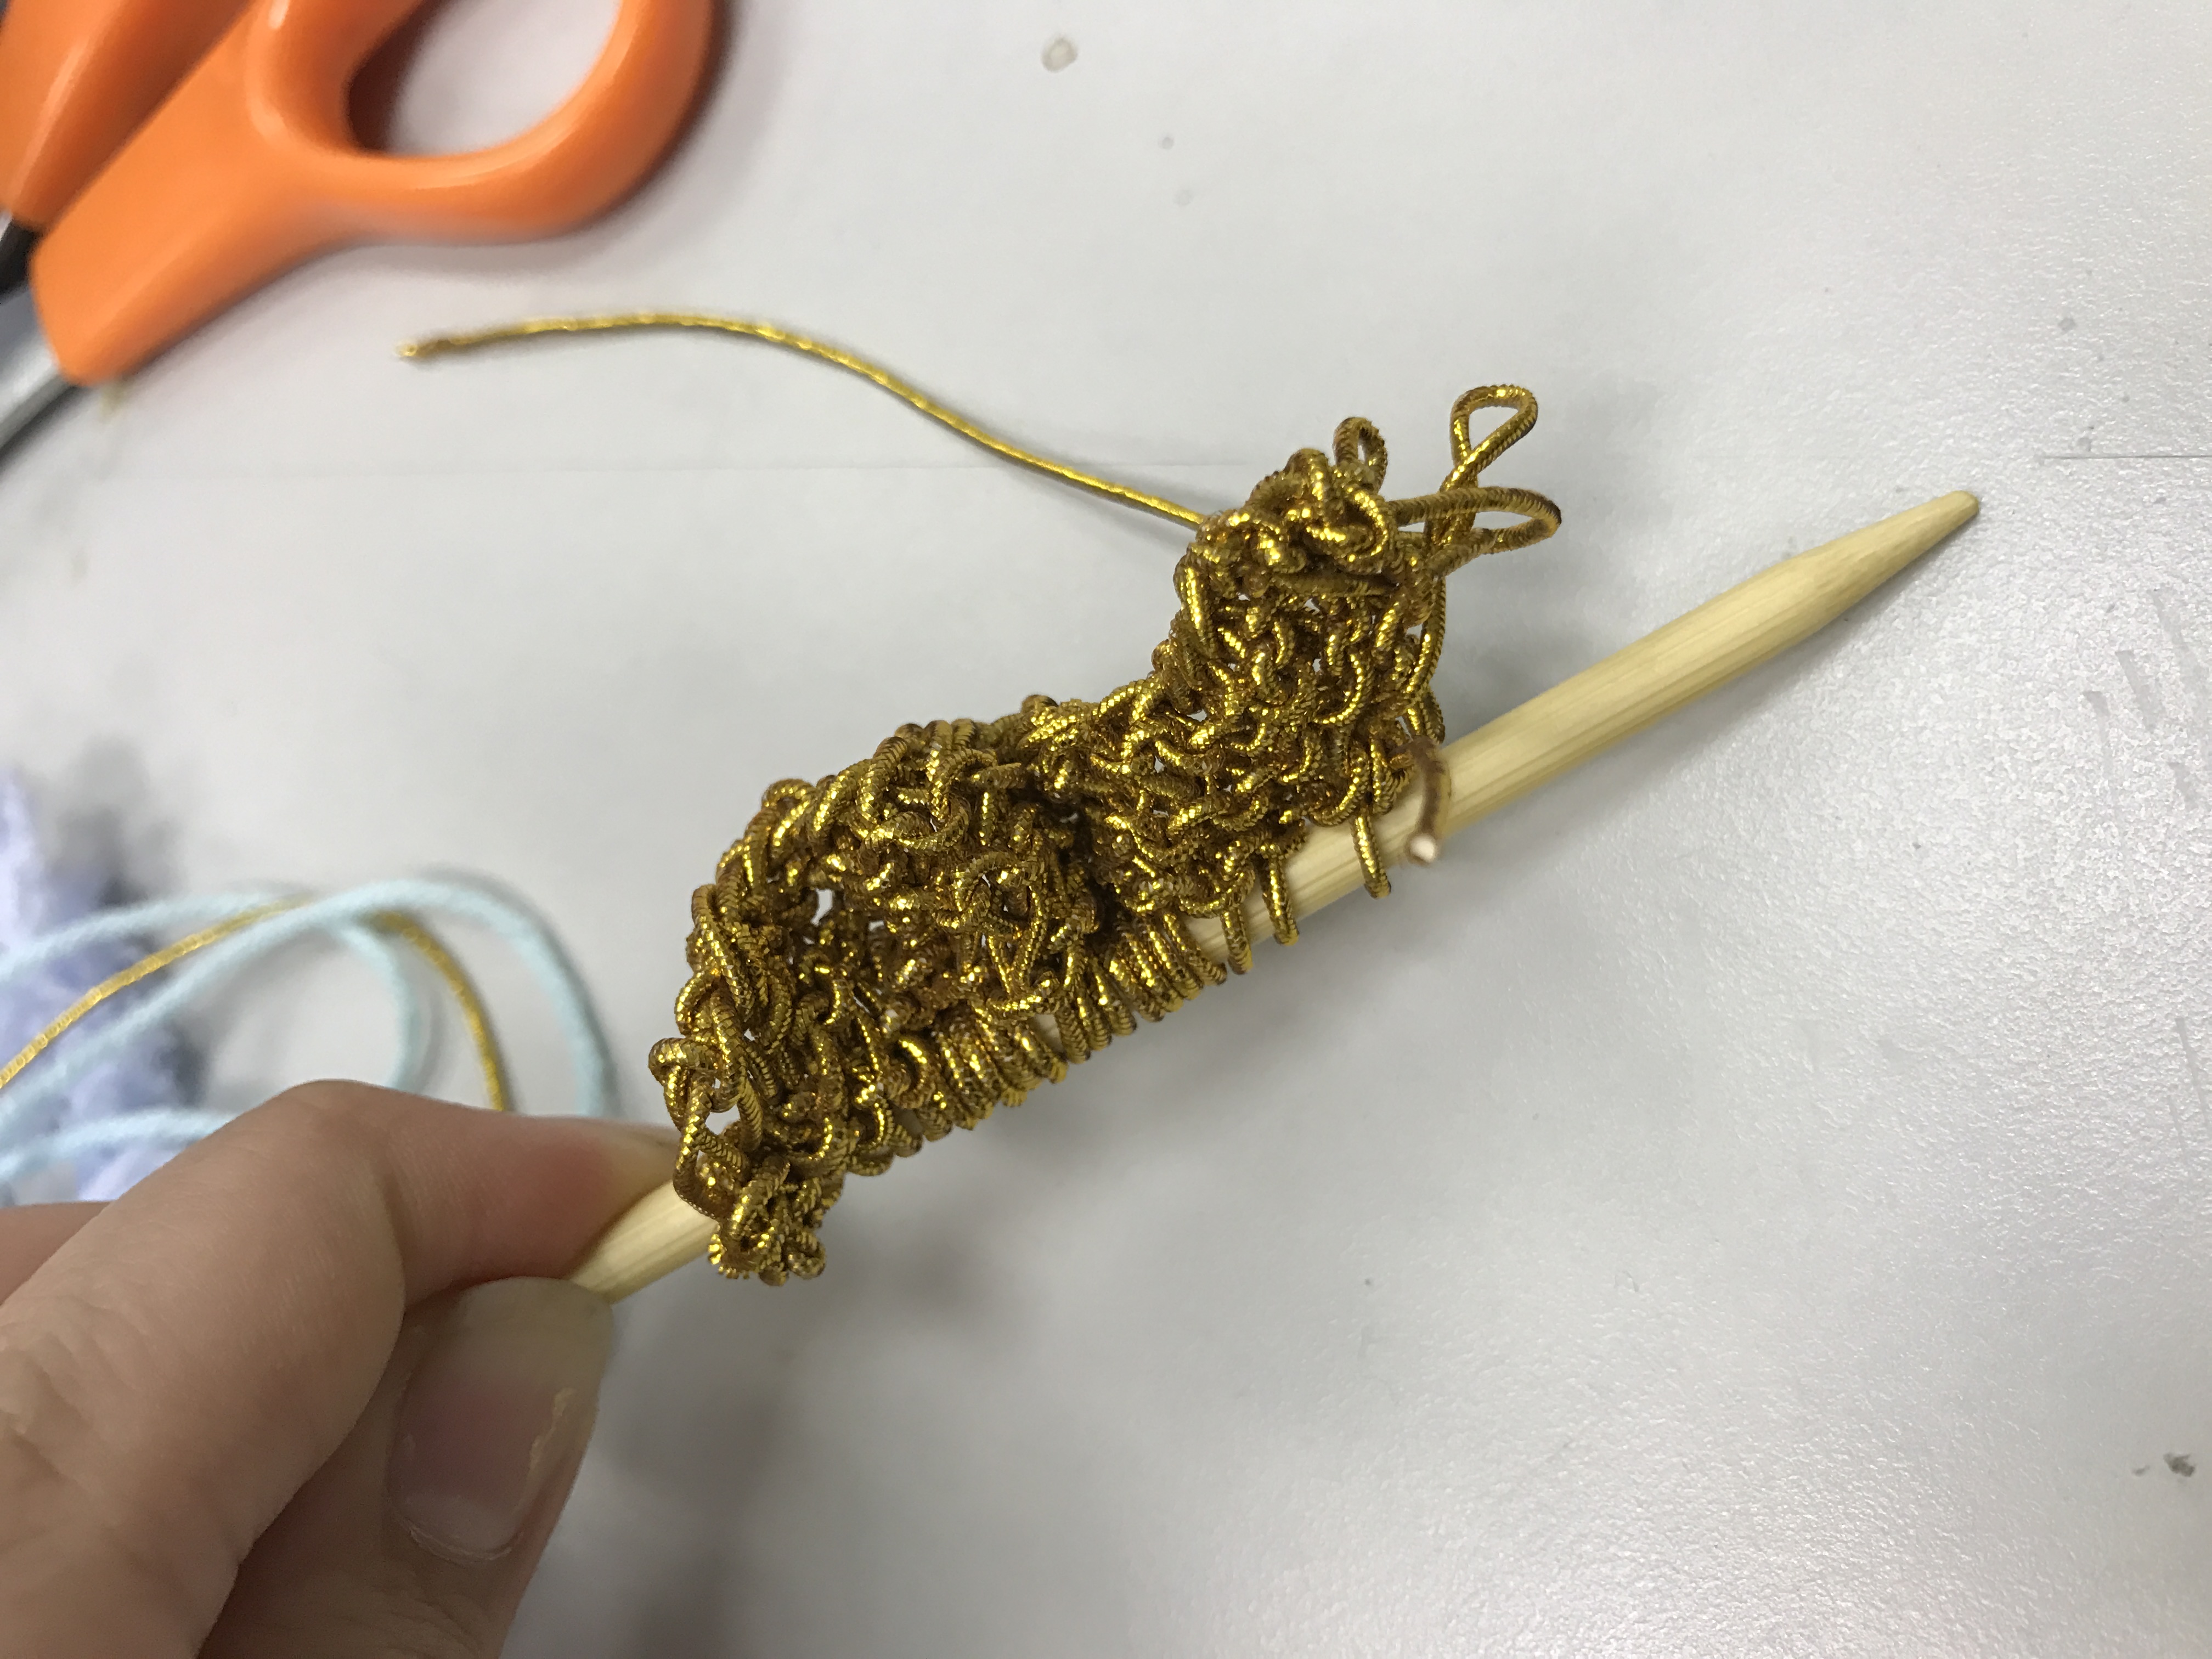
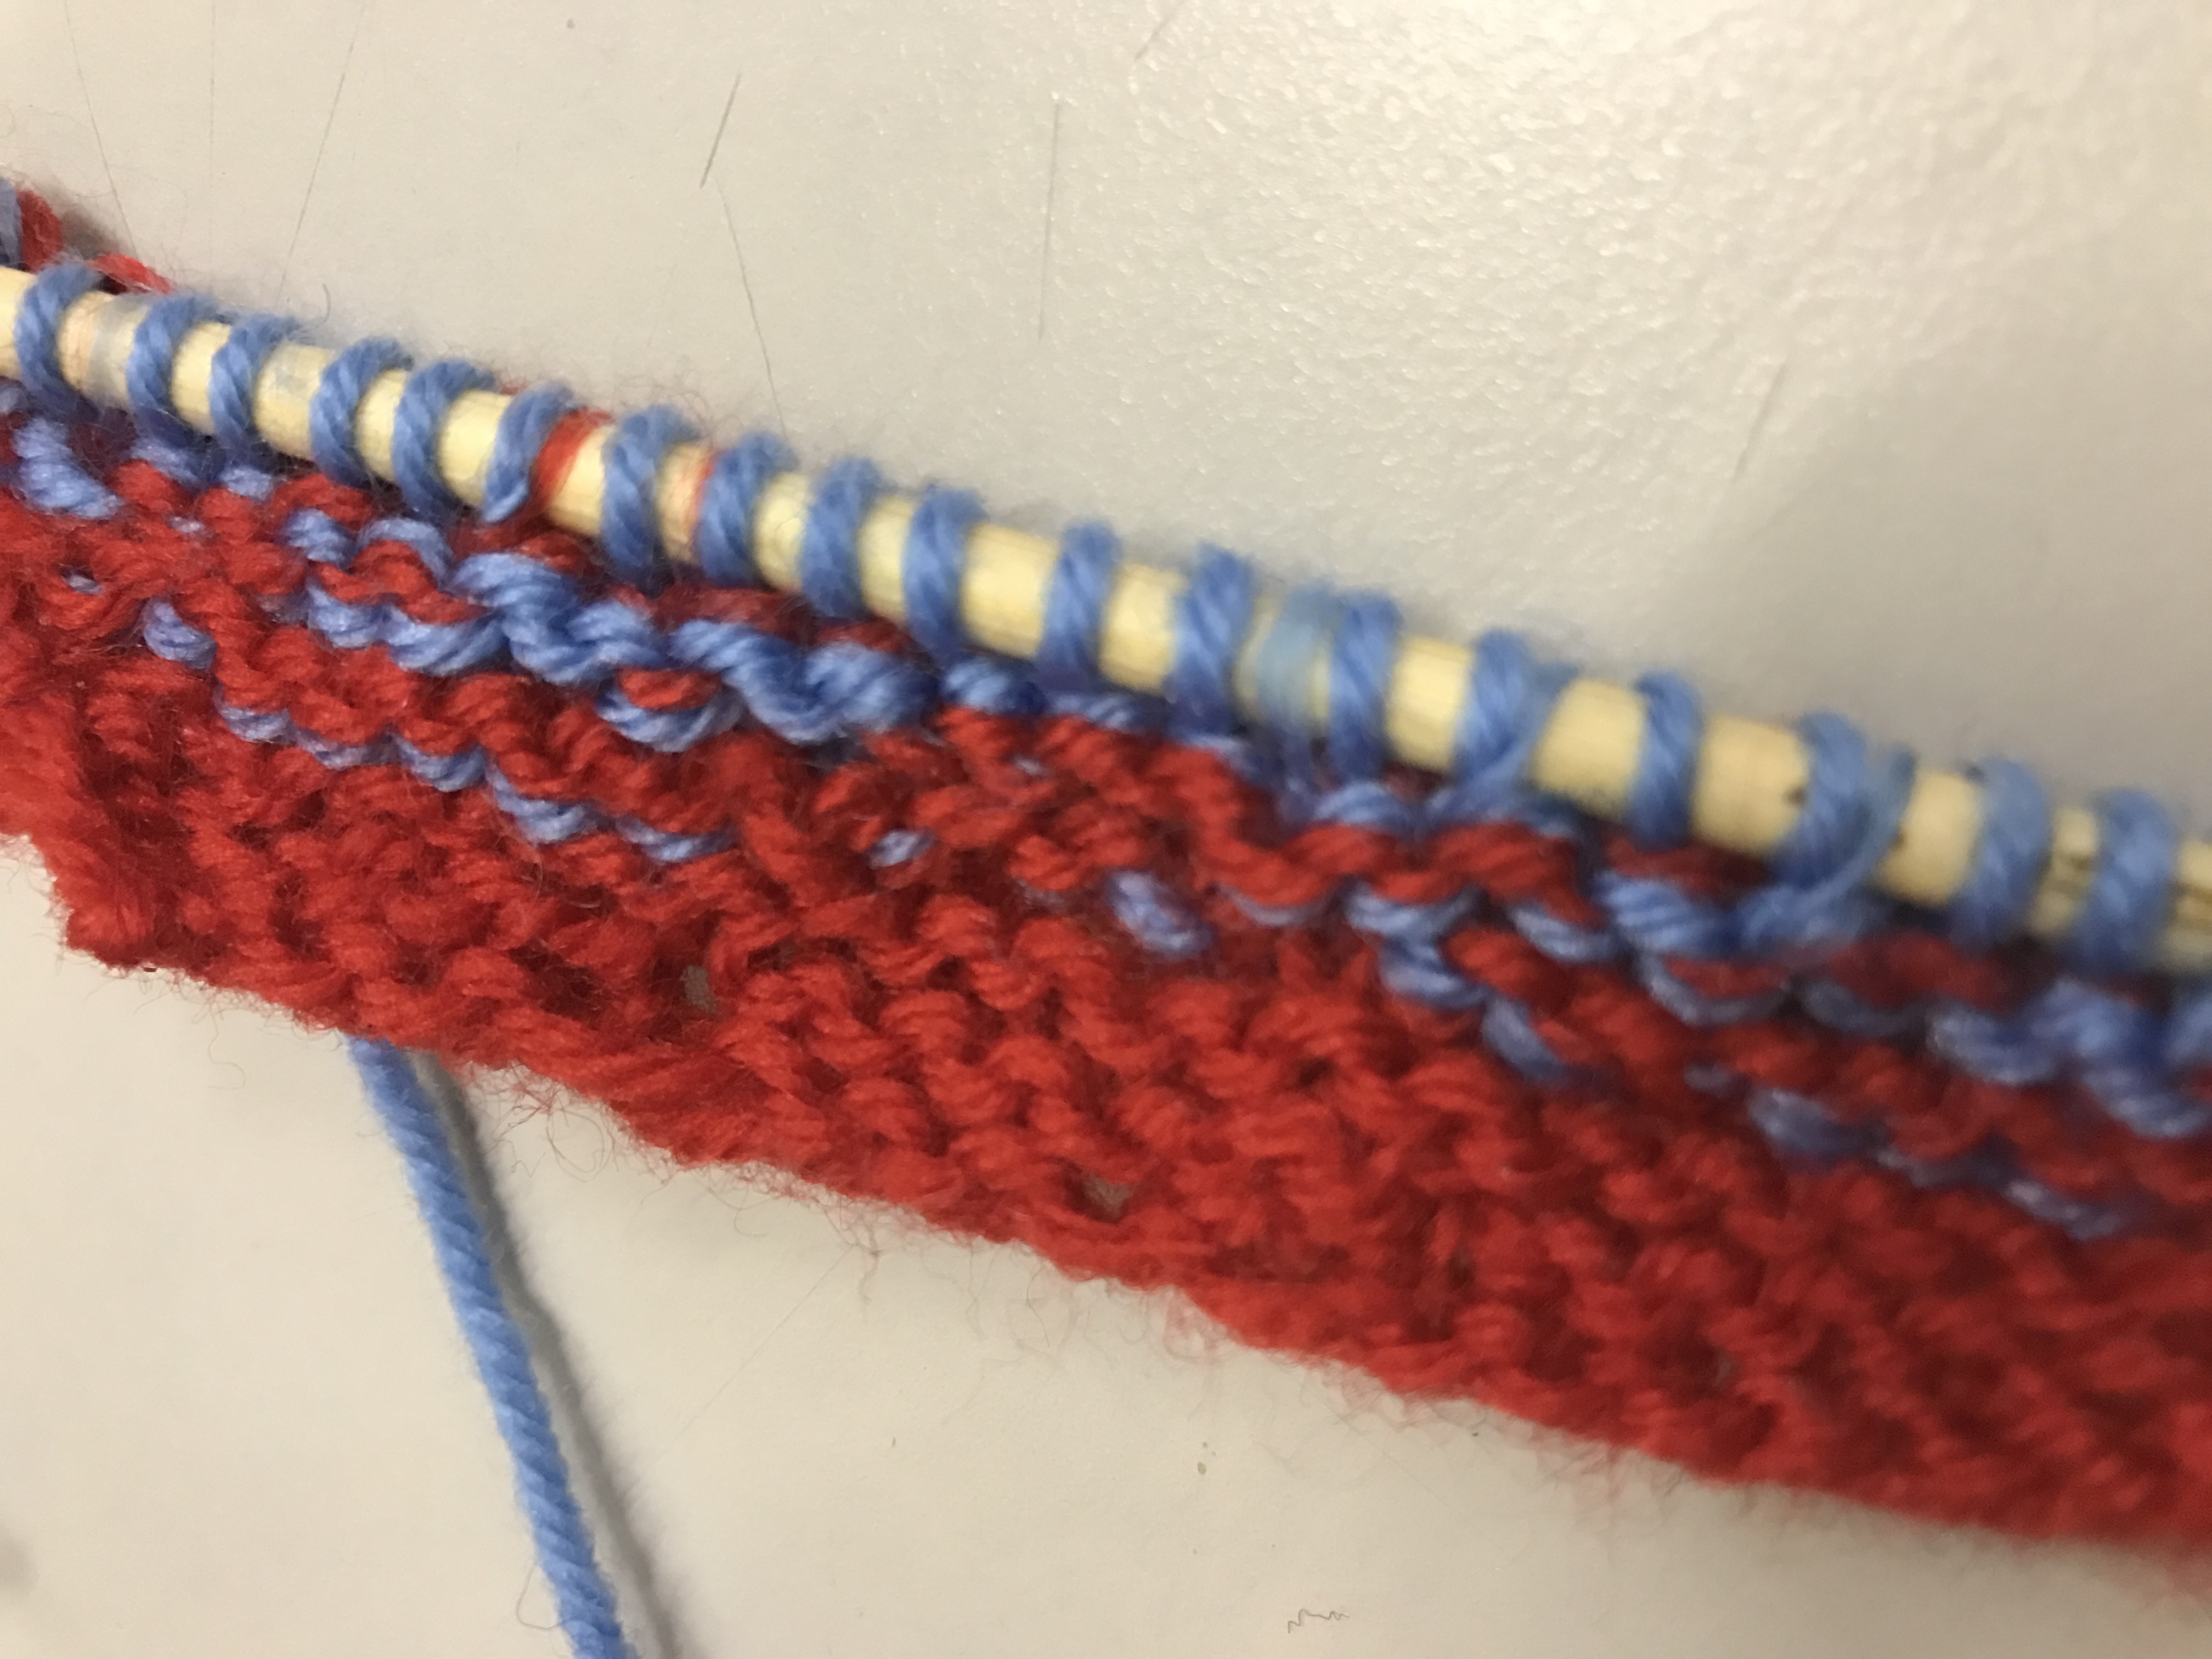
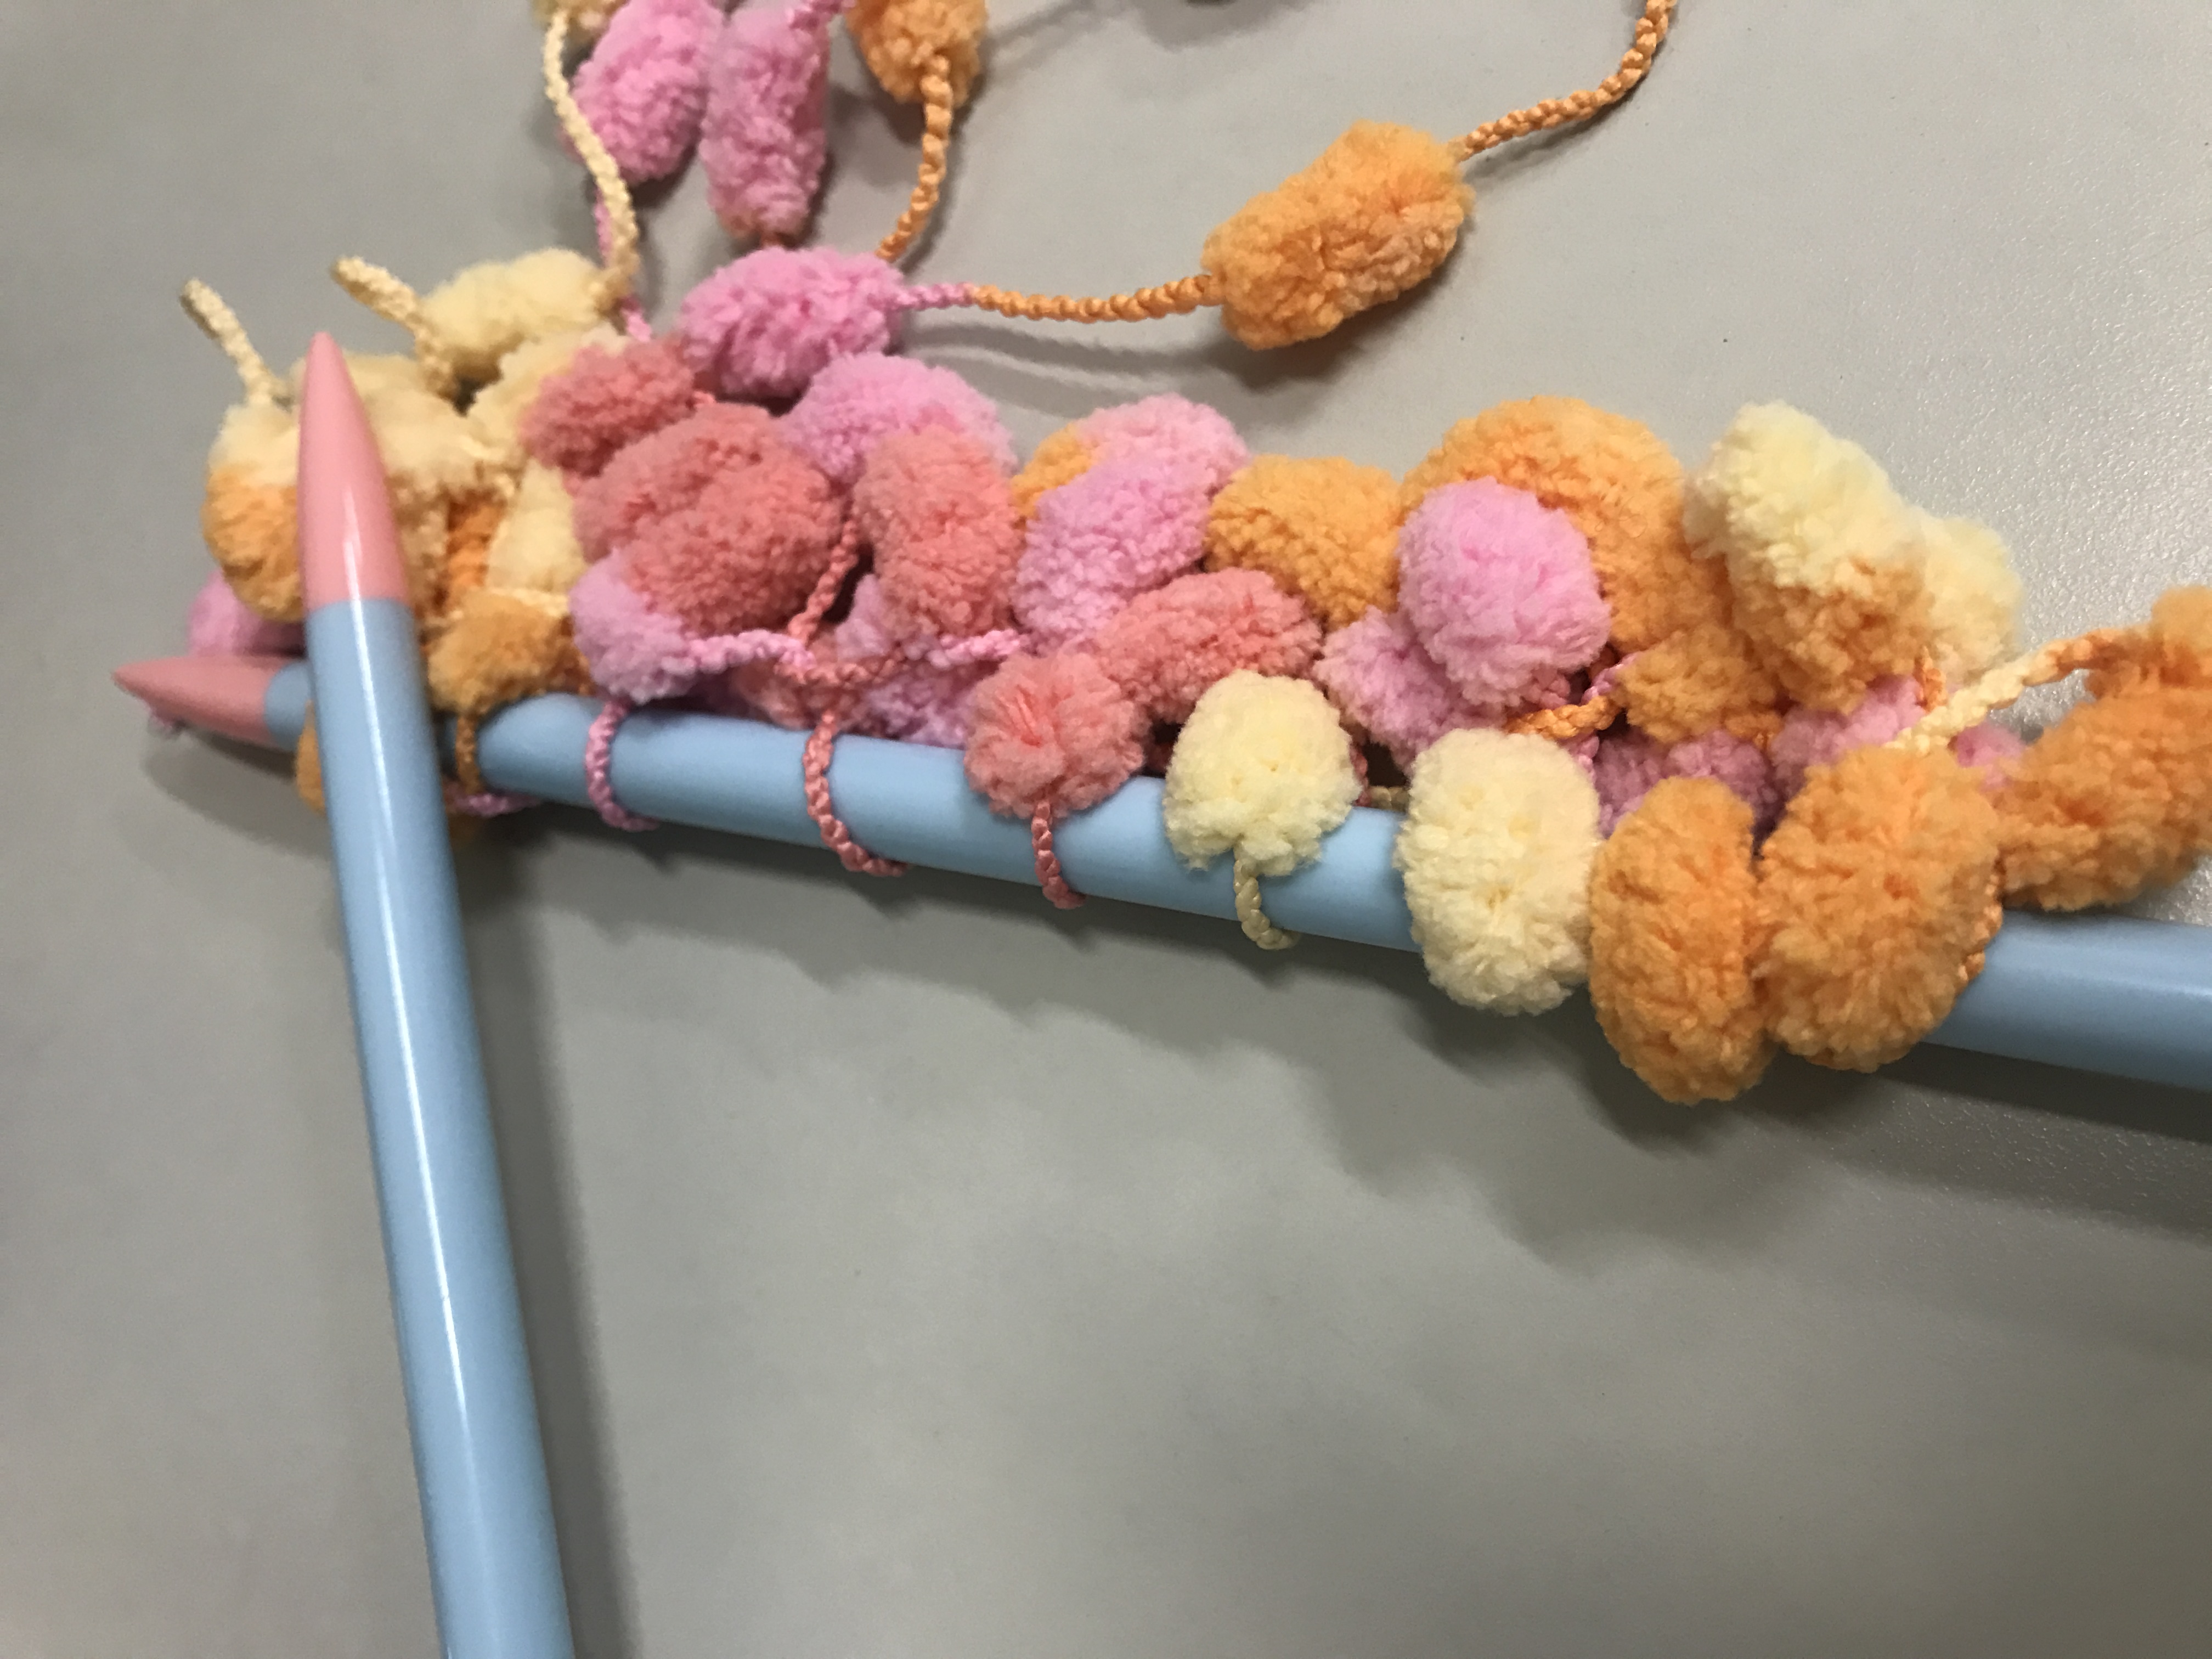
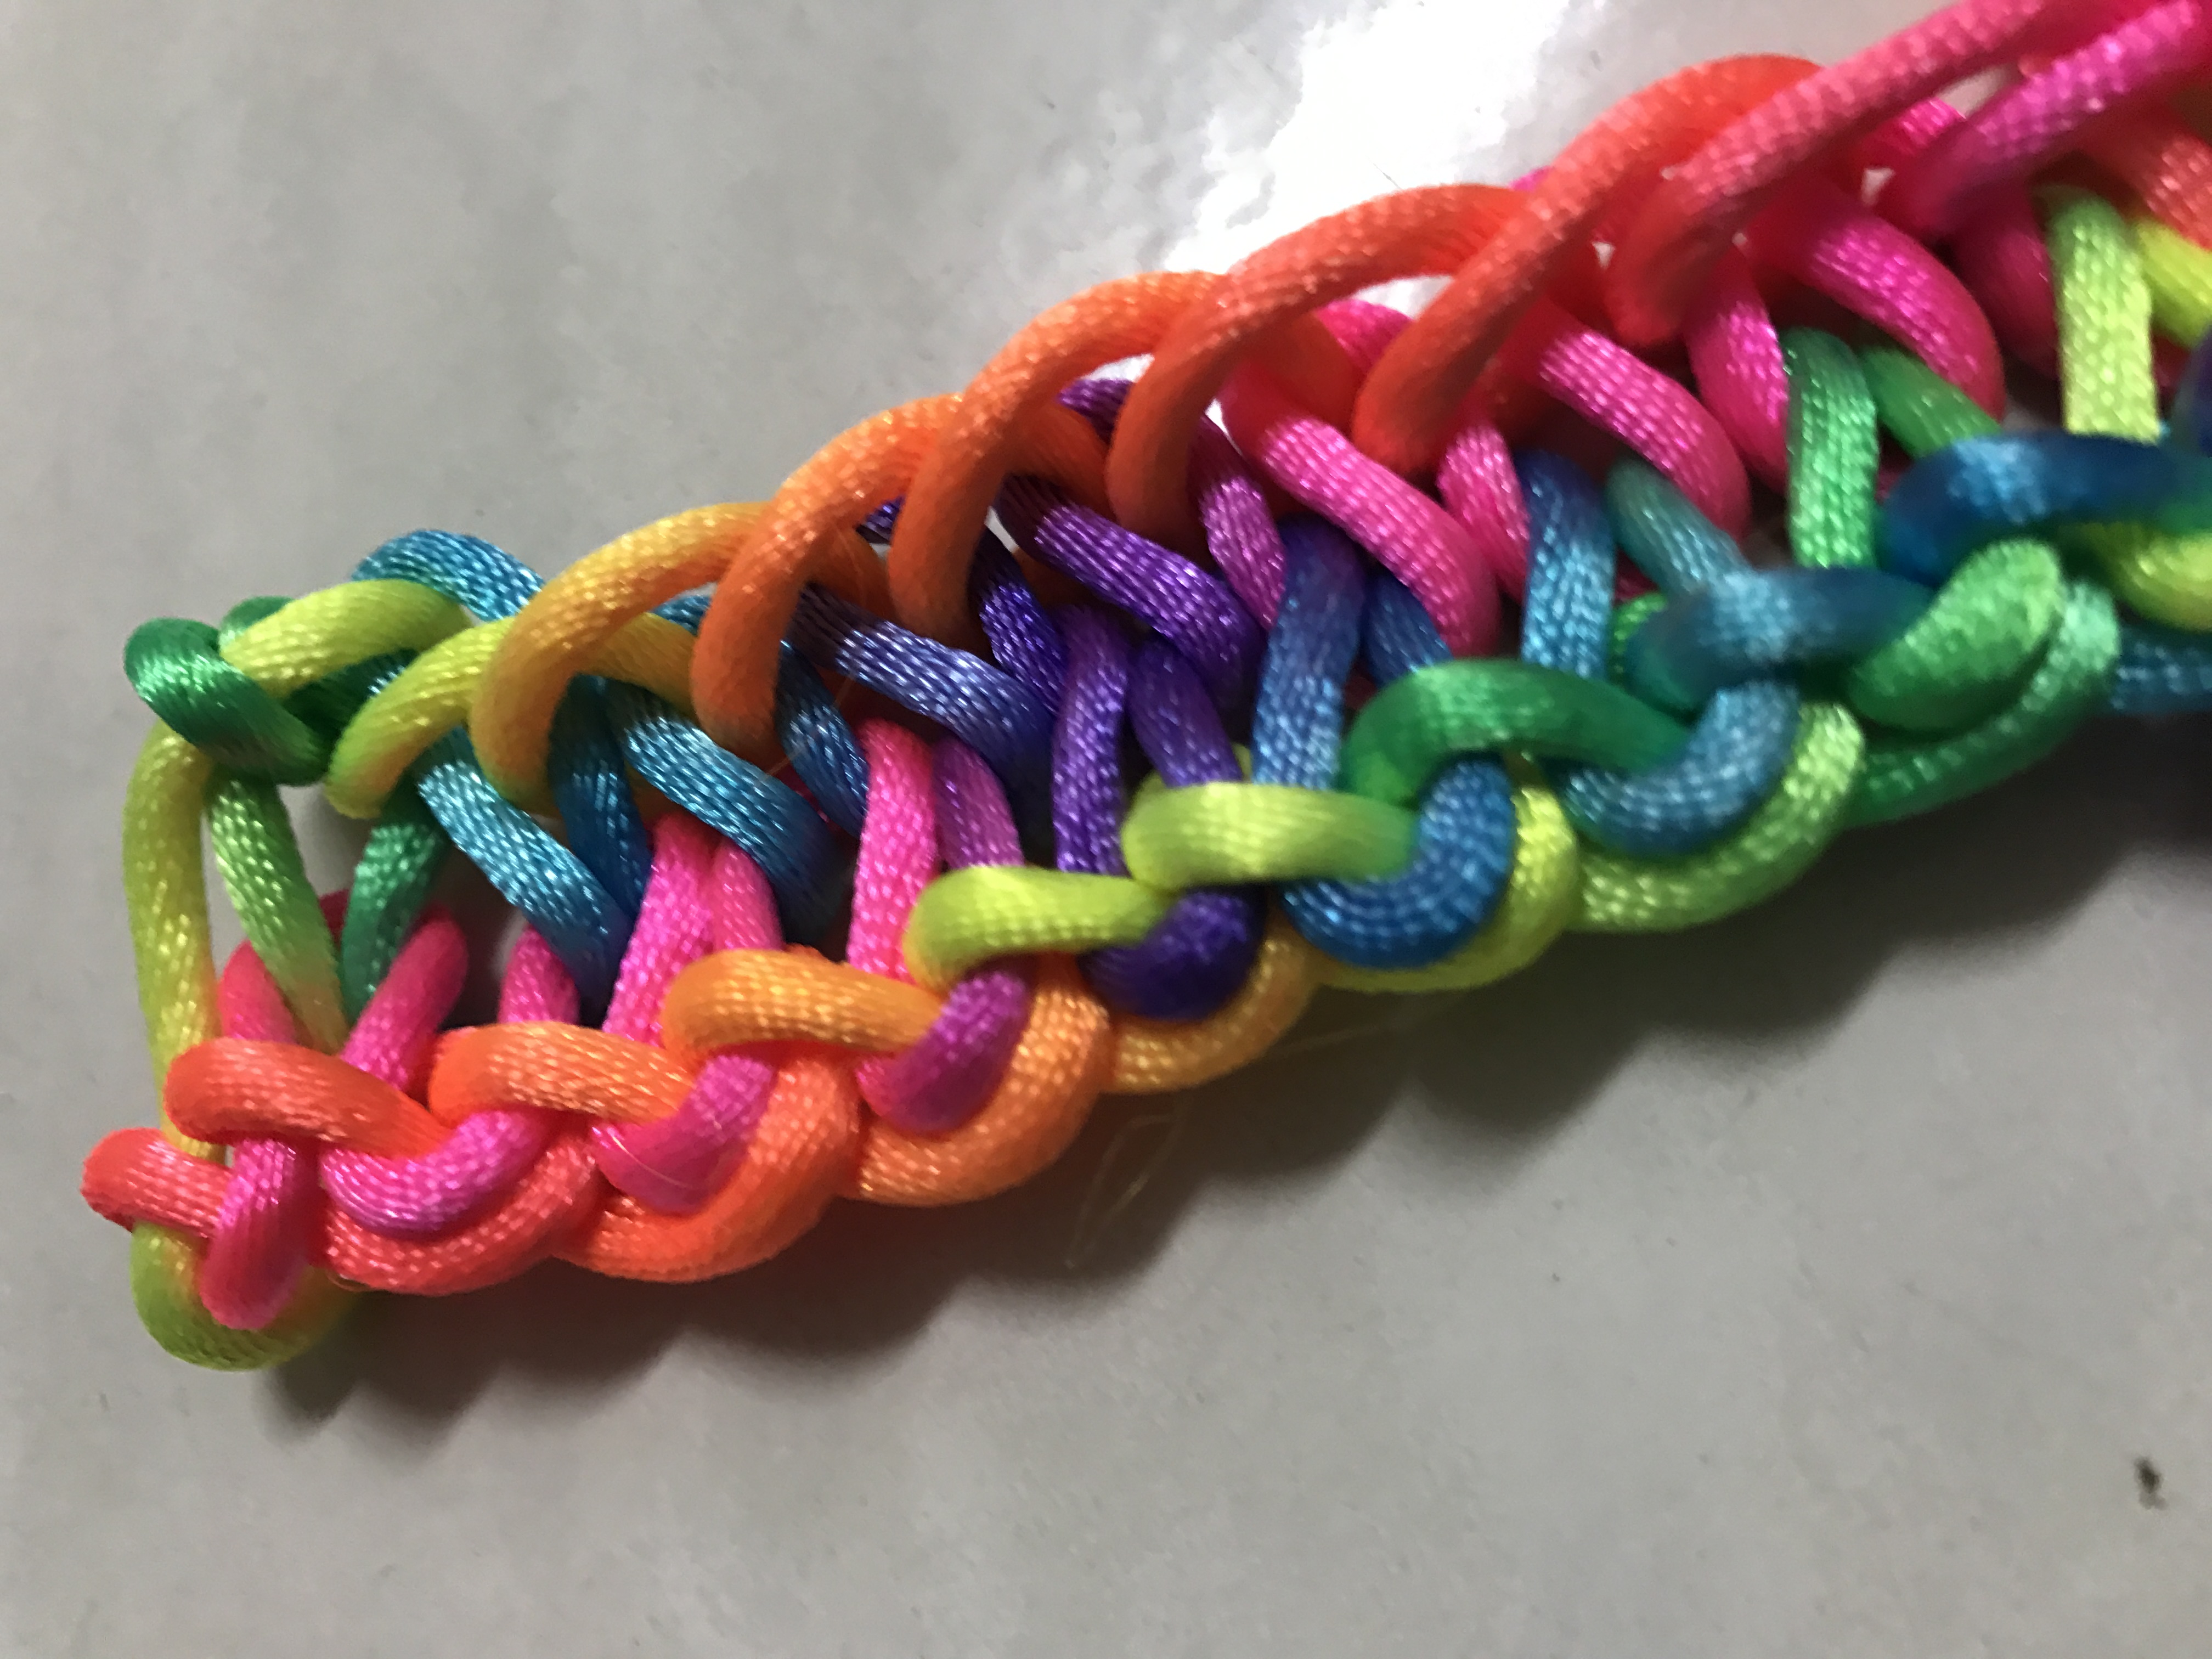
When I got bored with the basic stitching, I went to research the different stitches and I decided to go for the raspberry stitch which I found this techniques via youtube.
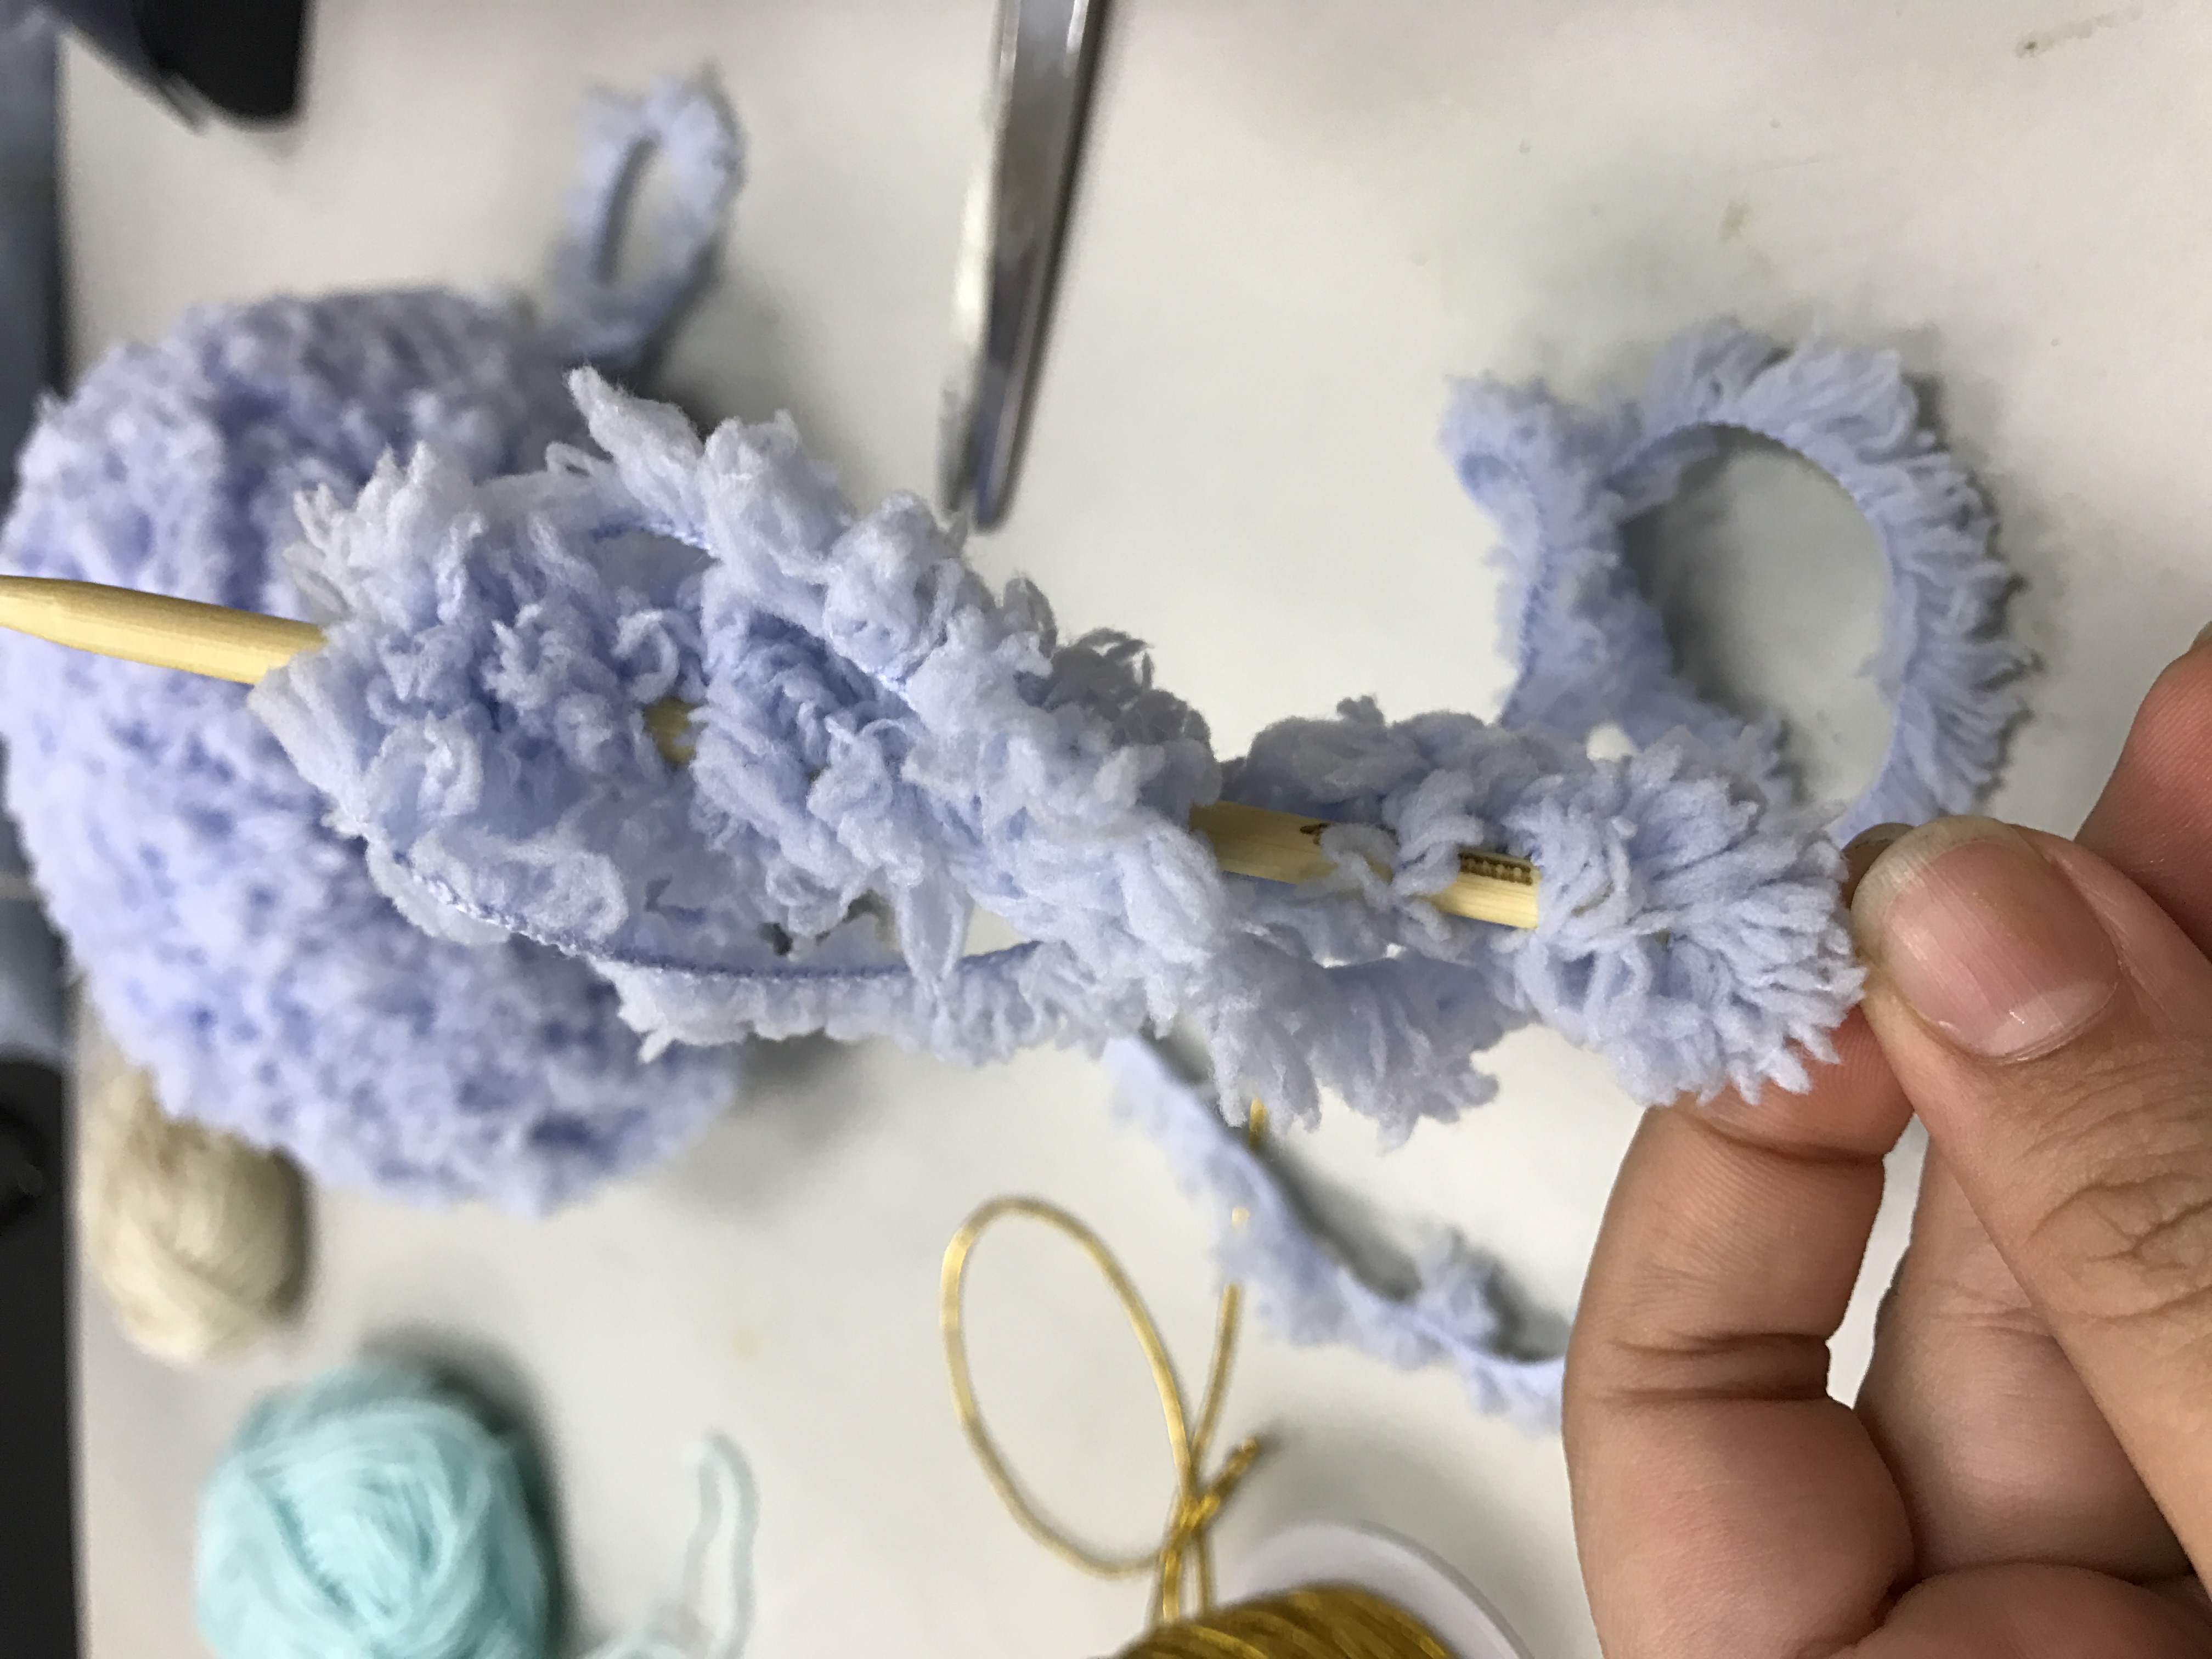
When I first saw the video I thought it will be very easy but throughout the knitting process I found that this technique is challenging to me as it still have a lot of things need to consider of. I started with small example before and it was a thinner yarn. The yarn will bifurcate into more loops while this stitch needs to have the accurate loops. So I tried with the bigger yarn which is the yarn below but I found that when I knitted with the bigger yarn the raspberry surface doesn’t come out very nice.
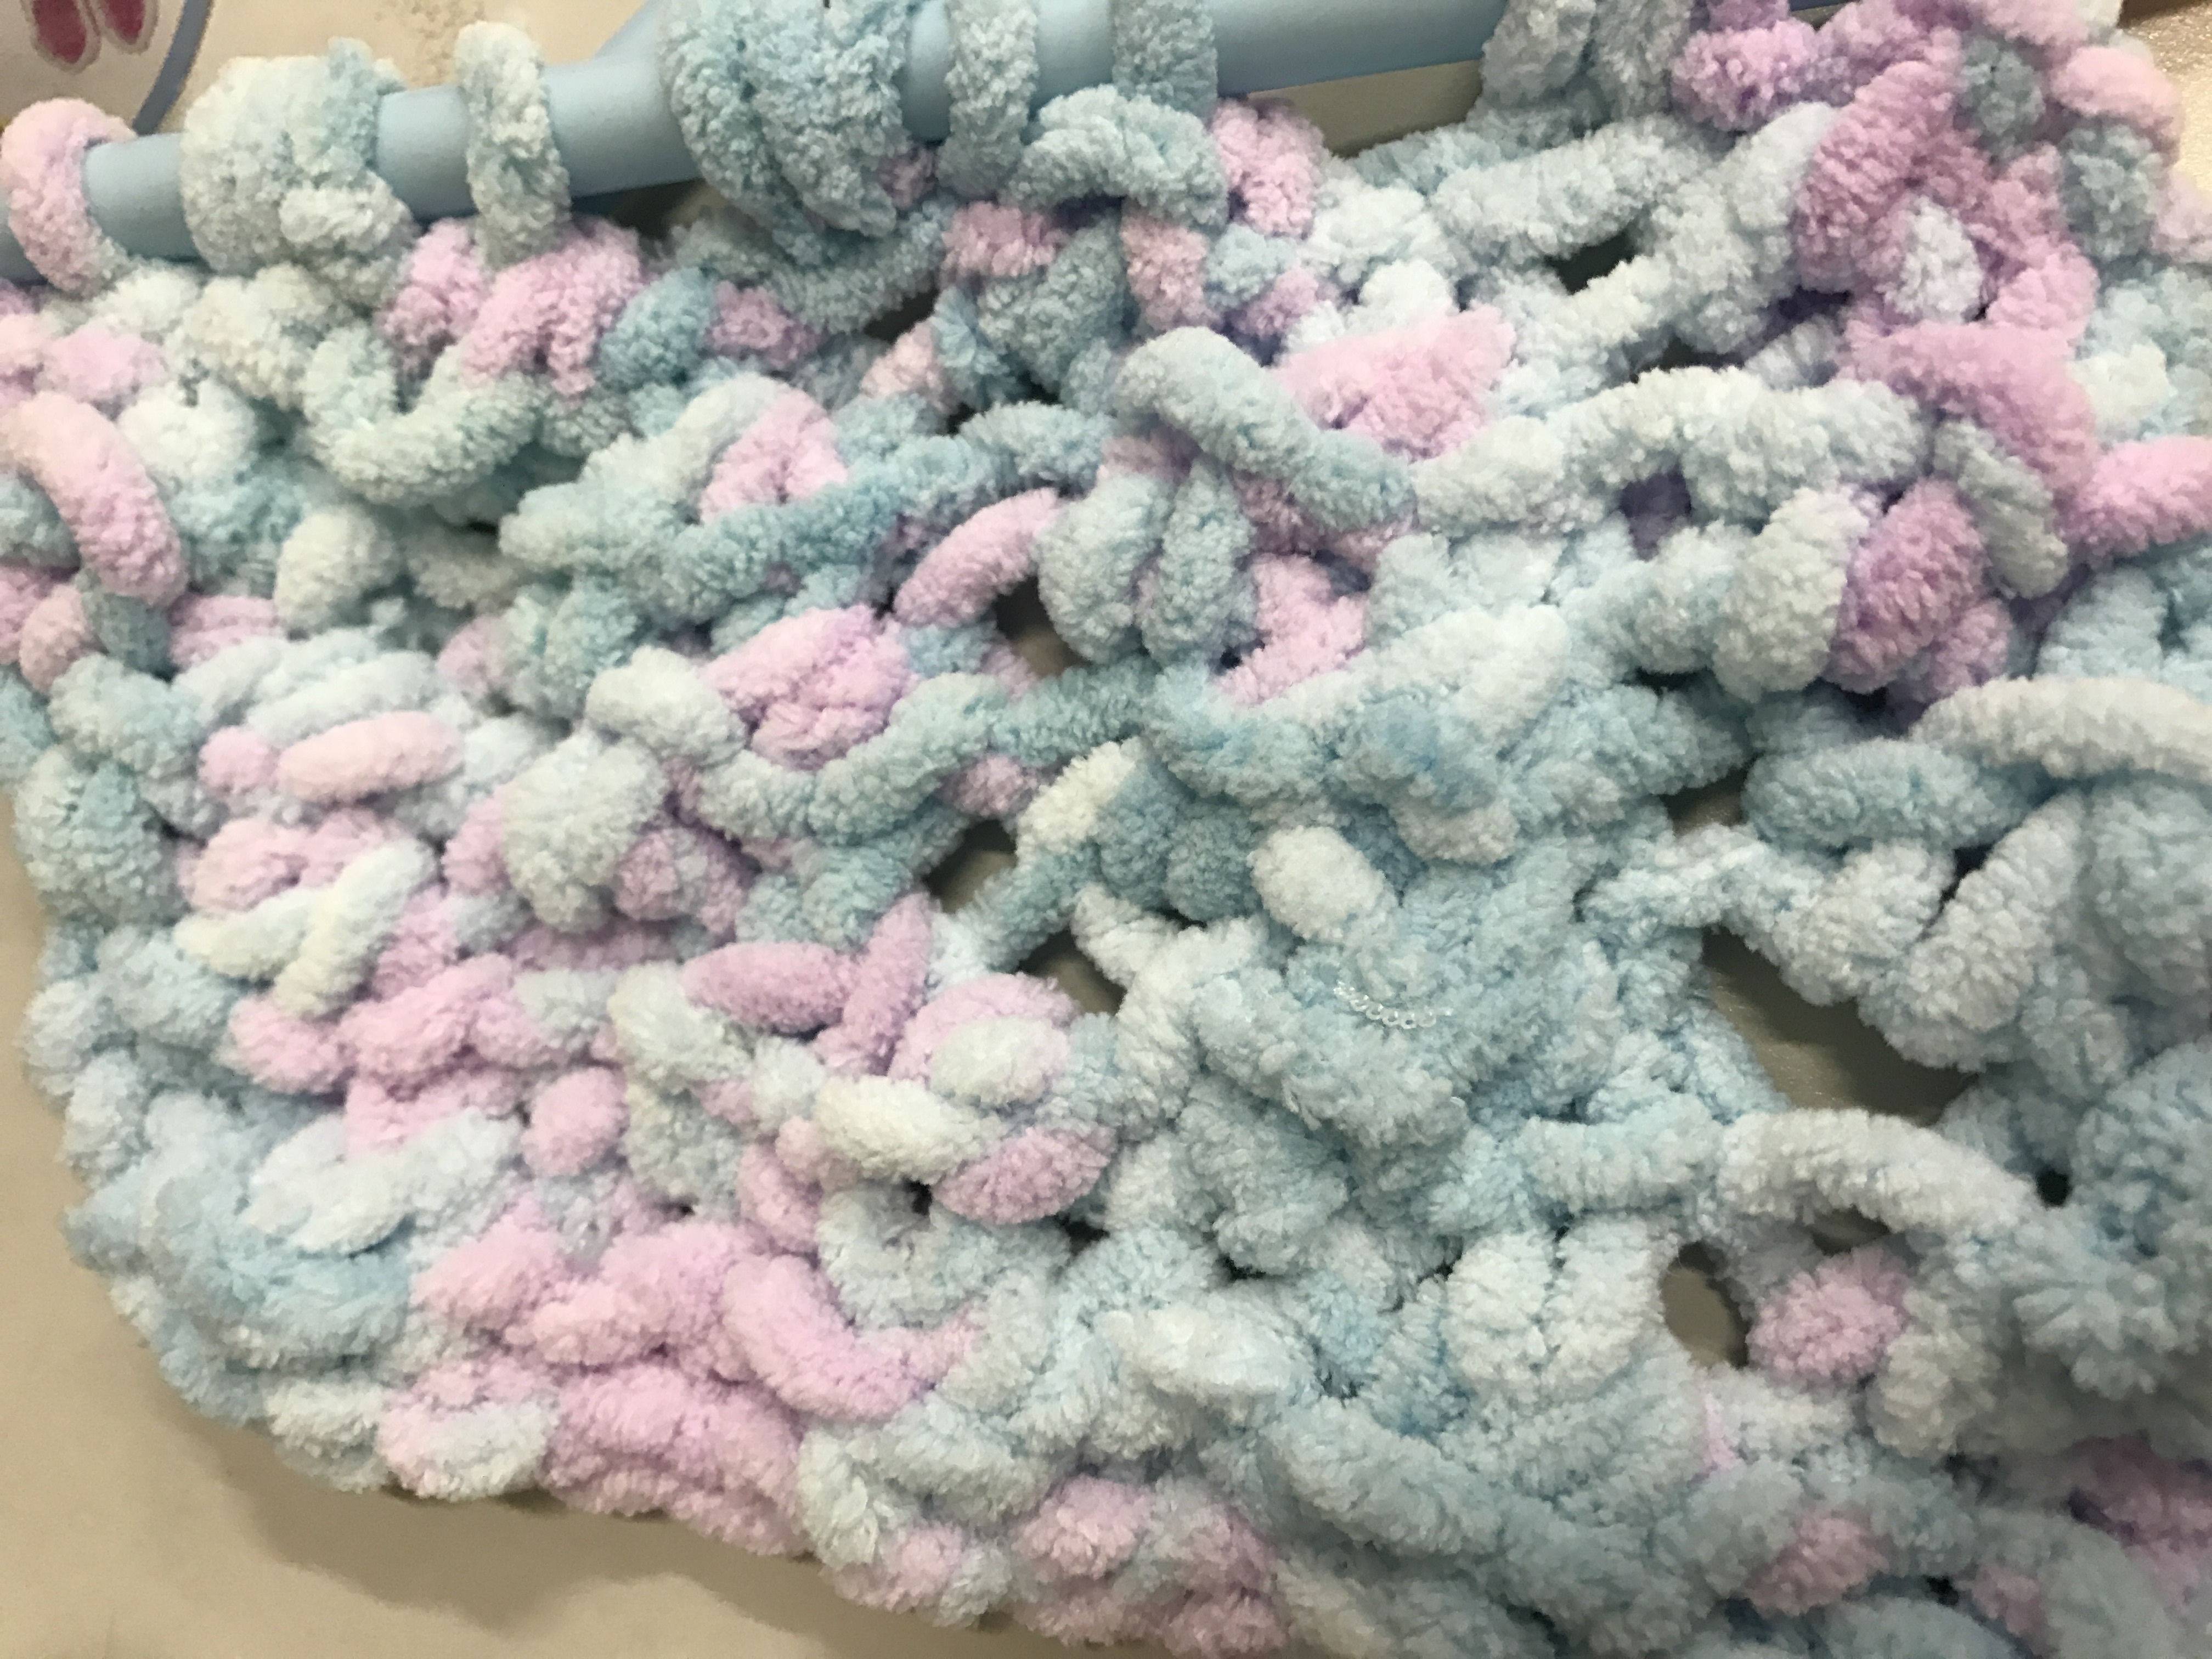
I was inspired by the yarn color changing techniques so I bought this gradient string to knit.
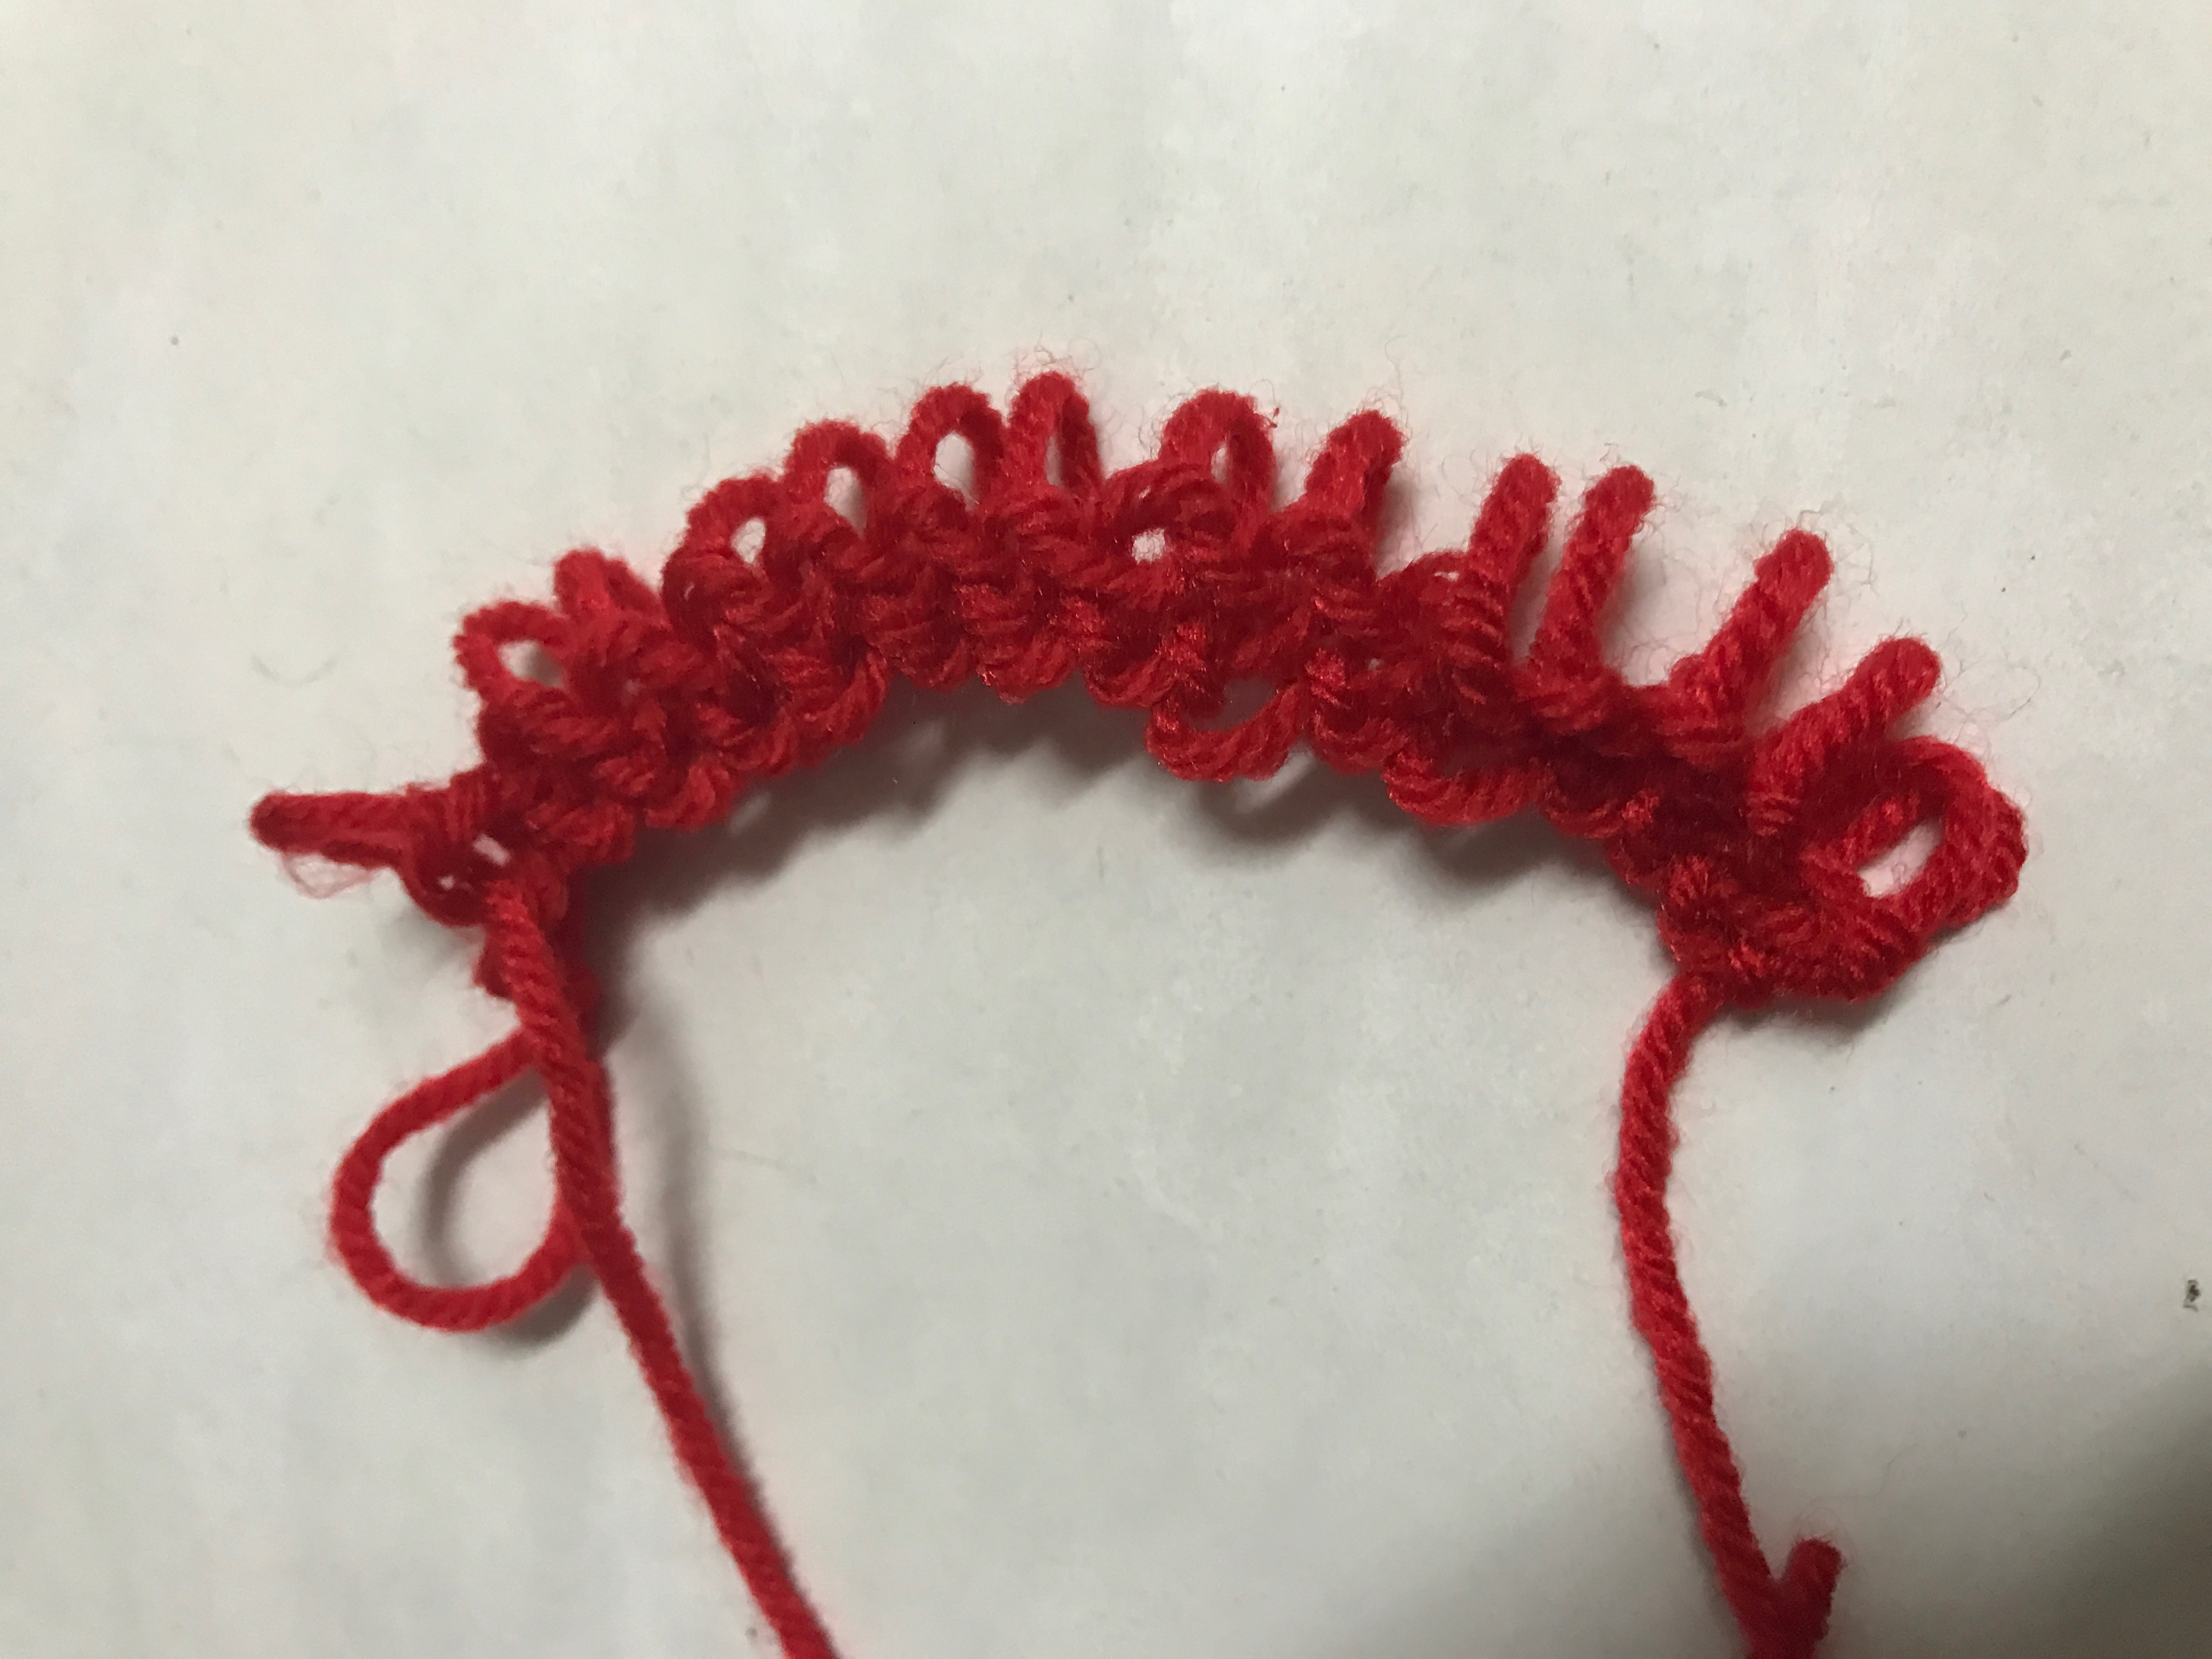
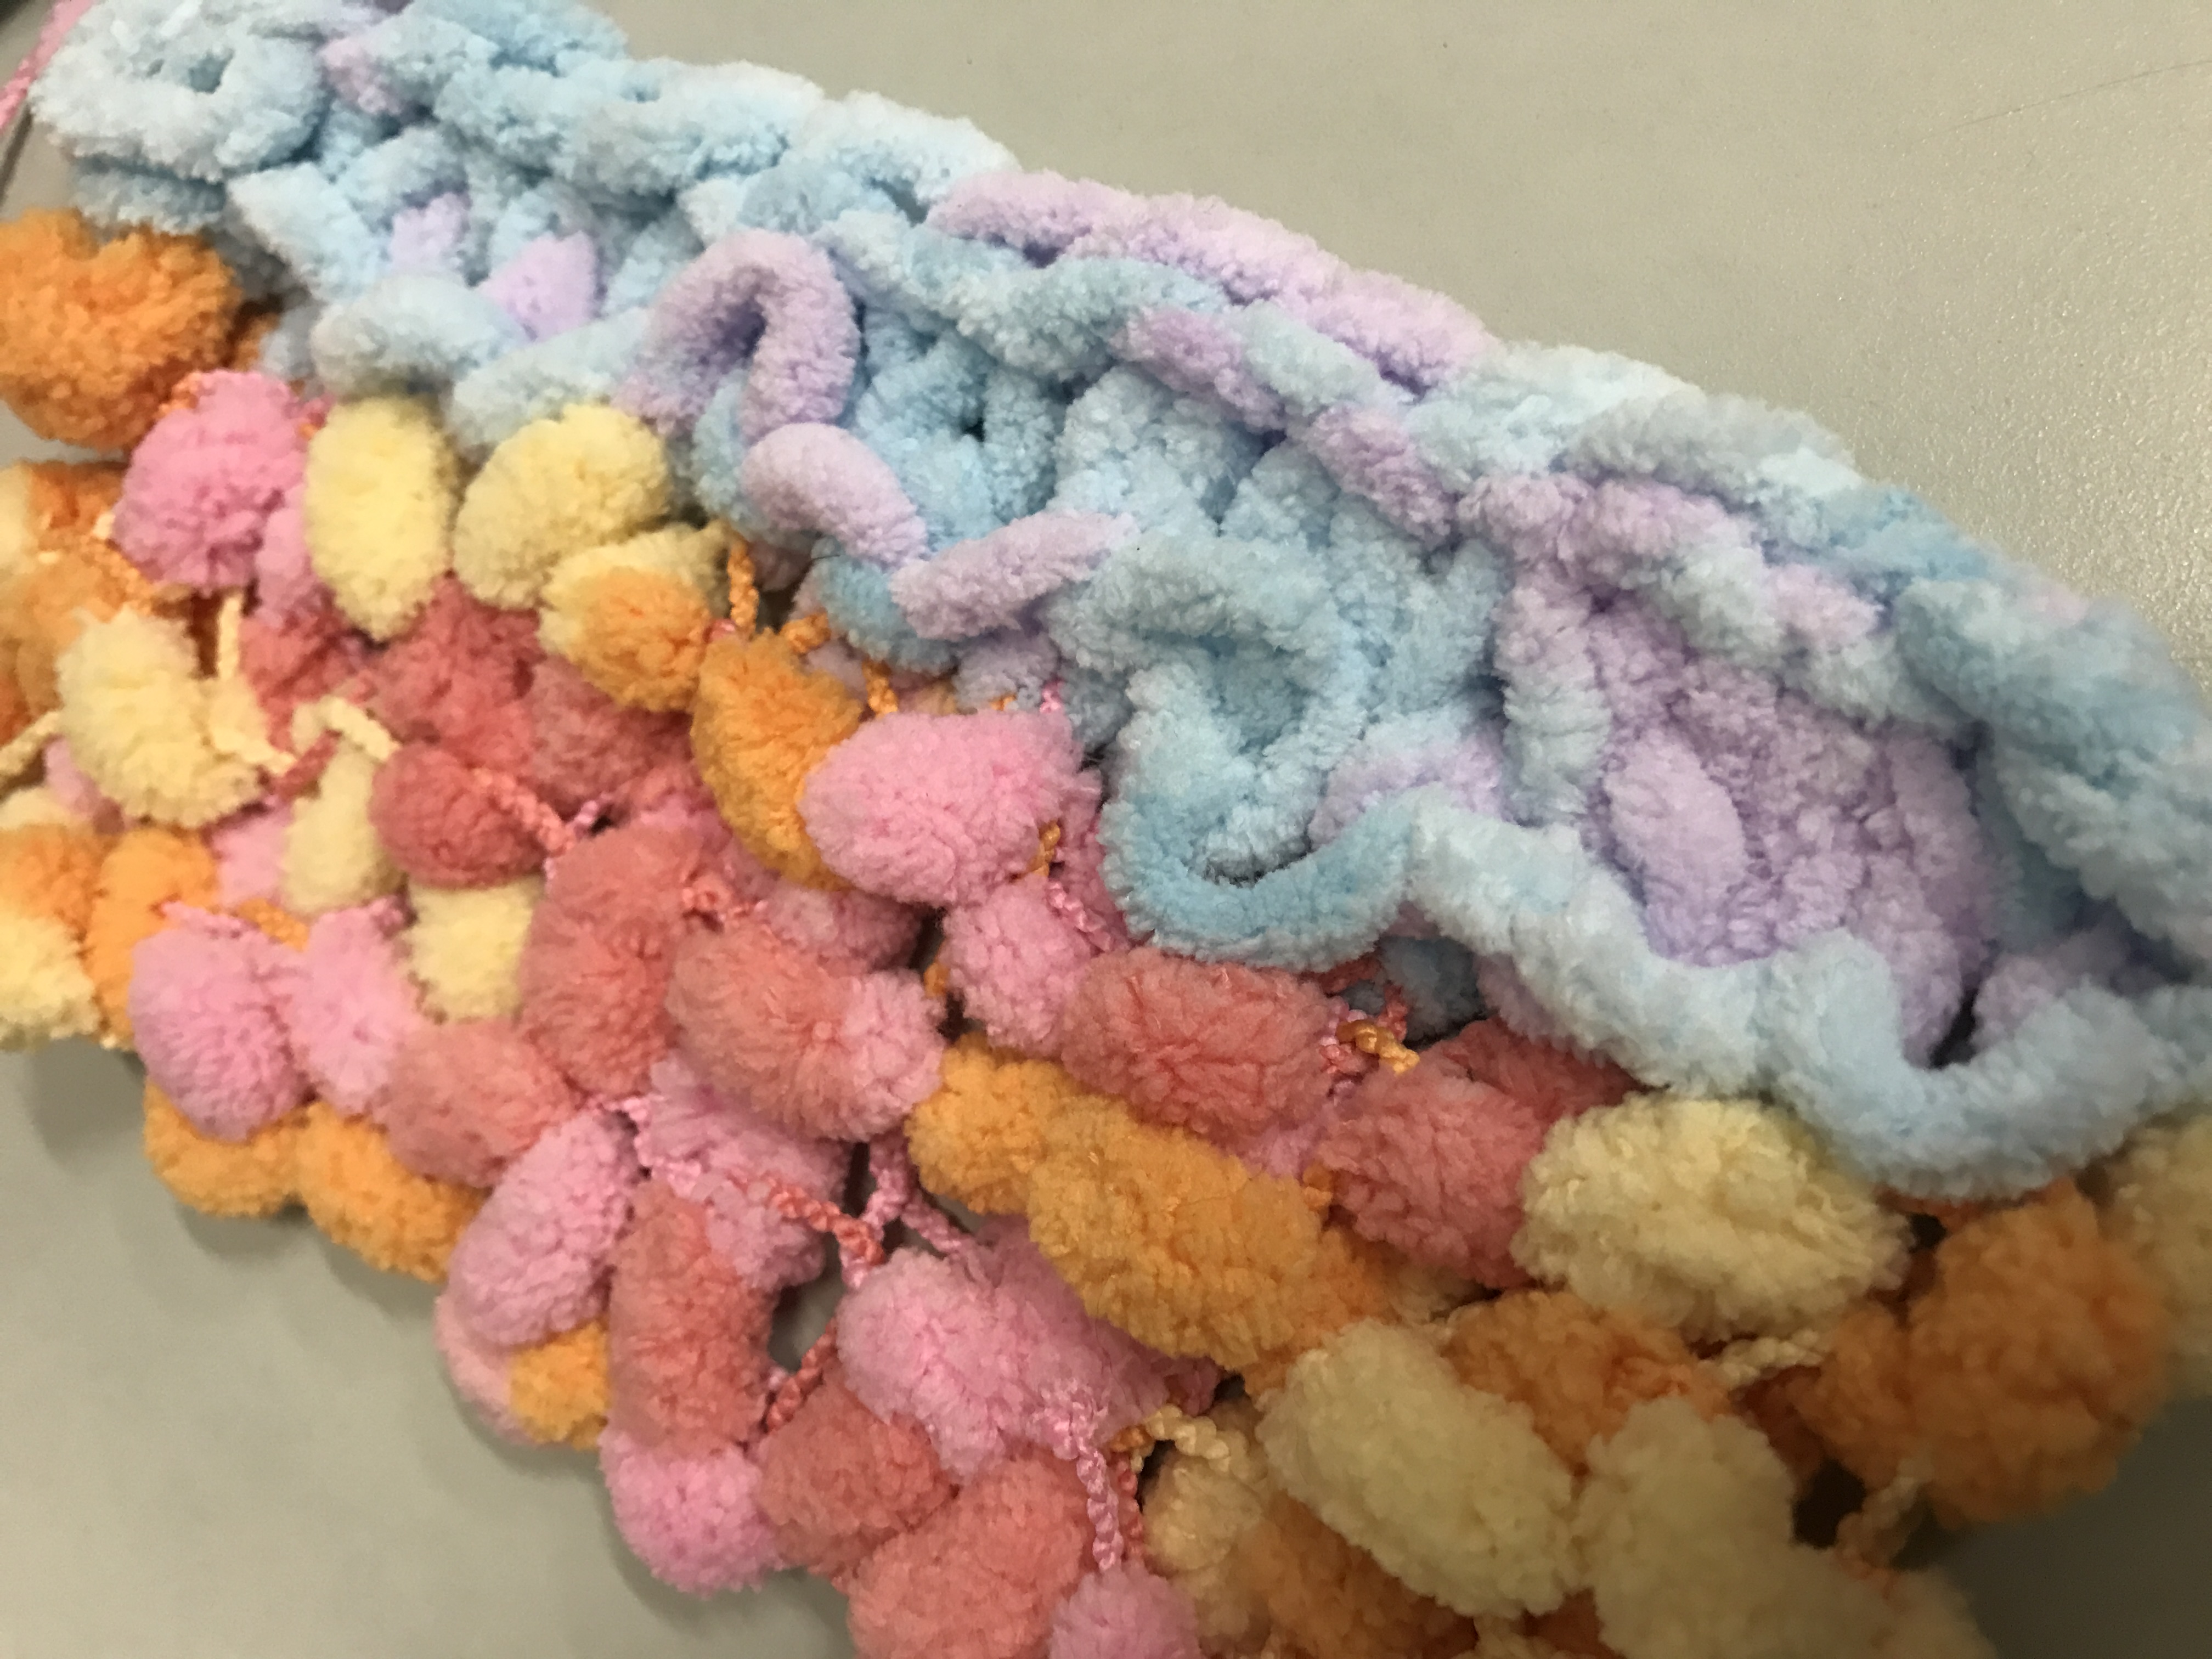
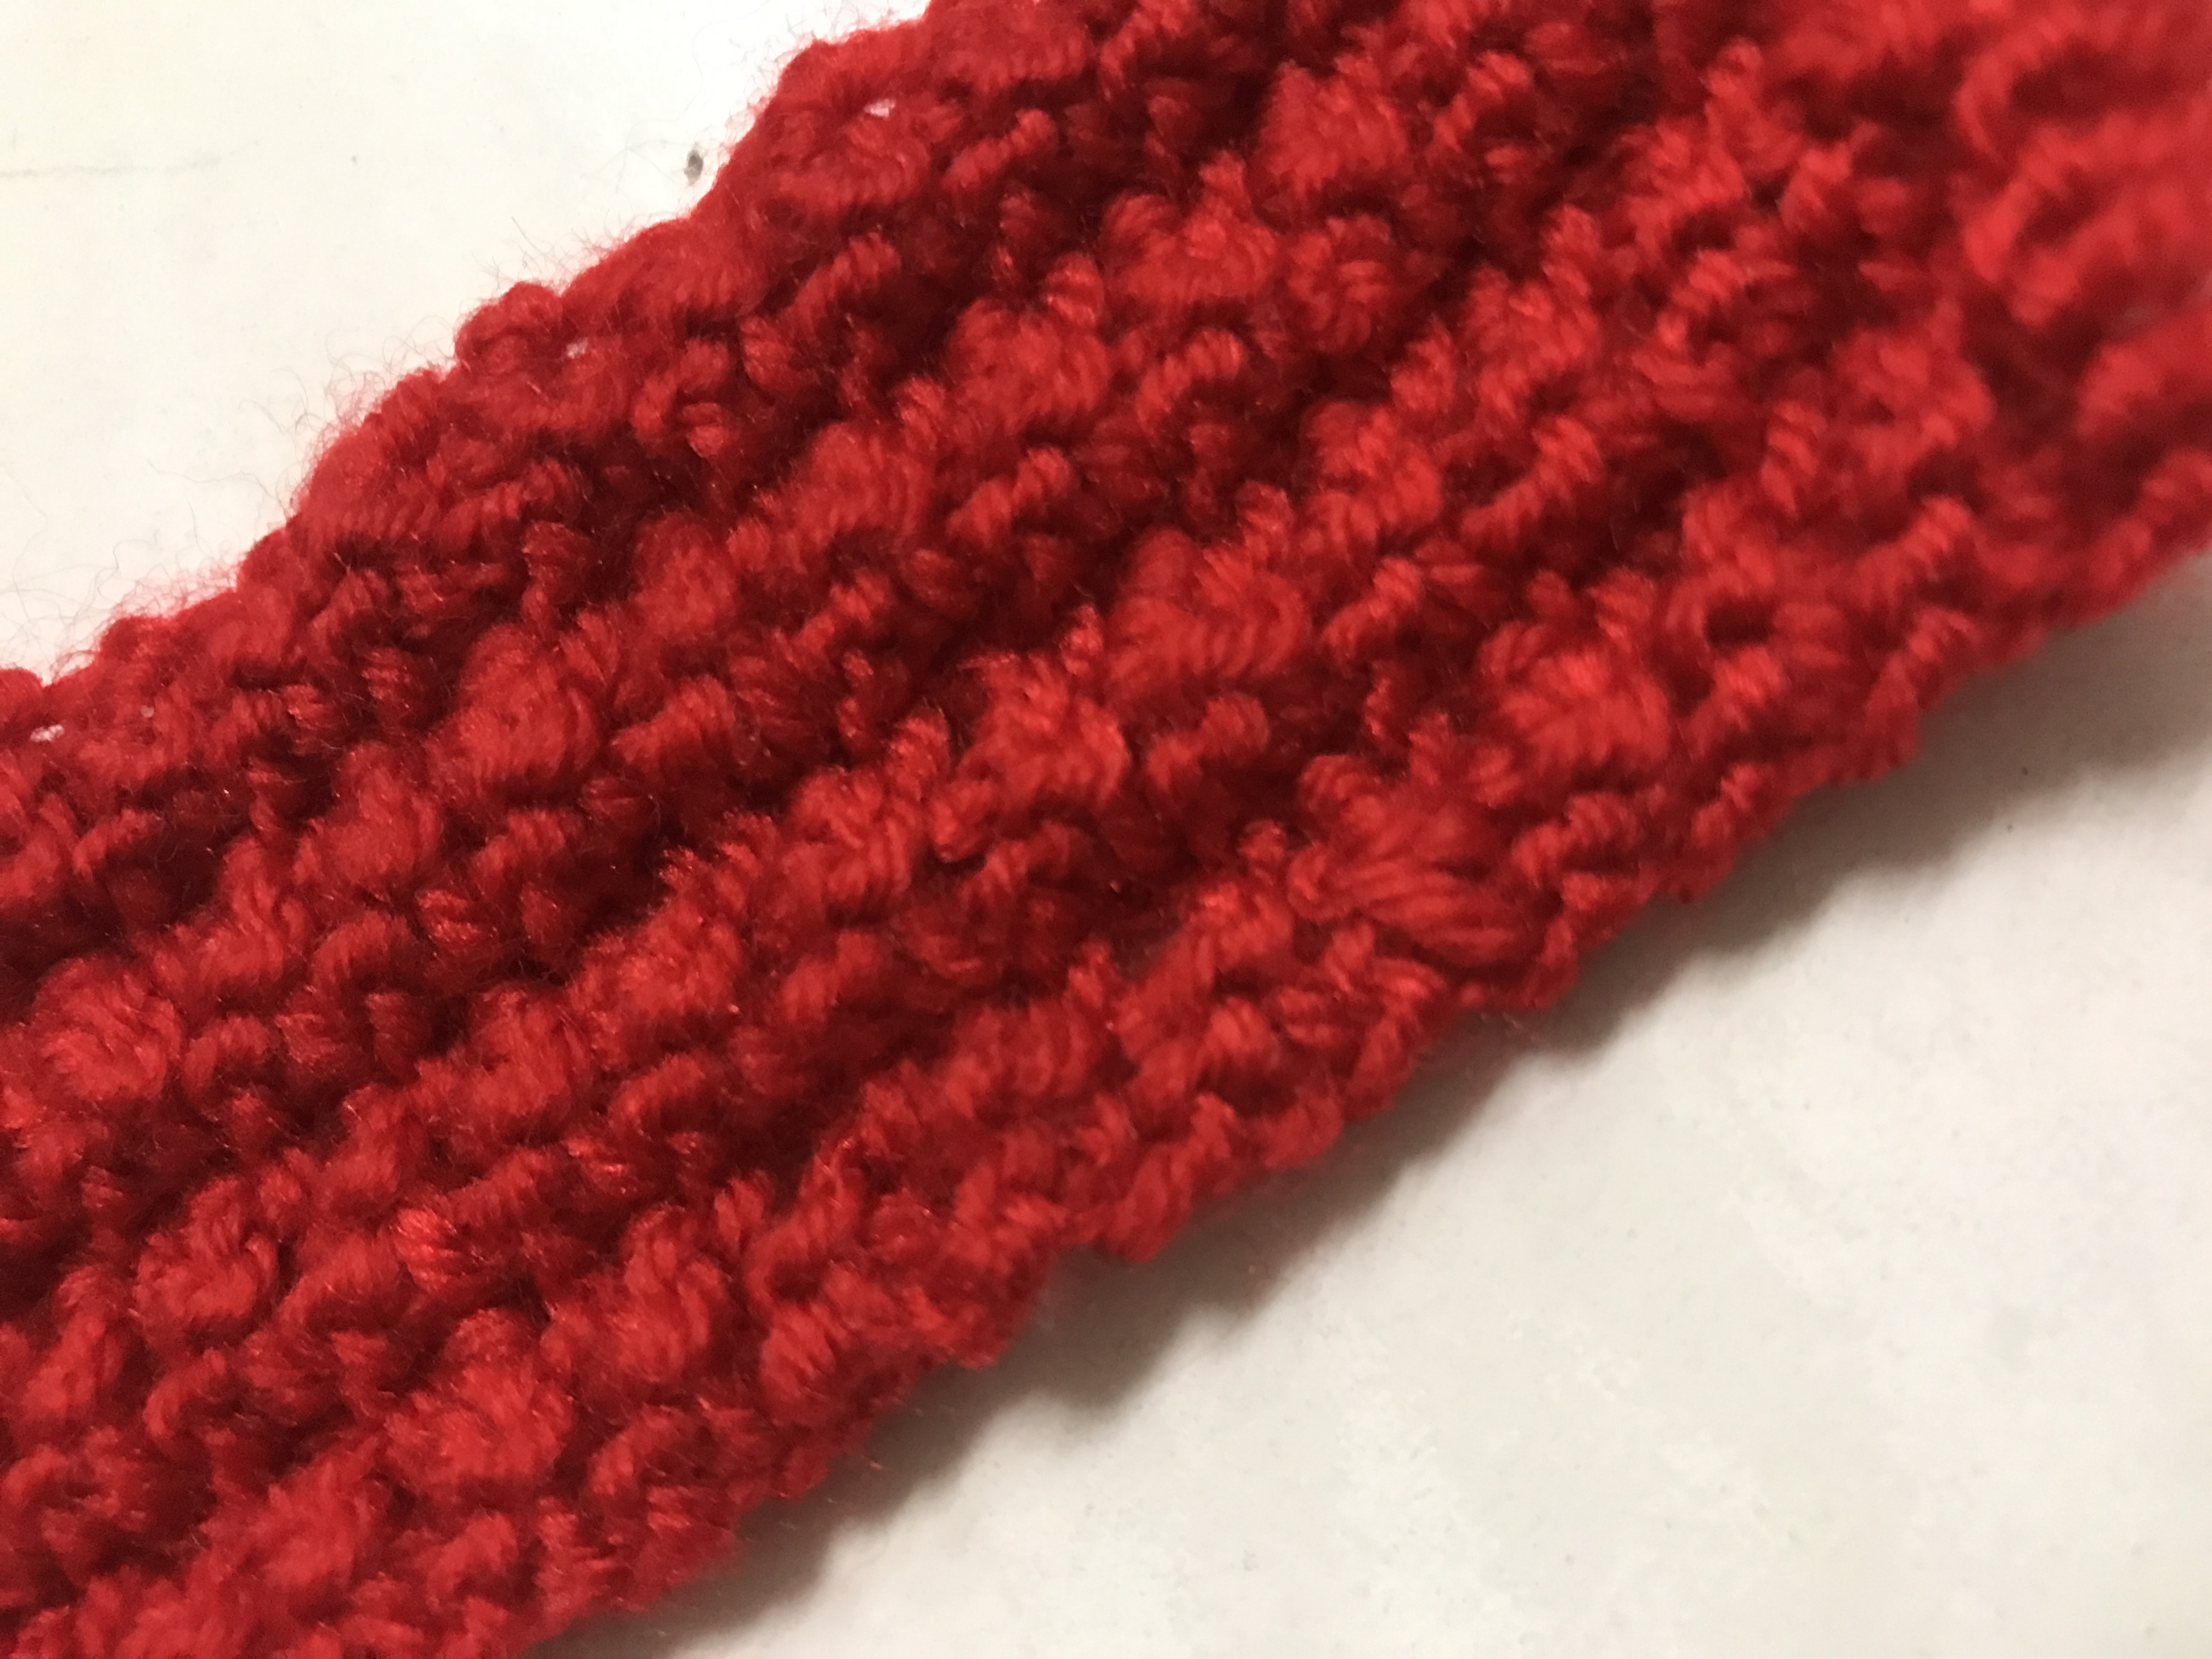
As I really like the raspberry stitches which I mentioned earlier, I went to tried more to get a better outcome. I was very careful for every stitch as if I missed any one of the steps then the knitting will be failed. Finally, it looks more completed!
I like knitting but the previous pieces I not really felt the joyful to them so I decided to knit a random pieces to relax myself. I was addicted with knitting as it really can destress even though I had a lot of project need to work on. This piece is actually bigger than the picture shown as I just spent my free time like I knitted while waiting bus and knitting is so fun!
My learning point for this cool techniques is although the steps to knit looked complicated at first but when you are proficient to the process, you will feel very satisfied and can’t stop knitting.


