OVERALL DESCRIPTION:
Hello everyone! I just thought I’d separate my process entry from the final work entry so it will be easier to follow.
My final steps for Project 1 included photoshopping, experimenting with materials I had lying around at home, taking photos, and scouting various printing shops.
FUSSY FOOD EATER:
For this piece, I started executing it by creating my own photo to be used as a backdrop. I’ve always been interested in both food and photography separately, and I love it when the two are put together and beautifully integrated. I actively follow food bloggers and instagrammers, read recipes and watch cooking videos to get inspiration for my daily life in general, aside from artistic purposes. Therefore, I was super excited to begin my fussy eater piece.
Another thing that is kind of ironic is that although I like things to do with food, when I cook or bake, I prefer feeding people more than myself. This leads me to the fact that it’s because I’m quite picky, and refuse to eat a lot of things. I can eat the same thing for days without feeling bored. So a lot food is wasted on me because they’re too exotic for my taste (although they’re not actually, I’m just strange).
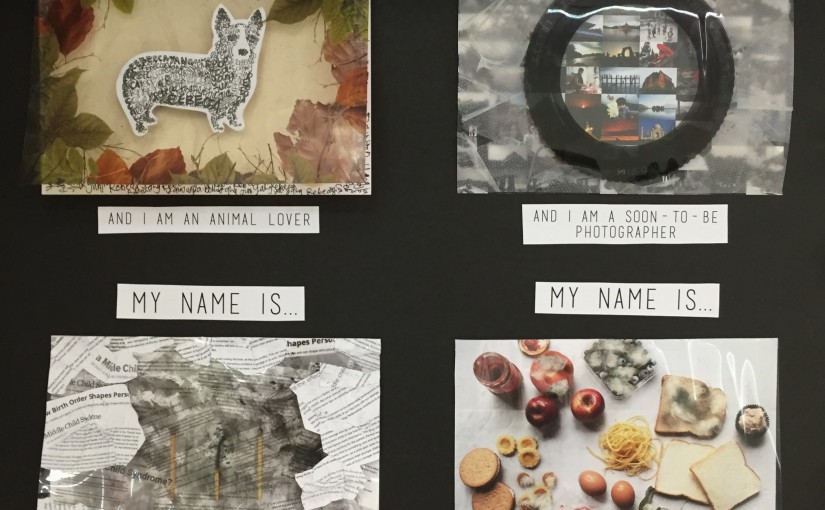
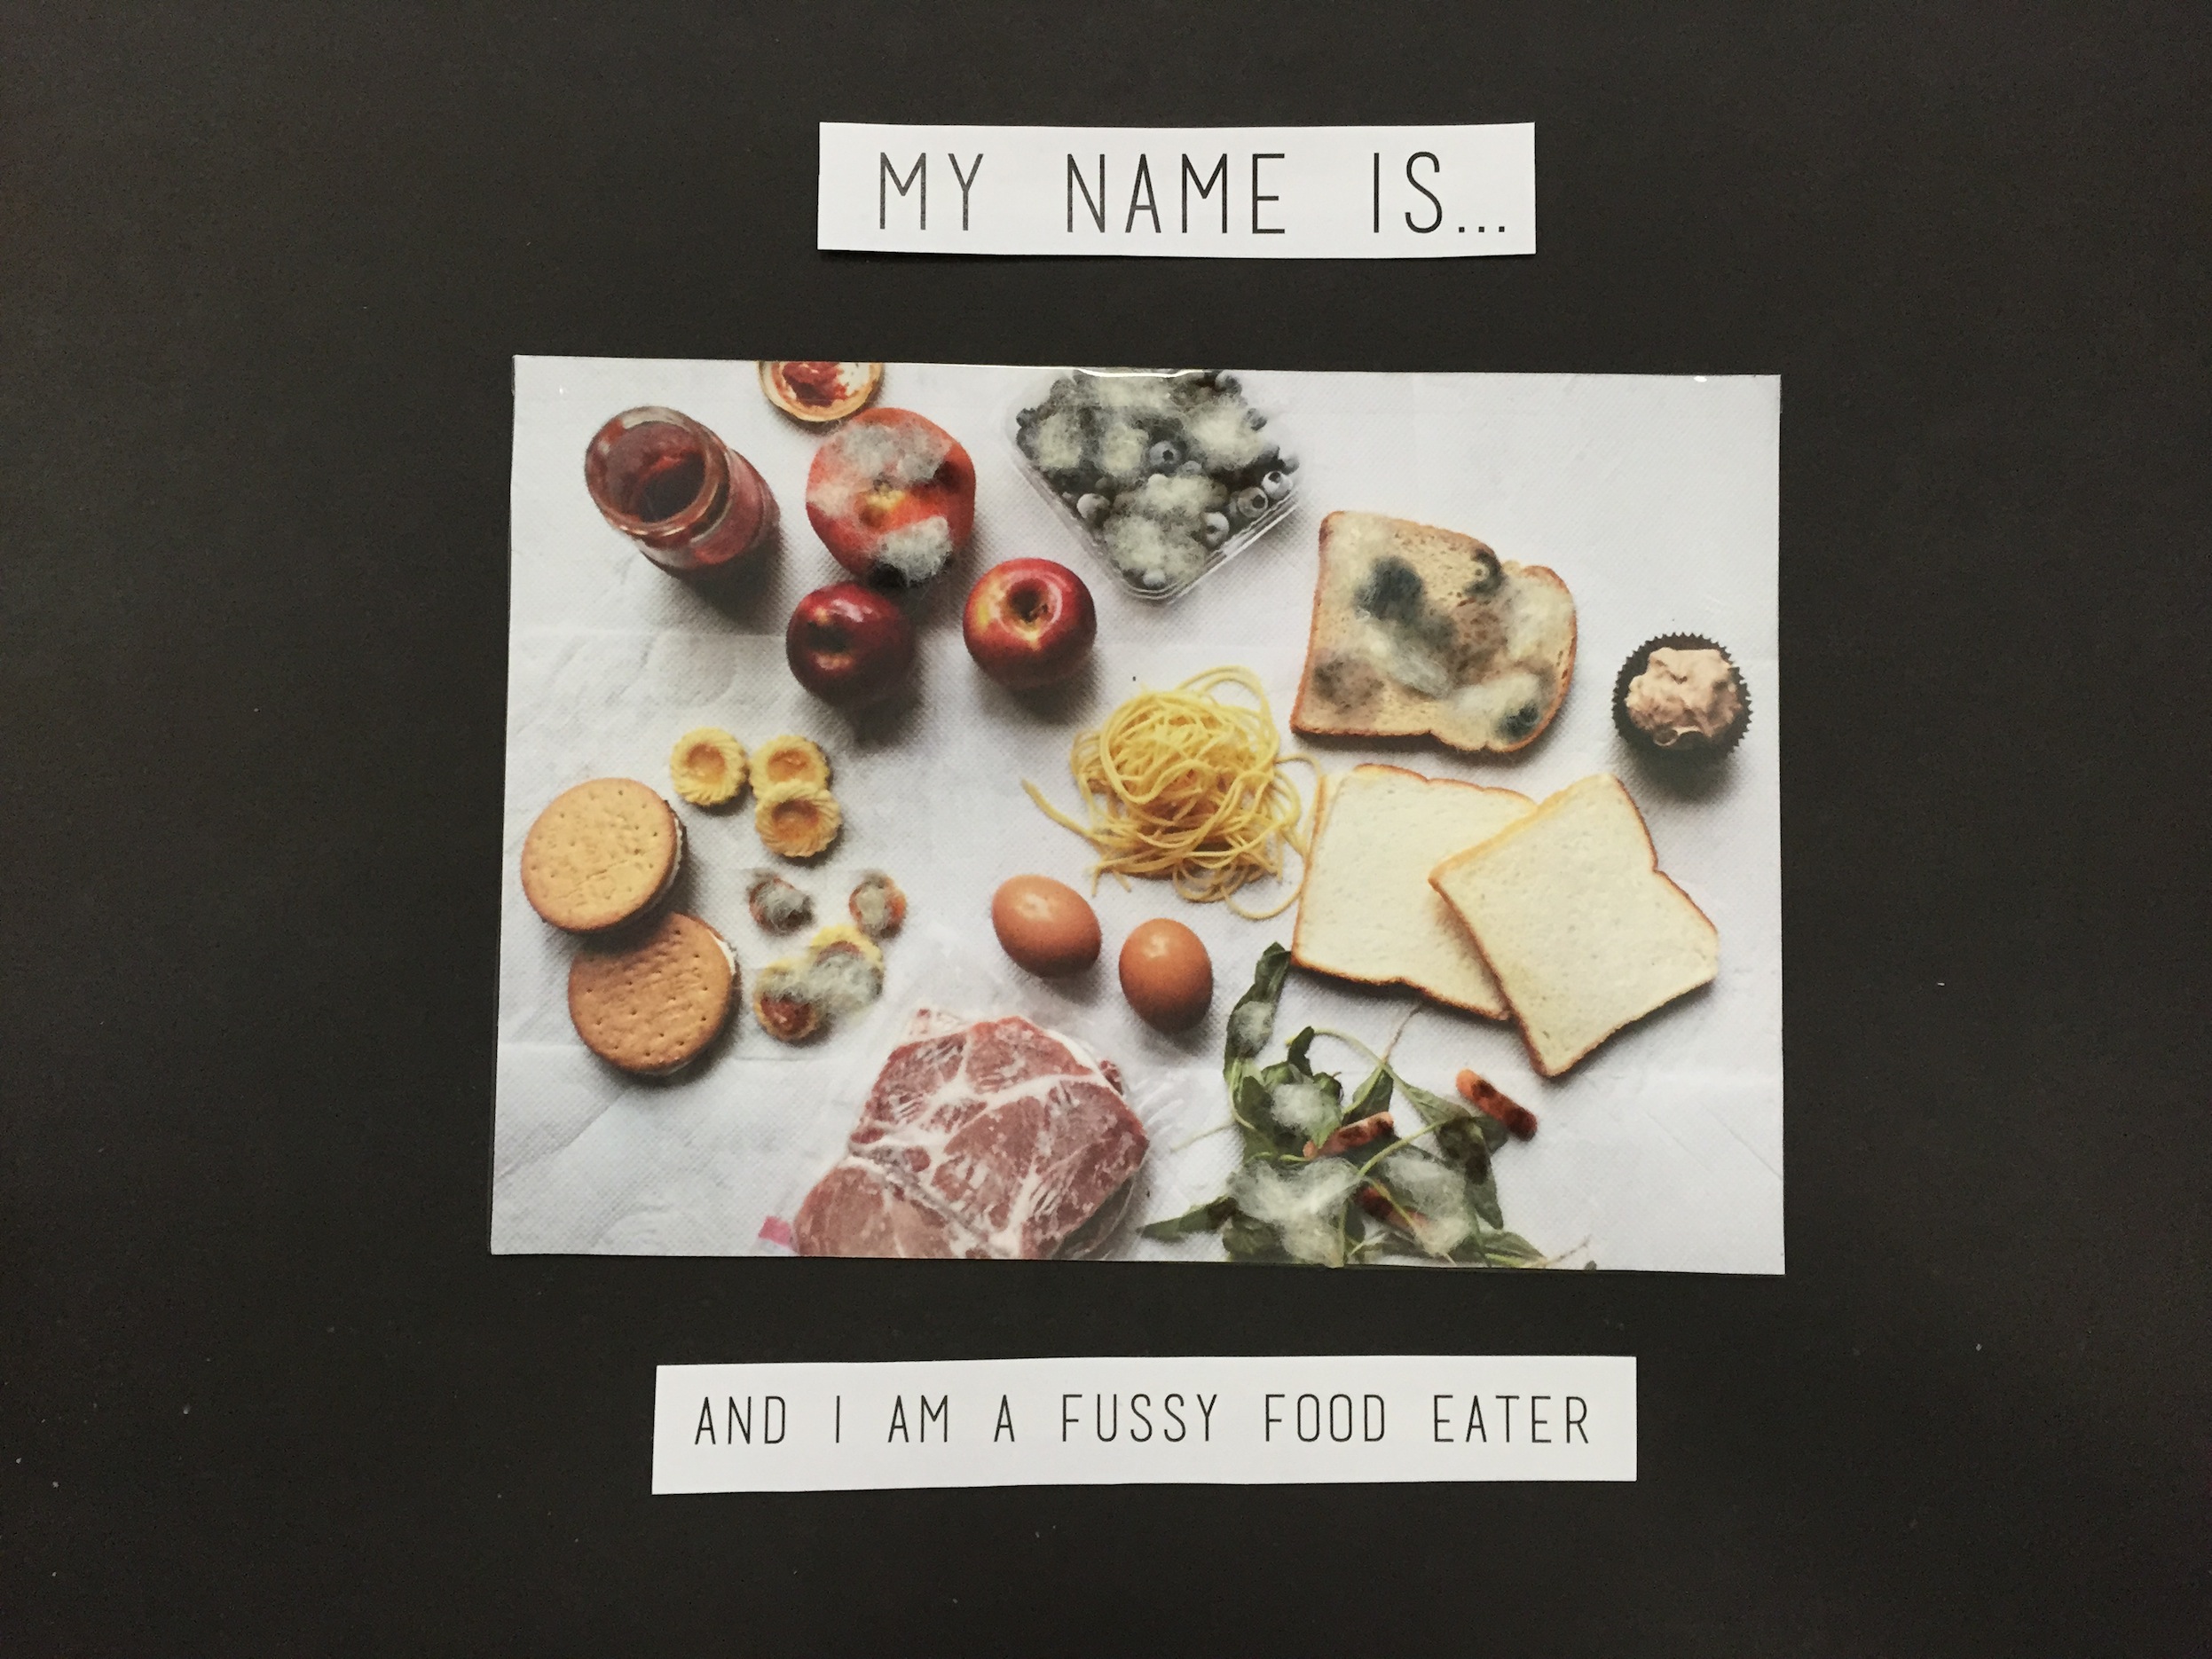
My concept was to show food wastage, using mould to symbolise decay on the ingredient that I don’t eat. I specifically chose to use basic items like bread and raw meat instead of fully cooked plates of food because to me, as long as a dish contains food that I don’t like, I’d rather not eat it, so the entire thing would be mouldy and cannot show the contrast.
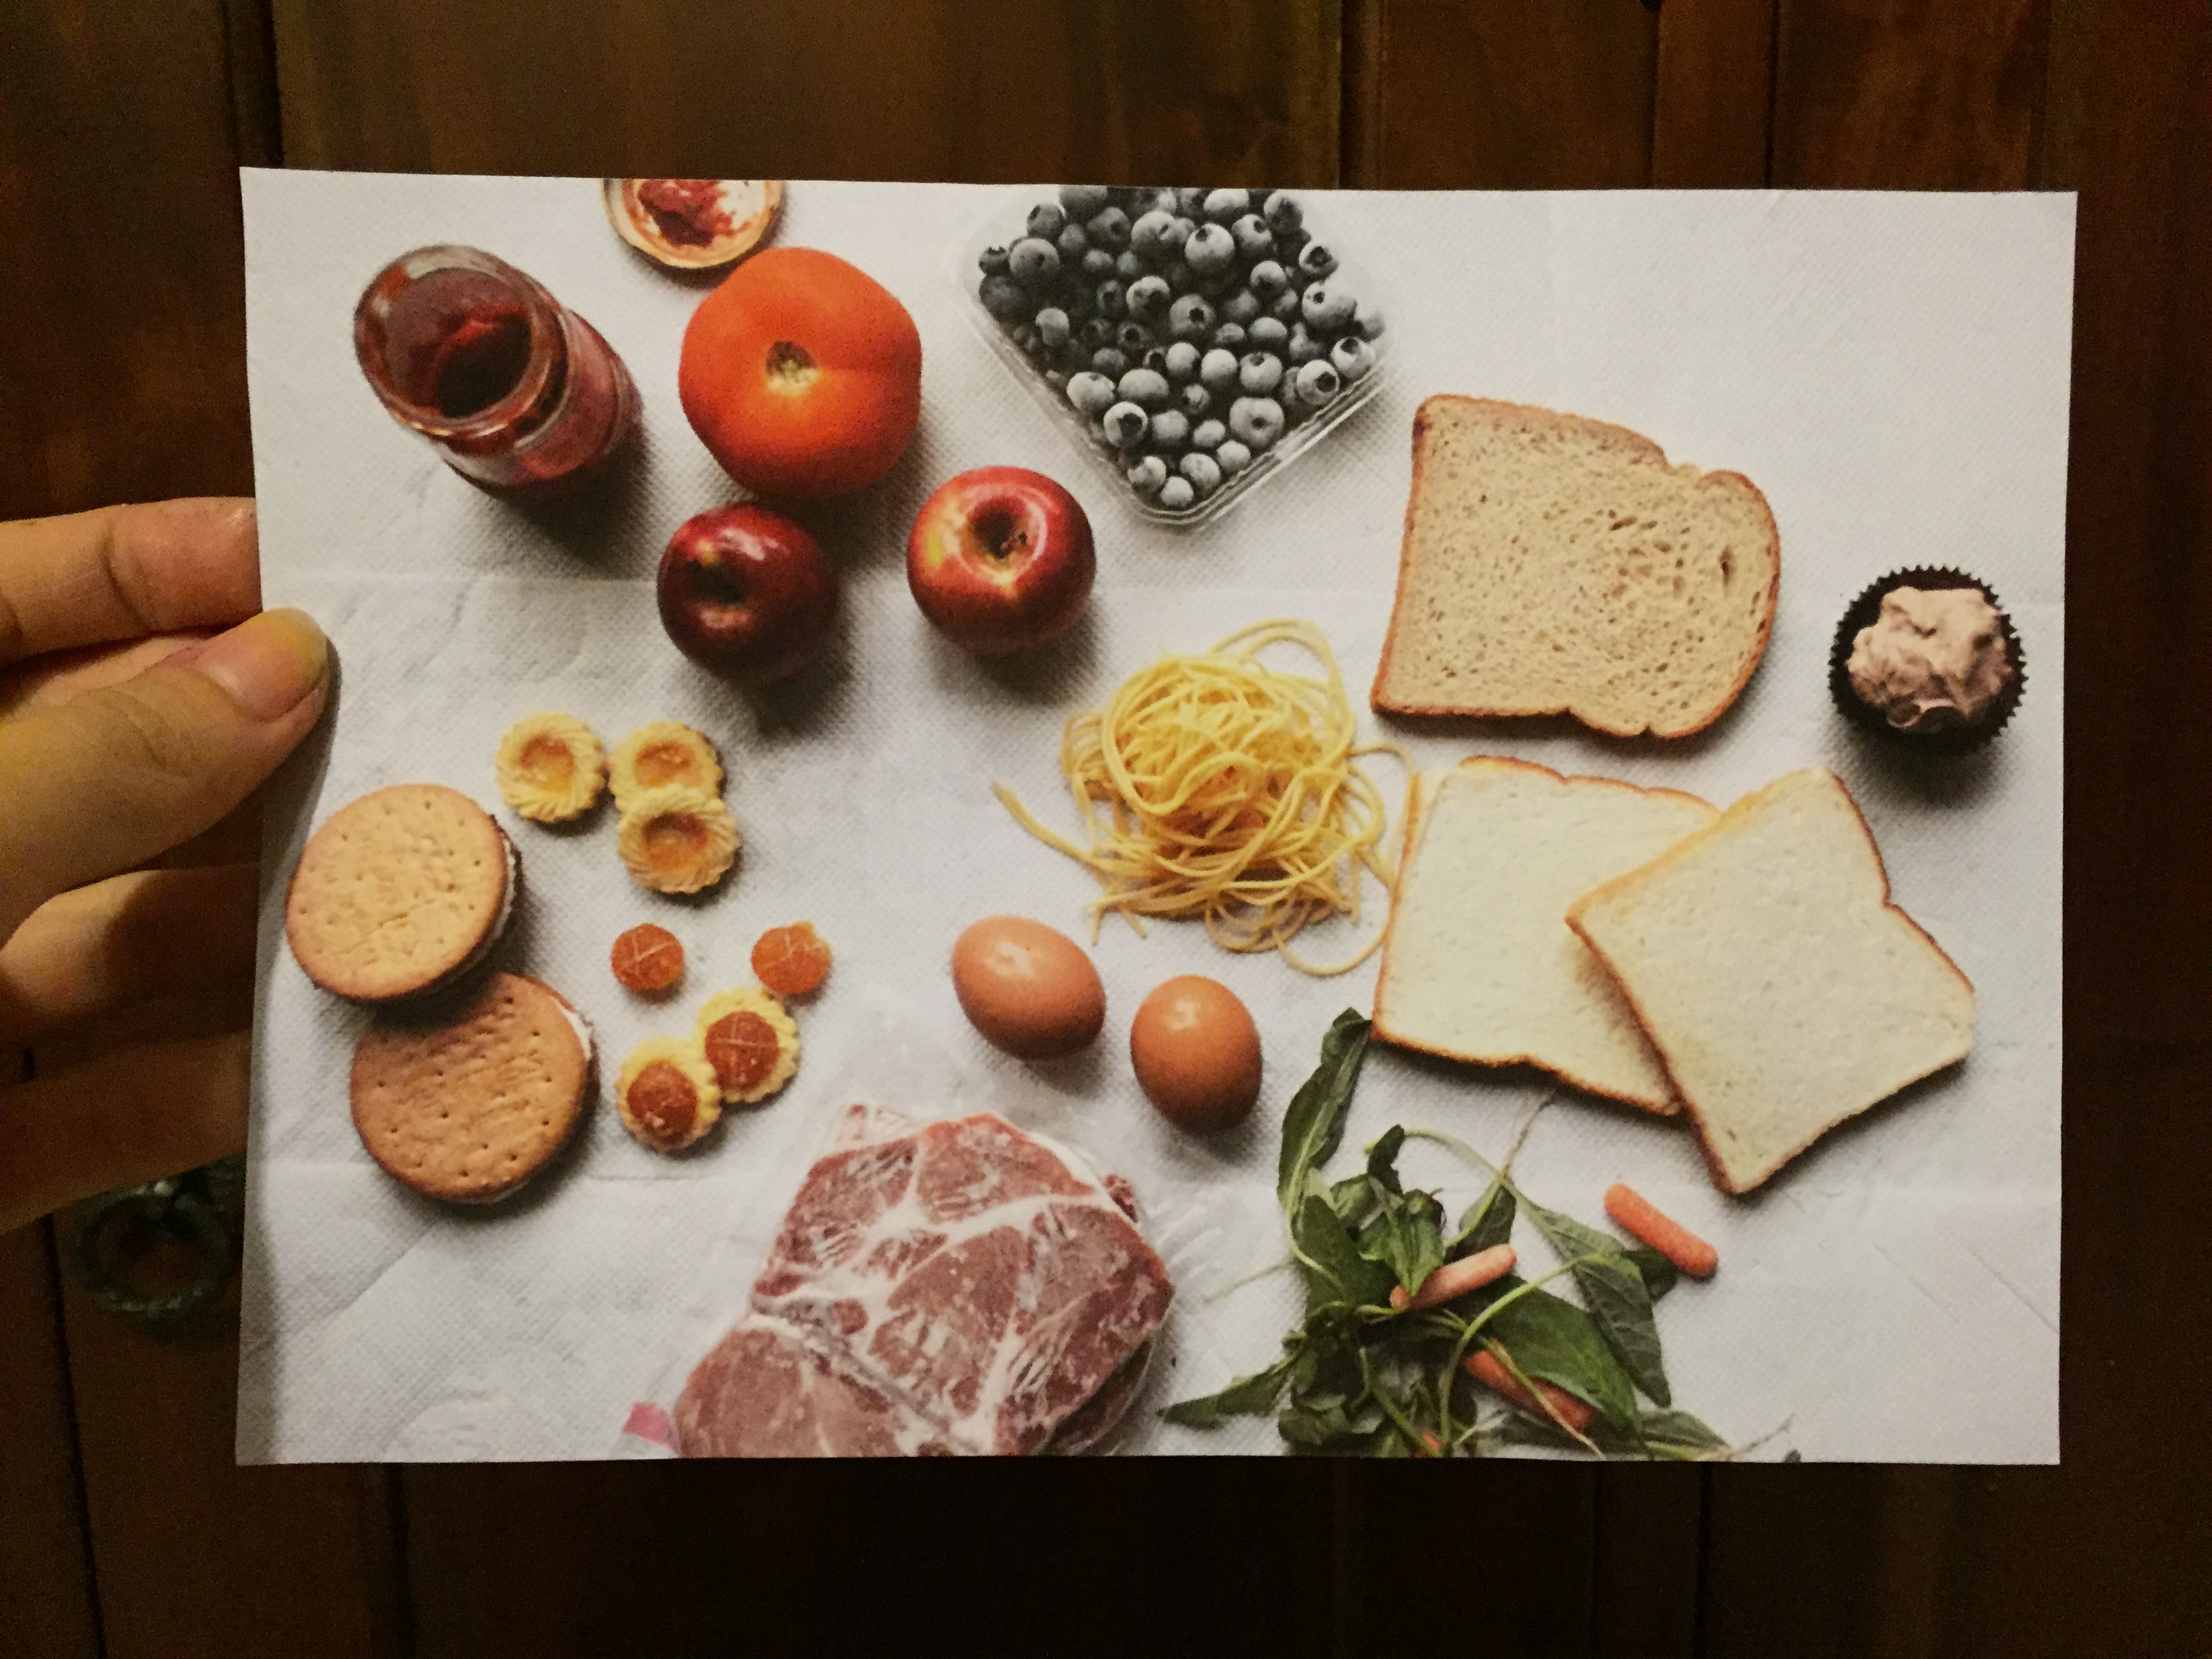
Here are some photos I took with the background set up:


I used paper towels as a makeshift background to give it a little more texture, and because it’s a medium that is related to the kitchen. I decided to go with the last photo because I feel it’s more compositionally pleasing and organised, and shows the slight grouping of food groups – carbohydrates, vegetables, proteins, snacks and fruits (in a clockwise direction), without making the separation too obvious.
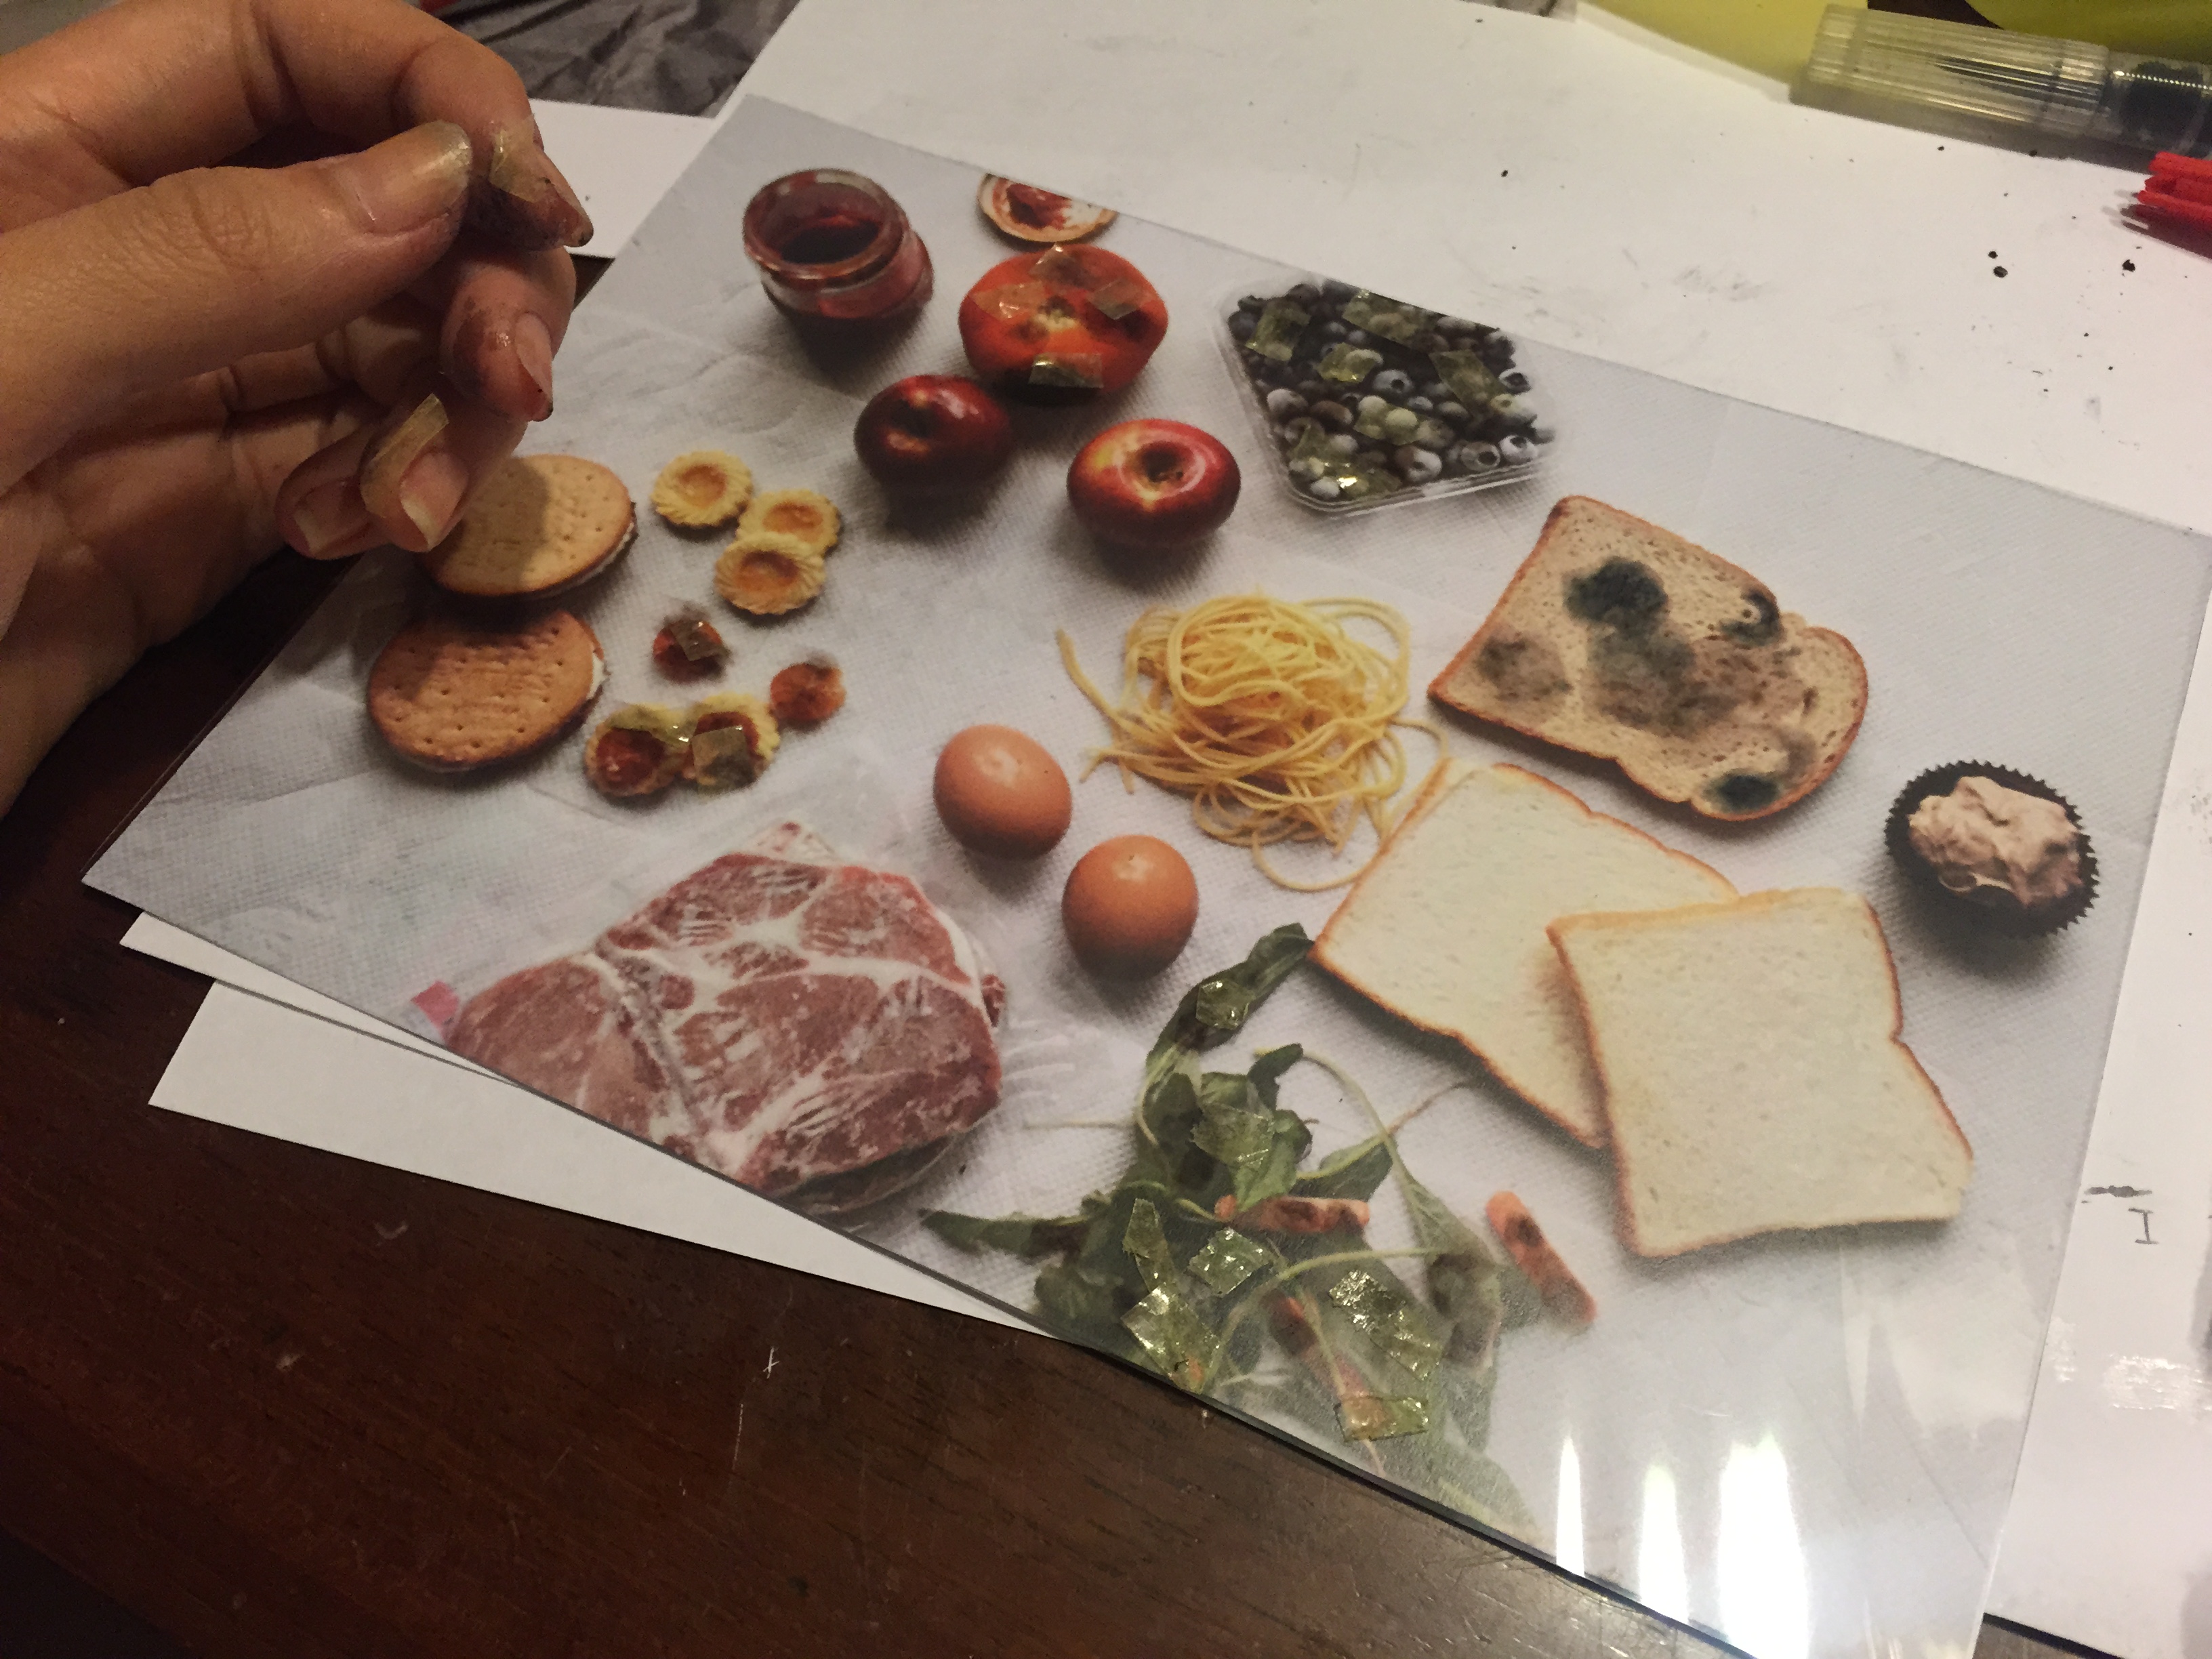
I digitally manipulated the mould effect on each of the food products I don’t eat, which was printed on a transparency to act as an overlay-ish effect, as shown below. Even then, I felt it was still inadequate to convey a rotting sort of feeling. So I used double sided tape to stick cotton bits on top of the photoshopped mould to give it a further fuzzy effect.


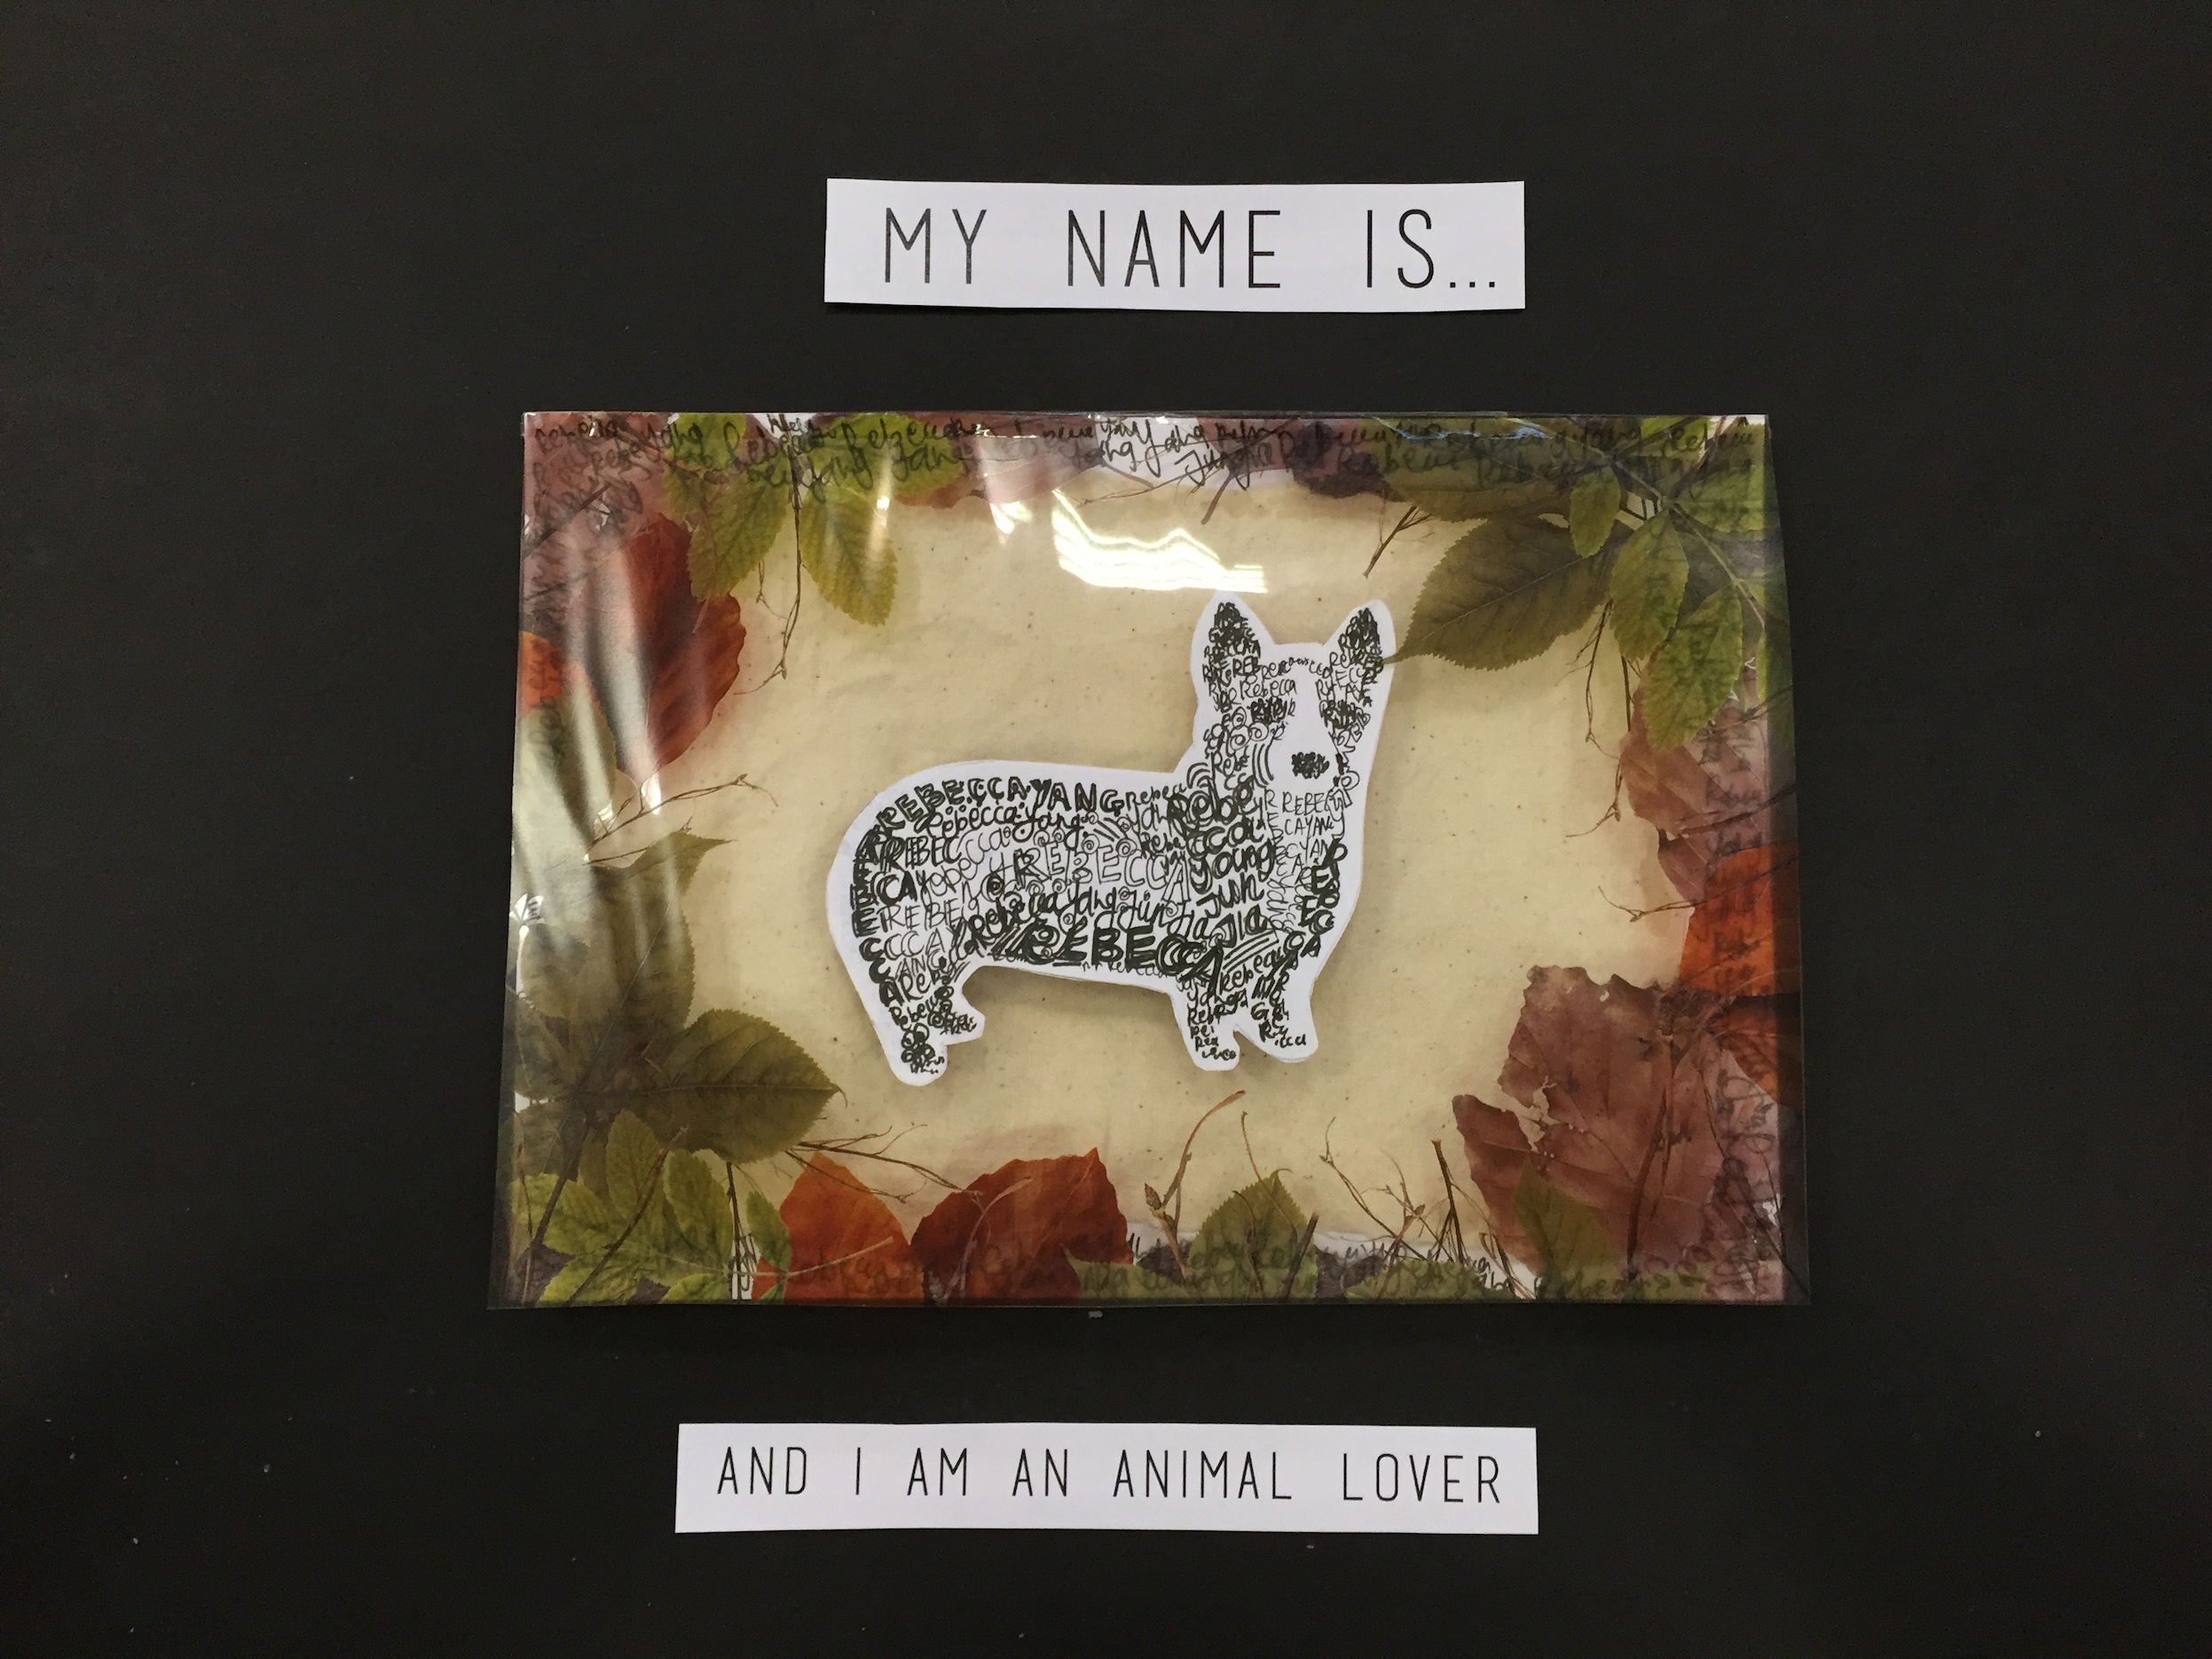
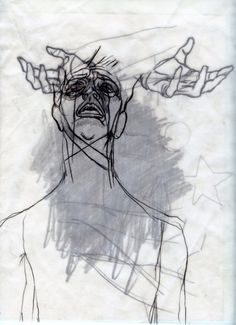
MIDDLE CHILD:
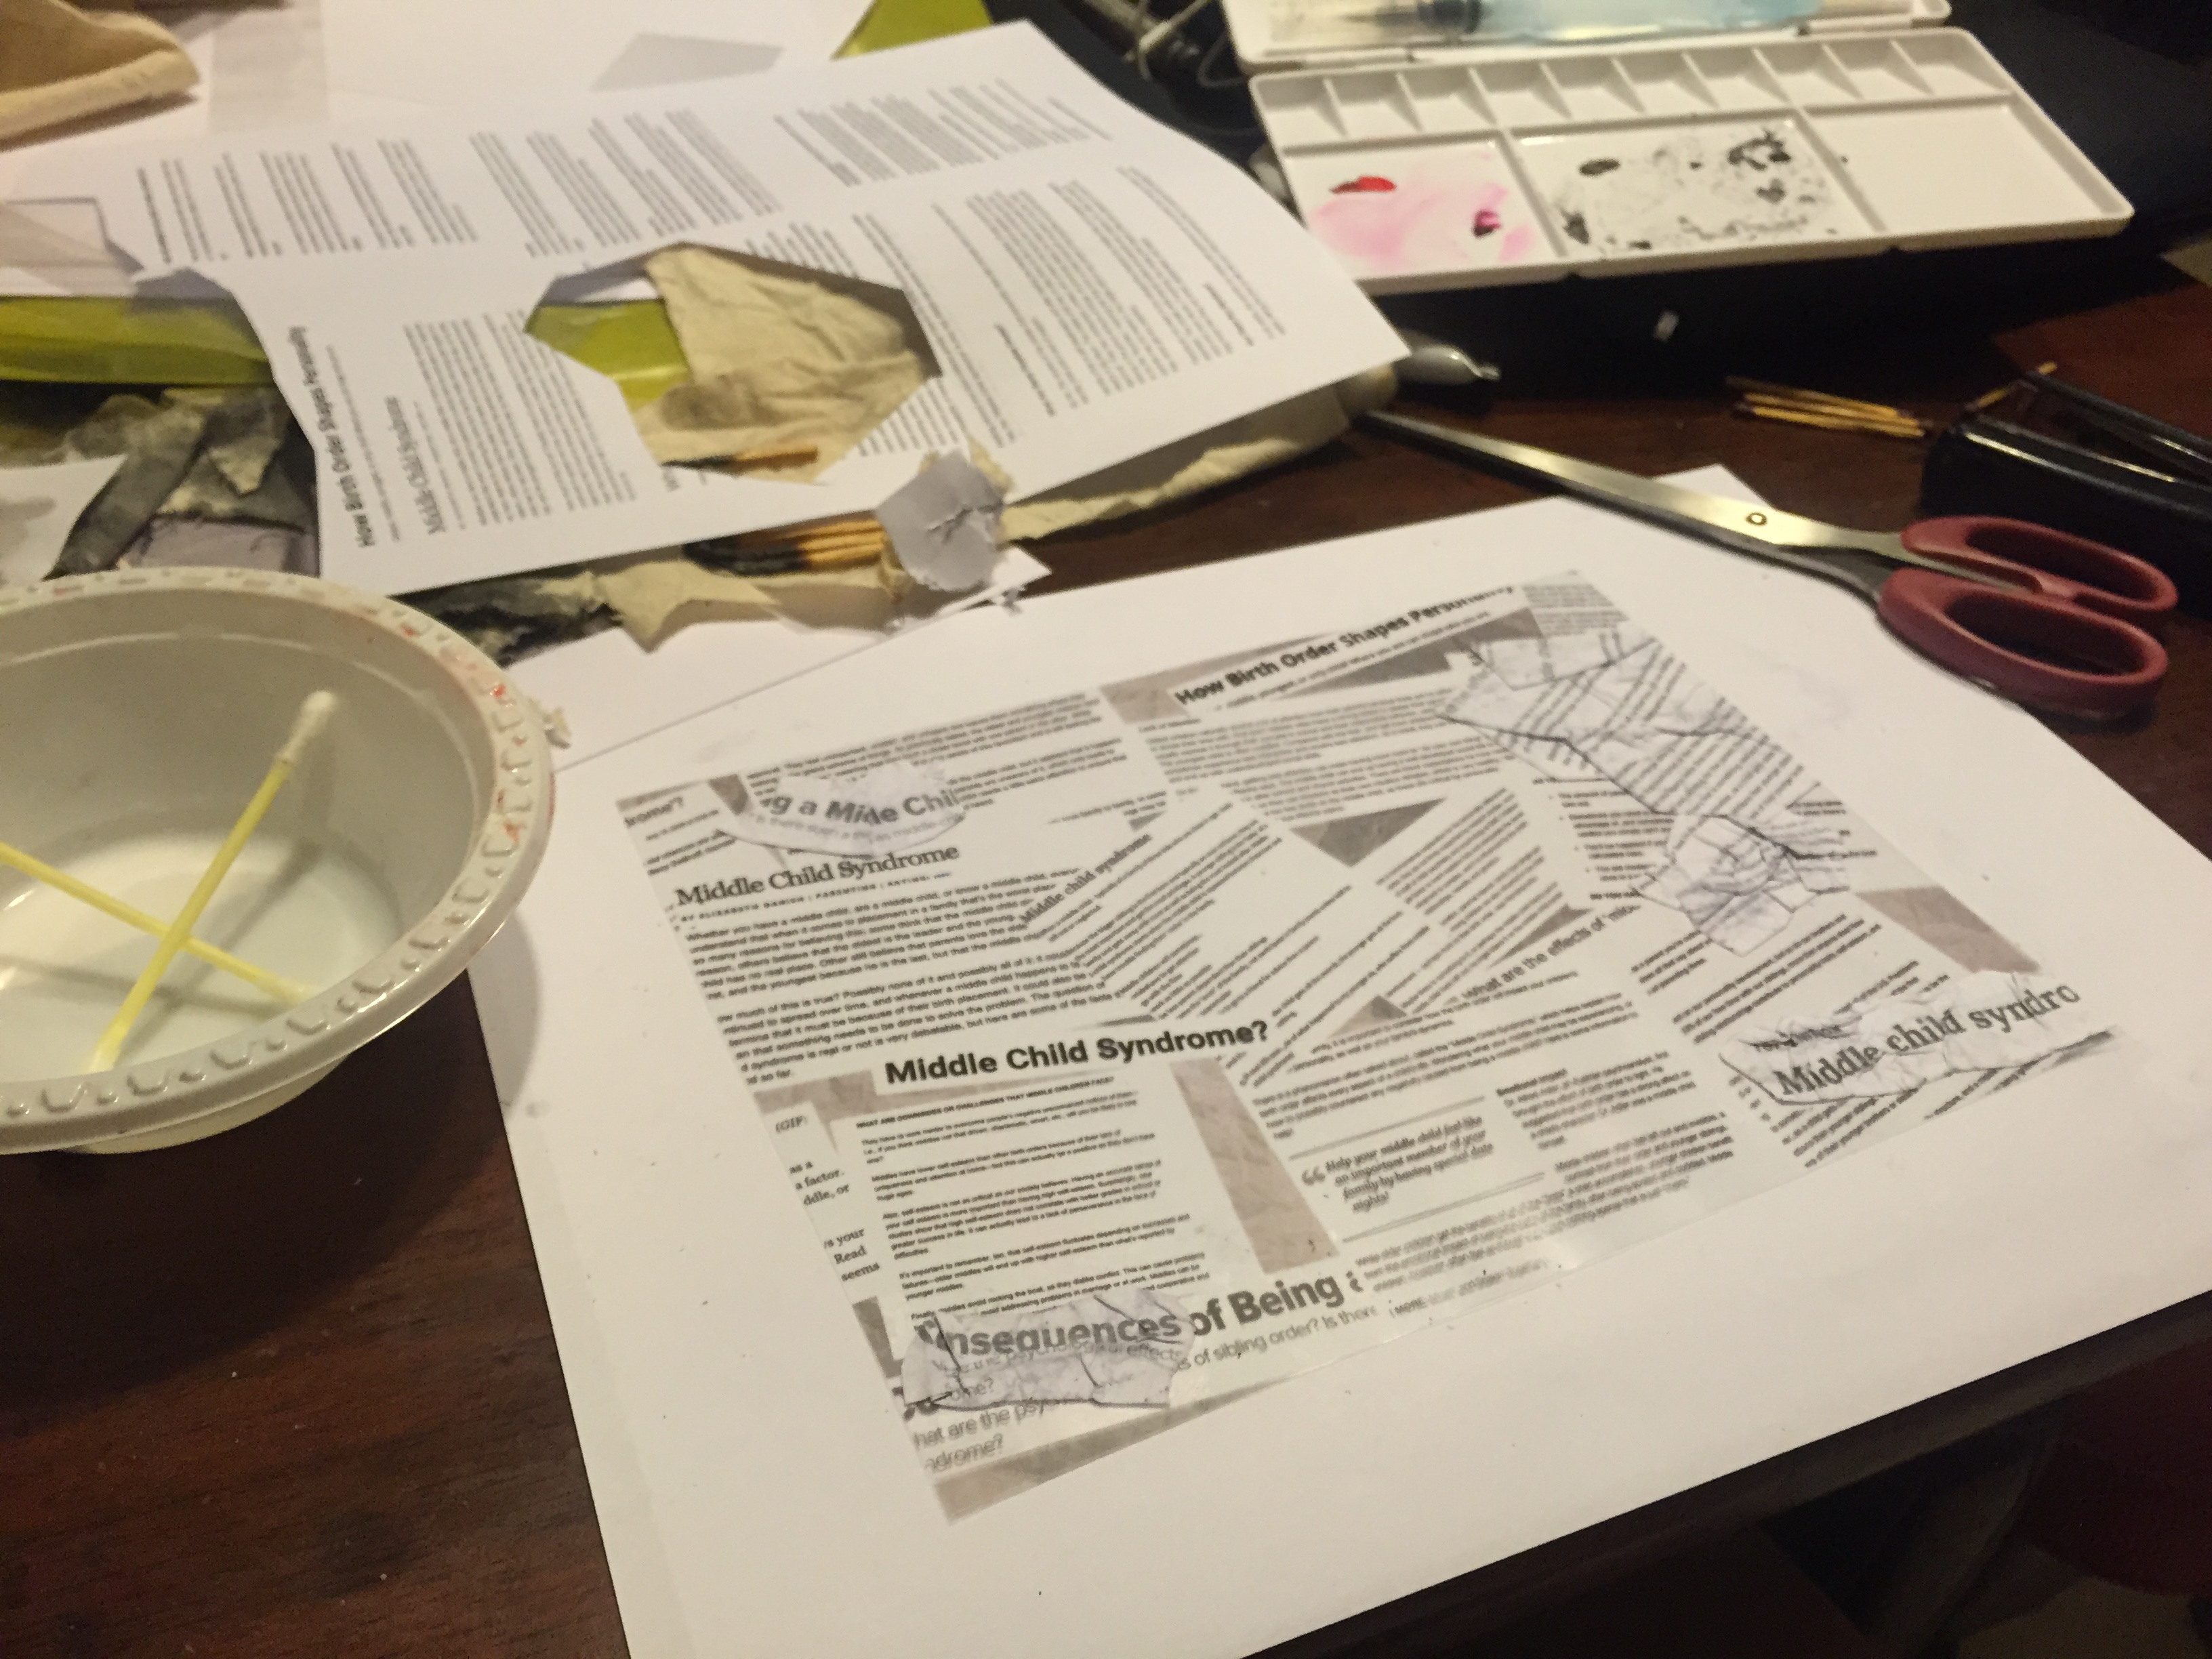
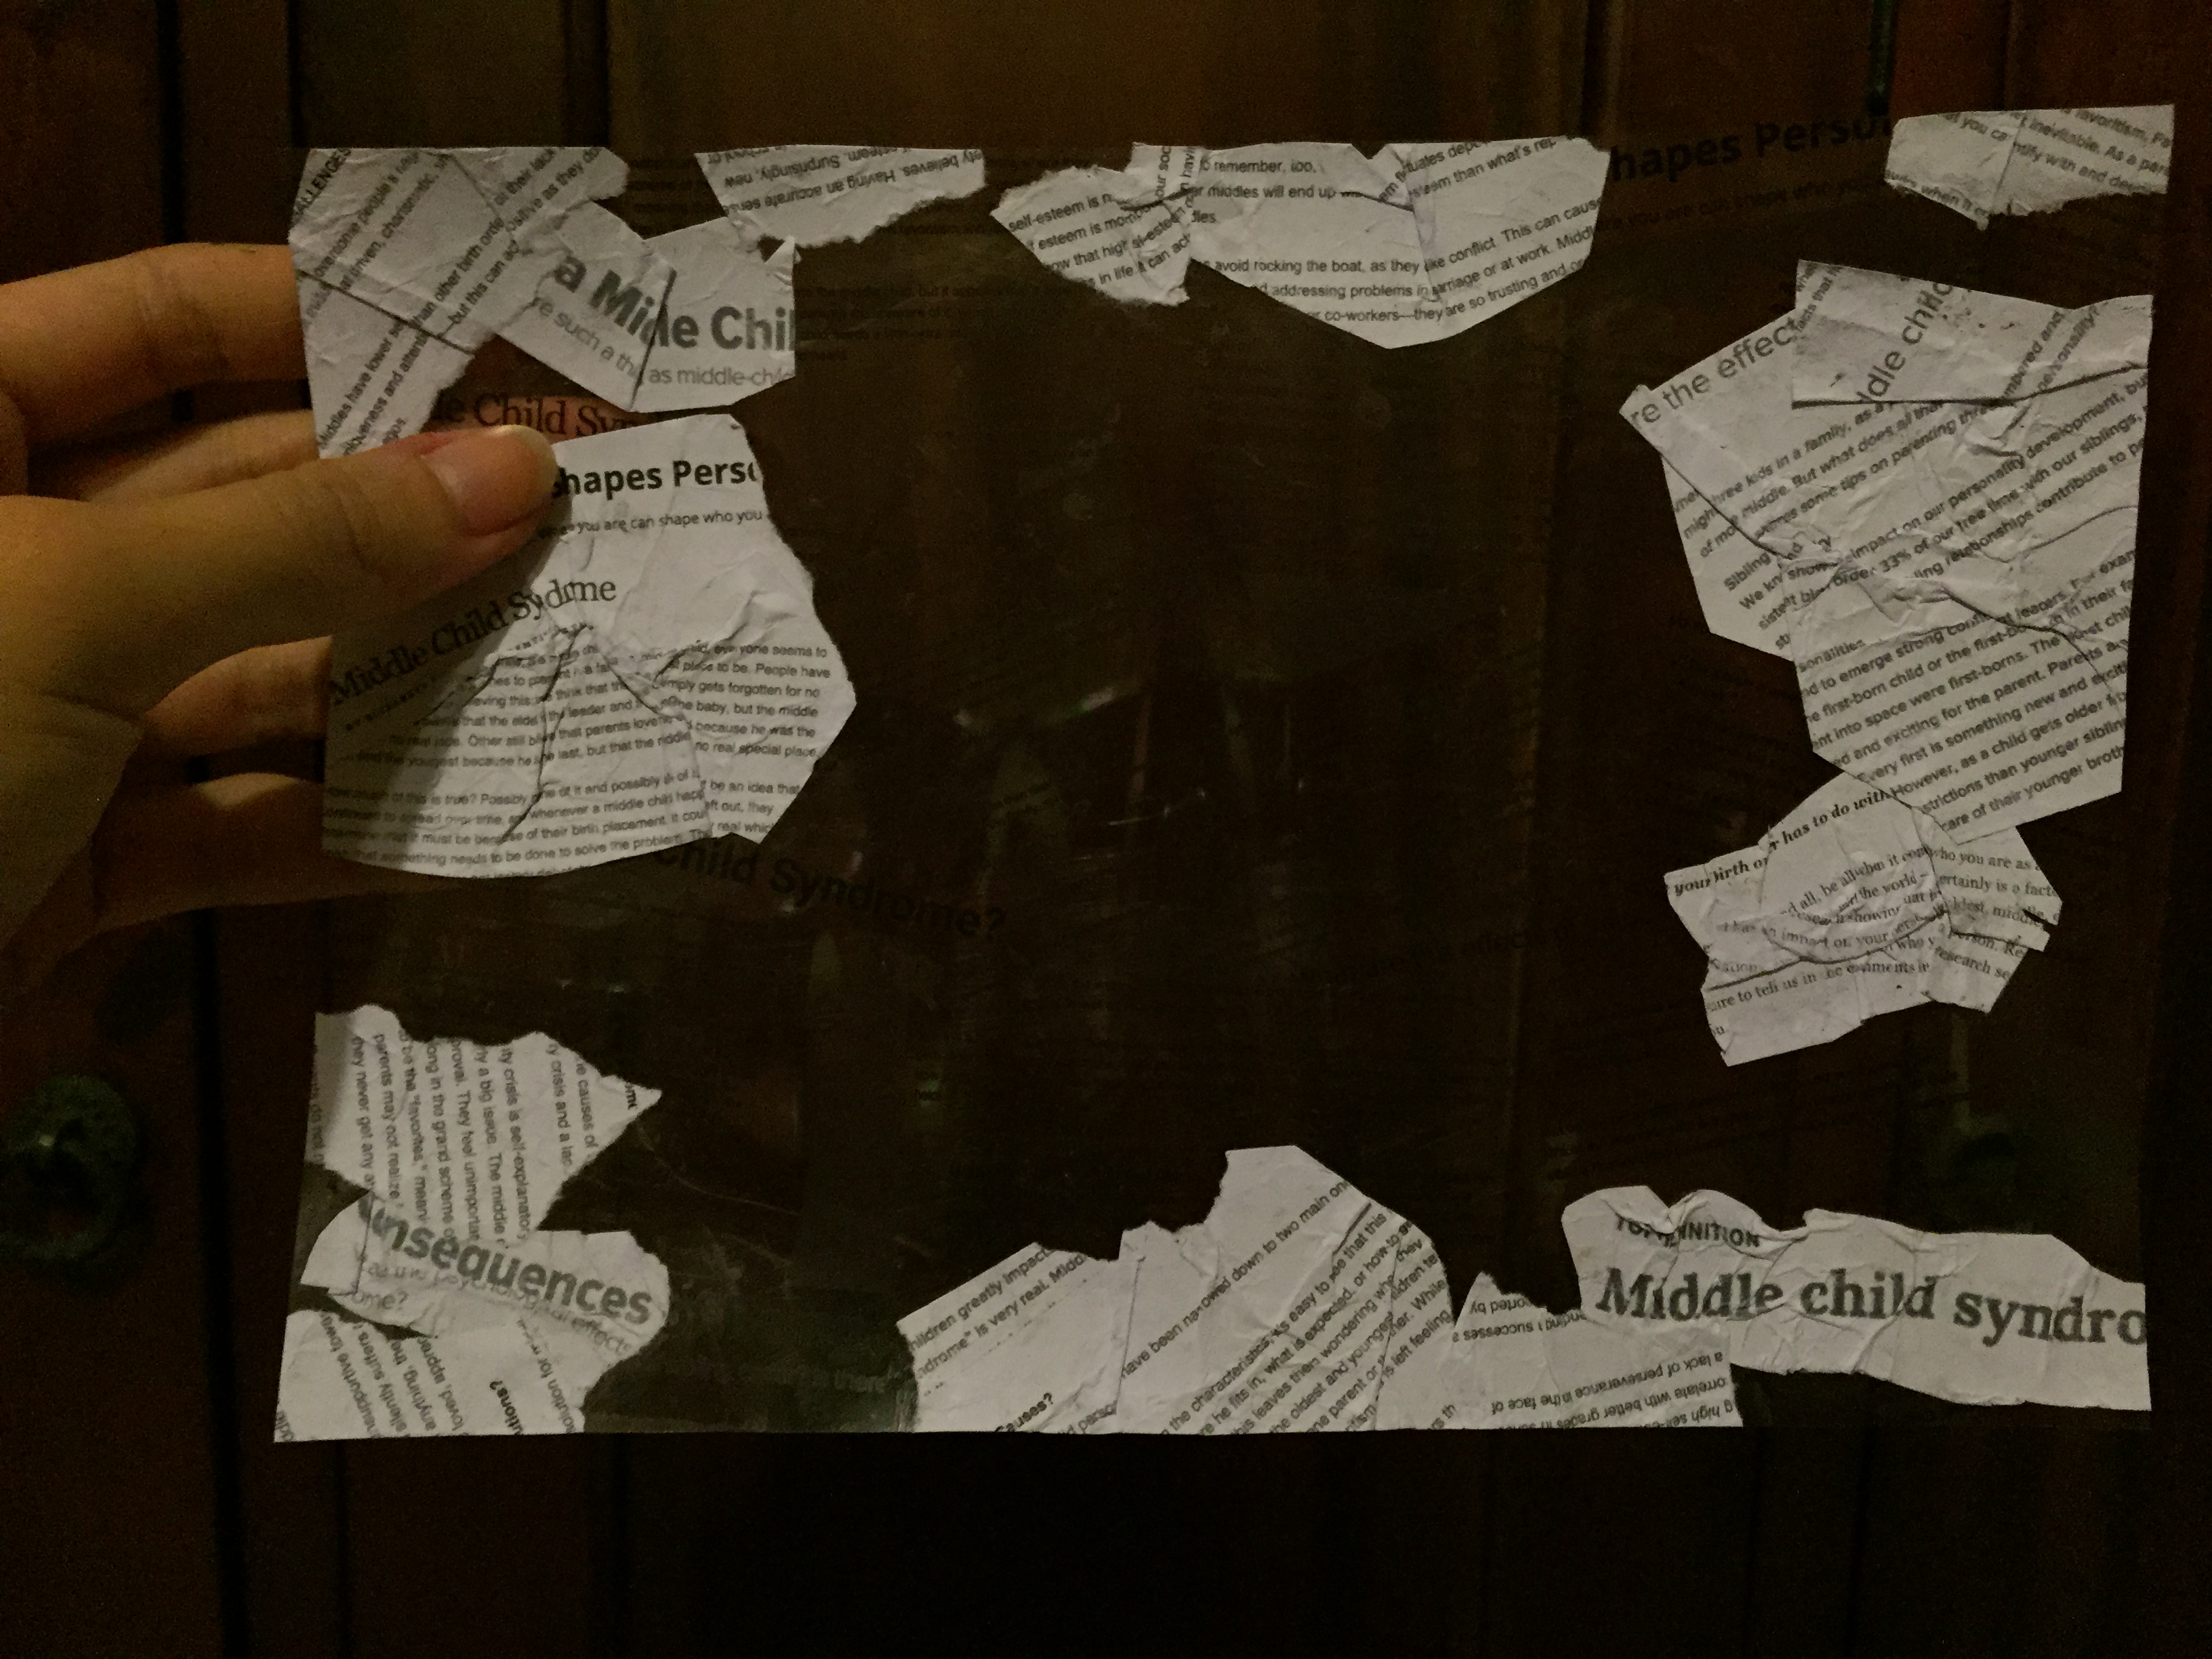
While doing some research on Middle Child Syndrome, I saved some articles, which came in useful after that because I printed those out and used them as a 3D medium for the transparency. I wanted each of my pieces to have certain aspects of digital work as well as experimentation with other physical materials.
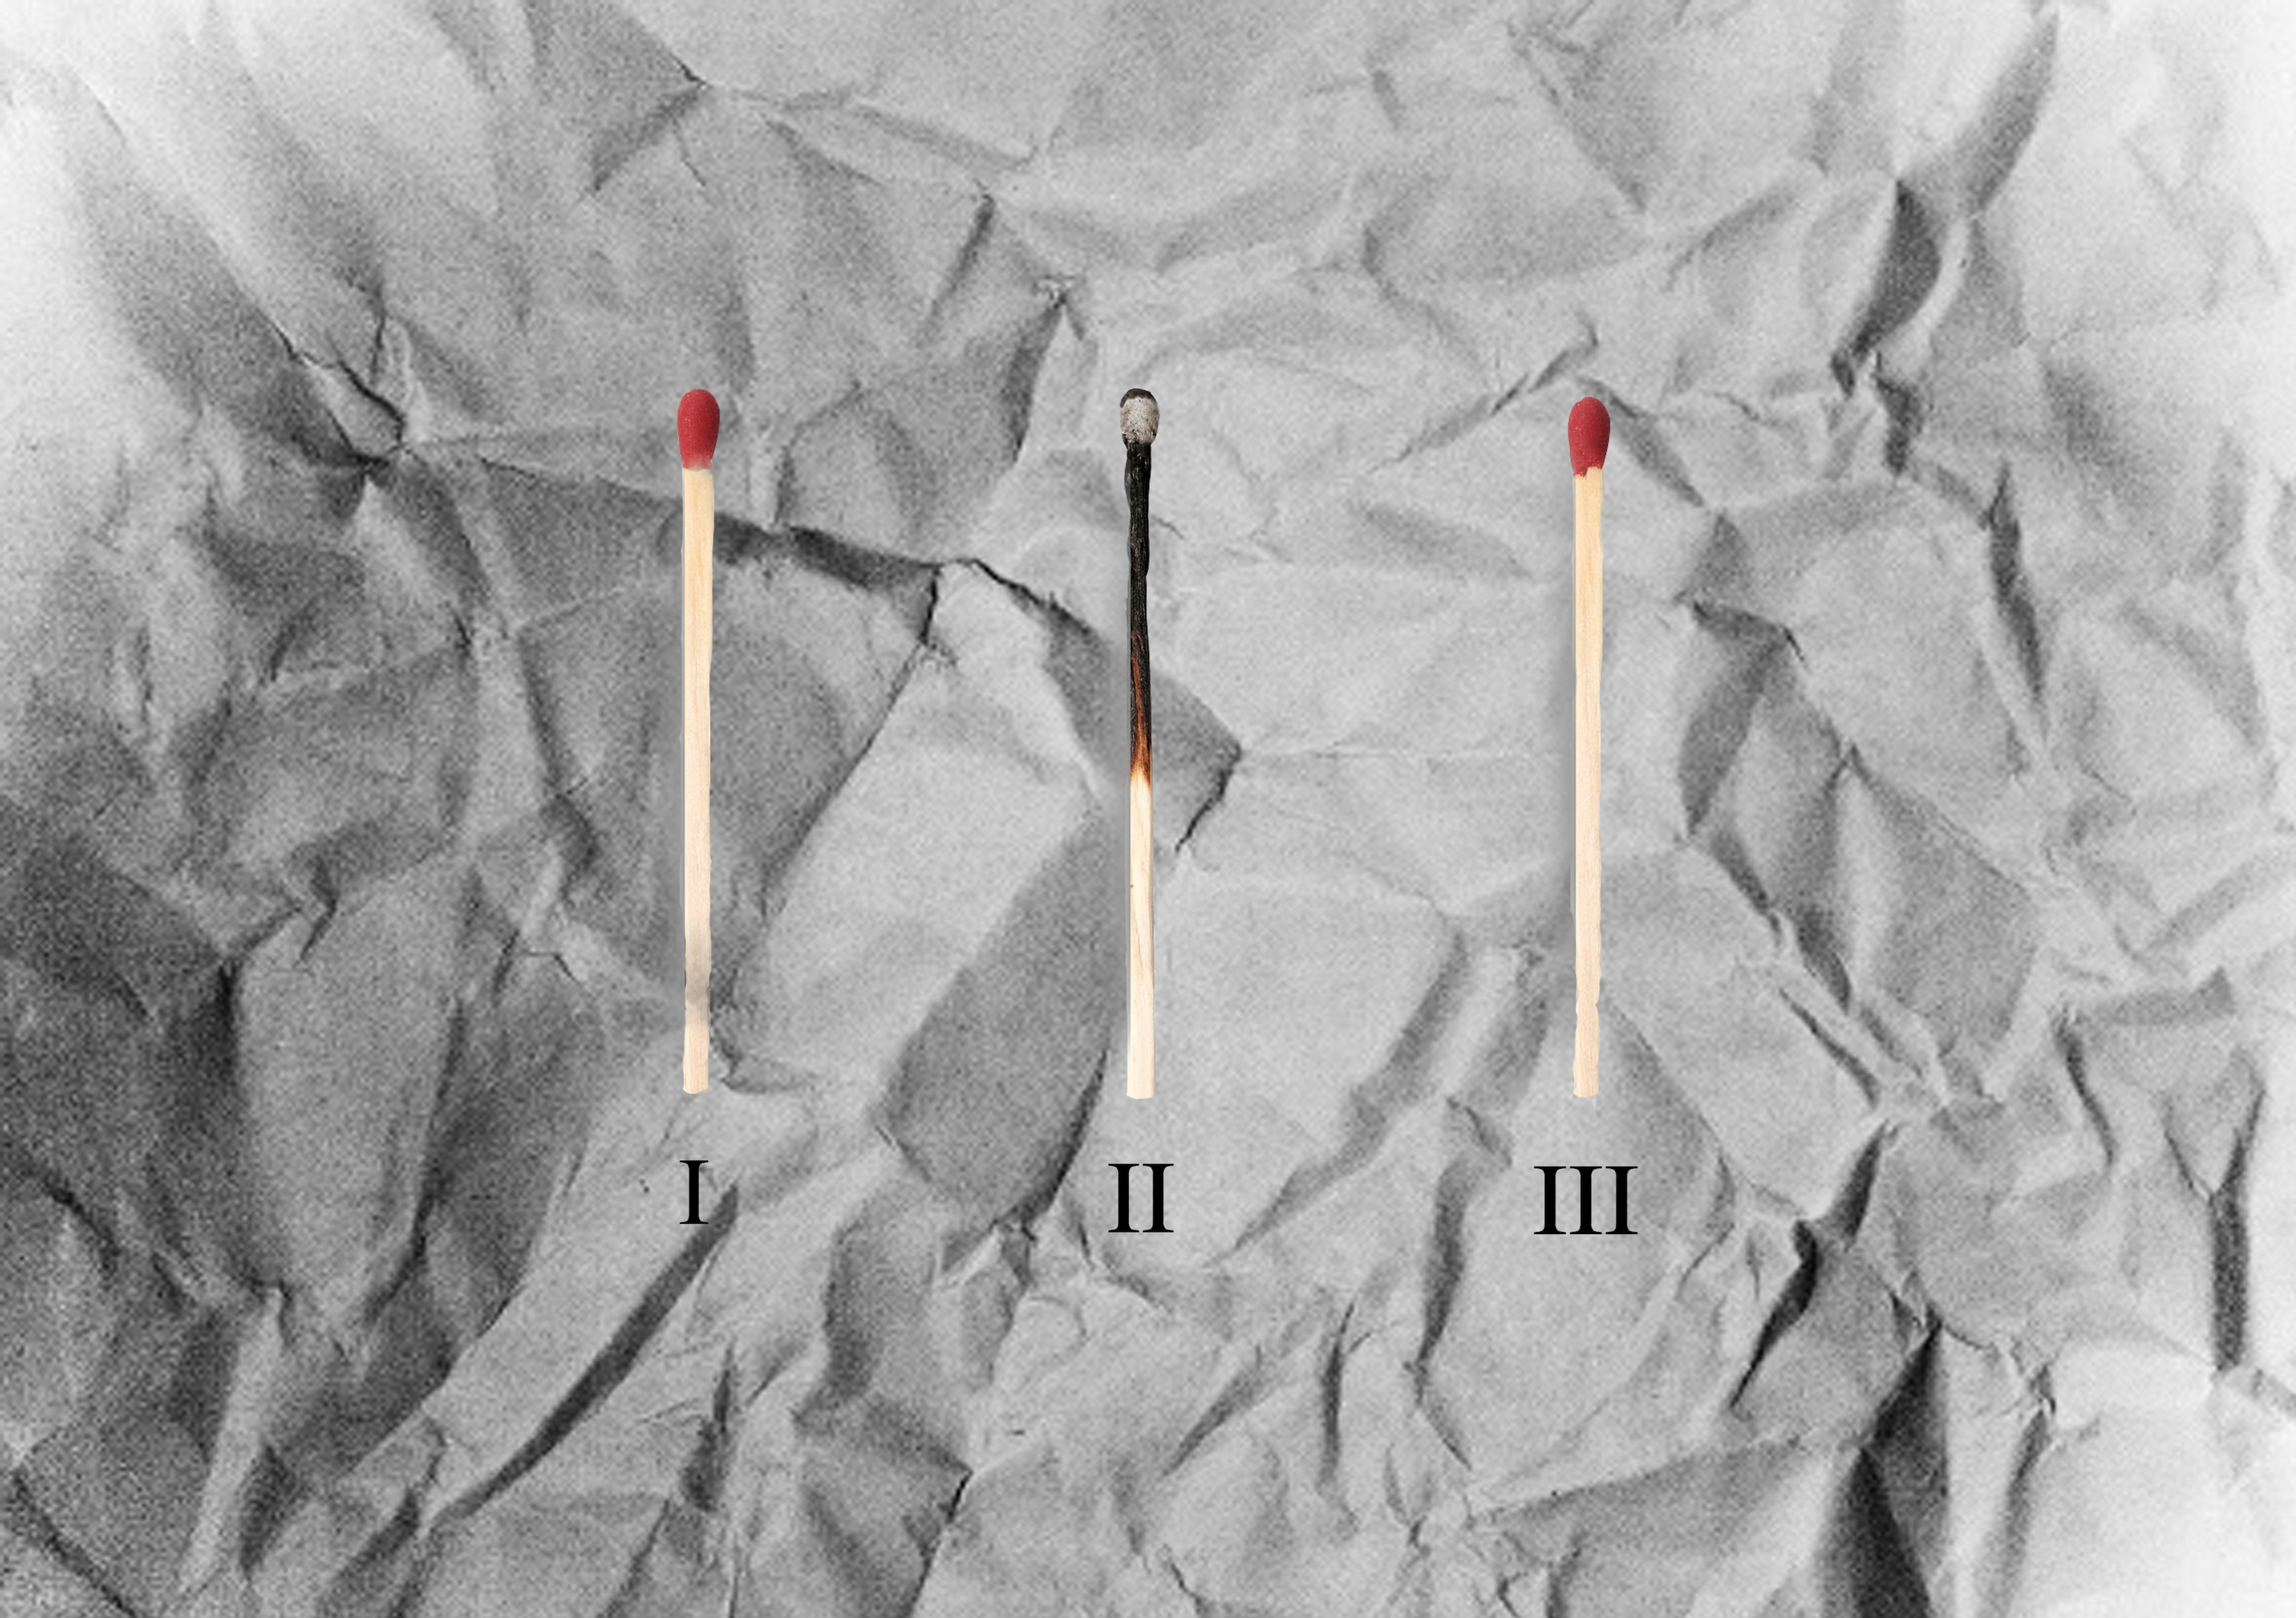
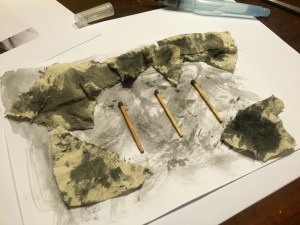
I started by digitally creating a background of three matchsticks lined up, but they were like legit ugly hahaha. I’ll just put them below to show the process!

 I was not kidding when I said they were ugly ):
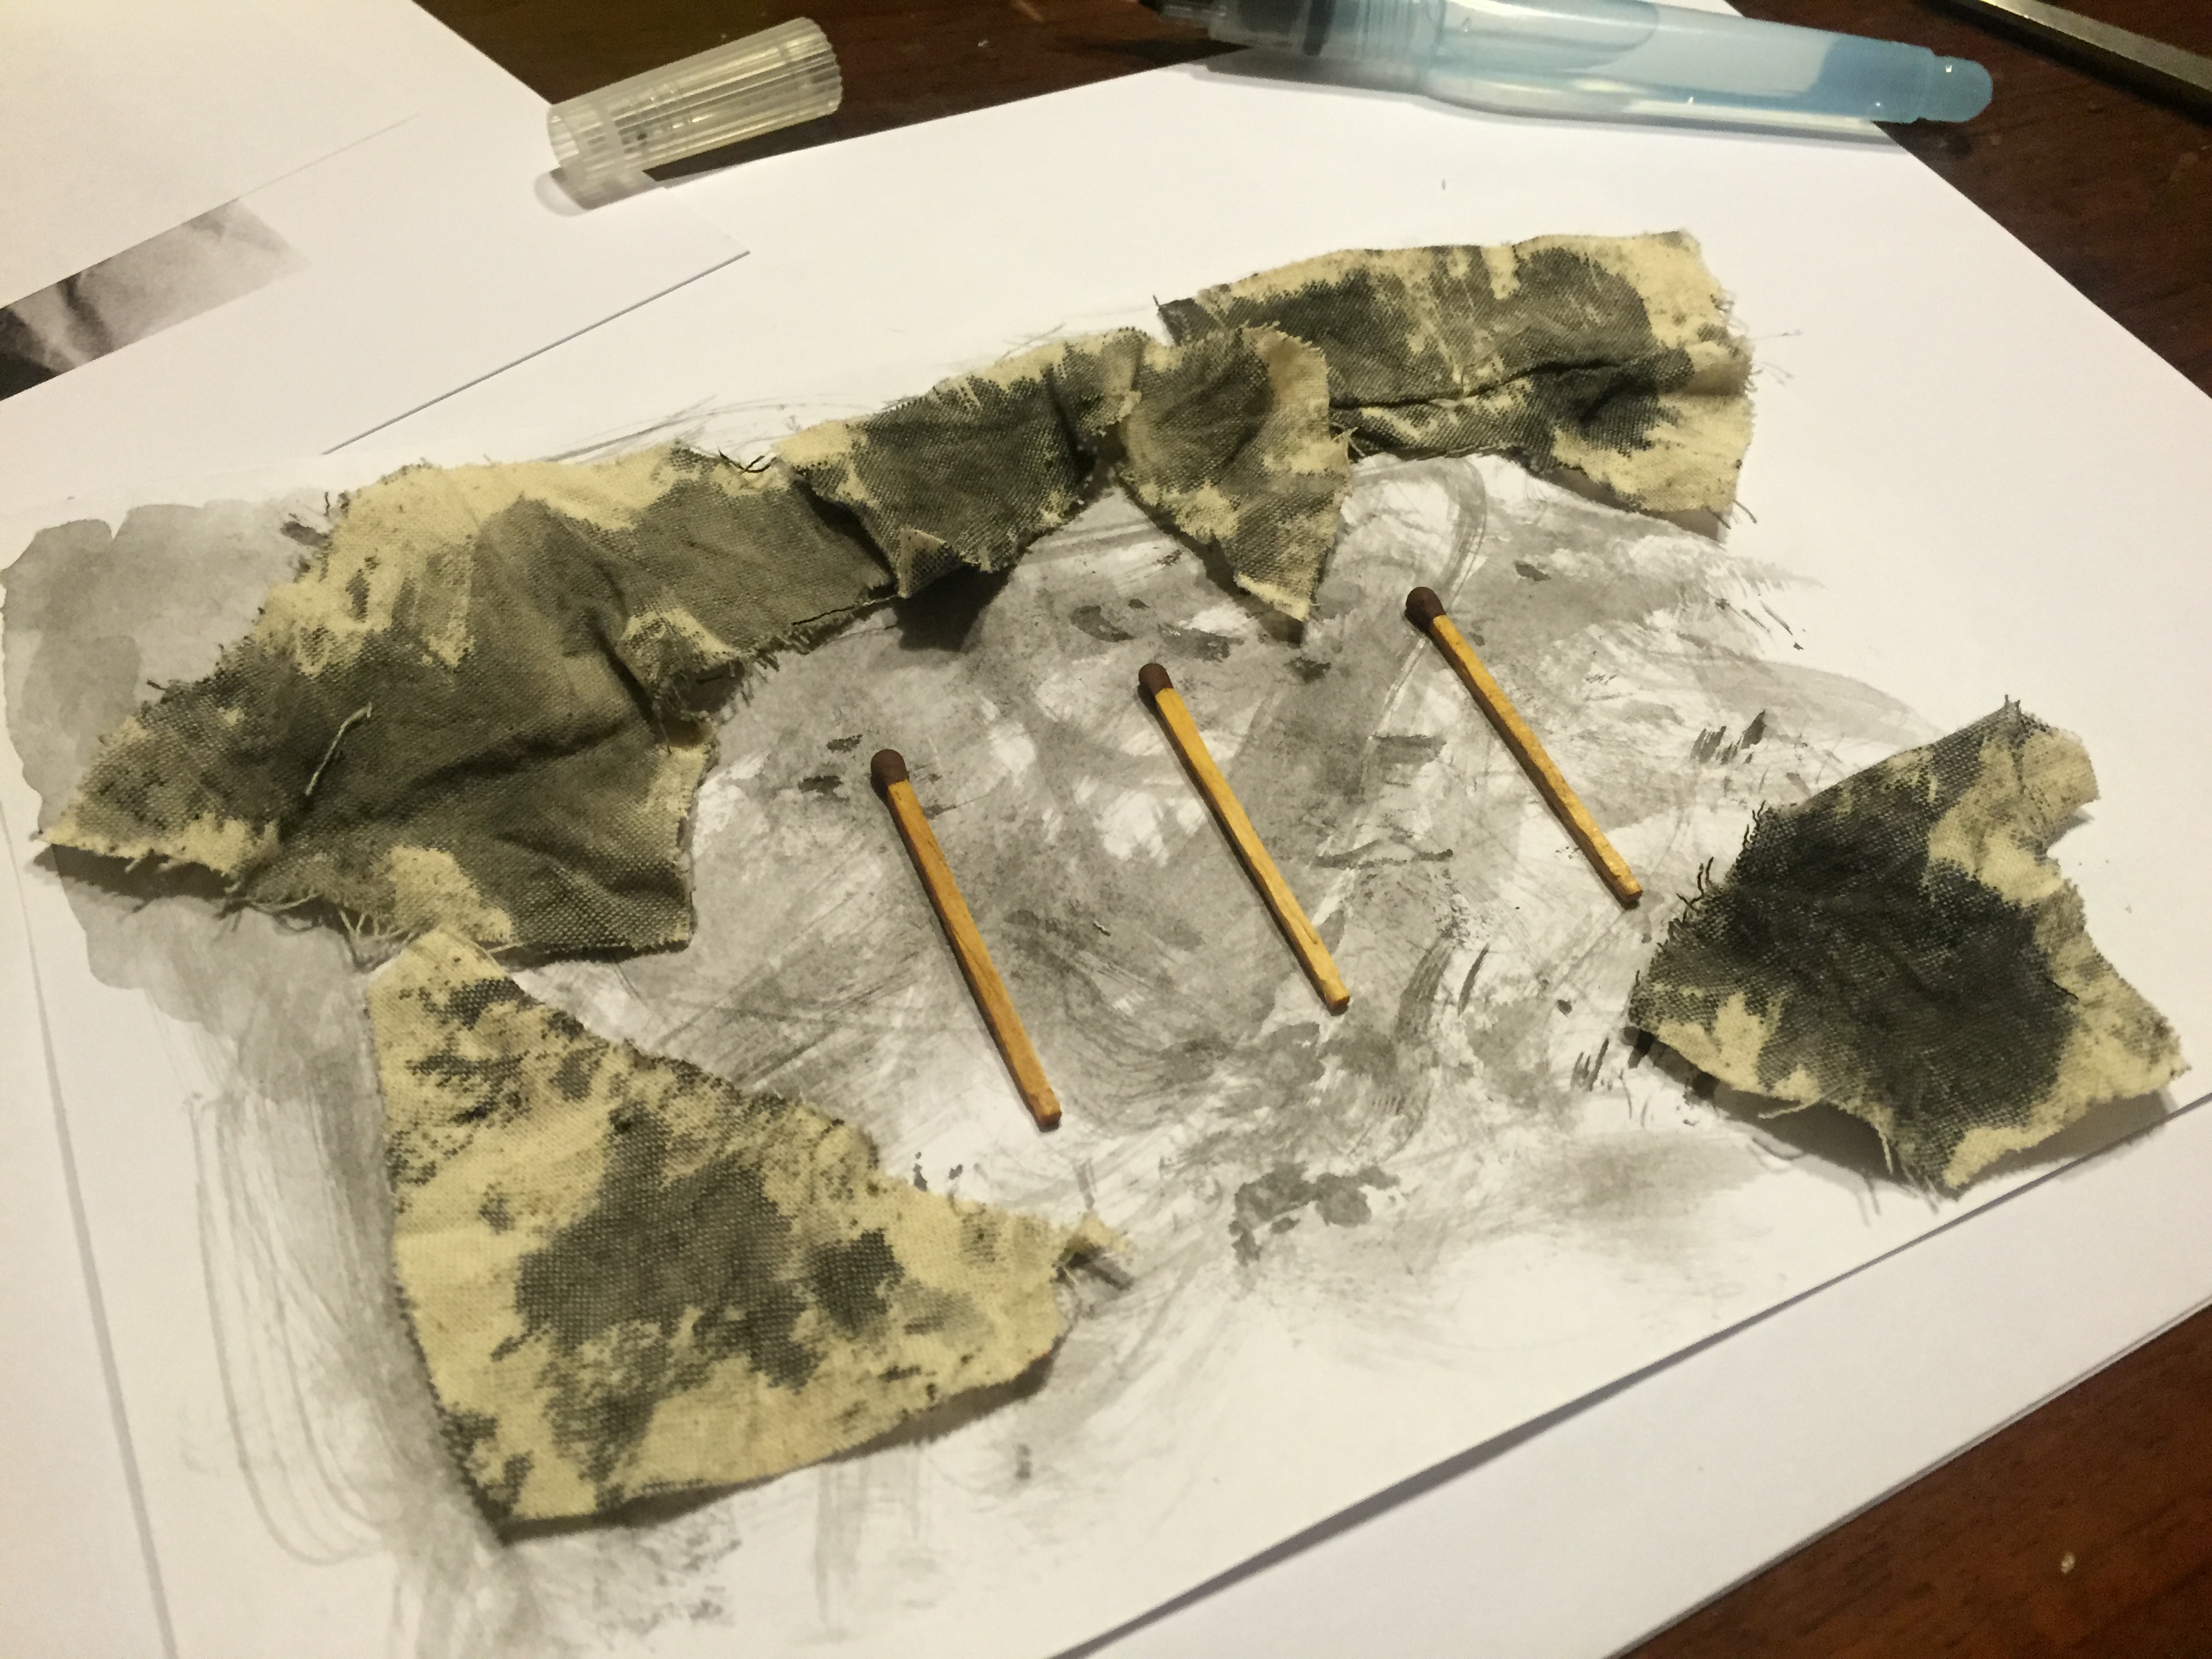
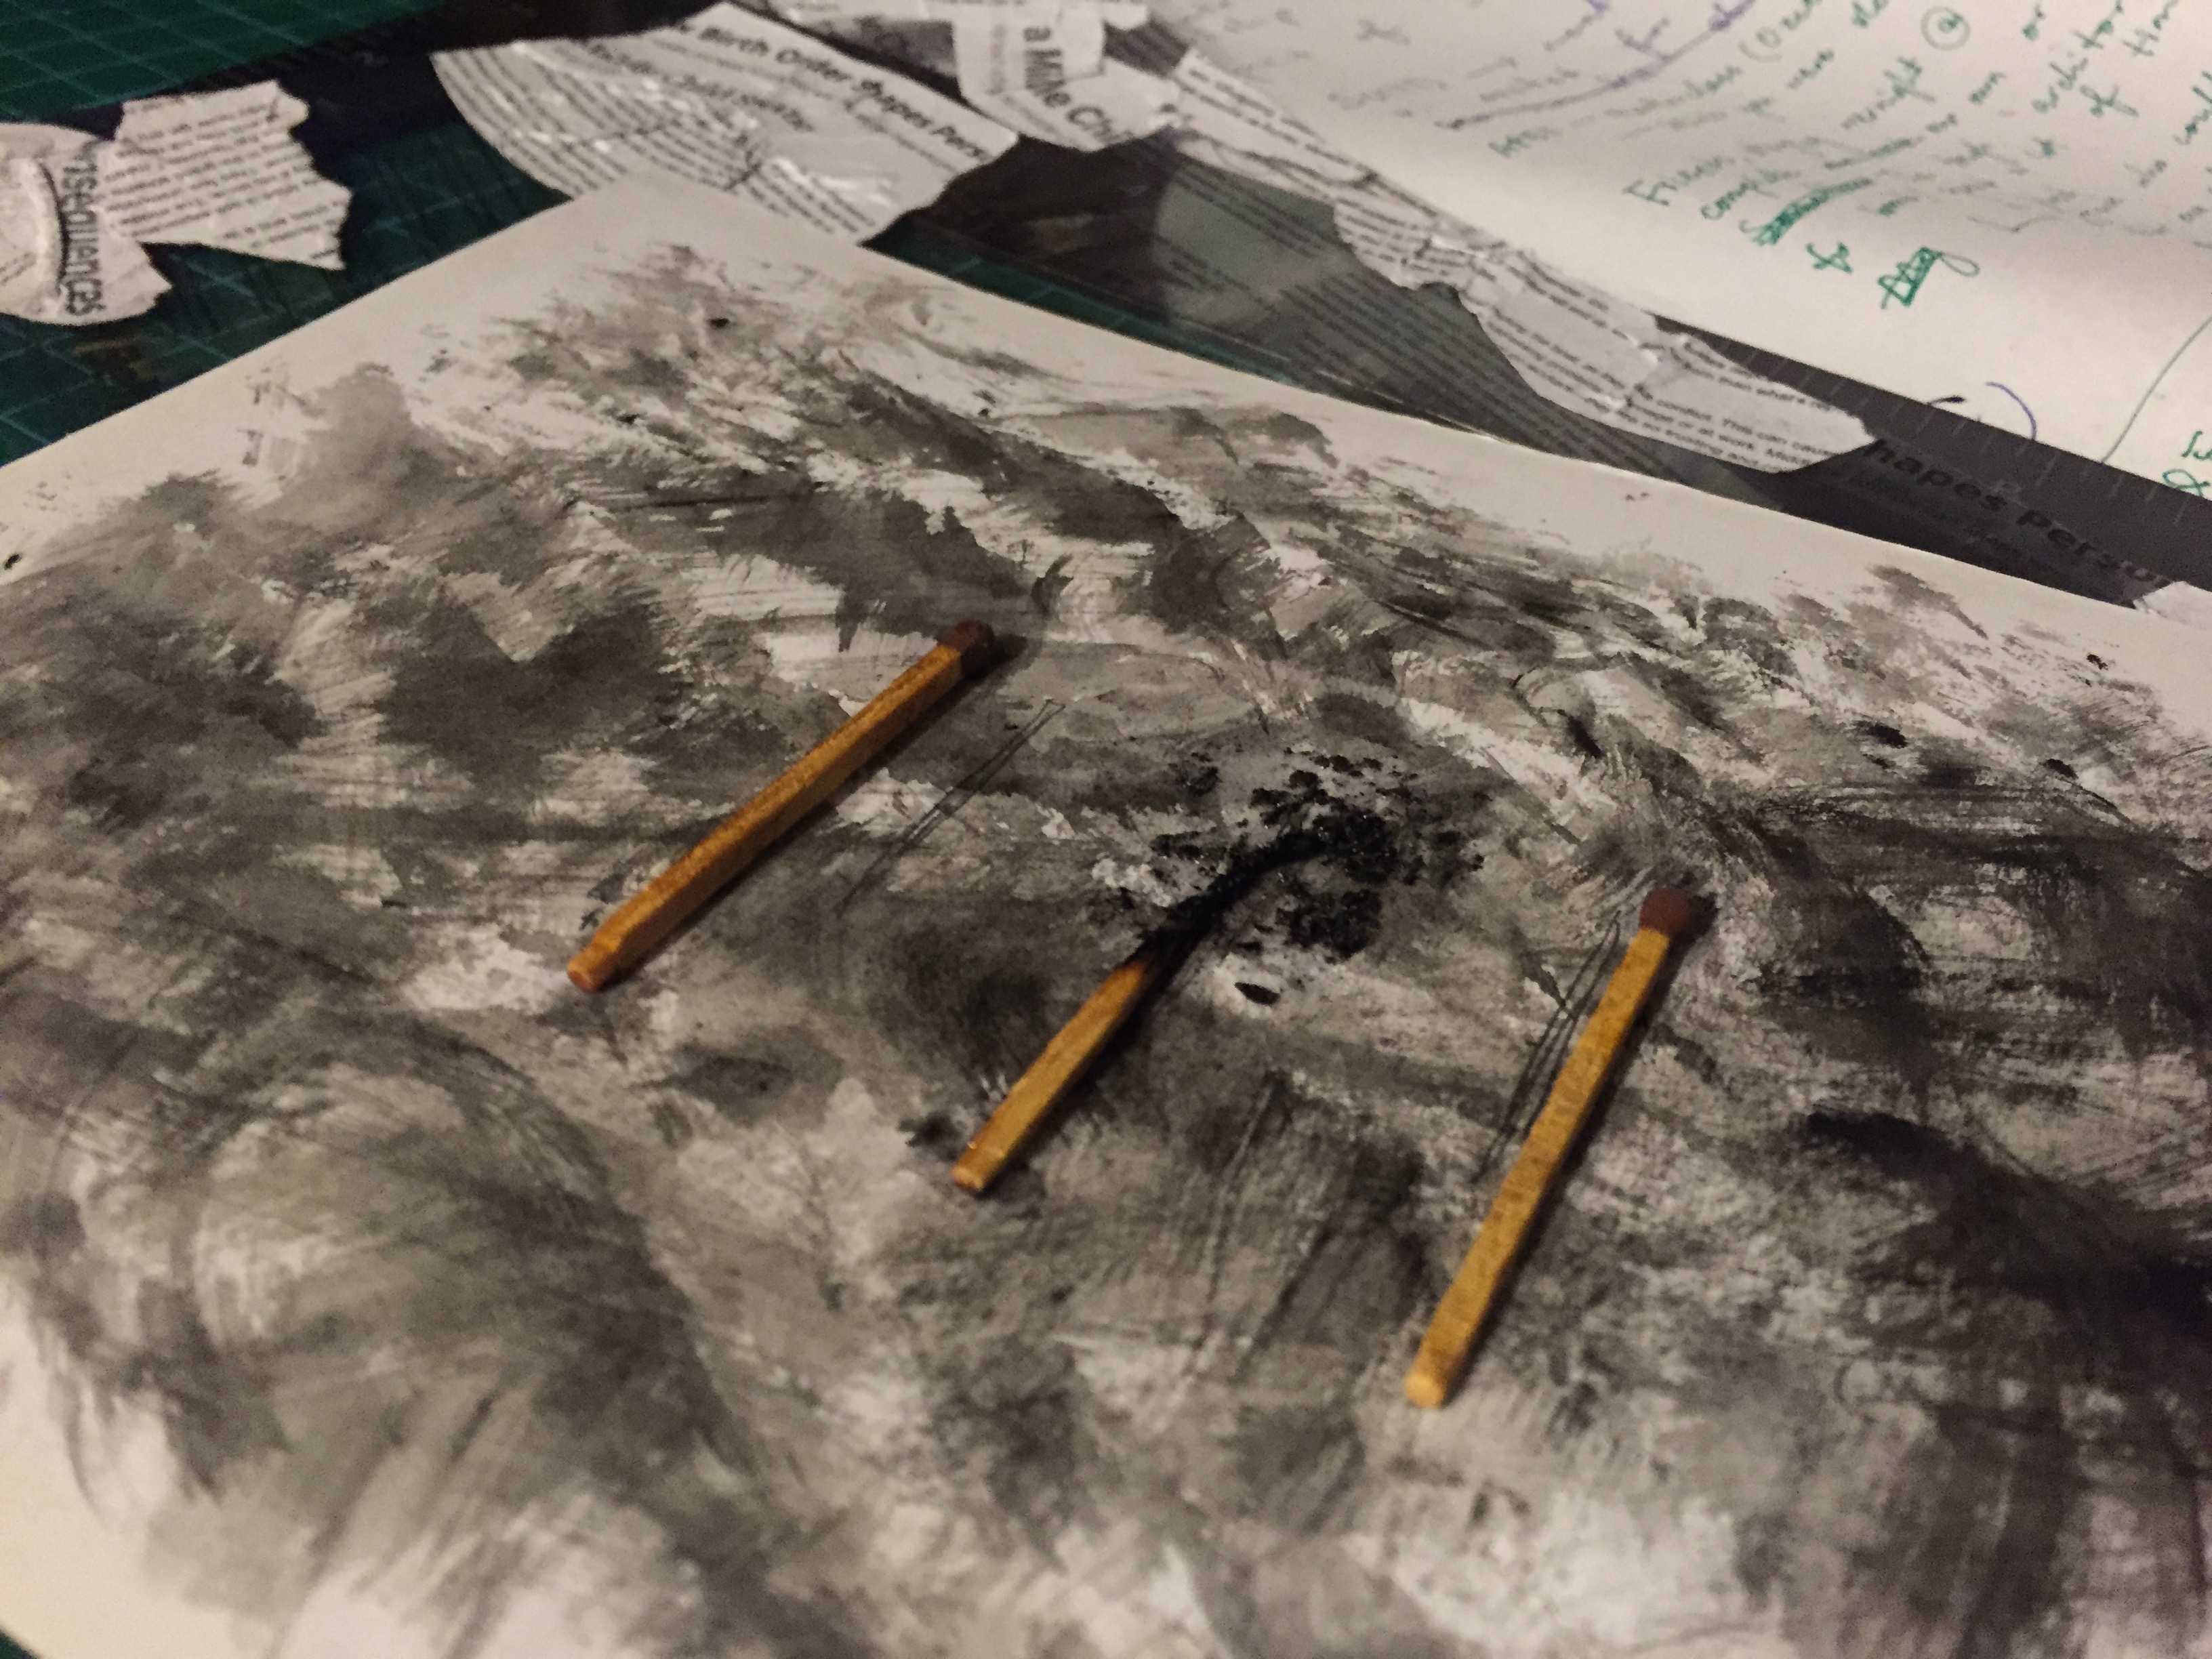
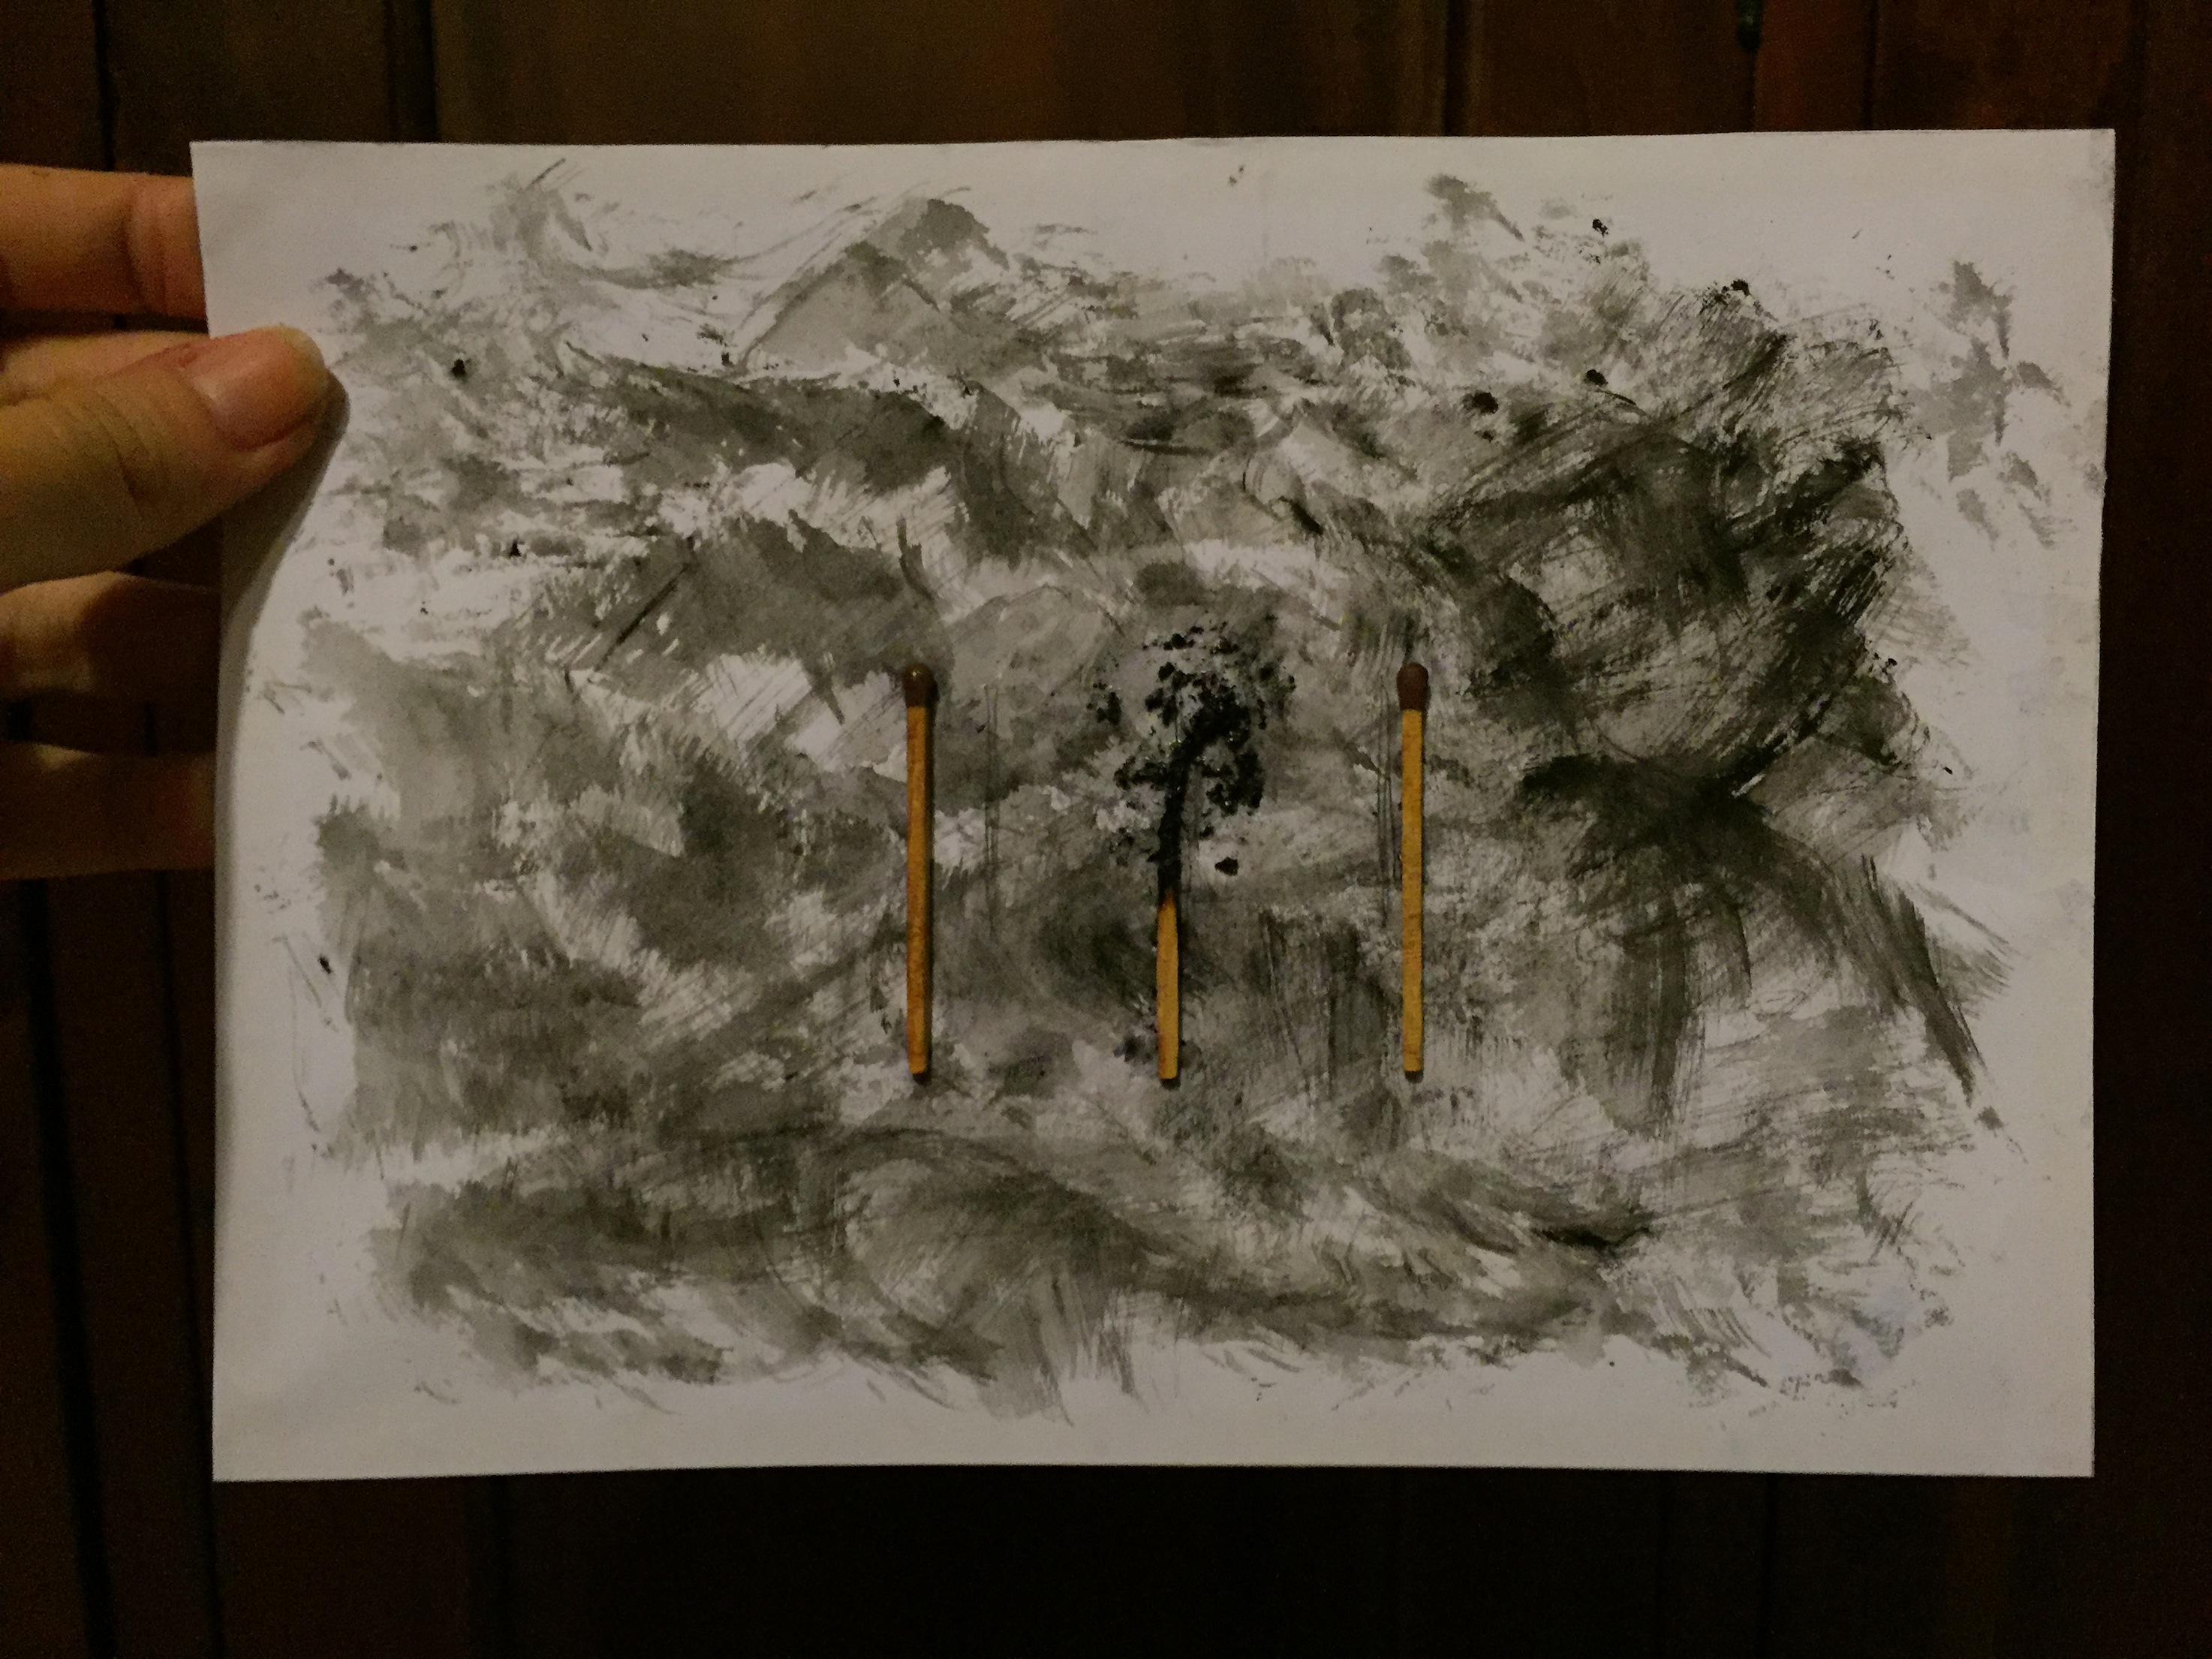
But anyway, feeling very unsatisfied with that, I decided to use real matchsticks and stick them on instead. It was initially very hard to get a visually attractive burnt matchstick without it crumbling away. They were either not burnt enough, or burnt too much that they disintegrated. So I used lit up a box and shortlisted the nicer matchsticks. My other issue was sticking the matchstick to the paper itself because if I only stuck the base, the top burnt bit it would crack up and turn to soot. So I used super glue as a coating to retain the burnt part’s shape, and use the charred pieces from the other test matchsticks and superglued that on too, to give it more effect.
I wanted to further create a negative sort of atmosphere for this one, so I tried burning cloth and painting it with black watercolour to portray a burnt effect. That didn’t work out so well, so eventually I went with using the same cloth dipped in watercolour this time, and using that as a makeshift brush to create a scratchy texture.

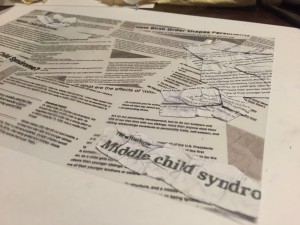
My final step was to paste the articles on the transparency, as mentioned above. I ripped and cut them up, and used white glue with water to stick them on, and created a border so the matchsticks would not be covered.


SOON-TO-BE PHOTOGRAPHER:
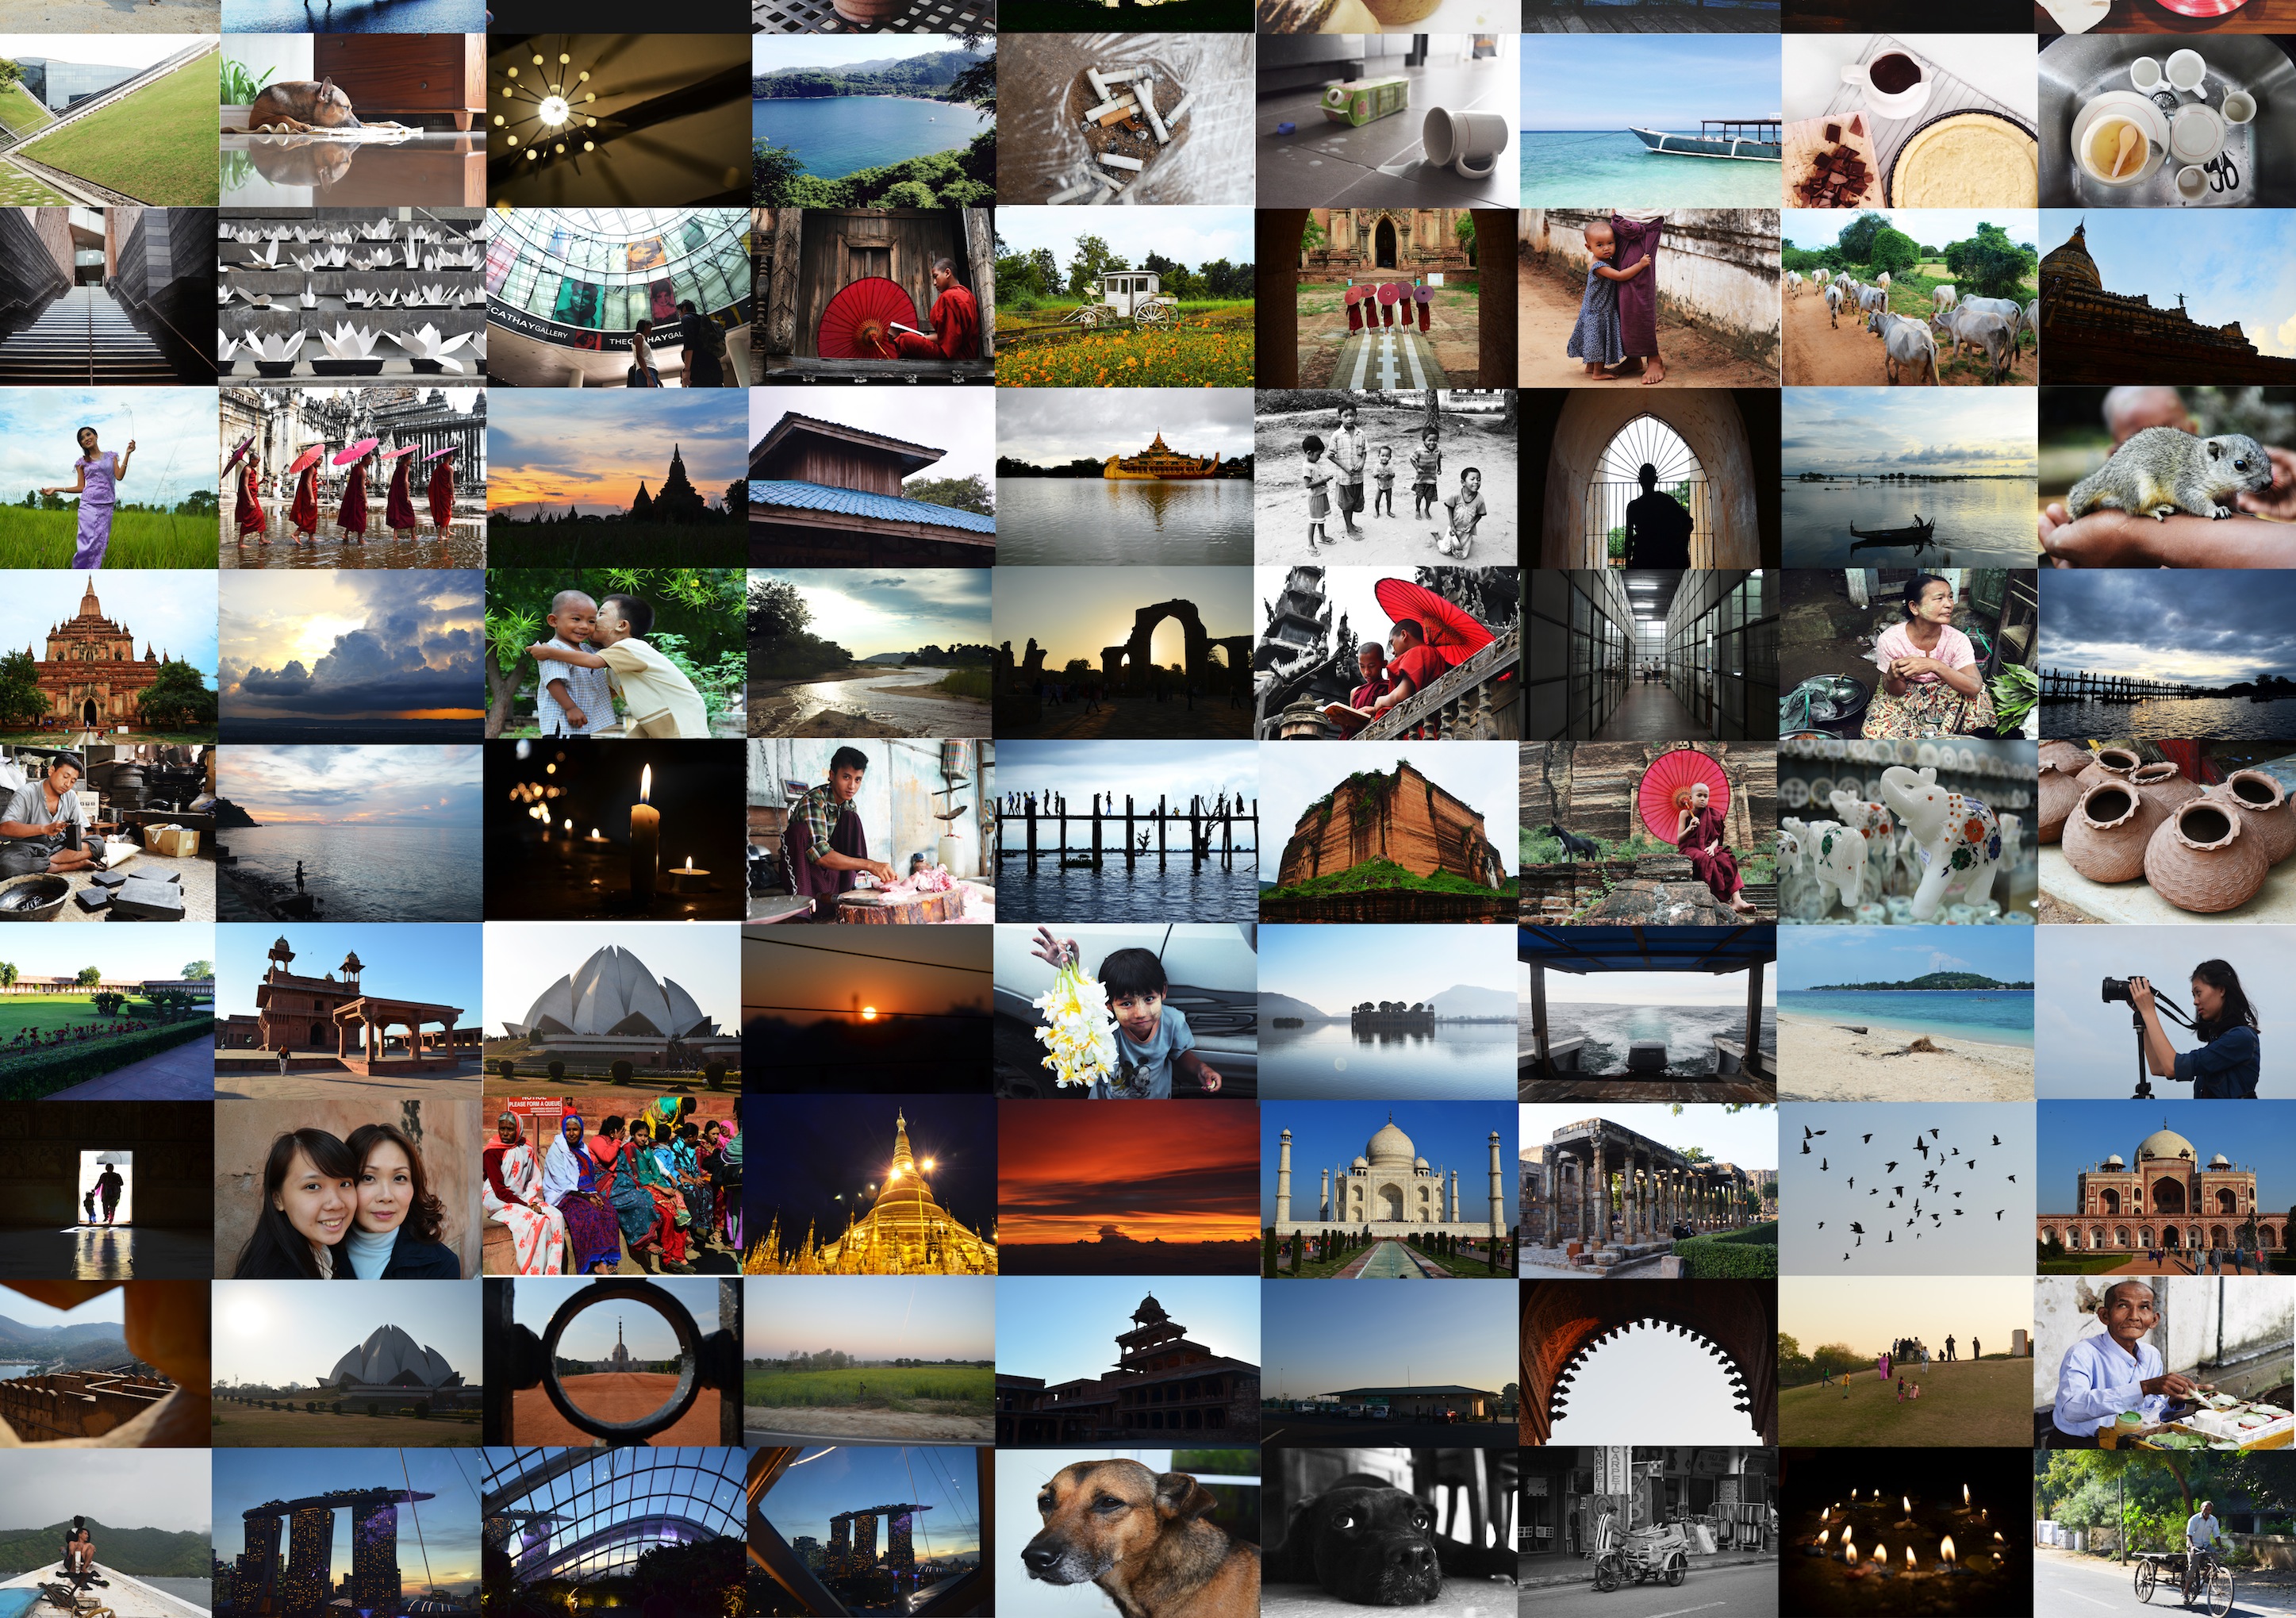
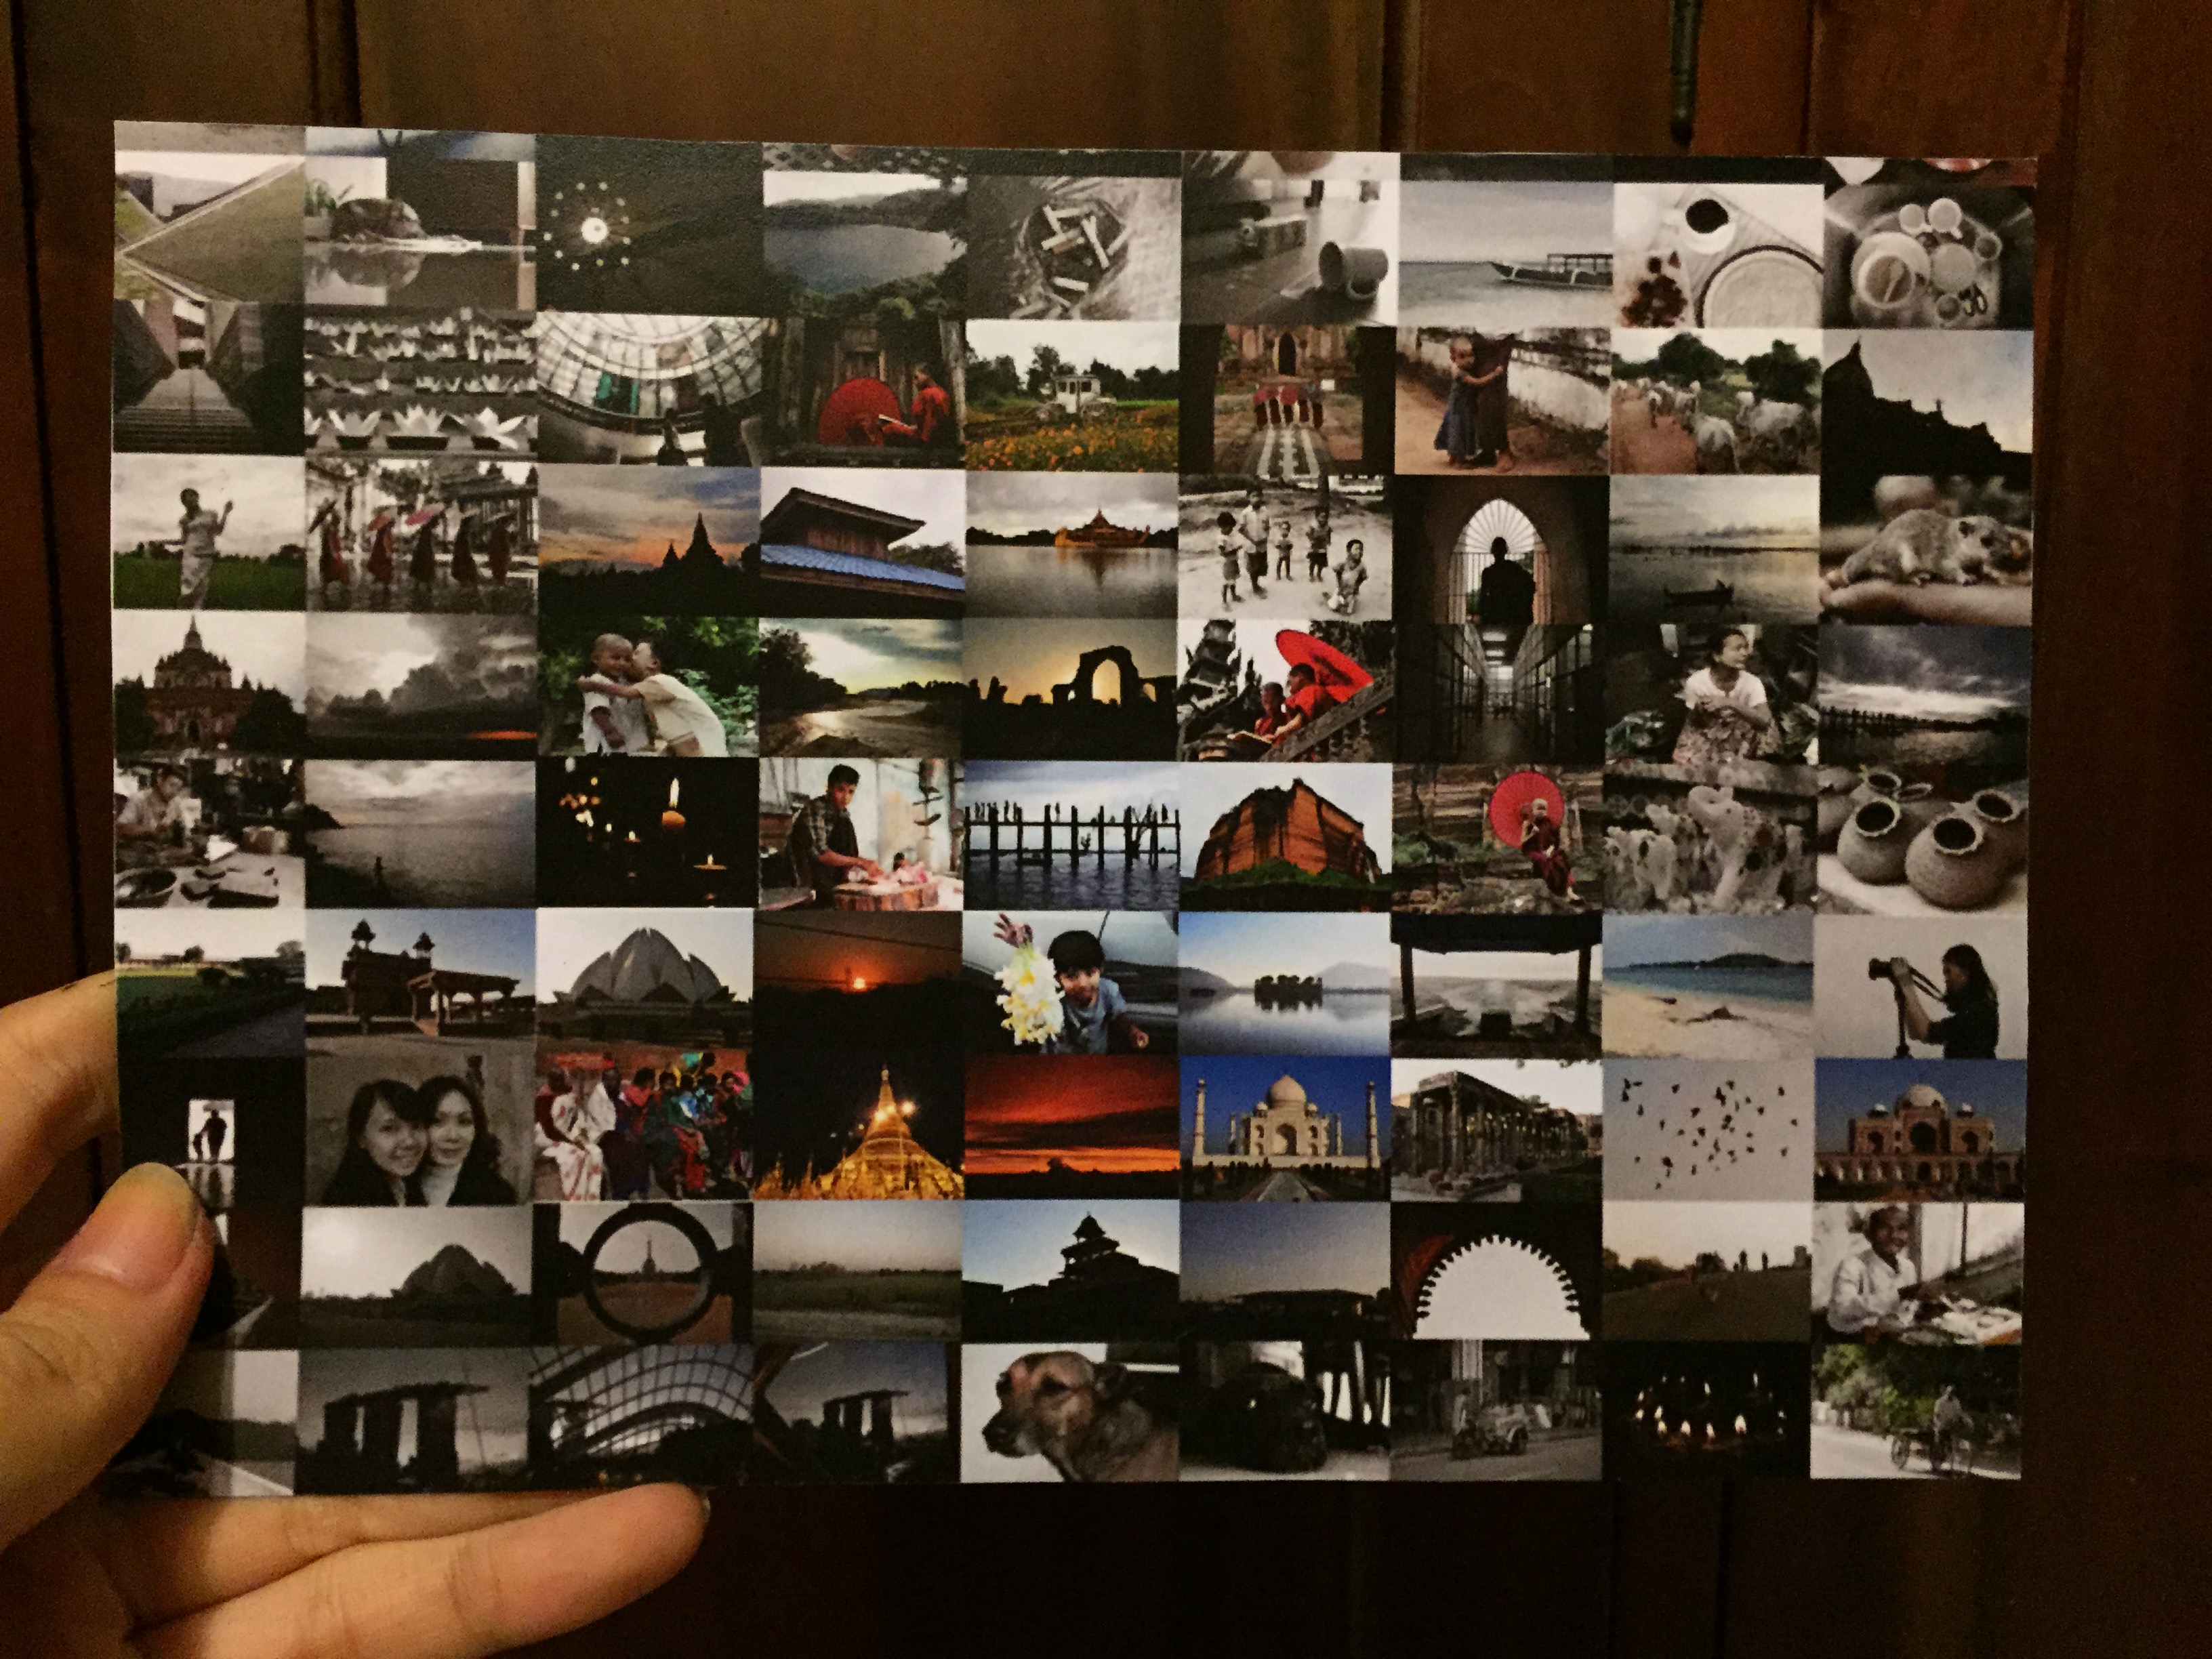
I started by creating a collage of photos from leisure outings or overseas photography trips, etc, that I’ve amassed from over the years since getting more involved in photography. I chose to do this piece because I think photography is a major aspect of my life, as it’s what I will probably be doing in the future. In addition, I also feel that photos have the ability to capture moments in a physical capsule that can be pulled out any time, and acts as a memory holder. When used correctly, it can mentally recreate moments, invoke a sort of feeling (maybe sentimentality, happiness or anger), and basically do what the human mind cannot: remember things clearly.
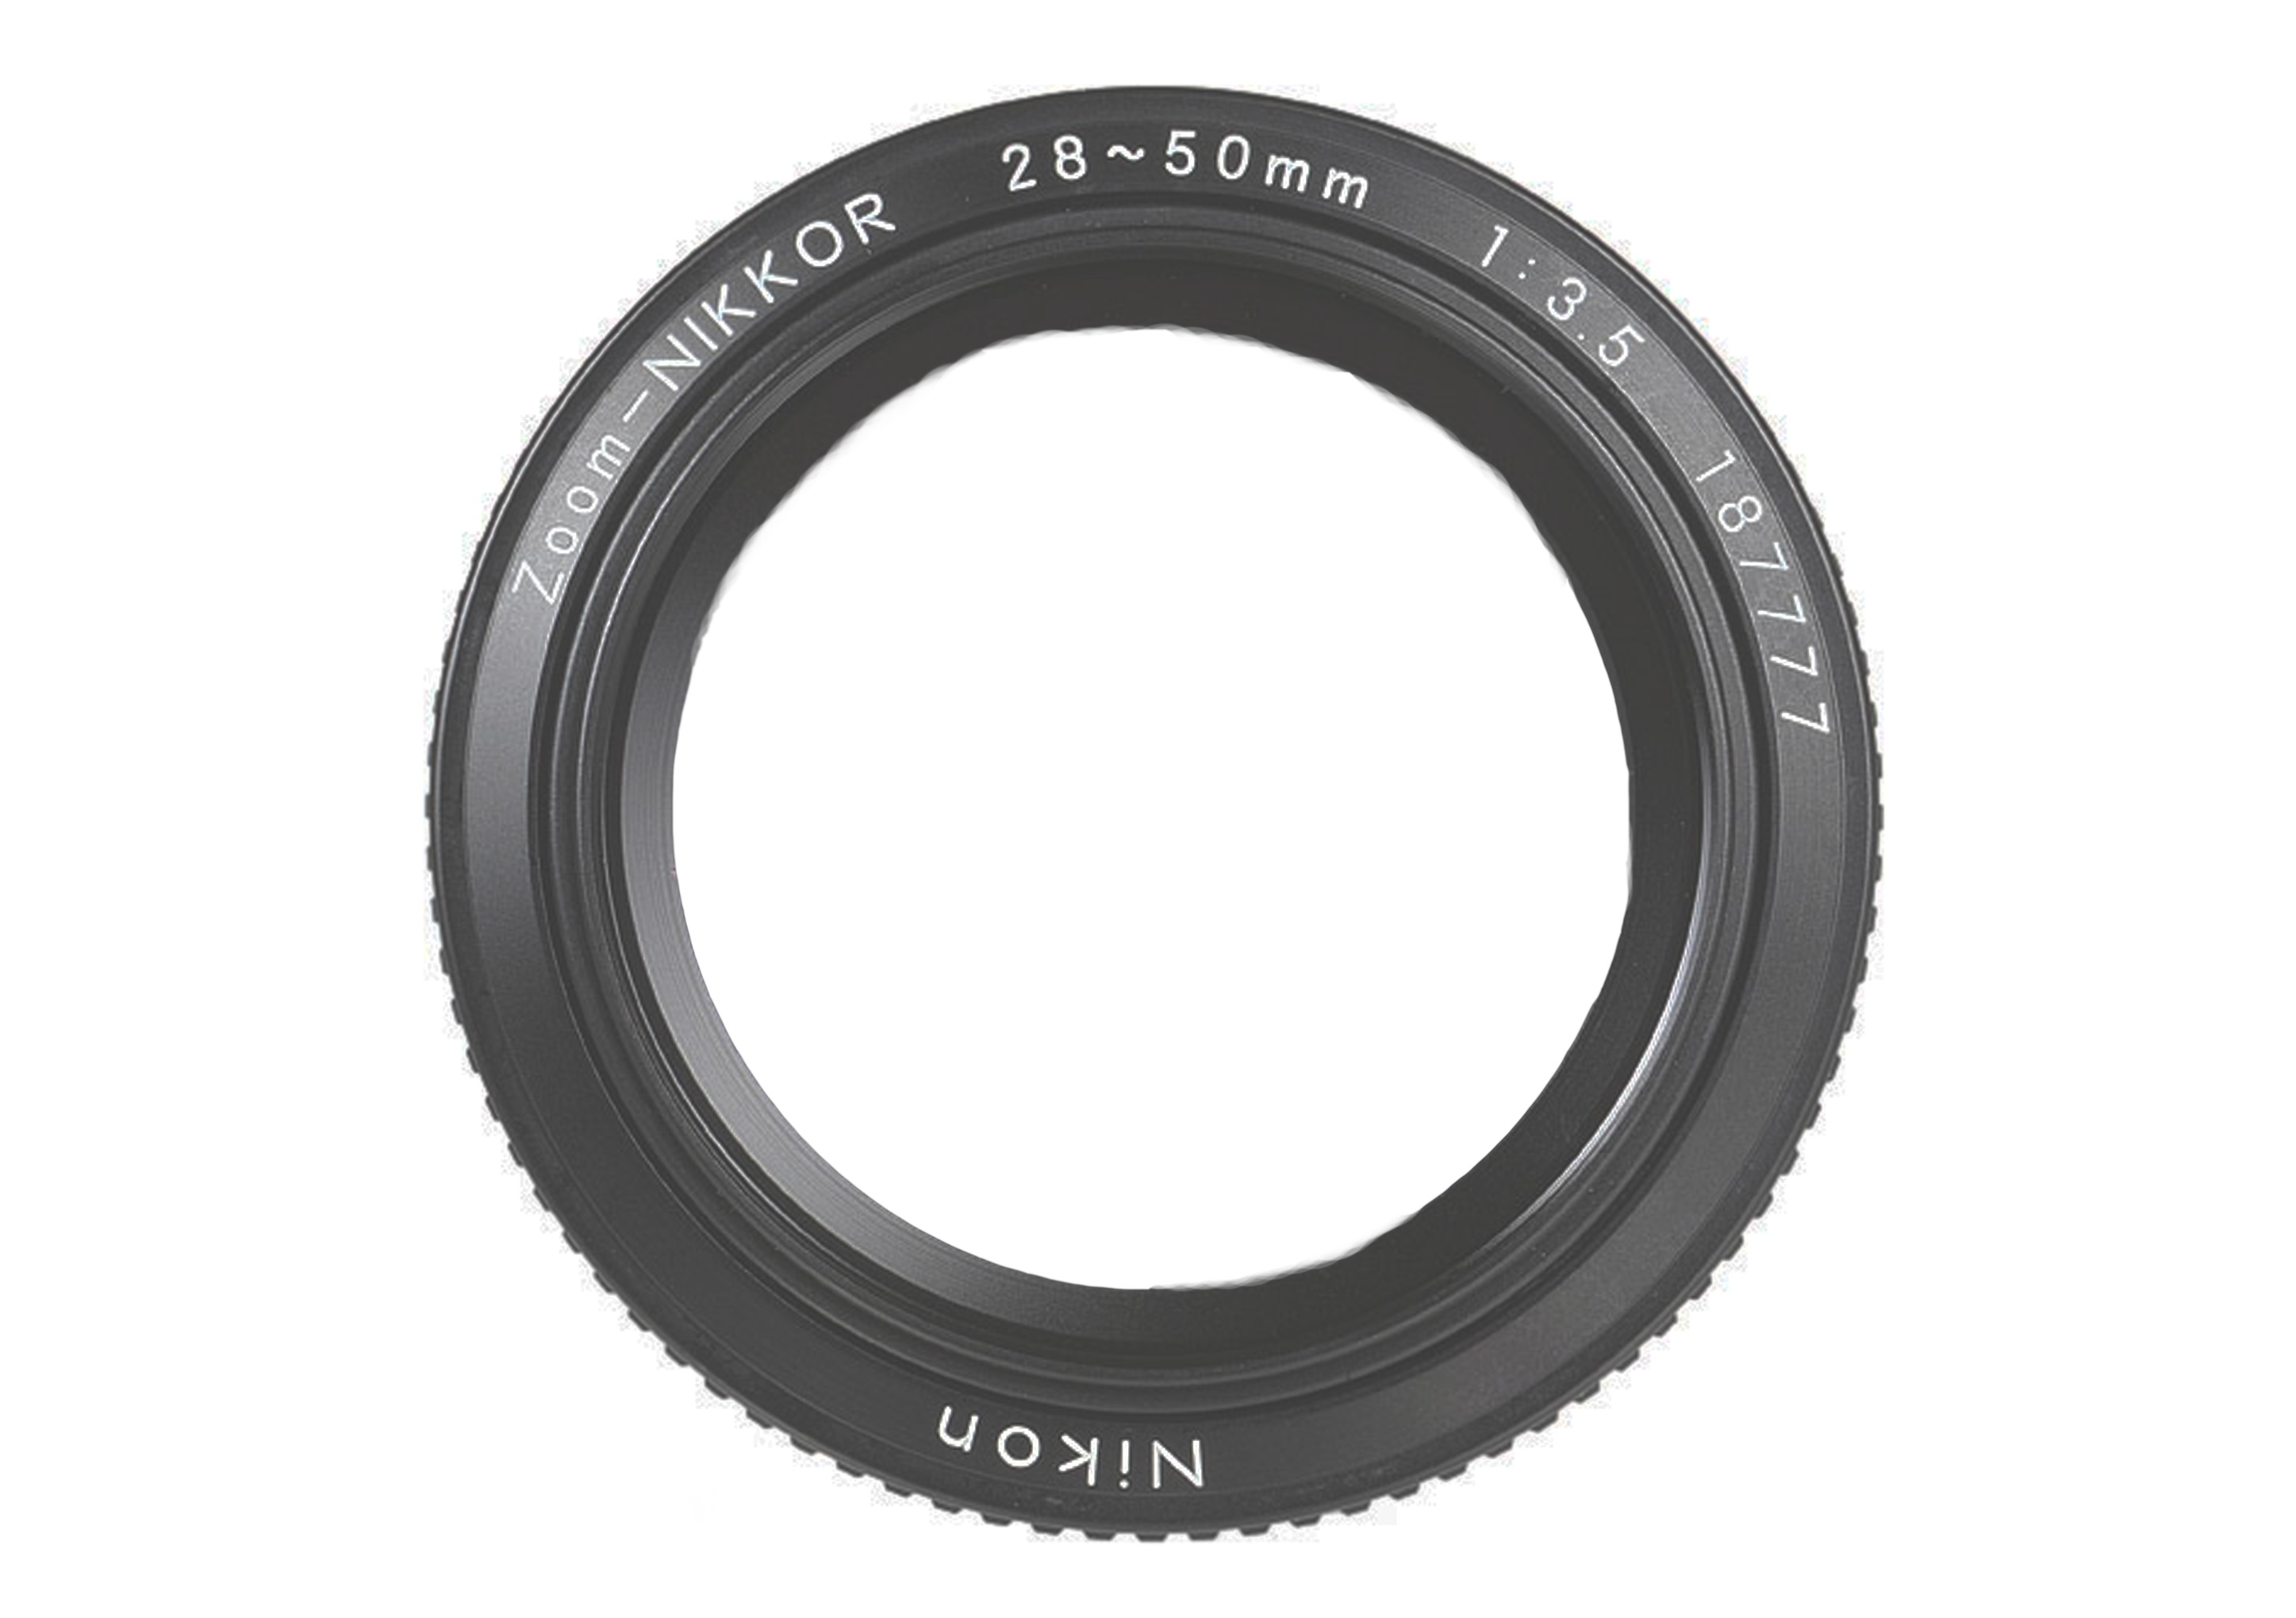
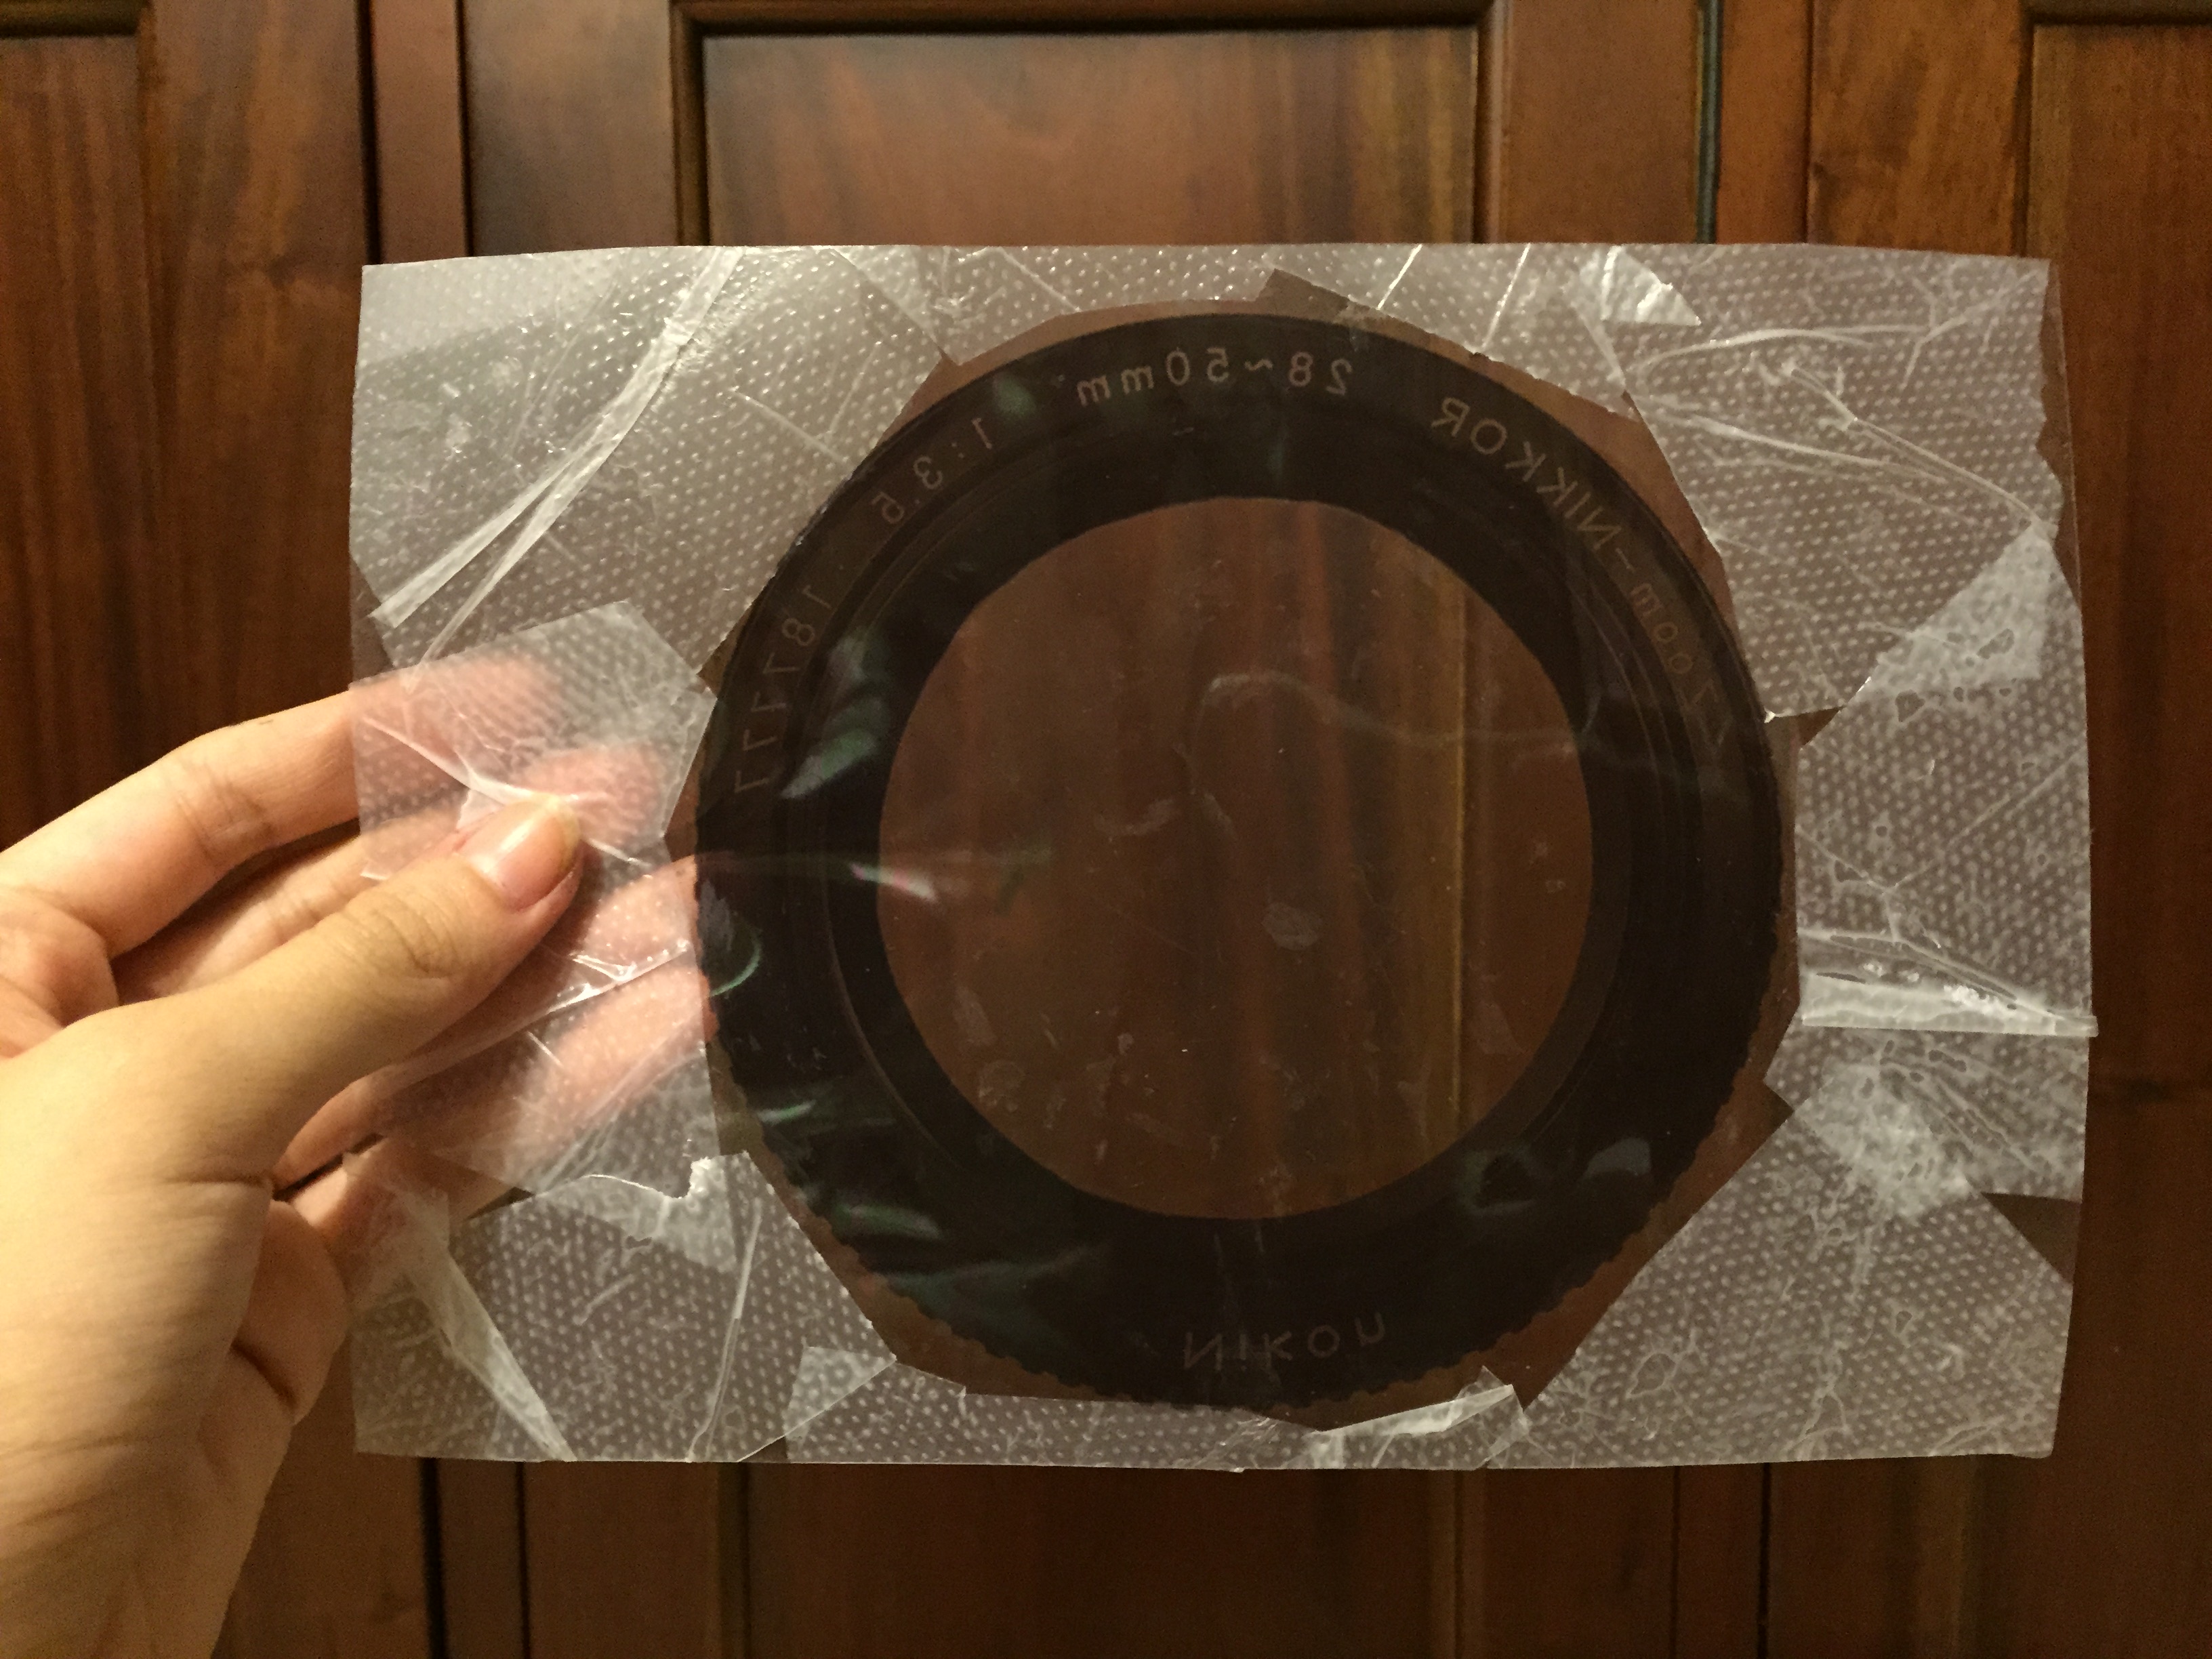
Therefore, I used photoshop tools to desaturate and blur out the photos that are outside of the lens that I printed on the transparency, to show that what is not captured in the camera will eventually become lost in the innumerable memories we hold in our minds. I also tried using a collage with smaller photos, but I felt that the one with larger photos was better because the photos could be seen more clearly, which conveyed the message more accurately.


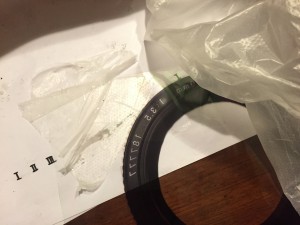
I wanted to use translucent paper instead of transparent ones, but after searching a couple of printing shops, I could not find any of suitable opacity and thickness, so I went with transparencies instead (which is good because I feel like it worked out better this way actually woohoooooo). To further push my idea that moments are clearer through a camera, I used a textured plastic bags to cover the transparent parts, leaving only the lens area completely see through. The photos below show that, as well as an indication to demonstrate what the printed out and desaturated background looks like before they’re both assembled.


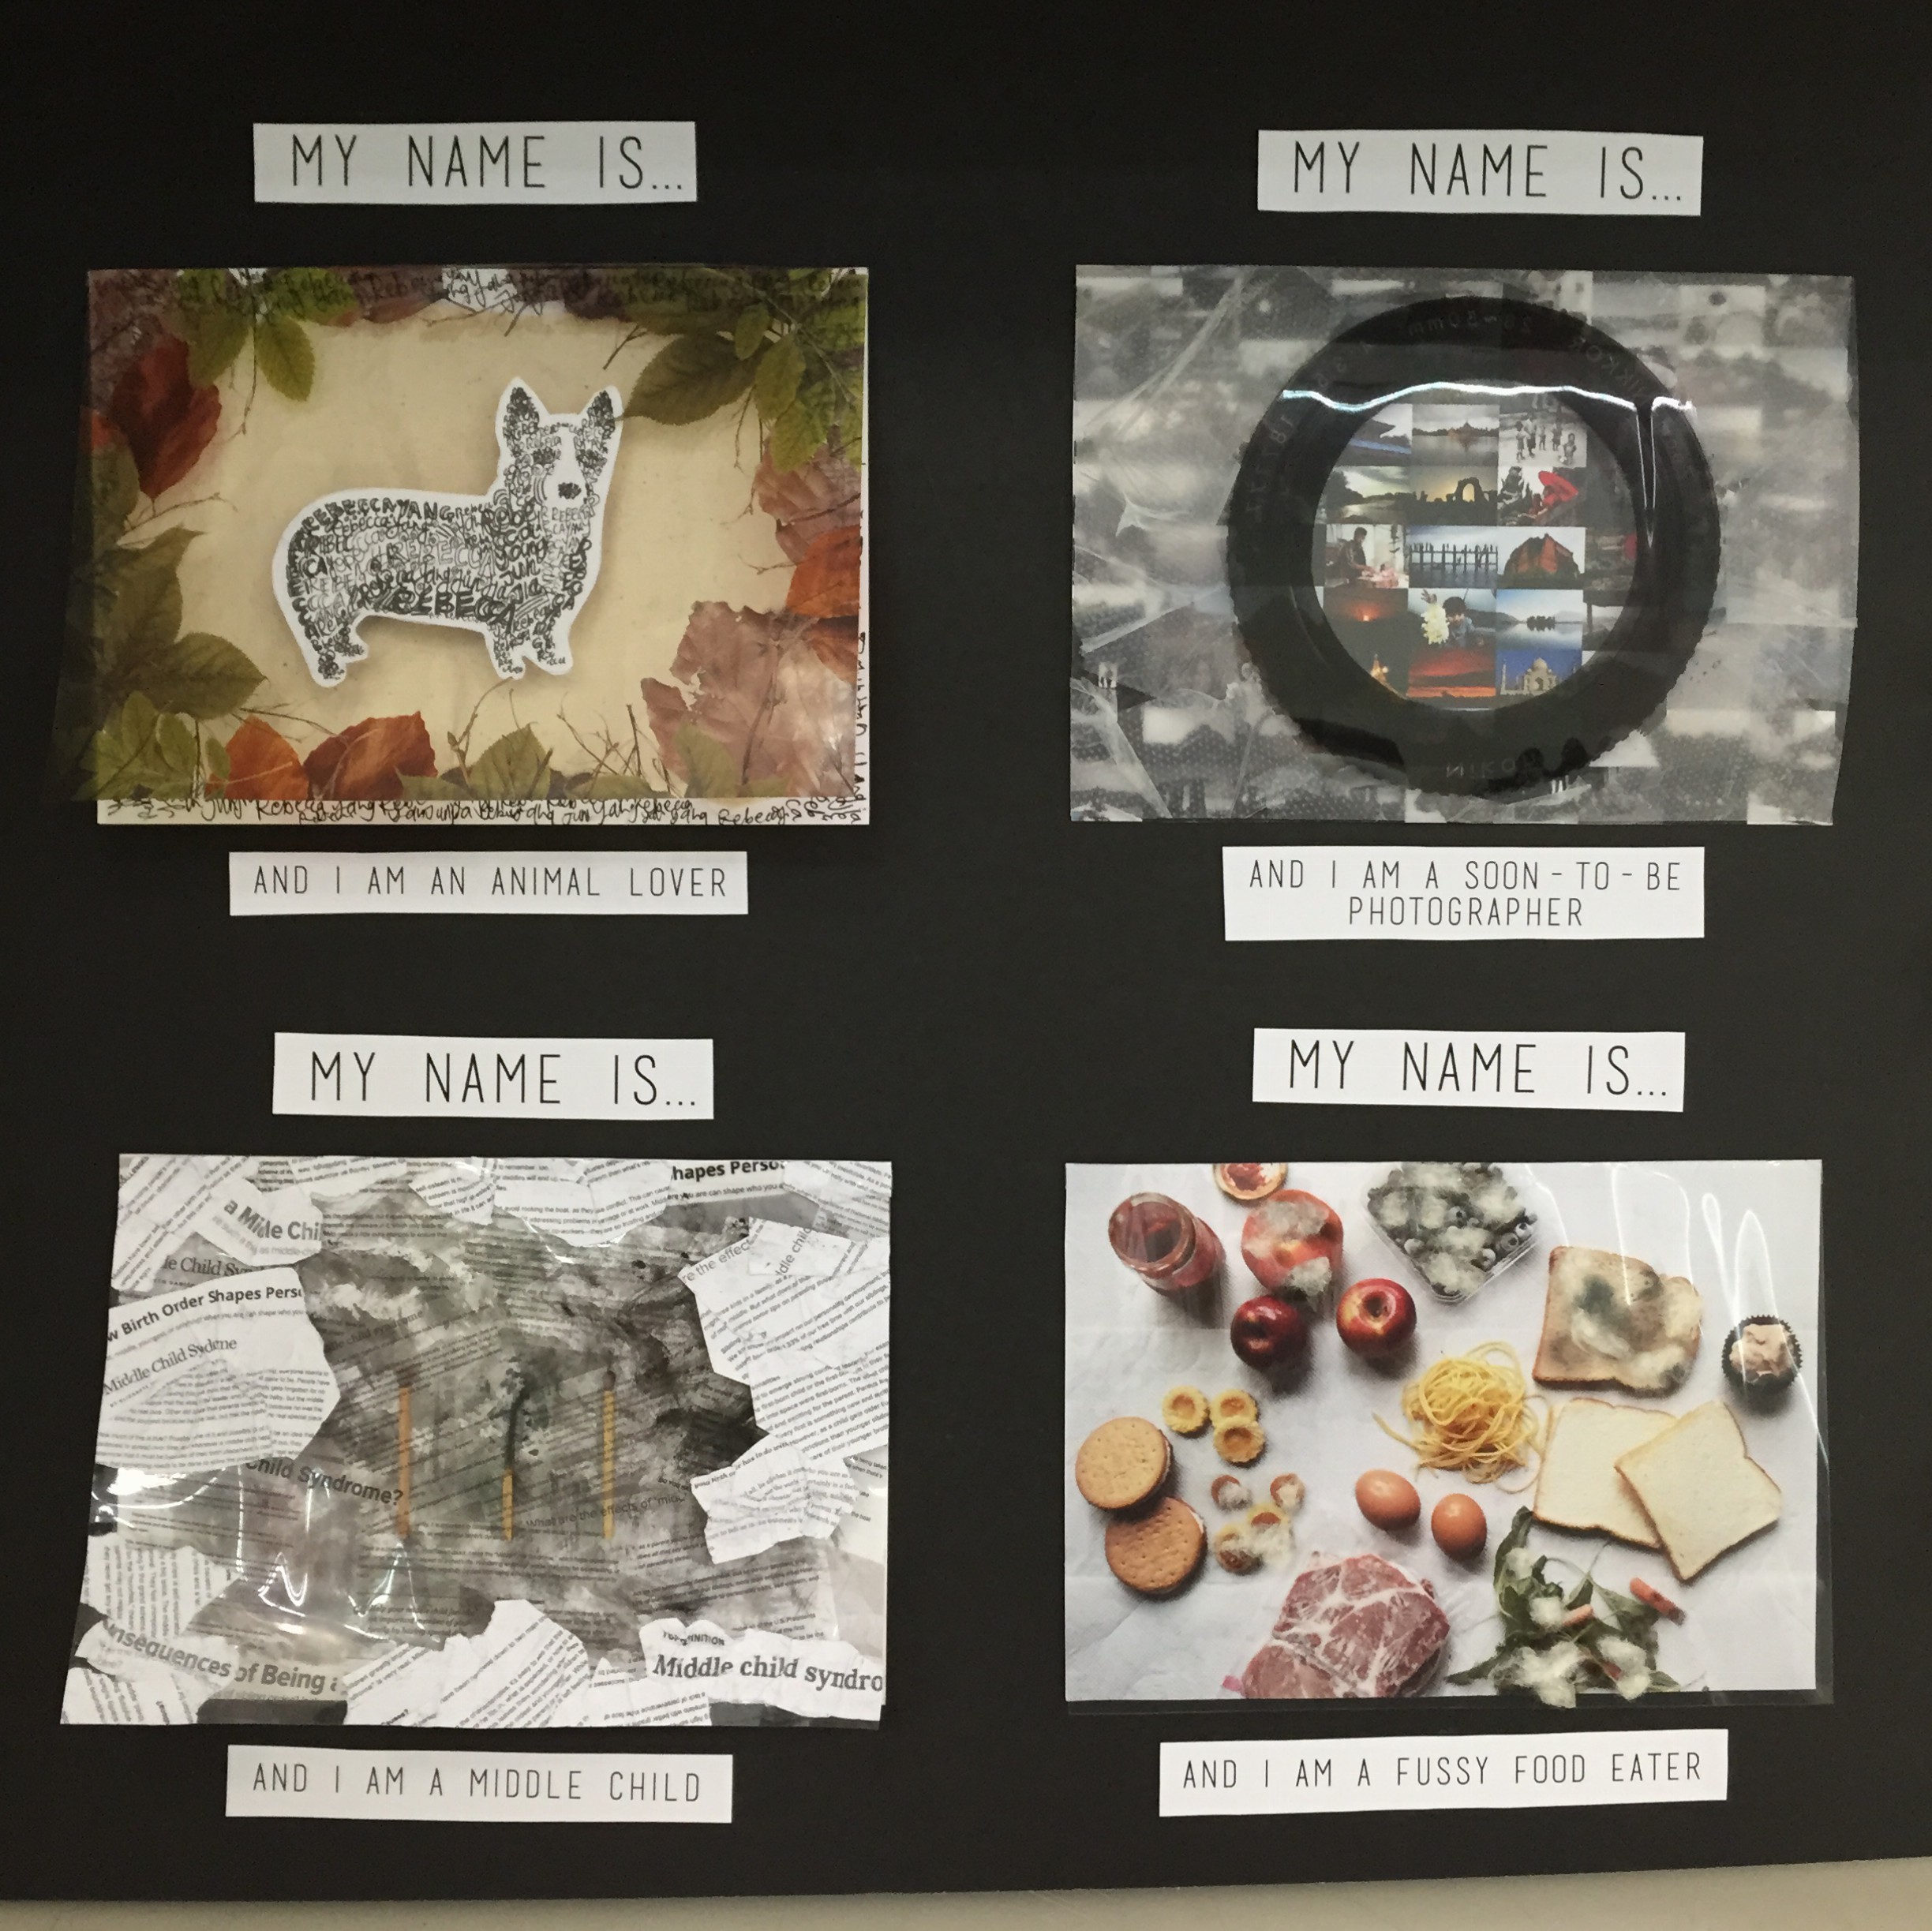
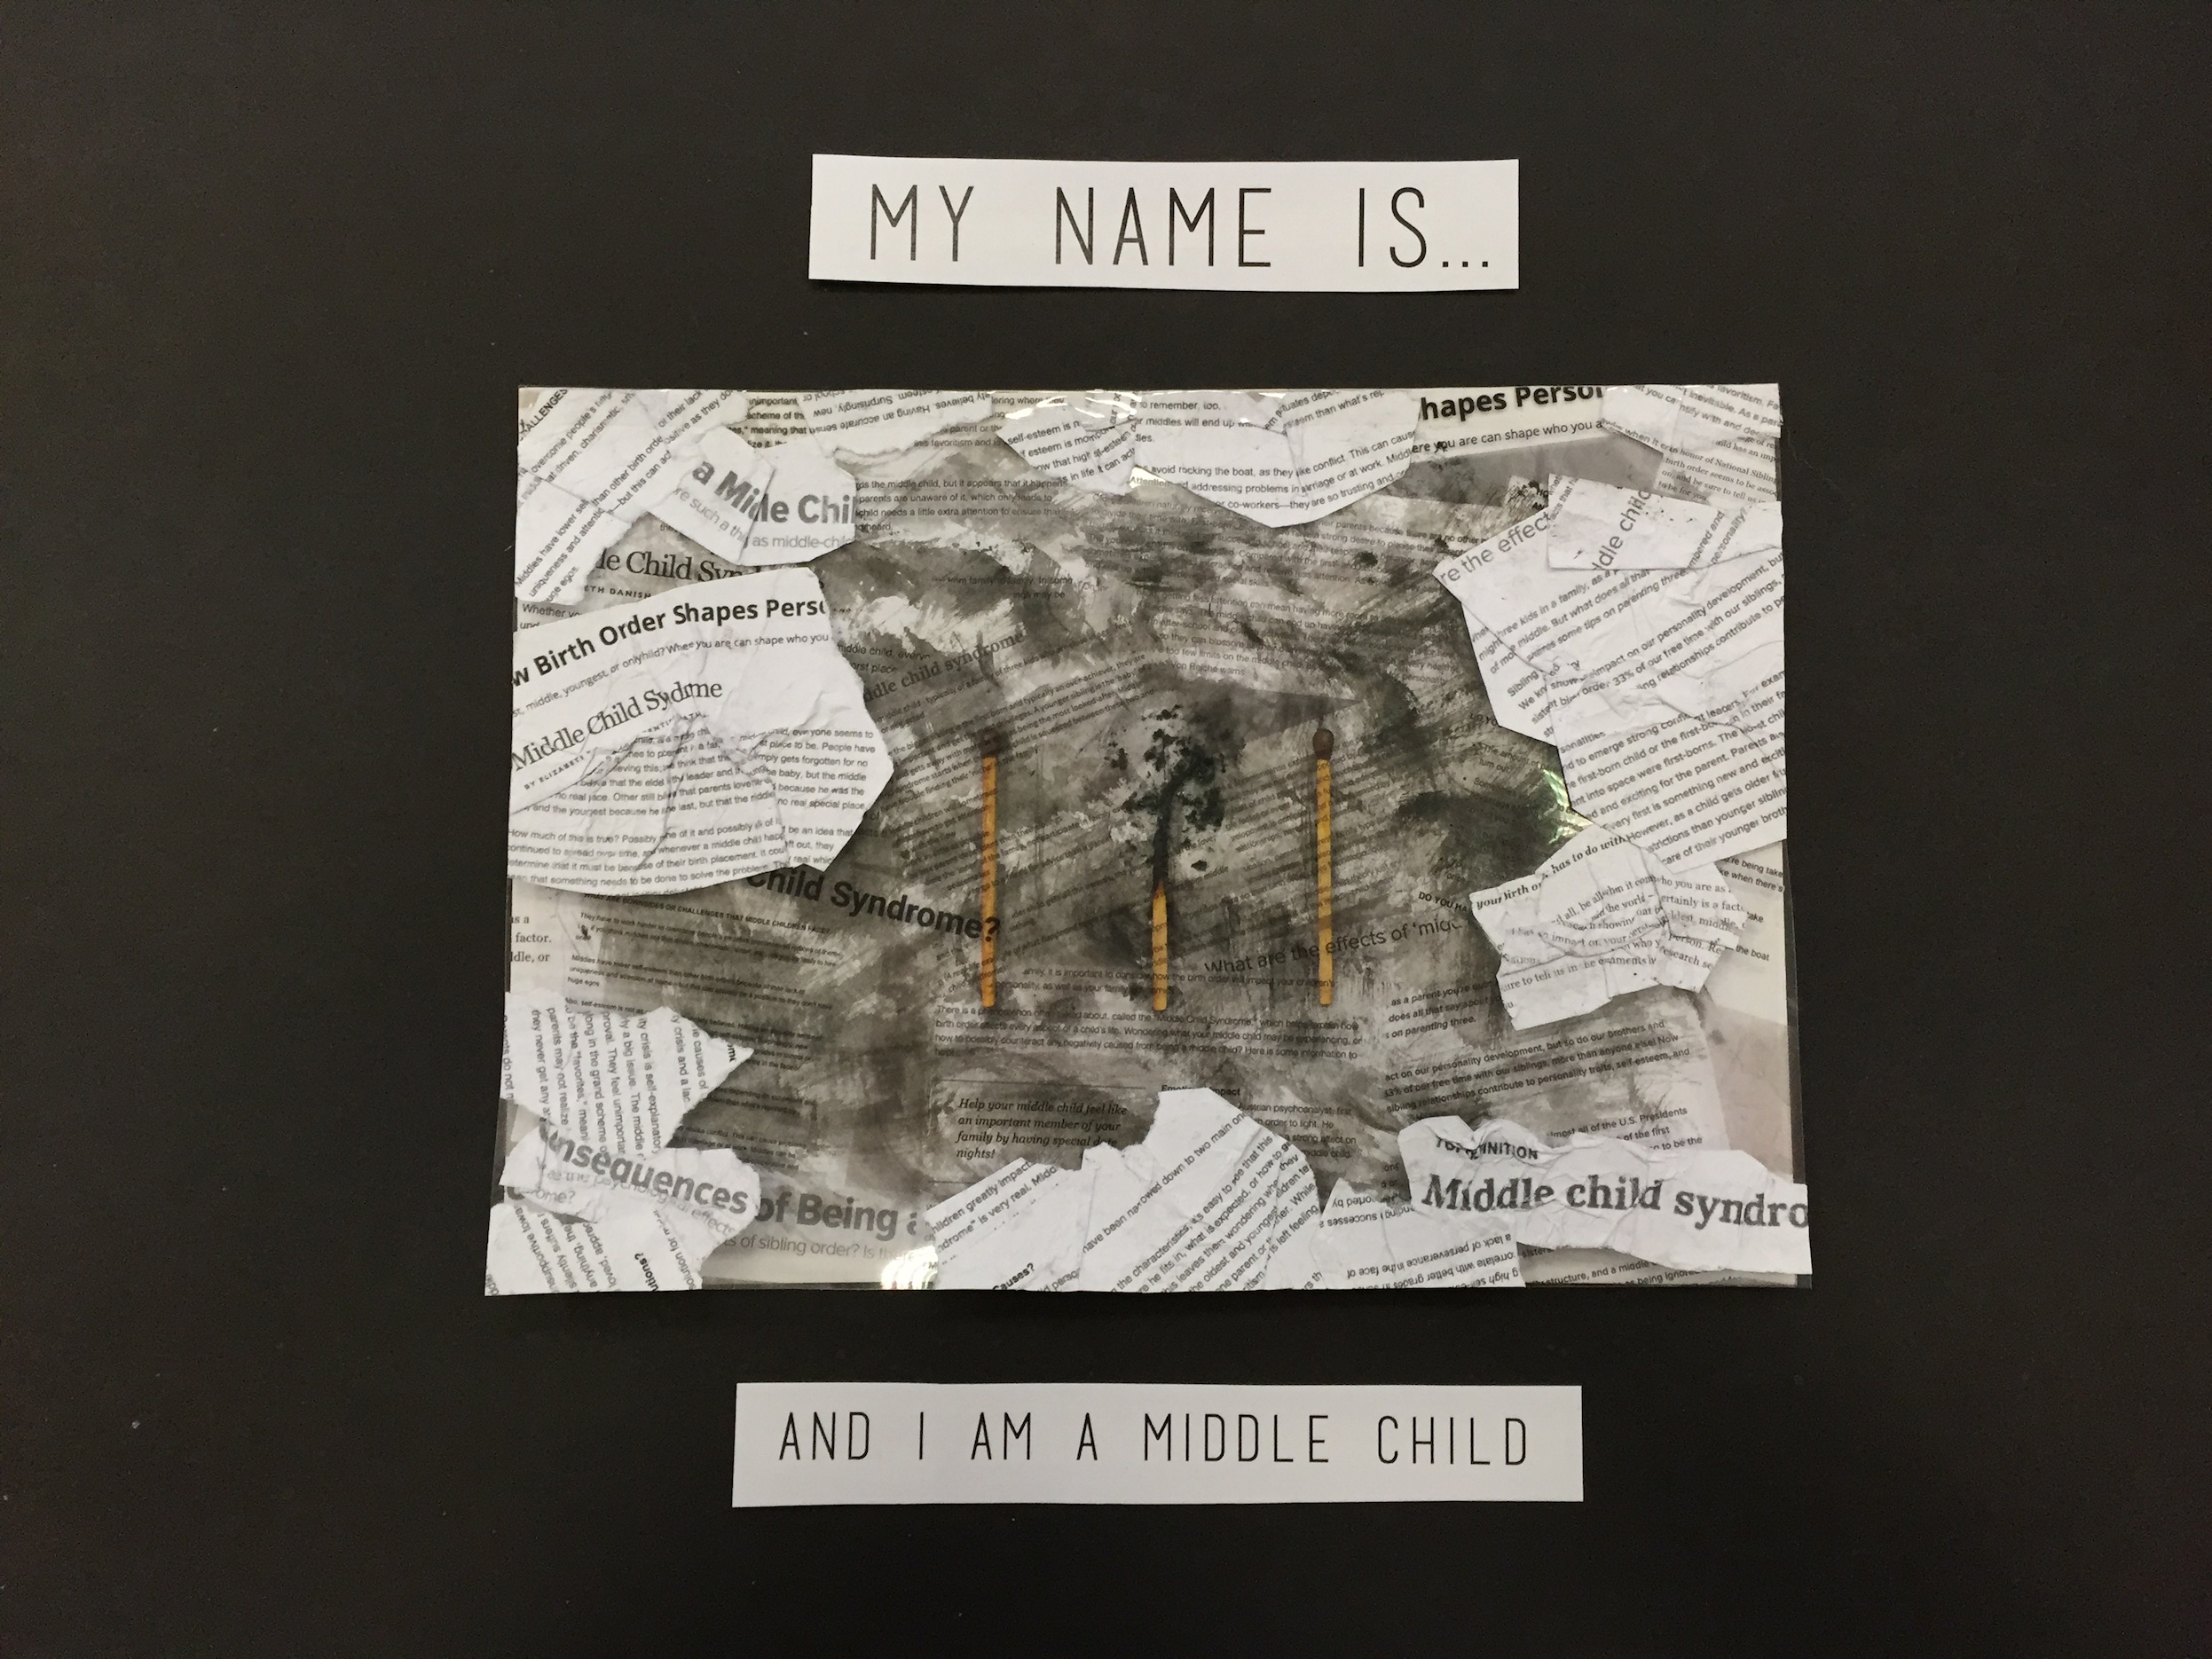
ANIMAL LOVER:
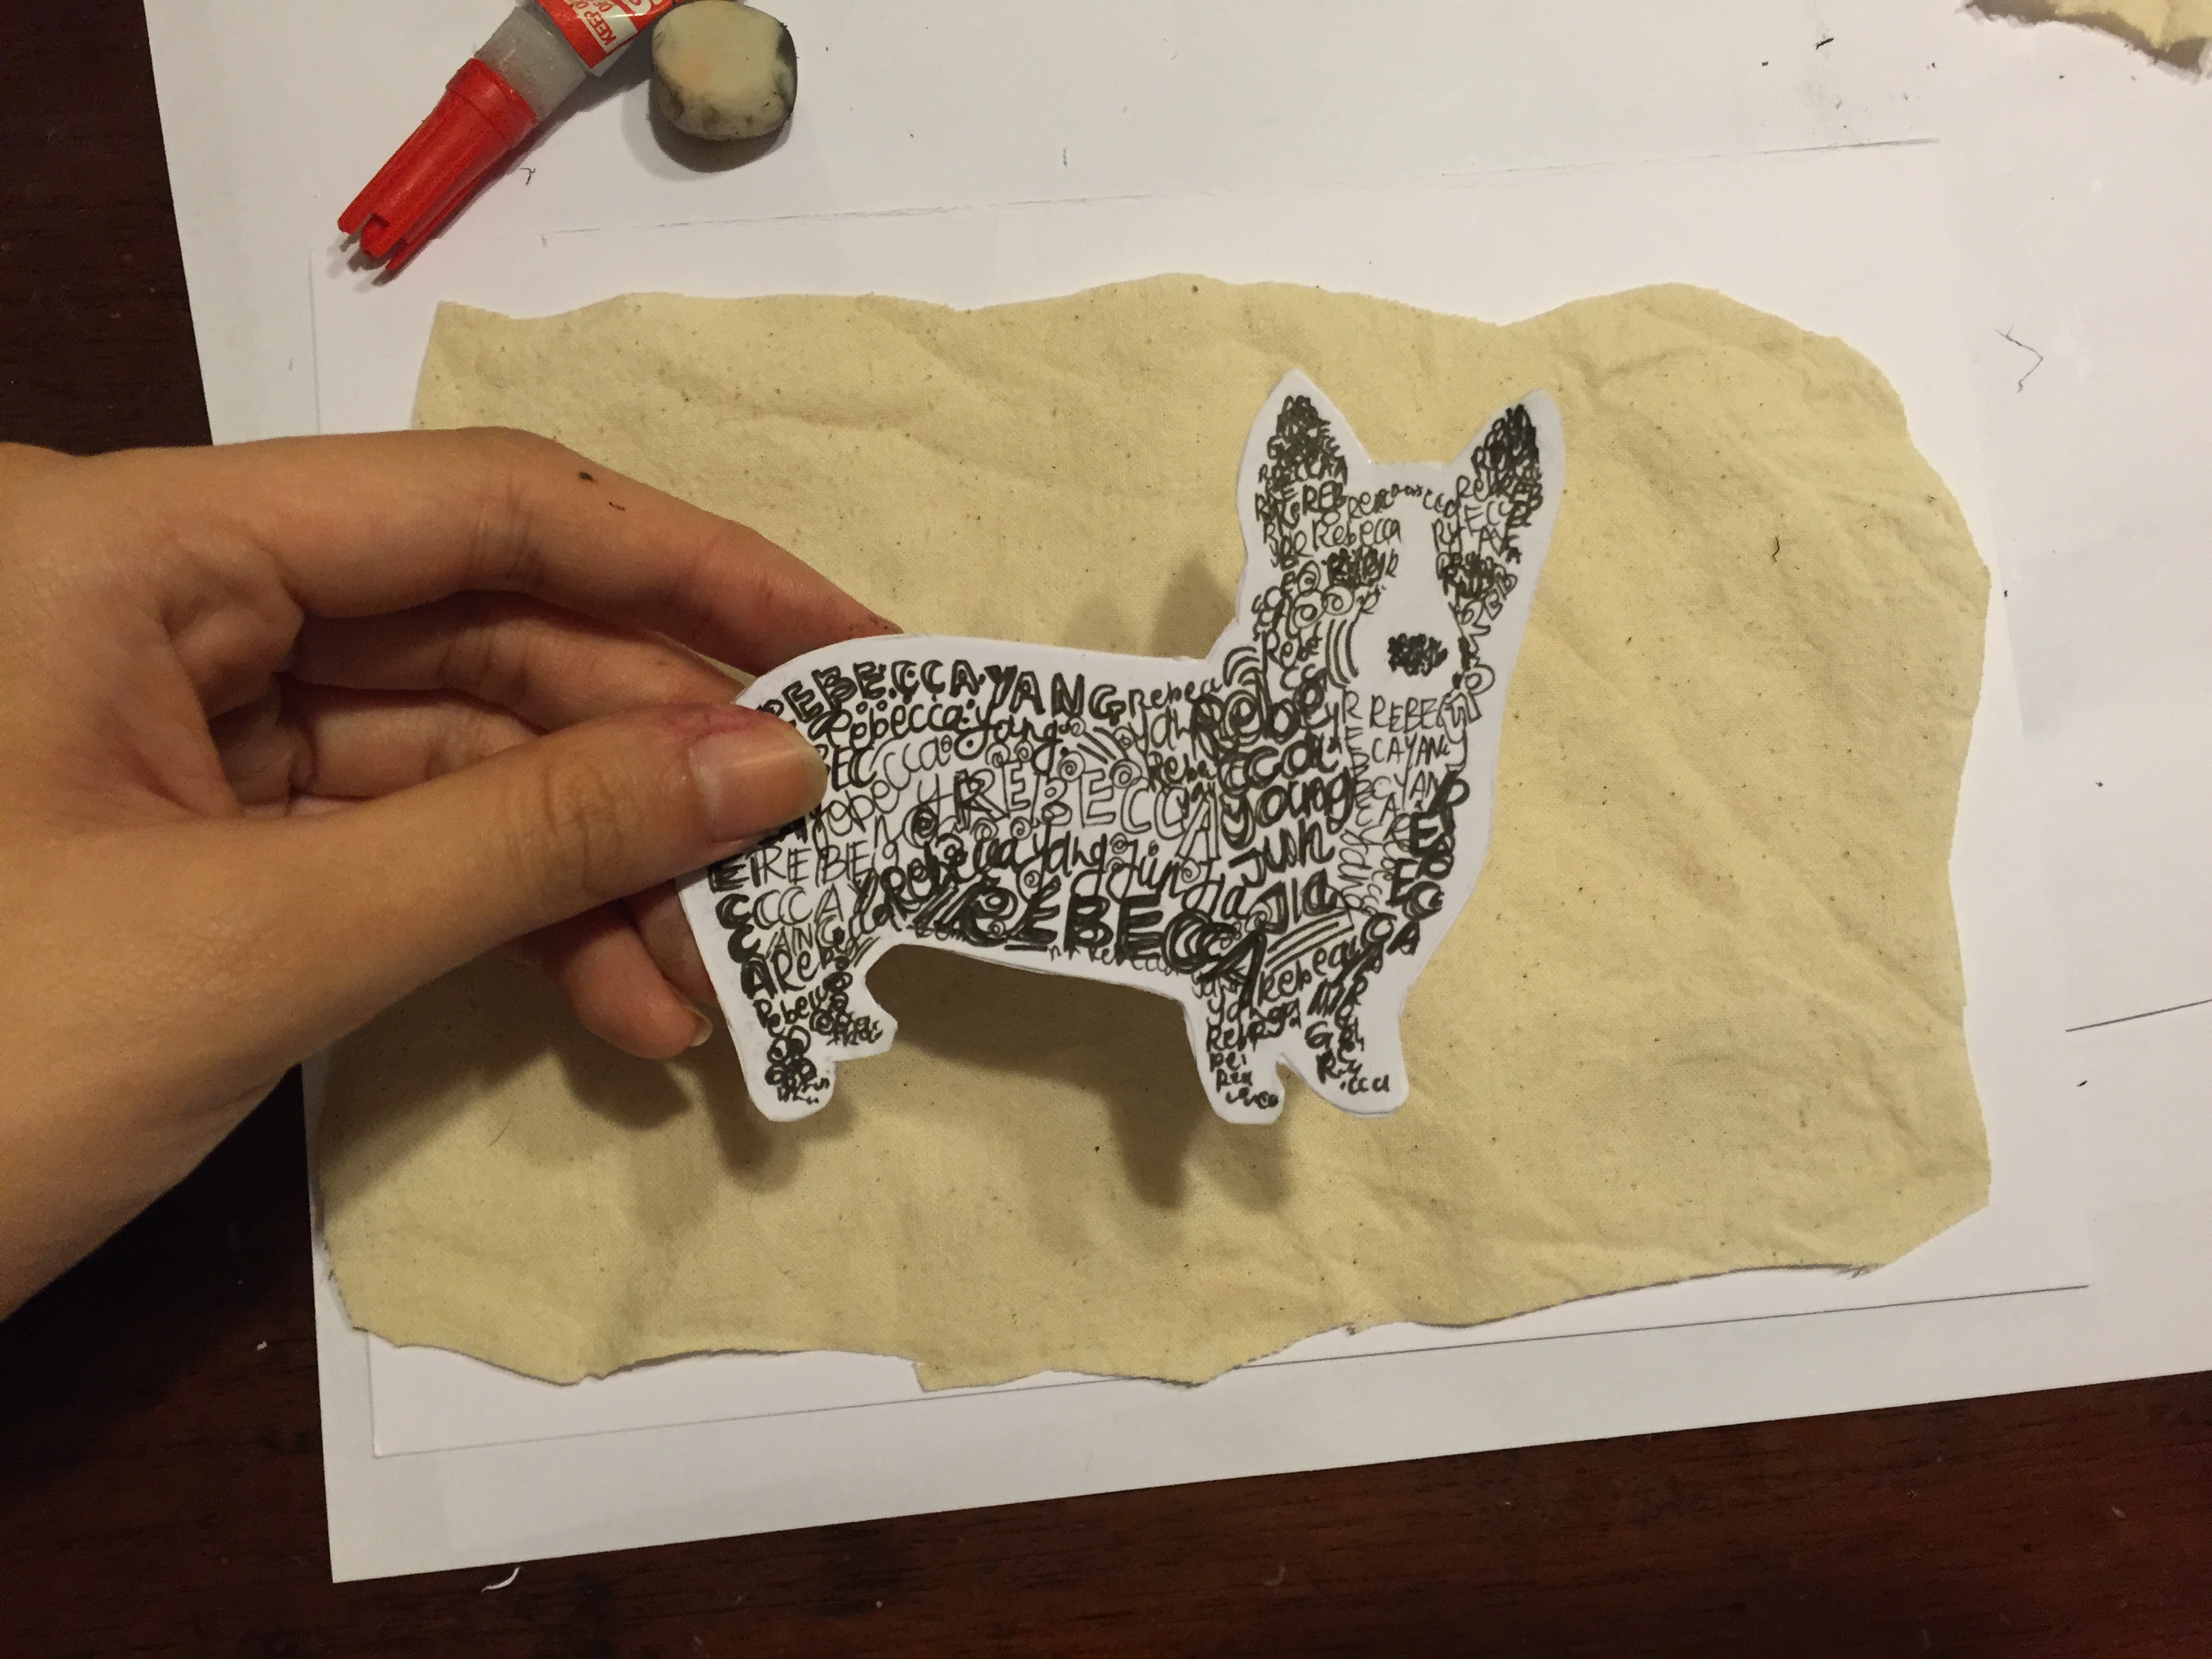
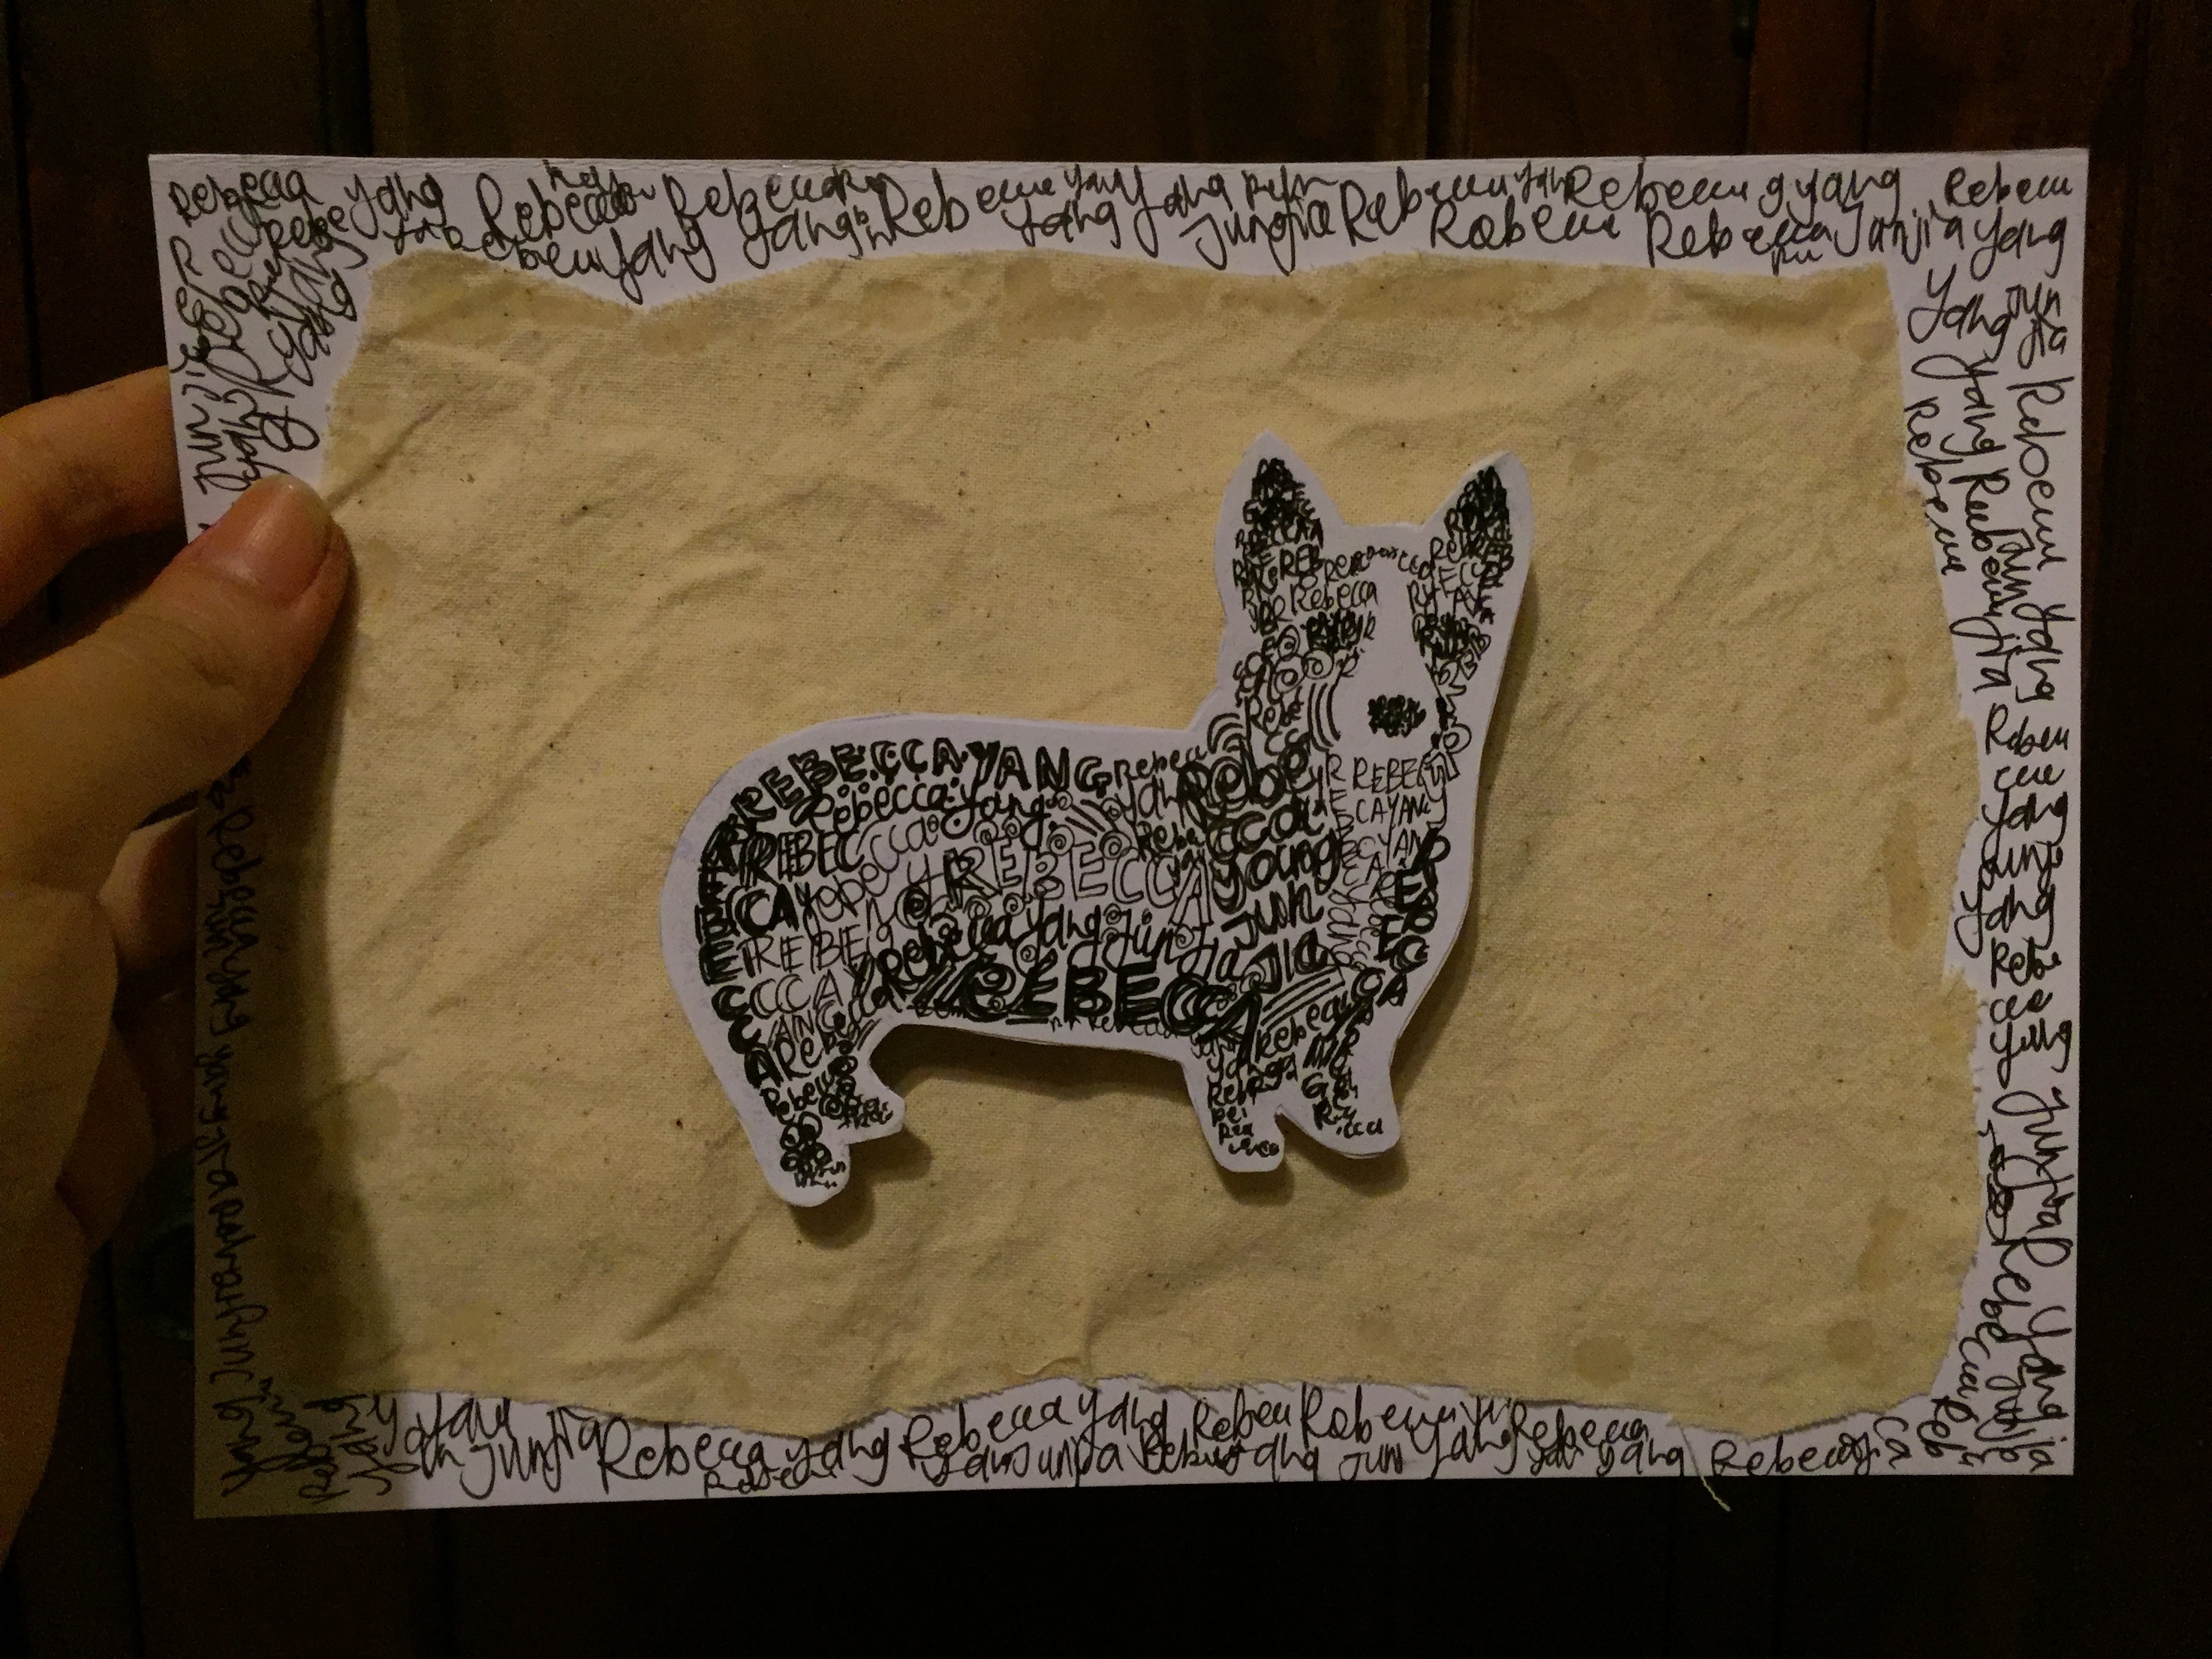
I drew a corgi to show the breed of dog I want in the future, as I love all animals, but dogs are my favourite. Perhaps it’s because I grew up being surrounded by animals. In that past, I have had four hamsters, a bird, a rabbit, and two dogs, on top of the three dogs I have now 😀
I made the corgi out of my name, some drawn thicker than others to give it some shading, and I felt that background was too plain, as compared to my other designs which featured a sort of texture. Therefore, I cut out and pasted a sand-coloured cloth to the paper, in lieu with the organic and nature-ish theme of this piece. I added more of my name in the background to give it extra repetition.
After the steps listed above, I still felt it could be a less flat on the paper, so I used thick paper, wrapped in with masking tape to match the cloth’s colour, and created a pop-up effect, so the corgi would obviously be the centre of attention in this piece.


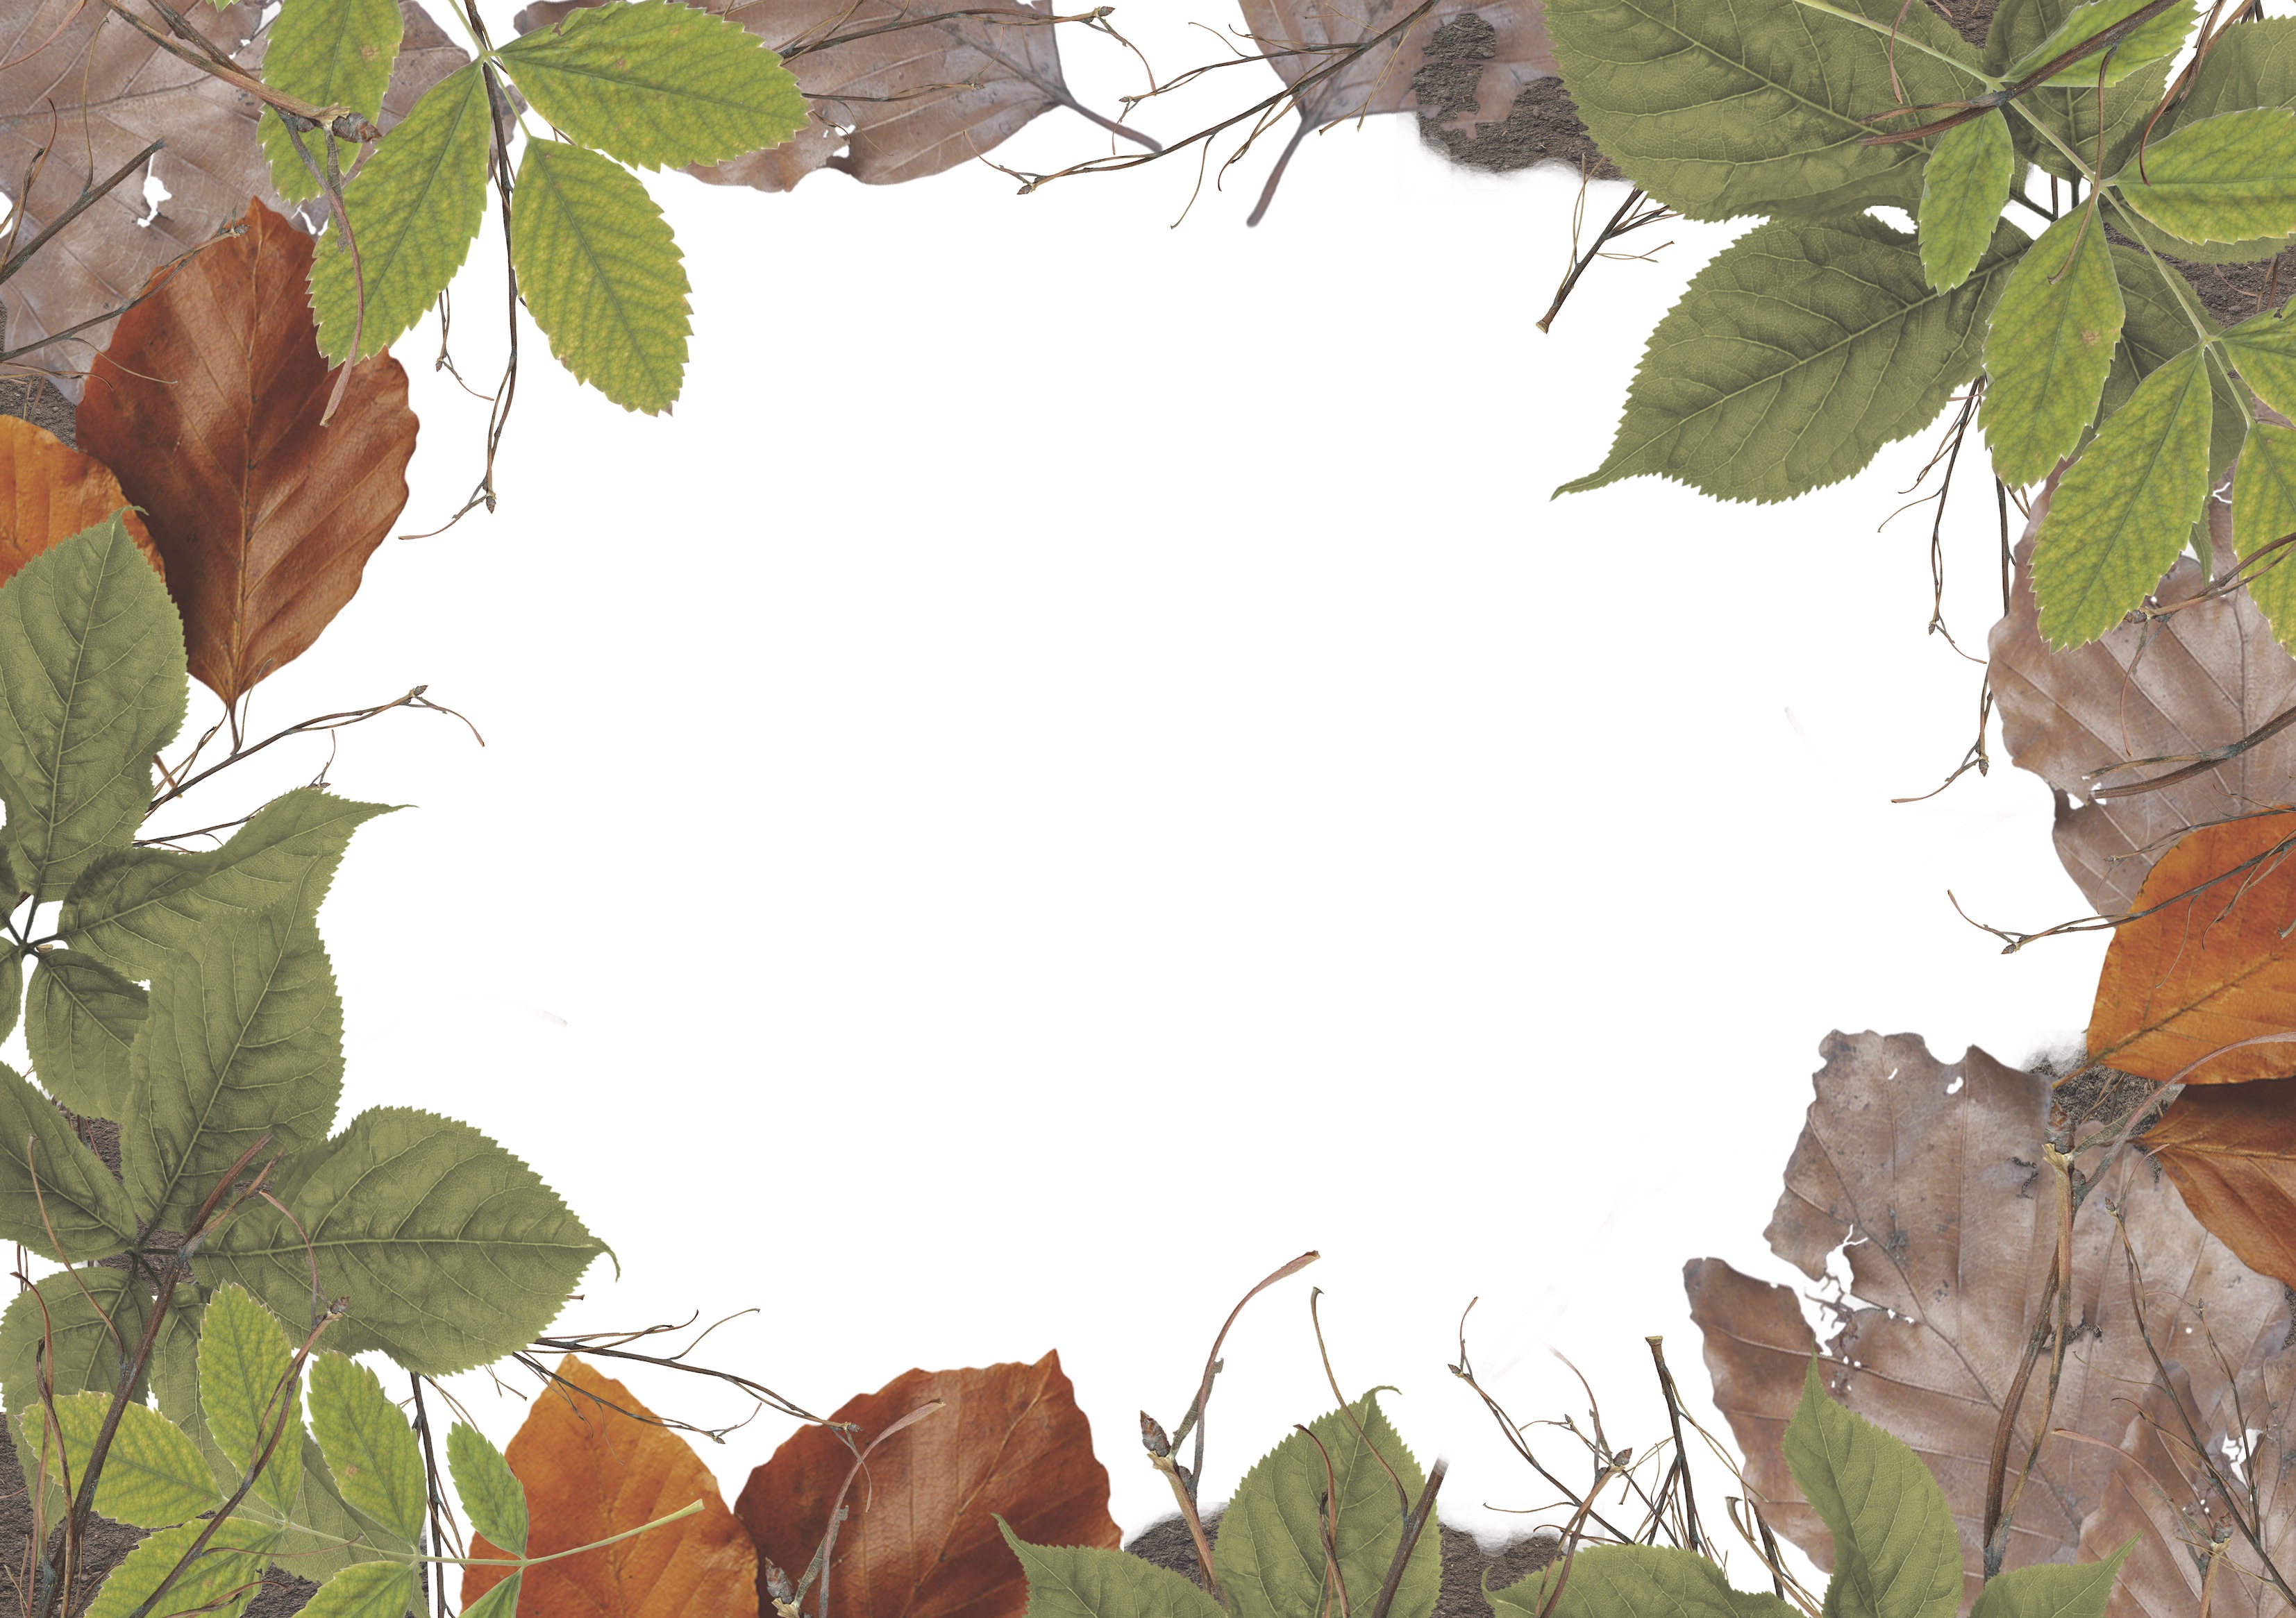
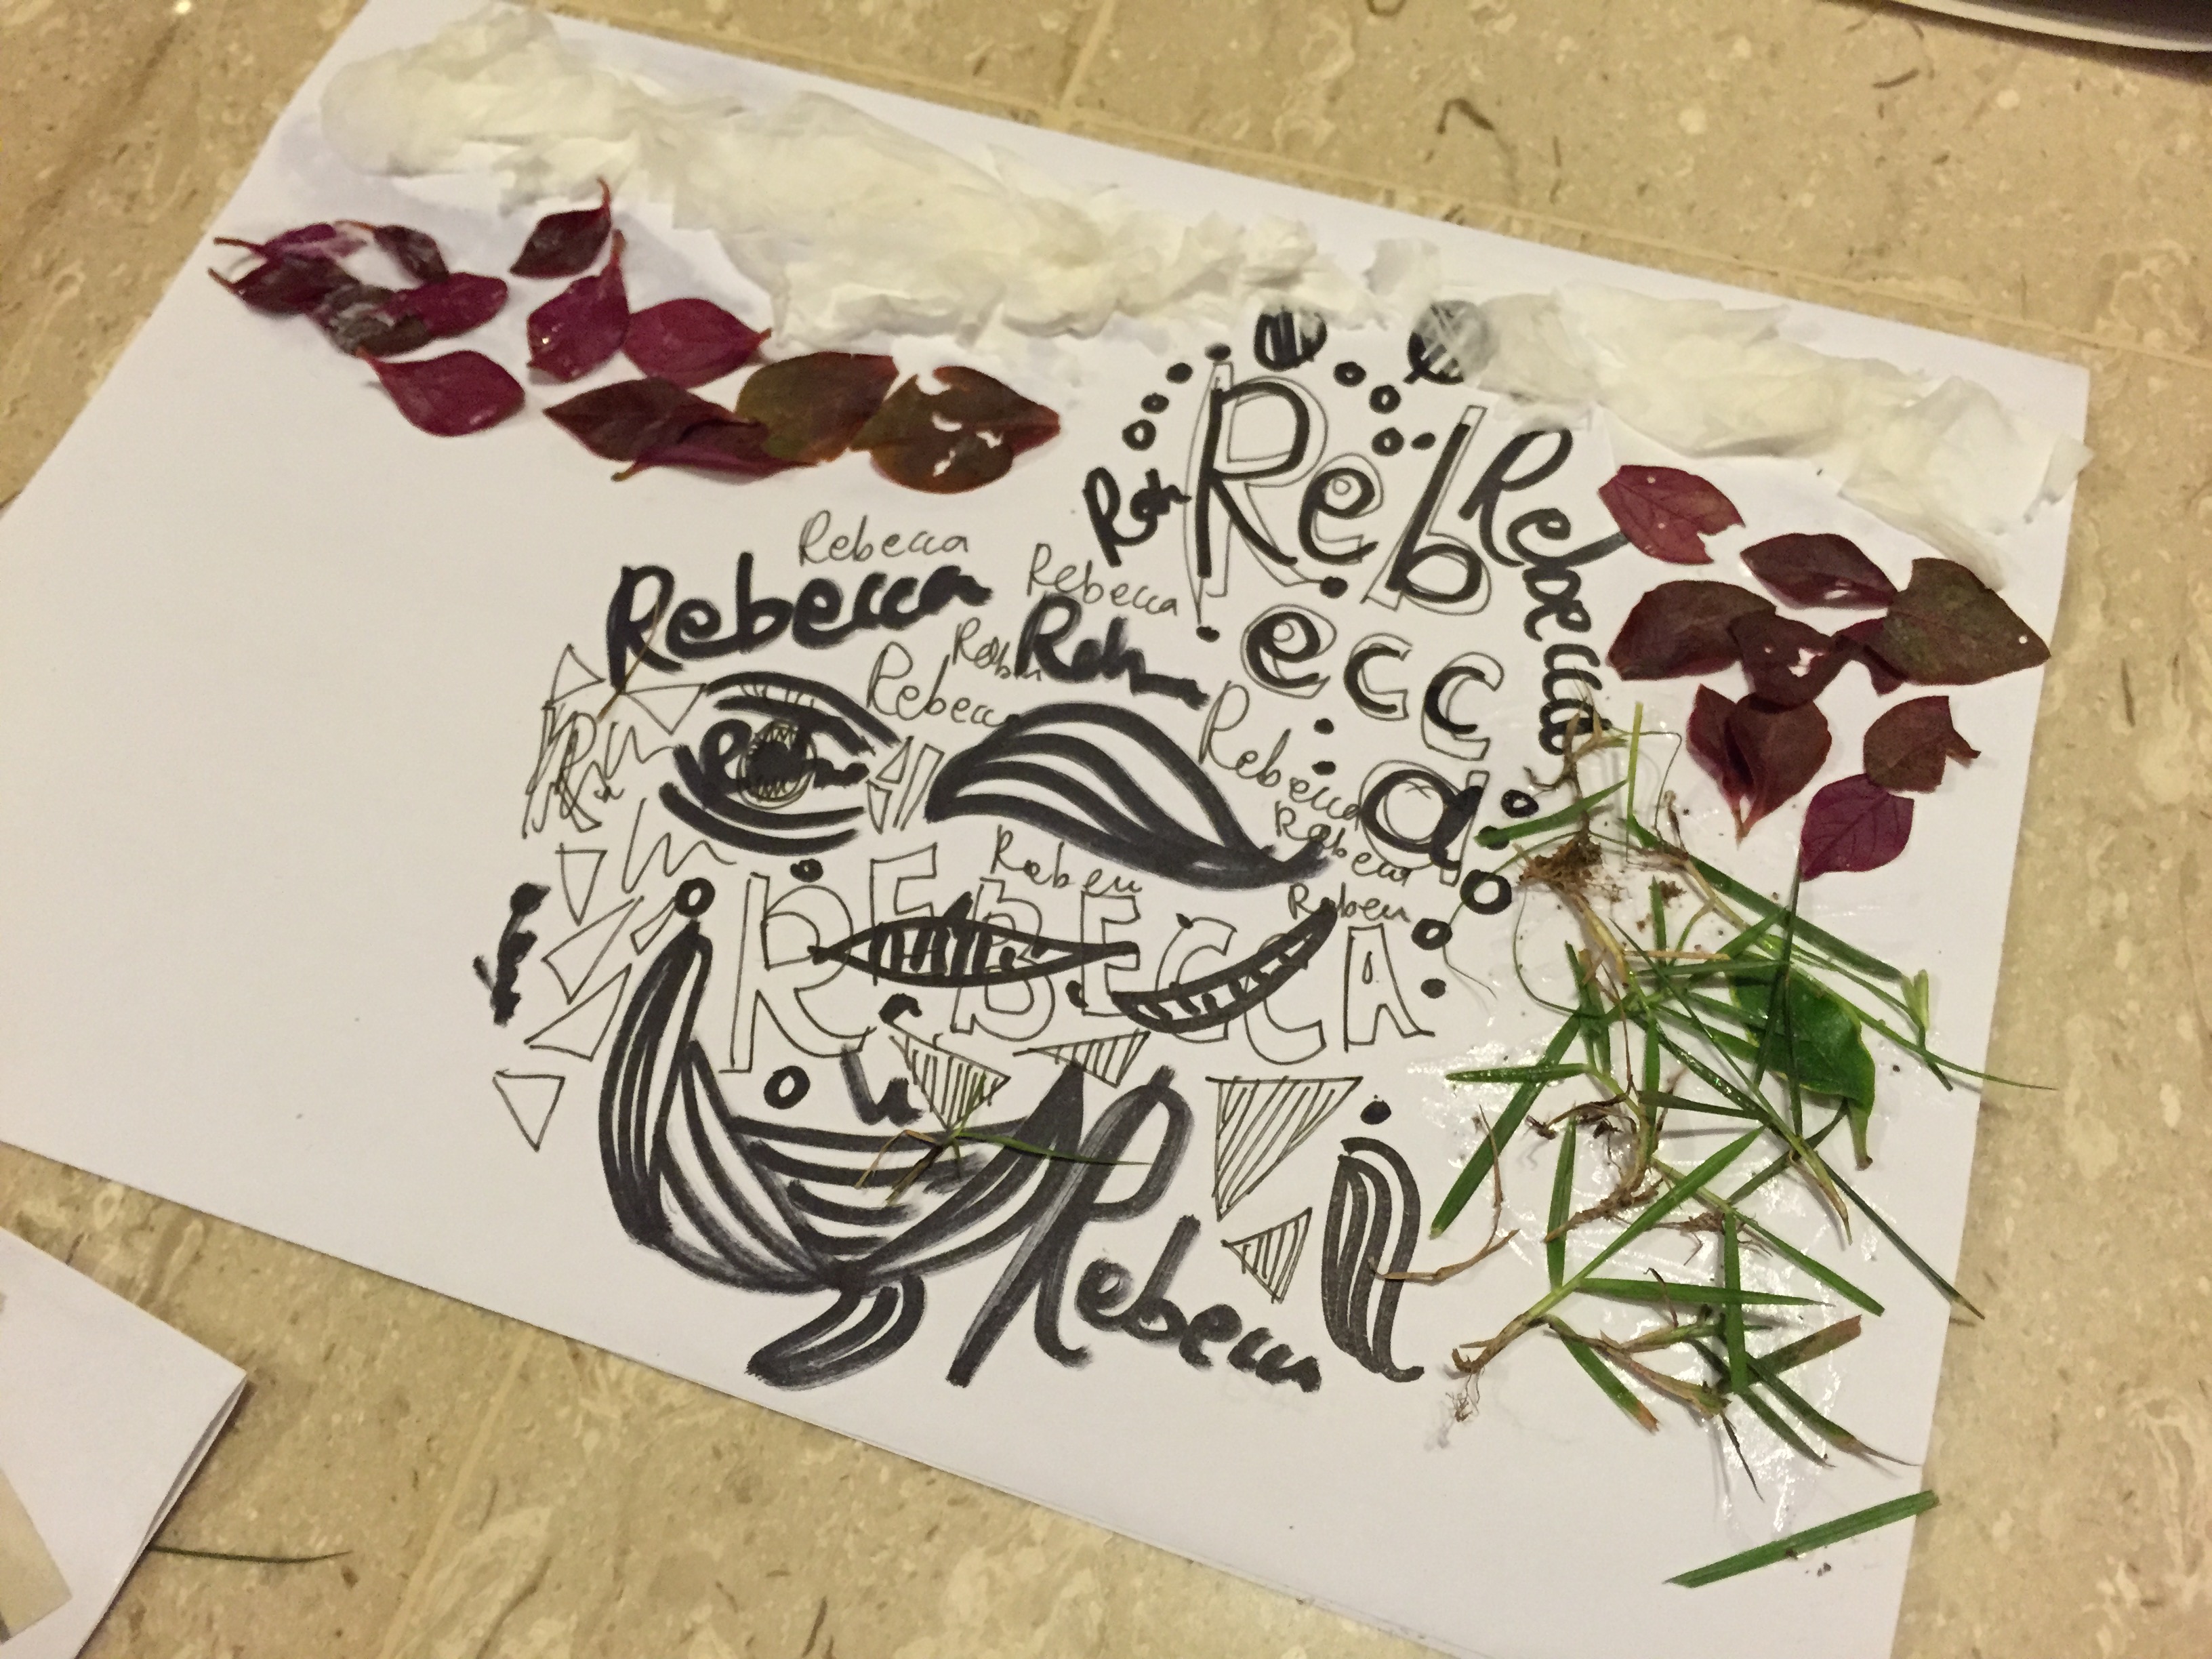
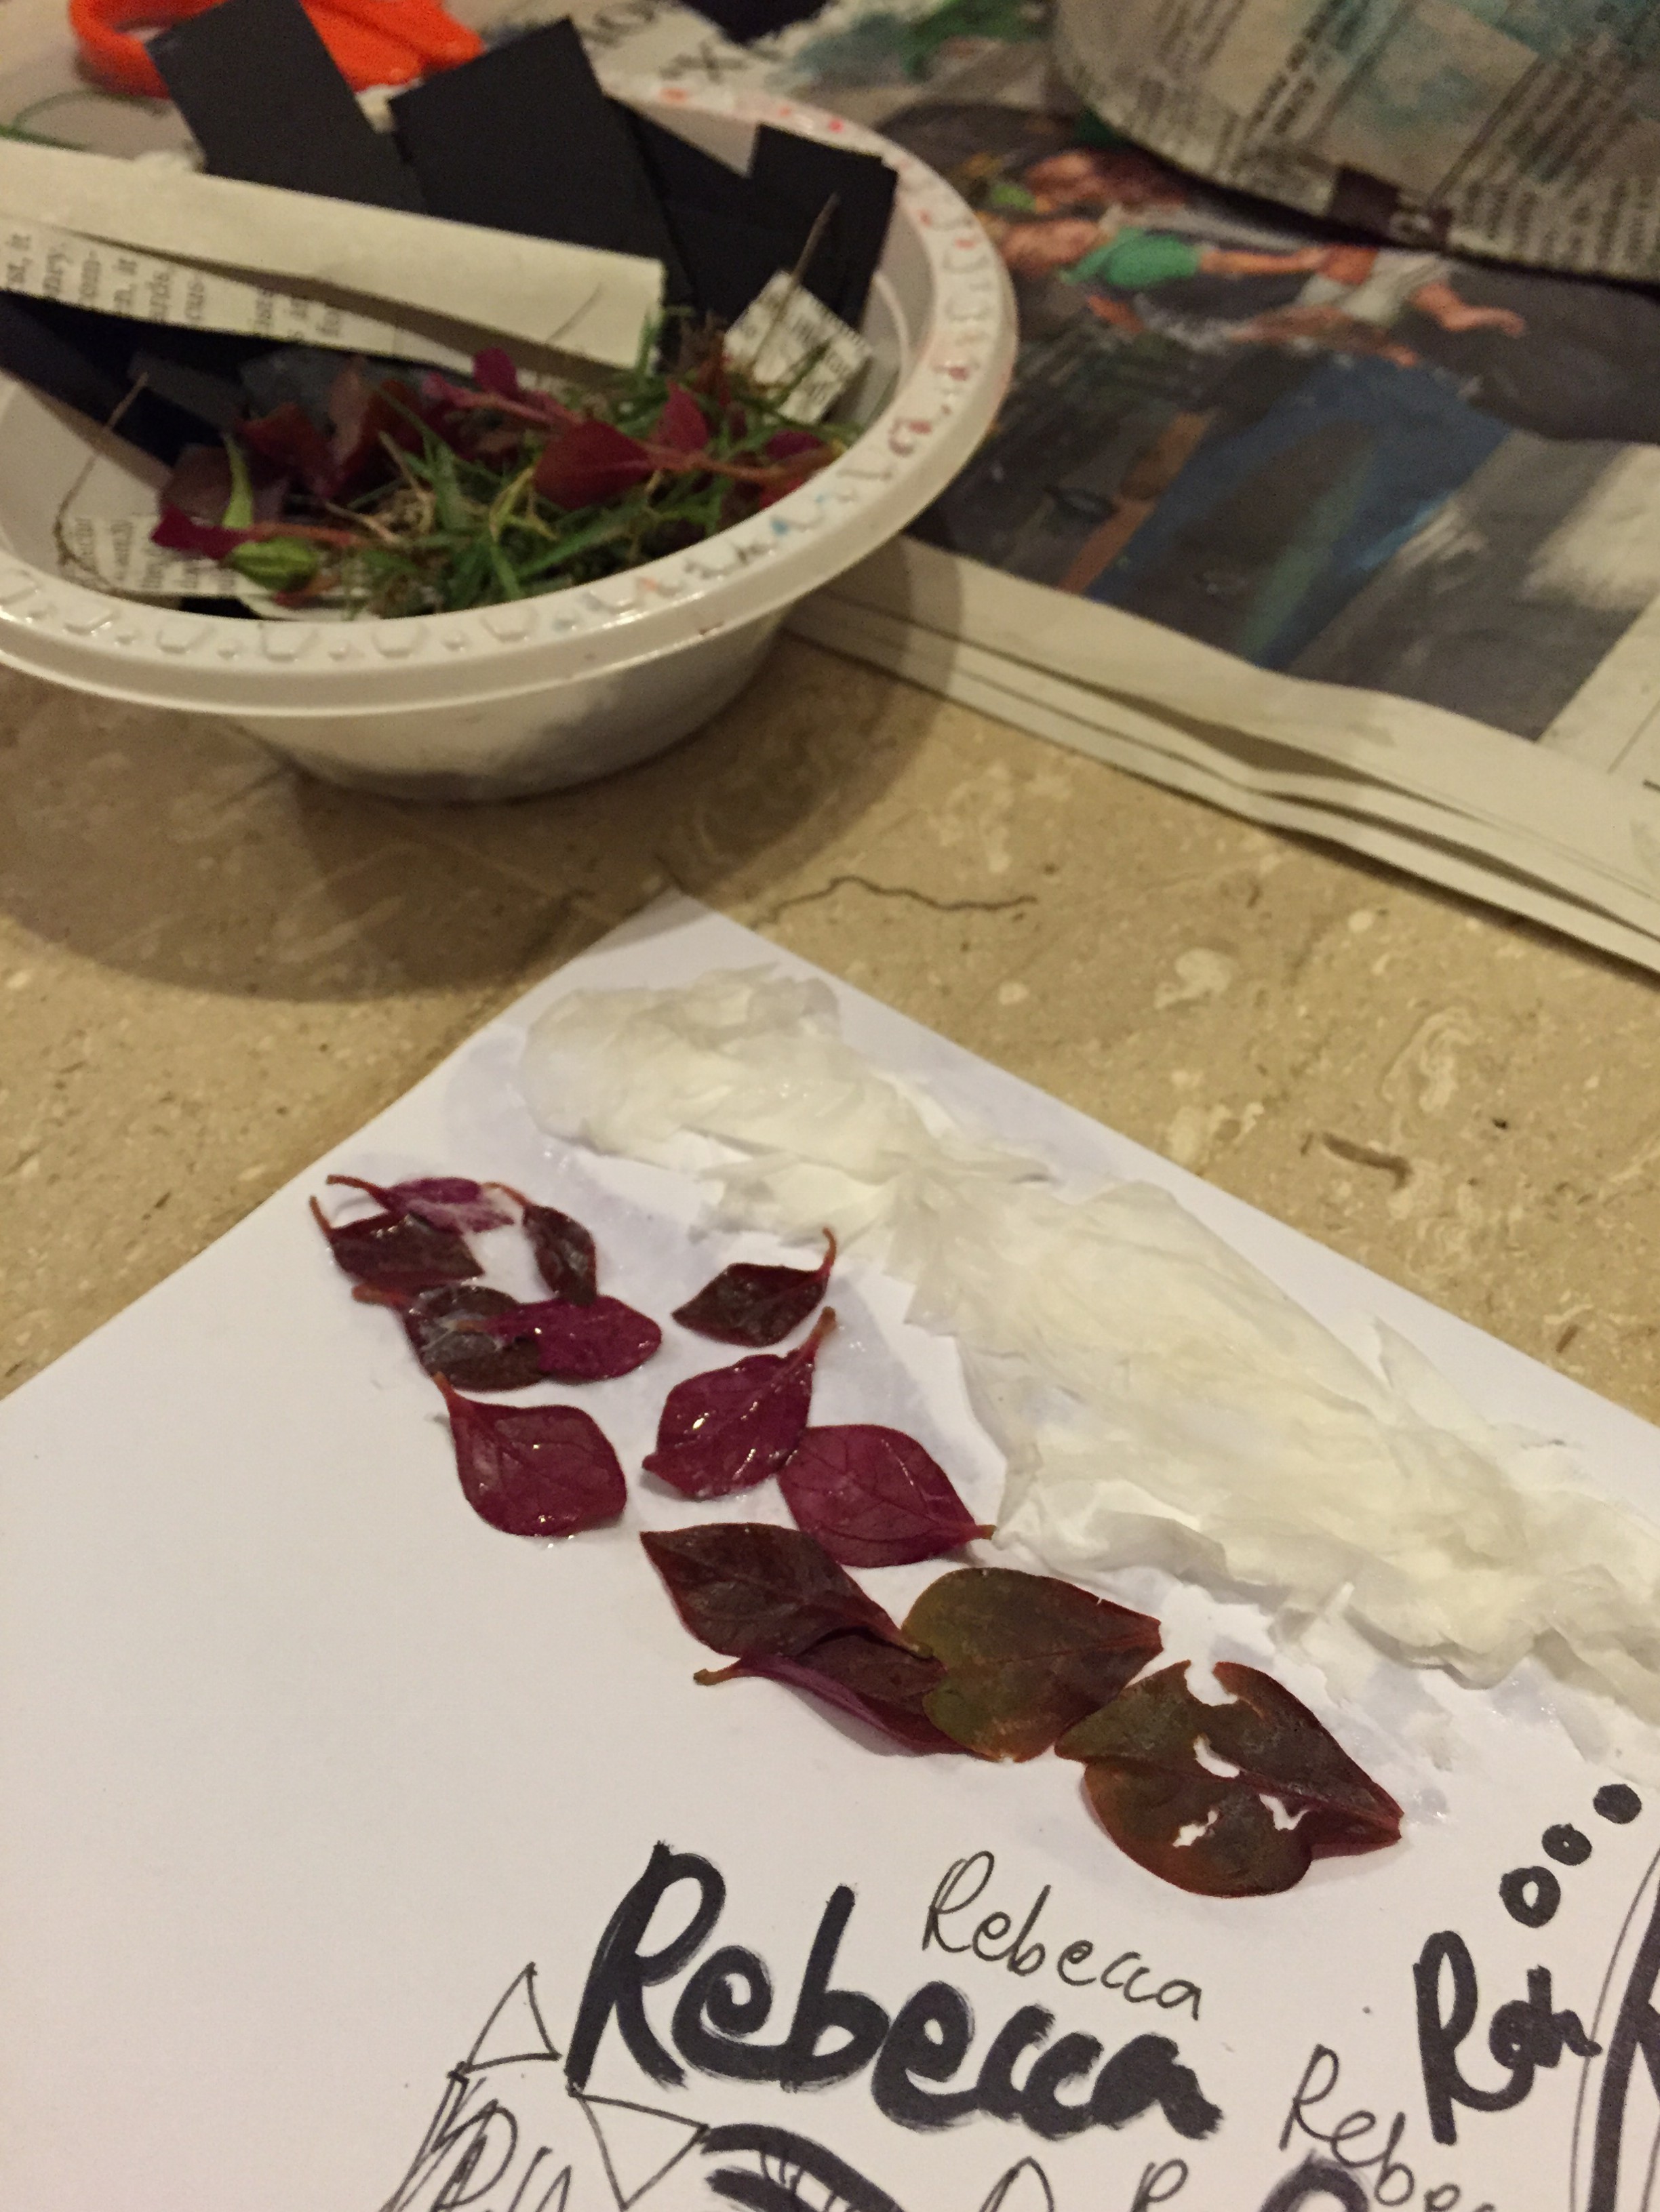
For the transparency, I digitally manipulated leaves, some of which I scanned in, and create a border. I wanted the clear plastic to symbolise that animals should not be kept in places like zoos and circuses, because I’m an advocate of freedom for animals. It’s ironic because I love having them around and being with animals, but personally, I feel it isn’t right to keep them sedated or used as tools and props because they belong in their natural habitats. Especially for wilder ones like lions or elephants. The plastic is sort of like a representation of glass, to be caged in.
I have never printed with transparencies before and wasn’t sure how it would turn out, so I created two versions of the leaves, one more faded with less contrast than the other.