
Cushioning
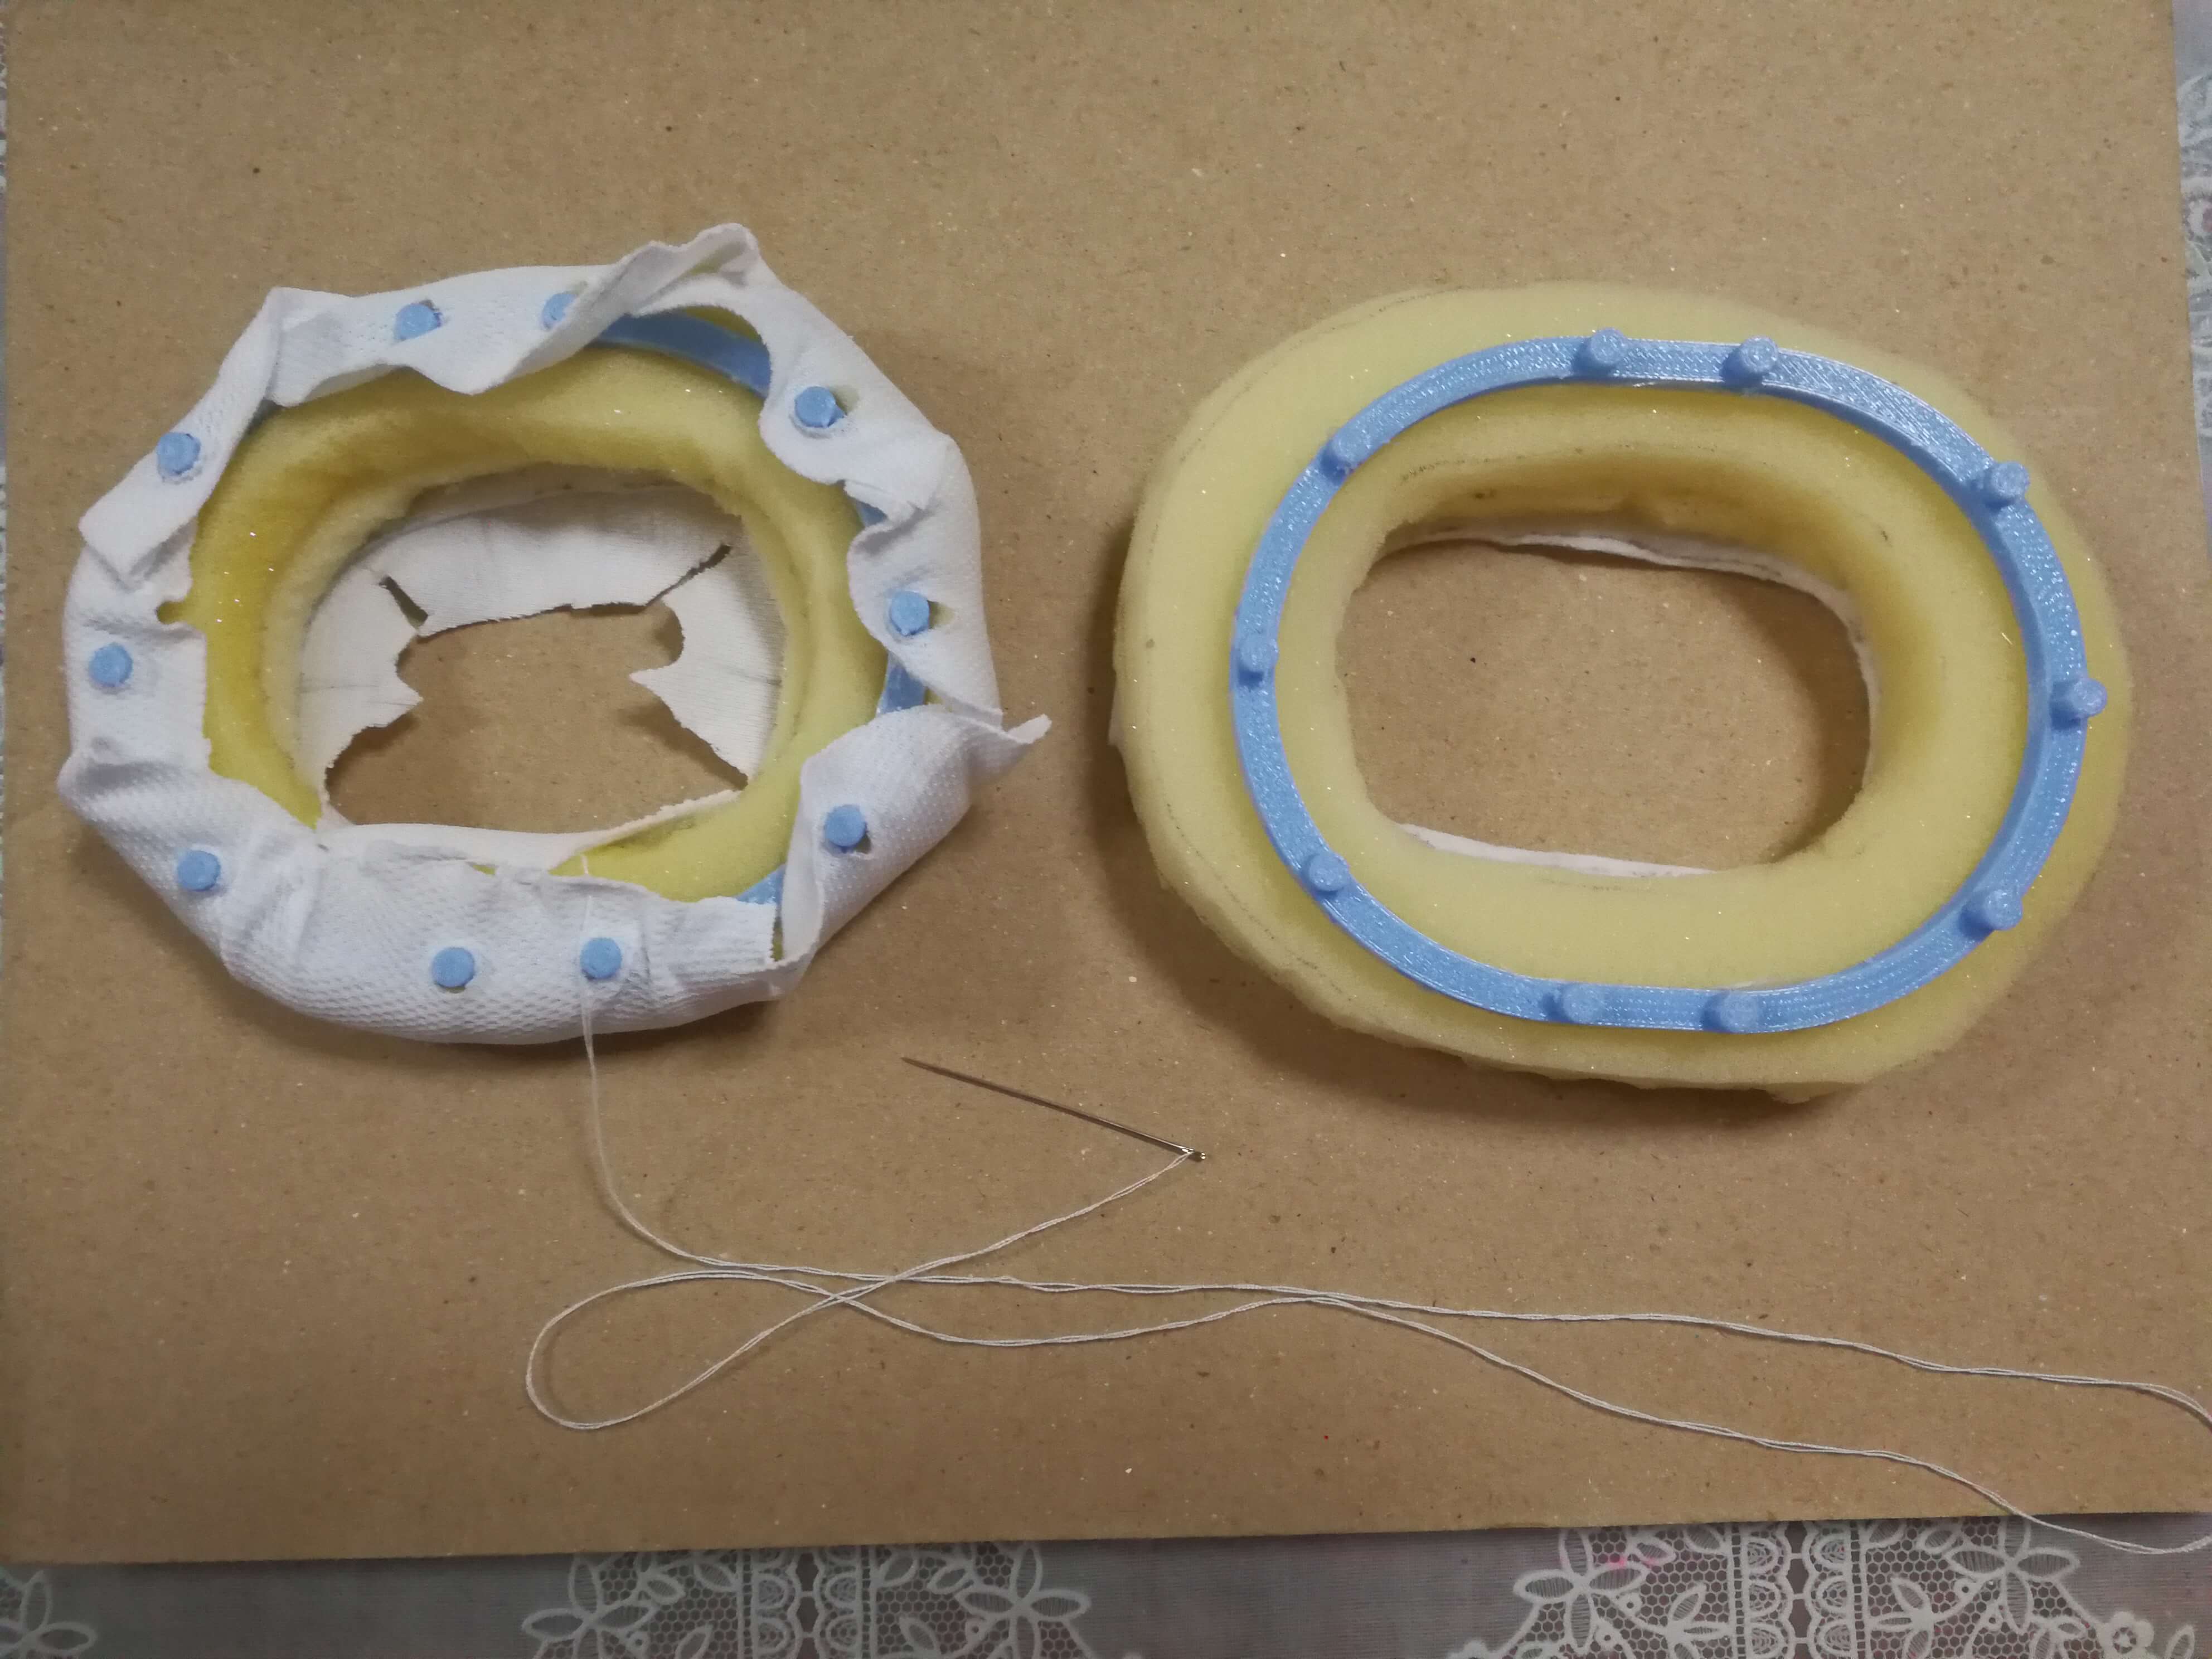
Started the cushioning with the ear muffs. The above is how the muffs were made. I cut some sponge , felt and offset the cloth (from some clothes that is new but not used) onto the 3D printed holder. I created a small hole on the covering cloth and hooked the holes through the 3D printed part to let the cloth ‘grab’ onto the part, together with the help of the double sided tape, it was able to secure the flaps of the cloth sturdily.
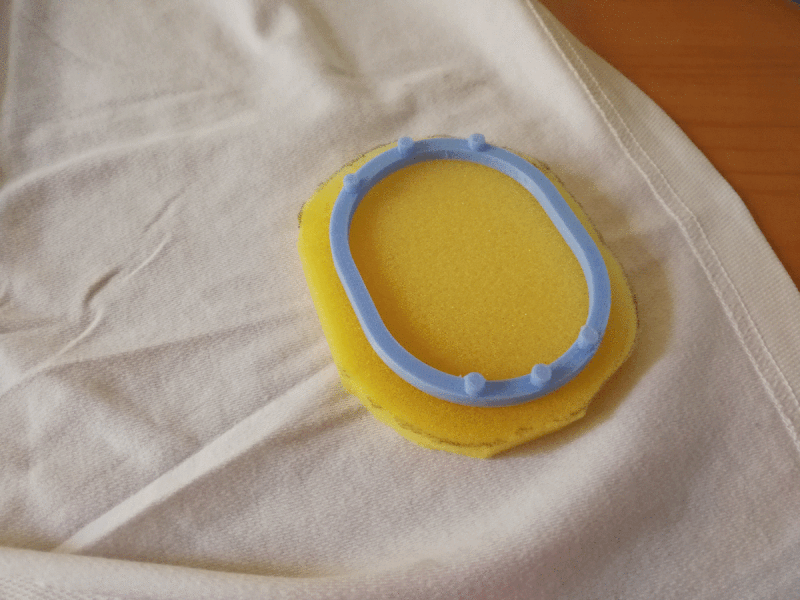
I used the same method to piece together the ear grip as sewing is a huge problem as the part is too thin.
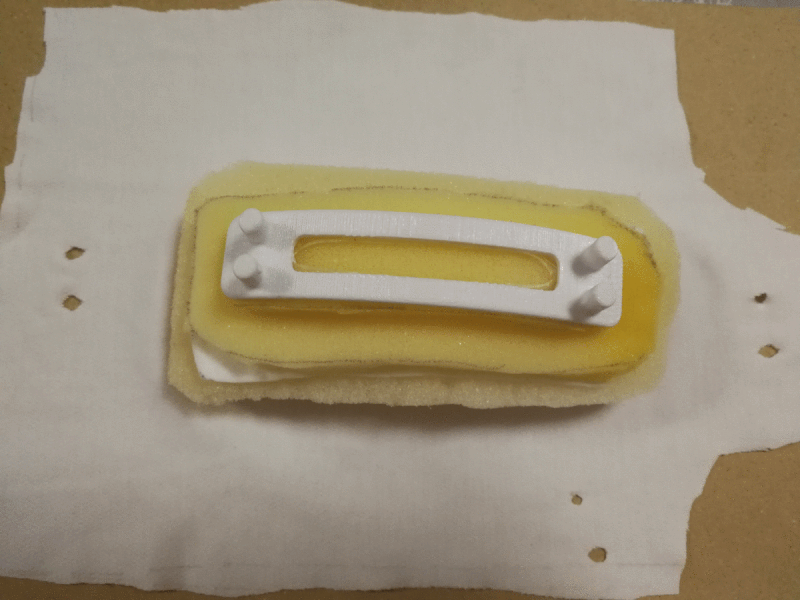
The last piece is a head cushion which I got help from my mom to help me with the sewing. I added a bigger piece of sponge as it needs more buffer as people has different head sizes.

The above is a Gif of the process of the headset being put together.
Rotational views of the headset
360 view . of the headset
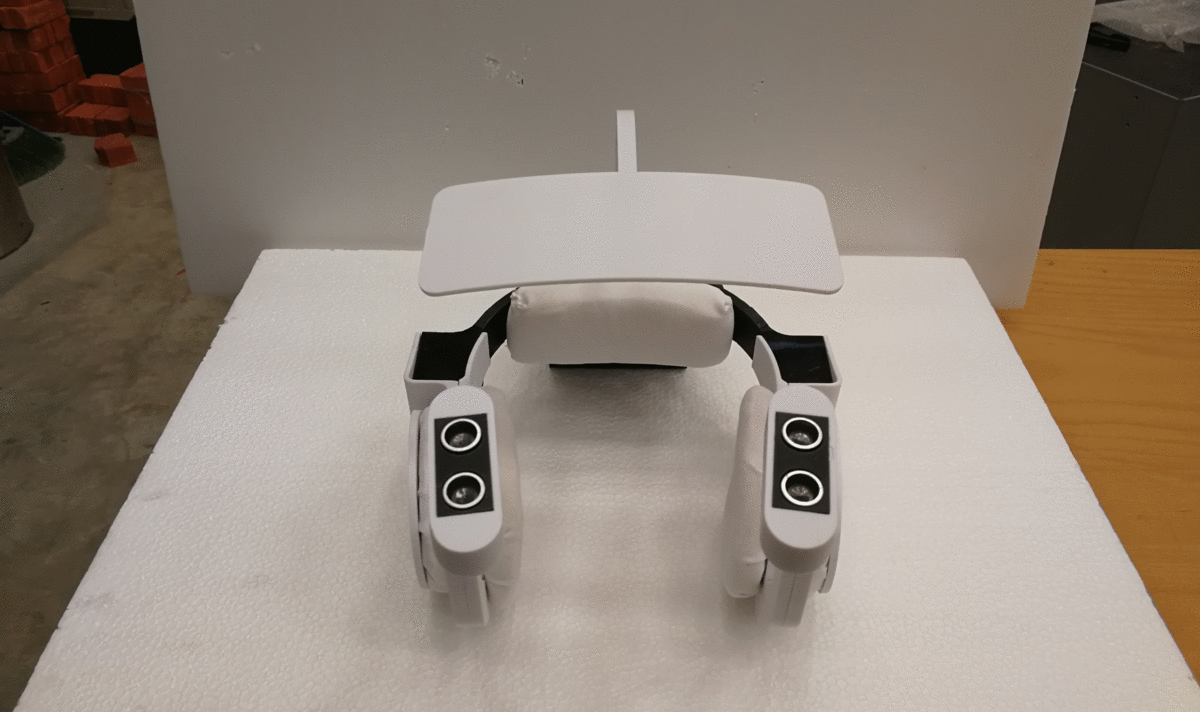
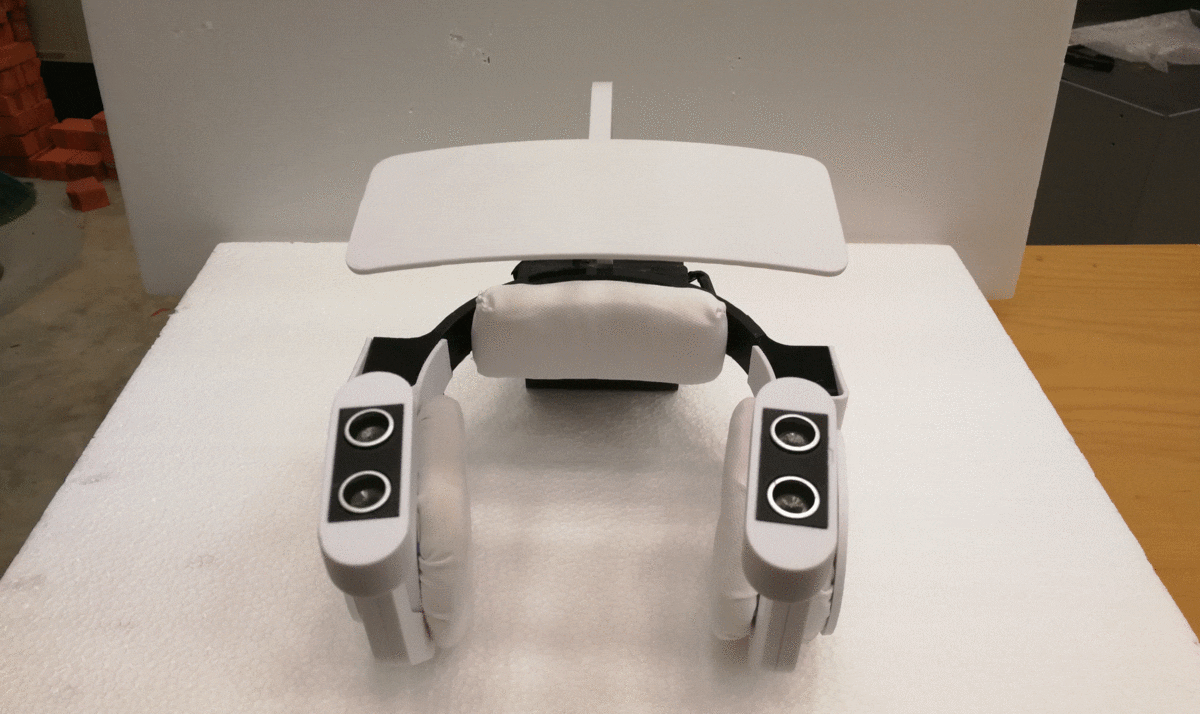
The front and back view of the headset
Coding
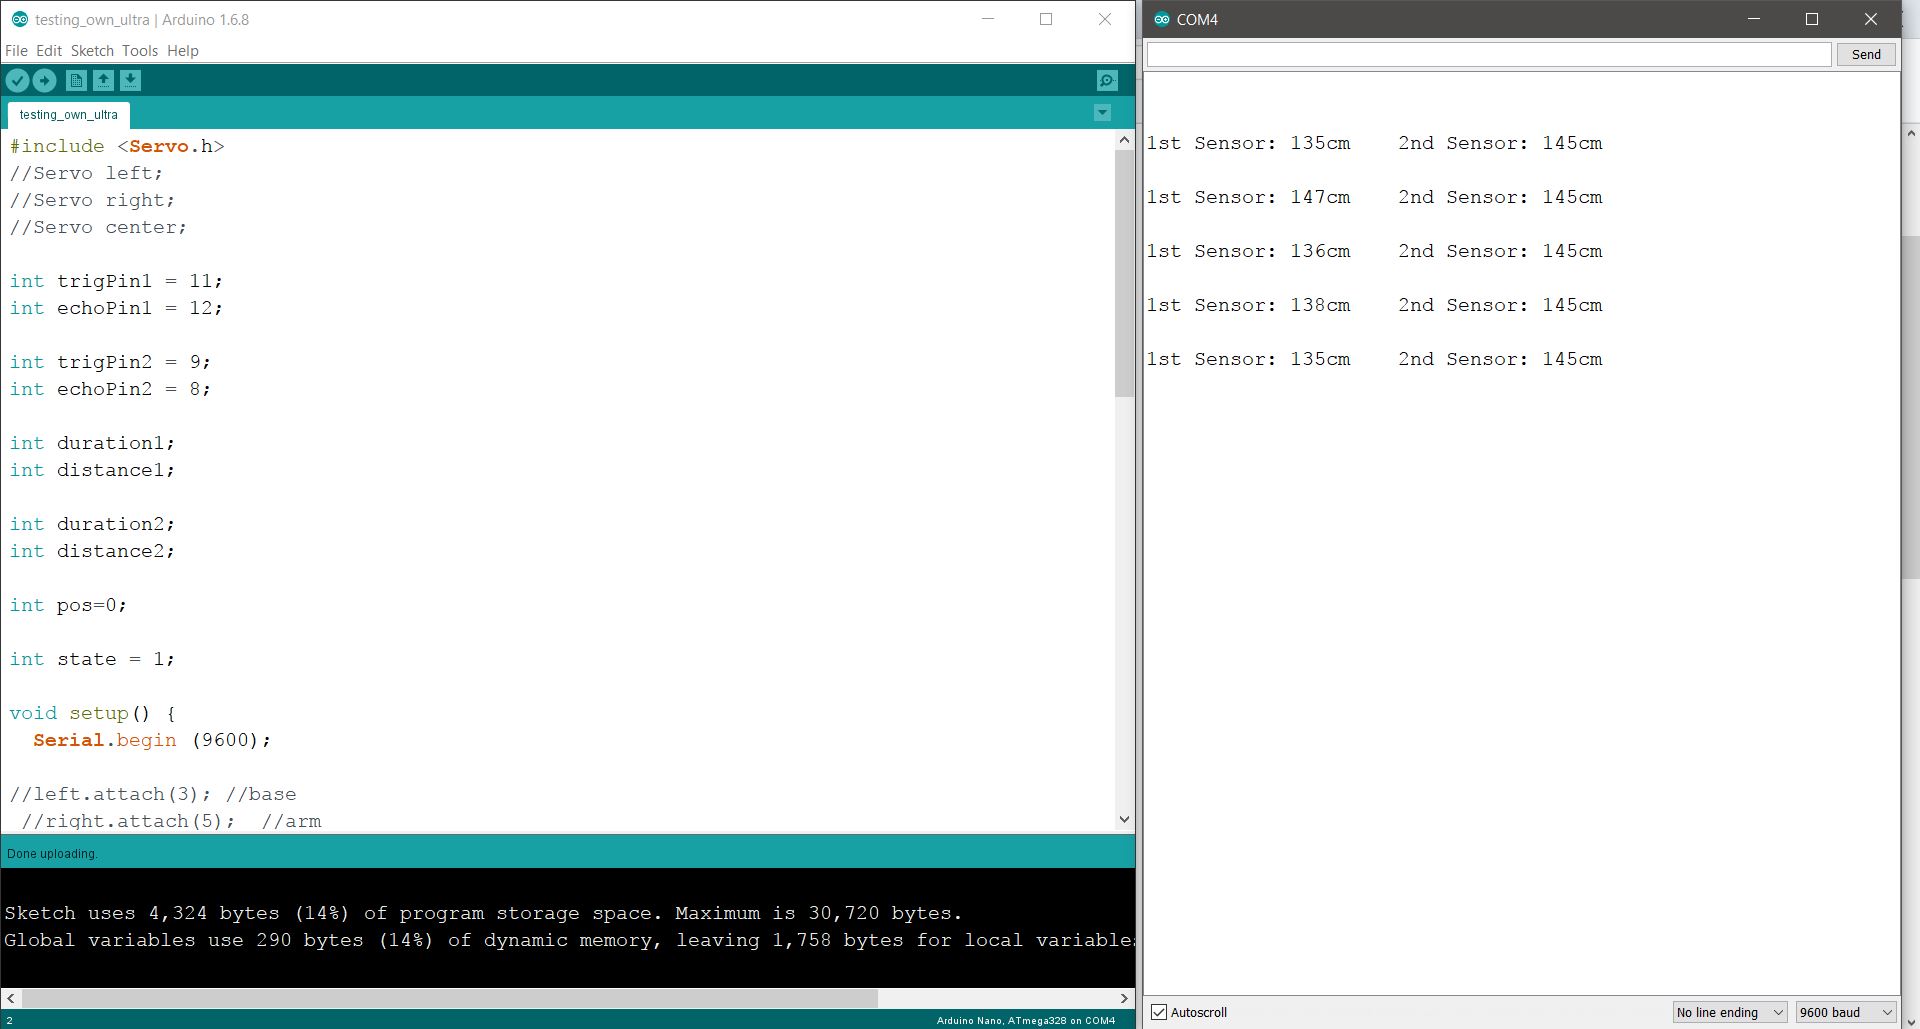
(With no servo motors attached)
One of the main problems I encounter is the inaccurate reading of the ultrasonic sensors after adding in the servos. The above is the code with the servo commands commented out. (working properly)
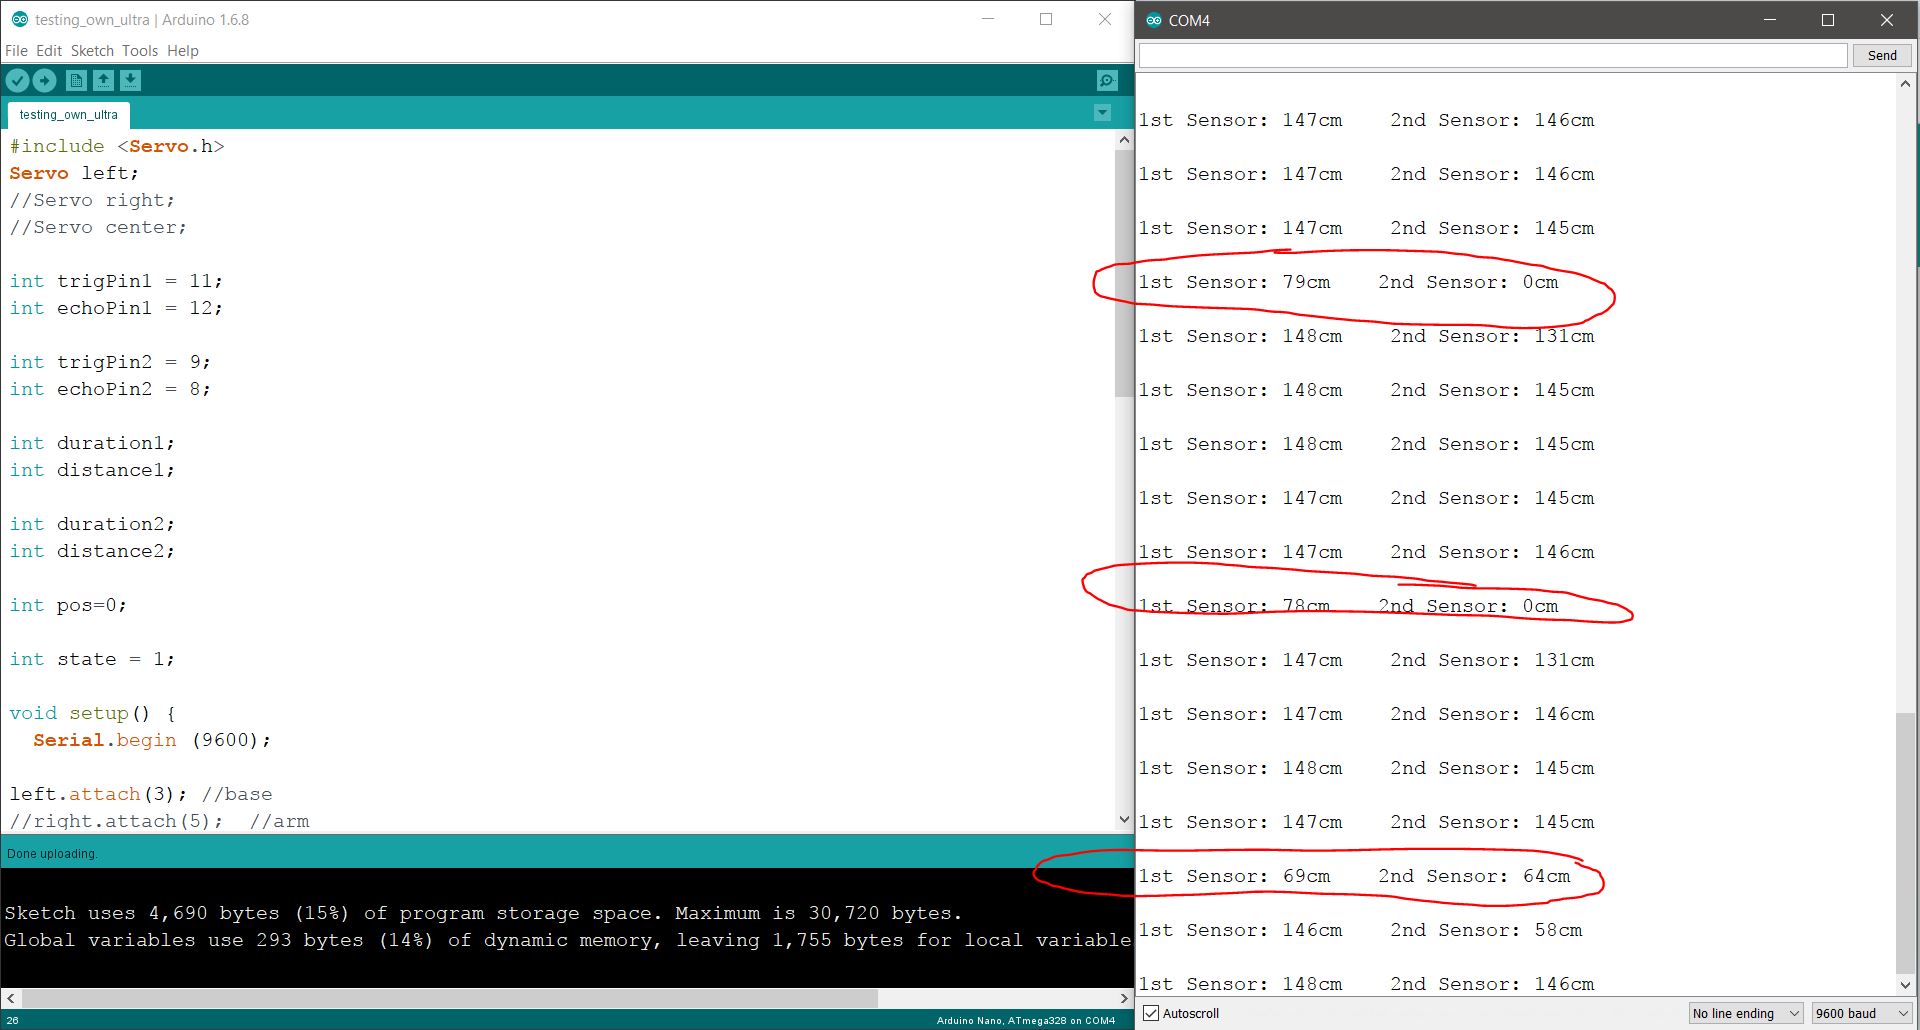
(With one servo motors attached)
From the picture above, we can see that there is inaccurate reading every five readings. (inconsistent reading)
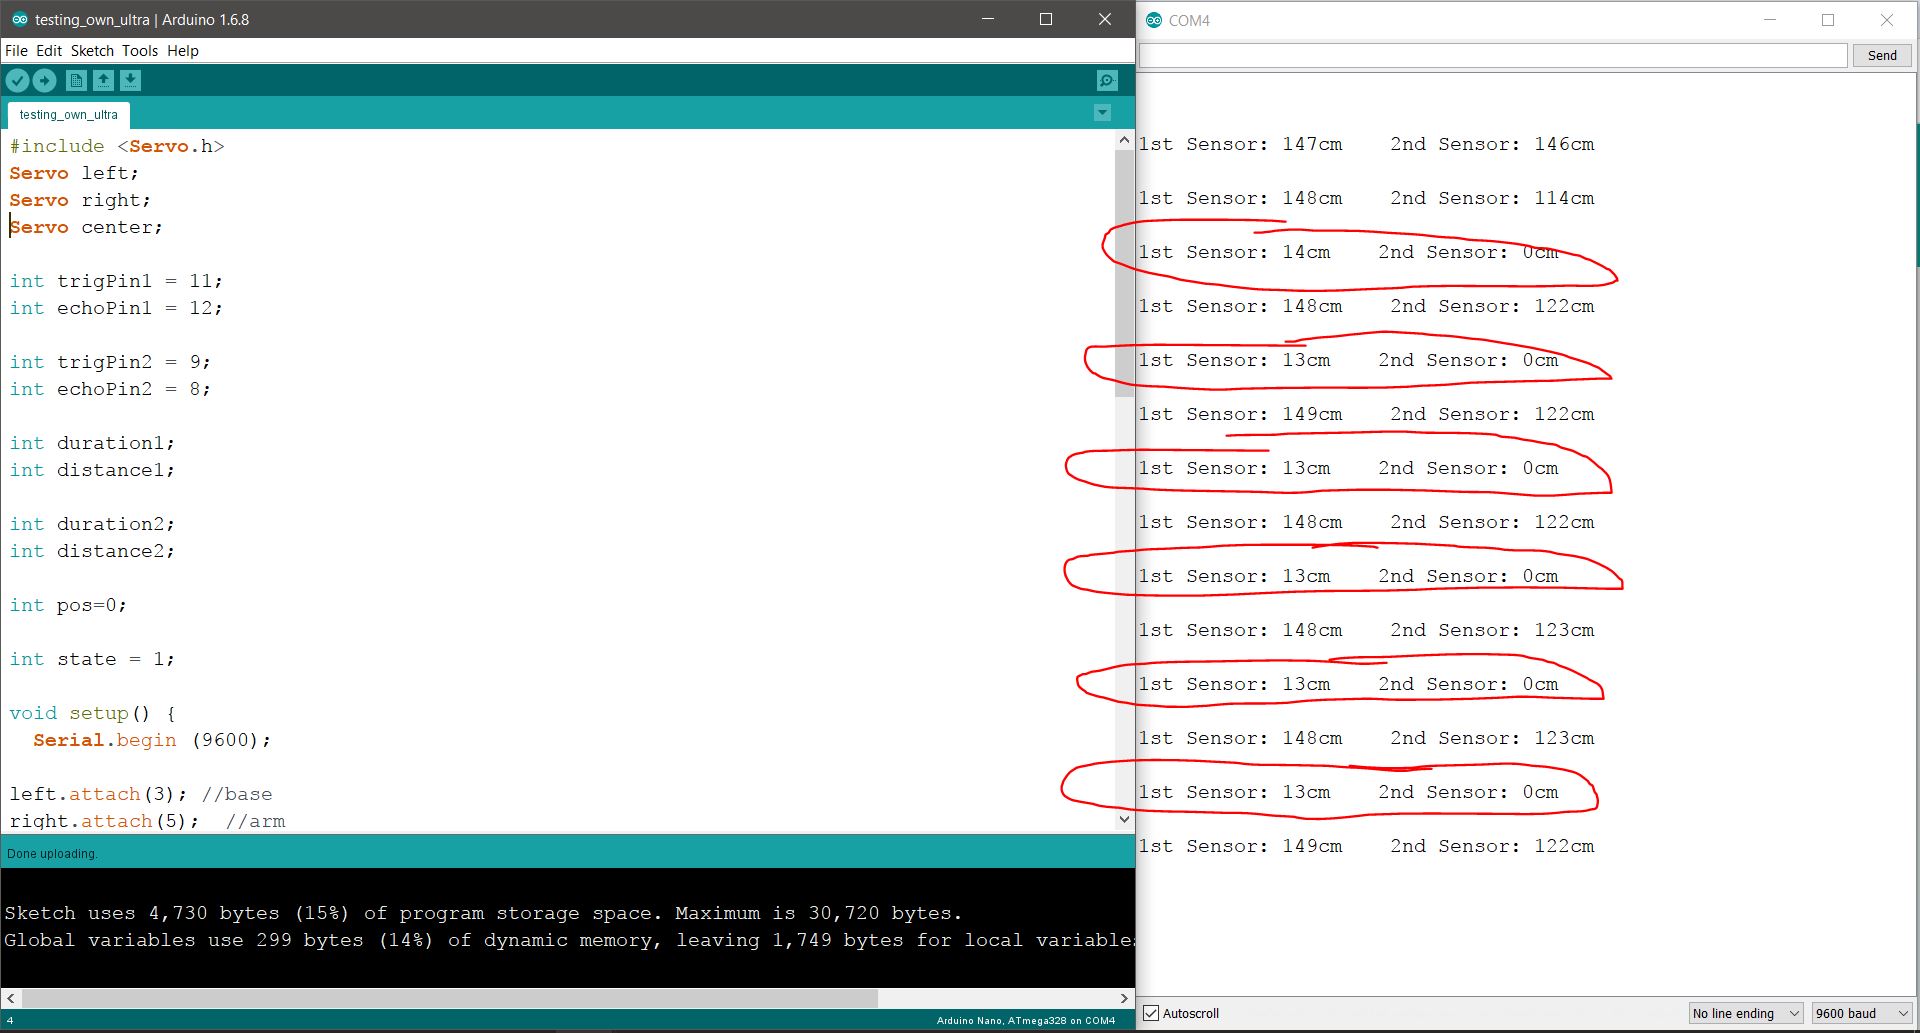
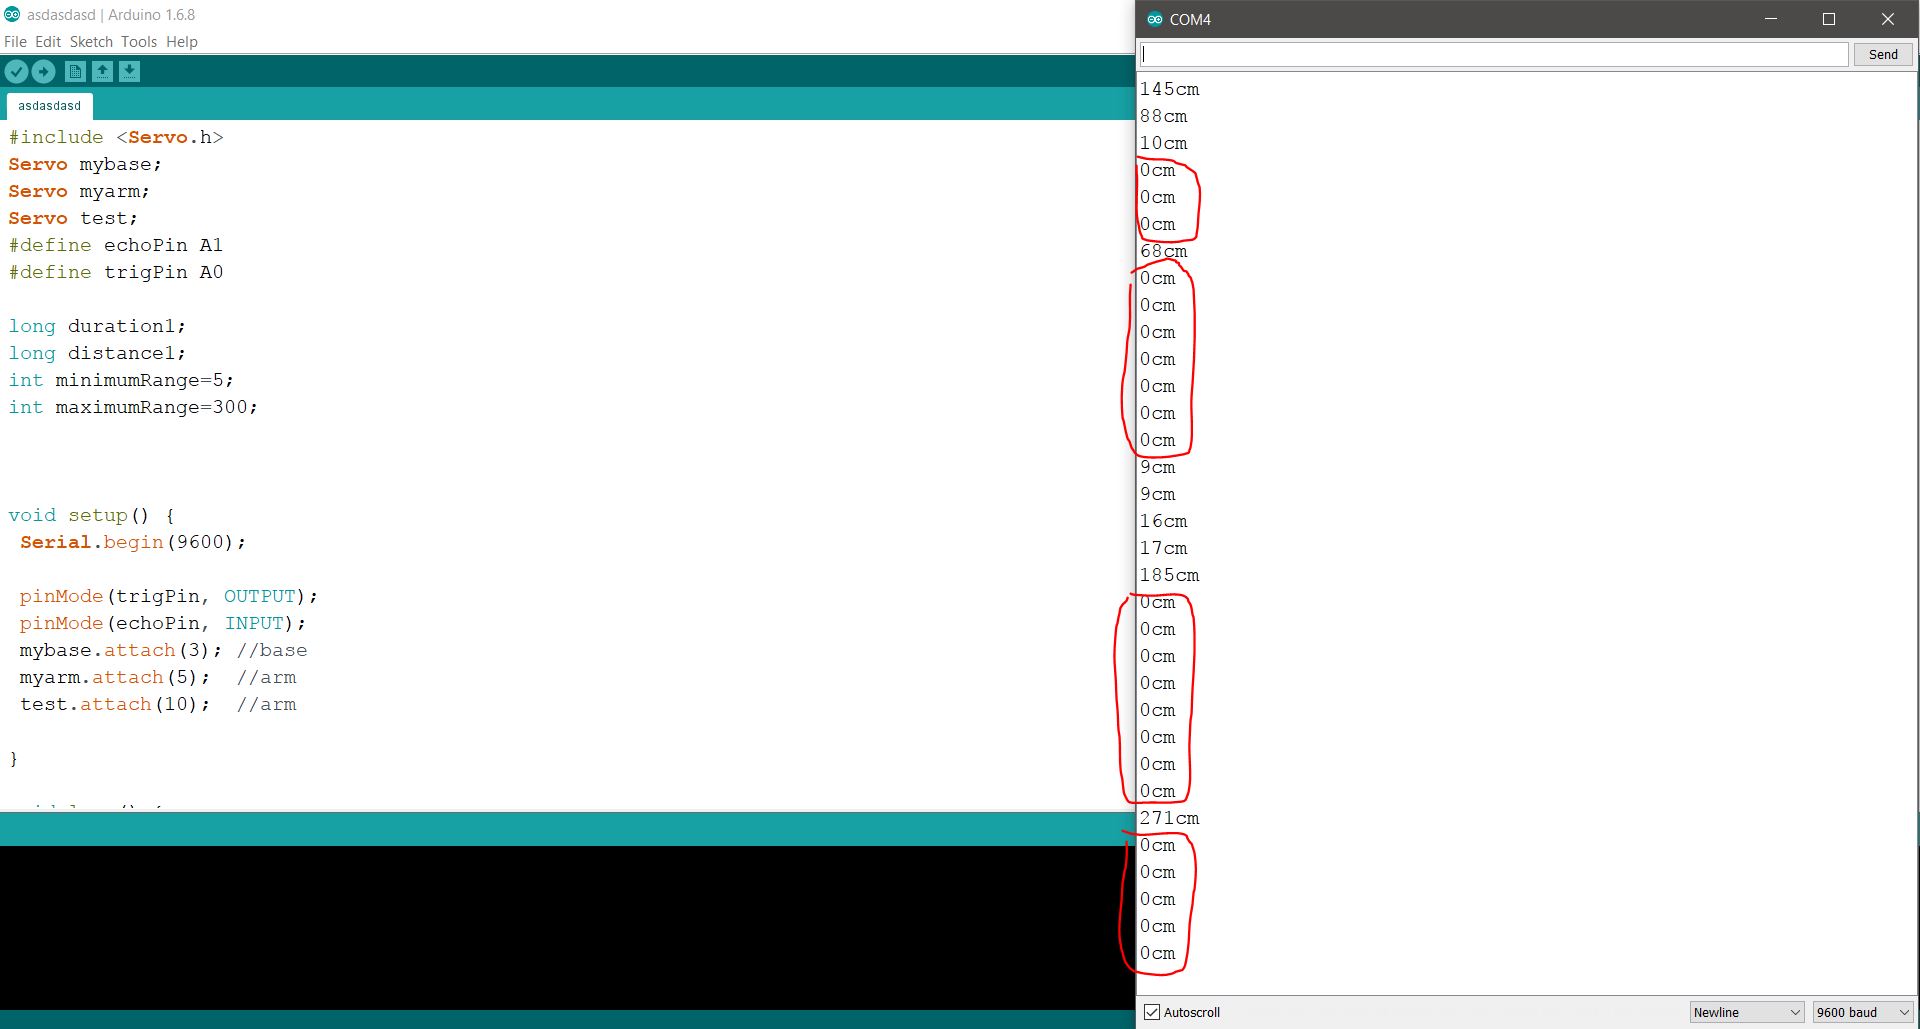
(With three servo motors attached)
From the picture above, we can see that there is inaccurate reading every one readings. From this, I was thinking if it is really the motors that poses a problem or is it the sensor? ( extremely inconsistent reading)

I found this NewPing library but the sensors are still not really accurate. I was always wondering why the sensor will read 0cm when there is even nothing in front. Not only for this code but every other ones I am using.
To debug this problem, I have listed the following:
- Use a method of detach – attach – detach and run it with switch function so that every component of the code is separated from each other, the sensing and output will be more of cause and effect.
- Try to change all digital pins for ultra sonic to analogue pins.
- If all fails, I will be using the old code that I was using and the problem with that it can only detect up to 30-34cm accurately.
Changed to analogue pins and it didn’t work
From the values that I am getting, changing to analogue made it worst.
Detach – Attach- Detach method
With this method the sensors are working, but the motors are not. The motors will twitch and then not go to its intended position.
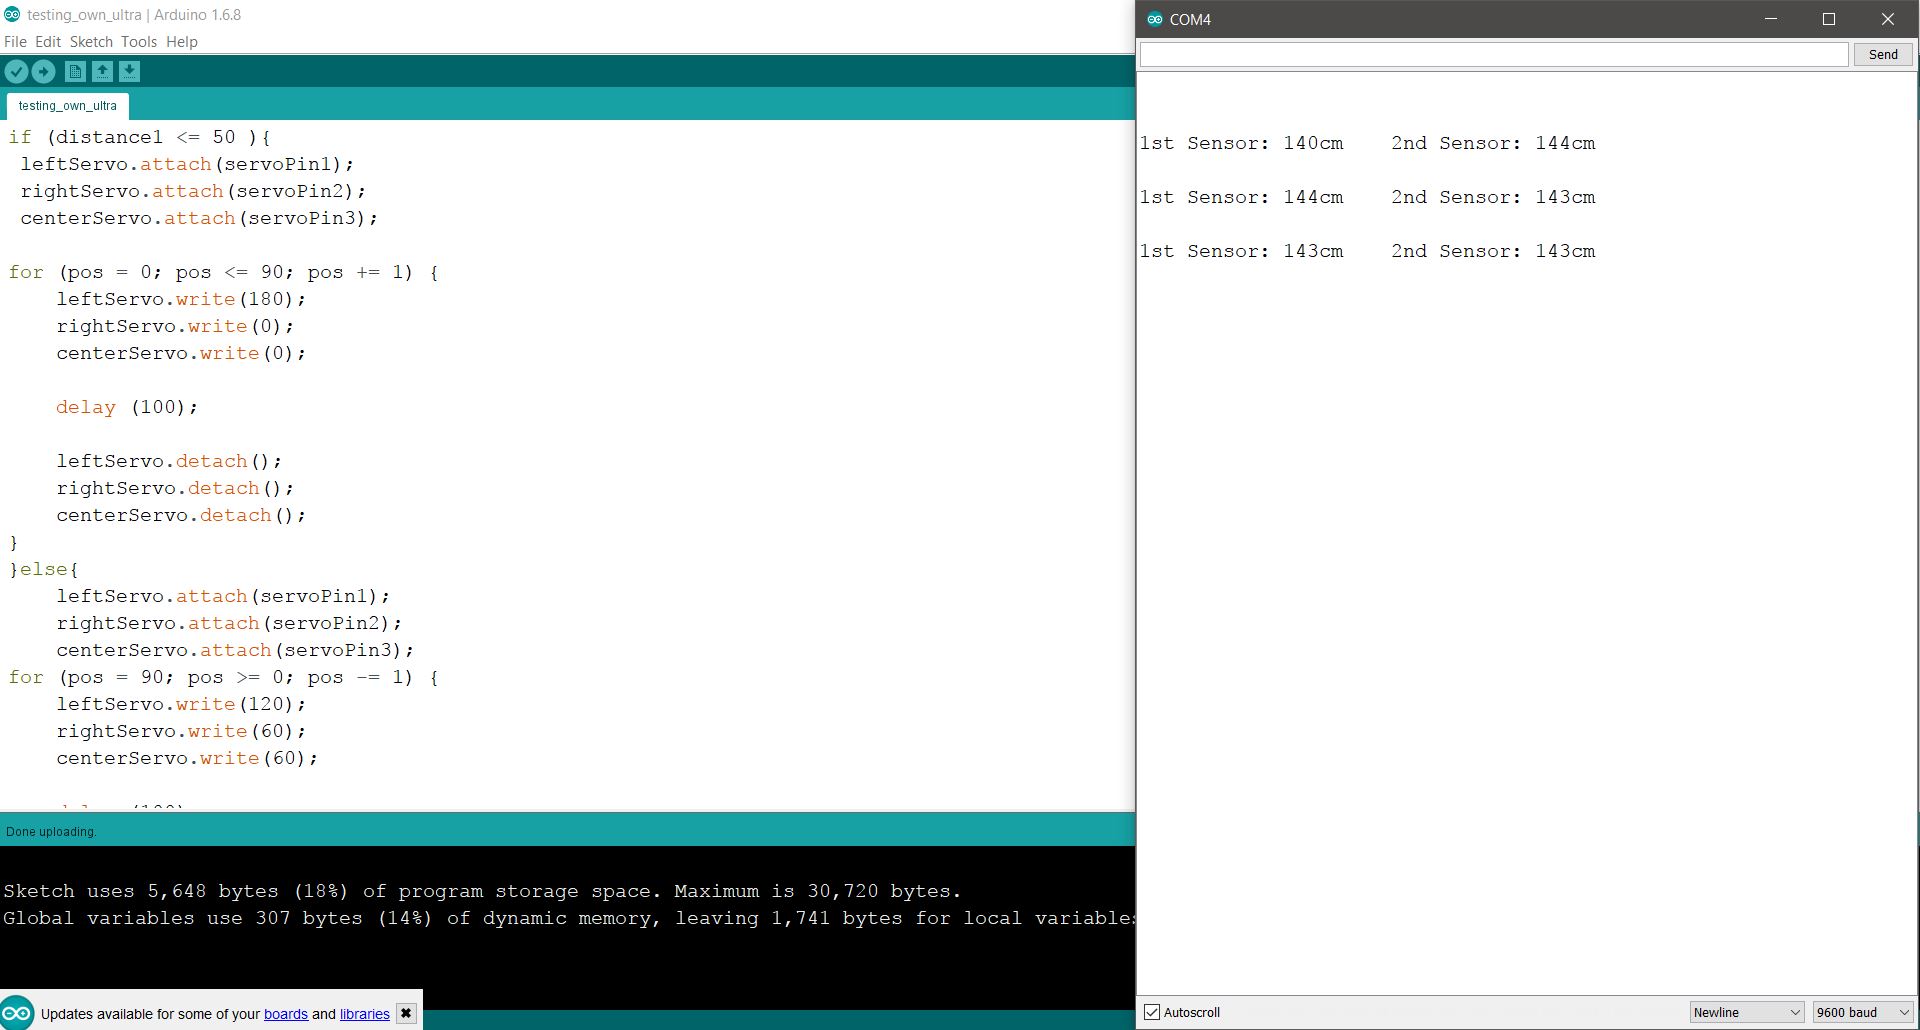
In the end, I tried all of the methods and they all didn’t work. I decided to use one ultrasonic sensor with 3 servo (which is my original code that detects only up to 36 cm). However, it works to my advantage as I wanted to mimic the sense of touch which having nearer distance from people helps to bring this concept across.
The final code is as follows:
#include <Servo.h>
Servo leftServo;
Servo rightServo;
Servo centerServo;
int trigPin = 11; //Trig – green Jumper
int echoPin = 12; //Echo – yellow Jumper
long duration, cm;
int pos = 0;
int helmetState = 1;
// 1 = open , 2 = close
int delayToOpen = 5500;
int delayOpening = 3000;
void setup() {
//Serial Port begin
Serial.begin (9600);
//Define inputs and outputs
leftServo.attach(5);
rightServo.attach(3);
centerServo.attach(9);
pinMode(trigPin, OUTPUT);
pinMode(echoPin, INPUT);
}
void sensorRead(){
digitalWrite(trigPin, LOW);
delayMicroseconds(10);
digitalWrite(trigPin, HIGH);
delayMicroseconds(10);
digitalWrite(trigPin, LOW);
pinMode(echoPin, INPUT);
duration = pulseIn(echoPin, HIGH);
// convert the time into a distance
cm = (duration/2) / 29.1;
Serial.print(cm);
Serial.print(“cm”);
Serial.println();
}
void servoOpen(){
for (pos = 90; pos >= 0; pos -= 1) {
leftServo.write(120);
rightServo.write(60);
centerServo.write(60);
}
}
void servoClose(){
for (pos = 0; pos <= 90; pos += 1) {
leftServo.write(180);
rightServo.write(0);
centerServo.write(0);
}
}
void servoHalf(){
for (pos = 0; pos <= 90; pos += 1) {
leftServo.write(170);
rightServo.write(10);
centerServo.write(10);
}
}
void servoHalfHalf(){
for (pos = 0; pos <= 90; pos += 1) {
leftServo.write(150);
rightServo.write(30);
centerServo.write(30);
}
}
void loop(){
switch (helmetState){
case 1:
sensorRead();
delay (400);
if ((cm >= 0) && (cm <= 3)){
helmetState = 1;// 1 = open , 2 = close
}
if ((cm >= 4) && (cm <= 33)){
servoClose();
helmetState = 2;// 1 = open , 2 = close
}
else{
servoOpen();
helmetState = 1;// 1 = open , 2 = close
}
break;
case 2:
servoClose();
delay (delayToOpen);
servoHalf();
delay (delayOpening);
servoHalfHalf();
delay (delayOpening);
servoOpen();
helmetState = 1;// 1 = open , 2 = close
break;
}
}
Since the it is very hard to incorporate millis() into the code, I decided to go with delay() instead. As I need to keep the user’s eye sight covered for around 5 seconds, delay() is able to make my code less messy. Another plus point about delay is that the sensors are getting paused, this also means that there will be lesser margin of error readings as they are not even turned on in the first place. The final distance from the sensor to an person approaching is 30cm away. I use a delay of one second for every reading after the sensor read so that the sensor will not barrage Arduino with a massive number of data. For my next update, I will come out with a name for this headset as well as the final video for this project!