


Project 2 A : Locale research


my stuff
2A : Locale research can be found here.

 –
–


I was a little disappointed that I was not able to take risks or explore new areas when it comes to playing with the visuals and texts. But I also learnt that it is not always a good idea to want to try new things as when I tried to do that for the first few weeks, I ended up going around in circles with no cohesive plan in mind. It’s sometimes necessary to take a step back and work with your hands full to try your best to make the best out of it you can.
Of course, it doesn’t mean I didn’t manage to learn anything new. This project has been a series of new experiences for me, getting to know indesign, printing for the very first time, etc… I also dipped my toes into the world of layouts, albeit I’m still not good at applying them on my own. I hope that I keep working on what I’ve learnt during this project in order to be able to venture into new areas more confidently. :,)


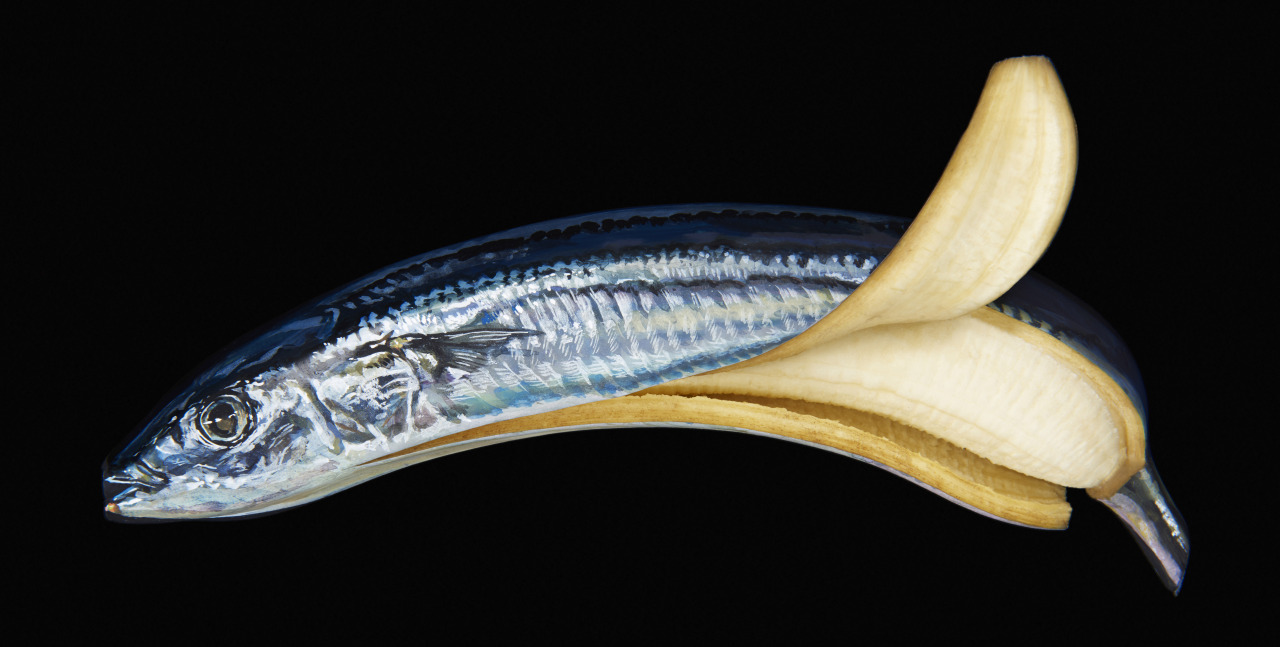


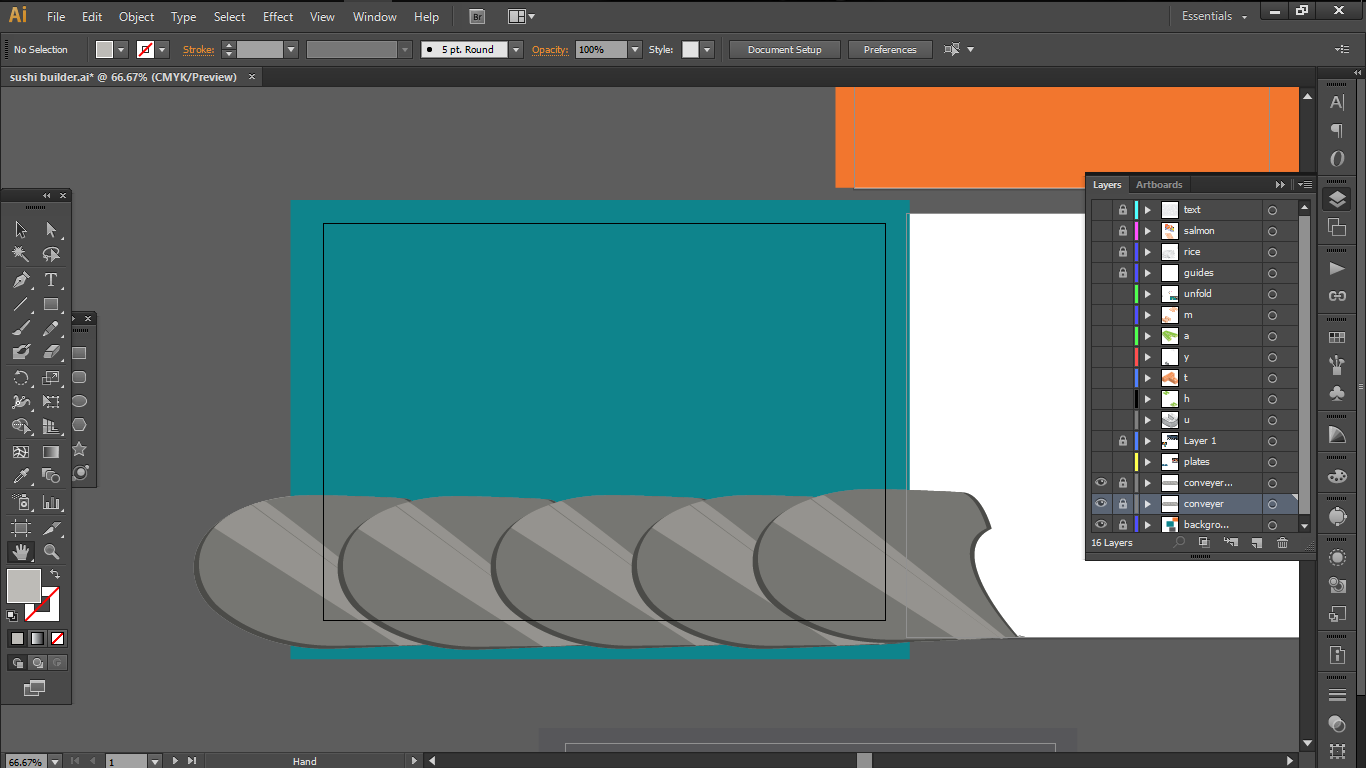
Both the art of sushi and paper folding requires precision and measurements. So i thought that these two jobs would fit each other really well when they are combined into one.


So here are the visual elements that I borrowed from the two jobs:
a.
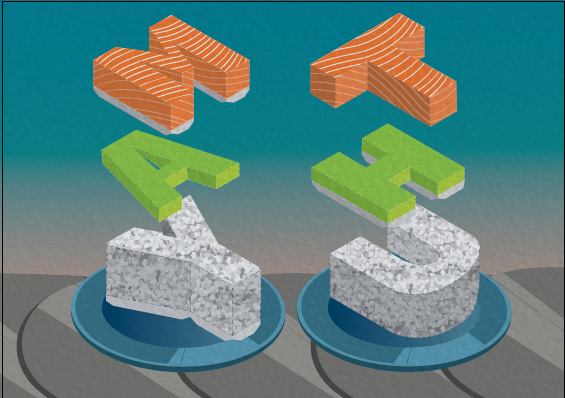
A basic make up of a simple sushi : Salmon + Rice + Wasabi

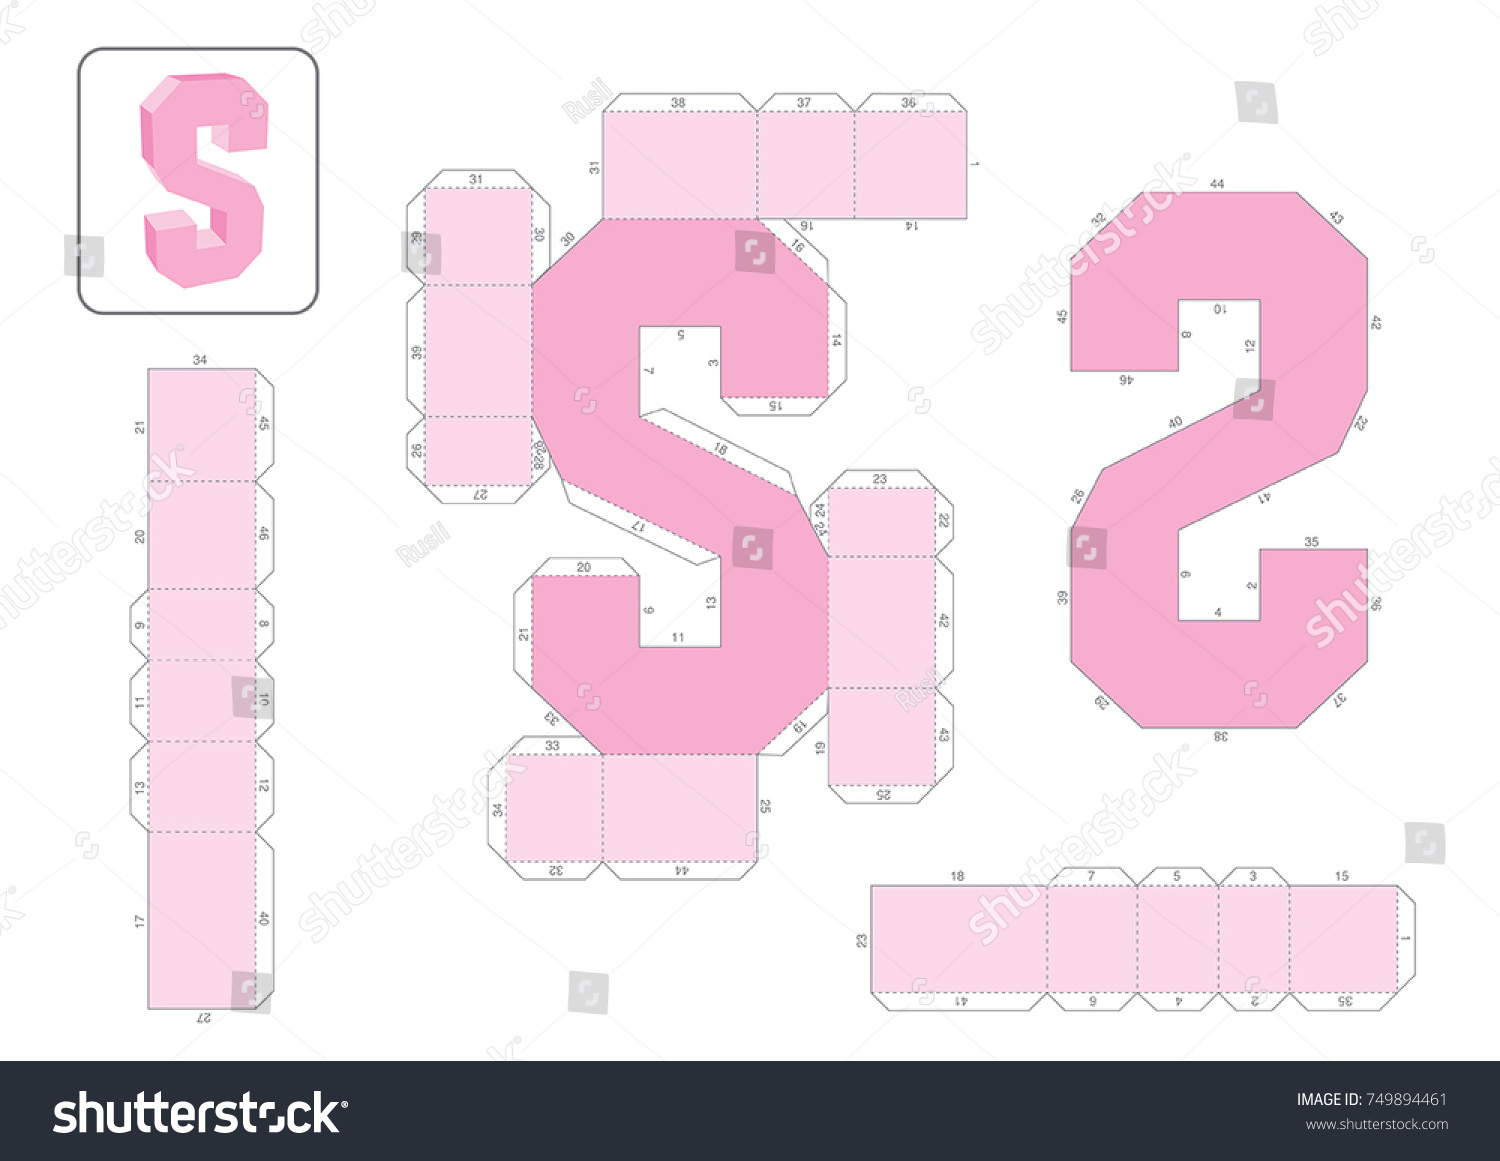
b.
The template for the alphabets with paper extensions for folding
c.
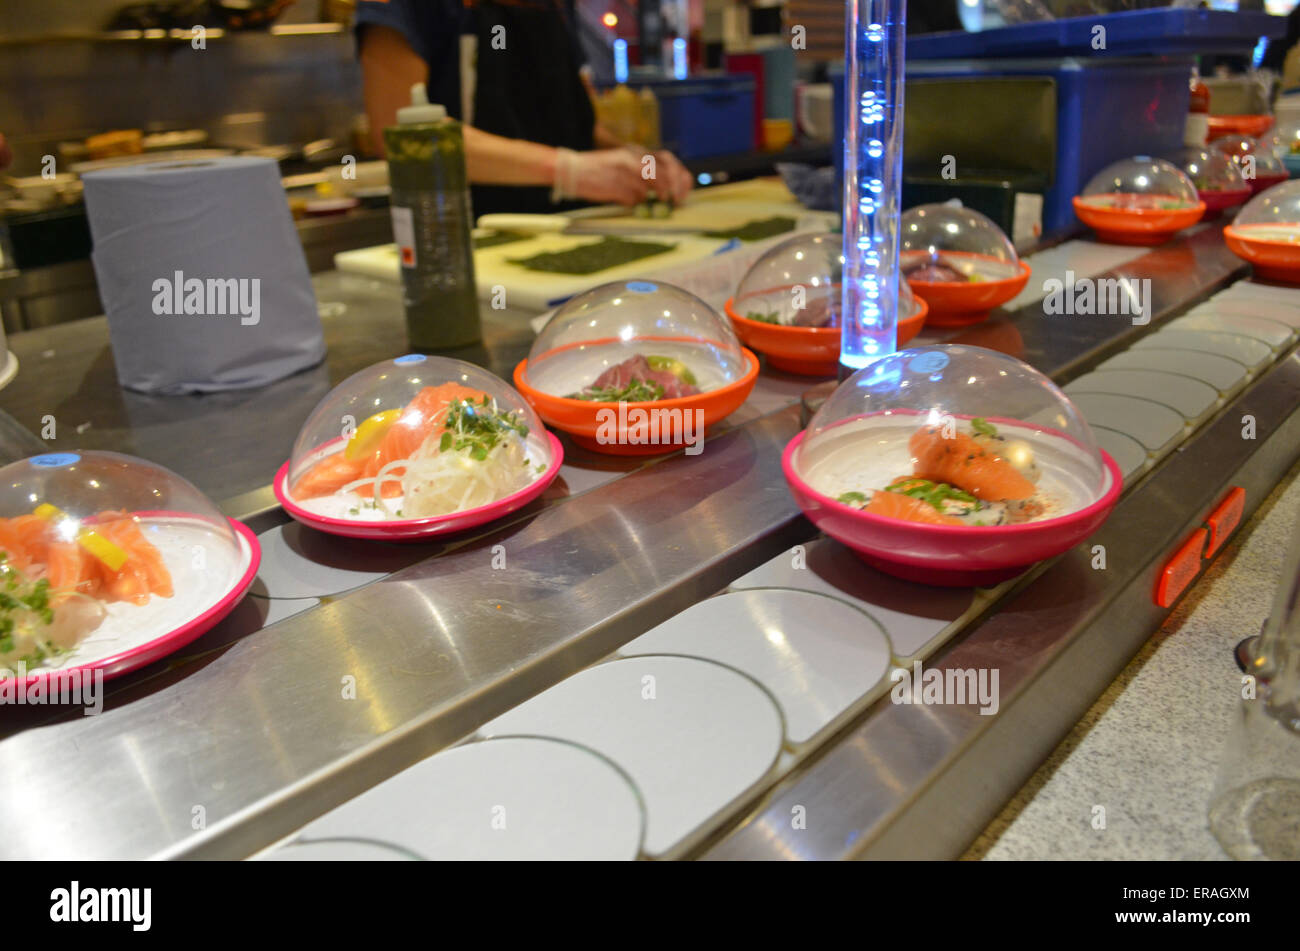
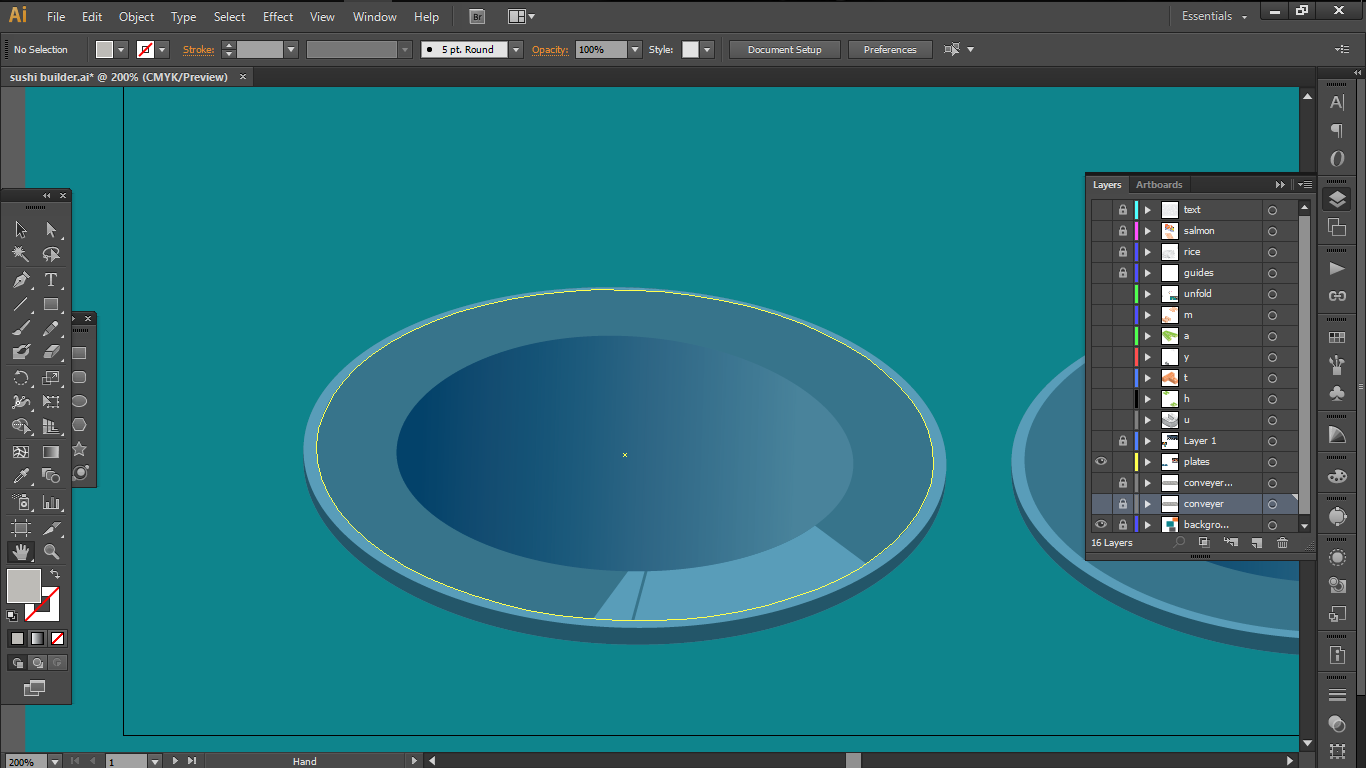
sushi plates
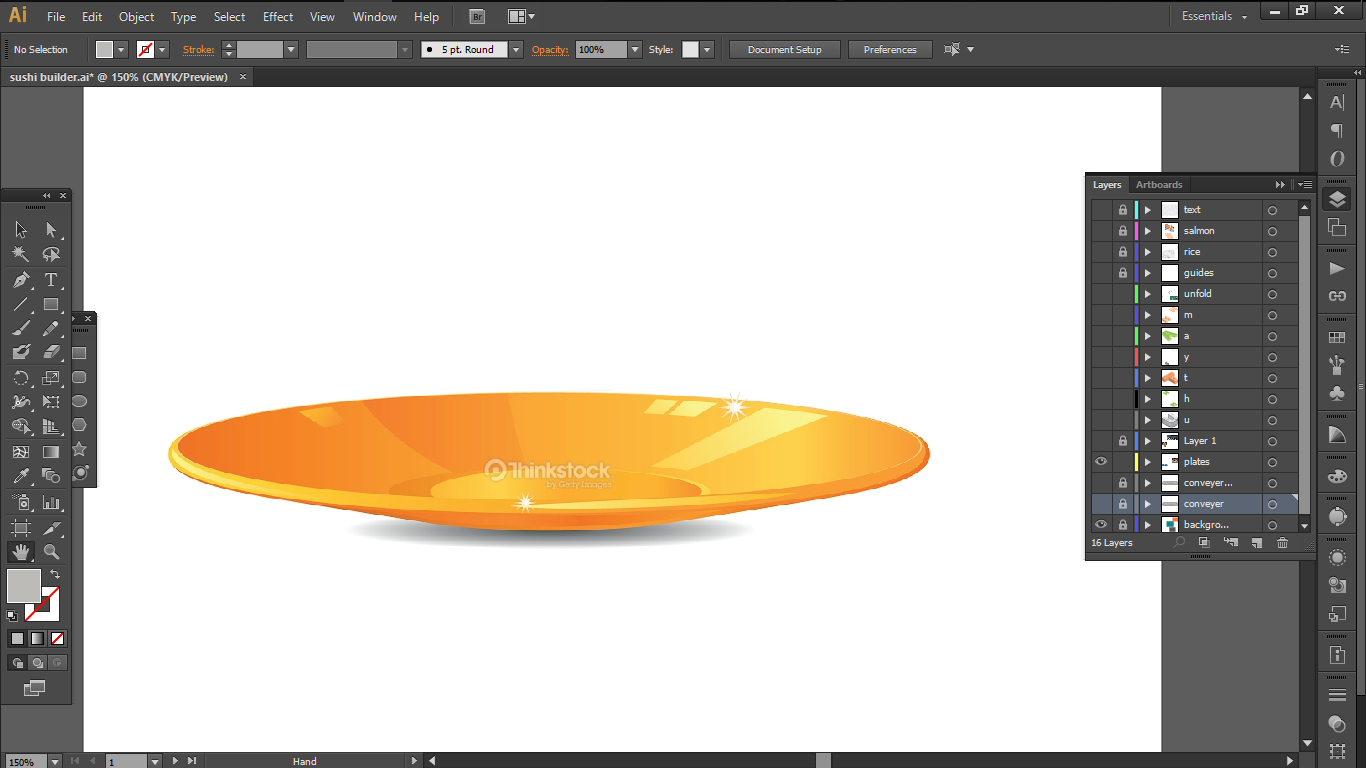
d.
Conveyor Belt
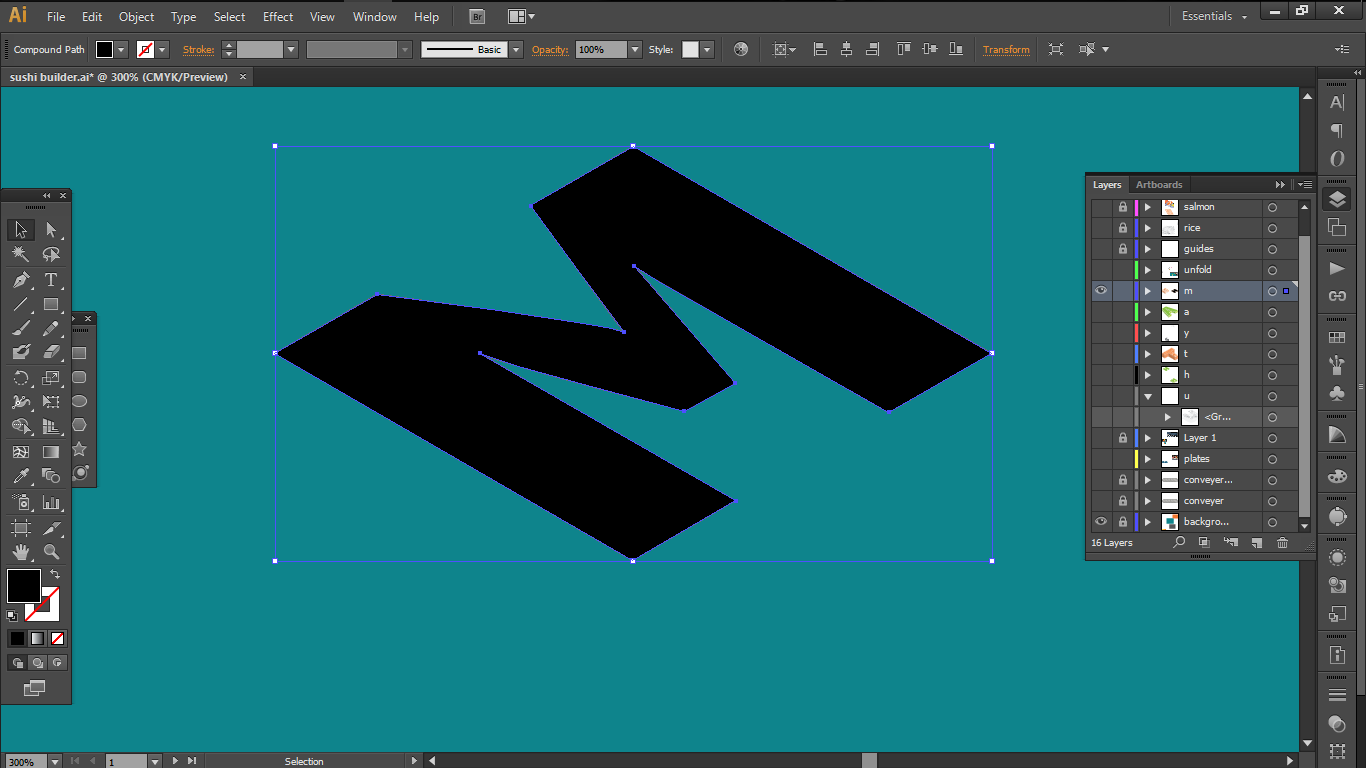
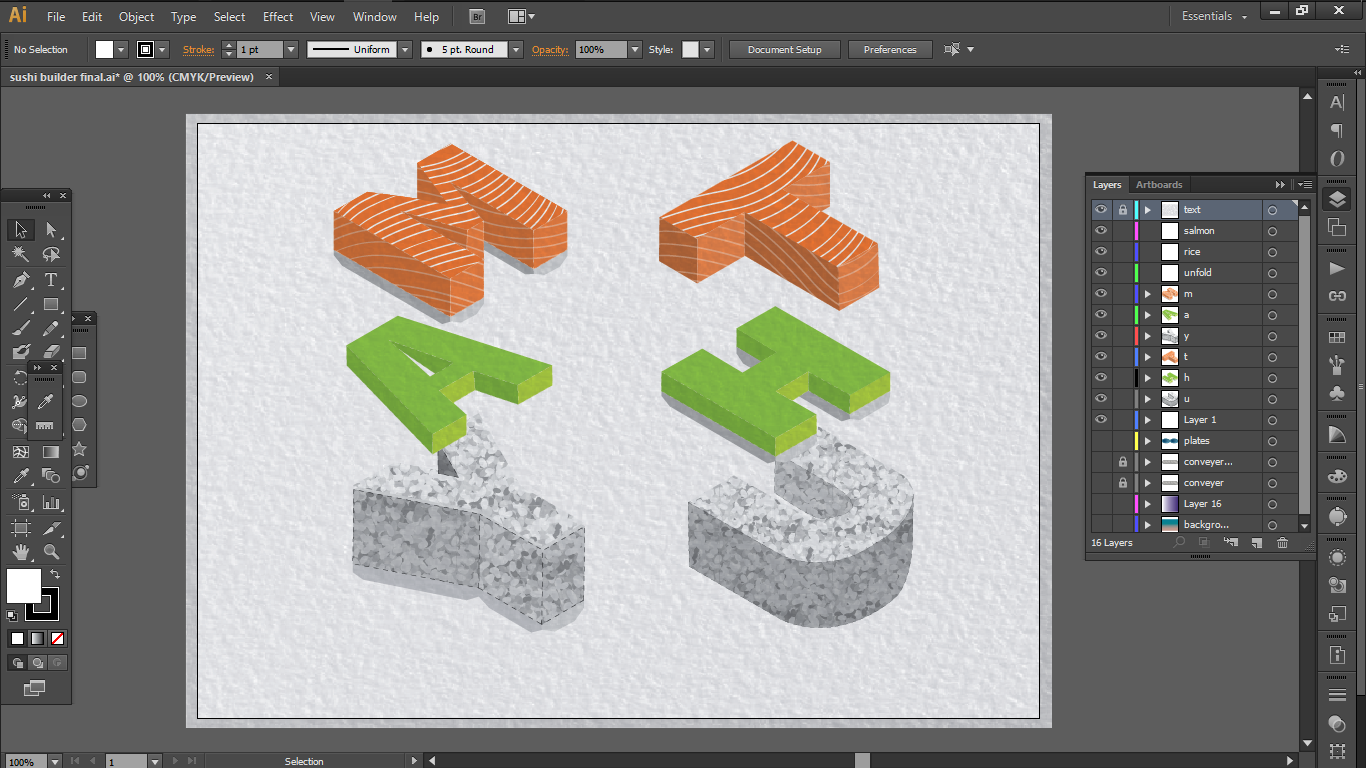
So i decided to work with Swis721 Blk BT Black font because I believed that its clean cut corners without any serif, plus its thick stem could be used to convey the blocky structure of a paper model.

I also decided on the complementary colour scheme as I wanted the main attraction a.k.a the salmon to pop out.
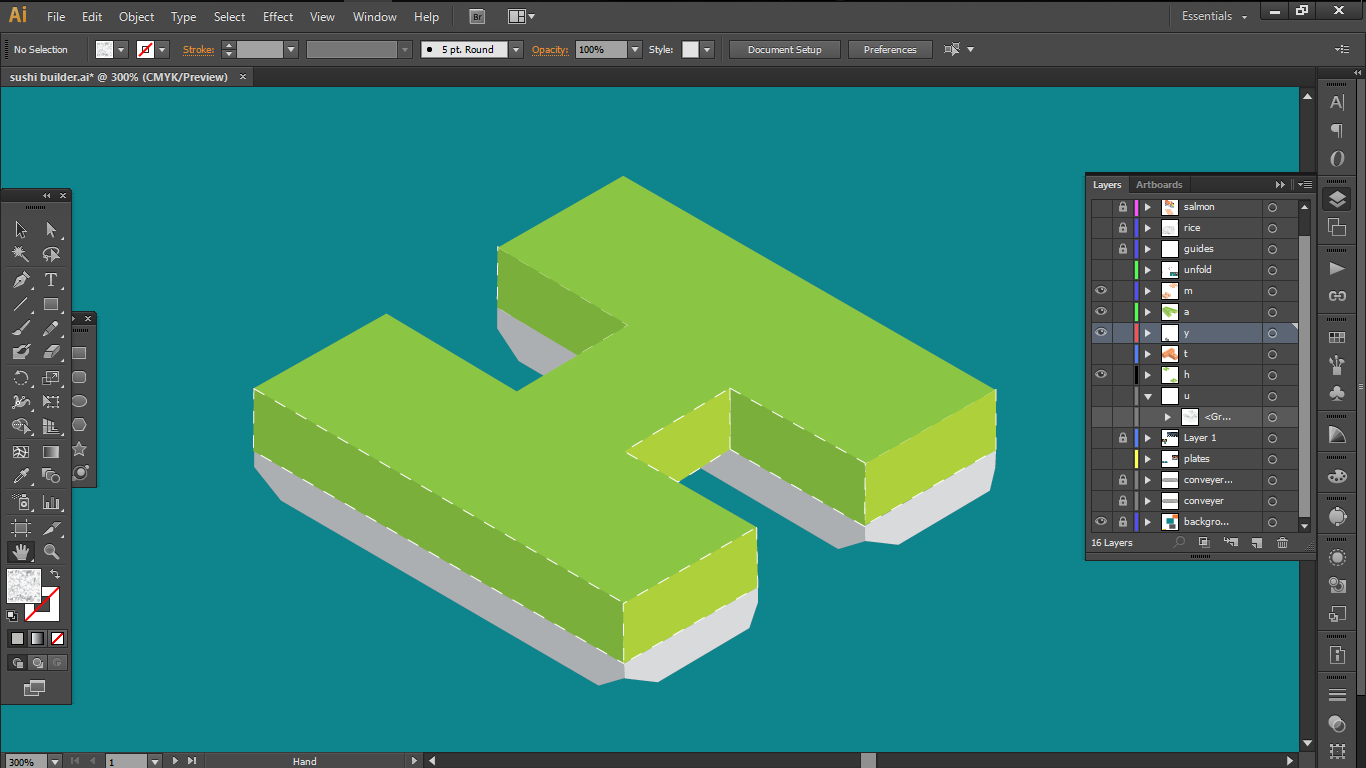
So first, I started off by extracting the outline of the fonts using the pen tool and laying the down in a 30 degrees angle to construct a 3-D model.
Then i constructed the 3D-models in varying heights with proportional reference to the actual sushi

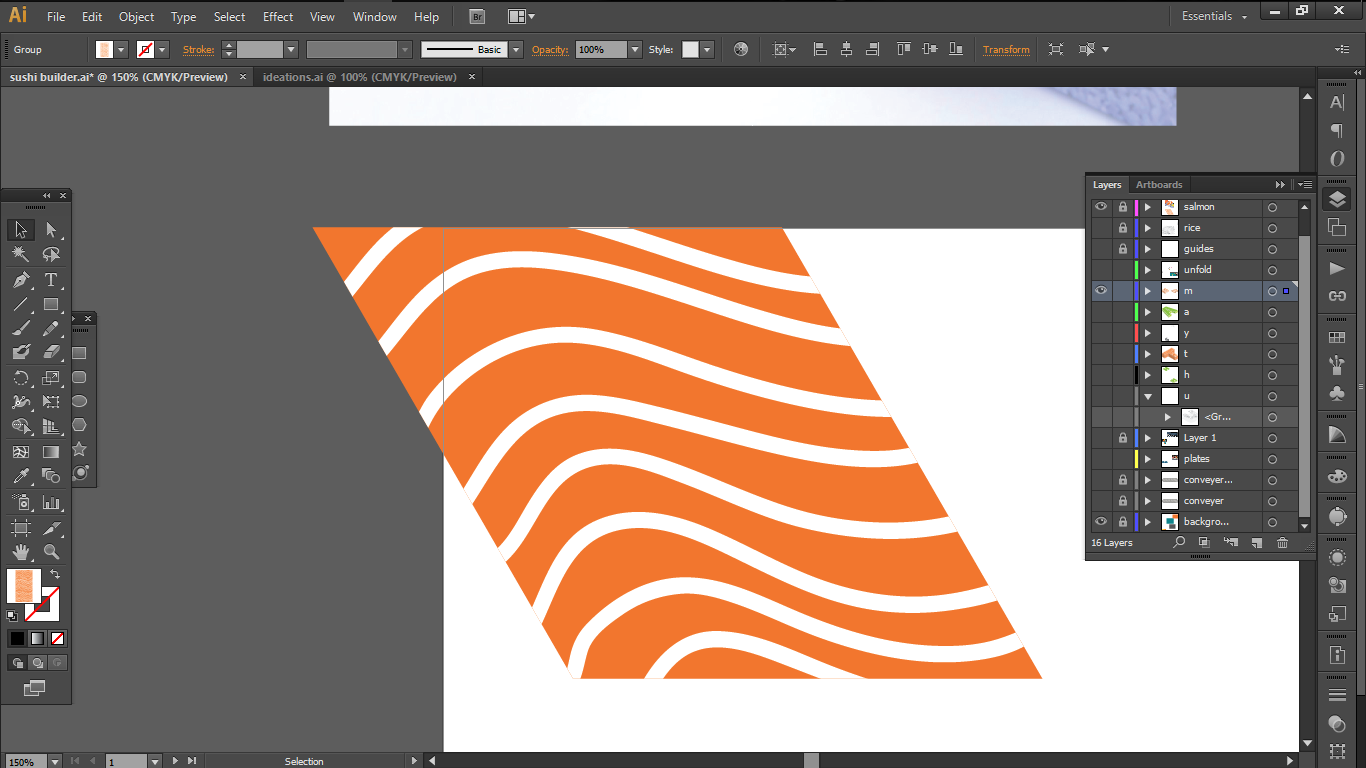
As for the patterns
Salmon
In my first attempts, I drew white vector lines over an orange box to imitate the patterns of the salmon and create a clipping mask on the text. But that didn’t work out too well

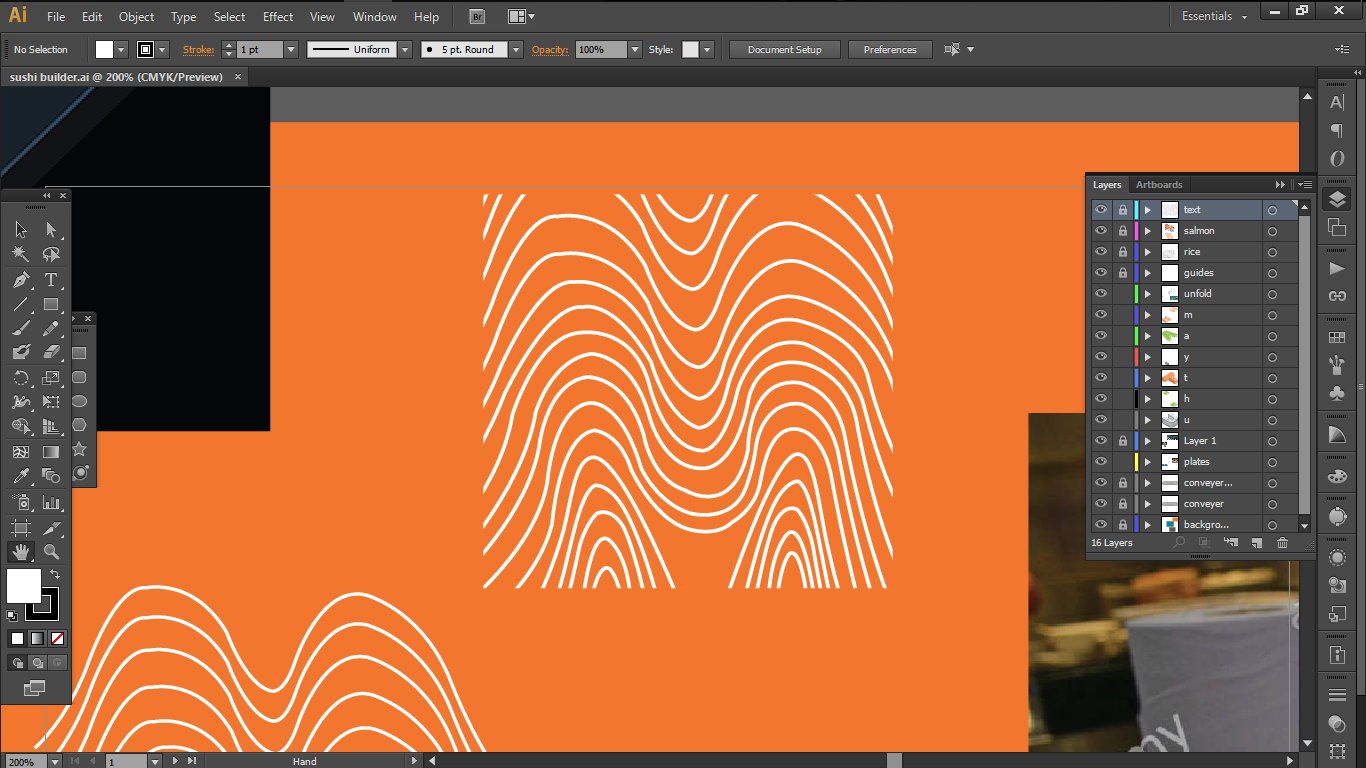
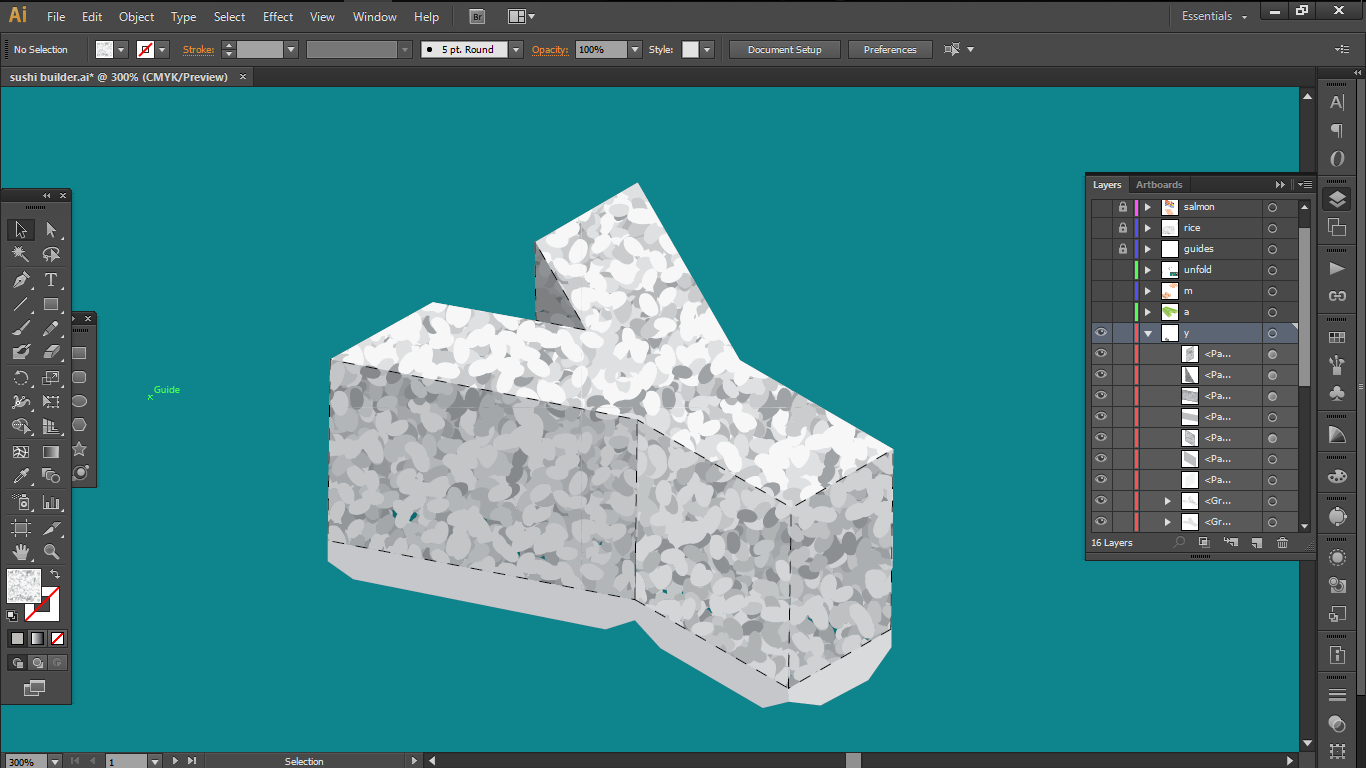
So I simplified the designs and made my own pattern.
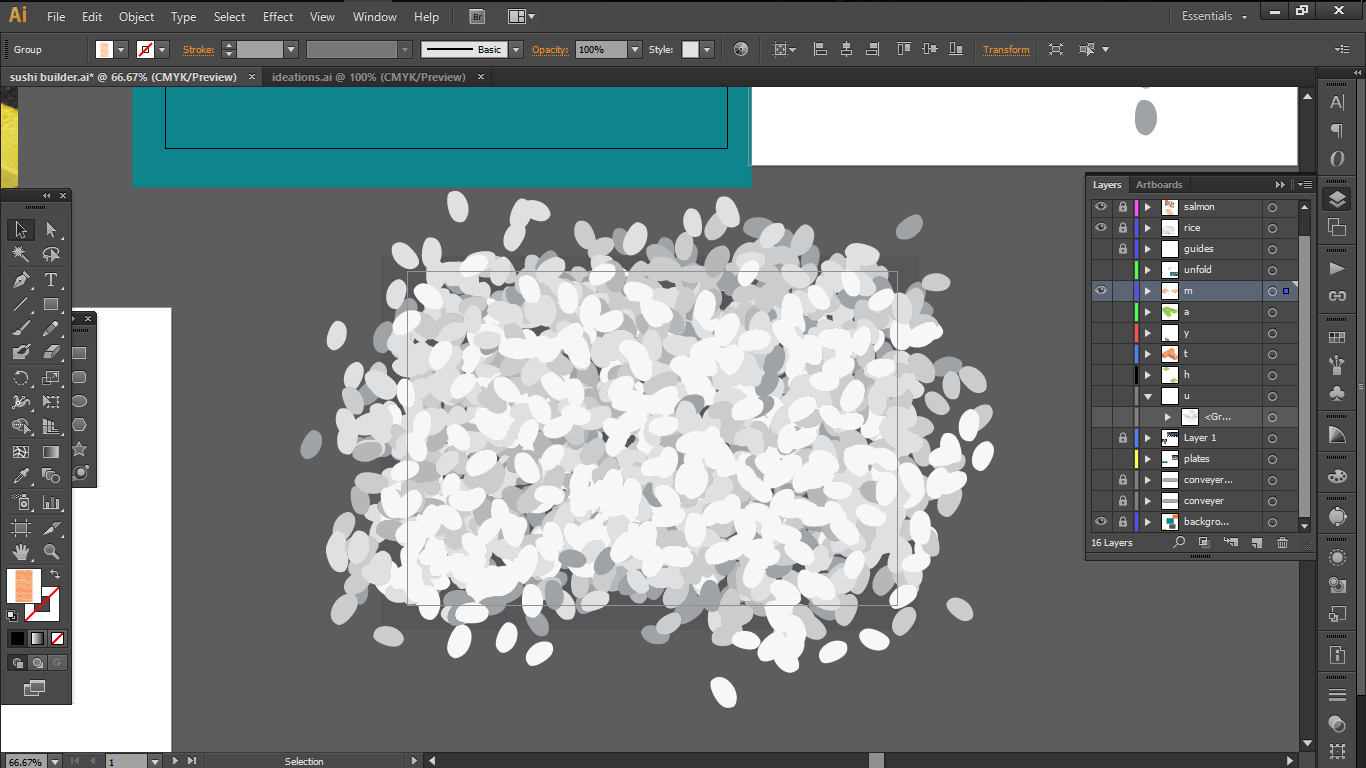
I also created a custom brush for each rice grain to create a rice pattern for myself.
For the finishing touches, I added the paper extensions from some of the letters in an alternating fashion and dotted lines as folding indications to reinforce the paper model folding aspect of my job.
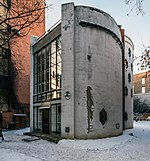
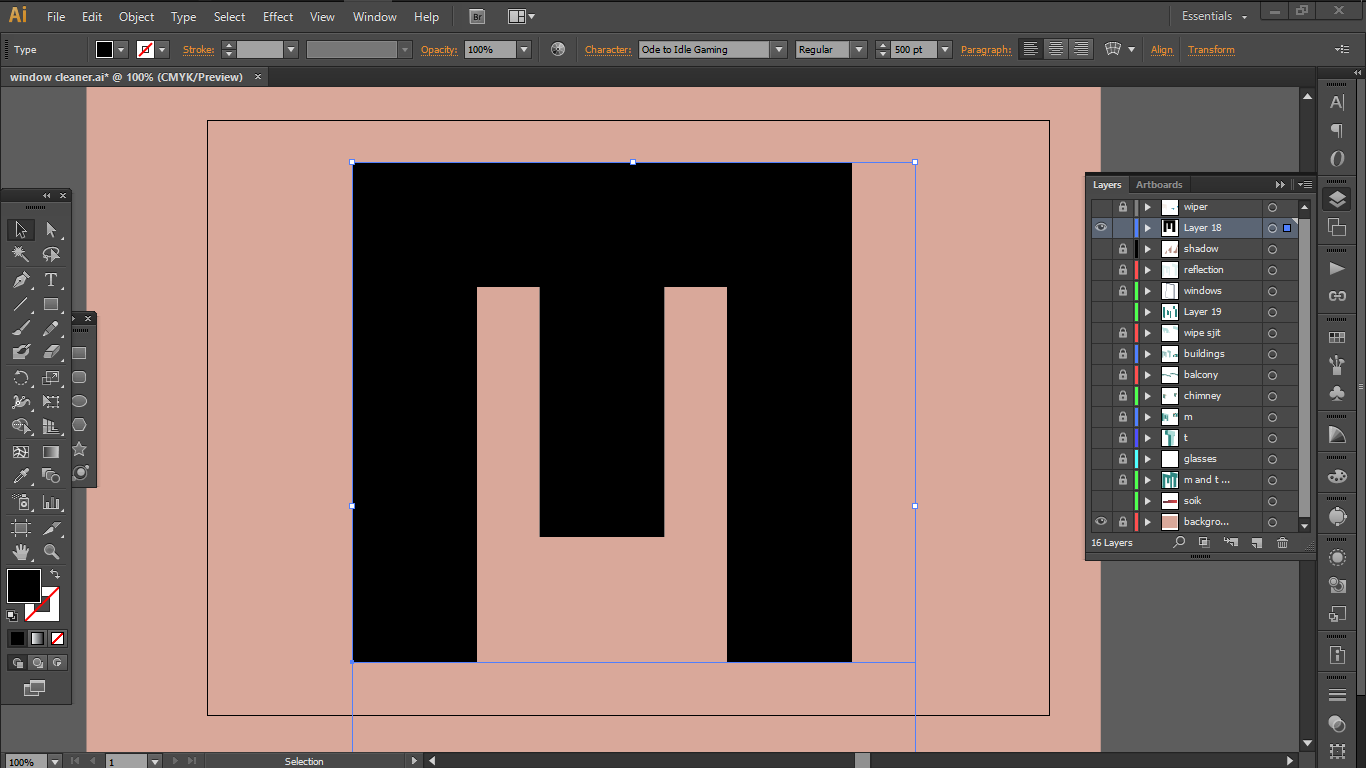
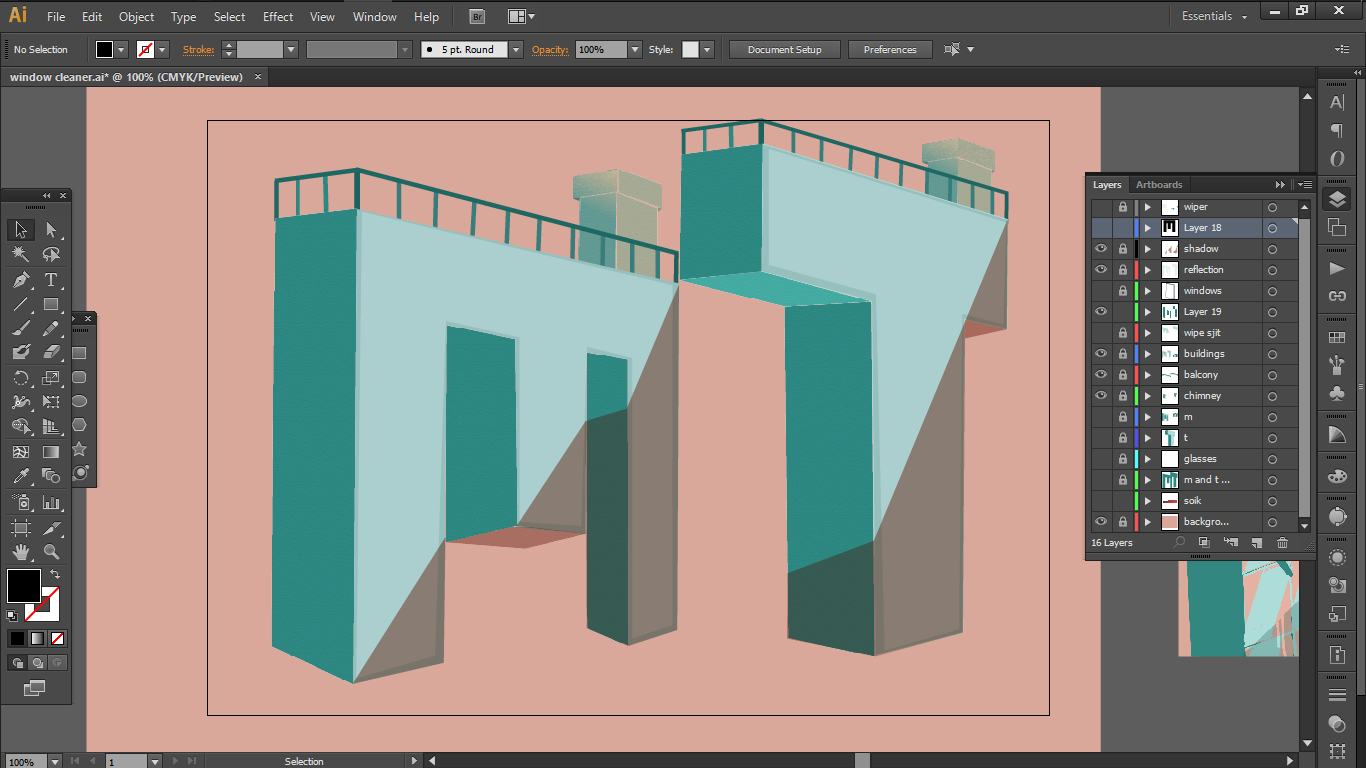
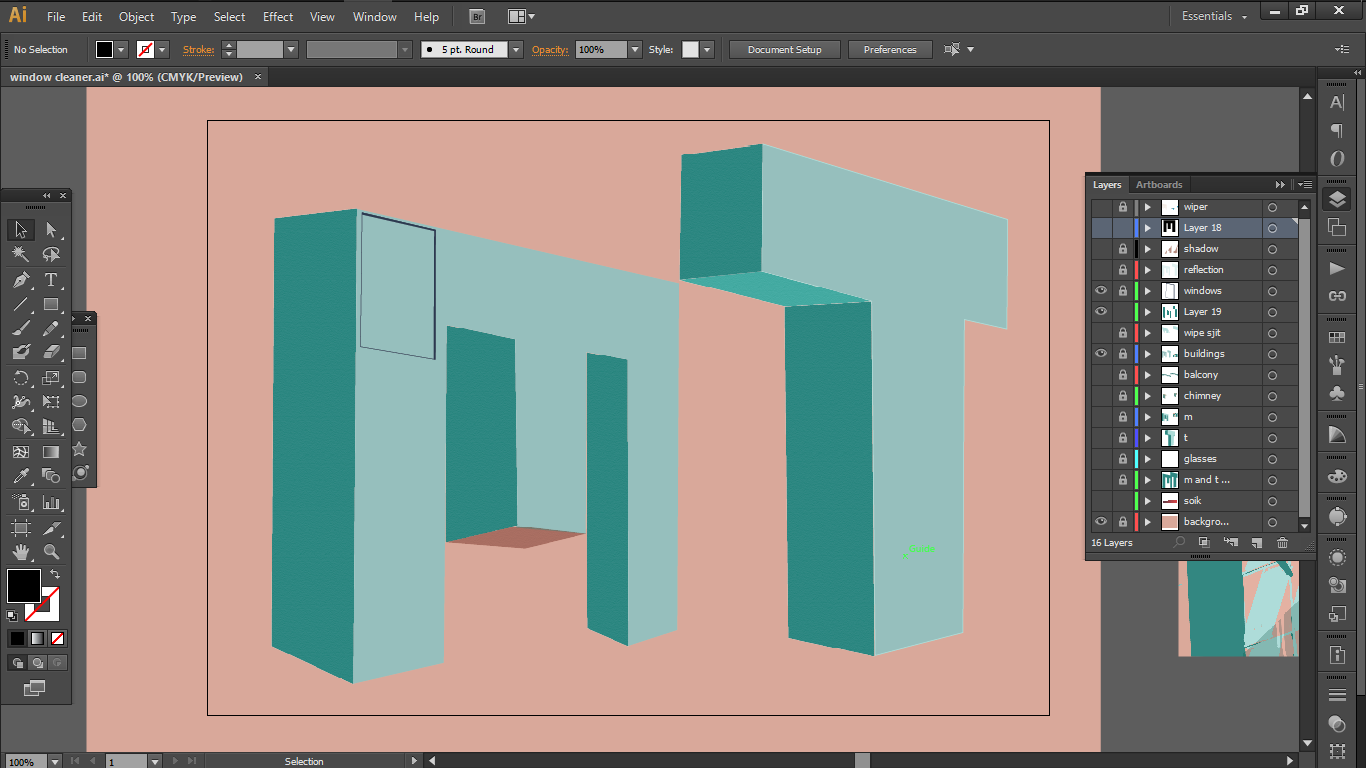
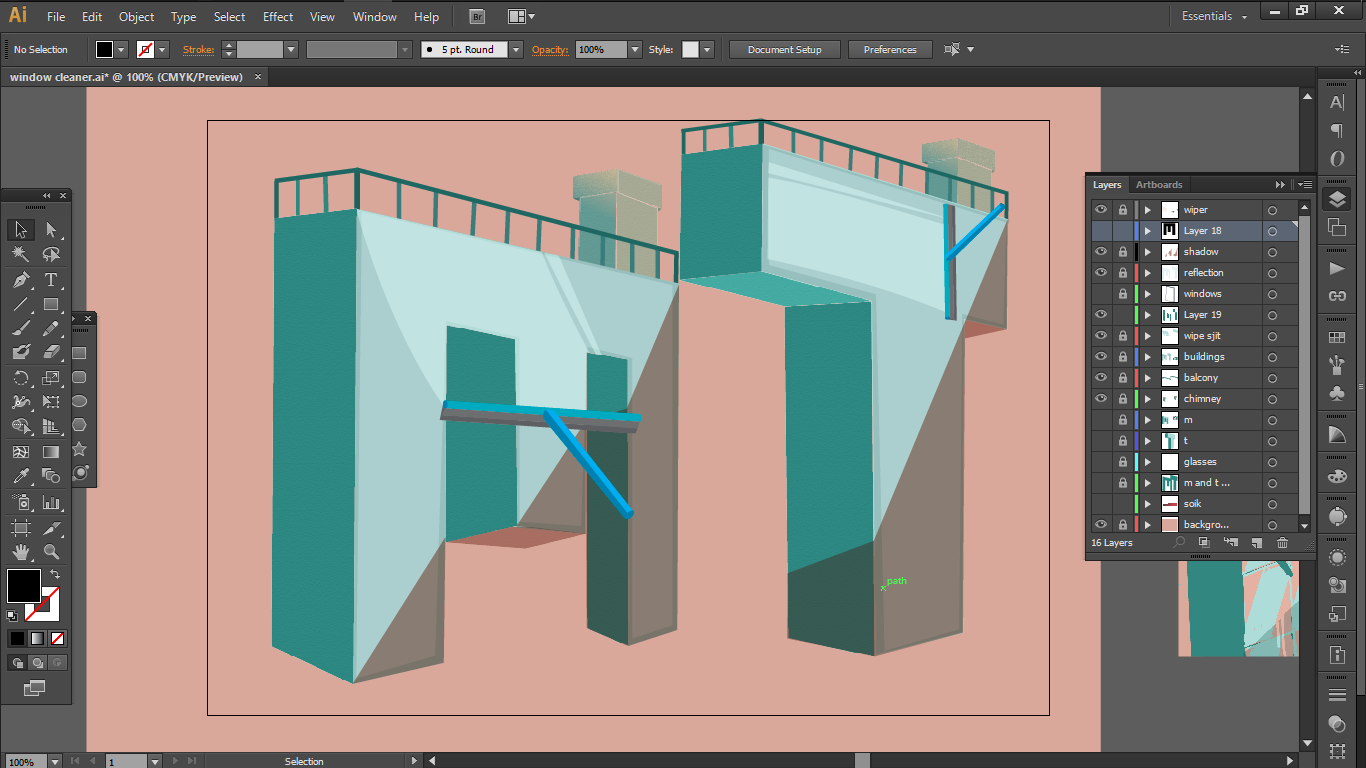
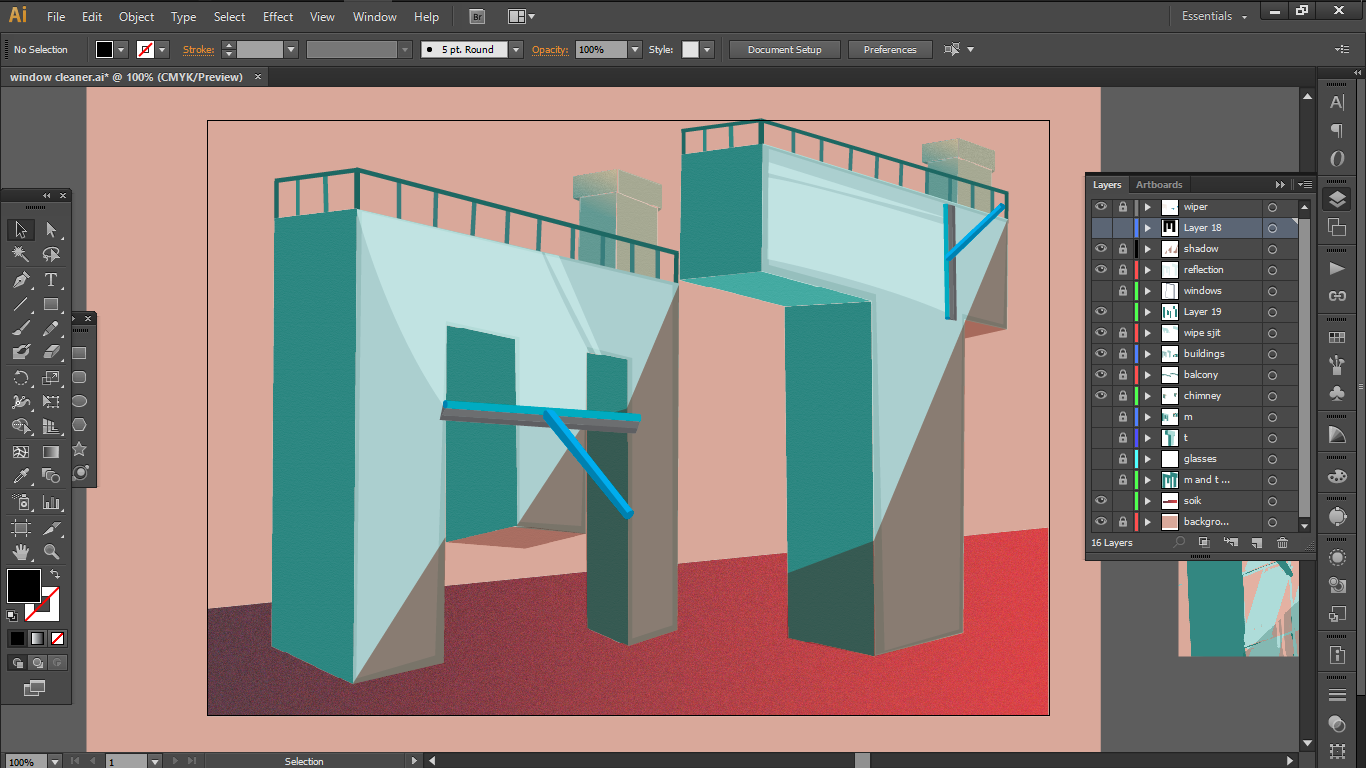
2 ) Window Cleaner
As for this, the visual elements that I picked up were


a.
the reflective window and the clean wipe
b.
the window cleaning tool
c.
tall glass buildings

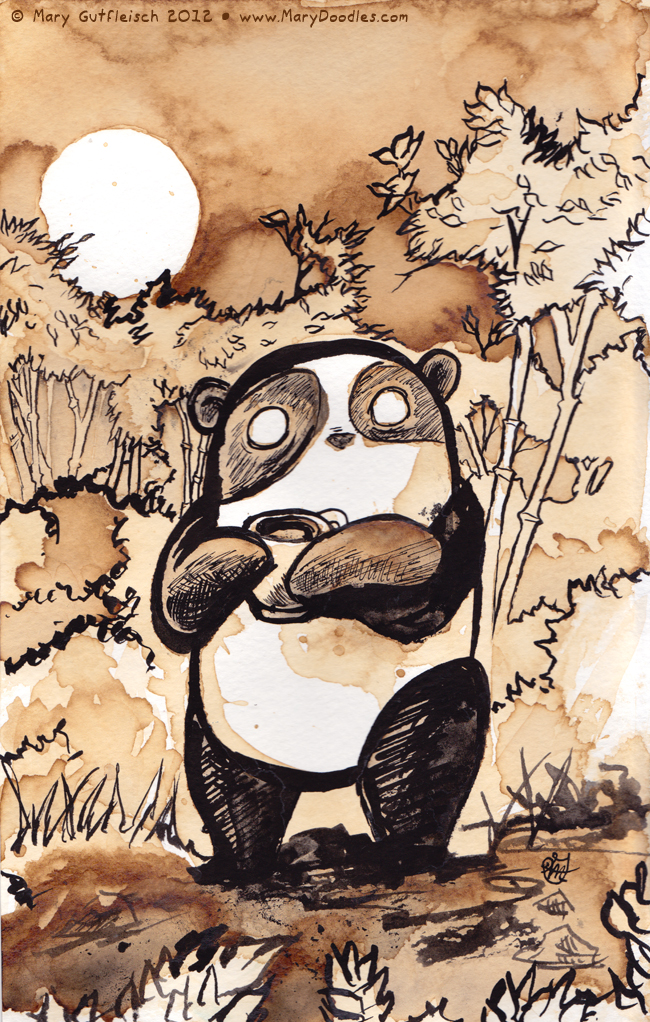
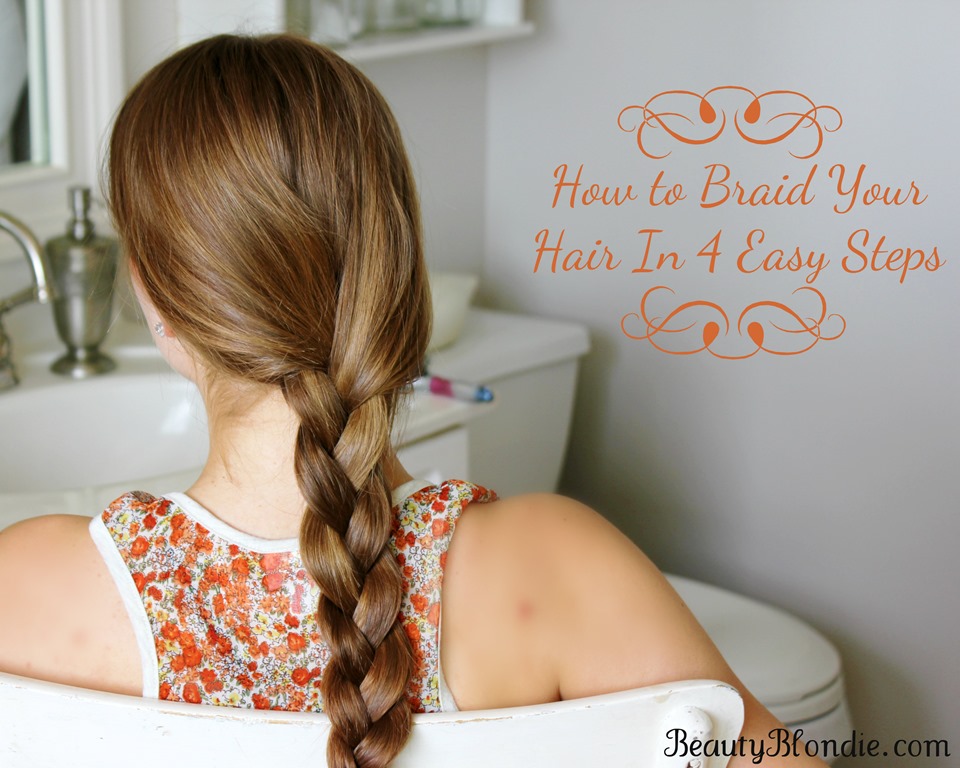
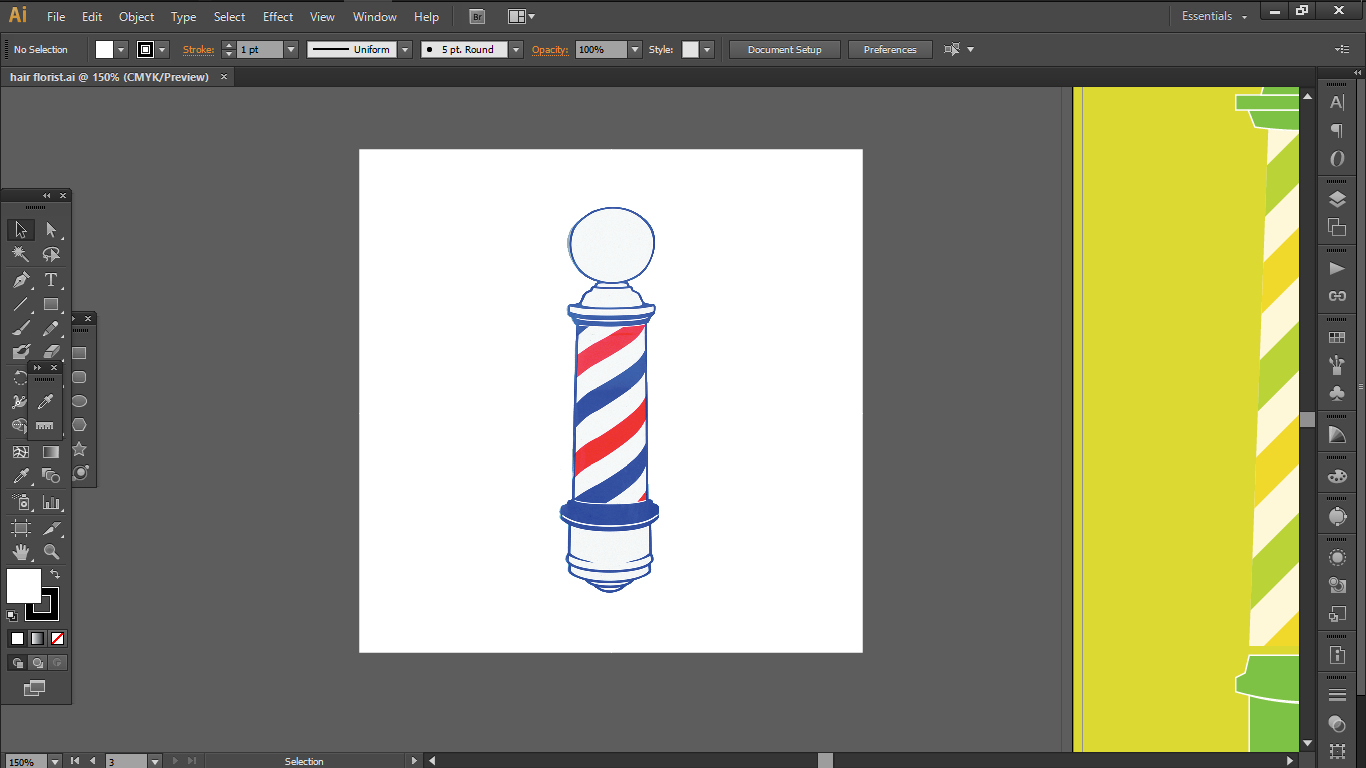
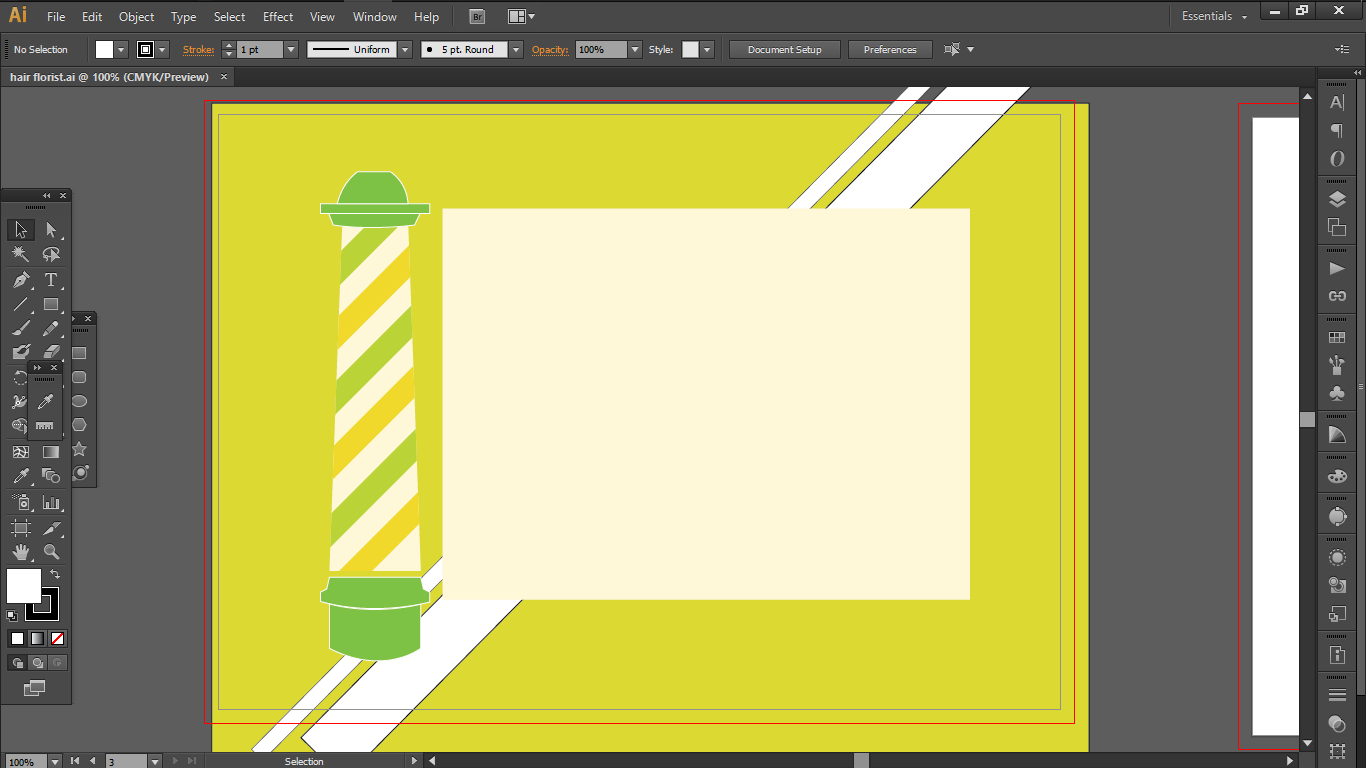
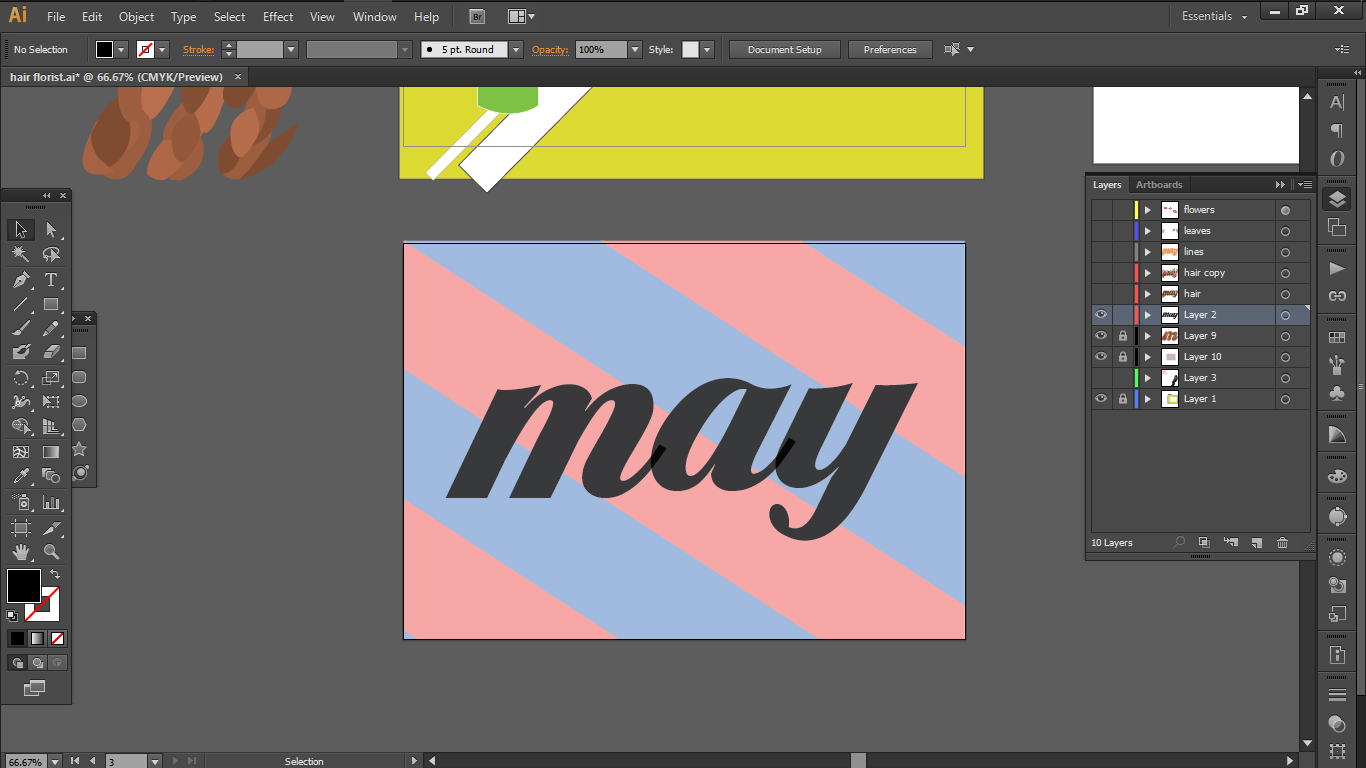
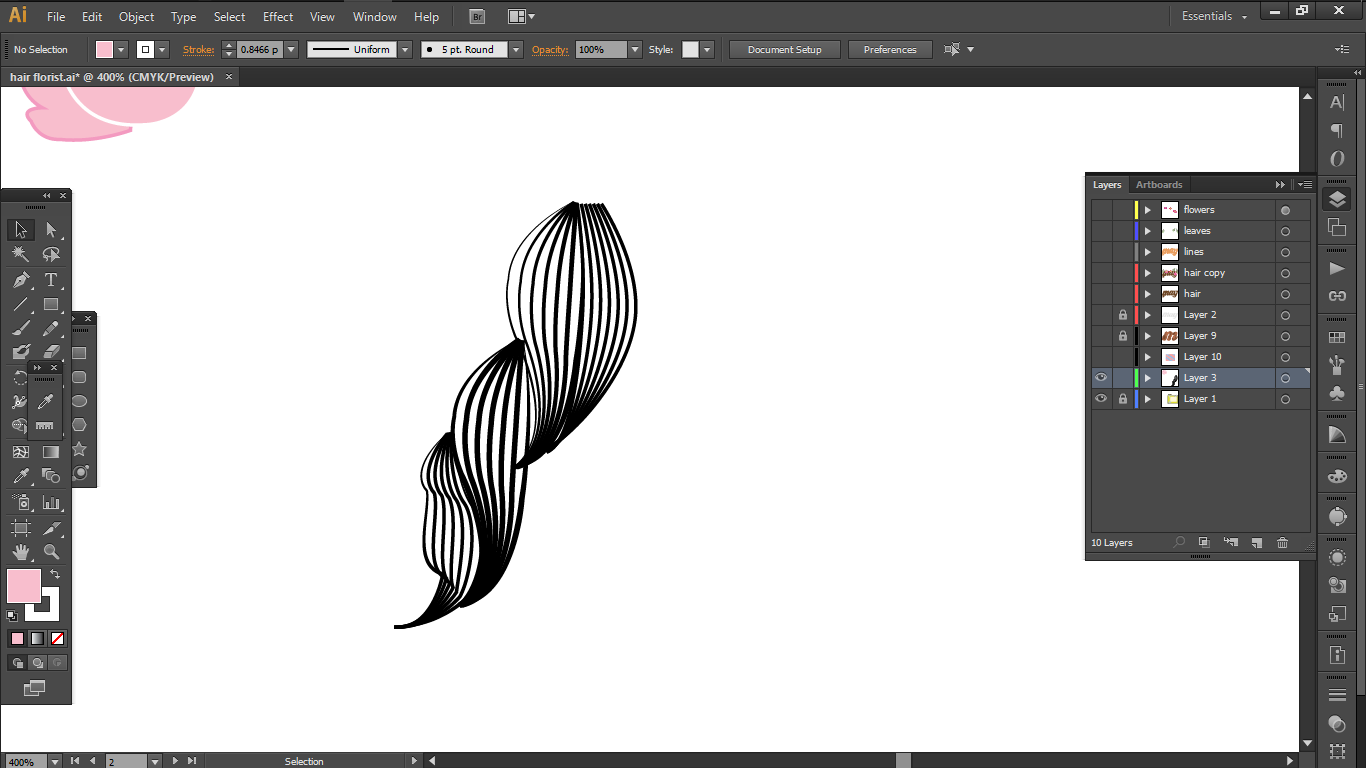
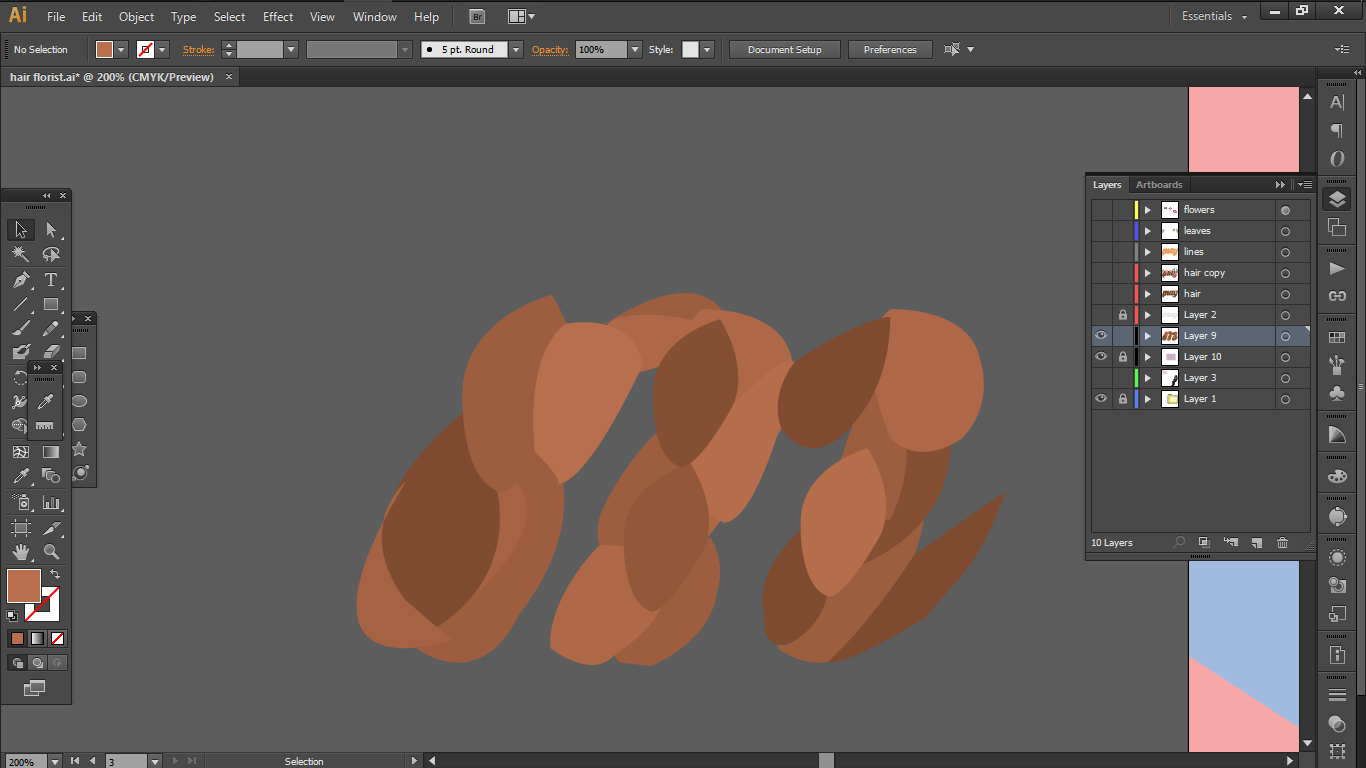
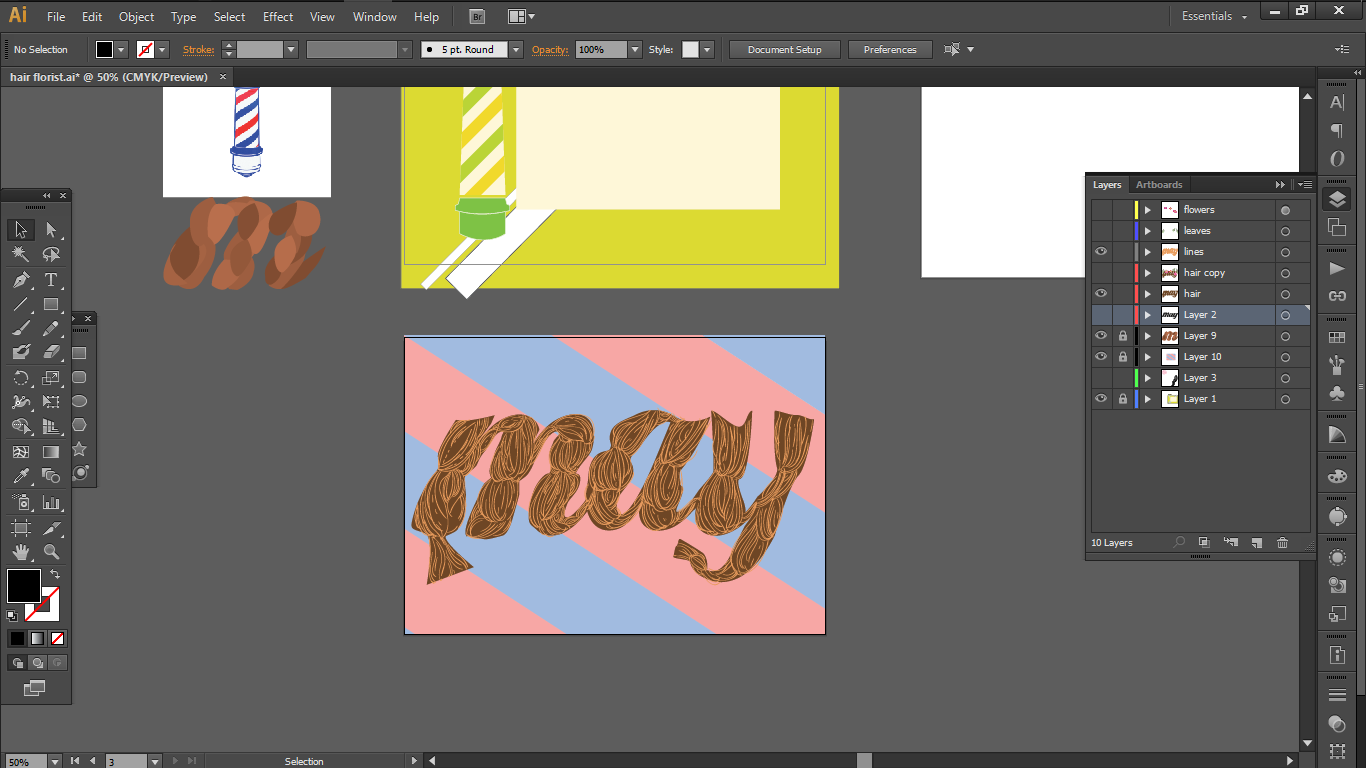
3 ) Hair florist
Over here, I wanted to combine the elements of braiding and vines as they seem to be similar in nature, in respect to the intertwining visual.
So the elements that I wanted to bring in were
a.
The interlocking braids
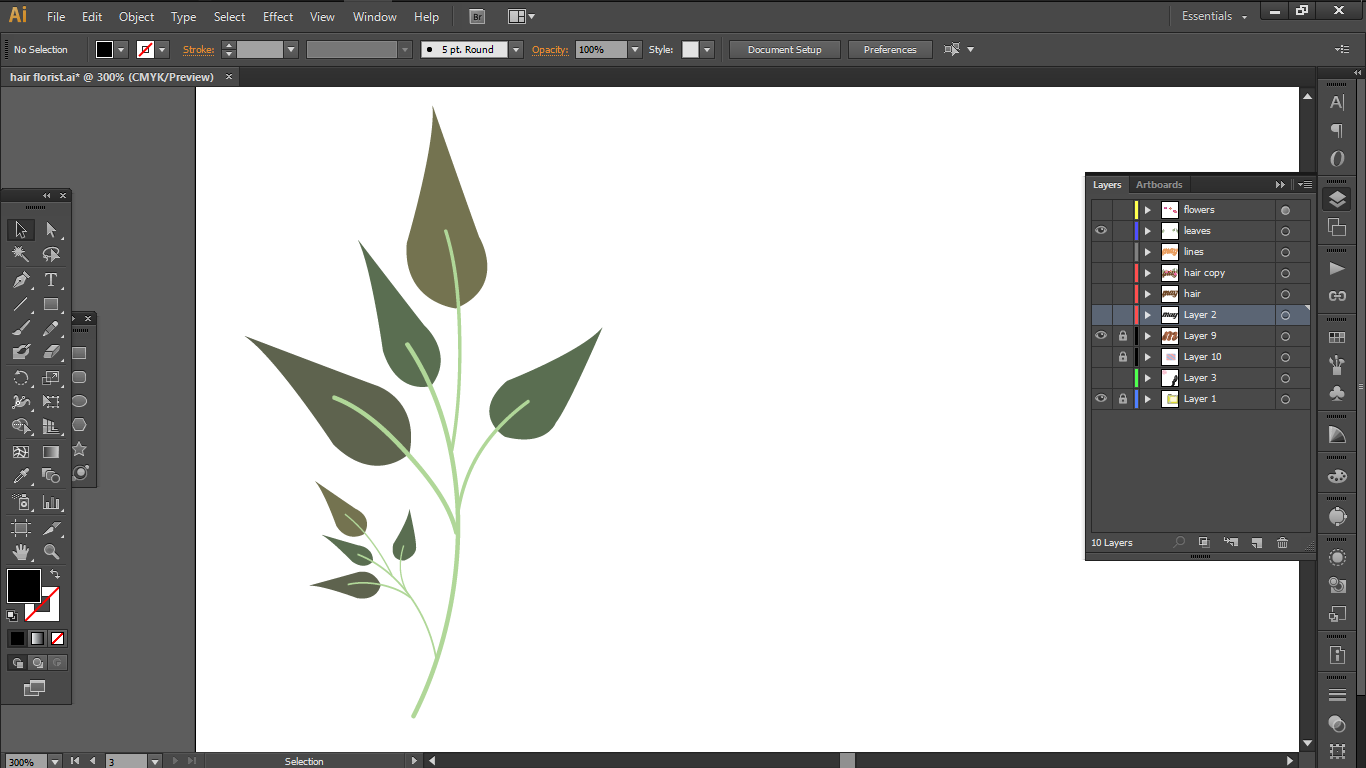
b.
Vine flowers and leaves
c.
Barber pole


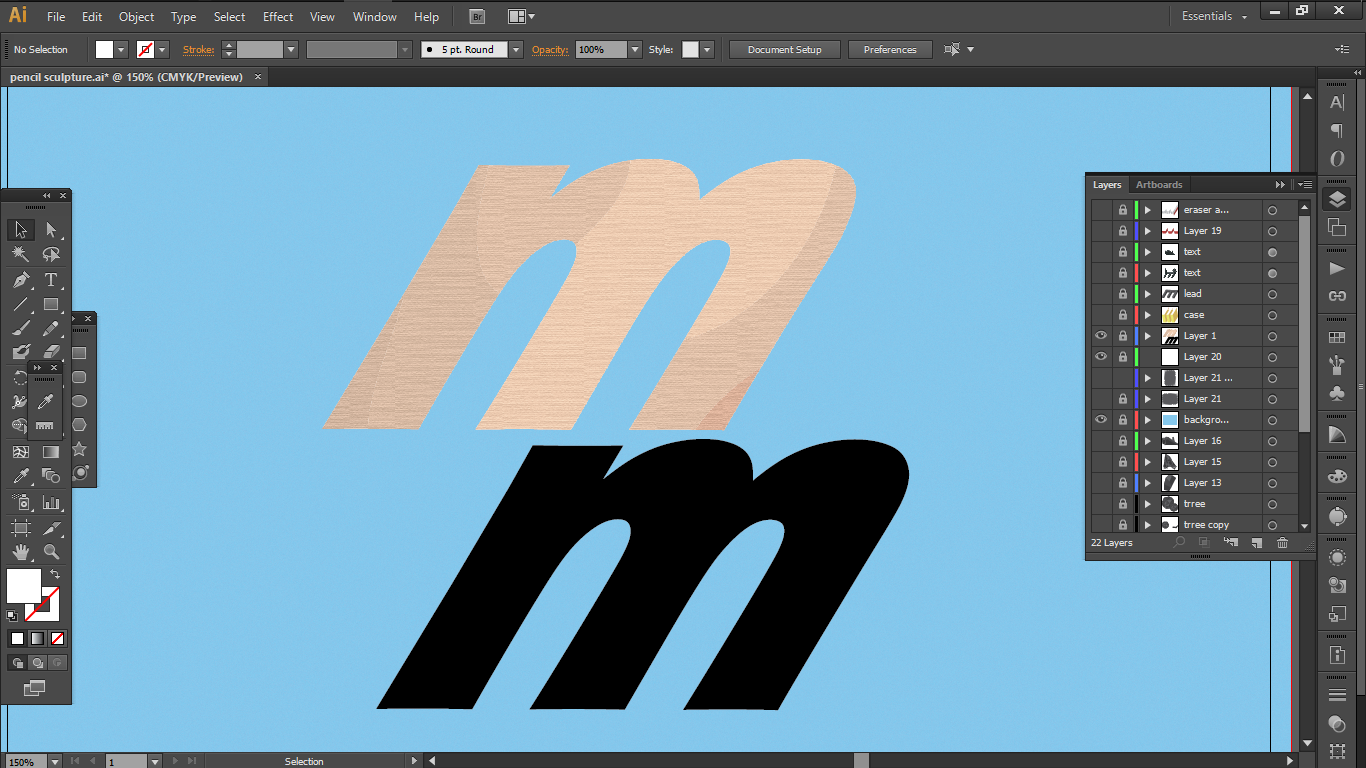
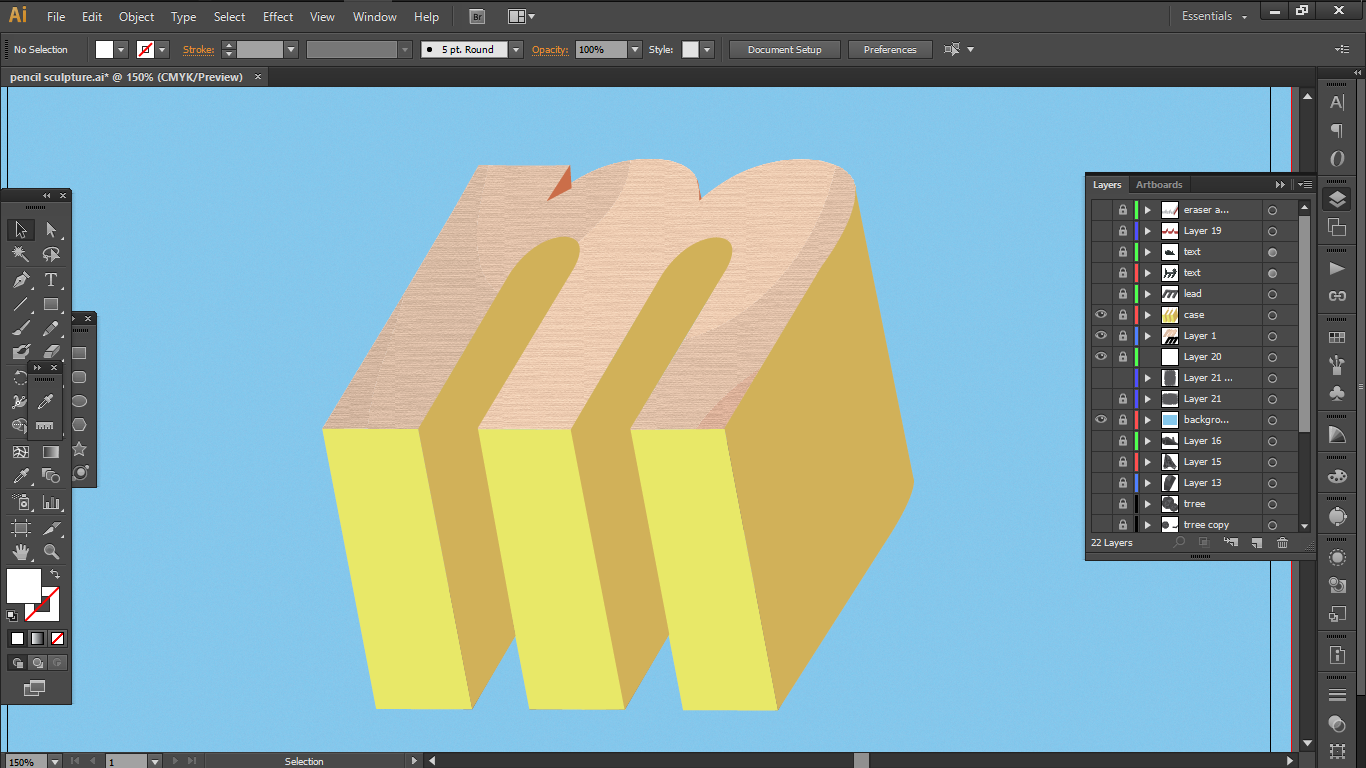
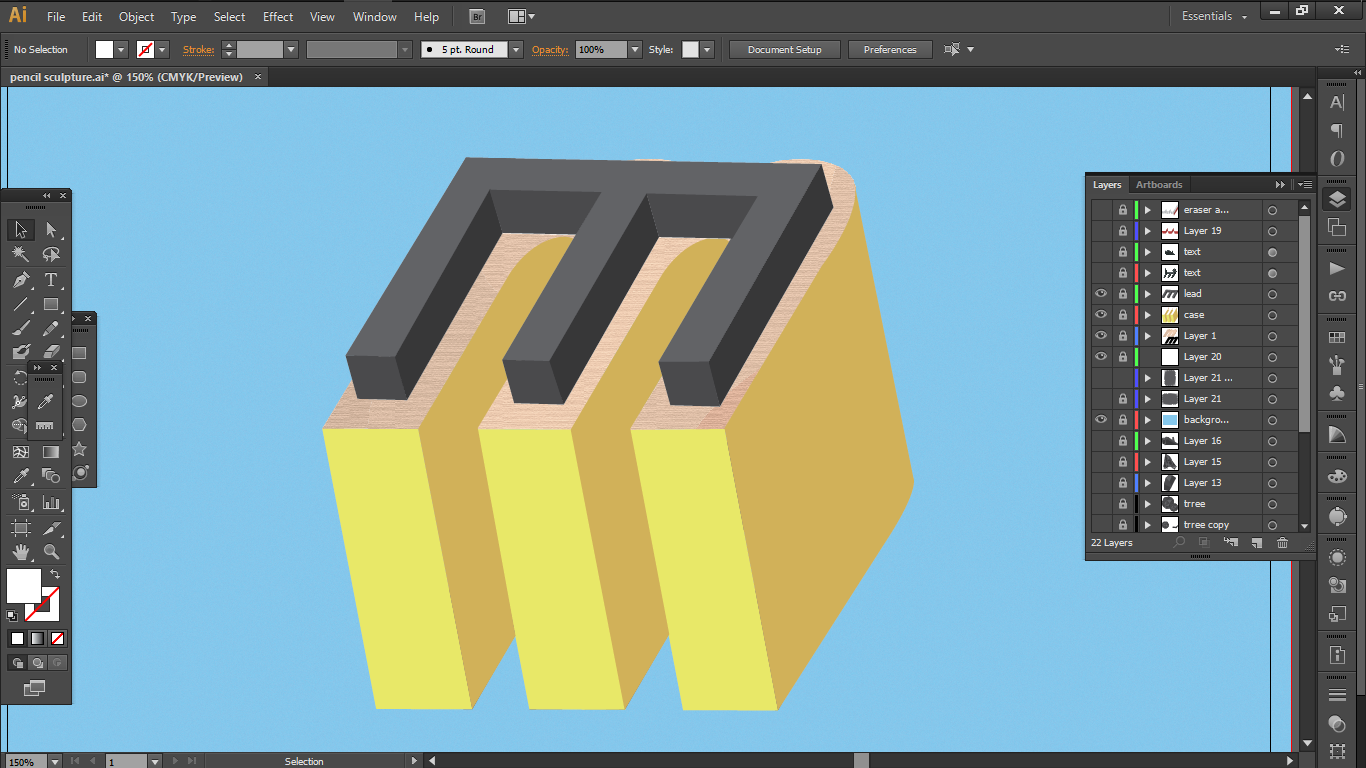
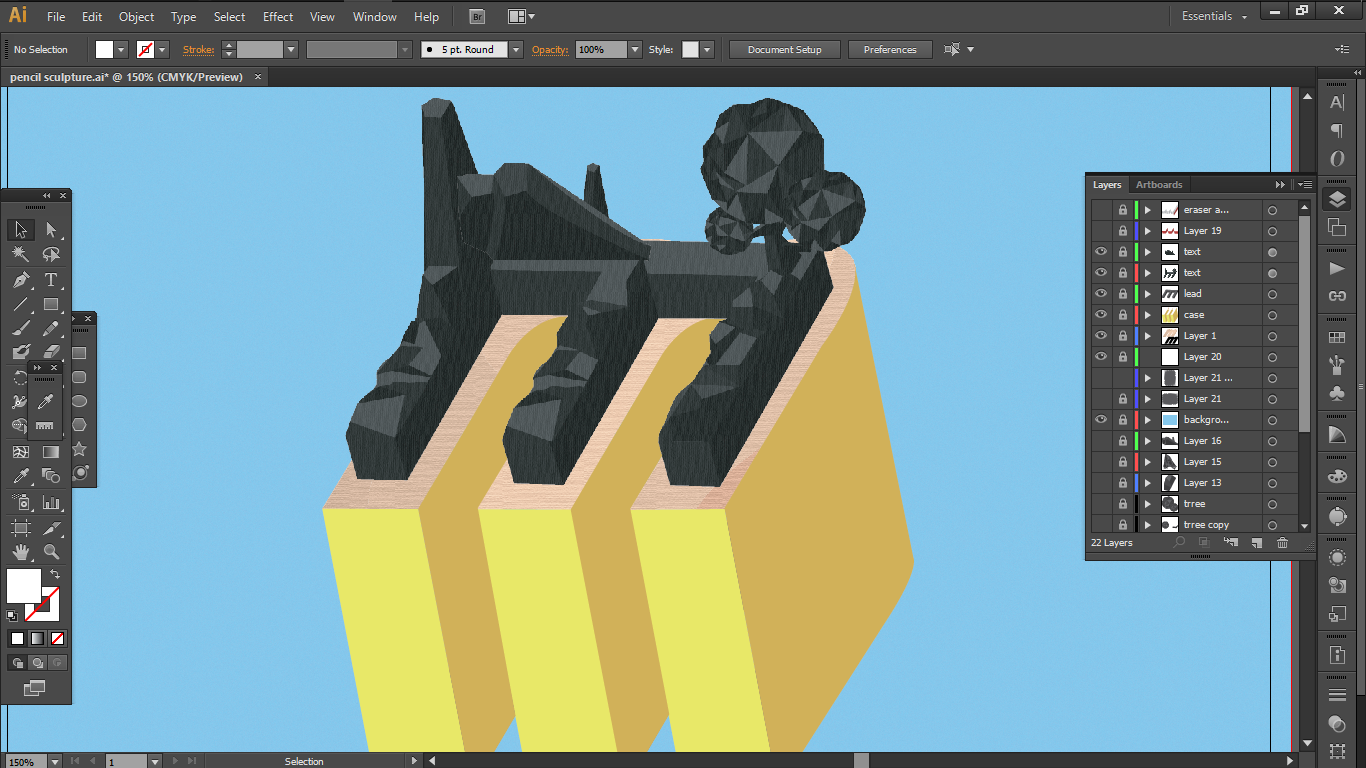
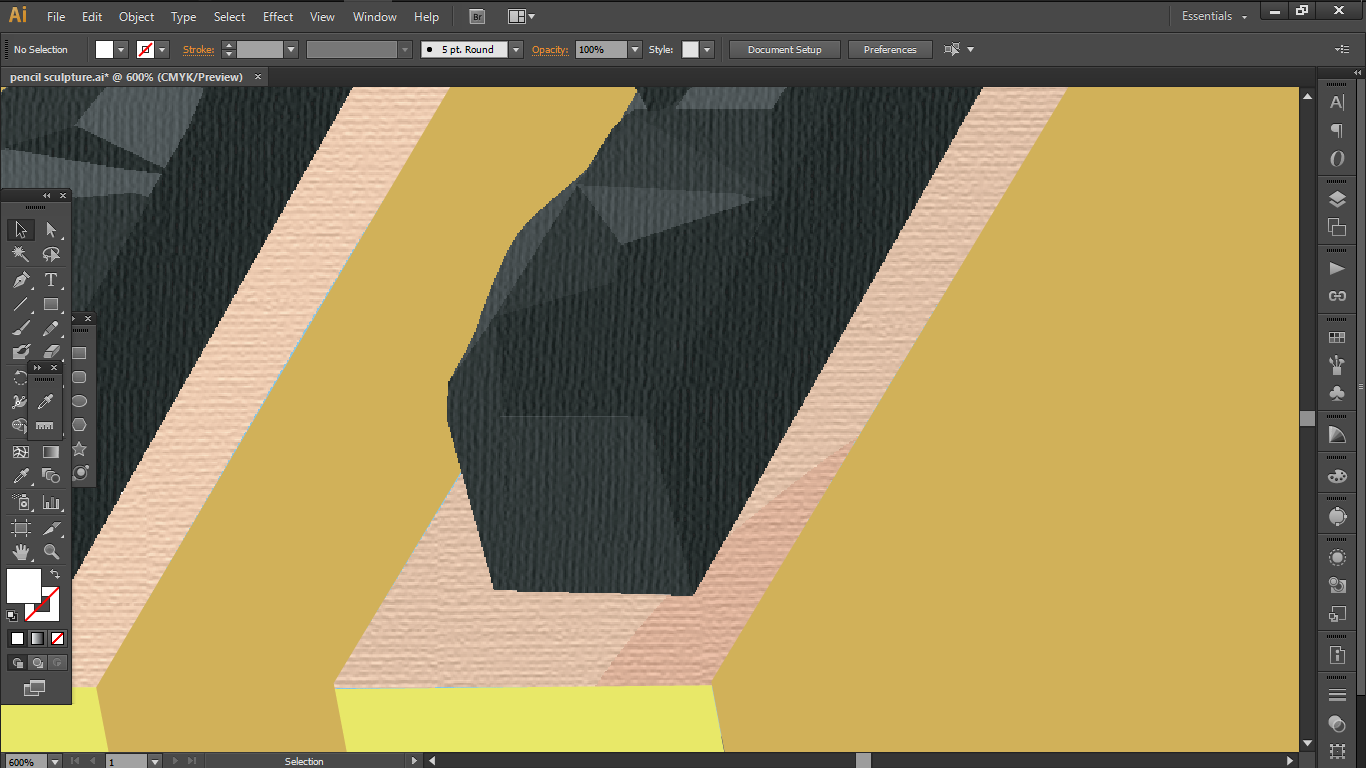
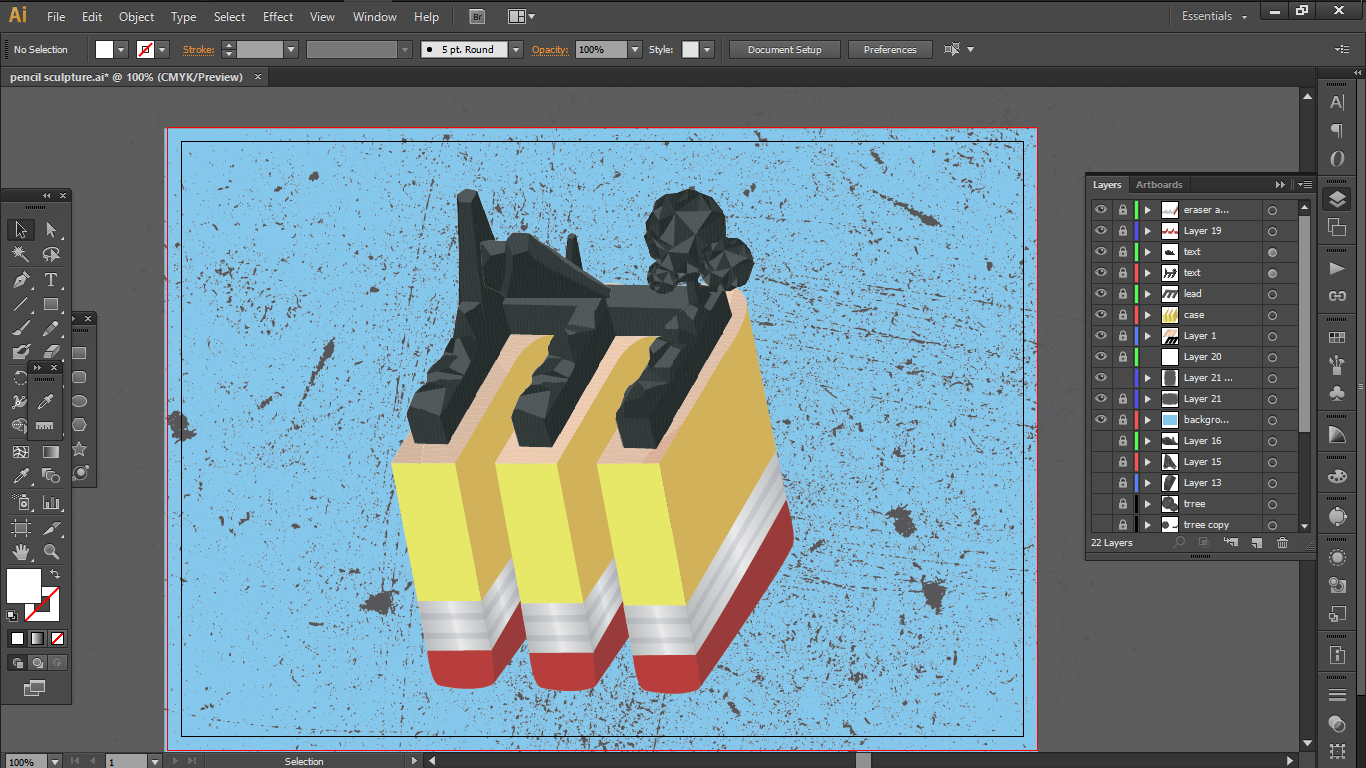
4) Pencil Sculptor

So for this, I extracted the following elements
a.
The texture of the wood
b.
the texture and the hard edges of the lead
c.
the basic elements of pencil; the metal ring holding the eraser
As for how I wanted to create this job, I discovered Low Poly art from pinterest and decided to attempt a very simple scenery in this style.

This project has taught me in learning to detect the important essence of any subject and extracting it to create our own work by applying the elements of design in other ways.
On the technical side, this project has pushed me to be more self initiative when it comes to learning new techniques and programs. Without the project, I actually wouldn’t have touched the tutorials or even the program itself.
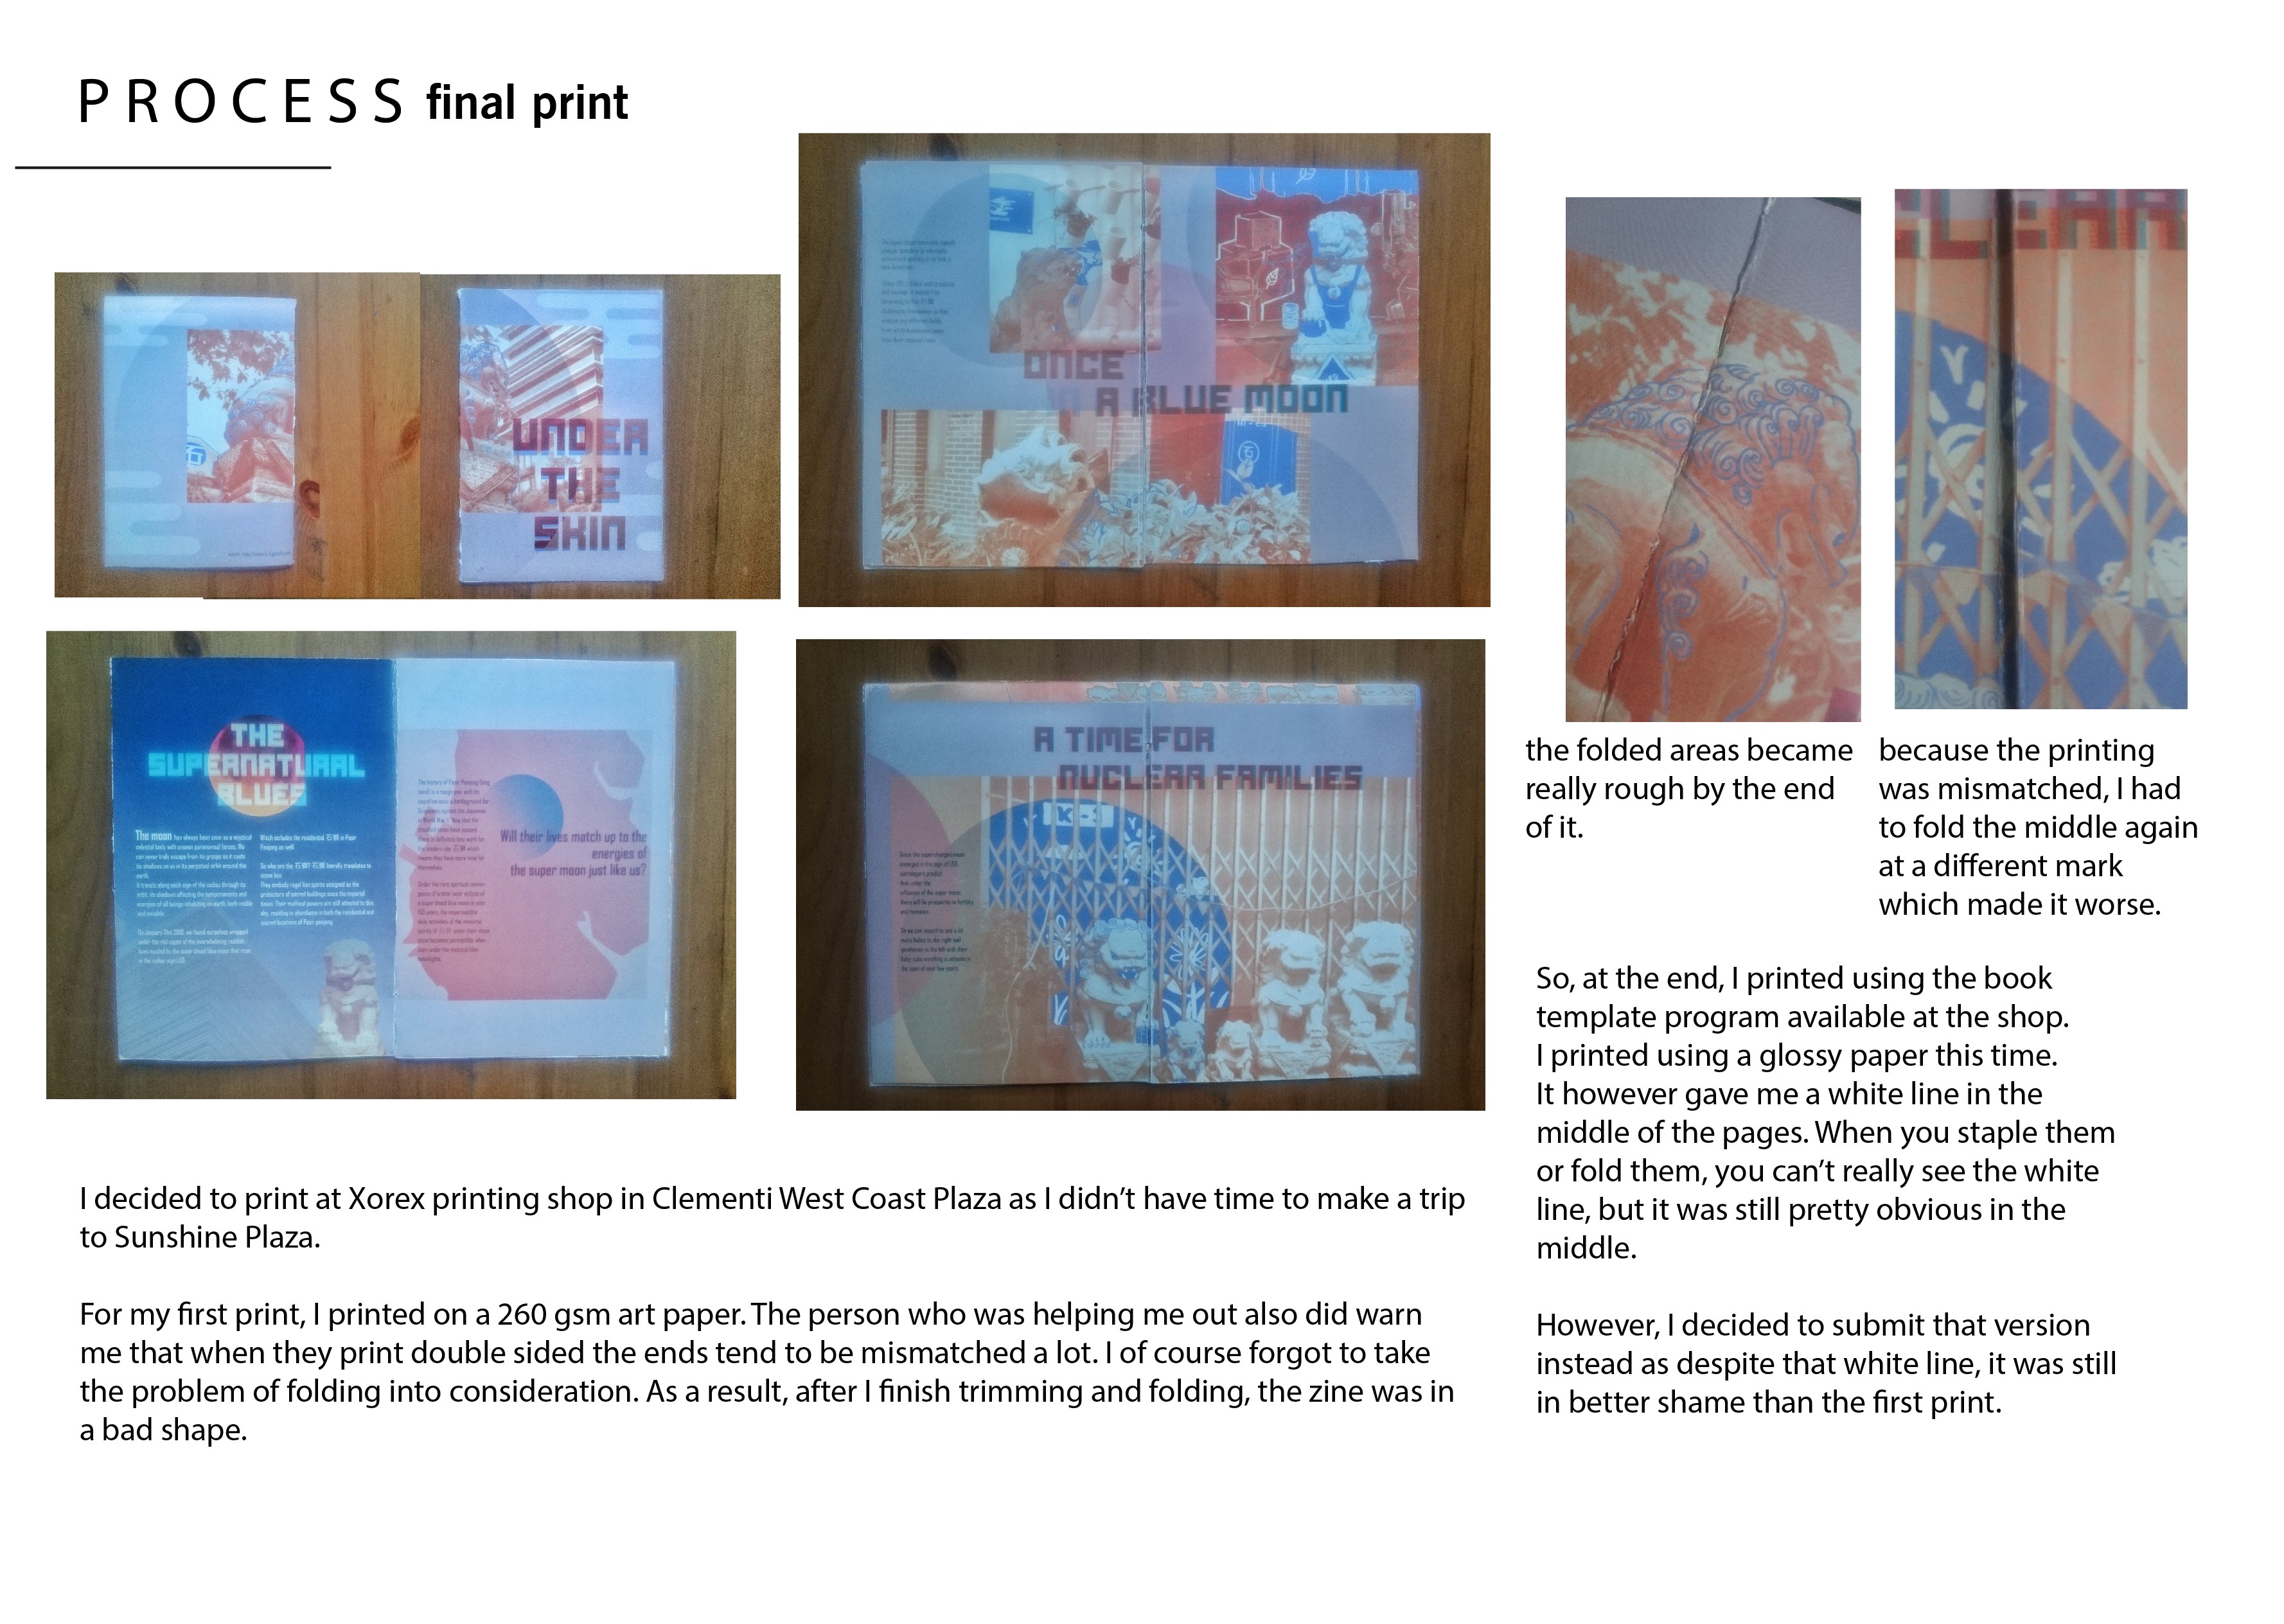
Here is the link to my final work:


