Week 9: Bleaching & Raster Engraving

Bleaching

Removal of colour from fabrics through chemical means.

Materials:

  • Bleach
  • Spray bottle
  • Dark coloured fabric
  • Stencil

Instructions

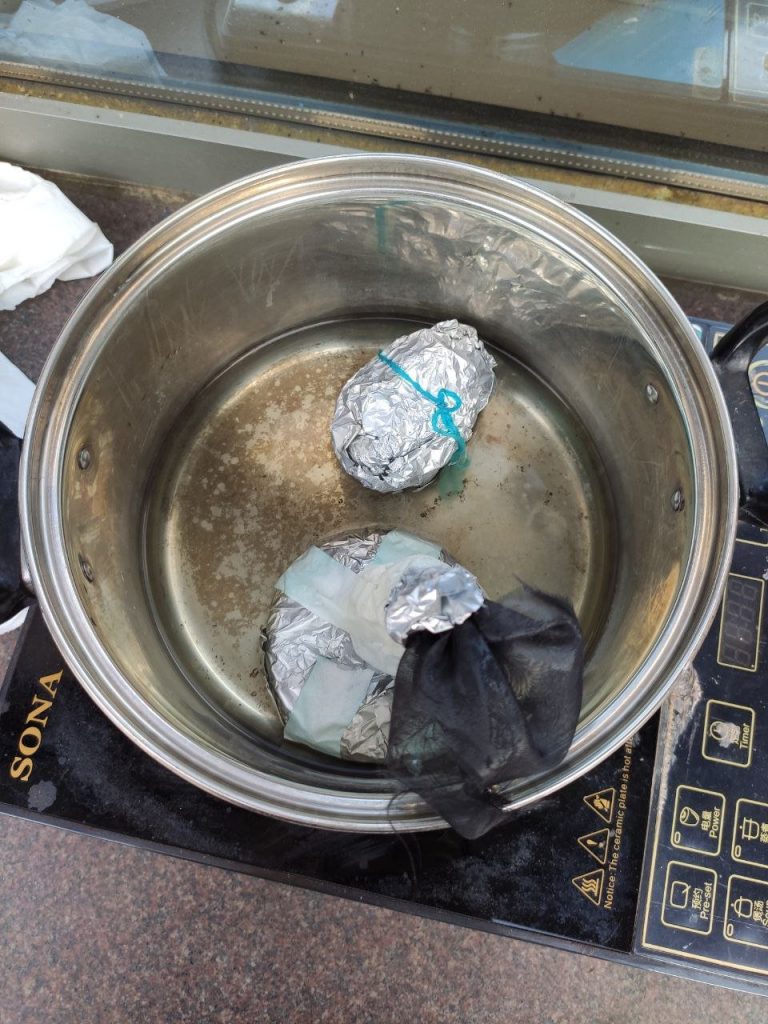
  1. Load bleach into spray bottle and dilute if desired.
  2.  Spray over stencil.
  3. Leave to dry.

My Explorations

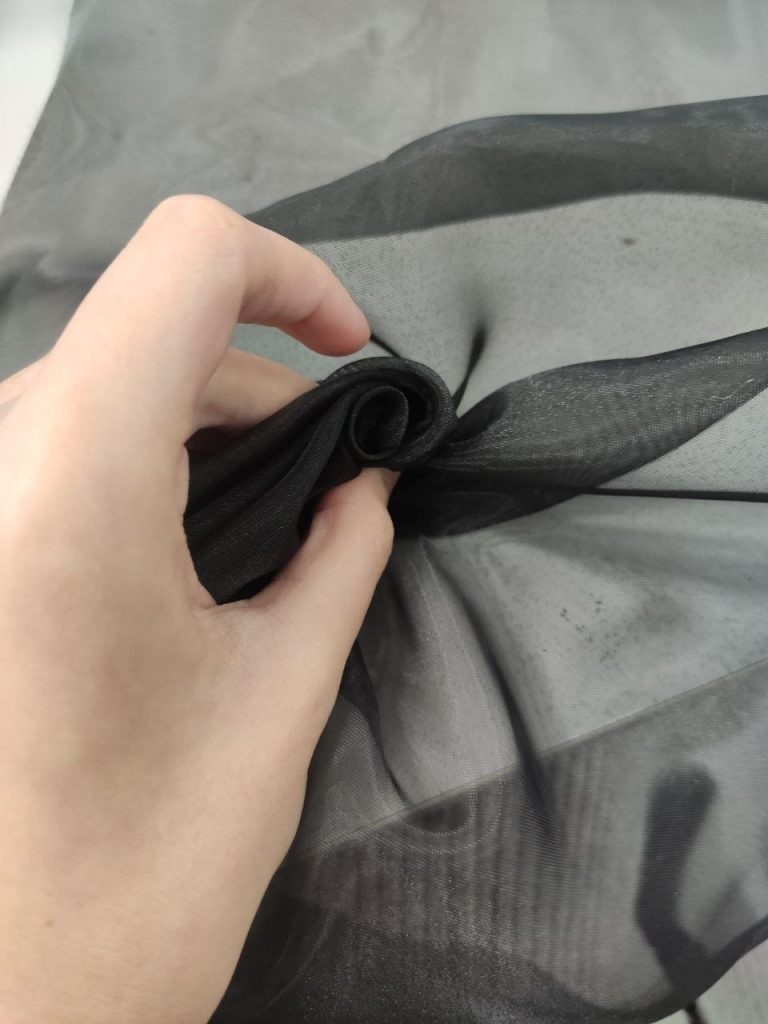
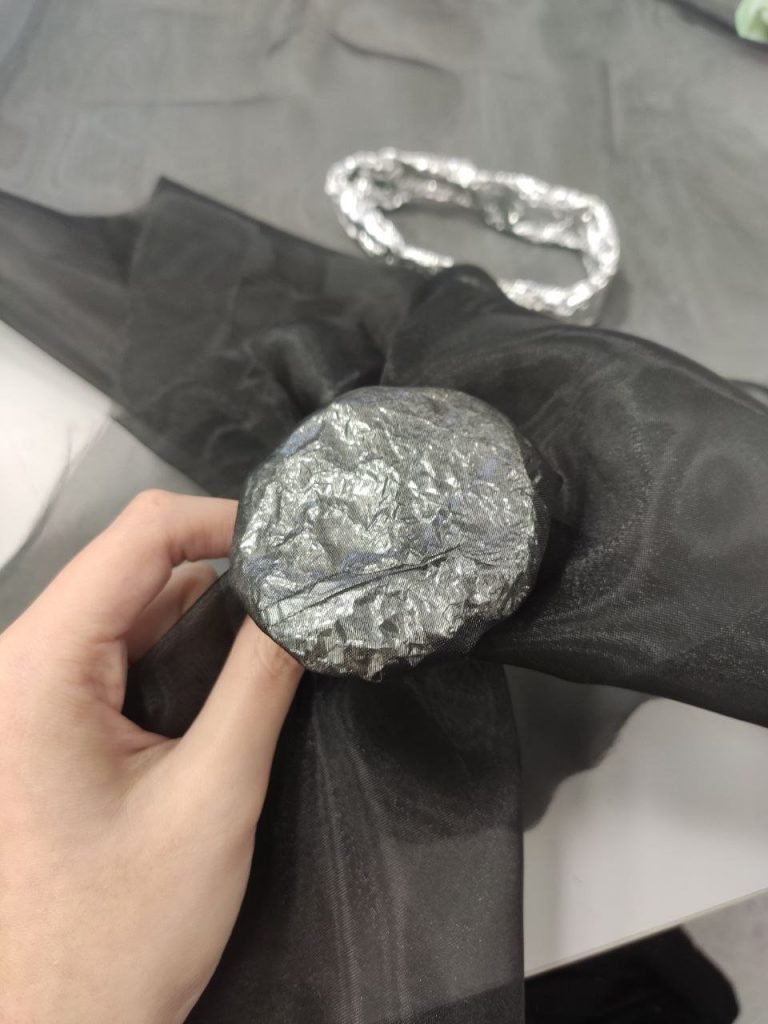
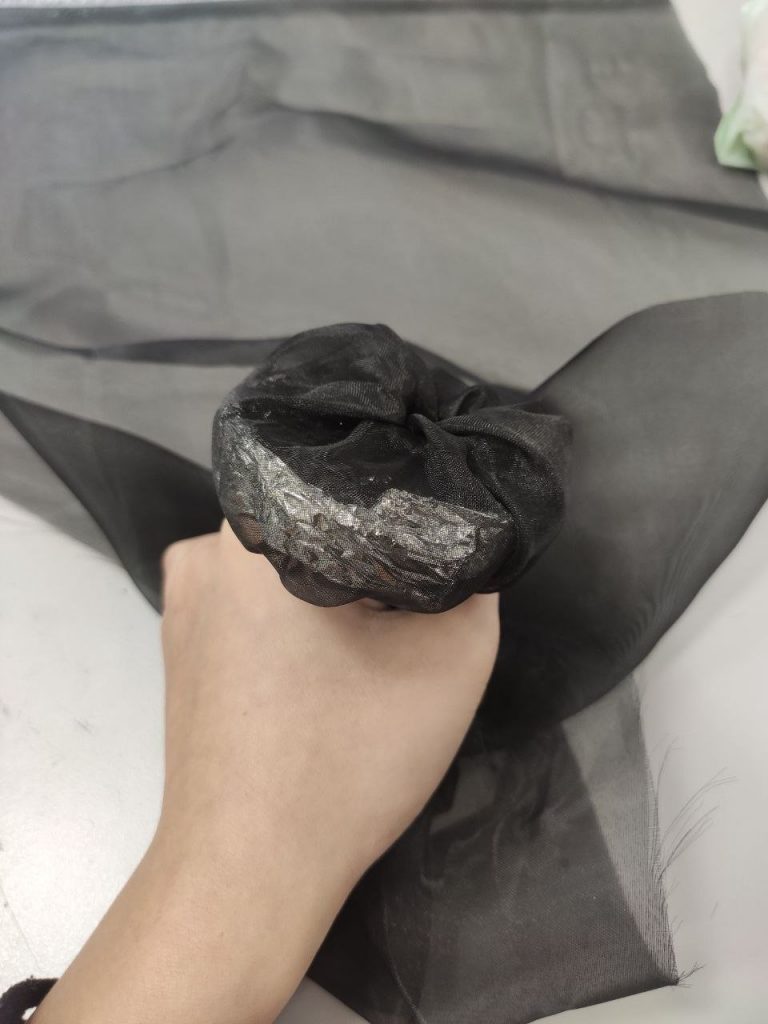
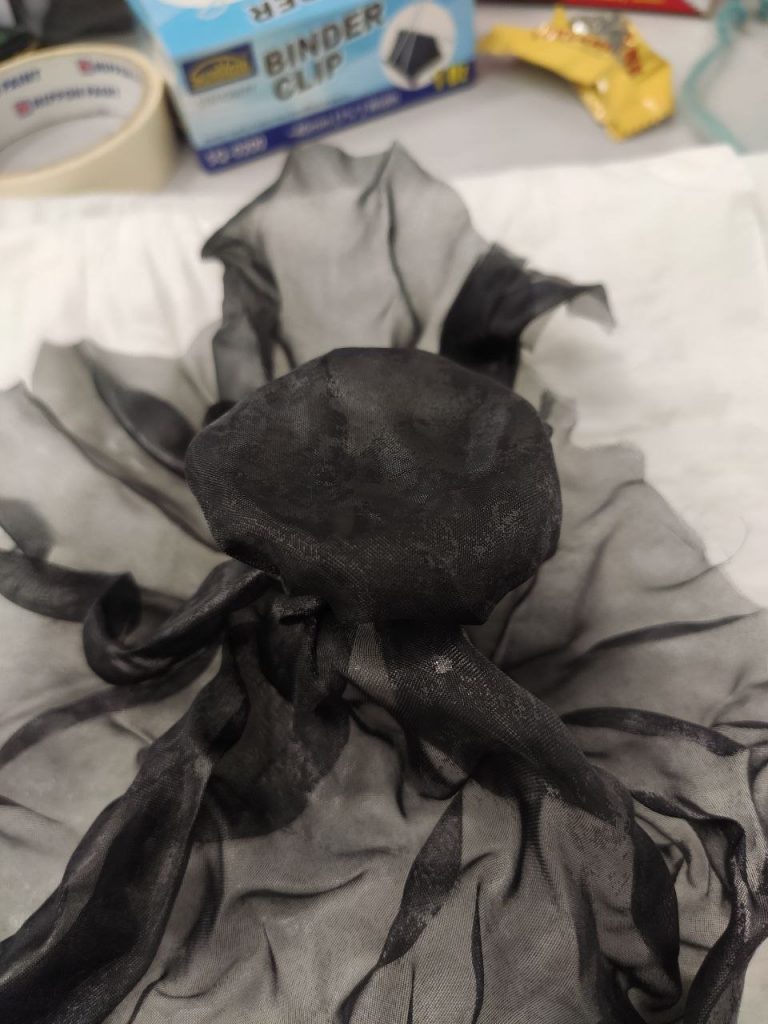
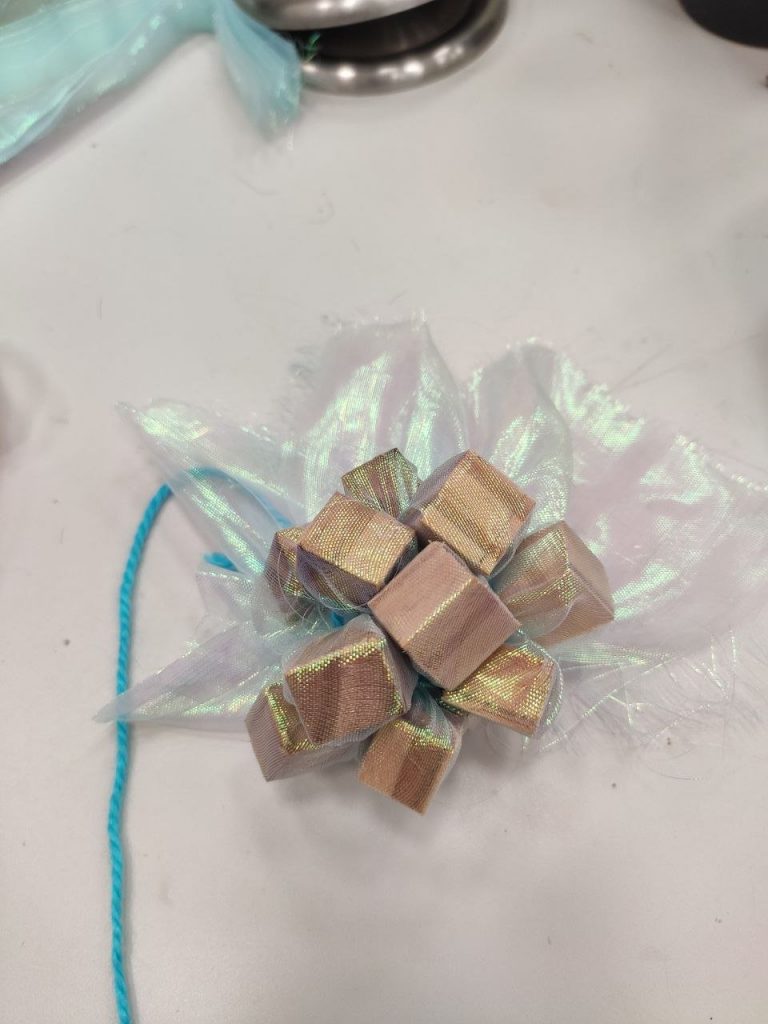
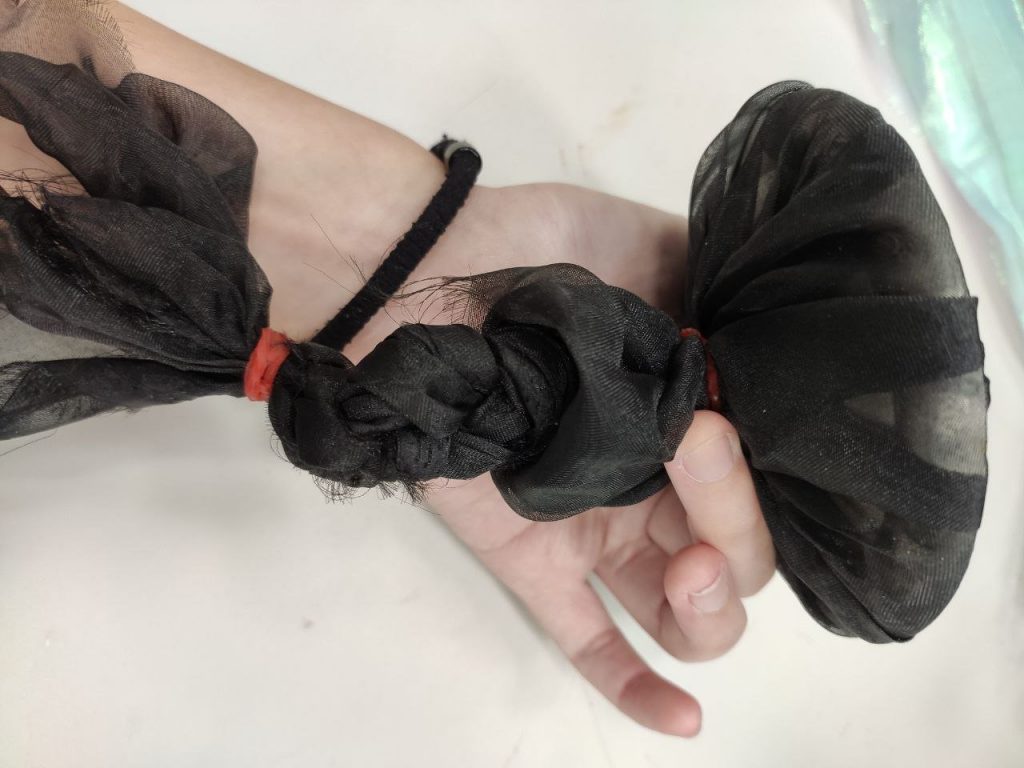
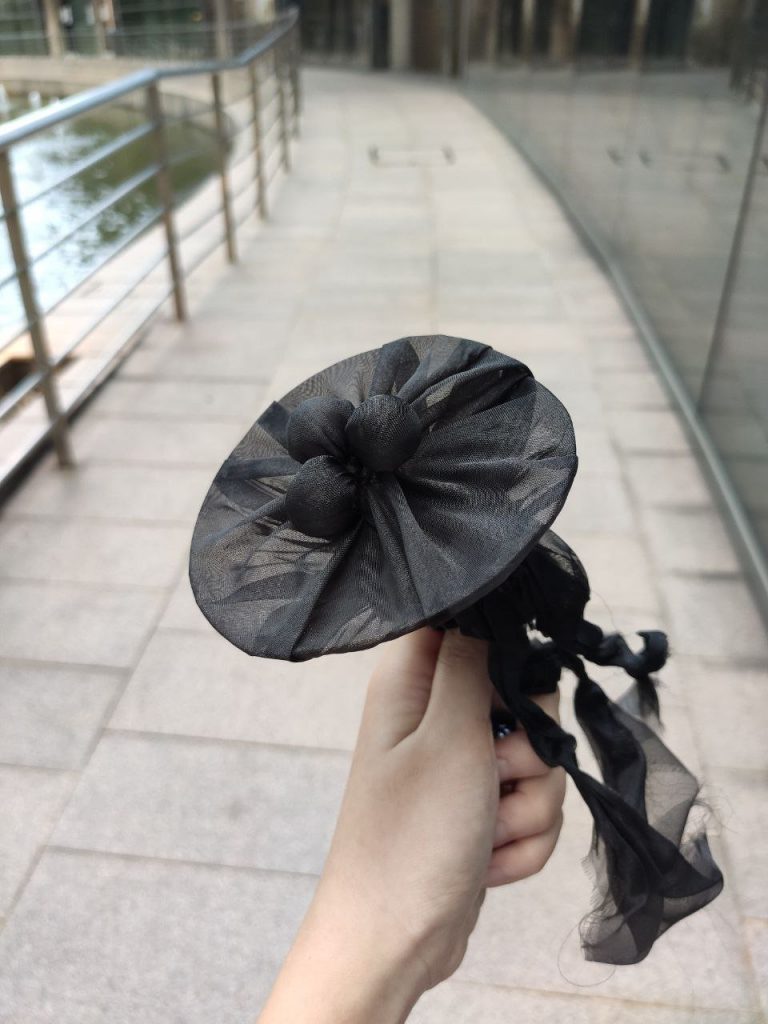
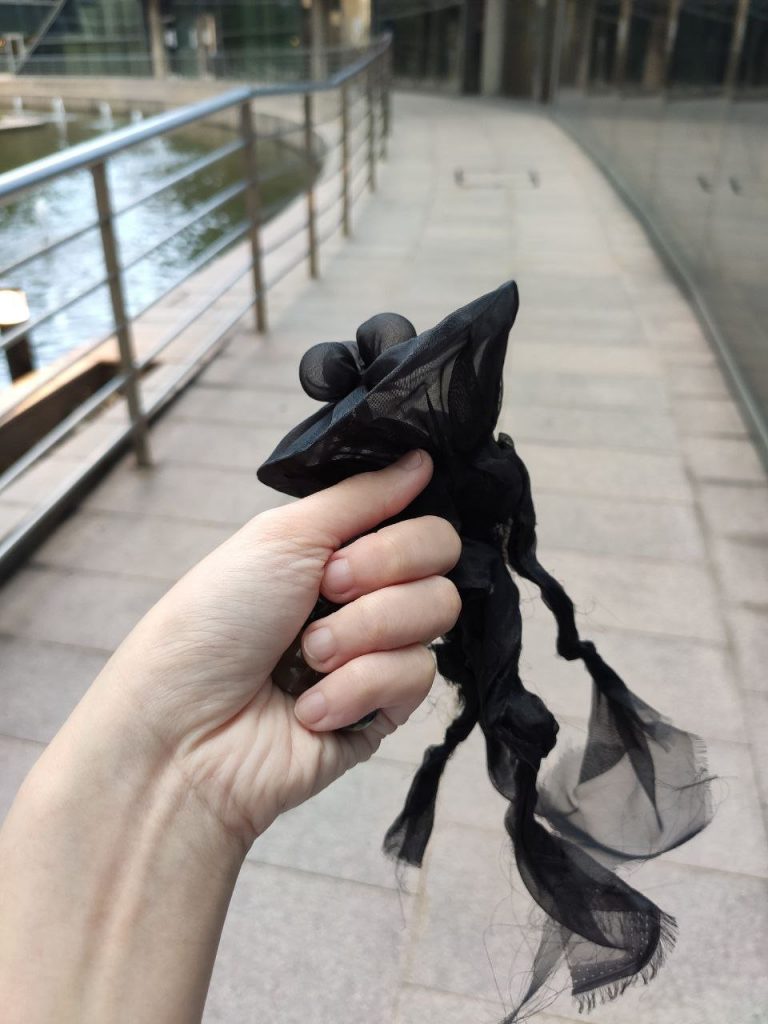
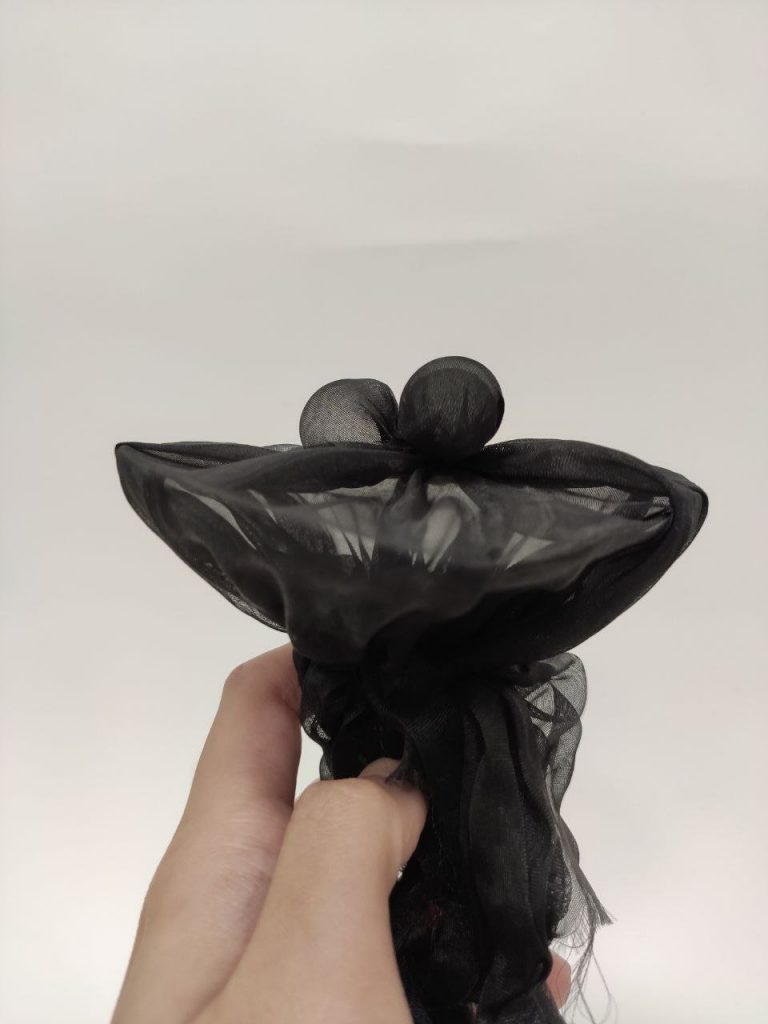
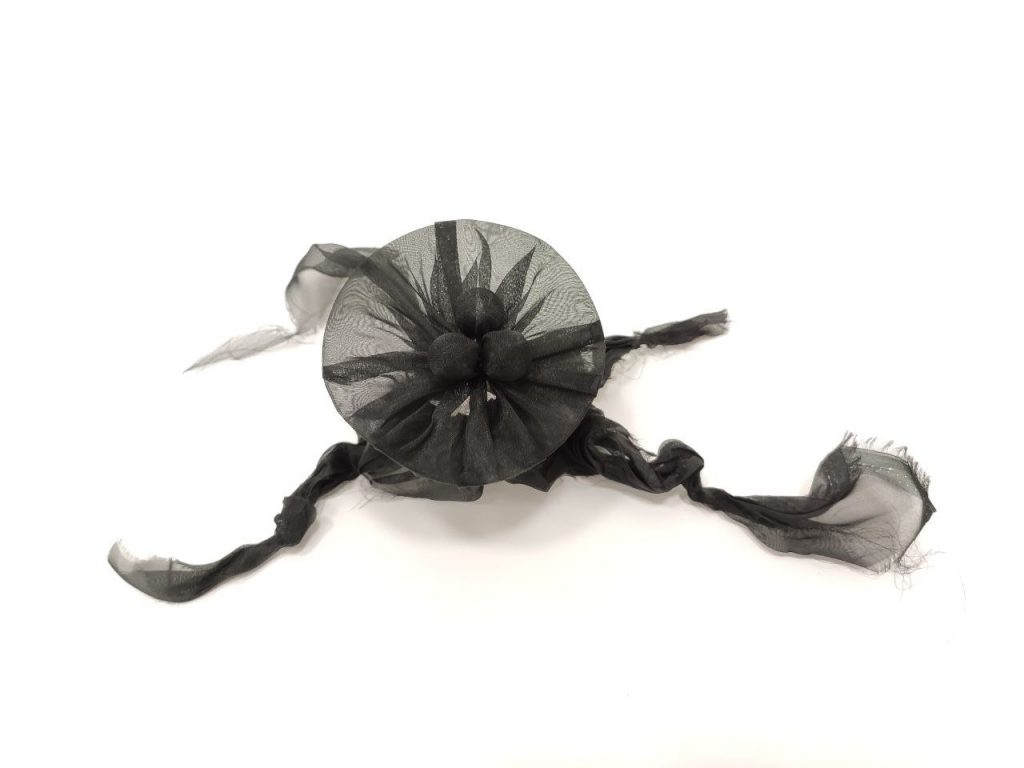
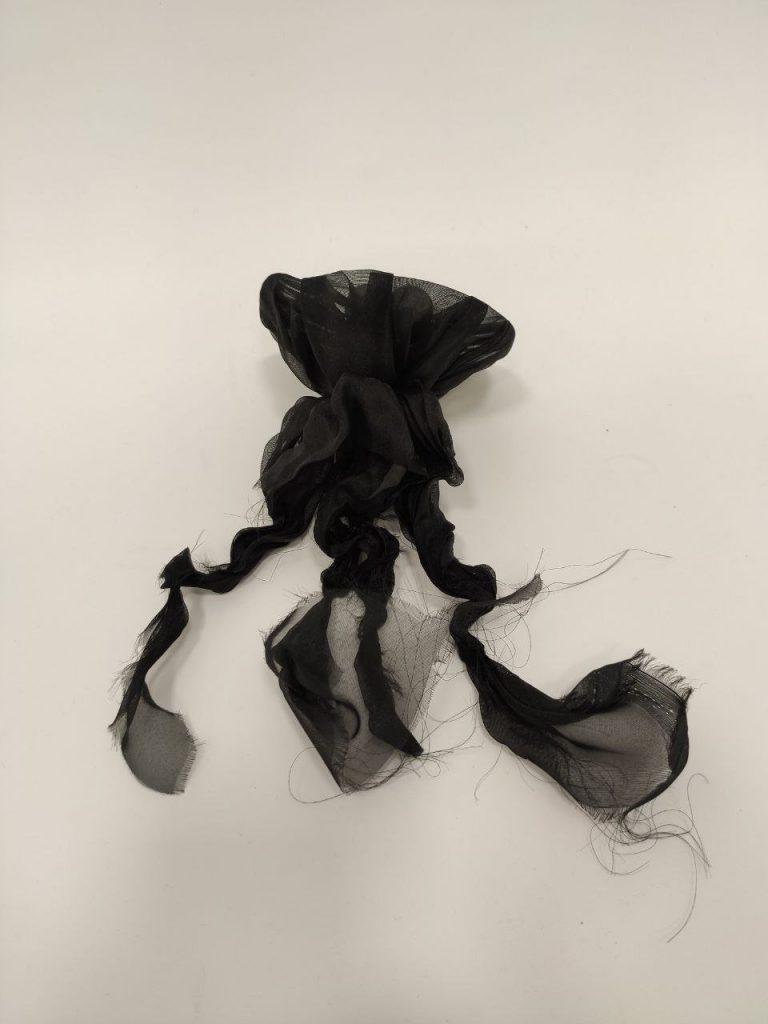
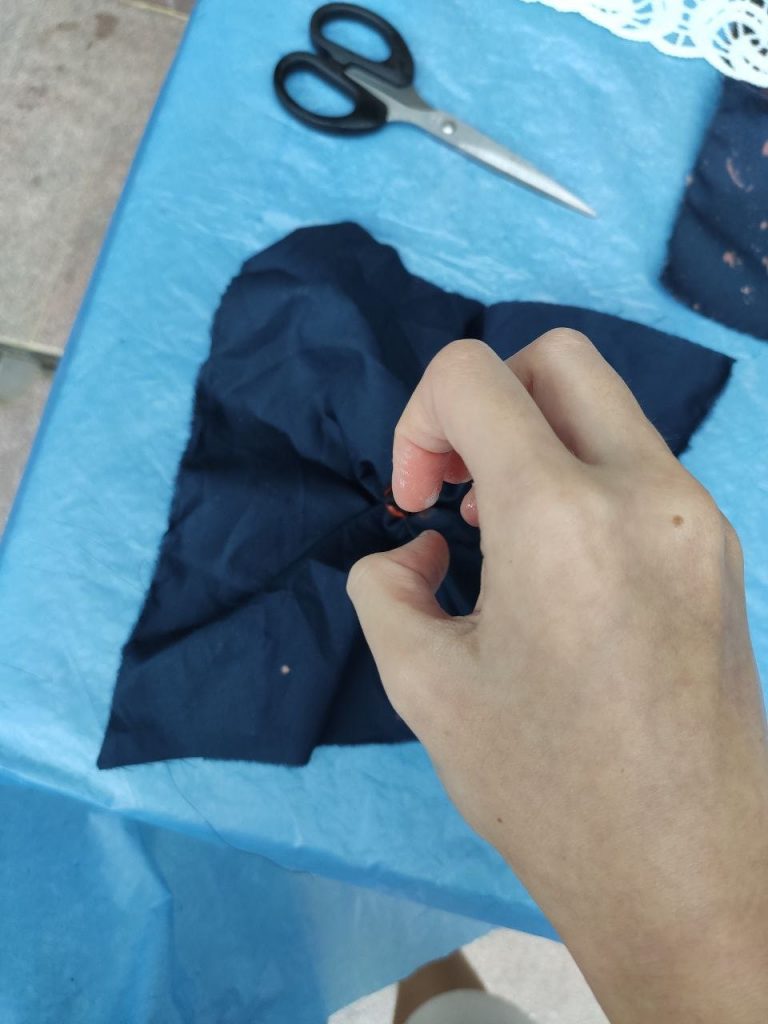
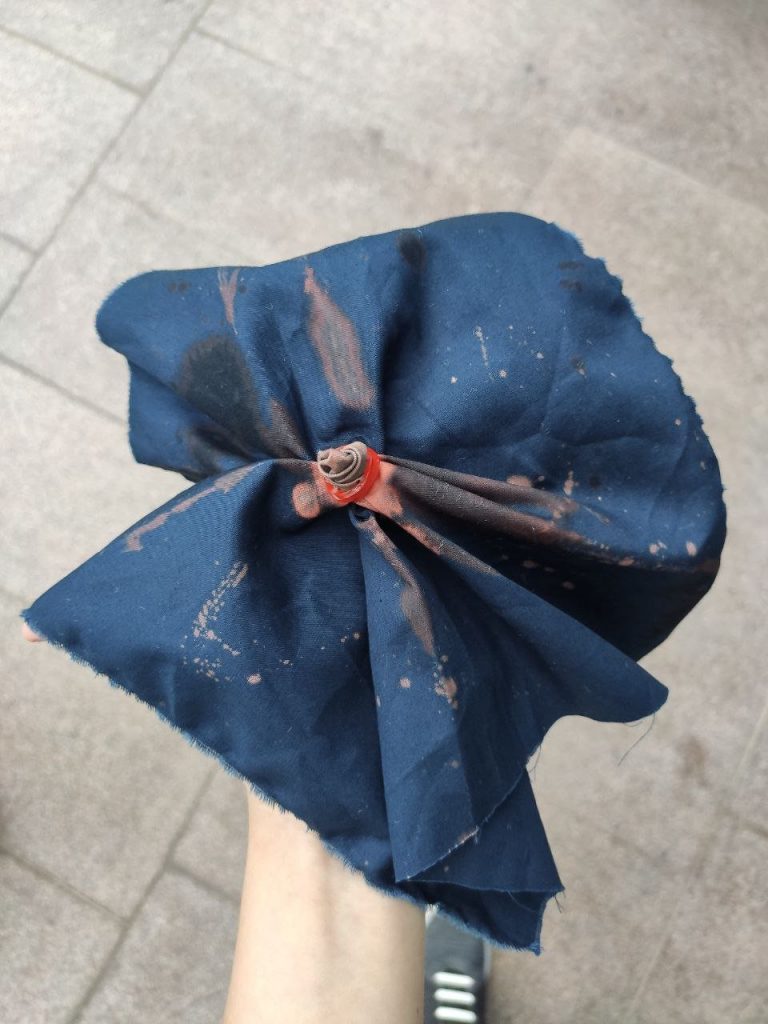
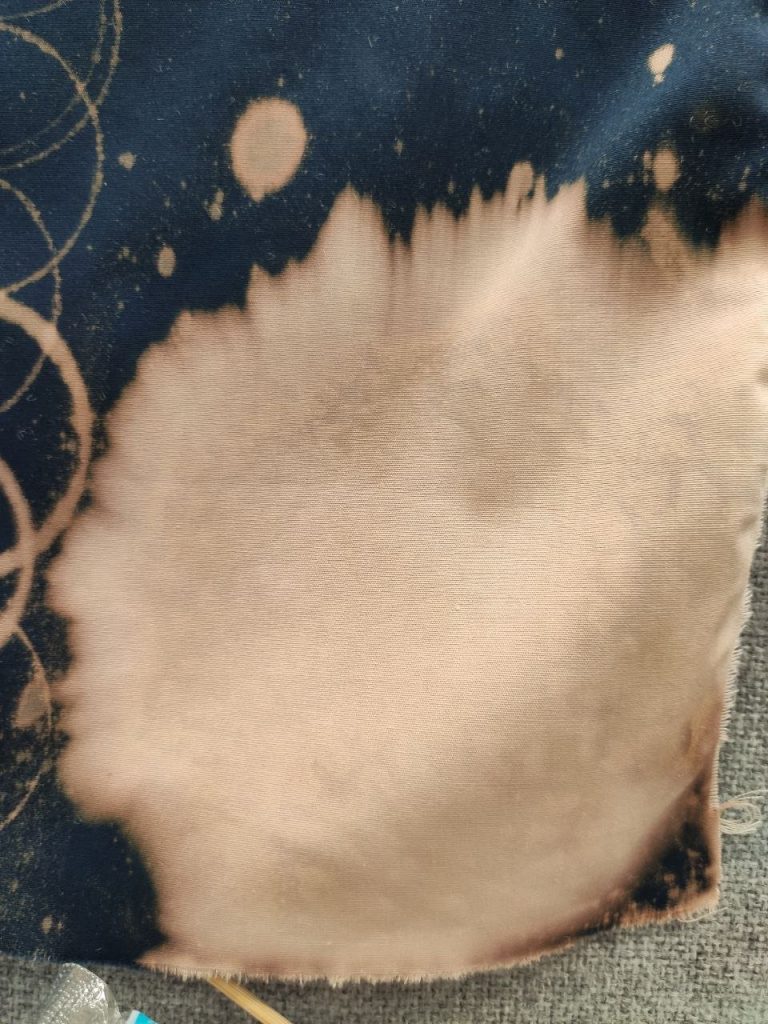
Firstly, I wanted to go for the spiral tie dye style in the middle to look like a galaxy so I twisted it a little and secured it with a rubber band.

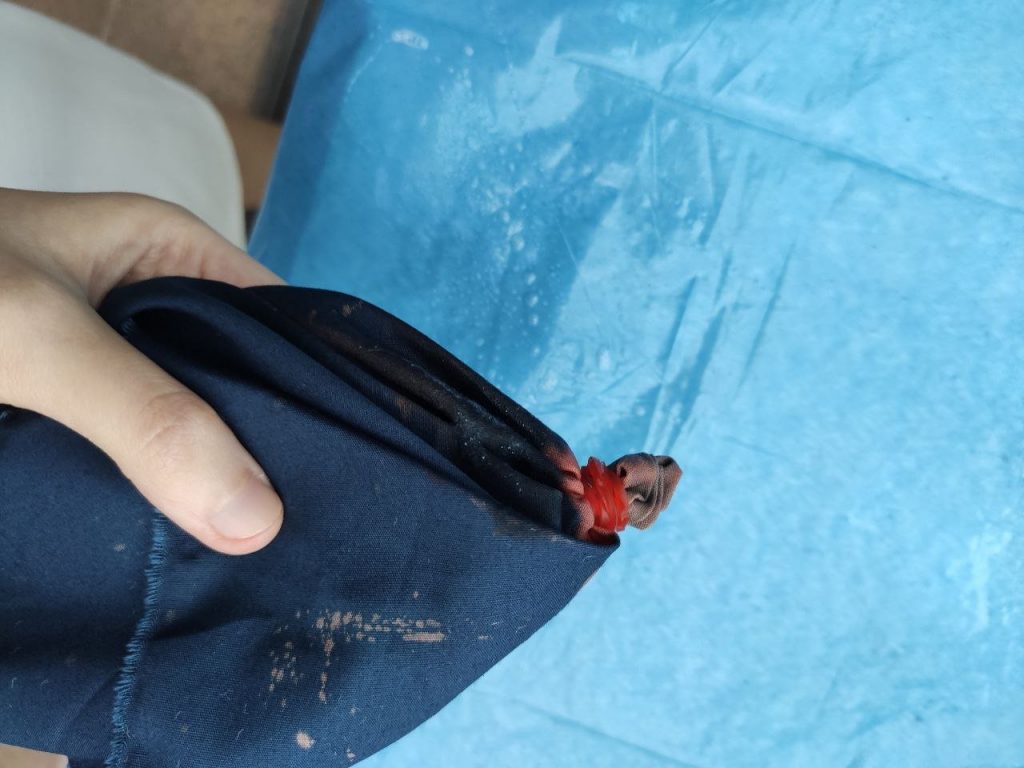
Then, I sprayed the bleach at the tip, and then tried to flick some bleach with my fingers to make splatters to look like stars.

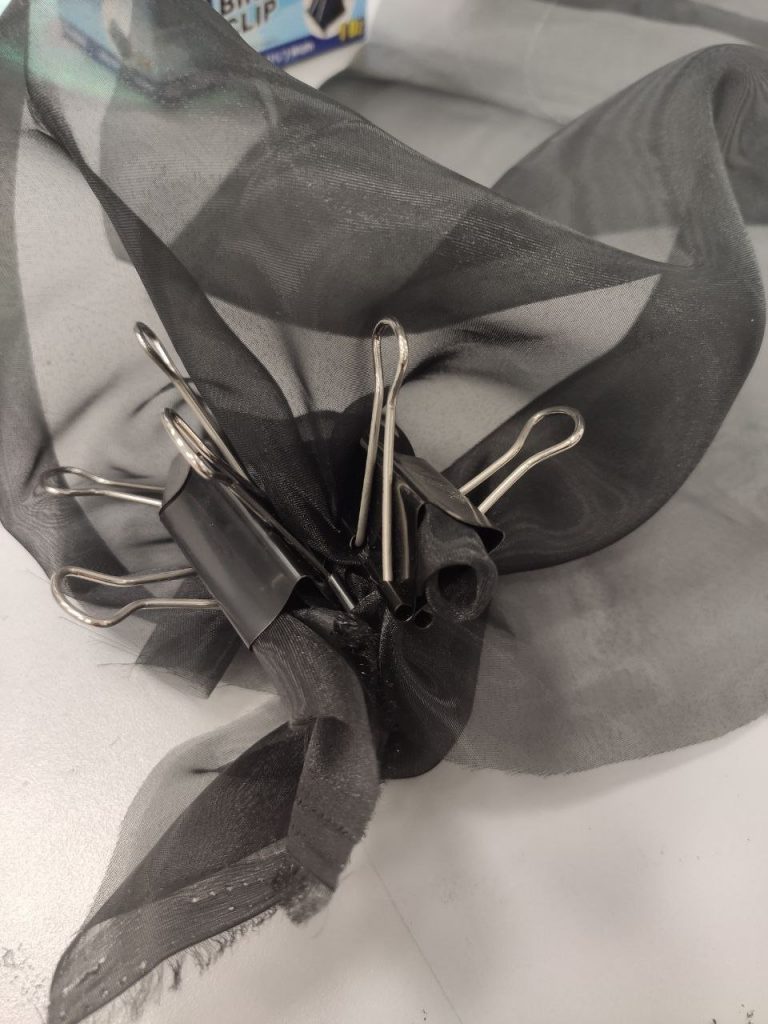
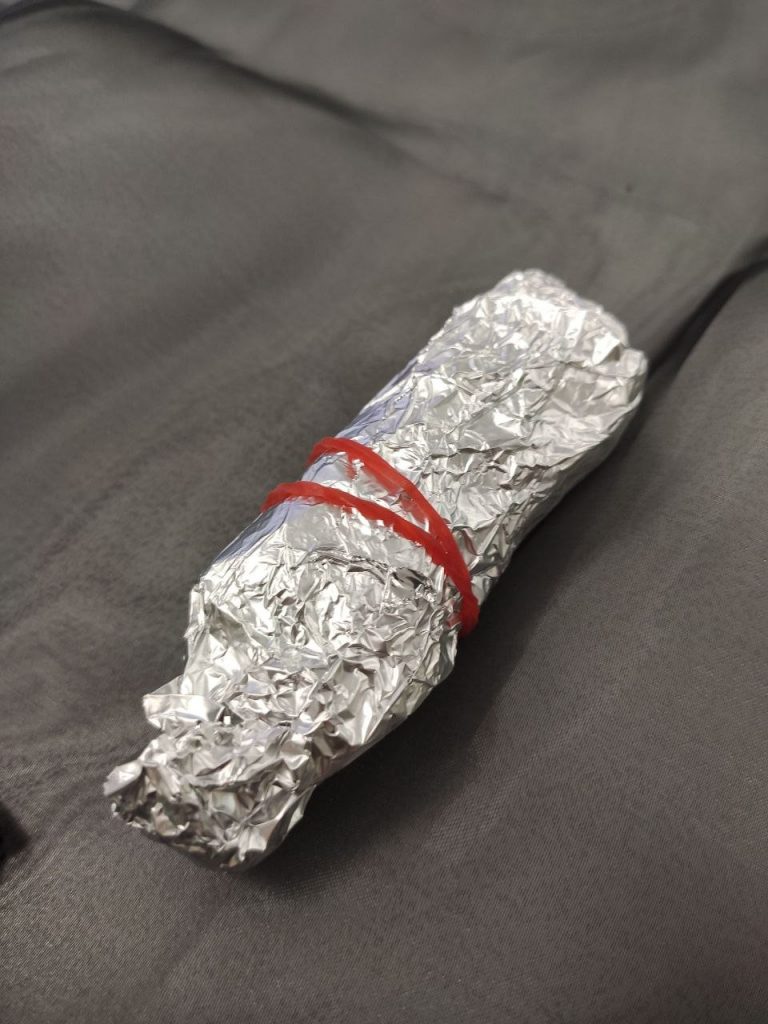
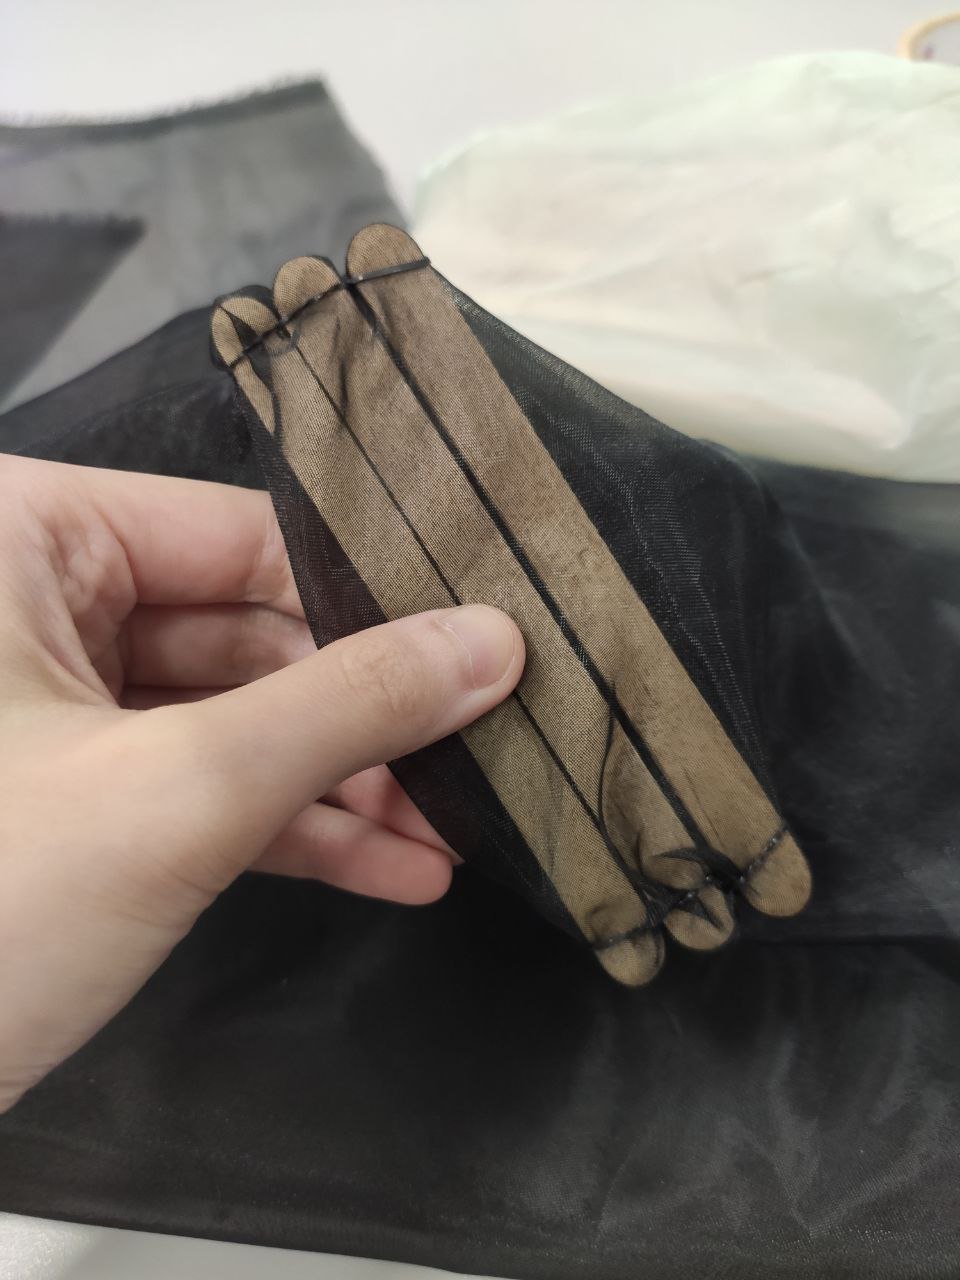
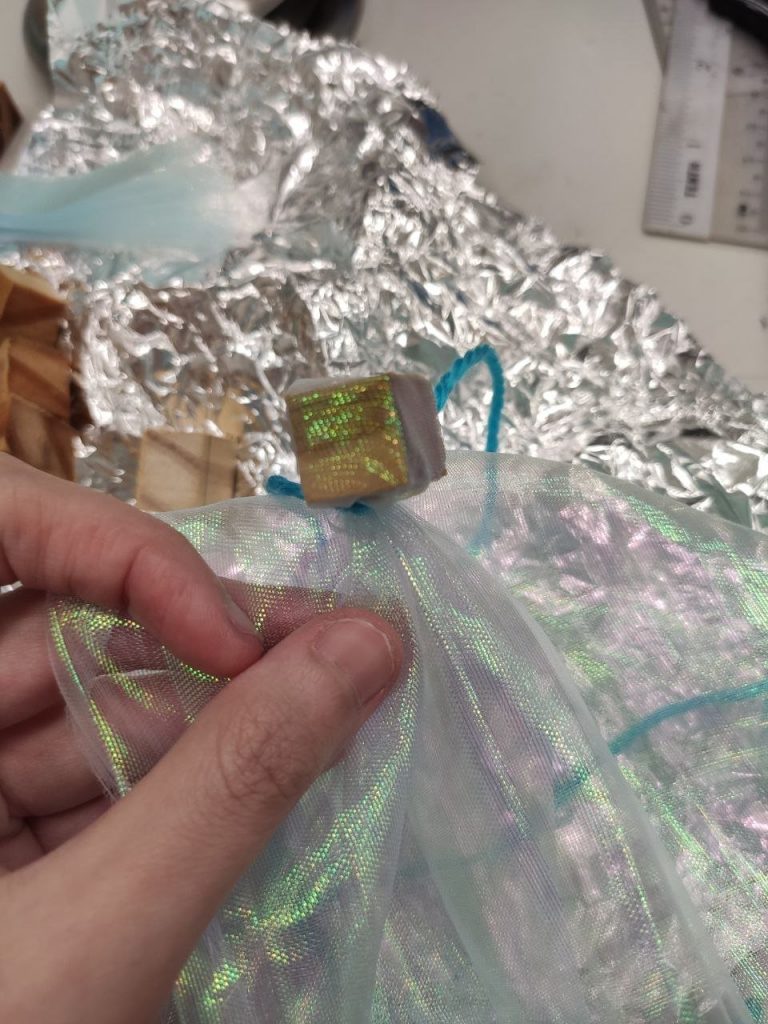
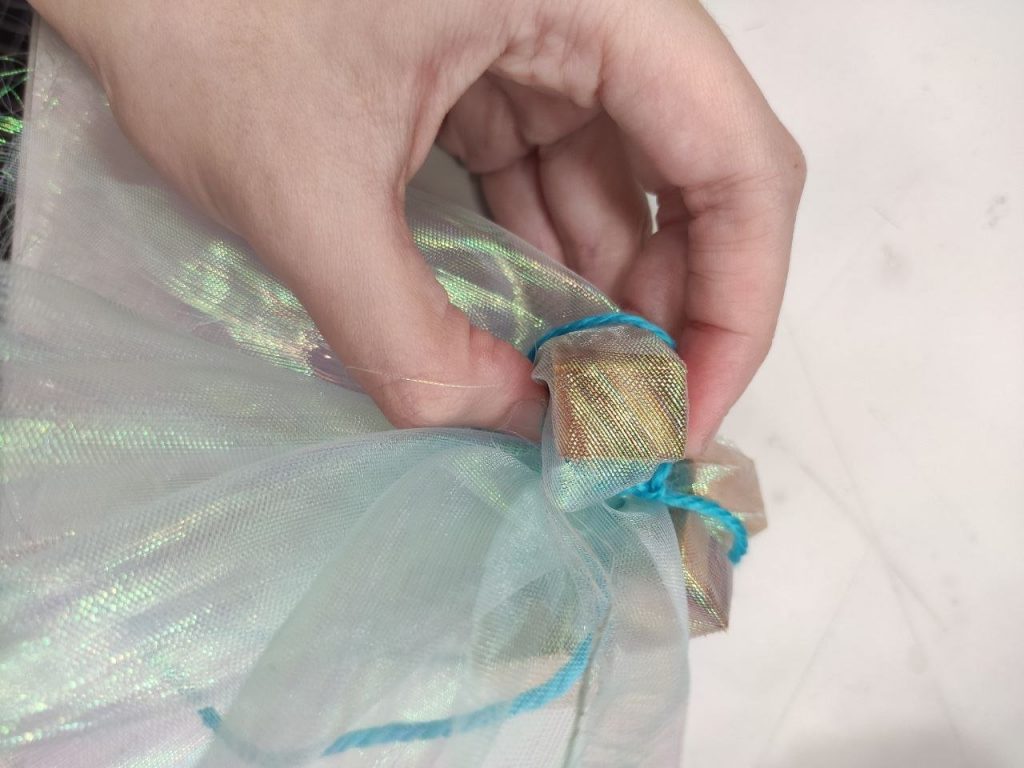
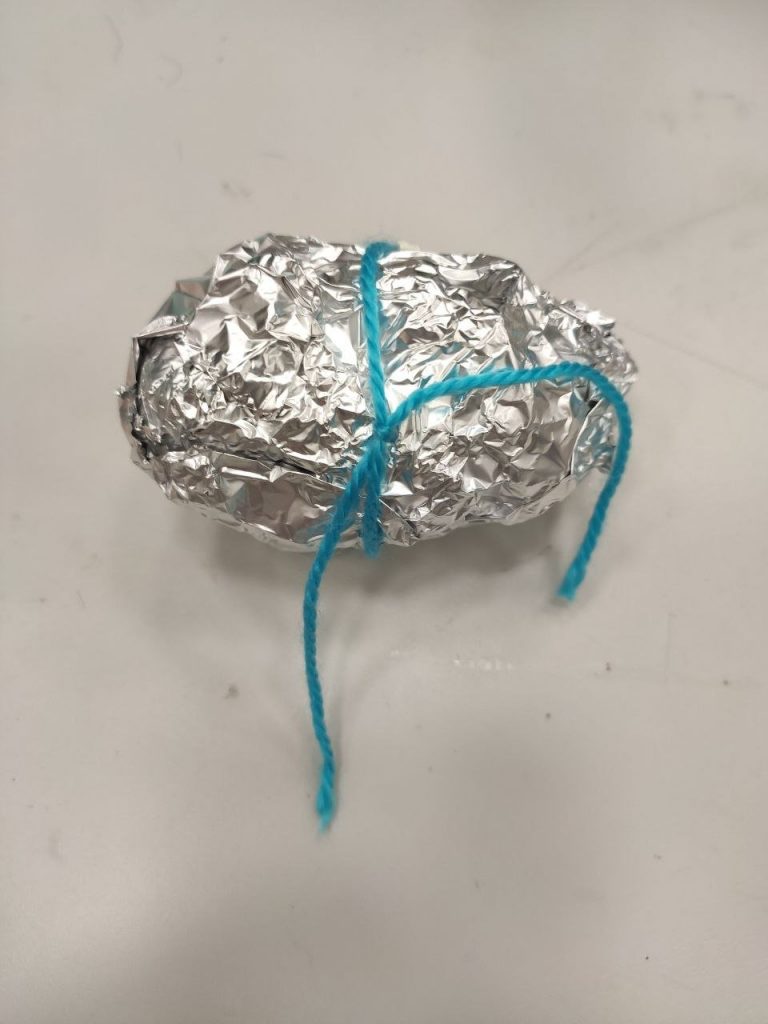
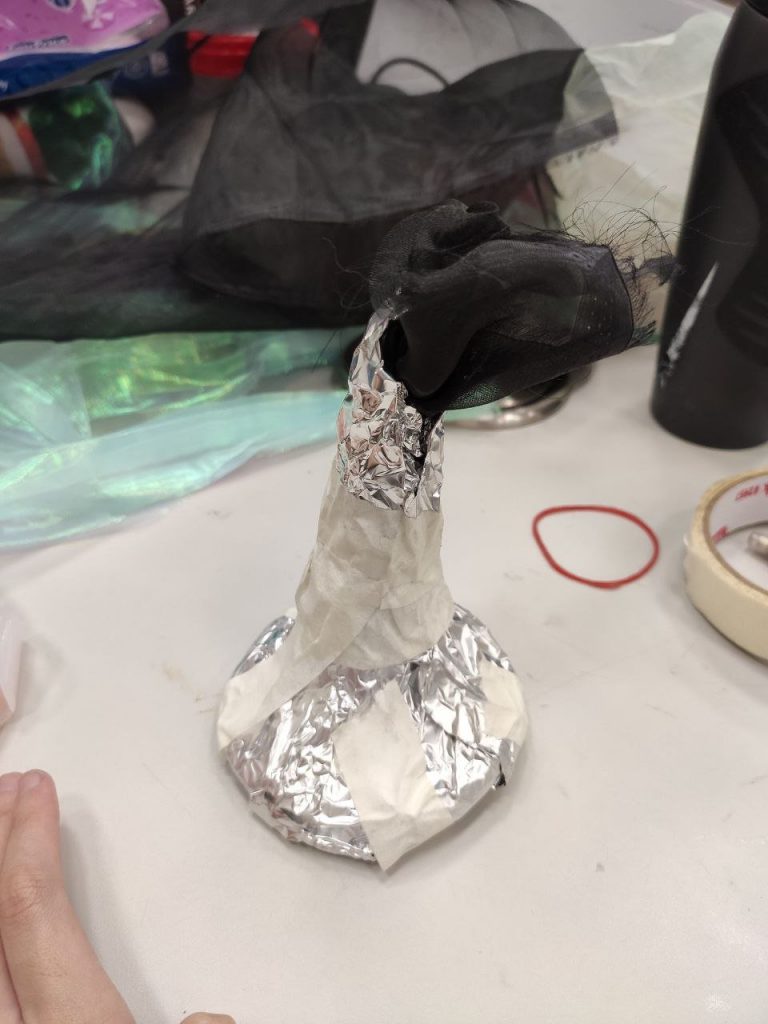
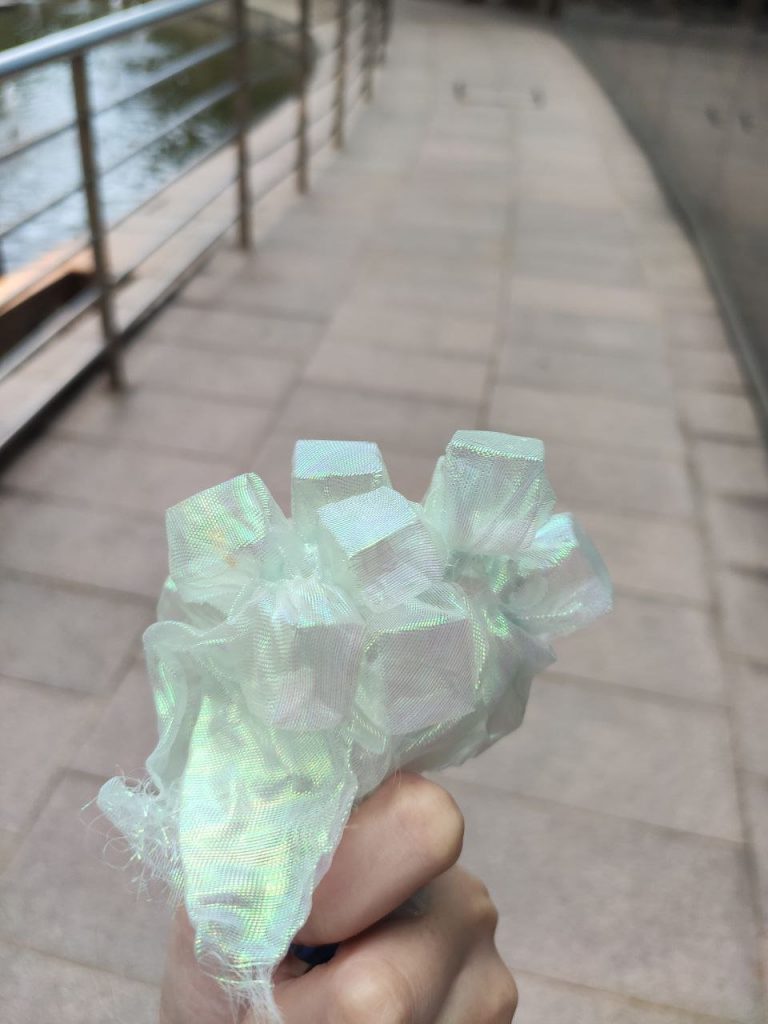
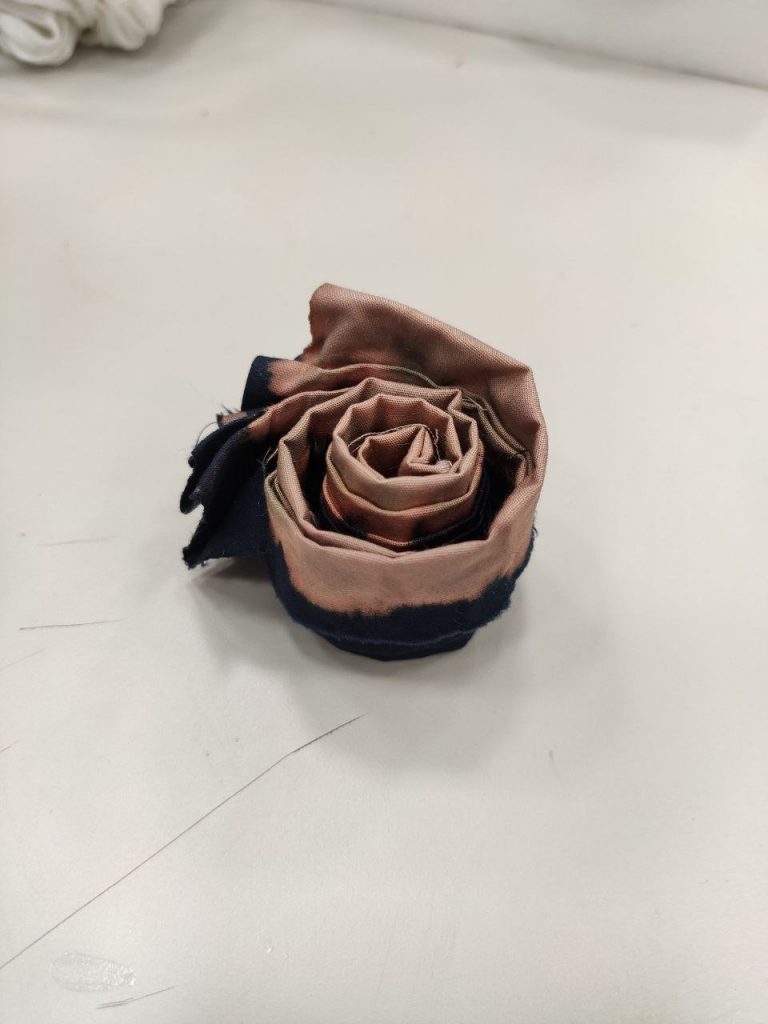
Next, I wanted to see the effects of pleating the fabric so I folded it accordion-style and rolled it up.

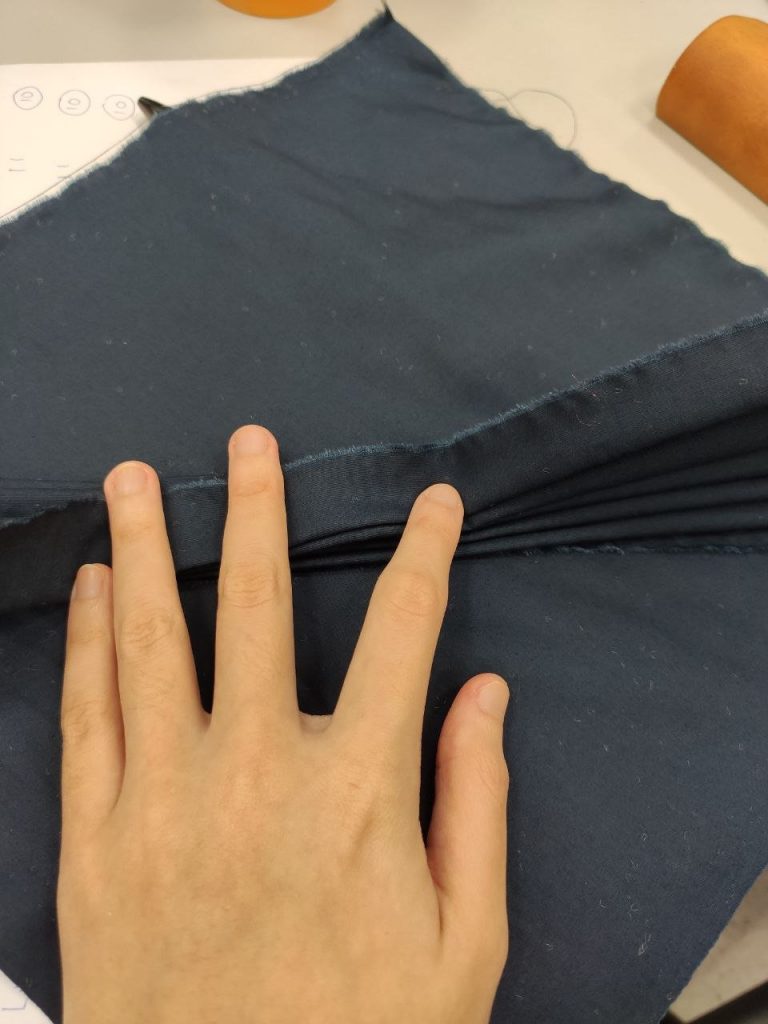
And then wet the top half with bleach.

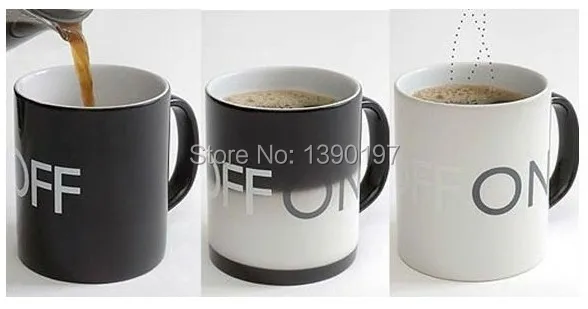
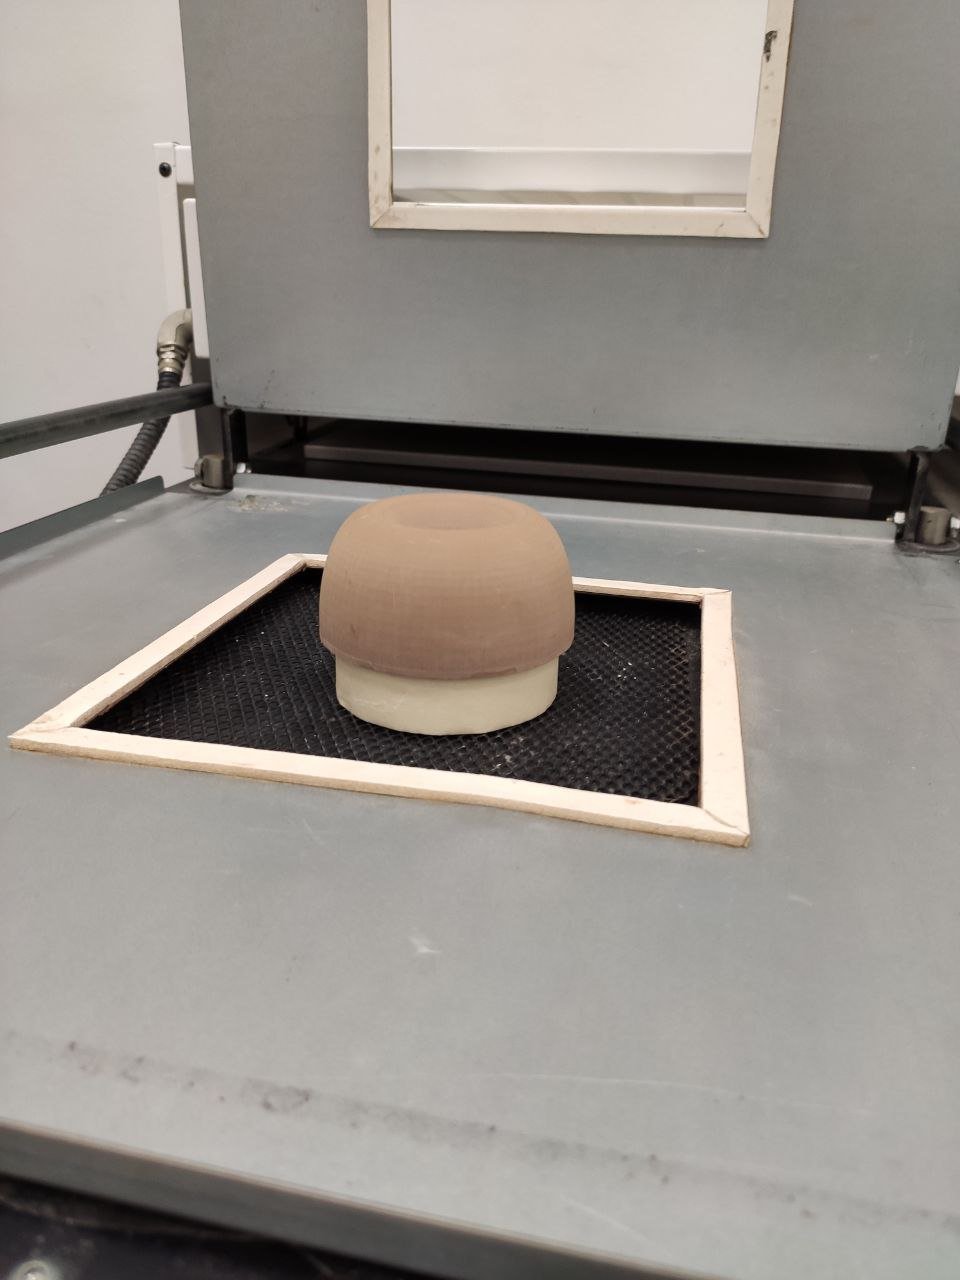
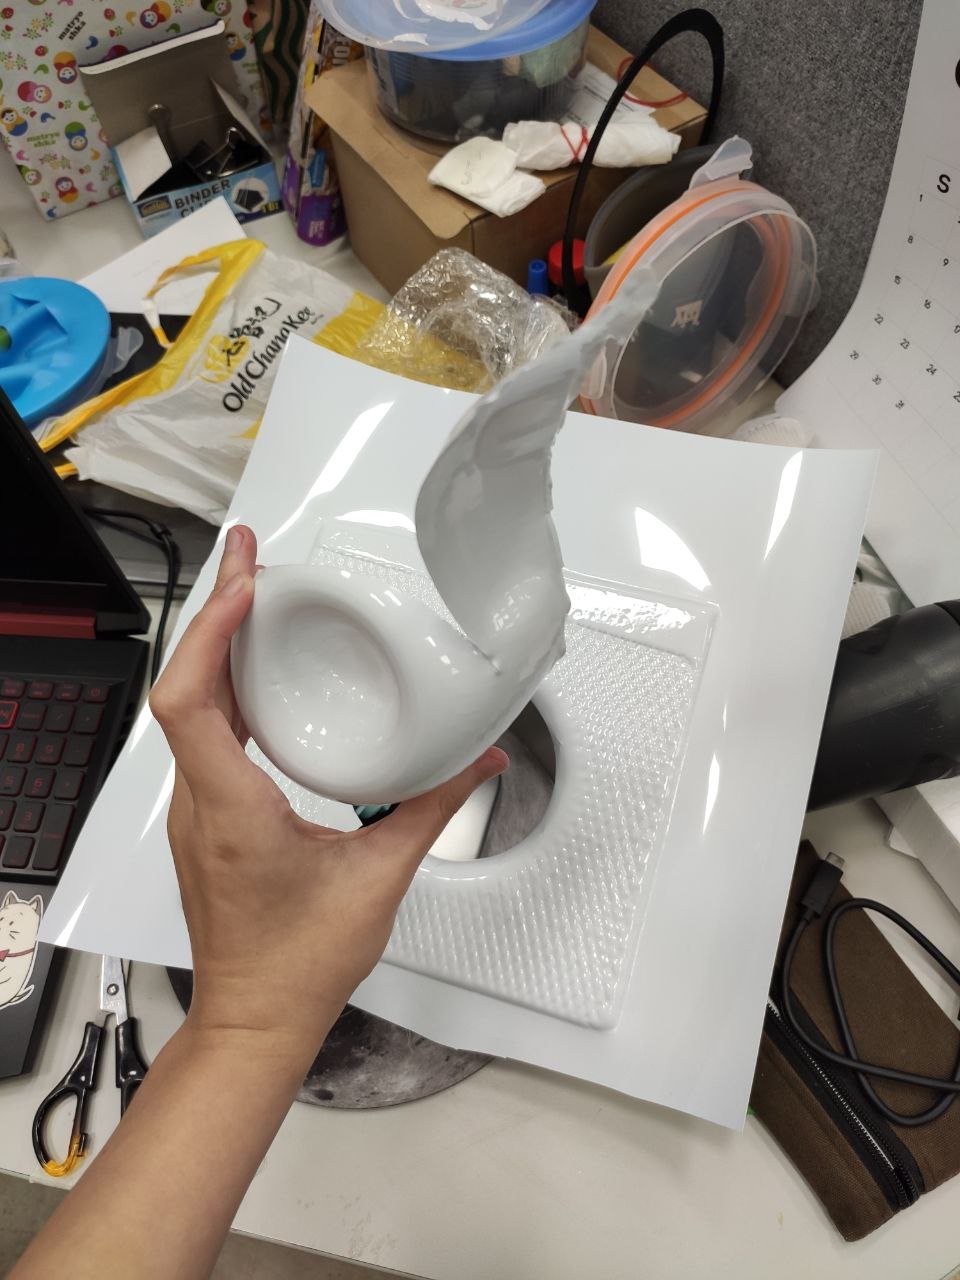
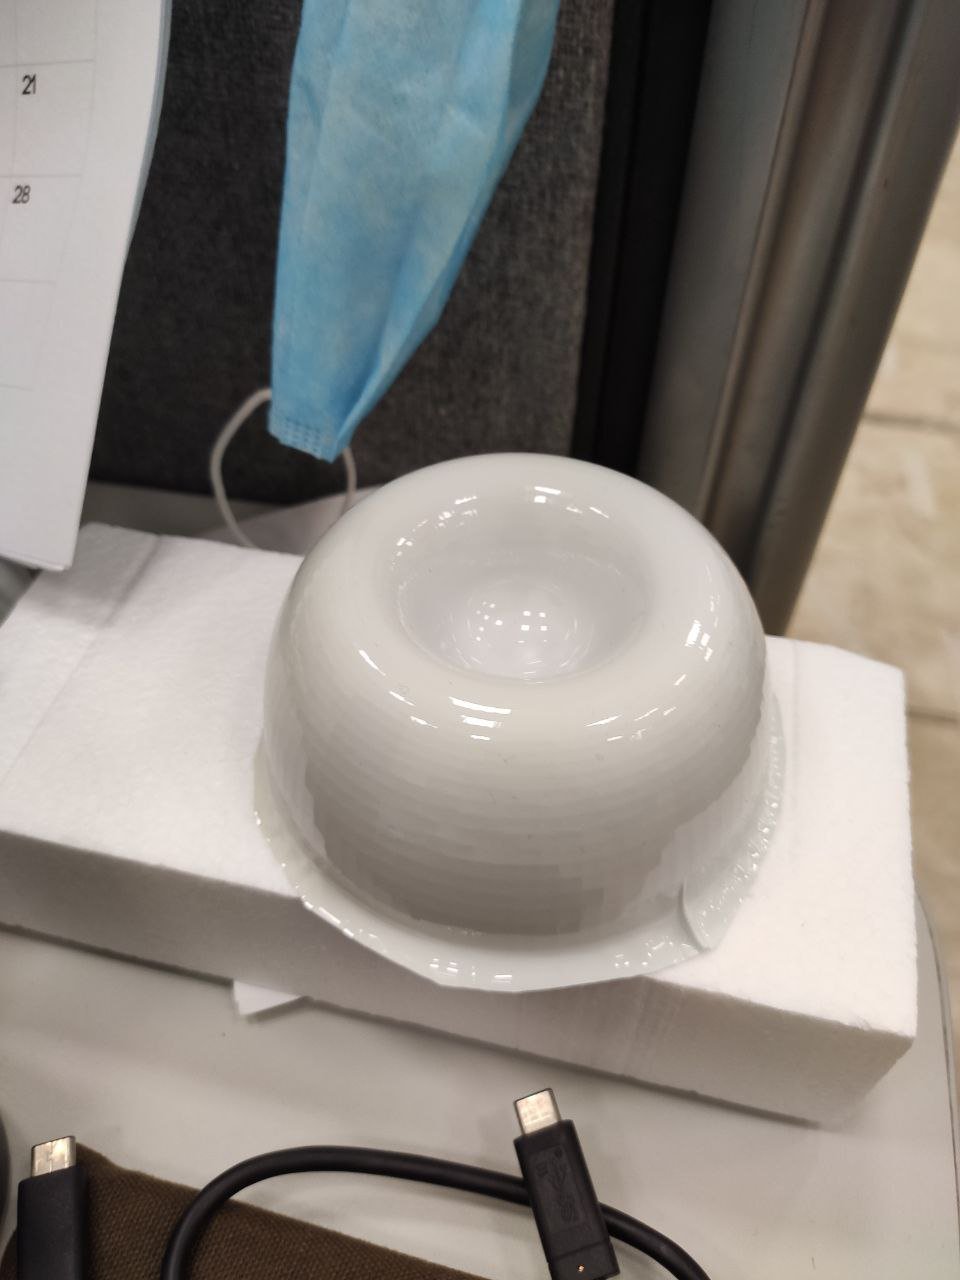
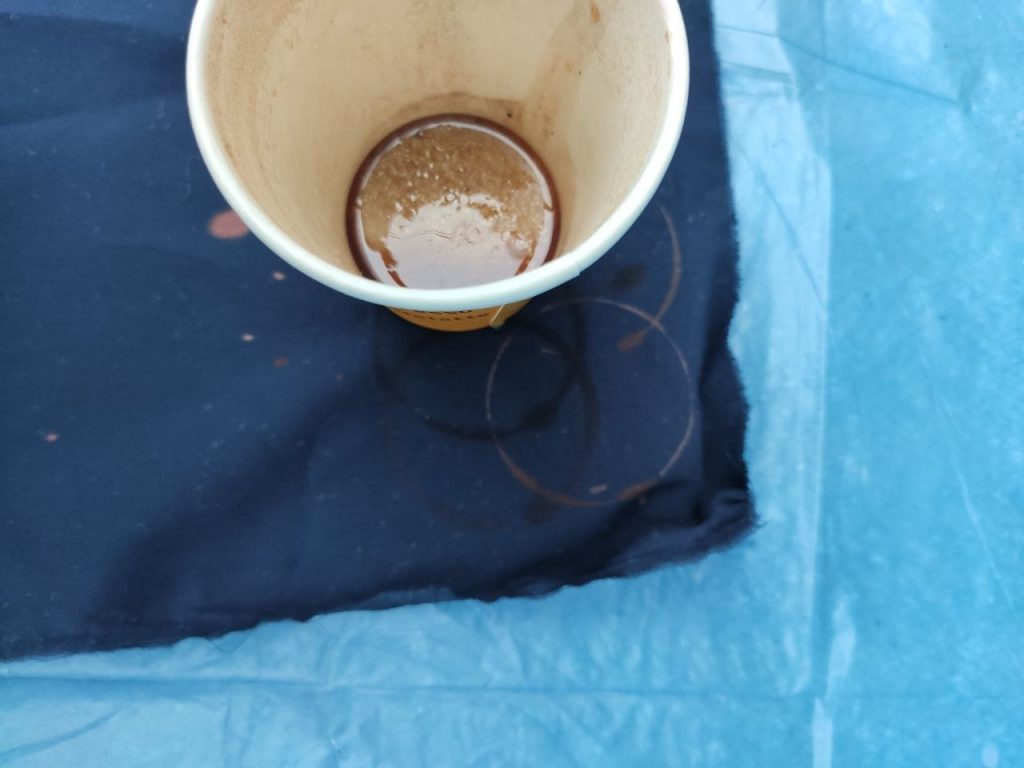
I came across  this photo while researching on bleaching, so I decided to try it out with the coffeecup.

Image result for bleach printing on fabric

So I sprayed some bleach onto the table, stole meryl’s finished coffeecup and dipped the rim into the bleach before stamping it onto the fabric.

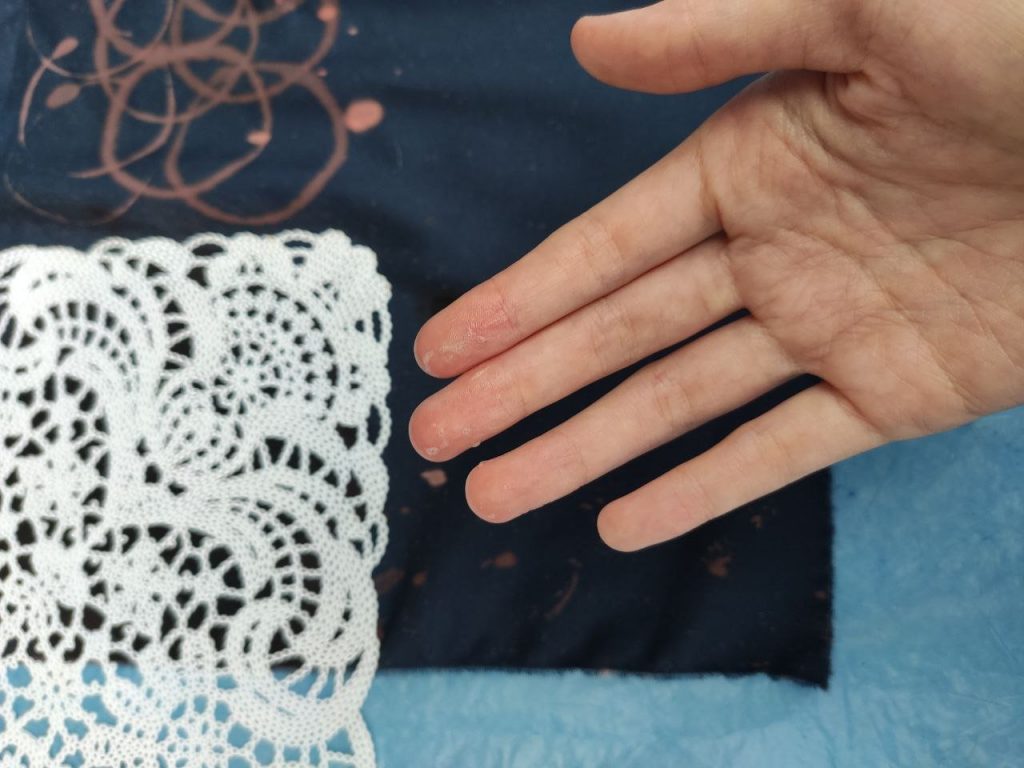
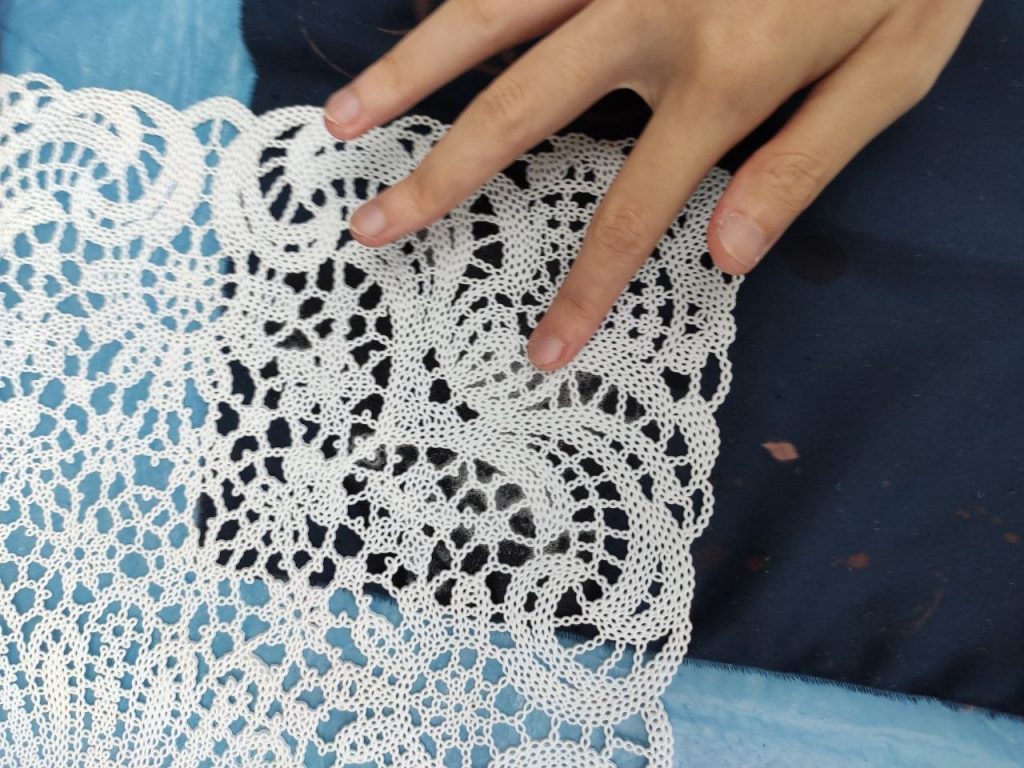
Next, I also used the lace stencil provided and rubbed bleach over it with my fingers as I did not want it to bleed out too much directly from the spray.

The last method is inspired from a module I took in year 1 where we got to play with black ink on white paper.

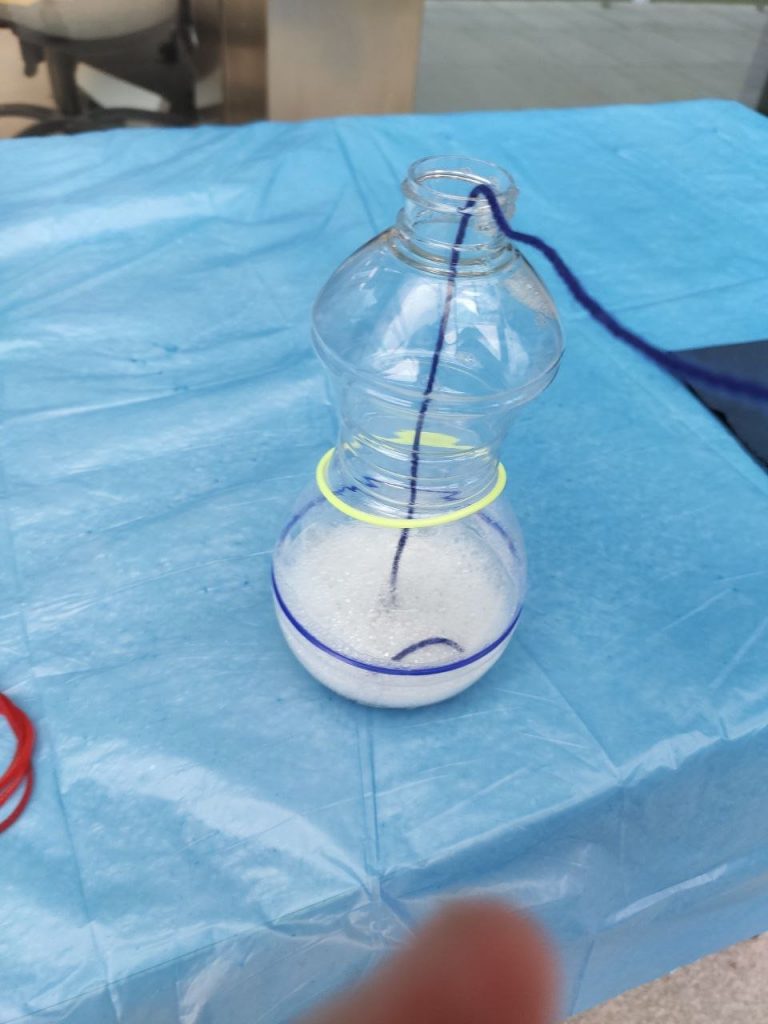
So first I dipped a yarn piece into the bleach solution.

Then I thwacked the string against the fabric as hard as I can continuously.

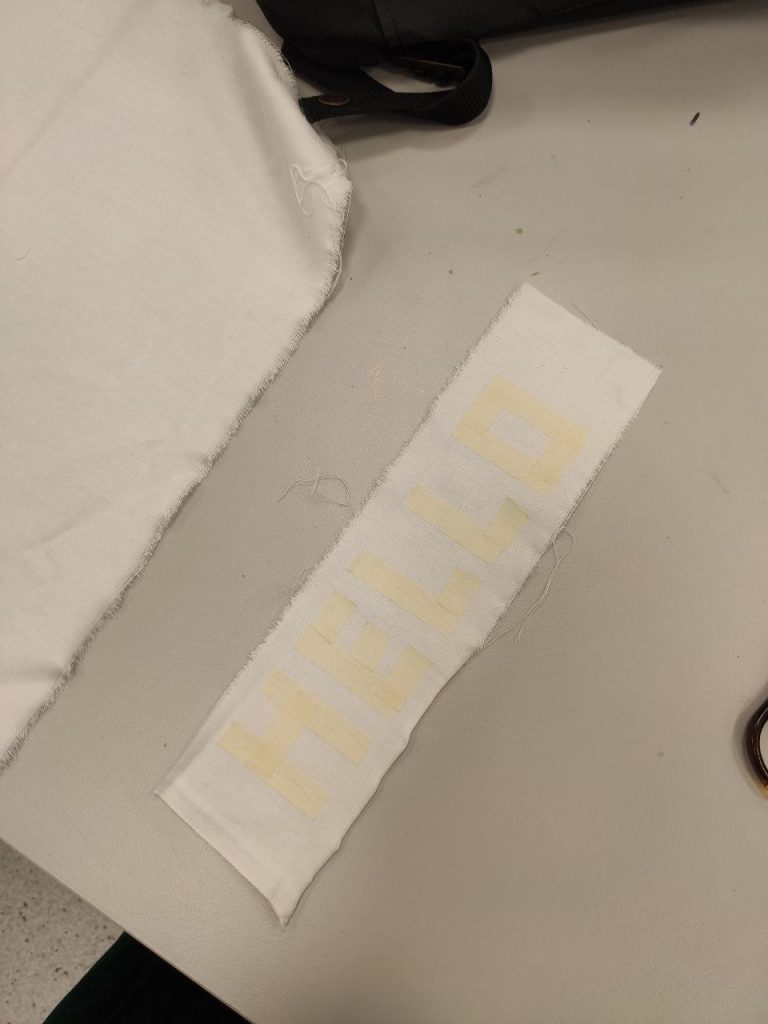
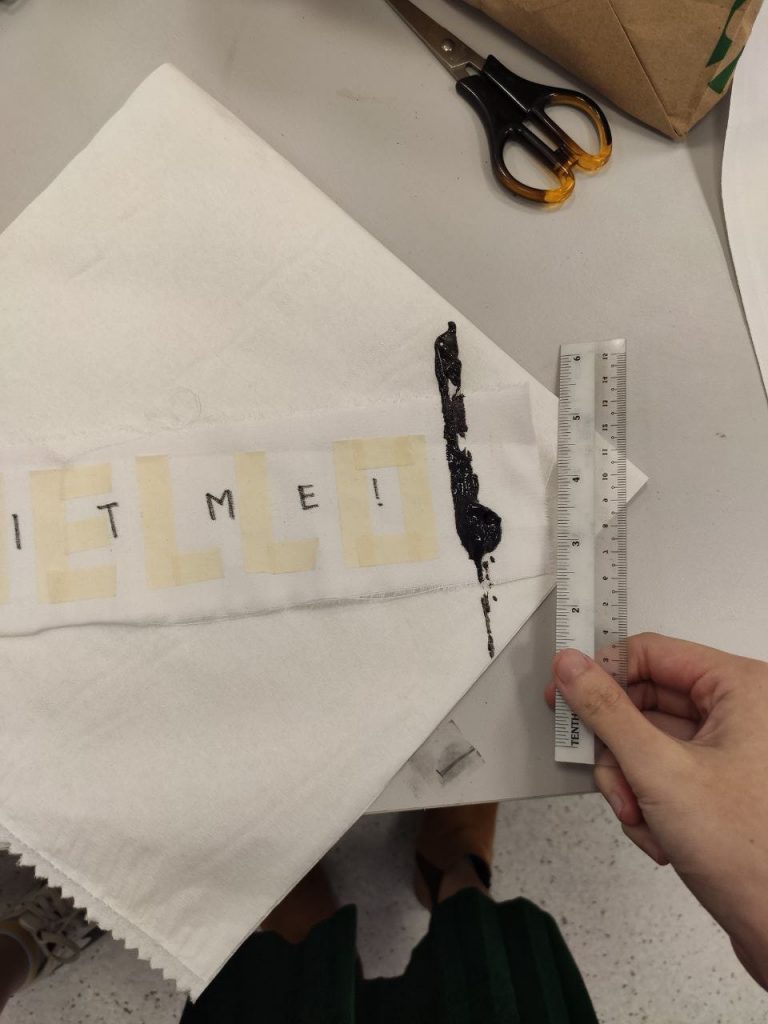
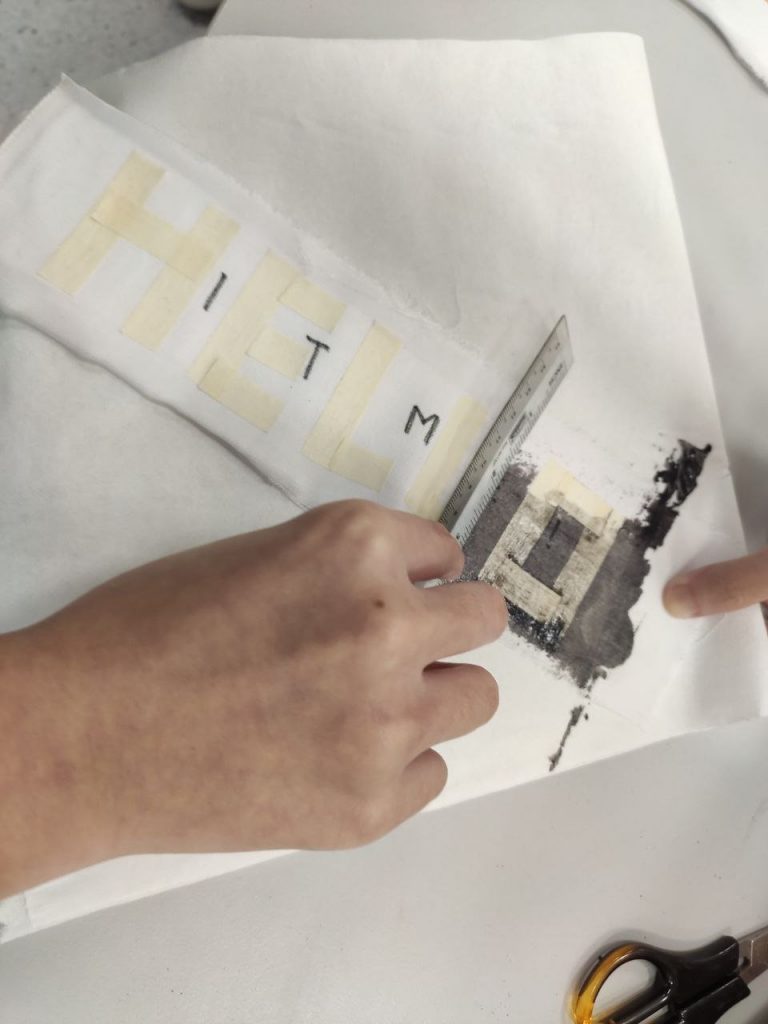
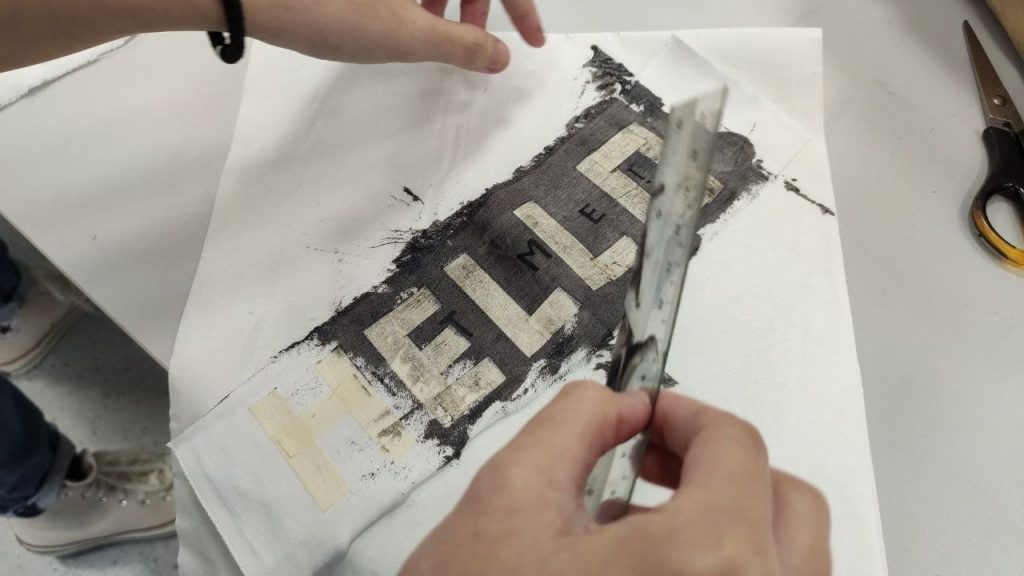
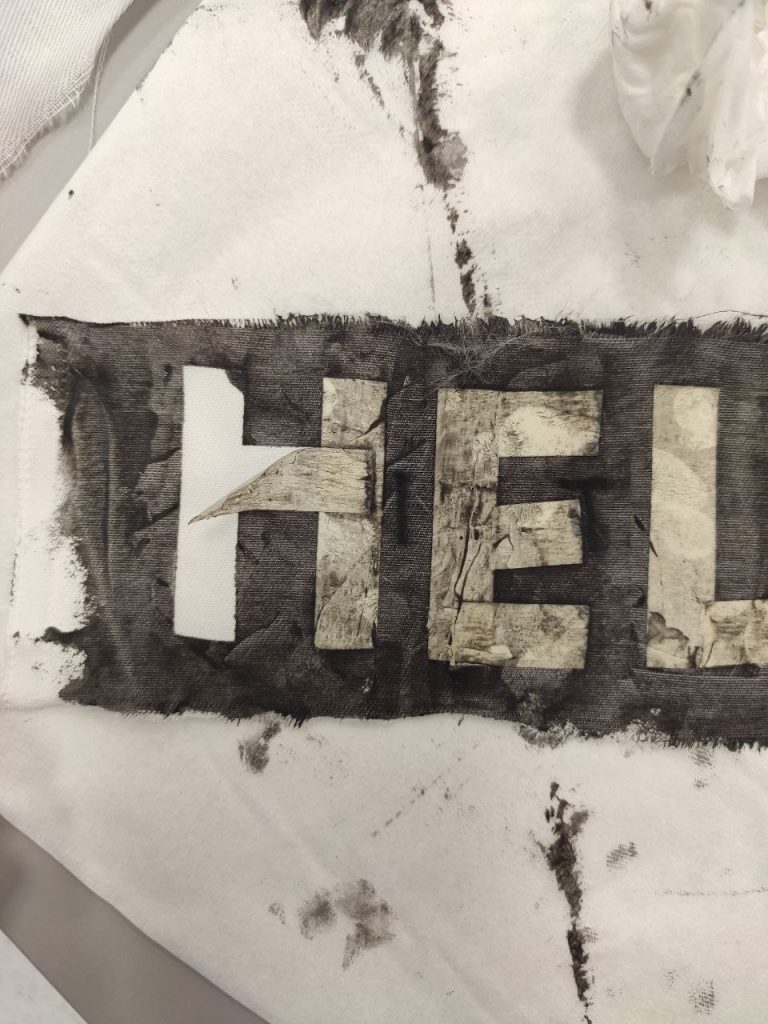
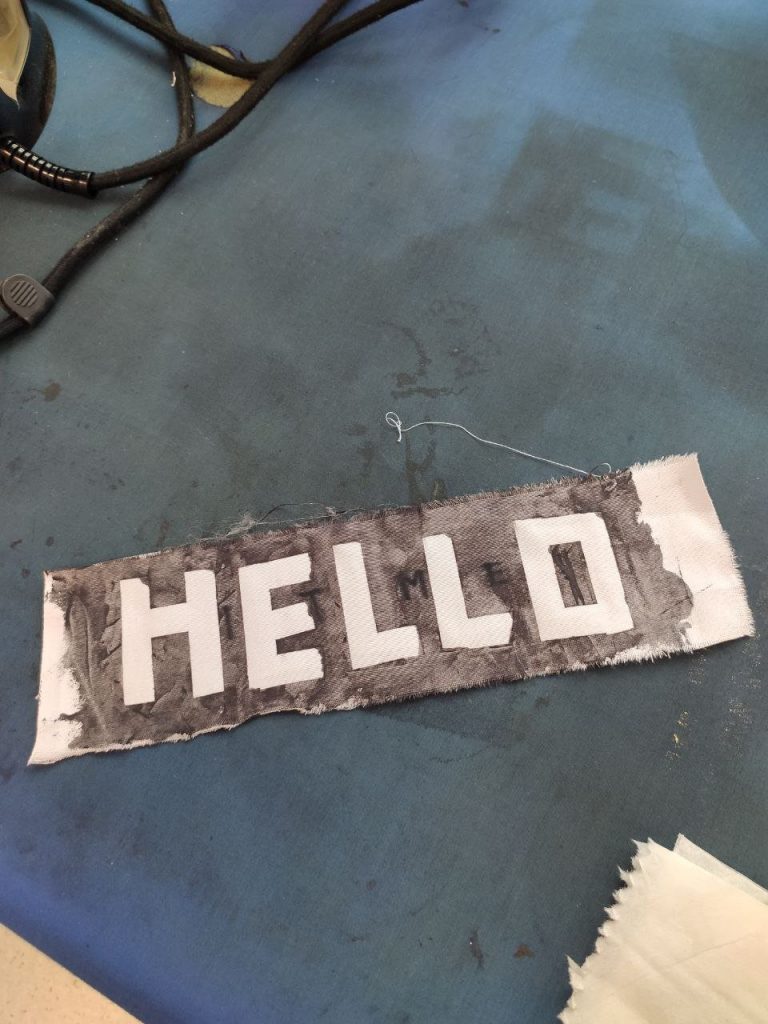
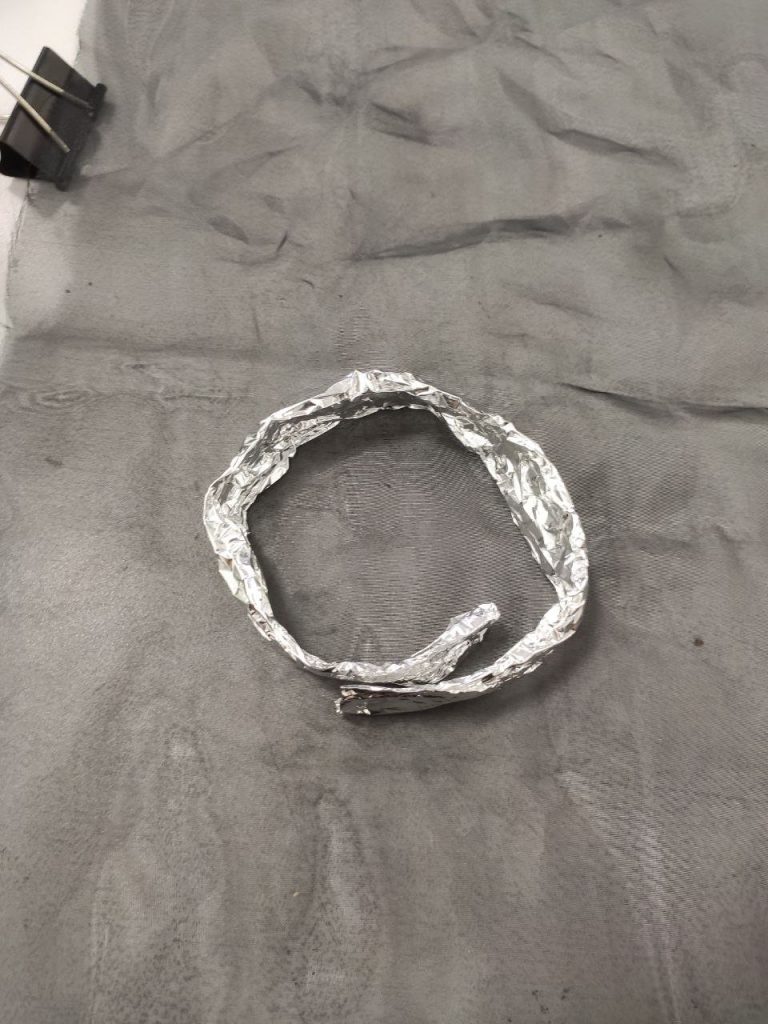
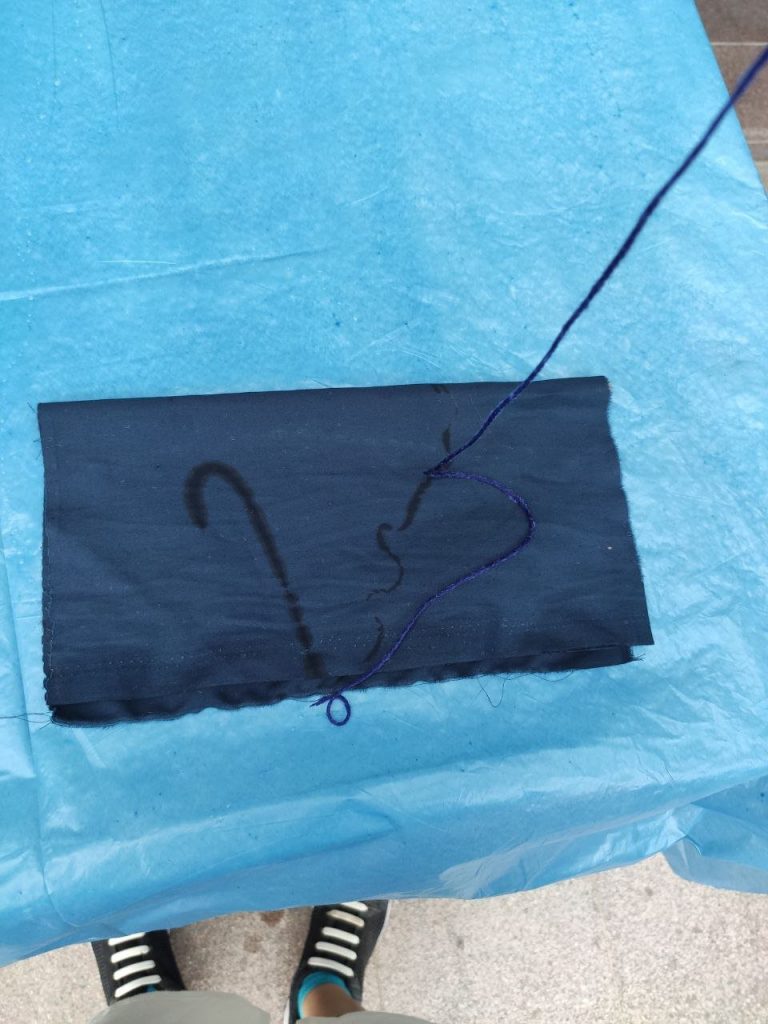
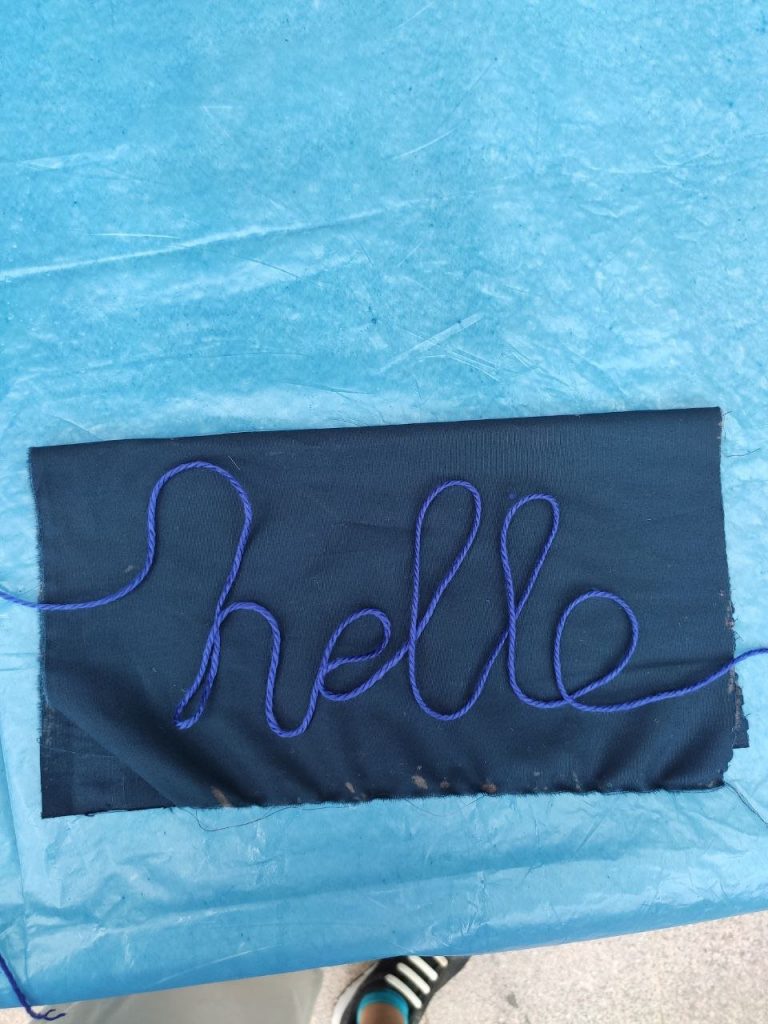
I also wanted to see if I could use the string as a stencil so I formed the word ‘hello’ with the string.

And then tried to spray upwards instead of downwards as I was afraid that the strength of the spray will make the bleach bleed out beyond the stencil.

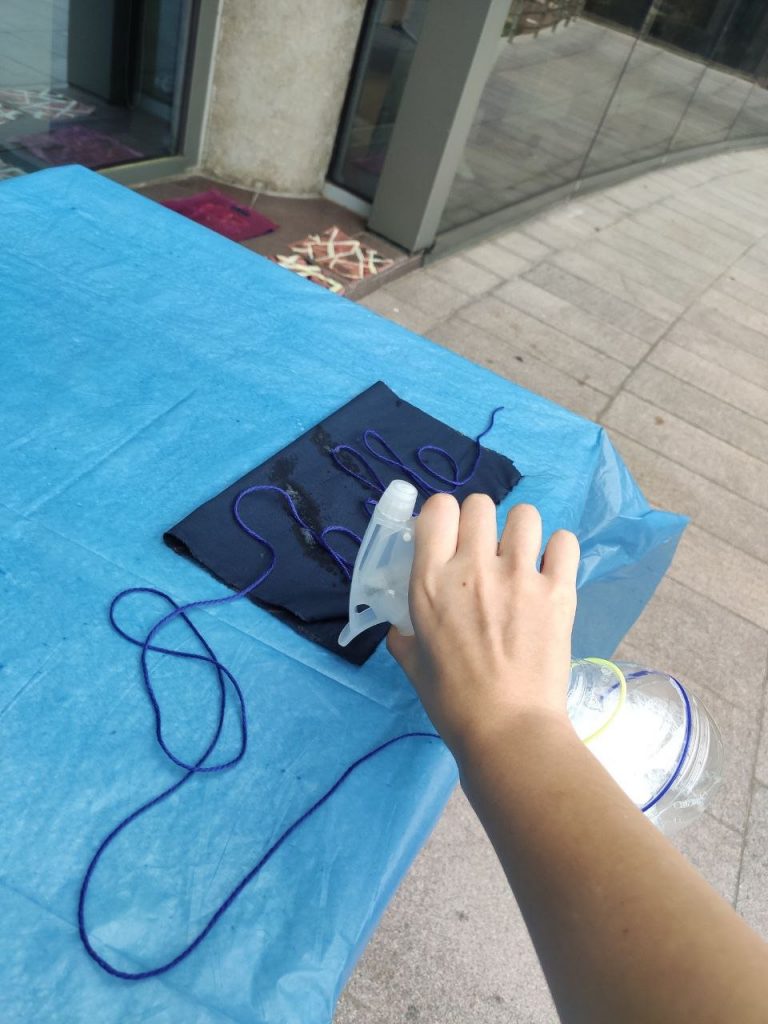
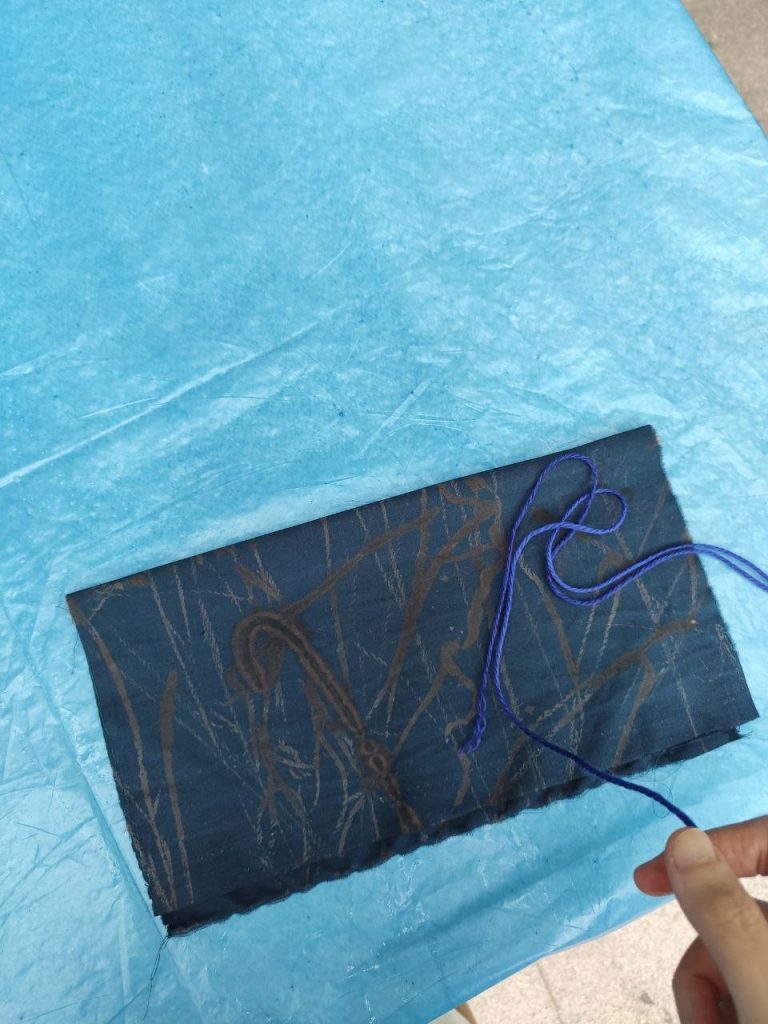
However, after seeing splotchy results that overruns the stencil, I just decided to use the string to whack and leave more lines.

Results:

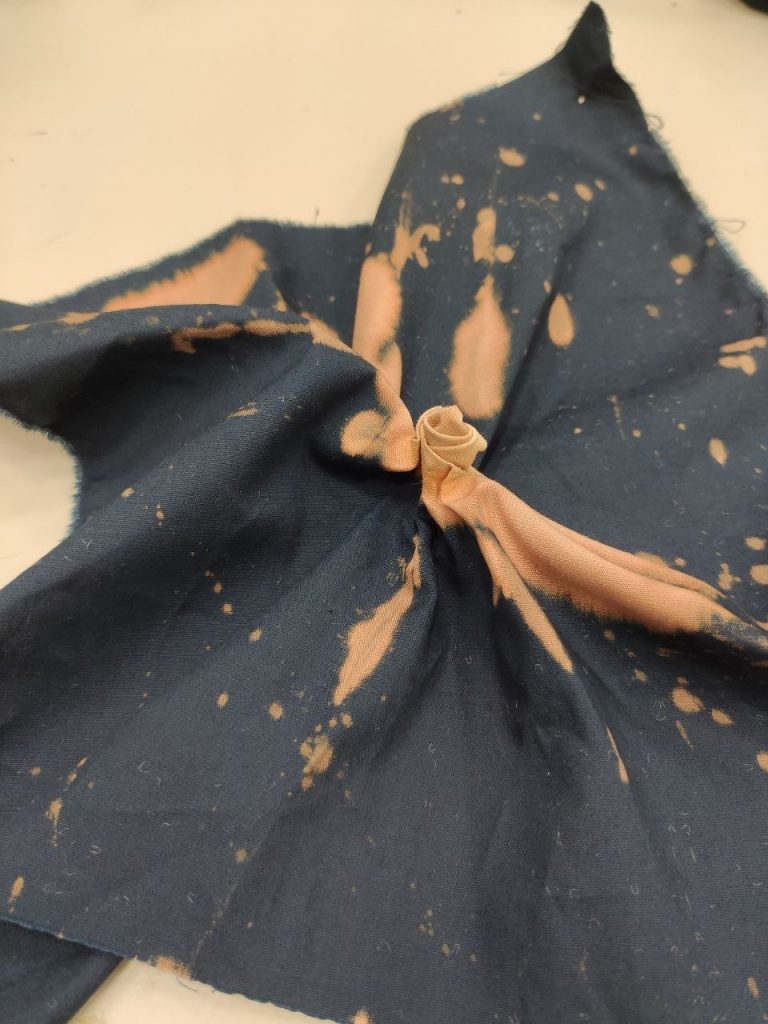
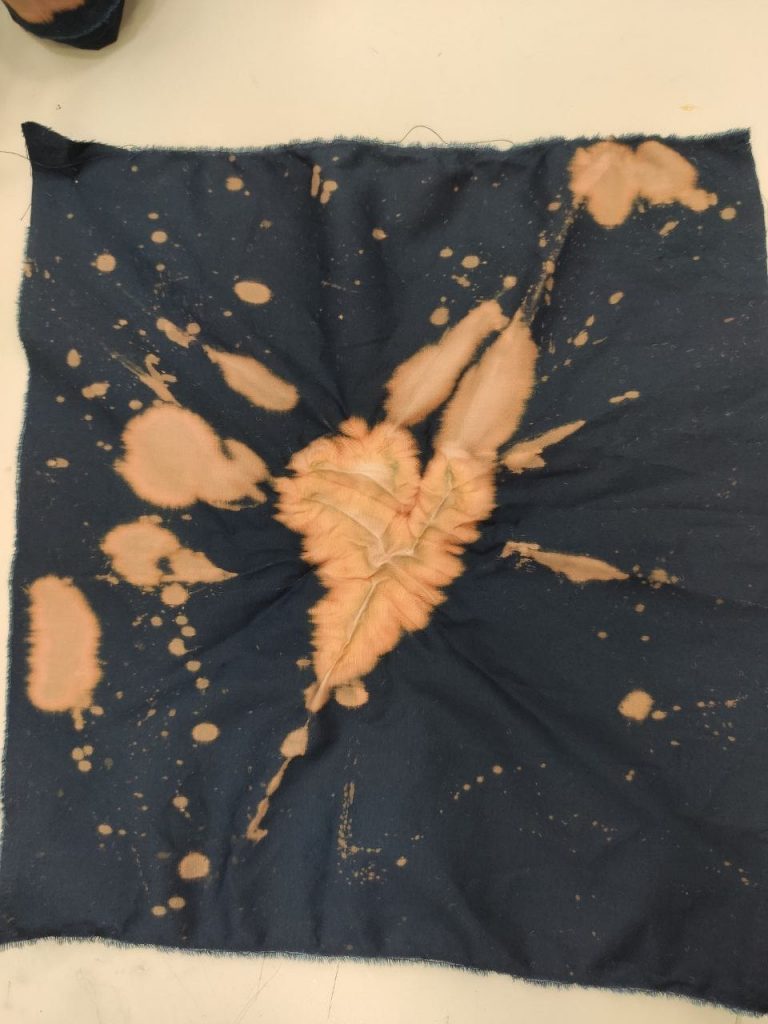
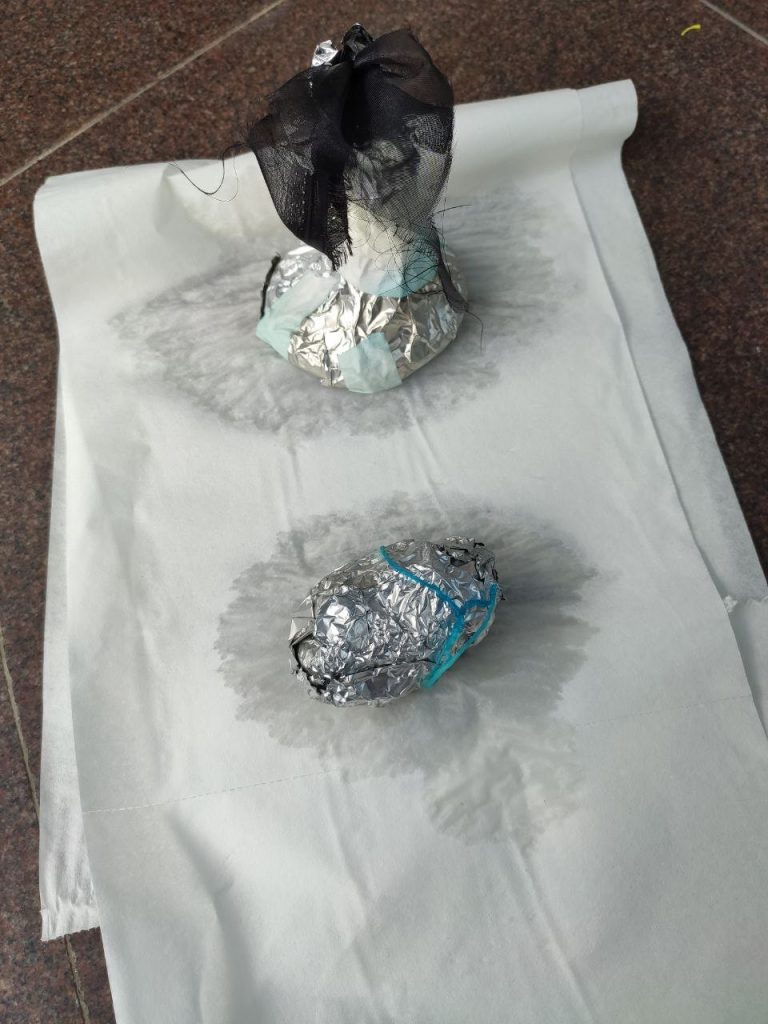
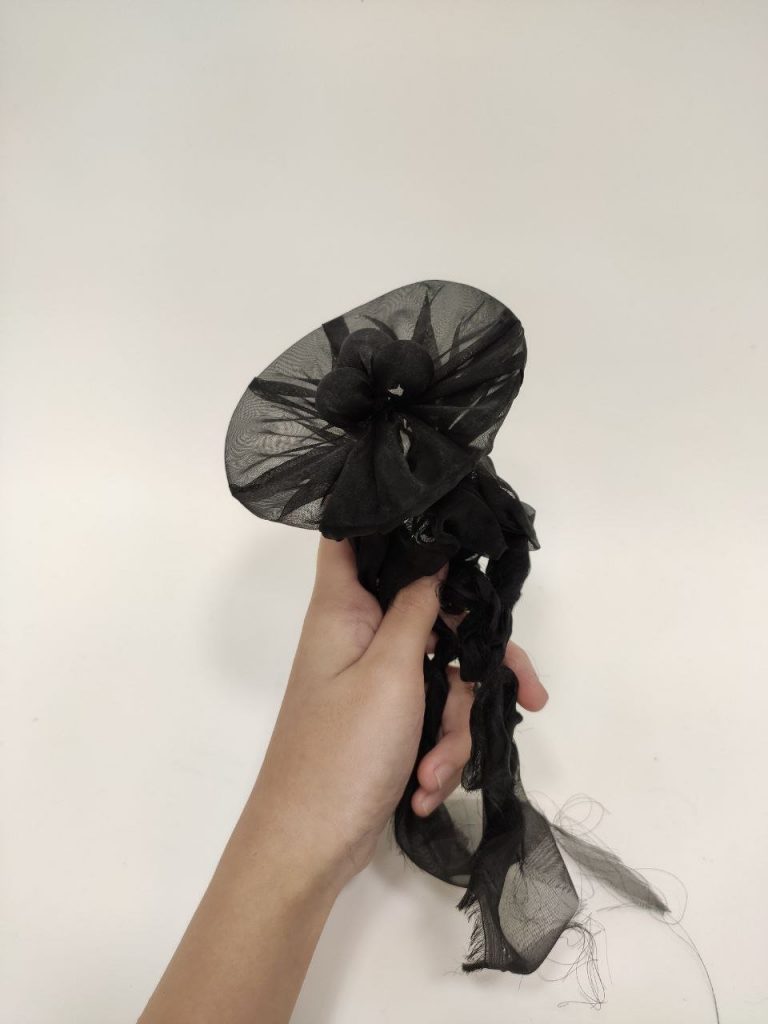
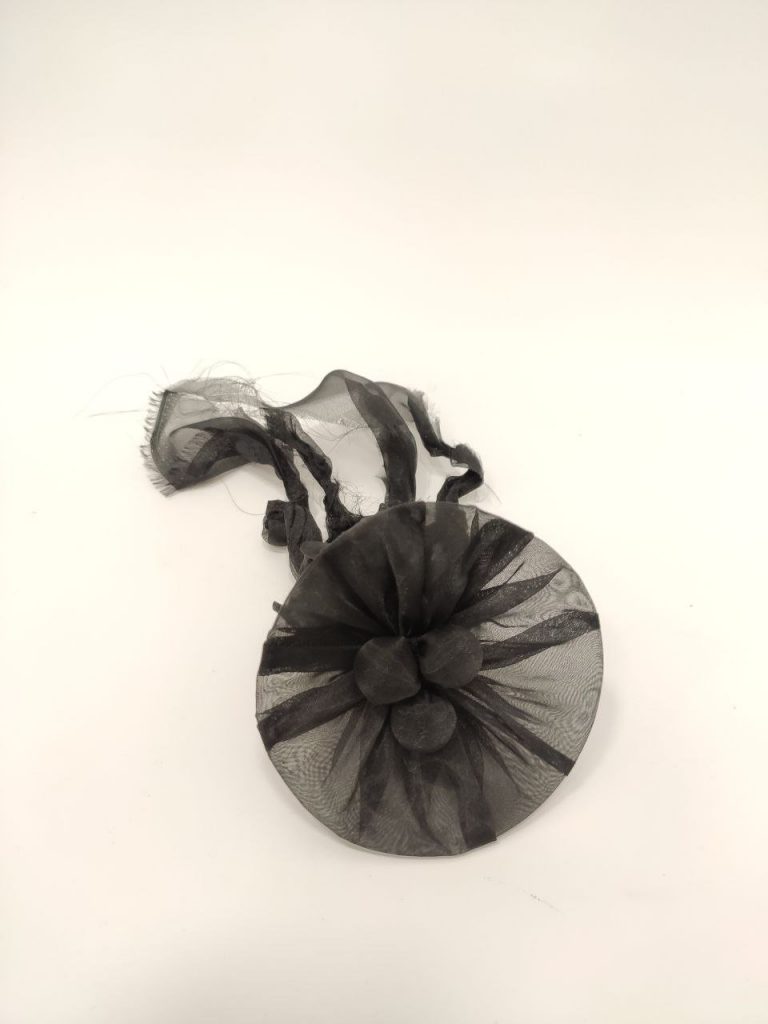
So the spiral effect kind of failed sadly, I think perhaps because of the bleach bleeding out too much as well as the pinched portion was too small. Some splatters turned out too much as well.

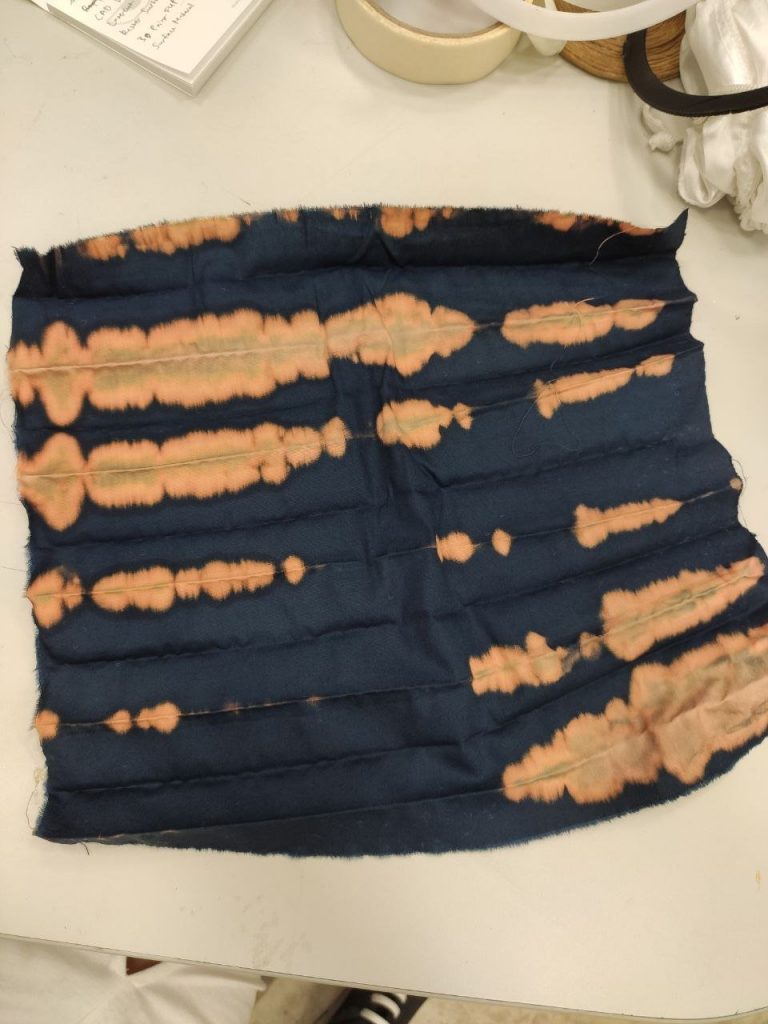
The pleated one gave a linear but asymmetrical pattern.

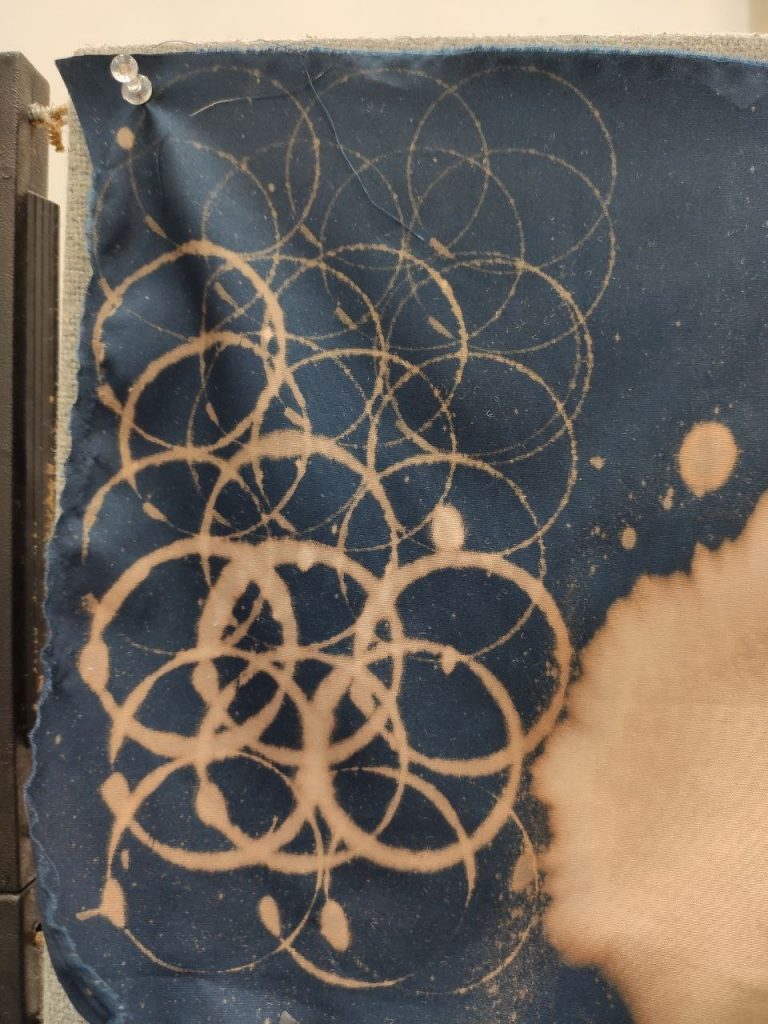
The cup one was quite interesting but I think for some parts, I dipped it in too much bleach before stamping. Also, it was quite hard to estimate where to stamp for an even symmetrical pattern.

The lace unfortunately, still bled out quite a lot although upon closer inspection can tell the faint outline of lace pattern.

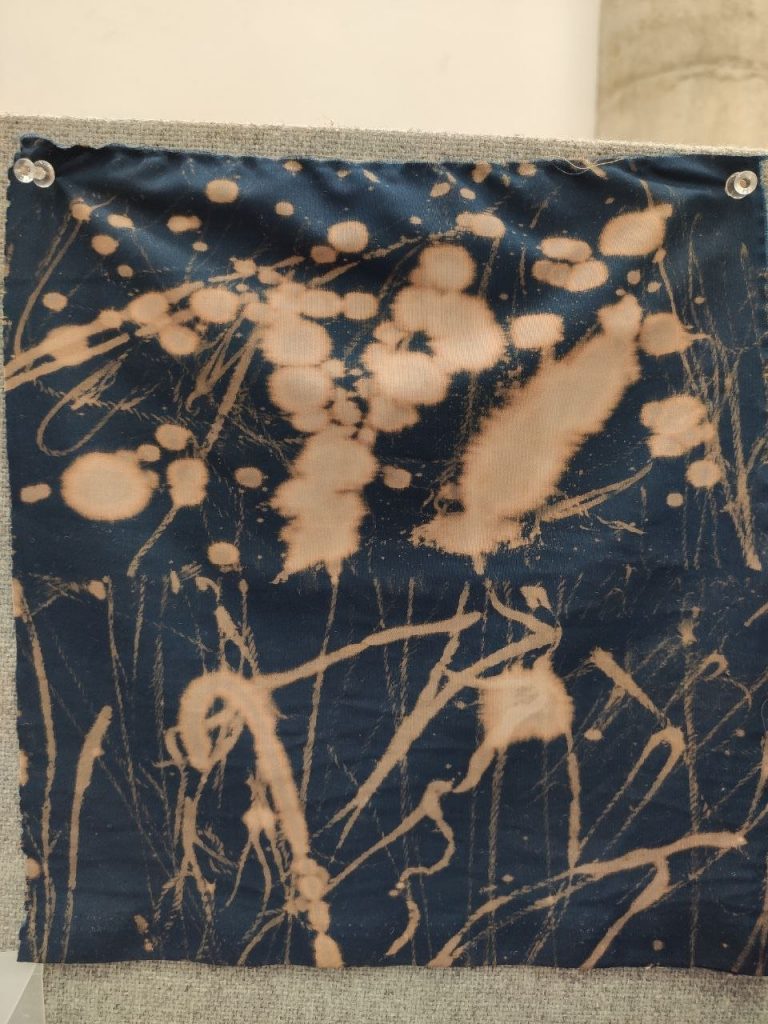
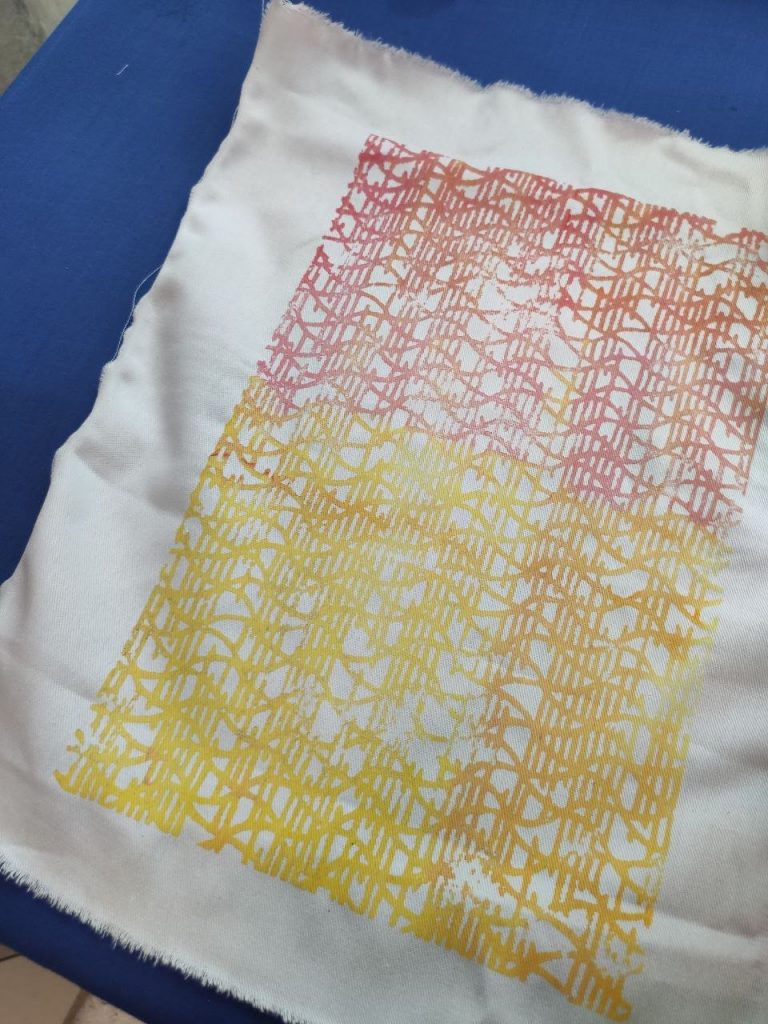
The yarn one turned out the nicest of them all, I think! The patterns created are very free-form and abstract.

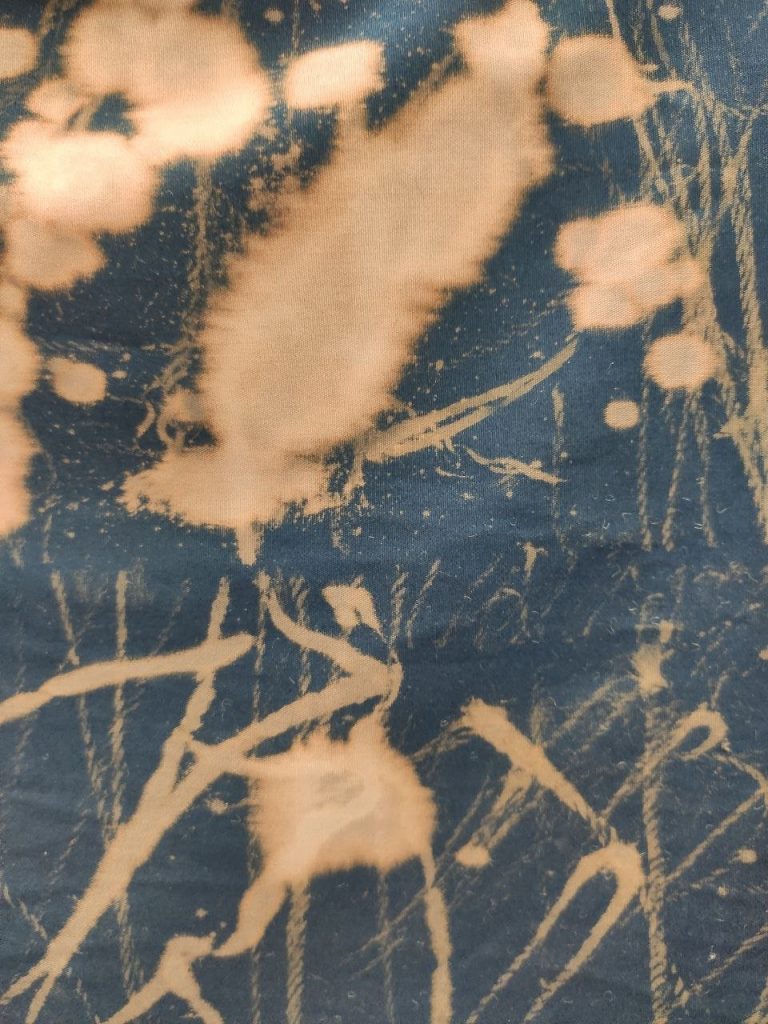
The texture of the yarn rope can also be seen on the imprints, which I did not expect!

All in all, bleaching is an interesting technique but due to its unpredictable and volatile nature, I would probably not use it in my final outcome.

I think that perhaps the bleach solution should be diluted further and applied with a brush for stencils to work well.

A P P L I C A T I O N S

T-shirt customisation

Image result for diy bleach shirtImage result for bleach printing on fabric

Image result for diy bleach shirtImage result for diy bleach shirt

Writing words using a precise brush dipped in bleach

Image result for diy bleach denim

Can be used on denim as well!

Raster Engraving

Partial removal of material from the surface by a machine to form an engraved image.

Materials:

  • Acrylic Sheet
  • Digital file for print
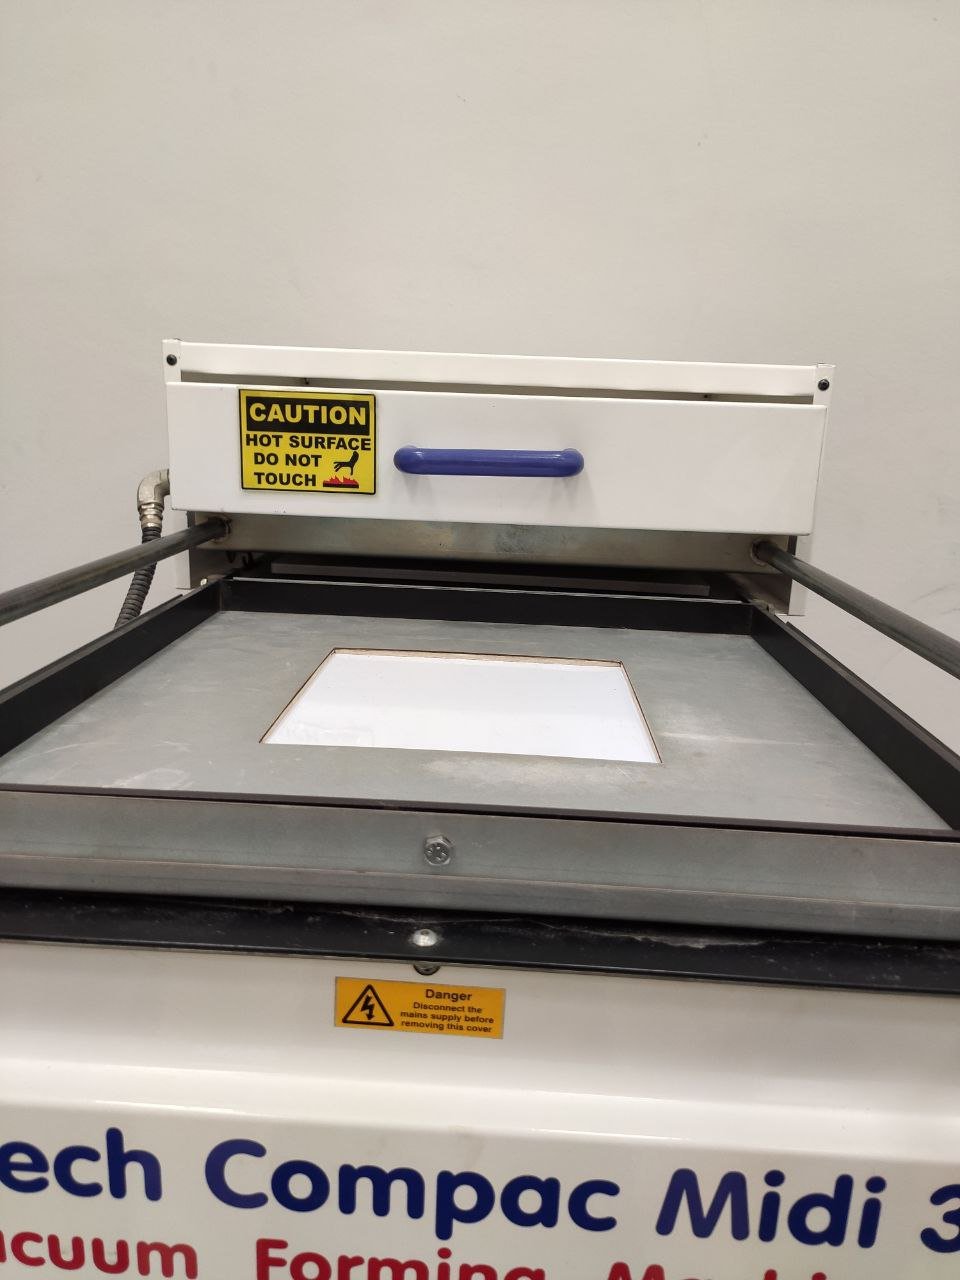
  • Laser-cutting Machine

Instructions

  1. Switch on the machine, computer, ventilation hood and air pressure valve.
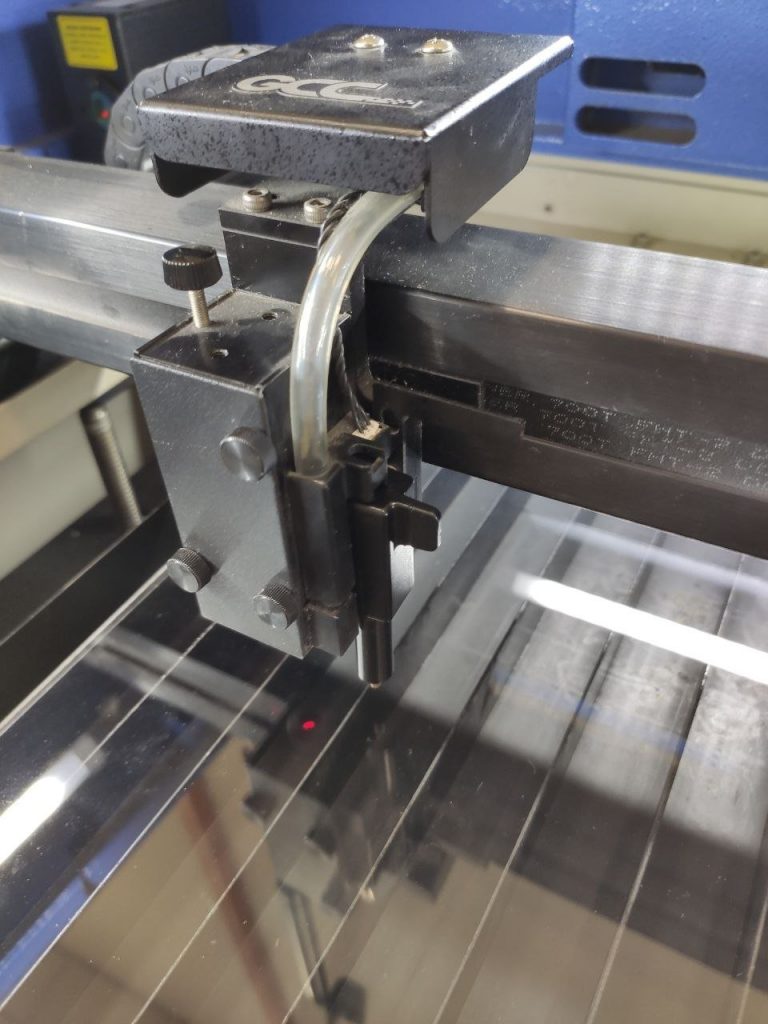
  2. After initialising, place your sheet and attach the focus probe to auto focus.
  3. Open CorelDraw and set the print template to that of the machine dimensions. Then, import your file in .dxf format.
  4. Set the outline/infill colour to black(for laser cut – hairline thickness) & red(for raster). Ensure that the colour is in RGB mode for red, with R at 255 and G & B at 0.
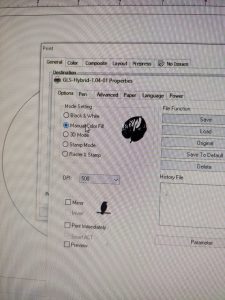
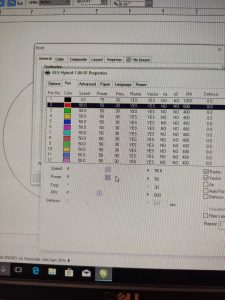
  5.                               Position the print as desired. Then, click print and set preferences. Ensure that the mode setting is switched from Black & White to Manual Color Fill. Then, set the pen colour setting accordingly: For black cut outline, Speed – 3 for 2 mm(depends on sheet thickness), Power – 75, PPI – 1000.  For red raster, Speed – 50, Power – 50, PPI – 600. Then, hit save, apply and print.
  6. Head over to the laser cut machine and ensure that the focus probe is removed before continuing. Leave the lid up if you want too preview where the print will proceed before cutting, then click Stop/Start button on the laser machine.
  7.  After adjusting the location of your sheet as desired, open the door of the area at the bottom of the laser cutter and turn the knob on the right side until you hear a loud and pitchy release of air pressure.
  8. Then, close the door, the lid, and press the Stop/Start button to start the laser engraving and cutting.
  9. Wait until it is finished and the siren rings before lifting the lid and collecting your piece.
  10. Clean up the area and stray cuts in the laser cutter after use.
  11. Switch off everything if not in use.

My Explorations

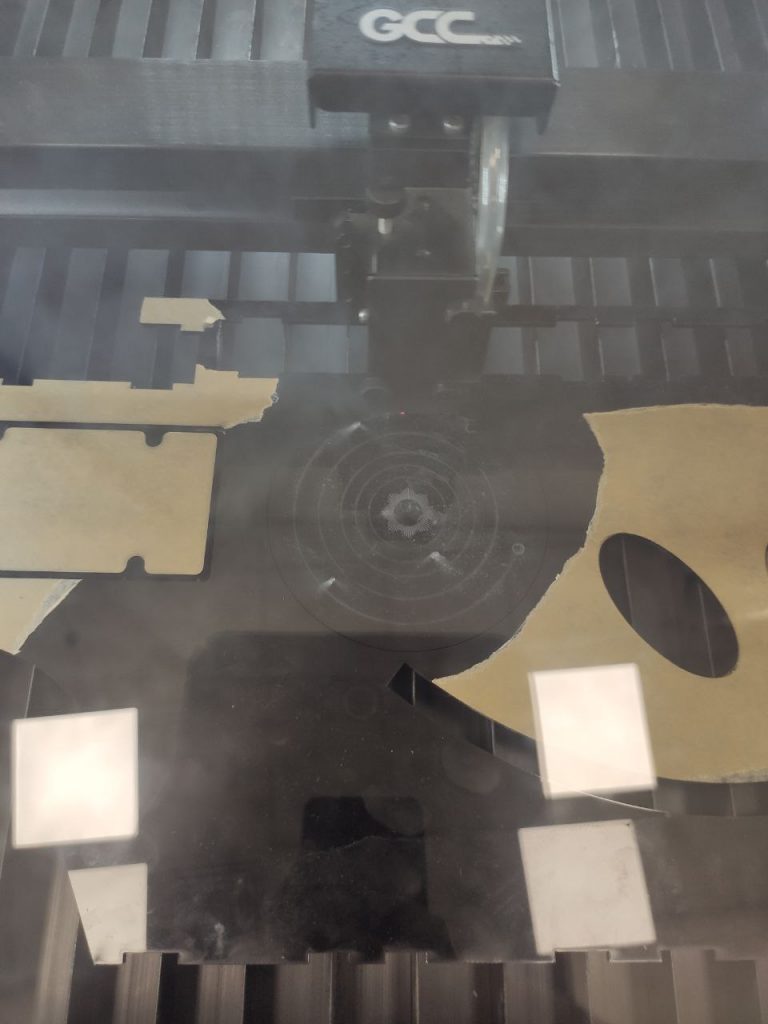
Did the auto-focusing with the focus probe.

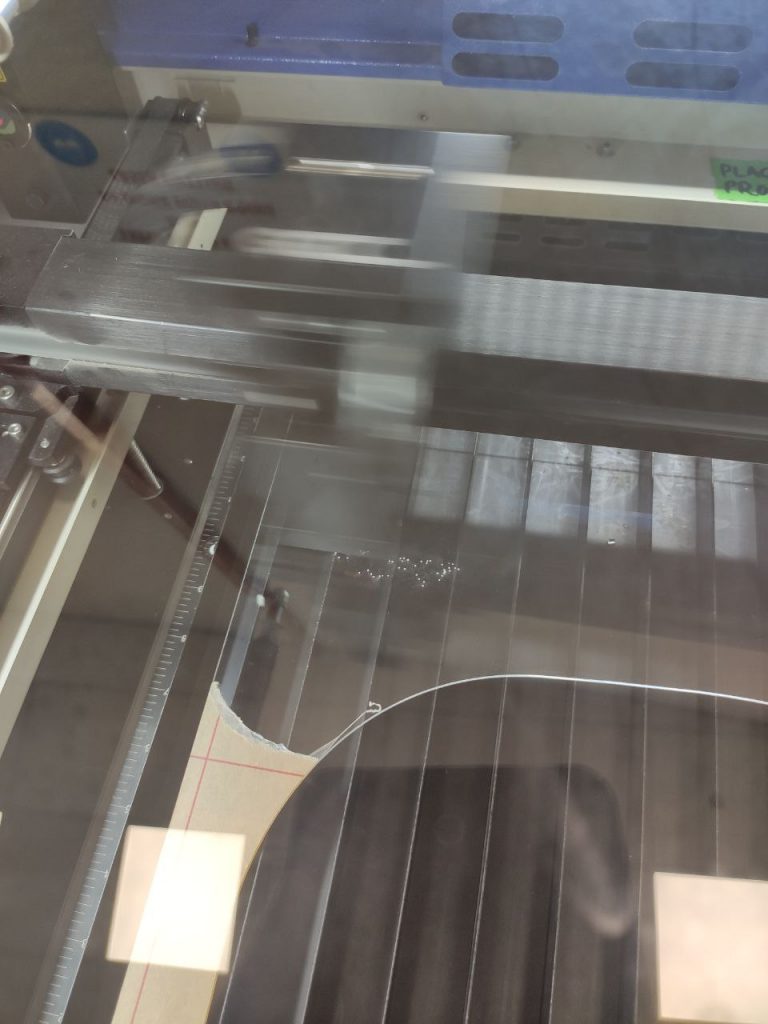
After everything is adjusted, start the cut!

My first attempt was for an image I found online and converted it into a vector shape.

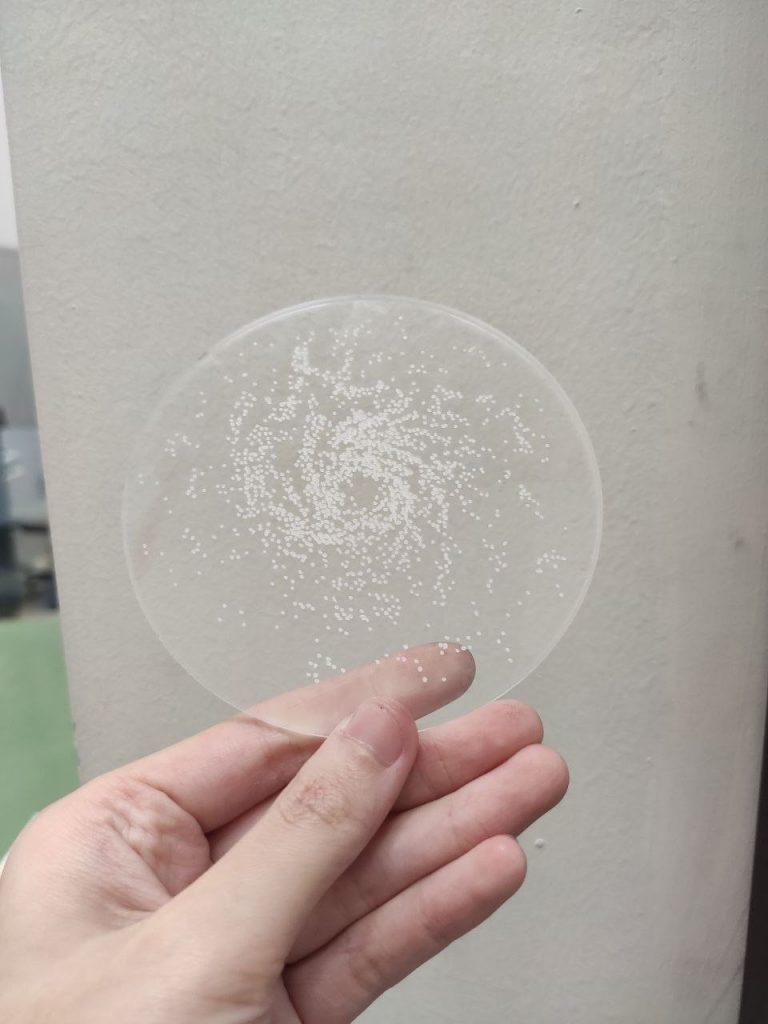
Not too bad! I think making multiple pieces of these will give it a cool layered look.

Tried it again on black acrylic instead! Thinks it looks more like a galaxy in space.

Next up is a planet orbit image I drew out on Illustrator.


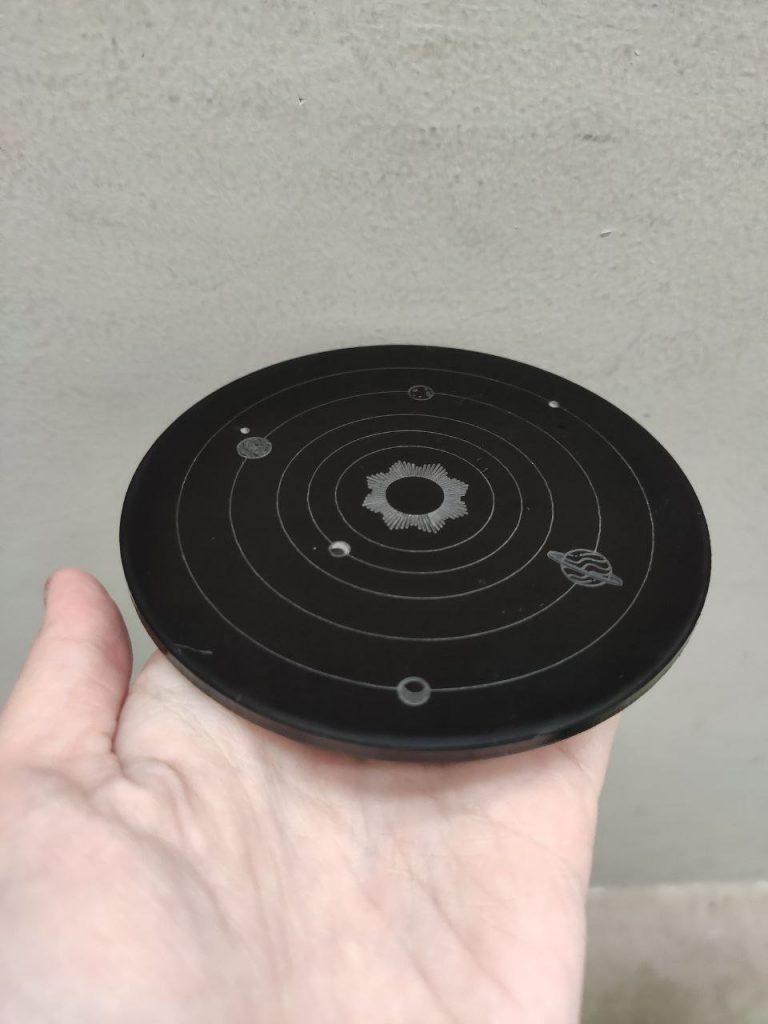
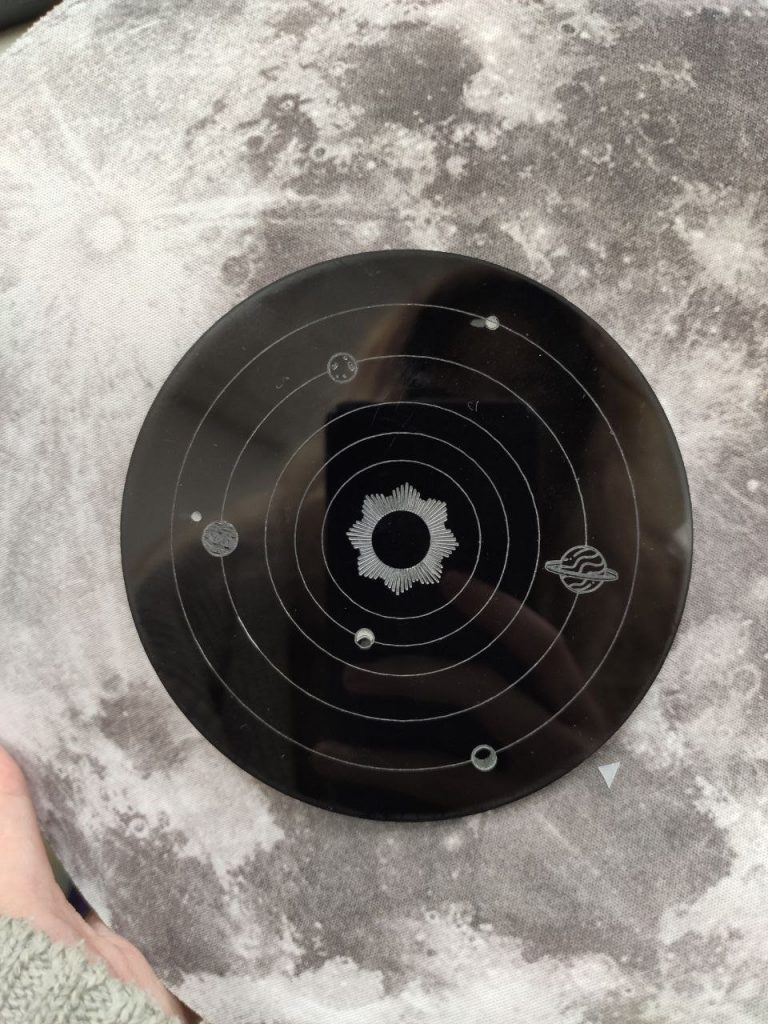
I realised some details of the planet surface are lost as the lines are too closely placed. Nonetheless, I still like the clean look of it!

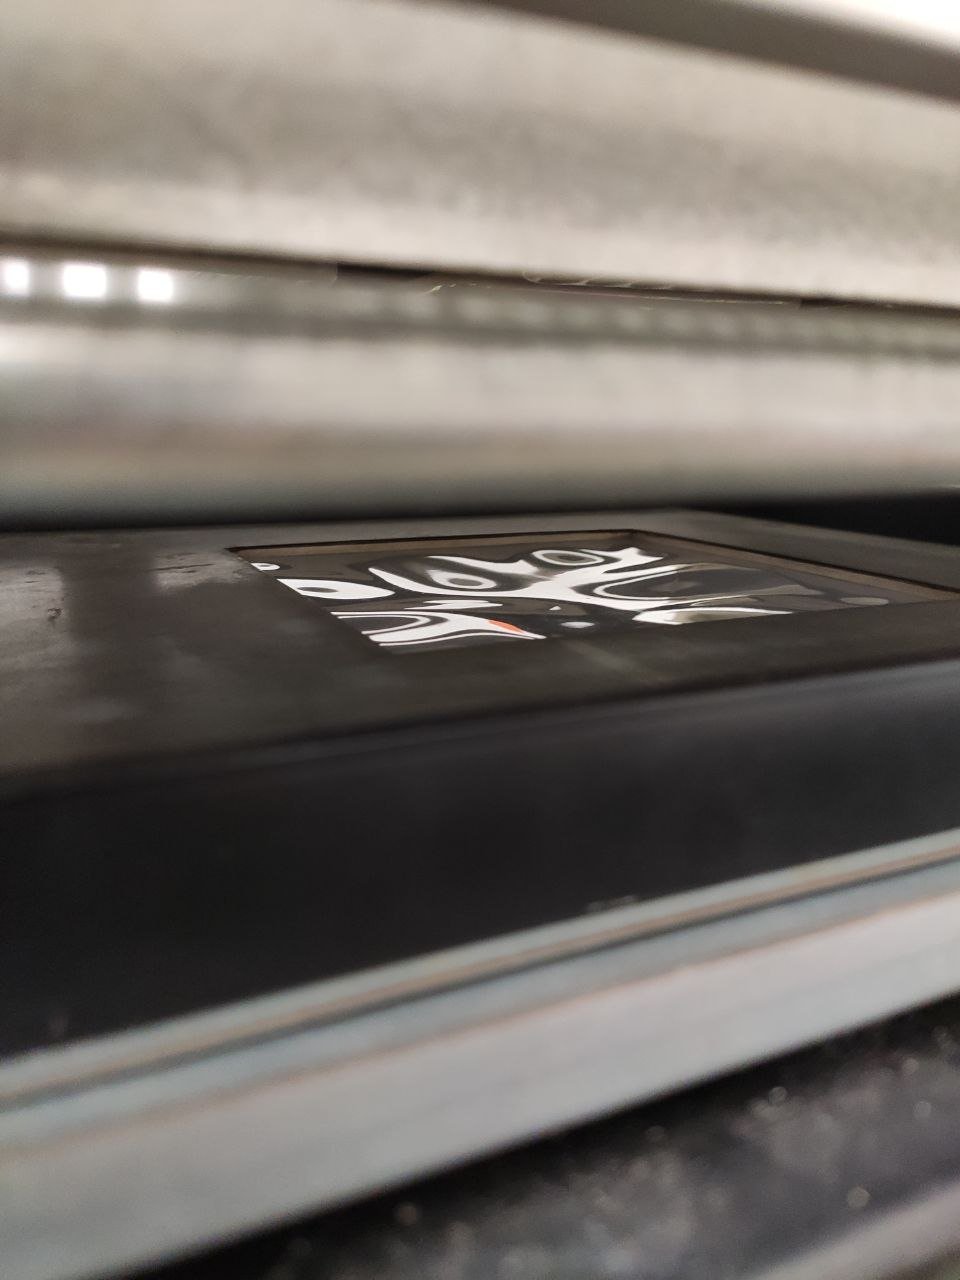
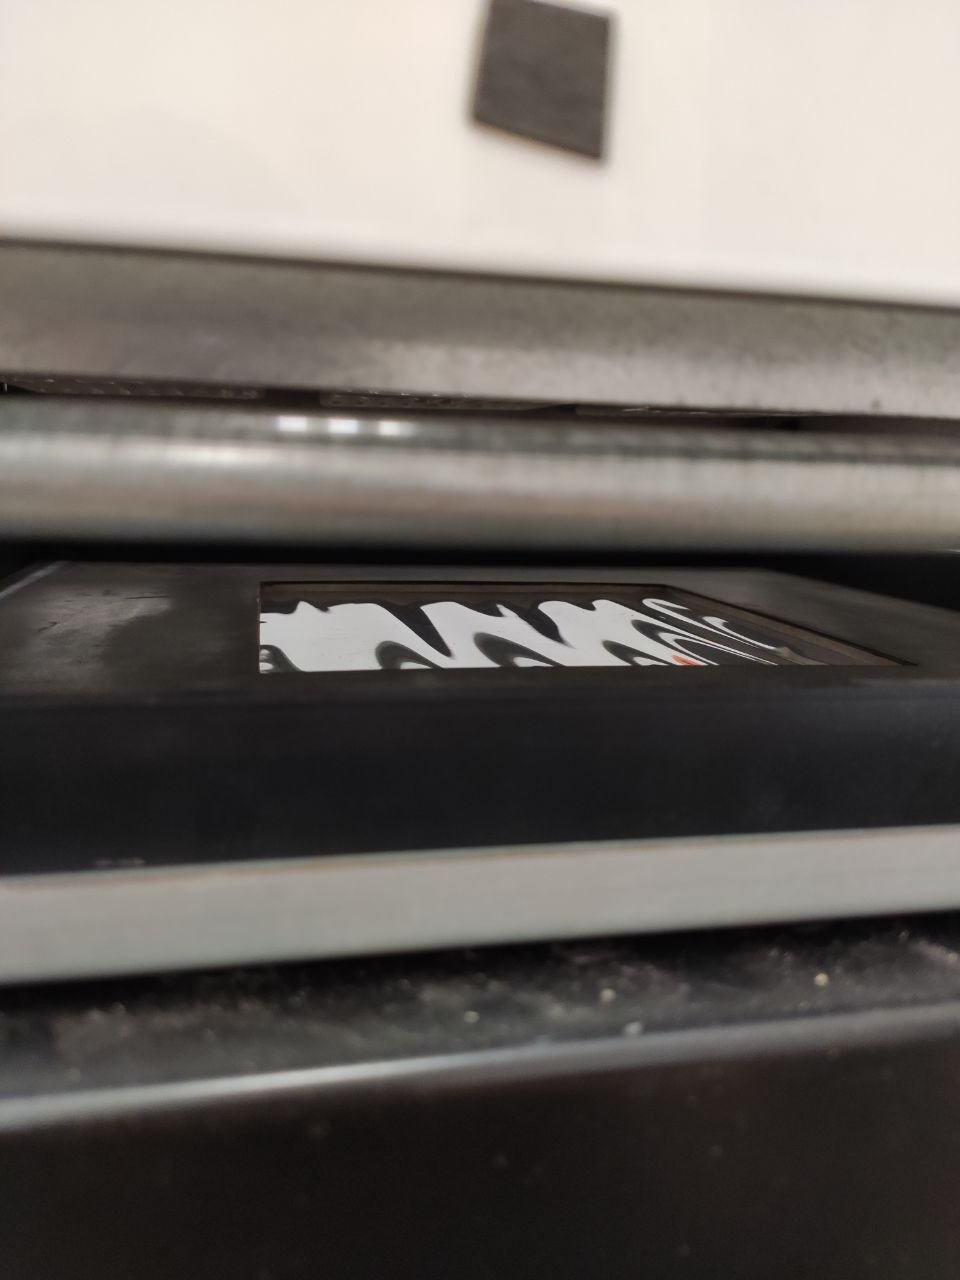
Lastly, I wanted to try rastering the logo I created for my entire theme!

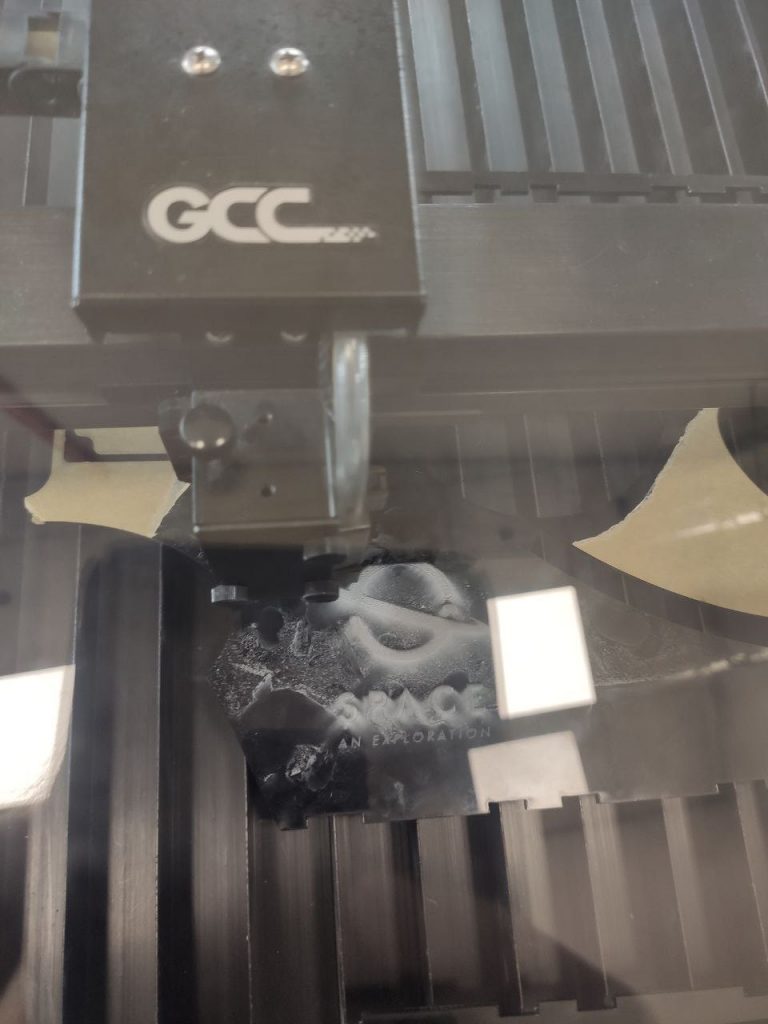
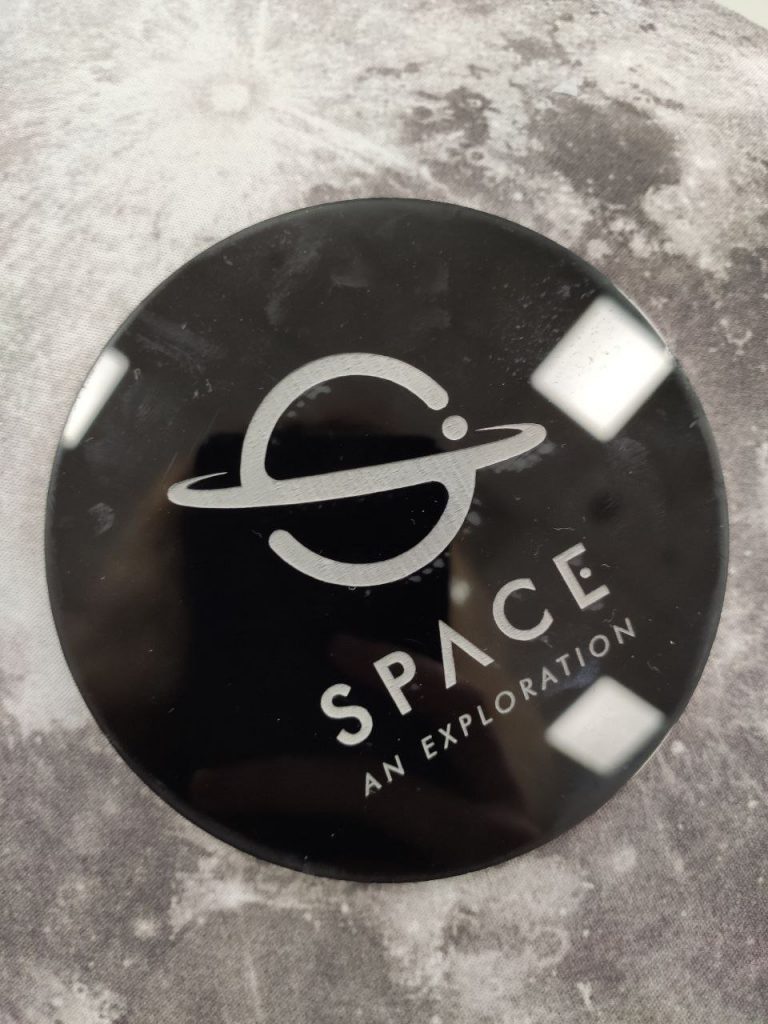
I think this image made the best use of the rastering as it is very big and clear!

All in all, laser engraving is a smart way of using the laser cutter to raster images to achieve quite a professional finish! However, it did took quite long as there was a lot of tweaking needed to change the colour of the lines accordingly, especially when you have to do it in CorelDraw manually one by one.

One problem I faced is that for certain shapes, when I set the fill colour, it filled the entire thing instead of just the outline. For instance, the ‘P’ in the SPACE logo initially had no hole as it was filled up. However, I am able to overcome this by setting the outline of the ‘P’ hole to white infill instead, creating a false gap. Nonetheless, it is not the most efficient method and I hope there is a better way to counter this problem in Illustrator itself.

A P P L I C A T I O N S

Image result for laser engraving

I would imagine they can be used as stamps too!

Image result for laser etching design

Lamps

Image result for laser etching design

For a more professional name card look!
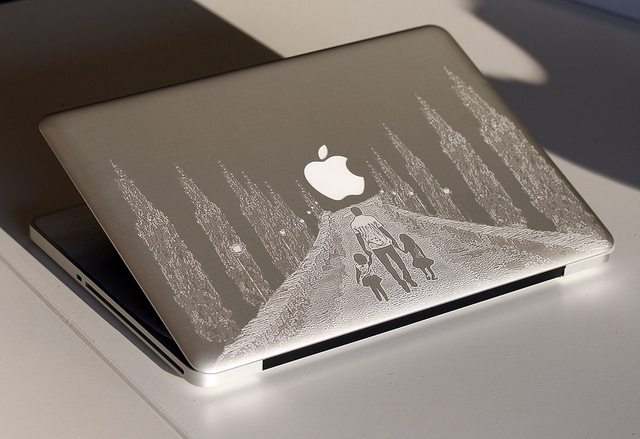
Image result for laser etching design

Macbook engraving

Image result for laser etching design leather

Even on leather!

Week 8: Thermochromic Ink Print + Vacuum Forming

Thermochromic Ink Print

Printing with thermochromic ink that colours changes with temperature.

Materials:

  • Thermochromic Pigment
  • Silkscreen Printing Clear Base
  • Bright Fabric
  • Silkscreen
  • Squeegee
  • Cups, spoons
  • Tissues

Instructions

  1. Mix pigments with clear base in a cup: Ratio of 1 spoon of powder to 3 spoons of clear base
  2. Put down the fabric on tissues
  3. Place the silkscreen on top
  4. Scoop some thermochromic mix and put it on the edge of the silkscreen
  5. Tilt squegee at 30 deg and swipe it across evenly with pressure, with support from classmates to hold down the the silkscreen
  6. Repeat until surface is sufficiently coated
  7. Seek support to hold down the fabric while lifting the silkscreen off
  8. Leave ink to dry

My Explorations

So first, I tried using the chop by dipping it into a puddle of thermochromic ink mix on the side and then pressing it onto the fabric.

I also put tissue behind the fabric to prevent the ink from bleeding.

I would say the final result is not the best but not bad for my first try!

Next, I tried the silkscreen print with two colours – pink on one side of the squeegee and yellow on the other.

I went over a few times and applied more pressure at any empty spots so I think it turned out pretty well! I love the gradient effect.

Lastly, I wanted to try embedding a ‘secret message’ that can be revealed after heat is applied.

So I first used masking tape to mask out the first message.

Then, I used a marker with the same colour as the ink and wrote the ‘secret message’, avoiding the taped area.

Then, since the squeegee is in use, I decided to use my ruler as an impromptu squeegee. So I applied some ink mix on the sides and start scraping across.

After it dried, I then peeled off the masking tape.

Tada! Although the ink did not cover the ‘secret message’ as well as I wanted it to be.

Results:

I was actually quite shocked by the change of colour from yellow to black, as I did not expect the black from the chop to stain.

This was really impressive as well, as the pattern is more dense, and it is very obvious when it turned transparent.

Lastly, I am actually quite happy with my secret message with reference to the Adele song hahaha. Although, the marker ink kind of bled so it looks a little more horror movie-esque instead of a cute message but I still like it!

A P P L I C A T I O N S

Image result for thermochromic

Image result for thermochromic

Image result for thermochromicImage result for thermochromic mug

Image result for thermochromic furniture


Vacuum Forming

Forming of a heated thermoplastic sheet by pressing it against a mould through the use of vacuum.

Materials:

  • Thermoplastic Sheet
  • Scissors
  • Mould
  • Vacuum Forming Machine

Instructions

  1. Cut the thermoplastic sheet according to the maximum size the machine can fit.
  2. Place the mould onto the platform and ensure it fits the hole when raised.
  3. Place the cut sheet onto the top of the machine
  4. Close the ledge and secure the clamps at the handles.
  5. Pull out the heater above it.
  6. Observe the sheet and wait for it to smoothen out (2 mins).
  7. Push back the heater.
  8. Simultaneously flip on the pump switch and pull the lever down to raise the mould against the heated sheet.
  9. Lower down platform with the lever and switch off the pump.
  10. Remove the mould after it cools.

My Explorations

So after watching the rest did a few forms, I wanted to try vacuum forming this donut shaped mould provided by Patrick. I wanted a more defined shape, so I put a masking tape under it to raise it higher.

Then, I placed the sheet and closed the ledge…

One side of the clamp was surprisingly hard to close.

Waiting for the sheet to smoothen..

…And we are ready to mould! So I pushed away the heater(it must be completely pushed to the back for the lever to be able to move) and raised the platform while switching on the pump.

Success!

Unfortunately.. the mould got stuck inside as the sheet formed around the smaller circumference of the masking tape keeps it from coming out.

After many tries, including using the air gun in the workshop to ‘blow’ it out failed, I had to cut the sheet to release the mould. 🙁

But no worries as I did another one without the masking tape this time and it came out perfect!

Overall, I think vacuum forming has many potentials to be used in the packaging and mould making industry. However, the mould used has to have many requirements mainly:

  1. No overhang areas
  2. Must be heat resistant
  3. Must have small holes in certain area to allow the vaccum to suck effectively.

These factors kind of limit its use, especially for student work. Personally, I tried to make a mould of a plastic tupperware container but first I had to drill holes in the middle but eventually the plastic warped together with the sheet. Also, If I wanted to use a metal or glass tupperware instead, I will be unable to drill the required holes into them.

Nonetheless, with the right equipments and materials, vaccum forming can definitely go a long way as they can imitate a surface layer easily without using too much material.

I wonder if polyester fabrics can be used instead?

A P P L I C A T I O N S

Packaging

Image result for vacuum form

Image result for vacuum form

Furniture

Image result for vacuum form

Wall panelling

Image result for vacuum form

Fun 2D designs

Image result for vacuum form designImage result for vacuum form design

Week 7: Thermoplastics

Thermoplastics Heat Manipulation

Method of altering the shape of thermoplastic fabrics through heat i.e. boiling.

Materials:

  • Thermoplastic Fabric (100% Polyester)
  • Rubberbands
  • Aluminium Foil
  • Mould/Forms

Instructions

  1. Wrap the fabric around object forms (i.e marbles) and secure tightly with rubber bands.
  2. Wrap them with aluminium foil and tighten with rubber bands or masking tape.
  3. Put it in boiling water for at least 1 hour.
  4. Remove and let cool and dry.
  5. Unwrap it only when cool and remove marbles from shaped fabric.

My Explorations

From my previous smocking technique to create roses, it was basically just the twisting of cloth plus securing it. Hence, I wanted to see if I can achieve the same effect using heating thermoplastics instead.

So I first twisted the fabric and secured with binder clips.

Then I added aluminum foil and secured with small hair bands I brought since I thought they are smaller and hence easier to use than usual rubber bands.

Finally, I rolled it all up and wrap it in aluminium foil.

Next, I also brought some ice cream sticks. and was exploring what I can do with them.

However, for the above picture, I realised since the middle is loose, the only part which the shape will hold are the ends of the ice cream stick. Hence, I removed them all.

Lastly, I wanted to see if I can achieve a moon crater texture.

Image result for moon crater texture

So I started off with making a ring and a circle with aluminium foil.

Then, I wrapped the fabric around the circle and secured with a rubber band to imitate the insides of the crater.

Next, I flipped it over and then wrapped it around again and secured with another rubber band  in hopes to form the ridges of the crater.

Then, its boiling time!

Results:

Unfortunately, it looks nothing like roses, but at least there was still some spiral form that can unravel and spring back.

I feel like the stiffness of organza might be causing the straight edges which makes it looks like mountains instead of round rose petals. Perhaps a softer polyester fabric like chiffon will have better results.

Next, for the crater:

Is also a failure! :((

I guess the tightness of the rubber band kind of makes it shape like a pouch instead.

However, it does remind me of this knit sculpture that plays with opacity, and hence does have the potential to create an interesting lamp.

Image result for knitted sculpture

Overall, I am quite sad that there is a gap between expectations and reality with my forms but I’m glad I can learn from my mistakes and do better next time!

I will try again, next time with a few points in mind:

  • Hair ties are very weak and most of them broke, which might have compromised on the shape of the fabric. Next time, stick with rubber bands.
  • The best forms are areas of high tension on the fabric, and hence perhaps smaller objects would be preferred so as to maximise tension with the rubberband.
  • Make sure that the aluminium foil covers the entire thing fully without gaps.

UPDATED: Round 2!

So this time I decided to use something smaller and borrowed some wooden cubes that Meryl had cut!

This time fastening using yarn instead of the fragile hair ties.

Then wrapped in aluminium foil and ready to boil!

Next, I wanted to try using some marbles and cup cover.

This time I tried using the red rubber bands I brought and turns out it is easier than yarn as I can fasten a few at once.

There wasn’t enough space on the fabric for a second ‘flower’, so I tried braiding the excess cloth corners instead.

Once again wrapped in foil and ready to boil!

Initially I wanted to boil at home but I remembered that the alumni mentioned we shouldn’t use a pot that will be used for cooking food since it might be contaminated with plastic.

So, I decided to do it in school instead, outside the sewing room for good ventilation.

After 1 and a half hours of boiling…

The water level seemed really low by the end, and I was worried this might affect the results.

Nonetheless, I decided to see the end products first.

Removing the foil after it has cooled..

Tada!

The fabric seem to have taken the shape much better than my previous attempt, and the shimmer of the blue fabric under the sunlight makes it very attractive!

Also similarly impressed by my ‘flower’!

Since I had to unravel the braid to remove the objects inside, and the form kind of looks like a jelly fish now haha!

Overall, I am very glad to have tried again and am very happy with my results! In fact, I liked the cubes one so much I have an idea to turn it into a hair tie! Stay tuned! 😀

A P P L I C A T I O N S

Image result for thermoplastic manipulationImage result for thermoplastic manipulation

Image result for thermoplastic manipulationShibori pillow Ice cubes by Serria on Etsy, €55.00Michelle Griffiths creates 3D work using Shibori -- not to create coloured patterns but hand stitches and binds silk to create Pollen structures. Notice the cloth in the background!These are shibori techniques by Suzusan. They have been twisted, pressed and dyes to create unique pieces for customers. Shibori was originally done on simple fabrics such as cottons and silks but has now been moved on to leathers and metals. When treated in the right way, this technique can create 3D objects from heat setting formulas to just leaving the fabric with bands on to hold it in place.Innovative shibori textile design with delicate, organic-inspired pale pink 3D bubbles using fabric manipulation techniques; fabric surface creationmachine pleats and manually compressed polyester