
Knitting
Method of creating garment by interlocking loops of thread-like material using needles.
Materials:
- Yarn
- Knitting Needles/ Chopsticks
Instructions
- Double 50cm of yarn and tie a slip knot at the end
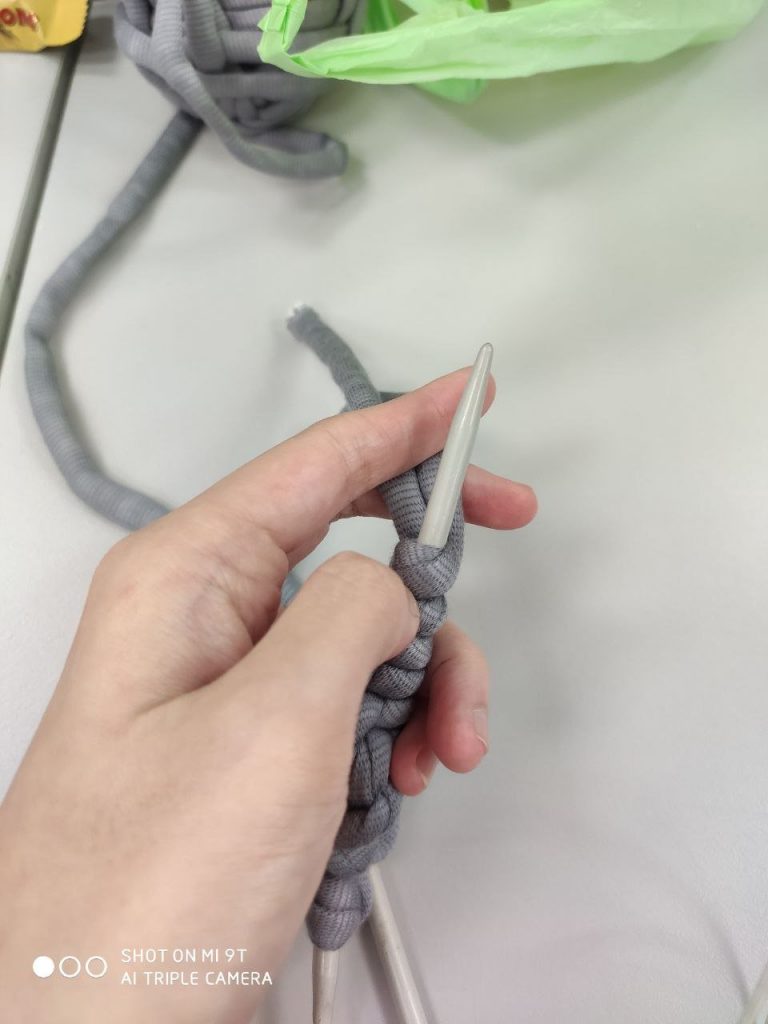
- Poke the needle through the loop of the slipknot and tighten
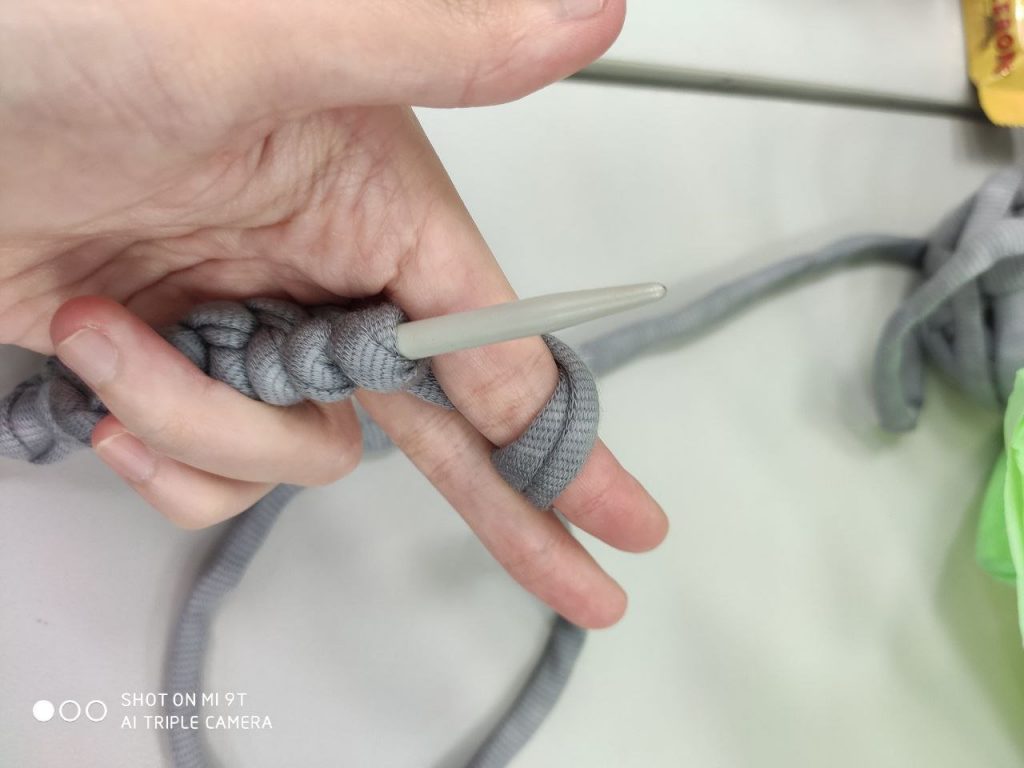
- Form loops using finger and poke it with the needle from left to right until satisfactory length
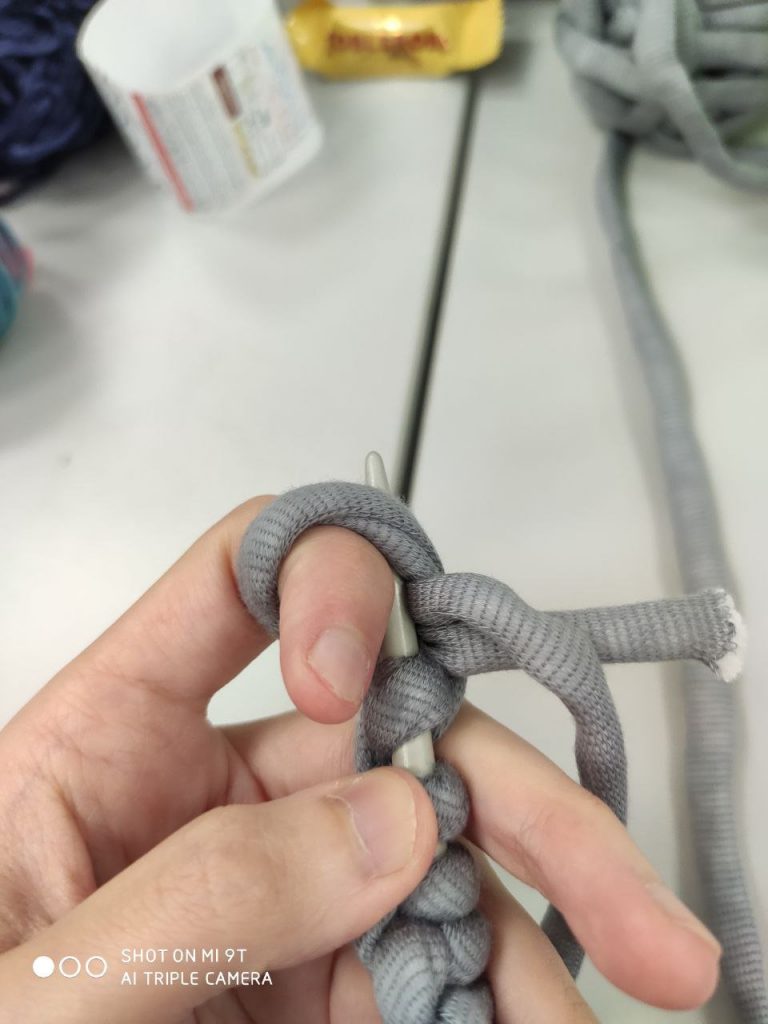
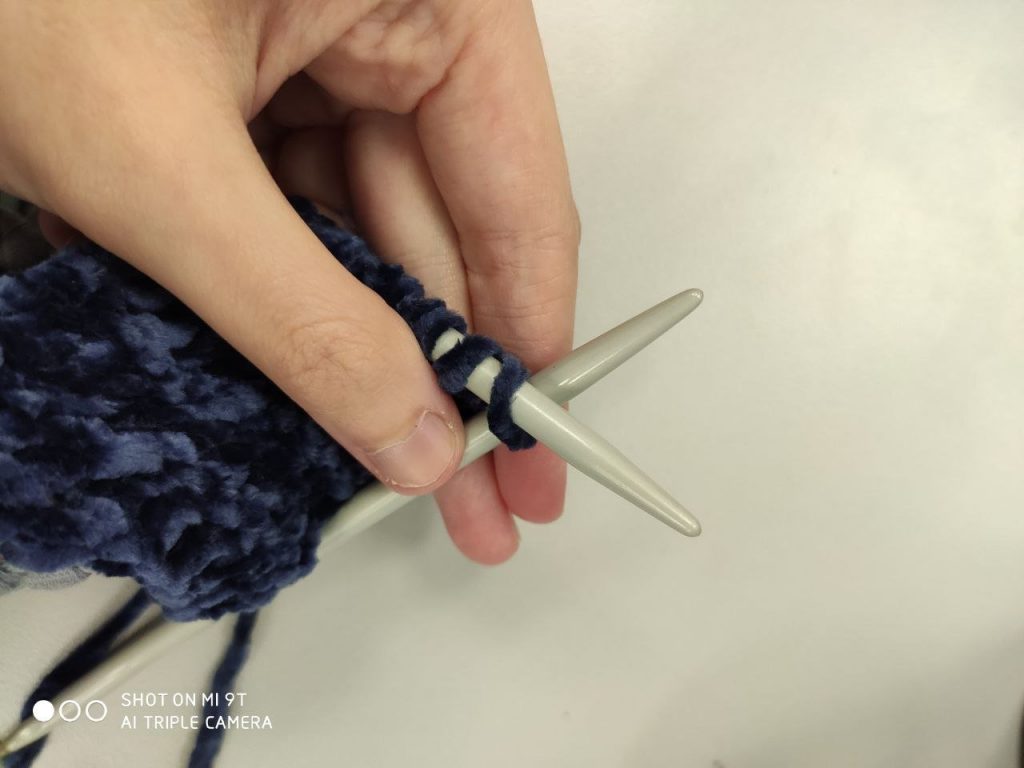
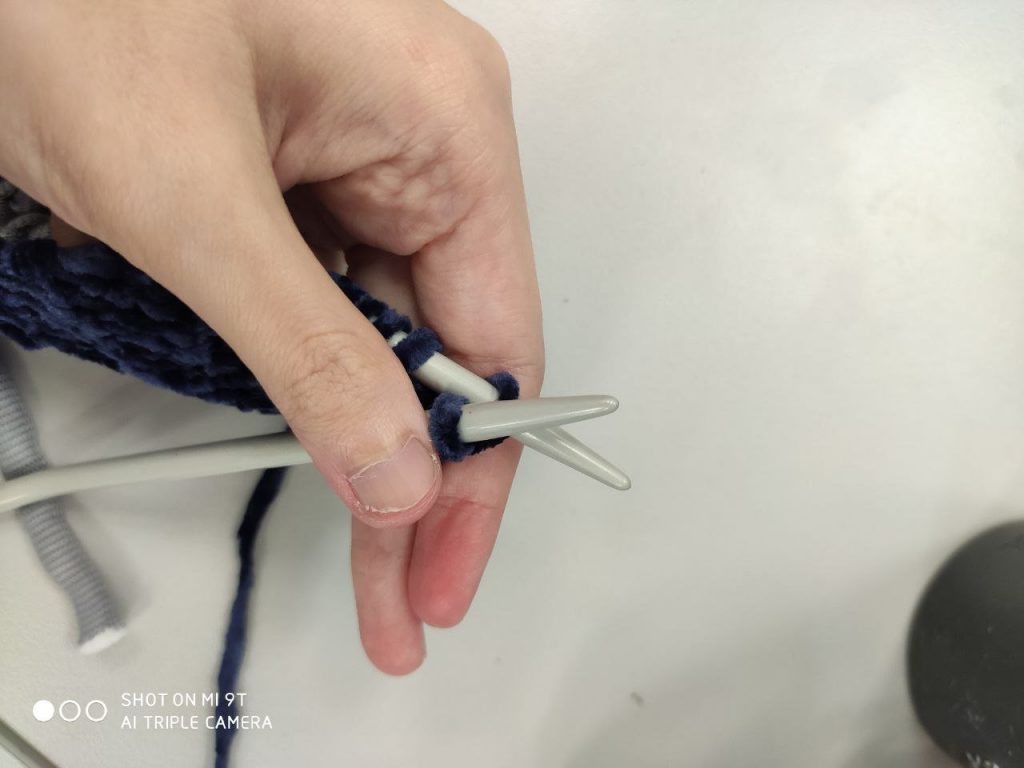
- Use the right needle to poke through one of the loop from back to front. Wrap the other end of the yarn around the right needle and use the needle to drag it back to the front through the initial loop and tighten it onto the right needle.
- Release the initial loop off the left needle.
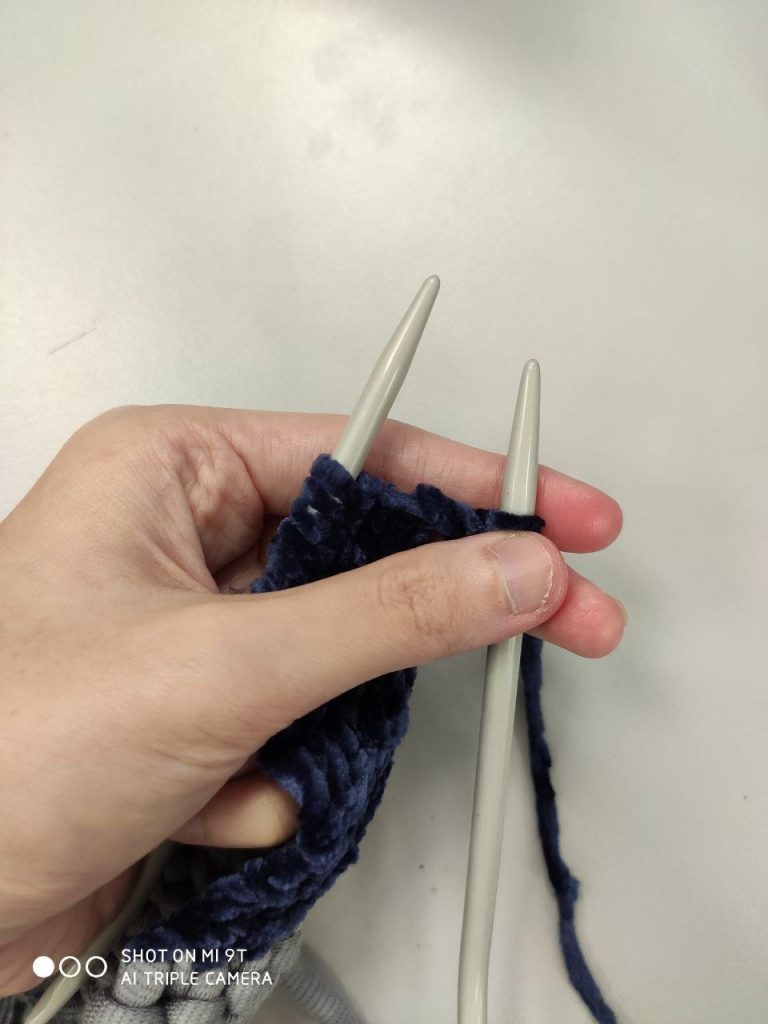
- Repeat on all the loops on the left needle.
- Once all the loops are transferred to the right needle, move the right needle to the left side and repeat the process on the current loops on the needle.
- To change yarn, poke through and use the new yarn to loop through the needle before pulling it through. Tighten and make sure the short end of the new yarn doesn’t unravel.
- To combine the ends of the knit, poke through the loops at the end of the knit instead of the ones at the needle.
- To end the knit, poke through 2 loops instead of 1 at the needle and pull the yarn through both loops, tightening at the right needle. Then, move this loop back to the left needle and then poke through 2 loops again. Repeat until the end is reached, then cut and secure with a knot.
My Explorations
I do have some experience with knitting at that one workshop I took 9 years ago so I guess I could say I kind of forgot most things haha oops!
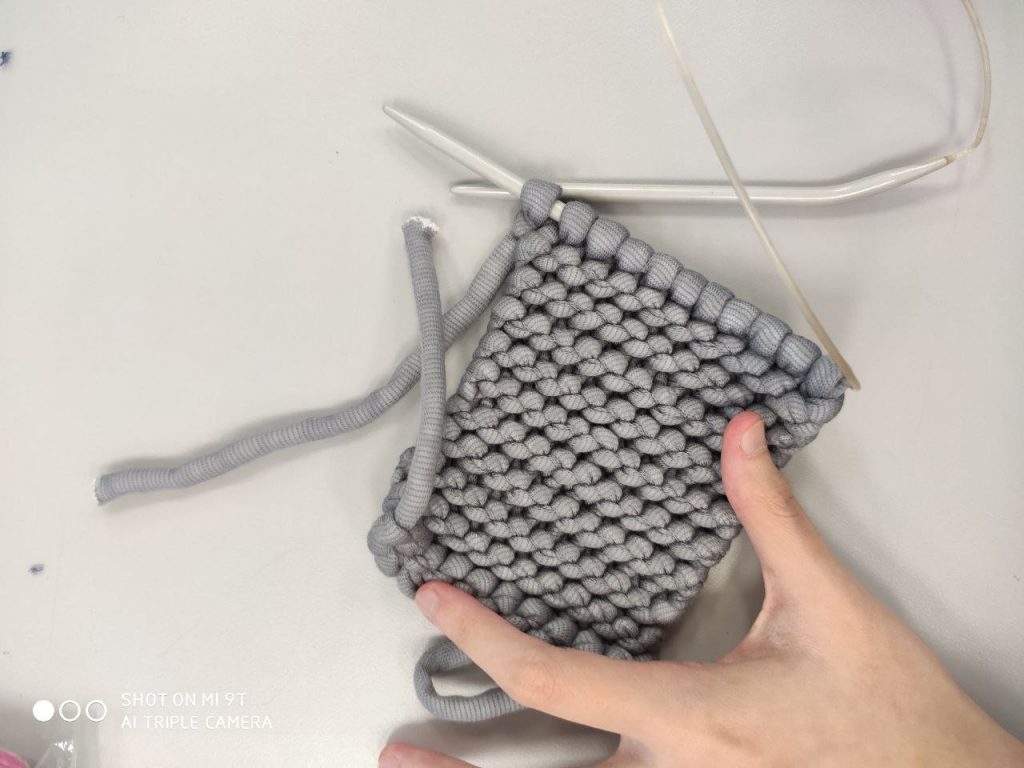
So I started with a squishy grey yarn because I thought its thickness will help me save time. At first I was having troubles following the finger looping method, but after I figured out the mechanics of the looping I got the hang of it!
Afterwards, muscle memory took over and I managed to finish my yarn eventually. I would say that the thickness of the yarn really helped me to see which loops I was poking and I was glad I started with this instead of the usual thin yarn.
Then I decided to try my Chenille yarn and hence add it onto the existing piece. I love its soft and fluffy texture!
Eventually, I looped it to the other end to create a tube so it can be used as a cup cosy!
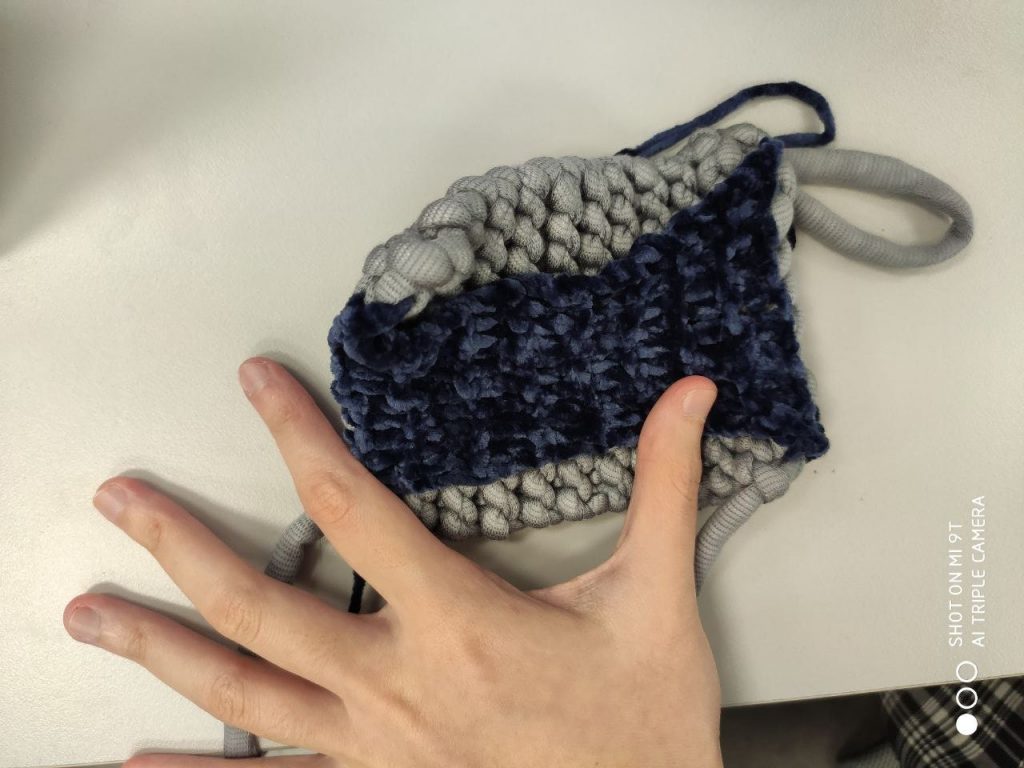
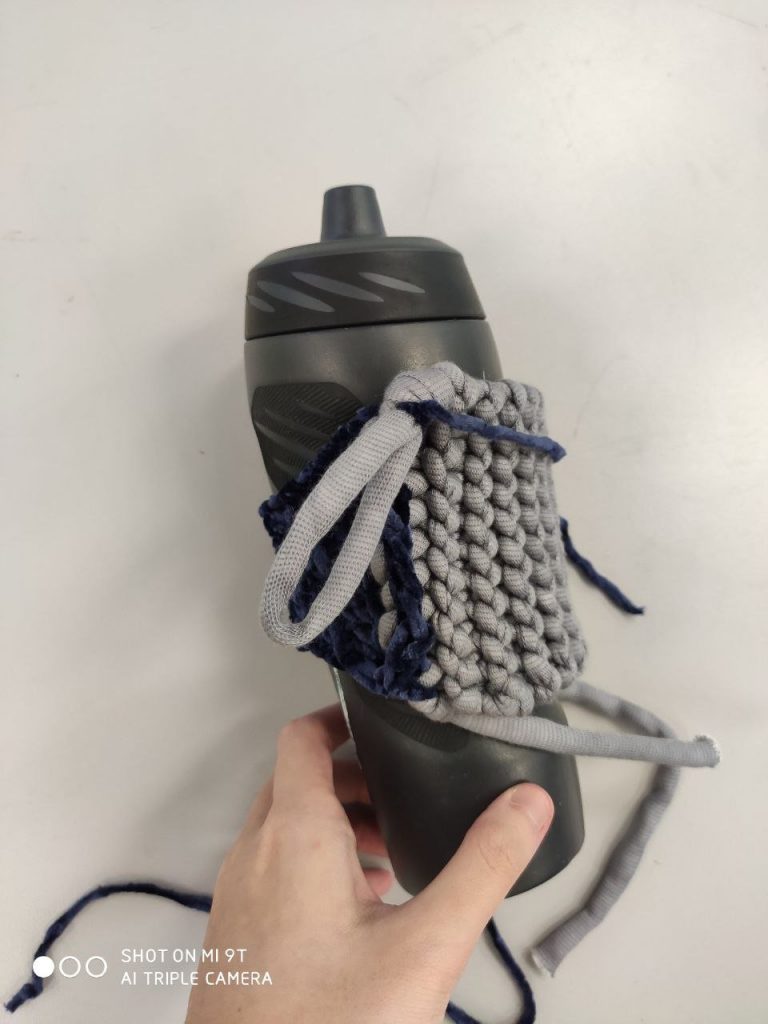
The knit modelled by my water bottle! Overall, I am happy with my knit because I don’t think I have any holes (although I remembered making a mistake every 5 minutes 9 years ago) so I’m glad I improved since then! I think the visibility of the yarn and being able to tell apart the loops help a lot in identifying mistakes.
Next, Meryl and Rannie gave the suggestion of using hair, so I tried plucking one strand..

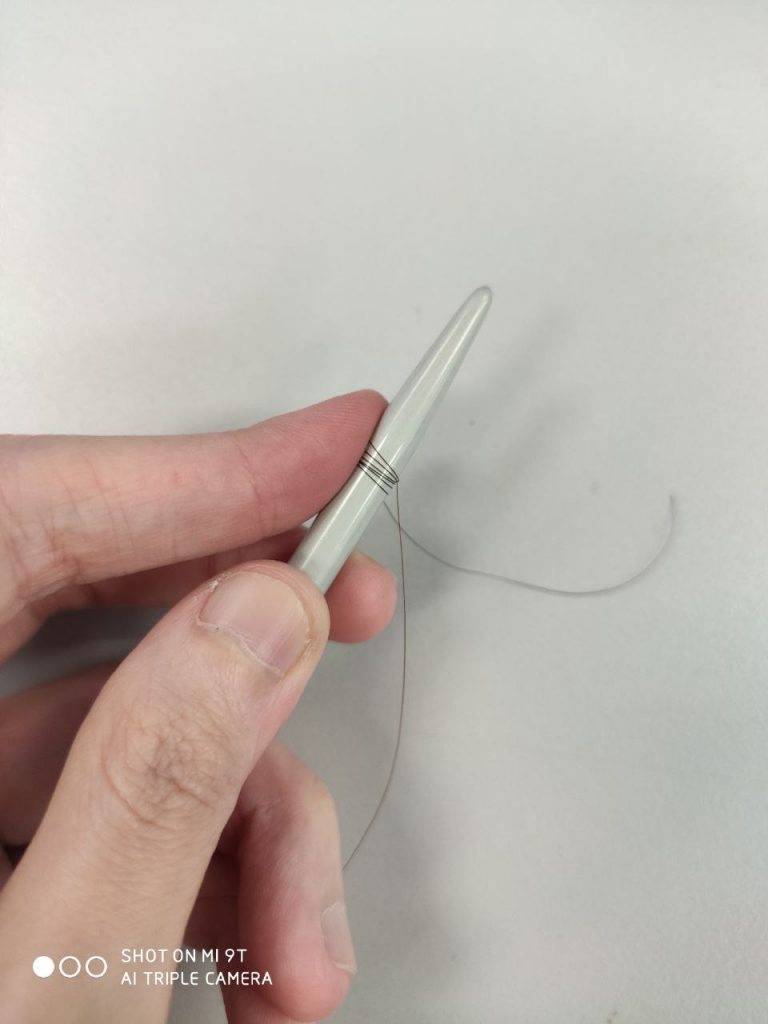
But I think the strand it too fine and slippery – hard to even poke through the loop as it is too tight or it has a tendency to bounce out afterwards.
So then I tried again using 3 strands of hair this time…
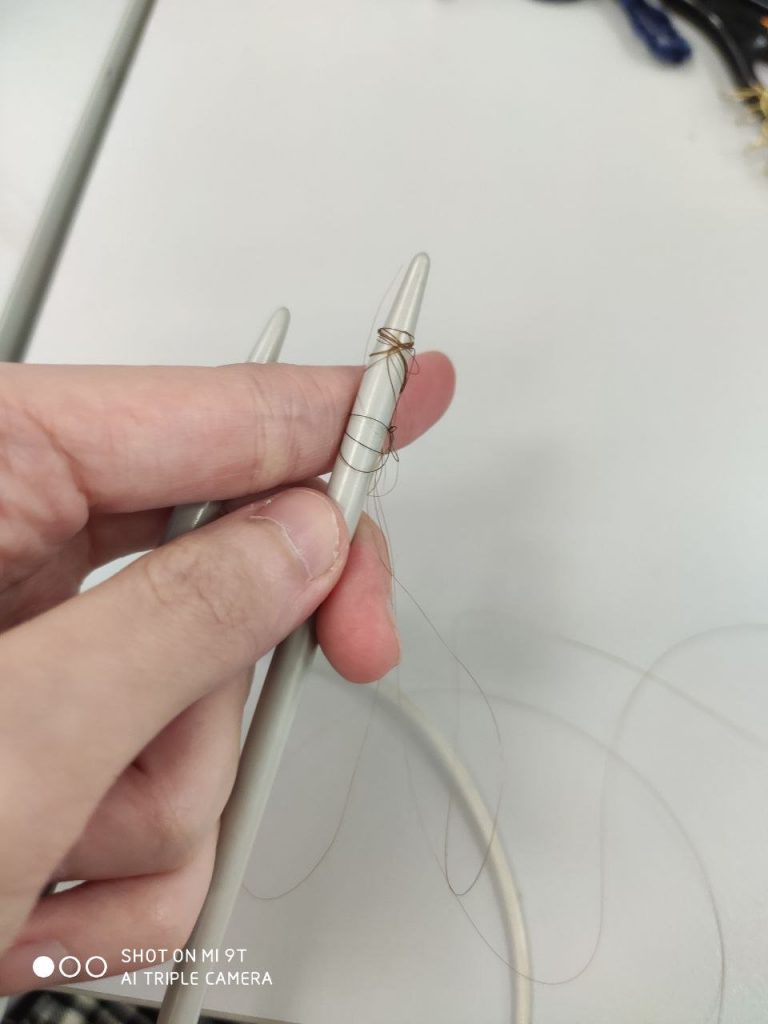
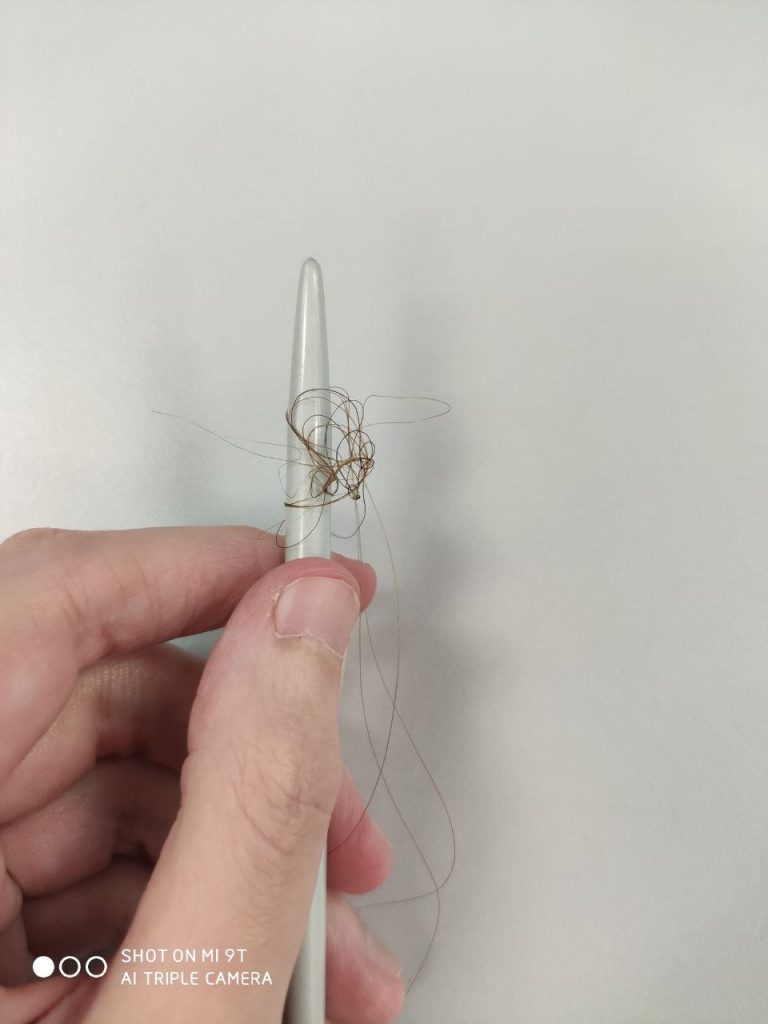
But I’m not sure why the end result just kind of looked like a hair knot, so I gave up haha! I also think my hair is not long enough to do more than one row, so it is quite hard to do any substantial knitting unless I add more strands.
Nonetheless, I think knitting with hair is still possible but perhaps longer and in larger bundles(which I don’t think im ready to sacrifice yet aha).
Moving on, I tried knitting with this very old brass jewelry wire I had, which is undoubtedly painful and broke 🙁 during my second row.
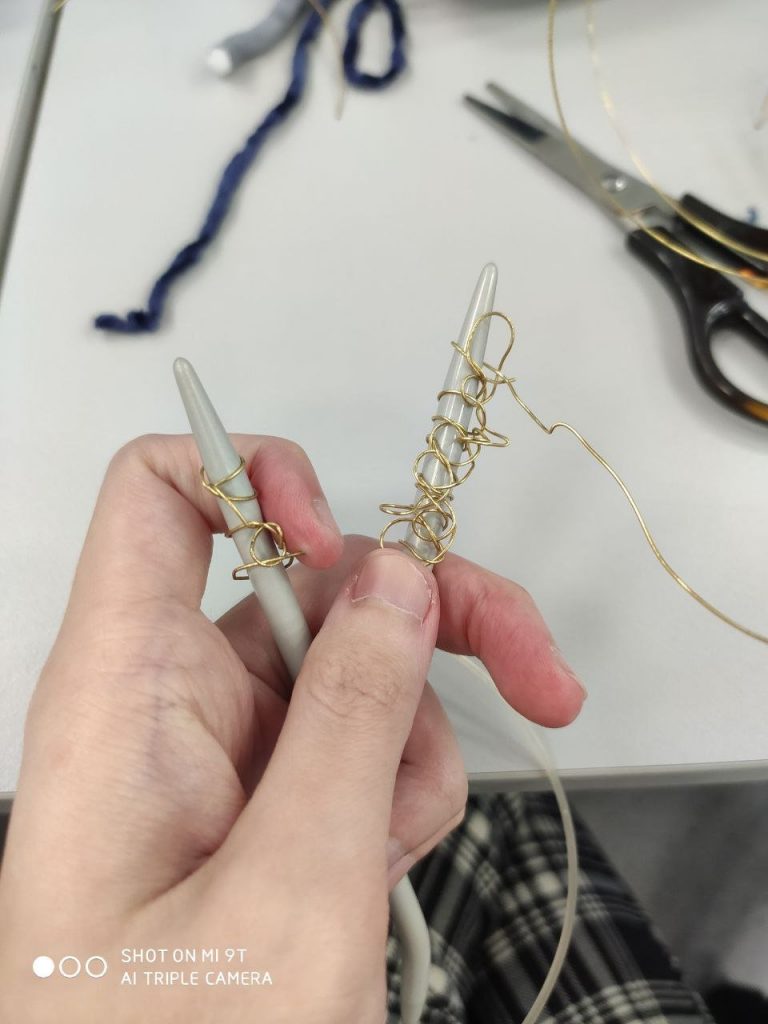
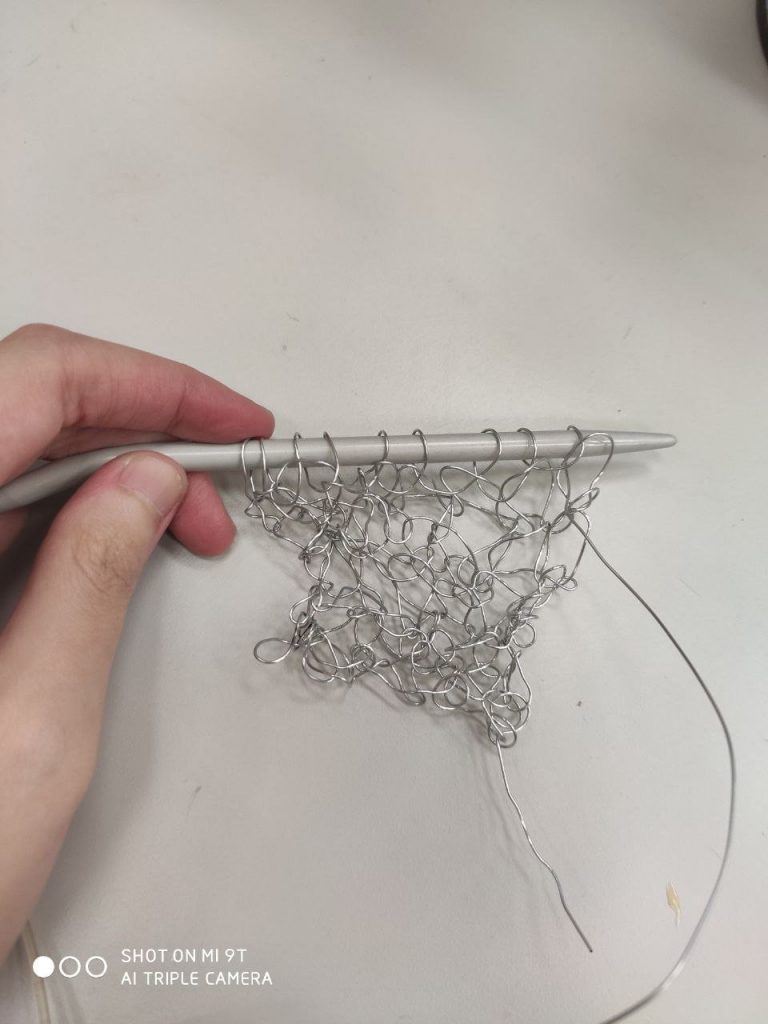
So I went back to the FYP Room and found another bundle of thin wire and I tried again.
I realised the hard part was to poke through the initial loop as the metal is very rigid. It is also tiring to pull the loop from the back through to the front as friction is absent from the slippery wire.
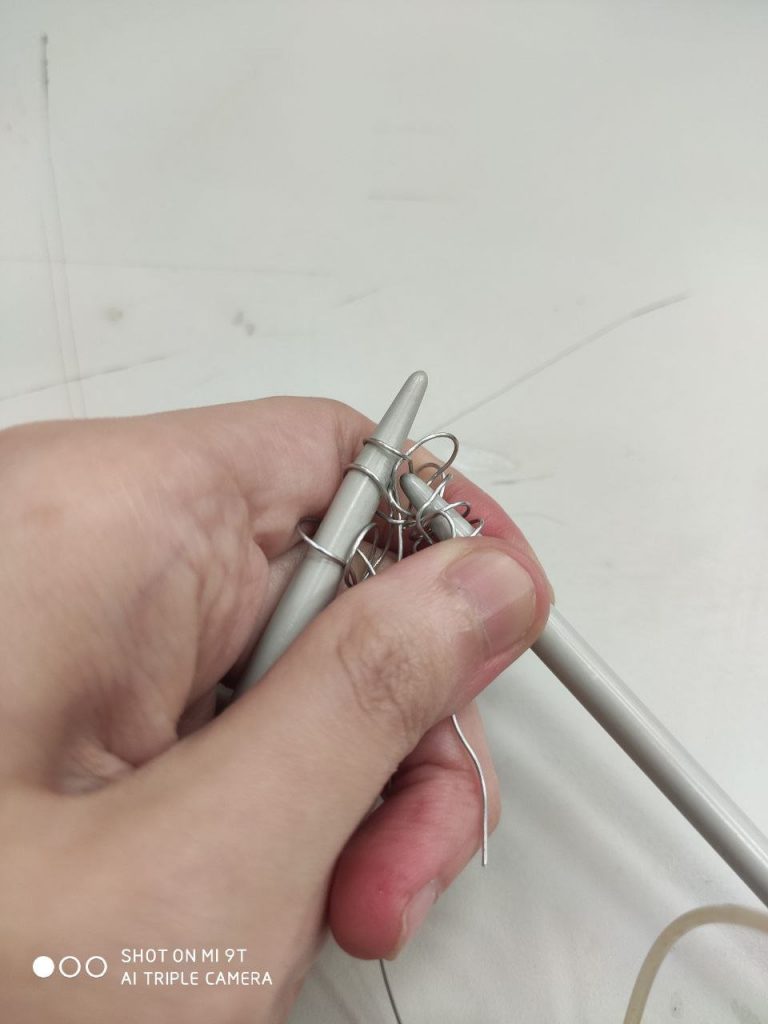
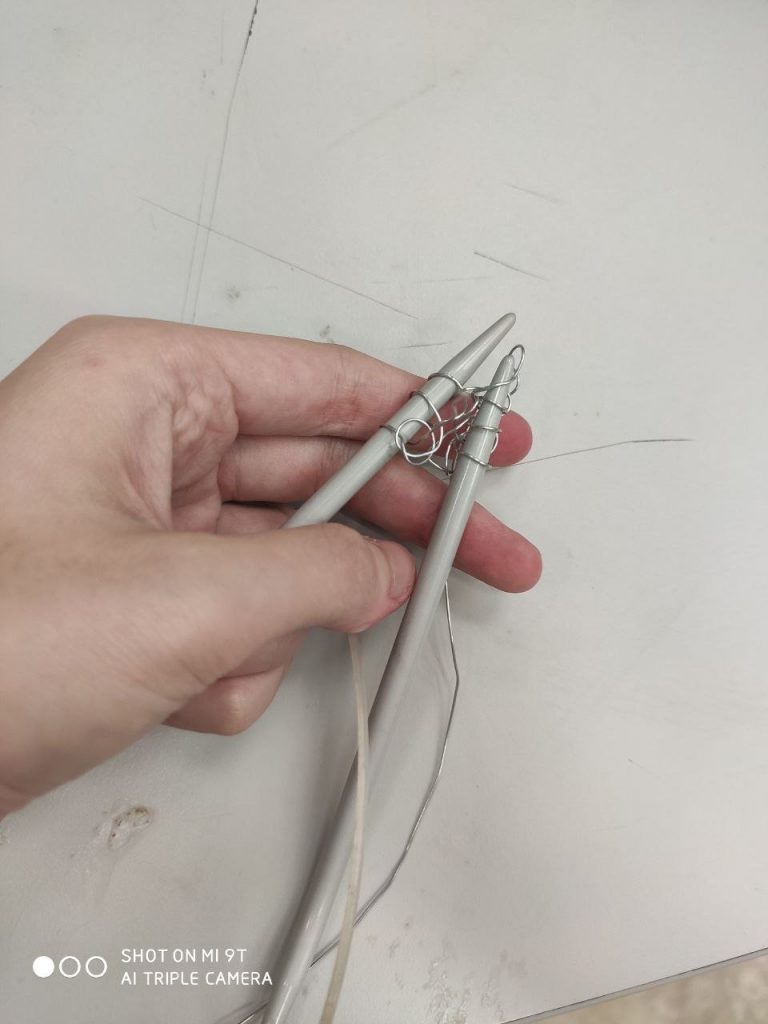
Eventually I realised that the loop from the back must be pulled taut in order for it to be brought to the front easier. Then, it must be loosened on the next needle so that for the next round, it’ll be easier to poke through.
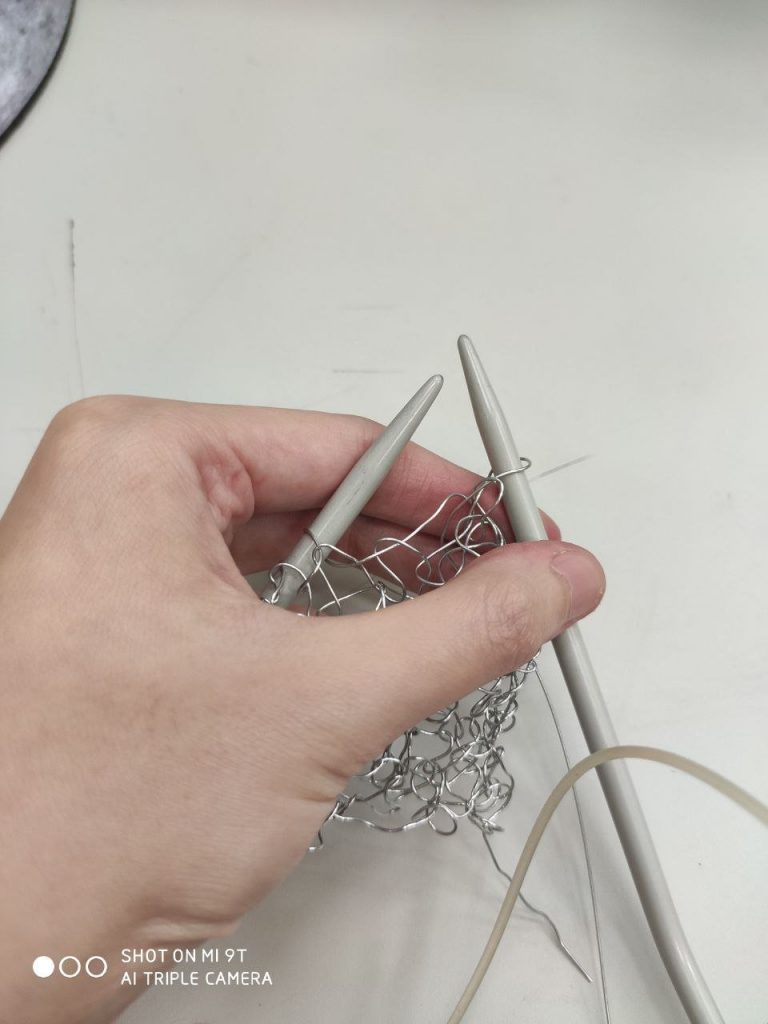
Then, I ended the knit by poking through 2 loops at once and bringing the wire through both of them.
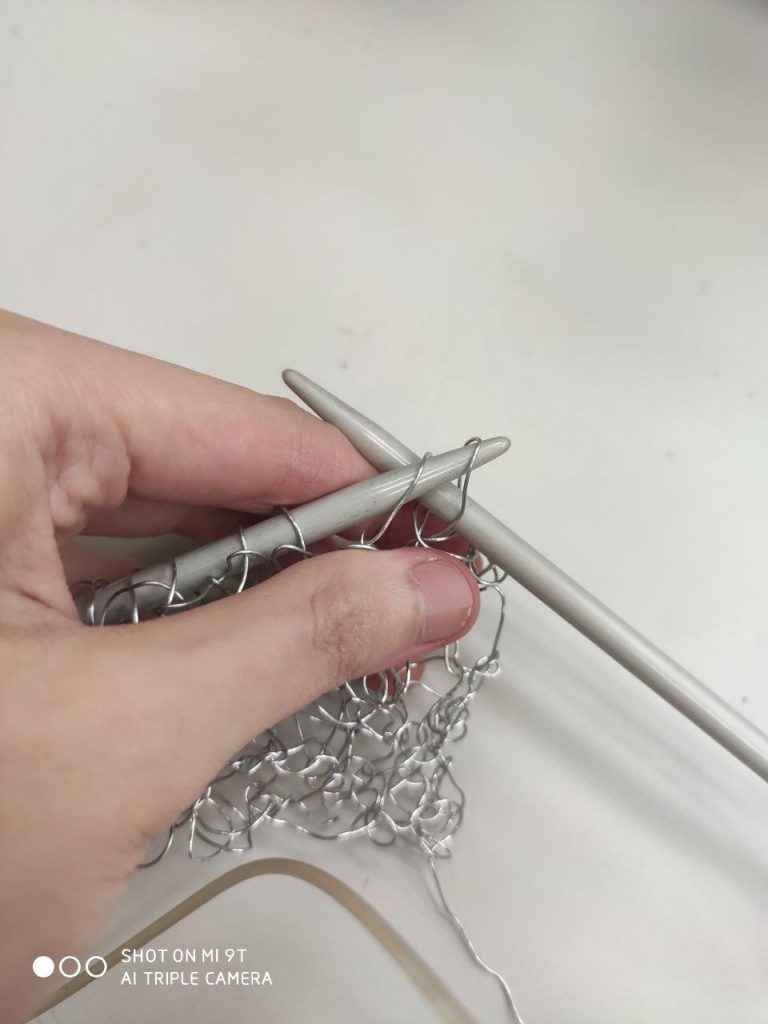
Then, release the 2 loops and then bring back the loop on the right needle to the left and repeat.
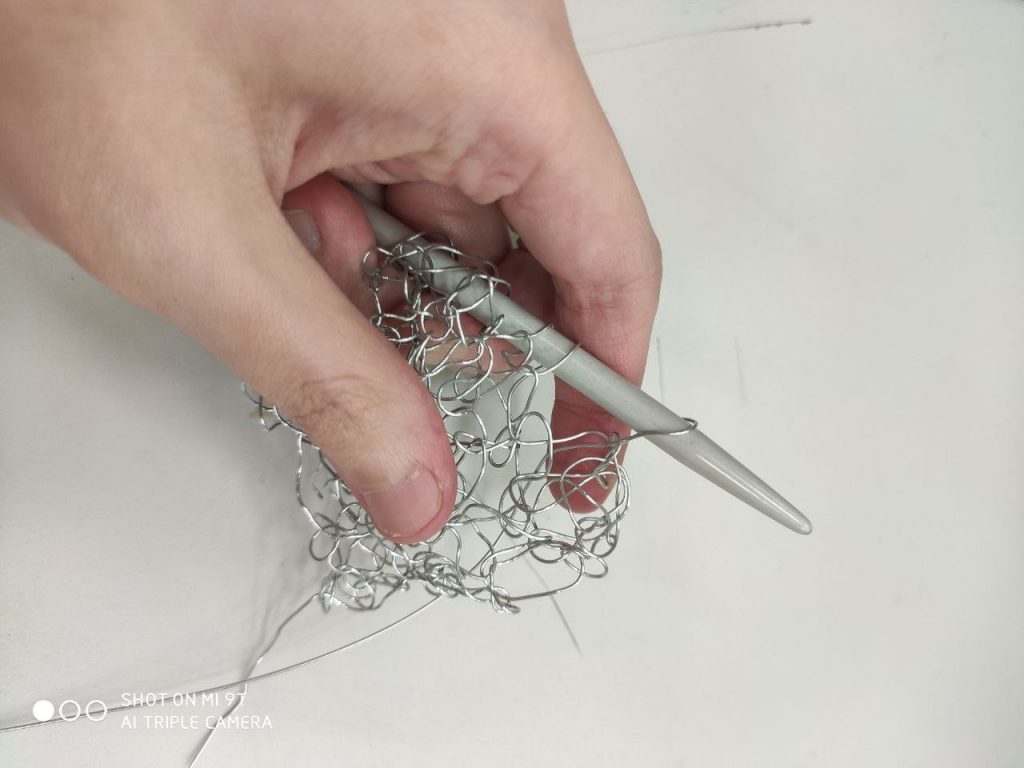
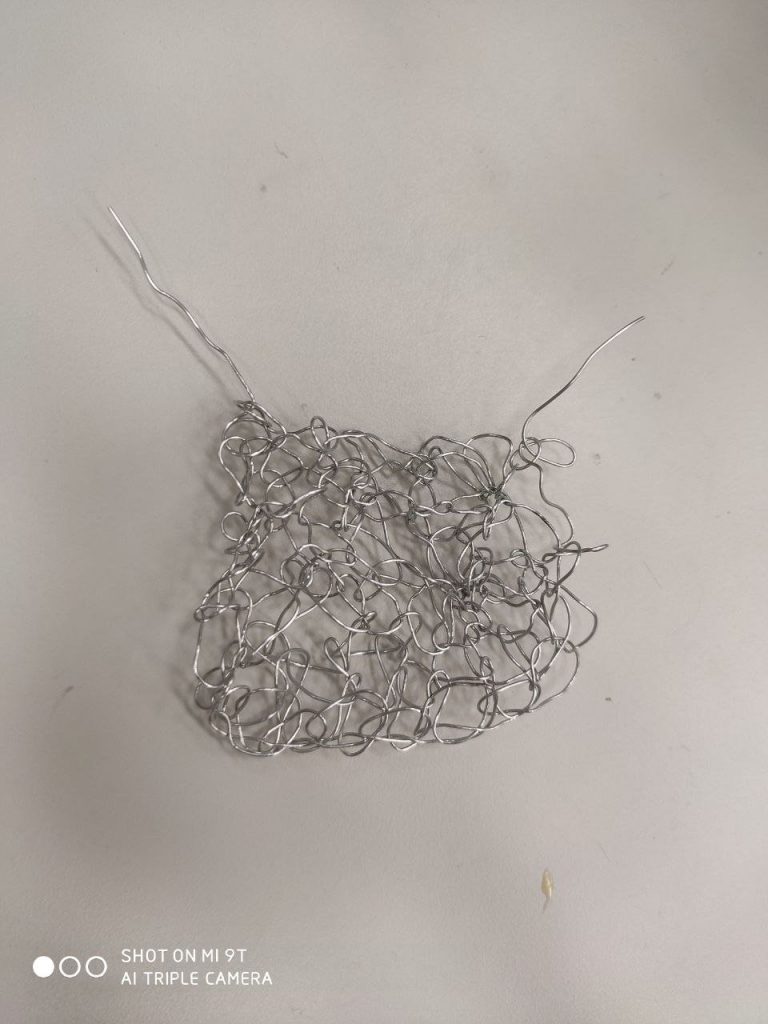
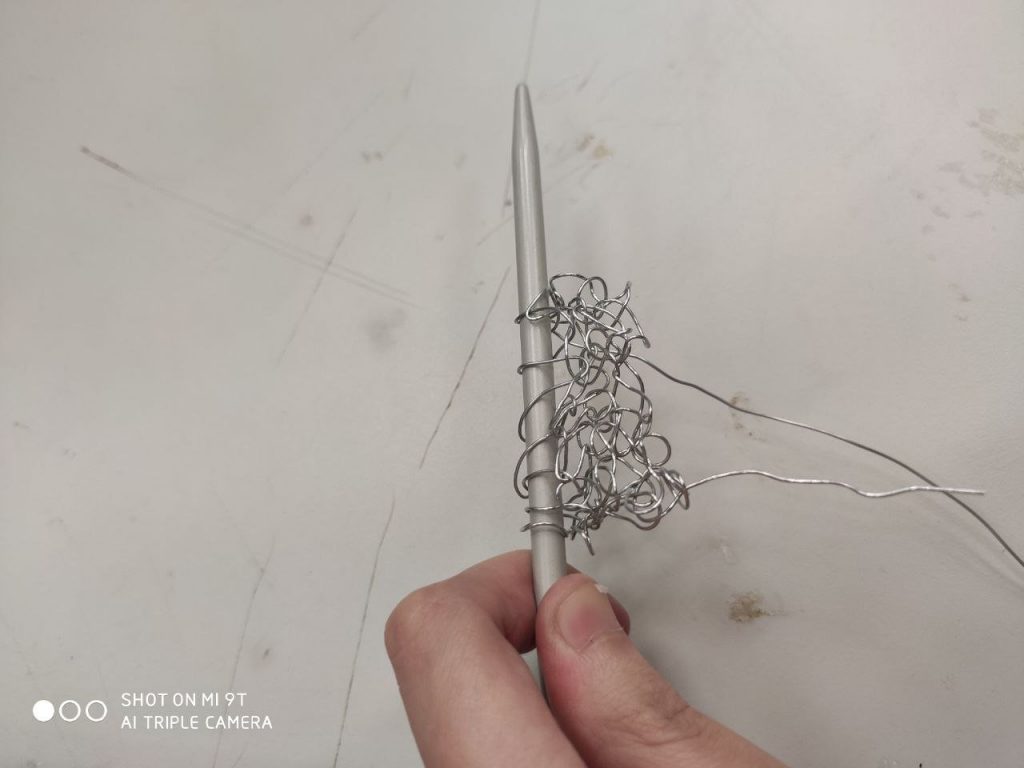
My finished wire knit square which took 2 hours and tender fingers as the wire is really painful to handle. I think a thinner, more malleable wire should be used next time.
Nonetheless, the stiffness of the metal wire makes the knit easy to hold its shape and stand on its own, which is useful in sculptures.
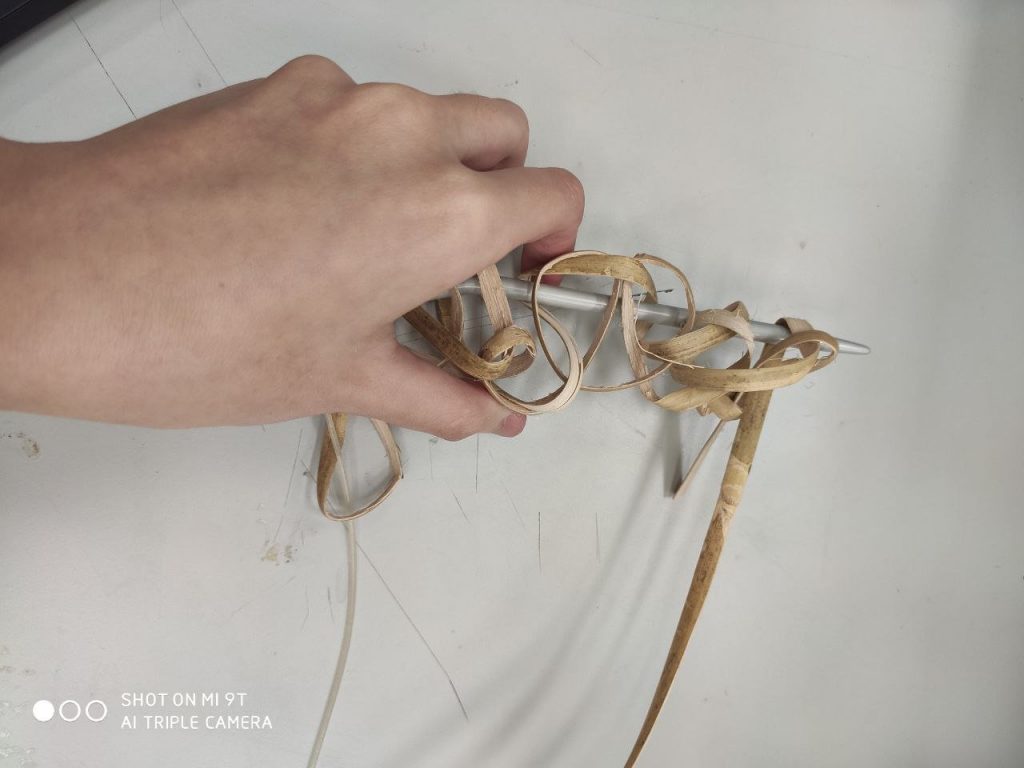
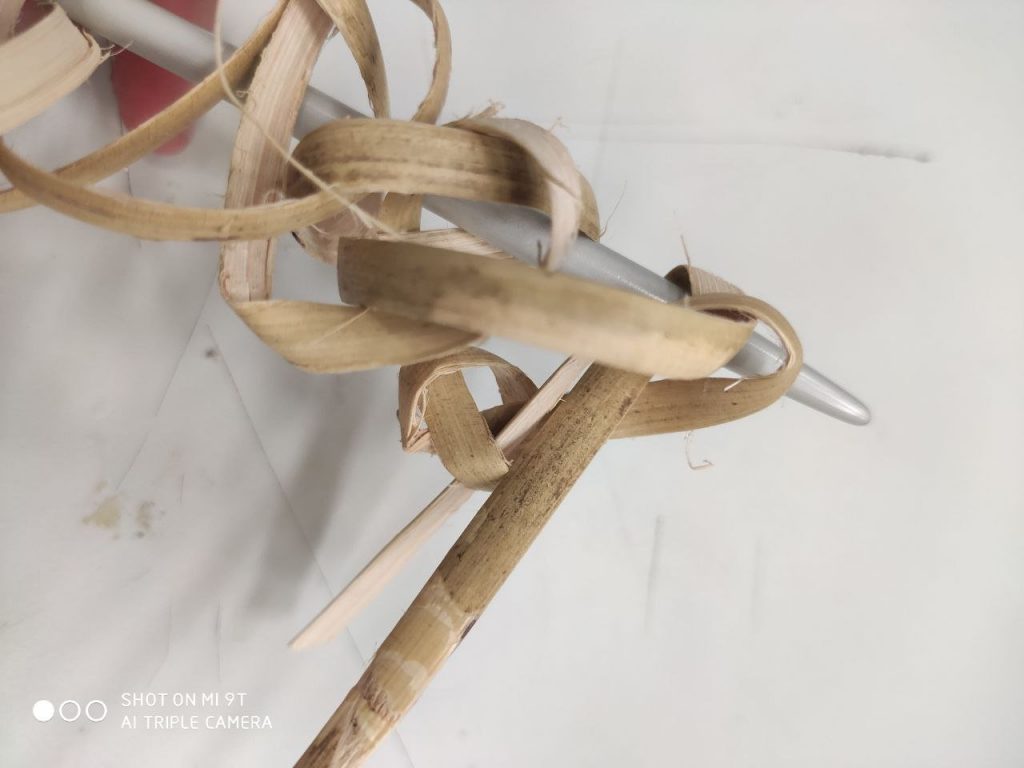
Lastly, just out of curiousity, I managed to find a long, flat strip of wood veneer(?) on the FYP shelf so I decided to try knitting with it.

First thing I noticed is that its flatness is very obstructive in the bending of the wood as I can only bend a certain direction. I also dared not to pull too tightly in fear of it breaking.
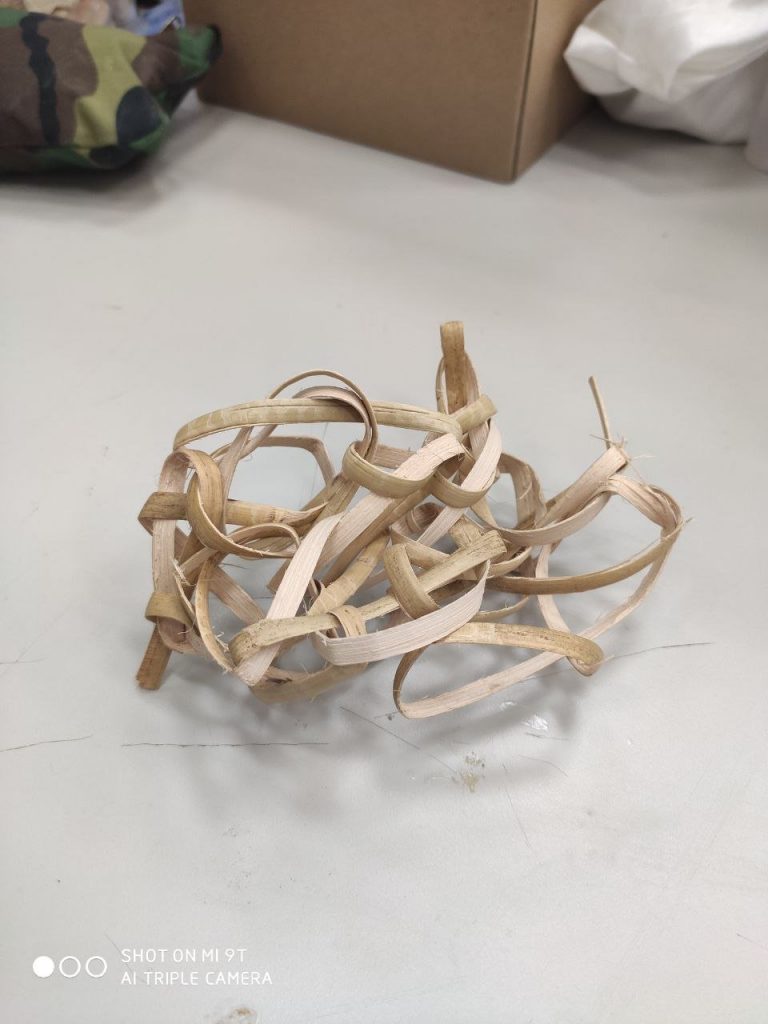
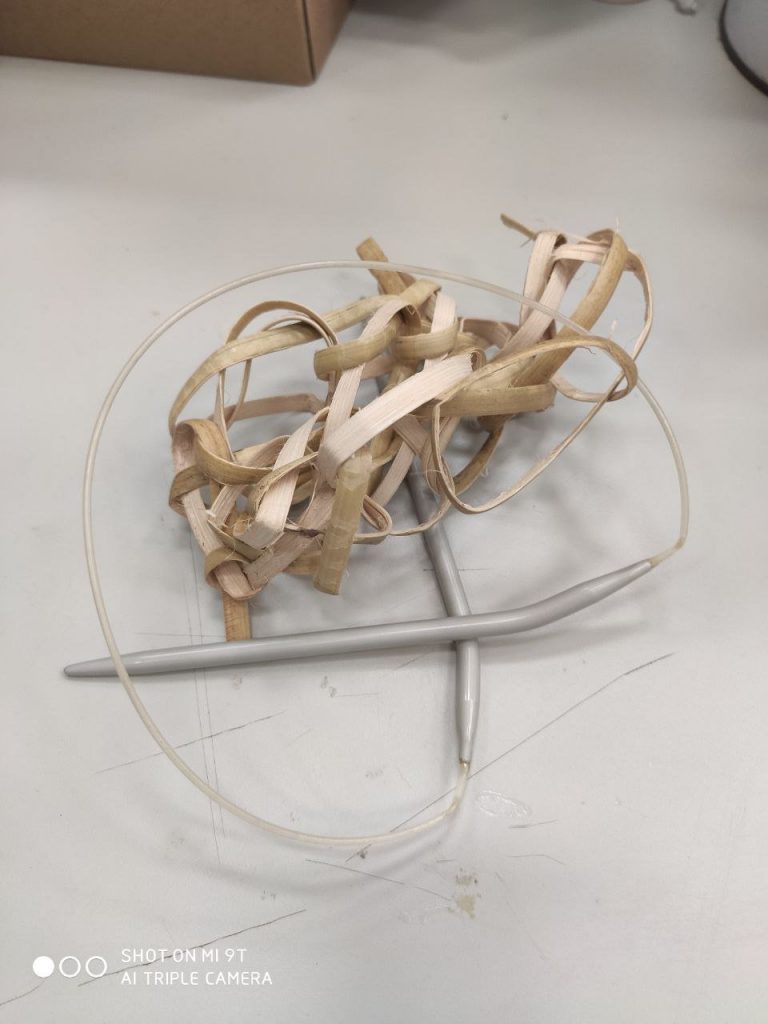
Finally finished with it although it turned out looking more like a ball than knitted surface. Nonetheless, glad I tried and managed to finish the strip without any splinters!
Overall, I think knitting is an impressive technique that turns a single strand into surface – turning 2D into 3D. When combined with different pattern and materials, will sure have interesting textures and results!
A P P L I C A T I O N S

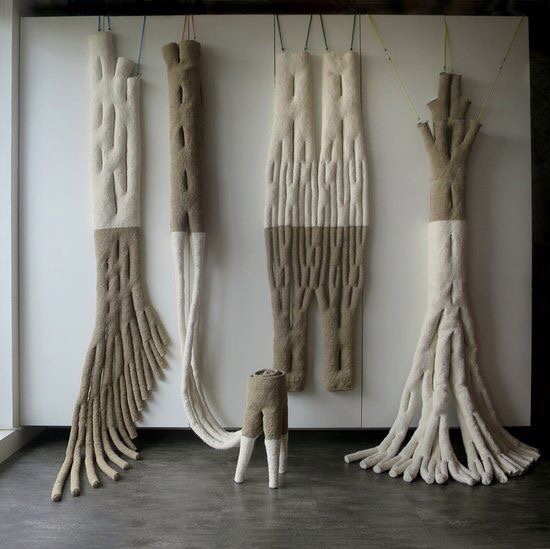
Create organic or geometric forms.


Make use of its opacity.

Even glass knitting!