Velvet Etching
The removal of fabric fibres with the use of chemicals.
Materials:
- Velvet Silk
- Silkscreen
- Etching ink
Instructions
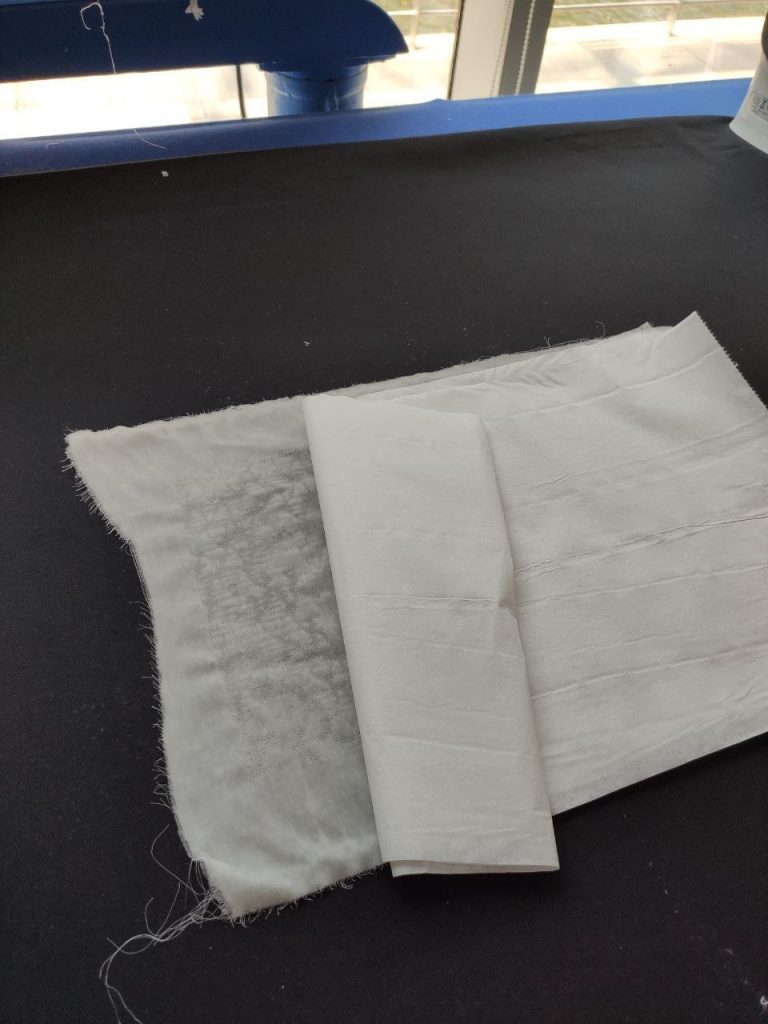
1. Place tissue layer and then the velvet Silk fabric on top
2. Pour some etching ink on one side of the silkscreen
3. Tilt the squeegee at 30deg and swipe it from one end to the other, putting even pressure
4. Repeat multiple times to ensure the ink seeps well
5. Leave to dry
6. Iron on high heat with a cloth in between the velvet and the iron
7. Leave the iron on until the area turns brown
8. In a well ventilated place, wear a mask and use a toothbrush to brush out the burnt areas.
9. Wash and leave to dry.
My Explorations
We did the silkscreen printing in the way similar to the one we did for thermochromic print.
They are then left to dry.
Then, I ironed it.
For a long time, the velvet did not change colour but after patiently leaving the iron on one part without moving, the charred area can be seen.
I then left the iron on different sections.
Once it seems like the parts are mostly brown, I moved on to the next piece.
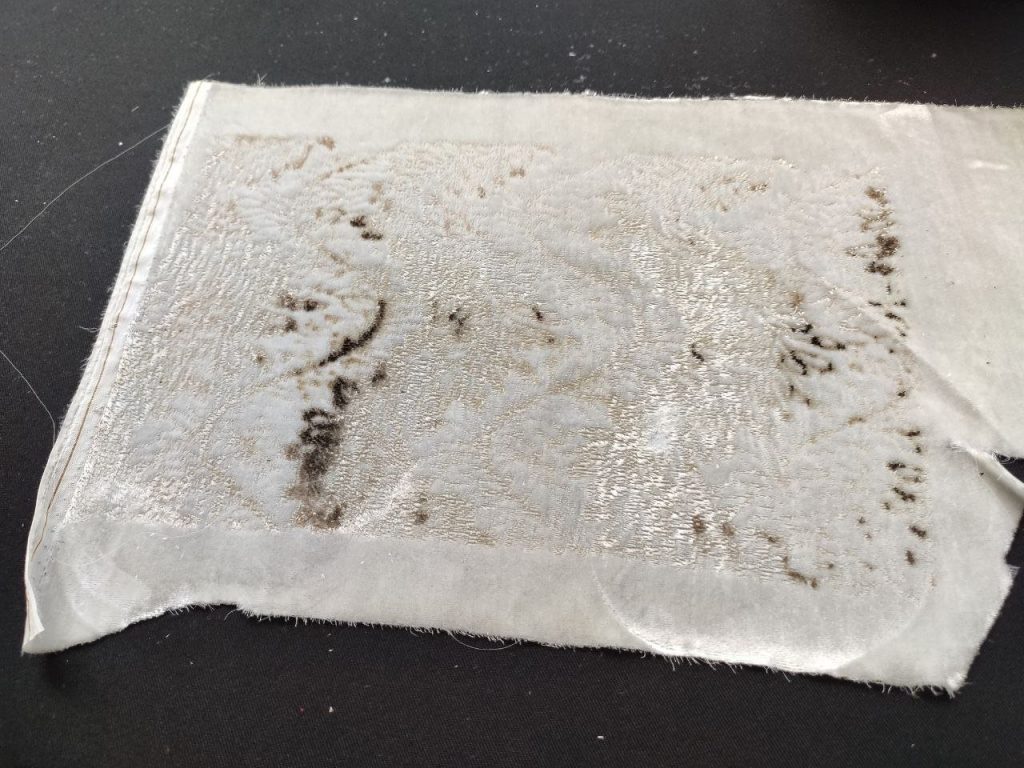
I decided to try using another iron instead but I think it resulted in uneven browning of the cloth. Perhaps the heating surface is uneven.

Once they are done, I used a toothbrush to scrap out the stray fibres. Initially, I didn’t know that the fibres will be that small and powdery.
However, after Galina advised me to wear a mask and brush it outside, I realised how dangerously fine the debris are and proceeded to continue outside the workshop with a mask on.
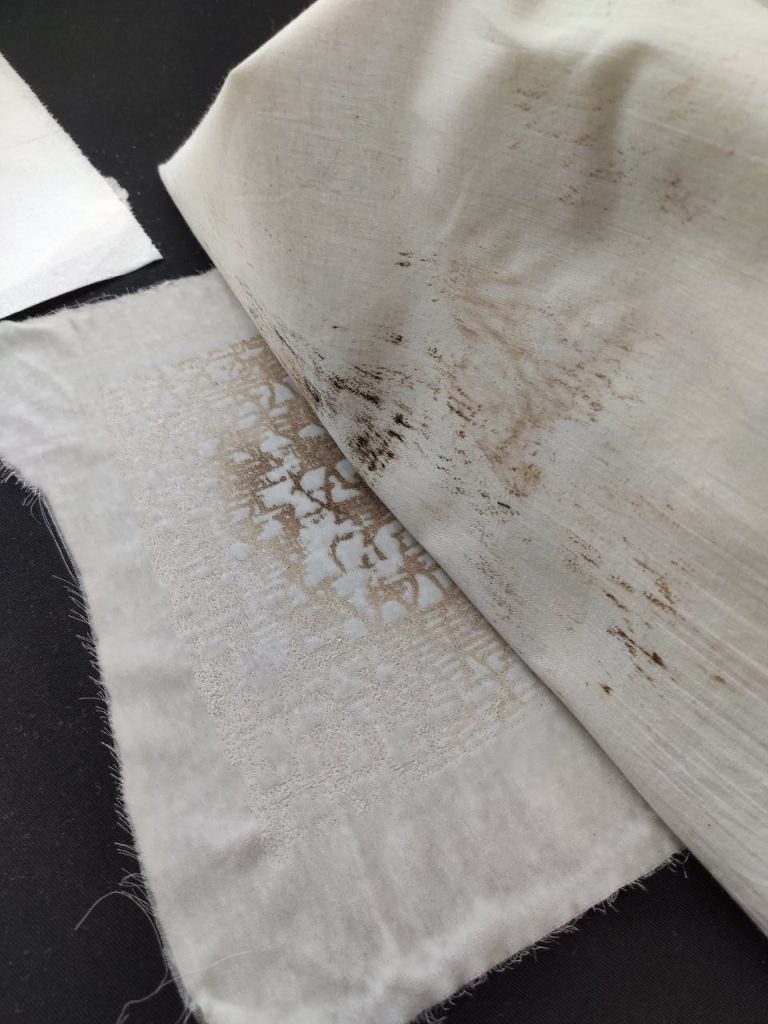
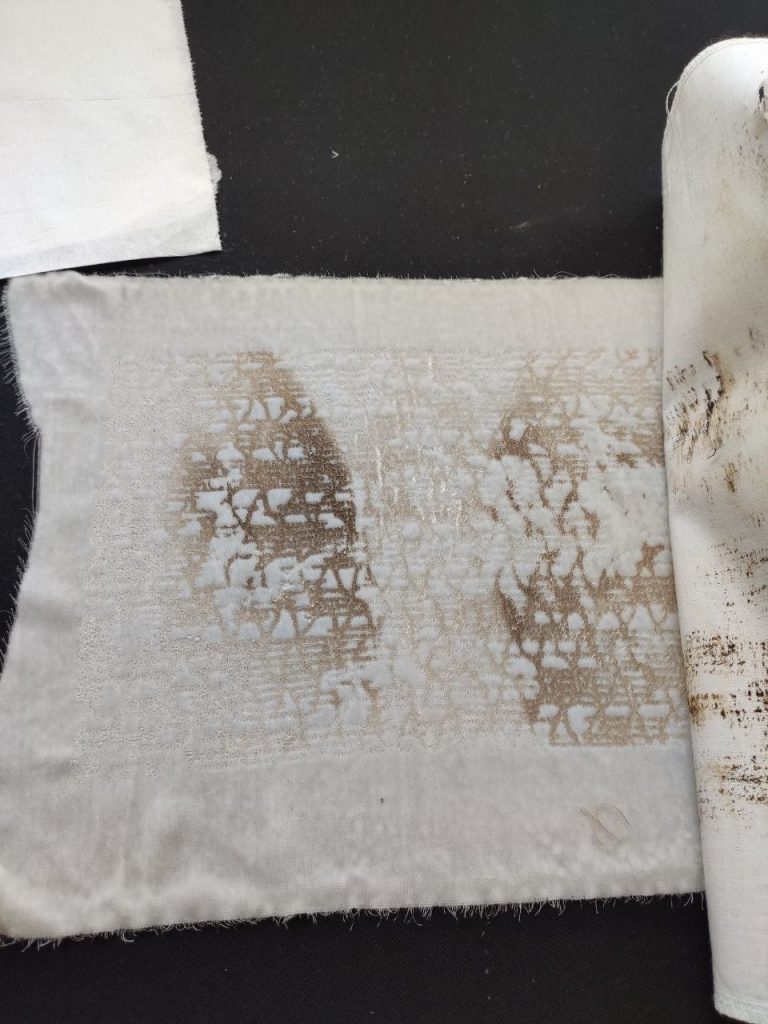
Results:
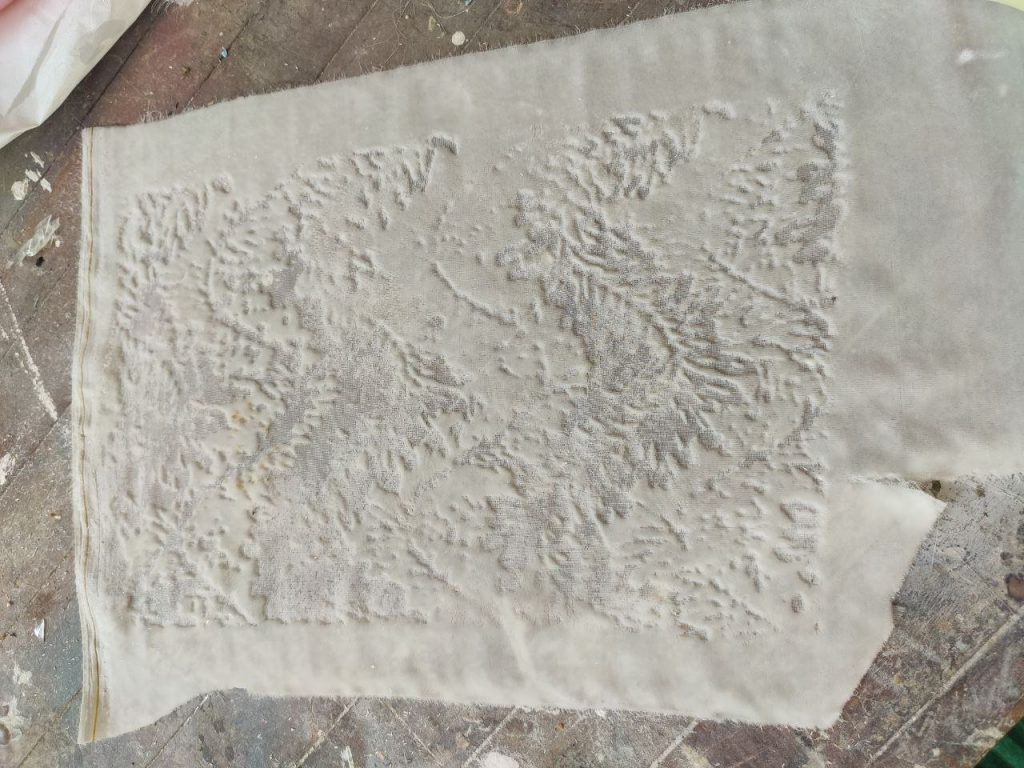
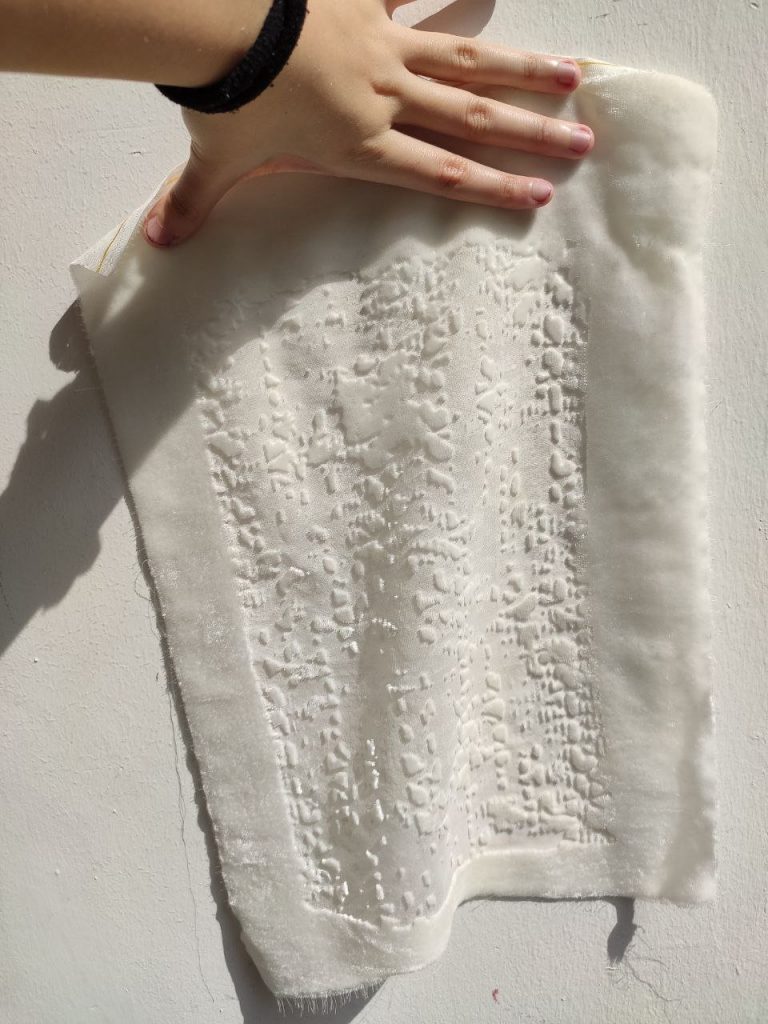
After a short brushing, the prints can be seen more clearly.
However, I think for some parts I might have brushed too hard and unintentionally removed the wrong material, and hence resulting in some bald spots.
The ironing part also took unexpectedly long, about an hour in total for both.
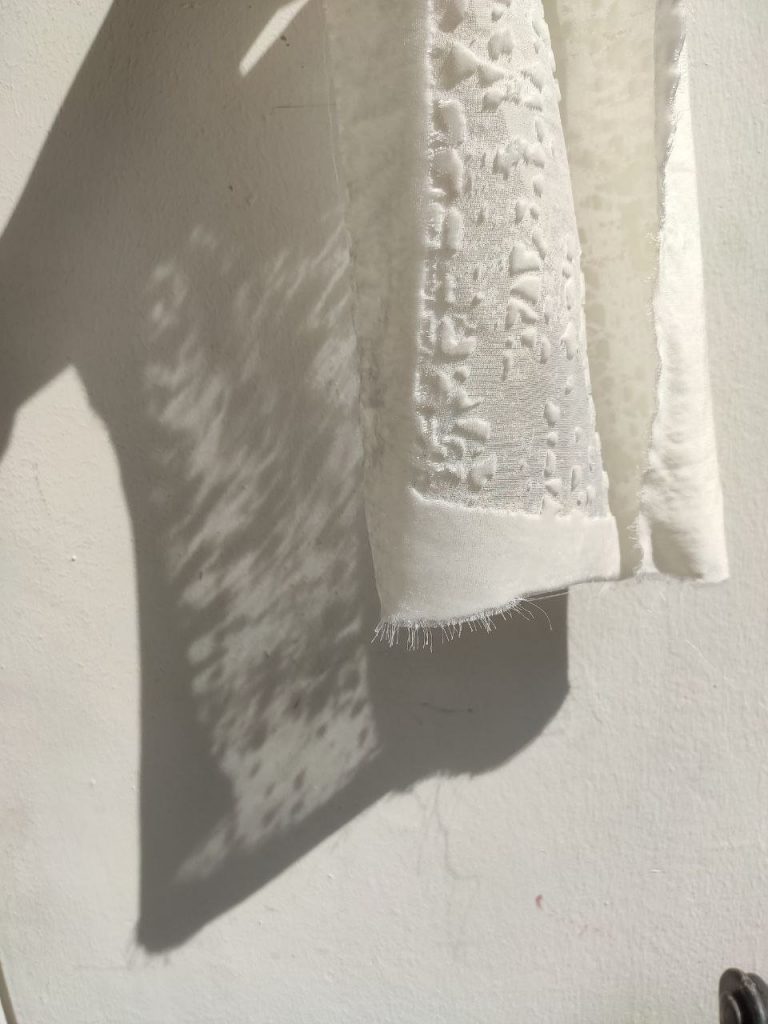
All in all, this is an interesting technique to add texture to velvet Silk but also quite unpredictable in the results. Perhaps simpler and bold prints will be more obvious and easier to achieve.
A P P L I C A T I O N S
Devoré velvet clothes
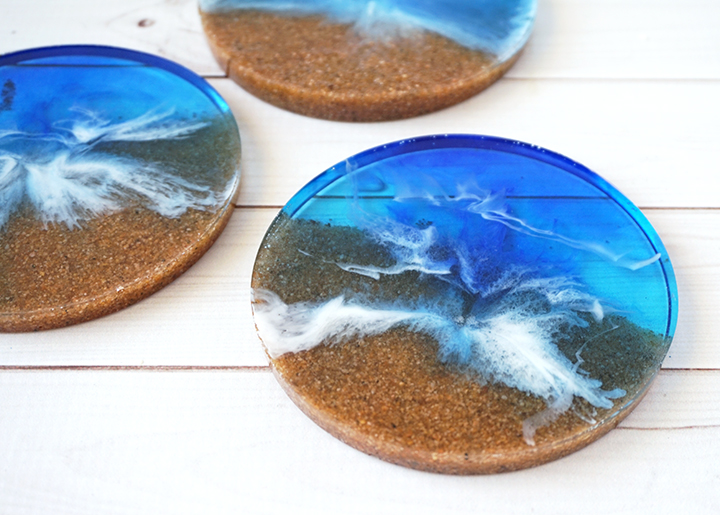
Resin Casting
Creating a solid resin form by pouring liquid resin into a mould and adding anything inside before it dries.
Materials:
- Mould
- Casting Objects
- Paint/pigments/ink to add colour
Decorative glitter/foil
Instructions
1. Prepare the mould and arrange any casting objects in it as desired.
2. In a separate container, mix 1 part resin to 1% hardener measured on a weighing scale.
3. Mix thoroughly with an ice cream stick, adding pigment if desired before pouring into the mould.
4. Leave to dry.
My Explorations
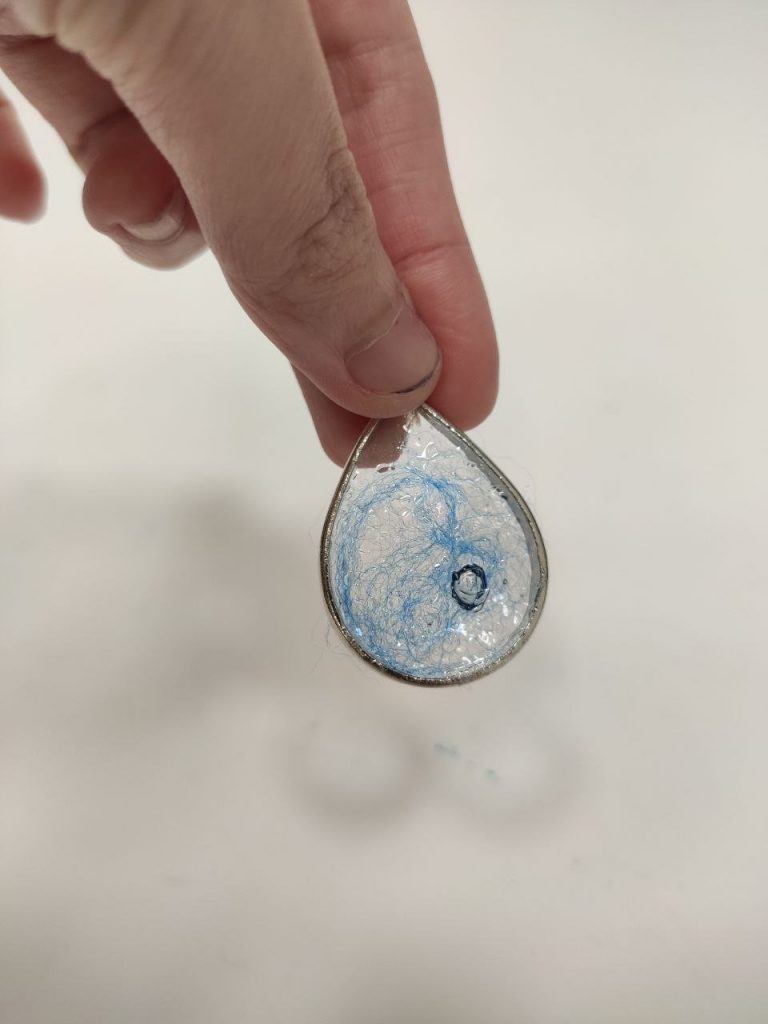
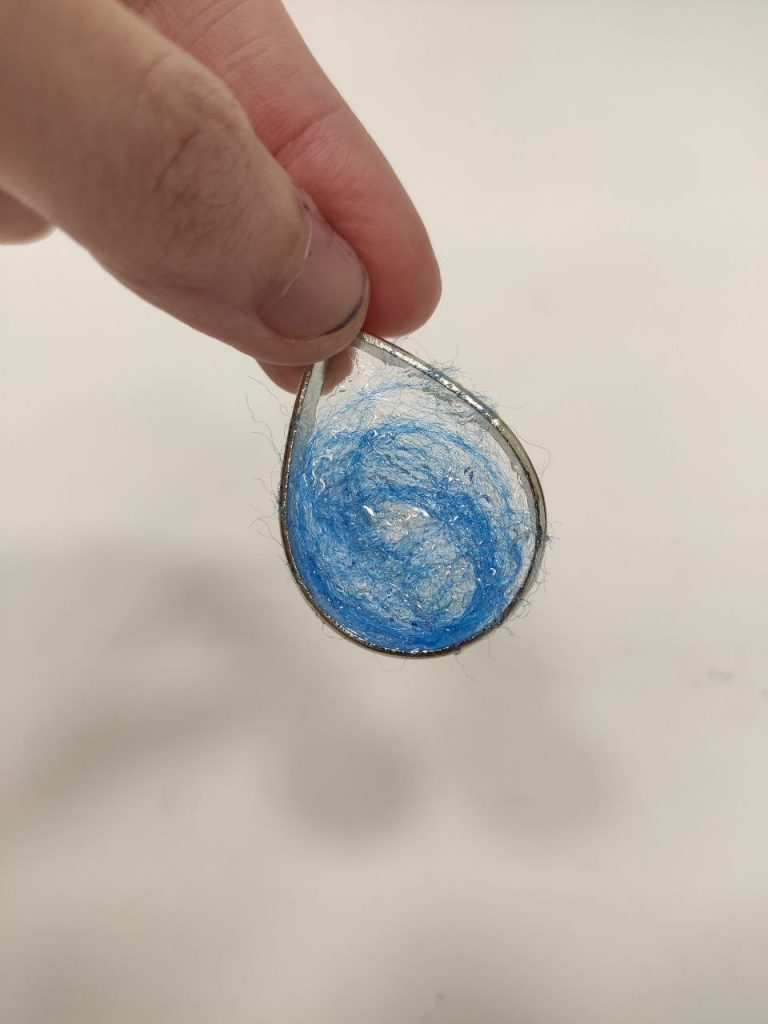
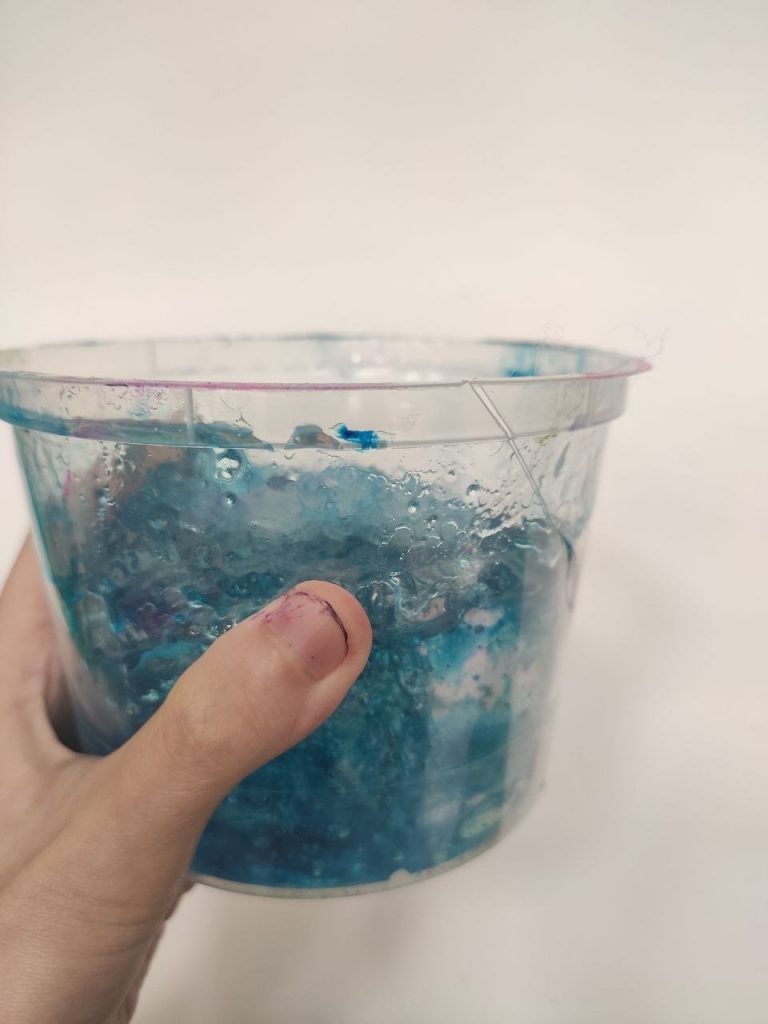
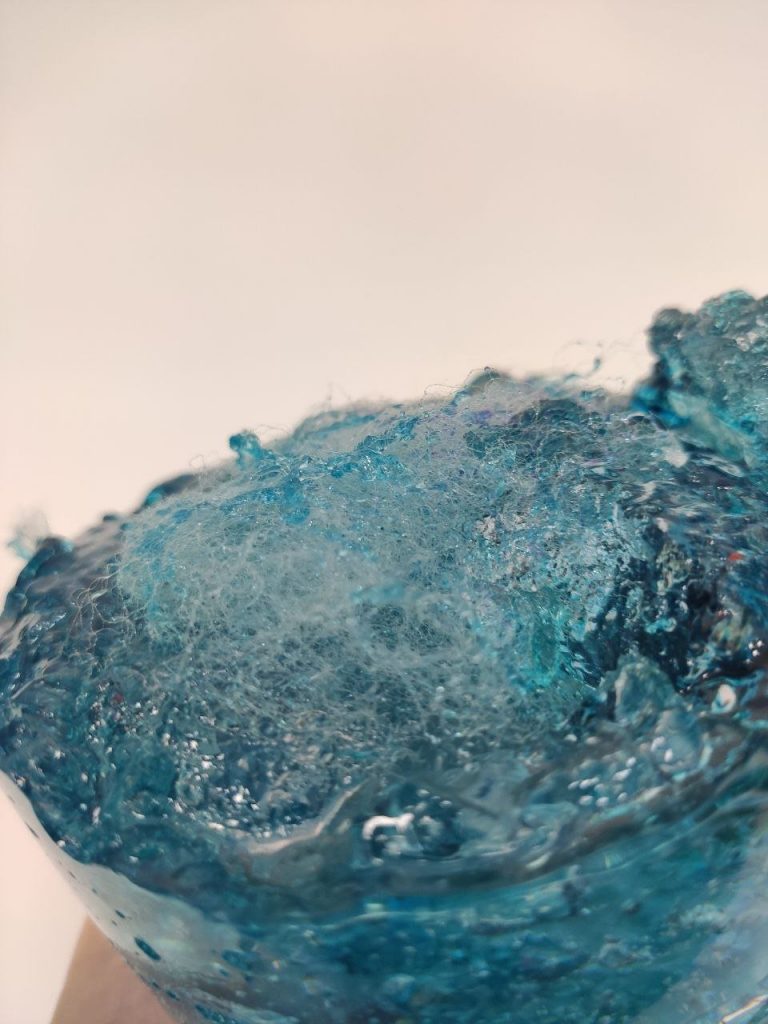
So I first wanted to try out using the earring frames I bought online. I wanted to achieve the nebula cloud look, so I tried adding wisps of dark blue felted wool.
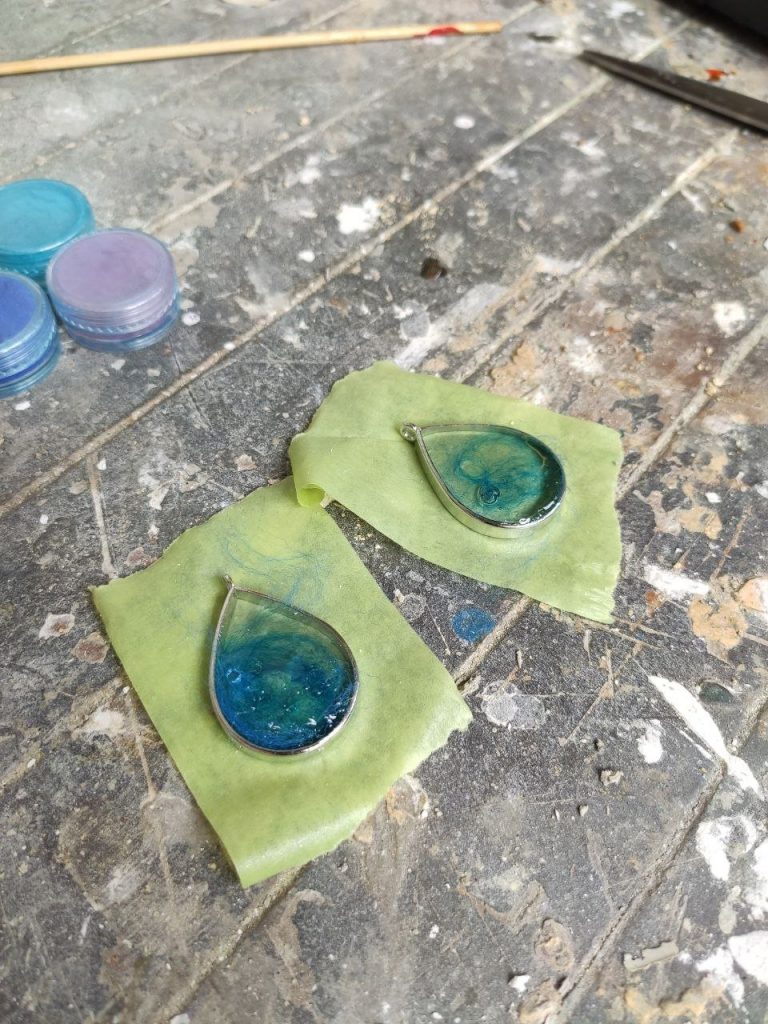
After I realised how sticky the resin mixture made my hand, which made pulling apart the felted wool difficult, I decided to leave it as it is. After that, I wanted to try again with more colours so I prepared more coloured wool first before pouring the mixture.

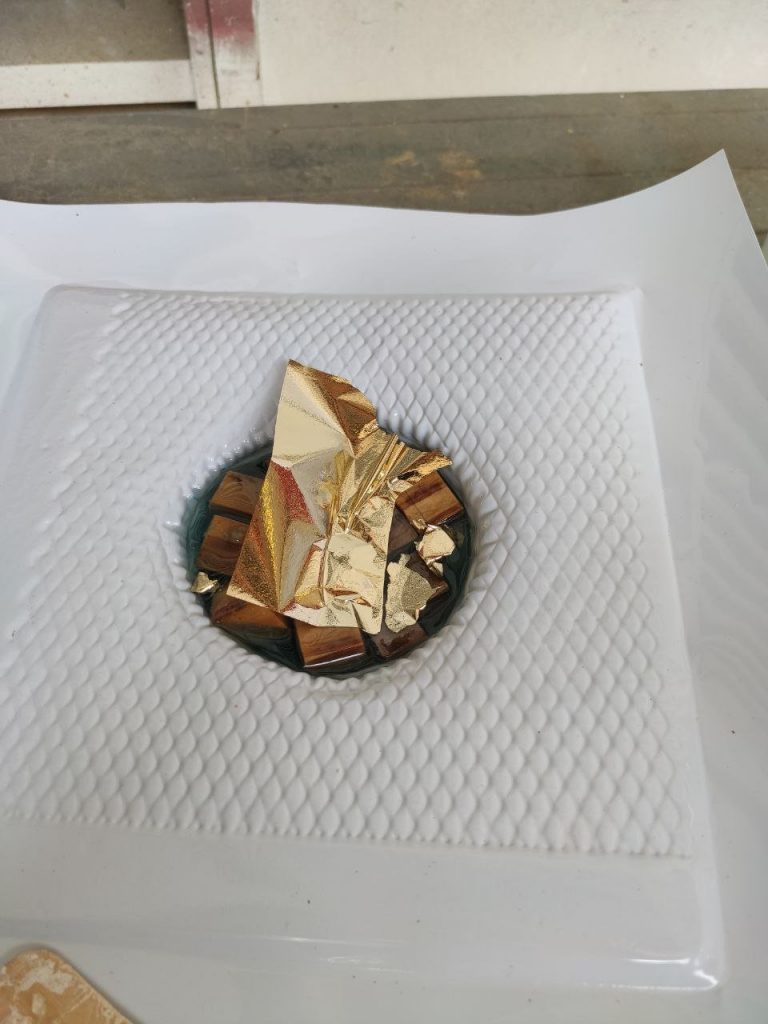
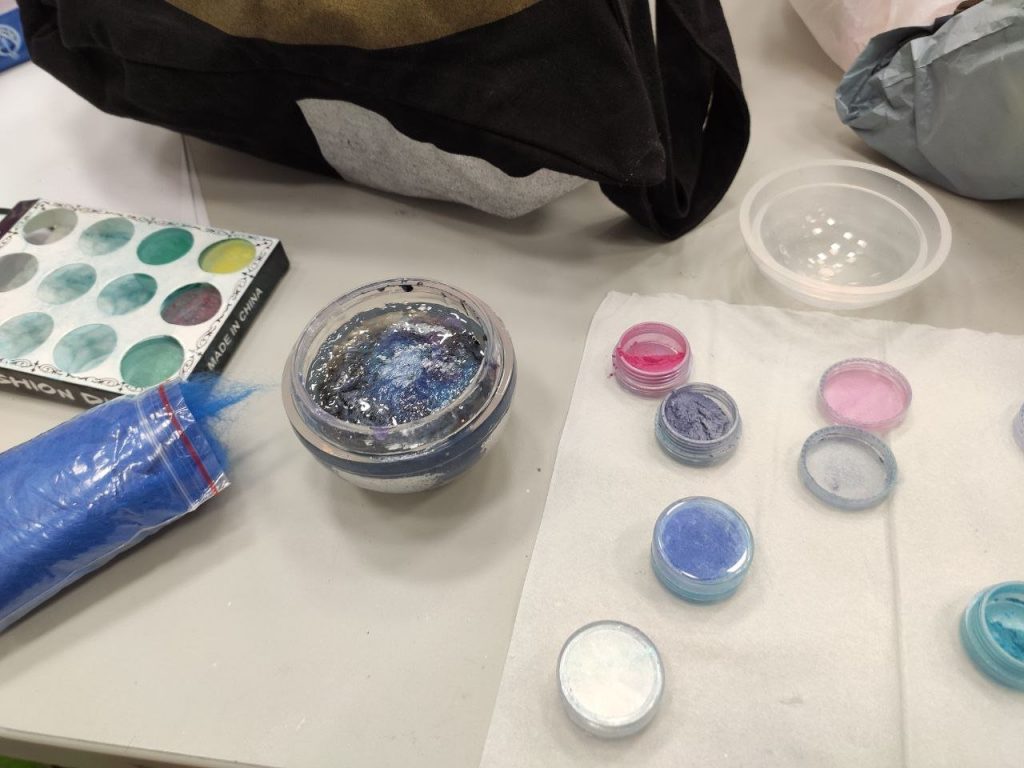
Next, I used a vaccine formed mould to cast the wooden cubes. I added light blue mica powder into the resin mixture for some colour before pouring it into the mould. I also decided to try out my golden foil and mixed it in to become flakes.
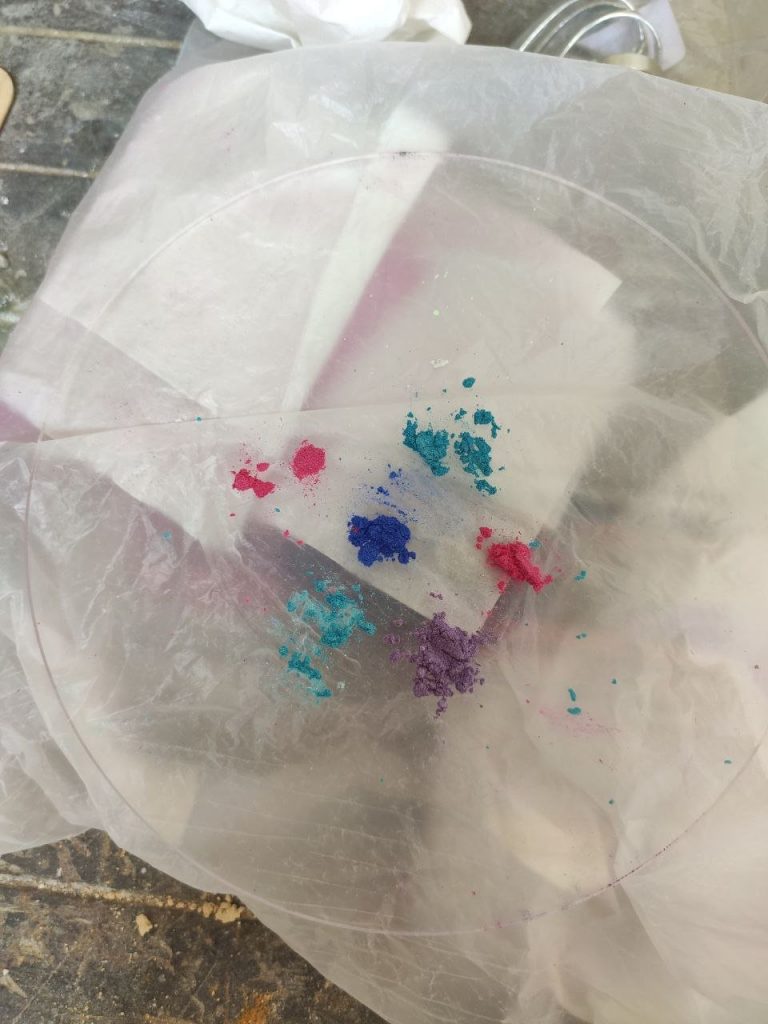
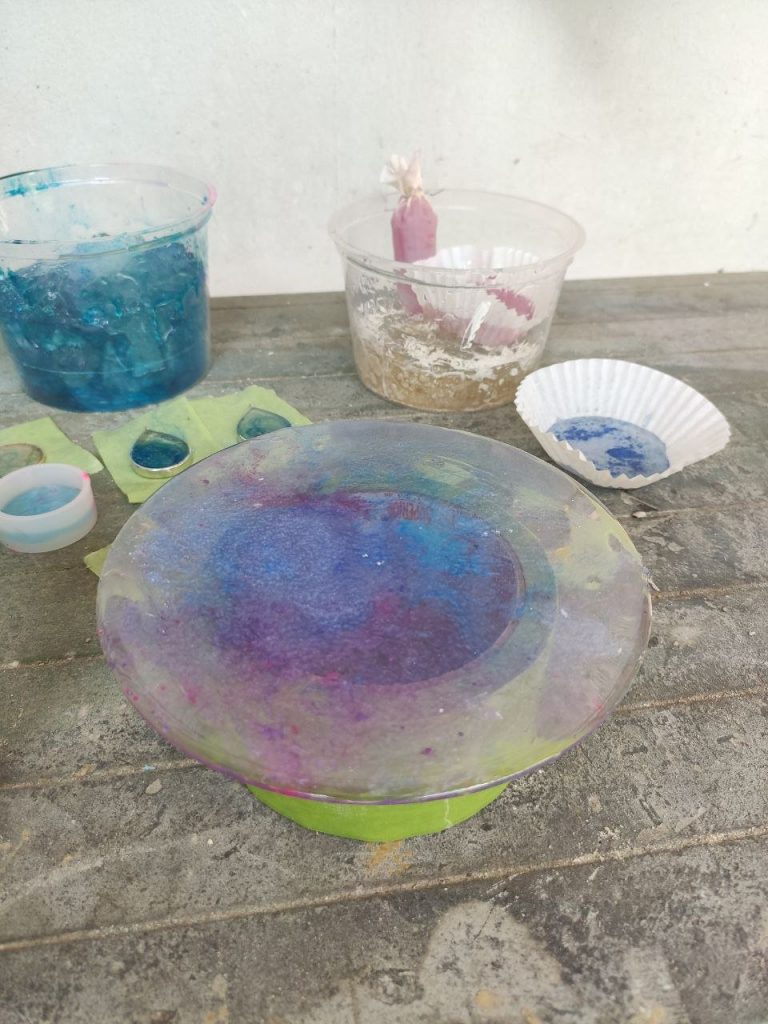
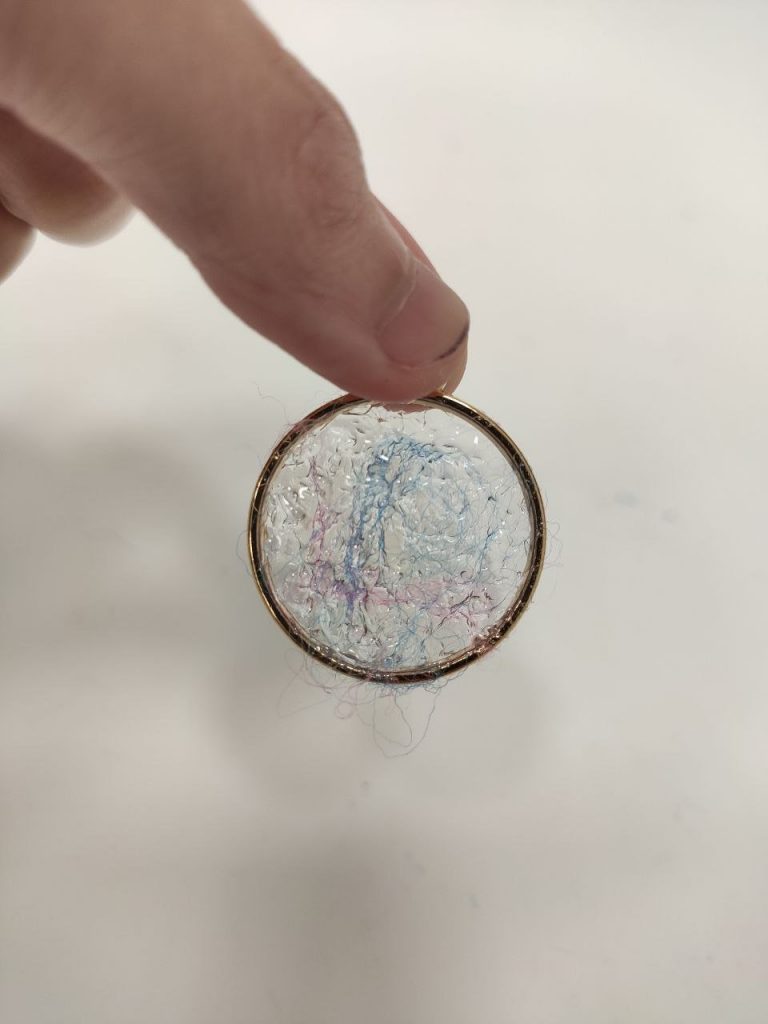
I wanted to have multiple colours together so I put some blue, pink and purple powder separately onto an acrylic cut circle. Then, poured some resin and mixed it in sections with the pigment, then blended the coloured resin together a little.
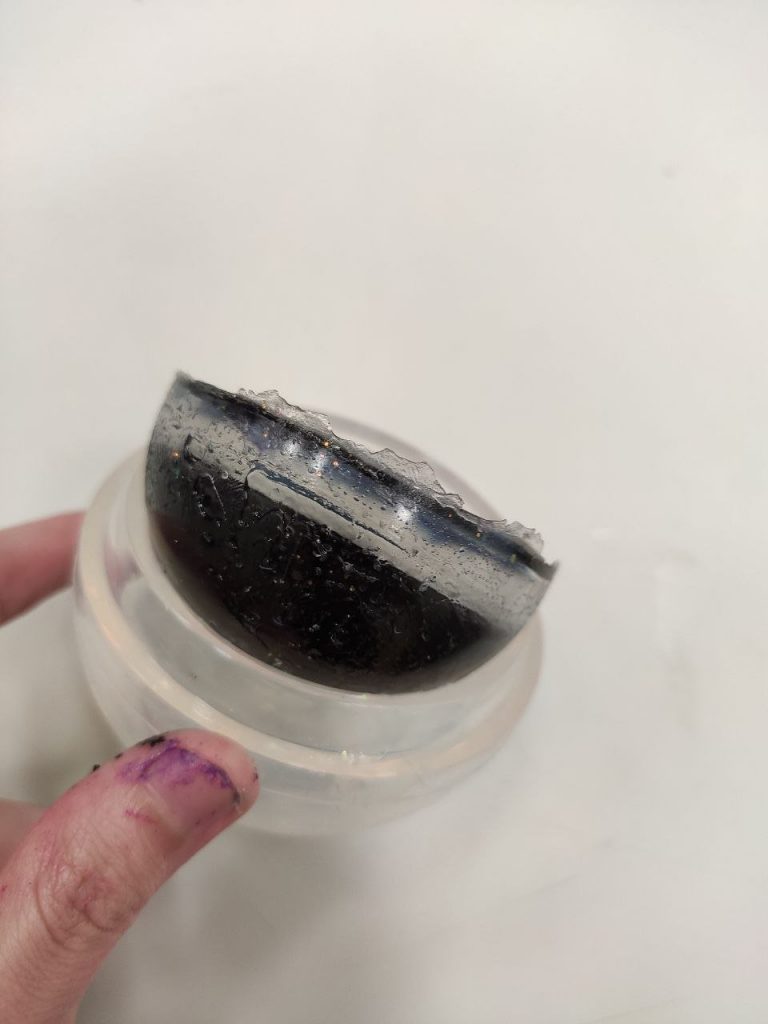
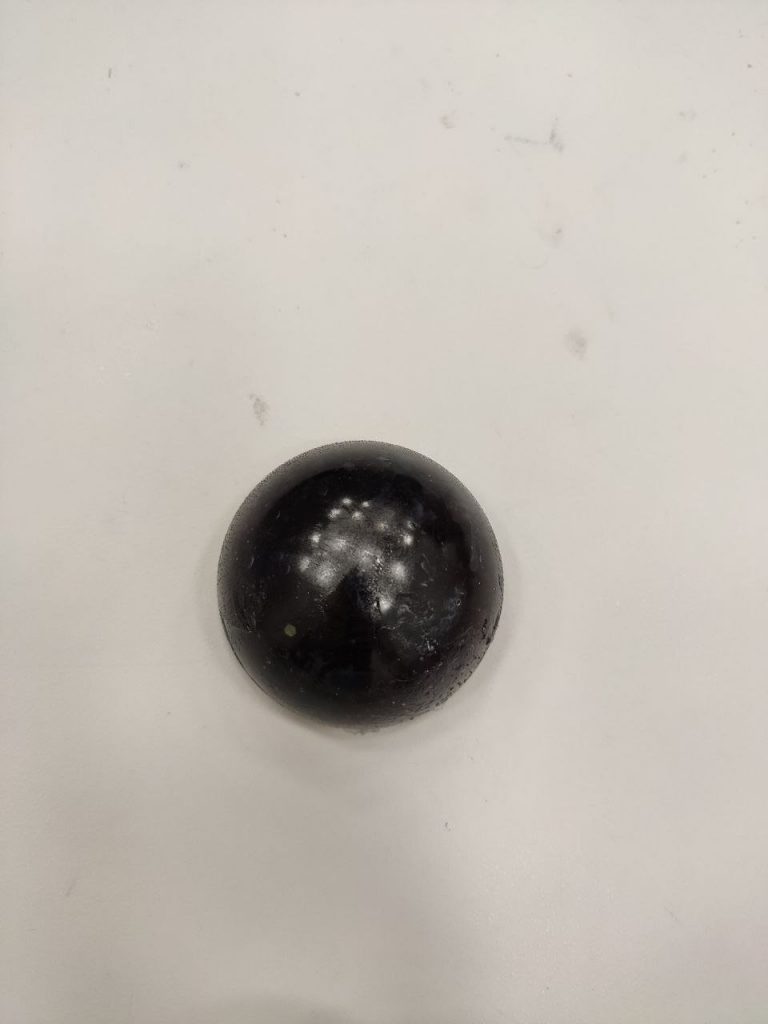
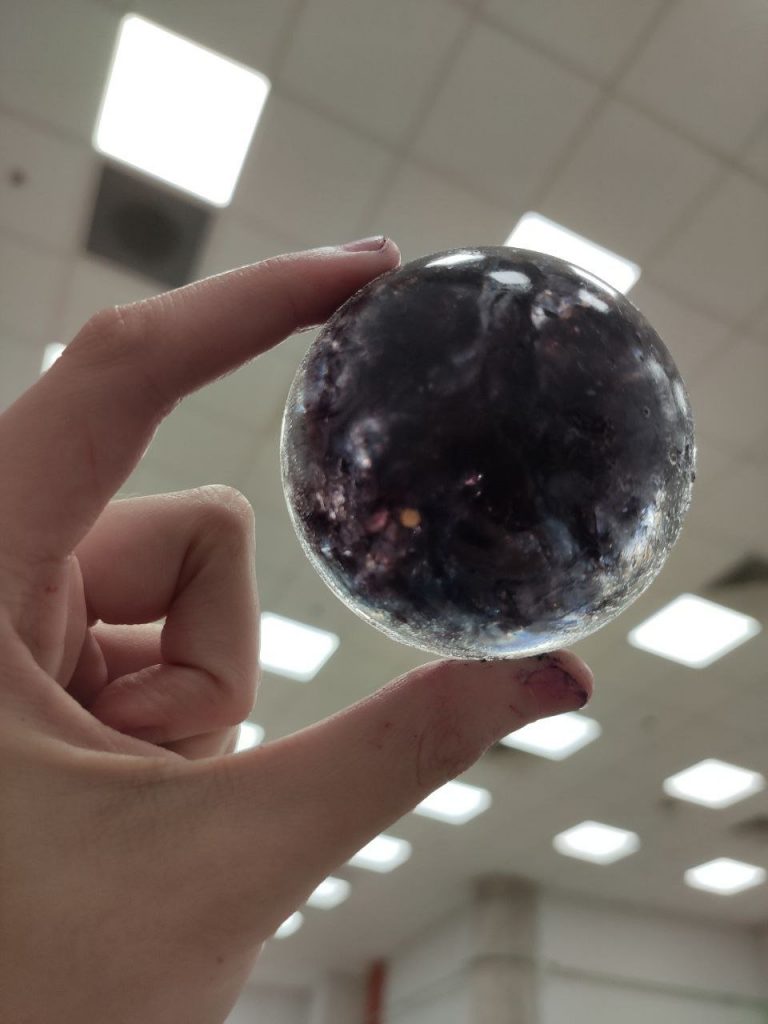
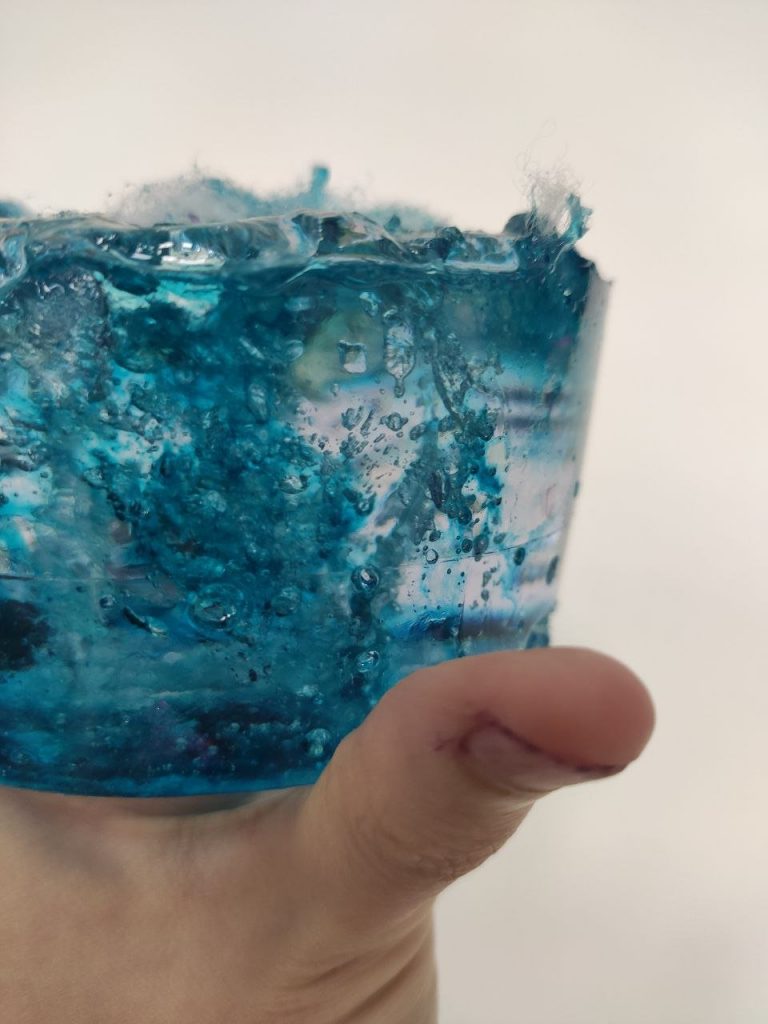
I also had this orb mould which I wanted to make it half black at the bottom and transparent on top with a galaxy pattern in the middle.
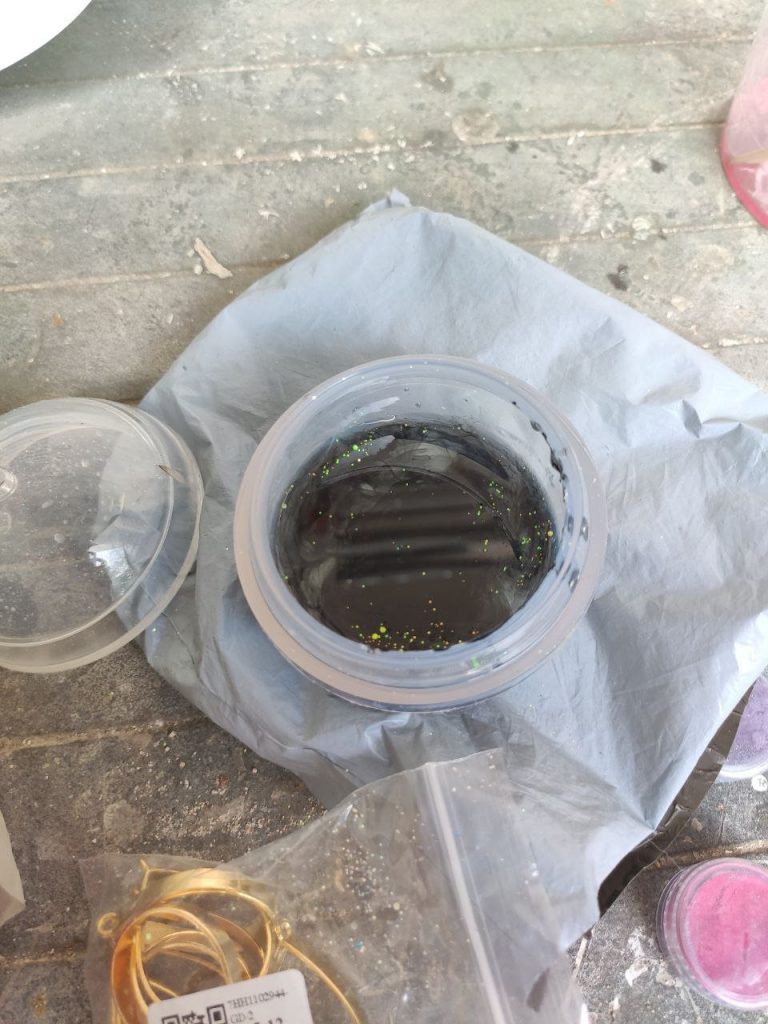
So I first made a large batch of resin and poured filled the orb halfway. Then, I added a drop of black resin ink and mixed it. However, I kind of liked the swirl pattern by the ink so I did not mixed it completely.
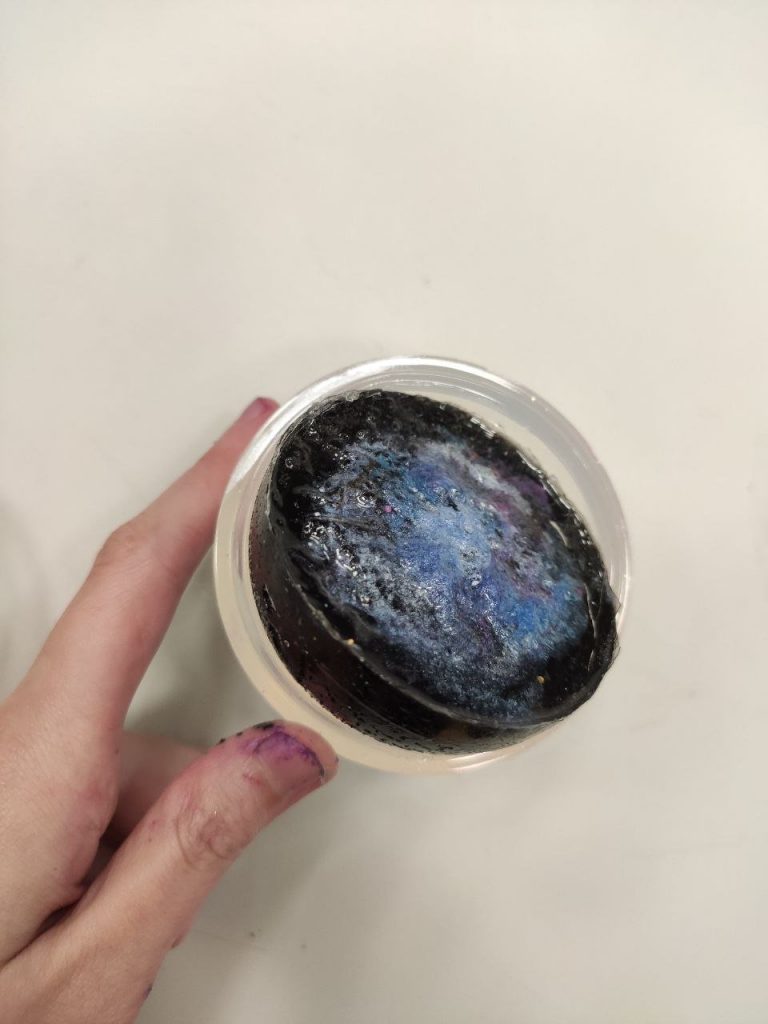
However, I do realised my resin mixture is hardening and so I added one more drop of hardener and mixed it again into the orb mould in hopes of speeding up the harderning.

Nonetheless the resin mixture was losing its liquid consistency fast, but I managed to add some blue ink and stirred it up before it dries. I also tried to add some white felt wool at the top.